Ingredients 6 Person(s)
Save this for later 📌
Pin this article to your Pinterest board so the full list is one tap away when you need it.
Save on PinterestDirections
Step 1: Chill your glasses
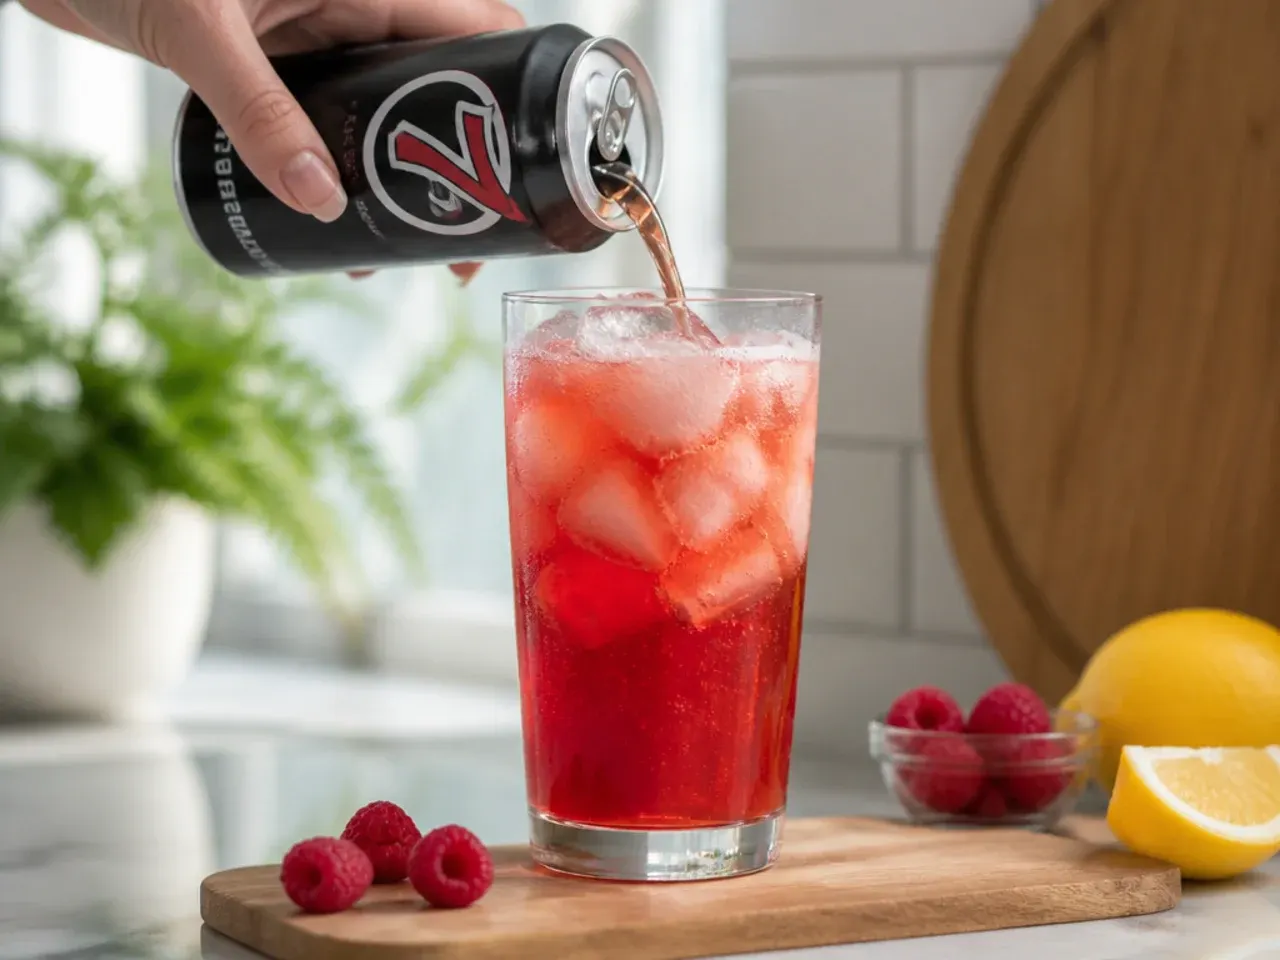
Pop six tall glasses in the freezer for 10 minutes, or fill them with ice water and let them sit while you gather your syrups, since a cold glass keeps the energy drink base fizzy for longer once poured.
Step 2: Fill each glass with ice
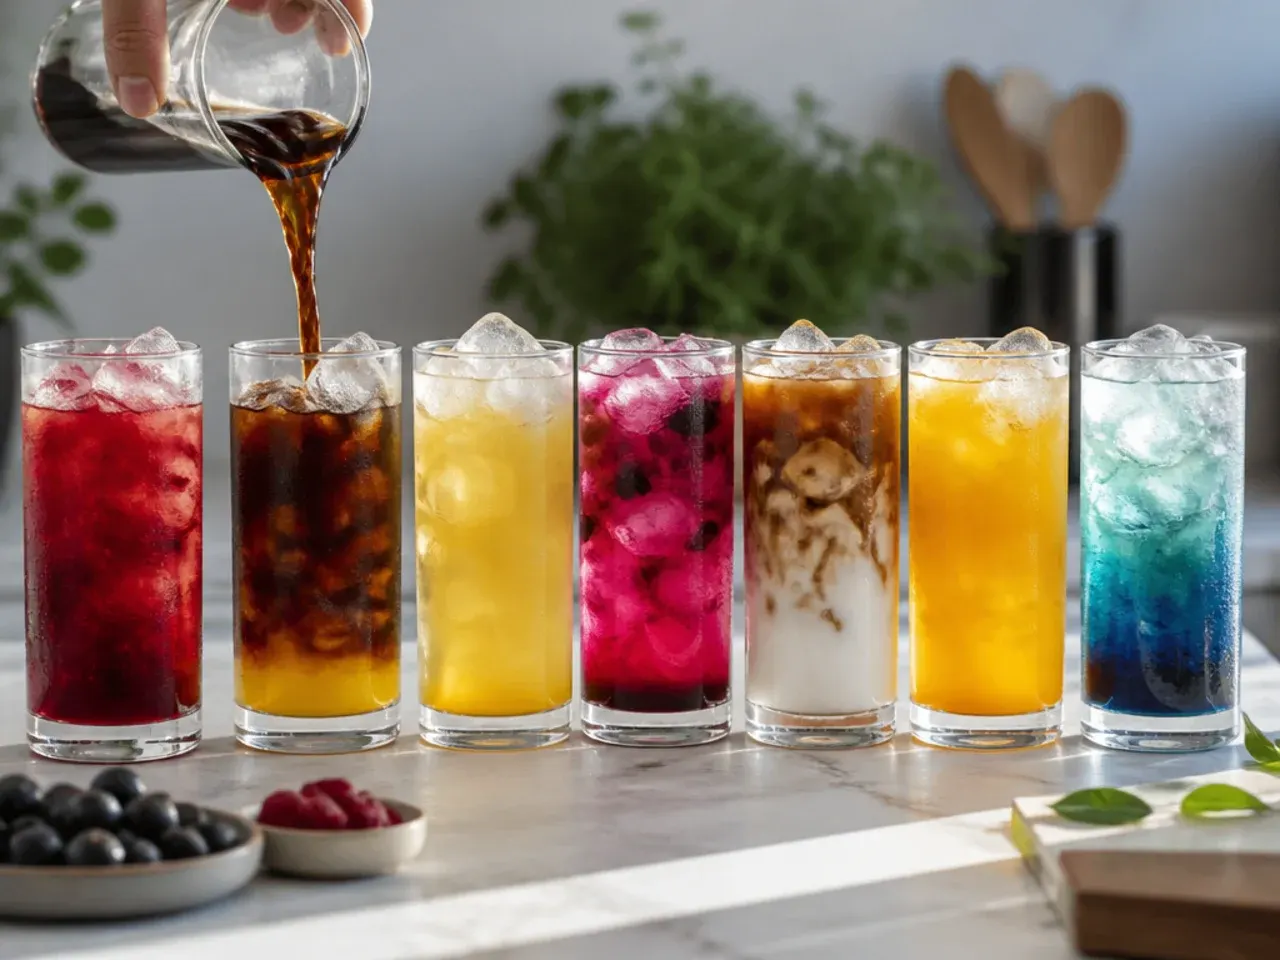
Fill each chilled glass roughly two-thirds full with ice cubes, about 65 g (3/4 cup) per glass, packing it in fairly tightly so the drink stays cold without diluting too quickly.
Step 3: Choose and chill your base
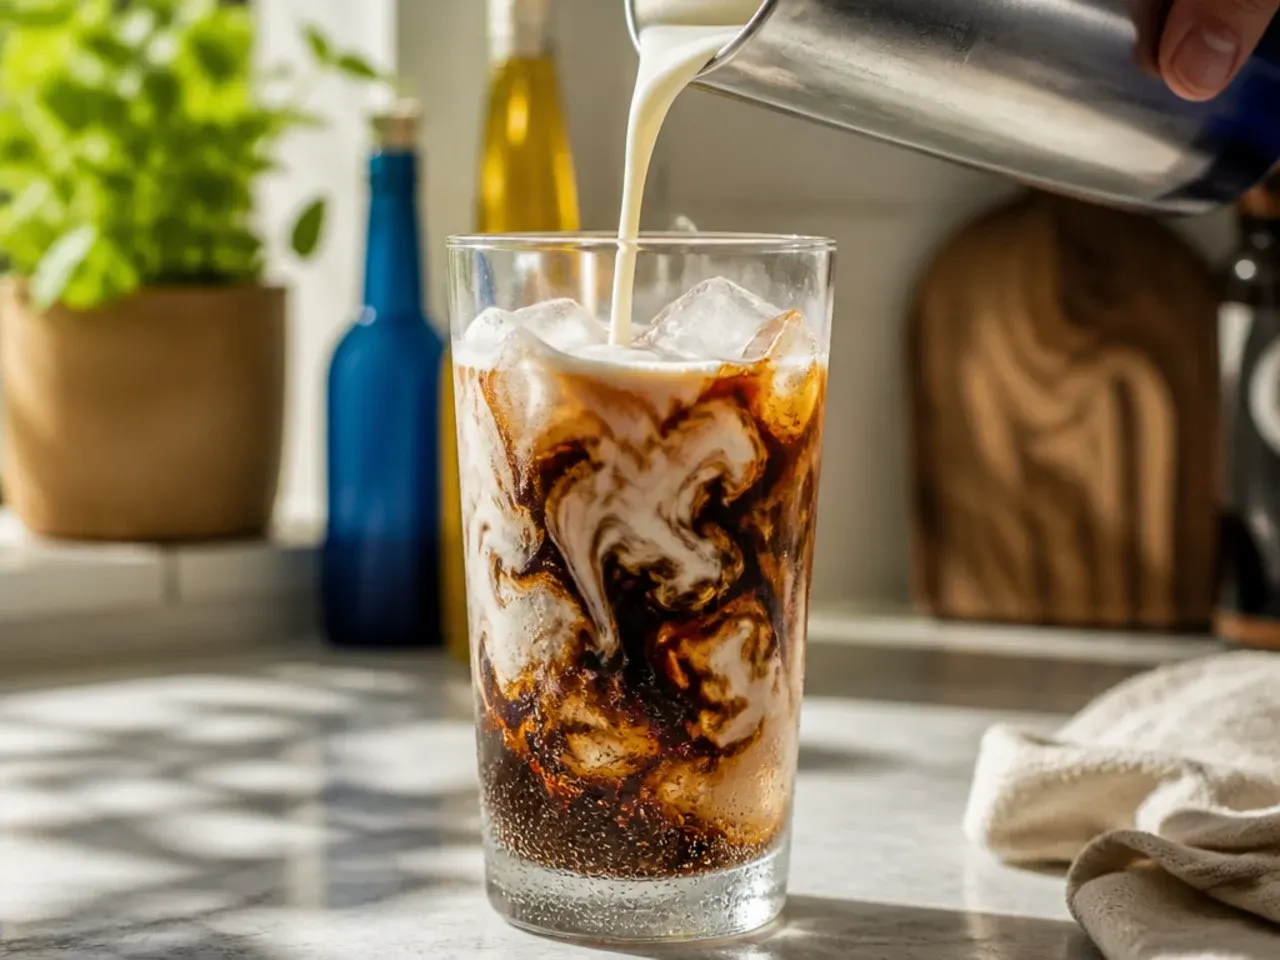
Use a well-chilled, lightly fizzy energy drink as your base, either a sugar-free citrus or white variety works best for letting fruit syrups shine through; keep the can or bottle in the fridge until the moment you pour to preserve maximum carbonation.
Step 4: Build the Pixie Stick copycat
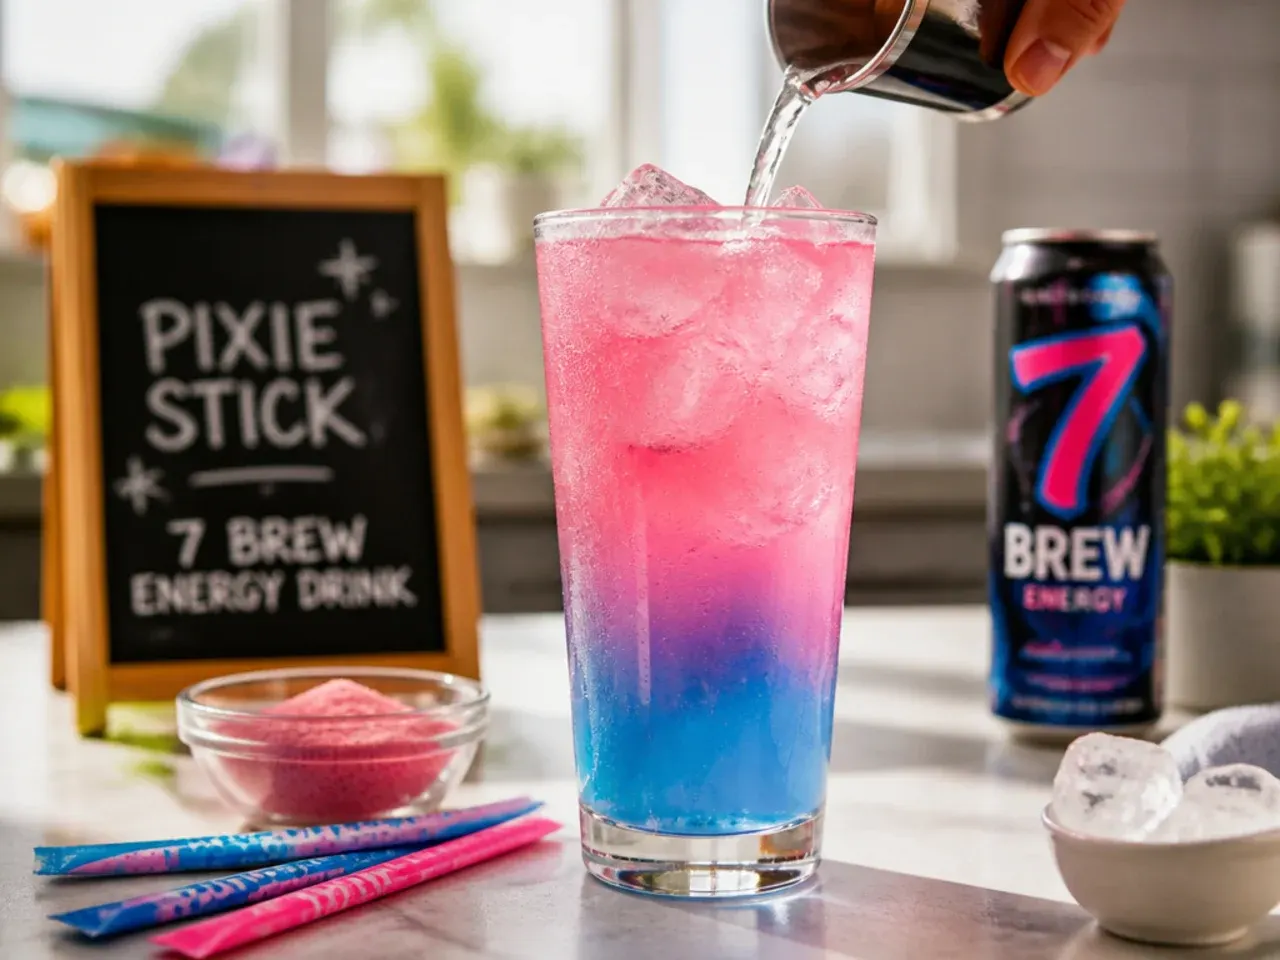
Into the first glass, add 15 ml (1 tbsp) strawberry syrup, 15 ml (1 tbsp) blue raspberry syrup and 15 ml (1 tbsp) coconut syrup over the ice, then top with 115 ml (about 1/2 cup) of energy drink and stir gently for 5 seconds until the colours swirl together.
Step 5: Build the Ocean Breeze copycat
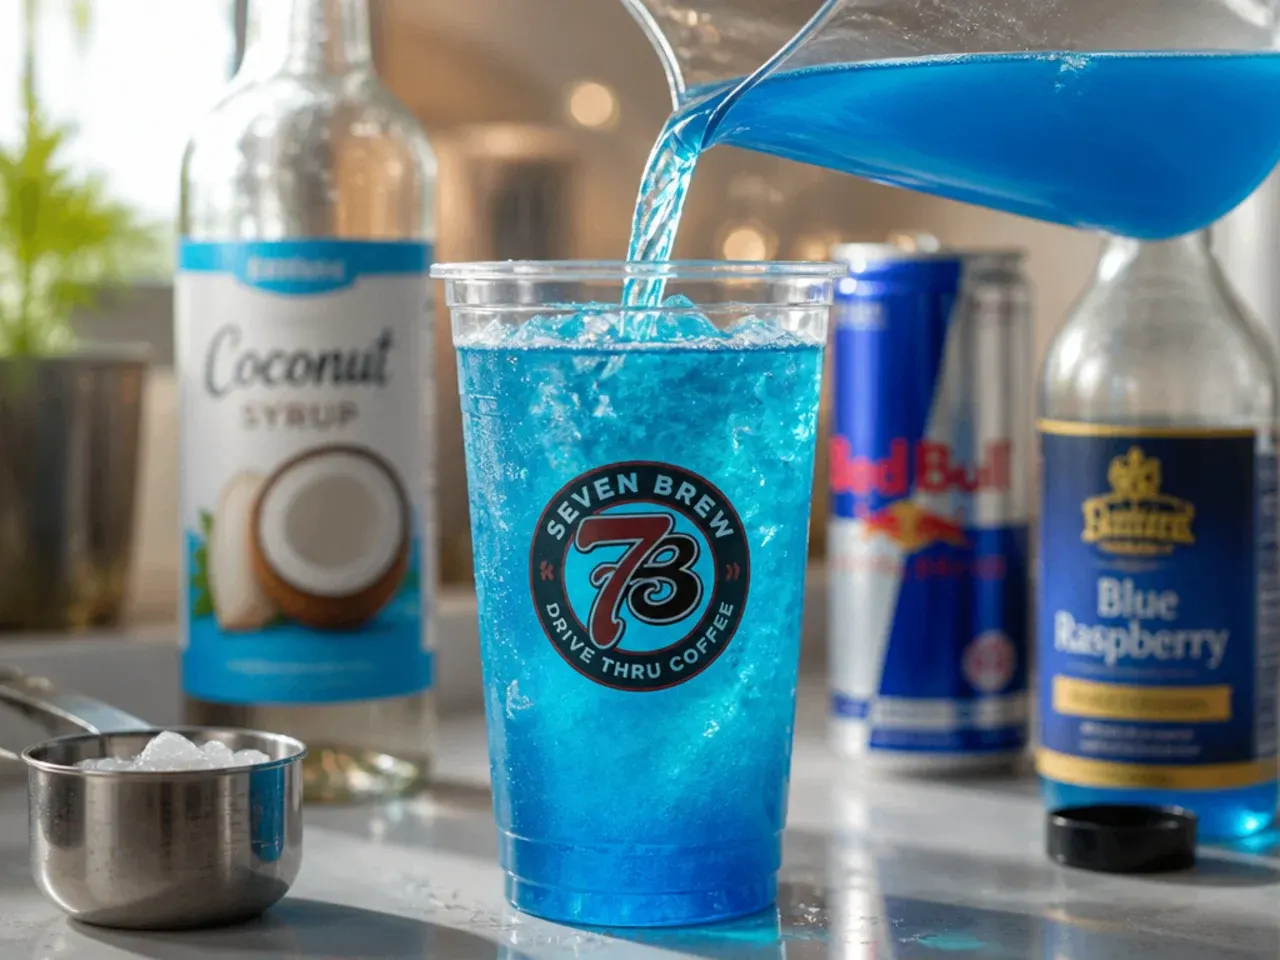
In the second glass, layer 15 ml (1 tbsp) blue raspberry syrup with 15 ml (1 tbsp) coconut syrup and 15 ml (1 tbsp) peach syrup, top with 115 ml (about 1/2 cup) energy drink, and stir until the mixture turns a cloudy turquoise blue.
Step 6: Build the Dragon's Blood copycat
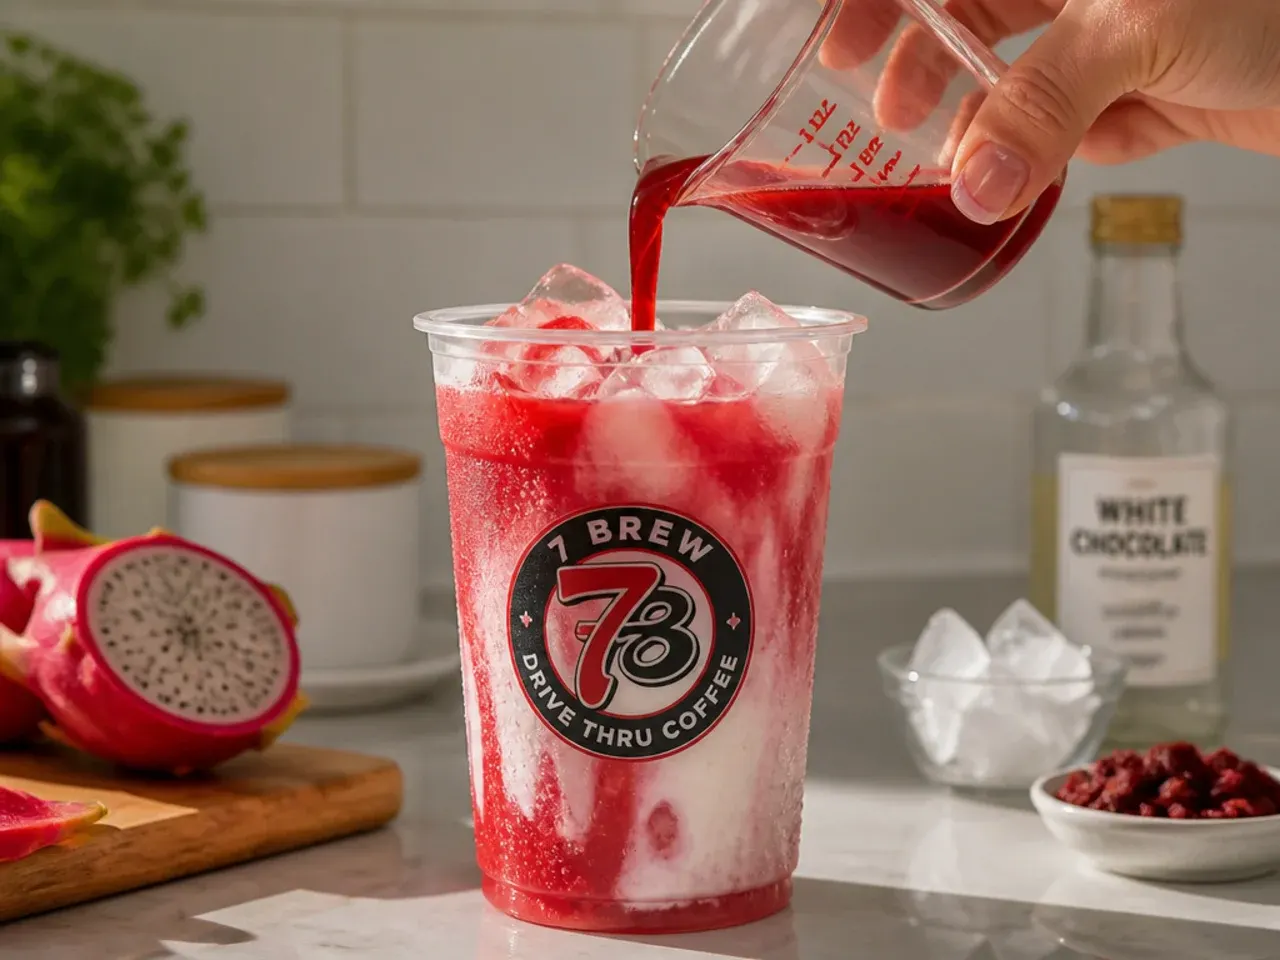
In the third glass, combine 15 ml (1 tbsp) pomegranate syrup with 15 ml (1 tbsp) strawberry syrup over ice, pour in 115 ml (about 1/2 cup) energy drink, and stir until the drink turns a deep ruby red with no streaks of syrup left at the bottom.
Step 7: Build the Golden Pear copycat
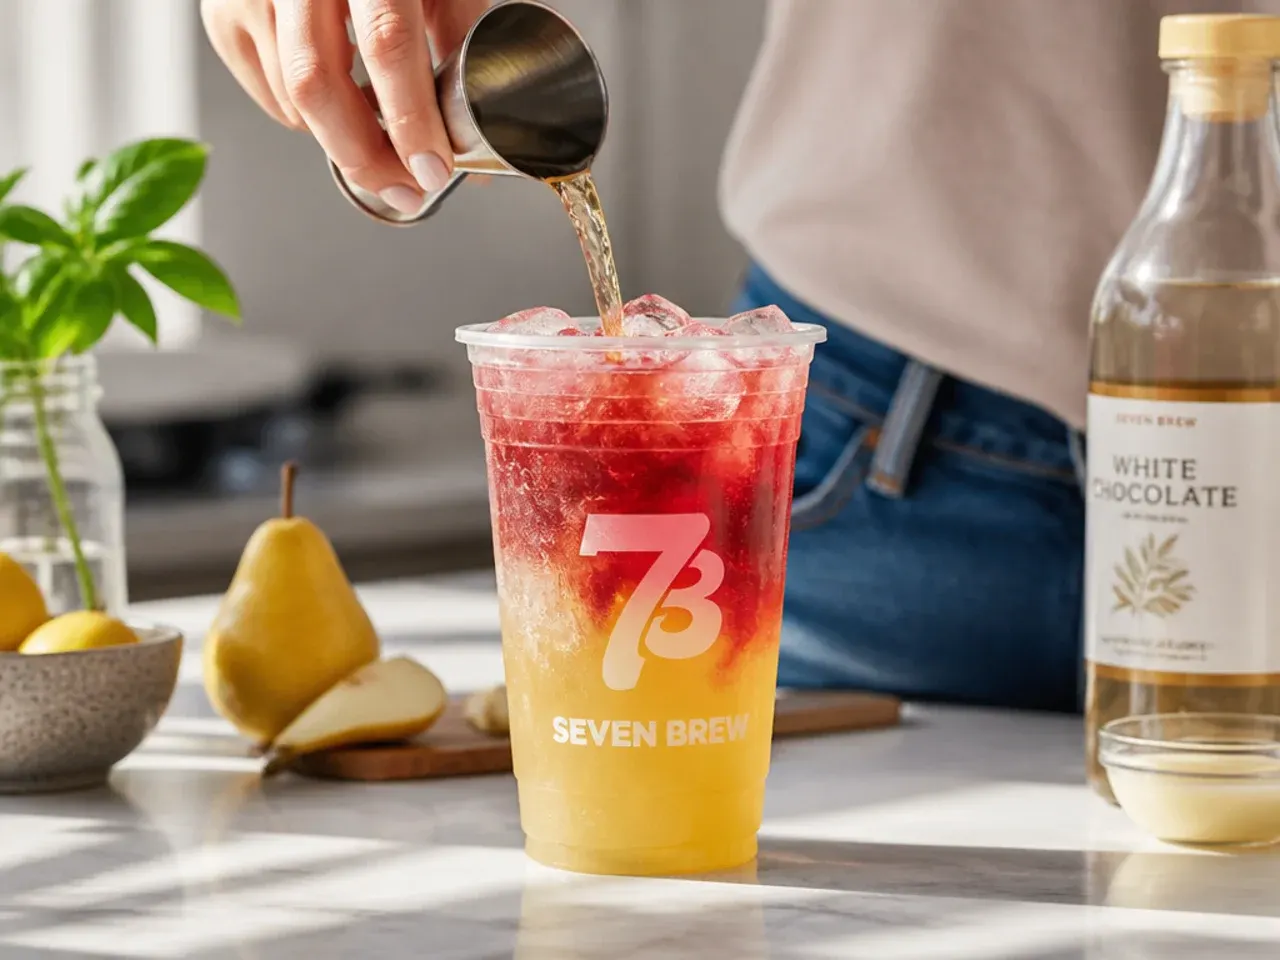
In the fourth glass, mix 15 ml (1 tbsp) pear syrup with 15 ml (1 tbsp) vanilla syrup over ice, top with 115 ml (about 1/2 cup) energy drink, and stir for 10 seconds so the vanilla fully dissolves without leaving a cloudy film on top.
Step 8: Build the Sugar-Free Blackberry copycat
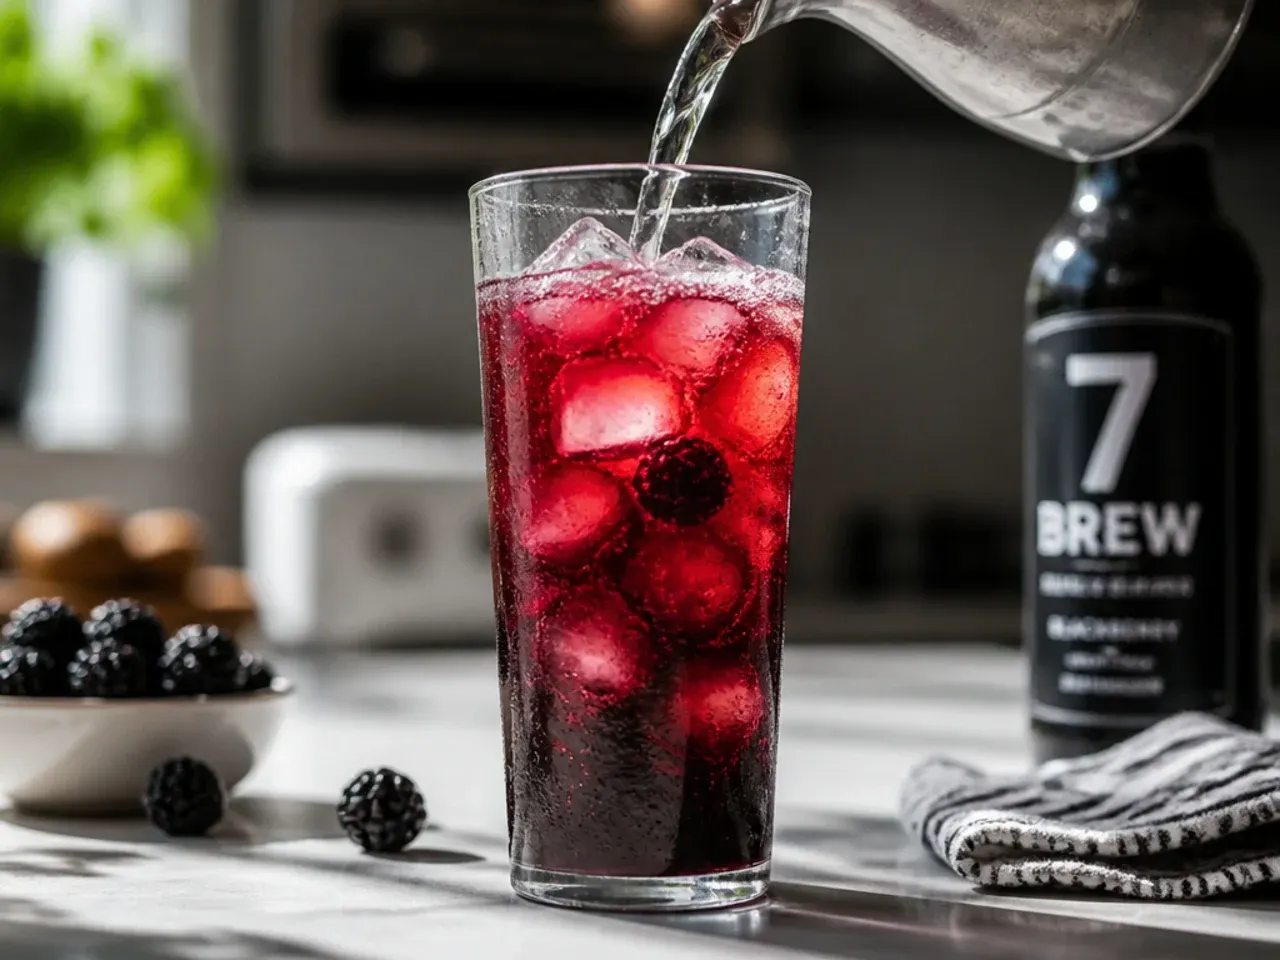
In the fifth glass, use 30 ml (2 tbsp) sugar-free blackberry syrup (swap in sugar-free blue raspberry if blackberry is hard to find) over ice, top with 115 ml (about 1/2 cup) energy drink, and stir until fully combined and deep purple in colour.
Step 9: Build the Tropic Thunder copycat
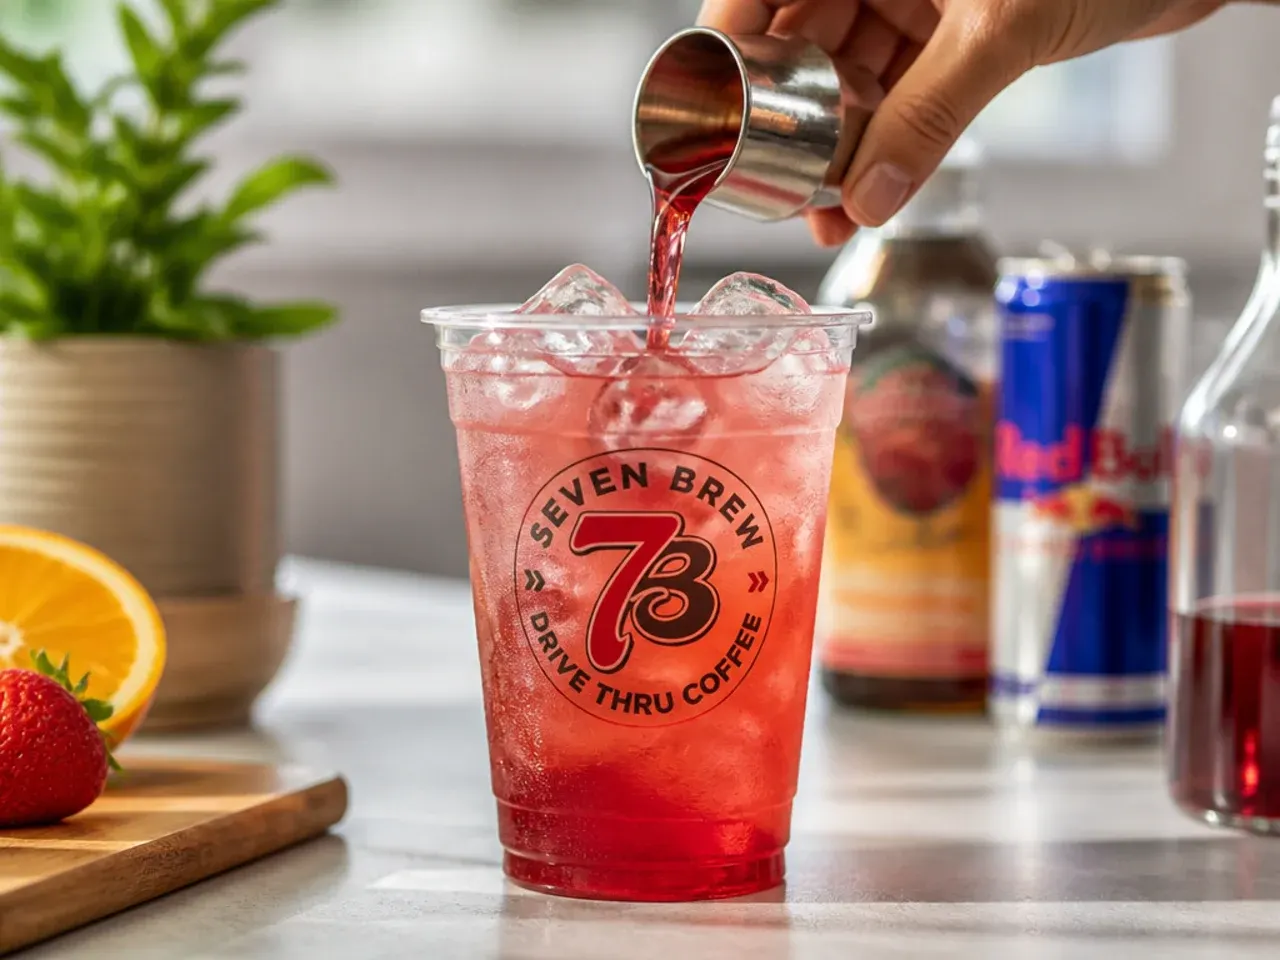
In the sixth glass, blend 15 ml (1 tbsp) coconut syrup with 15 ml (1 tbsp) peach syrup and 15 ml (1 tbsp) pear syrup over ice, top with 115 ml (about 1/2 cup) energy drink, and stir until the tropical syrups are evenly distributed.
Step 10: Add a cream float to two glasses
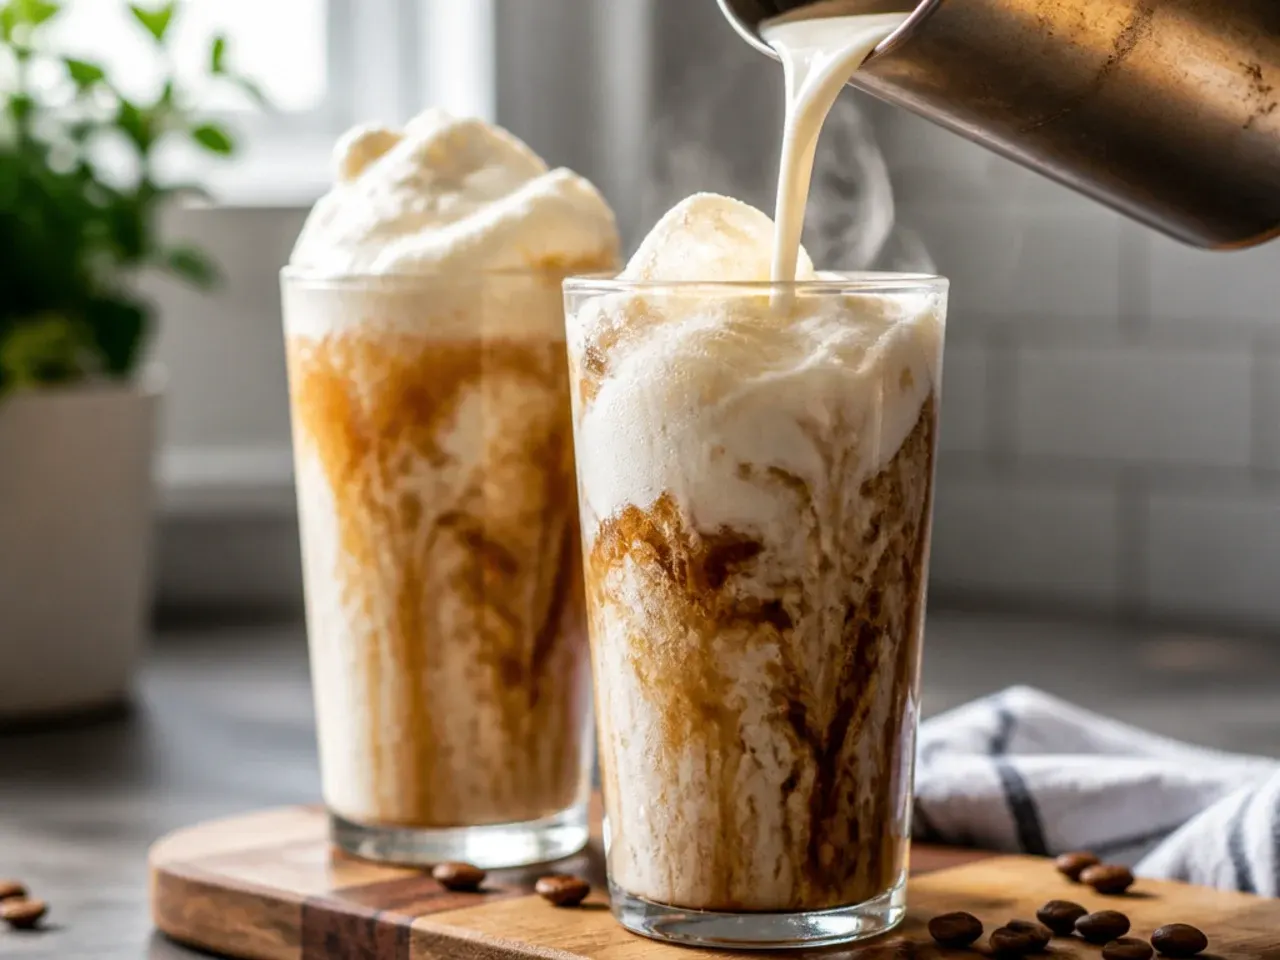
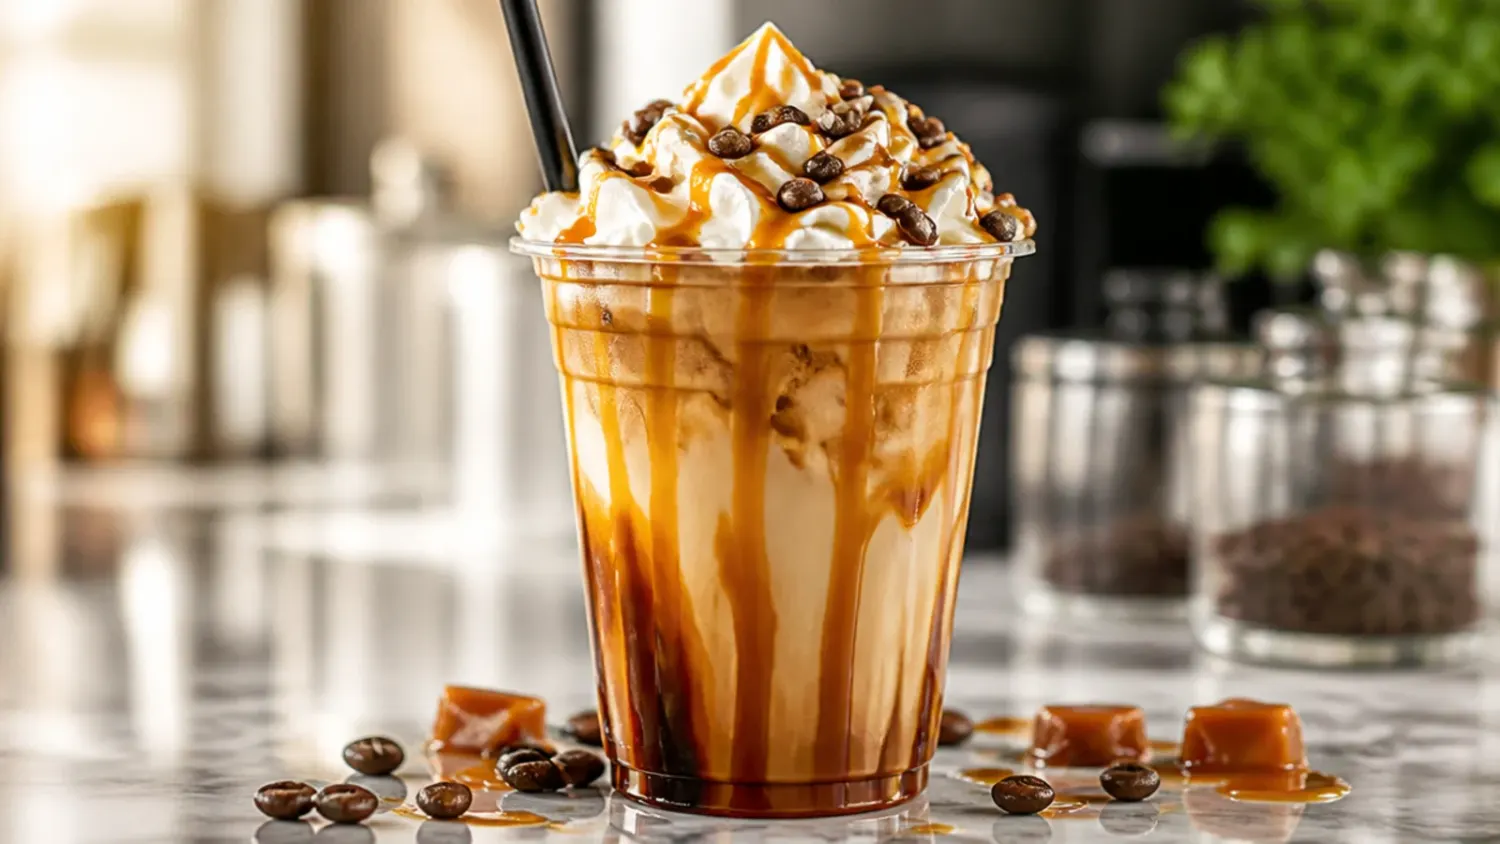
For a richer, dessert-style finish, slowly pour 15 ml (1 tbsp) half-and-half or coconut cream over the back of a spoon onto the Golden Pear and Tropic Thunder drinks so the cream sits as a pale layer on top rather than sinking straight in.
Step 11: Taste and rebalance each drink
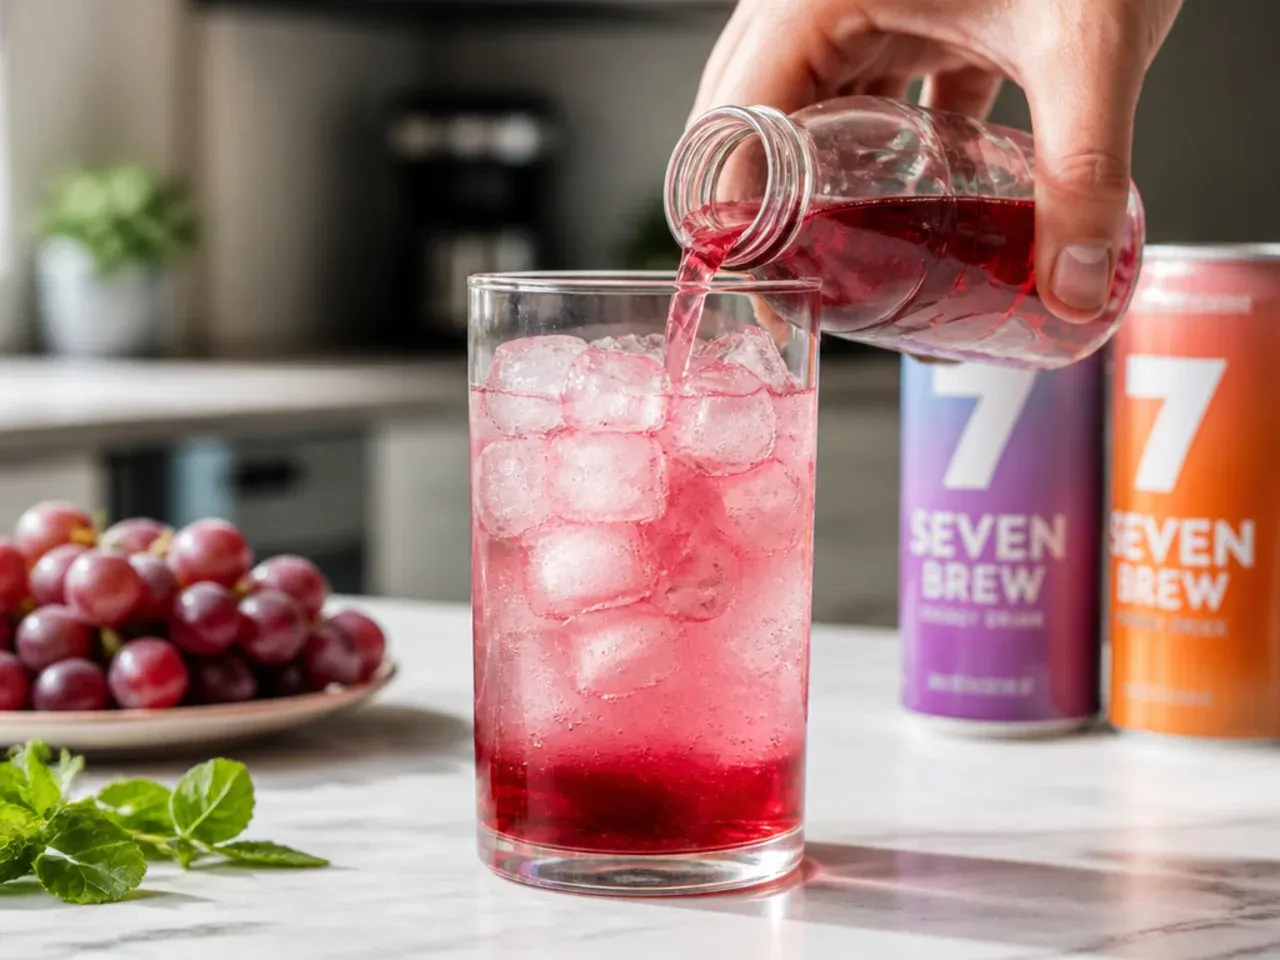
Dip a straw into each glass and taste; if a combination is too sharp, stir in an extra 5-10 ml (1-2 tsp) of the sweeter syrup in that mix, and if it tastes flat, add a squeeze of fresh lime juice to lift the fruit notes.
Step 12: Adjust carbonation if needed
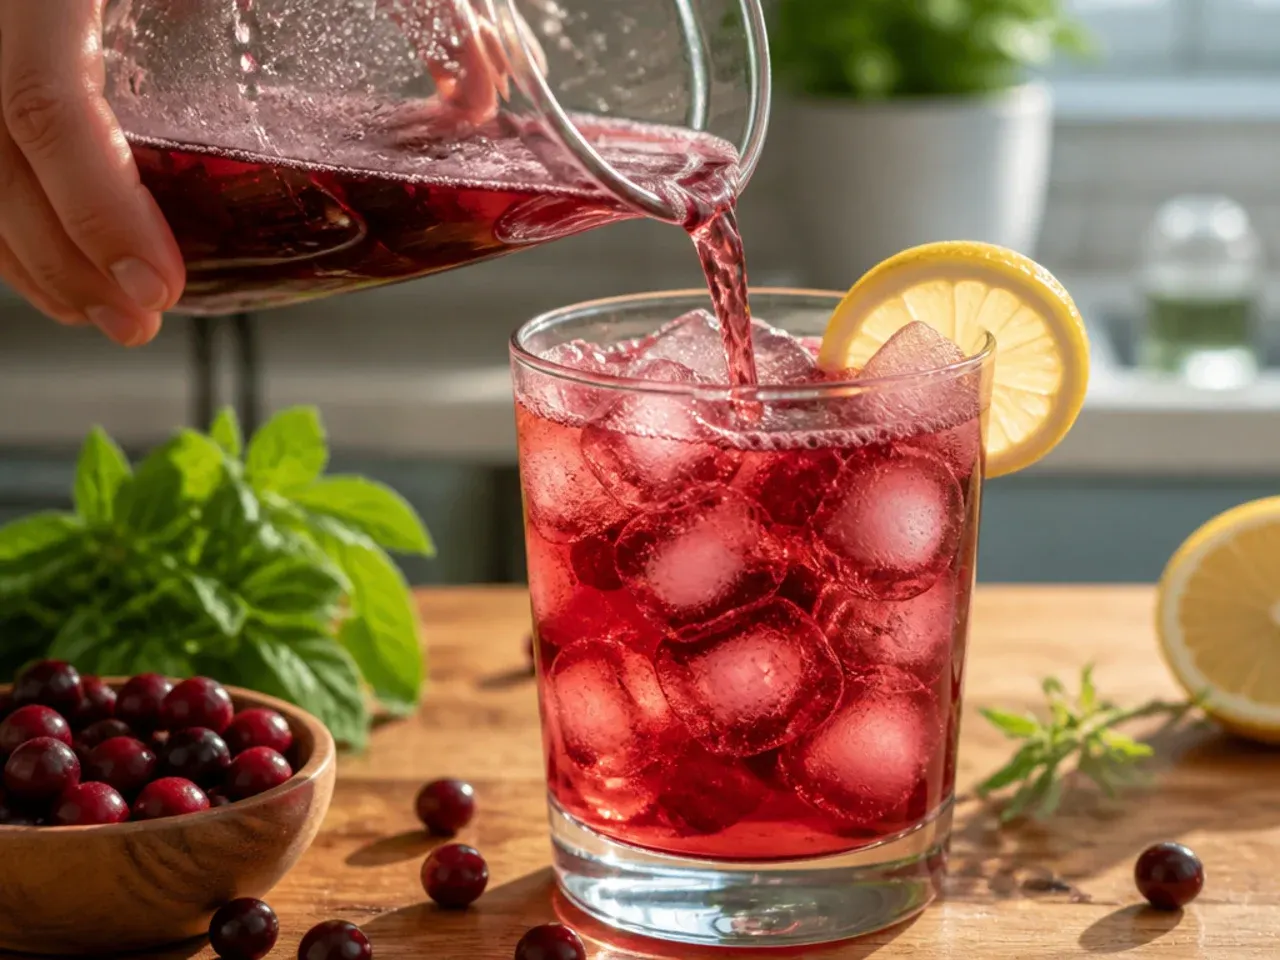
If any glass has gone a little flat from stirring, top it up with an extra 15-30 ml (1-2 tbsp) of chilled energy drink poured gently down the side of the glass rather than directly onto the ice, which helps preserve the remaining fizz.
Step 13: Garnish with fresh citrus
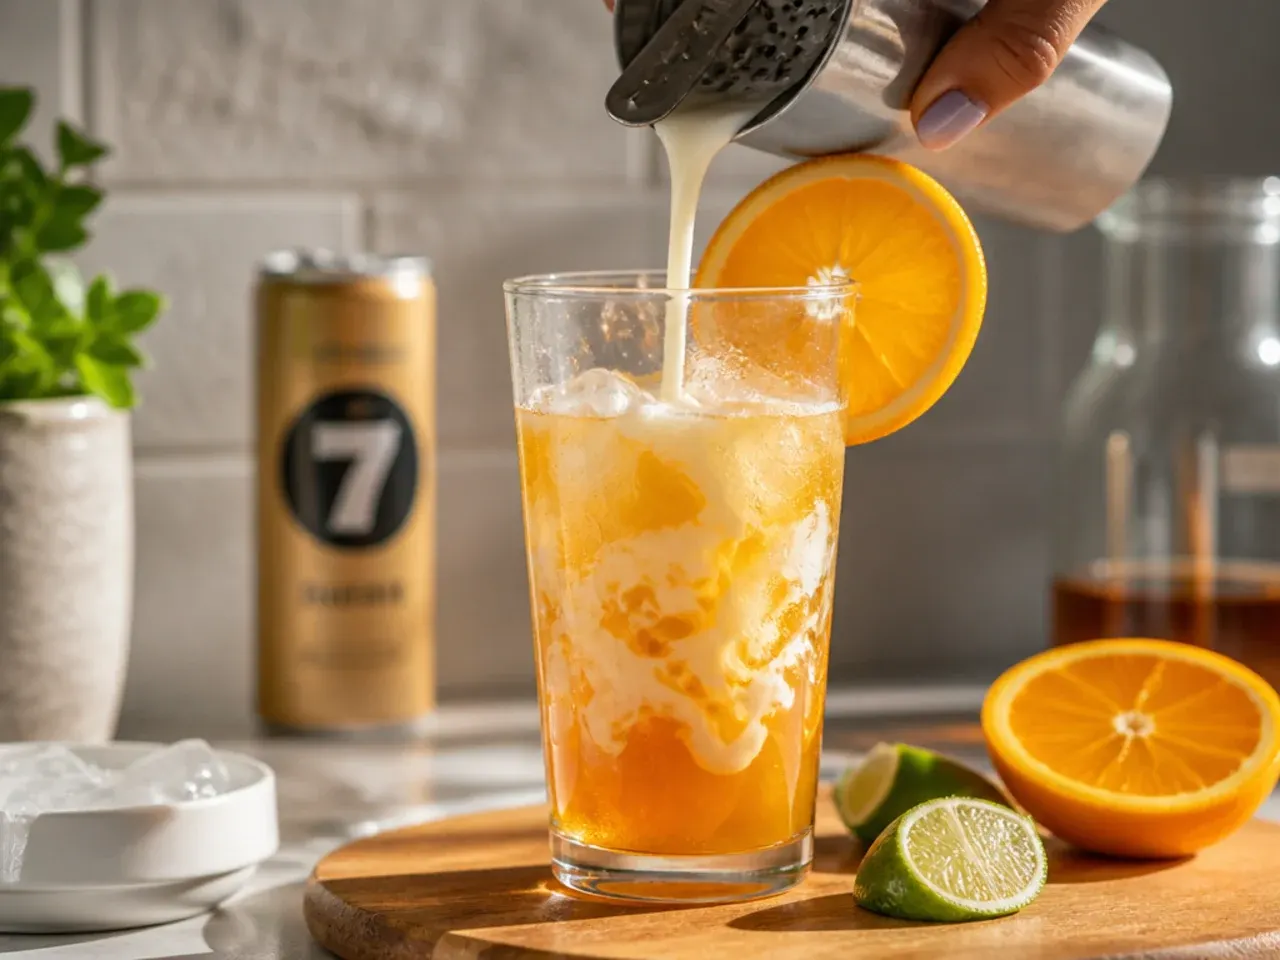
Add a fresh lime wedge to the rim or drop it into the Dragon's Blood and Ocean Breeze copycats, since the citrus oil released when you squeeze it adds a bright top note that balances the sweeter syrups.
Step 14: Finish with mint sprigs
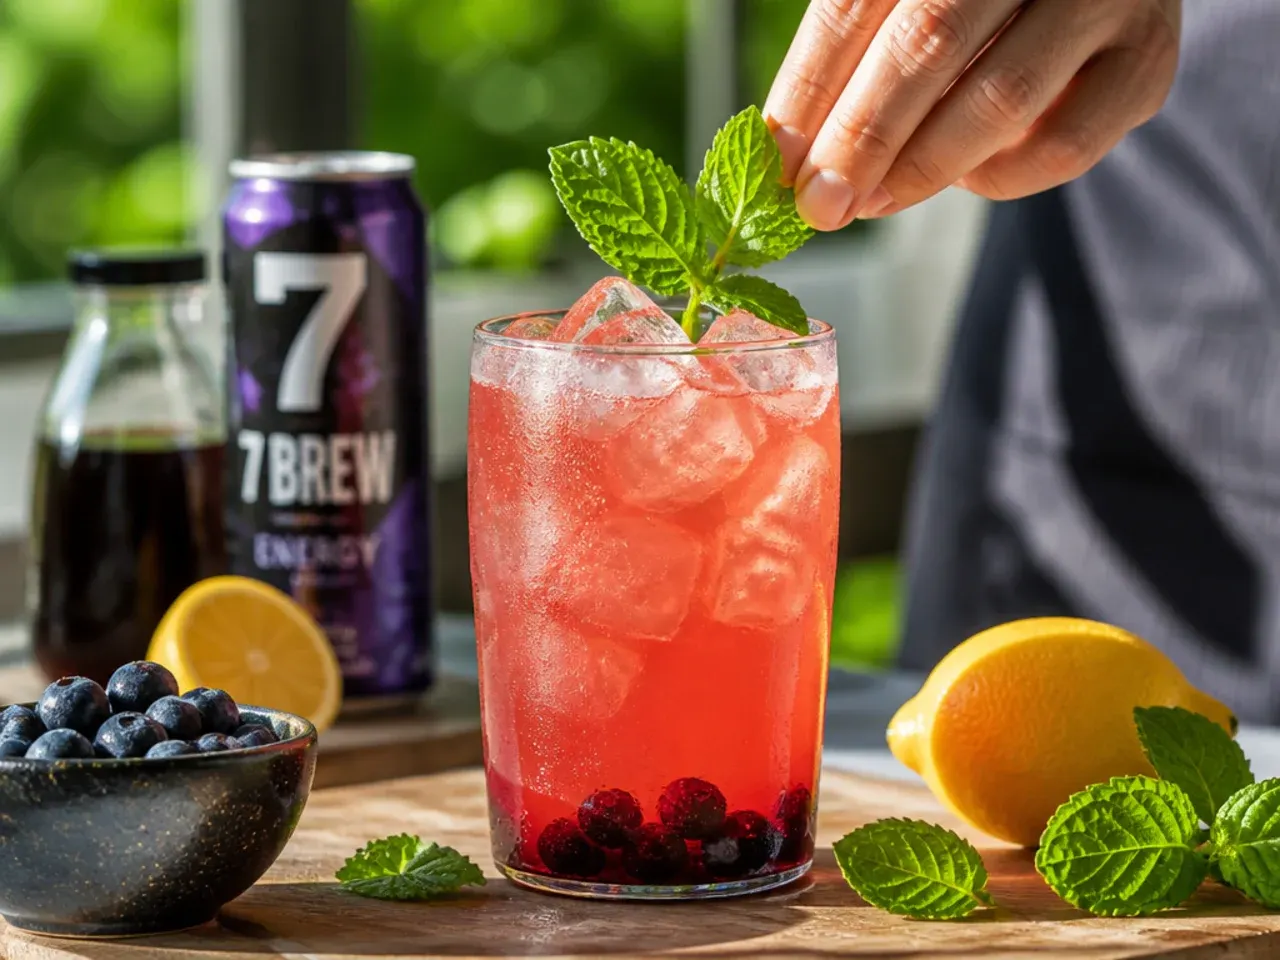
Tuck a fresh mint sprig into the Tropic Thunder and Golden Pear glasses just before serving, gently clapping the leaves between your palms first to release their aroma without bruising them into the drink.
Step 15: Serve immediately
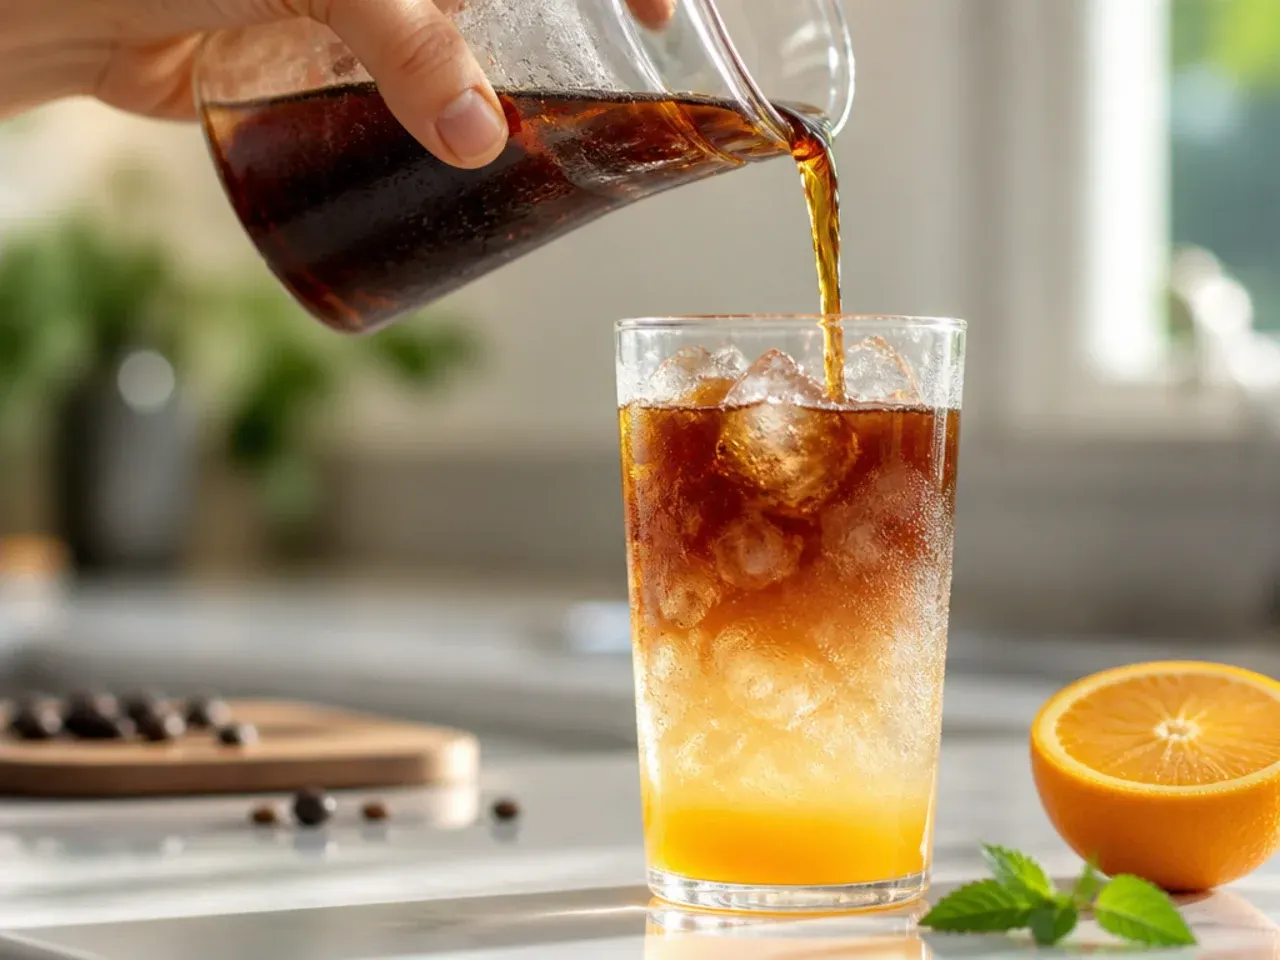
Serve all six copycat drinks straight away with a wide straw for stirring up the syrup that settles at the base, since the carbonation and vivid colour layering are both best within the first 5 minutes of building.
Pro Tips for the Perfect Drink
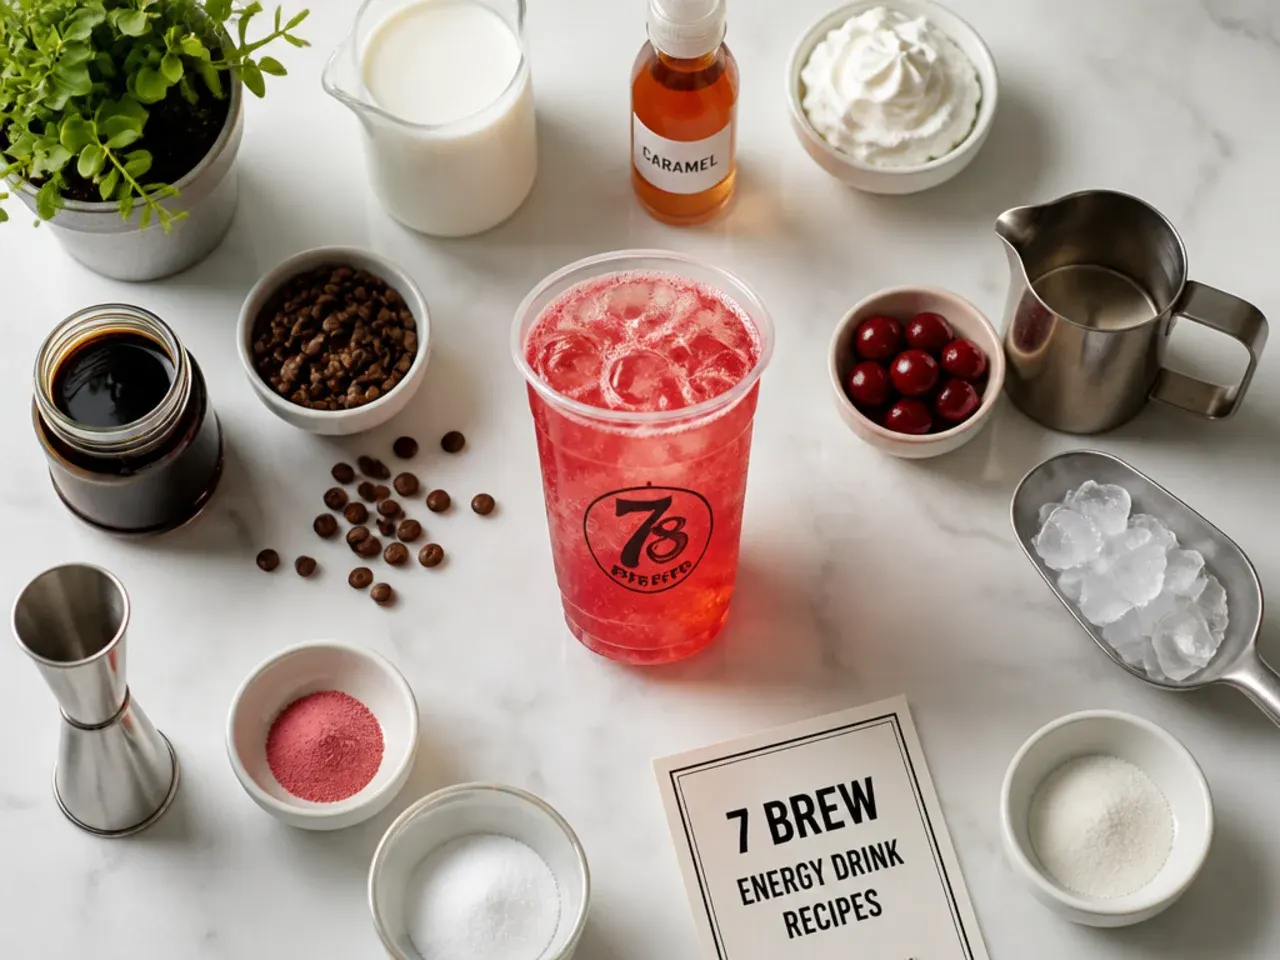
Always pour your syrups over the ice before the energy drink base; this stops them sinking to the bottom and keeps every sip evenly flavoured. Use a long bar spoon to stir gently rather than shaking, since vigorous shaking knocks the fizz out of a carbonated base. Taste as you build and add syrup in 15 ml (1 tbsp) increments rather than all at once, since brands vary in sweetness. A splash of fresh citrus juice cuts through very sweet combinations and makes the fruit flavours taste brighter.
Make It Ahead and Batch Tips
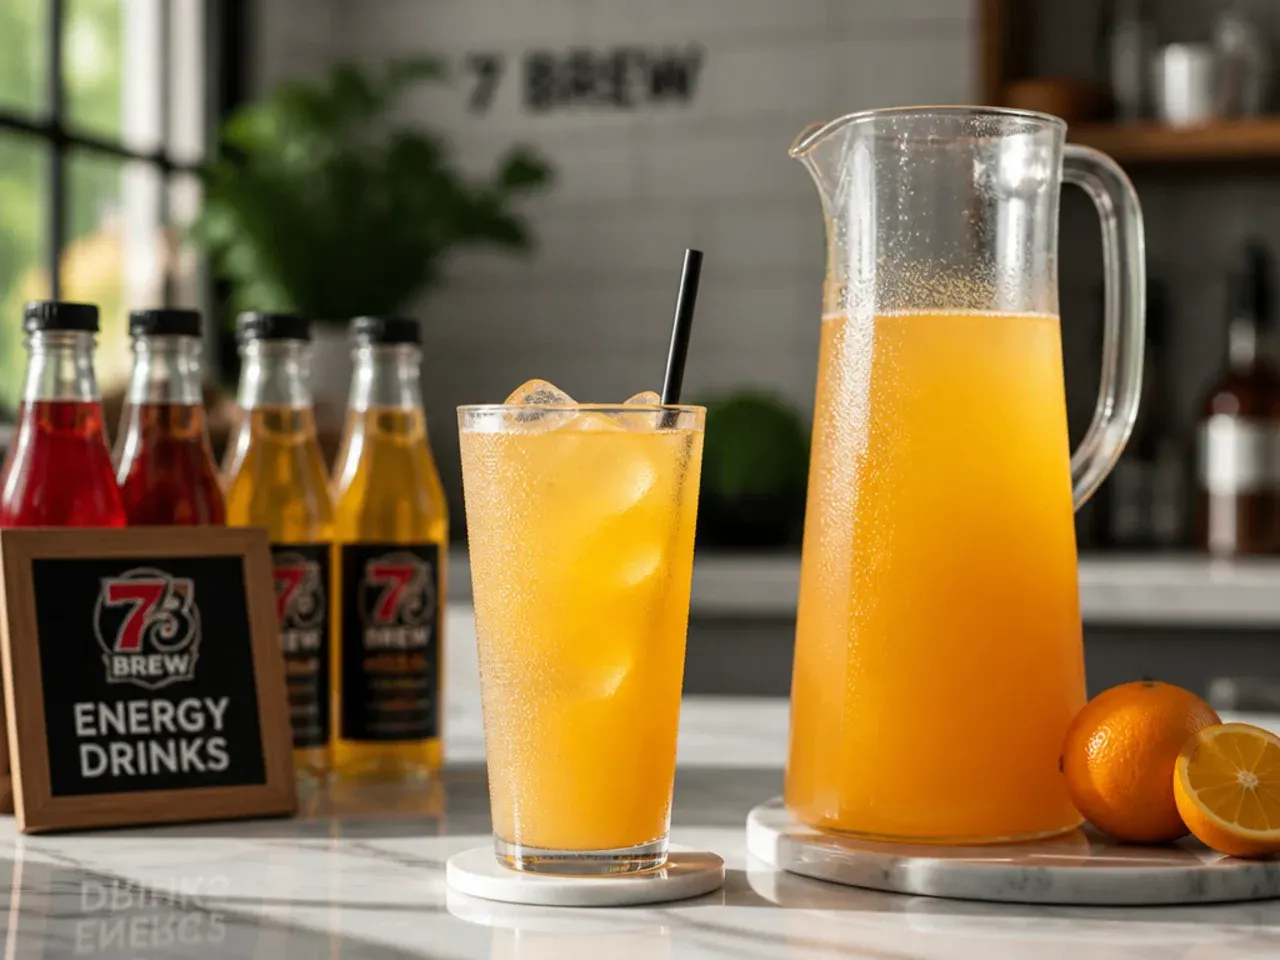
Pre-mix your syrup combinations in small squeeze bottles or jars so you can build a drink in under a minute whenever the craving hits. Homemade fruit syrups keep well in the fridge for up to 10 days in a sealed jar, so it is worth making a double batch on a Sunday. Do not pre-mix the energy drink base with syrup and store it, as the carbonation and vibrant colour both fade within a couple of hours. If you are serving a crowd, set out the base, syrups, ice and cream float in a line so guests can build their own copycat flavour to taste.
This 7 Brew energy drinks recipe shows you how to build 6 fruity, fizzy copycat flavours at home with real syrups, ice and your favourite energy drink base. For more 7 brew drinks inspiration, browse the full 7 Brew Drinks board — every idea there is written for real home kitchens, not professional bakers.
Frequently Asked Questions
You can prep the individual flavoured syrups up to 10 days ahead and keep them in sealed jars or squeeze bottles in the fridge, which makes building a drink take under a minute. However, do not mix the syrup with the energy drink base in advance, since the carbonation flattens and the bright colours dull within a couple of hours. For a party, set out pre-measured syrup shots, a bucket of ice and chilled cans so guests can build their own copycat on demand.

Related Recipes
Save this for later 📌
Pin this article to your Pinterest board so the full list is one tap away when you need it.
Save on Pinterest