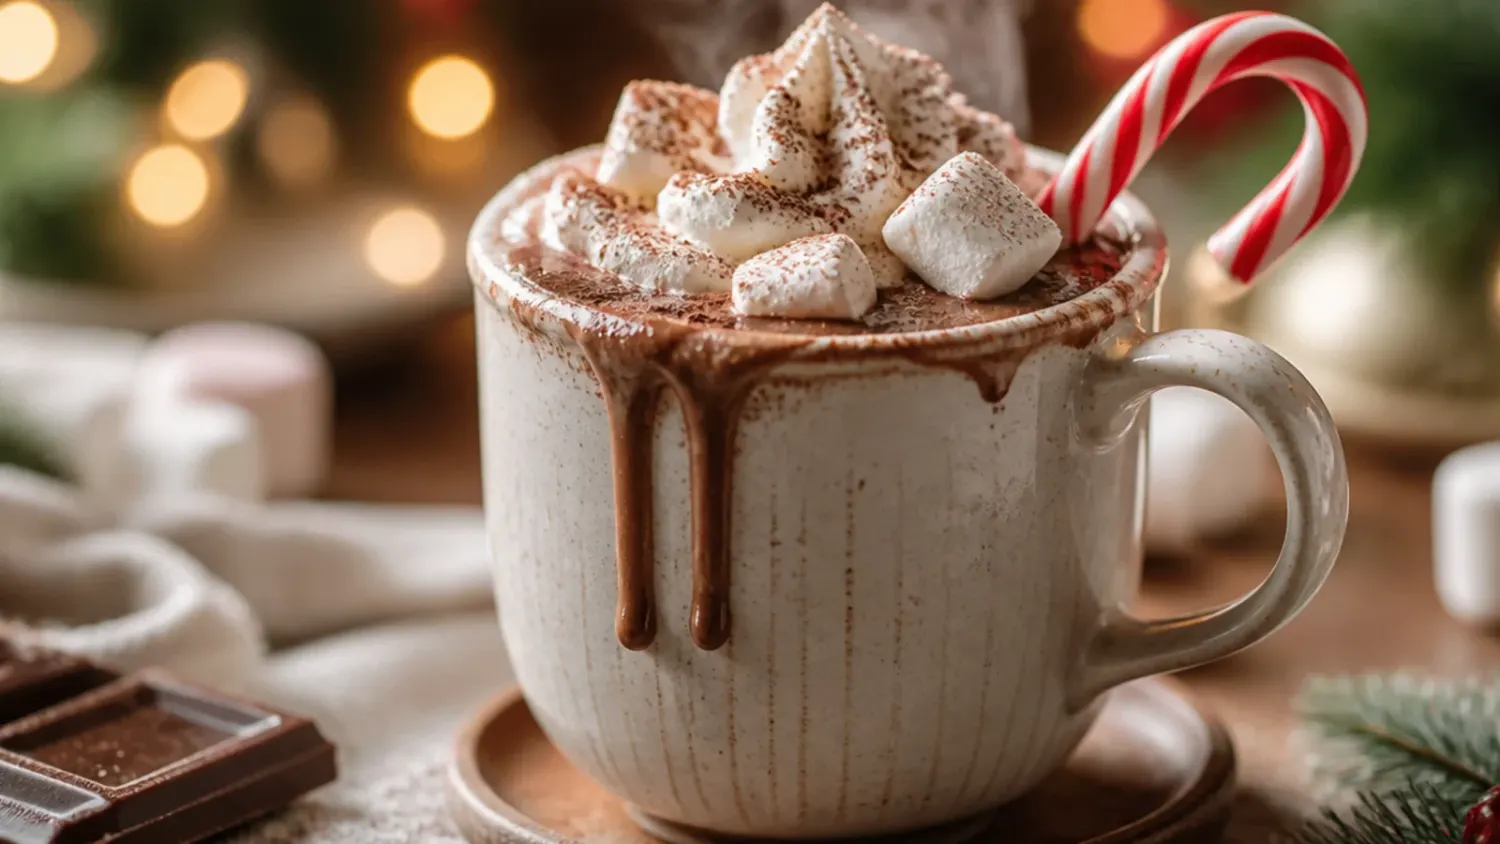
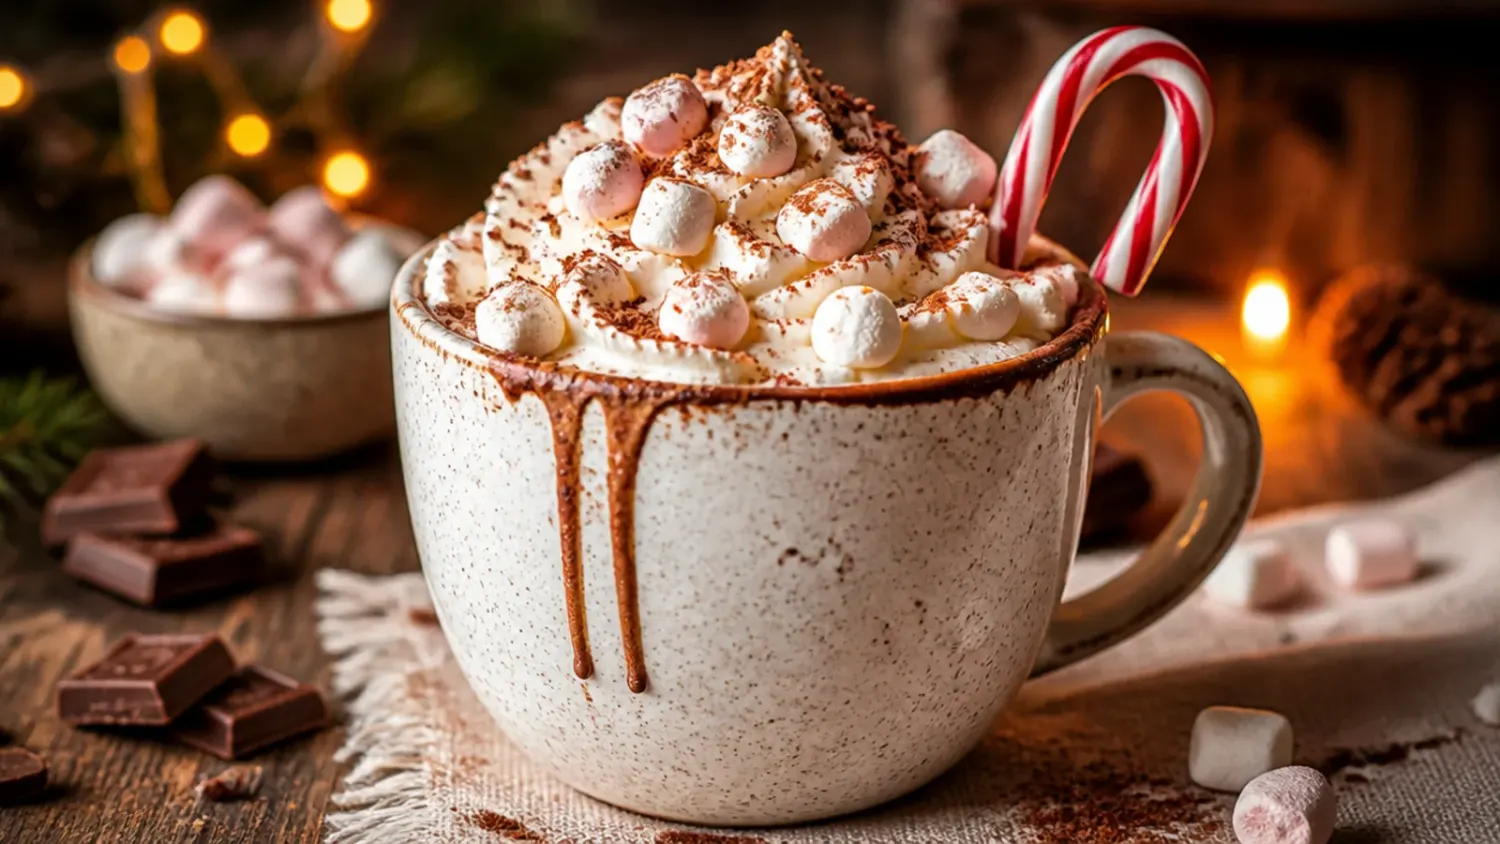
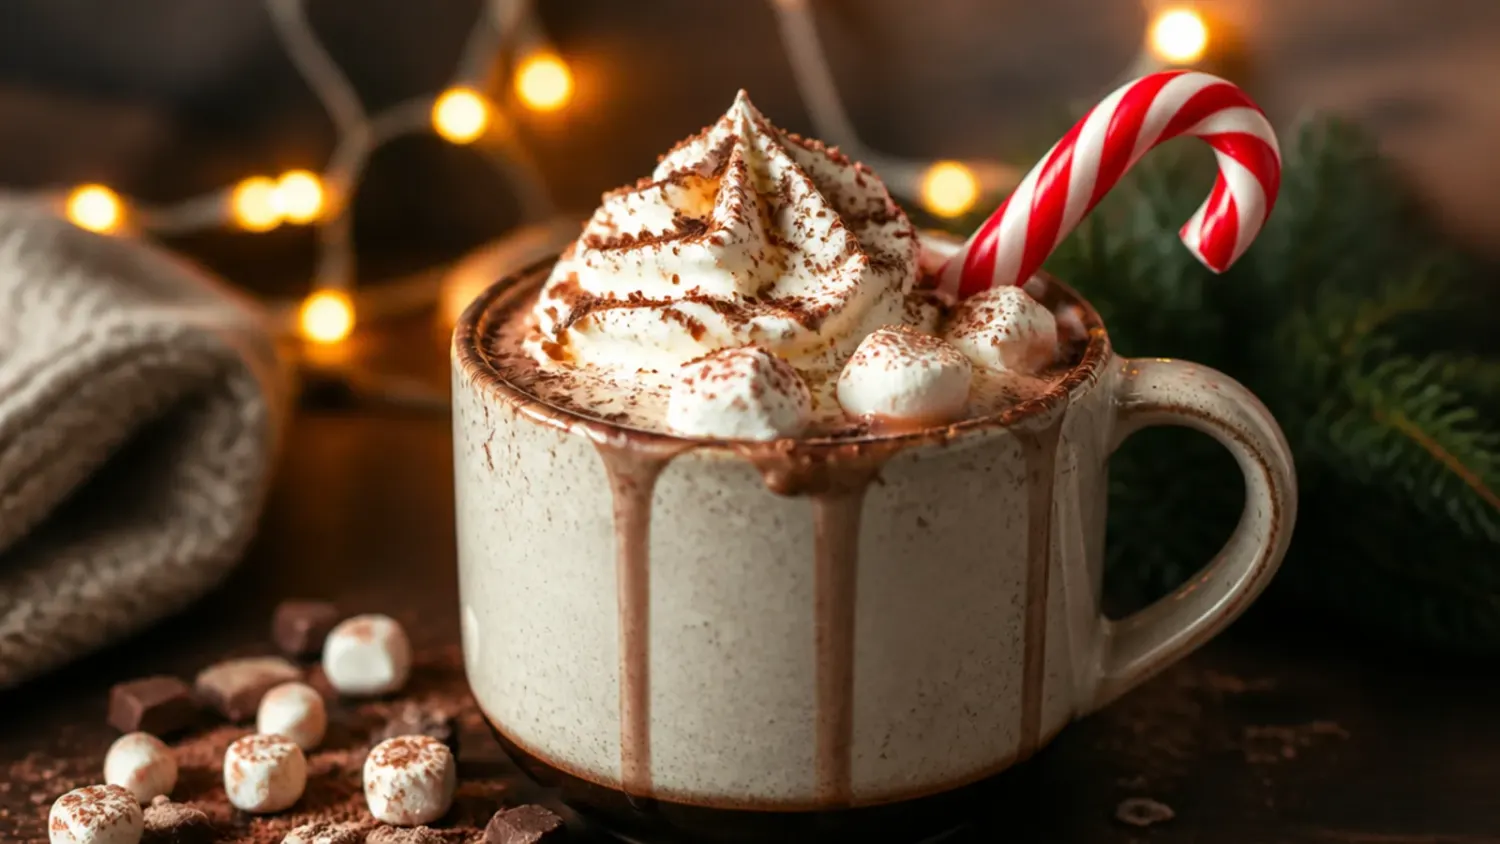
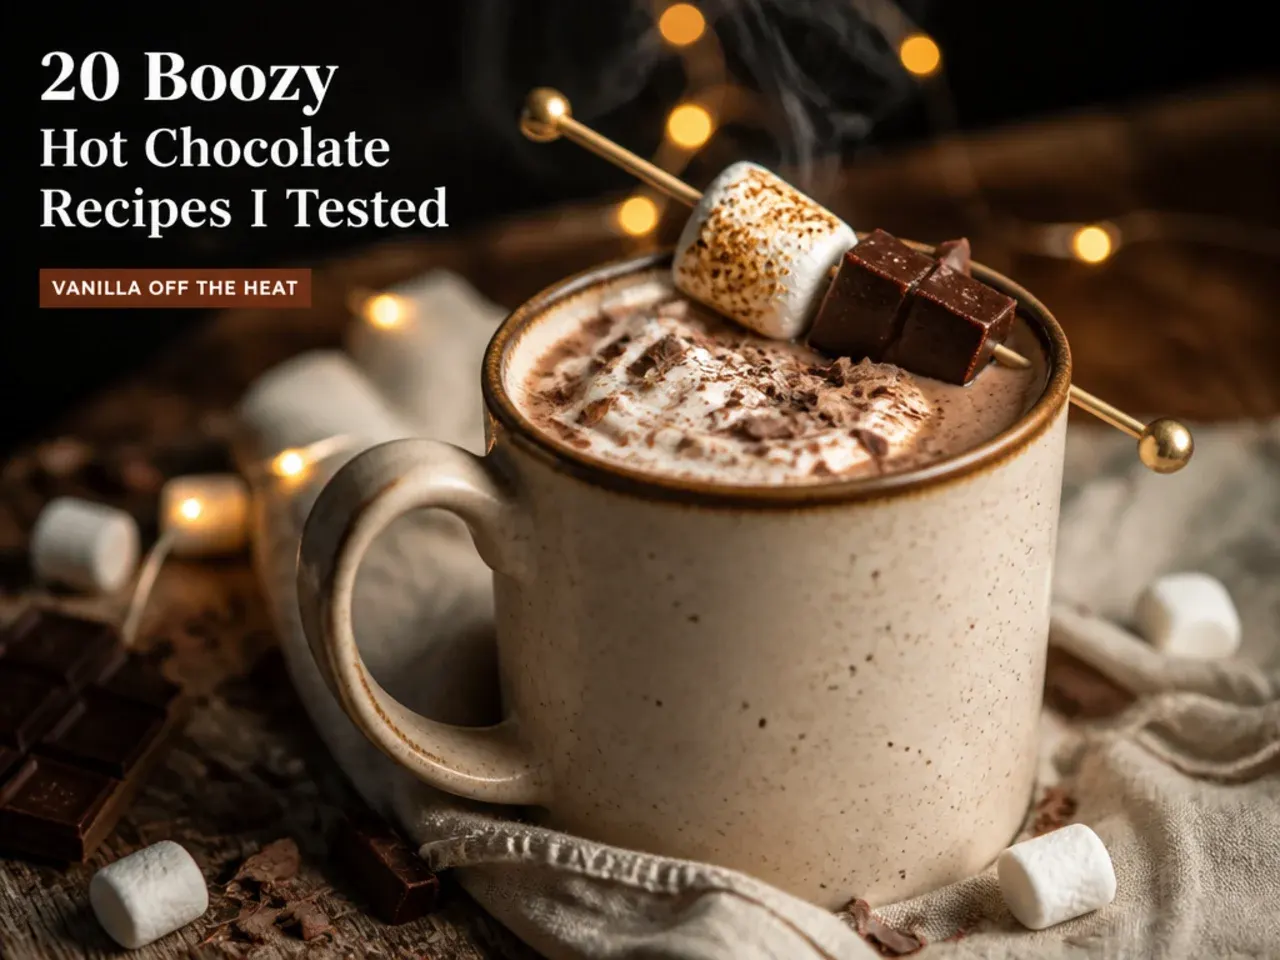
20 Boozy Hot Chocolate Recipes I Tested
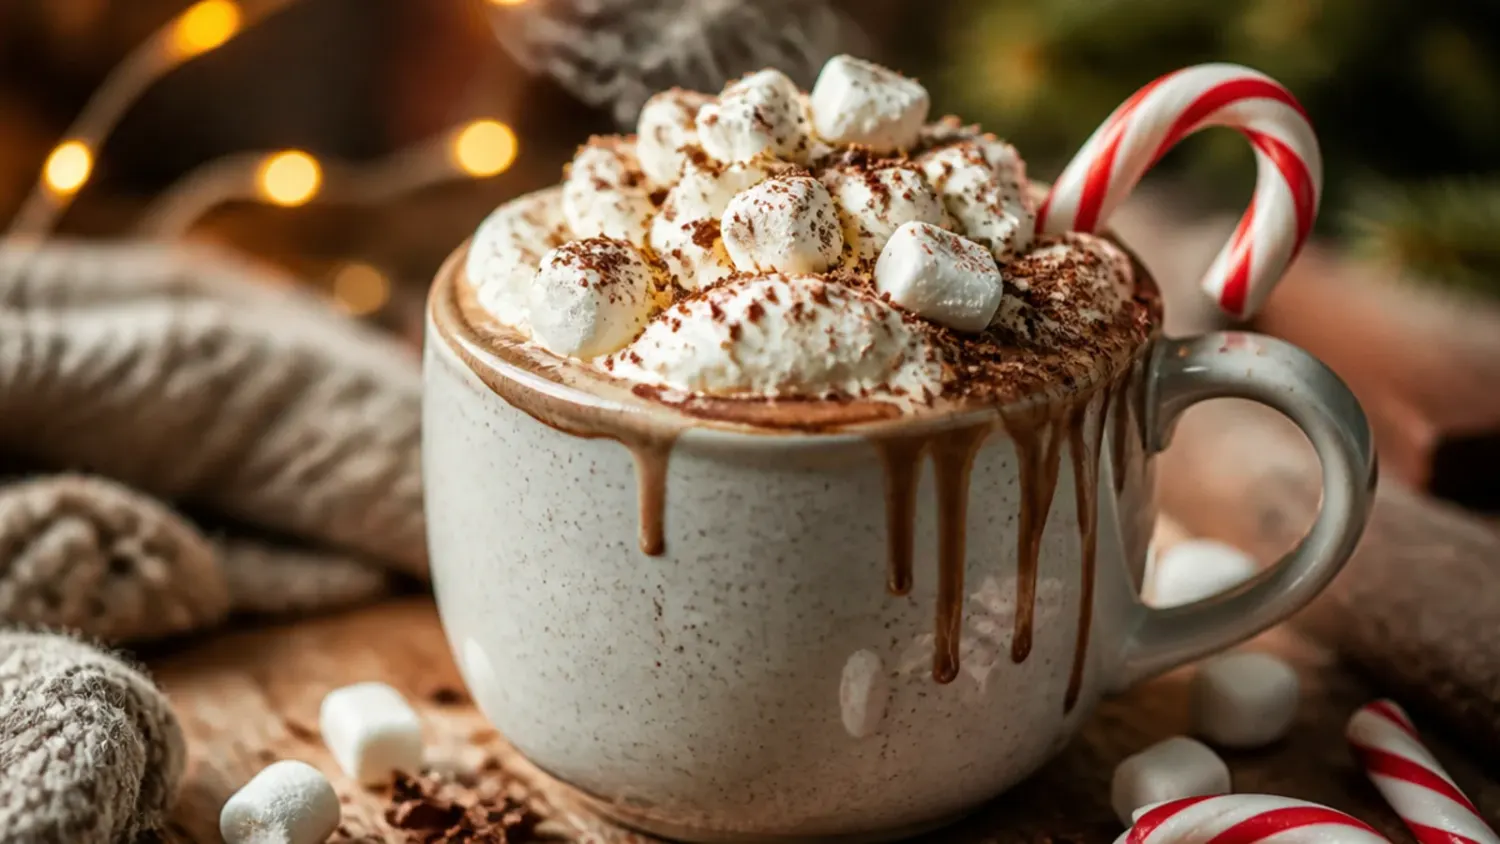
20 tested lessons for silky hot chocolate at home, plus an alcoholic hot chocolate recipes twist with Baileys or rum for adults 21+. If you love hot chocolate recipes inspiration, start with our Hot Chocolate Recipes collection, then browse the full Hot Drinks & Cocoa hub for more.

Save this for later 📌
Pin this article to your Pinterest board so the full list is one tap away when you need it.
Save on PinterestHot Drinks & Cocoa
Beginner
Kitchen Journal
6 steps
Table of Contents
- Lesson 1: Low, Slow Heat Saves the Milk
- Lesson 2: Make a Cocoa Paste First
- Lesson 3: Real Chocolate Beats Cocoa Powder Alone
- Lesson 4: Taste Before You Add More Sugar
- Lesson 5: Never Let It Boil
- Lesson 6: Whisk Constantly, Not Occasionally
- Lesson 7: Don't Skip the Pinch of Salt
- Lesson 8: Add Vanilla Off the Heat
- Lesson 9: Oat Milk Behaves Best of the Dairy-Free Options
- Lesson 10: Warm the Mugs First
- Lesson 11: Add Marshmallows at the Table, Not the Pan
- Lesson 12: Whip Cream to Soft Peaks, Not Stiff
- Lesson 13: Keep a Big Batch Warm in a Slow Cooker
- Lesson 14: Make It Boozy (21+) the Right Way
- Lesson 15: Infuse Spices in the Milk, Don't Just Sprinkle
- Lesson 16: Make a Dry Mix Ahead for Busy Mornings
- Lesson 17: You Don't Need a Milk Frother
- Lesson 18: Go Easy on Mint and Orange Extracts
- Lesson 19: Serve It Hot, Not Scalding
- Lesson 20: Presentation Takes Ten Extra Seconds
- What I'd Tell a Friend Trying This
- The Recipe I Used
Lesson 1: Low, Slow Heat Saves the Milk
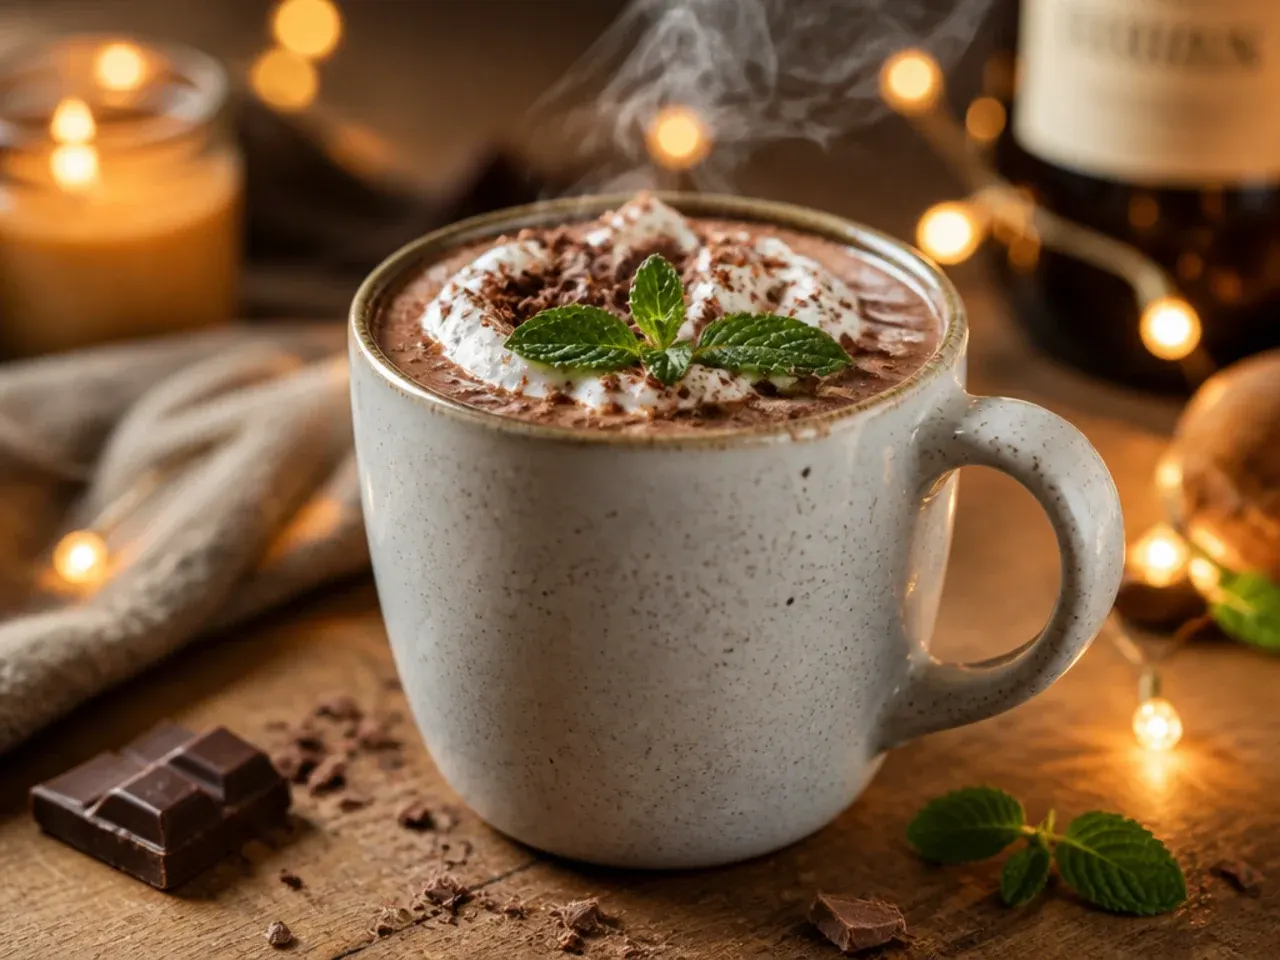
The first time I made this, I cranked the hob to medium-high because I was impatient, and the milk caught on the bottom of the pan and gave the whole batch a faint burnt taste. Now I keep the heat low-medium, around a gentle simmer, and I stay at the stove the whole time rather than wandering off. It takes closer to 8 minutes to warm 700ml of milk this way instead of 4, but every mug tastes clean and sweet instead of scorched. If you ever see brown flecks on the bottom of the pan, that batch is done for and you're better off starting again.
Lesson 2: Make a Cocoa Paste First
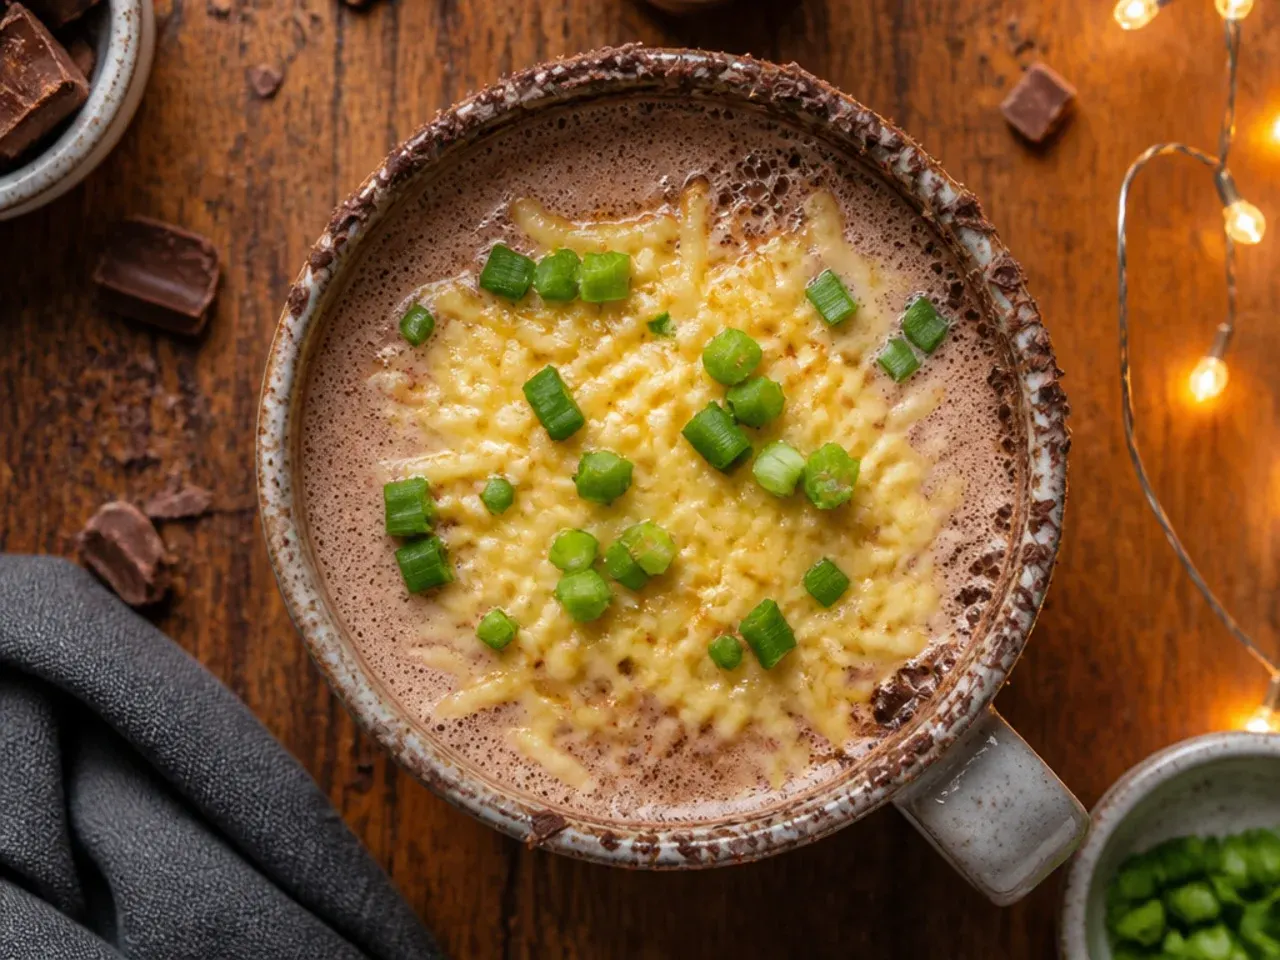
I used to tip cocoa powder straight into hot milk and end up chasing little dry lumps around the pan with a whisk for ages. Now I mix the cocoa and sugar with two to three tablespoons of cold milk first, stirring it into a smooth, thick paste before it ever meets the heat. That paste blends into the warm milk in seconds with no lumps at all. It's a thirty-second step that saves five minutes of frustrated whisking later.
Lesson 3: Real Chocolate Beats Cocoa Powder Alone
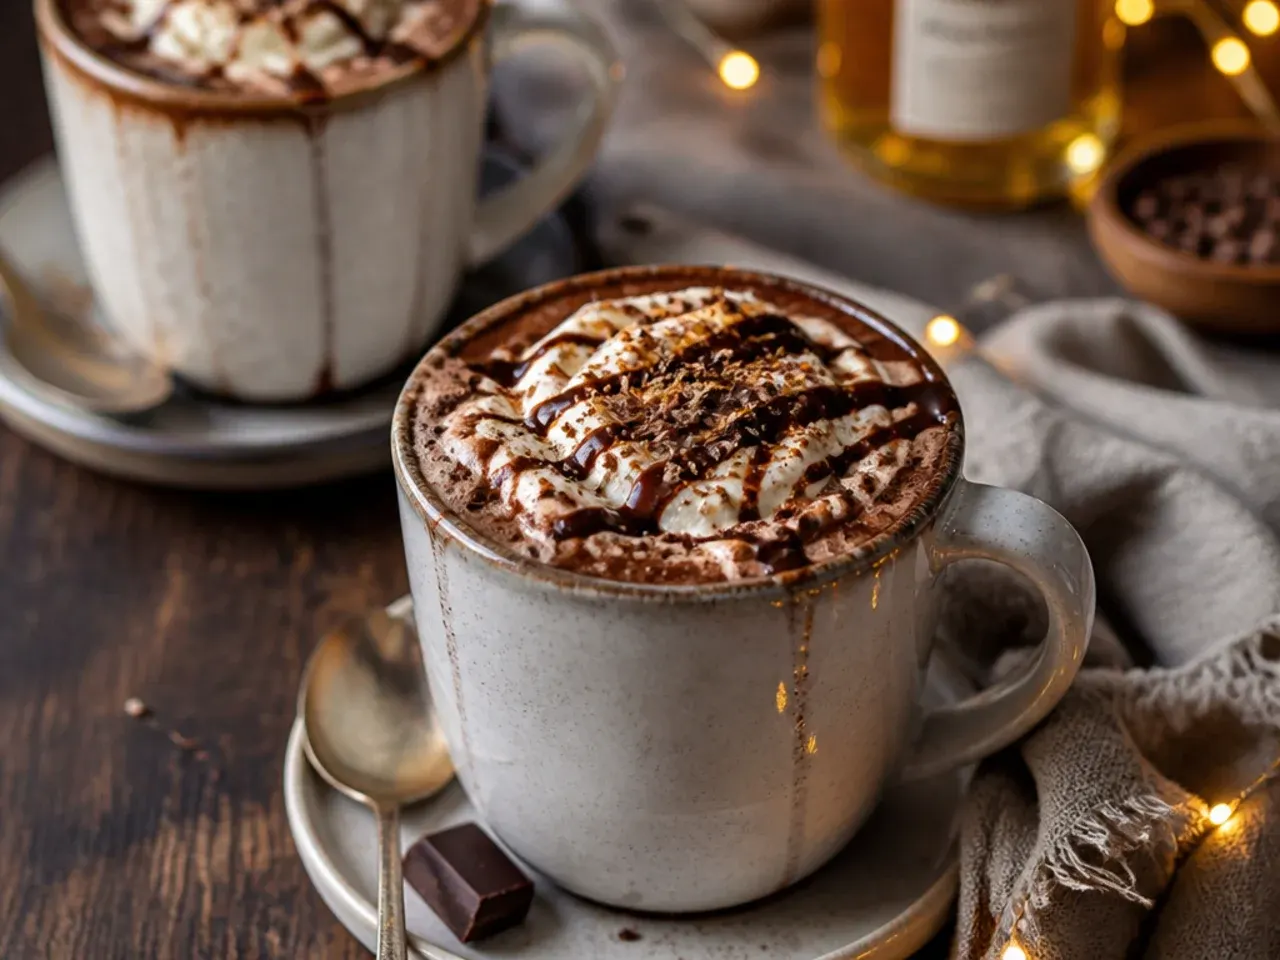
My early batches used only cocoa powder and tasted thin and a bit chalky, even with extra sugar. Once I started melting 100g of chopped dark chocolate, around 60-70% cocoa, into the milk alongside the cocoa powder, the drink turned properly rich and glossy. The cocoa butter in real chocolate is what gives hot chocolate that silky, slightly thick body you get from a good cafe. I now think of cocoa powder as the flavour base and melted chocolate as the texture.
Lesson 4: Taste Before You Add More Sugar
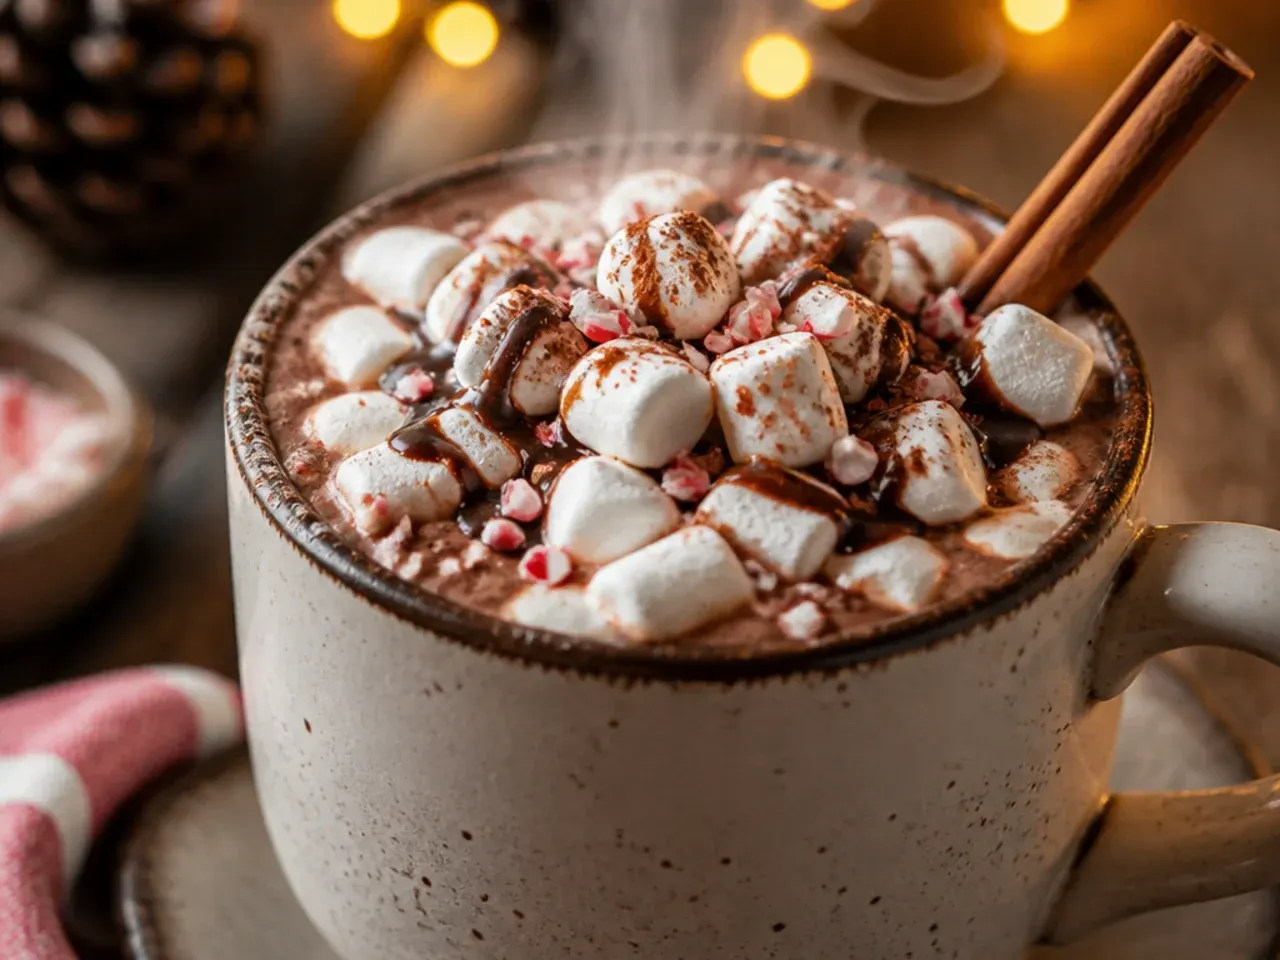
I once followed a recipe that called for 60g of sugar and it came out sickly sweet once I'd also added sweetened chocolate. Now I start with about 40g of caster sugar, taste the mixture once the chocolate has melted in, and only add more a teaspoon at a time. Unsweetened cocoa powder and dark chocolate need a decent amount of sugar to balance the bitterness, but how much depends on the chocolate you're using. Tasting as I go has stopped more than one mug going straight down the sink.
Lesson 5: Never Let It Boil
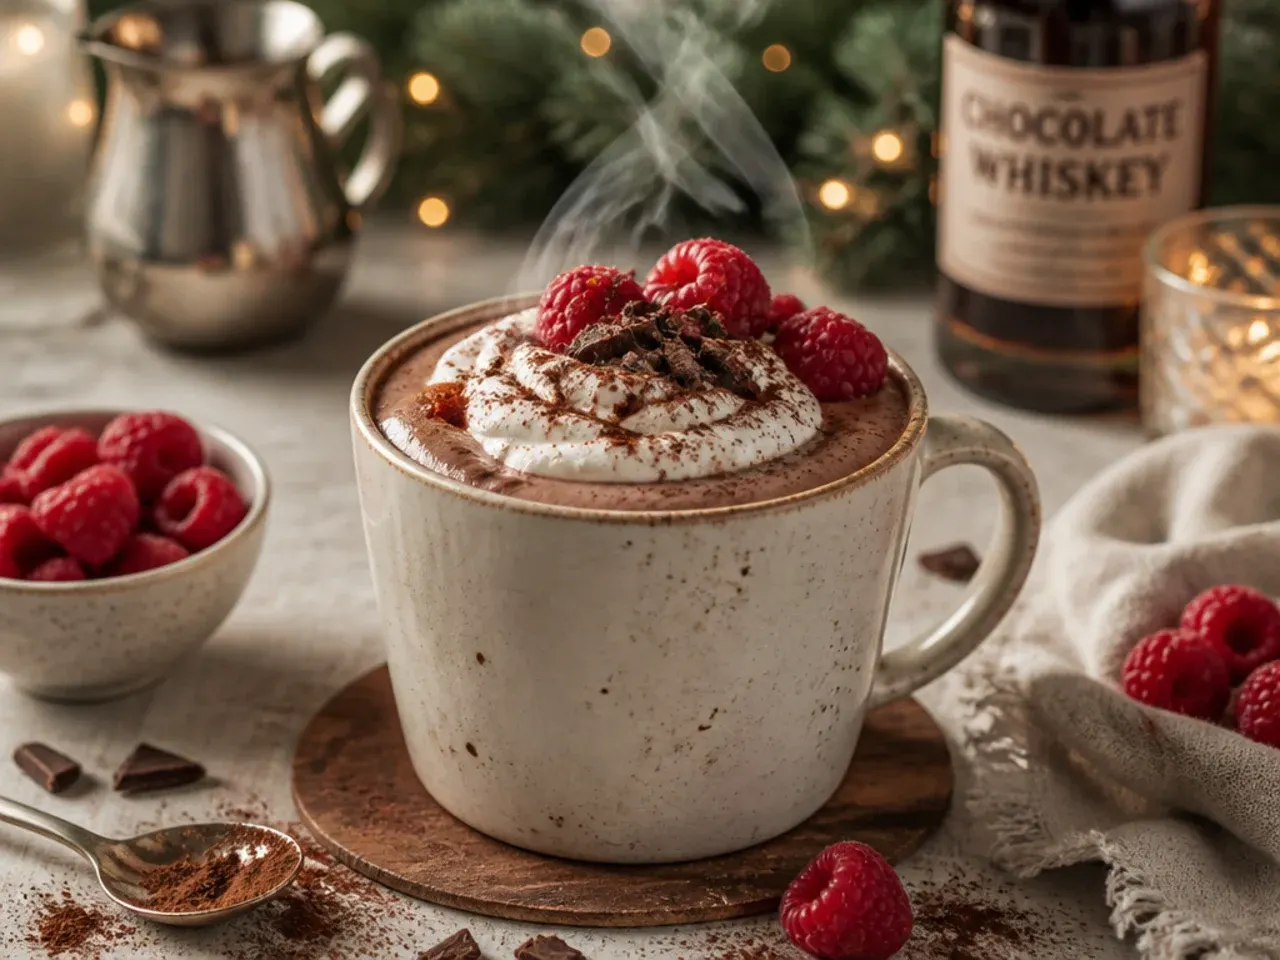
I let a pan come to a full boil once while I answered the door, and the milk split slightly and left a skin and a faintly grainy texture. Hot chocolate only needs to reach a gentle simmer, small bubbles just starting at the edge of the pan, not a rolling boil. If you see steam and the surface trembling all over, that's your cue to turn the heat down or take it off completely. A split, ruined batch can't really be rescued, so it's worth watching closely for those last couple of minutes.
Lesson 6: Whisk Constantly, Not Occasionally
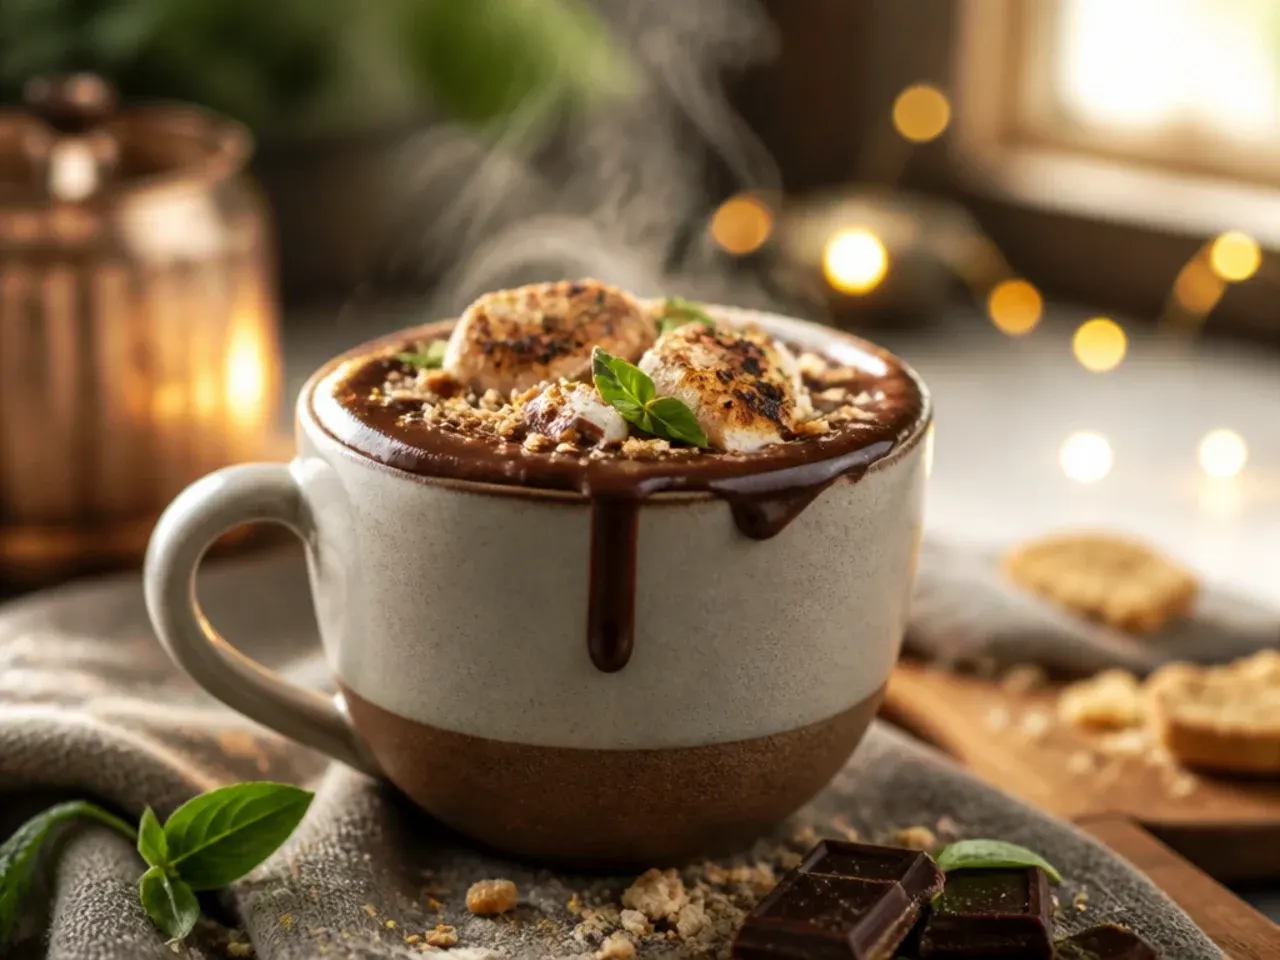
Stirring every minute or so wasn't enough for me; a thin skin still formed on top and stuck to my spoon. Switching to a small balloon whisk and moving it through the milk almost the whole time it's on the heat stopped the skin forming and kept everything smooth. It also helps dissolve the cocoa and chocolate faster, so the whole process is actually quicker despite the extra effort. My arm gets a bit of a workout, but the payoff is a properly silky mug every time.
Lesson 7: Don't Skip the Pinch of Salt
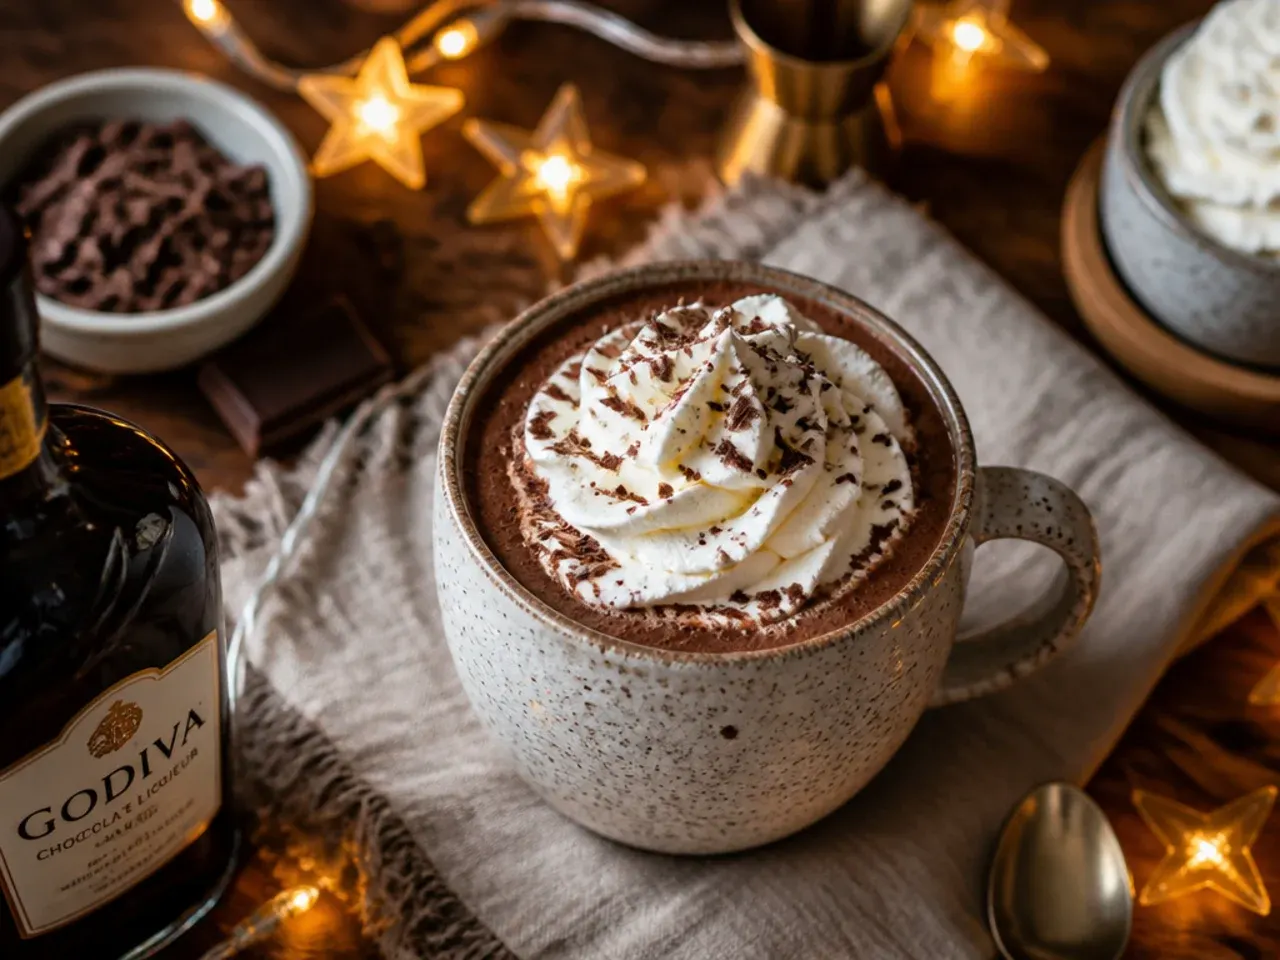
I left the salt out one evening thinking it wouldn't matter for a sweet drink, and the batch tasted noticeably flatter than usual, almost one-dimensional. A small pinch, about a quarter teaspoon for a full pan, doesn't make the drink taste salty at all; it just makes the chocolate flavour taste rounder and more intense. It's the same trick used in chocolate desserts, and it works exactly the same way here. Now it goes in with the cocoa and sugar every single time, no exceptions.
Lesson 8: Add Vanilla Off the Heat
Early on I stirred vanilla extract in while the milk was still simmering, and most of that lovely aroma cooked off before it ever reached the mug. Now I take the pan off the heat first, then whisk in a teaspoon of vanilla extract right at the end. The warmth is still enough to bloom the flavour without boiling it away. It's a small change, but it's the difference between a hot chocolate that smells faintly of vanilla and one that doesn't.
Lesson 9: Oat Milk Behaves Best of the Dairy-Free Options
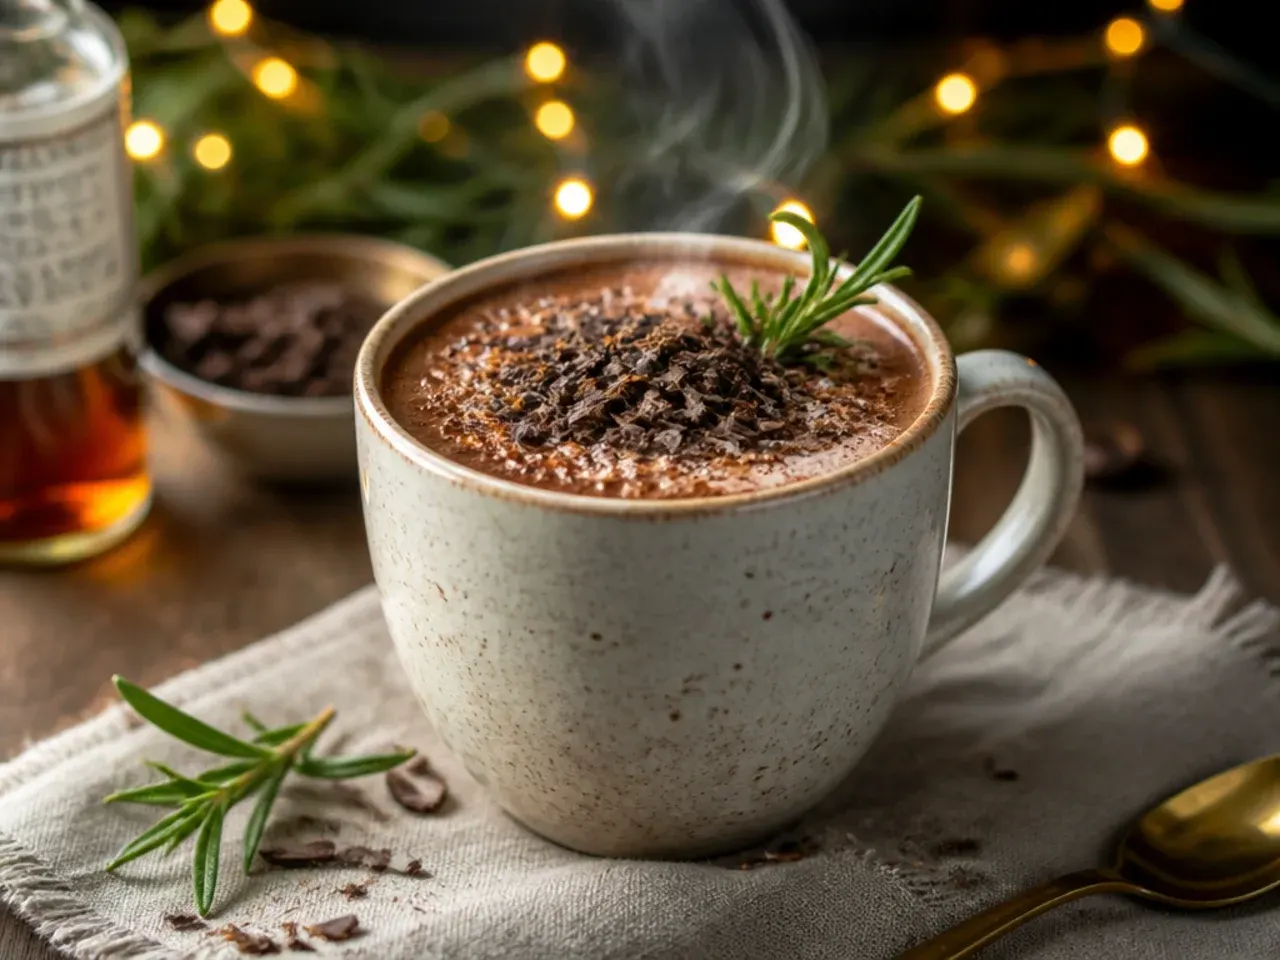
I tried this with almond milk for a dairy-free friend and it split slightly when it hit a simmer, leaving thin flecks floating in the cup. Oat milk, especially a barista-style one, holds up much better under heat and froths in a way that's close to whole milk. Coconut milk works too but brings its own strong flavour, which isn't always what you want with chocolate. If you're catering to a mixed group now, oat milk is my go-to swap rather than almond.
Lesson 10: Warm the Mugs First
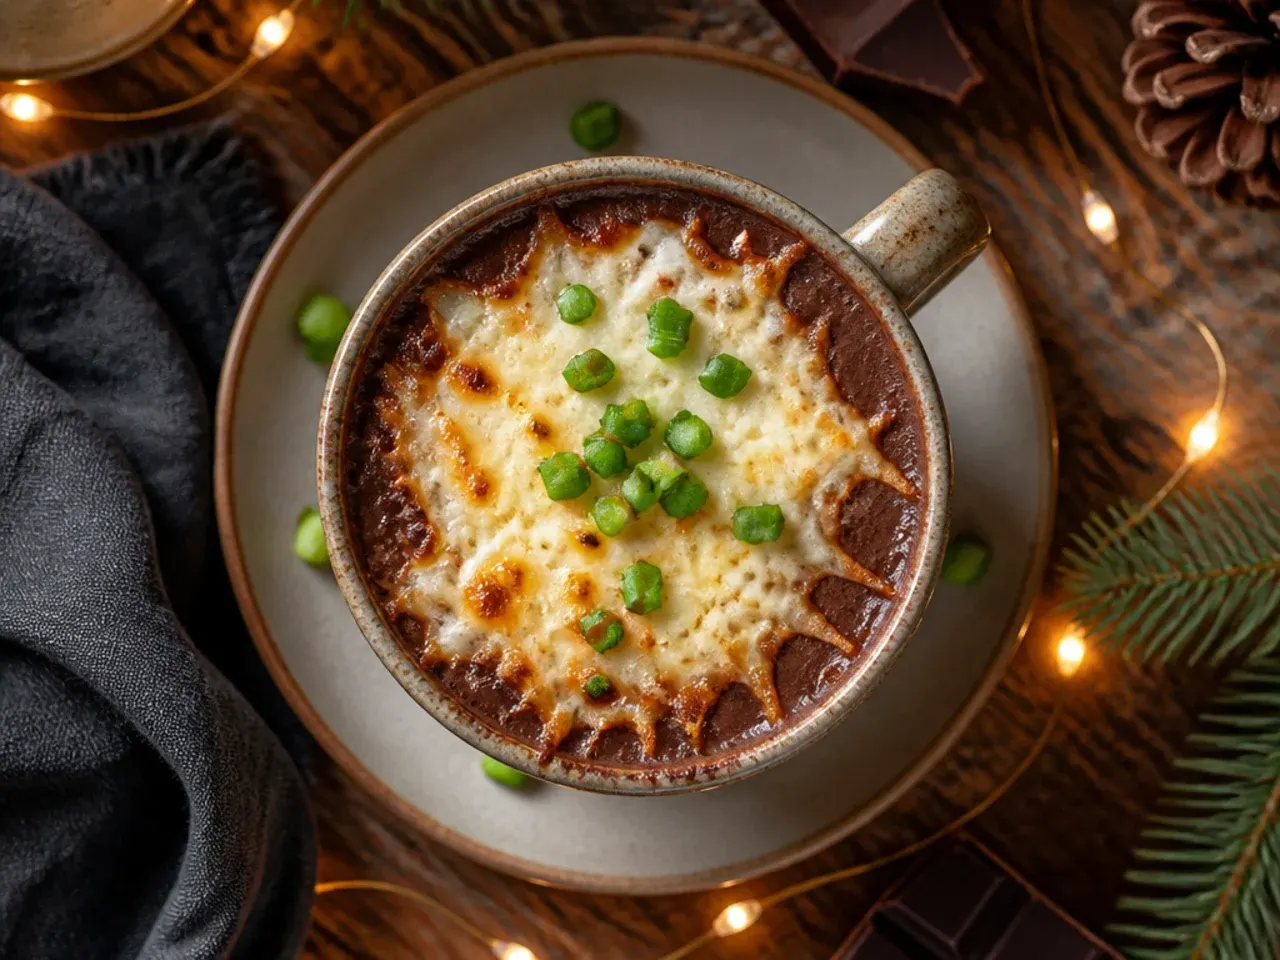
I used to pour hot chocolate straight into mugs pulled cold from the cupboard, and I'd watch the drink lose noticeable heat in the first couple of minutes. Now I fill the mugs with just-boiled water for a minute while I finish the drink, then tip it out and dry them before pouring. It sounds fussy, but it keeps the hot chocolate properly hot for twice as long at the table. It costs nothing but a minute of waiting.
Lesson 11: Add Marshmallows at the Table, Not the Pan
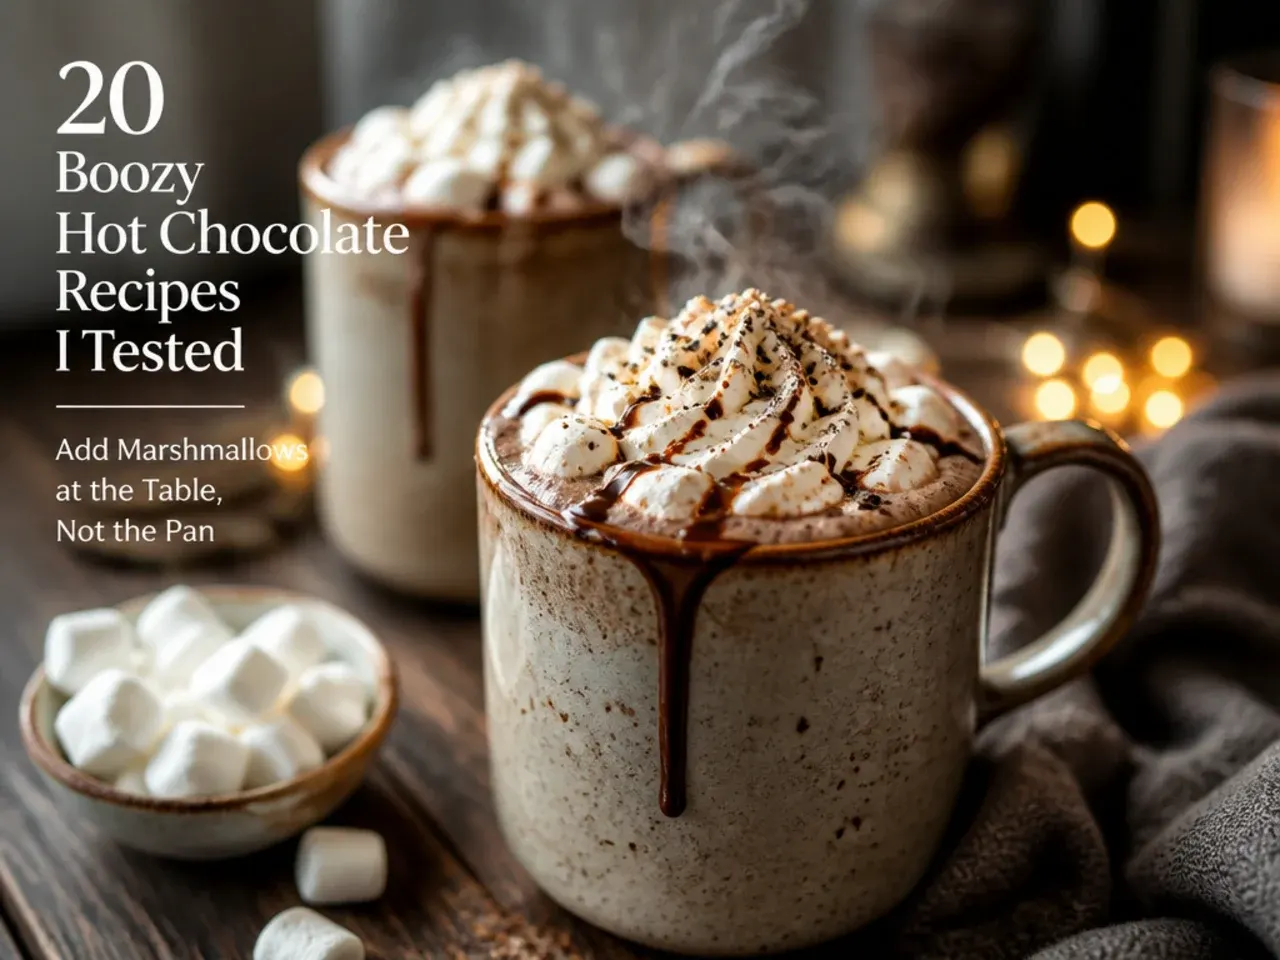
I once dropped mini marshmallows into the pan to save a step, and by the time it reached the mugs they'd half-dissolved into a sticky, stretchy mess on the spoon. Marshmallows only go on top of the finished, poured drink now, added at the table just before serving. That way they stay soft and pillowy on top instead of turning into sugar syrup. If you like them properly melted and gooey, a few seconds under a kitchen blowtorch does that far better than the pan ever could.
Lesson 12: Whip Cream to Soft Peaks, Not Stiff
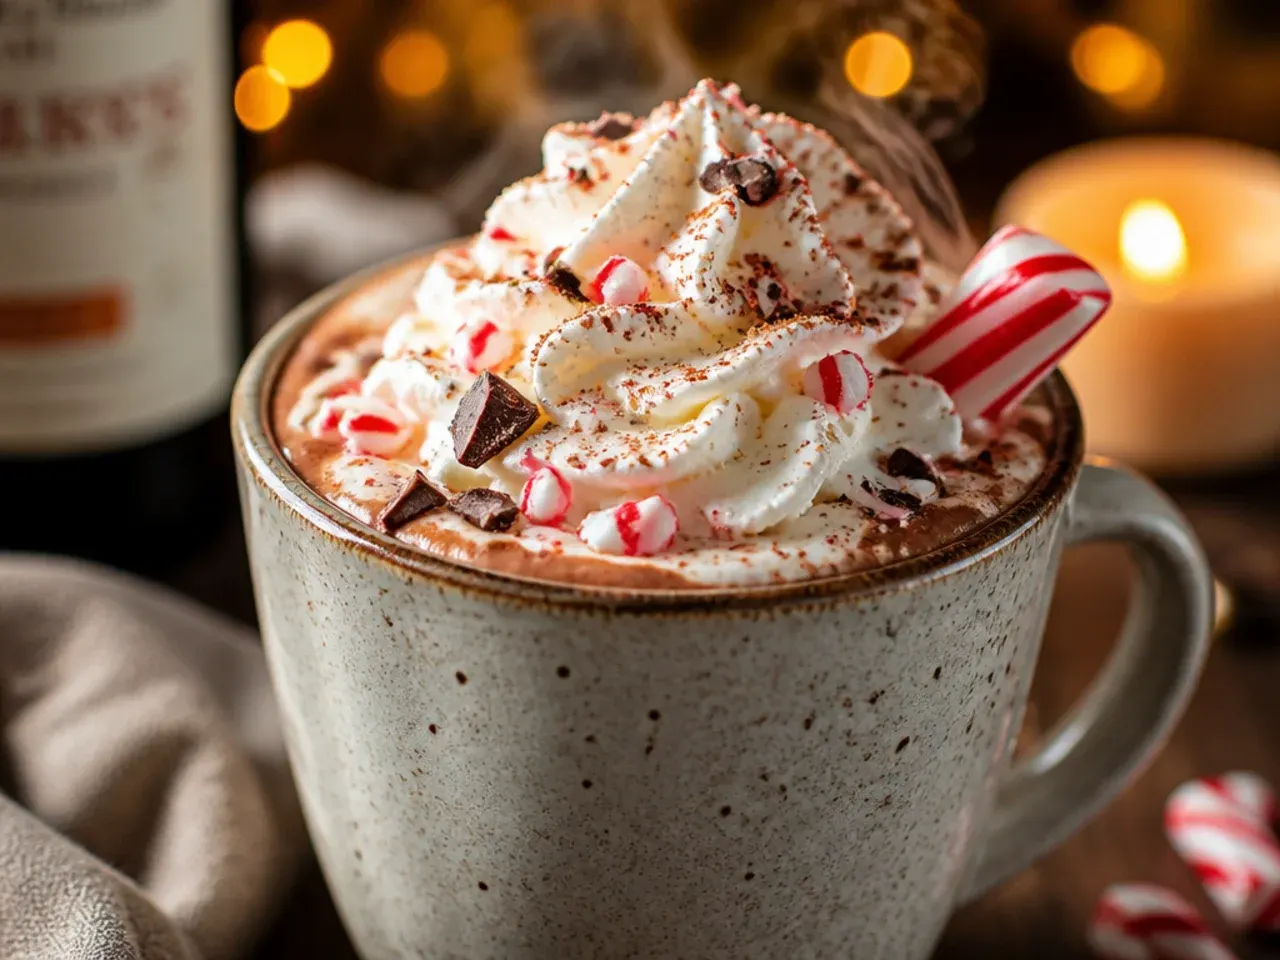
I over-whipped double cream for a topping once and it came out closer to butter than something you'd want to spoon onto a drink. For hot chocolate, I now stop whipping as soon as the cream holds a soft, floppy peak, which takes about two minutes with an electric whisk on medium. It sits on top of the drink and slowly melts in, rather than sitting there as a stiff, separate blob. Soft peaks also spoon on much more easily without collapsing the whole mug.
Lesson 13: Keep a Big Batch Warm in a Slow Cooker
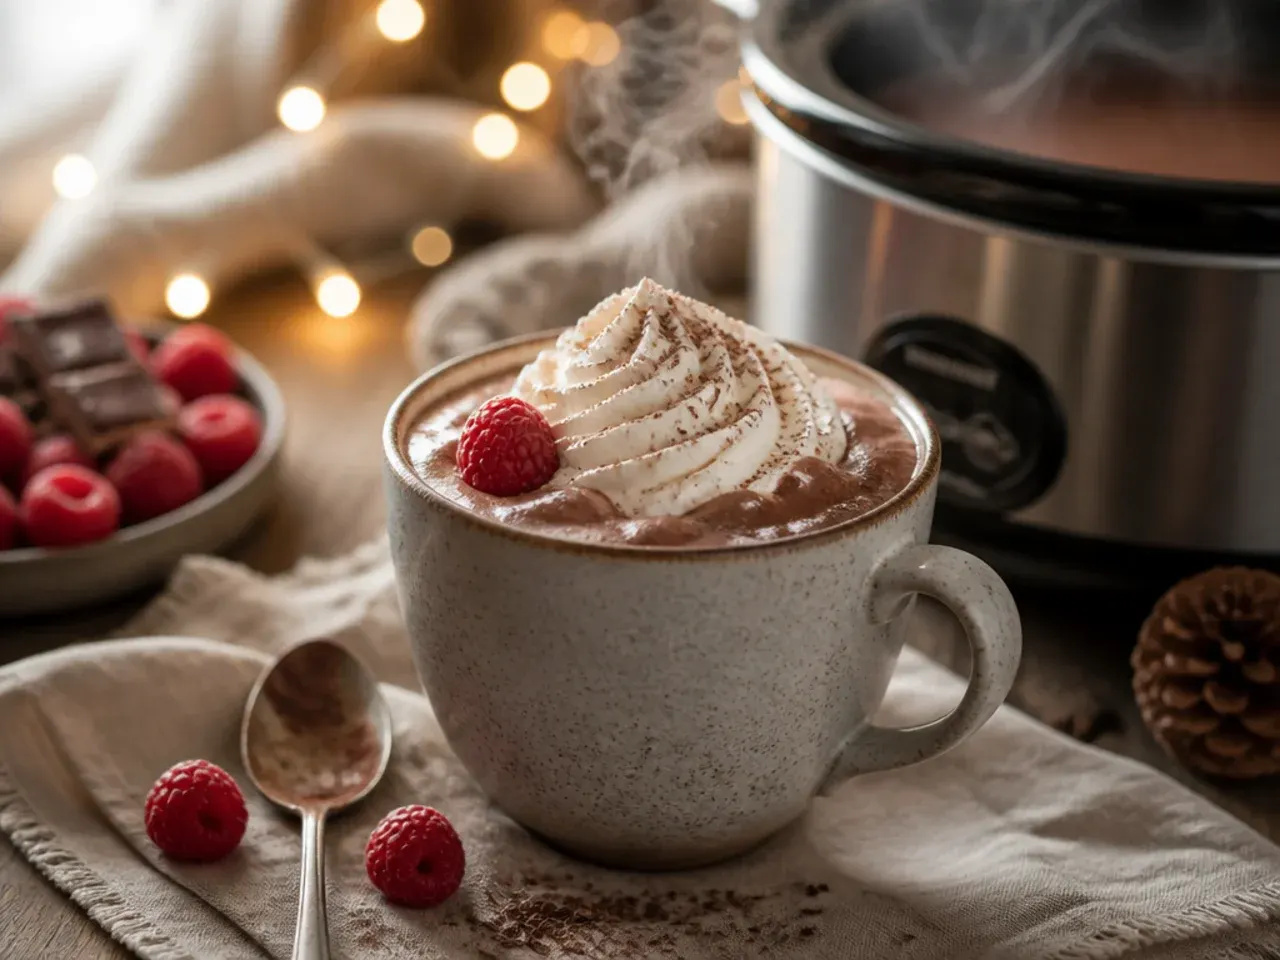
Making this for a crowd on the stove meant standing over the pan reheating it every twenty minutes, which wasn't much fun at my own party. Now for gatherings I make a double batch, transfer it to a slow cooker on the warm or low setting, and give it a whisk every so often to stop a skin forming. It holds at a safe, drinkable temperature for a couple of hours without scorching on the base. Guests can help themselves, and I actually get to enjoy the evening.
Lesson 14: Make It Boozy (21+) the Right Way
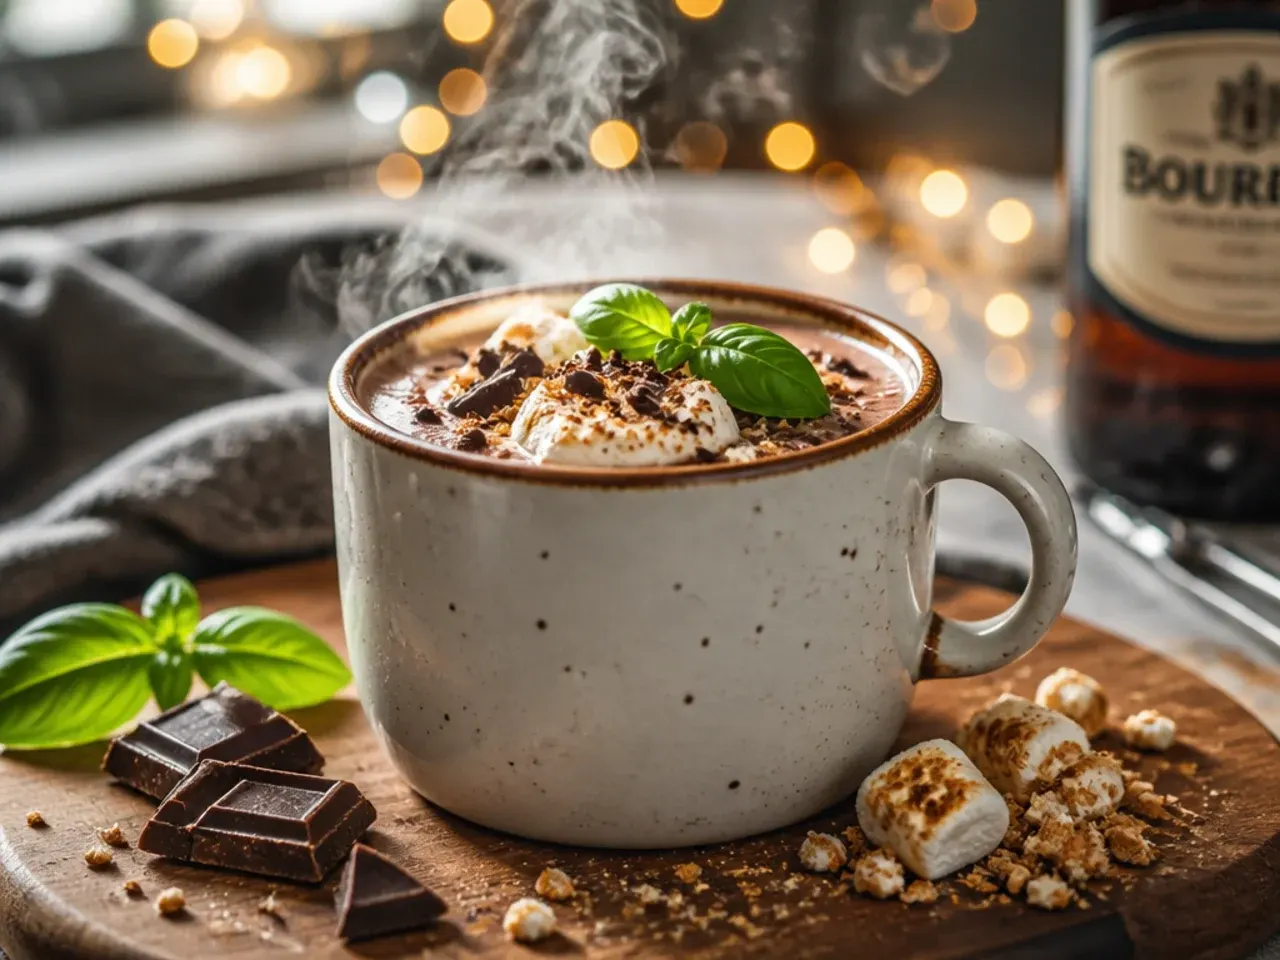
For a grown-up version, I stir the alcohol into the mug after pouring, never into the pan, so the flavour doesn't cook off and each drink can be adjusted individually. My go-to amounts per mug are 25ml, about one shot, of Baileys or another Irish cream liqueur, or 15-20ml of dark spiced rum, coffee liqueur like Kahlua, or peppermint schnapps for something more festive. I always stir in half the amount first and taste, since spirits vary a lot in strength and sweetness. This version is for adults 21 and over only, worth sipping slowly and responsibly, and I always keep a non-alcoholic mug on offer for anyone who'd rather skip it.
Lesson 15: Infuse Spices in the Milk, Don't Just Sprinkle
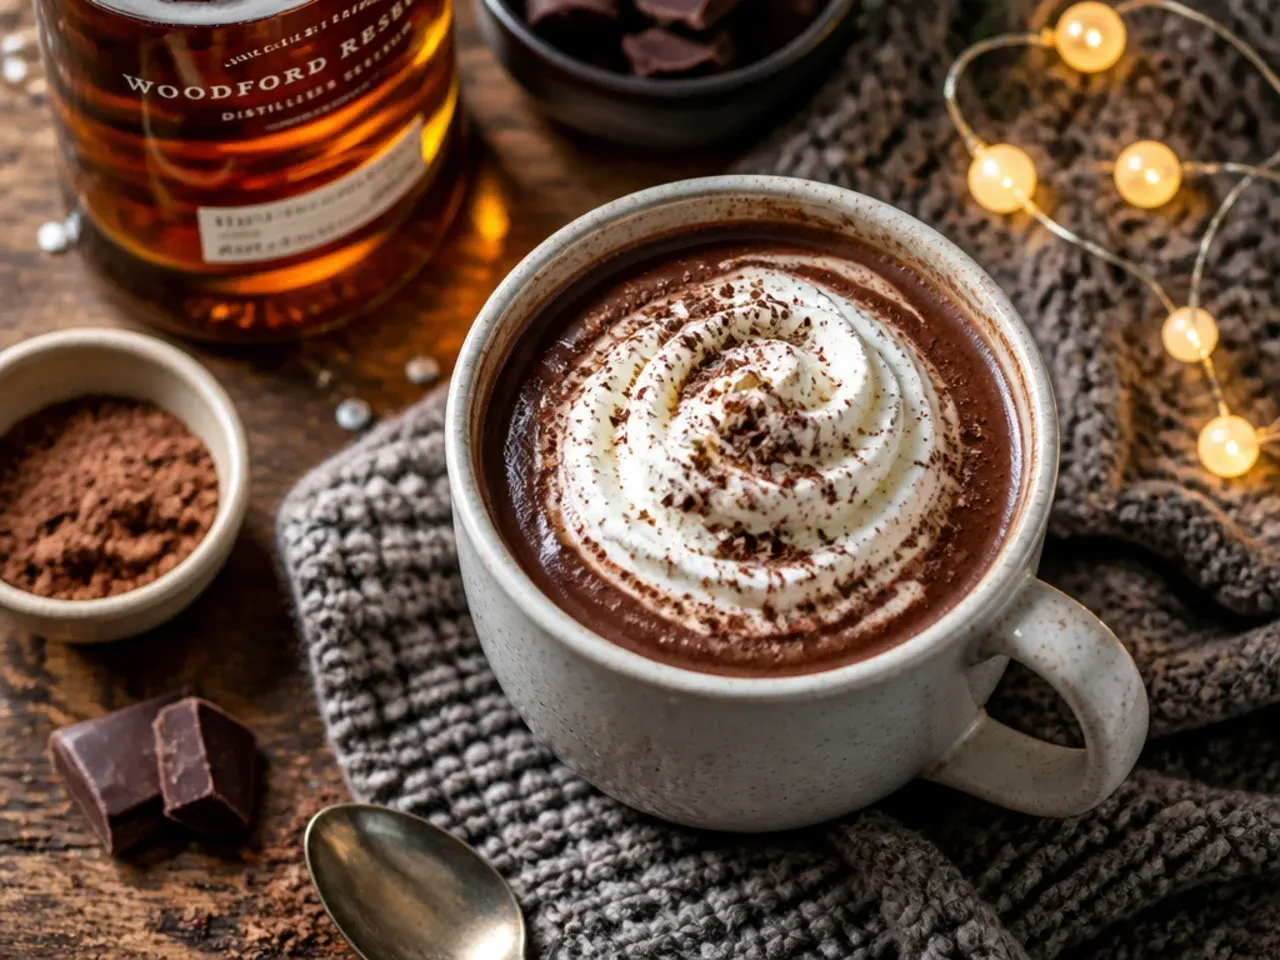
Sprinkling ground cinnamon straight into a finished mug left gritty specks floating on top that never fully dissolved. Now I warm a whole cinnamon stick or a couple of cracked cardamom pods in the milk while it heats, then fish them out before adding the cocoa. The flavour comes through smooth and rounded instead of dusty. A star anise does something similar if you want a warmer, slightly liquorice note around the festive season.
Lesson 16: Make a Dry Mix Ahead for Busy Mornings
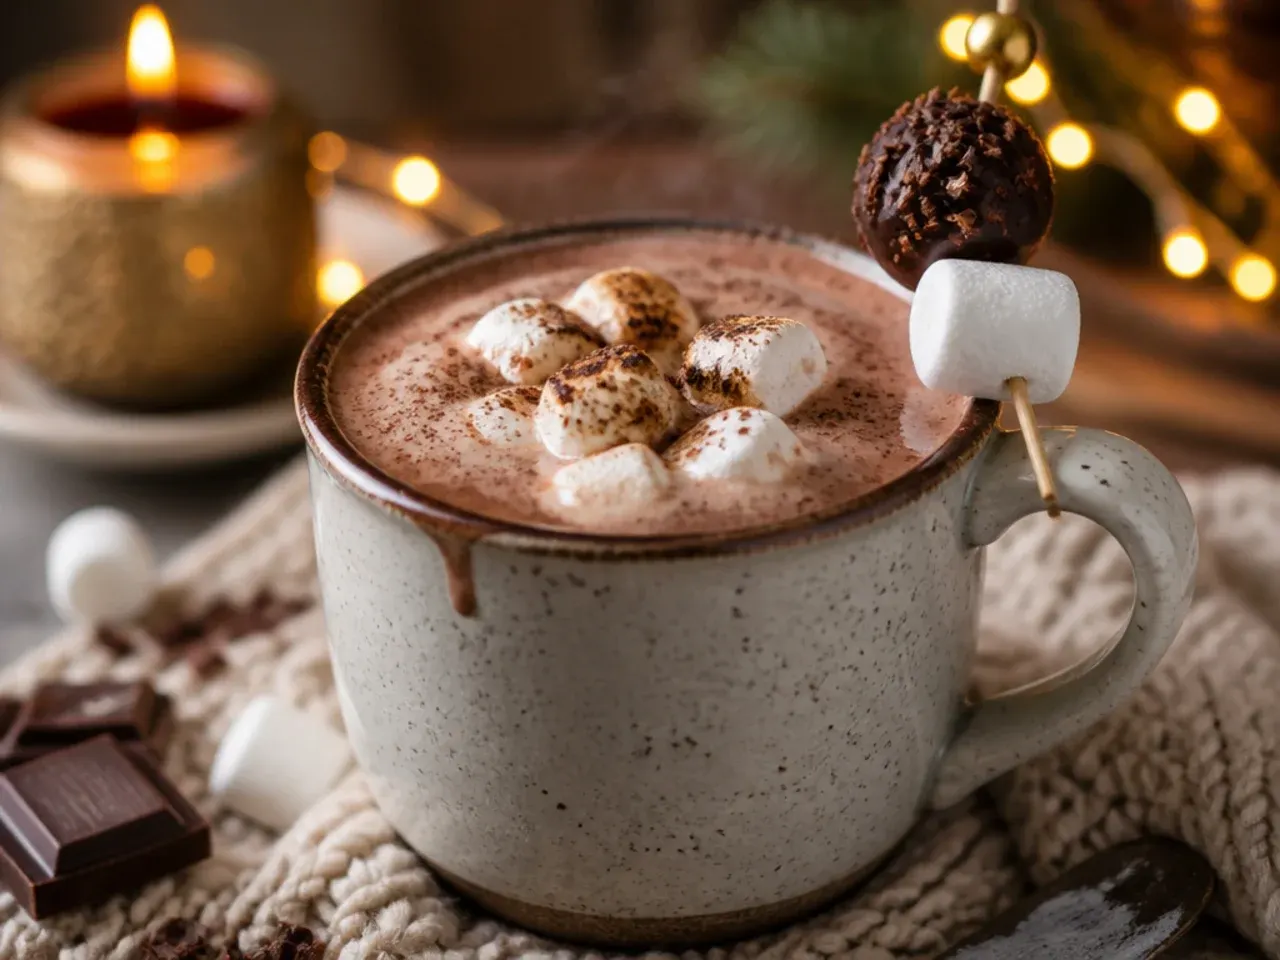
On rushed mornings I didn't have ten minutes to measure out cocoa, sugar and salt from scratch, so the whole thing kept getting skipped. Now I mix a big batch of cocoa powder, caster sugar and salt in the same ratio and keep it in an airtight jar in the cupboard, ready to scoop straight into warm milk. It keeps well for a couple of months as long as it stays dry. I just can't pre-melt the chocolate, so that part still gets added fresh each time.
Lesson 17: You Don't Need a Milk Frother
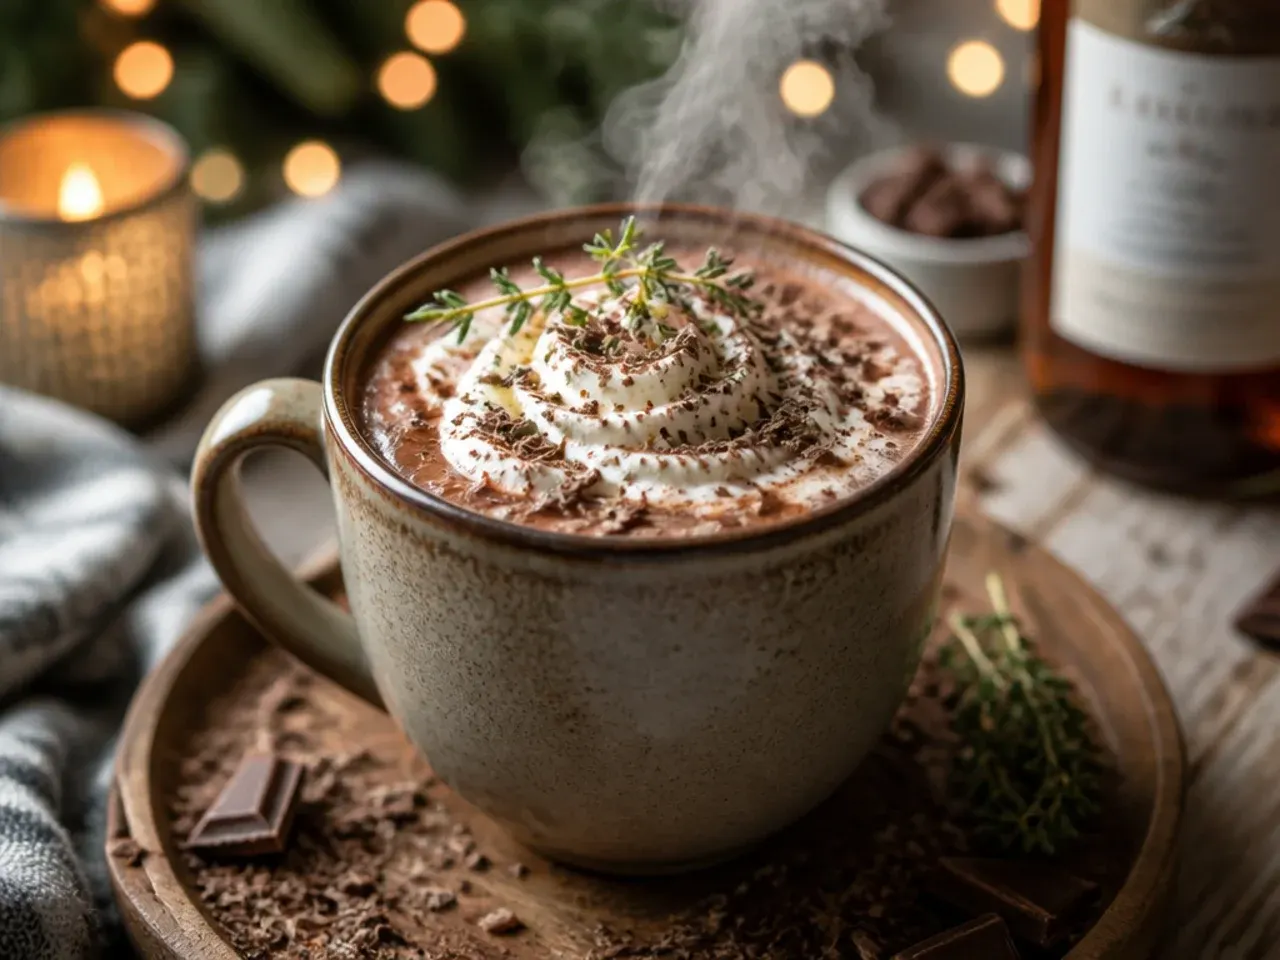
I nearly bought a handheld milk frother thinking it was essential for that cafe-style foam on top. A jam jar with a tight lid does almost the same job: fill it a third full with warm milk, screw the lid on, and shake hard for about thirty seconds until it doubles in volume and turns foamy. Spoon that foam over the finished hot chocolate for a similar effect to a frother, no extra equipment needed. A stick blender pulsed for a few seconds in the pan works too if you'd rather not shake a hot jar.
Lesson 18: Go Easy on Mint and Orange Extracts
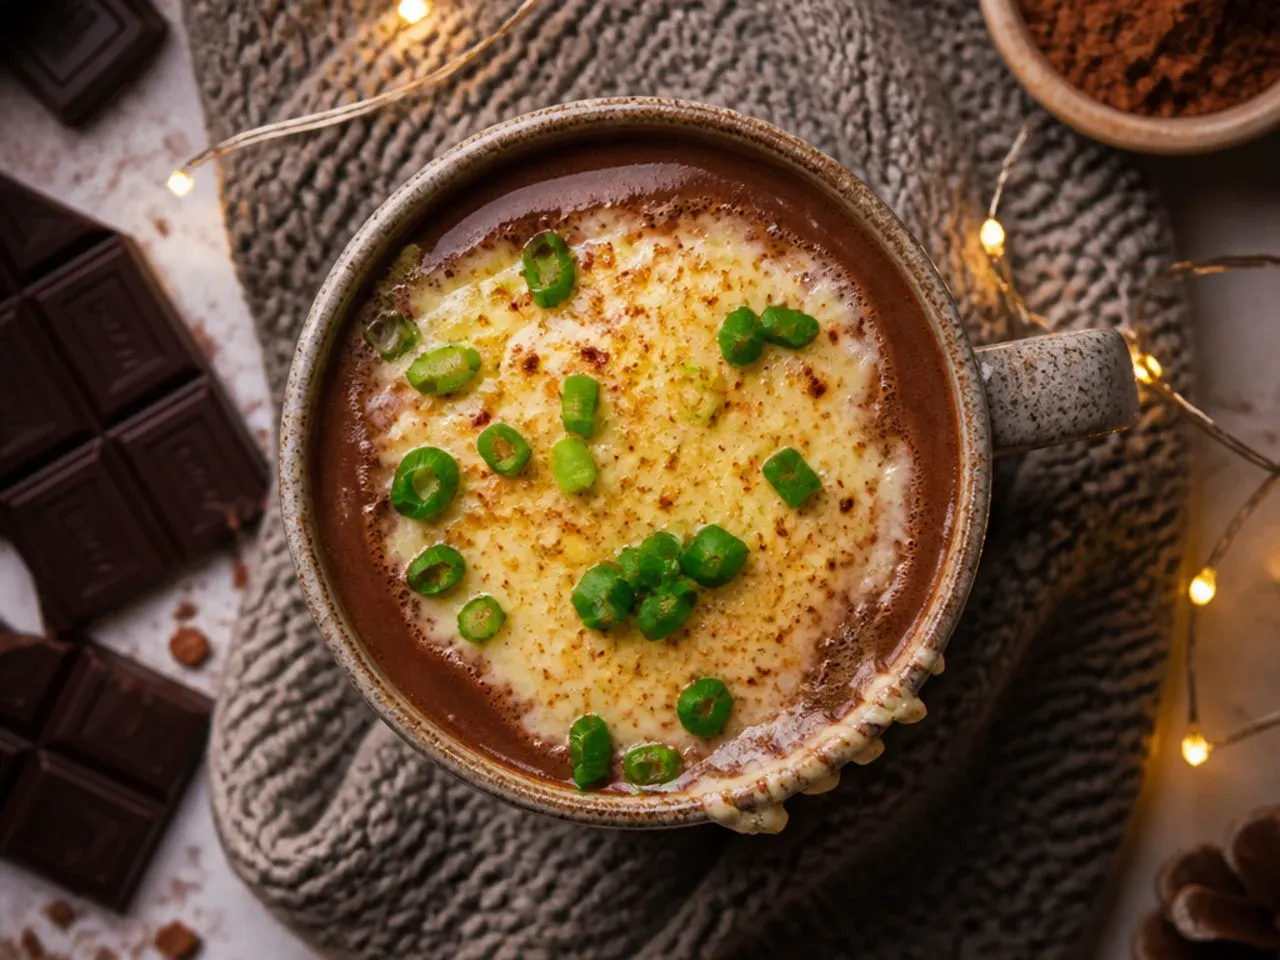
The first time I added orange extract I used a full teaspoon, and it tasted more like washing-up liquid than chocolate orange. Both orange and peppermint extracts are far more concentrated than they smell, so now I add them a quarter teaspoon at a time, tasting between each addition. Fresh orange zest, added right at the end, gives a gentler, more natural version of the same flavour if you want to avoid extracts altogether. Less really is more with both of these.
Lesson 19: Serve It Hot, Not Scalding
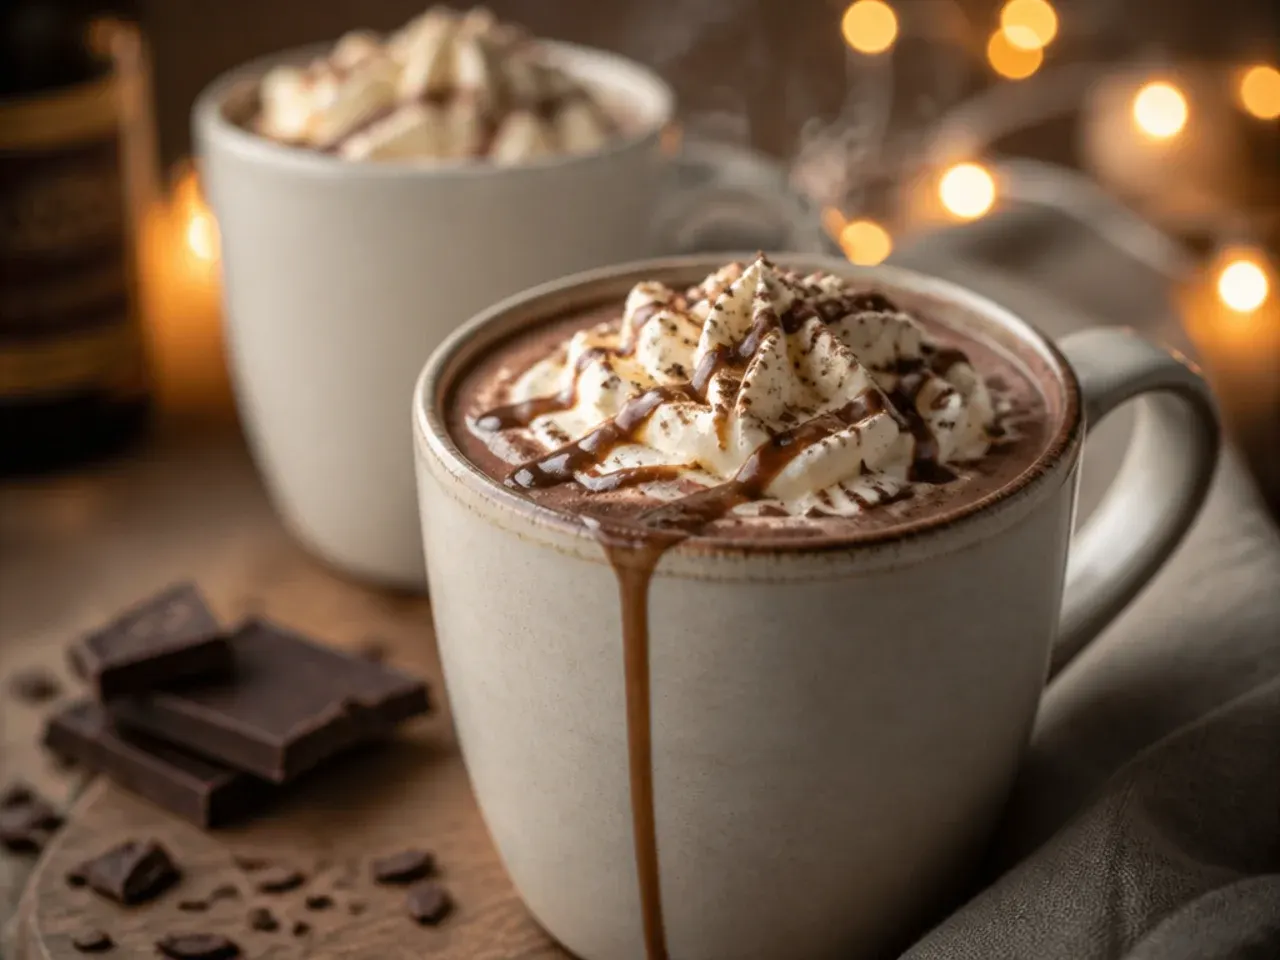
I used to pour it straight from the pan at a near-boil and everyone would leave their mugs to sit for ten minutes before it was drinkable. I now aim to serve it around 65-70C, which is easy to judge because it's hot enough to steam gently but you can take a sip within a minute without burning your tongue. Letting it stand for a minute or two off the heat before pouring gets it into that range naturally. It's a small patience test that makes the first sip actually enjoyable instead of painful.
Lesson 20: Presentation Takes Ten Extra Seconds
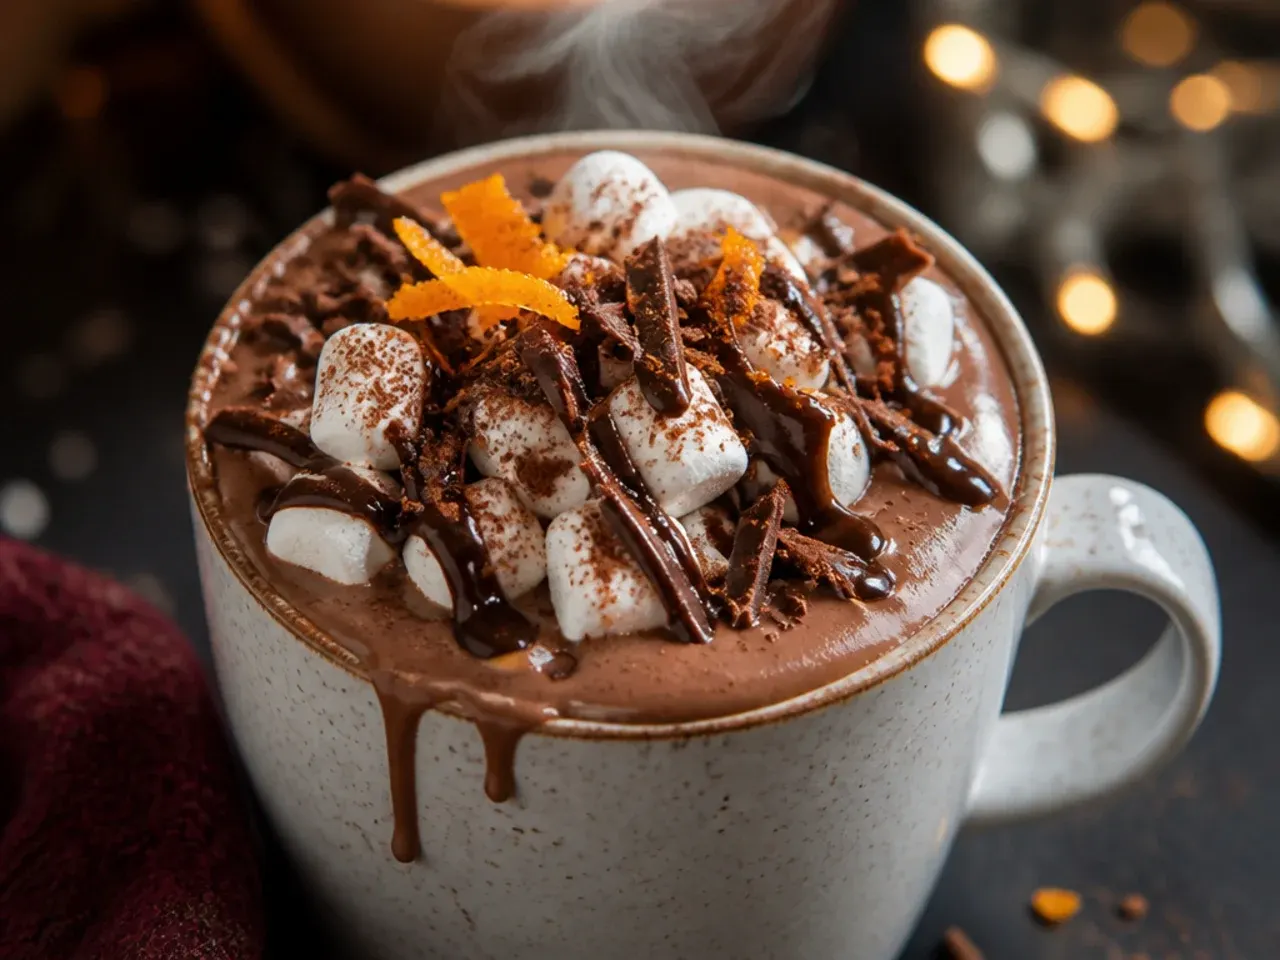
For ages I just poured the drink into whatever mug was nearest and called it done, and it never looked like the photos I was copying from. Now I finish every mug with a few chocolate curls shaved off a bar with a vegetable peeler and a light dusting of cocoa powder over the cream. It takes about ten seconds and makes even the simplest mug look like it came from a cafe counter. If you're making this for guests or photos, that final flourish is genuinely worth the extra few seconds.
What I'd Tell a Friend Trying This
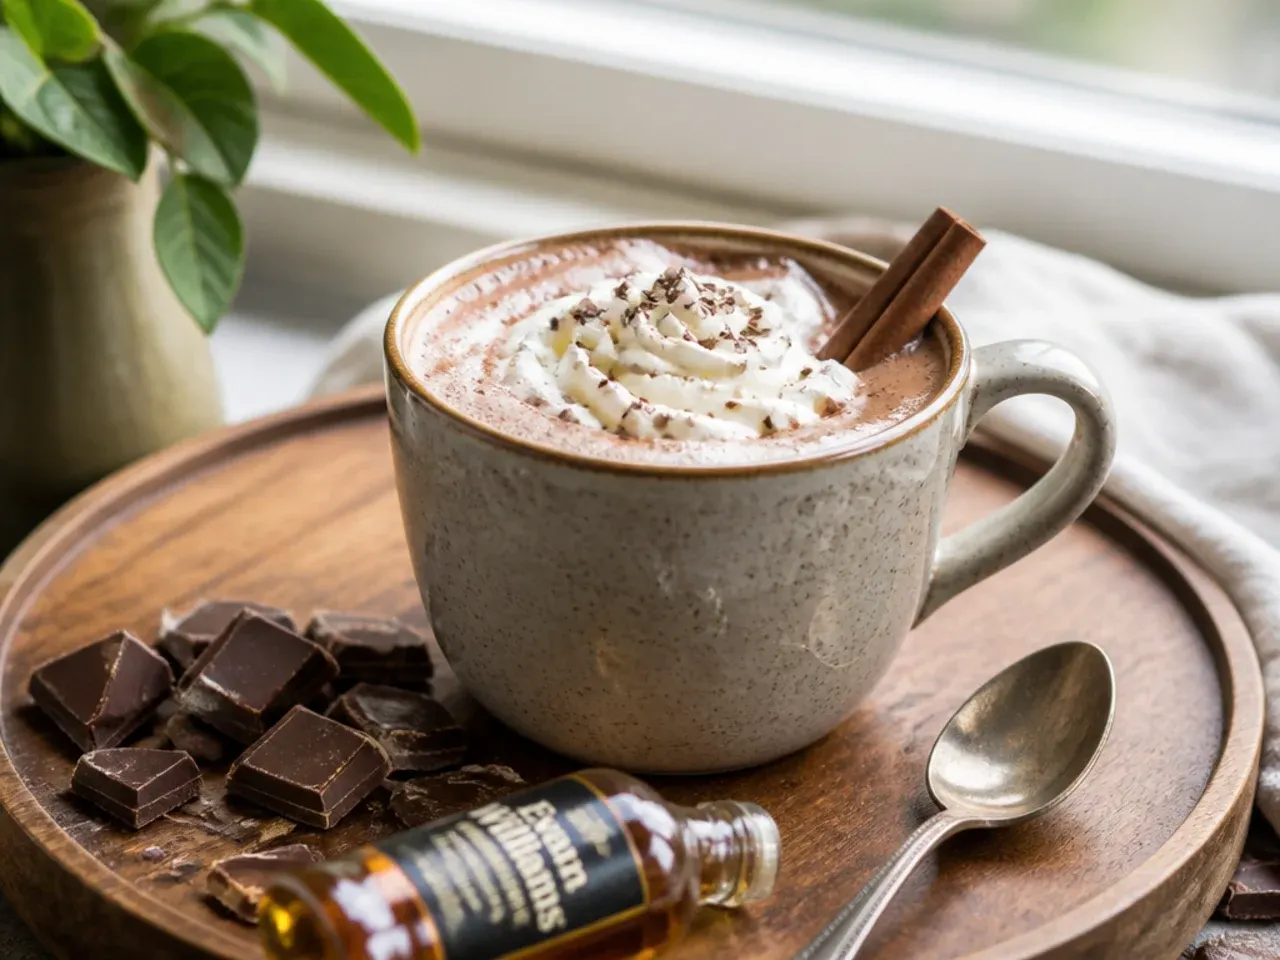
Start with the classic, non-alcoholic version first and get the technique right: gentle heat, a cocoa paste, real chocolate, and constant whisking are what actually make the difference, not any fancy ingredient. Once that base tastes properly rich to you, the boozy 21+ variation is just a splash of Baileys, rum or peppermint schnapps stirred into an already-good drink, so don't rush to that step before the fundamentals are solid. Keep it simple, taste as you go, and don't be afraid to adjust sugar and alcohol amounts to suit your own mug rather than following any recipe, including mine, to the letter. Drink the boozy version responsibly and only if you're 21 or over, and there's always a good honest mug of the classic version to share with anyone who isn't.
The Recipe
The Recipe I Used
10 min
12 min
25 min
4
Beginner
Ingredients 4 Person(s)
Directions
Step 1: Warm the Milk Gently
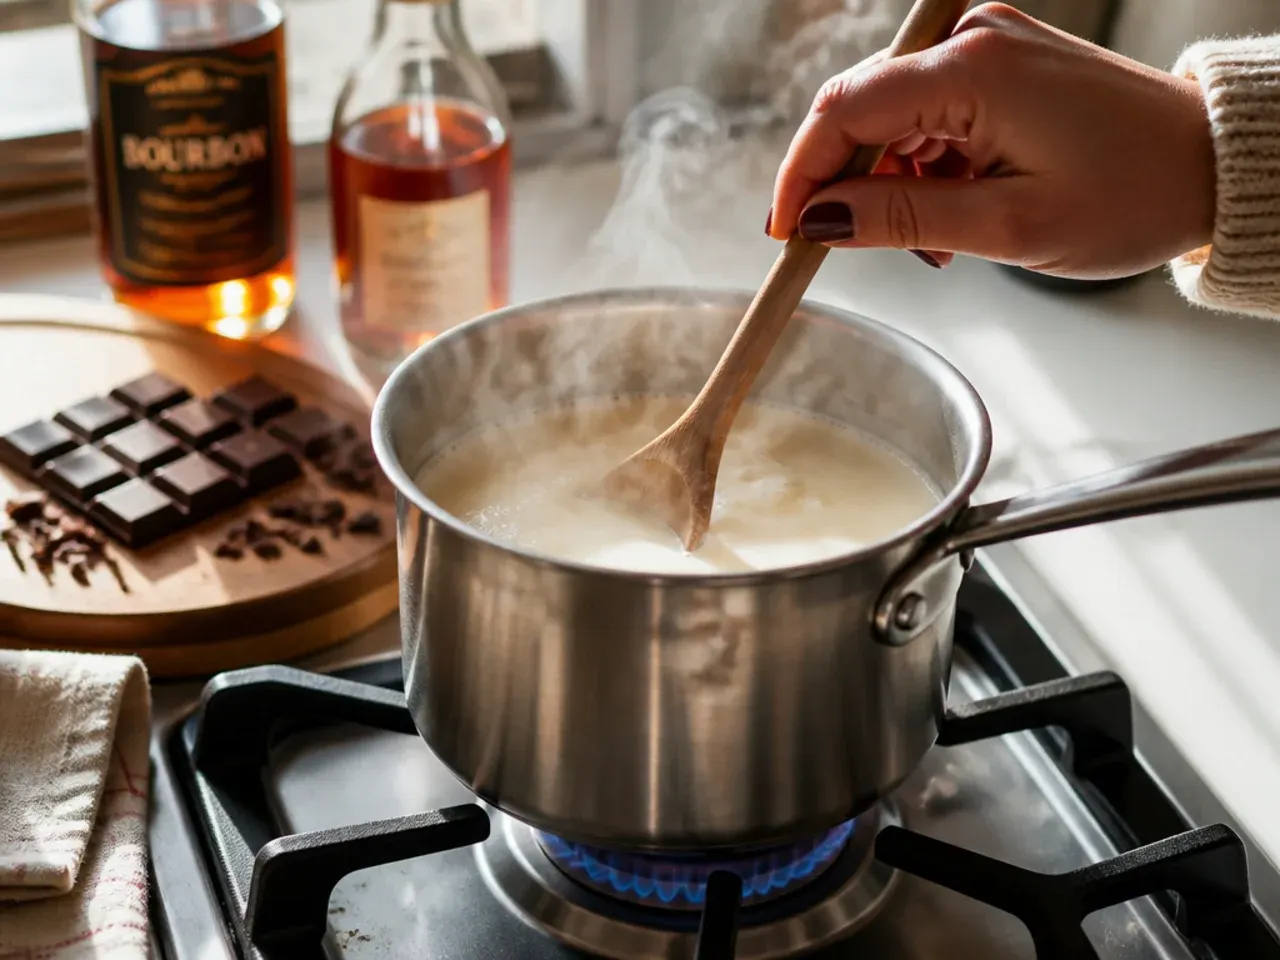
Pour 700ml (3 cups) of whole milk into a medium saucepan and set it over low-medium heat. Warm it gently for 6-8 minutes, stirring occasionally, until it's steaming but nowhere near boiling. Staying close to the stove here stops the milk from catching on the bottom of the pan.
Step 2: Whisk the Cocoa Paste In
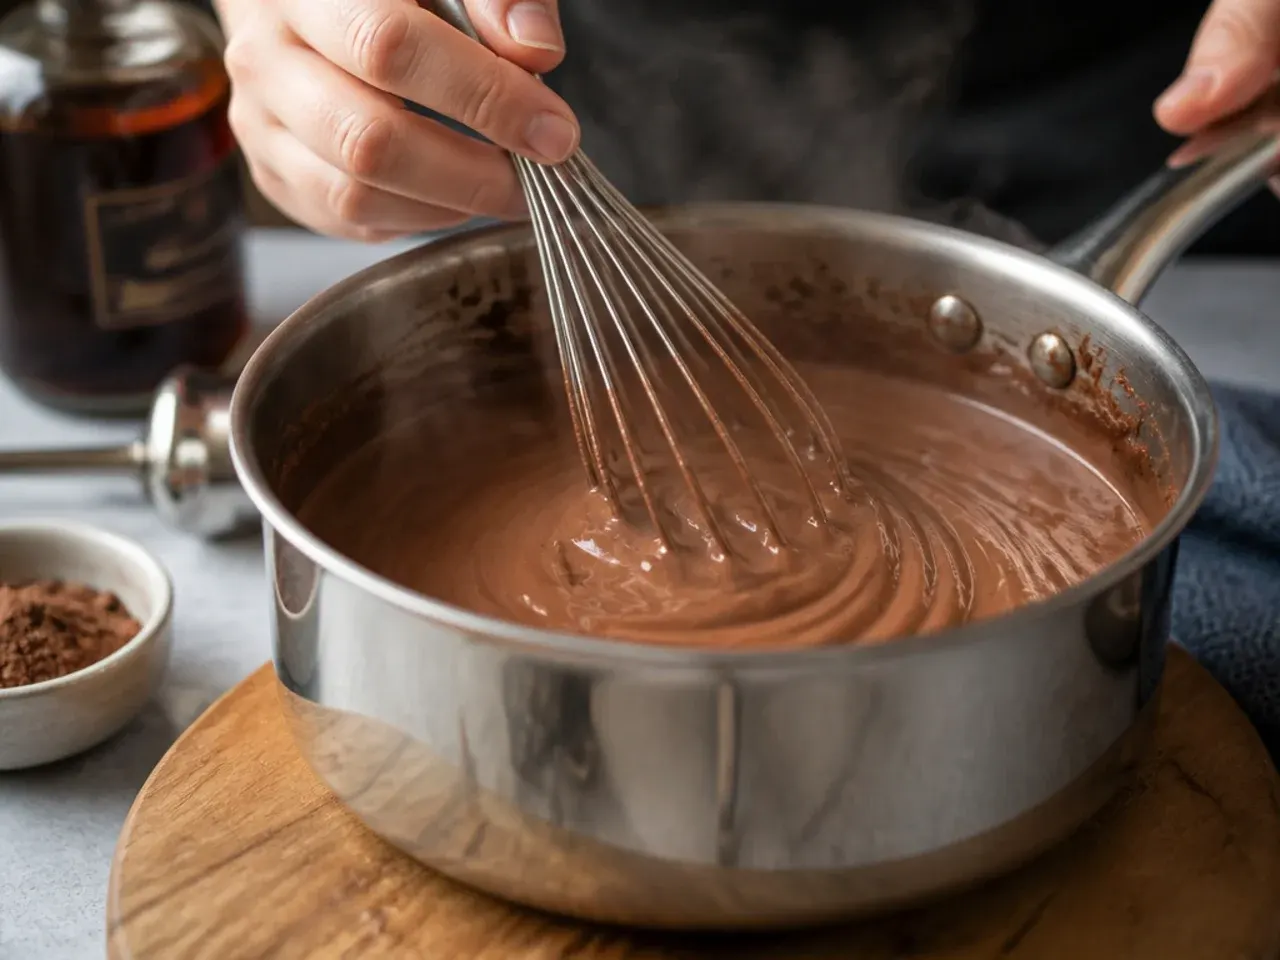
In a small bowl, mix 30g (1/4 cup) cocoa powder, 40g (3 tbsp) caster sugar and the pinch of salt with 2-3 tablespoons of the warm milk to form a smooth, lump-free paste. Whisk this paste into the saucepan of milk until fully combined. This step stops any dry cocoa lumps from forming later.
Step 3: Melt In the Chopped Chocolate
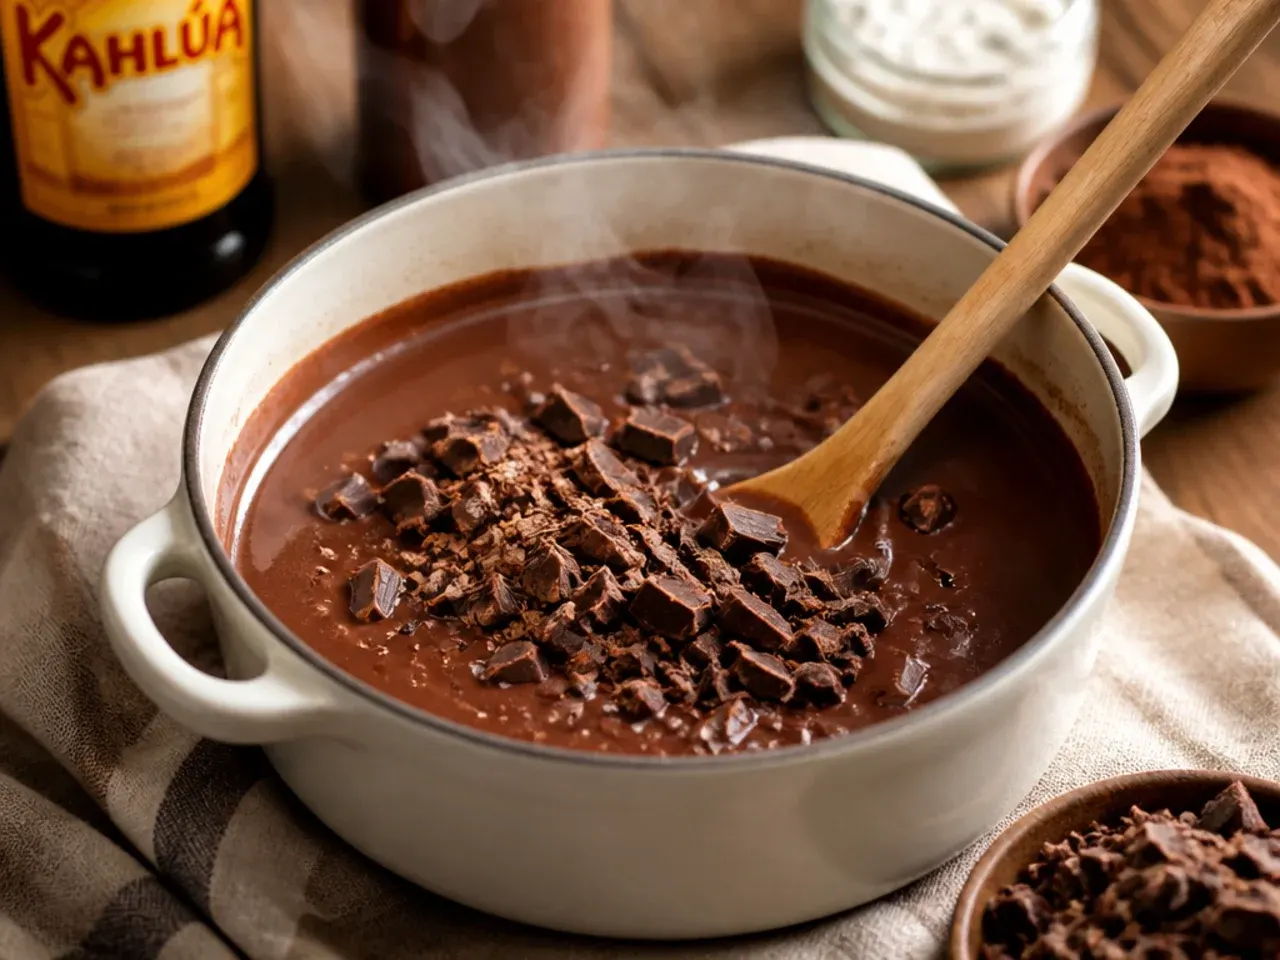
Add 100g (3.5oz) of chopped dark chocolate to the pan and whisk continuously as it melts, about 2-3 minutes. Keep the heat at a gentle simmer, small bubbles only at the edges of the pan, never a rolling boil. The mixture will turn glossy and slightly thicker as the chocolate melts in.
Step 4: Simmer and Whisk Until Silky
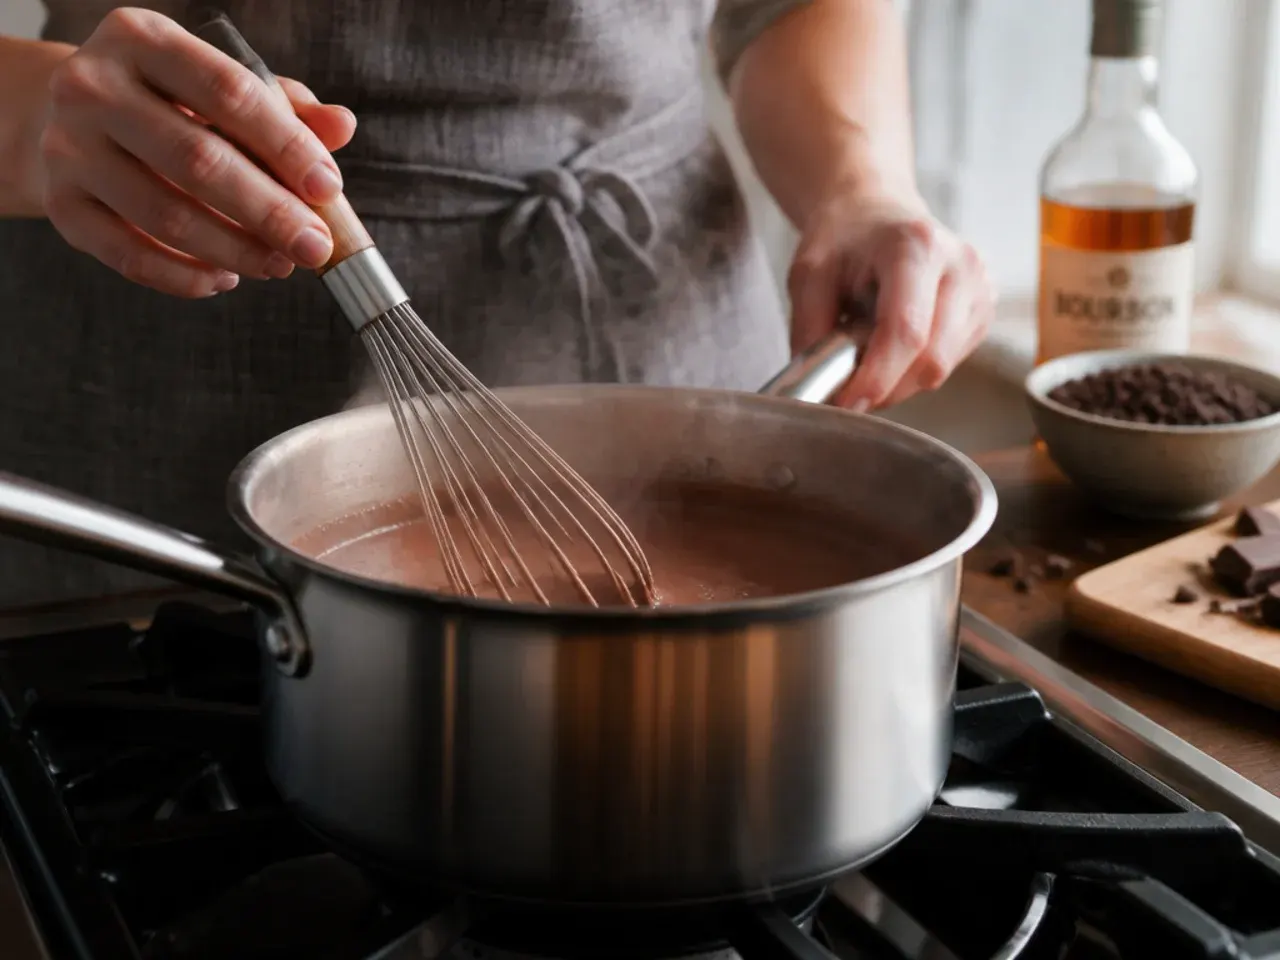
Continue whisking over low heat for another 2 minutes until the hot chocolate is completely smooth with no streaks of cocoa or chocolate visible. Take the pan off the heat and whisk in 1 teaspoon (5ml) vanilla extract. Let it stand off the heat for 1-2 minutes so it settles to a comfortable drinking temperature.
Step 5: Pour and Add Your Splash (Optional 21+)
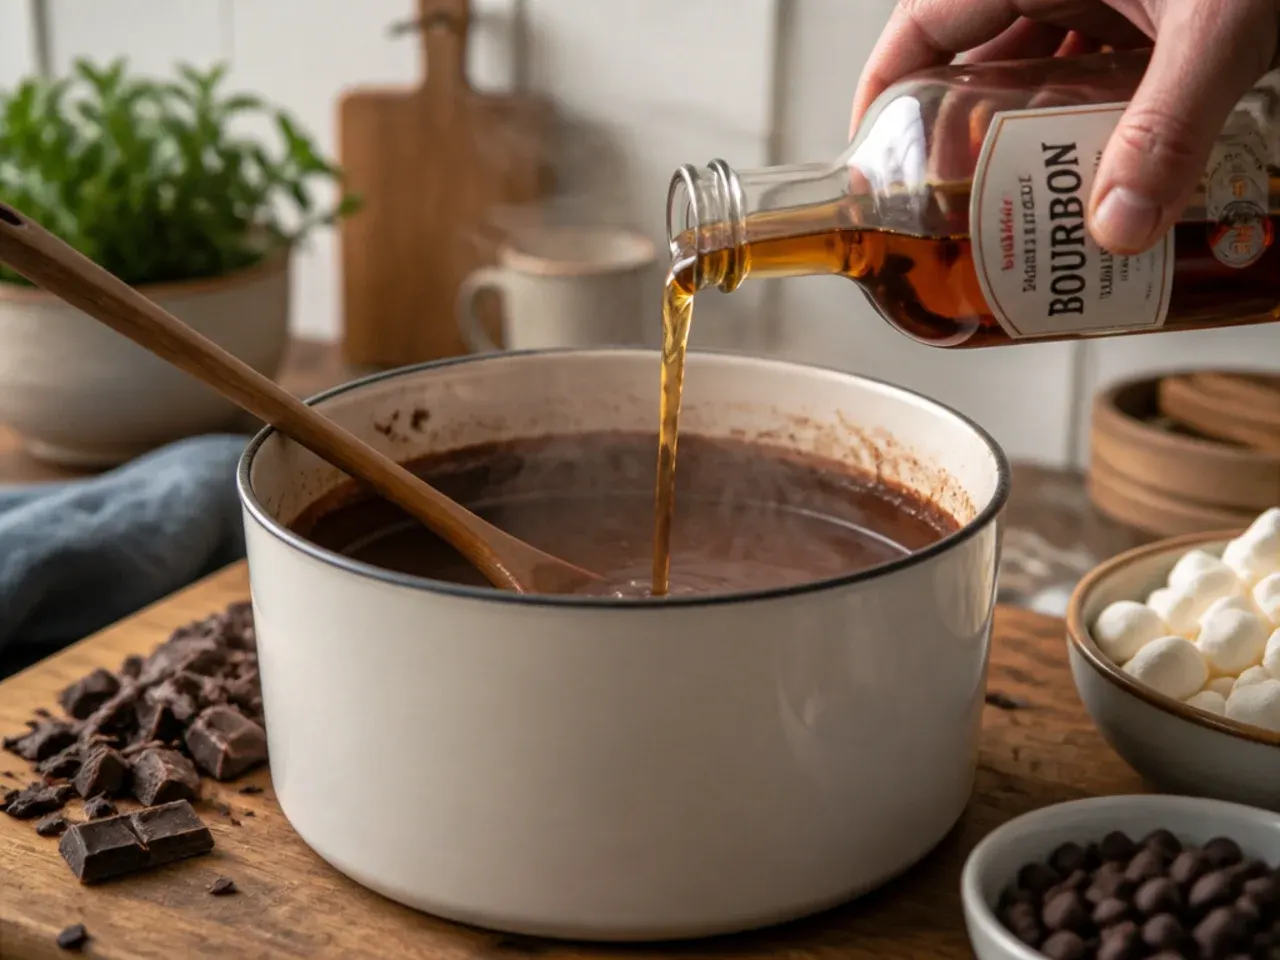
Warm 4 mugs with just-boiled water for a minute, then dry them and pour in the hot chocolate. For a boozy version, stir 25ml (about a shot) of Baileys into each mug, or 15-20ml if using rum, Kahlua or peppermint schnapps, for adults 21+ only, tasting after half the amount before adding more. Leave a few mugs plain for anyone who'd rather skip the alcohol.
Step 6: Top and Serve
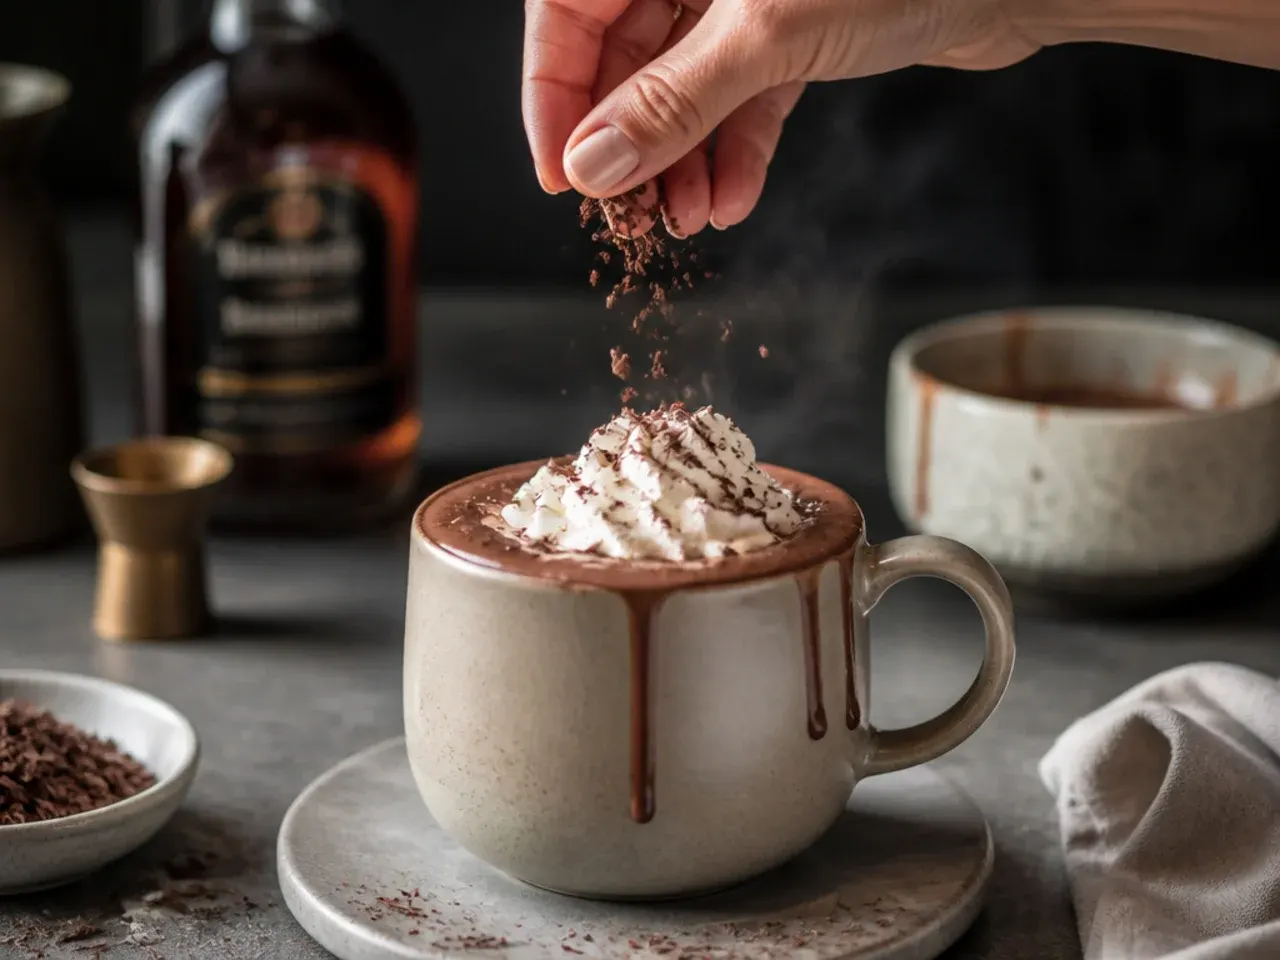
Spoon softly whipped double cream and a scattering of mini marshmallows over each mug. Finish with a few shaved chocolate curls or a light dusting of cocoa powder. Serve immediately while it's warm and steaming.
Frequently Asked Questions
Cream liqueurs like Baileys are the most popular choice because their sweetness and dairy richness blend seamlessly into the milk without any harsh bite. Coffee liqueurs such as Kahlua add a deeper, slightly bitter note that works well with dark chocolate, while spiced or dark rum brings warmth without changing the chocolate flavour too much. Peppermint schnapps is a good option around the festive season if you want a cooler, minty finish. Whichever you choose, start with around 15-25ml per mug and adjust to taste, since liqueurs vary a lot in both sweetness and alcohol strength.
Save this for later 📌
Pin this article to your Pinterest board so the full list is one tap away when you need it.
Save on Pinterest