20 Easy Biscoff Cheesecake Recipes to Try
Master one foolproof biscoff cheesecake recipe, then try 20 easy twists: no-bake classic, baked New York, mini bites, vegan and salted caramel. If you love biscoff cheesecake inspiration, start with our Biscoff Cheesecake Recipes collection, then browse the full Desserts hub for more.

Save this for later 📌
Pin this article to your Pinterest board so the full list is one tap away when you need it.
Save on PinterestDesserts
Beginner
Recipes
20 ideas
Table of Contents
- Why You'll Love These
- 1. Classic No-Bake Biscoff Cheesecake
- 2. Five-Minute Biscoff Cheesecake Pots
- 3. Baked New York-Style Biscoff Cheesecake
- 4. Mini Biscoff Cheesecake Bites
- 5. Basque Burnt Biscoff Cheesecake
- 6. Biscoff Banoffee Cheesecake
- 7. Raspberry Swirl Biscoff Cheesecake
- 8. Three-Ingredient Biscoff Cheesecake
- 9. Festive Biscoff Cheesecake Wreath
- 10. Biscoff Cheesecake Dip
- 11. Salted Caramel Biscoff Cheesecake
- 12. Japanese Soufflé Biscoff Cheesecake
- 13. Biscoff Tiramisu Cheesecake
- 14. Brownie-Bottom Biscoff Cheesecake
- 15. Pumpkin Spice Biscoff Cheesecake
- 16. Chocolate Marble Biscoff Cheesecake
- 17. Air Fryer Biscoff Cheesecake
- 18. White Chocolate Biscoff Cheesecake
- 19. Frozen Biscoff Cheesecake Bars
- 20. Vegan Biscoff Cheesecake
- Pro Tips
- Serving Suggestions
- Storage and Reheating
Why You'll Love These
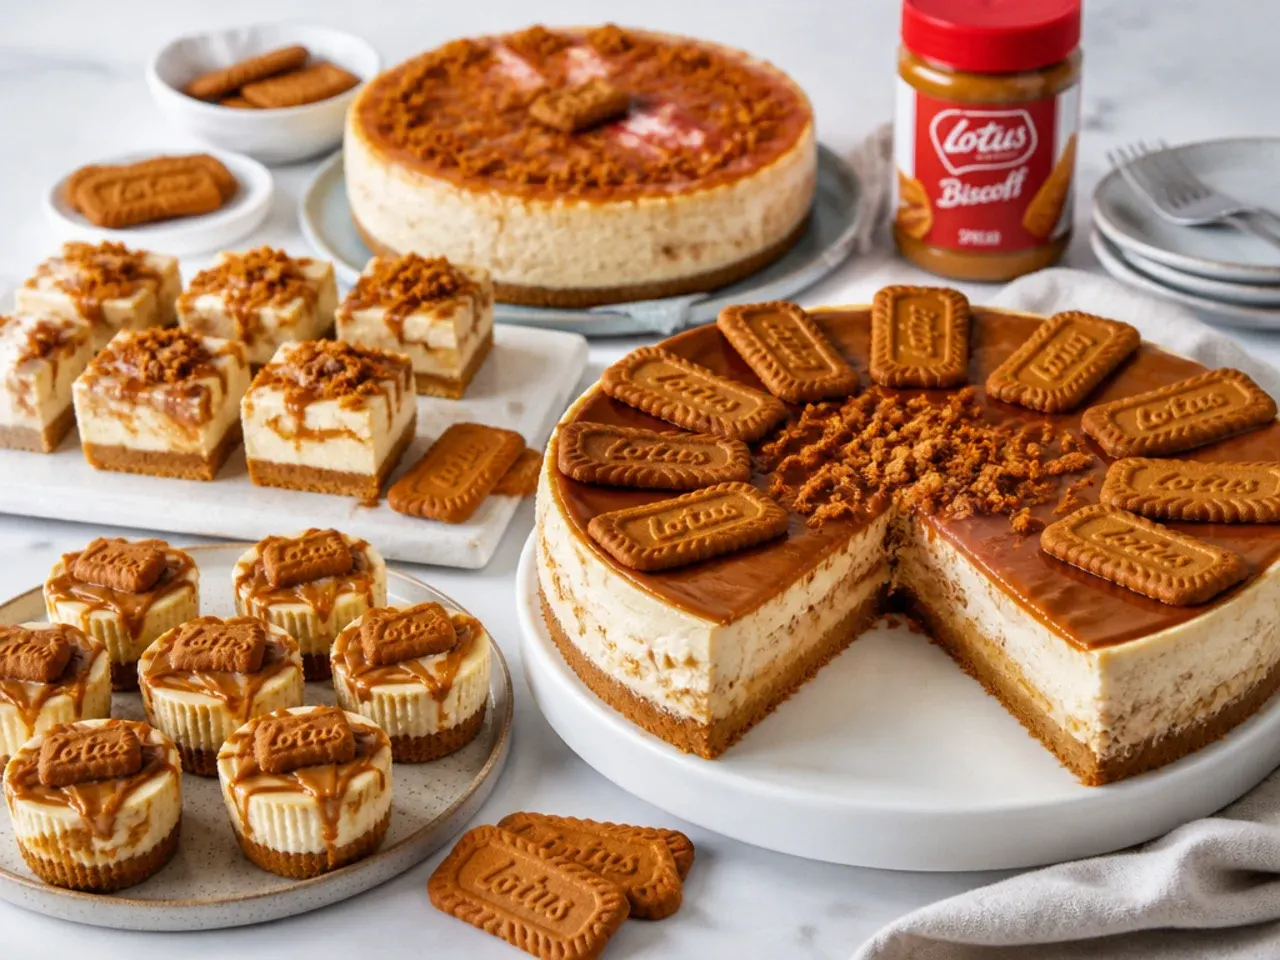
Every idea in this list builds on one no-bake base you can make with nine ingredients, a 20cm (8 inch) springform tin and no oven. The base recipe sets in the fridge in 6 hours, uses supermarket staples like full-fat cream cheese and double cream, and needs about 30 minutes of hands-on work. From there you can go quick (5-minute pots), impressive (baked New York-style at 160°C/325°F) or dietary-friendly — the vegan version works because Biscoff biscuits and spread contain no dairy. Exact gram measurements, temperatures and chill times are given for every variation, so a first-time baker can follow along without guesswork. Pick one for a birthday, a bake sale or a Sunday treat and you will not need a second dessert.
1. Classic No-Bake Biscoff Cheesecake
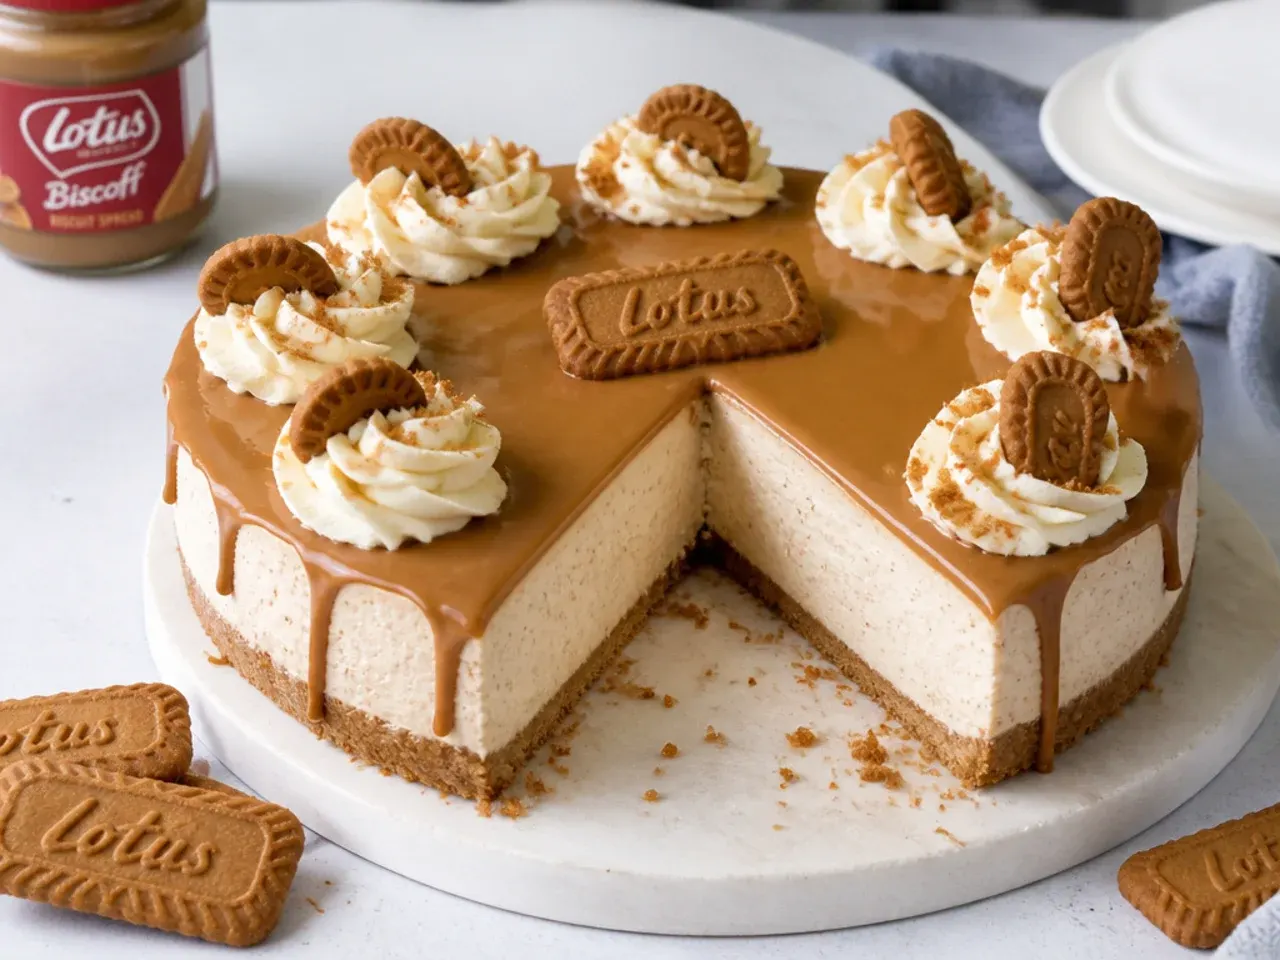
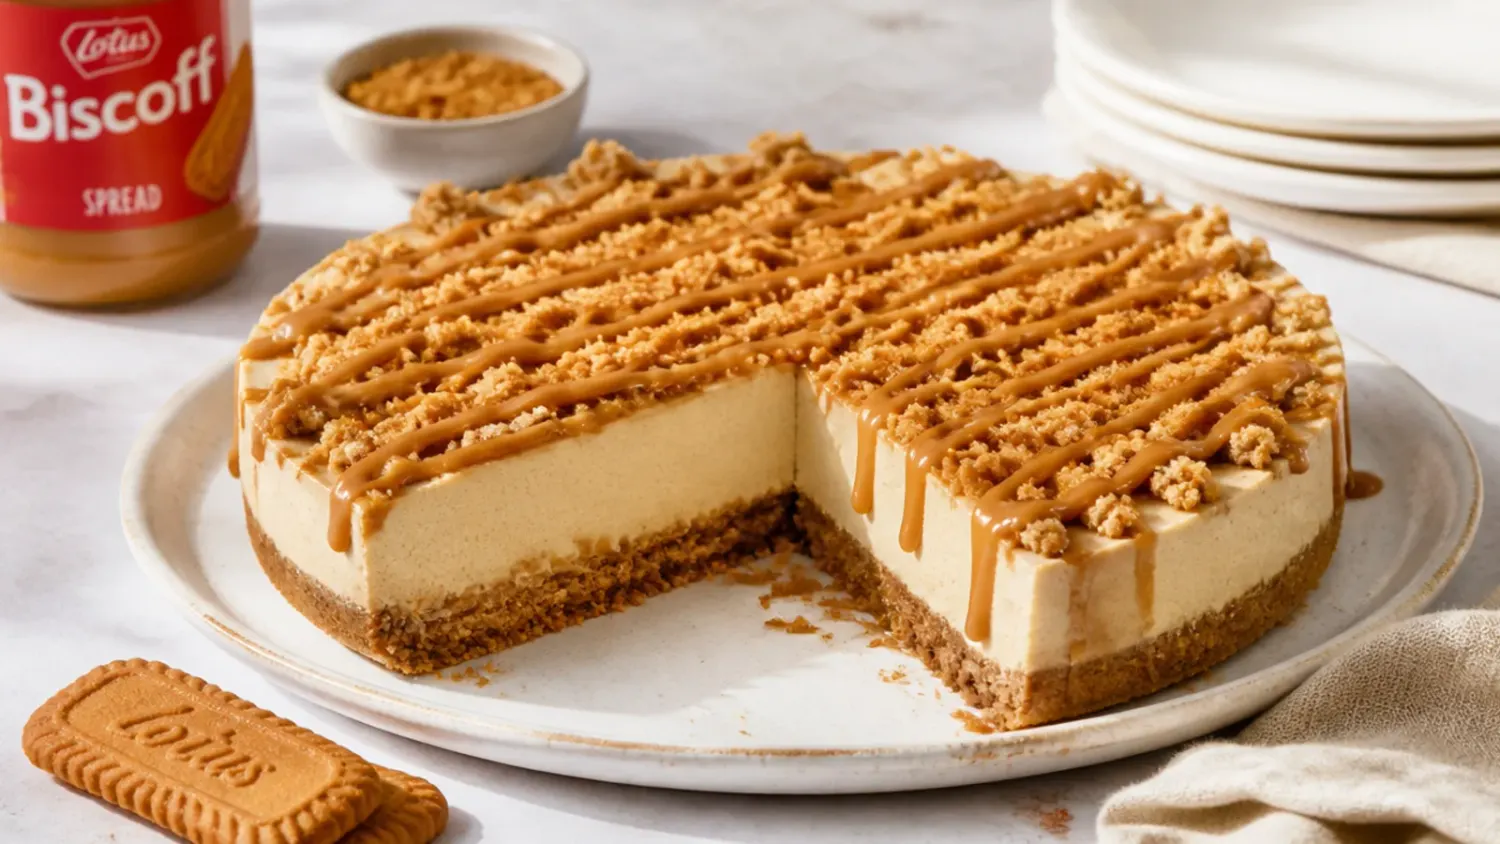
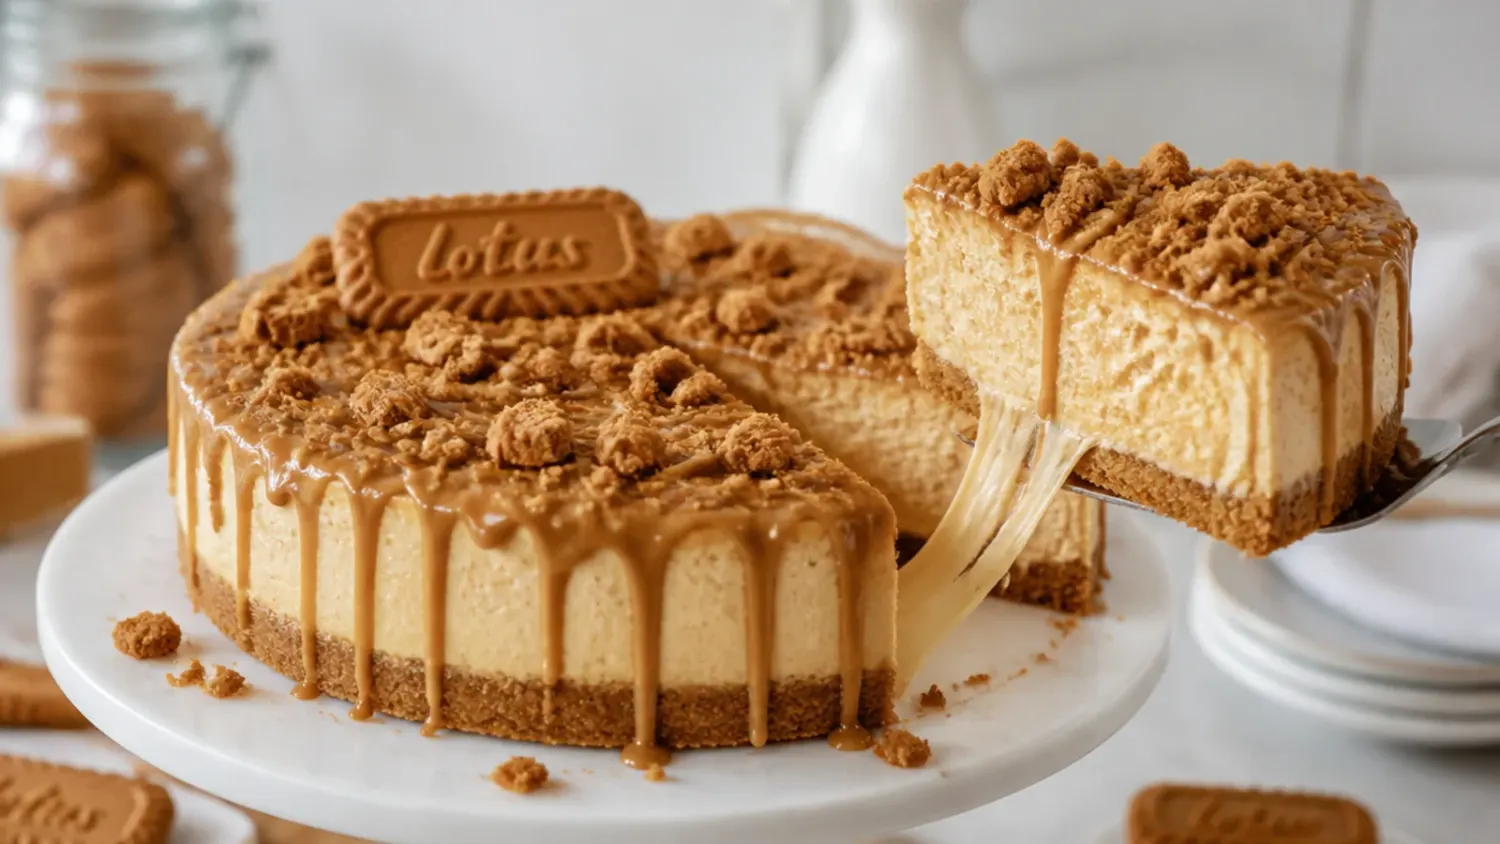
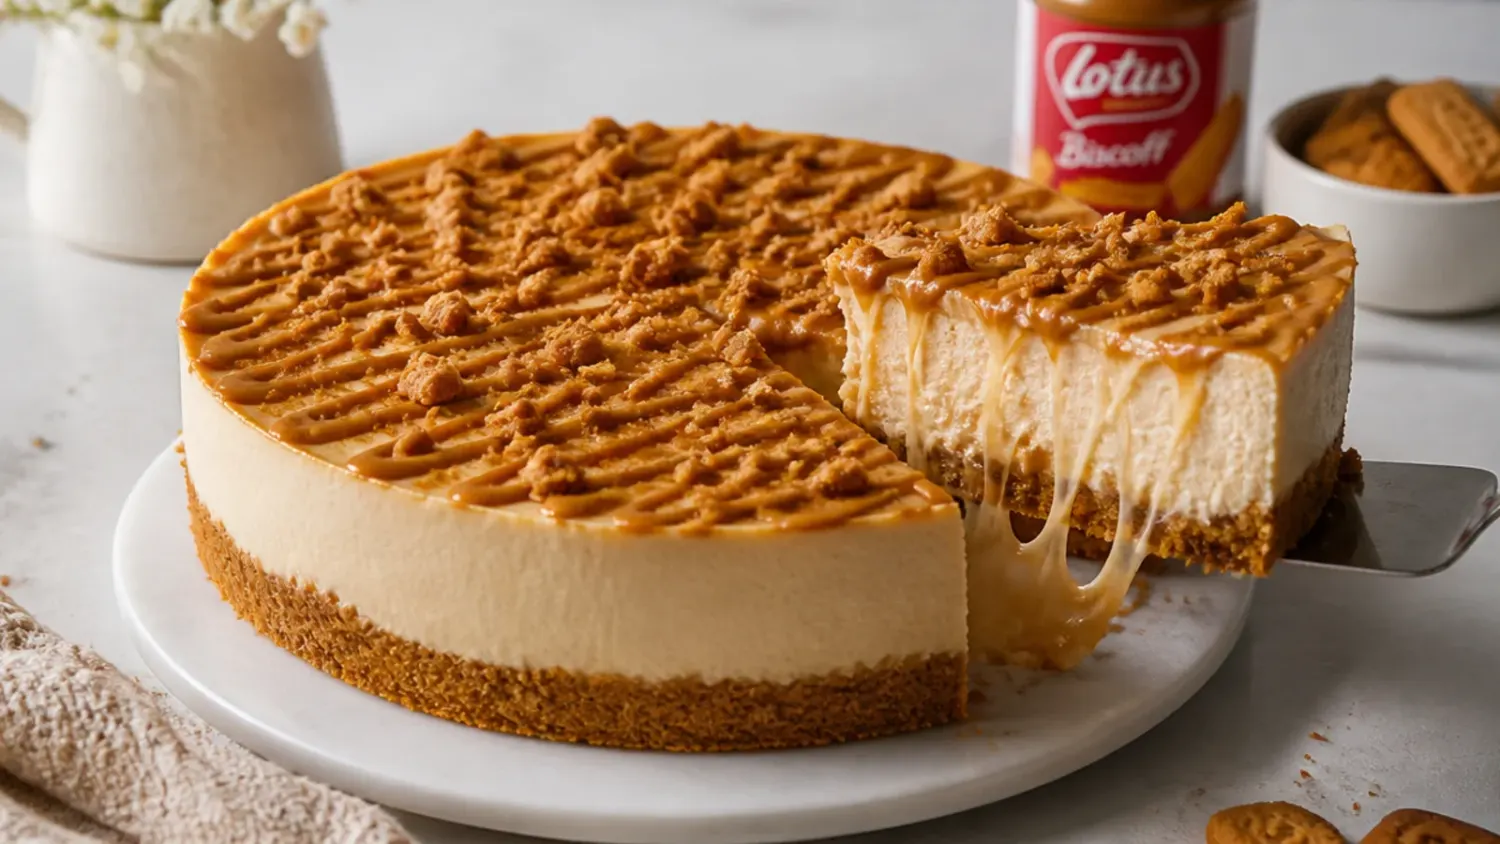
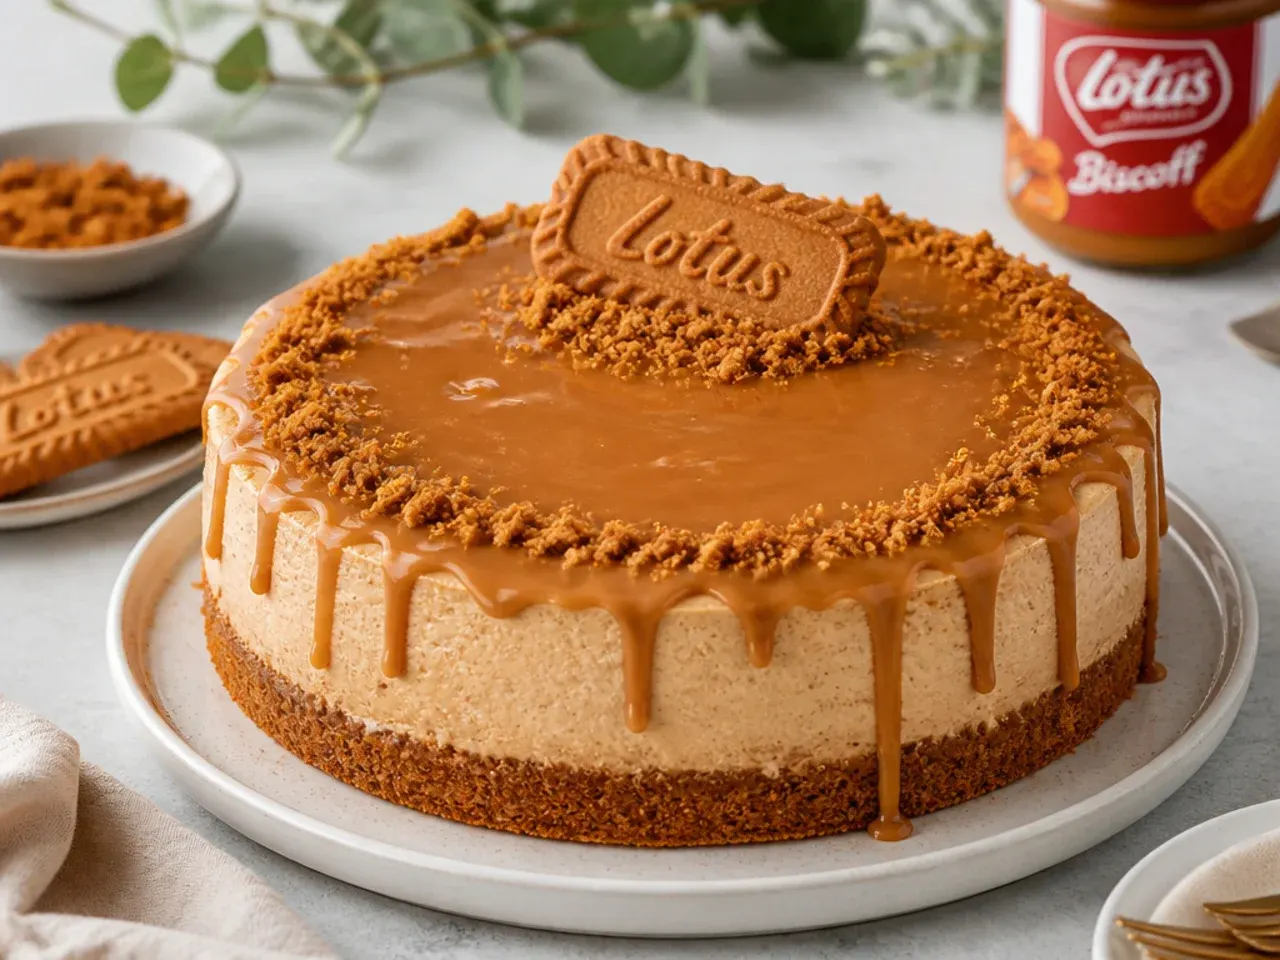
This is the base recipe you will find in full below: a 300g Biscoff biscuit and butter base, a whipped filling of 500g cream cheese, 250g Biscoff spread and 300ml double cream, and a glossy melted-spread top. It works because the whipped double cream sets the filling firm in the fridge with no gelatine, eggs or oven involved. Press the base into a 20cm (8 inch) springform tin, chill the assembled cheesecake for at least 6 hours (overnight is safer), then pour over 100g of gently melted spread. Finish with a border of crushed biscuits and piped cream rosettes using a Wilton 1M tip for the classic bakery look. One cake serves 12 generous slices.
2. Five-Minute Biscoff Cheesecake Pots
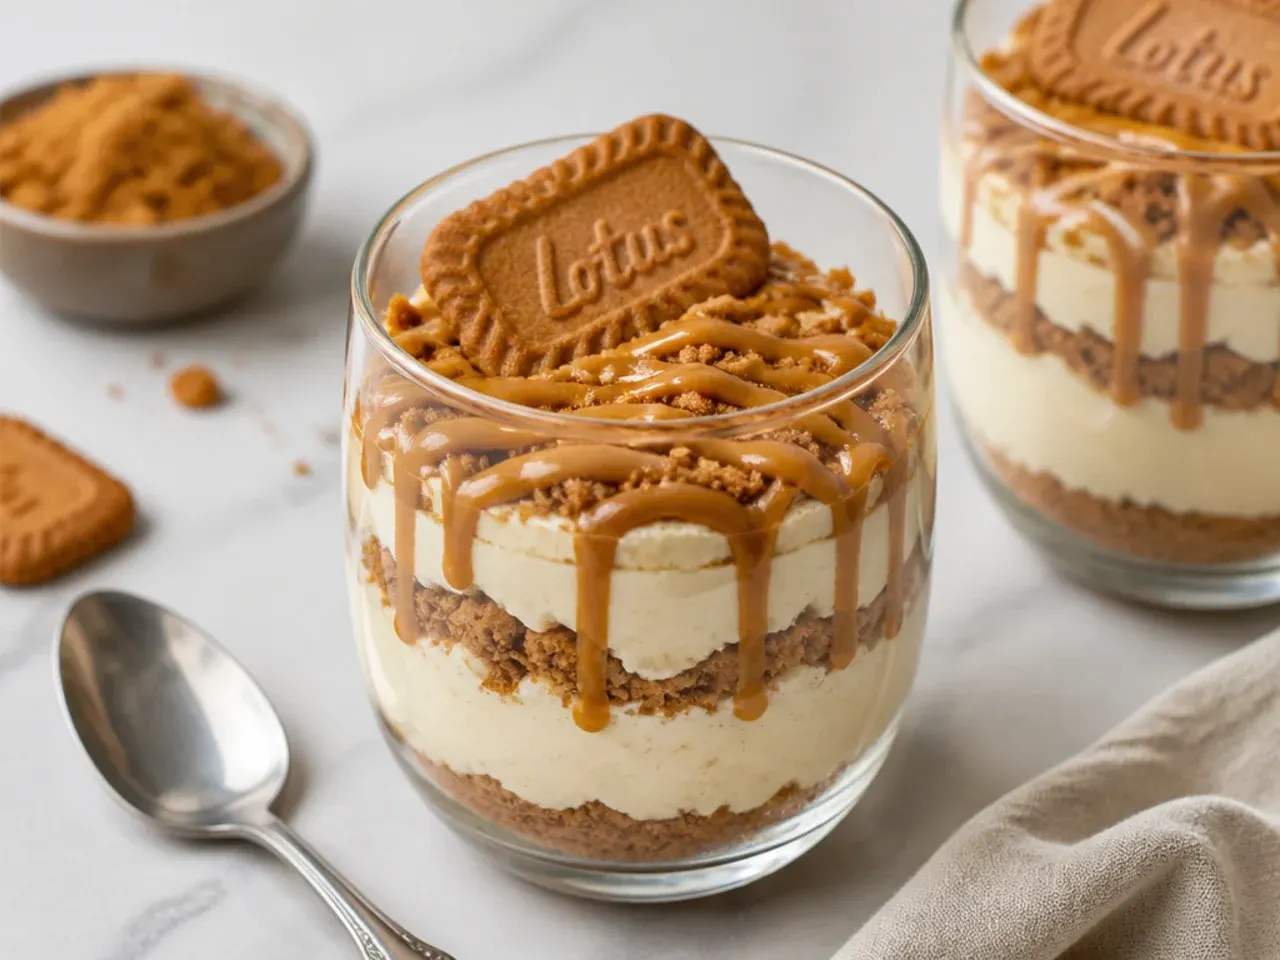
When you have no time to wait for a cheesecake to set, layer it in glasses instead. Whip 150ml of cold double cream to soft peaks, then fold in 200g of cream cheese and 100g of Biscoff spread until smooth. Spoon the mixture over a layer of crushed biscuits (about 2 biscuits per glass) in four small tumblers, then top with more crumbs and a drizzle of melted spread. Because there is no slice that needs to hold together, the pots are ready to eat immediately, though 30 minutes in the fridge firms them up nicely. This is the fastest route from craving to spoon in the whole list.
3. Baked New York-Style Biscoff Cheesecake
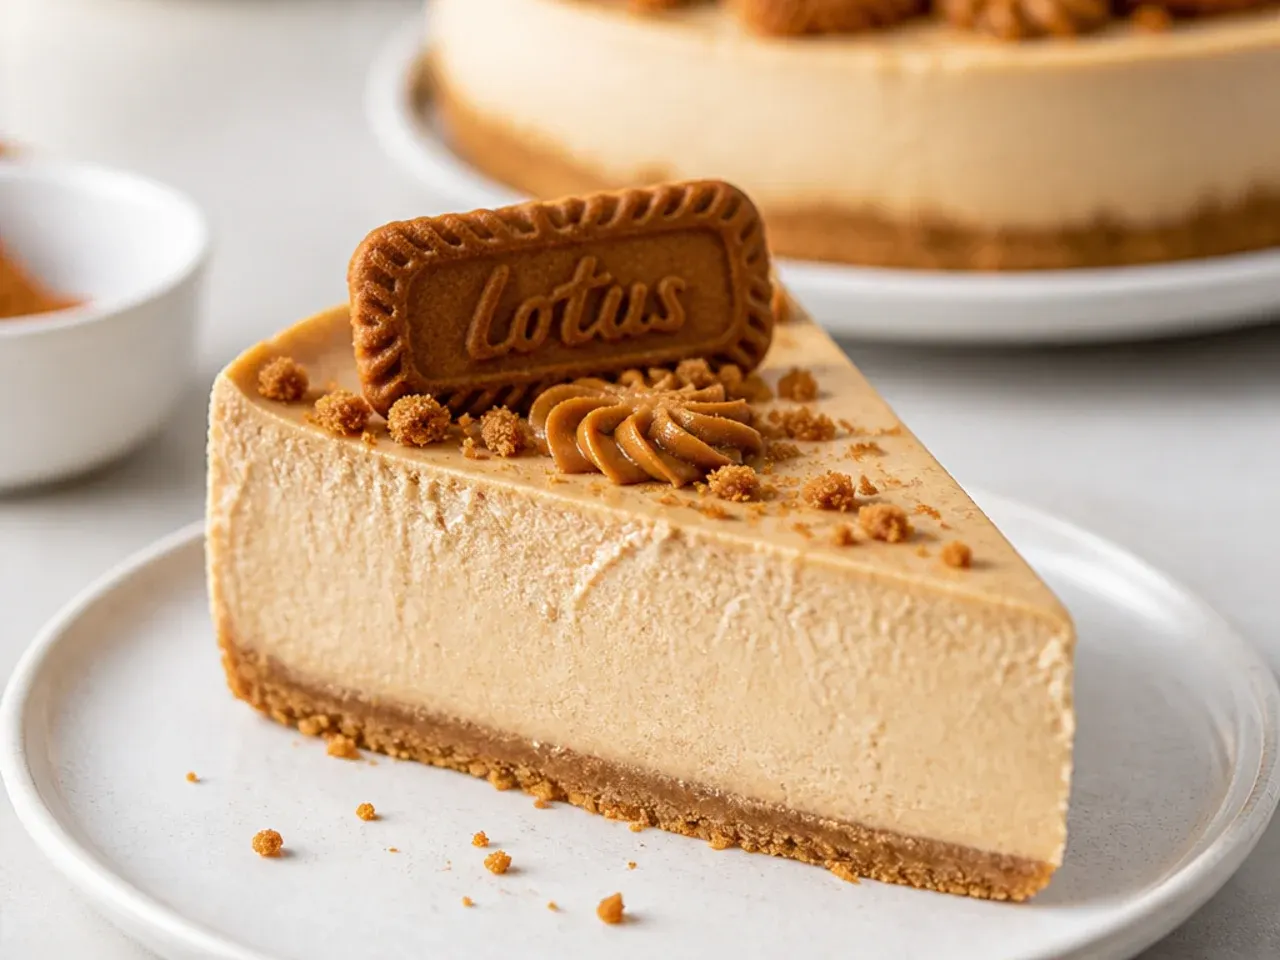
For a dense, velvety slice, beat 600g of full-fat cream cheese with 150g of caster sugar, then mix in 3 eggs one at a time, 150ml of soured cream and 100g of Biscoff spread. Pour the batter over a pre-baked biscuit base (bake the pressed base for 10 minutes at 160°C/325°F first) and bake in a water bath at 160°C (325°F) for 50 to 60 minutes. It is done when the edges are set but the middle 5cm still wobbles like jelly when you nudge the tin. Turn the oven off, prop the door open with a wooden spoon and leave the cheesecake inside for 1 hour to prevent cracks, then chill overnight. Baking mellows the spread into a deeper caramel flavour than the no-bake version.
4. Mini Biscoff Cheesecake Bites
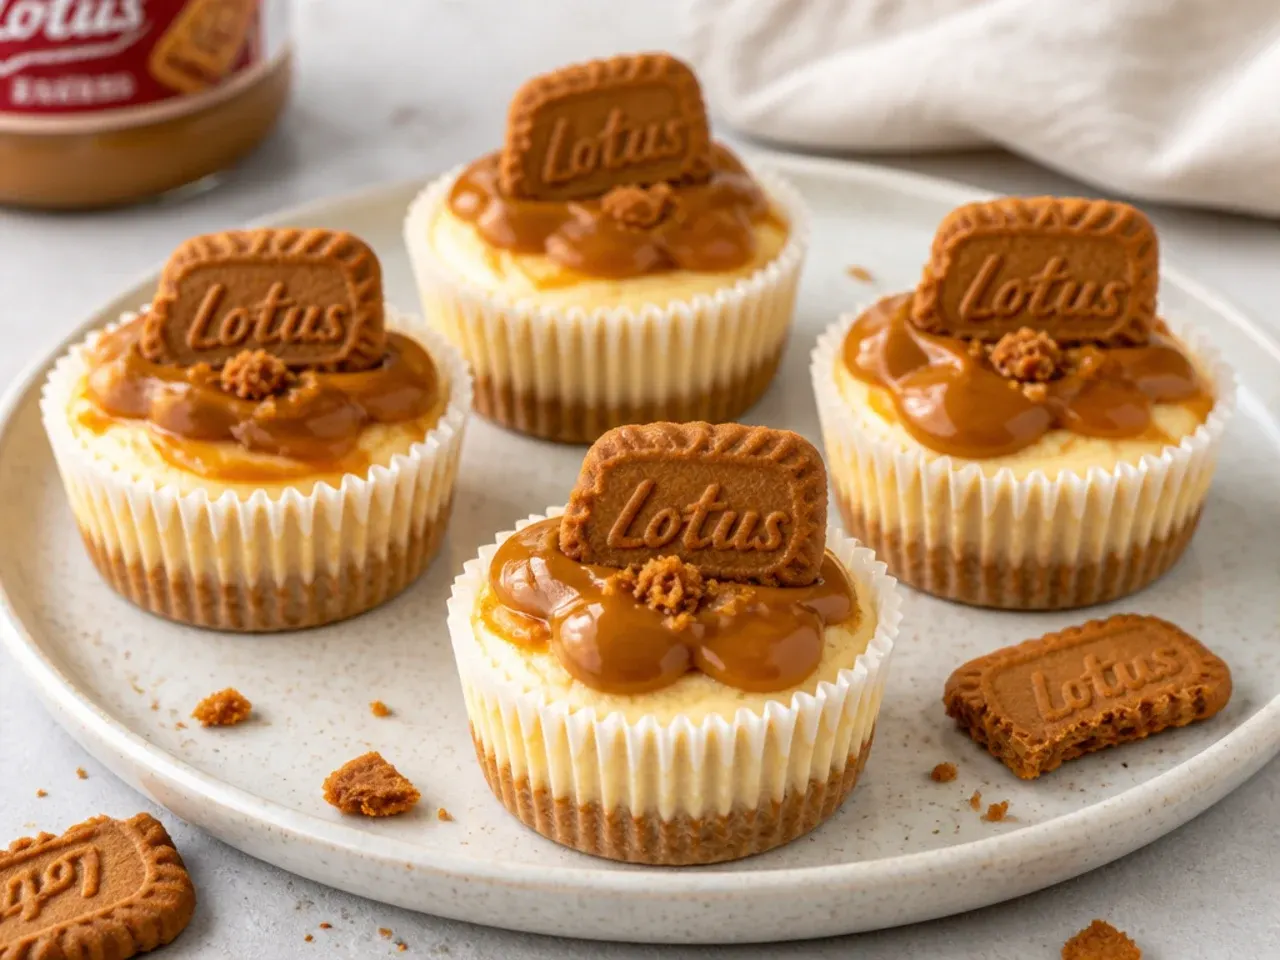
Line a 12-hole muffin tin with paper cases and press 1 tablespoon of the buttery biscuit crumb mixture into each. Make a half batch of the base filling, divide it between the cases (an ice cream scoop keeps portions even) and chill for just 2 hours — the small size sets far faster than a full cake. Top each one with a teaspoon of melted Biscoff spread and half a biscuit stood upright. They pop out of the cases cleanly, need no slicing and are ideal for bake sales, lunchboxes or kids' parties. One batch makes 12 individual servings.
5. Basque Burnt Biscoff Cheesecake
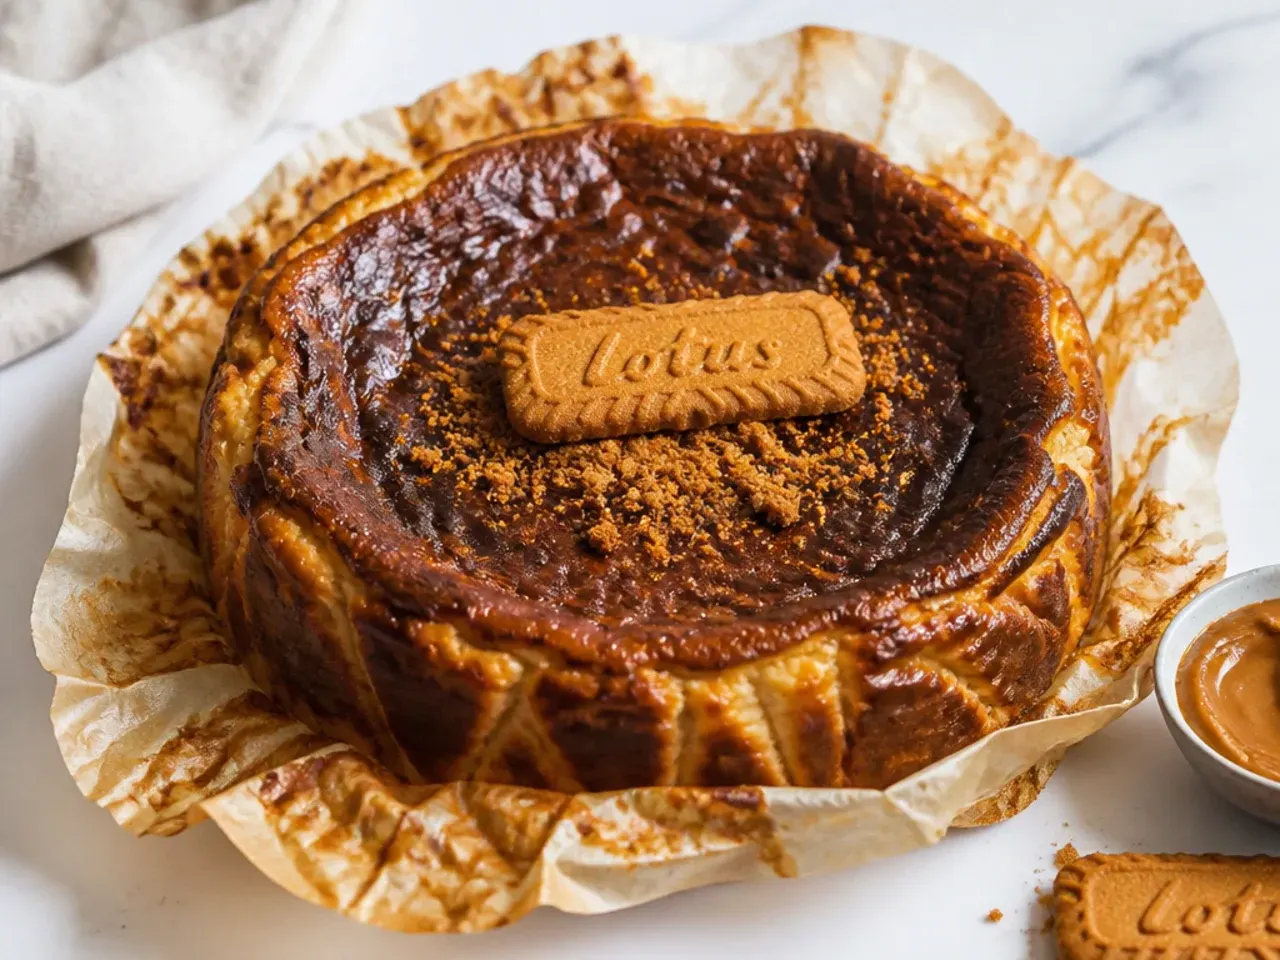
The Basque style skips the base entirely and embraces a deeply caramelised top. Beat 600g of cream cheese, 180g of caster sugar, 3 eggs, 300ml of double cream, 1 tablespoon of plain flour and 100g of Biscoff spread until smooth, then pour into a 20cm tin lined with scrunched baking paper that rises above the rim. Bake at 220°C (425°F) for 40 to 45 minutes until the top is dark brown — almost burnt — while the centre stays soft and wobbly. The bitter, toasted top against the caramel-sweet Biscoff interior is what makes this version taste so grown-up. Serve at room temperature rather than fridge-cold for the signature custardy middle.
Save this for later 📌
Pin this article to your Pinterest board so the full list is one tap away when you need it.
Save on Pinterest6. Biscoff Banoffee Cheesecake
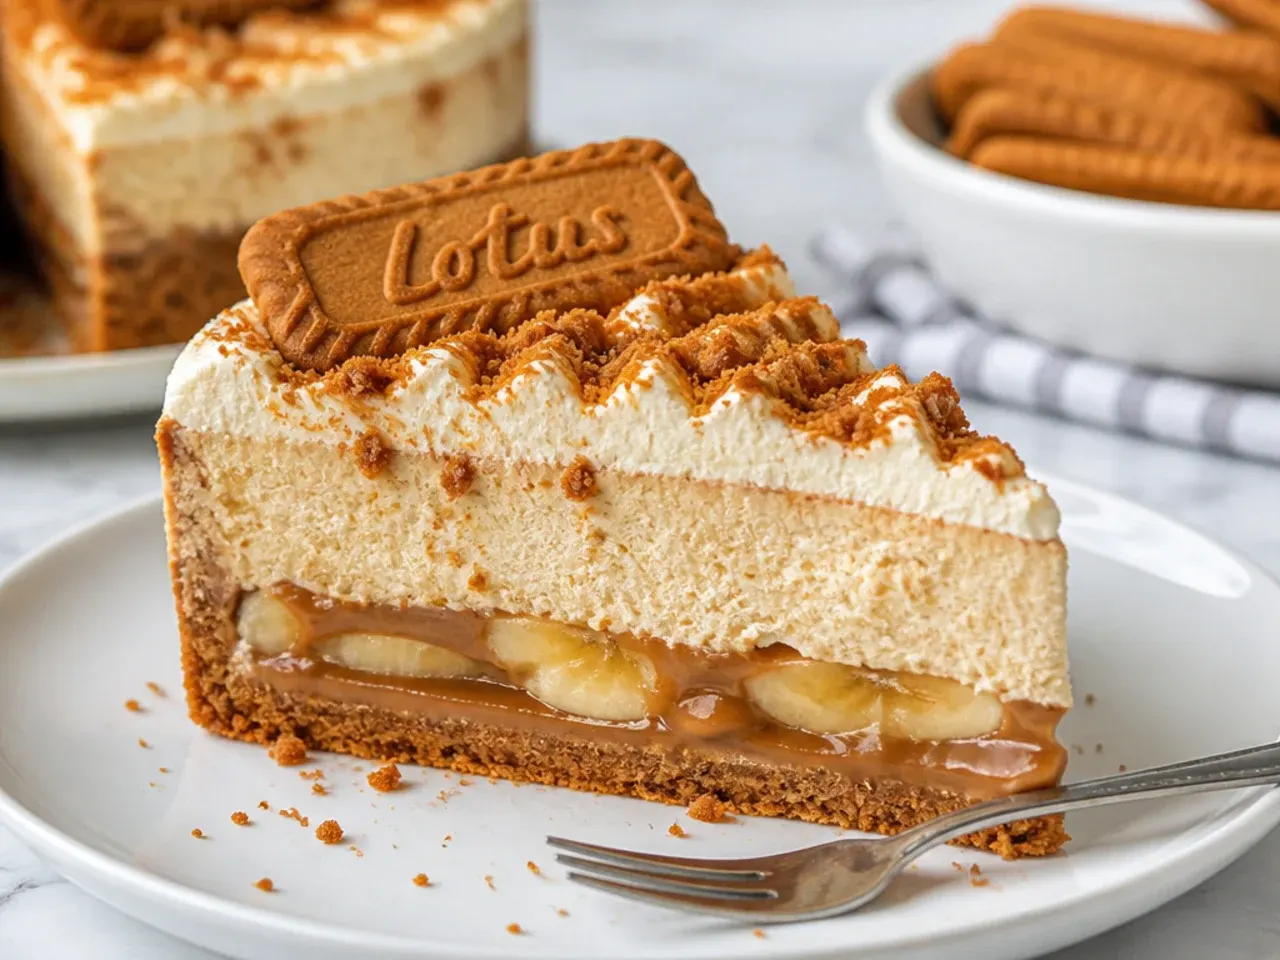
Banoffee pie and Biscoff cheesecake share a caramel soul, so combining them is an easy win. Spread 75g of dulce de leche or thick tinned caramel over the chilled biscuit base, then lay on a single layer of sliced banana — about 2 bananas — before adding the standard filling. The banana stays hidden until you cut the first slice, which makes a great reveal at the table. Top with softly whipped cream, a drizzle of caramel and dried banana chips rather than fresh slices, which brown within hours. Eat within 2 days, as bananas soften quickly even sealed inside the filling.
7. Raspberry Swirl Biscoff Cheesecake
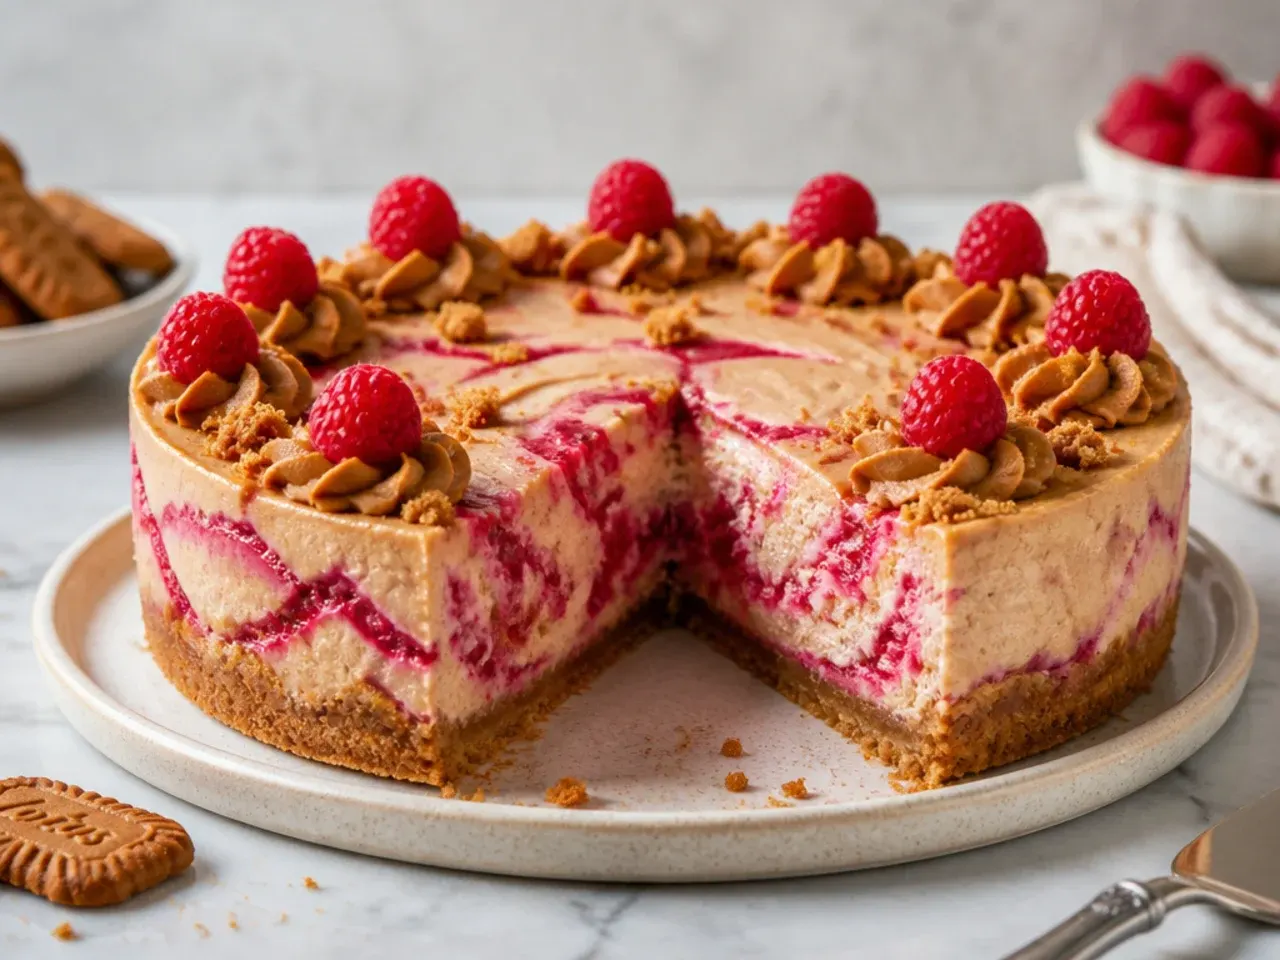
Biscoff is sweet, and a sharp fruit ripple balances it beautifully. Simmer 150g of raspberries with 2 tablespoons of caster sugar for 5 minutes, push through a sieve to remove the seeds and cool completely. Dollop 6 to 8 teaspoons of the purée over the filling once it is in the tin, then drag a skewer through in figure-of-eight motions to create marbled ribbons — stop after a few passes or the swirl muddies. The pink streaks look striking against the caramel-coloured filling when sliced. Frozen raspberries work just as well as fresh and cost less out of season.
8. Three-Ingredient Biscoff Cheesecake
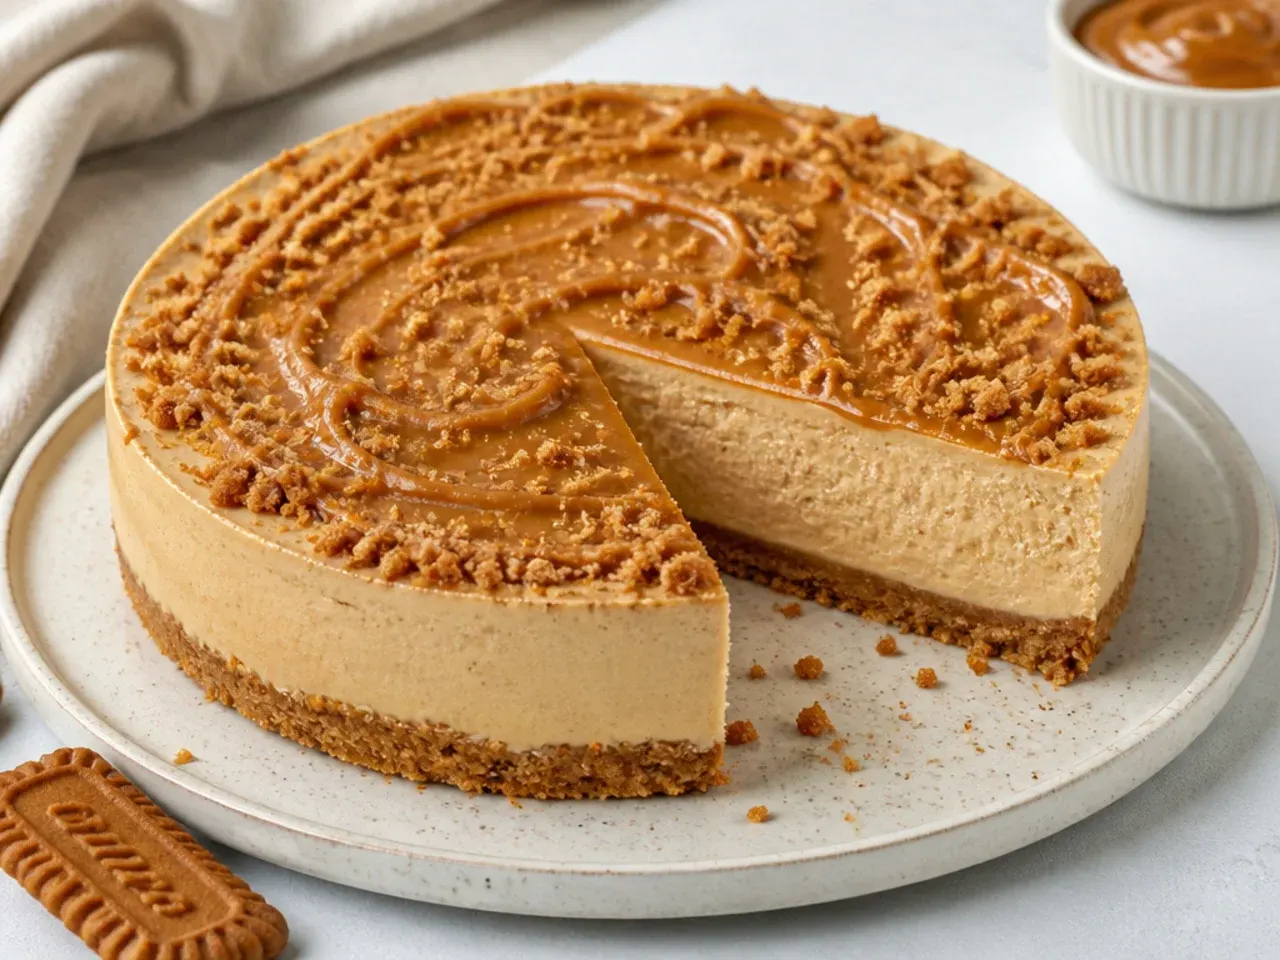
This is the most stripped-back biscoff cheesecake recipe possible: 400g of full-fat cream cheese, 250g of Biscoff spread and 300ml of double cream. The spread does triple duty as sweetener, flavour and stabiliser, so no icing sugar or vanilla is needed. Whisk all three together on medium speed for 1 to 2 minutes until the mixture is thick enough to hold its shape, pile into glasses or over a crushed-biscuit layer, and chill for 4 hours. It proves how much heavy lifting the spread does — the jar is roughly a third sugar, which sweetens the entire filling. A great confidence builder before attempting the full base recipe.
9. Festive Biscoff Cheesecake Wreath
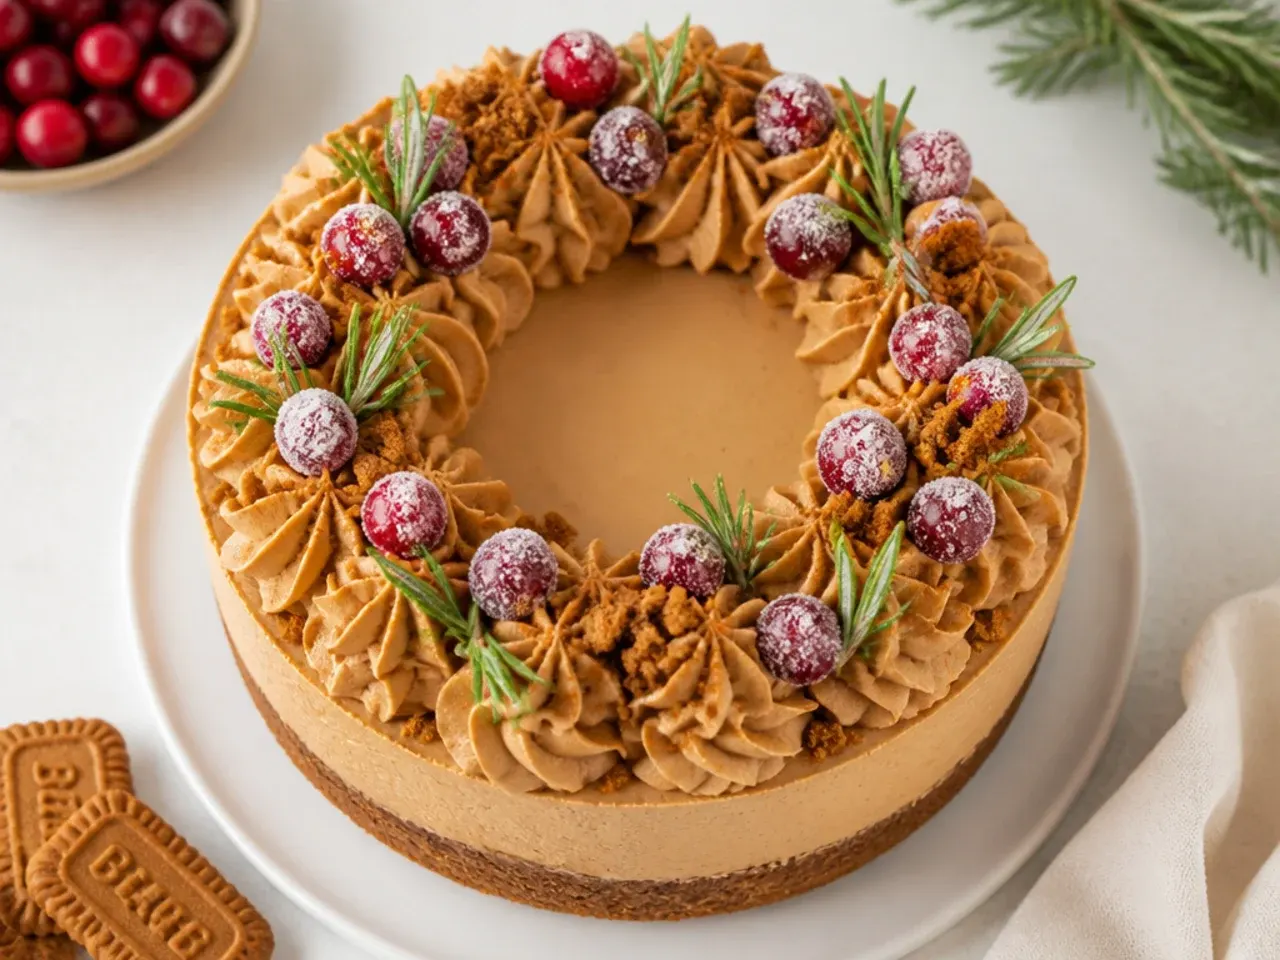
Turn the classic into a Christmas centrepiece with a decorated ring on top. Add 1 teaspoon of ground cinnamon to the biscuit base to amplify the spices already in the biscuits, then make the standard no-bake filling. Once set, pipe a ring of whipped cream rosettes around the top edge with a Wilton 1M tip, then dot with sugared cranberries and small rosemary sprigs so the ring reads as a wreath. To sugar cranberries, roll them in warm sugar syrup, then in caster sugar, and let them dry for an hour. The red, green and caramel colour combination needs no other decoration, and the whole cake can still be made 2 days ahead.
10. Biscoff Cheesecake Dip
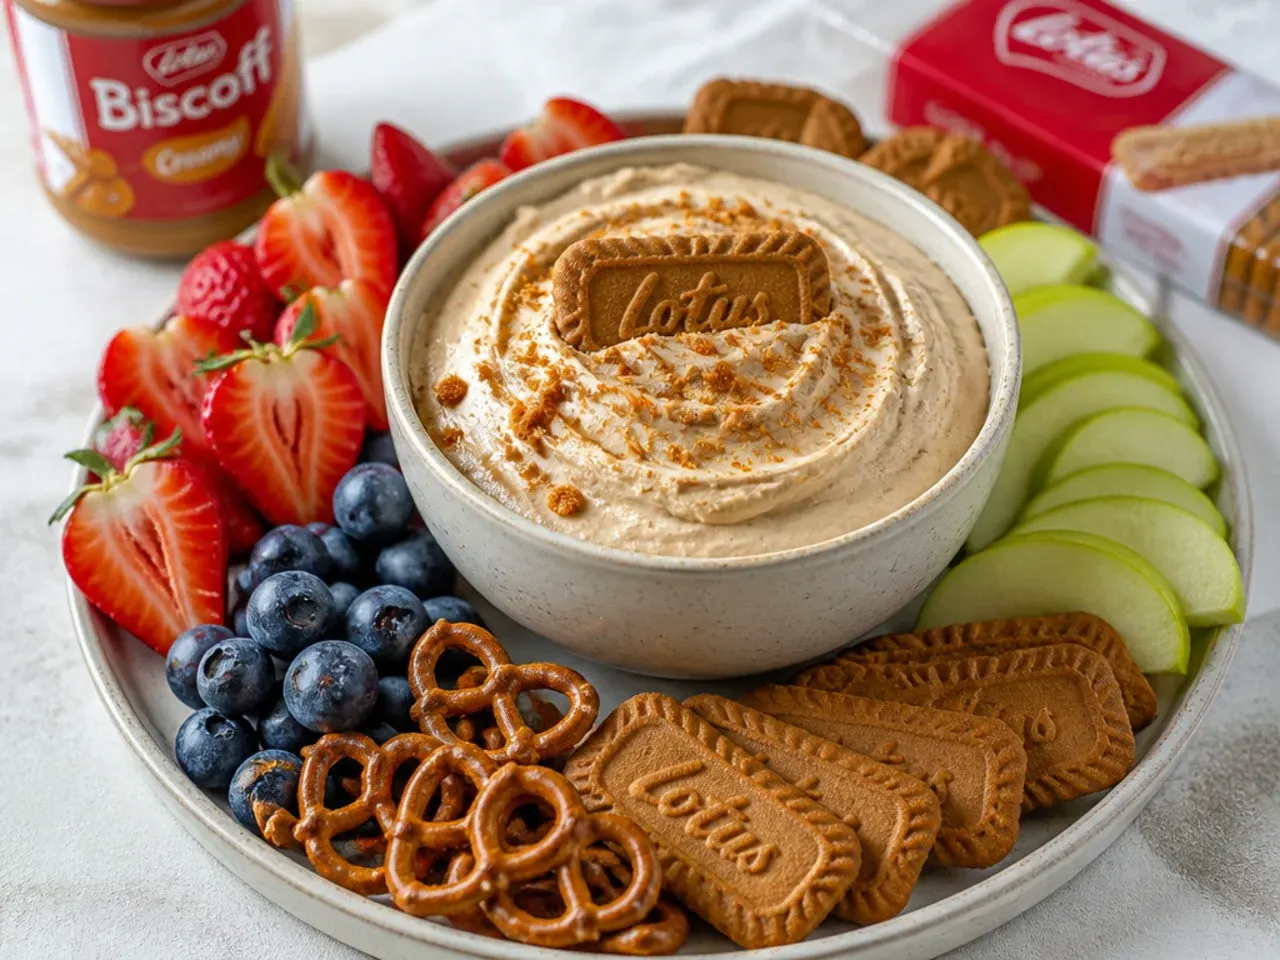
All the flavour of the cake in scoopable party form, ready in 10 minutes. Beat 225g of cream cheese with 120g of Biscoff spread and 60g of icing sugar until smooth, then fold in 150ml of double cream whipped to stiff peaks. Pile into a shallow bowl, swirl the top with the back of a spoon and finish with a tablespoon of melted spread and a handful of biscuit crumbs. Serve surrounded by apple slices, strawberries, pretzels and whole Biscoff biscuits for dipping. It holds in the fridge for 3 days, making it the easiest make-ahead option for a crowd.
Save this for later 📌
Pin this article to your Pinterest board so the full list is one tap away when you need it.
Save on Pinterest11. Salted Caramel Biscoff Cheesecake
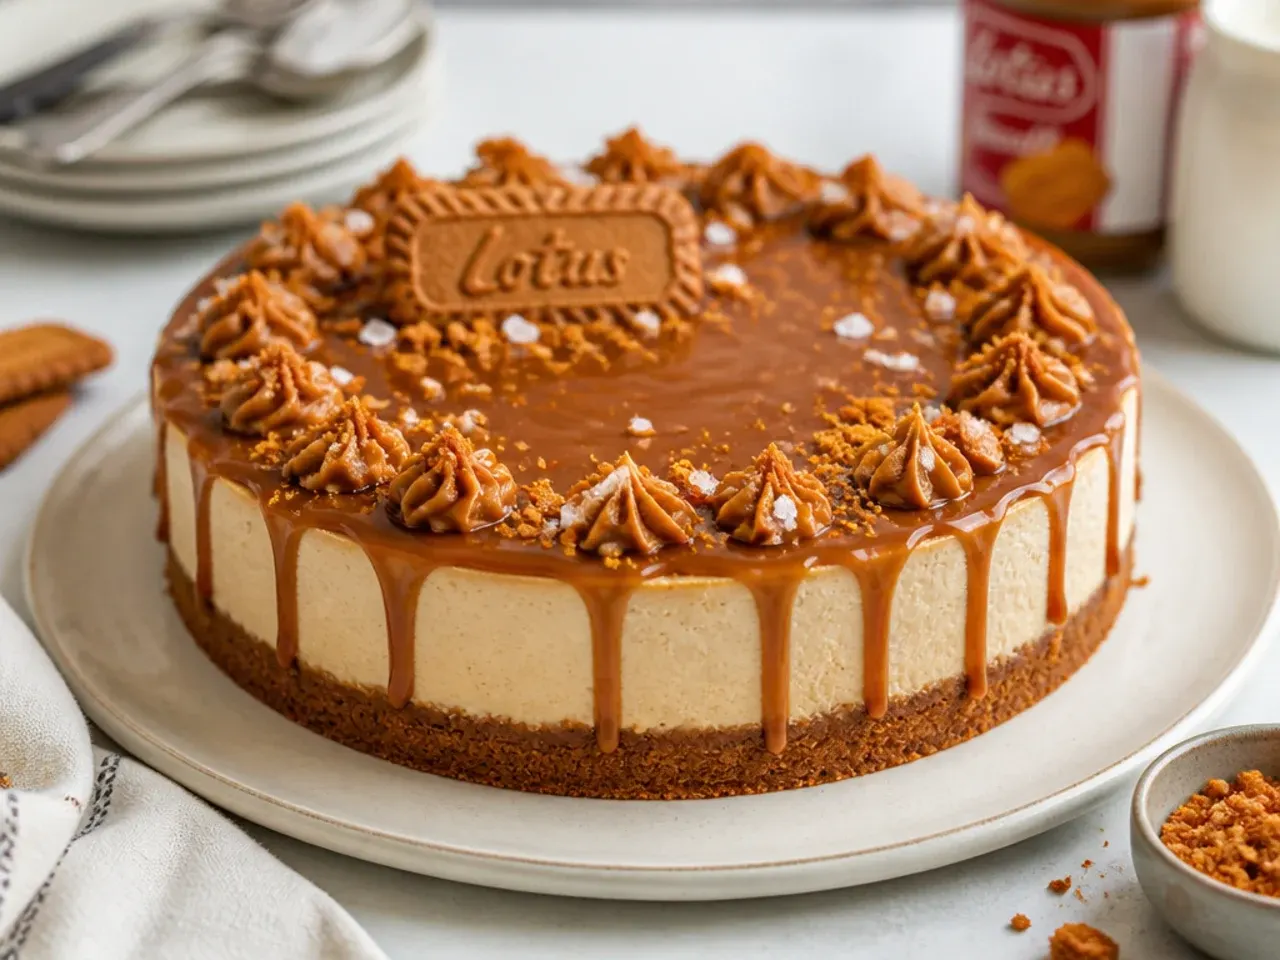
Salt sharpens caramel, and Biscoff is essentially caramel in biscuit form. Spread 150g of thick salted caramel over the chilled base and scatter over a quarter teaspoon of flaky sea salt (Maldon is ideal) before adding the filling. After the cheesecake sets, drizzle more caramel over the top in thin lines and add another small pinch of flakes just before serving so they stay crunchy. The salt hit stops the dessert tasting one-dimensionally sweet, which matters in something this rich. Shop-bought caramel sauce is fine as long as it is thick enough to spread rather than pour.
12. Japanese Soufflé Biscoff Cheesecake
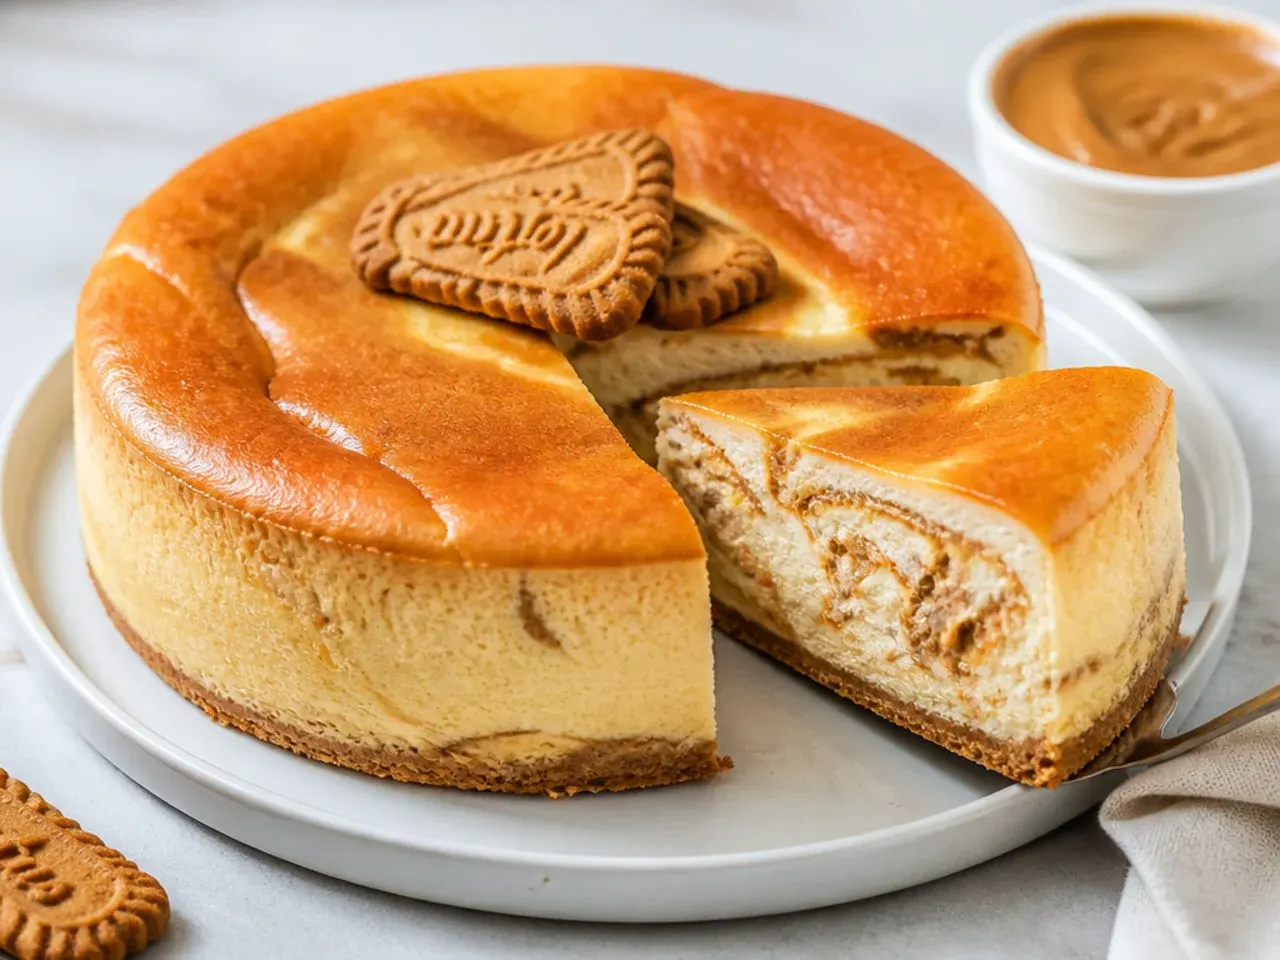
This is the light, cotton-soft opposite of a New York bake, and a version almost nobody else covers. Whisk 4 egg yolks into a warm batter of 250g cream cheese, 60ml milk and 40g butter, fold in 60g of plain flour, then gently fold through a meringue made from the 4 egg whites and 100g of caster sugar. Marble 75g of loosened Biscoff spread through the batter, then bake in a water bath at 140°C (285°F) for 60 to 70 minutes until the top is golden and the cake jiggles as one piece. It rises like a soufflé and settles into a feather-light crumb as it cools. Serve in thick slices with a little extra melted spread on the plate.
13. Biscoff Tiramisu Cheesecake
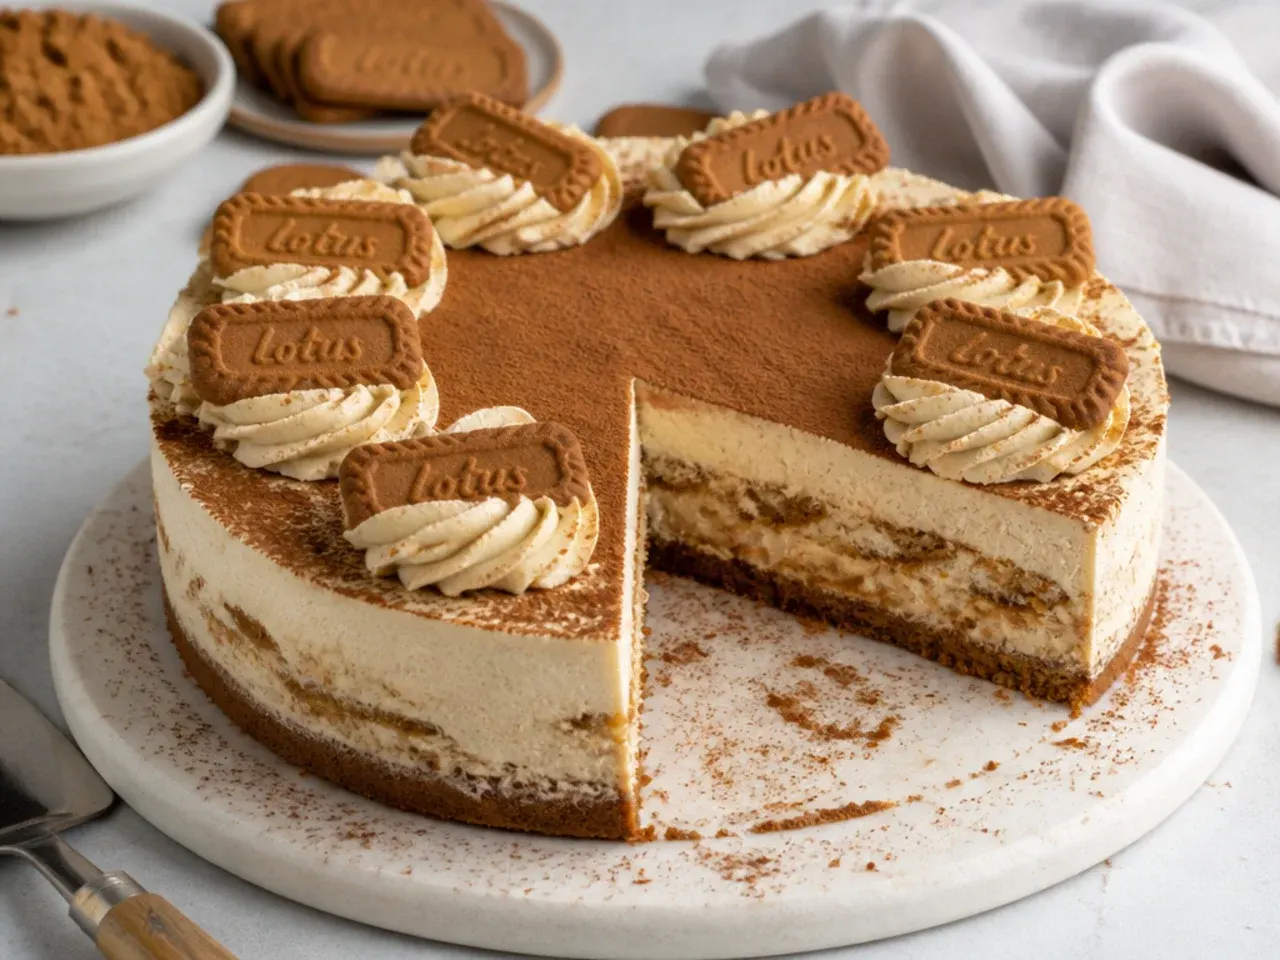
A mash-up of two of the world's most loved desserts, using Biscoff biscuits instead of ladyfingers. Make the base filling but swap half the cream cheese for 250g of mascarpone, which gives the authentic tiramisu richness. Dip 8 whole biscuits briefly — about 2 seconds per side — in cooled espresso and arrange them in a layer through the middle of the filling as you assemble. Once set, dust the top heavily with cocoa powder through a fine sieve instead of using the melted-spread topping. The coffee-soaked biscuits soften into cake-like layers, and coffee with caramelised biscuit is a natural pairing.
14. Brownie-Bottom Biscoff Cheesecake
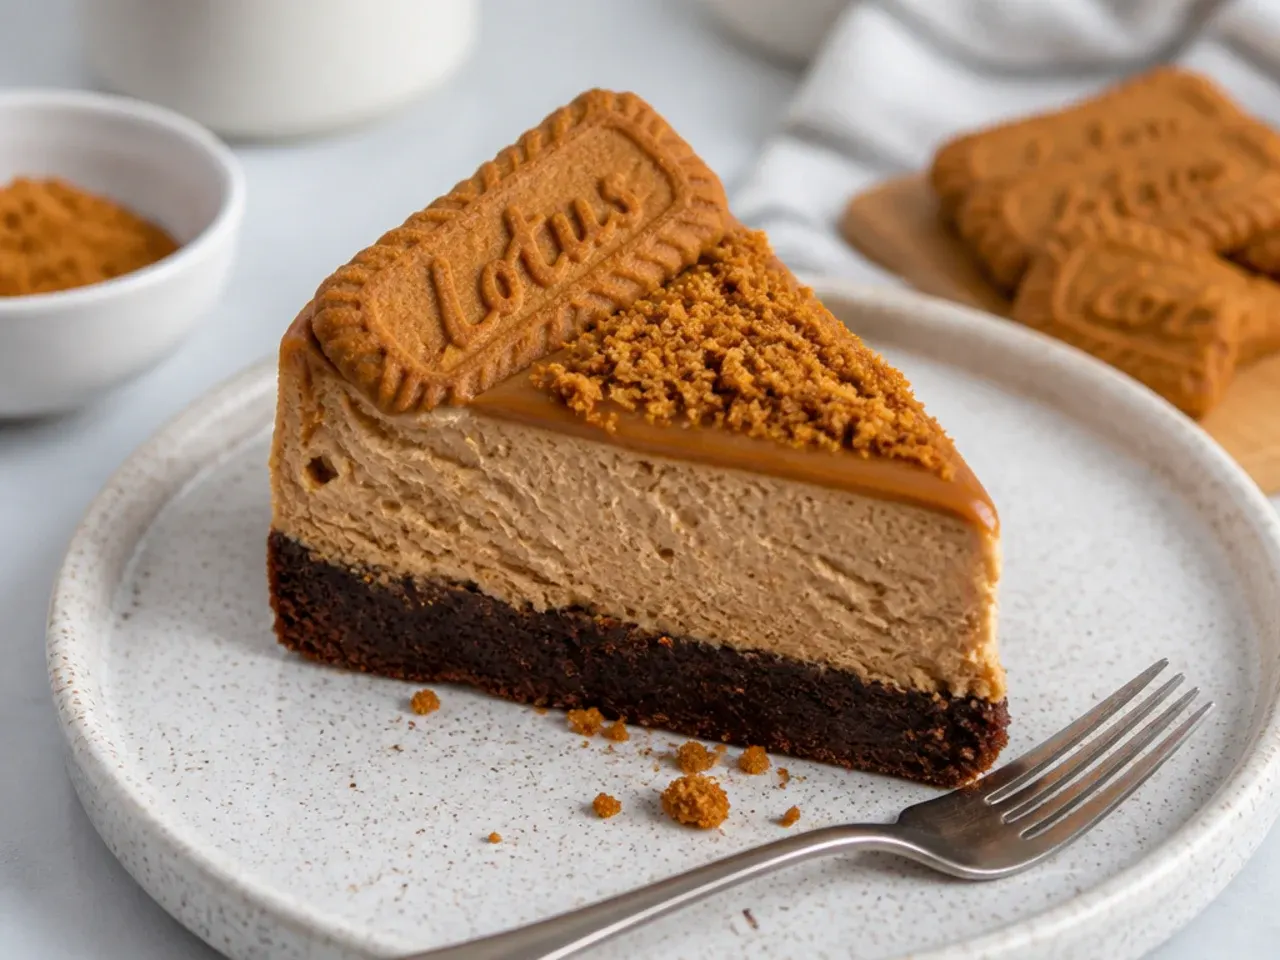
Swap the biscuit base for a fudgy brownie layer for serious contrast. Make a one-bowl brownie batter (100g melted dark chocolate, 100g butter, 150g sugar, 2 eggs, 75g flour), spread it in the lined 20cm springform tin and bake at 180°C (350°F) for 20 minutes until just set. Cool completely — a warm brownie will melt the filling — then top with the standard no-bake filling and chill for 6 hours. You get chewy chocolate, creamy cheesecake and crunchy biscuit topping in every forkful. This one slices best with a hot knife wiped between cuts because of the dense brownie layer.
15. Pumpkin Spice Biscoff Cheesecake
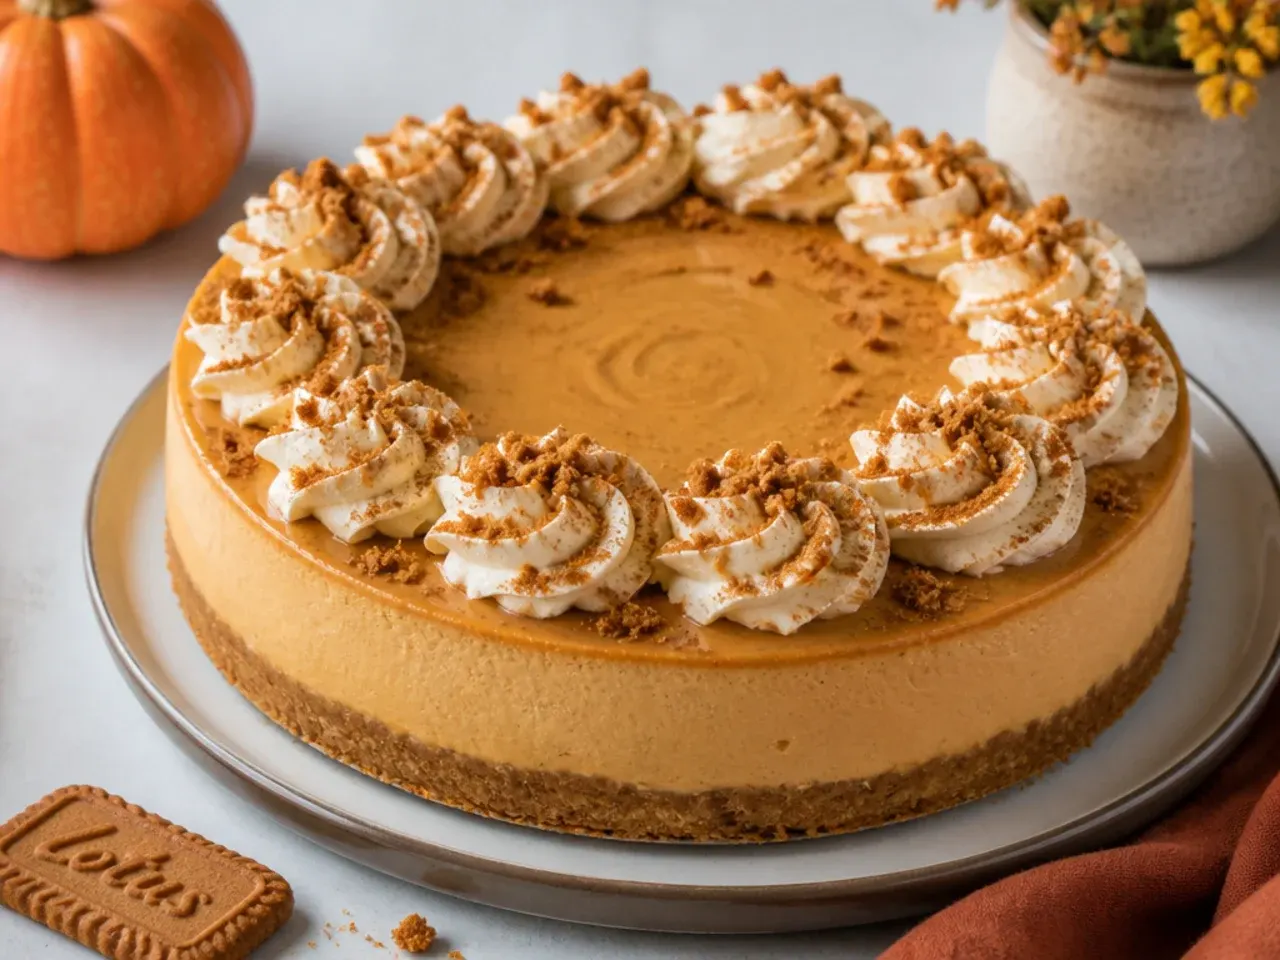
Speculoos biscuits are spiced with cinnamon, nutmeg and cloves — the same spices as pumpkin pie — so this pairing tastes like it was always meant to be. Fold 200g of pumpkin purée (plain canned purée, not pie filling) and 1½ teaspoons of pumpkin pie spice or mixed spice into the standard filling, and add an extra 30 minutes to the chill time since purée loosens the mixture. Blot the purée on kitchen paper first to remove excess moisture and protect the set. Top with cream rosettes dusted with cinnamon instead of the melted spread layer. It is the obvious Thanksgiving or Bonfire Night take on a biscoff cheesecake recipe.
Save this for later 📌
Pin this article to your Pinterest board so the full list is one tap away when you need it.
Save on Pinterest16. Chocolate Marble Biscoff Cheesecake
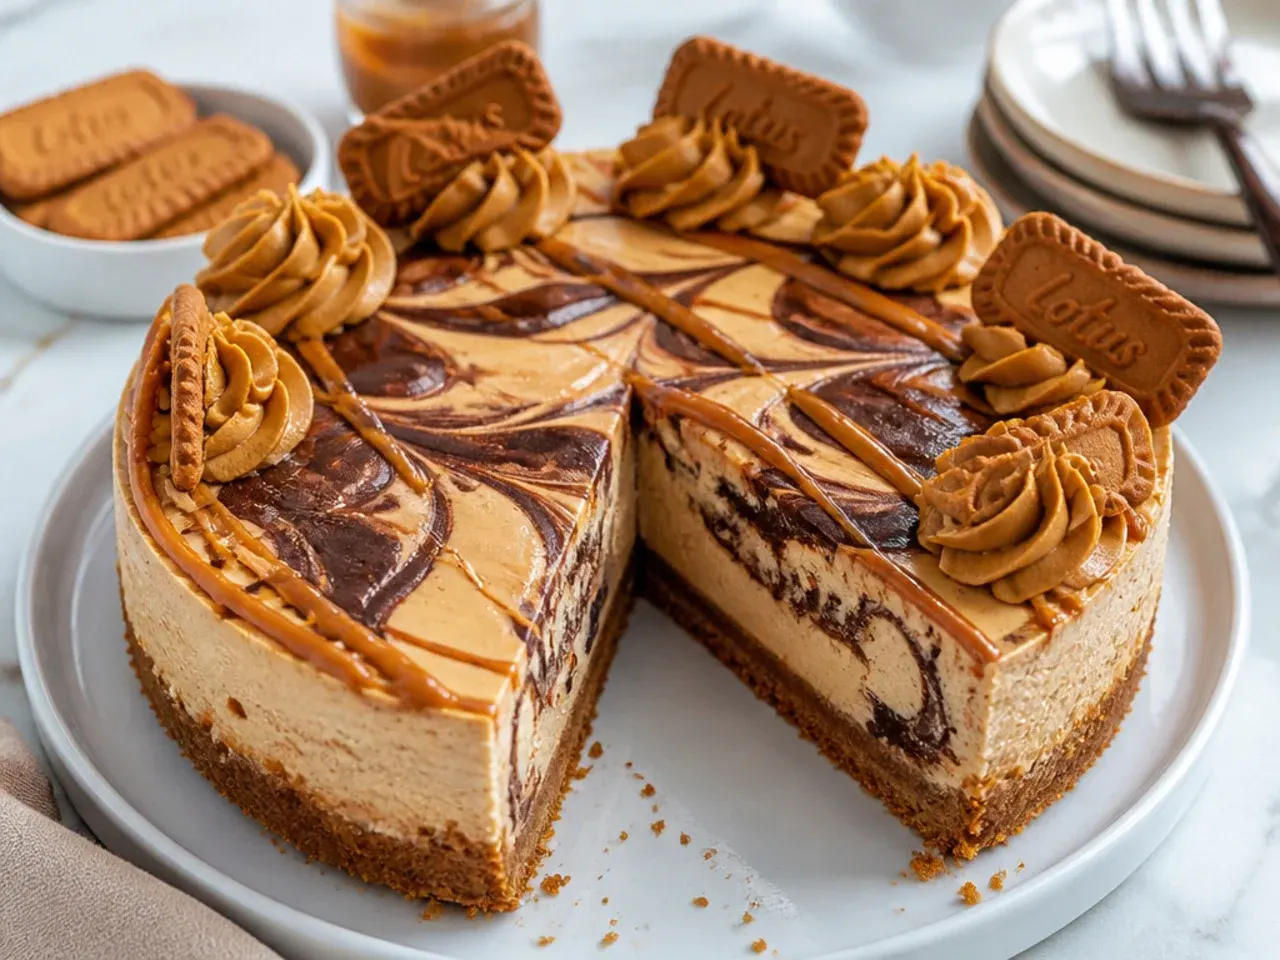
Melt 100g of dark chocolate (54 to 70 percent cocoa), cool it for 5 minutes so it does not seize the filling, then dollop tablespoons of it over the filled tin. Drag a skewer through in loops to create bold marbled ribbons, keeping some pools of plain filling for contrast. The slight bitterness of dark chocolate plays against the sweet spread the same way it does in a millionaire's shortbread. When you slice, every piece shows a different pattern, which makes it look far harder than it is. Finish with chocolate curls shaved from the bar with a vegetable peeler instead of the usual biscuit crumbs.
17. Air Fryer Biscoff Cheesecake
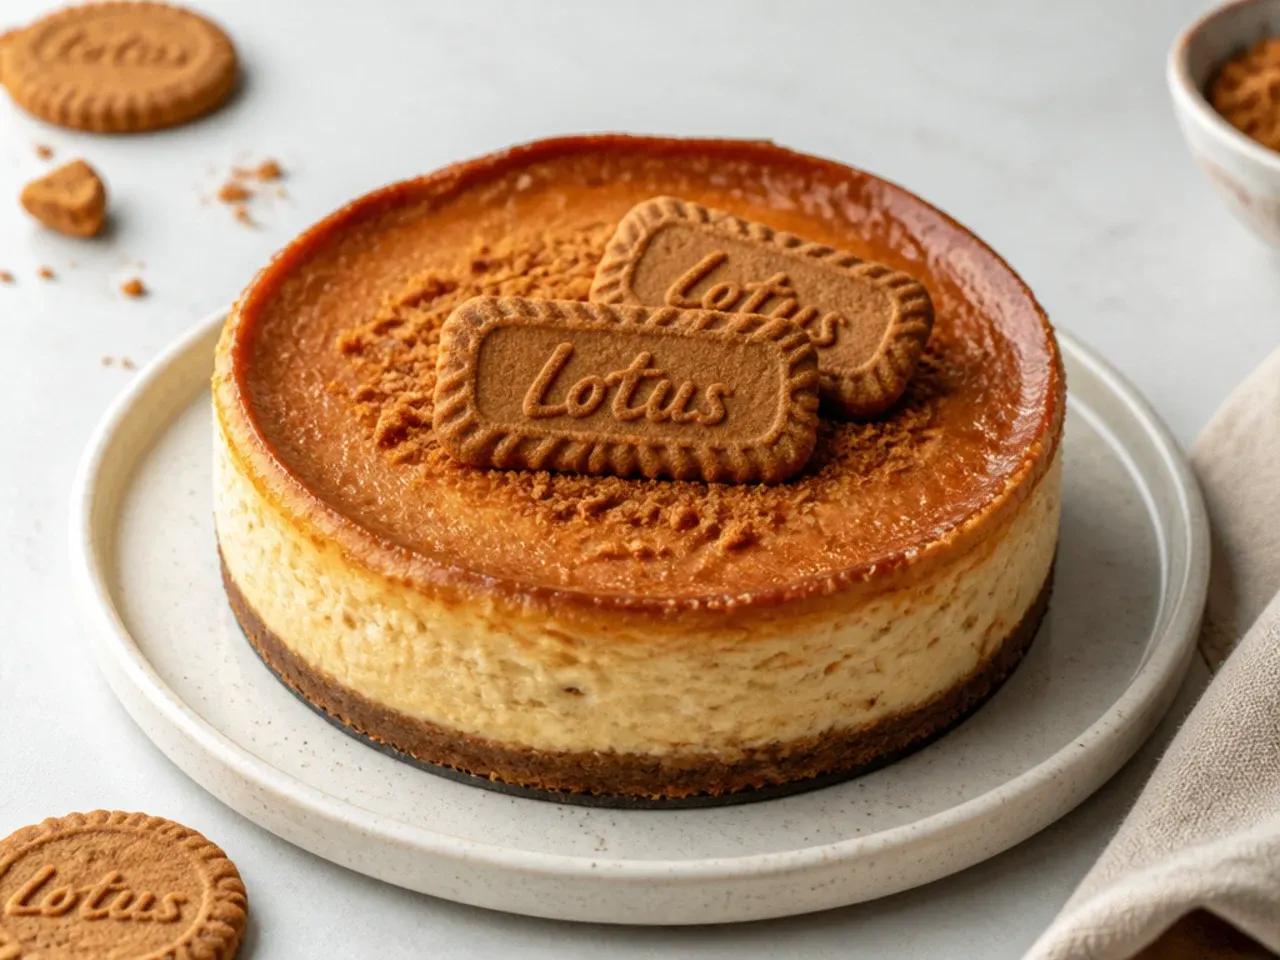
You can bake a proper cheesecake in most basket air fryers using a 15cm (6 inch) loose-based tin. Make a half batch of the New York-style batter, pour it over the pressed biscuit base and cook at 150°C (300°F) for 25 to 30 minutes, covering the top loosely with foil for the first 15 minutes so it does not over-brown. It is done when the edges are set and the centre wobbles slightly; leave it in the switched-off air fryer for 30 minutes, then chill for 4 hours. Perfect when your oven is busy or you are feeding 6 rather than 12. Check your tin fits the basket before you start — most 6 inch tins fit fryers of 5.5 litres and up.
18. White Chocolate Biscoff Cheesecake
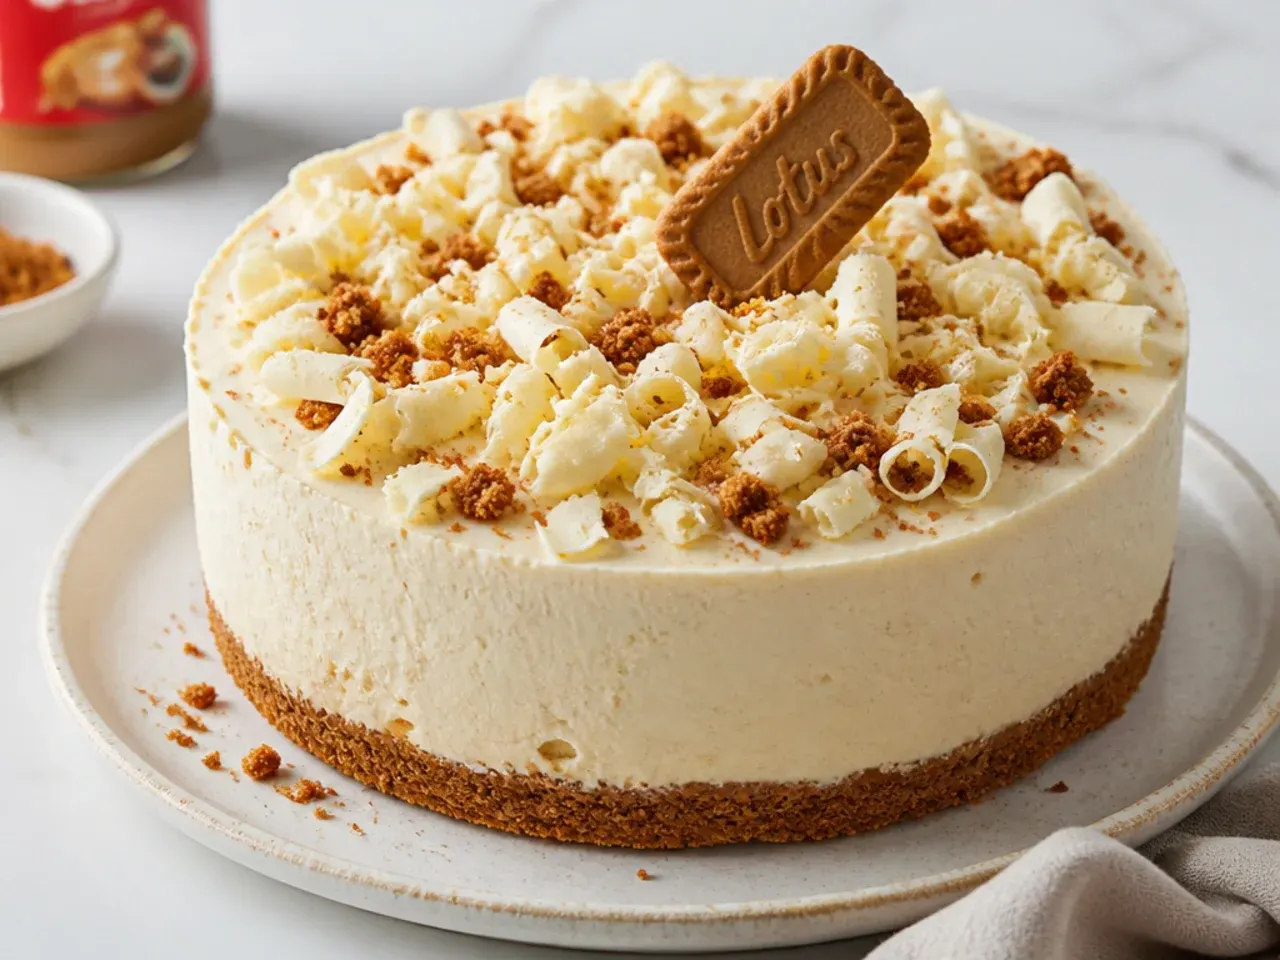
Melted white chocolate makes the filling set firmer and slice cleaner, giving an elegant patisserie-style finish. Melt 200g of good white chocolate, cool it for 5 minutes, then whisk it into the cream cheese mixture before adding the cream. The chocolate's cocoa butter firms as it chills, so this version holds sharp edges even after an hour at room temperature on a buffet table. Decorate with white chocolate curls and a light dusting of biscuit crumbs rather than the full melted-spread top, which would fight the delicate flavour. The sweetness is higher here, so cut slightly smaller slices — it divides easily into 14.
19. Frozen Biscoff Cheesecake Bars
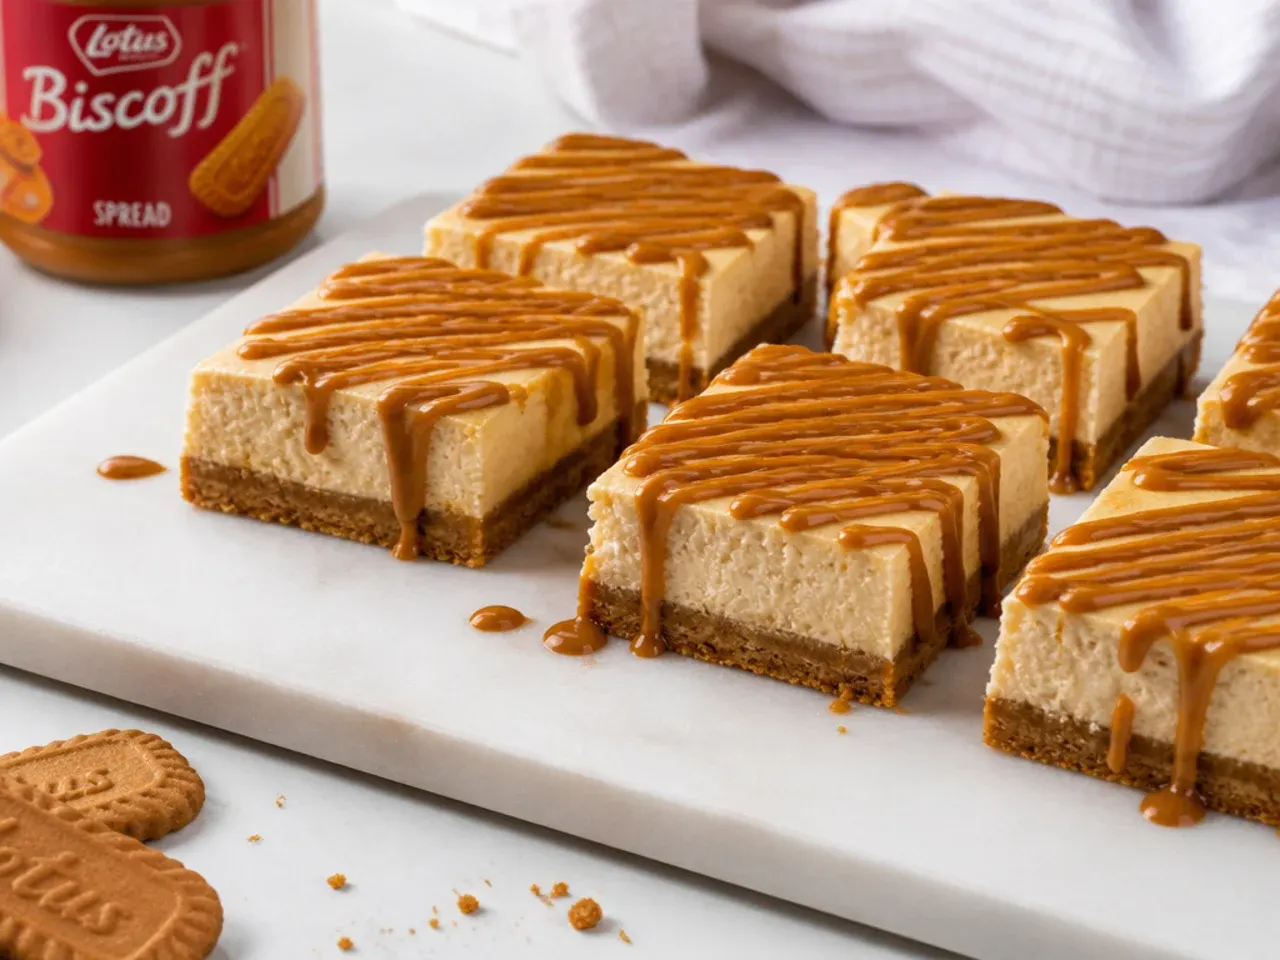
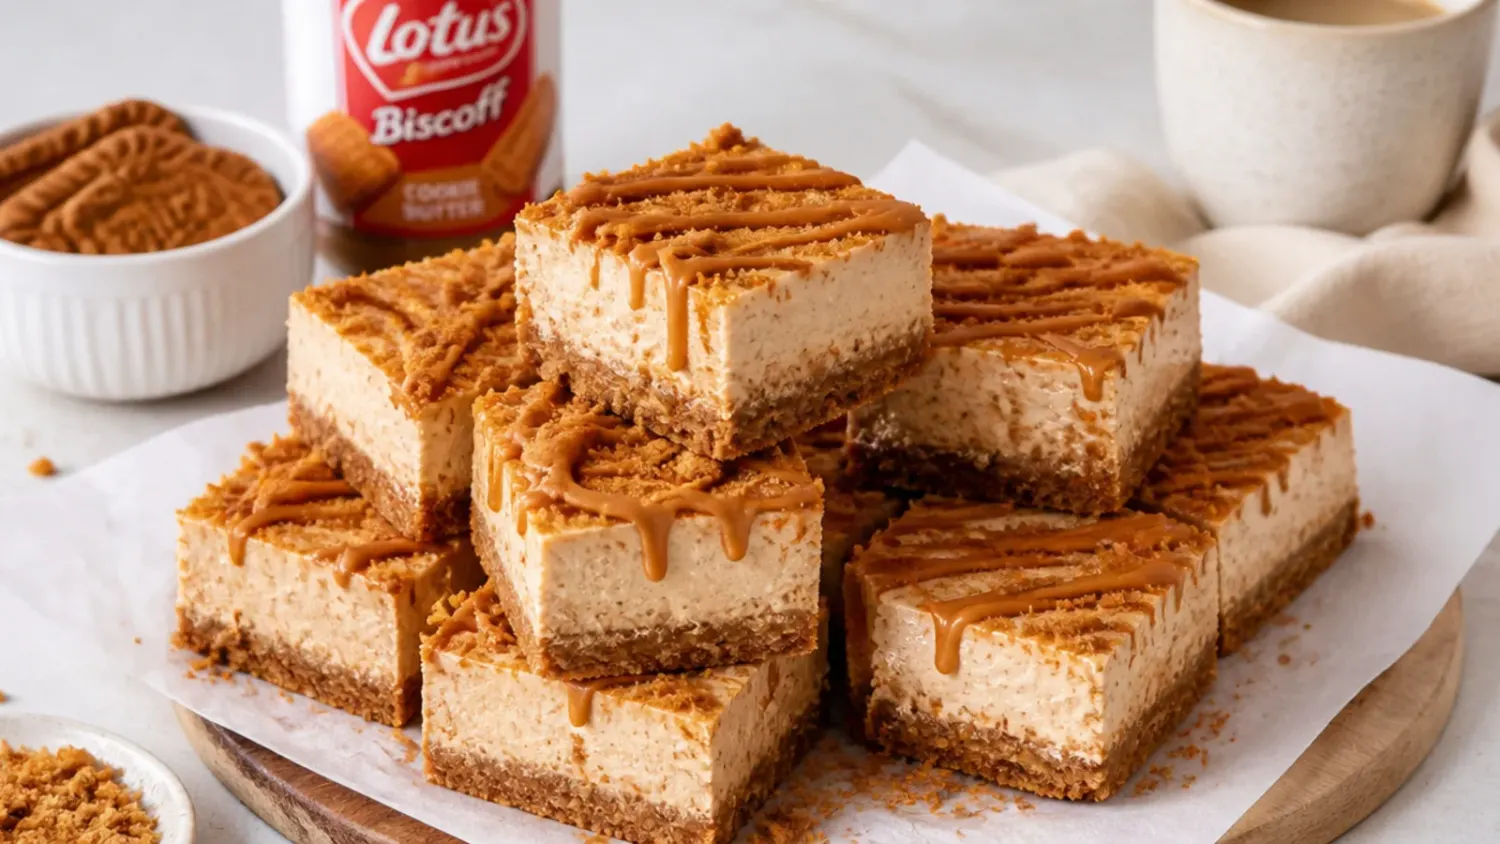
Make the standard filling, spread it over the base in a 20cm square tin lined with overhanging baking paper, and freeze for at least 4 hours until solid. Lift the slab out using the paper, drizzle with melted spread and cut into 12 bars with a hot knife — they eat like premium cheesecake ice cream bars. Let them stand at room temperature for 5 minutes before serving so the filling turns creamy rather than icy. Stored in a freezer bag with baking paper between the layers, they keep for 3 months, which makes them the ultimate emergency dessert. Kids love them handed out like ice lollies at summer parties.
20. Vegan Biscoff Cheesecake
Here is the happy secret: Lotus Biscoff biscuits and spread contain no dairy or eggs, so only the filling needs swapping. Use 450g of firm vegan cream cheese (Violife or Philadelphia Plant Based hold up best), 250g of Biscoff spread and 250ml of a whippable plant cream such as Elmlea Plant Double, and make the base with 120g of vegan block butter. Whip the plant cream separately to soft peaks and fold it in, because plant creams are less forgiving of overbeating than dairy cream. Chill overnight — vegan versions need the full 8 to 12 hours to firm up. The finished cake tastes remarkably close to the original because the dominant flavour was always the biscuit.
Pro Tips
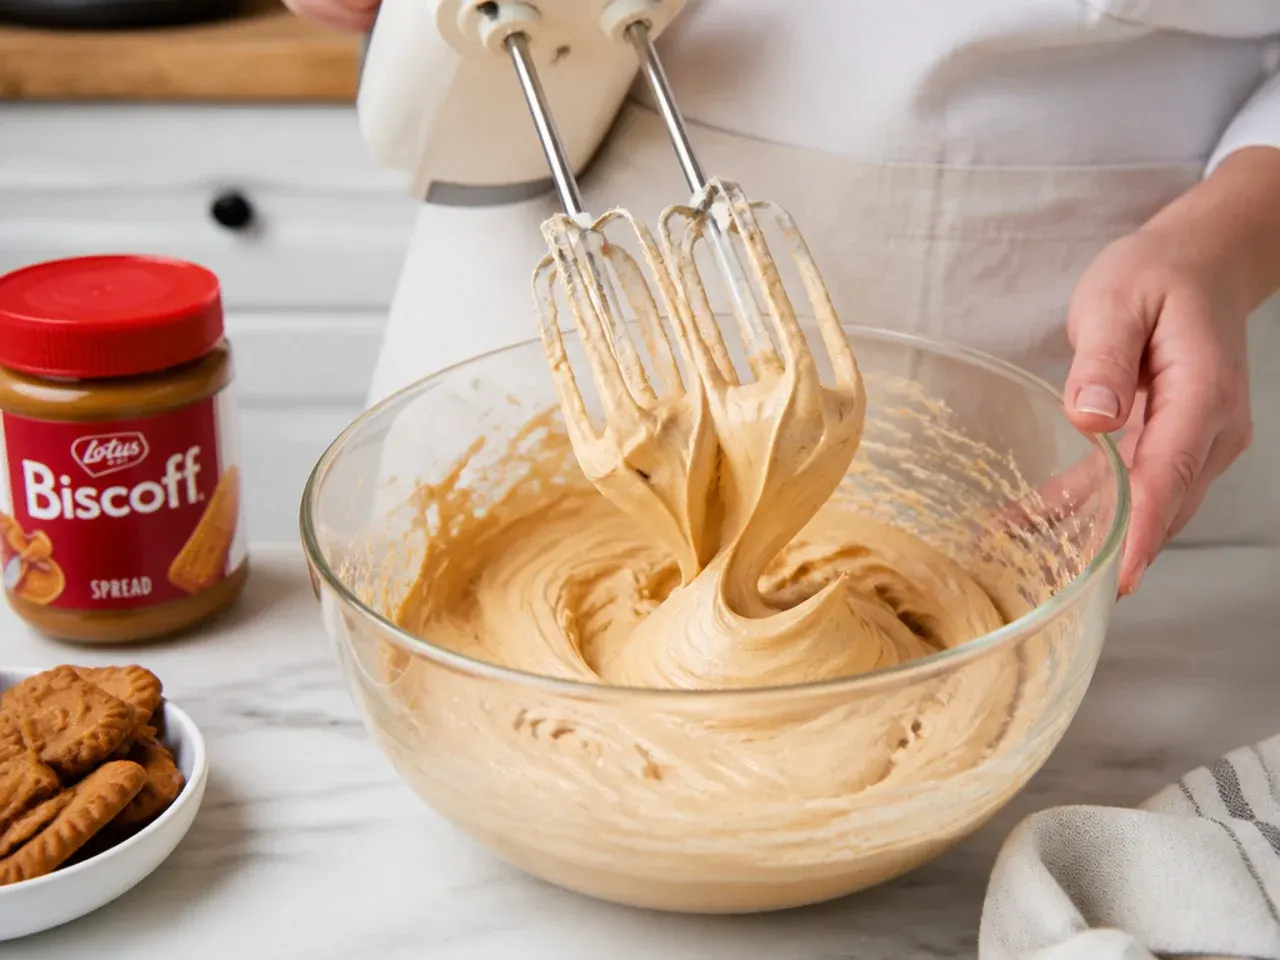
Use full-fat block-style cream cheese and drain off any watery liquid before beating — reduced-fat versions hold too much water and will not set. Keep the double cream fridge-cold, but let the cream cheese lose its chill for 20 minutes so it beats smooth without lumps. Whisk the finished filling on low-to-medium speed and stop as soon as it holds its shape; overwhipping makes it grainy and can cause it to split. Melt Biscoff spread in 20-second microwave bursts, stirring between each, because overheated spread turns oily and never re-thickens. If your kitchen is warm, chill the mixing bowl for 10 minutes before whipping. And always give the cheesecake overnight in the fridge before a big event — 6 hours is the minimum, not the goal.
Serving Suggestions
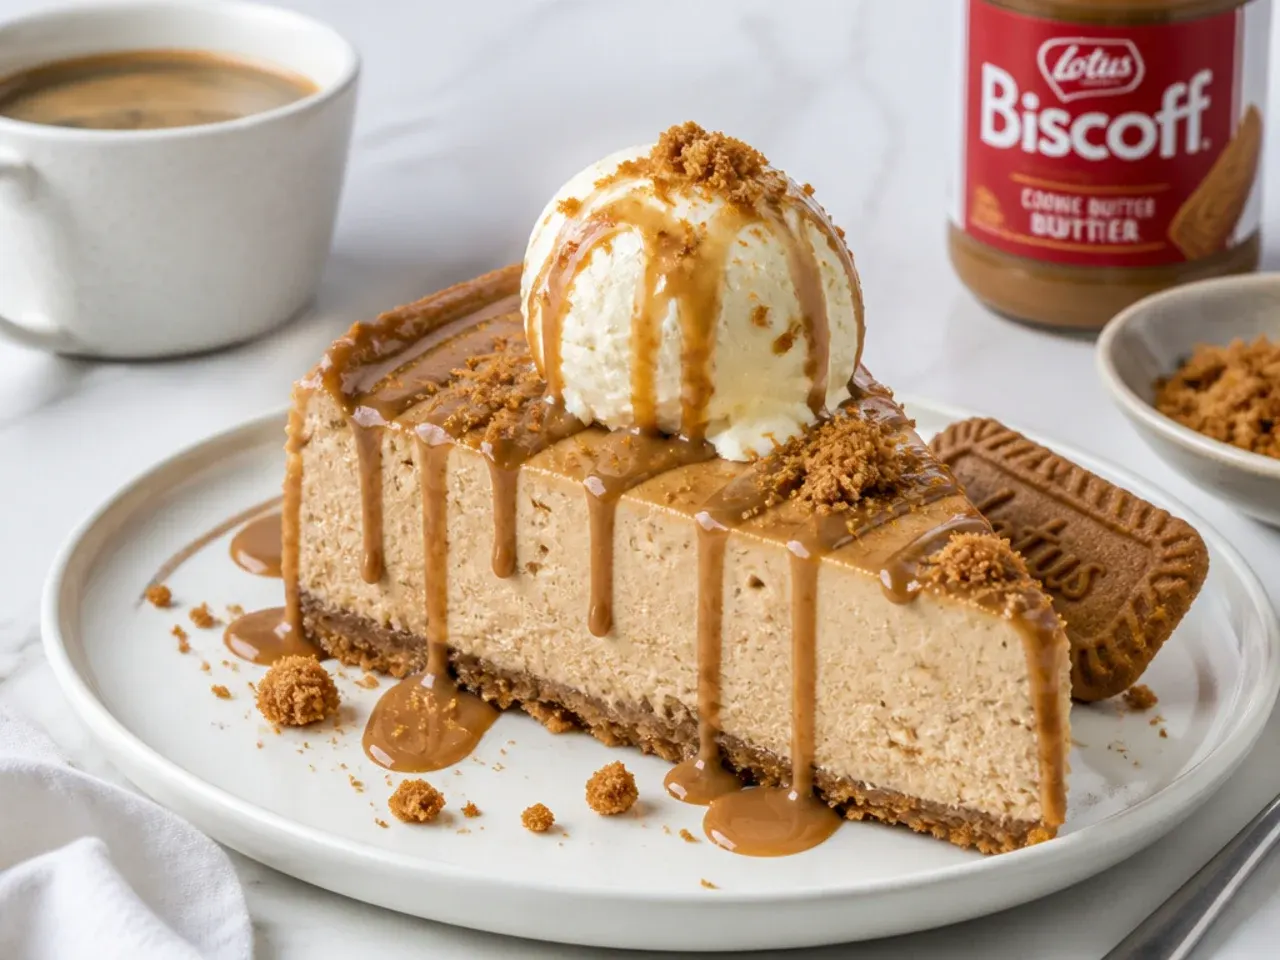
Slice with a large knife dipped in hot water and wiped dry between every cut for clean, bakery-style wedges — a 20cm cheesecake yields 12 dinner-party slices or 16 buffet slivers. Serve slightly cool rather than fridge-cold; 15 minutes on the counter lets the filling soften and the caramel flavour open up. Pair with strong coffee or espresso, which cuts the sweetness the same way it does in tiramisu. For plating, add a spoonful of crème fraîche or a small scoop of vanilla ice cream and a warm drizzle of Biscoff spread — 10 seconds in the microwave makes it pourable. At parties, the mini bites and frozen bars can sit out for about an hour, but plate the full cake to order.
Storage and Reheating
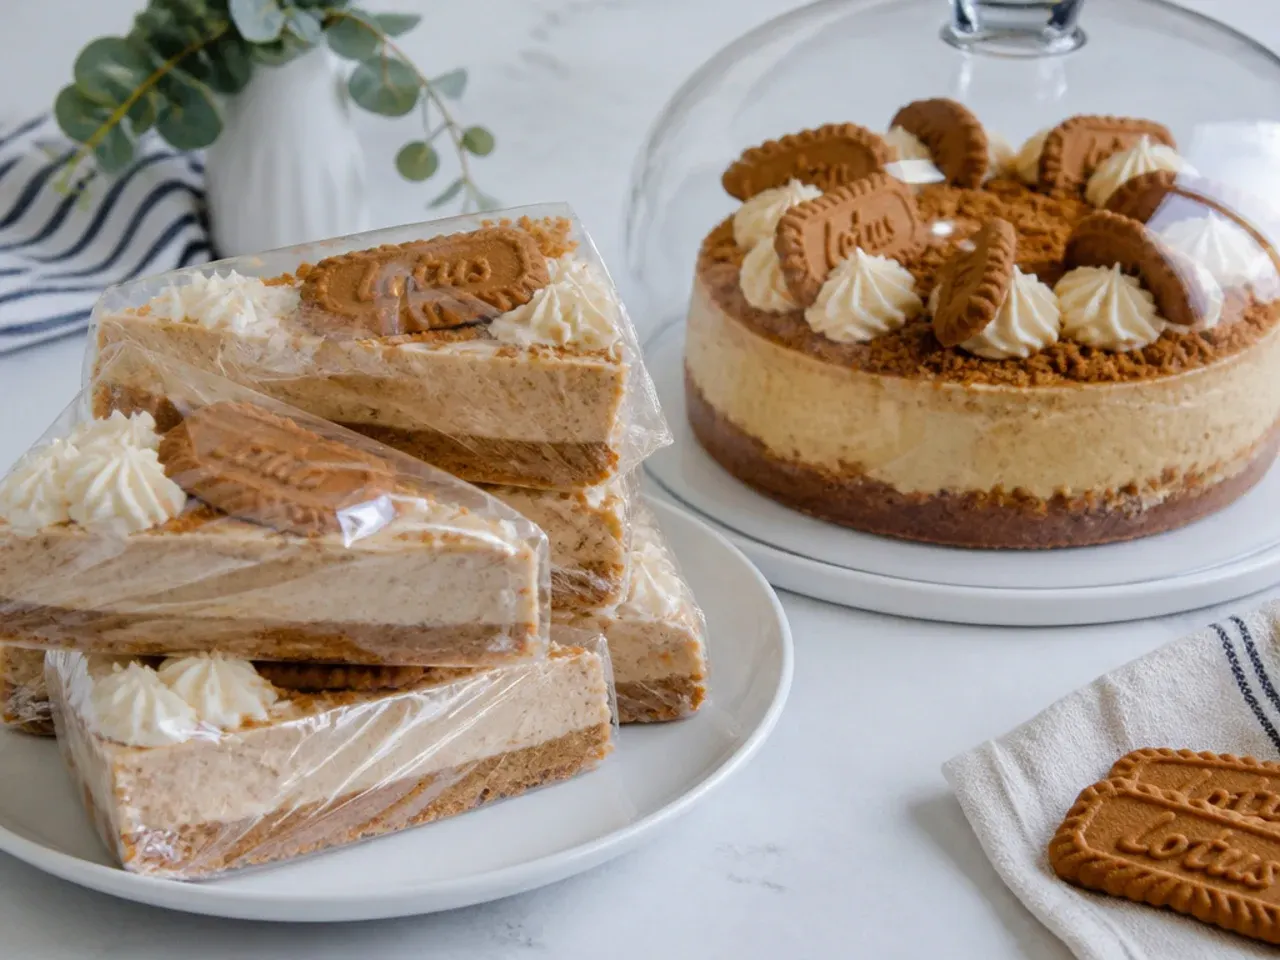
Store the cheesecake covered in the fridge for up to 4 days, ideally with the springform sides re-attached or under a cake dome so it does not absorb fridge smells. To freeze, leave off the melted-spread topping and decorations, open-freeze the cake until solid, then double-wrap in cling film and foil for up to 3 months. Thaw overnight in the fridge — never on the counter, which makes the base sweat — and add the topping fresh before serving. Individual slices freeze well wrapped separately and thaw in about 3 hours. Nothing here needs reheating; the only warm element is the optional Biscoff drizzle, softened for 10 to 20 seconds in the microwave just before serving. Never leave a cream cheese dessert at room temperature for more than 2 hours.
The Recipe
The Master Recipe
30 min
No bake (7 hr chilling)
7 hr 30 min
12
Beginner
Ingredients 12 Person(s)
Directions
Step 1: Crush the biscuits
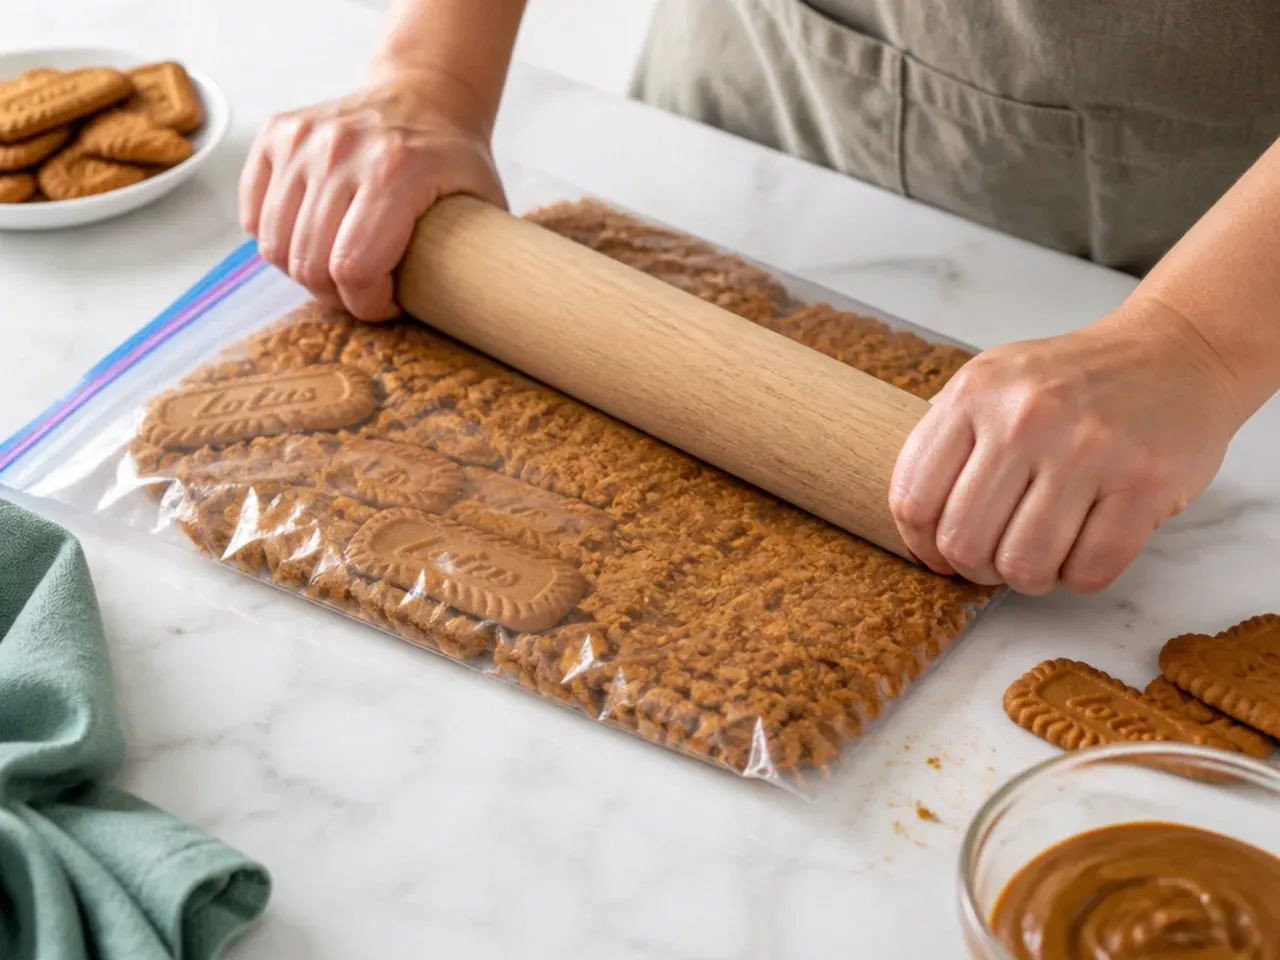
Blitz 300g of Biscoff biscuits (about 38 biscuits) in a food processor to a fine, sandy crumb, or seal them in a zip-lock bag and bash with a rolling pin. Pour in 120g of melted unsalted butter and pulse or stir until every crumb is coated. The mixture should look like damp sand and clump together when you squeeze a handful — if it crumbles apart, work in another 10g of melted butter.
Step 2: Press and chill the base
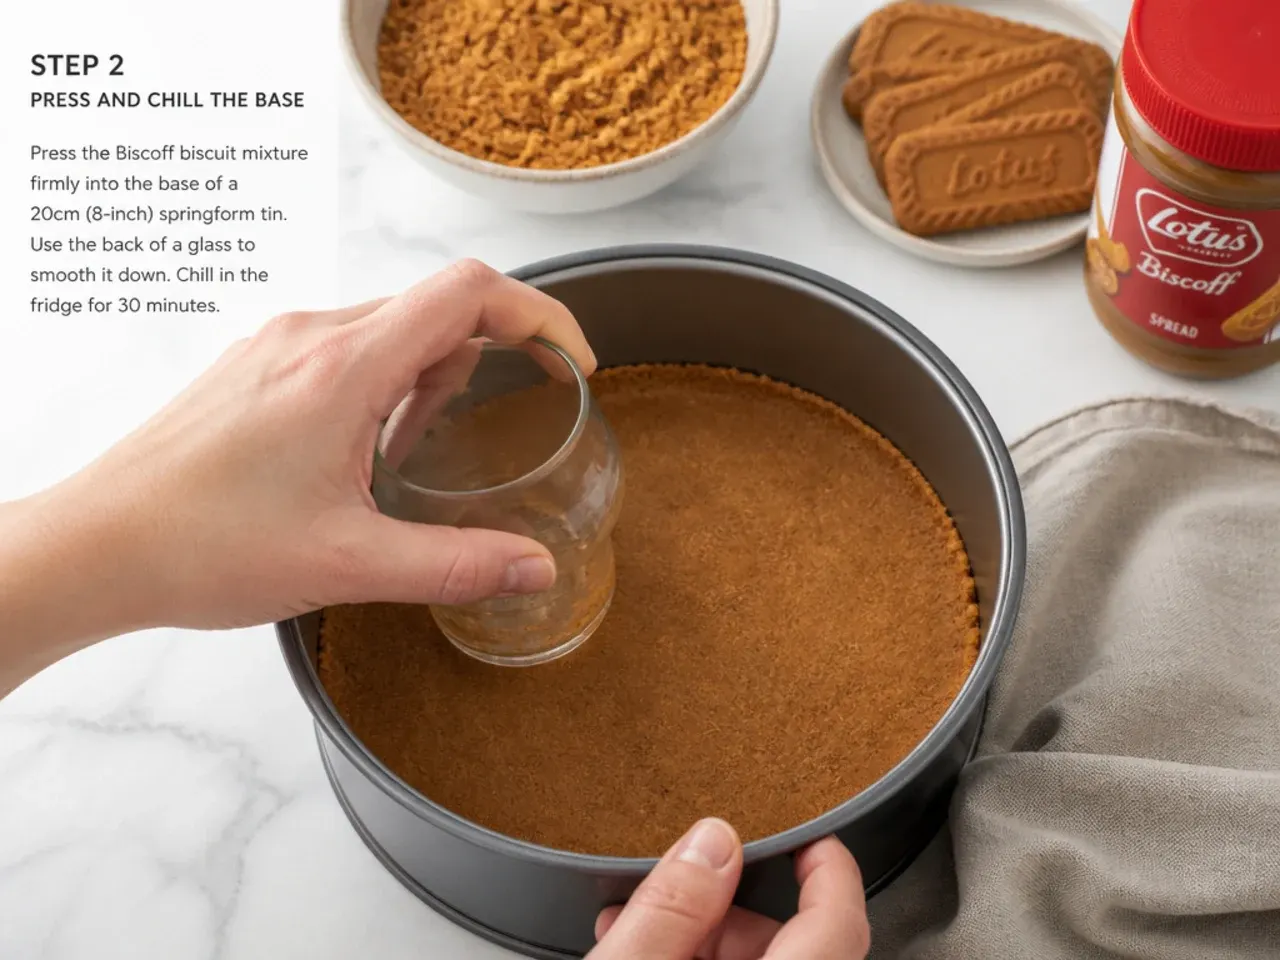
Tip the crumbs into a 20cm (8 inch) springform tin lined with a circle of baking paper. Press them into a firm, even layer using the flat base of a glass or measuring cup, paying extra attention to the edge where the base meets the tin wall. Chill in the freezer for 15 minutes (or the fridge for 30 minutes) until the base feels firm to the touch.
Step 3: Beat the cream cheese mixture
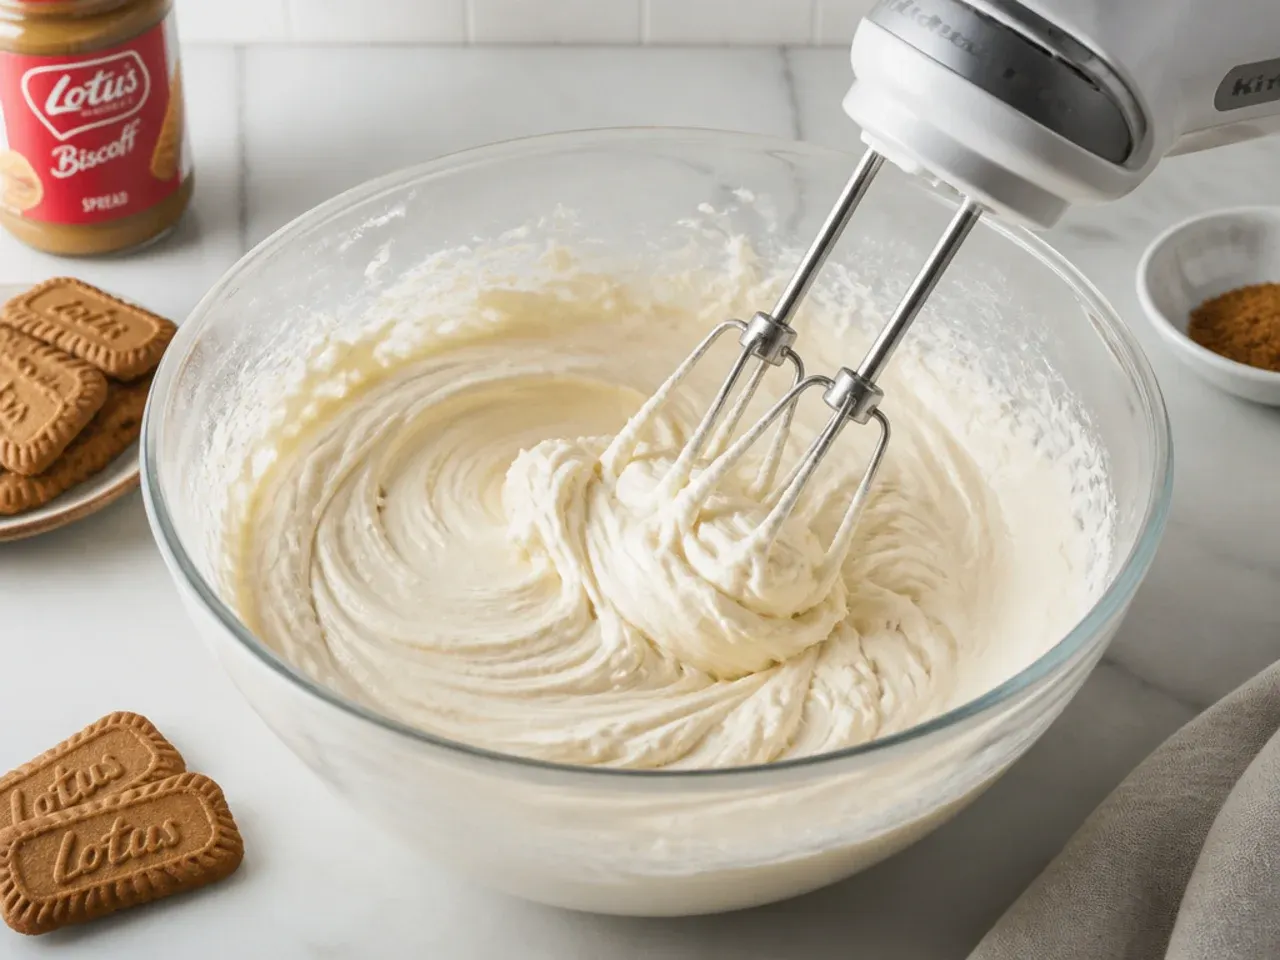
In a large bowl, beat 500g of full-fat cream cheese, 100g of sifted icing sugar, 1 teaspoon of vanilla extract and 250g of smooth Biscoff spread with an electric whisk on low speed for about 1 minute. Scrape down the bowl and beat again briefly until the mixture is completely smooth, evenly caramel-coloured and free of white streaks or lumps. Do not rush this on high speed — slow mixing keeps the texture silky.
Step 4: Whip in the cream
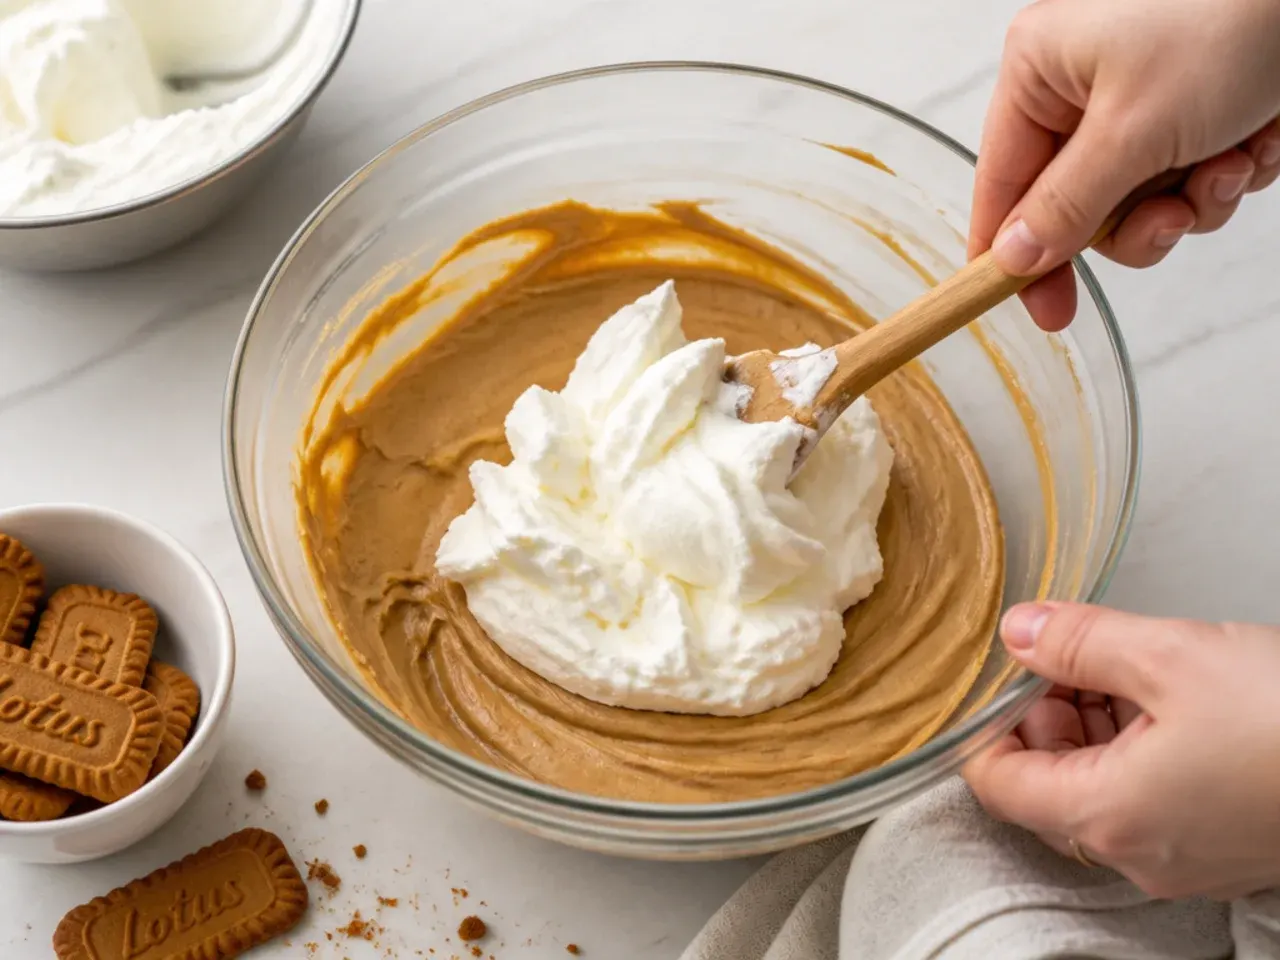
Pour in 300ml of cold double cream and whisk on medium speed for 1 to 2 minutes. Watch closely: the filling is ready when it is thick like soft-serve ice cream and holds a trail when you lift the beaters out. Stop as soon as it holds its shape — overwhipping makes the filling grainy and can cause it to split.
Step 5: Fill the tin and chill
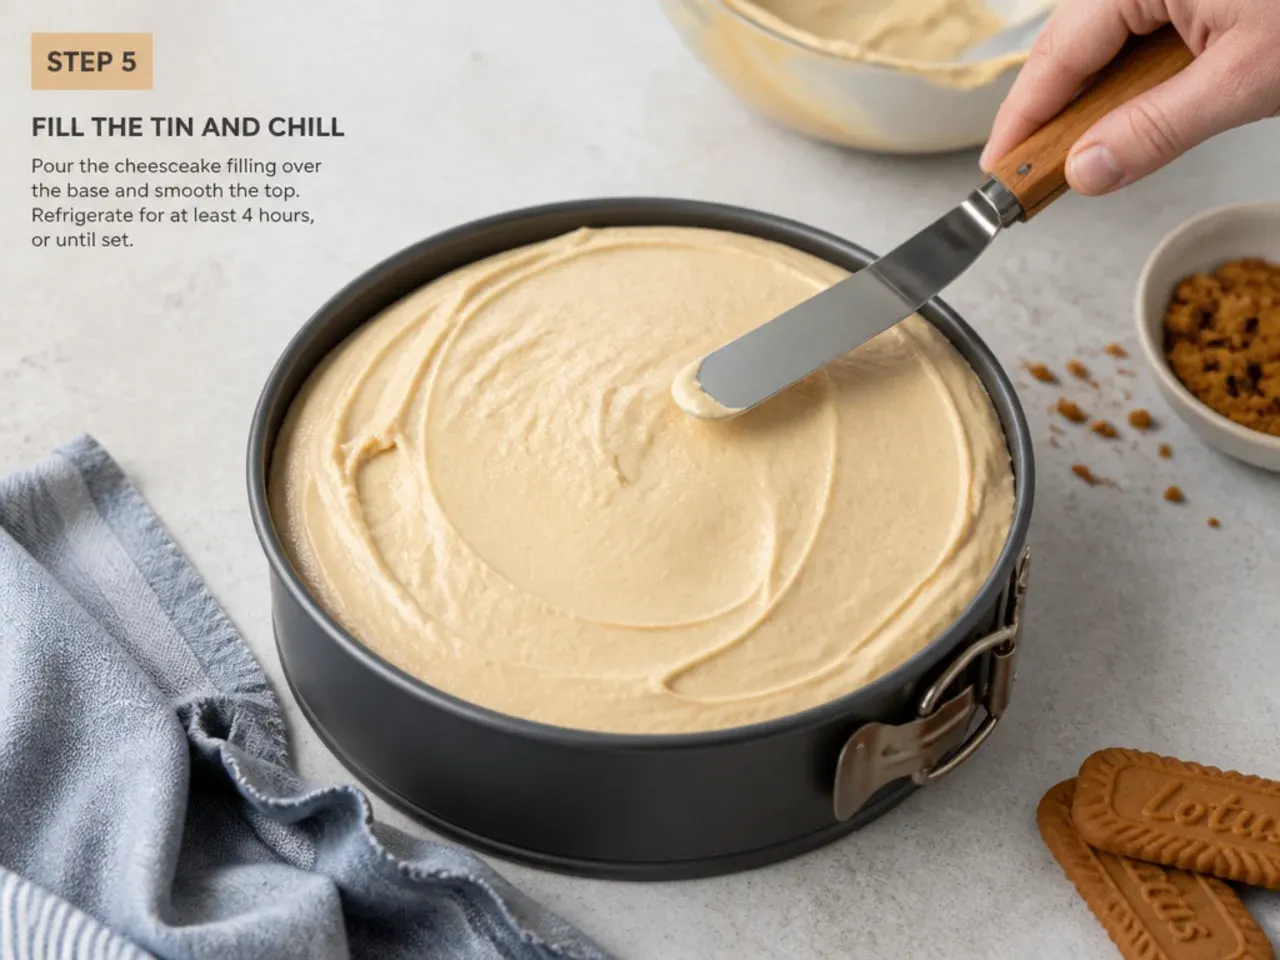
Spoon the filling over the chilled base and spread it level with an offset spatula or the back of a spoon, pushing it right to the edges. Tap the tin firmly on the counter two or three times to knock out any air pockets. Cover and refrigerate for at least 6 hours, ideally overnight — the surface should feel set and spring back very slightly when gently pressed.
Step 6: Add the Biscoff topping
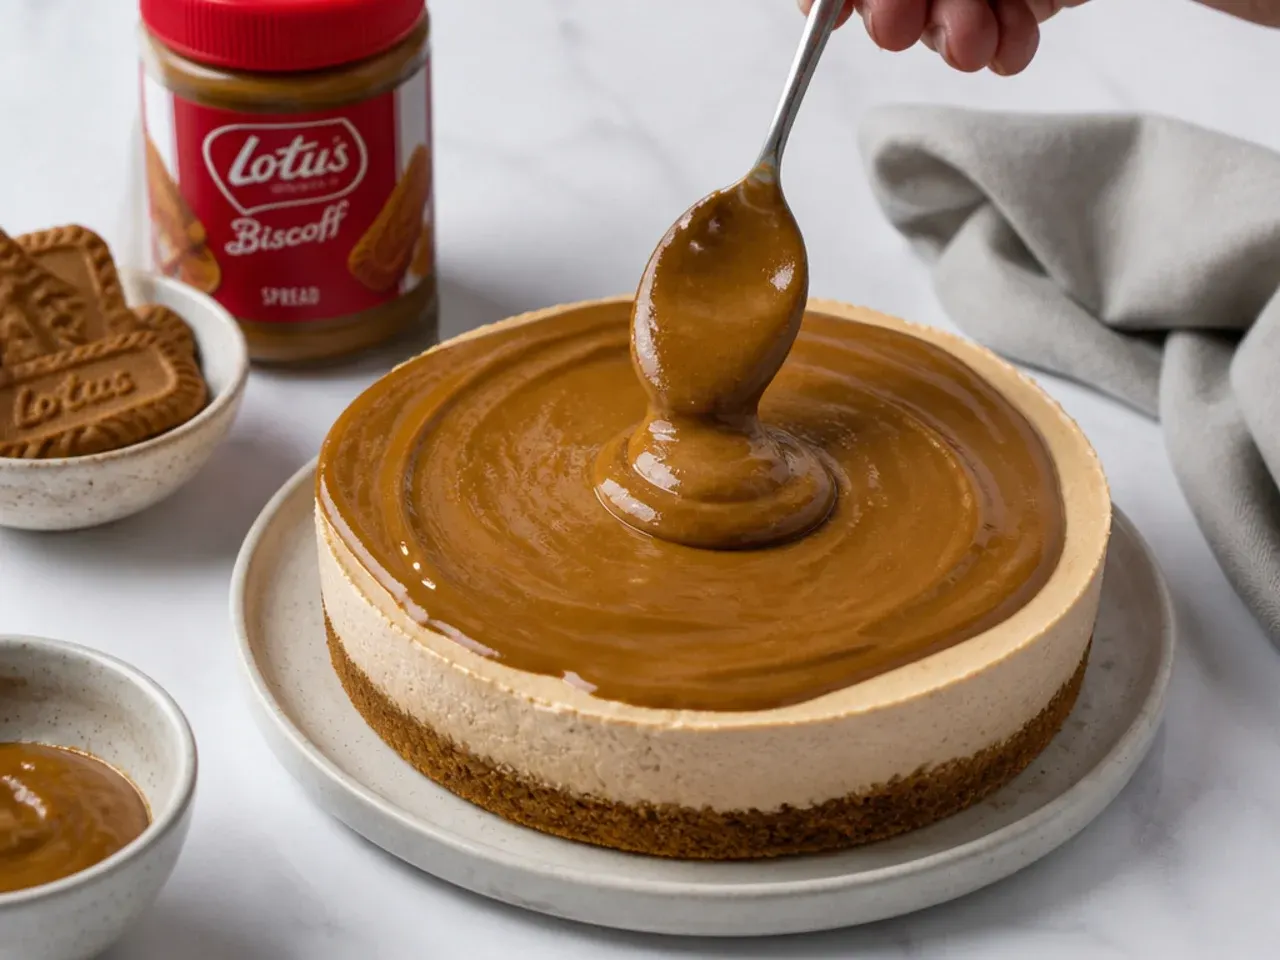
Warm 100g of smooth Biscoff spread in the microwave in 20-second bursts, stirring between each, until just pourable — about 40 seconds in total. Let it cool for 2 minutes so it does not melt the filling, then pour it over the centre of the set cheesecake and tilt the tin gently to carry it to the edges. Return to the fridge for 30 to 60 minutes until the topping loses its shine and sets.
Step 7: Release, decorate and slice
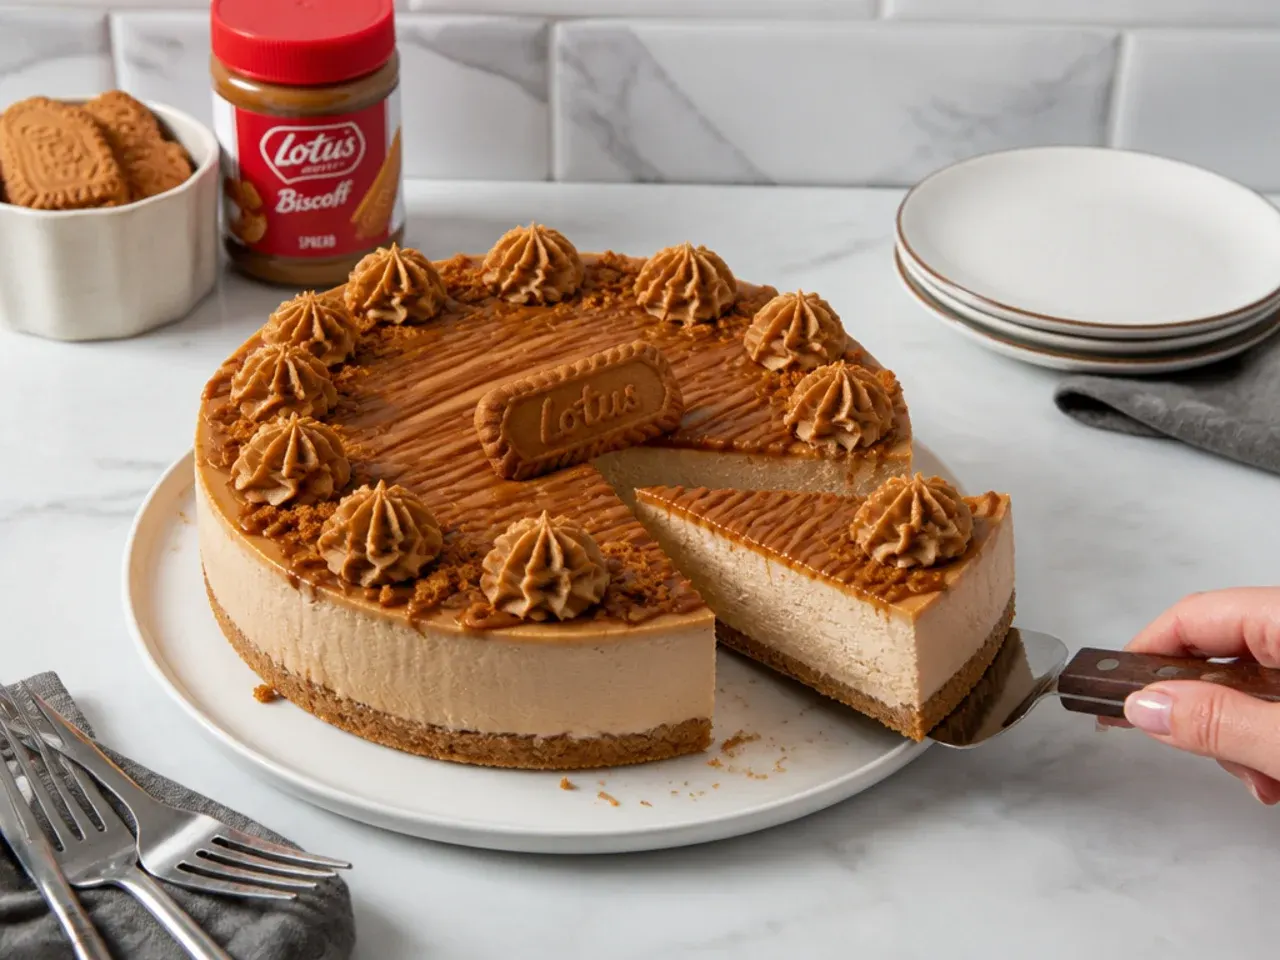
Run a thin knife dipped in hot water around the inside of the tin, then release the springform clip and lift the cheesecake onto a serving plate. Press the 4 crushed biscuits around the top border, and pipe whipped cream rosettes with a Wilton 1M tip if you want the full bakery finish. Slice with a large hot, dry knife, wiping the blade between cuts — each slice should show three tidy layers: golden base, creamy filling and glossy topping.
Frequently Asked Questions
It is nearly always one of three things: reduced-fat cream cheese (it holds too much water to set), an under-whipped filling (it must be thick enough to hold a trail before it goes in the tin) or not enough chill time. Use full-fat block-style cream cheese, whip the filling until it looks like soft-serve, and give it a minimum of 6 hours in the fridge — overnight if you can. If it still has not set, freeze it for 2 hours and serve it semi-frozen; it will eat like a cheesecake ice cream bar.
Save this for later 📌
Pin this article to your Pinterest board so the full list is one tap away when you need it.
Save on Pinterest