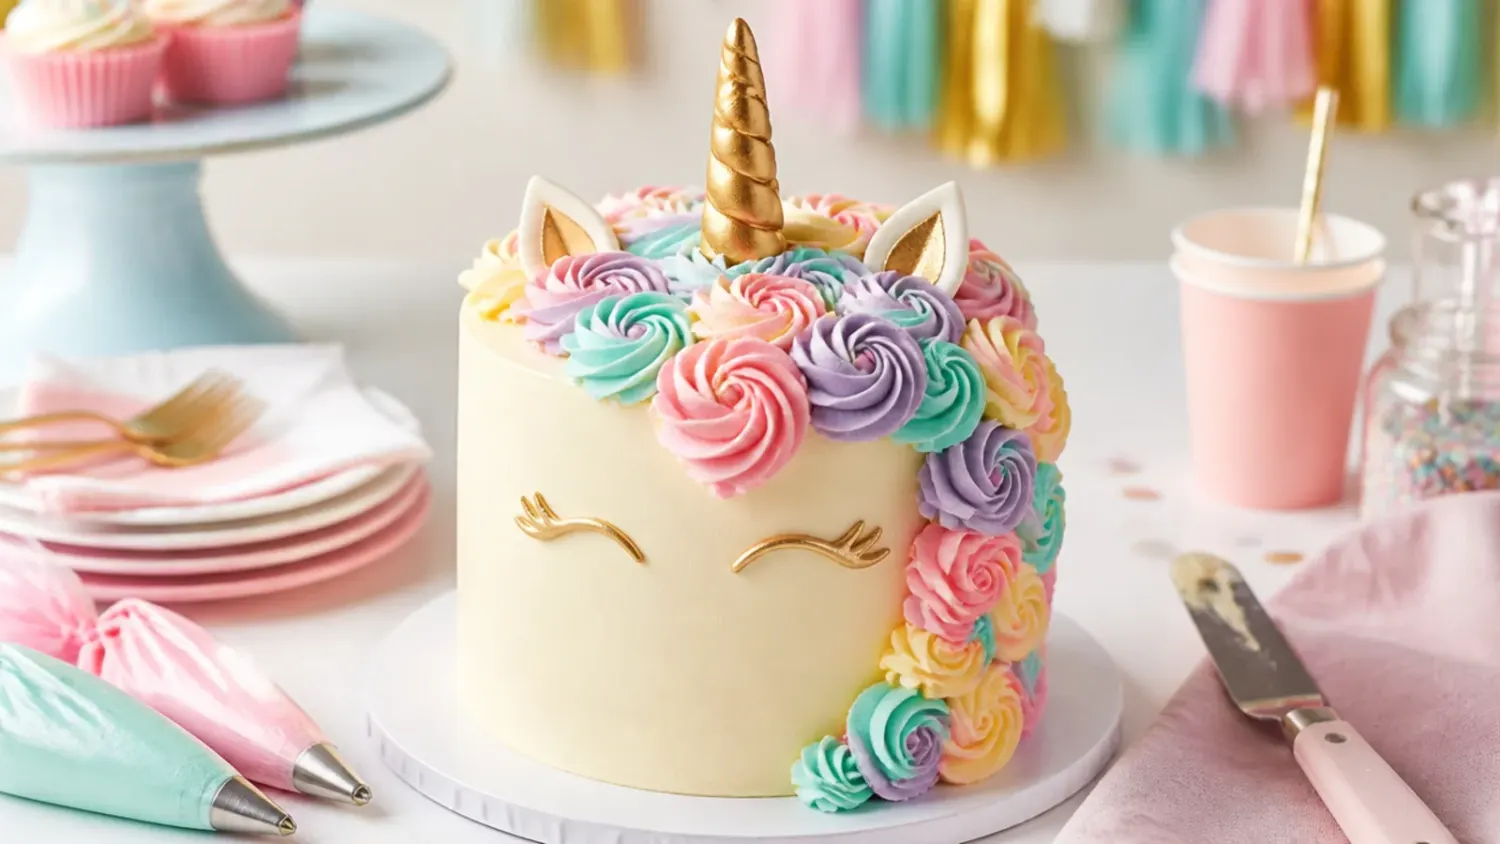
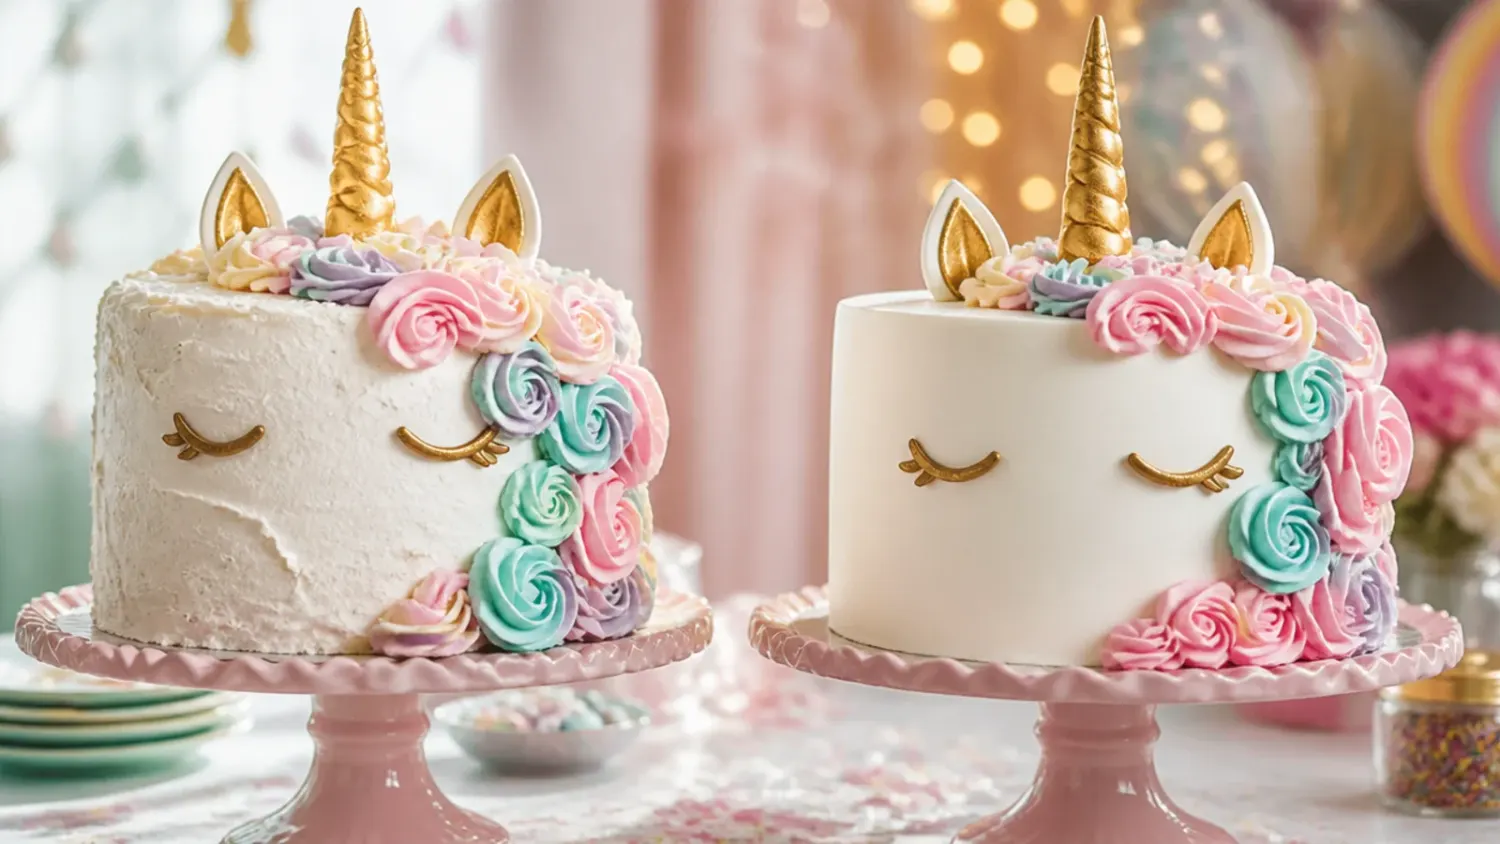
5 Things I Learned Making a Unicorn Cake
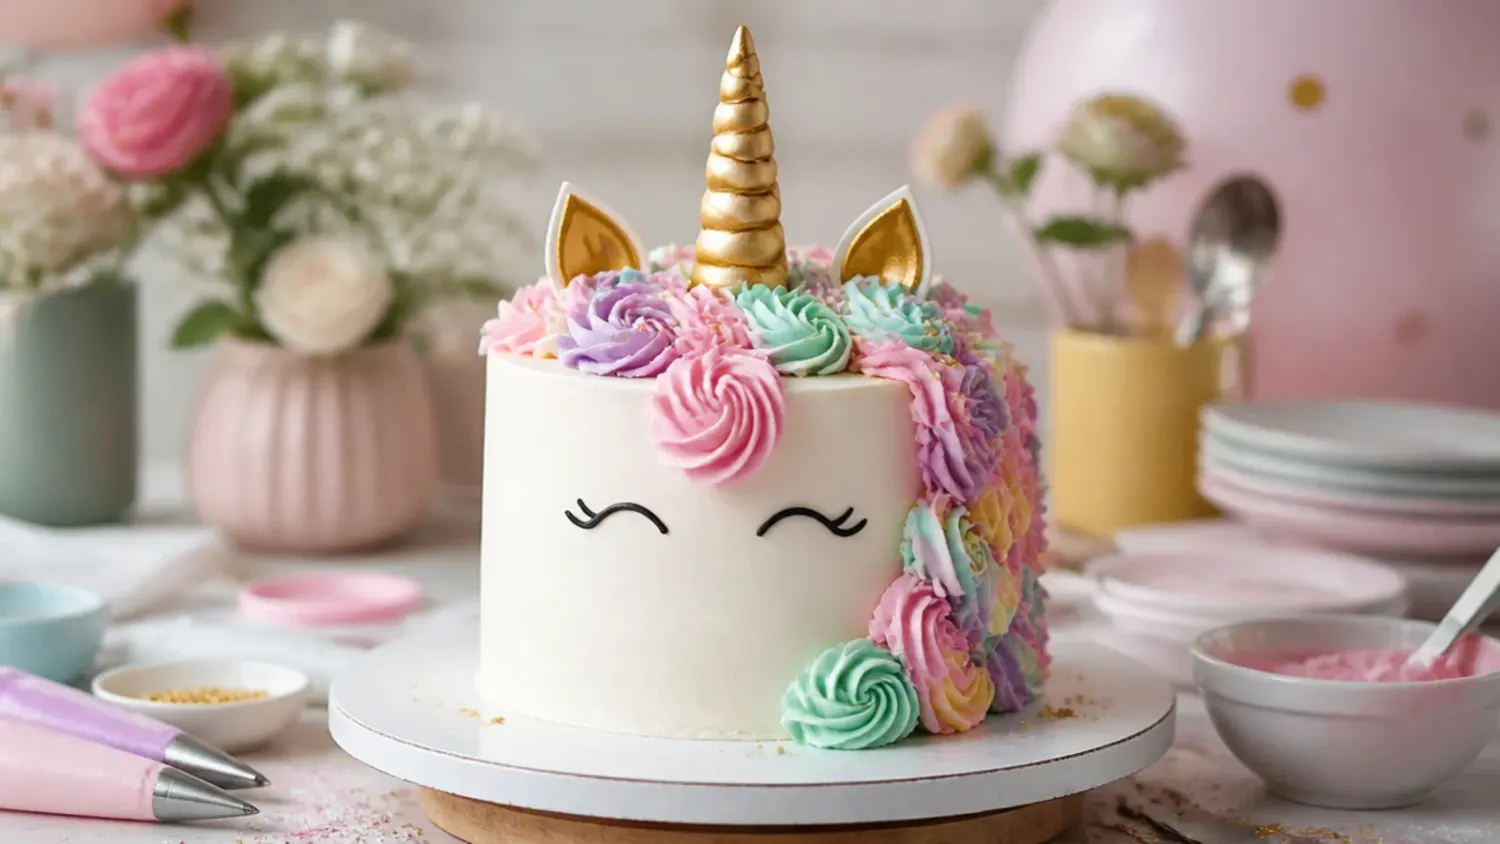
Five honest lessons from my first homemade unicorn cake, plus the exact vanilla recipe, piping tips and timings I would absolutely use again. If you love unicorn cake inspiration, start with our Unicorn Cake Ideas collection, then browse the full Cake Ideas hub for more.

Save this for later 📌
Pin this article to your Pinterest board so the full list is one tap away when you need it.
Save on PinterestCake Ideas
Intermediate
Kitchen Journal
5 steps
Table of Contents
- Lesson 1: Make the Horn and Ears a Full Day Ahead
- Lesson 2: Freeze the Layers Before You Stack Them
- Lesson 3: Make the Buttercream Stiffer Than You Think
- Lesson 4: Pipe the Mane from the Horn Down the Back
- Lesson 5: Use Melted Chocolate for the Eyes, Not Black Buttercream
- What I'd Tell a Friend Trying This
- The Recipe I Used
Lesson 1: Make the Horn and Ears a Full Day Ahead
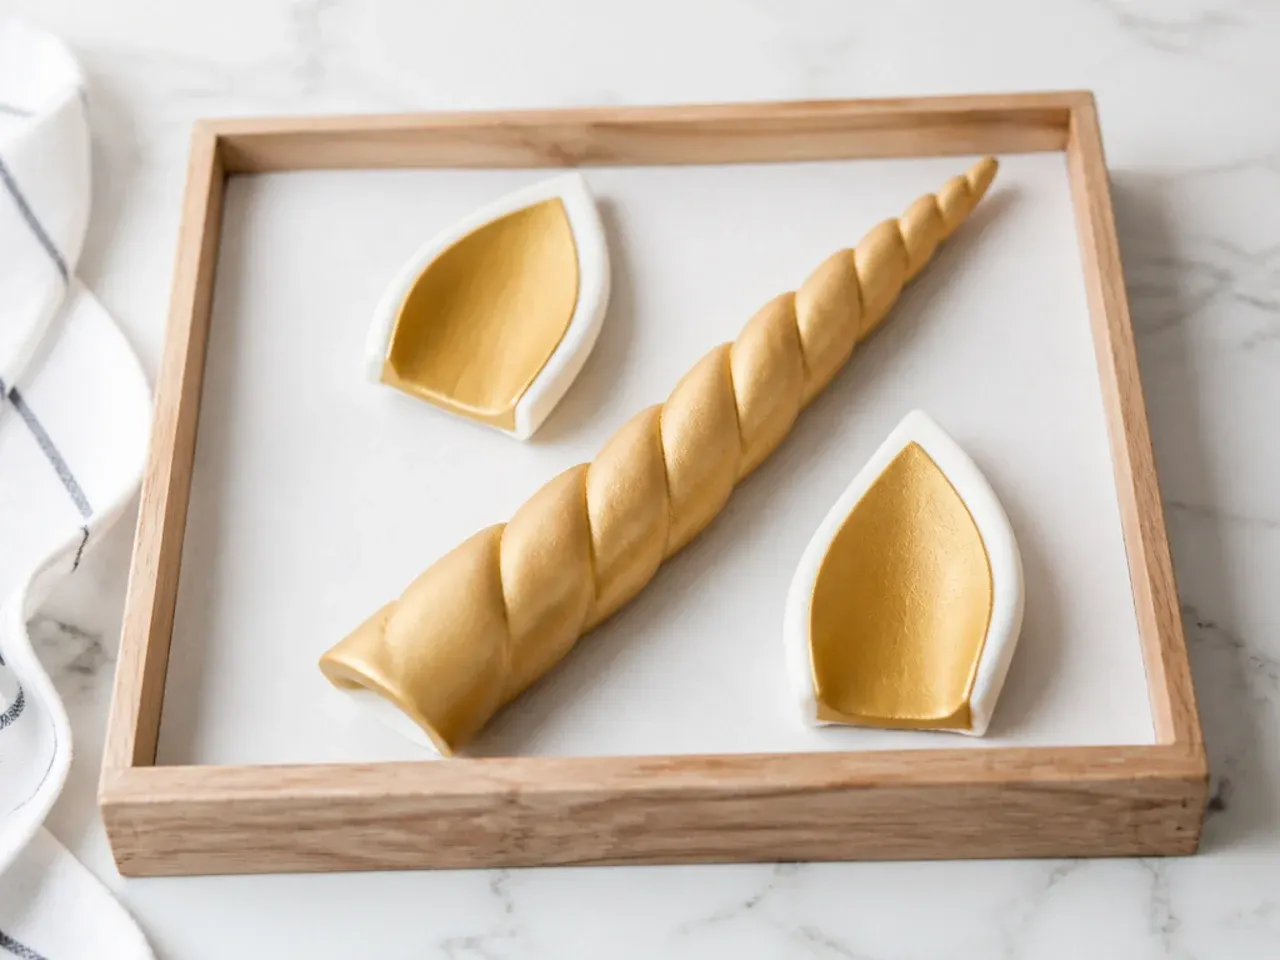
I shaped my fondant horn an hour before decorating and it slowly leaned over like a sad candle, so learn from me: fondant needs a full 24 hours to dry. Knead half a teaspoon of tylose (CMC) powder into 150 g of white fondant, roll two 30 cm ropes, twist them together around a wooden skewer and taper the tip. Stand it upright in a mug or press it into a foam block so it dries straight, and lay the two teardrop-shaped ears flat with a little pink dust brushed inside. The next day, paint the horn with edible gold lustre dust mixed with a few drops of clear alcohol or lemon extract. If the party is tomorrow and you have nothing dried, a shop-bought unicorn topper set costs under 10 pounds and nobody will judge you.
Lesson 2: Freeze the Layers Before You Stack Them
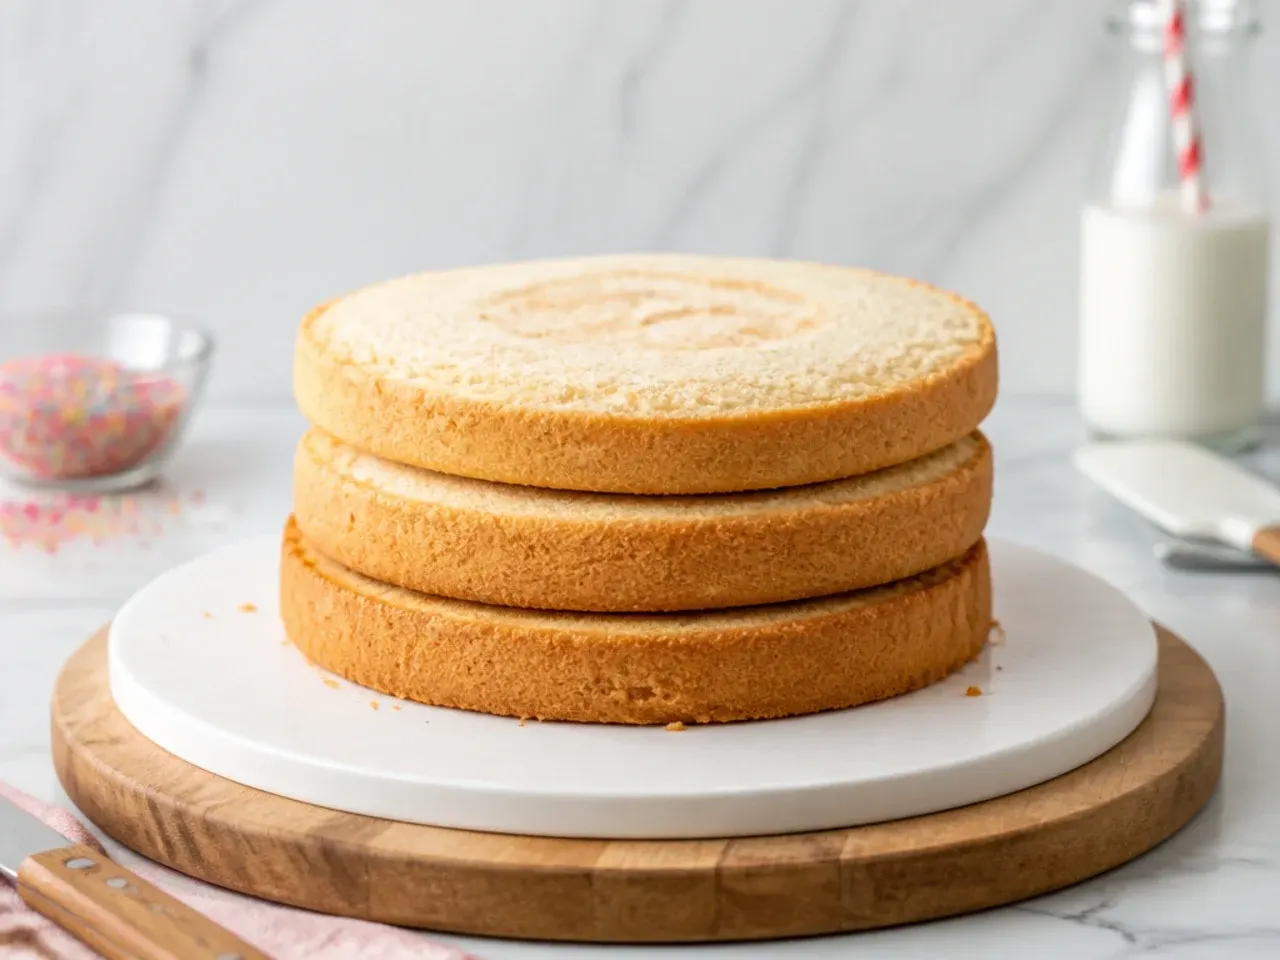
My first attempt at frosting a barely cooled sponge dragged crumbs through the white buttercream and I nearly cried. Now I wrap each cooled 18 cm layer tightly in cling film and freeze them for at least an hour; cold cake is firmer, sheds almost no crumbs and is far easier to level with a serrated knife. You can bake the layers up to two months ahead this way, which turns a scary all-day project into a relaxed two-day one. Stack the layers straight from the freezer, apply a thin crumb coat, then chill the whole cake for 30 minutes before the final coat. Every stage of a unicorn cake goes better when the cake underneath is cold.
Lesson 3: Make the Buttercream Stiffer Than You Think
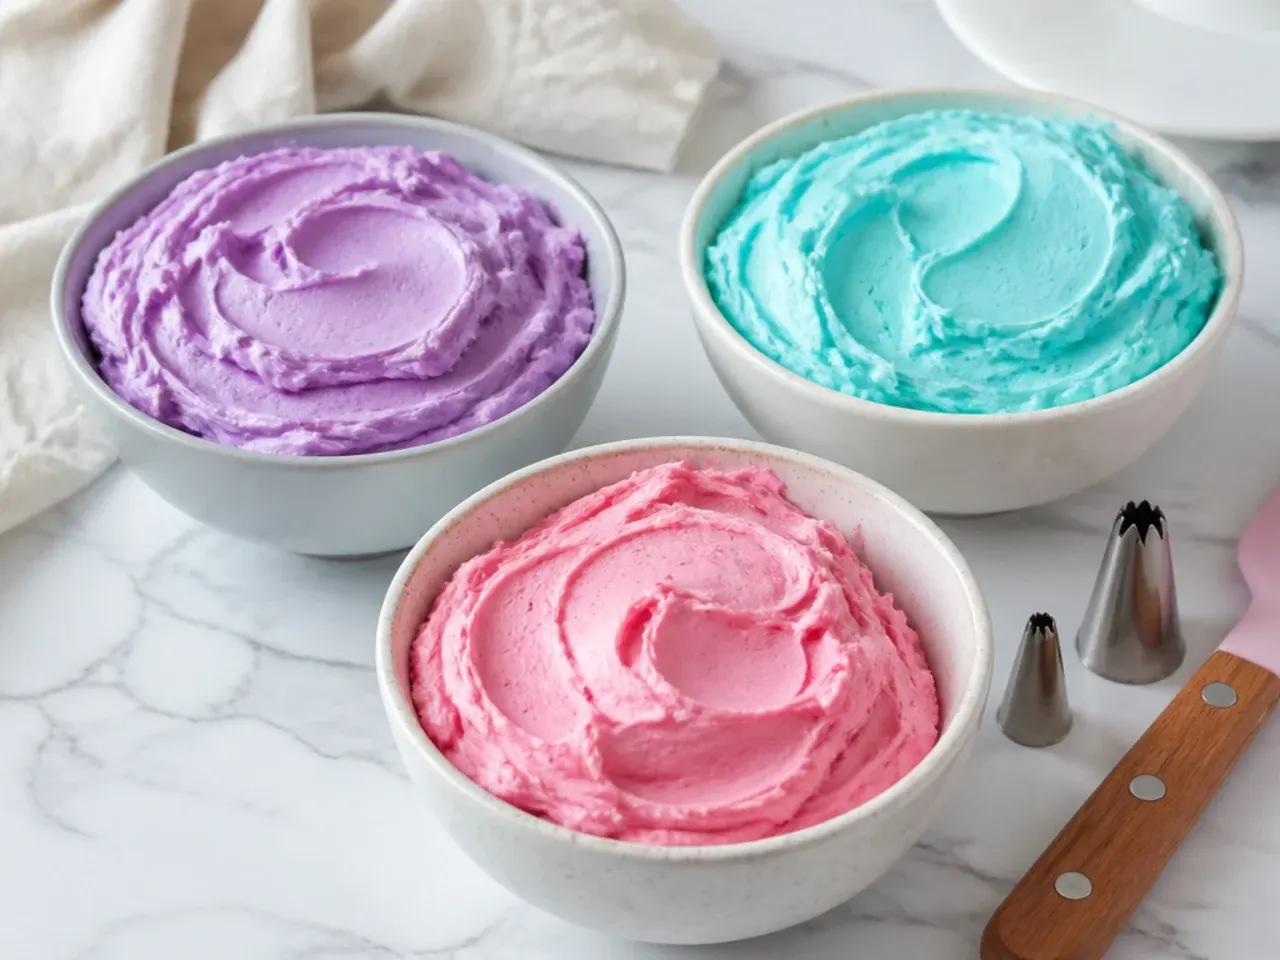
My first batch of buttercream was lovely on toast and useless for a mane; the rosettes slumped and slid within ten minutes. The ratio that finally worked is 400 g of softened butter to 800 g of icing sugar with only 2 to 3 tablespoons of milk, beaten until just smooth. Always tint it with gel colours, never liquid ones, because liquid colouring thins the buttercream back into slump territory. Test it by piping one rosette onto baking paper: the ridges should hold sharp edges without drooping. If your kitchen is warm, pop the filled piping bag in the fridge for 10 minutes between colours and it will behave again.
Lesson 4: Pipe the Mane from the Horn Down the Back
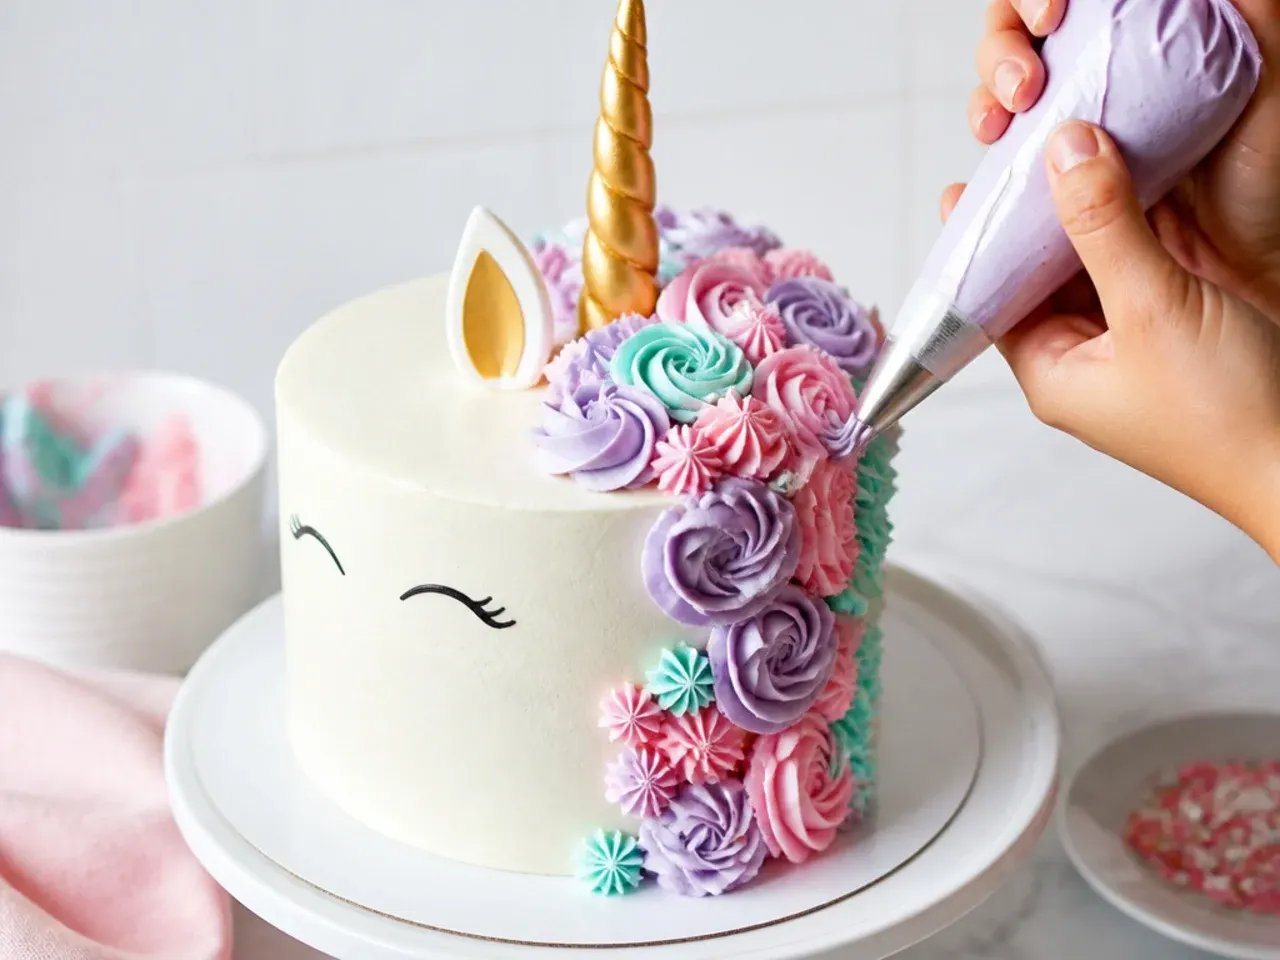
I originally piped rosettes randomly all over the top and it looked like a confetti explosion, so I scraped it off and started again with a plan. Place the horn and ears first, then pipe your biggest Wilton 1M rosettes around the base of the horn and let them cascade over the top edge and down the back of the cake in a gentle S-curve. Fill the gaps with smaller stars from a Wilton 21 or 32 tip and a few dots from a round tip, alternating colours so no two matching shades sit side by side. Practise every new swirl on baking paper first, because buttercream scrapes straight back into the bag and costs you nothing. The moment the mane followed one flowing line instead of exploding everywhere, the whole cake suddenly looked professional.
Lesson 5: Use Melted Chocolate for the Eyes, Not Black Buttercream
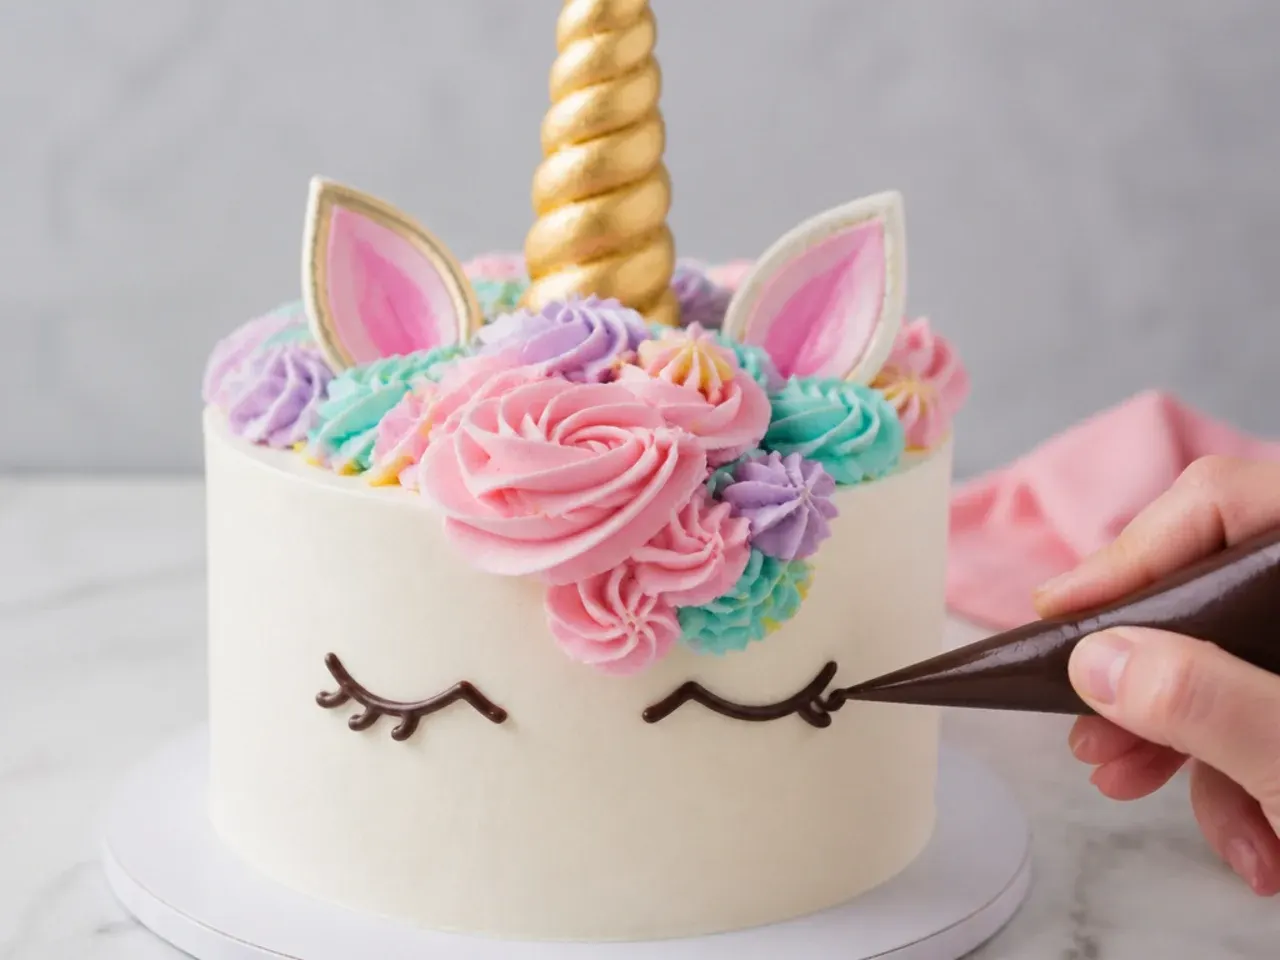
Black buttercream needs an alarming amount of gel colour, tastes bitter and turned my test batch grey-purple, so I switched to melted dark chocolate and never looked back. Snip a tiny hole in a piping bag (or use a number 2 or 3 round tip) and draw each closed eye as one gentle downward curve with three short lashes flicking out from the end. Practise the shape a few times on baking paper, because the eyes are the one part of a unicorn cake everyone actually stares at. Place them lower on the front than feels natural and space them wide, roughly 7 to 8 cm apart on an 18 cm cake, or your unicorn looks cross-eyed. If you botch one, chill the cake for 10 minutes and the set chocolate lifts off cleanly with a toothpick.
What I'd Tell a Friend Trying This

Treat it as a two-day project: horn, ears and cake layers on day one, buttercream and decorating on day two, and it stays genuinely fun instead of frantic. The whole homemade unicorn cake cost me about 18 pounds in ingredients versus the 60 to 80 pounds our local bakery quoted, and the birthday girl liked mine more because she chose the mane colours. You only truly need one 1M piping tip; everything else is a bonus. Chill the cake at every stage, keep the finished cake in the fridge, and take it out 2 to 3 hours before the party so the sponge softens back up. And honestly, wonky rosettes read as charming, not failed; not one six-year-old inspected my seams.
The Recipe
The Recipe I Used
1 hr 45 min
25 min
2 hr 10 min
12
Intermediate
Ingredients 12 Person(s)
Directions
Step 1: Make the Horn and Ears (Day Before)
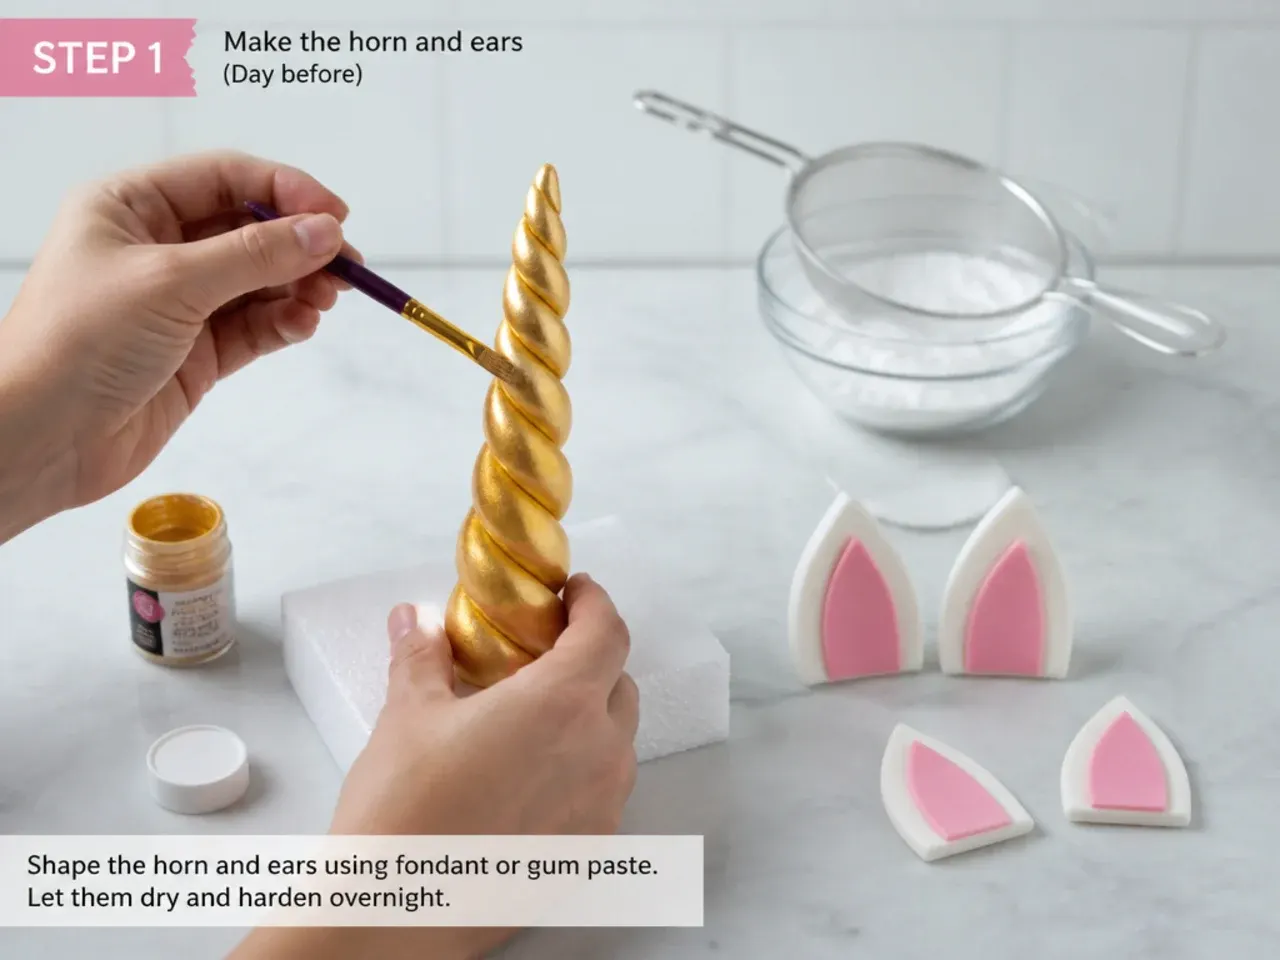
Knead 1/2 teaspoon of tylose powder into 150 g of white fondant. Roll two 30 cm ropes, twist them together around a wooden skewer (leave 5 cm of skewer bare at the base) and taper the twist to a point. Shape two teardrop ears, pinch each at the base and dust the centres with a little pink lustre or petal dust. Dry everything for 24 hours, the horn standing upright in a mug or foam block, then paint the horn with gold lustre dust mixed with a few drops of clear alcohol or lemon extract.
Step 2: Bake the Cake Layers
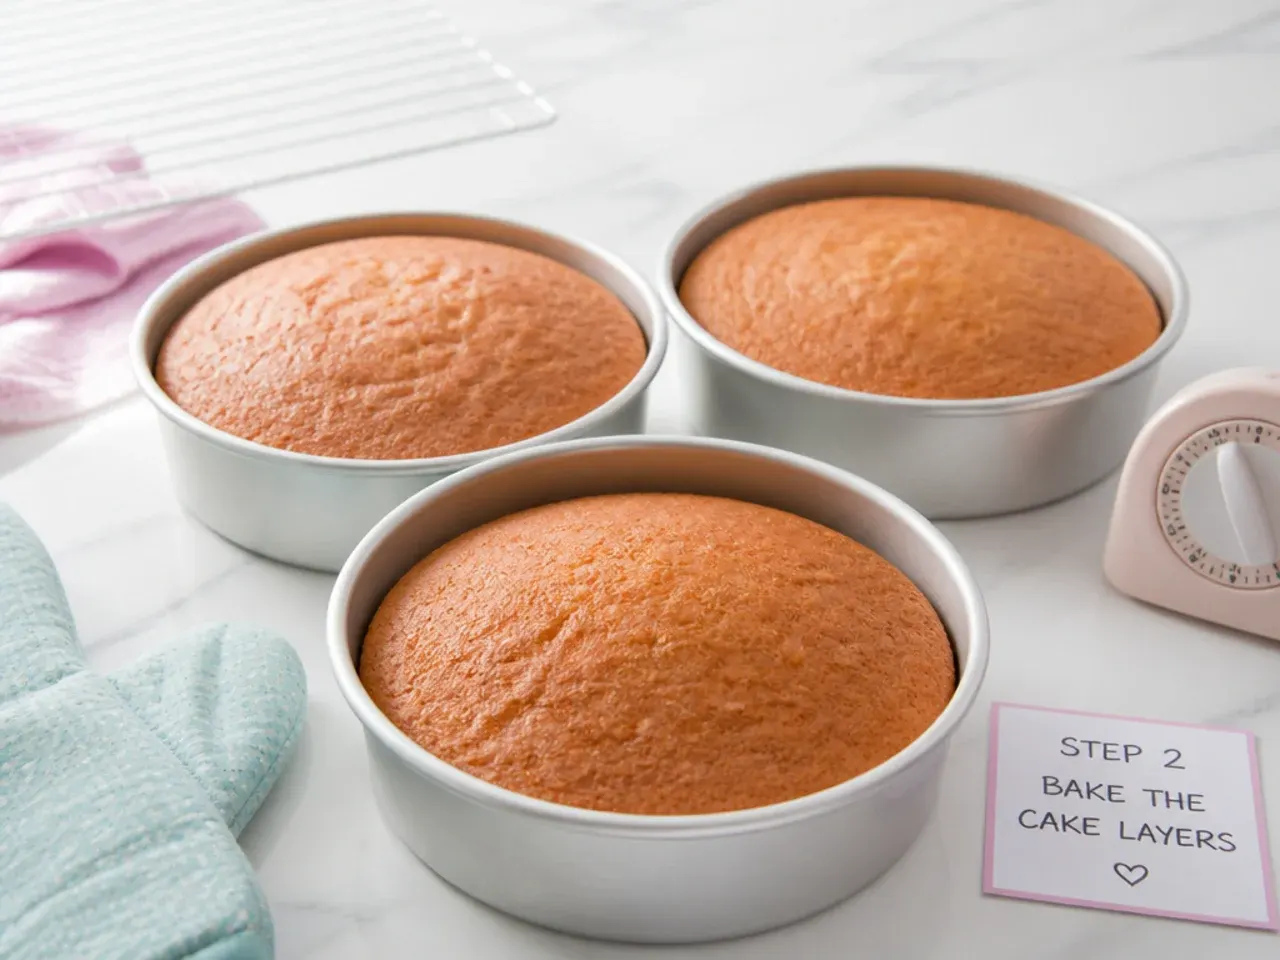
Heat the oven to 180°C / 350°F (160°C fan) and grease and line three 18 cm (7 inch) round tins. Beat 230 g butter with the caster sugar for 3 to 4 minutes until pale and fluffy, then beat in the eggs and egg white one at a time with 2 teaspoons of vanilla. Whisk the flour, baking powder and salt together, then fold into the batter in three additions, alternating with the buttermilk. Divide evenly between the tins (about 440 g each), tap each tin firmly on the counter once, and bake for 25 to 28 minutes until a skewer comes out clean. Cool for 10 minutes in the tins, turn out, then wrap each cooled layer in cling film and freeze for at least 1 hour.
Step 3: Make the Buttercream
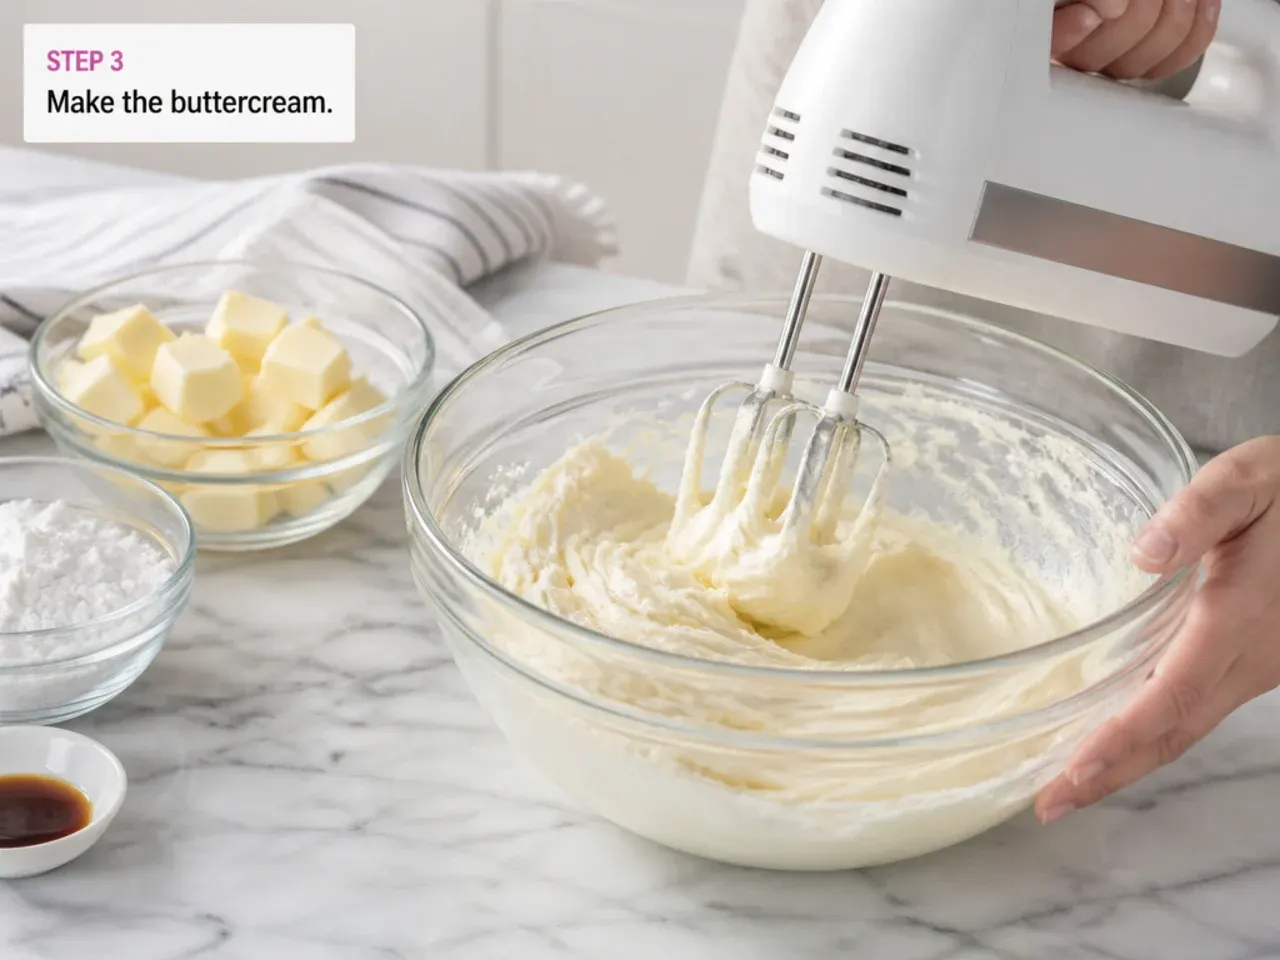
Beat 400 g softened butter on medium-high for a full 5 minutes until very pale. Add the sifted icing sugar in two additions, then the remaining 1 teaspoon of vanilla and 2 to 3 tablespoons of milk, and beat for another 3 minutes until smooth and stiff enough that a piped rosette holds its ridges. Set aside about two thirds as white buttercream for filling and coating. Divide the rest between four small bowls and tint them pink, purple, teal and yellow with one small drop of gel colour each.
Step 4: Stack and Crumb Coat
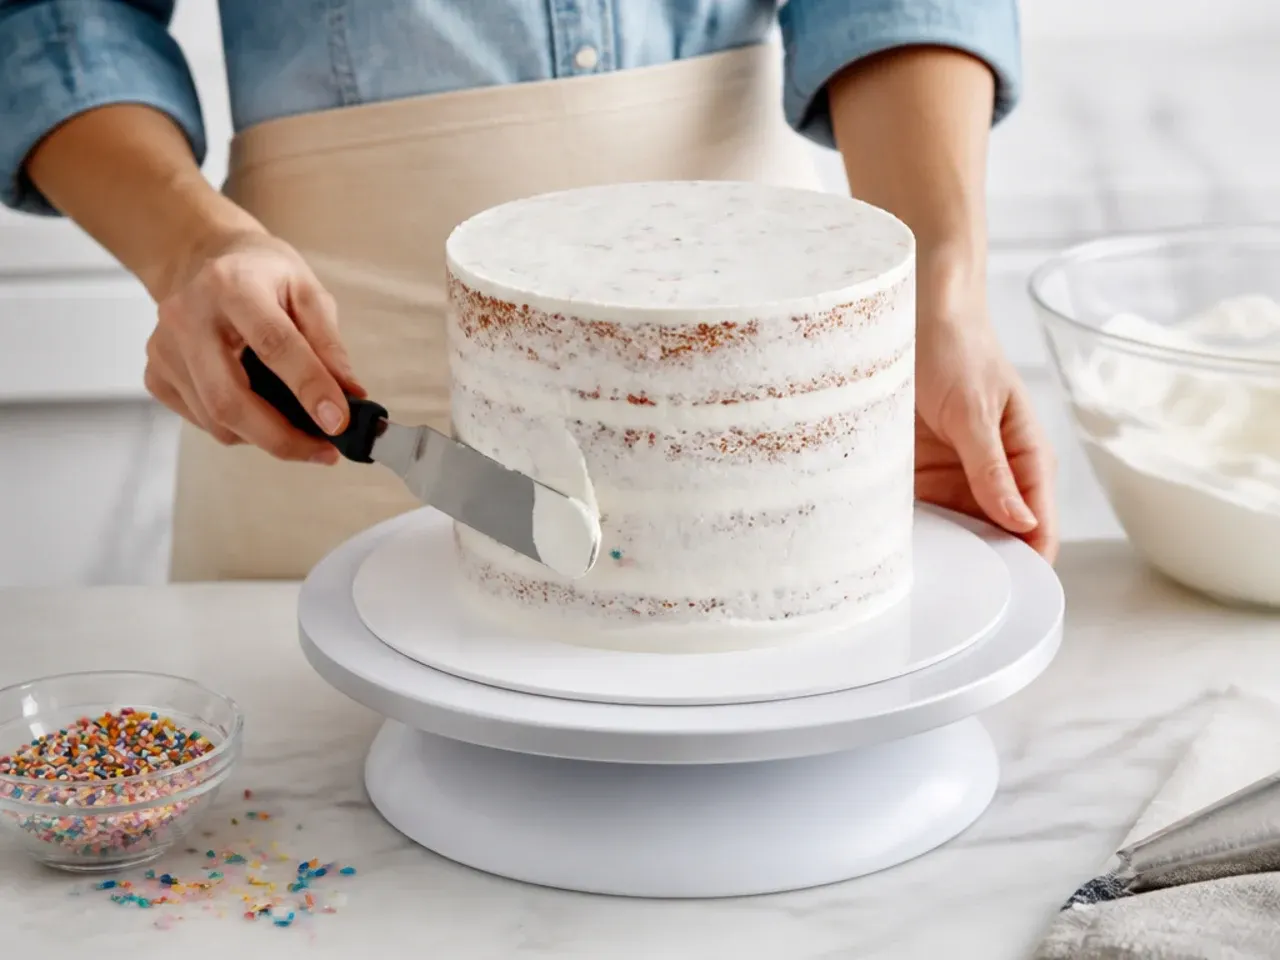
Level the cold cake layers with a serrated knife. Secure the first layer to a cake board with a dab of buttercream, spread about 150 g of white buttercream on top, and repeat with the remaining layers. Spread a thin crumb coat of white buttercream over the top and sides to lock in loose crumbs, then refrigerate the cake for 30 minutes until the coat is firm to the touch.
Step 5: Apply the Final White Coat
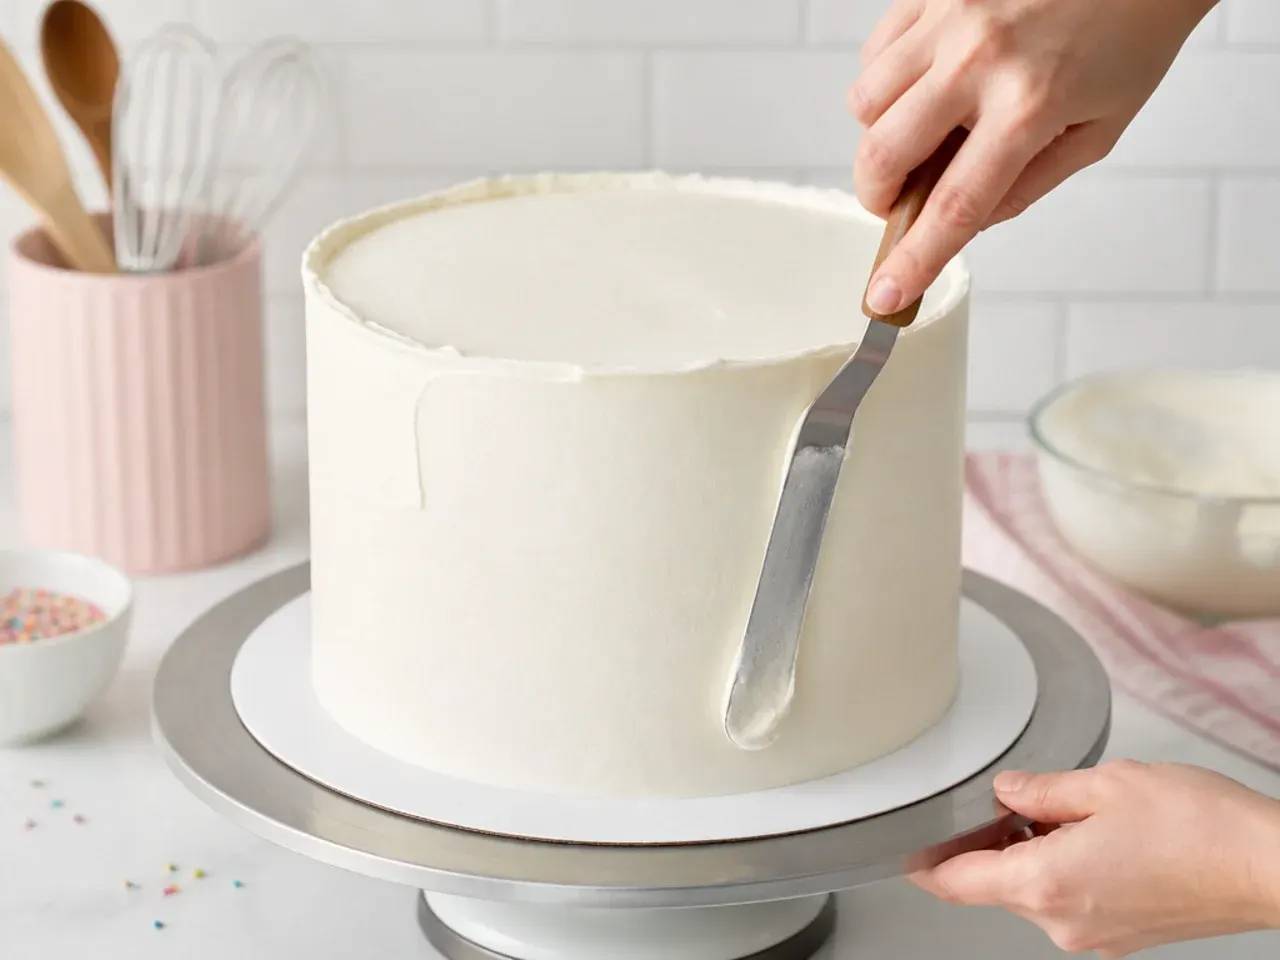
Spread the remaining white buttercream over the chilled cake with a palette knife, then smooth the sides with a cake scraper held at a slight angle, wiping the scraper clean between passes. Pull the top edge inward with the palette knife for a neat finish; it does not need to be perfect because the mane will cover the top and back. Chill for 15 minutes while you fill the piping bags.
Step 6: Add the Horn, Ears and Mane
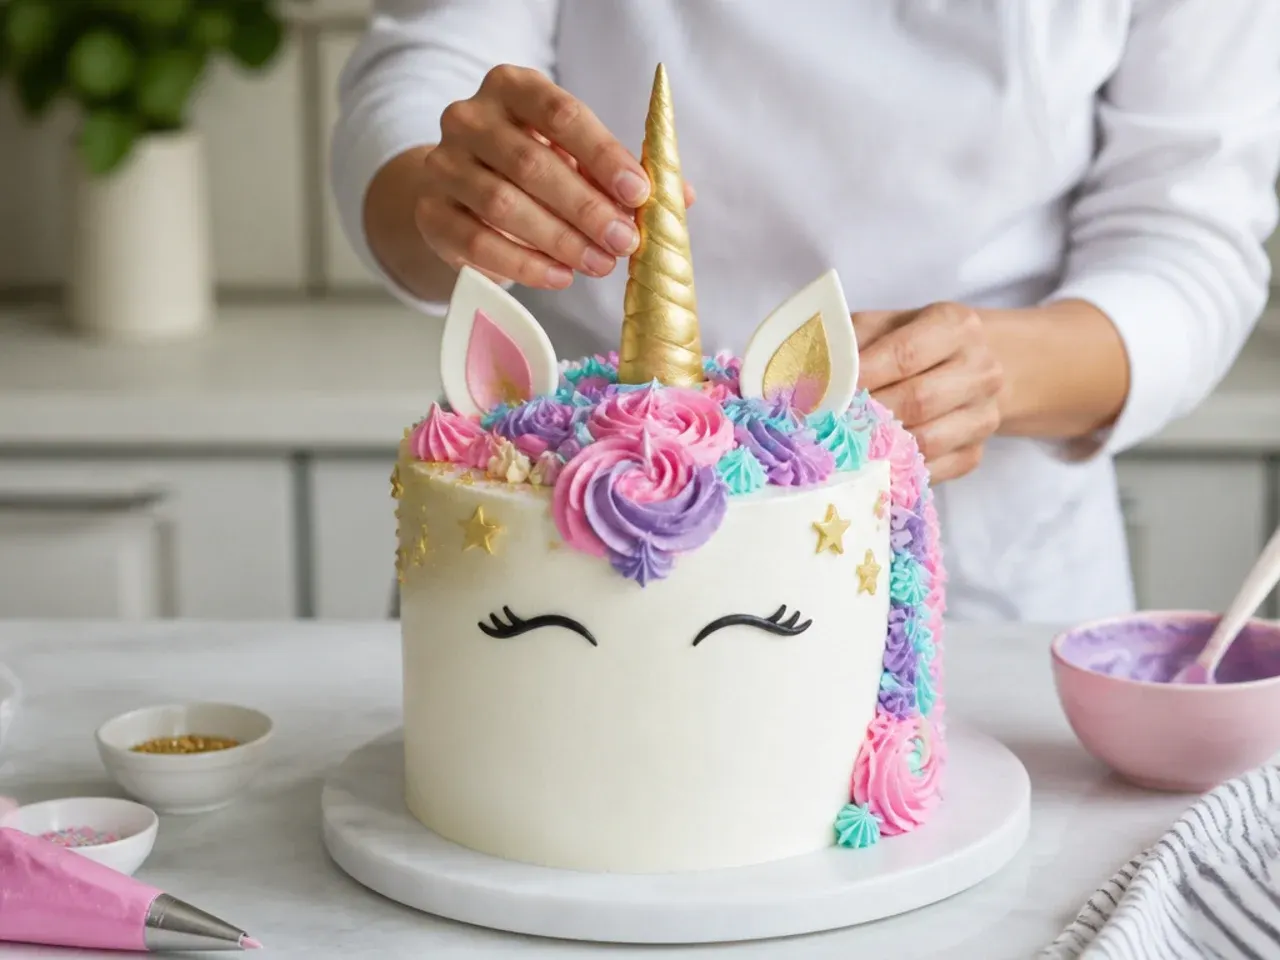
Press the horn skewer into the top centre of the cake and position the ears just behind it, angled slightly outward. Fit a piping bag with a Wilton 1M tip and pipe large rosettes around the base of the horn, letting them cascade over the top edge and down the back of the cake in a flowing S-curve. Fill the gaps with smaller stars using a Wilton 21 or 32 tip and dots from a small round tip, alternating the four colours so no two matching shades touch. Finish with a few pearl sprinkles pressed into the mane.
Step 7: Pipe the Eyes and Finish
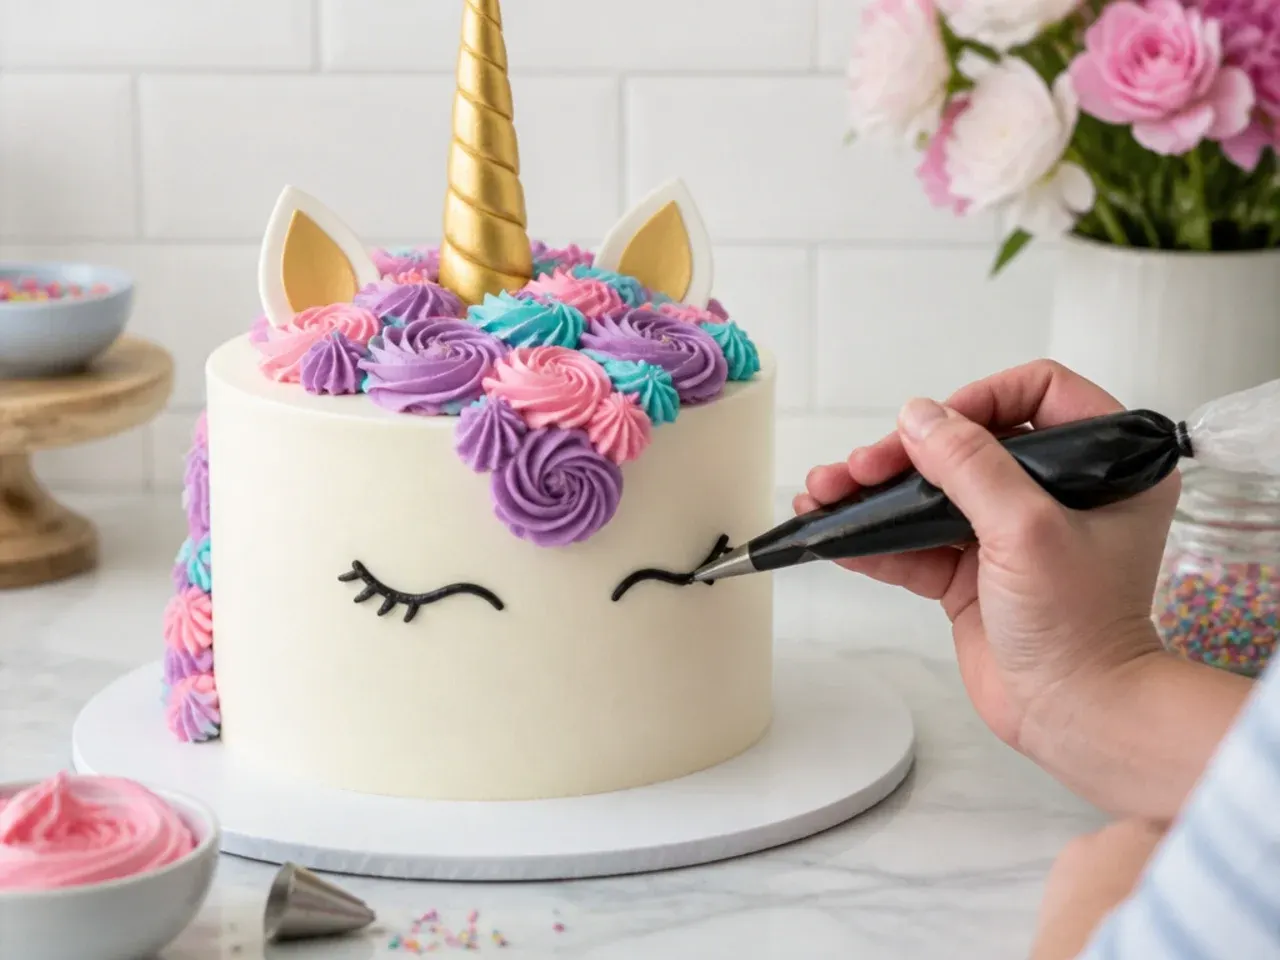
Melt 30 g of dark chocolate, cool it slightly, and pour it into a piping bag with a tiny hole snipped in the tip (or a number 2 round tip). On the front of the cake, pipe two closed eyes about 7 to 8 cm apart and slightly lower than centre: one gentle downward curve each, with three short lashes flicking outward. Chill the finished cake until needed and remove it from the fridge 2 to 3 hours before serving so the sponge returns to room temperature.
Frequently Asked Questions
Bake the layers up to two months ahead, wrapped well and frozen, and make the fondant horn and ears 24 to 48 hours ahead so they dry hard. The fully decorated cake keeps for up to three days in the fridge in a tall cake box; decorate it the day before the party for the freshest look.
Save this for later 📌
Pin this article to your Pinterest board so the full list is one tap away when you need it.
Save on Pinterest