5 Mistakes I Made Baking a Spiderman Cake
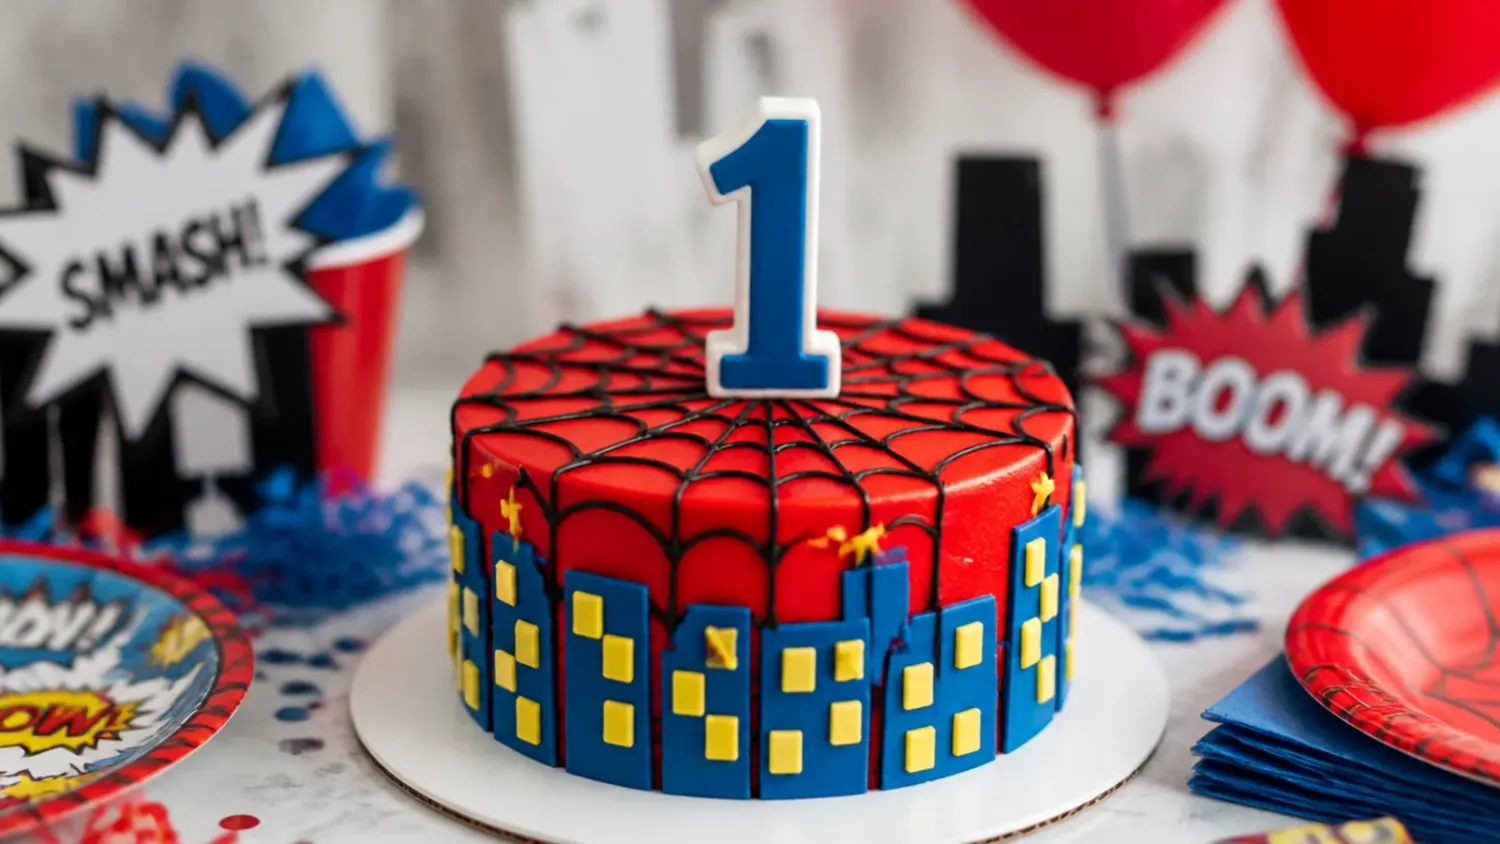
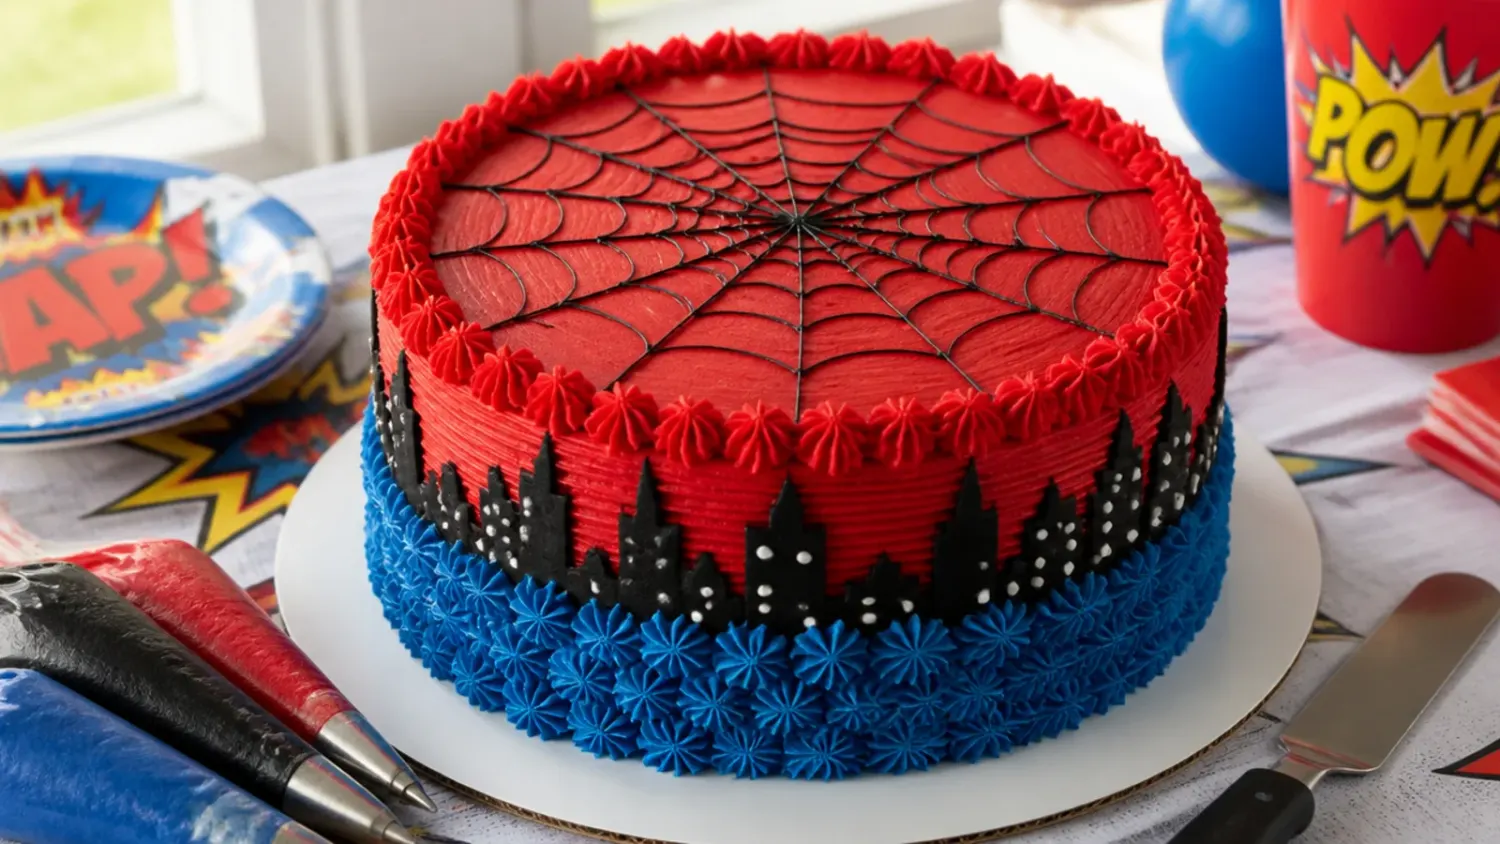
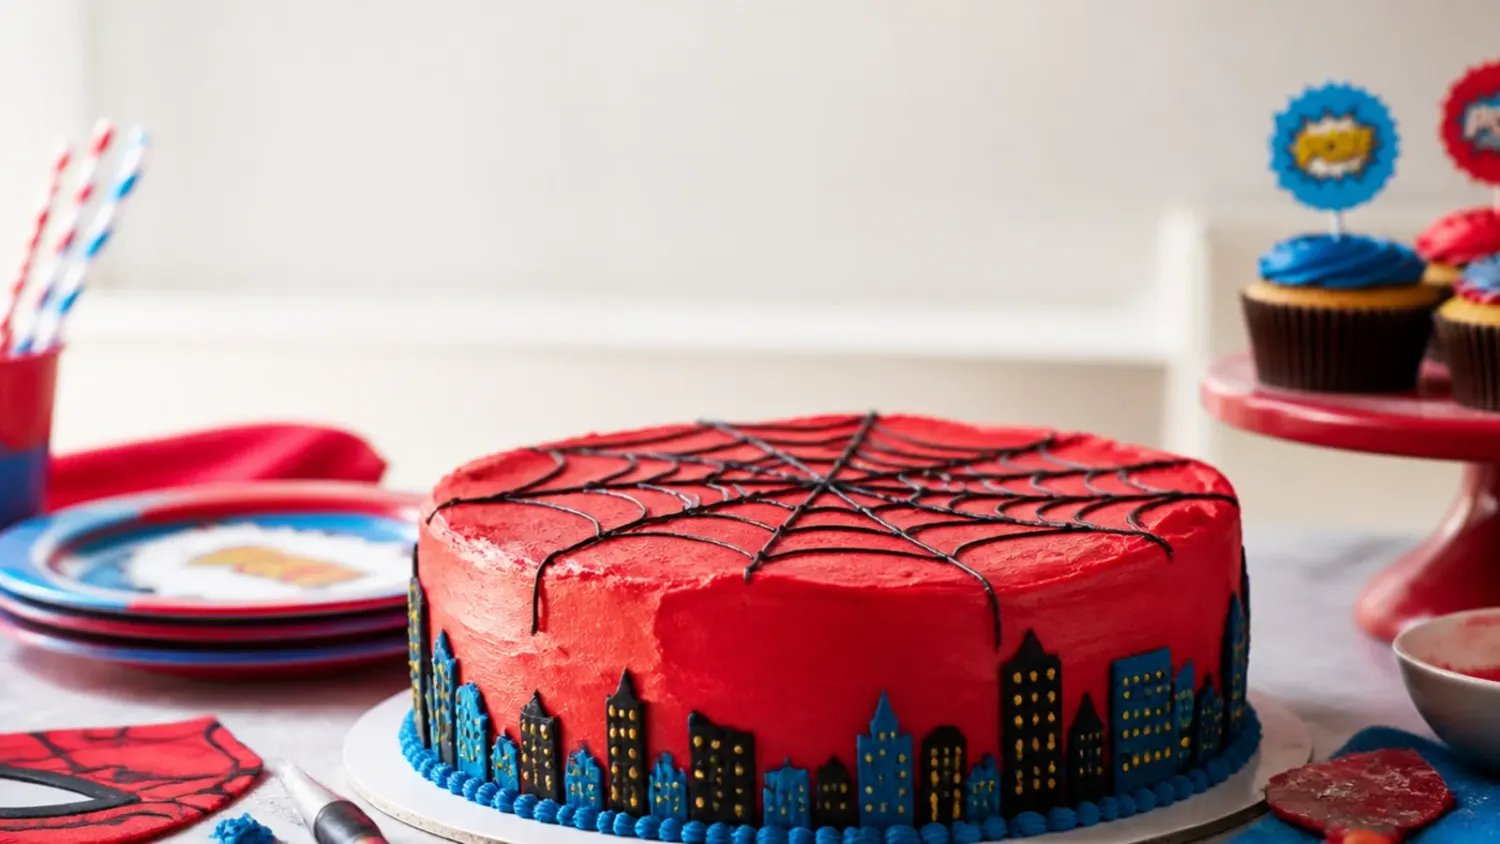
I made a homemade Spiderman cake for my son's birthday and got a lot wrong. Here are the 5 mistakes I made so your web-themed cake turns out right. If you love spiderman cake inspiration, start with our Spiderman Cake Ideas collection, then browse the full Cake Ideas hub for more.
Save this for later 📌
Pin this article to your Pinterest board so the full list is one tap away when you need it.
Save on PinterestCake Ideas
Intermediate
Kitchen Journal
5 steps
Table of Contents
- Lesson 1: Deepen the Red the Day Before, Not the Morning Of
- Lesson 2: Bake and Fully Chill the Cake Before You Even Think About Frosting
- Lesson 3: Never Skip the Crumb Coat, Especially With Dark Red
- Lesson 4: Map the Web With a Toothpick Before You Pipe a Single Line
- Lesson 5: Pipe the Eye Shapes on Chilled Buttercream, Not Warm Fondant
- What I'd Tell a Friend Trying This
- The Recipe I Used
Lesson 1: Deepen the Red the Day Before, Not the Morning Of
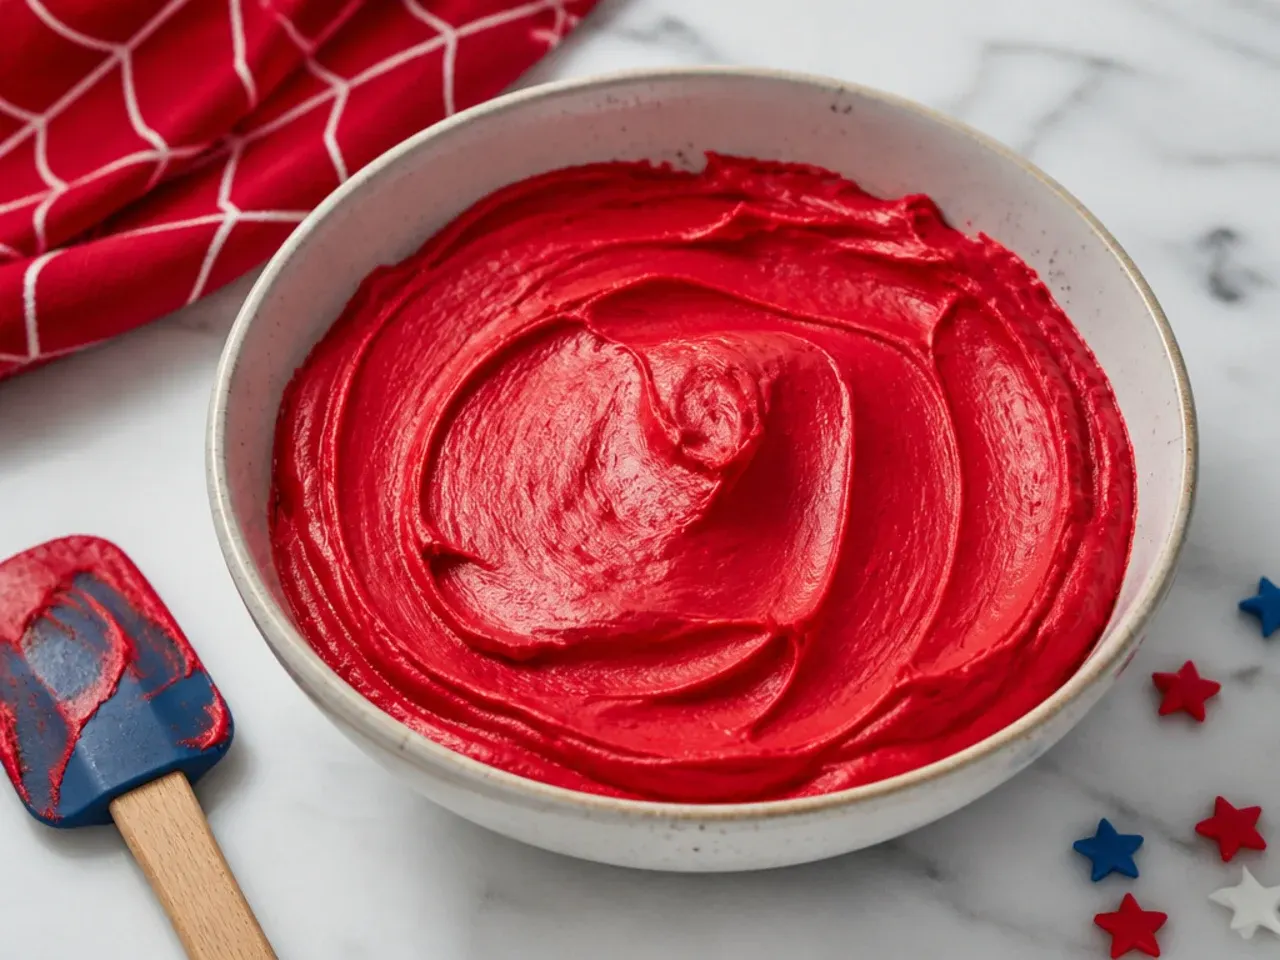
My first mistake was trying to turn pale pink buttercream into superhero red at 7am on party day, and it never got there. Red gel needs hours to bloom, so the color you mix always looks lighter than the color it becomes overnight. I now colour the buttercream to a shade slightly deeper than I want, cover the bowl, and leave it at room temperature for 6 to 8 hours or overnight so it darkens on its own. Use a no-taste red gel like Wilton or AmeriColor Super Red rather than liquid drops, because liquid thins the buttercream and never gets past pink, while a heavy dose of ordinary red gel turns everything bitter. Starting with a chocolate or vanilla buttercream tinted a touch of brown or a dot of black under the red also kills that Barbie-pink undertone fast.
Lesson 2: Bake and Fully Chill the Cake Before You Even Think About Frosting
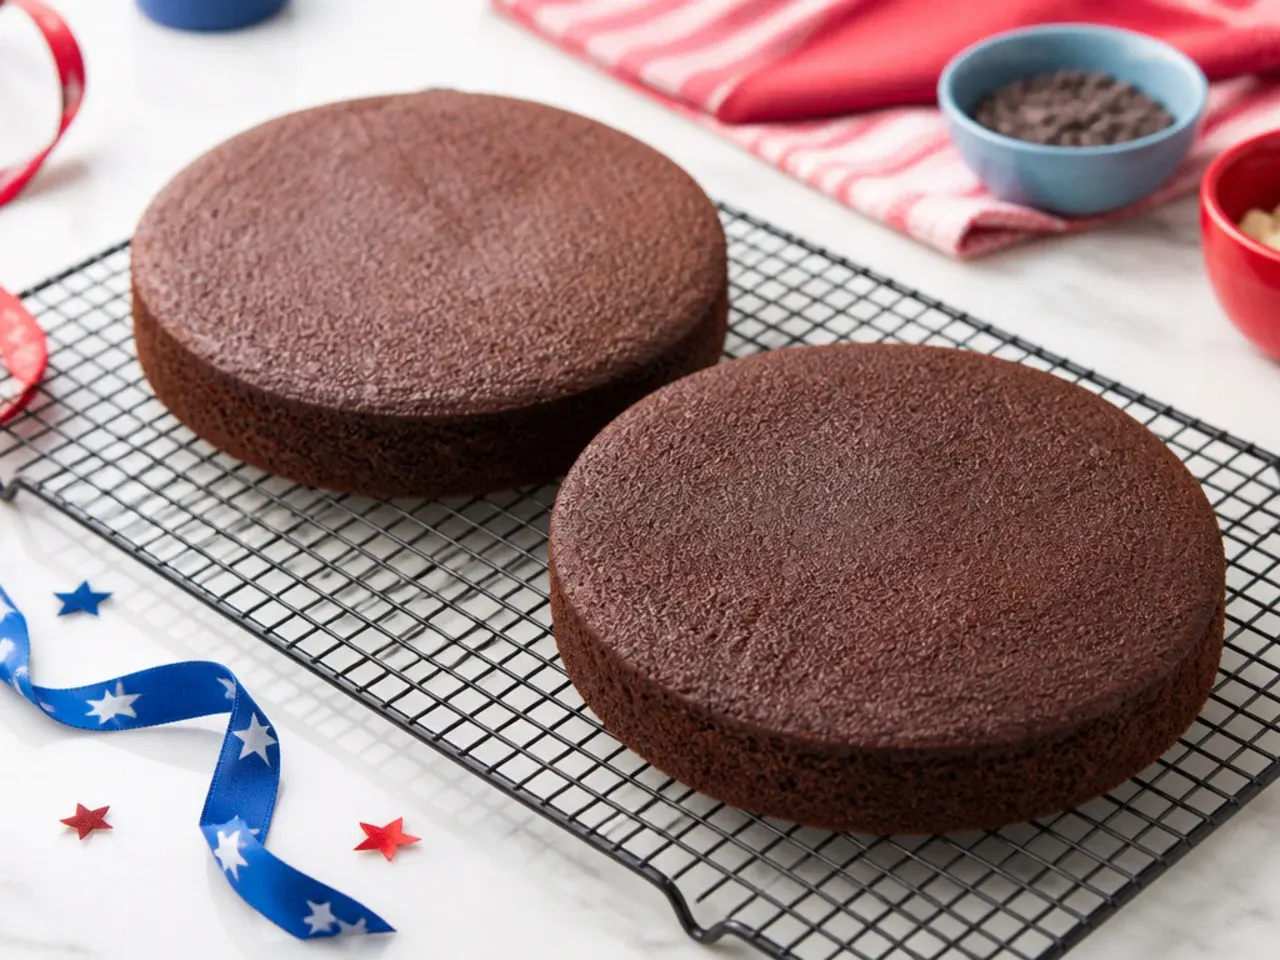
I frosted a barely-cool cake and watched the buttercream slide off in warm sheets, taking crumbs with it. A birthday cake this bright needs a firm, cold base, so I now bake my two 9-inch layers, cool them in the tins for 15 minutes, then turn them out and cool completely on a rack before wrapping and chilling for at least 2 hours. Cold cake is firm cake, and firm cake does not shed crumbs into your red frosting or bulge at the sides when you stack it. I level the domed tops with a serrated knife while the layers are cold, because a flat top is what lets the finished cake read as a clean shield rather than a lumpy mound. If you are short on time, an hour in the freezer does the same job as a couple of hours in the fridge.
Lesson 3: Never Skip the Crumb Coat, Especially With Dark Red
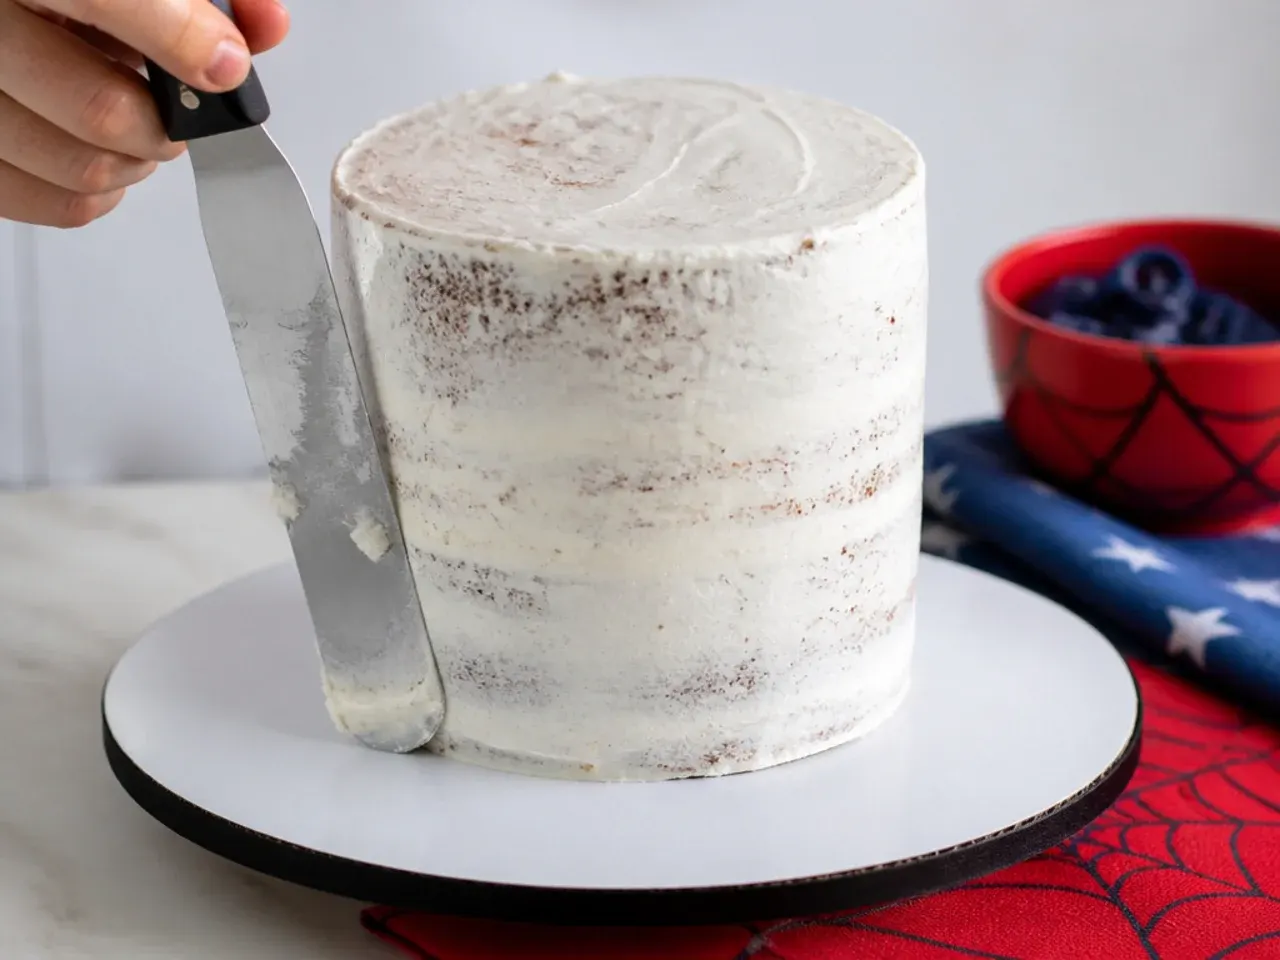
I went straight in with one thick red coat, and every brown crumb I dragged up showed through like static on a TV screen. The crumb coat is a thin, scrappy first layer of buttercream that traps loose crumbs, and it matters twice as much with a strong colour because there is nowhere for a stray crumb to hide. Spread a thin white or pale layer over the stacked cake, scrape the sides almost bare with an offset spatula, then chill it for 20 to 30 minutes until it sets to the touch. Only then do you apply your deep red final coat, smoothing the sides with a bench scraper and dipping your spatula in hot water for a glassy finish. That two-step method is the single biggest reason my second attempt looked bakery-made instead of homemade-in-a-panic.
Lesson 4: Map the Web With a Toothpick Before You Pipe a Single Line
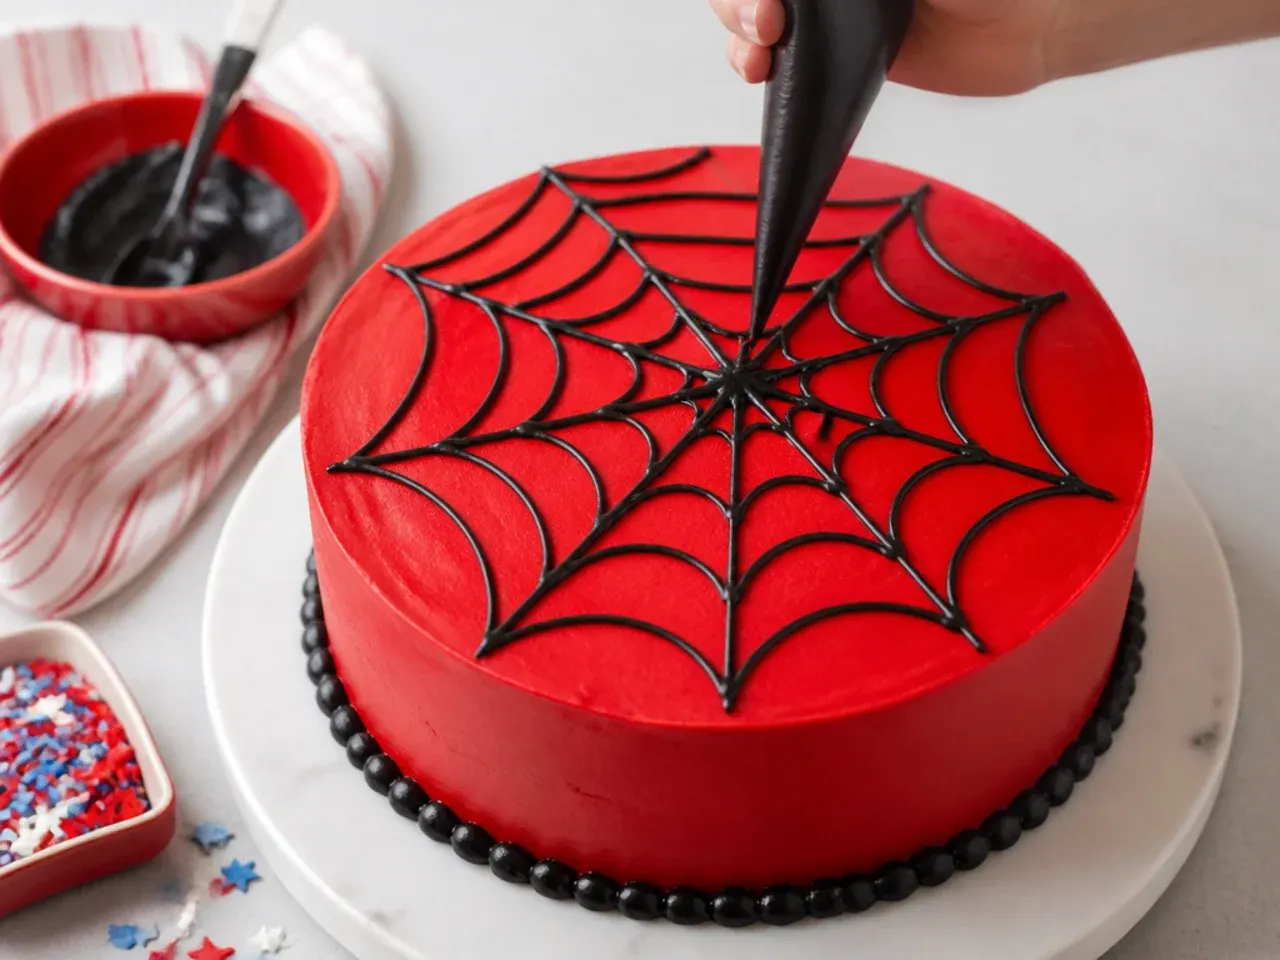
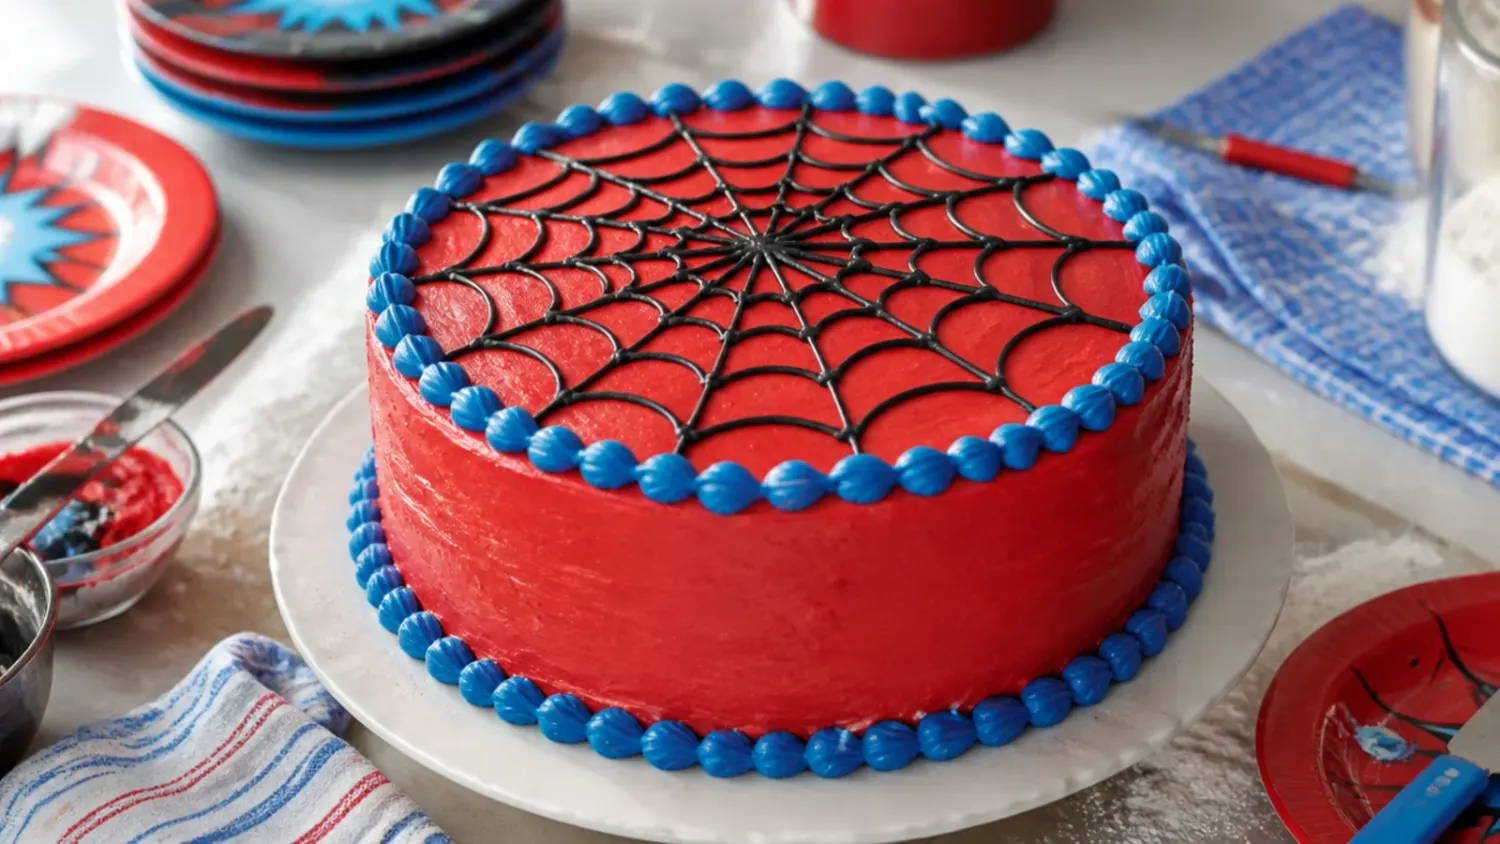
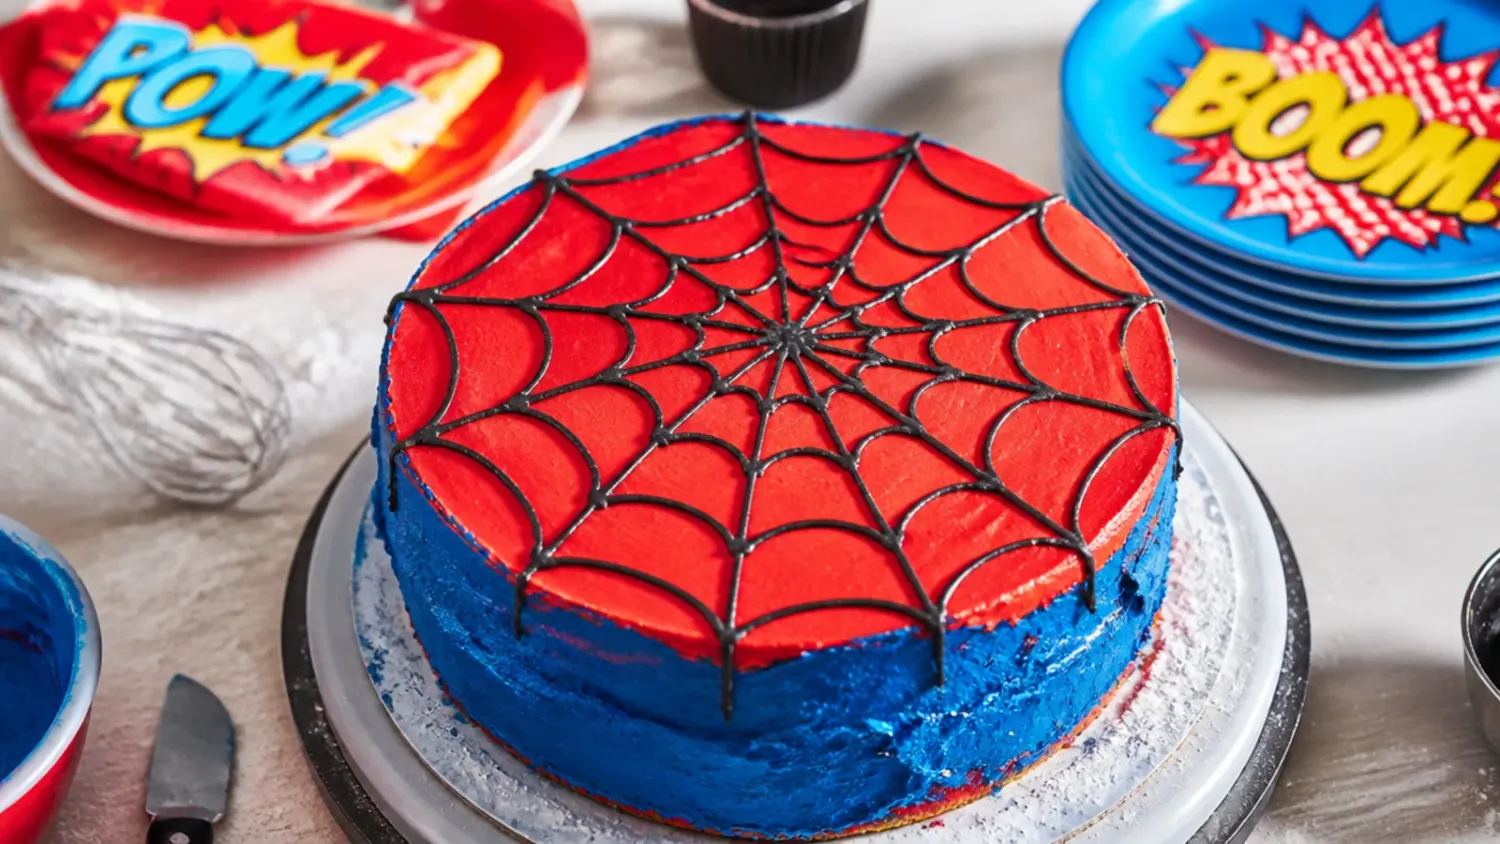
I piped my first web freehand and ended up with wobbly, uneven strands that no amount of eye-narrowing could fix. A web-inspired pattern is all about symmetry, so now I pick a centre point on the top, lightly score straight spokes out to the edges with a toothpick, then score the curved connector lines between them before I touch a piping bag. Fit a small round tip like a Wilton no. 2 or 3 with stiff black buttercream or black decorating gel, and simply trace the lines you already mapped, letting each curve dip toward the centre like a hammock. Pipe the straight spokes first and the curved cross-lines second, keeping steady pressure so the strands stay the same thickness. If a line wobbles, wipe it off with a damp brush and redo it, because on a smooth chilled surface you get as many tries as you need.
Lesson 5: Pipe the Eye Shapes on Chilled Buttercream, Not Warm Fondant
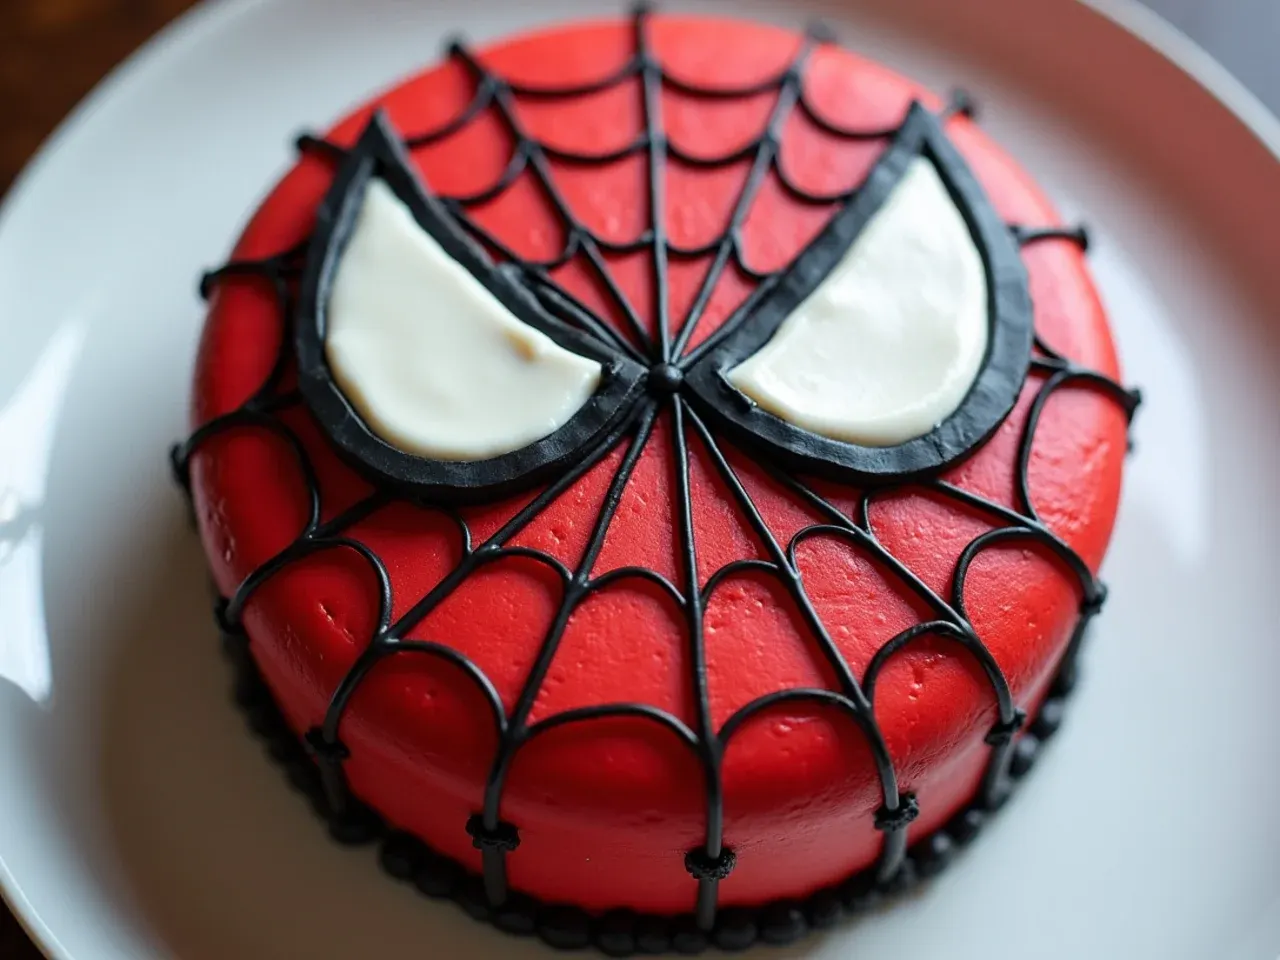
For a character-inspired look I first tried cutting fondant eye shapes freehand, and they came out lopsided and started sagging in the warm kitchen. What actually worked was piping the two teardrop eye shapes directly onto the chilled red surface: outline each one in black, then flood the centre with white buttercream and coax it smooth with a damp brush. Keep the two shapes mirror images by scoring their outline with a toothpick first, exactly like the web, and angle them so the narrow points face inward toward each other. Because you are working on a cold, set surface, the white sits crisply inside the black outline instead of bleeding. If piping eyes feels like too much, a single edible-image printout of a web or star motif pressed onto the top is a genuinely good shortcut that still reads as the theme.
What I'd Tell a Friend Trying This
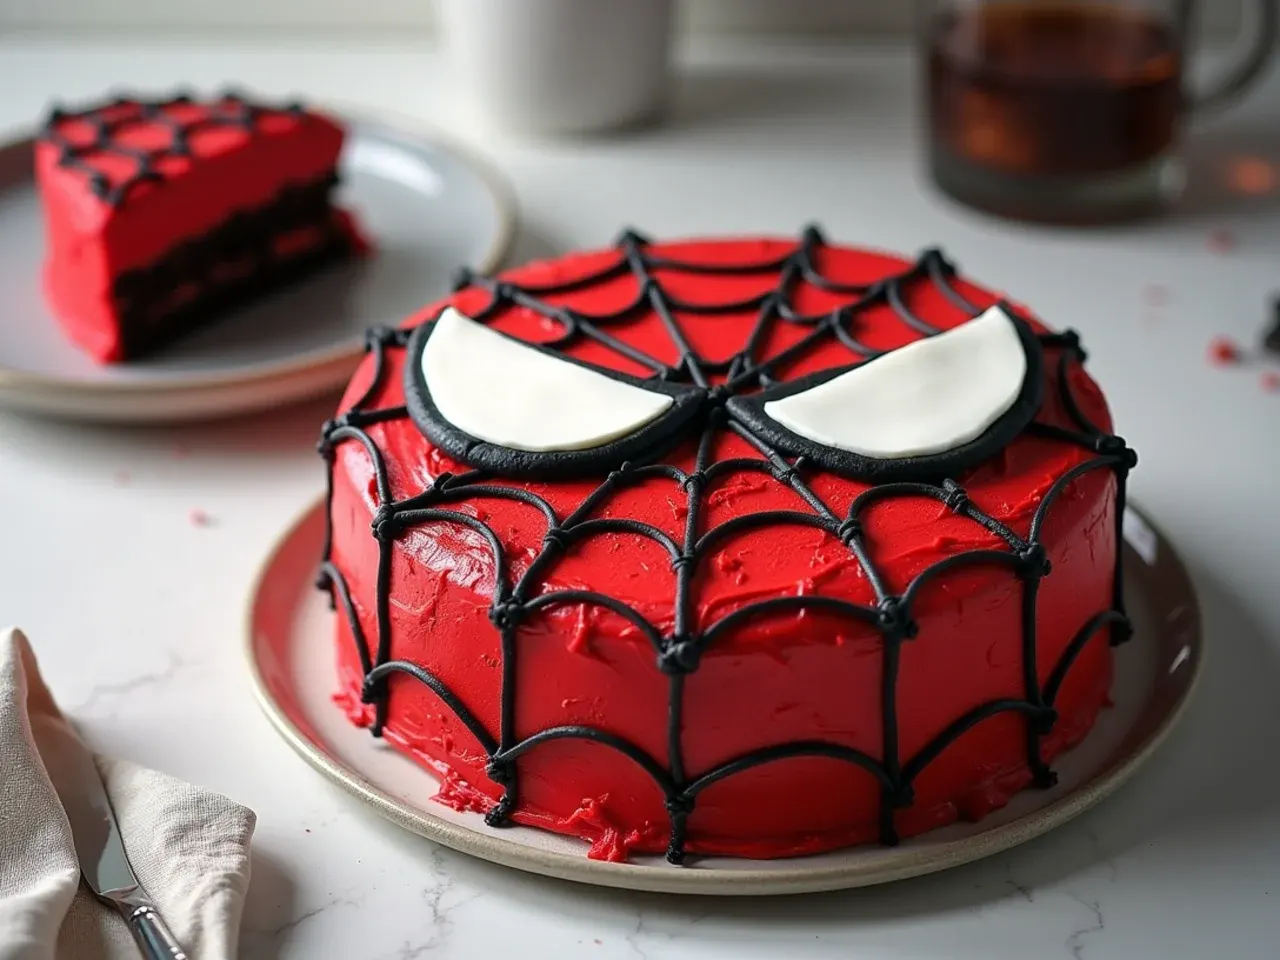
If you are making a homemade Spiderman cake for the first time, do it over two days and you will enjoy it instead of dreading it. Bake and chill the layers and colour the red buttercream on day one, then crumb coat, final coat, and pipe the web and eyes on day two when everything is cold and firm. Buy no-taste red gel and a small round piping tip in advance, because those two cheap things are the difference between deep confident red and apologetic pink. Do not aim to copy the exact movie character; lean into the colours, the web lines, and a bold star or spider silhouette, and nobody at a four-year-old's party will notice or care. Above all, keep the cake cold and keep a damp brush nearby, and you can fix almost any wobble before the candles go on.
The Recipe
The Recipe I Used
40 min
25 min
3 hr (plus overnight colouring)
12
Intermediate
Ingredients 12 Person(s)
Directions
Step 1: Mix and bake the layers
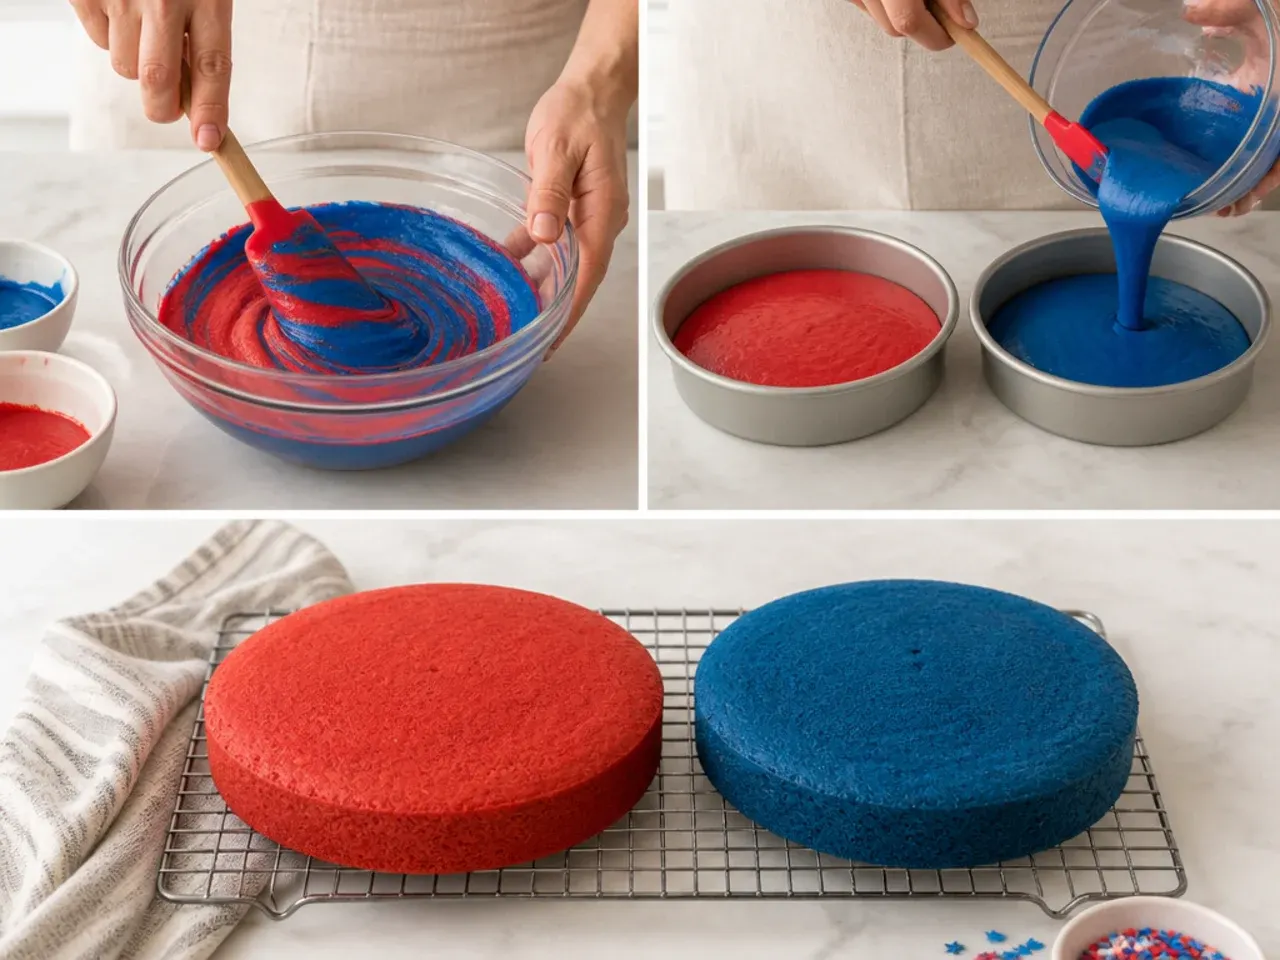
Heat the oven to 175C/350F (fan 160C) and line two 9-inch round tins. Whisk the flour, sugar, cocoa, bicarbonate of soda, baking powder and salt in a large bowl. Beat in the eggs, oil and buttermilk, then stir in the hot water; the batter will be thin, which is normal. Divide between the tins and bake 23 to 26 minutes, until a skewer comes out clean.
Step 2: Cool and chill completely
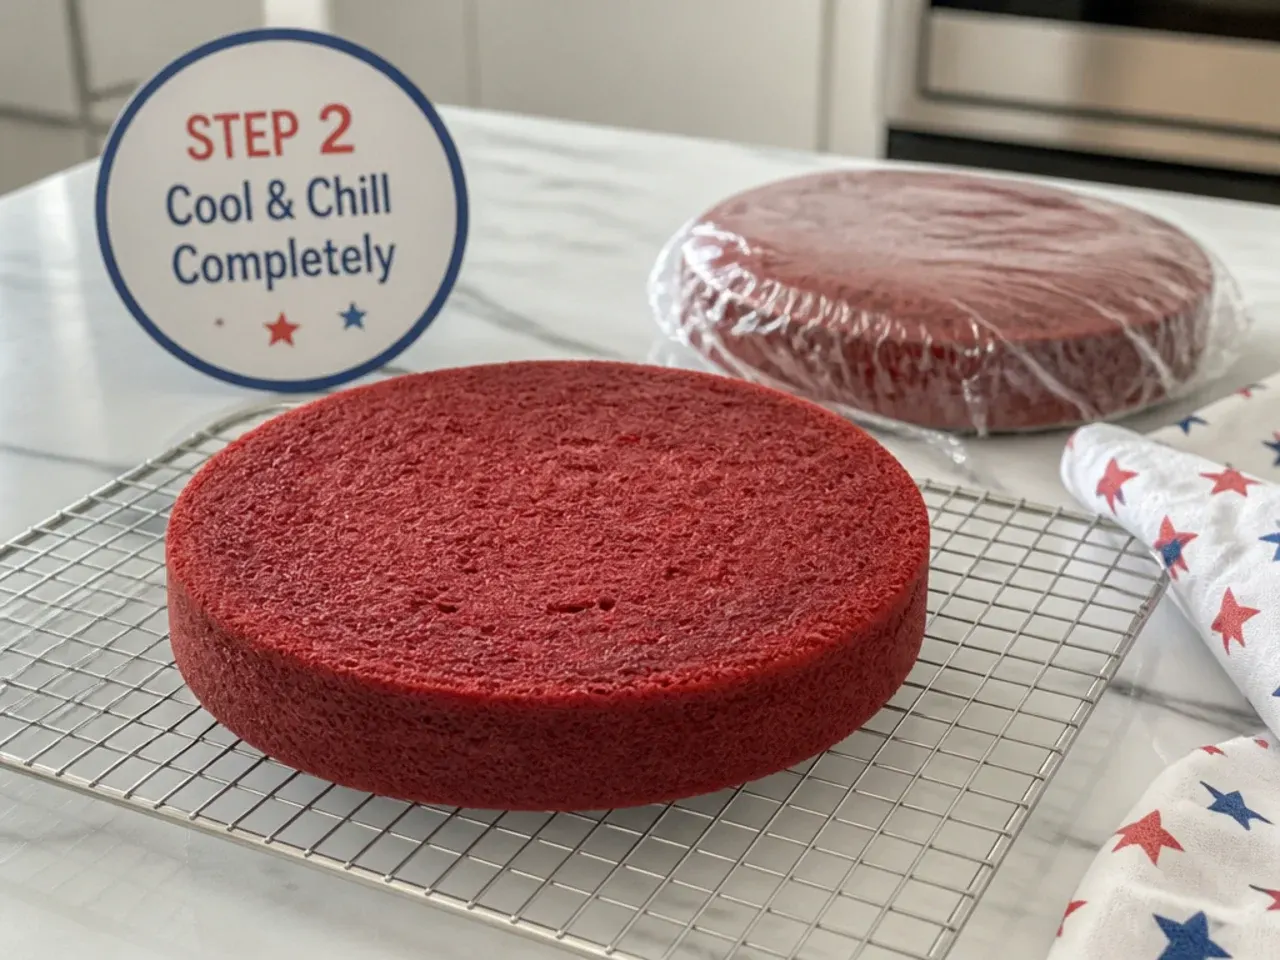
Cool the cakes in the tins for 15 minutes, then turn out onto a rack and cool completely. Wrap each layer and chill for at least 2 hours, or freeze for 1 hour. Cold layers are firm, do not shed crumbs, and are far easier to level and stack.
Step 3: Make and colour the red buttercream
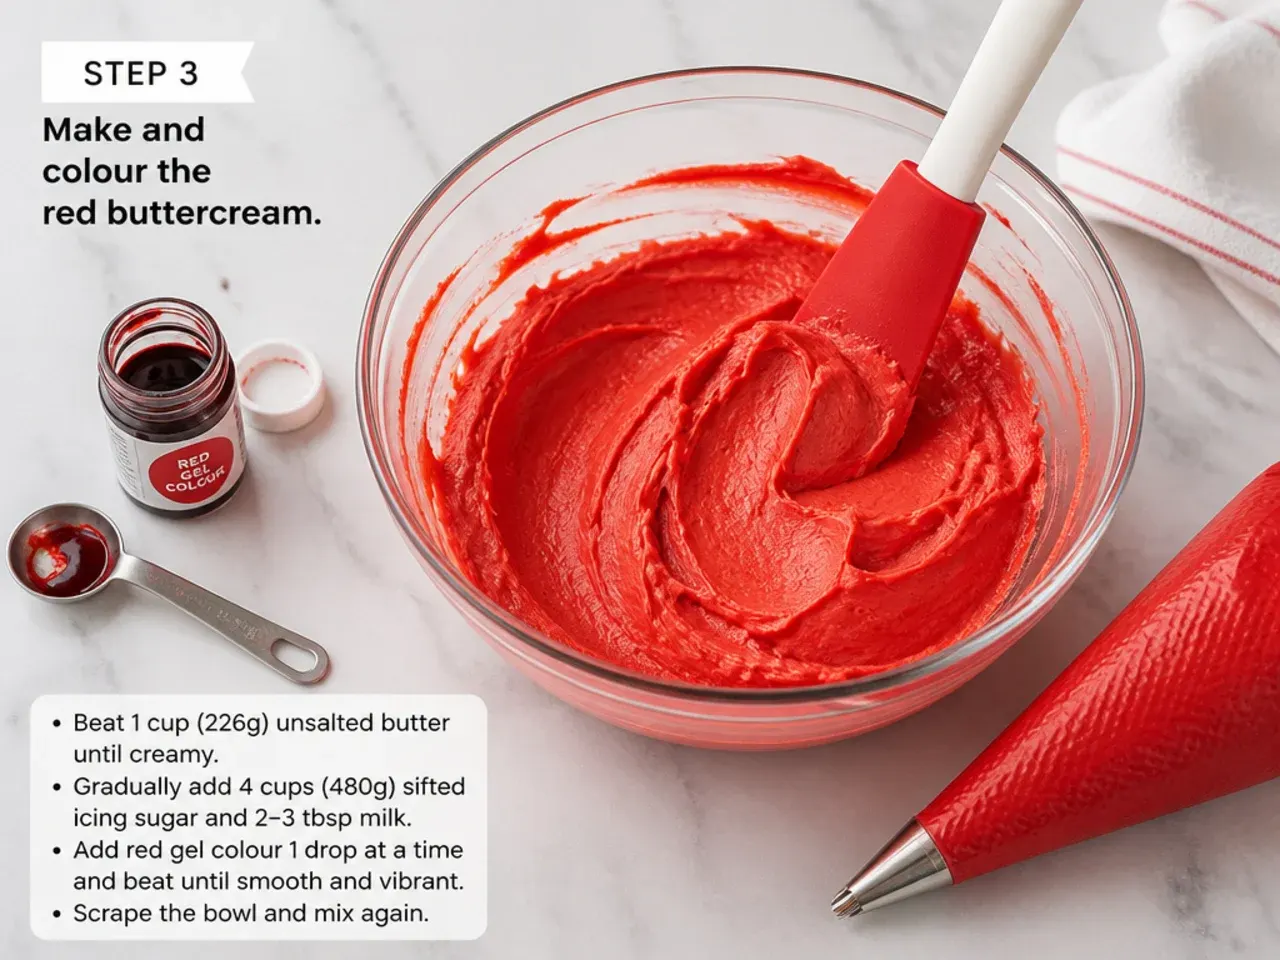
Beat the softened butter until pale, then add the icing sugar in batches, beating to a smooth, stiff frosting; loosen with a splash of milk only if needed. Set aside a small portion for the black and white details. Colour the rest with no-taste red gel plus a tiny dot of black to kill any pink, mixing to a shade slightly deeper than you want. Cover and rest 6 to 8 hours or overnight so the red darkens.
Step 4: Level, stack and crumb coat
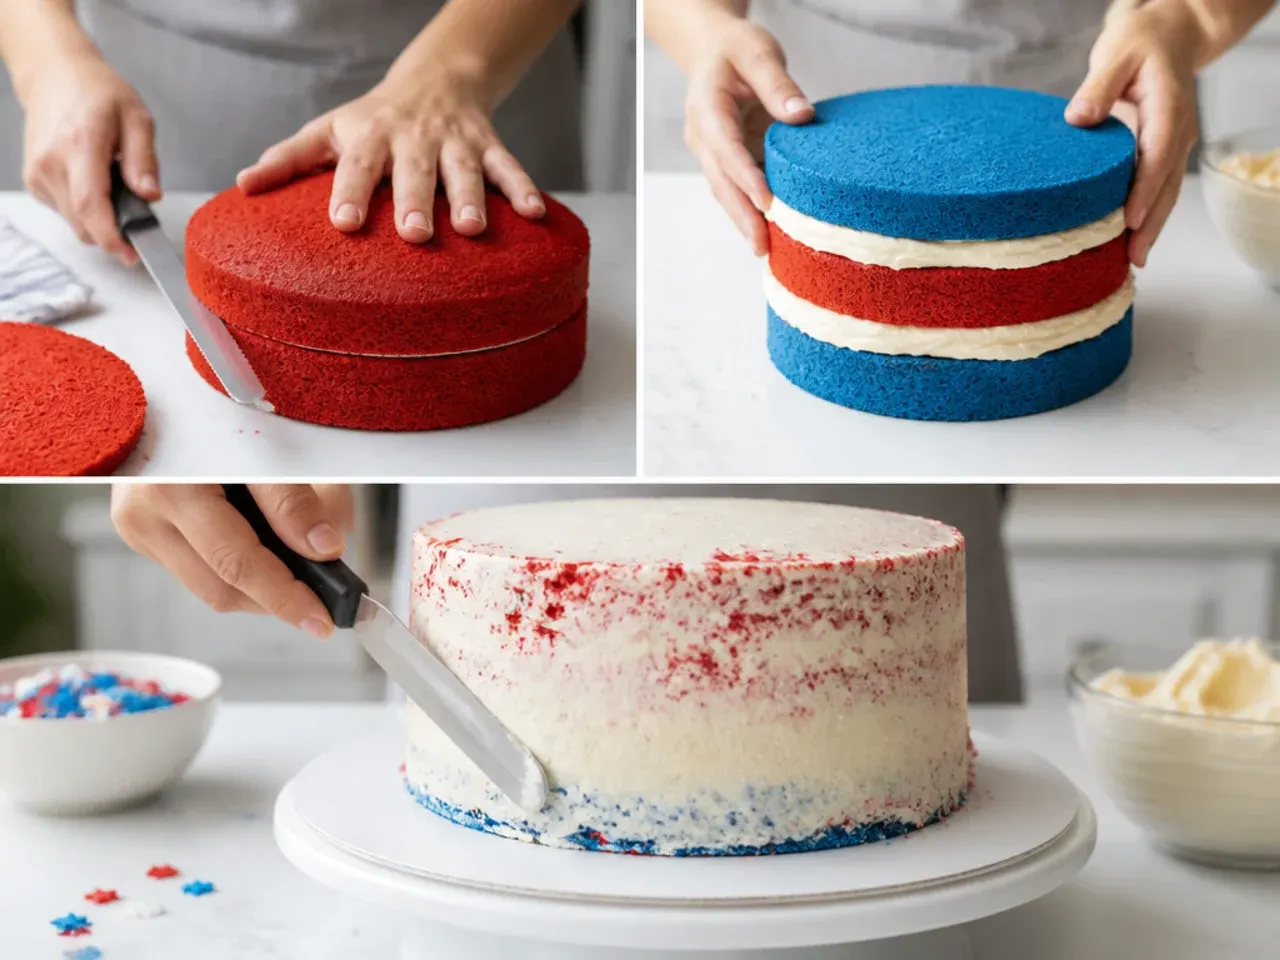
Level the domed tops with a serrated knife. Stack the layers with a thin layer of red buttercream between them on a board or cake stand. Spread a thin scrappy crumb coat over the whole cake, scrape the sides nearly bare with an offset spatula, then chill 20 to 30 minutes until set to the touch.
Step 5: Apply the smooth red coat
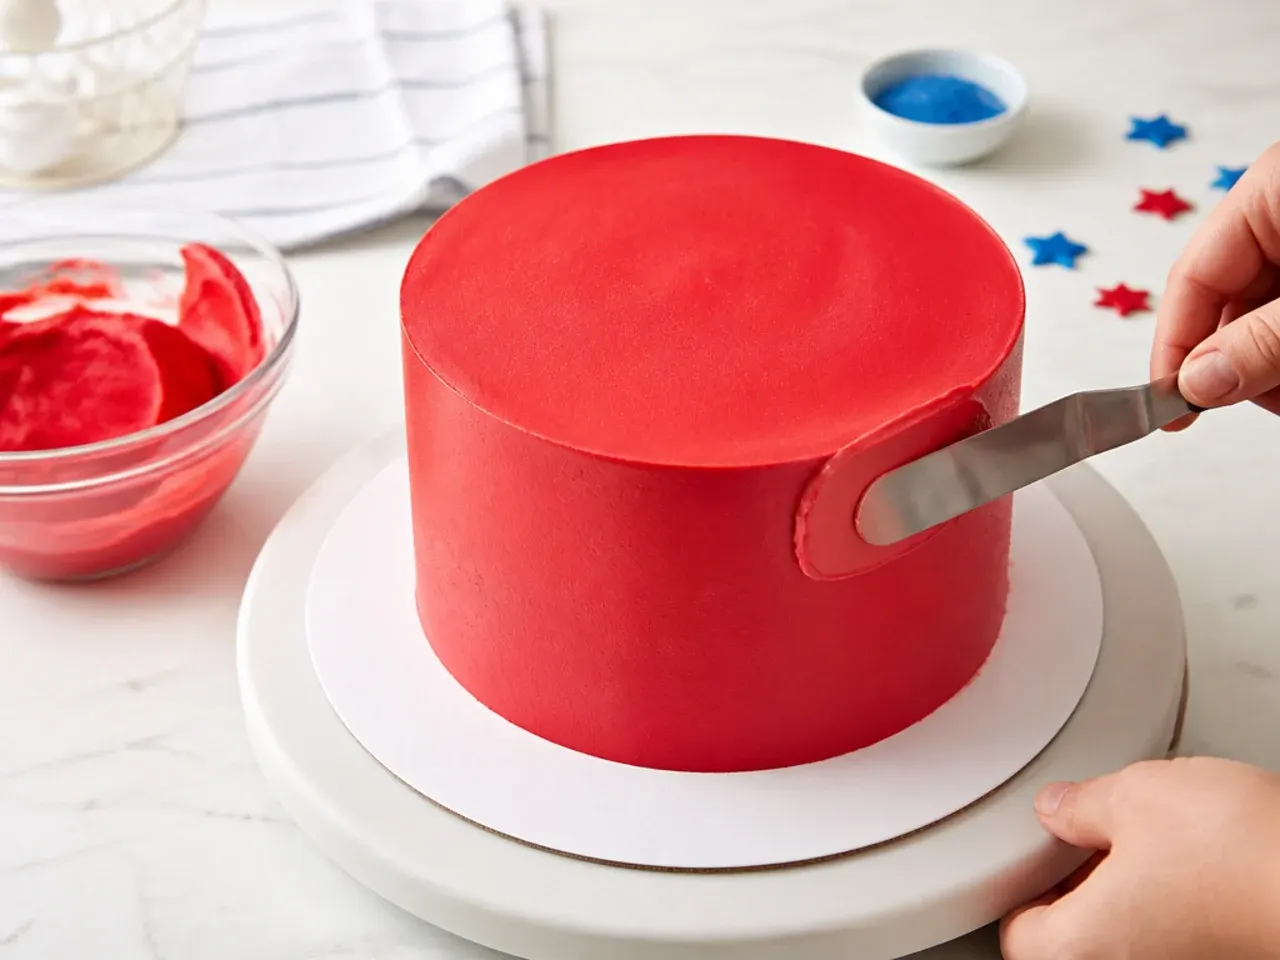
Spread a generous final layer of red buttercream over the top and sides. Smooth the sides with a bench scraper held upright and level the top with an offset spatula, dipping the spatula in hot water and wiping it dry for a glassy finish. Chill again for 15 minutes so the surface is firm enough to pipe on.
Step 6: Map and pipe the web
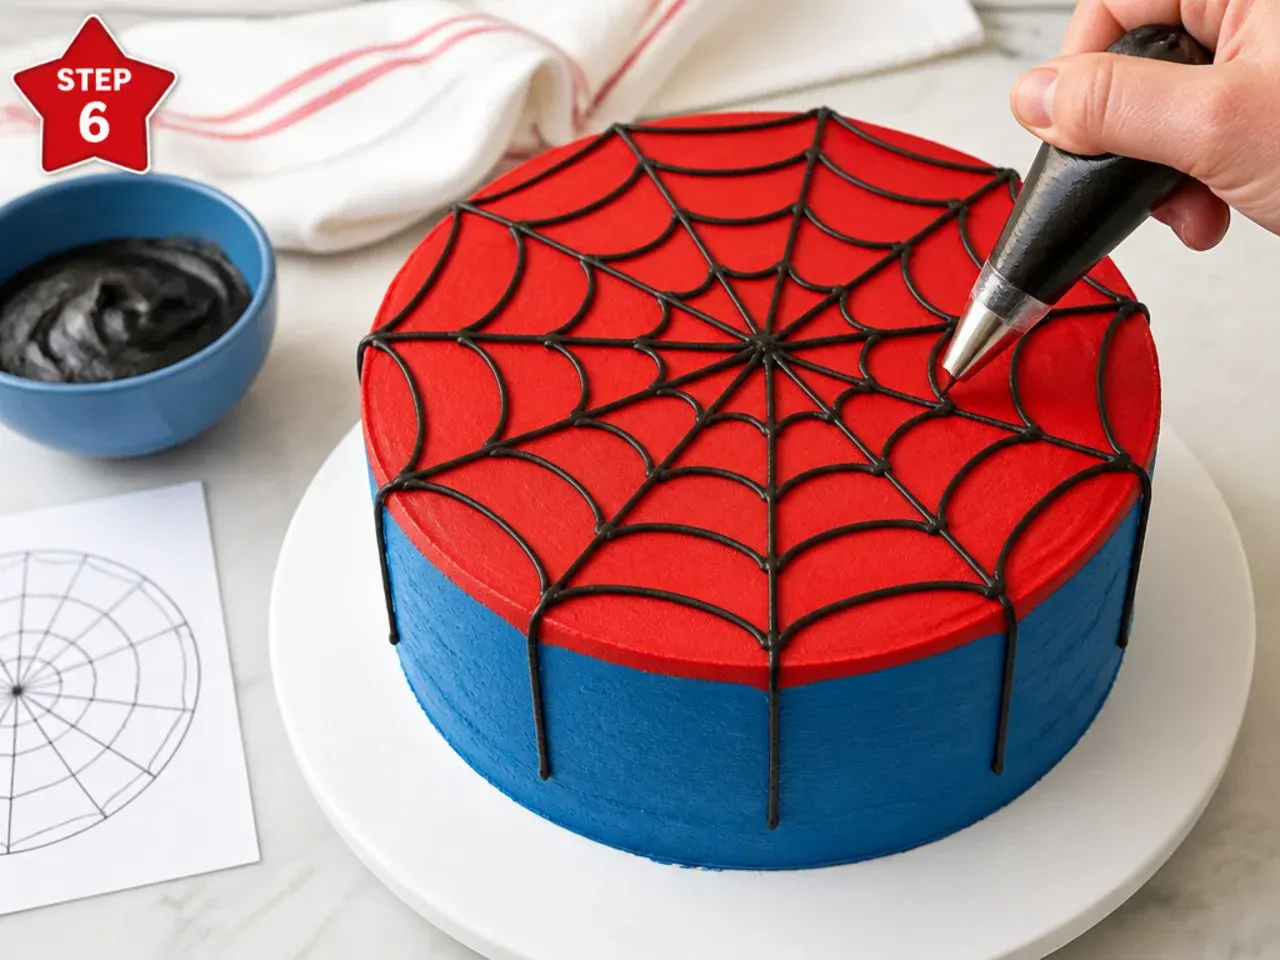
Pick a centre point on top and lightly score straight spokes out to the edges with a toothpick, then score curved connector lines between them. Fit a piping bag with a small round tip (Wilton no. 2 or 3) and stiff black buttercream or black decorating gel. Trace the straight spokes first, then the curved cross-lines, keeping steady even pressure.
Step 7: Pipe the eye shapes and finish
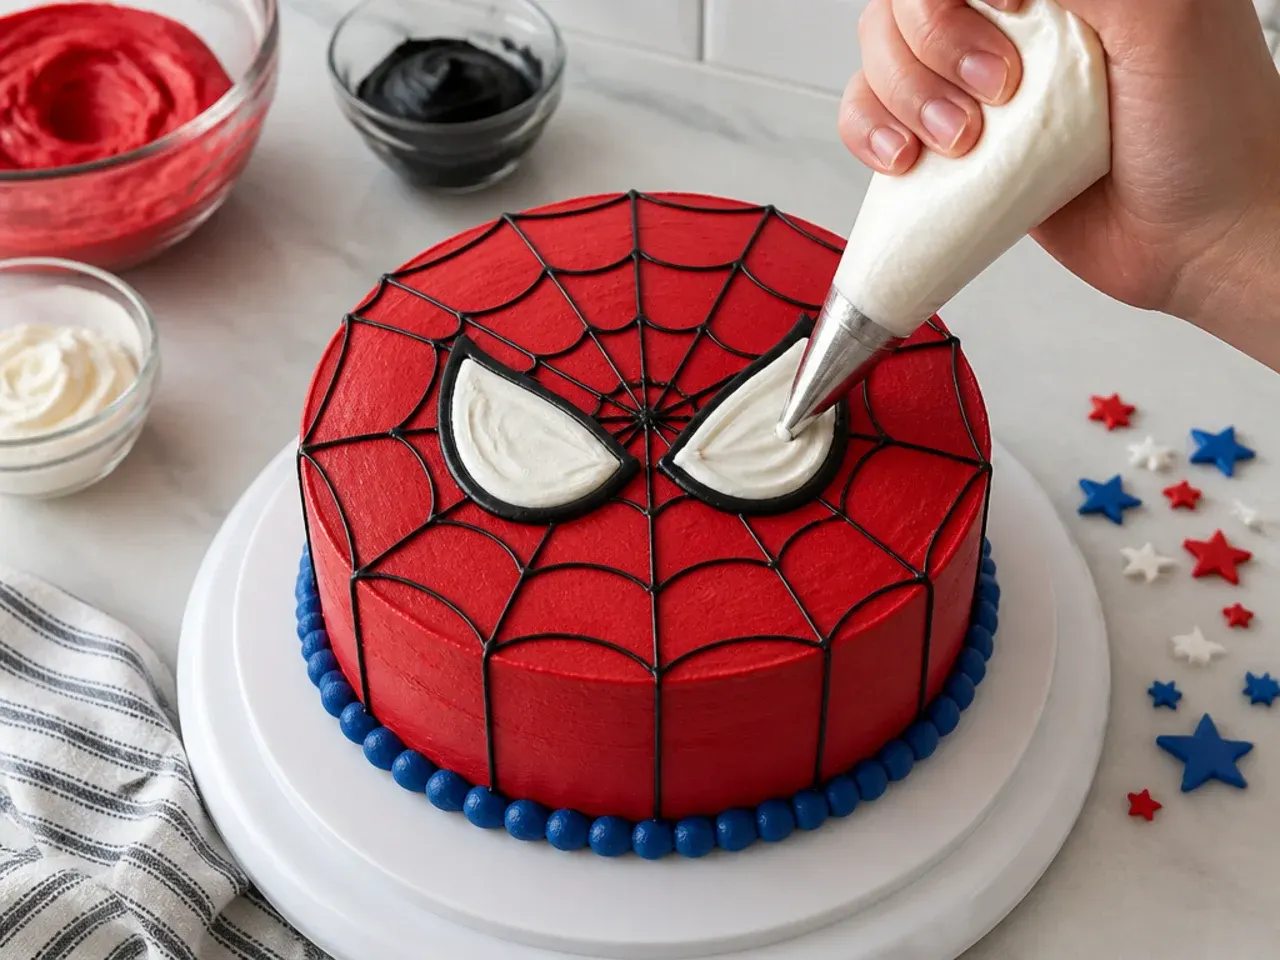
Score two mirror-image teardrop eye shapes on the front with the narrow points facing inward. Outline each in black, then flood the centres with white buttercream and smooth with a damp brush. Wipe away any wobbly line with a damp brush and redo it. Chill until serving, and bring to cool room temperature about 30 minutes before cutting.
Frequently Asked Questions
Use a no-taste red gel like Wilton or AmeriColor Super Red, not liquid drops, and add a tiny dot of black or start from a chocolate buttercream base to cancel the pink undertone. Mix it to a shade slightly deeper than you want, then cover the bowl and leave it 6 to 8 hours or overnight; red gel keeps darkening as it rests, so the frosting you pipe is far bolder than the one you mixed.
Save this for later 📌
Pin this article to your Pinterest board so the full list is one tap away when you need it.
Save on Pinterest