15 Cute Spiderman Smash Cakes for 1st Party
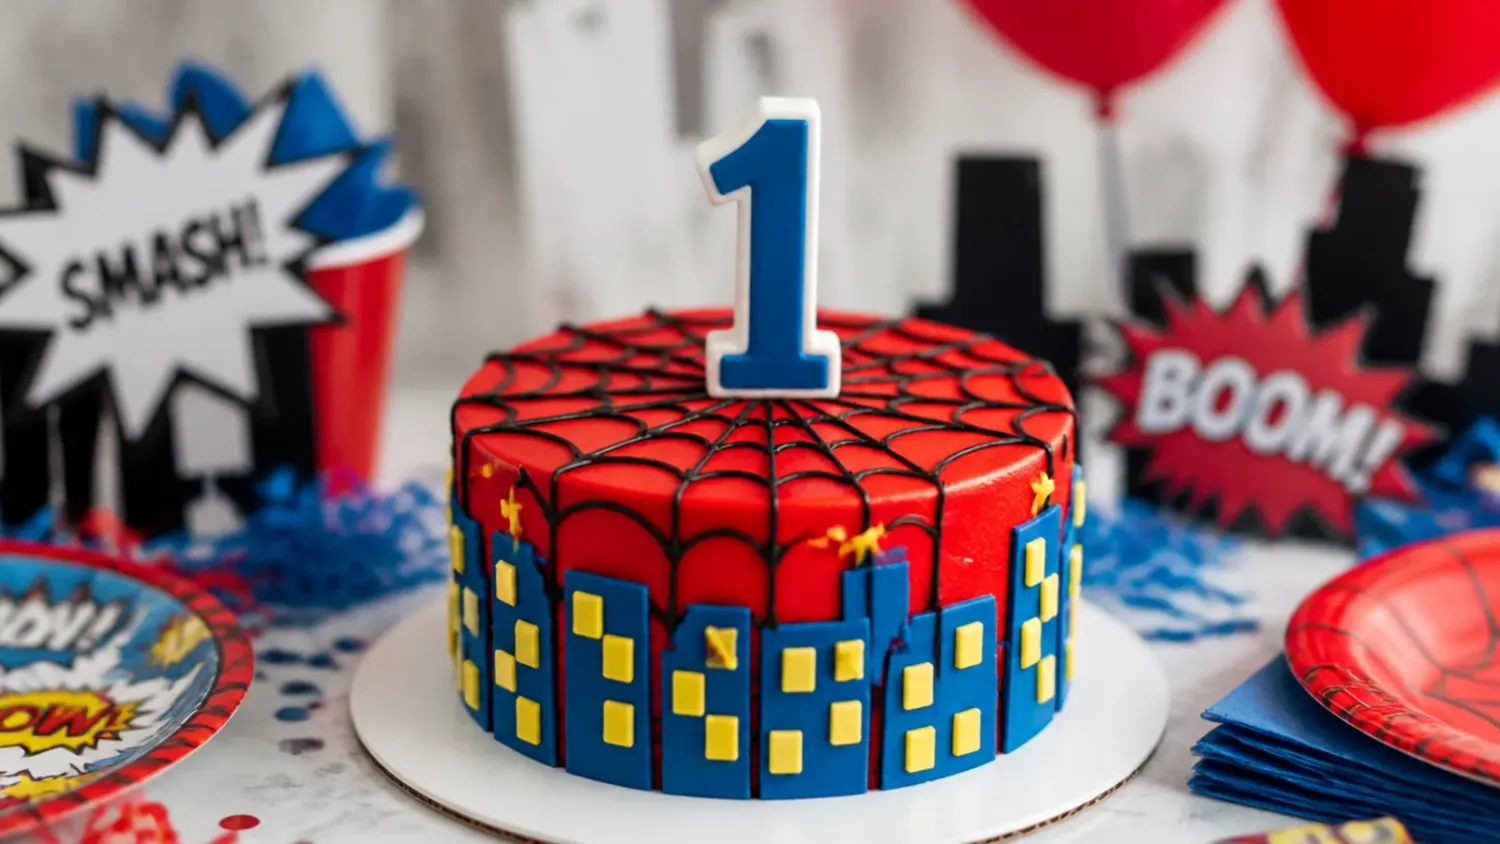
Find 15 cute spiderman smash cake ideas for a 1st birthday, plus a tested 4-inch vanilla recipe, easy web piping tricks and baby-safe frosting swaps. If you love spiderman cake inspiration, start with our Spiderman Cake Ideas collection, then browse the full Cake Ideas hub for more.
Save this for later 📌
Pin this article to your Pinterest board so the full list is one tap away when you need it.
Save on PinterestCake Ideas
Beginner
Ideas
15 ideas
Table of Contents
- 1. Classic Red and Blue Web Smash Cake
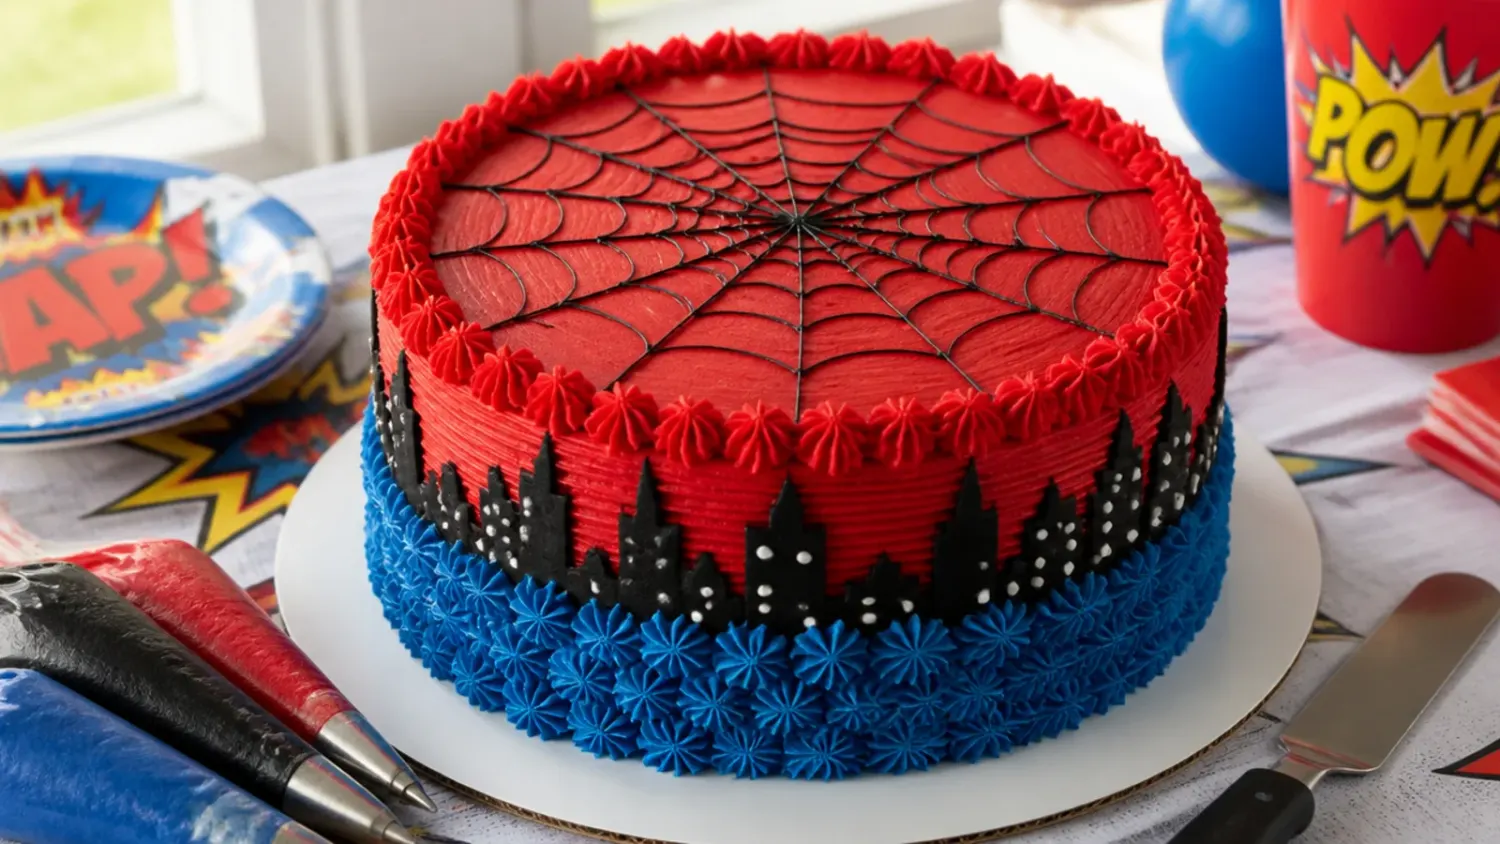
- 2. Easy Two-Colour Swirl Smash Cake
- 3. Elegant White and Silver Web Smash Cake
- 4. Playful Polka Dot and Web Smash Cake
- 5. Modern Colour-Block Smash Cake
- 6. Rustic Semi-Naked Berry Smash Cake
- 7. Colourful Candy Drip Smash Cake
- 8. Minimal Single-Web Smash Cake
- 9. Festive Confetti and Streamer Smash Cake
- 10. Whimsical City Skyline Smash Cake
- 11. Bold Full-Web Smash Cake
- 12. Delicate Pastel Web Smash Cake
- 13. Vintage Piped Shell Smash Cake
- 14. Creative Buttercream-Transfer Web Smash Cake
- 15. Charming Smash Cake and Cupcake Set
- Tips to Make These Ideas Easier
- Common Mistakes to Avoid
- The Base Recipe — Make Any of These Ideas
1. Classic Red and Blue Web Smash Cake
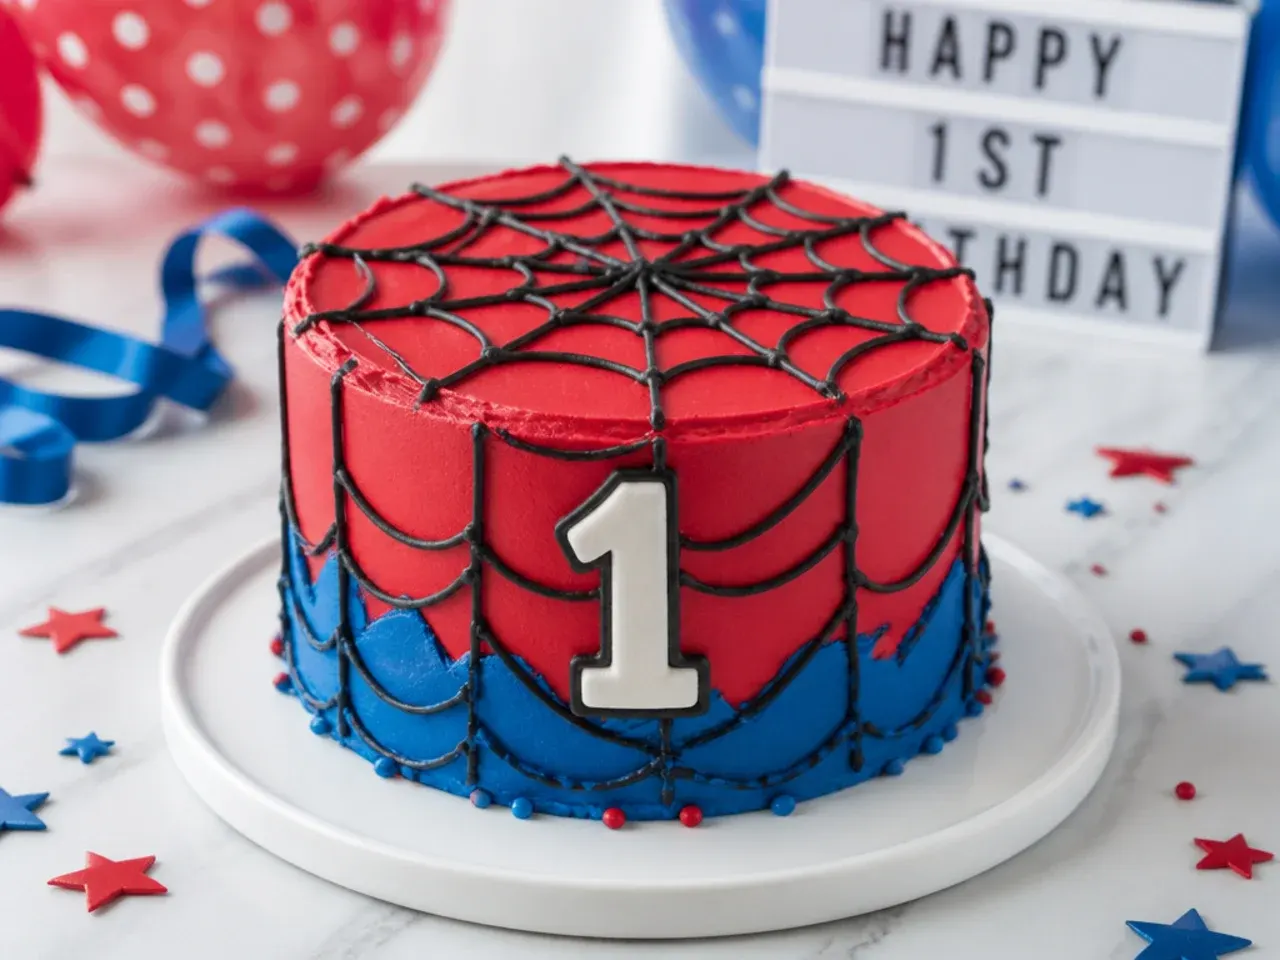
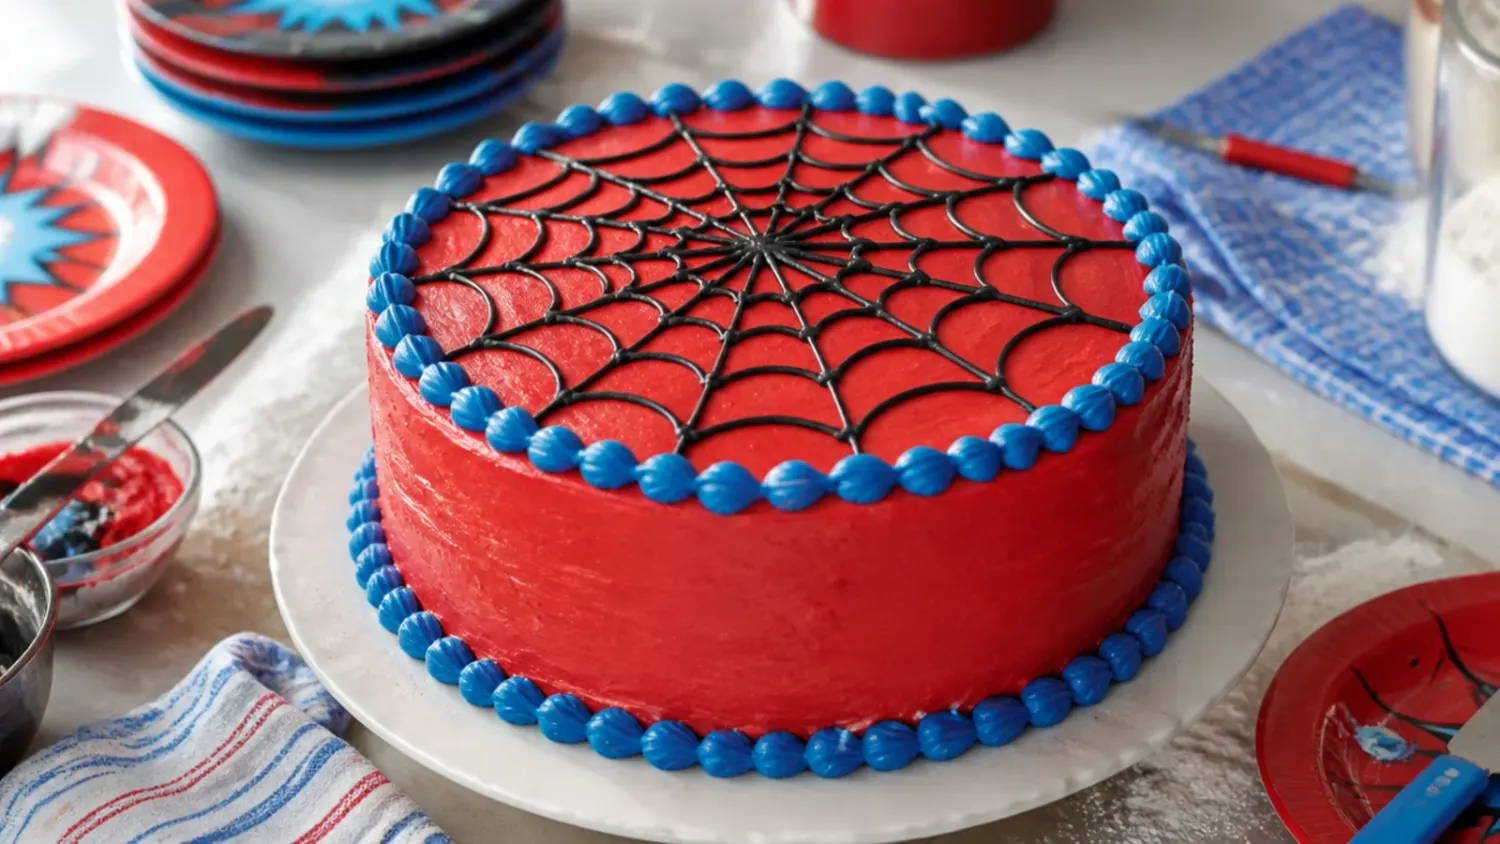
This is the look everyone pictures: a red buttercream cake with a black piped web and a blue border, no character face needed. Frost the chilled 4-inch cake in red, smooth it with a bench scraper, then chill 15 minutes so the surface firms up before piping. Using black buttercream and a Wilton tip 2 or 3, pipe six straight spokes meeting at the top centre, then connect them with gently sagging arcs working outward ring by ring. Finish with a blue shell border around the base using a tip 21. Stick to a no-taste red gel colour, because standard red gel turns bitter at the amount needed for a true superhero red.
2. Easy Two-Colour Swirl Smash Cake
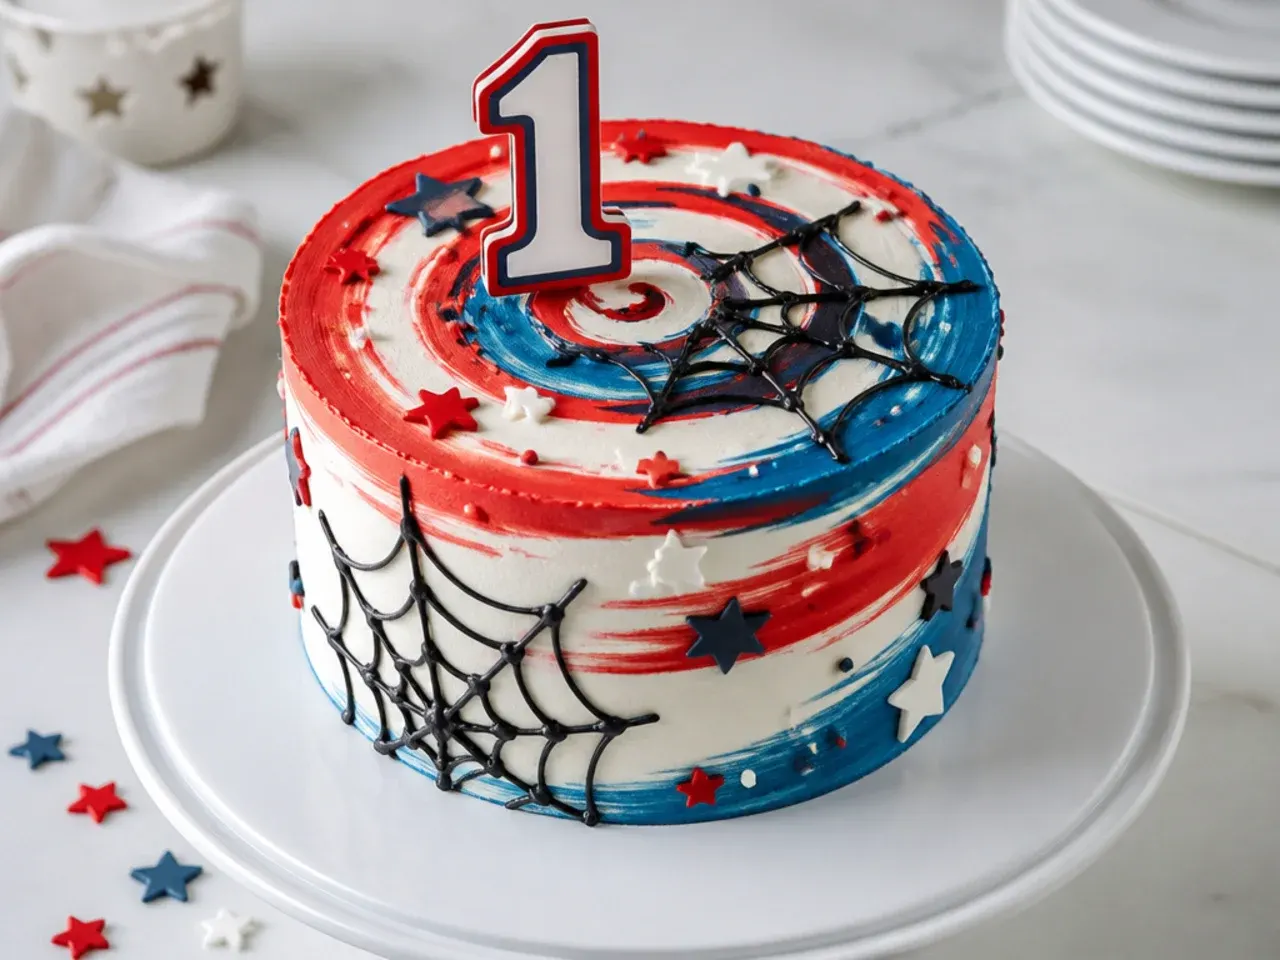
If you have never piped a line in your life, make this one. Frost the cake in white buttercream, then dab teaspoon-sized blobs of red and blue buttercream randomly over the top and sides. Drag an offset spatula or bench scraper once around the cake so the colours streak into a watercolour swirl, and stop before they blend into purple. Finish with a numeral 1 candle or a paper web-print topper from a party shop. Total decorating time is under ten minutes, and the messier the swirl looks, the better it photographs.
3. Elegant White and Silver Web Smash Cake
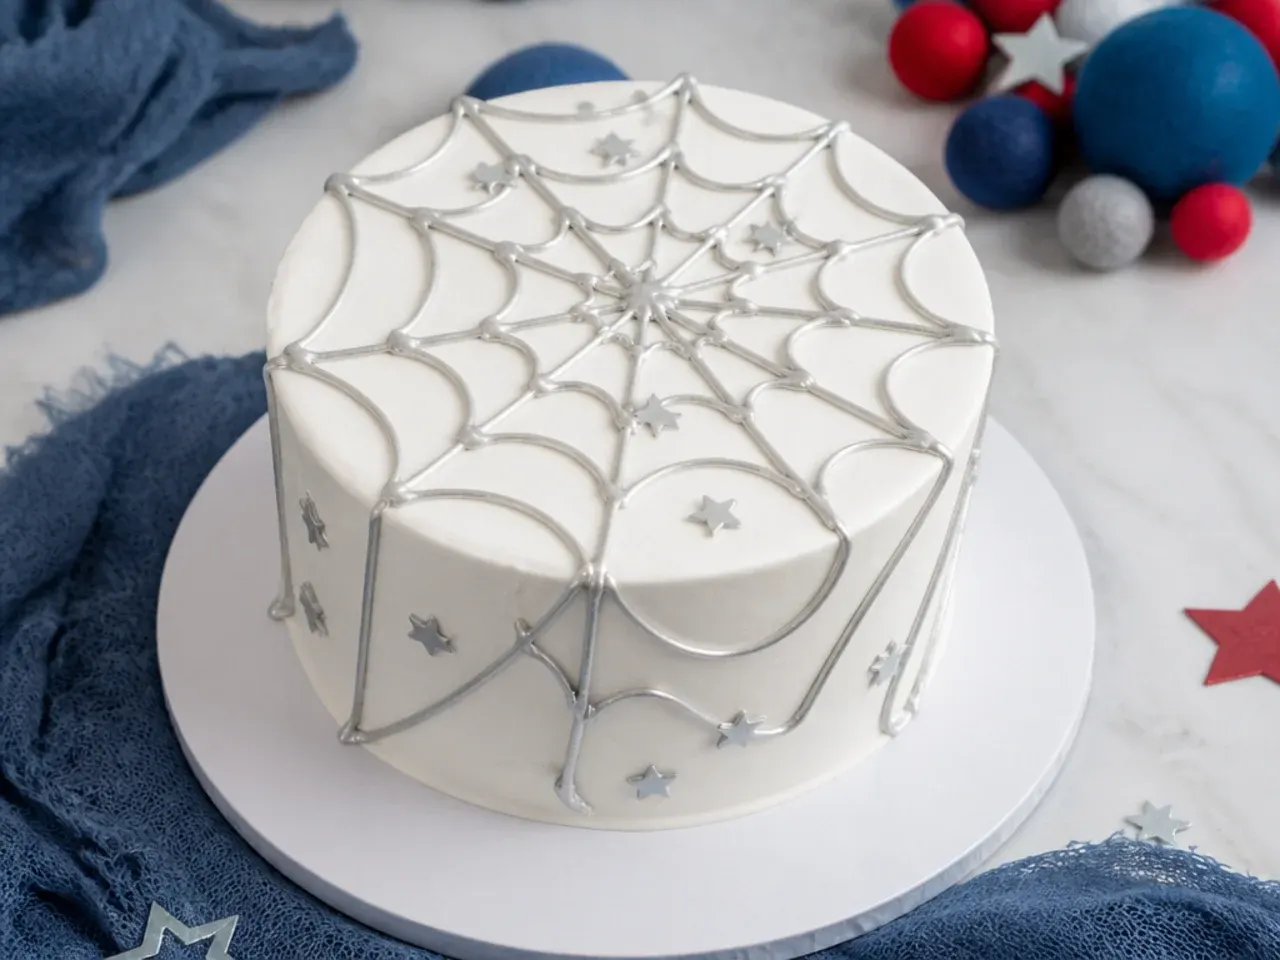
For a dressier party, flip the palette: smooth white buttercream, a fine web piped in soft grey, and just a few red accents. Tint a small bowl of buttercream with a single drop of black gel to make pale grey, and pipe the web with a tip 1 or 2 for hair-thin lines. Add three or four small red buttercream stars with a tip 16, or tuck fresh raspberries around the base for colour without dye. This version sits beautifully next to neutral first birthday photo backdrops where a bright red cake would dominate every shot.
4. Playful Polka Dot and Web Smash Cake
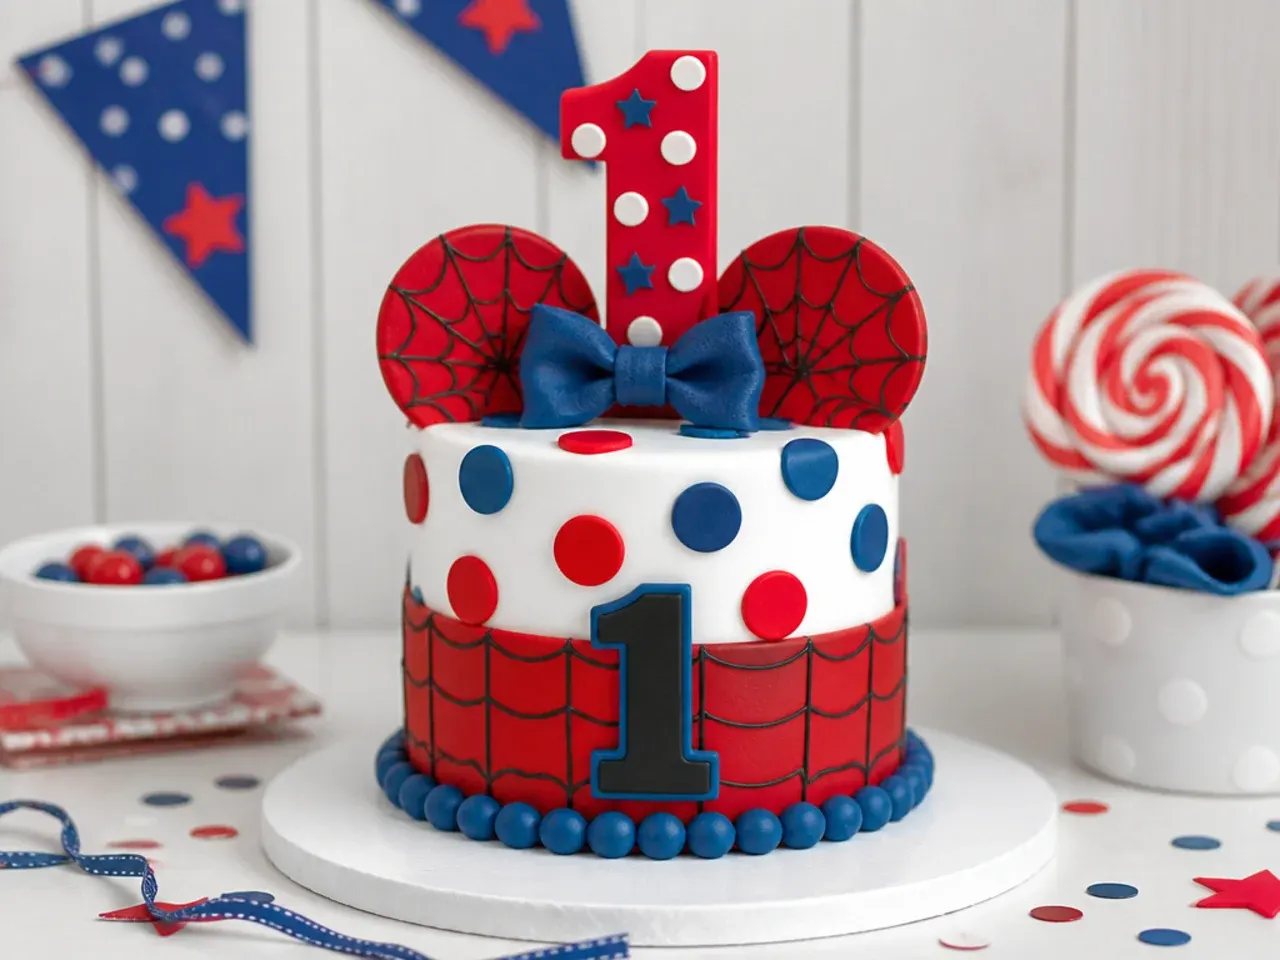
Cover the cake in sky-blue buttercream, then pipe red and white dots over the sides with a tip 12. Chill the cake 10 minutes, then flatten each dot gently with an offset spatula dipped in warm water and wiped dry, which turns the blobs into smooth, bakery-style polka dots. Pipe a small black web accent on one shoulder of the cake so the theme still reads clearly. Polka dots are the most forgiving decoration on this list, because uneven spacing just looks intentional and playful.
5. Modern Colour-Block Smash Cake
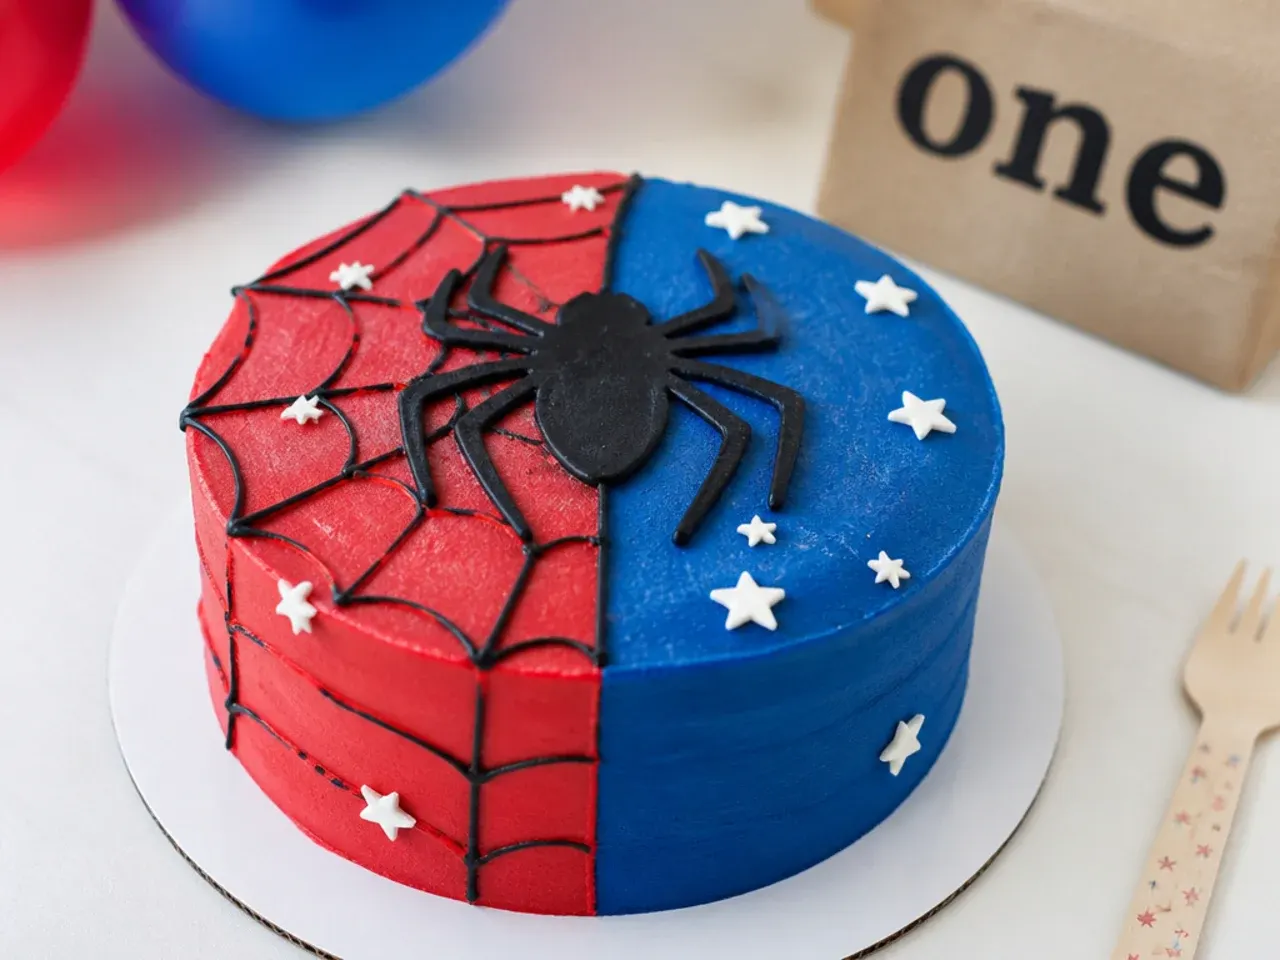
Frost the top half of the cake in red and the bottom half in royal blue, then chill for 20 minutes. Hold a bench scraper flat and level against the side while rotating the turntable to sharpen the seam, and pipe a thin black line over the join with a tip 3 to make the divide look deliberate. Keep everything else bare except a small acrylic or card numeral 1 on top. The clean geometry suits modern, minimal party styling and takes far less skill than it appears, since there is no freehand piping on the cake itself.
Save this for later 📌
Pin this article to your Pinterest board so the full list is one tap away when you need it.
Save on Pinterest6. Rustic Semi-Naked Berry Smash Cake
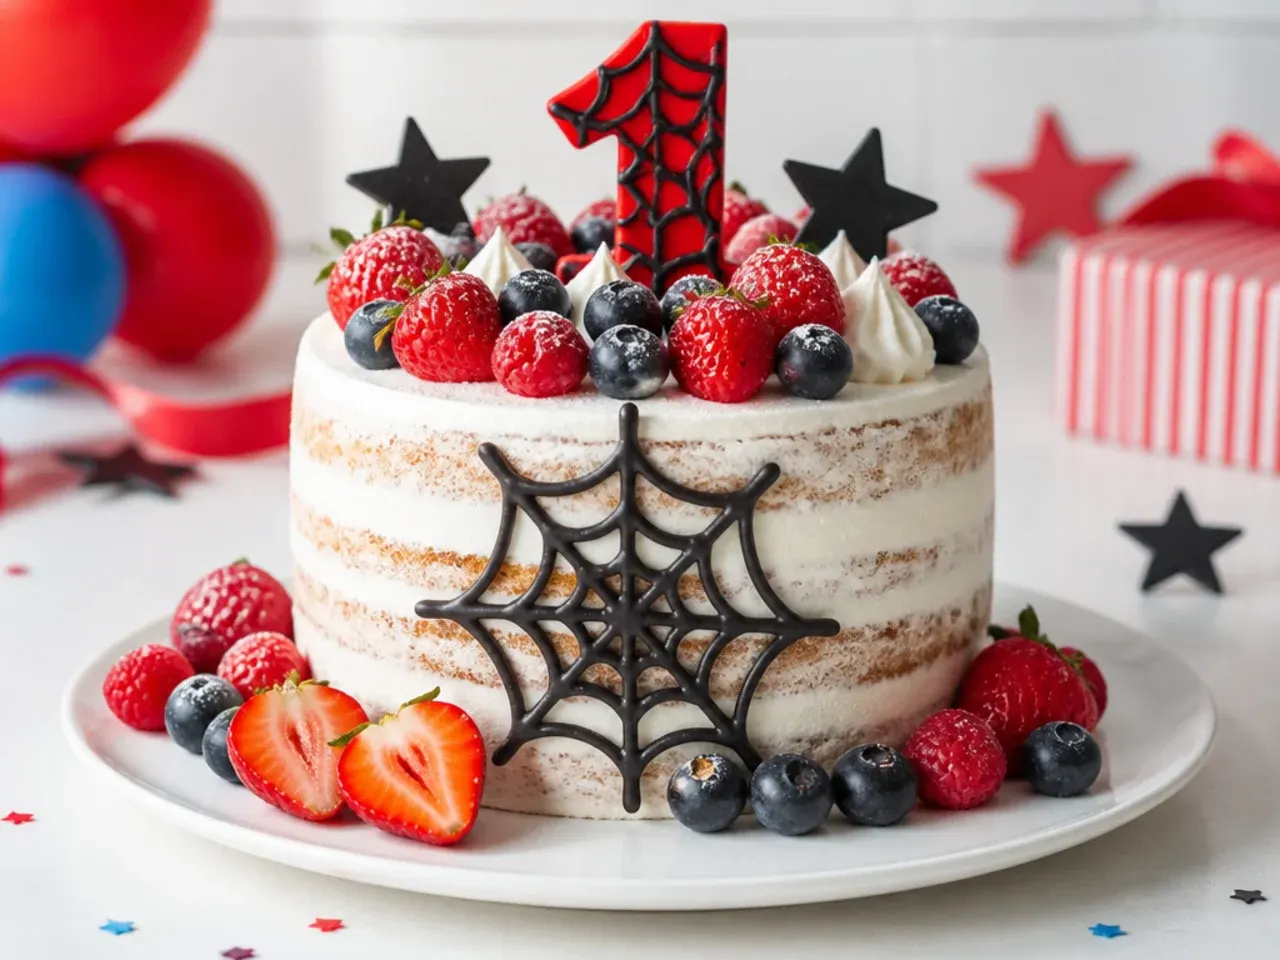
This is the gentlest option for the baby actually eating it: no dye at all. Apply only a thin crumb coat so the sponge shows through, then pile halved strawberries, raspberries and blueberries on top for a natural red-and-blue palette. Pipe a small white web on the cake board around the base so the theme shows in photos without any colouring in the frosting. Cut the berries into small pieces and remove any whole ones before the smash, since whole berries are a choking risk for a 1-year-old. The lower sugar and dye-free finish make this the favourite of many parents for a first taste of cake.
7. Colourful Candy Drip Smash Cake
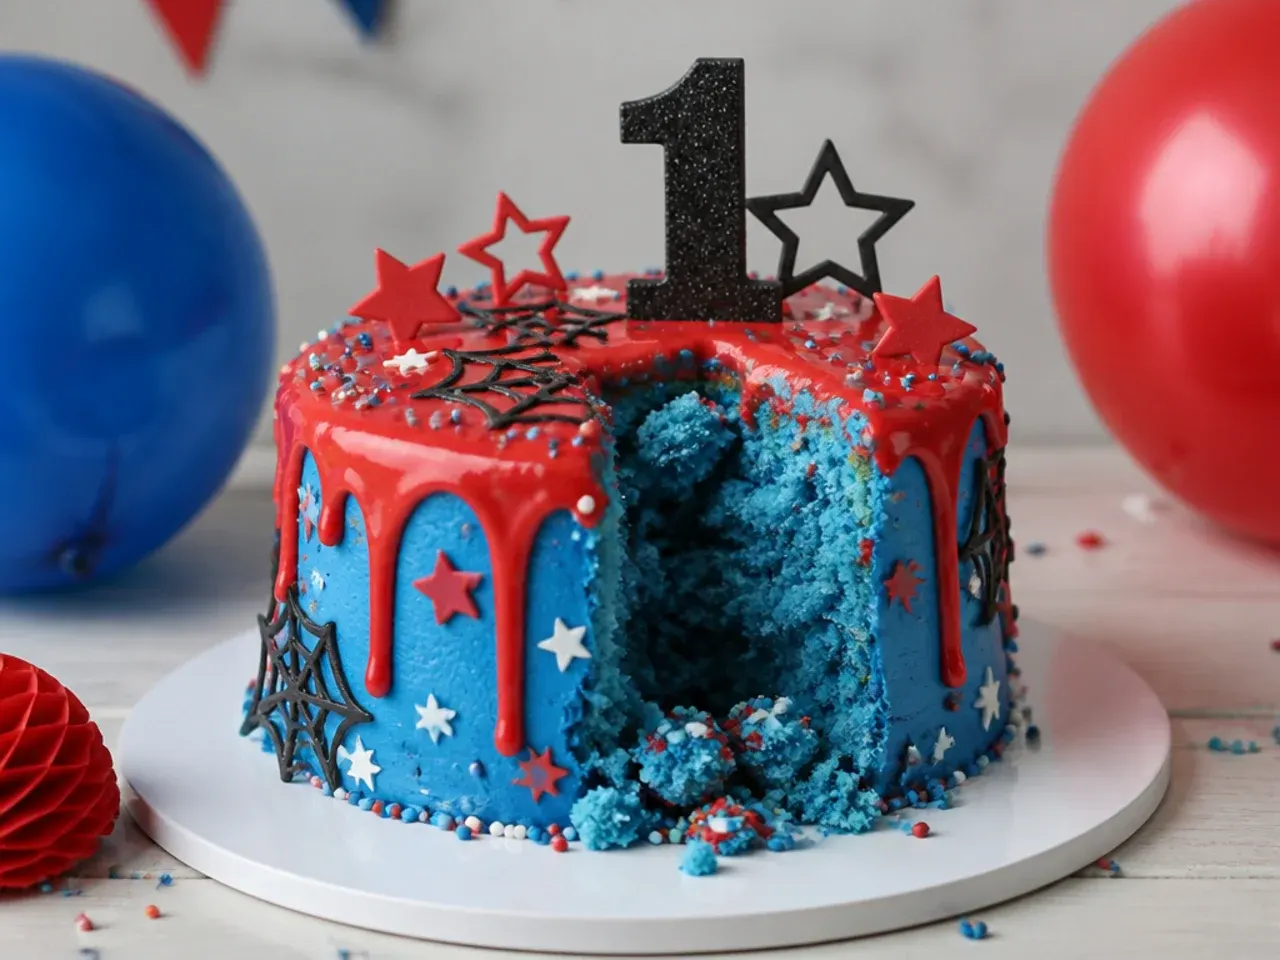
Frost the cake in blue buttercream and chill it thoroughly, then make a red drip: melt 100 g of red candy melts with 1 teaspoon of coconut oil in 30-second microwave bursts and let it cool to about 32°C (90°F). Test one drip on the side of the cold cake; if it runs to the board, wait two more minutes. Spoon drips around the top edge so they stop halfway down, then fill the top with red, blue and black sprinkles. For a stretchy web finish, microwave two marshmallows for 10 seconds, cool for a minute, then pull thin strands between your fingertips and drape them over the top.
8. Minimal Single-Web Smash Cake
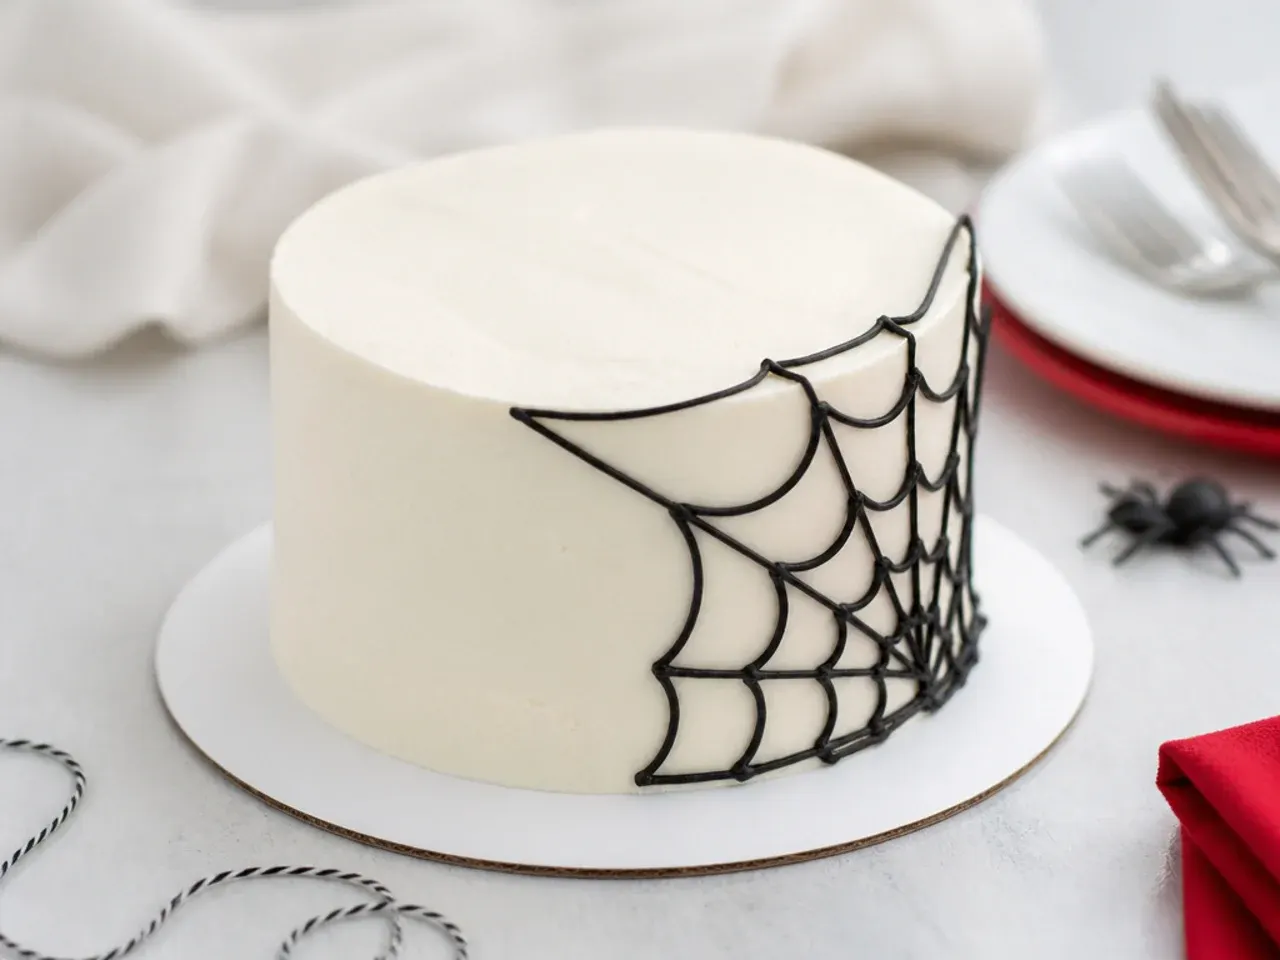
Frost the cake in smooth white buttercream, chill 10 minutes, then polish the surface with a clean bench scraper for a flawless finish. Pipe one small black web with a tip 2 over a single top edge so it drapes partway down one side, and stop there. Add the baby's name in red on a slim paper topper if you want any extra detail at all. This design is perfect when parents want the superhero theme present but subtle in the official first birthday photos, and the high contrast of one black web on white still pops on camera.
9. Festive Confetti and Streamer Smash Cake
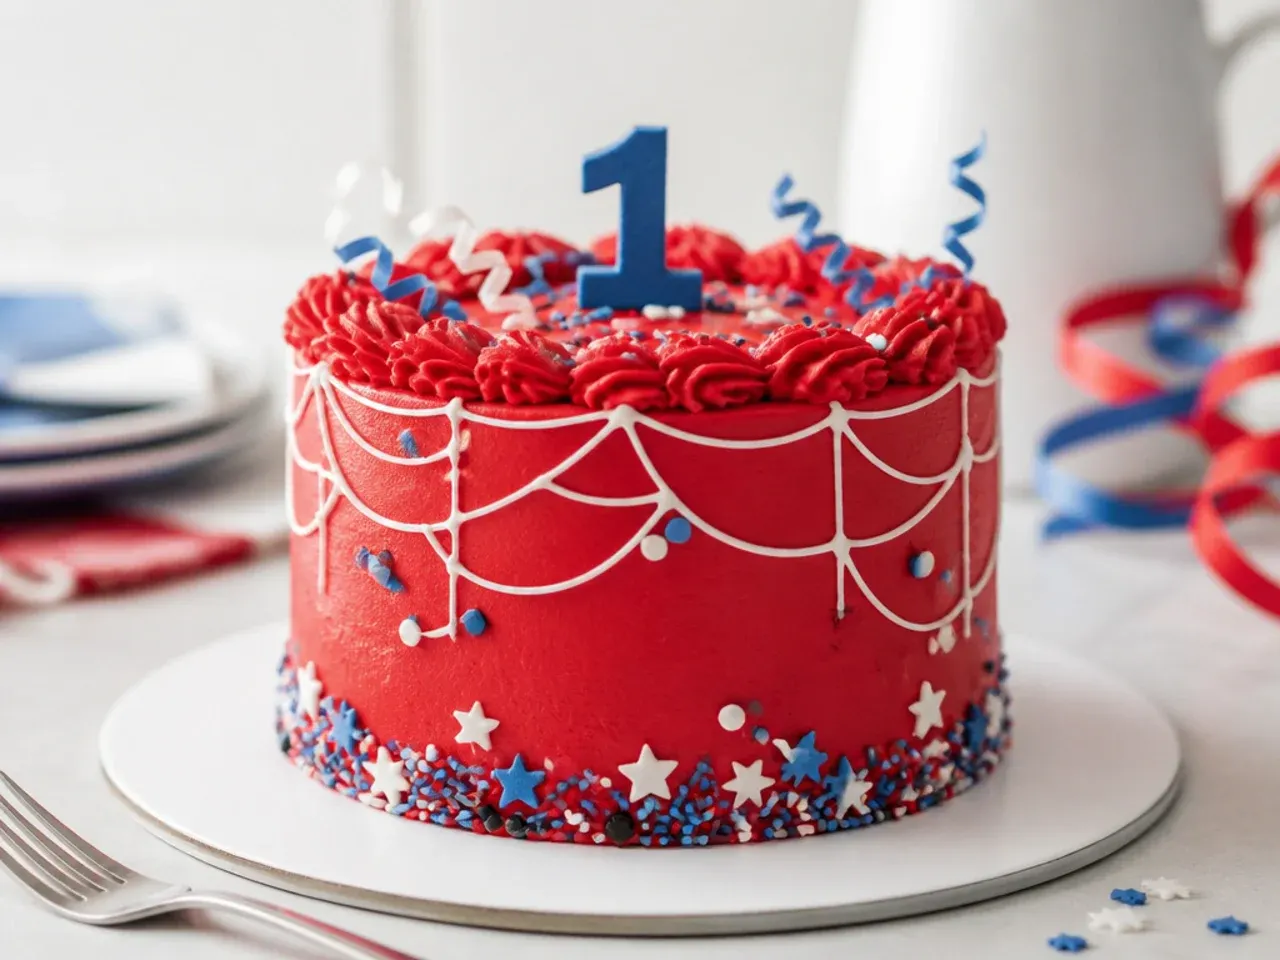
Bake the party into the cake itself by folding 2 tablespoons of jimmies-style sprinkles into the batter, so the crumb reveals funfetti colours at the smash moment. Use long jimmies rather than nonpareils, which bleed colour into the batter. Frost in red, pipe wavy blue and white streamer lines down the sides with a tip 4, and cover the top with confetti sprinkles. Finish with a mini ONE bunting banner strung between two paper straws pushed into the cake. It reads celebratory from across the room and hides frosting imperfections under all that movement.
10. Whimsical City Skyline Smash Cake
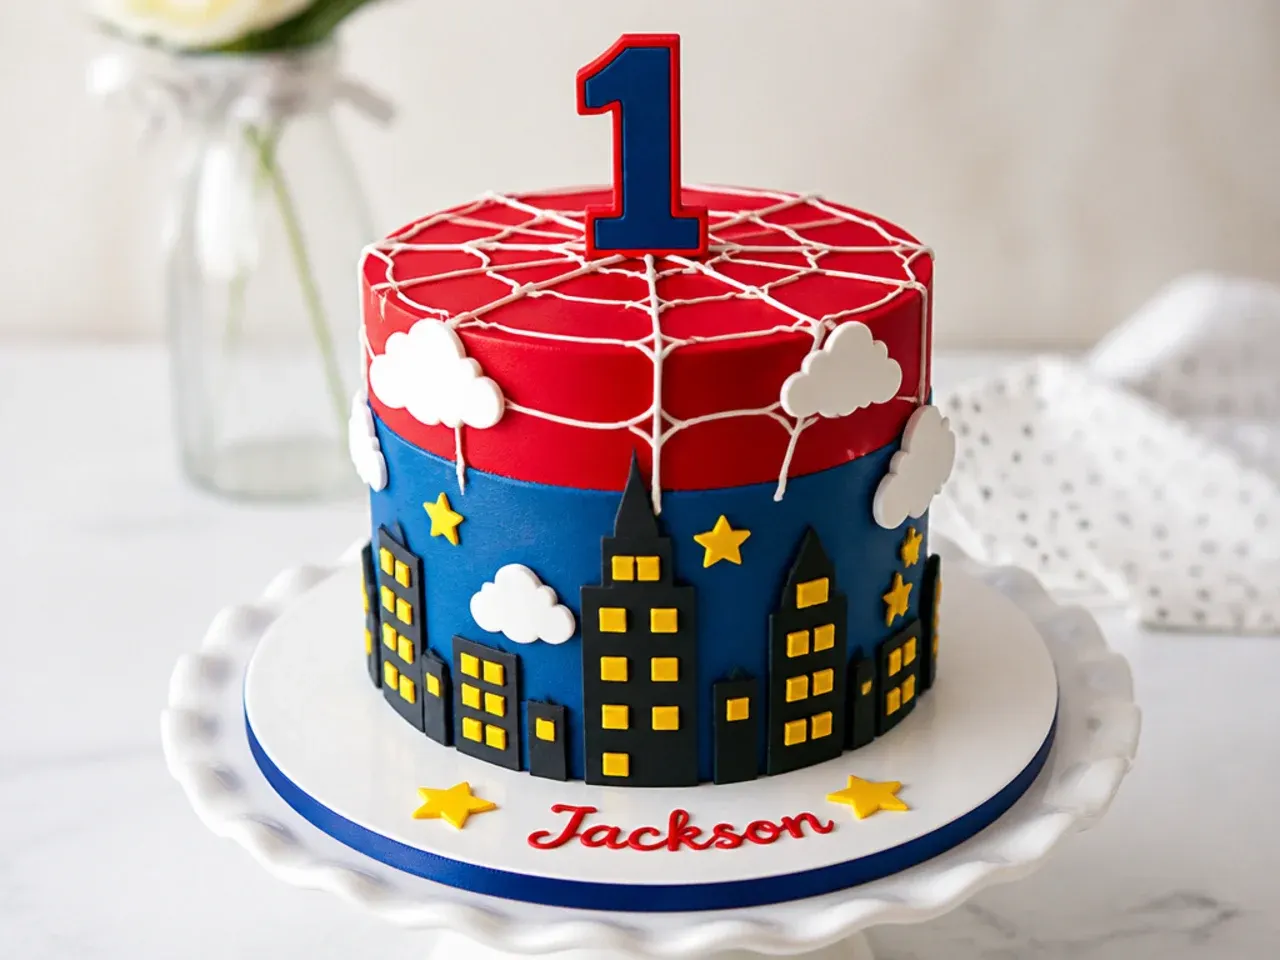
Frost the cake in pale blue for the sky, then wrap a simple black skyline around the base: roll black fondant thin, cut rectangles of different heights freehand with a pizza wheel, and press them onto the chilled buttercream where they will hold without glue. Pipe two or three puffy white clouds near the top with a tip 12, flattening them slightly with an offset spatula. String a thin piped web between the two tallest buildings with a tip 2 so the story is told without any character at all. Slightly wonky buildings genuinely add to the charm here, so do not measure anything.
Save this for later 📌
Pin this article to your Pinterest board so the full list is one tap away when you need it.
Save on Pinterest11. Bold Full-Web Smash Cake
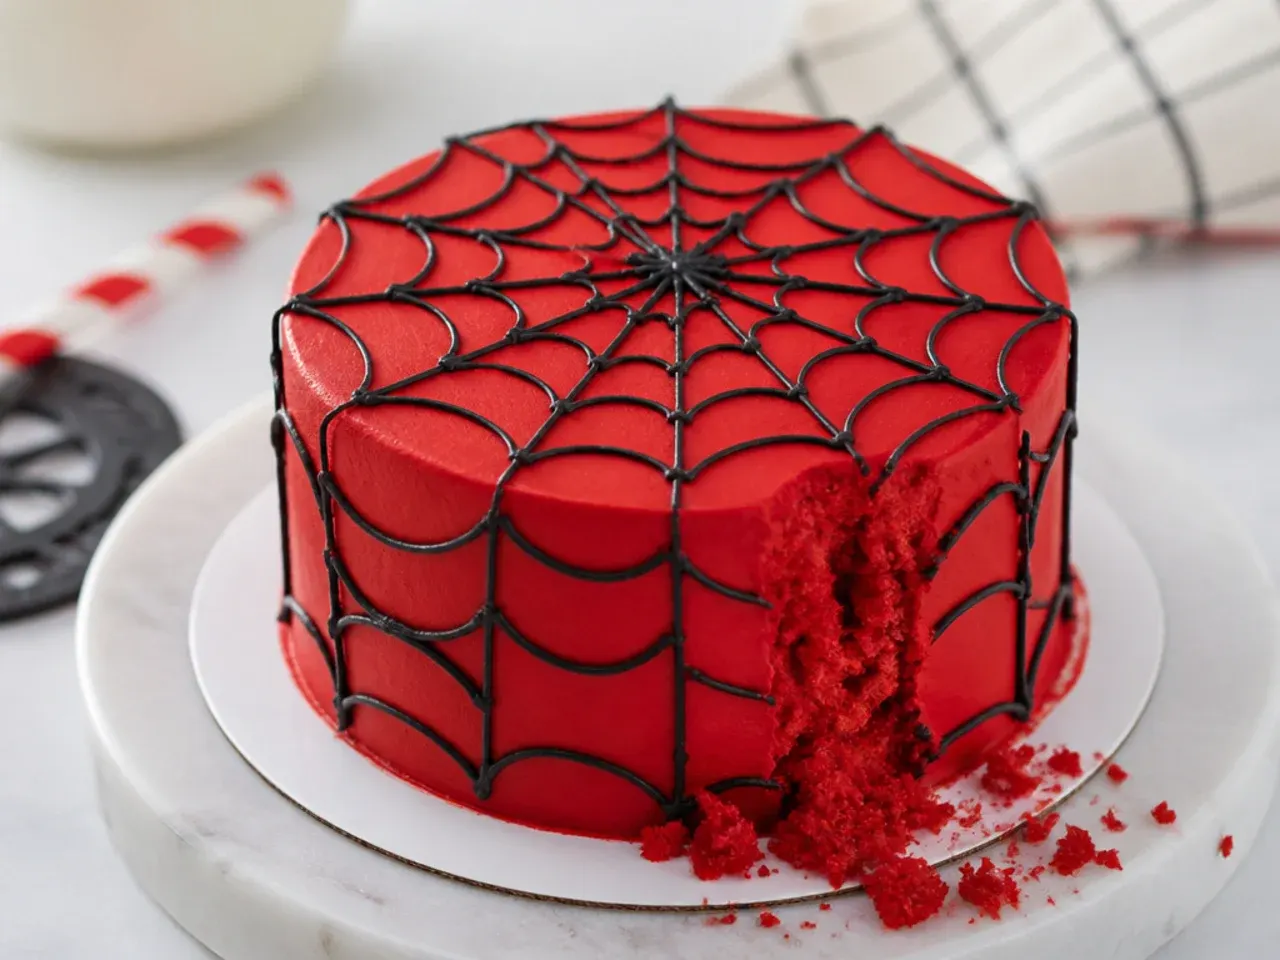
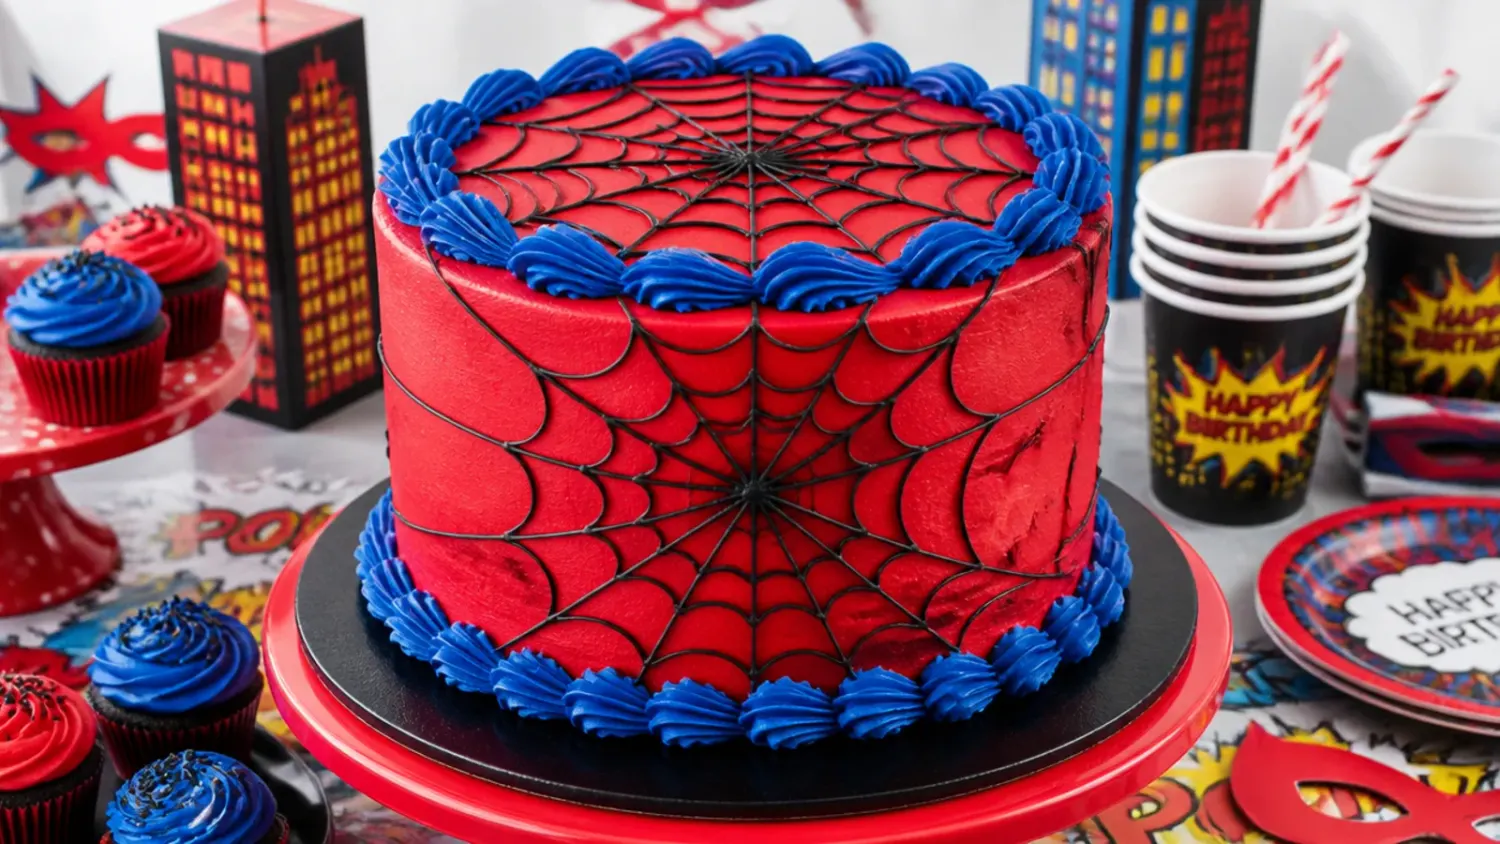
For maximum impact, wrap the web over the entire cake, top and sides. Frost in deep red and chill 20 minutes, because a cold, firm canvas is non-negotiable for this much piping. Mark the spoke positions lightly with a toothpick first: a centre point on top, spokes radiating to the edge, then continuing vertically down the sides. Pipe the spokes with a tip 3 in black buttercream loosened with about 1/8 teaspoon of milk so the lines flow without breaking, then connect them with curved arcs working from the top down. Rotate the turntable rather than your wrist for smoother curves.
12. Delicate Pastel Web Smash Cake
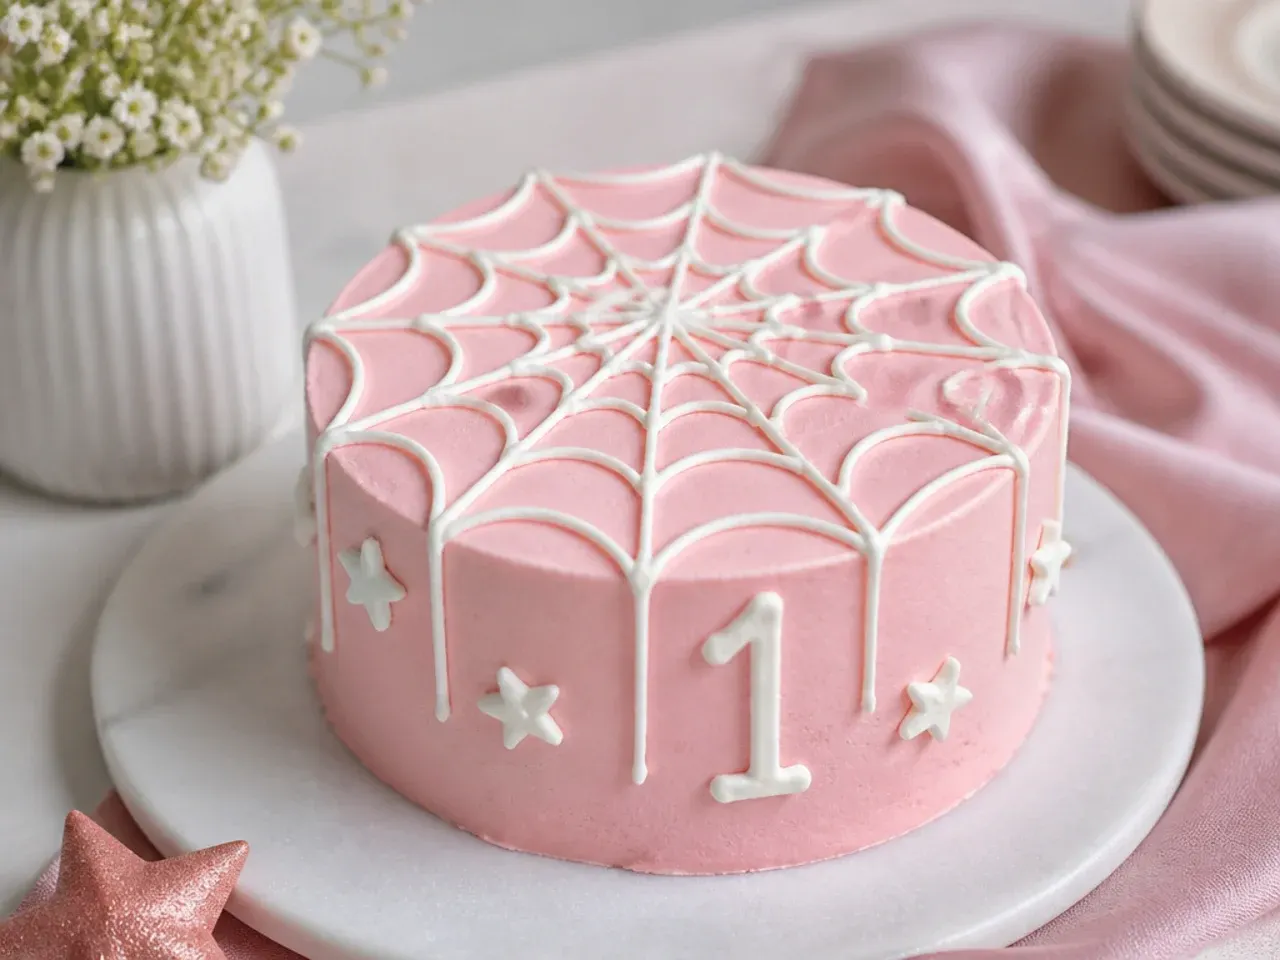
A soft take for families whose party palette runs pastel: frost the cake in blush pink or powder blue using a single toothpick-dab of gel colour. Pipe the web in white buttercream with a tip 2, and press a small sugar pearl onto each point where the web lines cross while the piping is still fresh. The pearls catch the light and make a very simple design look considered. Remove the pearls before the baby digs in, as they are too hard for a 1-year-old, and let the pastel version prove the web theme works far beyond bold primary colours.
13. Vintage Piped Shell Smash Cake
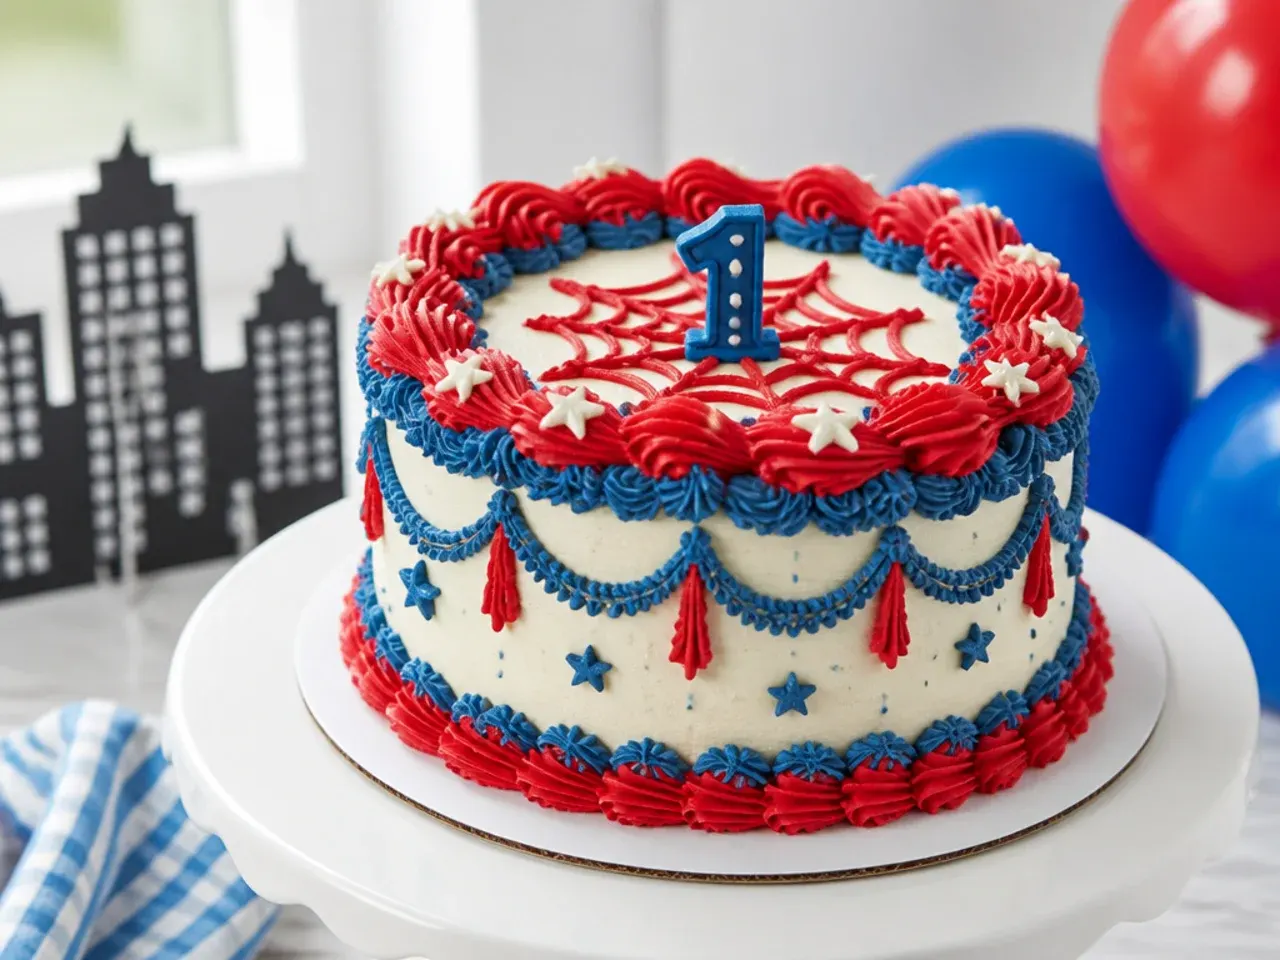
Borrow the trending vintage Lambeth look and run it in a superhero palette: a white cake with heavy red shell borders top and bottom piped with a tip 21 or 32, plus blue ruffle swags around the sides piped with a tip 104. All that overpiping conveniently hides uneven frosting, which makes this style far more beginner-friendly than it looks. Chill the cake for 10 minutes between each piping pass so the shells keep their definition instead of slumping. Add a tiny piped web medallion on the front panel to tie the retro shape back to the theme.
14. Creative Buttercream-Transfer Web Smash Cake
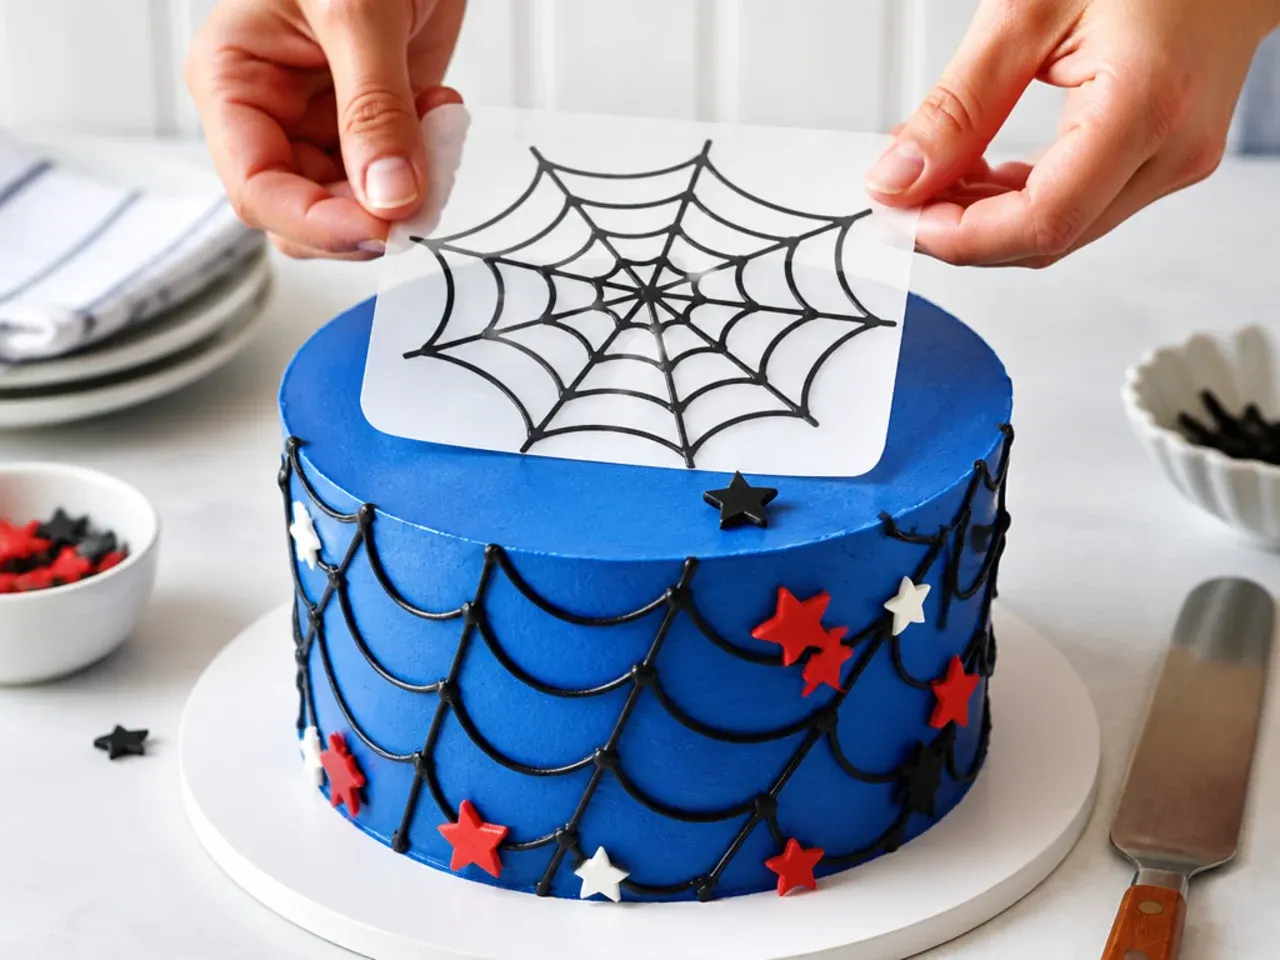
This is the trick most roundups never mention: get a razor-sharp web without piping onto the cake at all. Draw or print a web template the size of your cake top, tape baking parchment over it, and pipe the design in melted black candy melts or stiff black buttercream. Freeze the transfer flat for 20 to 30 minutes until completely solid, then peel it off and press it gently onto the frosted cake. Work quickly with cool hands, because the transfer softens within a minute or two. If a line snaps, pipe a dot of frosting underneath the break and nobody will ever see it.
15. Charming Smash Cake and Cupcake Set
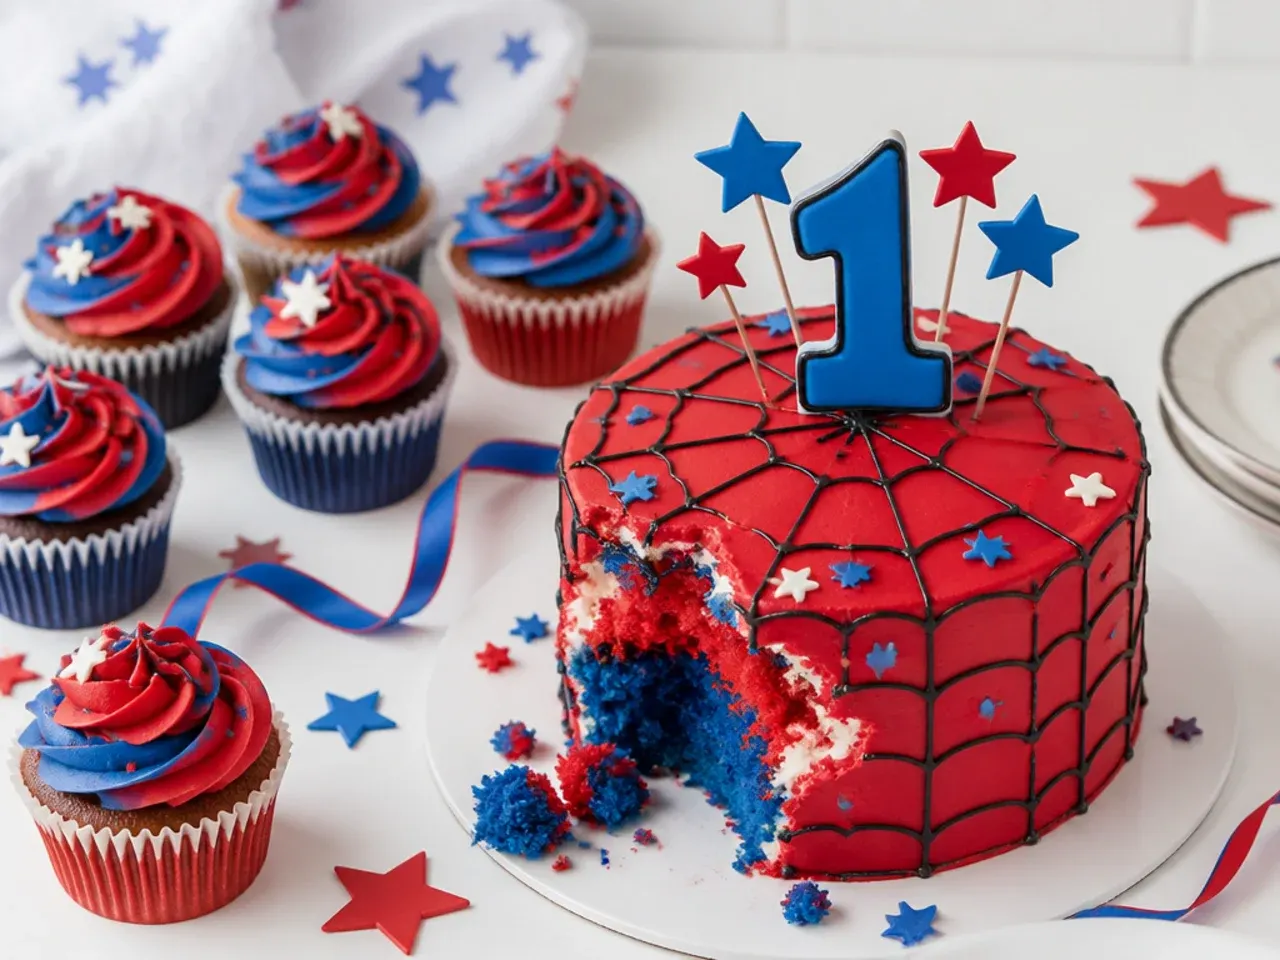
Solve the eternal problem that a smash cake feeds exactly one baby: bake a 4-inch cake for the birthday child plus a dozen matching cupcakes for guests. Double the base recipe below to yield about 12 cupcakes, baked at 175°C (350°F) for 18 to 20 minutes. Swirl the cupcakes with a 1M tip, alternating red and blue frosting, and pipe small black webs on three or four of them with a tip 2. This setup also lets you keep the baby's cake lower in sugar while adults get the full-strength buttercream. Arrange the cupcakes in a ring around the smash cake for one big display photo before serving.
Tips to Make These Ideas Easier
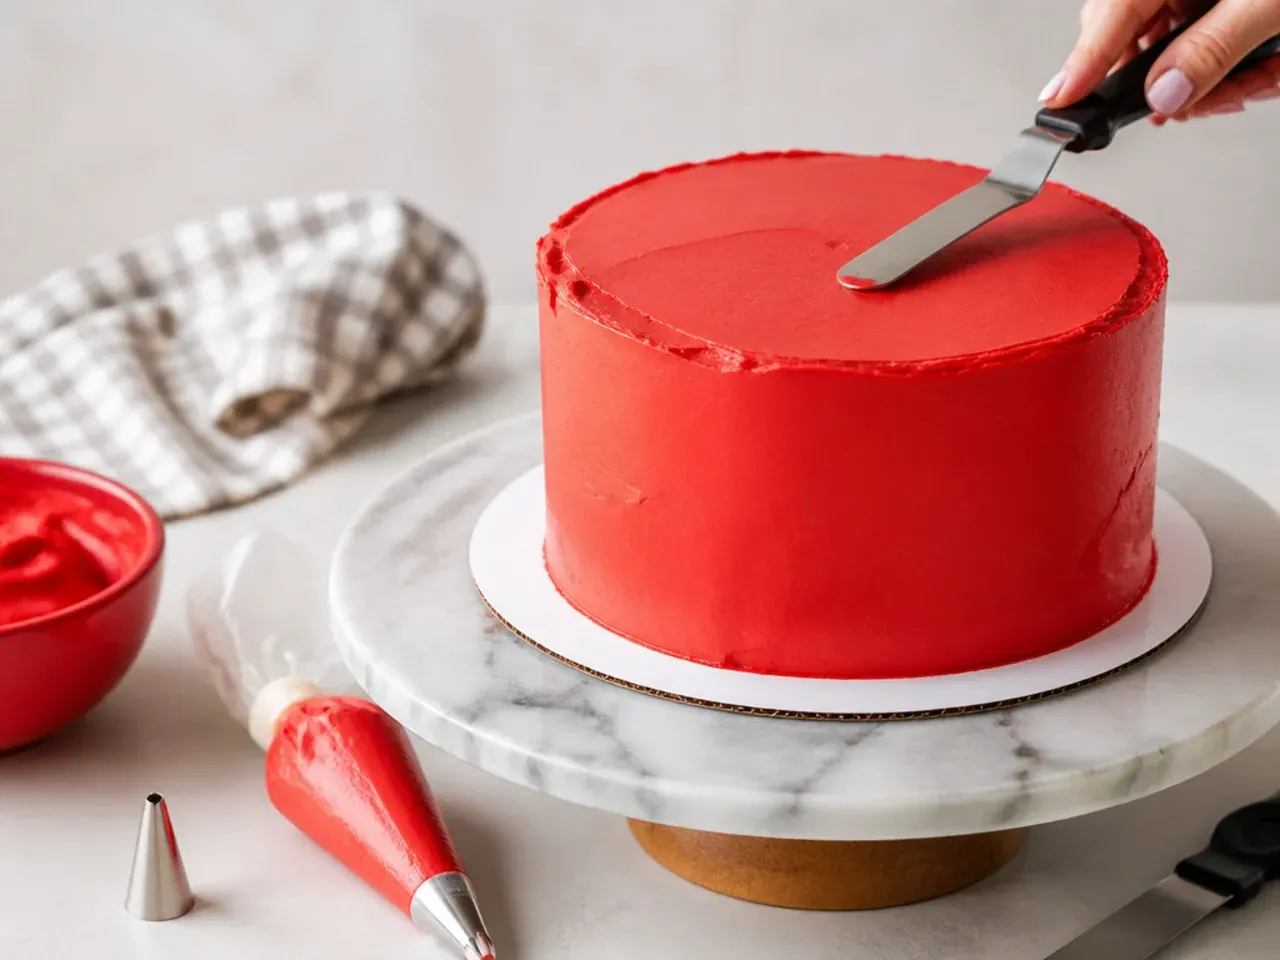
Bake the layers up to a month ahead, wrap them twice in cling film and freeze, then frost straight from frozen, which locks down crumbs and firms the cake for stacking. Always use gel colours such as Sugarflair, AmeriColor or Wilton rather than supermarket liquid colouring, which thins buttercream before it ever reaches a true red. Tint red buttercream two to three hours ahead, because the colour deepens as it rests and you will need noticeably less dye. Chill the cake for 15 to 20 minutes between crumb coat, final coat and piping so each stage sits on a firm surface. Before piping any web on the cake, pipe one on baking parchment first; thirty seconds of practice fixes most wobbles. Finally, sketch the web spokes with a toothpick before committing with the piping bag.
Common Mistakes to Avoid
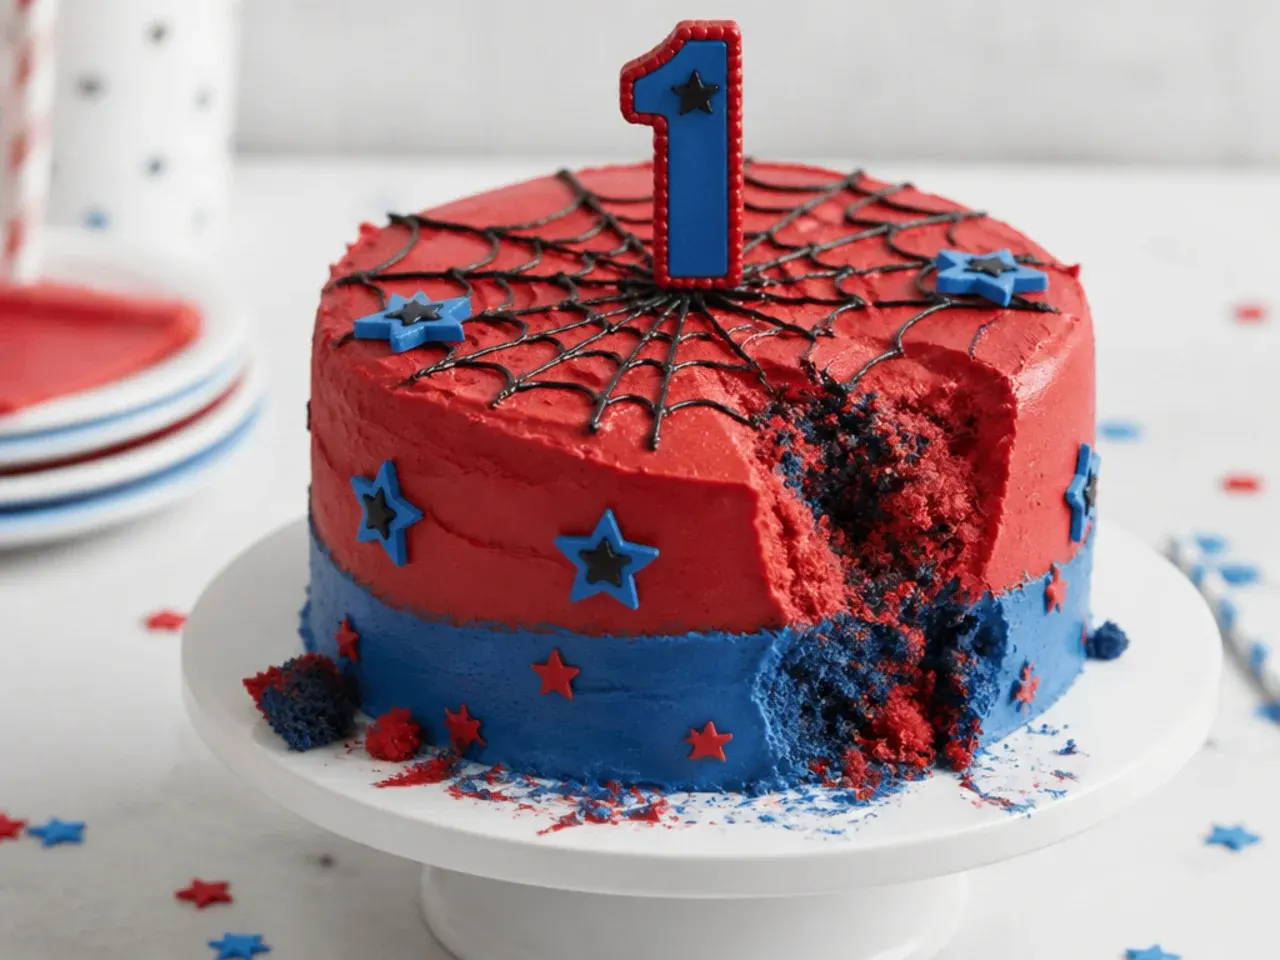
The biggest one is liquid food colouring, which splits the buttercream into a soupy mess and stalls at pink instead of red. Piping a web onto soft, room-temperature frosting is next; the lines sag and drag, so always chill first. Overloading red gel makes the frosting taste bitter and will stain the baby's skin for a day or two, so use no-taste red, dress the baby down to a nappy or old outfit, and wipe hands and face promptly after the smash. Do not build higher than two layers, because a seated 1-year-old cannot reach the top of a tall cake and the photos end up being all arm. Remove sugar pearls, whole berries and any fondant pieces before the baby eats, as all three are choking hazards at this age. And keep the finished buttercream cake out of direct sun at the party, where it can soften in as little as 20 minutes.
The Recipe
The Base Recipe — Make Any of These Ideas
40 min
25 min
3 hr 30 min
4
Beginner
Ingredients 4 Person(s)
Directions
Step 1: Prep the pans and oven
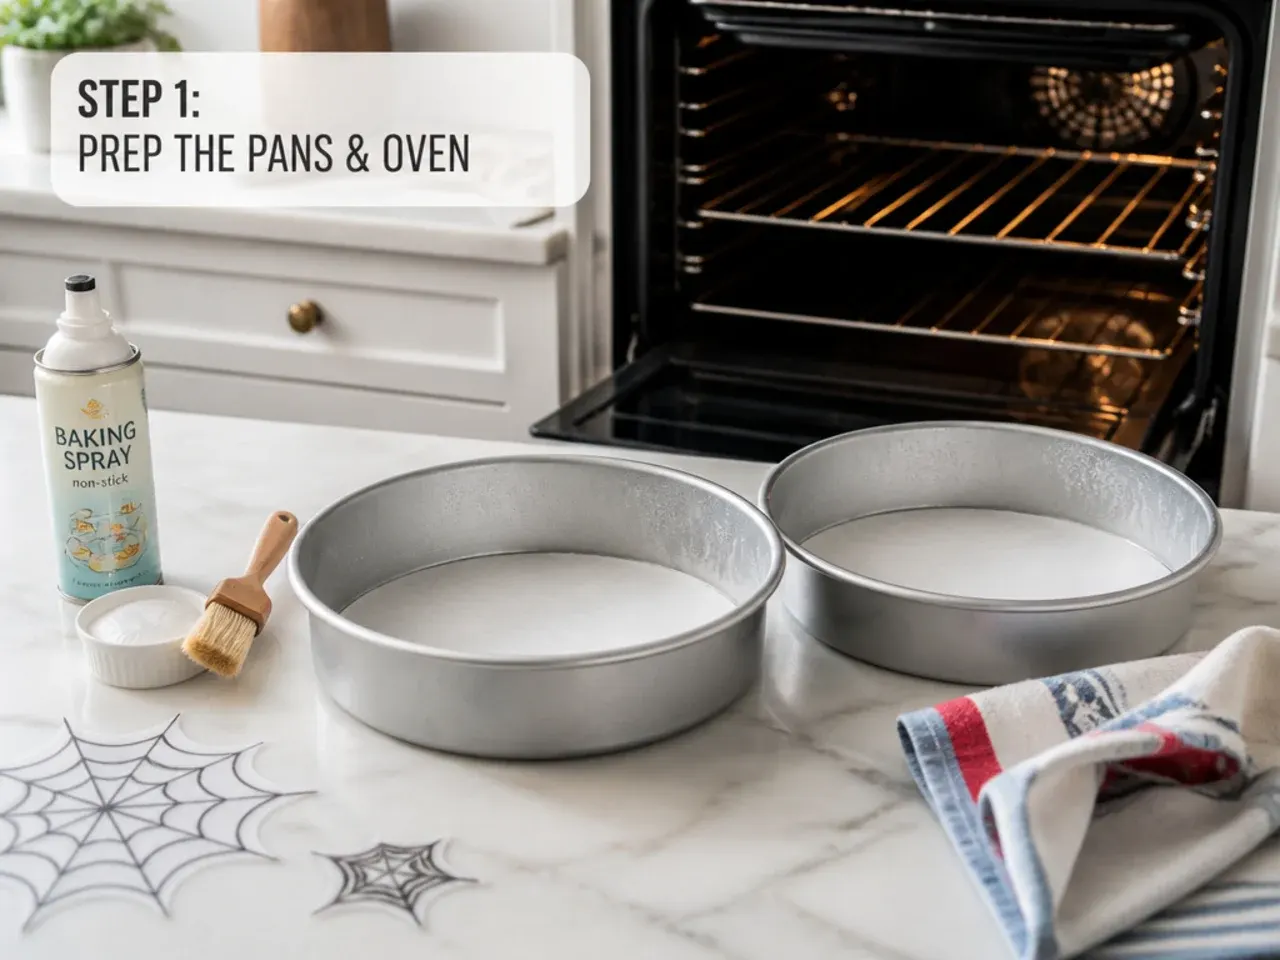
Heat the oven to 175°C (350°F) with a rack in the centre. Grease two 10 cm (4 inch) round cake pans, line the bases with baking parchment, and dust the sides lightly with flour. If you only have one 4-inch pan, the batter also fits a single 15 cm (6 inch) pan for a shorter, wider smash cake.
Step 2: Make the batter
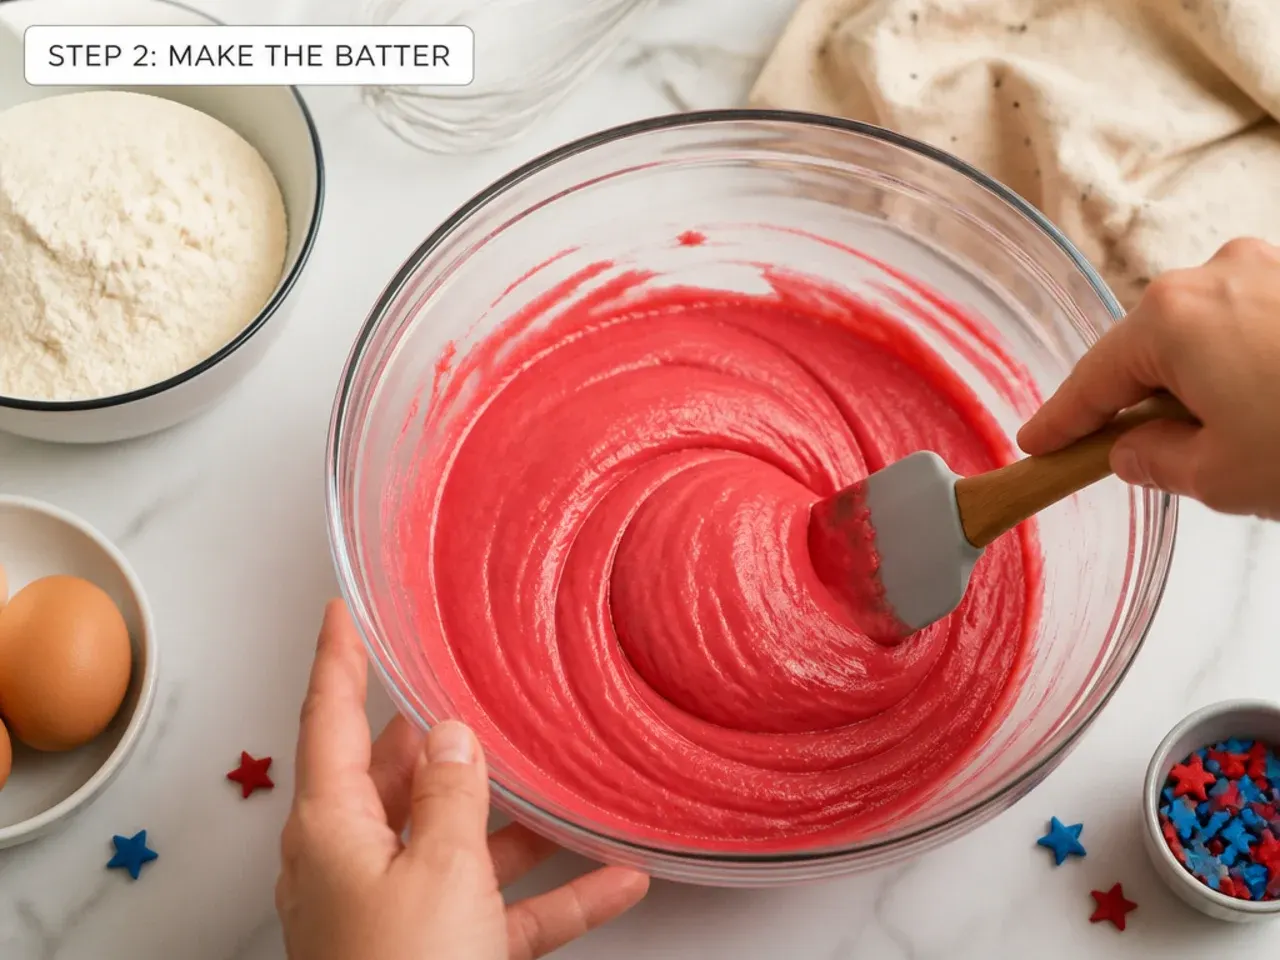
Whisk the flour, baking powder and salt in a small bowl. In a larger bowl, beat 60 g softened butter and the caster sugar with an electric mixer for a full 2 minutes until pale and fluffy, then beat in the egg and 1 teaspoon of the vanilla. Add the flour mixture in two additions, alternating with the 60 ml milk, mixing on low just until no dry streaks remain. Overmixing here is what makes small cakes tough.
Step 3: Bake the layers
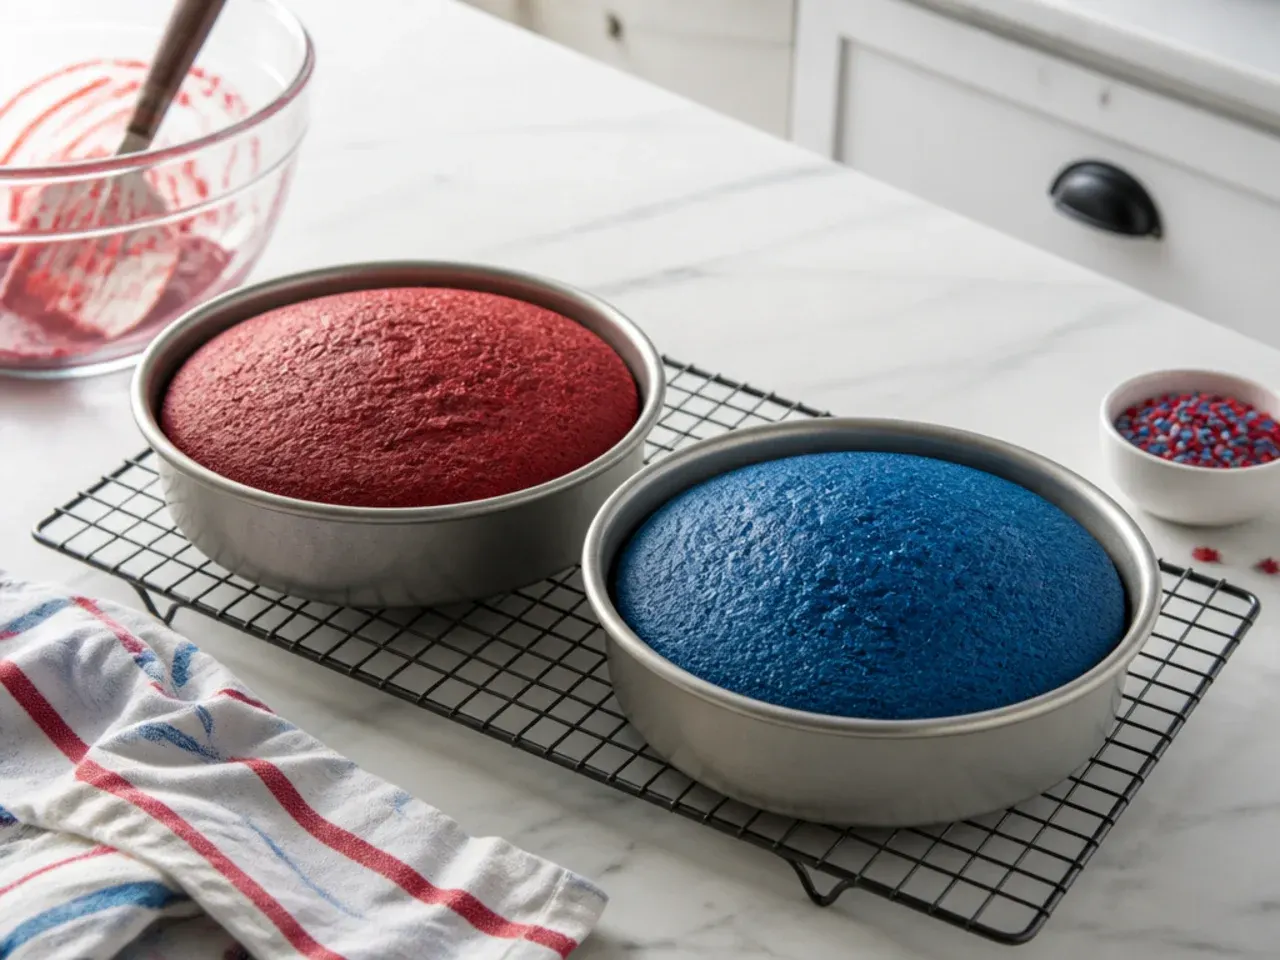
Divide the batter evenly between the two pans, about 200 g each, and smooth the tops. Bake for 22 to 26 minutes, until the centres spring back and a toothpick inserted in the middle comes out clean. The tops should be lightly golden, not brown.
Step 4: Cool and level
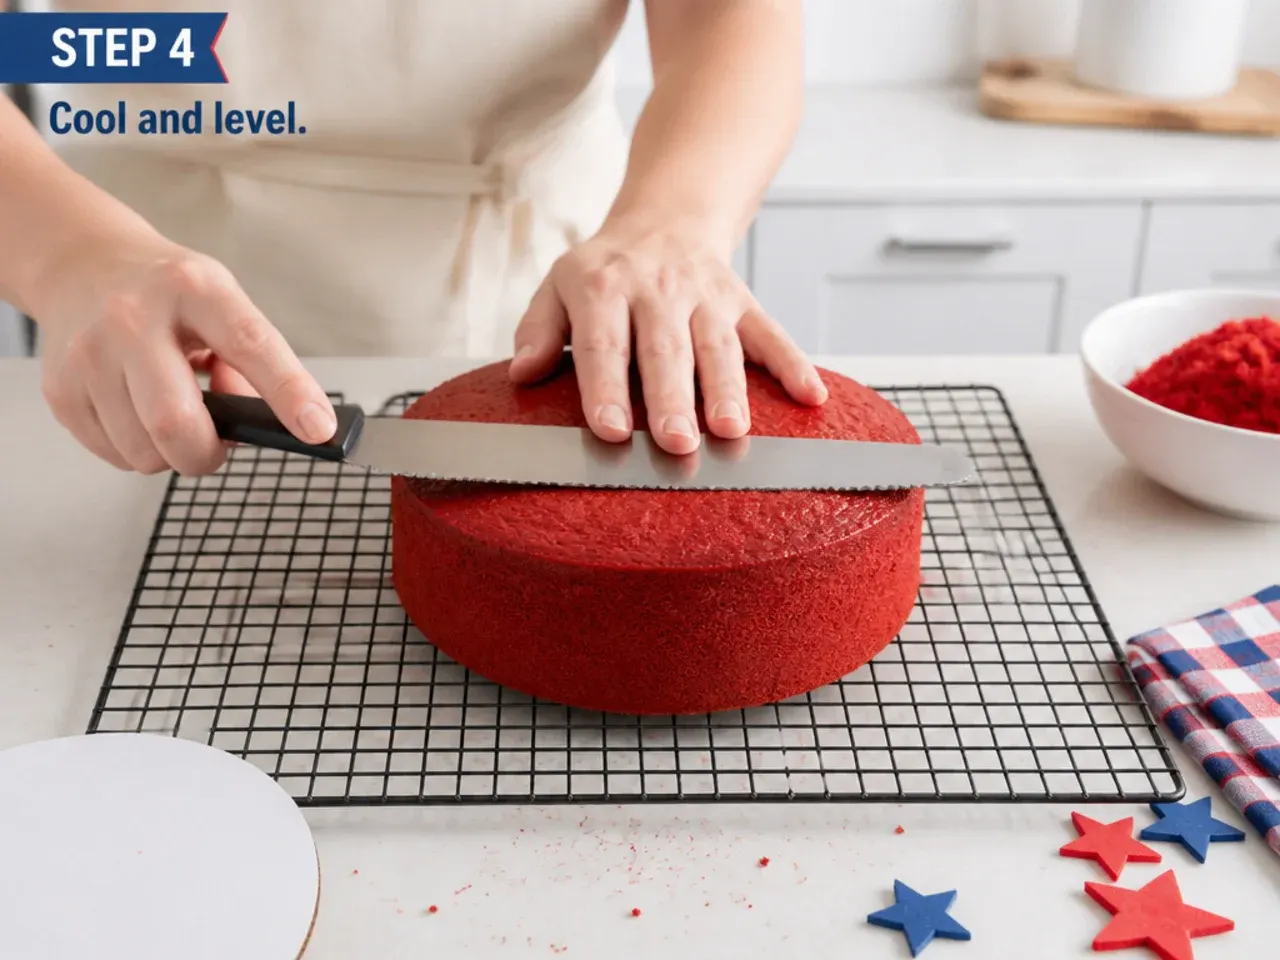
Cool the layers in their pans for 10 minutes, then turn them out onto a wire rack and cool completely, about 1 hour. Slice off any domed tops with a serrated knife so the layers stack flat. For the cleanest frosting job, wrap the levelled layers and freeze for 20 minutes before assembling.
Step 5: Make and tint the buttercream
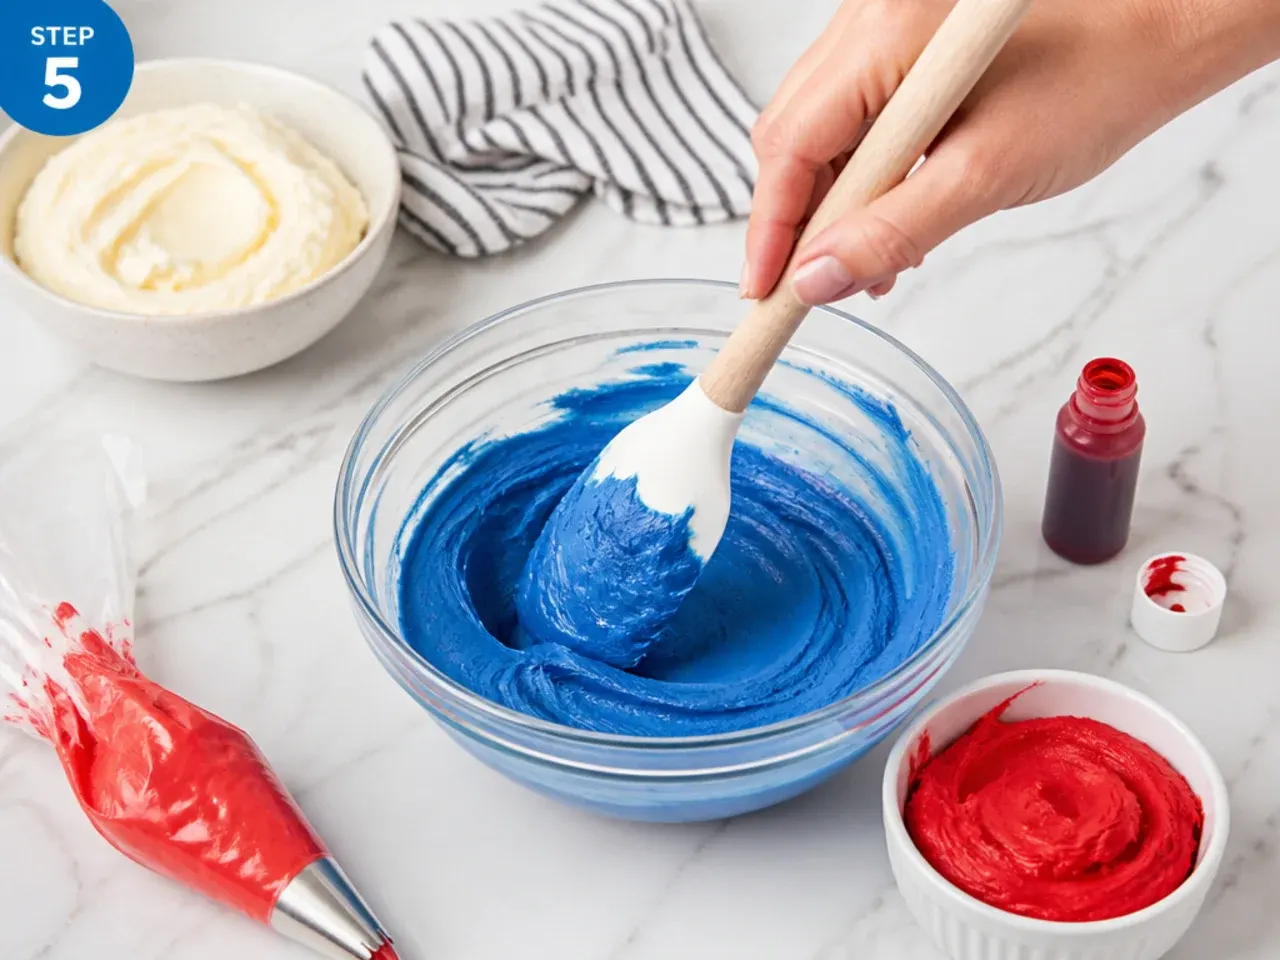
Beat 150 g softened butter on high for 2 minutes until smooth and pale. Add the icing sugar in two additions, beating on low then high, followed by the remaining 1/2 teaspoon vanilla and 1 to 2 tablespoons of milk until the frosting is spreadable but holds a peak. Tint roughly two-thirds of it red with no-taste red gel, a small bowl blue, and a few tablespoons black, leaving a little white if your chosen design needs it.
Step 6: Fill and crumb coat
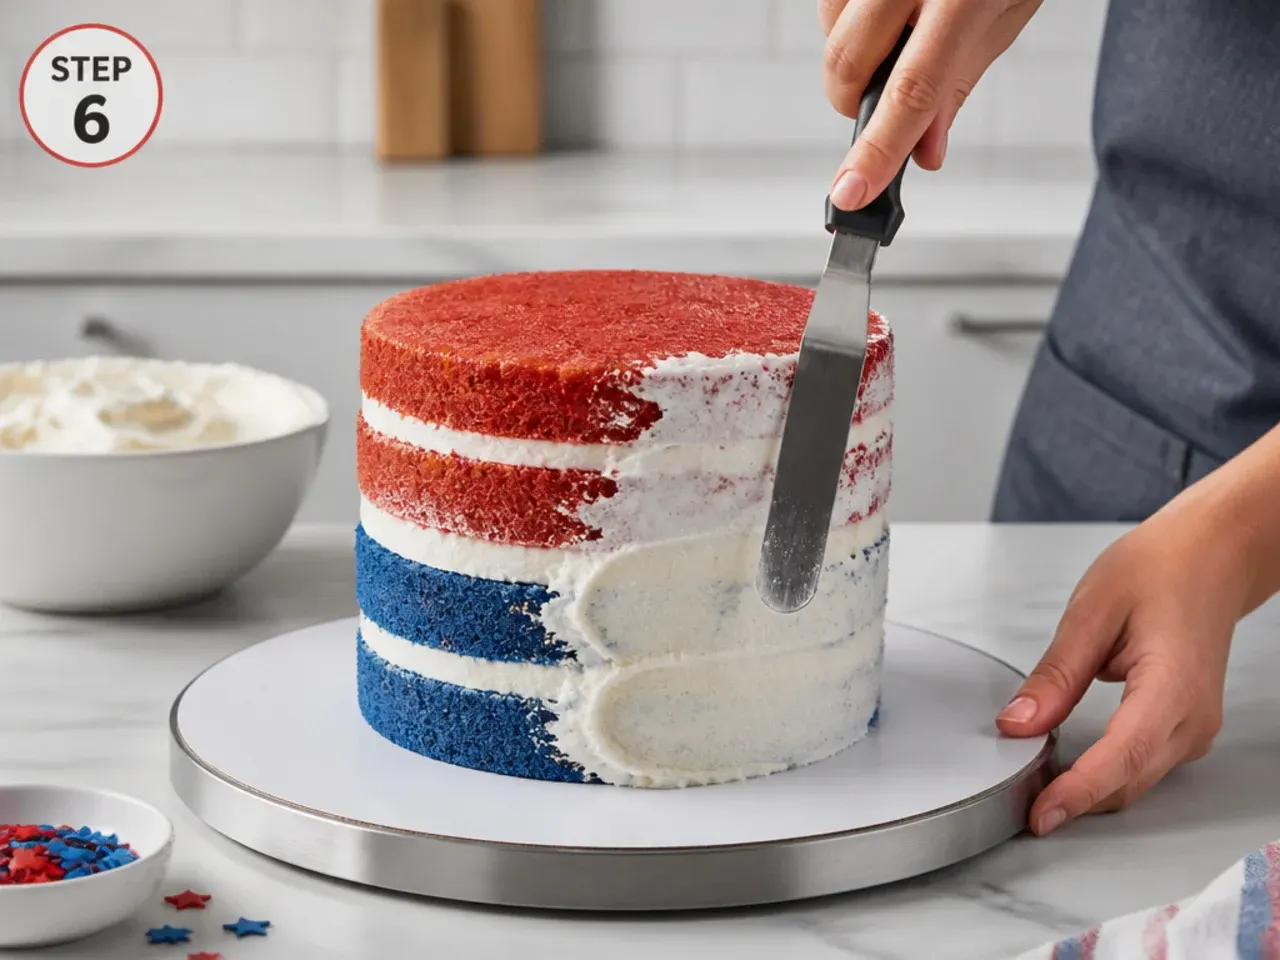
Dab a teaspoon of frosting on a small cake board and set the first layer on top. Spread about 3 tablespoons of frosting over it, add the second layer cut-side down, then spread a thin crumb coat over the whole cake with an offset spatula. Chill for 20 to 30 minutes in the fridge until the crumb coat is firm to the touch.
Step 7: Frost and pipe the web
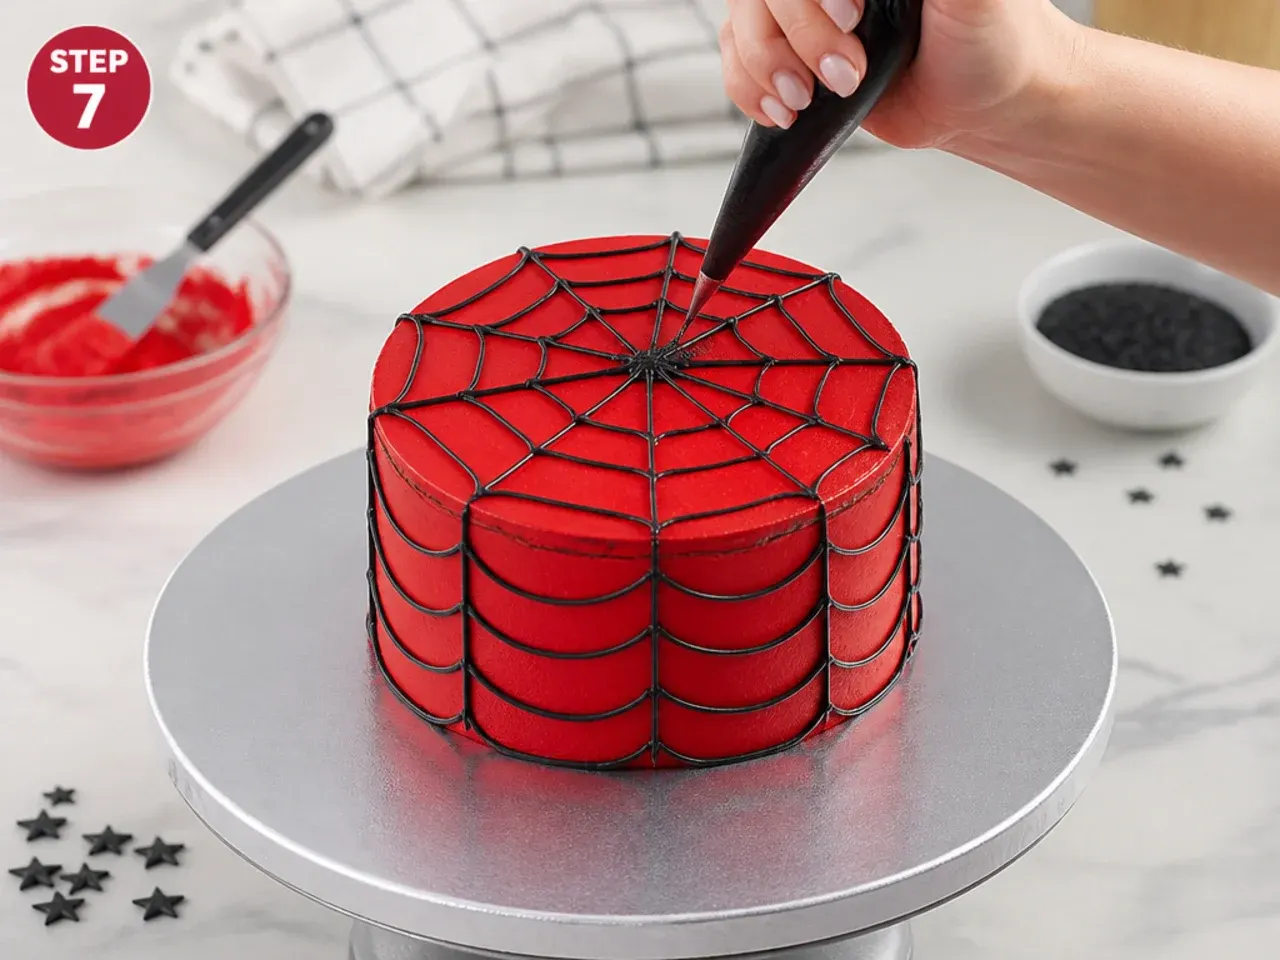
Apply the final coat of red buttercream and smooth the sides with a bench scraper while rotating the cake, then chill 15 minutes. Fit a piping bag with a Wilton tip 2 or 3, fill with black buttercream, and pipe six spokes from the top centre out and over the edge, then connect them with gently curved arcs working ring by ring. Finish with a blue shell border at the base using a tip 21, and refrigerate until about an hour before the party so the cake comes to room temperature for serving.
Frequently Asked Questions
A 10 cm (4 inch) cake with two layers is the sweet spot: tall enough to look impressive in photos but small enough for a seated 1-year-old to reach the top. A 13 to 15 cm (5 to 6 inch) single-layer cake also works if you want a wider smashing surface. Anything bigger than 6 inches is really a guest cake, not a smash cake.
Save this for later 📌
Pin this article to your Pinterest board so the full list is one tap away when you need it.
Save on Pinterest