5 Mistakes I Made With Pigs in a Blanket
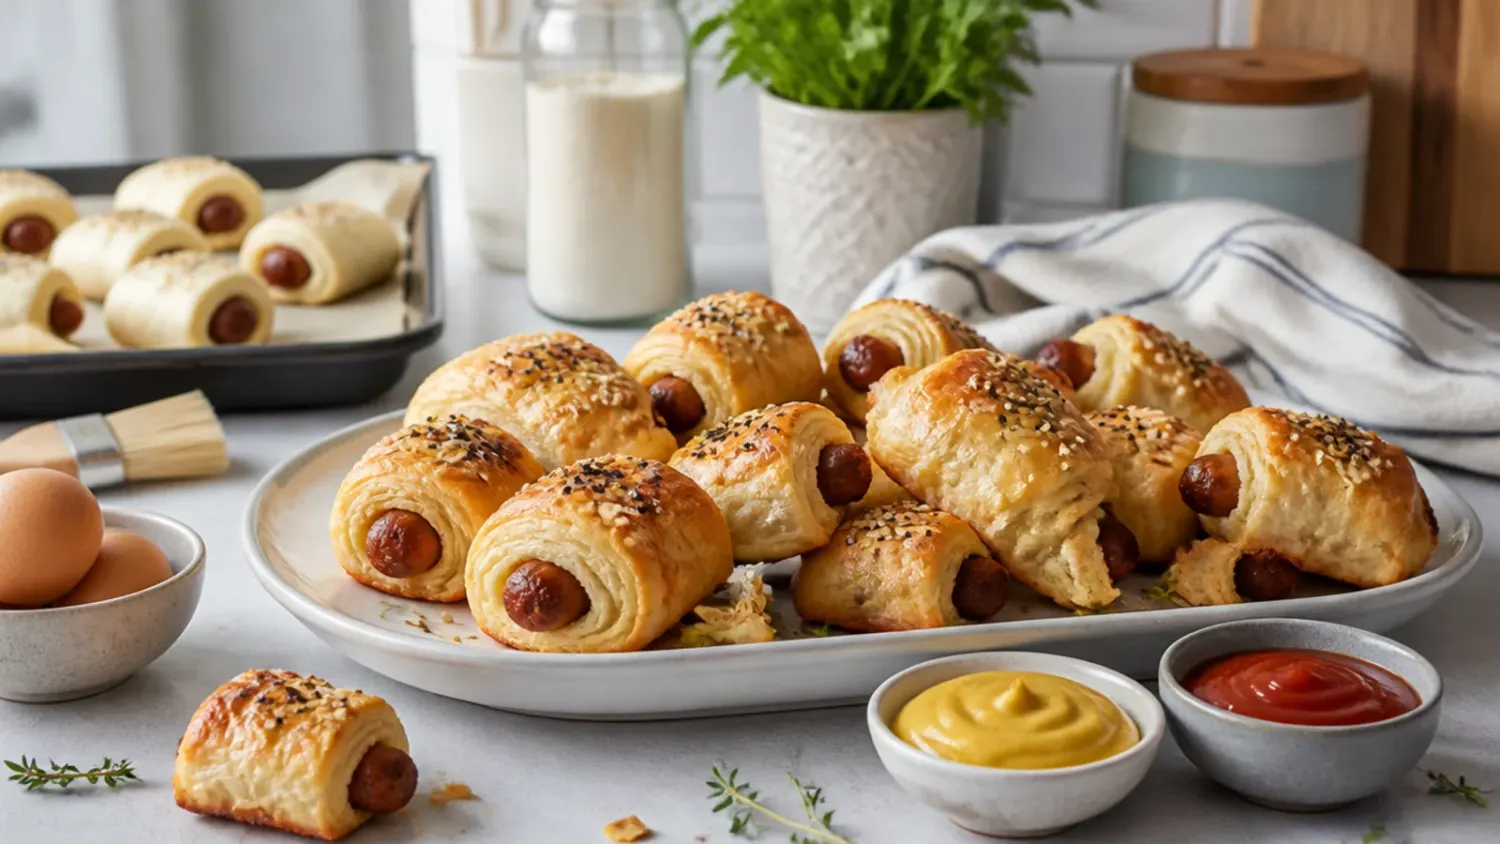
The five mistakes I made with homemade pigs in a blanket, from soggy bottoms to dough that unraveled, plus exactly how I fixed every one of them. If you love pigs in a blanket recipe inspiration, start with our Pigs in a Blanket Recipes collection, then browse the full Party Food hub for more.

Save this for later 📌
Pin this article to your Pinterest board so the full list is one tap away when you need it.
Save on PinterestParty Food
Beginner
Kitchen Journal
5 steps
Table of Contents
- Lesson 1: I Skipped Drying the Sausages and Got Soggy Bottoms
- Lesson 2: My Blankets Unraveled Because I Rolled Them Seam-Side Up
- Lesson 3: I Cut the Dough Wrong and Ended Up With Bready, Under-Baked Rolls
- Lesson 4: I Baked at the Wrong Temperature and Rushed the Timing
- Lesson 5: I Forgot the Egg Wash and Assembled Them Warm
- What I'd Tell a Friend Trying This
- The Recipe I Used
Lesson 1: I Skipped Drying the Sausages and Got Soggy Bottoms
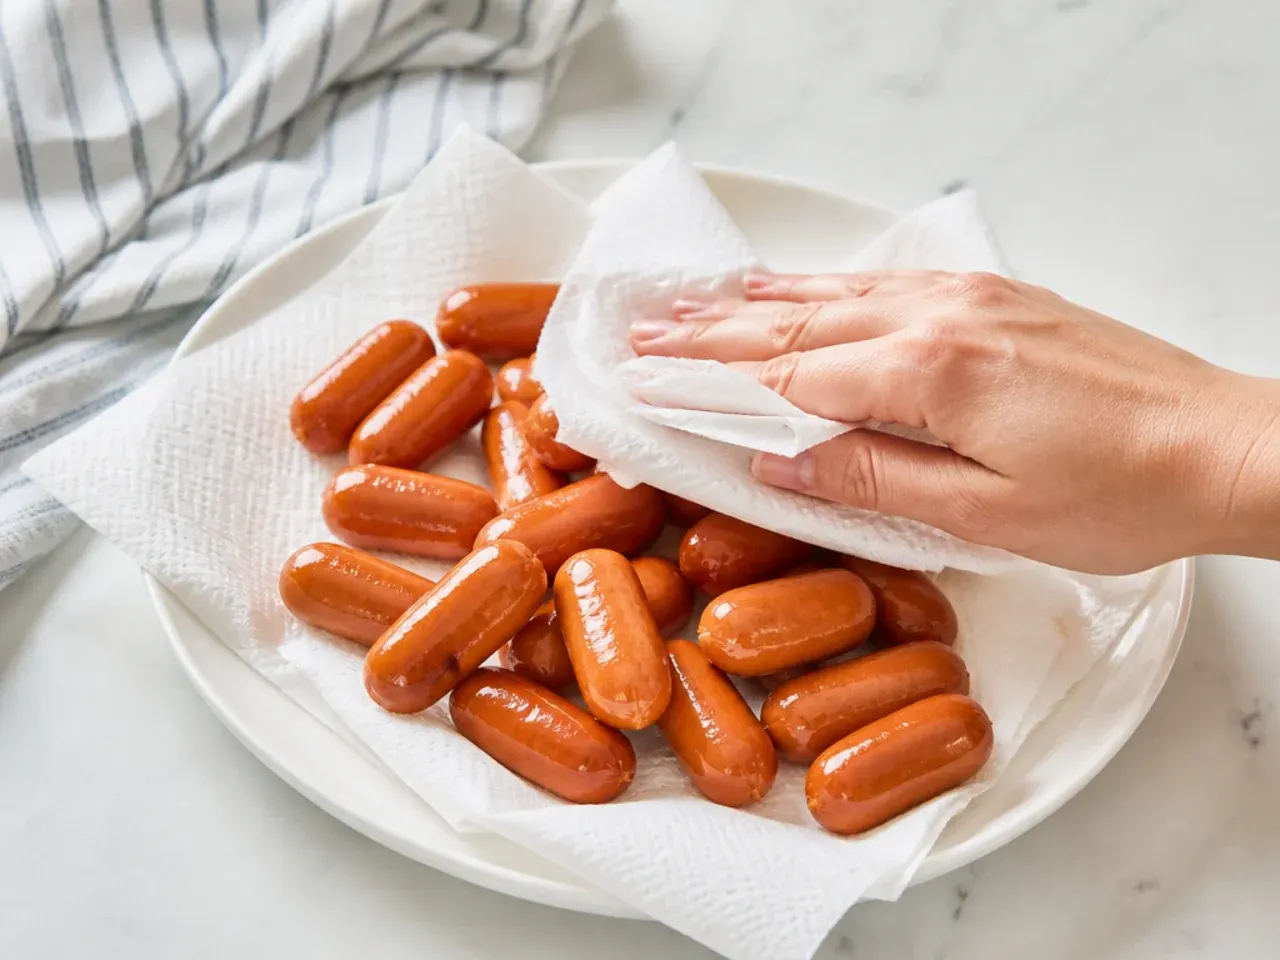
My first tray came out golden on top but pale and greasy underneath, and I couldn't work out why until I paid attention to the sausages. Cocktail sausages and mini smoked links hold a surprising amount of surface moisture and rendered fat, and that liquid steams the dough from below instead of letting it crisp. Now I tip the sausages onto a double layer of kitchen paper and pat them properly dry, pressing to blot the ends where liquid pools. I also line the tray with parchment rather than greasing it, which lifts the base slightly and helps it brown evenly. That one 30-second step was the single biggest fix for the soggy bottoms that ruined my first attempt.
Lesson 2: My Blankets Unraveled Because I Rolled Them Seam-Side Up
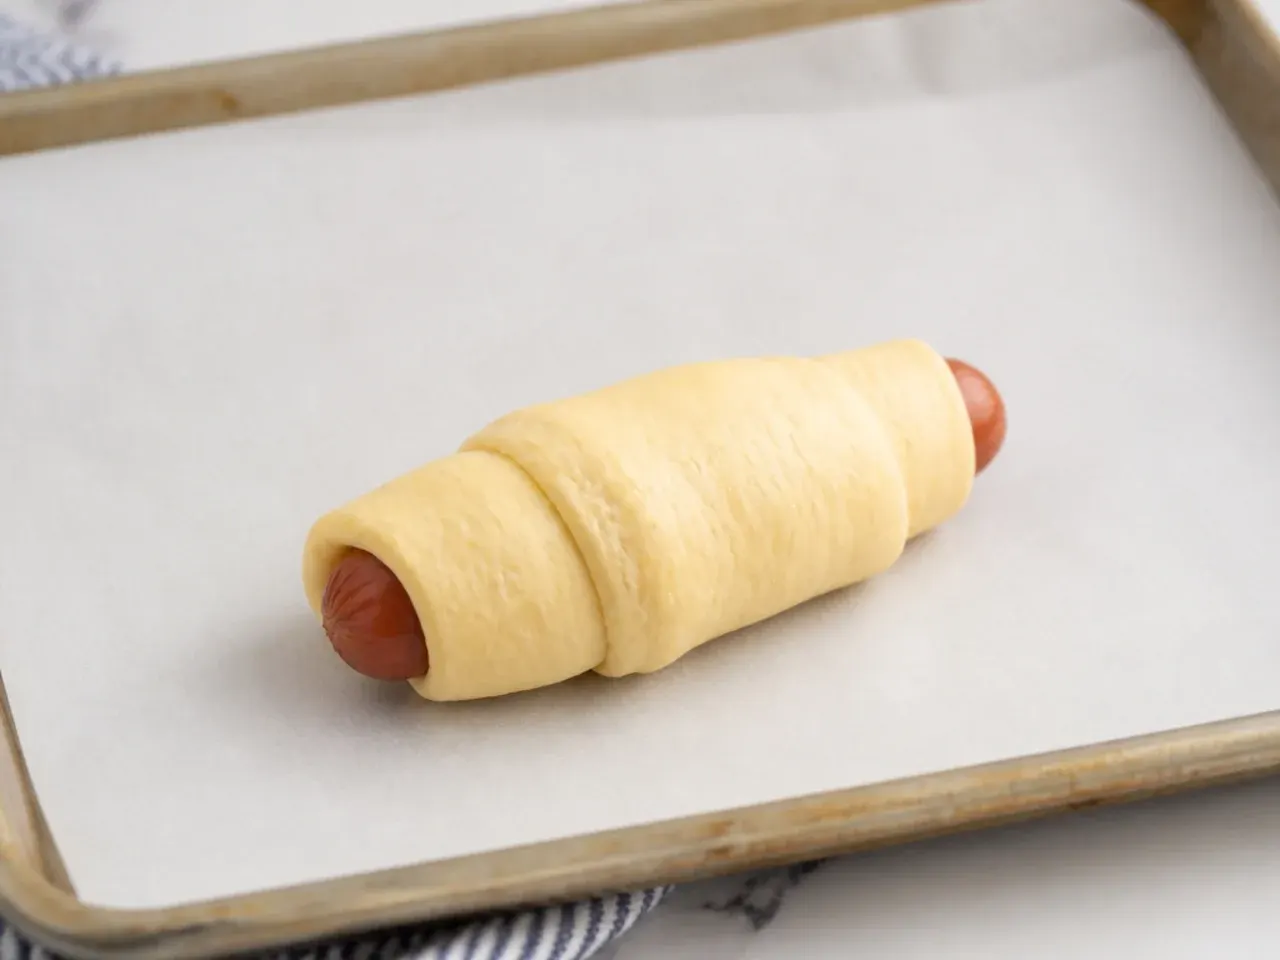
Half of my second batch popped open in the oven and flopped into little starfish shapes, which looked nothing like the neat rolls I wanted. The problem was two-fold: I was rolling too loosely and finishing with the pointed tip of the dough facing upward. The fix is to roll snugly from the wide end of each triangle toward the point, then set each one down with that final seam pressed against the tray so its own weight holds it closed. I also stopped over-stretching the dough, because thin overworked dough tears and lets the seam spring open. Since I started rolling firmly and placing them seam-side down, not a single one has unraveled.
Lesson 3: I Cut the Dough Wrong and Ended Up With Bready, Under-Baked Rolls
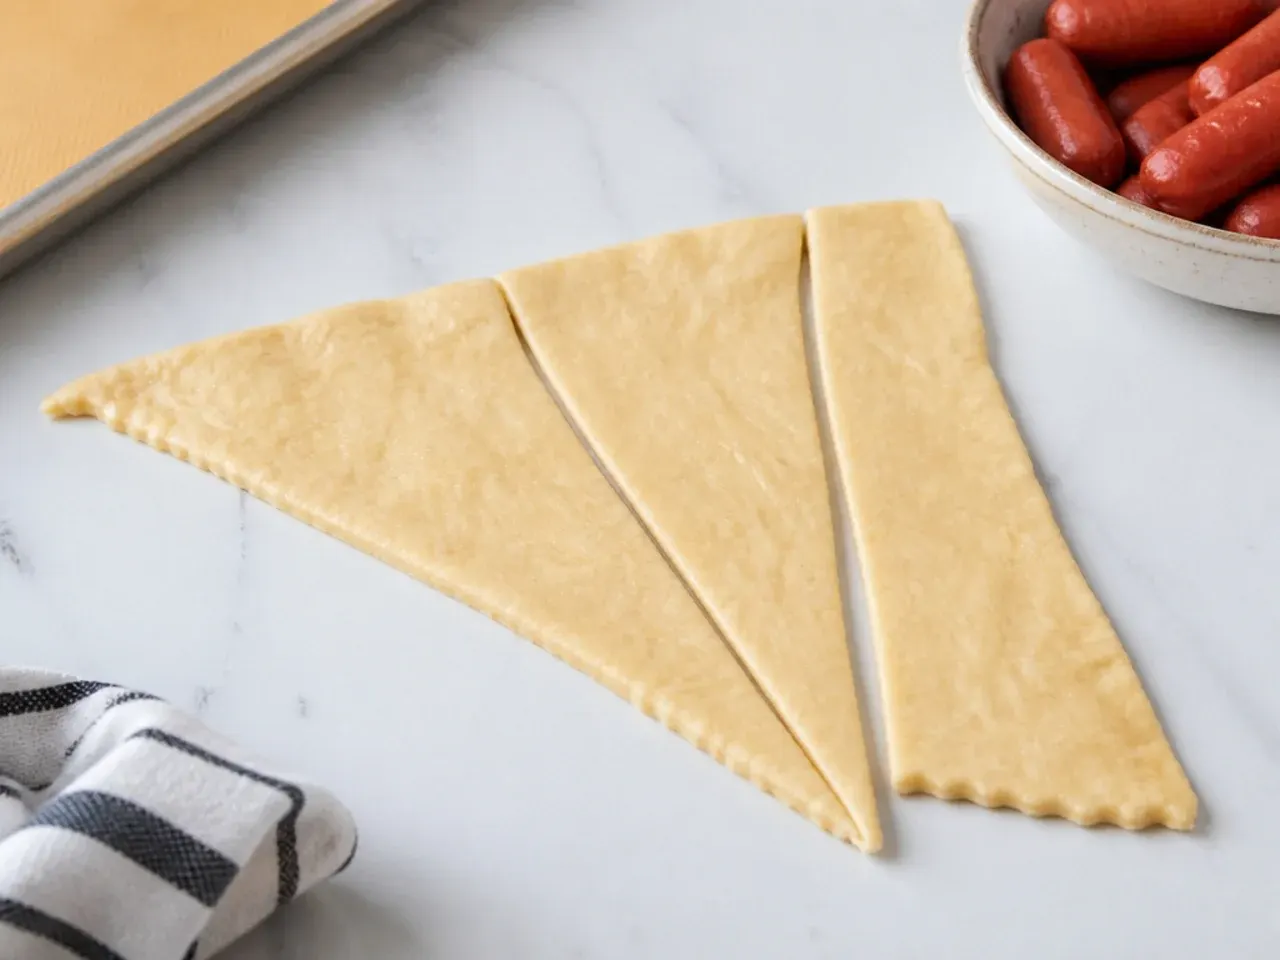
The first time, I wrapped each full crescent triangle around one sausage, so the ratio was all wrong: too much doughy blanket, too little sausage, and a chewy center that never fully cooked. What actually works is cutting each large triangle lengthwise into three slim triangles, giving you the classic bite-sized cocktail proportion where the dough bakes through before the outside burns. If you are using a from-scratch dough, roll it thin, around 3mm, and cut strips about 8cm long so they wrap once with a little overlap. Thinner, smaller blankets mean the heat reaches the middle in the same 12 to 15 minutes it takes the outside to turn golden. Getting the dough-to-sausage ratio right was the difference between raw-tasting dough and a proper crisp shell.
Lesson 4: I Baked at the Wrong Temperature and Rushed the Timing
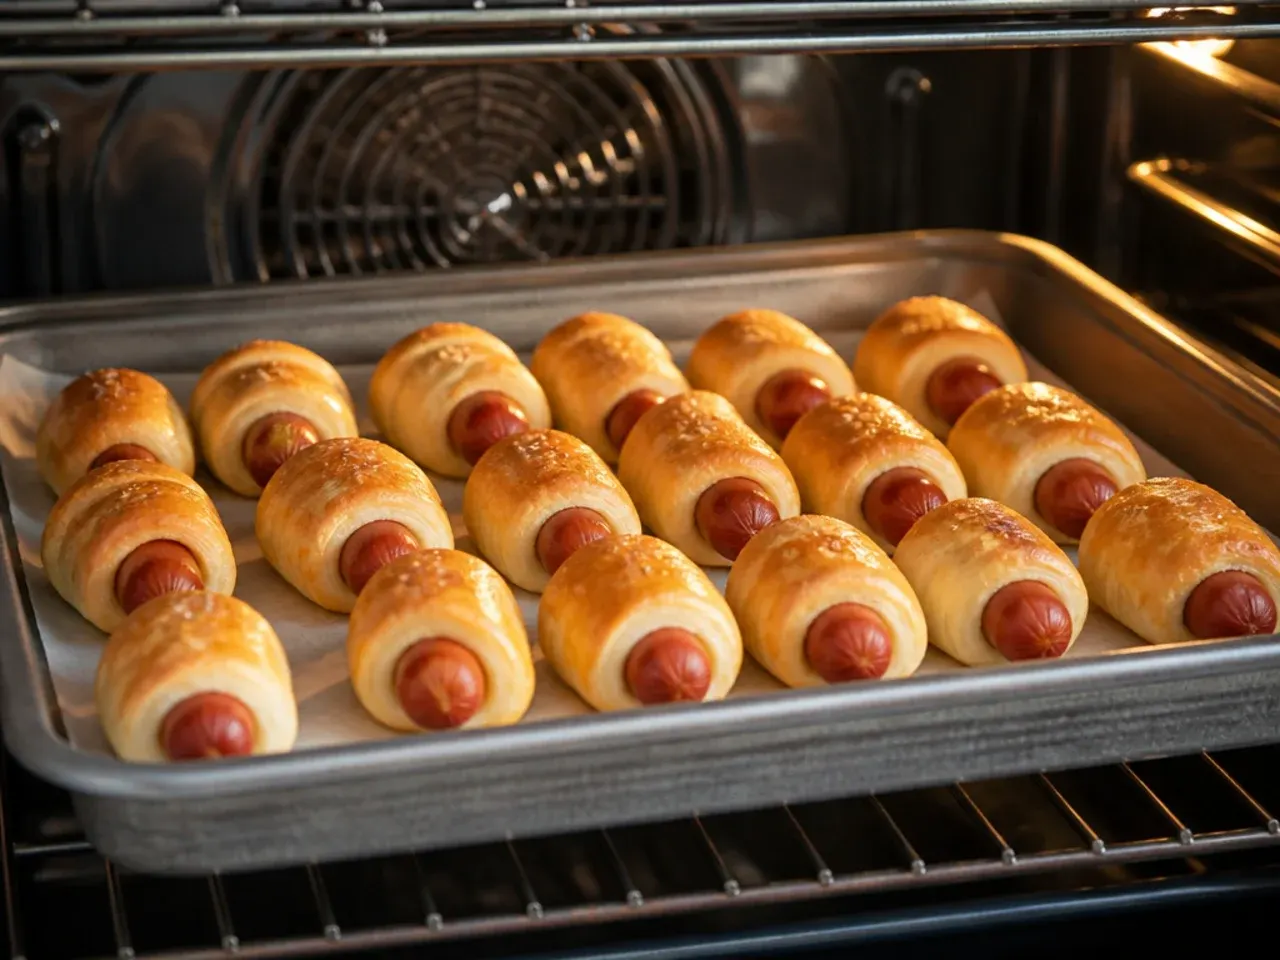
Impatient and hungry, I cranked my oven to 220C/425F to speed things up, and the tops scorched while the dough stayed raw inside. The sweet spot I now trust is 190C/375F for store-bought crescent dough, or 200C/400F for a yeasted homemade dough, both for 12 to 15 minutes until deep golden. I always preheat fully and bake on the middle shelf so the heat circulates evenly rather than blasting one side. If the tops are browning too fast before the 12-minute mark, I tent a loose sheet of foil over the tray for the last few minutes. A moderate, steady oven cooks the blanket all the way through, which a hot-and-fast blast never did for me.
Lesson 5: I Forgot the Egg Wash and Assembled Them Warm
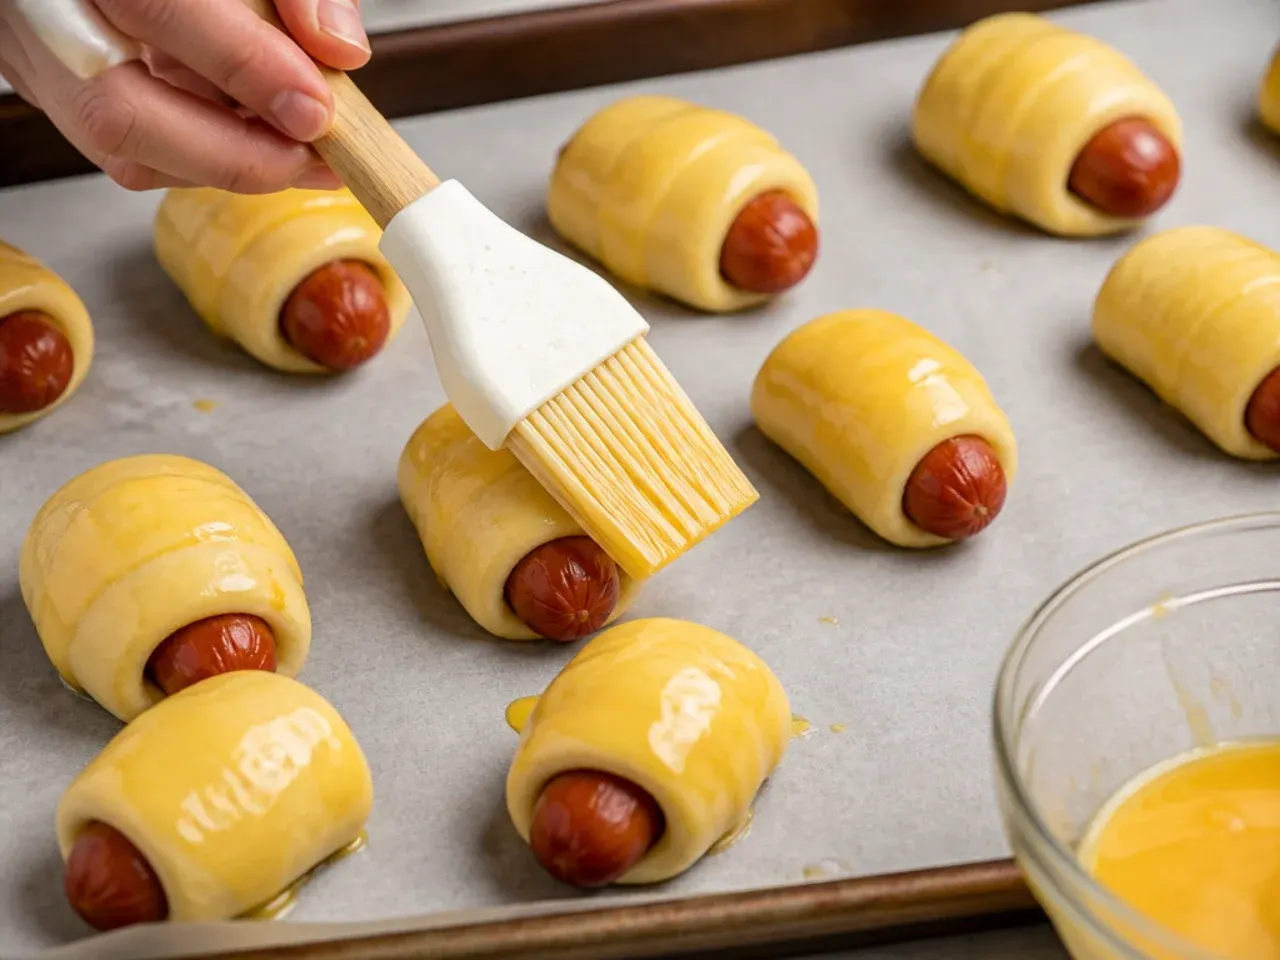
My early batches came out dull, matte, and slightly pale, missing that glossy bakery finish, because I never brushed them with anything. Now I whisk one egg with a tablespoon of milk and brush every roll before it goes in, which gives a deep golden shine and helps seeds or seasoning stick. I also learned not to assemble them while the dough is warm and slack from the packet: if the dough feels soft, I pop the wrapped, unbaked rolls in the fridge for 15 minutes so they firm up and hold their shape in the oven. Chilling before baking also stops the butter in the dough from leaking out too soon, which keeps the layers distinct. An egg wash plus a quick chill turned my homely rolls into something that actually looked like party food.
What I'd Tell a Friend Trying This
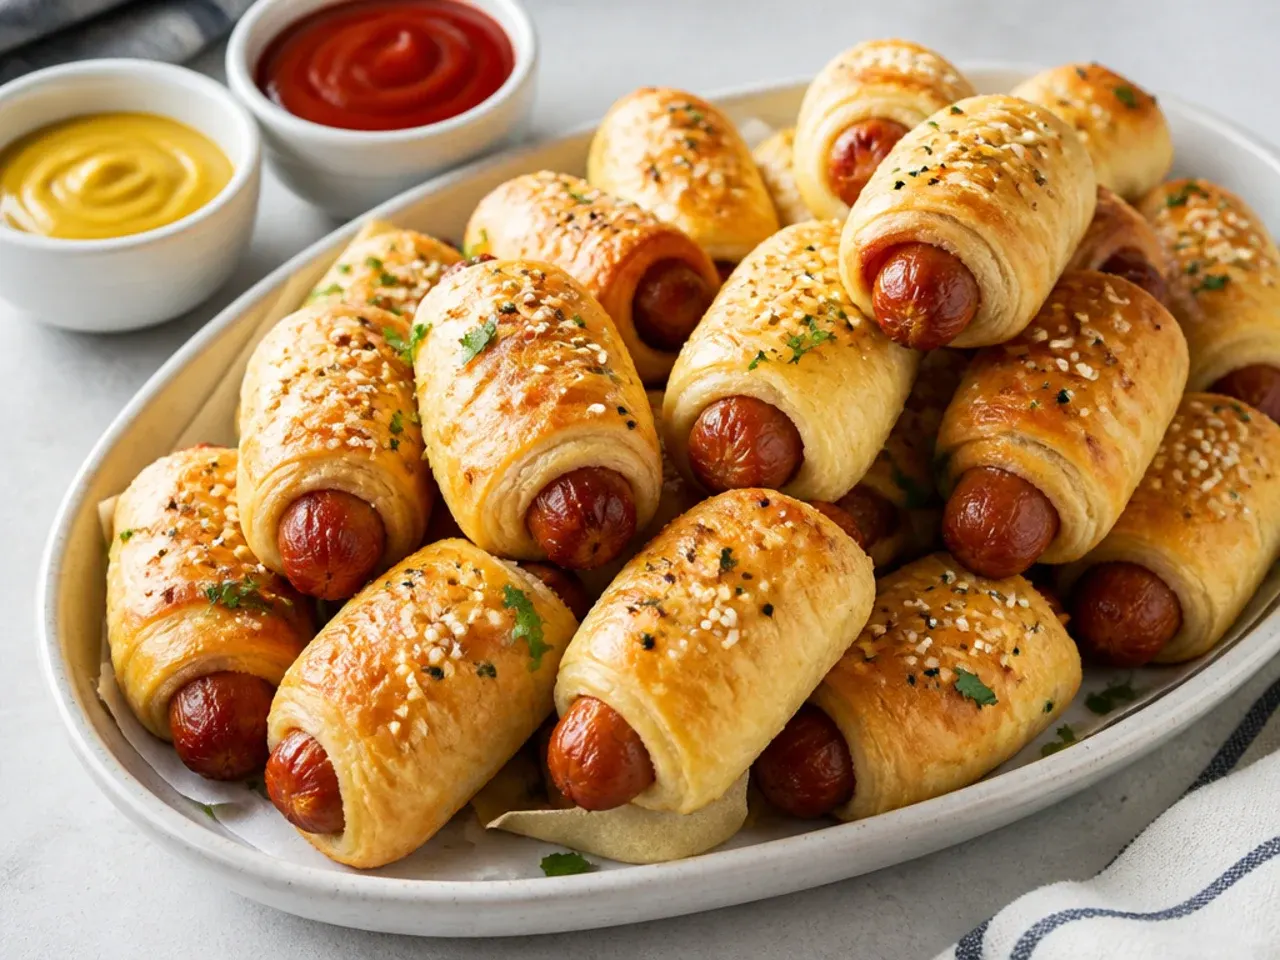
Honestly, homemade pigs in a blanket are forgiving once you know the four things that matter: dry the sausages, roll snug and seam-side down, keep the dough thin, and bake at a steady 190C/375F. Do the assembly the night before, cover the tray tightly, and refrigerate so all you do on the day is egg-wash and bake, adding one or two extra minutes straight from the fridge. Space them at least 2cm apart so hot air crisps every side, and let them rest two minutes out of the oven before serving so the dough sets. Set out a few dips, honey mustard, garlic mayo, and a sweet chili, and people will hover over the tray. My biggest tip is simply not to rush the oven; patience at 190C is what separated my sad first batch from the ones I now make on repeat.
The Recipe
The Recipe I Used
20 min
15 min
50 min
40
Beginner
Ingredients 40 Person(s)
Directions
Step 1: Preheat and prep the tray
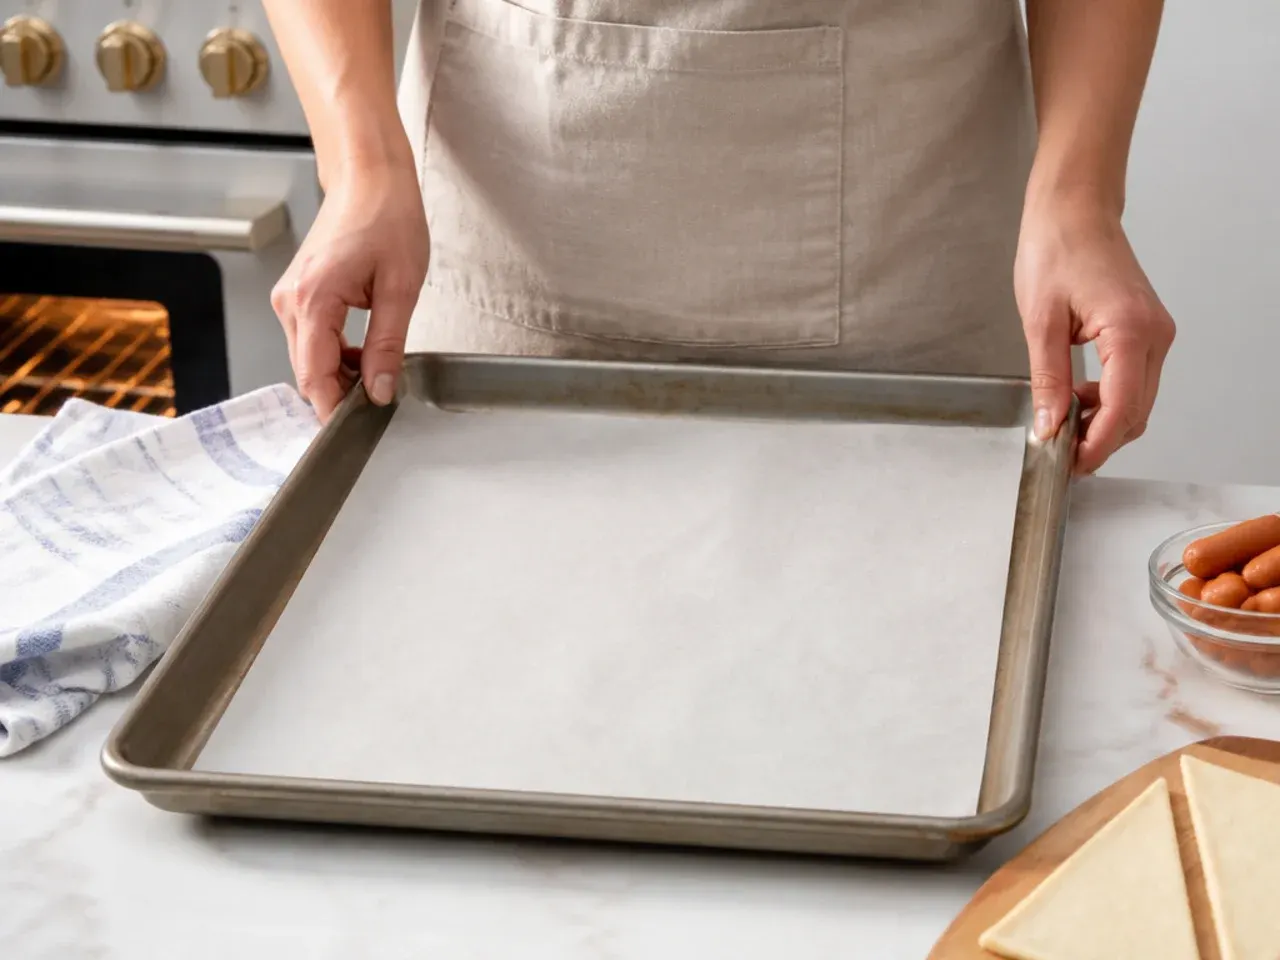
Heat your oven to 190C/375F (170C fan) and line a large baking sheet with parchment paper. A fully preheated oven and a parchment base are what keep the bottoms crisp rather than greasy.
Step 2: Dry the sausages
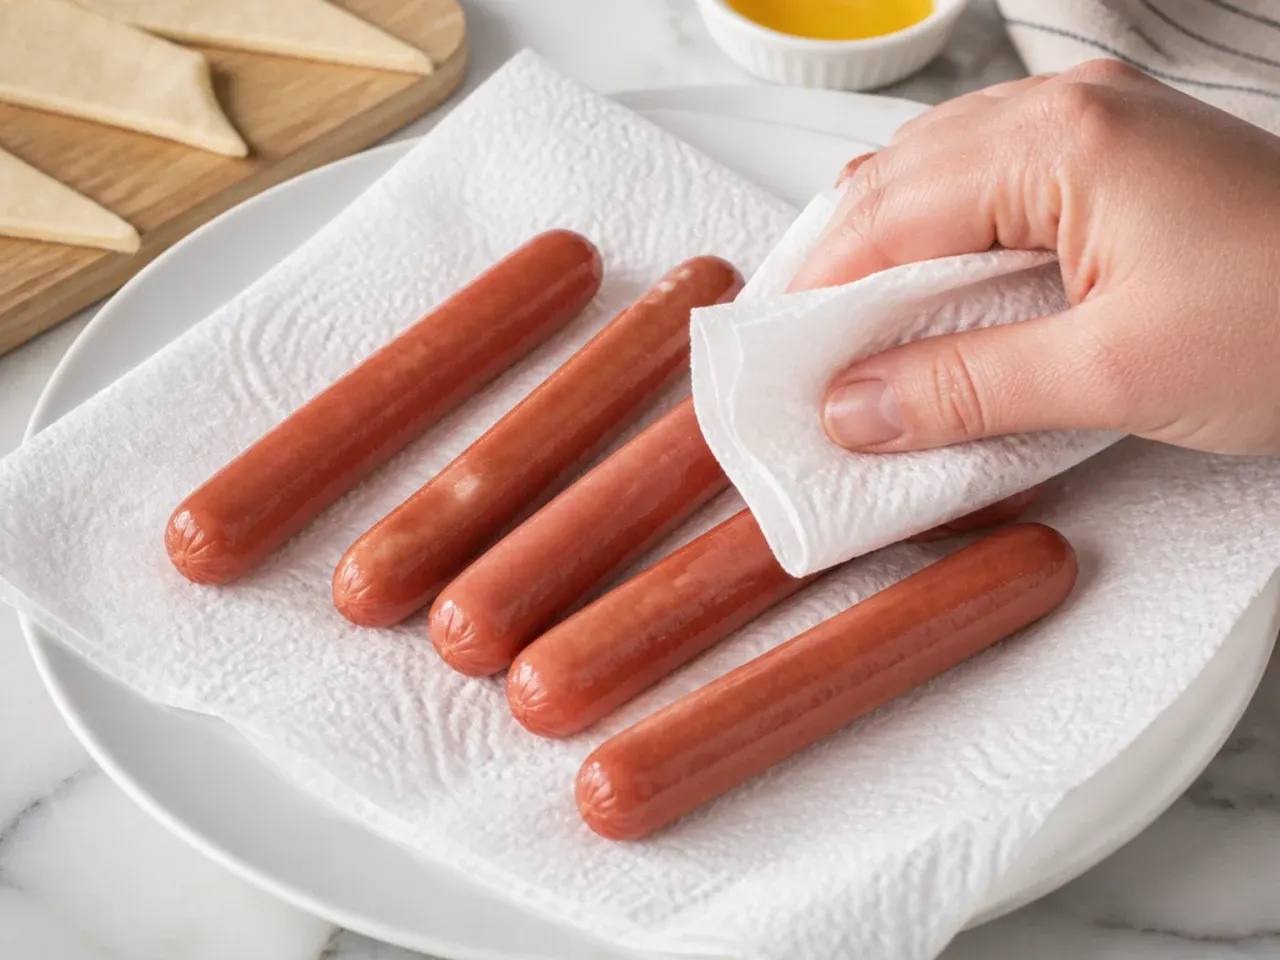
Tip the cocktail sausages onto a double layer of kitchen paper and pat them thoroughly dry, blotting the ends where fat collects. Removing surface moisture is the single best defense against soggy bottoms.
Step 3: Cut the dough
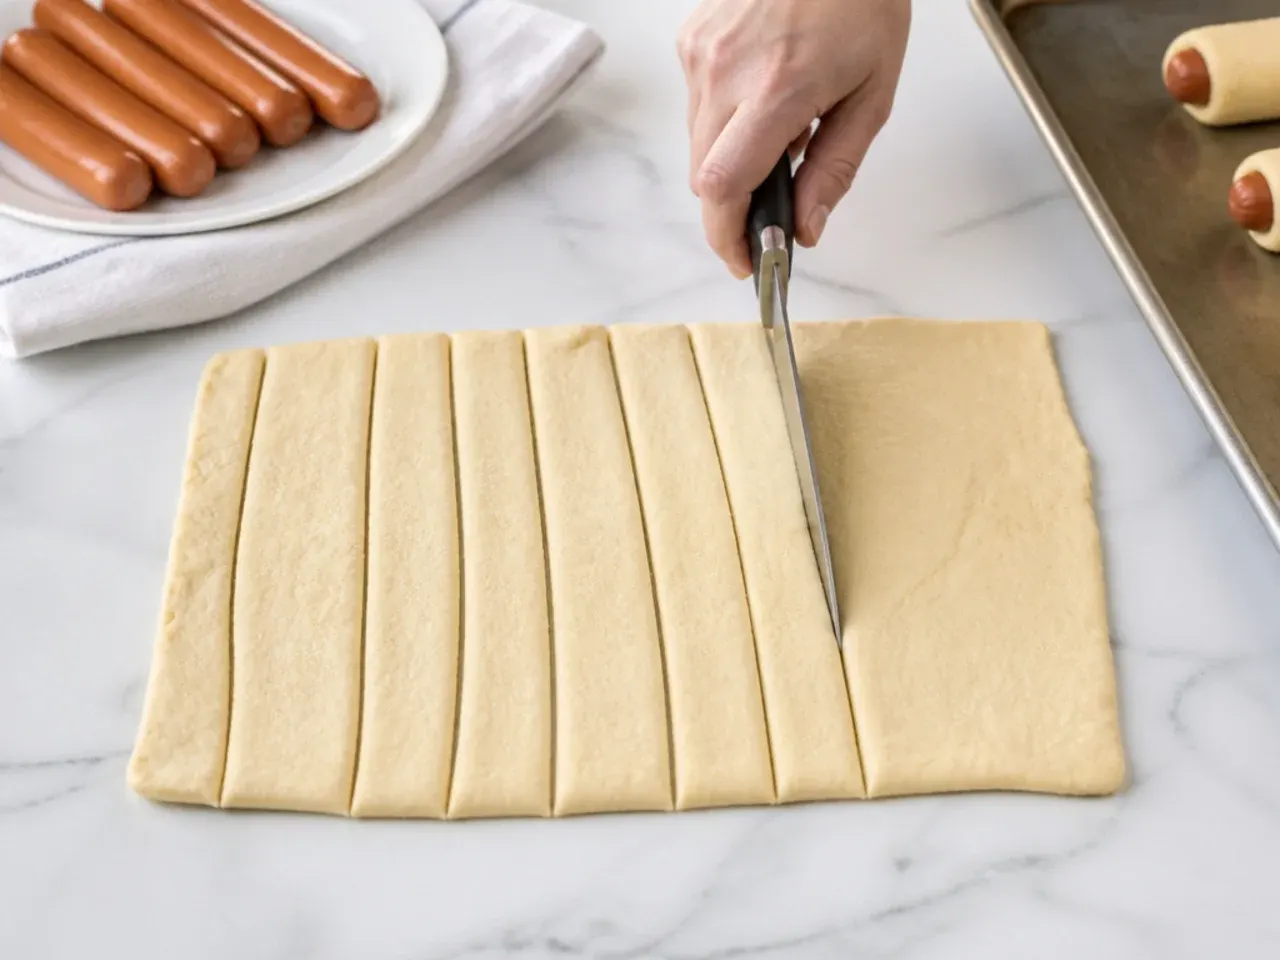
Unroll the crescent dough and separate it into triangles, then cut each triangle lengthwise into 3 slim triangles. This gives you the classic bite-sized ratio so the dough bakes through before the outside over-browns.
Step 4: Wrap snugly
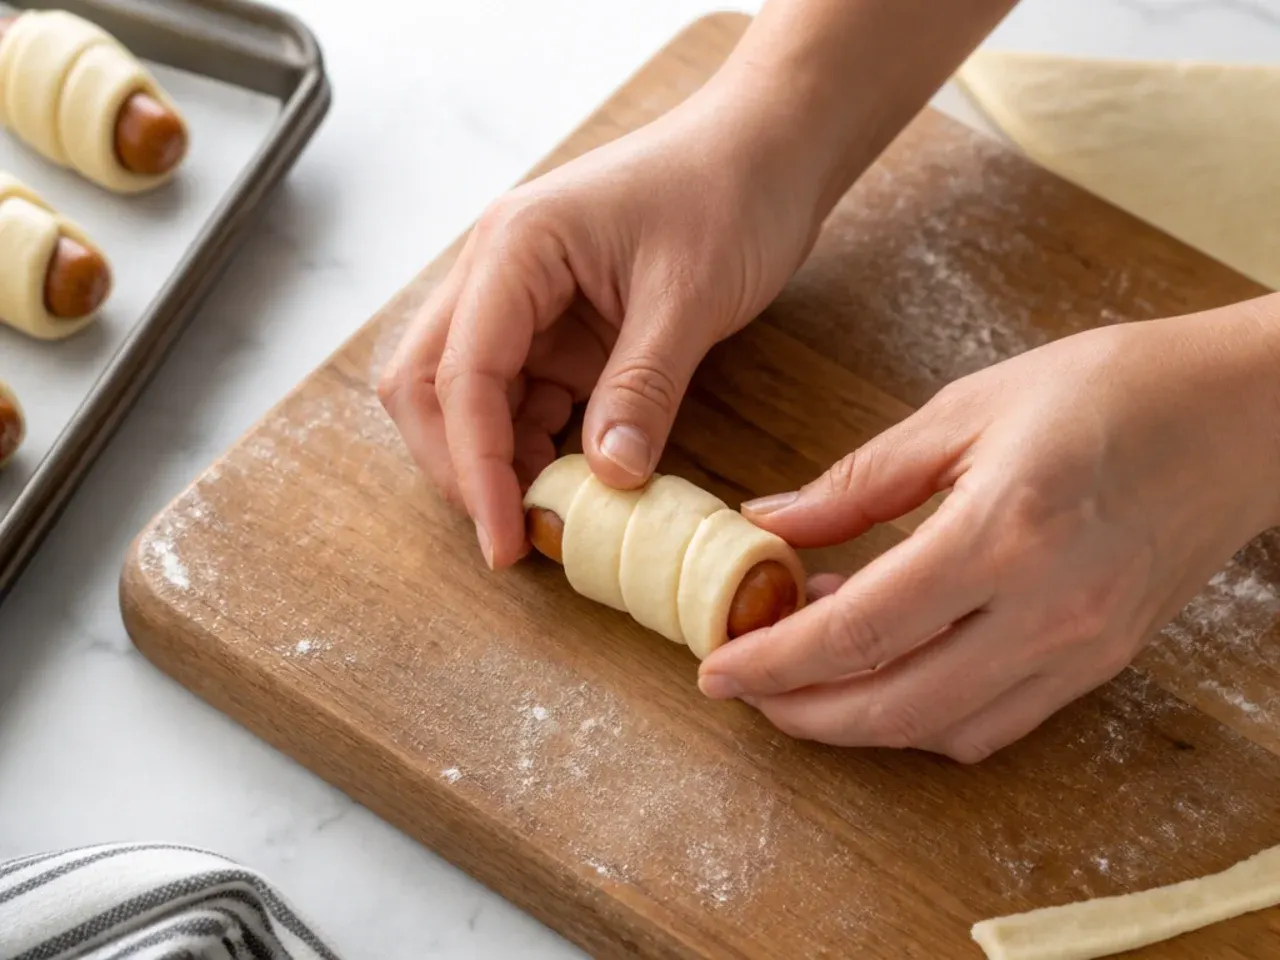
Place one sausage at the wide end of each slim triangle and roll firmly toward the point, keeping it tight but not stretching the dough. Set each roll on the tray with the seam pressed underneath so it cannot spring open.
Step 5: Chill briefly
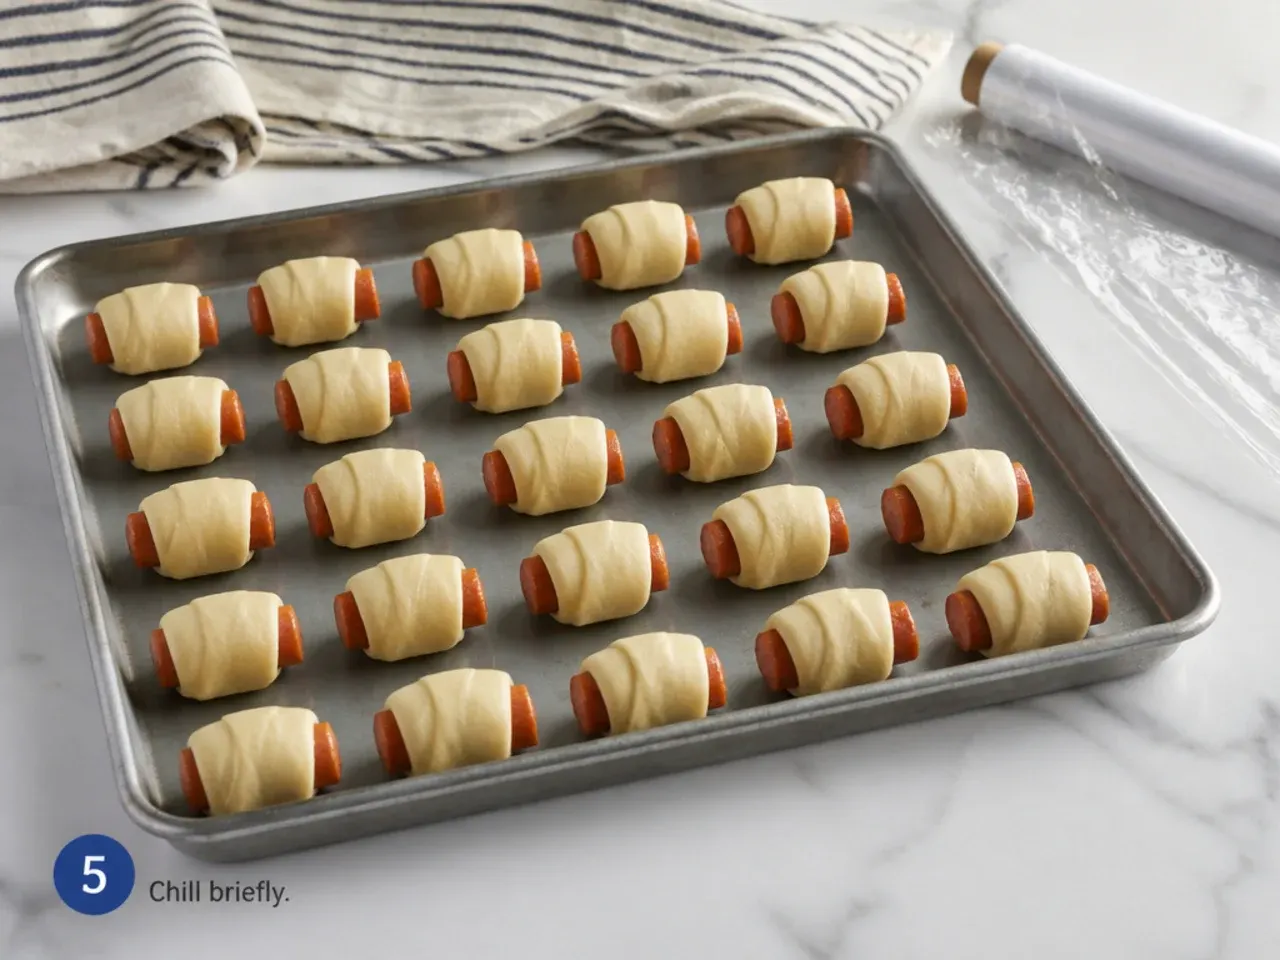
Space the wrapped rolls at least 2cm apart, then slide the tray into the fridge for 15 minutes. Chilling firms the dough so the rolls hold their shape and the butter stays put in the oven.
Step 6: Egg wash and season
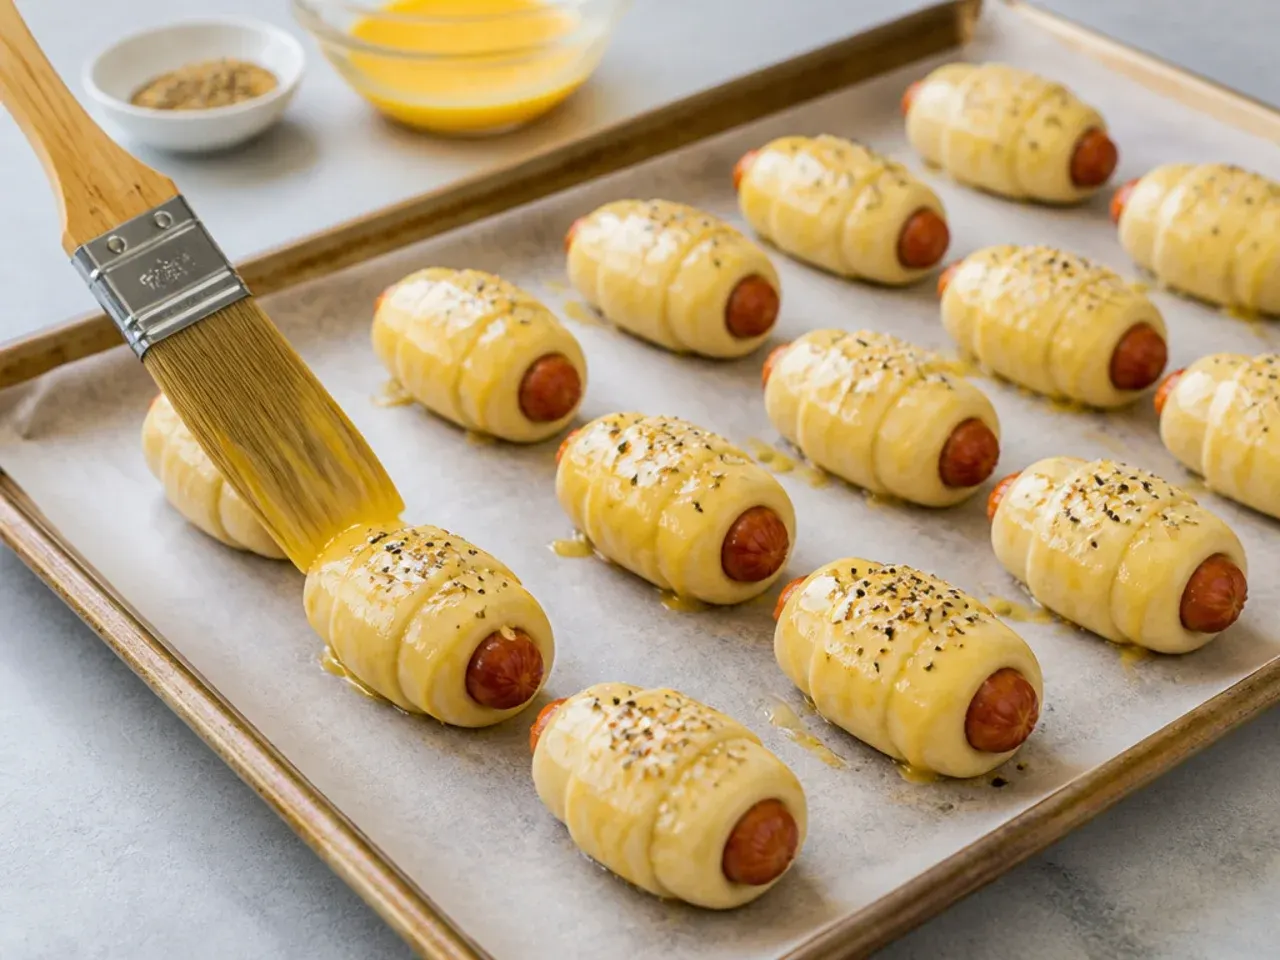
Whisk the egg with the milk and brush each roll for a glossy golden finish. Scatter over sesame seeds, poppy seeds, or everything bagel seasoning if using, pressing lightly so they stick.
Step 7: Bake and rest
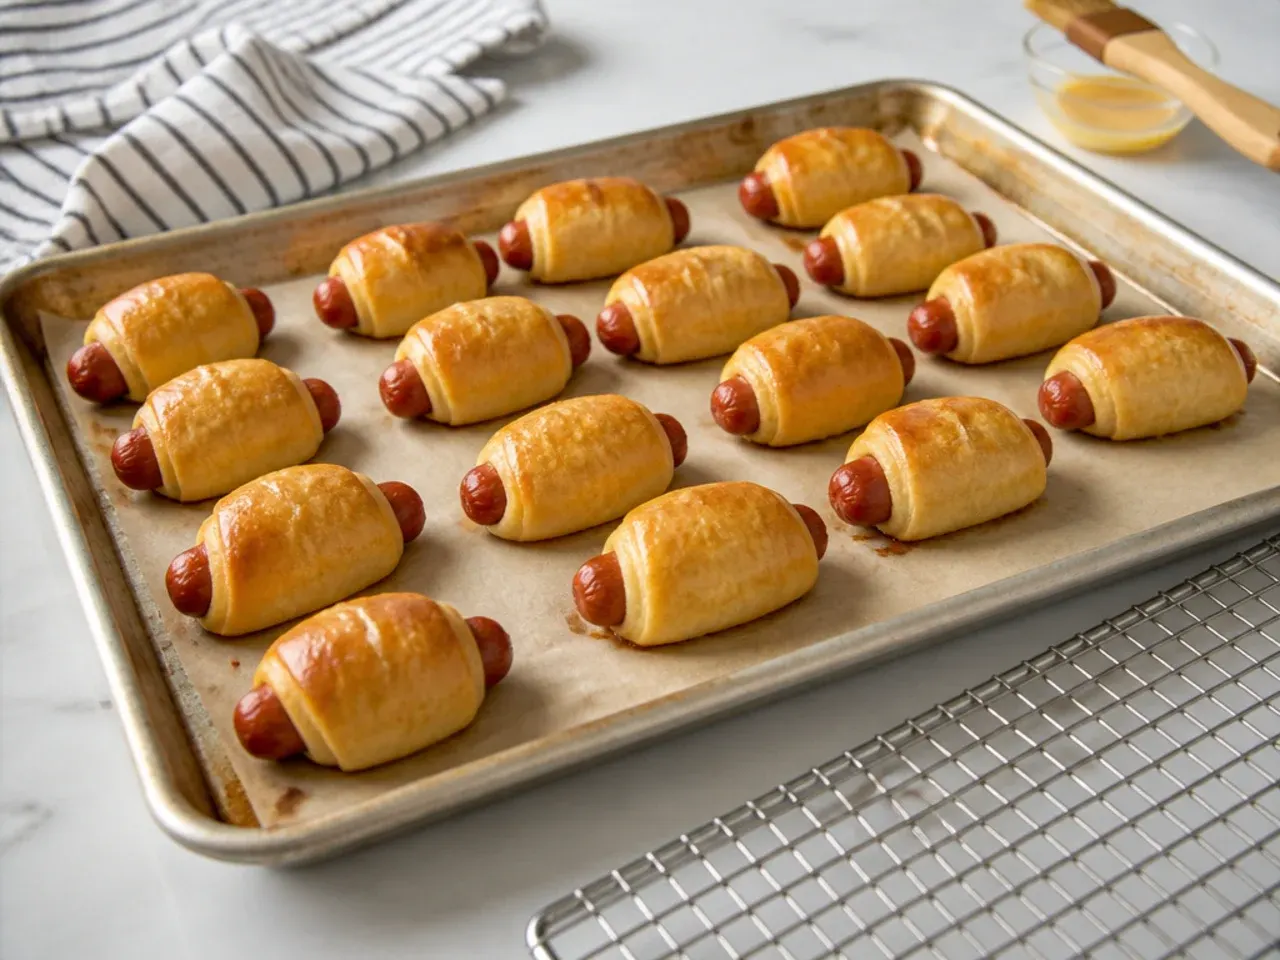
Bake on the middle shelf for 12 to 15 minutes until deep golden brown, tenting with foil if the tops color too fast. Let them rest 2 minutes so the dough sets, then serve warm with your favorite dips.
Frequently Asked Questions
Soggy bottoms come from moisture and rendered fat steaming the dough from below. Pat the sausages thoroughly dry before wrapping, bake on parchment rather than a greased tray, and use a fully preheated 190C/375F oven so the base crisps as it cooks. Avoid crowding the tray, since packed rolls trap steam.
Save this for later 📌
Pin this article to your Pinterest board so the full list is one tap away when you need it.
Save on Pinterest