5 Things I Learned Making Sushi Bowls
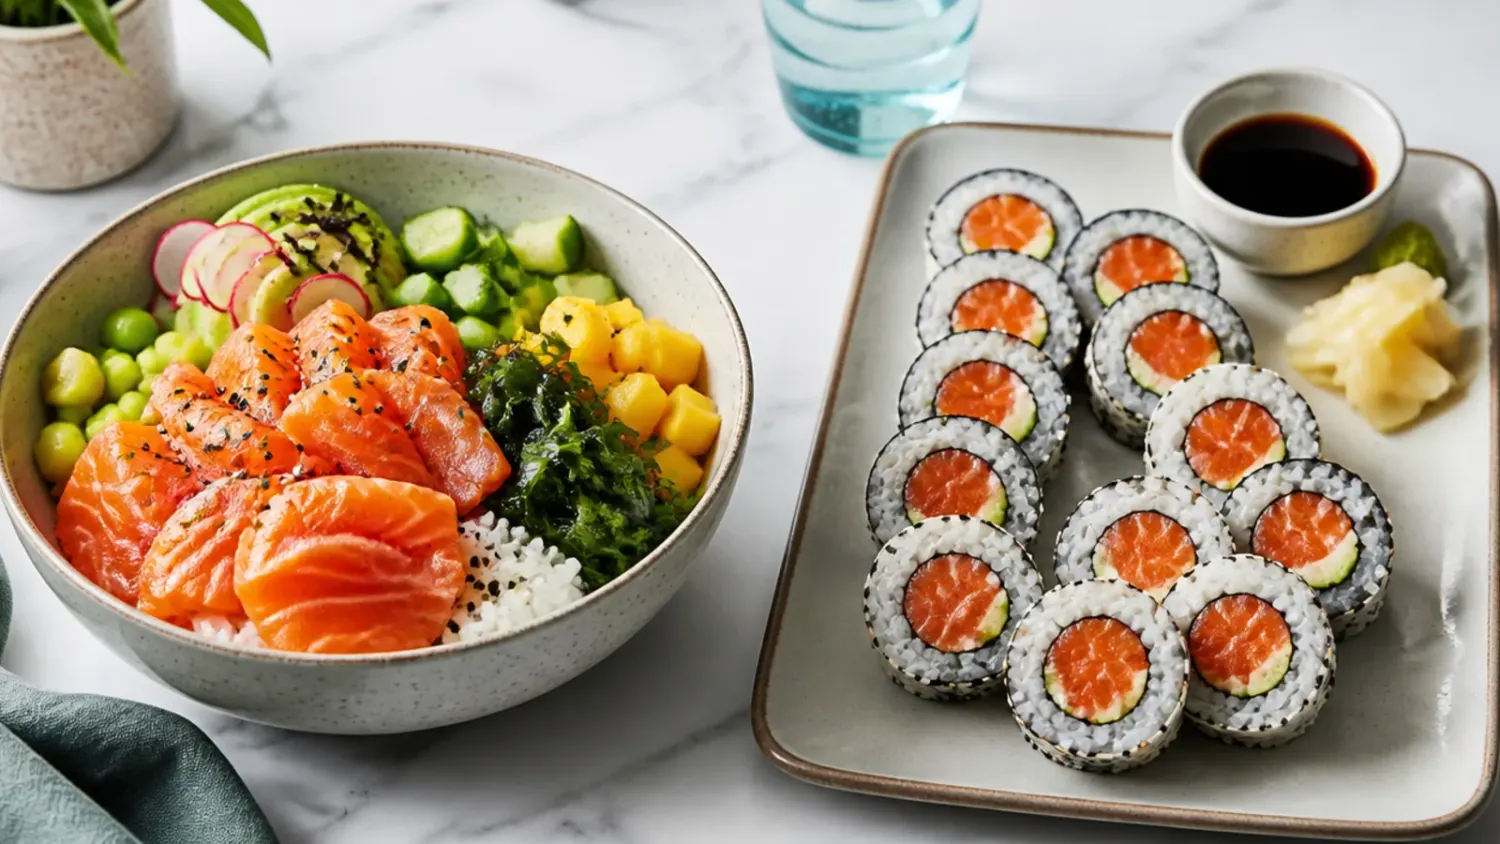
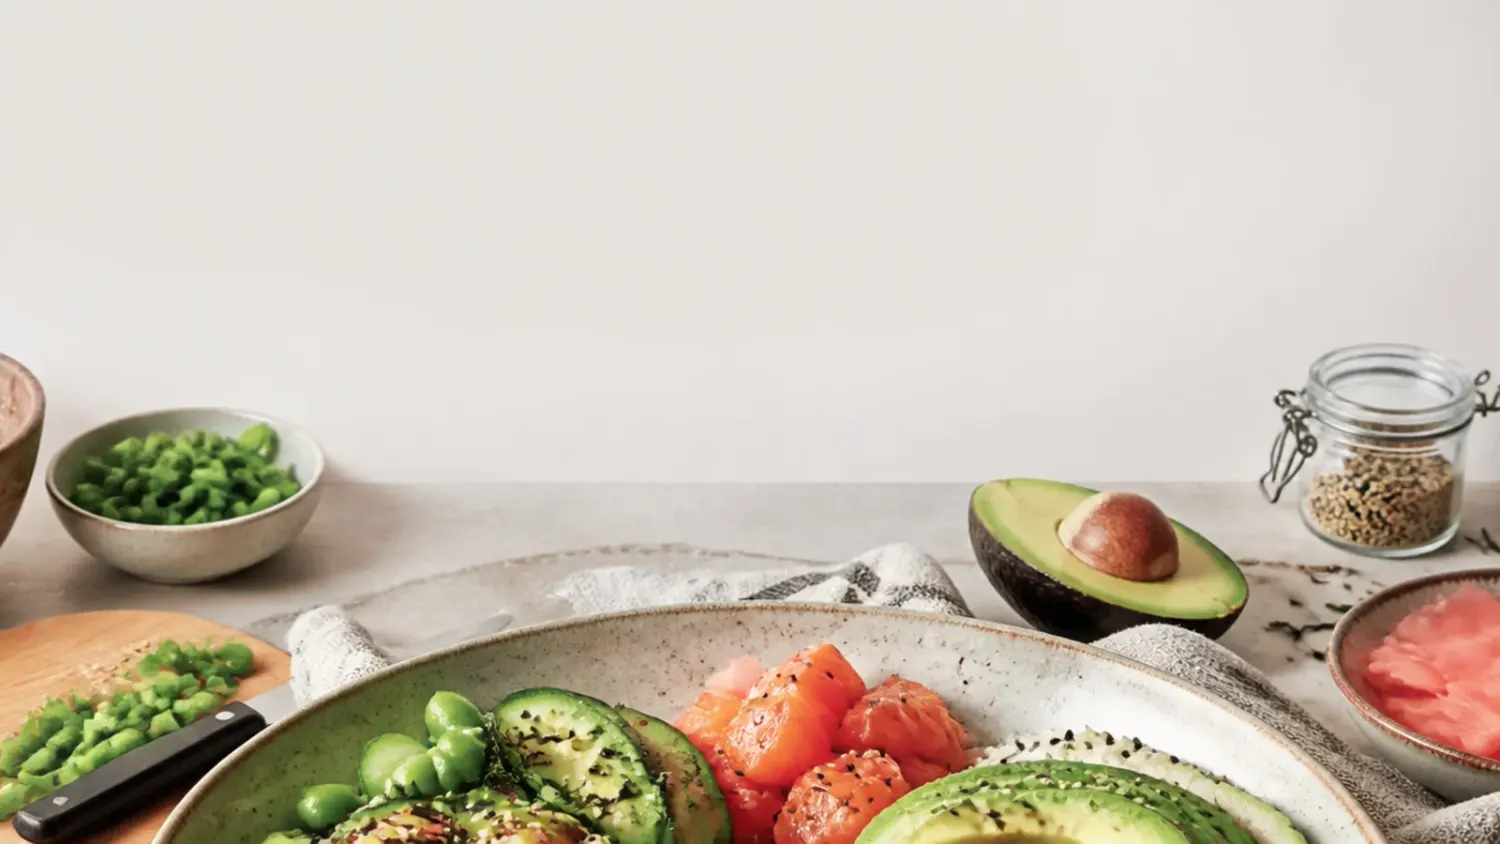
Five honest lessons from my first homemade sushi bowl, from rinsing the rice properly to the spicy mayo ratio that finally made it taste right. If you love sushi bowl inspiration, start with our Sushi Bowl Recipes collection, then browse the full Dinner Recipes hub for more.
Save this for later 📌
Pin this article to your Pinterest board so the full list is one tap away when you need it.
Save on PinterestDinner Recipes
Beginner
Kitchen Journal
5 steps
Table of Contents
- Lesson 1: Rinse the Rice Until the Water Runs Completely Clear
- Lesson 2: Season the Rice While It's Hot, and Fold — Never Stir
- Lesson 3: Let the Rice Cool Before You Build the Bowl
- Lesson 4: Skip Raw Fish — Seared Soy Salmon Is Easier and Safer
- Lesson 5: Prep Toppings While the Rice Cooks, and Store Everything Separately
- What I'd Tell a Friend Trying This
- The Recipe I Used
Lesson 1: Rinse the Rice Until the Water Runs Completely Clear
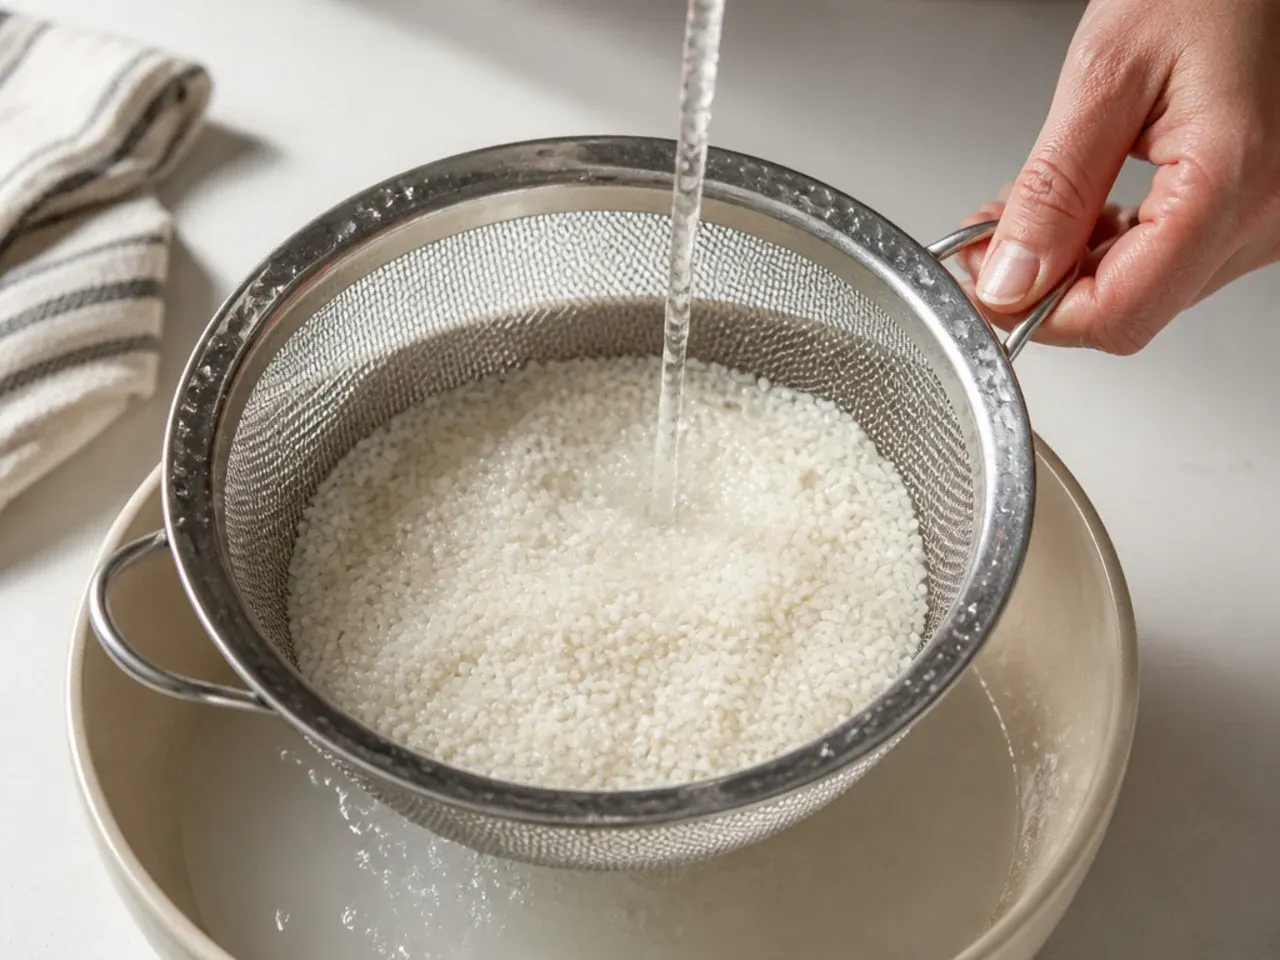
My first batch came out gluey because I gave the rice one quick rinse and called it done. Sushi rice carries a lot of loose surface starch, and it takes 4 to 5 changes of cold water — about 2 minutes of swishing in a bowl and pouring off the cloudy water — before it stops looking milky. Once I started rinsing properly, the grains cooked up sticky enough to scoop but still distinct, just like the rice from our local sushi place. One more detail: drain the rice really well in a sieve afterwards, because trapped rinse water quietly ruins the 1:1 rice-to-water ratio the recipe depends on.
Lesson 2: Season the Rice While It's Hot, and Fold — Never Stir
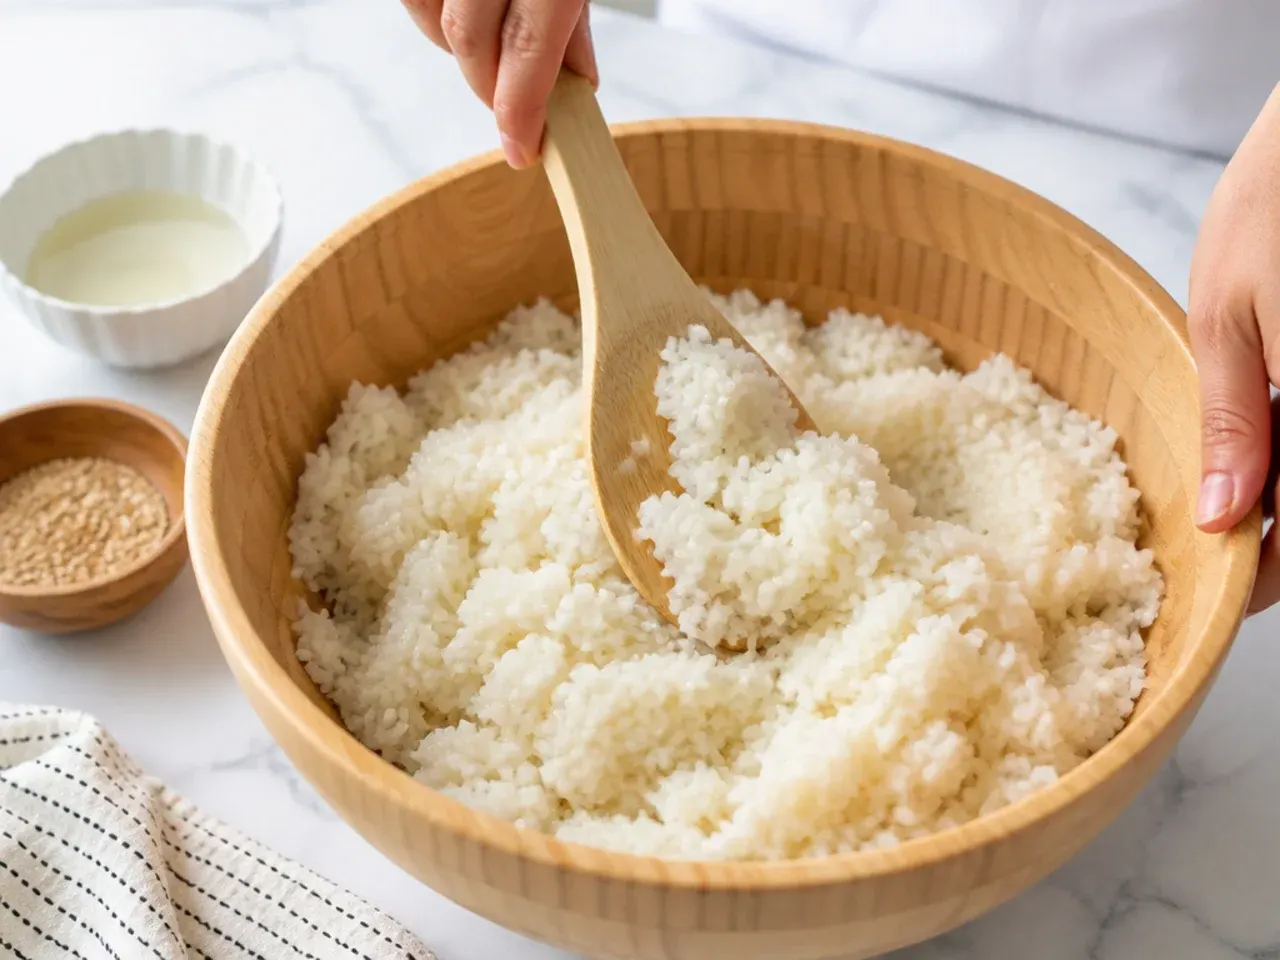
The vinegar seasoning is what makes plain rice taste like sushi, and it only absorbs properly while the rice is steaming hot, straight after its 10-minute rest. I warm 3 tablespoons of rice vinegar with 1½ tablespoons of sugar and 1 teaspoon of salt in the microwave for 20 seconds so everything dissolves before it touches the rice. The first time, I stirred it in like porridge and mashed the grains into paste; now I fold with a slicing, lifting motion using a spatula, and the rice stays glossy with every grain intact. Taste a spoonful before you build anything — it should be gently sweet and tangy on its own, and if it tastes flat, fold in another teaspoon of vinegar.
Lesson 3: Let the Rice Cool Before You Build the Bowl
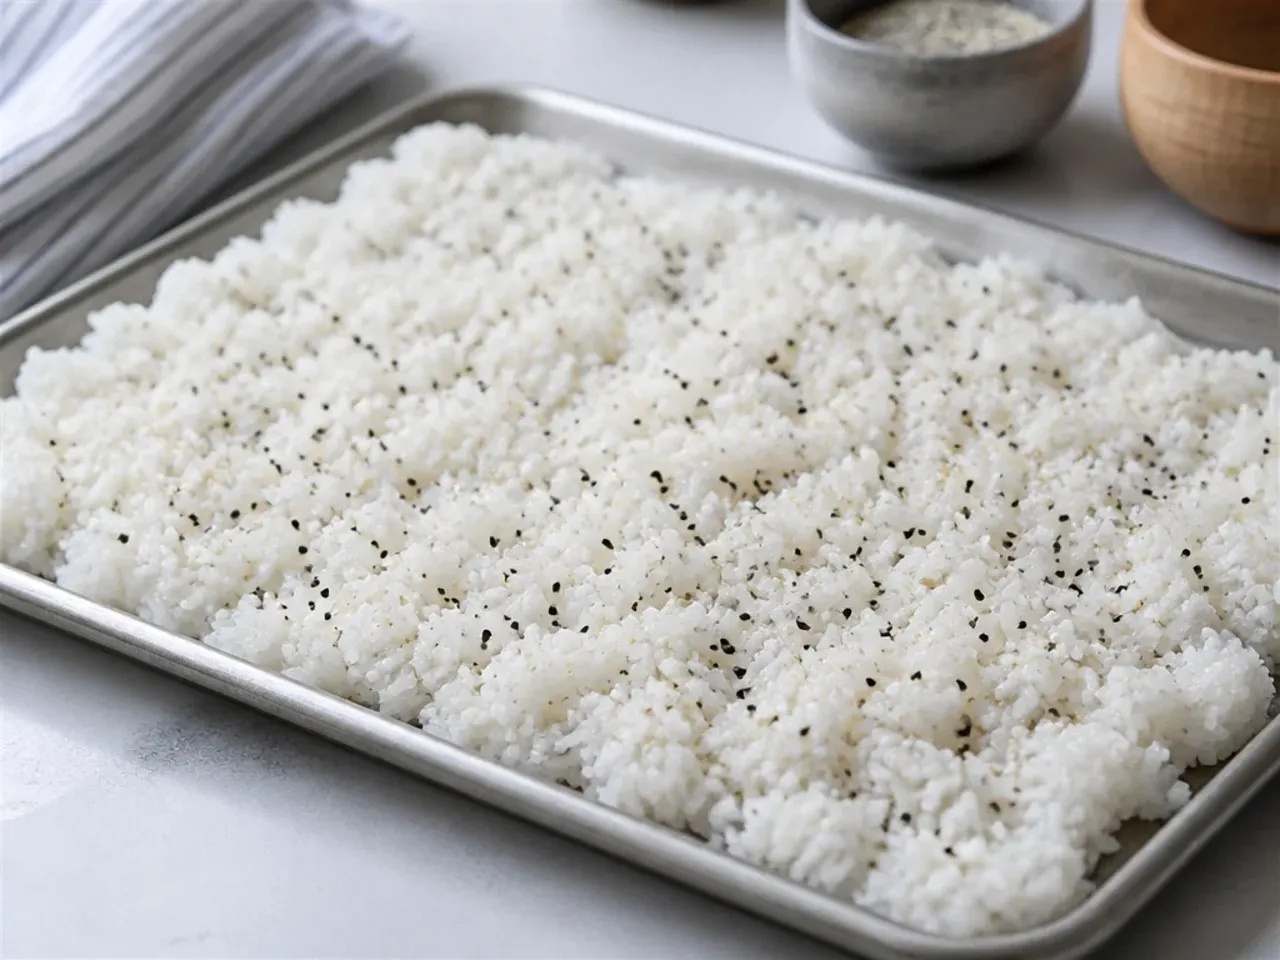
I got impatient on attempt one and piled cold toppings straight onto hot rice: the cucumber went limp, the avocado turned greasy, and the spicy mayo melted into a puddle at the bottom. Now I spread the seasoned rice over a large plate or baking tray and give it 15 to 20 minutes, until it's just barely warm — roughly body temperature. That's also how restaurants serve sushi rice, because fully fridge-cold rice turns hard and chalky. Use the cooling window to slice your toppings and mix the sauce, and everything lands in the bowl at the right temperature at the same time.
Lesson 4: Skip Raw Fish — Seared Soy Salmon Is Easier and Safer
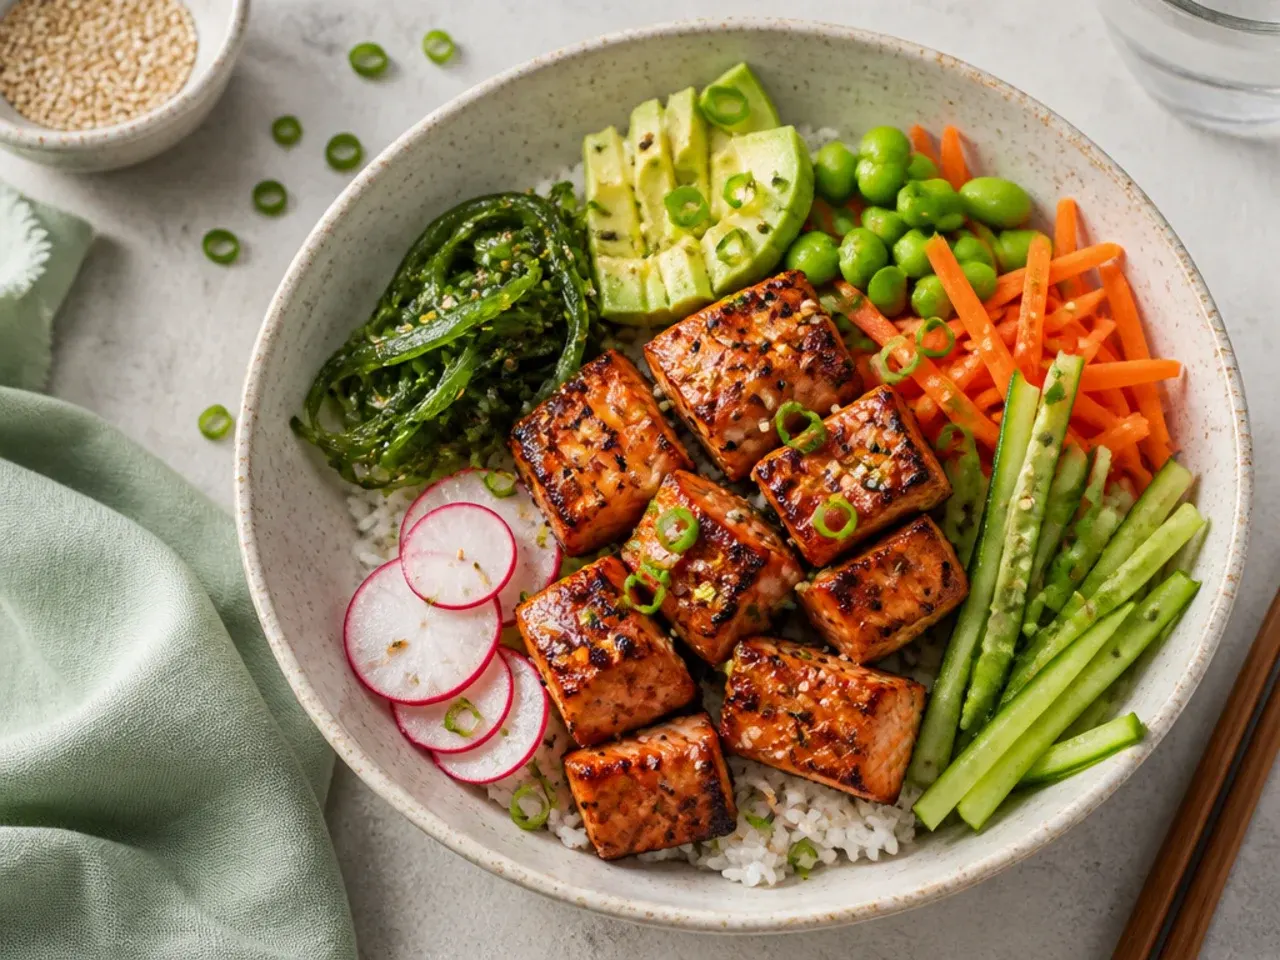
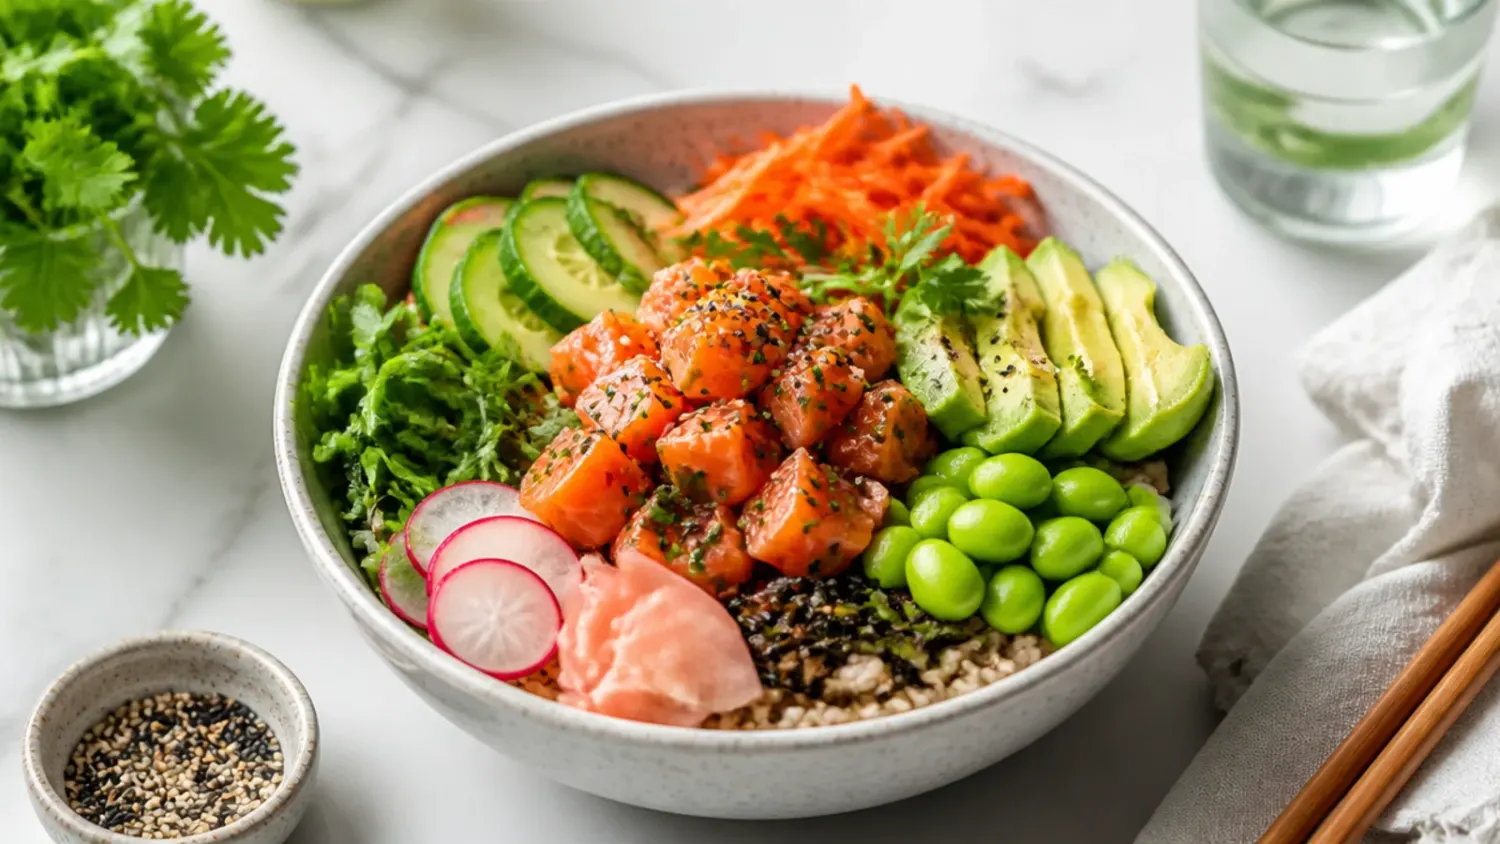
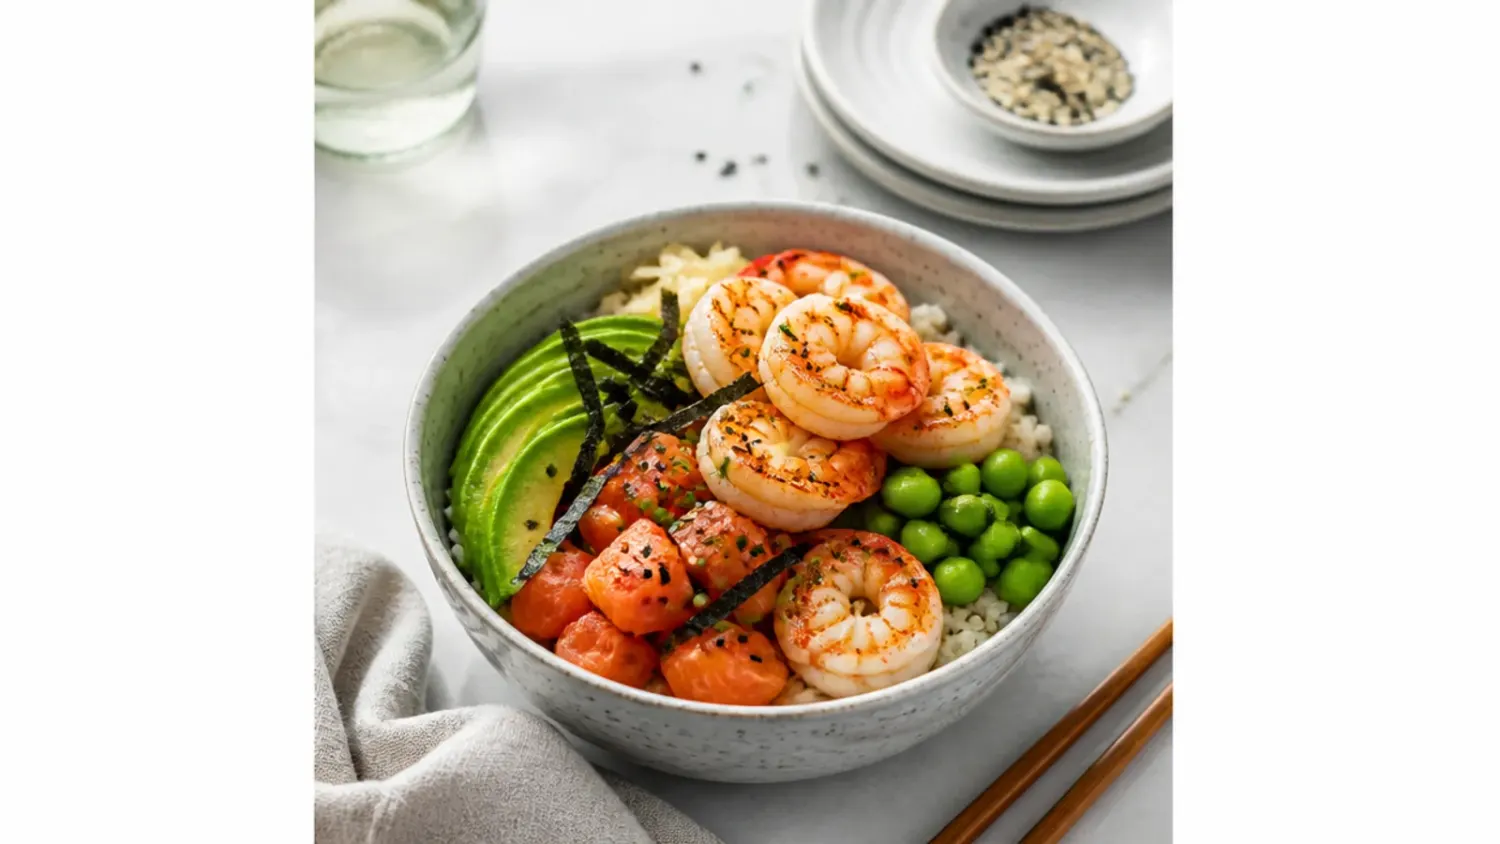
I originally planned raw salmon like a poke bowl, then learned that supermarket salmon isn't automatically safe to eat raw — it needs to be sushi-grade or sashimi-grade fish that's been commercially frozen to kill parasites, and my local counter couldn't guarantee that. So I cubed a 250 g (9 oz) fillet, seared the pieces in a hot pan for 2 to 3 minutes, and splashed in a tablespoon of soy sauce at the end, and it honestly tasted better than my raw attempt would have. Imitation crab sticks are even easier: zero cooking, about a third of the price, and they're what most California roll bowls use anyway. If you're set on raw fish, buy from a fishmonger who will confirm it's sashimi-grade, keep it refrigerated at 4°C (40°F) until the moment you serve, and eat it the same day.
Lesson 5: Prep Toppings While the Rice Cooks, and Store Everything Separately
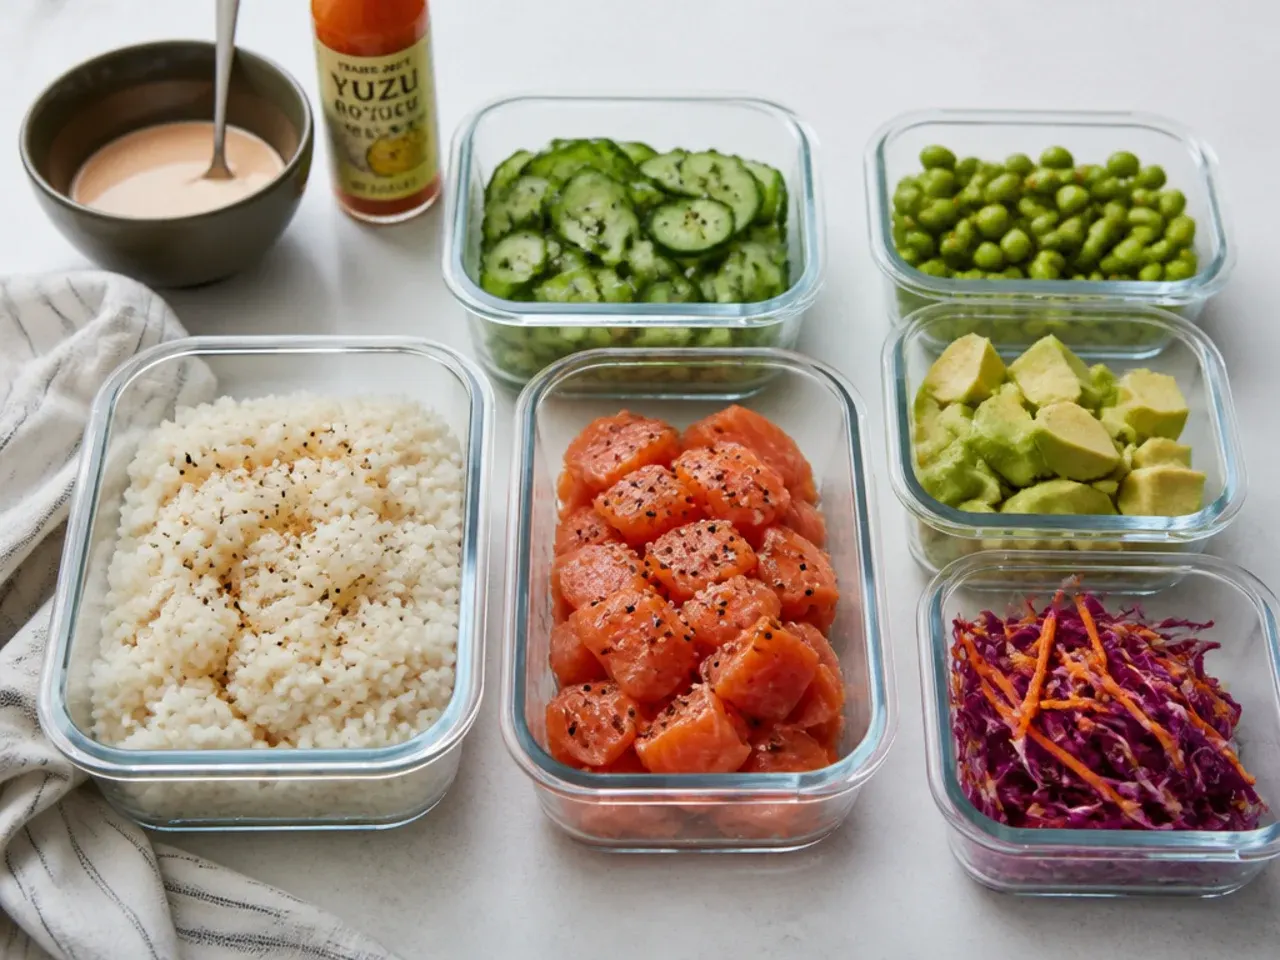
My first sushi bowl took well over an hour because I did every job one at a time. Now, while the rice simmers and rests — about 25 hands-off minutes — I slice the cucumber, ribbon the carrot with a vegetable peeler, mix the spicy mayo, and snip the nori, so final assembly takes 5 minutes. The other half of this lesson came from leftovers: a fully assembled bowl was soggy by the next day, but stored components stayed great. Keep the seasoned rice in an airtight container with a damp paper towel pressed on top for up to 2 days, cooked salmon for 2 days, and sliced cucumber and carrot for 3 days, then slice avocado fresh each time. Ten seconds in the microwave brings the rice back to that just-warm, freshly made texture.
What I'd Tell a Friend Trying This
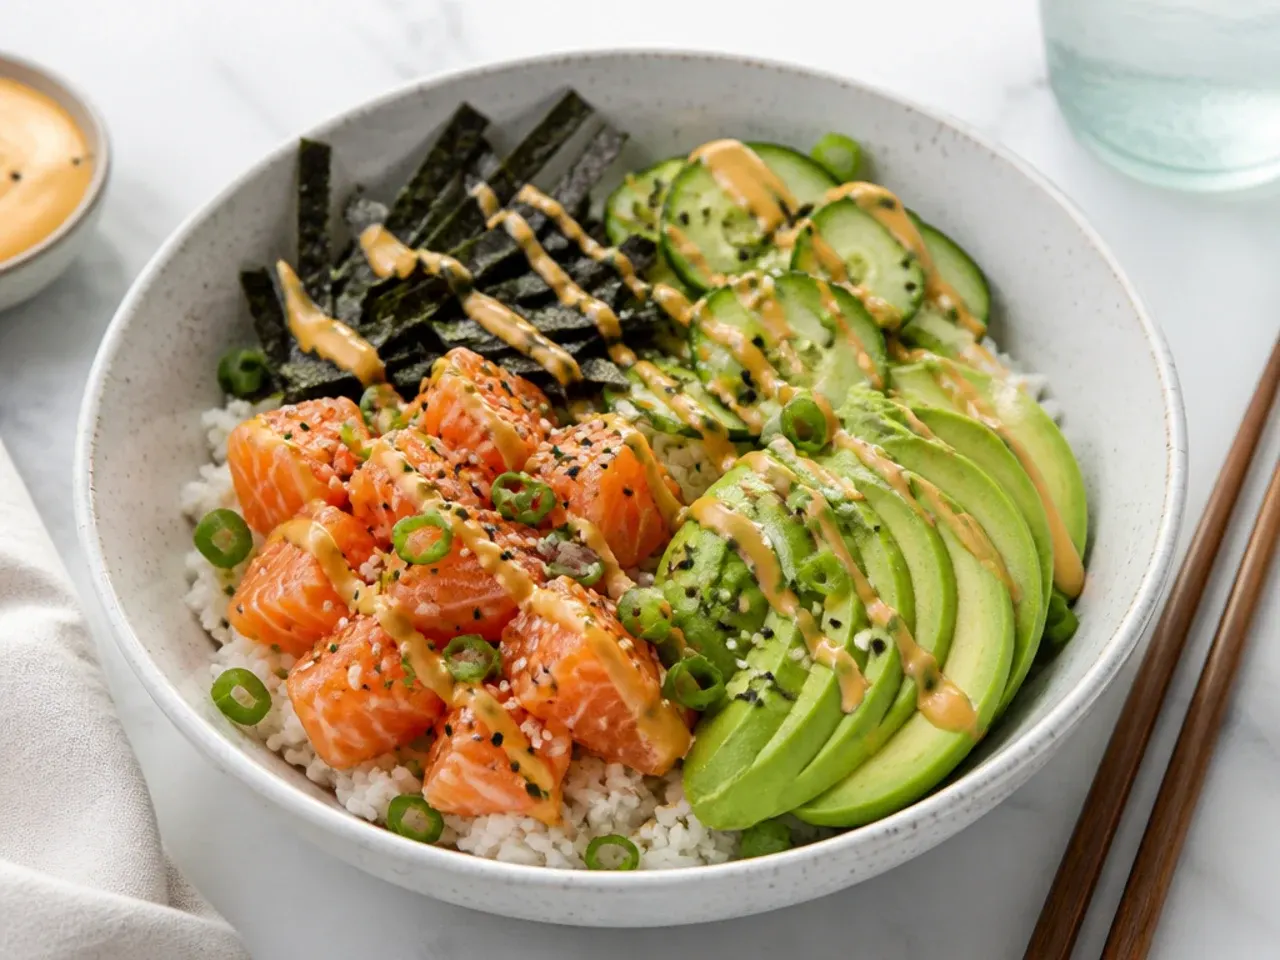
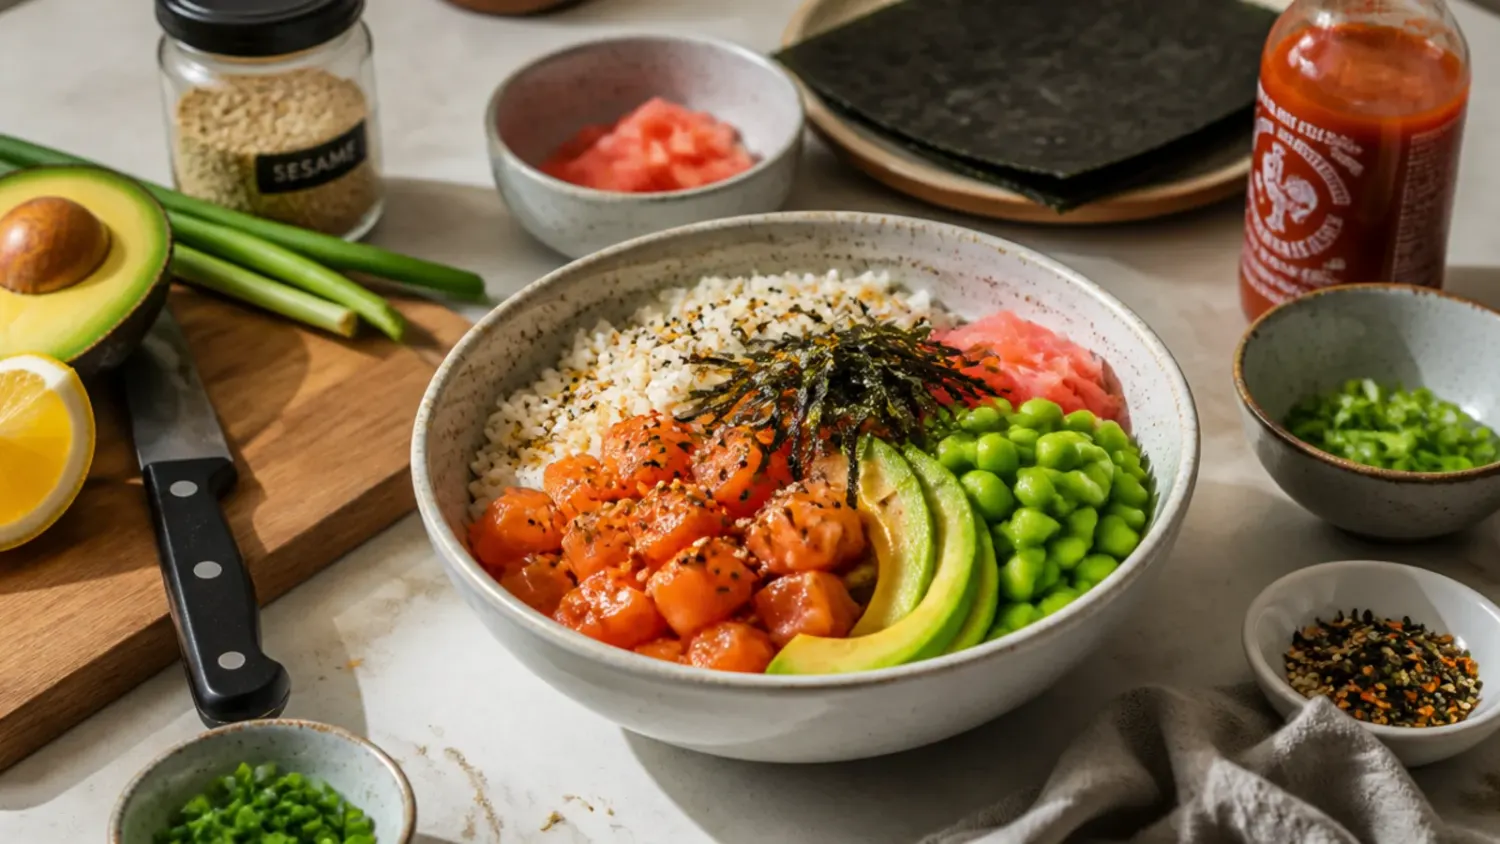
Start with the imitation crab version: the rice is the only real cooking, and each bowl works out at a fraction of the £10-plus a takeaway sushi box costs. Don't skip the nori strips and toasted sesame seeds — those two garnishes are most of what makes it taste like sushi instead of a rice salad. Mix the spicy mayo at 2 parts mayonnaise to 1 part sriracha, thinned with a teaspoon of water so it actually drizzles instead of sitting in a blob. Taste the seasoned rice before you assemble anything, because it's the one component you can't fix later. My first homemade sushi bowl took about 45 minutes start to finish; by the third round I had it down to 30, and it's now a regular Friday dinner.
The Recipe
The Recipe I Used
20 min
25 min
45 min
4
Beginner
Ingredients 4 Person(s)
Directions
Step 1: Rinse the Rice
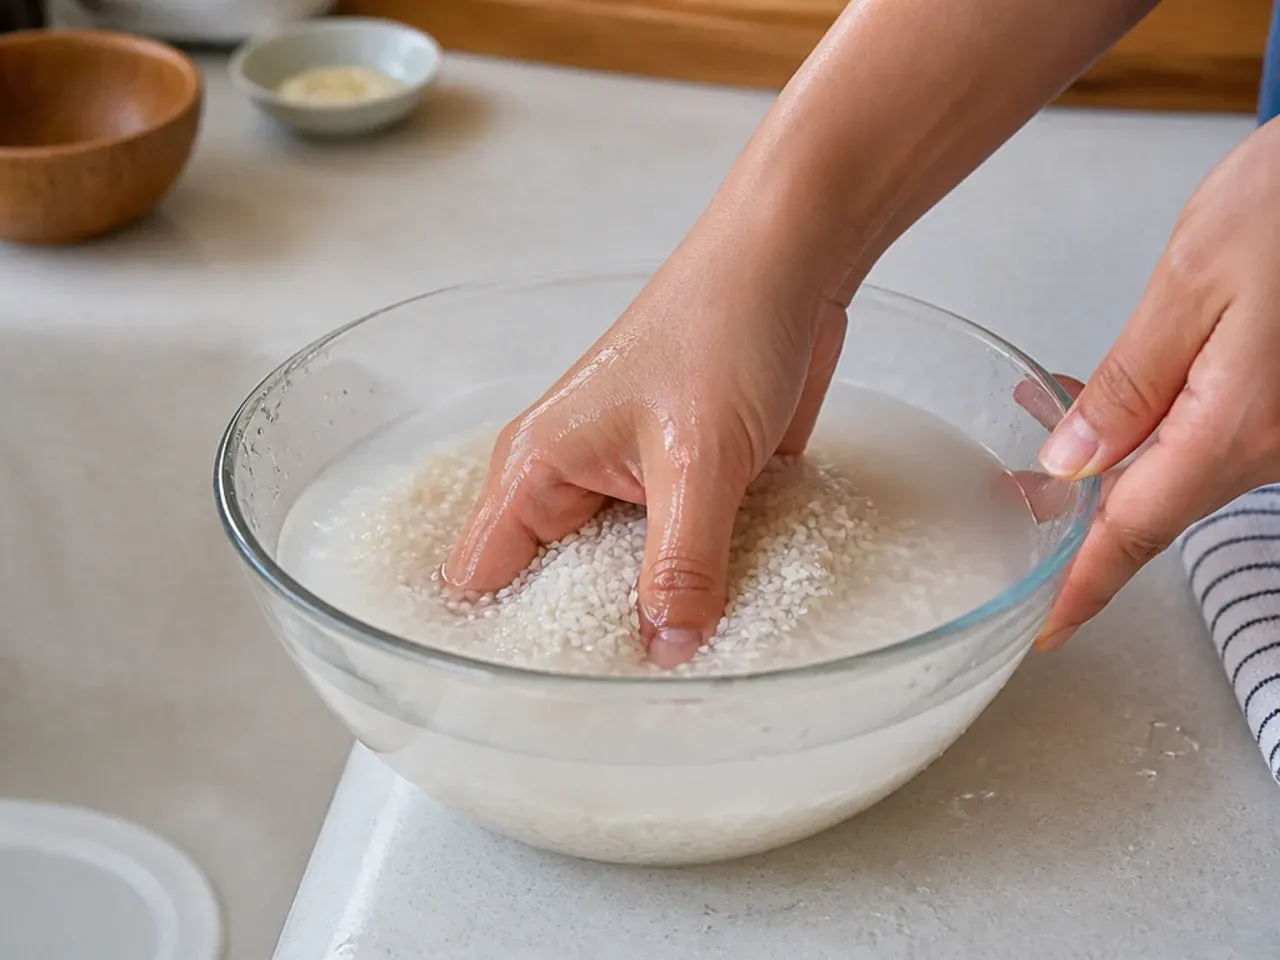
Put 400 g (2 cups) sushi rice in a large bowl and cover with cold water. Swish the grains with your hand, then carefully pour off the cloudy water. Repeat 4 to 5 times until the water runs nearly clear, then tip the rice into a fine sieve and let it drain thoroughly for a couple of minutes.
Step 2: Cook the Rice
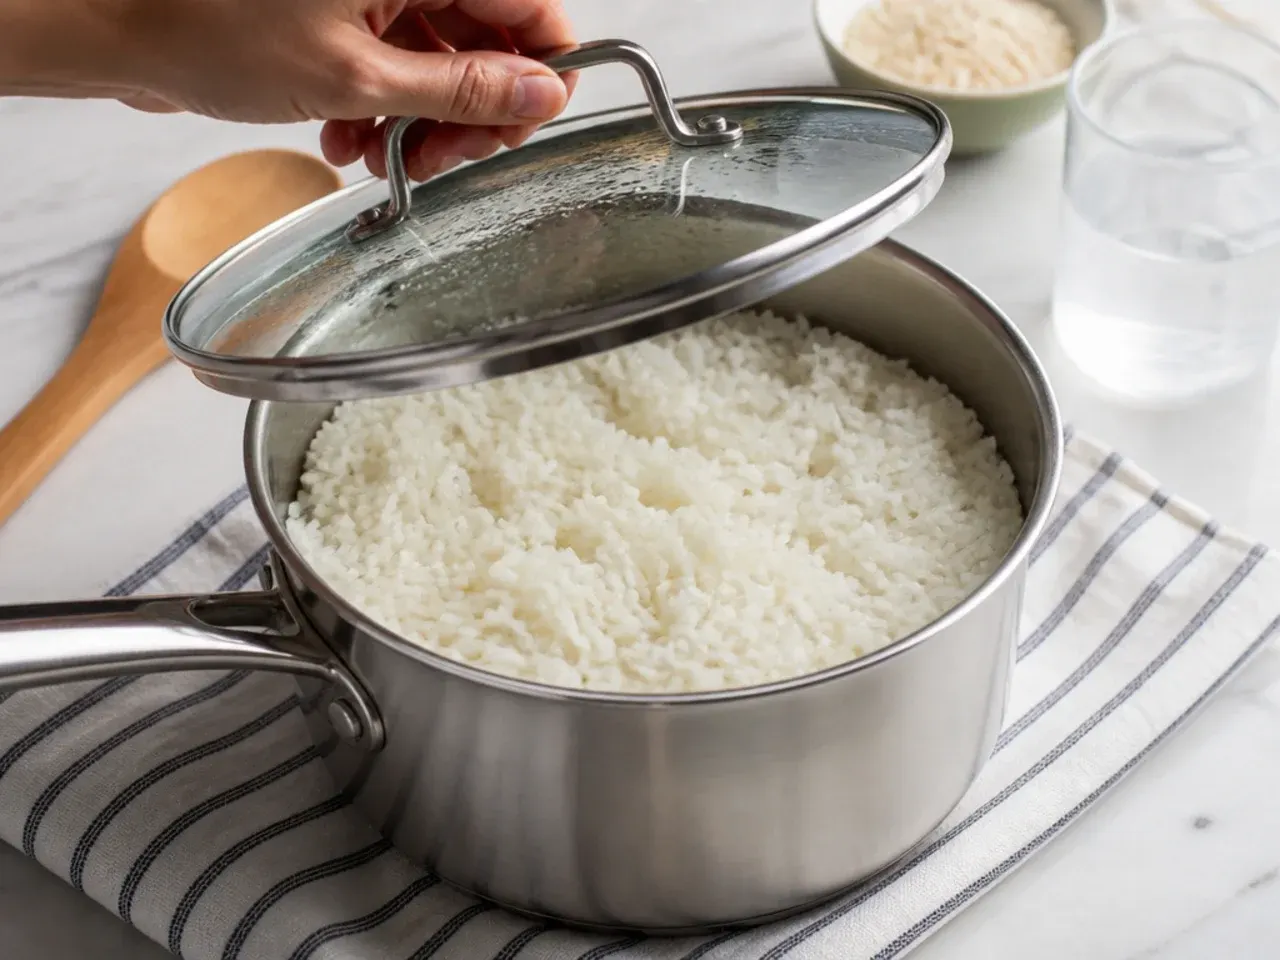
Combine the drained rice and 480 ml (2 cups) cold water in a medium saucepan with a tight-fitting lid. Bring to a boil over medium-high heat, then immediately reduce to the lowest heat, cover, and simmer for 13 minutes. Take the pan off the heat and let it rest, lid on and no peeking, for 10 more minutes so the grains finish steaming.
Step 3: Season and Cool the Rice
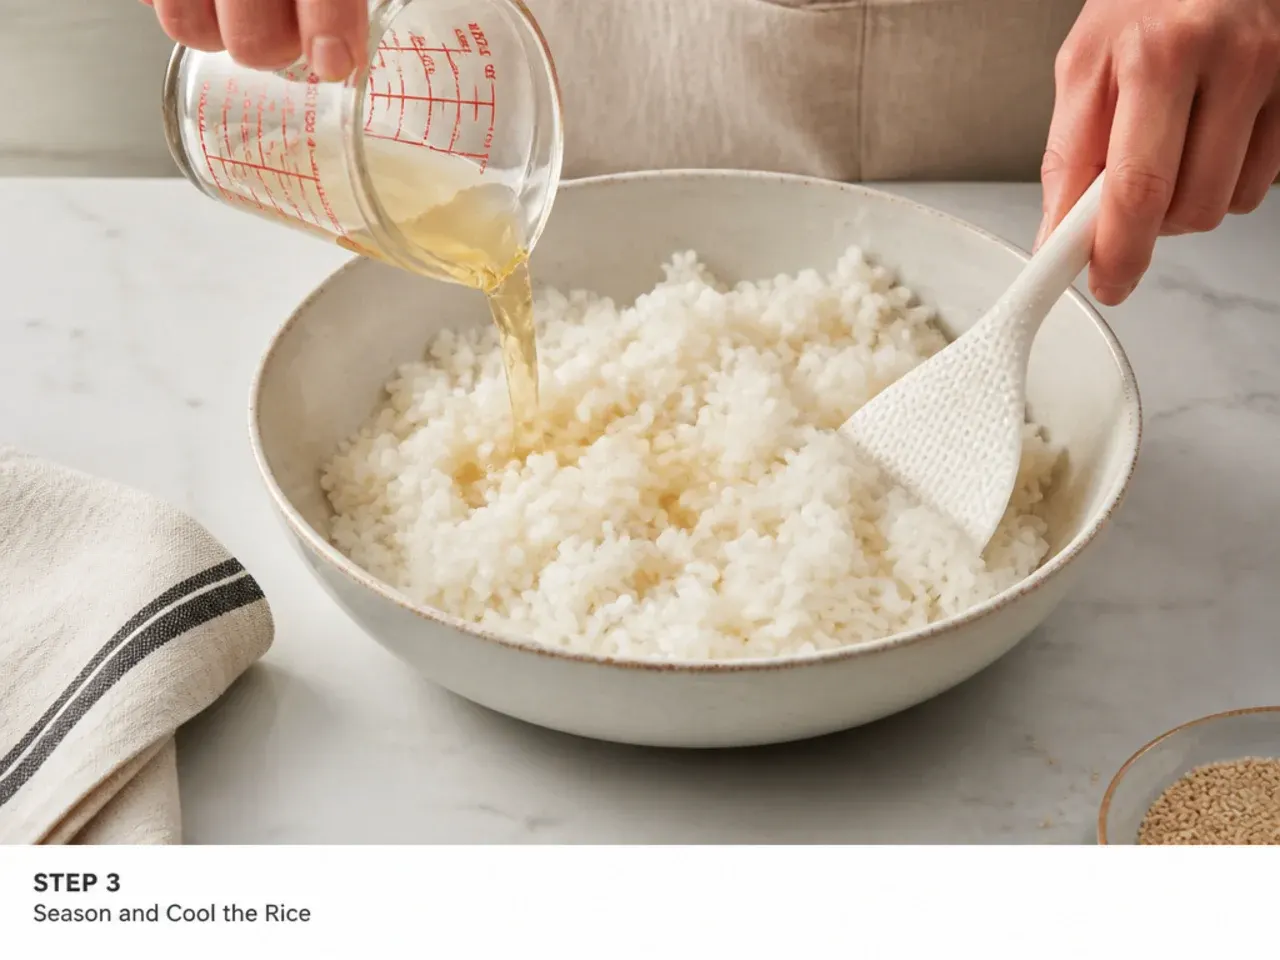
While the rice rests, stir 3 tbsp rice vinegar, 1½ tbsp sugar, and 1 tsp salt in a small bowl, then microwave for 20 seconds and stir until fully dissolved. Turn the hot rice out into a wide bowl or onto a baking tray, pour the seasoning over, and fold it through with a slicing motion — don't stir or mash. Spread the rice out and let it cool for 15 to 20 minutes until just warm.
Step 4: Sear the Salmon
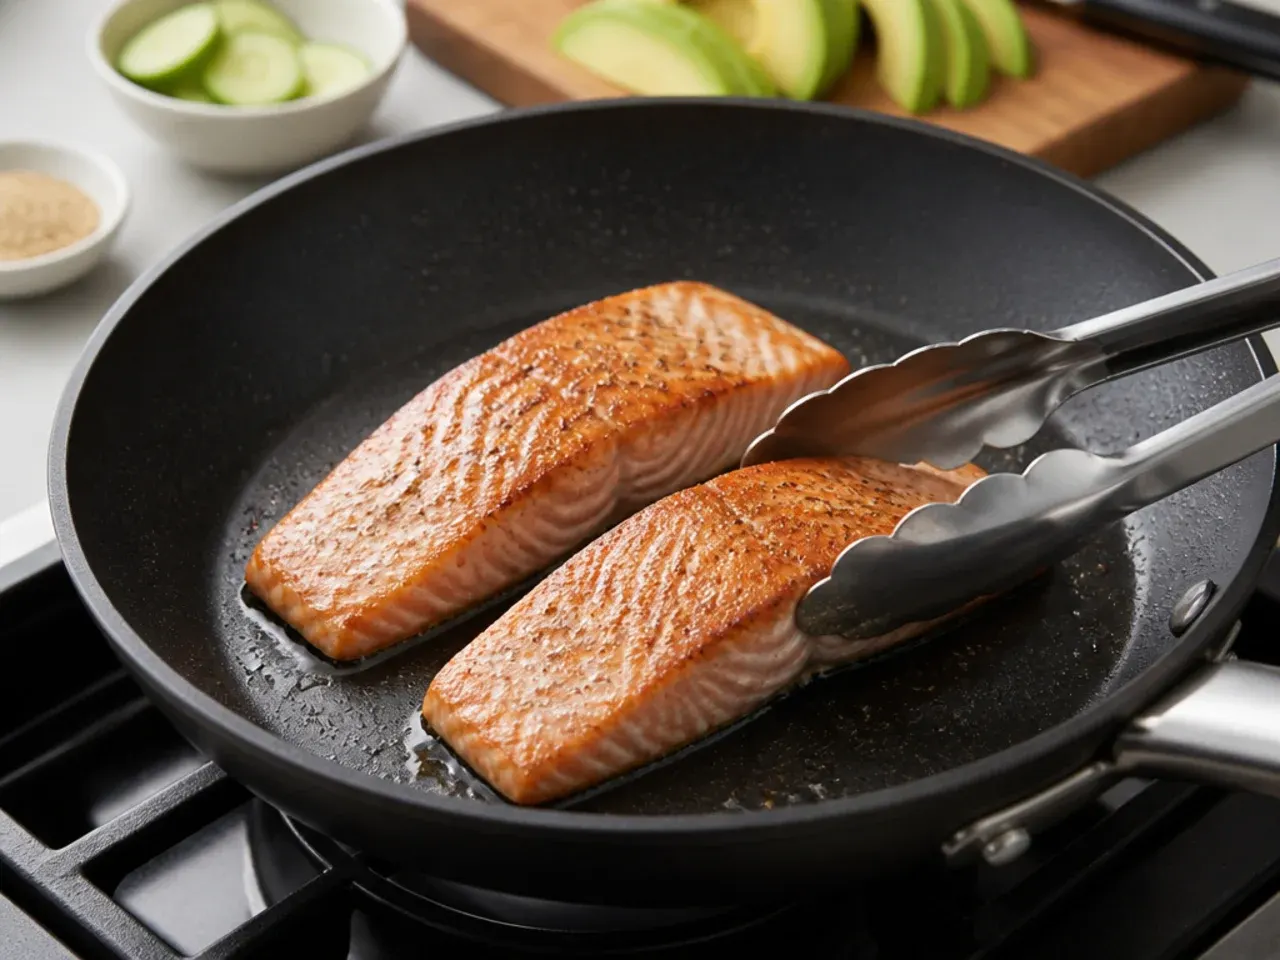
Pat the salmon dry and cut it into 2 cm (3/4 inch) cubes. Heat 1 tbsp neutral oil in a frying pan over medium-high heat, add the cubes, and sear for 2 to 3 minutes, turning once, until just cooked through and opaque. Add 1 tbsp soy sauce, toss for 30 seconds until glossy, and take off the heat. If you're using imitation crab instead, simply pull the sticks into shreds — no cooking needed.
Step 5: Mix the Spicy Mayo
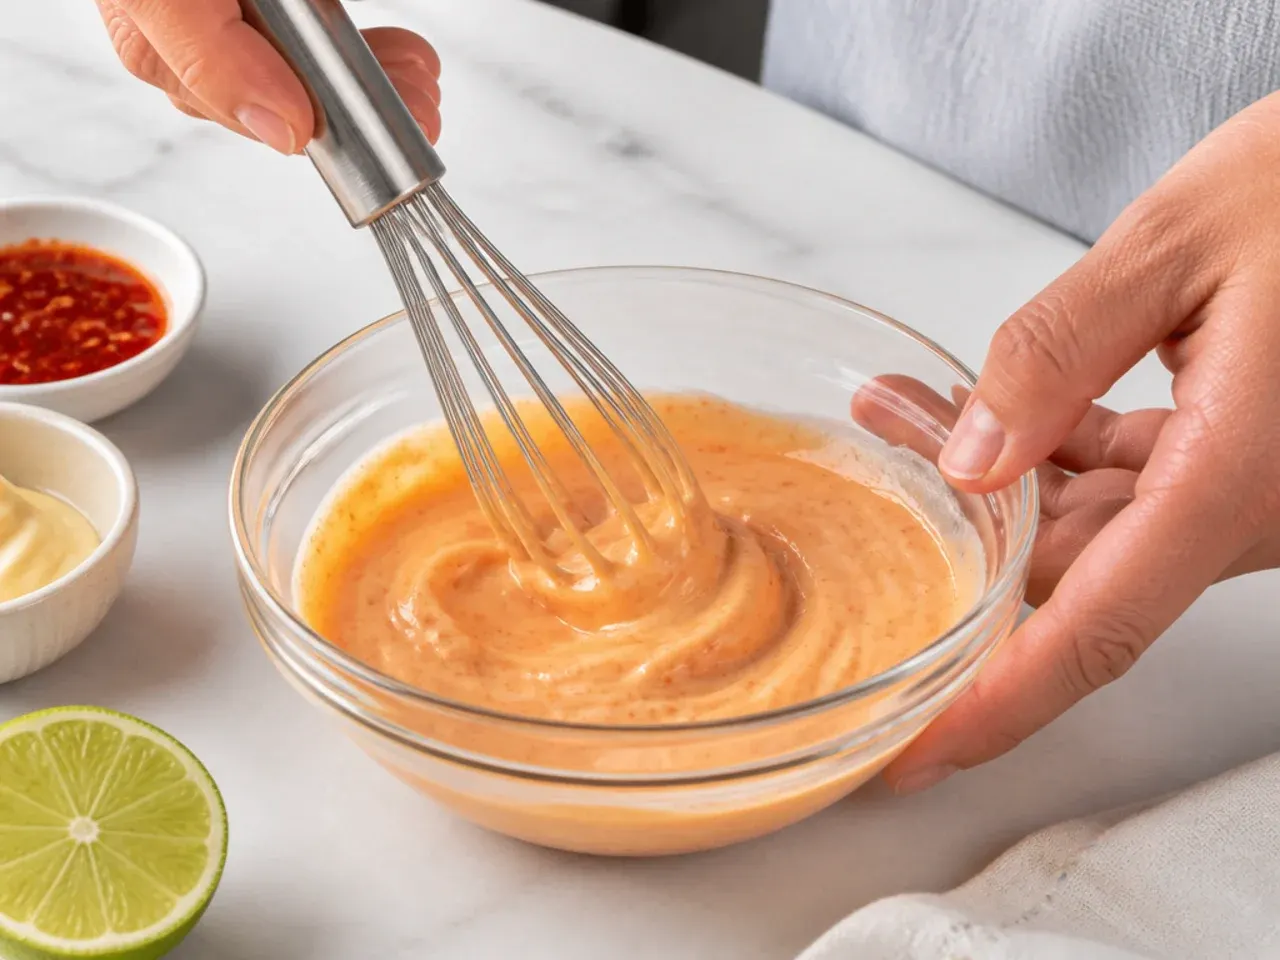
Stir 4 tbsp mayonnaise with 2 tbsp sriracha and 1 tsp water in a small bowl until smooth and pourable. If you like it milder, start with 1 tbsp sriracha and taste. Spoon it into a small sandwich bag and snip a tiny corner off for a neat drizzle, or just use a teaspoon.
Step 6: Prep the Toppings
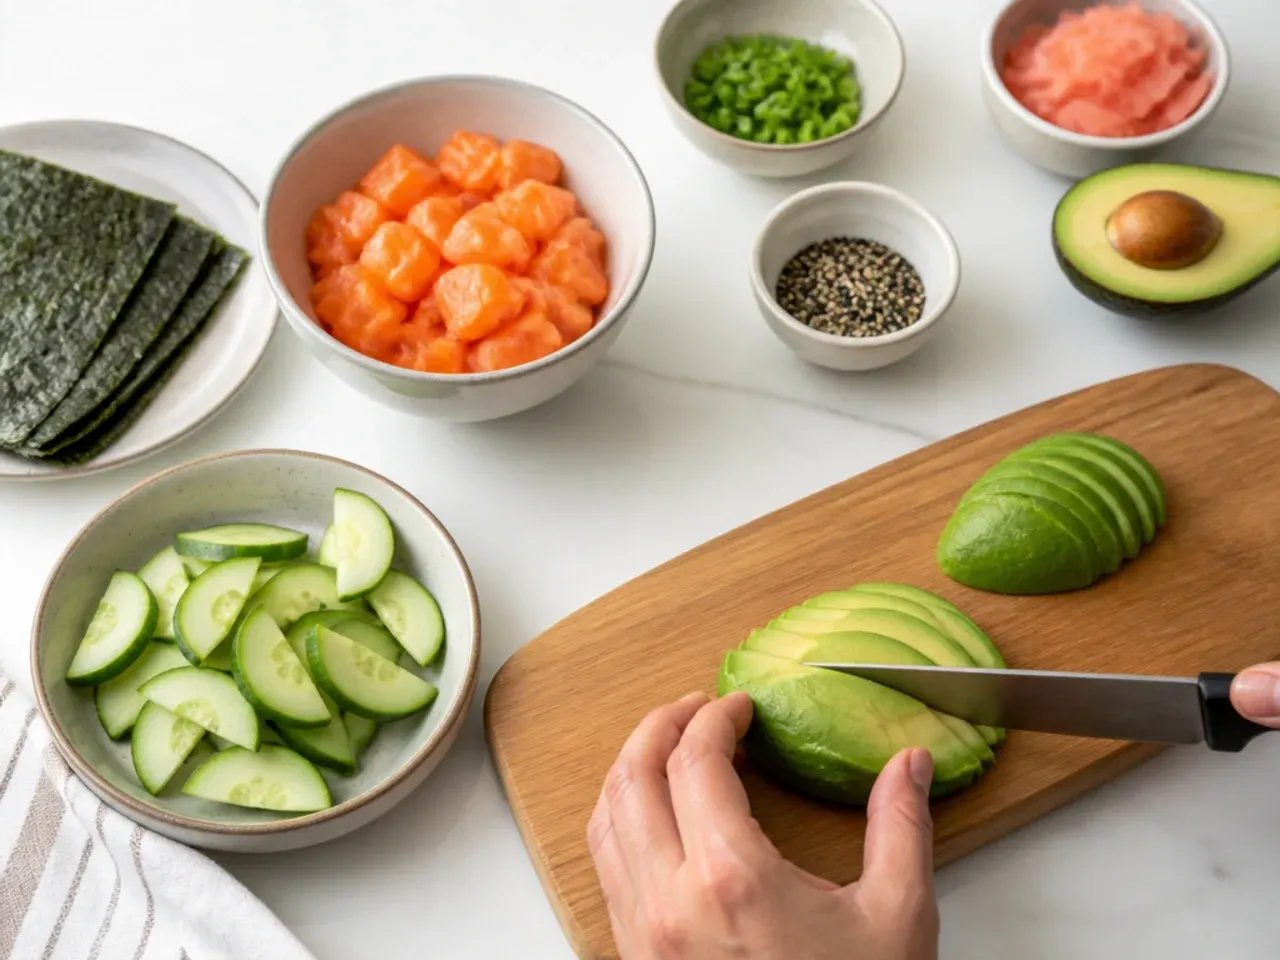
Thinly slice the cucumber into half-moons, run a vegetable peeler along the carrot to make ribbons, and slice the avocado just before serving so it doesn't brown. Snip the nori sheets into thin strips with kitchen scissors and set everything out so assembly is quick.
Step 7: Assemble the Bowls
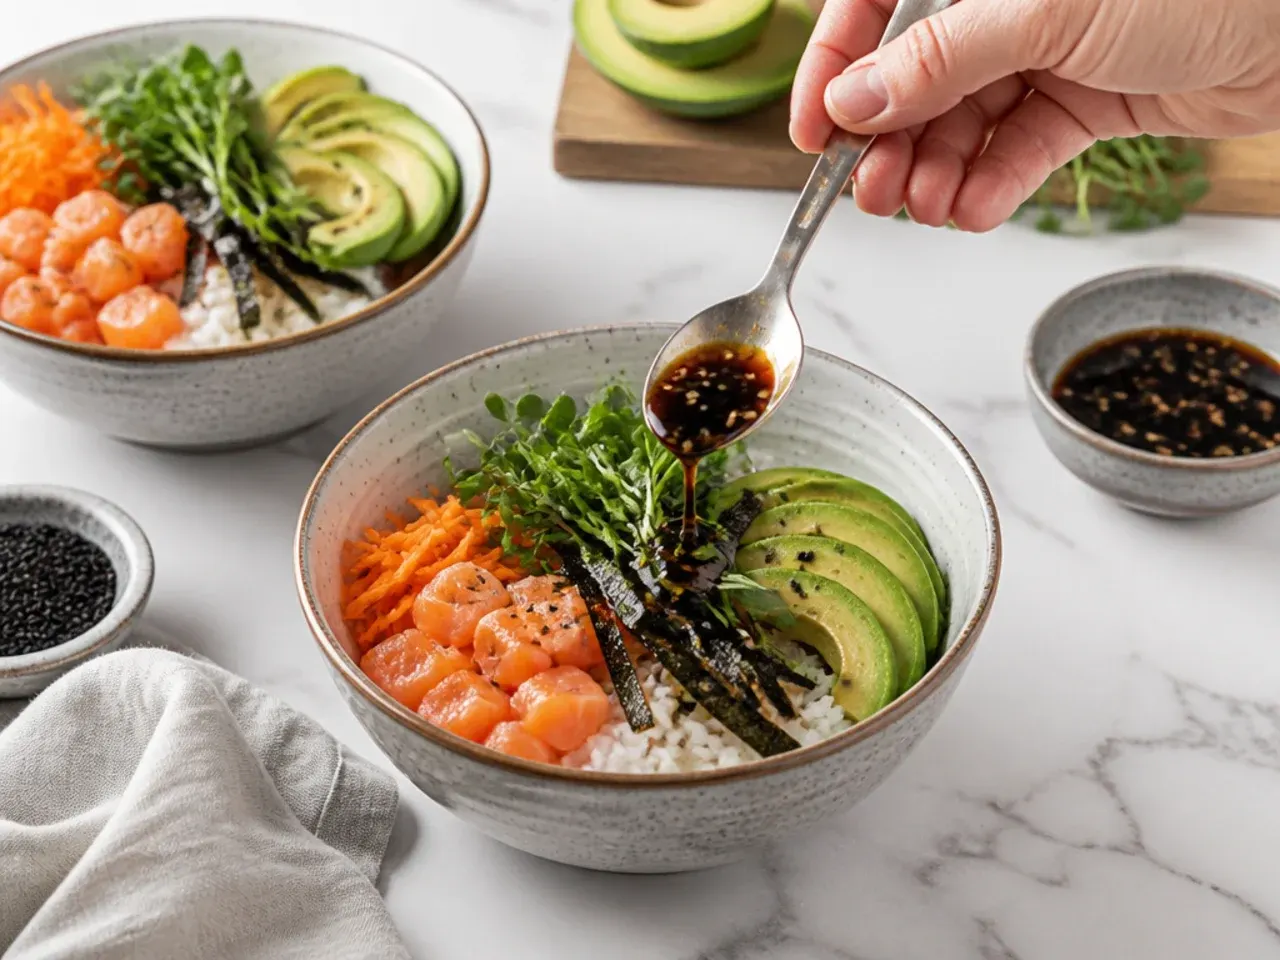
Divide the just-warm rice between 4 bowls, about 1 heaped cup each. Arrange the salmon, cucumber, carrot, and avocado in neat sections on top, drizzle generously with the spicy mayo, and finish with the nori strips and a pinch of toasted sesame seeds. Serve straight away with extra soy sauce and pickled ginger on the side.
Frequently Asked Questions
No — cooked proteins like seared salmon, prawns, or imitation crab are the easiest and safest choices, and they're what this recipe uses. If you want raw fish, it must be labelled sushi-grade or sashimi-grade, meaning it has been commercially frozen to kill parasites; regular supermarket salmon is not safe to eat raw. Buy it the day you plan to eat it and keep it at 4°C (40°F) or below until serving.
Save this for later 📌
Pin this article to your Pinterest board so the full list is one tap away when you need it.
Save on Pinterest