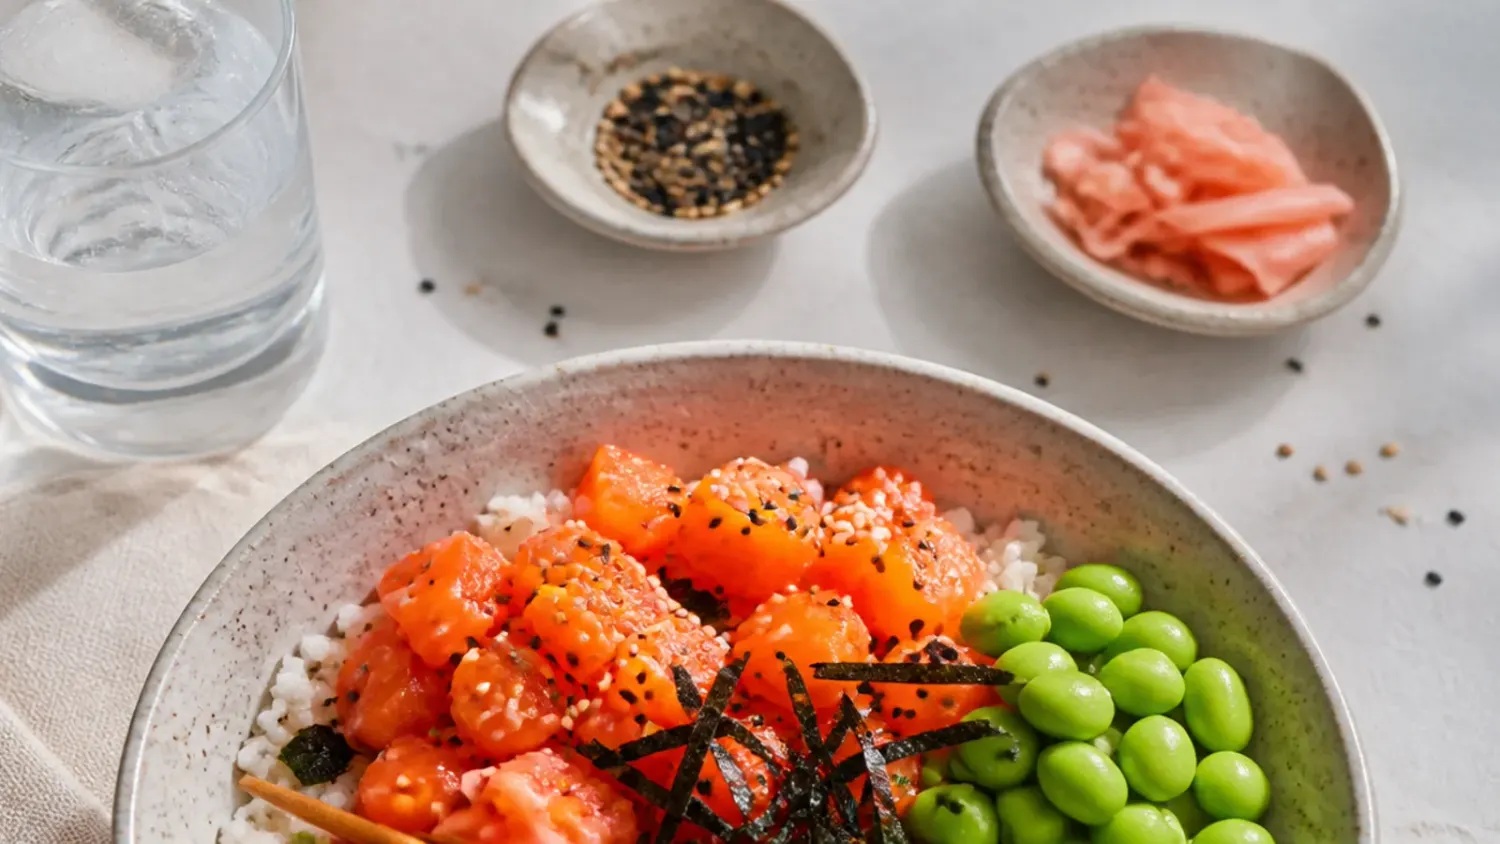
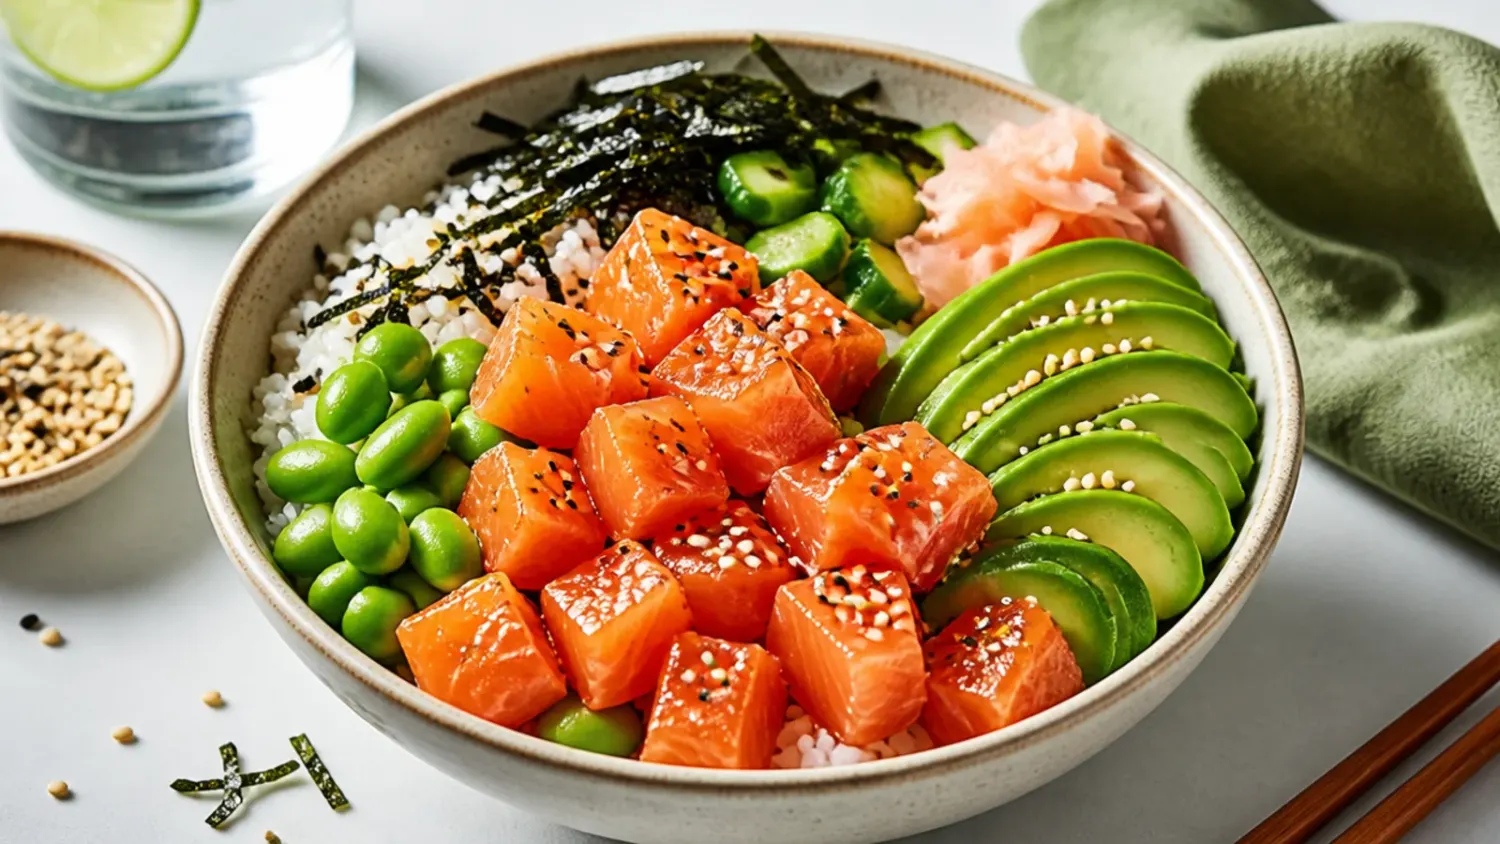
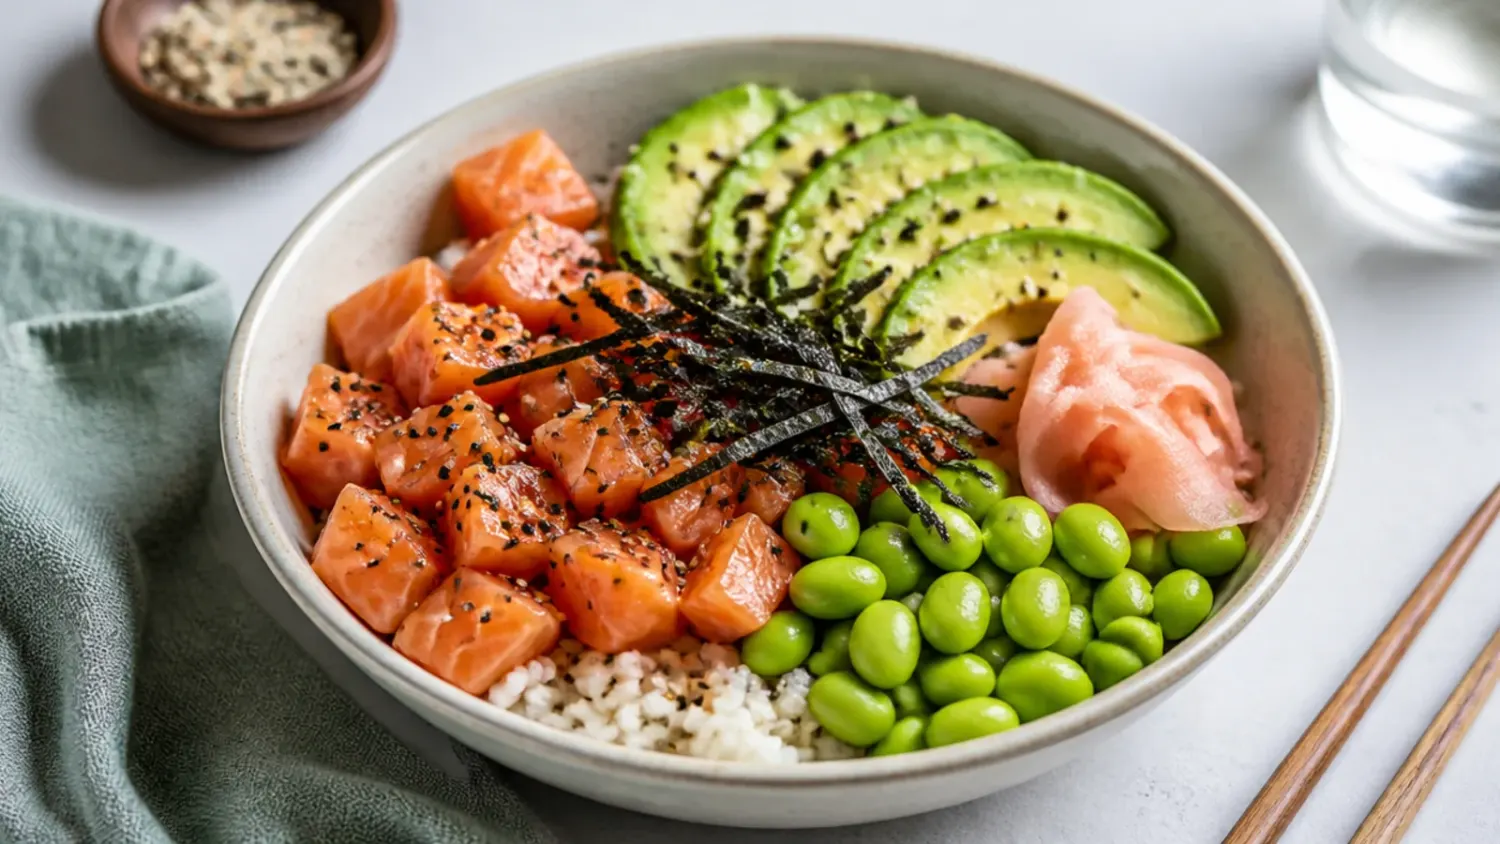
3 Sushi Bowls vs Sushi Rolls Compared
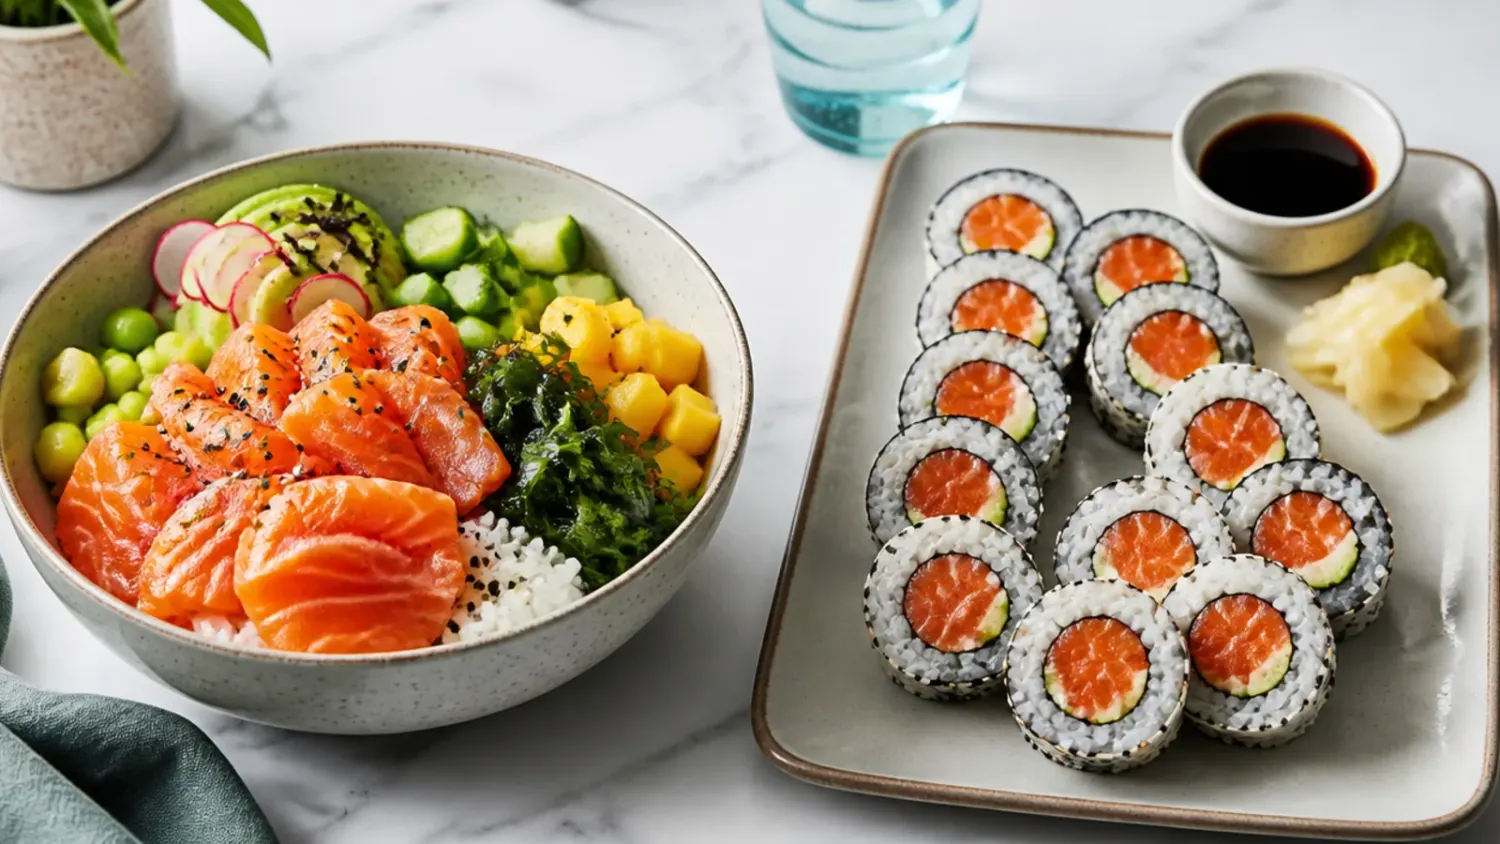
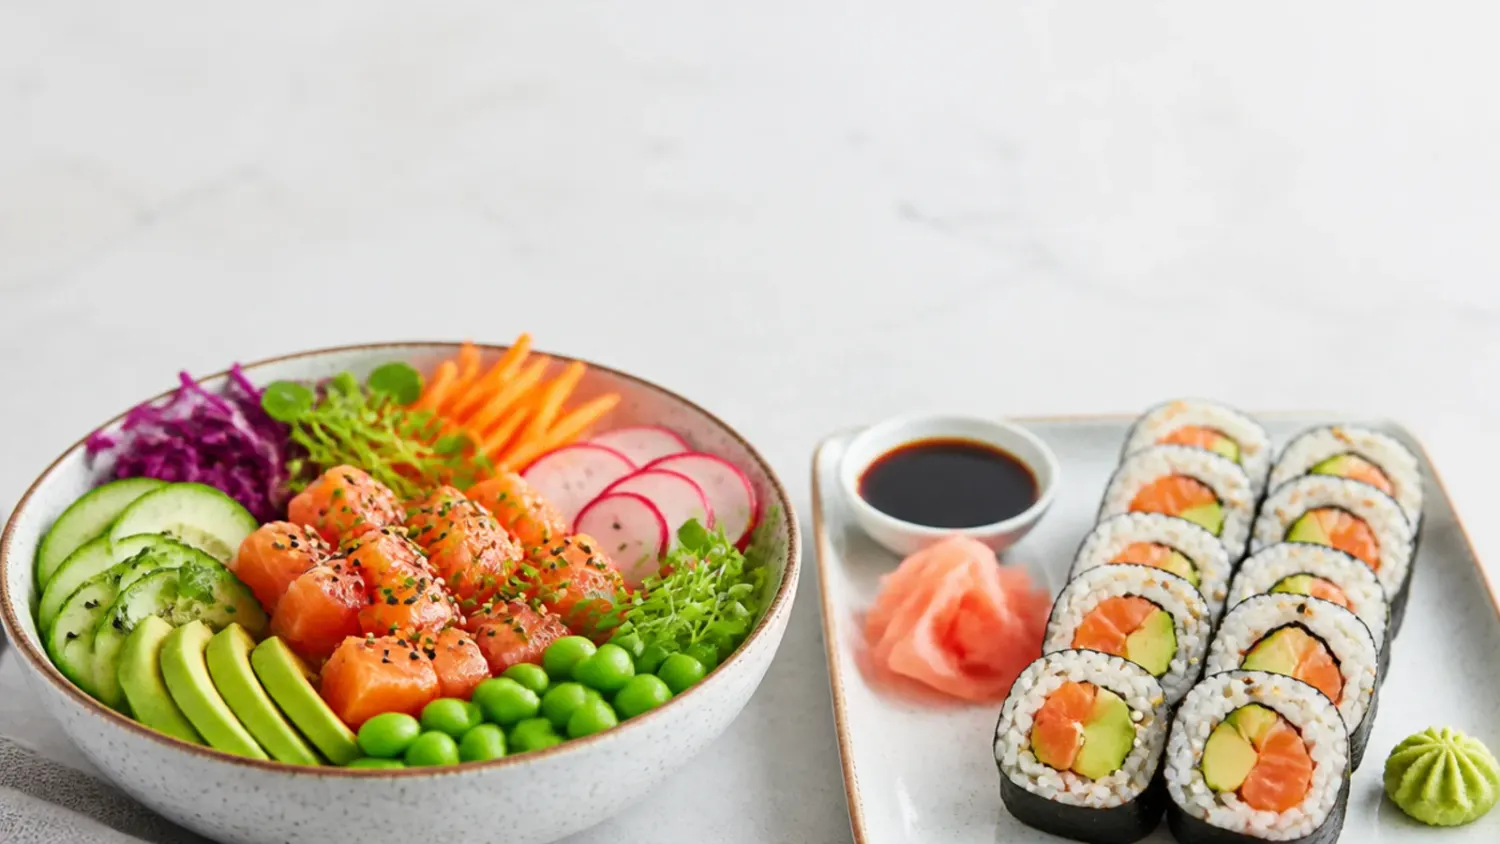
Sushi bowl vs sushi roll: which is faster, cheaper and tastier at home? We compare cost, taste, effort and the best pick for every situation. If you love sushi bowl inspiration, start with our Sushi Bowl Recipes collection, then browse the full Dinner Recipes hub for more.
Save this for later 📌
Pin this article to your Pinterest board so the full list is one tap away when you need it.
Save on PinterestDinner Recipes
Beginner
Comparison
3 compared
Table of Contents
Option 1: The Sushi Bowl (Chirashi-Style)
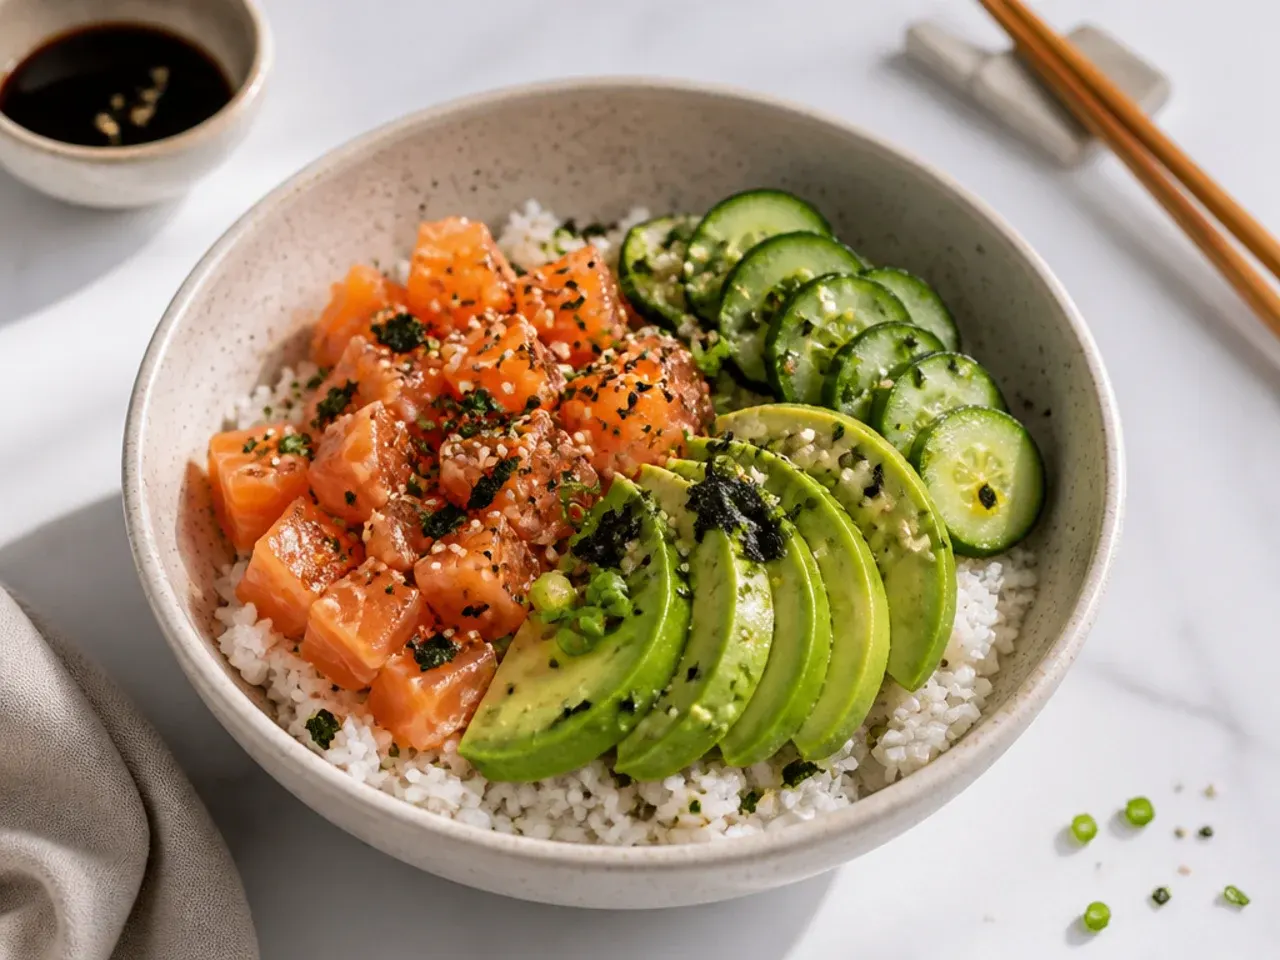
A sushi bowl is deconstructed sushi: seasoned rice in the base with all the toppings scattered on top, no nori wrapping and no rolling. In Japan this style is called chirashi, meaning scattered sushi, and it delivers the exact same flavours as a roll with zero technique required. To build one, spread about 1 cup of warm seasoned sushi rice in a wide bowl, then arrange sliced salmon or imitation crab, diced cucumber, shredded carrot, avocado fans and strips of nori around the top like clock positions. Finish with sesame seeds, pickled ginger and a drizzle of sriracha mayo (4 Tbsp mayo to 2 Tbsp sriracha). This is the option we recommend for most home cooks and the recipe below is built around it, because it is forgiving, endlessly customisable and ready in around 40 minutes.
Option 2: The Sushi Roll (Maki)
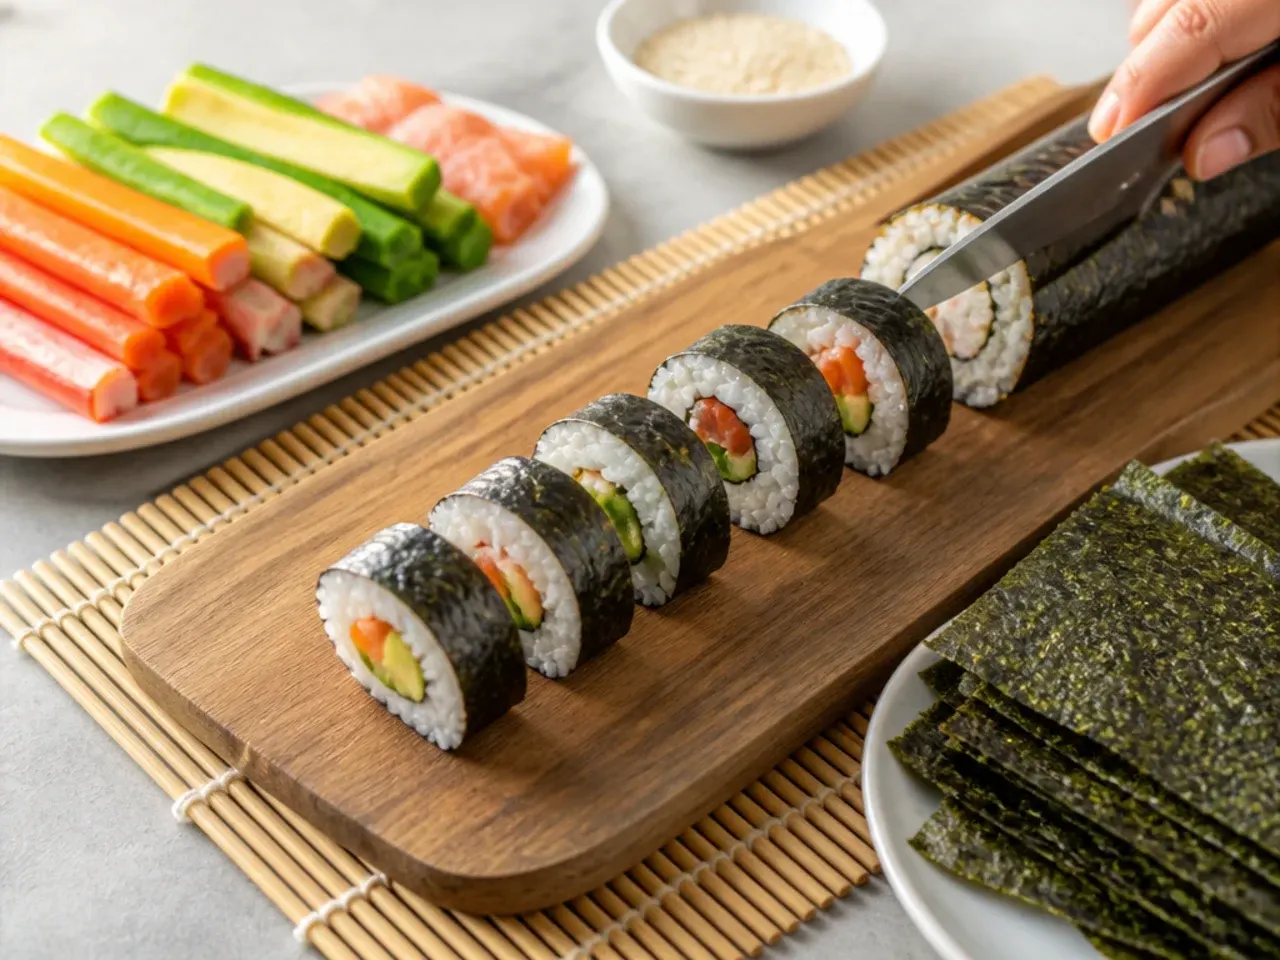
A sushi roll, or maki, wraps the same rice and fillings inside a sheet of nori using a bamboo mat, then gets sliced into bite-size pieces. It looks impressive and travels well in a lunchbox, but it demands practice: the rice has to be spread thin and even, the fillings kept to one or two items, and the roll compressed firmly without tearing the nori. Lay the nori rough-side up on a mat lined with cling film, spread a thin layer of rice leaving a 2 cm border at the top, add your filling in a line, then lift the mat and roll away from you, tucking firmly as you go. Wet your knife between every cut and slice with a single pull for clean 2 cm rounds. The reward is restaurant-style presentation, but expect your first few rolls to look rustic, and they still taste great.
Cost Comparison
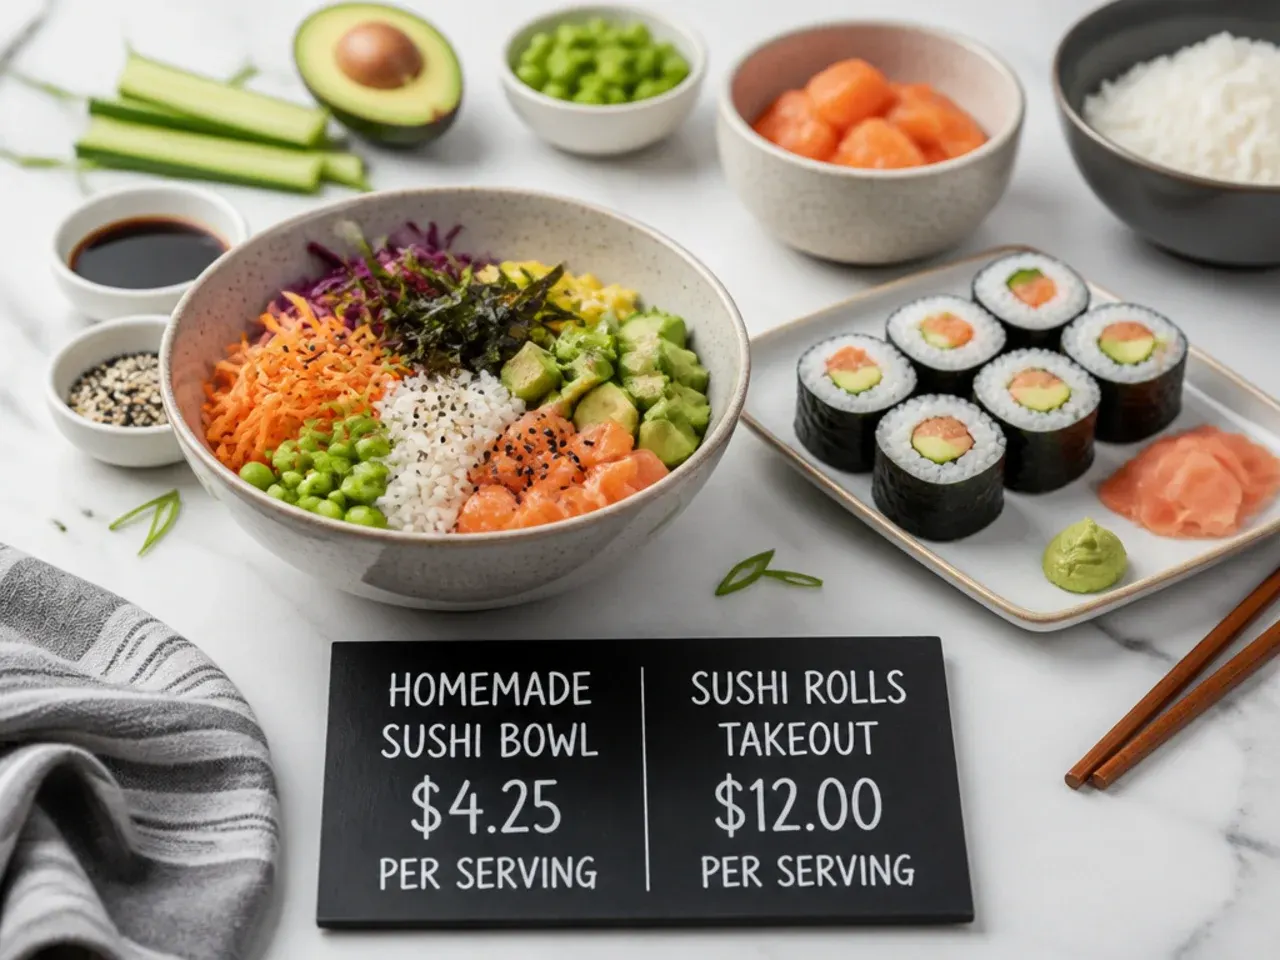
Both dishes use nearly identical ingredients, so the raw grocery cost is almost the same: a batch serving four runs roughly £7 to £9 total, or about £1.75 to £2.25 per serving, versus £8 to £14 for a single roll at a restaurant. The bowl edges ahead on value because you skip nori sheets on some builds and waste nothing on torn wrappers or squashed ends. A pack of nori for rolling costs about £2 to £3 and you will use several sheets per person, while bowls need only a sheet or two cut into strips. If you buy sushi-grade salmon (around £5 for 225 g), that single ingredient dominates the cost of either dish; swap in imitation crab (about £3) or cooked prawns to cut the price roughly in half. Verdict: the sushi bowl is marginally cheaper and produces less waste.
Taste and Texture
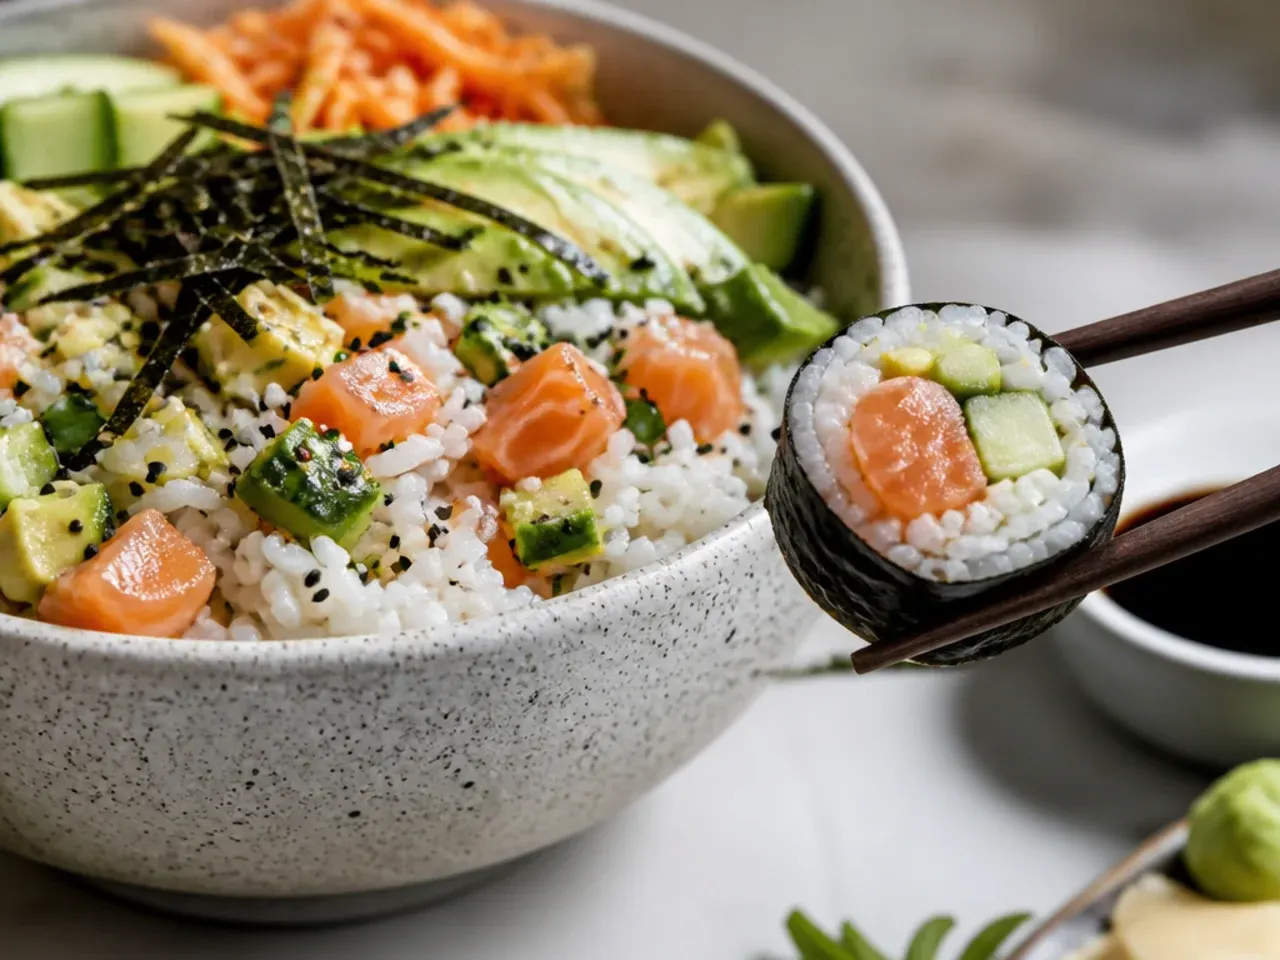
Flavour-wise the two are near-identical because the seasoned rice, fish and toppings are the same, but the eating experience differs. A roll gives you a tidy, balanced bite every time, with the nori adding a savoury, slightly crisp seaweed note that wraps everything into one mouthful. A bowl lets you control each bite, so you can load up on avocado one spoonful and go heavy on salmon the next, and the rice stays looser and fluffier rather than compressed. Rolls firm up as they sit and can turn chewy, while bowls keep every element at its freshest, with the cucumber crunchier and the avocado creamier. If you love the seaweed flavour, sprinkle torn nori or furikake over your bowl to bridge the gap.
Time and Effort
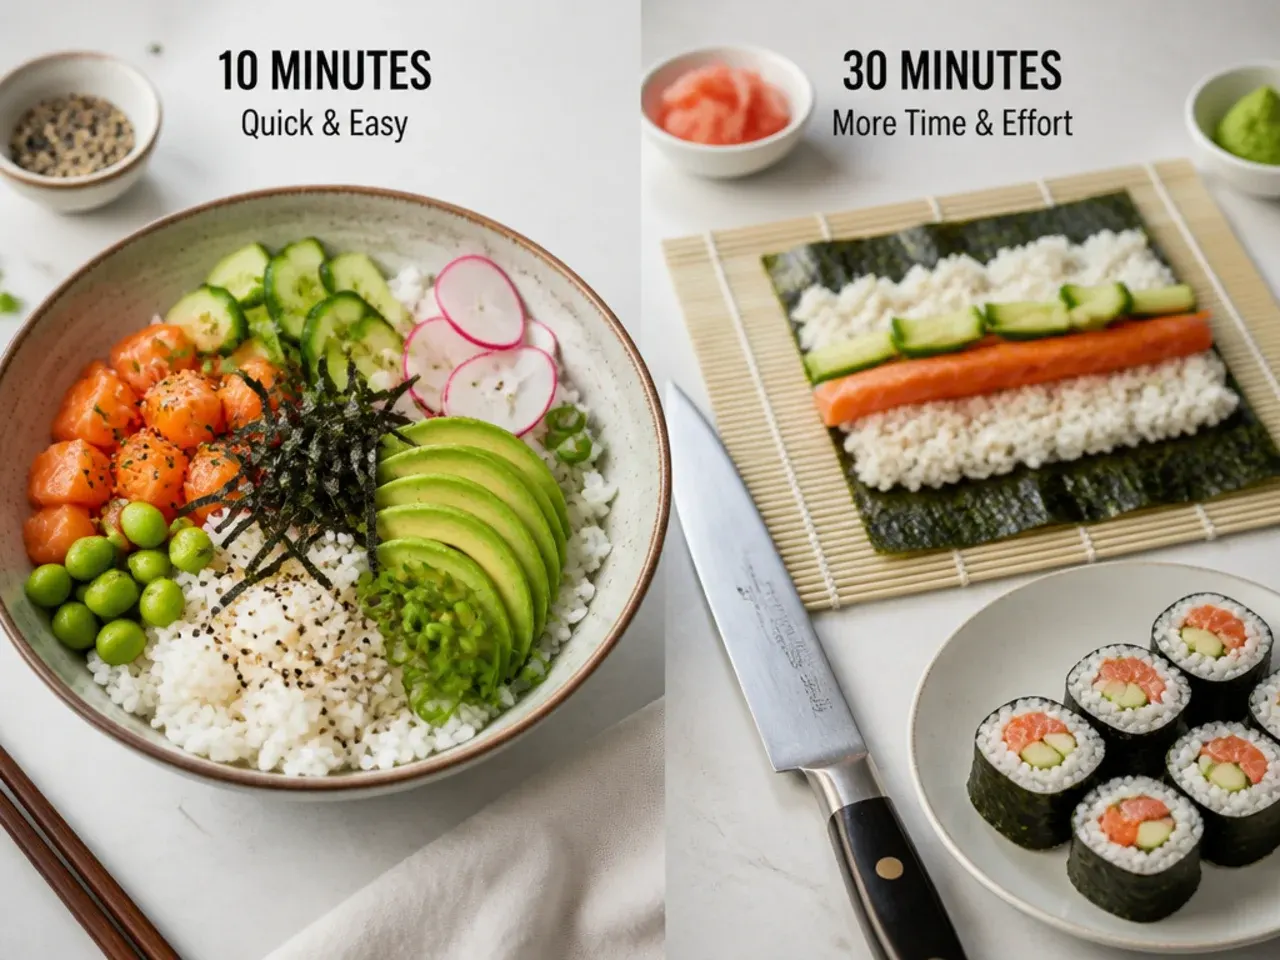
This is where the two options truly separate. A sushi bowl takes about 40 minutes start to finish, and only 10 to 15 minutes of that is hands-on once the rice is cooking, since assembly is just slicing and scattering. A batch of rolls takes the same rice but adds 30 to 45 minutes of rolling, and there is a real learning curve, so a beginner's first session can stretch past an hour. Rolls also need specific gear: a bamboo mat, cling film and a very sharp knife wiped clean between cuts. Bowls need nothing more than a bowl and a spoon. For a weeknight dinner or feeding a crowd who each want something different, the bowl wins on speed and simplicity; rolls are a weekend project.
Best Choice by Situation
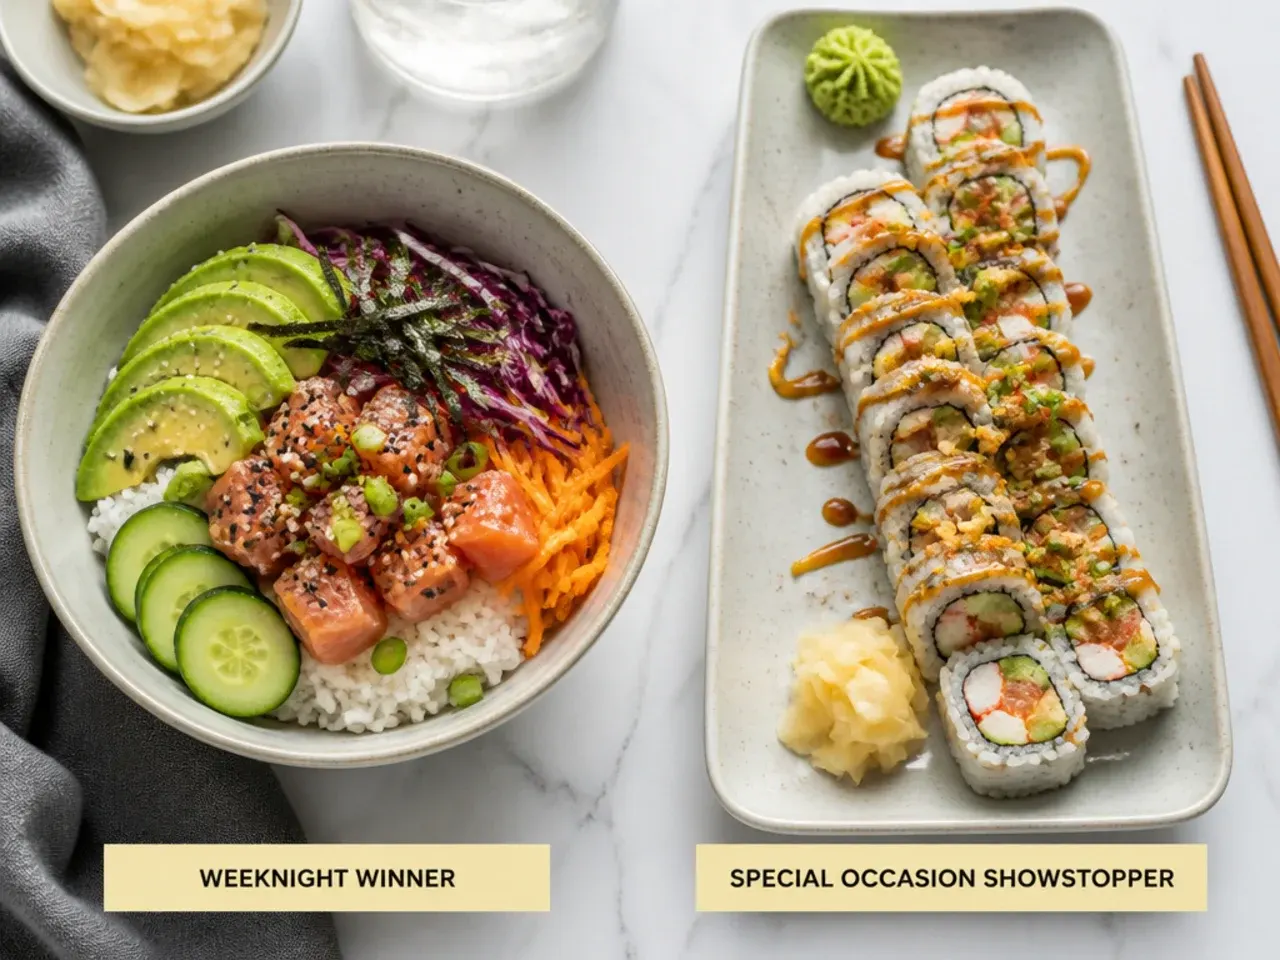
Choose the sushi bowl for weeknight dinners, meal prep, feeding picky eaters, or any time you want sushi flavours in 40 minutes with no stress; it is also the safer pick if you are new to handling raw fish, because you can lean on cooked salmon, prawns or imitation crab. Choose the sushi roll when presentation matters, such as a dinner party or a packed lunch that needs to hold together, or when you actively enjoy the meditative process of rolling and want to build the skill. Nutritionally they are close, but a bowl is easier to lighten by piling on vegetables and cutting the rice, whereas each roll packs up to a cup of sweetened rice. Our honest recommendation: start with the bowl to nail your seasoned rice, then graduate to rolls once that base is second nature.
The Recipe
The Recipe We Recommend
20 min
20 min
40 min
4
Beginner
Ingredients 4 Person(s)
Directions
Step 1: Rinse the rice
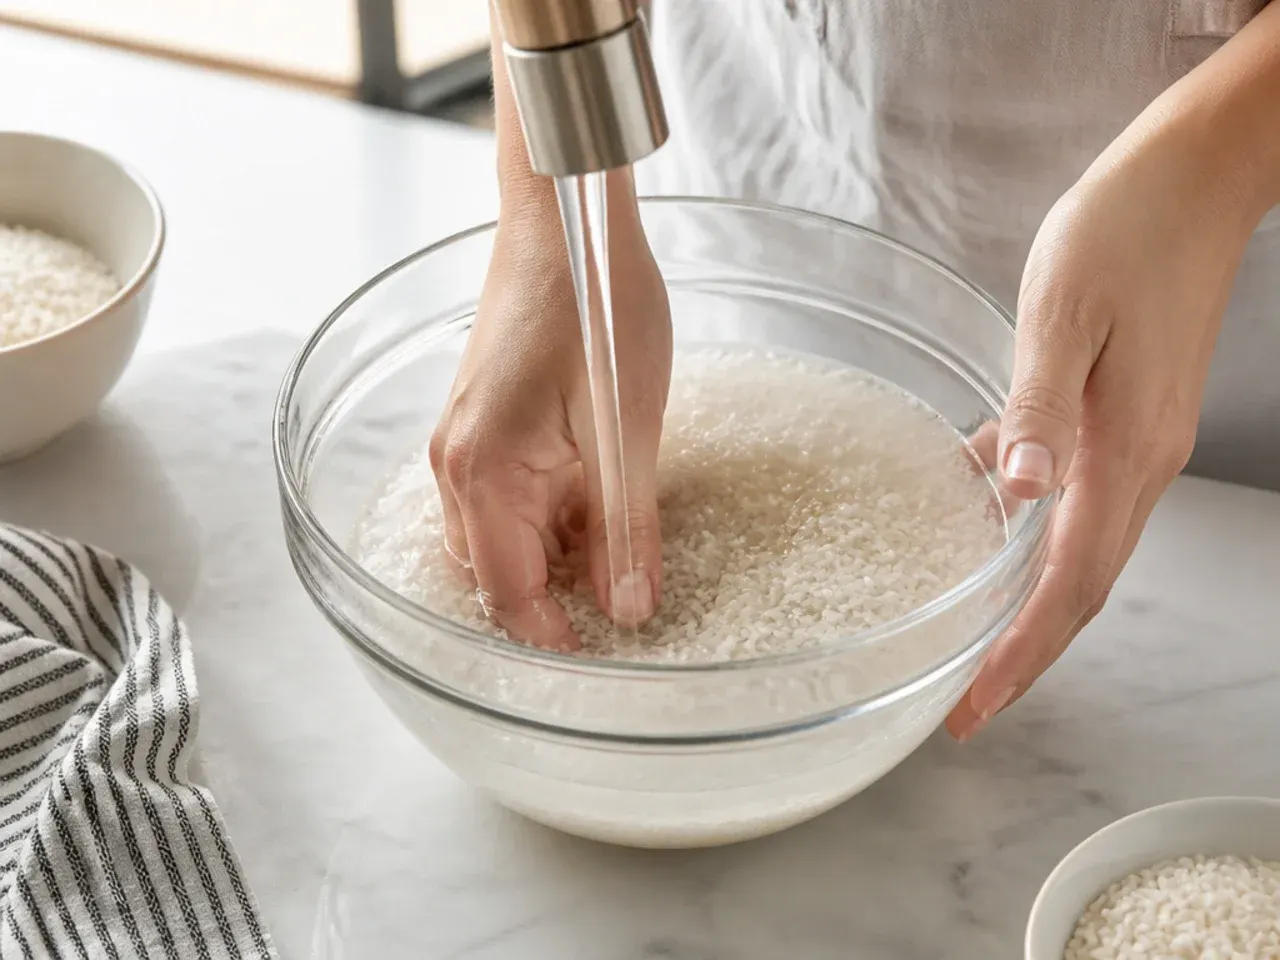
Put the 2 cups of rice in a bowl or sieve and rinse under cold water, gently swishing with your fingers and pouring off the cloudy water, until the water runs almost clear (about 3 to 4 changes of water). This removes surface starch so the cooked rice is fluffy and glossy rather than gluey. Drain thoroughly in a fine-mesh sieve.
Step 2: Cook the rice
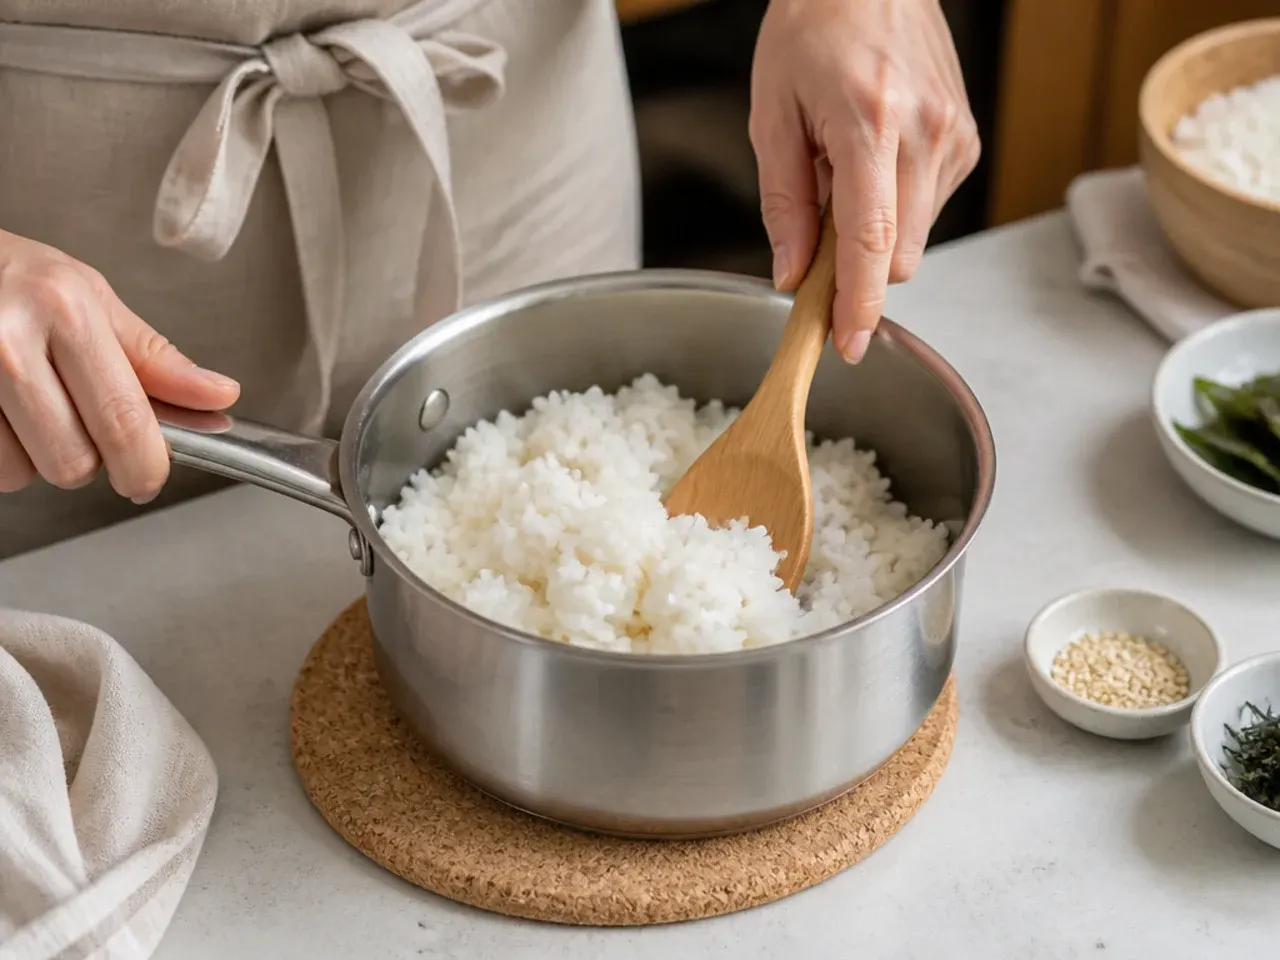
Add the drained rice and 2 cups of cold water to a saucepan (a 1:1 ratio, less water than usual because the vinegar adds moisture later). Bring to a boil over high heat uncovered, then immediately reduce to the lowest heat, cover with a tight lid and simmer for 15 minutes. Do not lift the lid while it cooks.
Step 3: Rest the rice
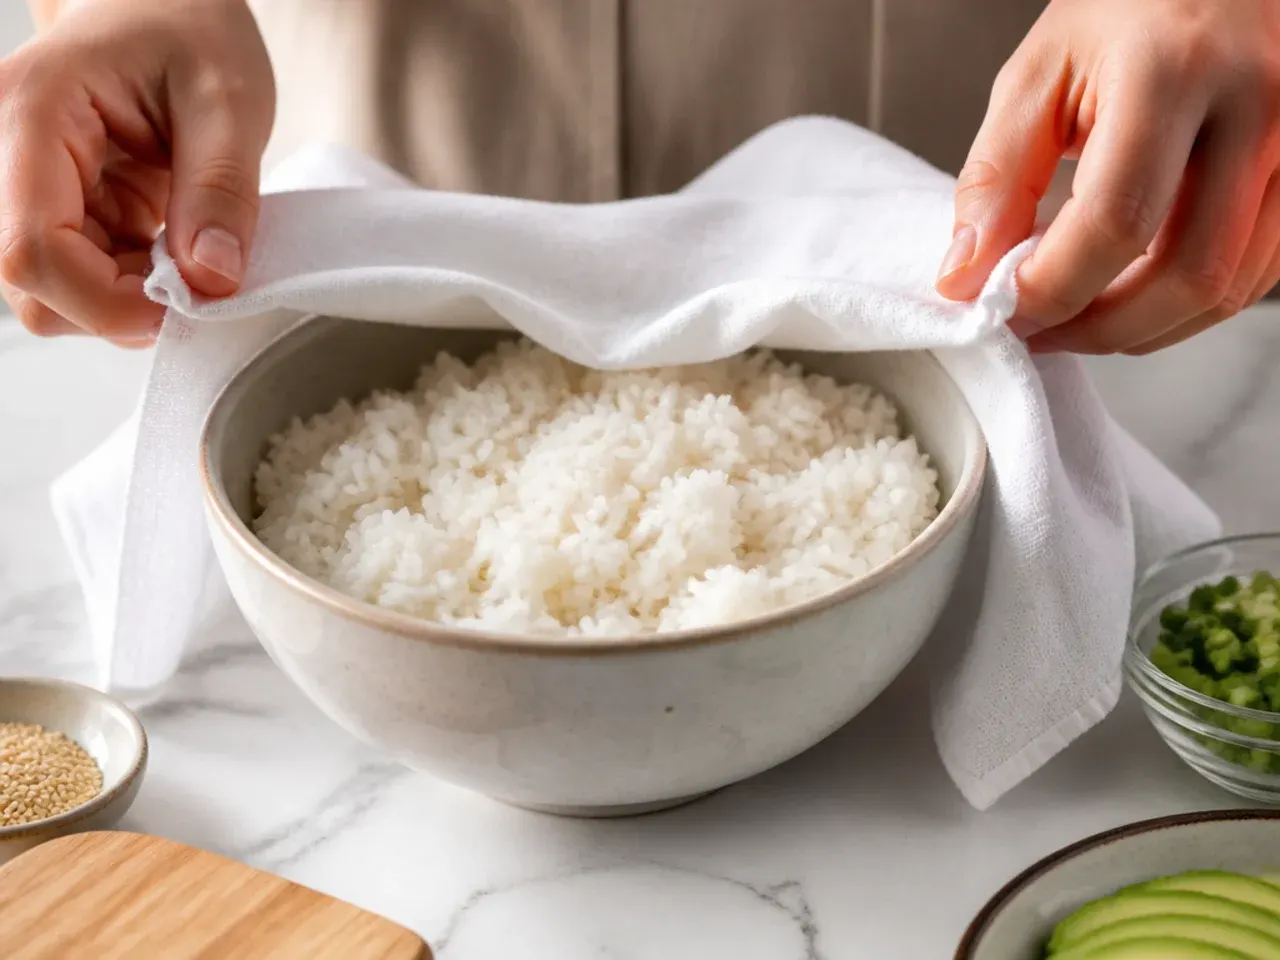
Turn off the heat and leave the pan covered, undisturbed, for 10 minutes so the steam finishes the grains and they firm up. Meanwhile, make the seasoning: stir the 3 Tbsp rice vinegar, 2 Tbsp sugar and 1 tsp salt in a small bowl (microwave for 15 to 20 seconds if needed) until the sugar fully dissolves.
Step 4: Season the rice
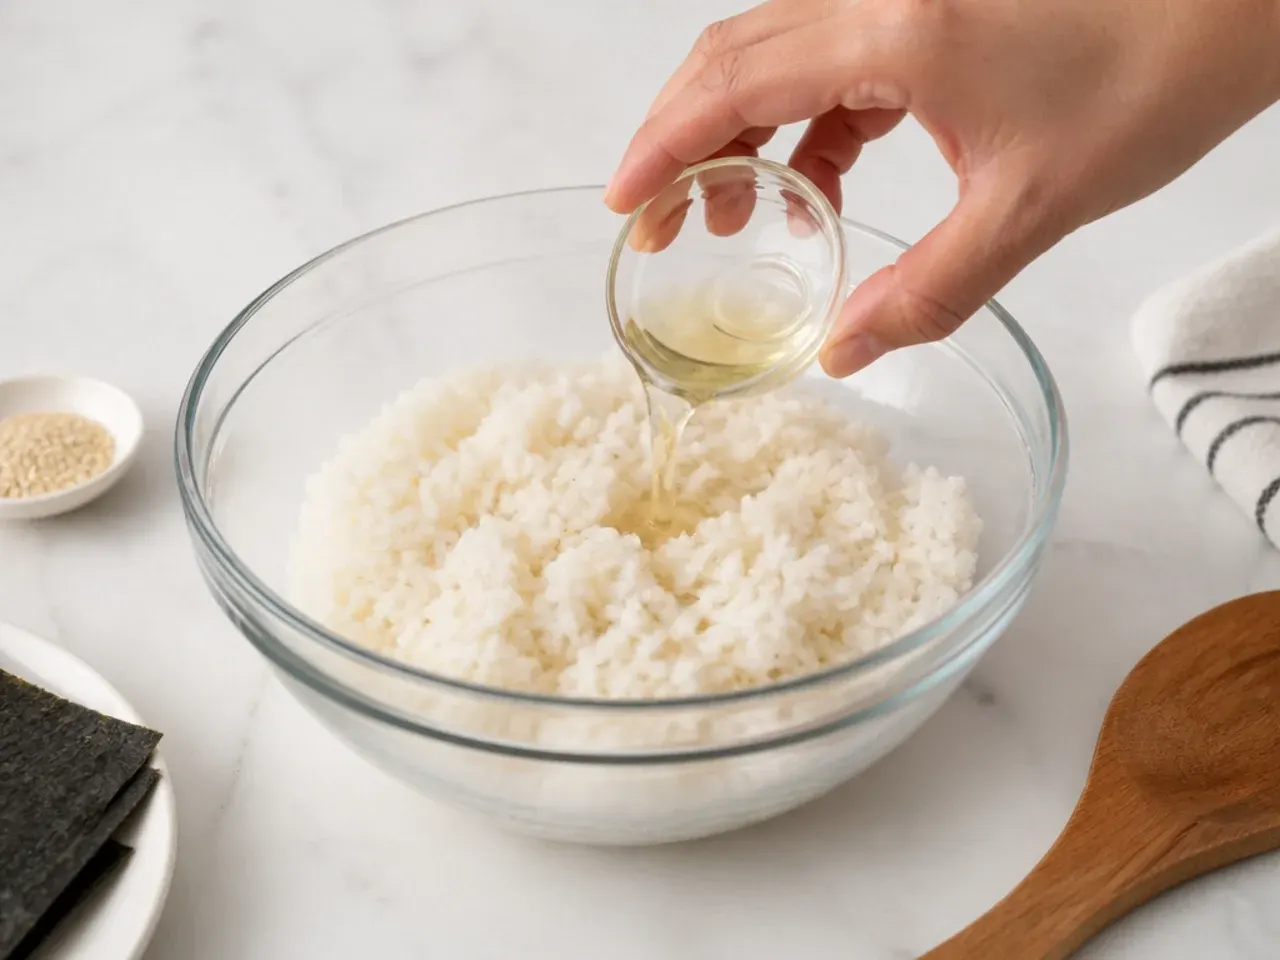
Tip the hot rice into a wide bowl or tray and pour the vinegar mixture over it in stages. Using a rice paddle or spatula held at a 45-degree angle, fold and slice through the rice rather than stirring, so you coat every grain without crushing them. Fan the rice as you go to cool it quickly and bring out a shine; season while hot for the best absorption.
Step 5: Prep the toppings
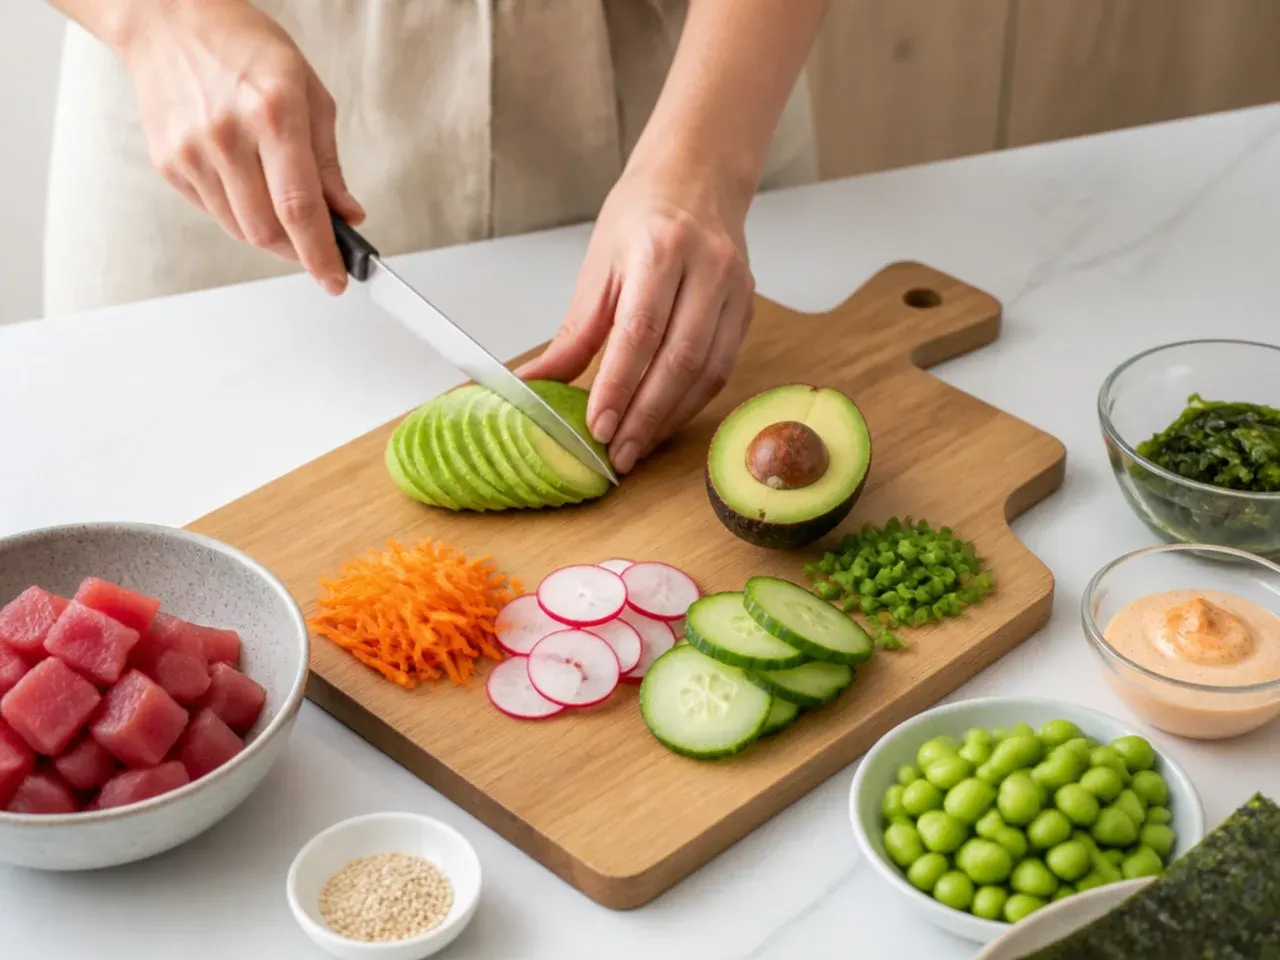
While the rice cools, slice the salmon thinly against the grain into sashimi-style strips (or shred the imitation crab), dice the cucumber, shred the carrots, and fan-slice the avocados. Cut the nori sheets into thin strips with scissors and stir the mayonnaise and sriracha together into a smooth sauce. Keep the raw fish cold until the moment you assemble.
Step 6: Assemble the bowls
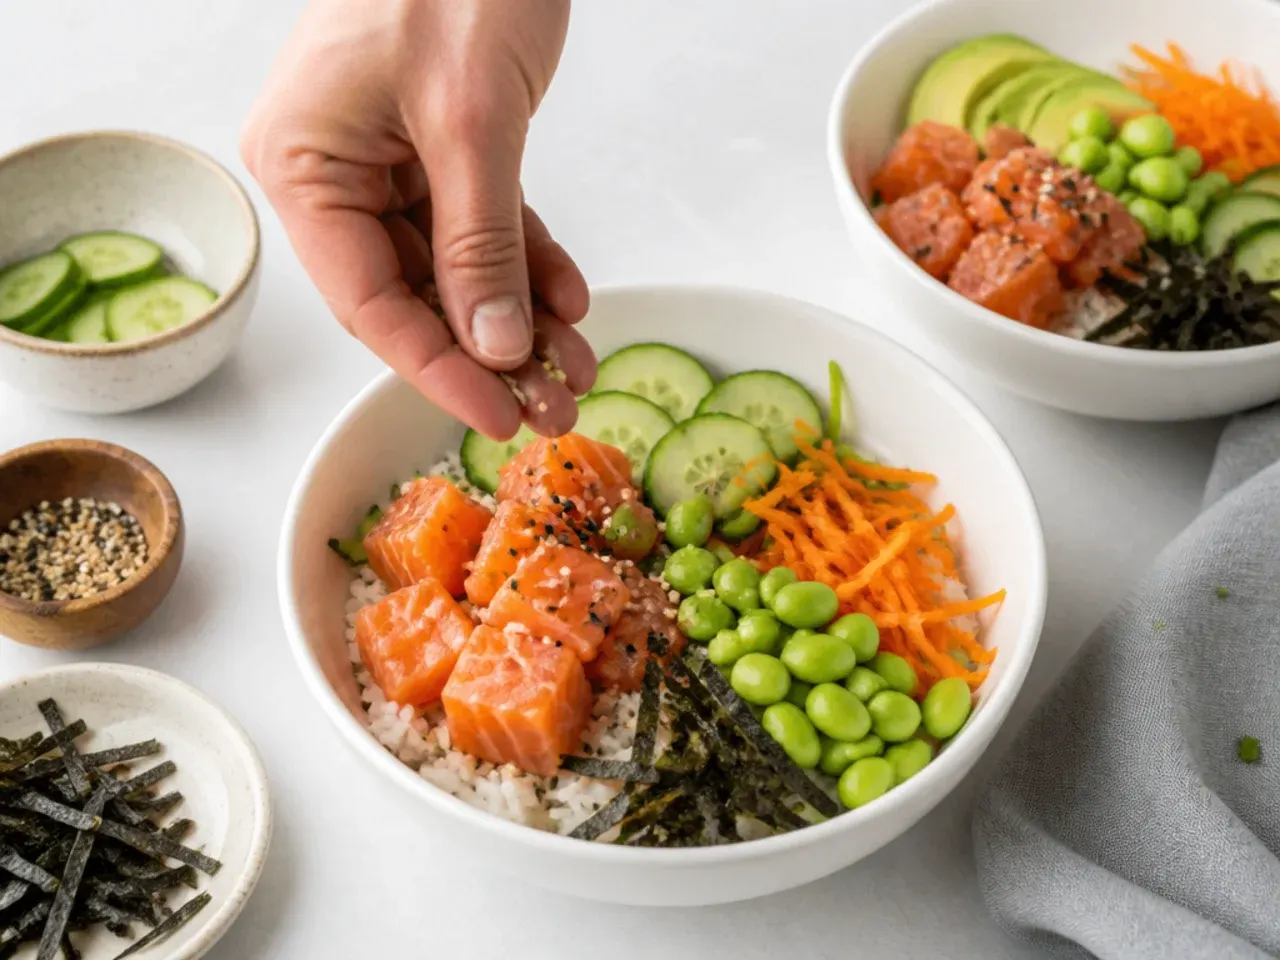
Divide the seasoned rice between four wide bowls, about 1 cup each, and press it into a level base. Arrange the salmon, cucumber, avocado, shredded carrot and nori strips in separate sections on top, like positions on a clock, so each topping stays distinct and colourful.
Step 7: Finish and serve
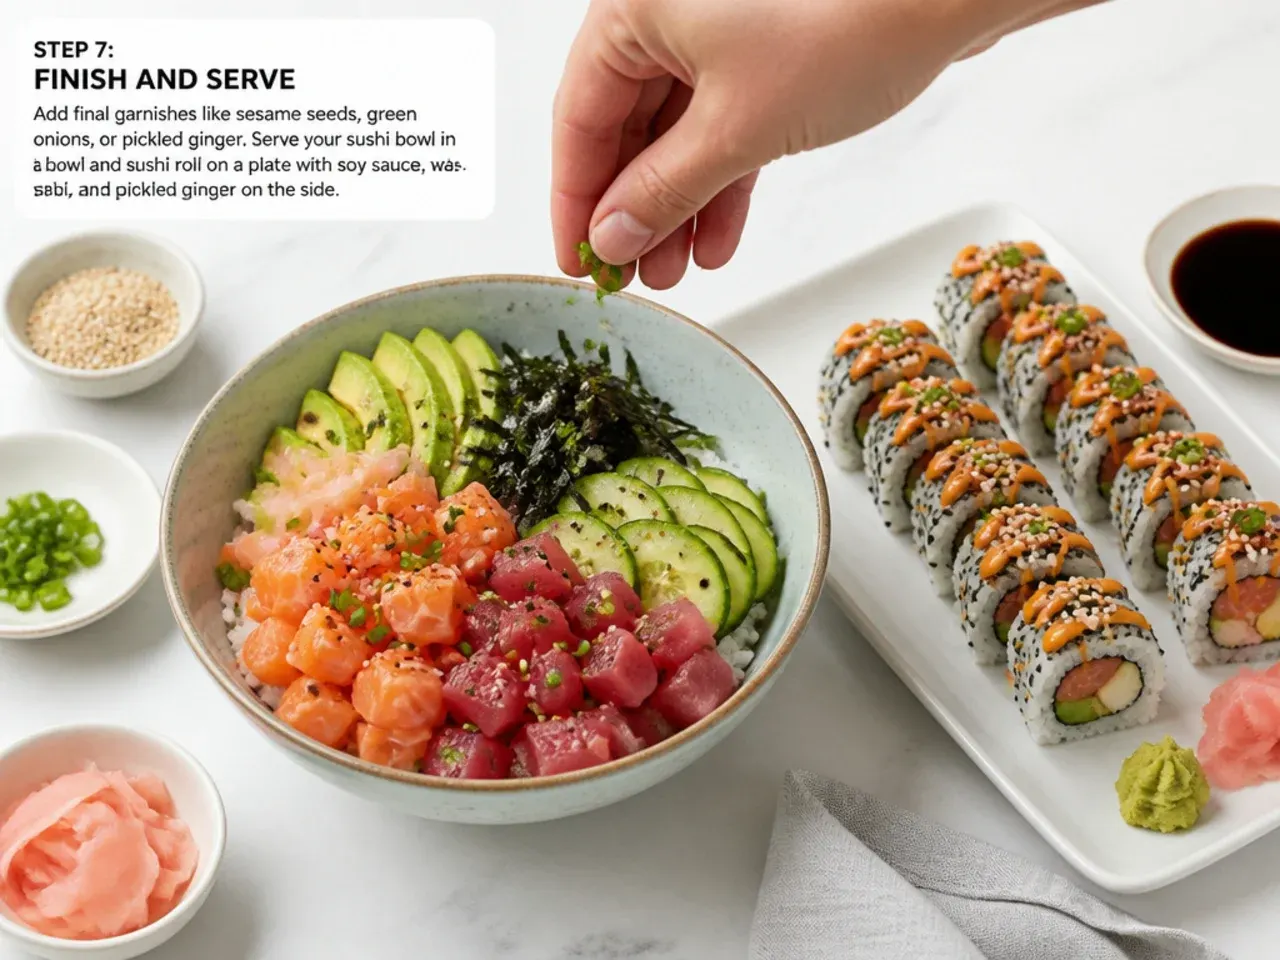
Drizzle the sriracha mayo over the bowls, scatter the toasted sesame seeds, and add a small mound of pickled ginger to the side. Serve immediately with soy sauce and wasabi, while the rice is still slightly warm and the vegetables are crisp.
Frequently Asked Questions
They are very close in calories, but a bowl is easier to make healthier because you control the portions. A single roll can hold up to a cup of sweetened rice, whereas in a bowl you can cut the rice back and pile on extra vegetables and lean protein. For the lightest version, use less rice, add more cucumber, carrot and edamame, and go easy on the sriracha mayo.
Save this for later 📌
Pin this article to your Pinterest board so the full list is one tap away when you need it.
Save on Pinterest