15 Cute Unicorn Smash Cakes for 1st Party
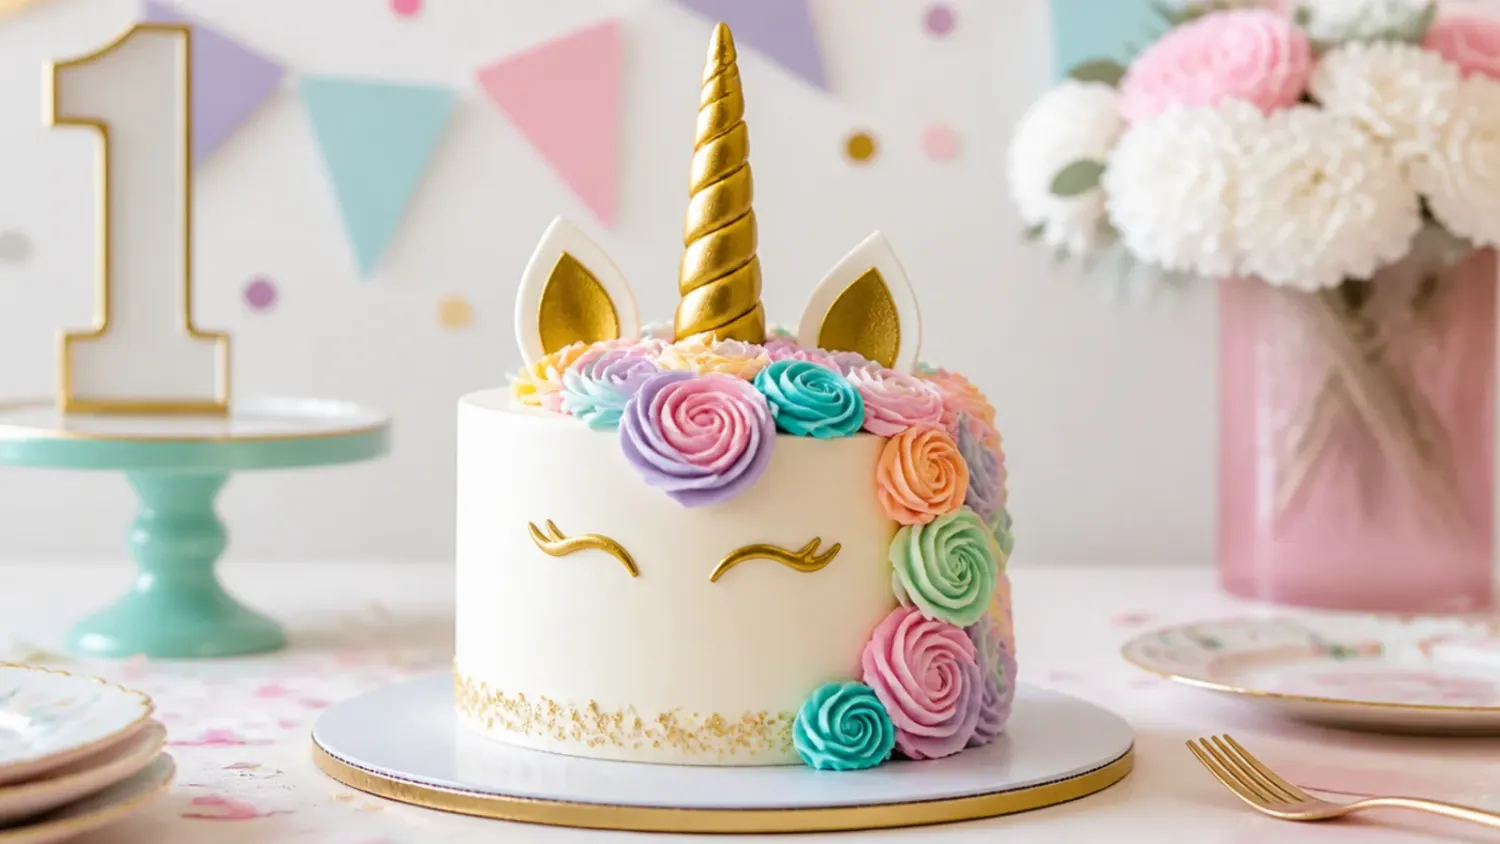
15 cute unicorn smash cake ideas for a 1st birthday, from classic pastel manes to modern designs, plus an easy base recipe any first-timer can nail. If you love unicorn cake inspiration, start with our Unicorn Cake Ideas collection, then browse the full Cake Ideas hub for more.

Save this for later 📌
Pin this article to your Pinterest board so the full list is one tap away when you need it.
Save on PinterestCake Ideas
Beginner
Ideas
15 ideas
Table of Contents
- 1. Classic Pastel Rosette-Mane Unicorn Smash Cake
- 2. Box-Mix Easy Unicorn Smash Cake in Under an Hour
- 3. Elegant White-and-Gold Minimalist Unicorn Smash Cake
- 4. Playful Sprinkle-Explosion Unicorn Smash Cake
- 5. Modern Geometric Color-Block Unicorn Smash Cake
- 6. Rustic Naked Unicorn Smash Cake
- 7. Colorful Rainbow-Layer Unicorn Smash Cake
- 8. Minimal Single-Rosette Unicorn Smash Cake
- 9. Festive Birthday-Number Unicorn Smash Cake
- 10. Whimsical Cloud-and-Star Unicorn Smash Cake
- 11. Bold Bright-Rainbow Mane Unicorn Smash Cake
- 12. Delicate Watercolor-Buttercream Unicorn Smash Cake
- 13. Vintage Ruffle-Piped Unicorn Smash Cake
- 14. Creative Ombre Drip Unicorn Smash Cake
- 15. Charming Polka-Dot Unicorn Smash Cake
- Tips to Make These Ideas Easier
- Common Mistakes to Avoid
- The Base Recipe — Make Any of These Ideas
1. Classic Pastel Rosette-Mane Unicorn Smash Cake
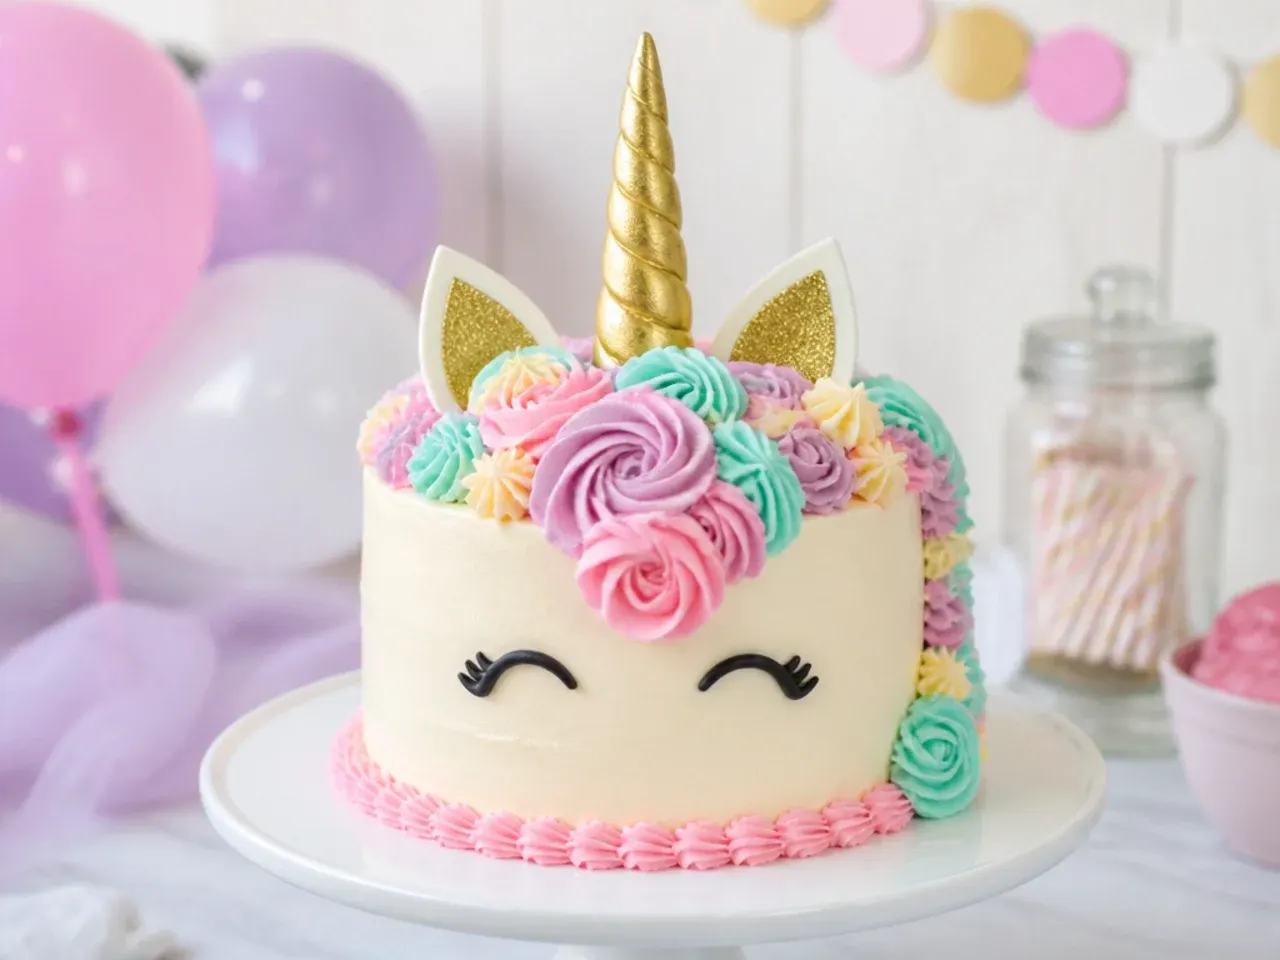
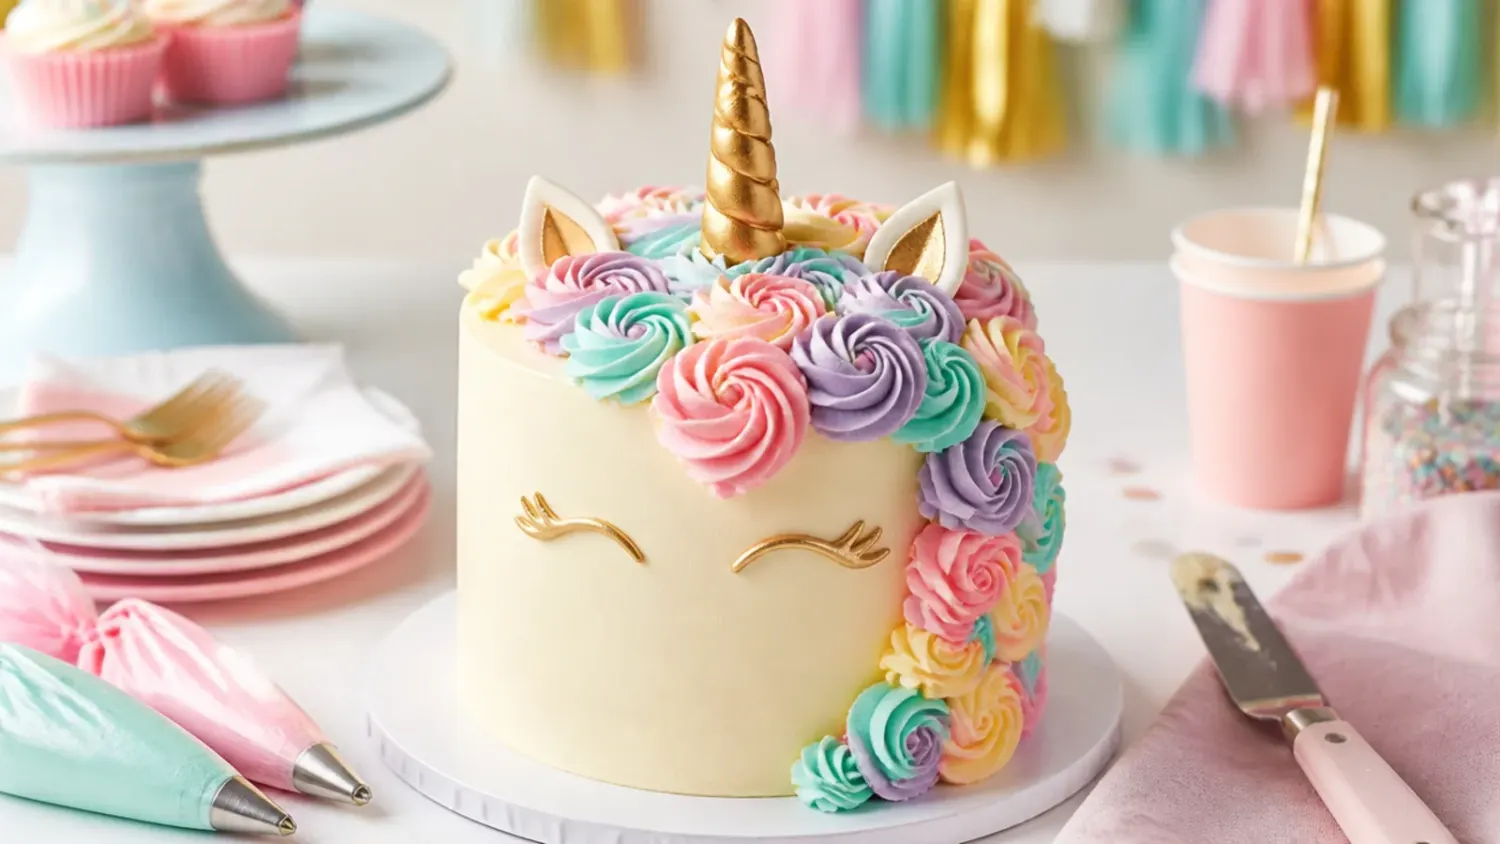
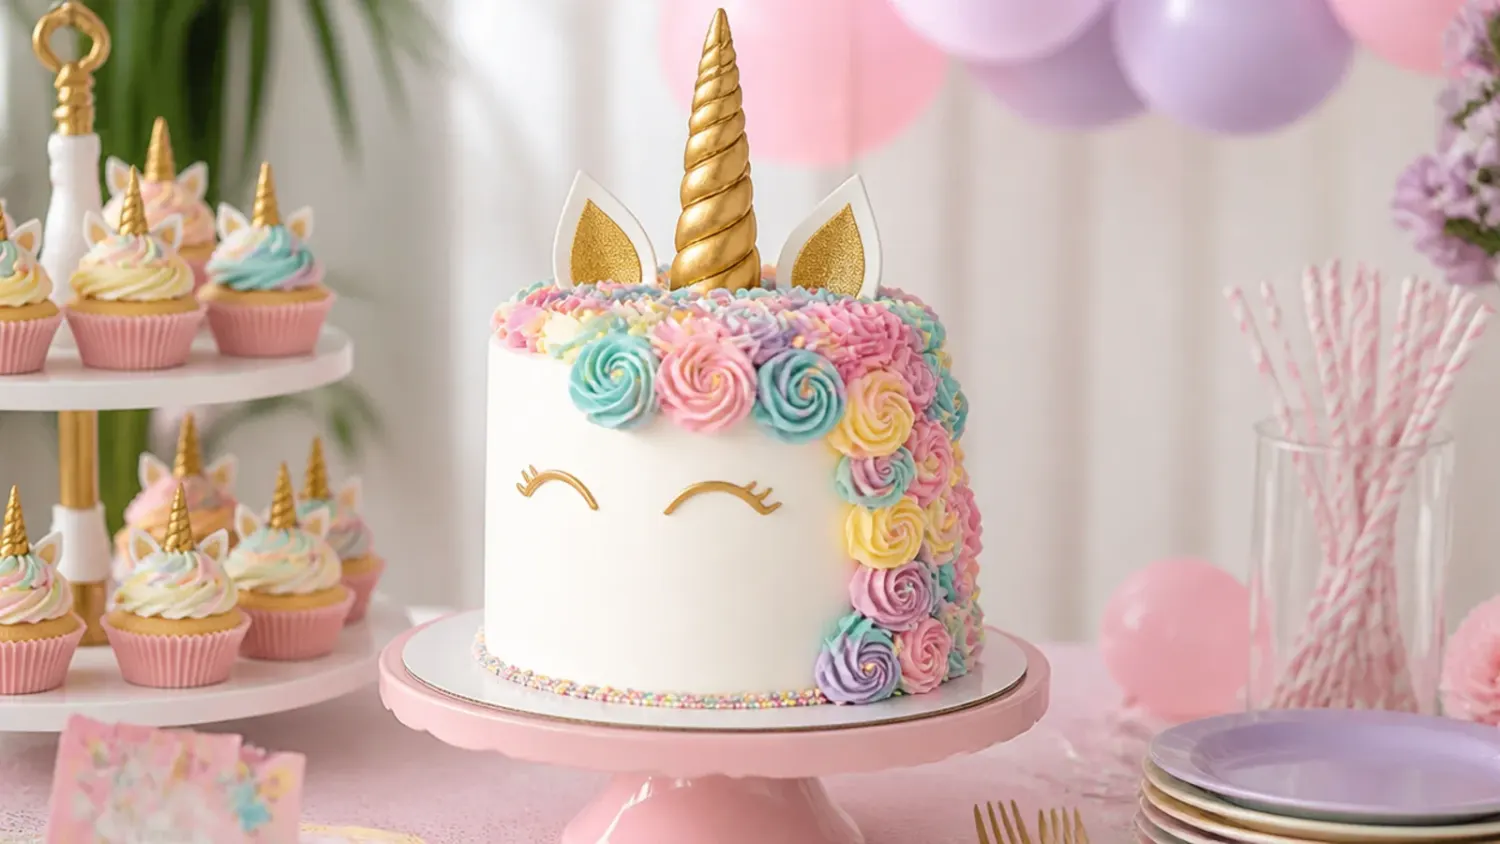
This is the design people picture first: a smooth white buttercream cake topped with a flowing mane of pastel rosettes and a gold horn. Pipe the mane with a Wilton 1M star tip, swirling rosettes in lilac, baby pink, and mint down one side from the horn to the base. It works because the rosettes hide any imperfect crumb coat while reading instantly as a unicorn. Crumb-coat the chilled 6-inch cake, chill 20 minutes, apply a smooth final coat, then pipe rosettes from top to bottom in a diagonal cascade. Add closed pastel star buds with a 2D tip to fill any gaps.
2. Box-Mix Easy Unicorn Smash Cake in Under an Hour
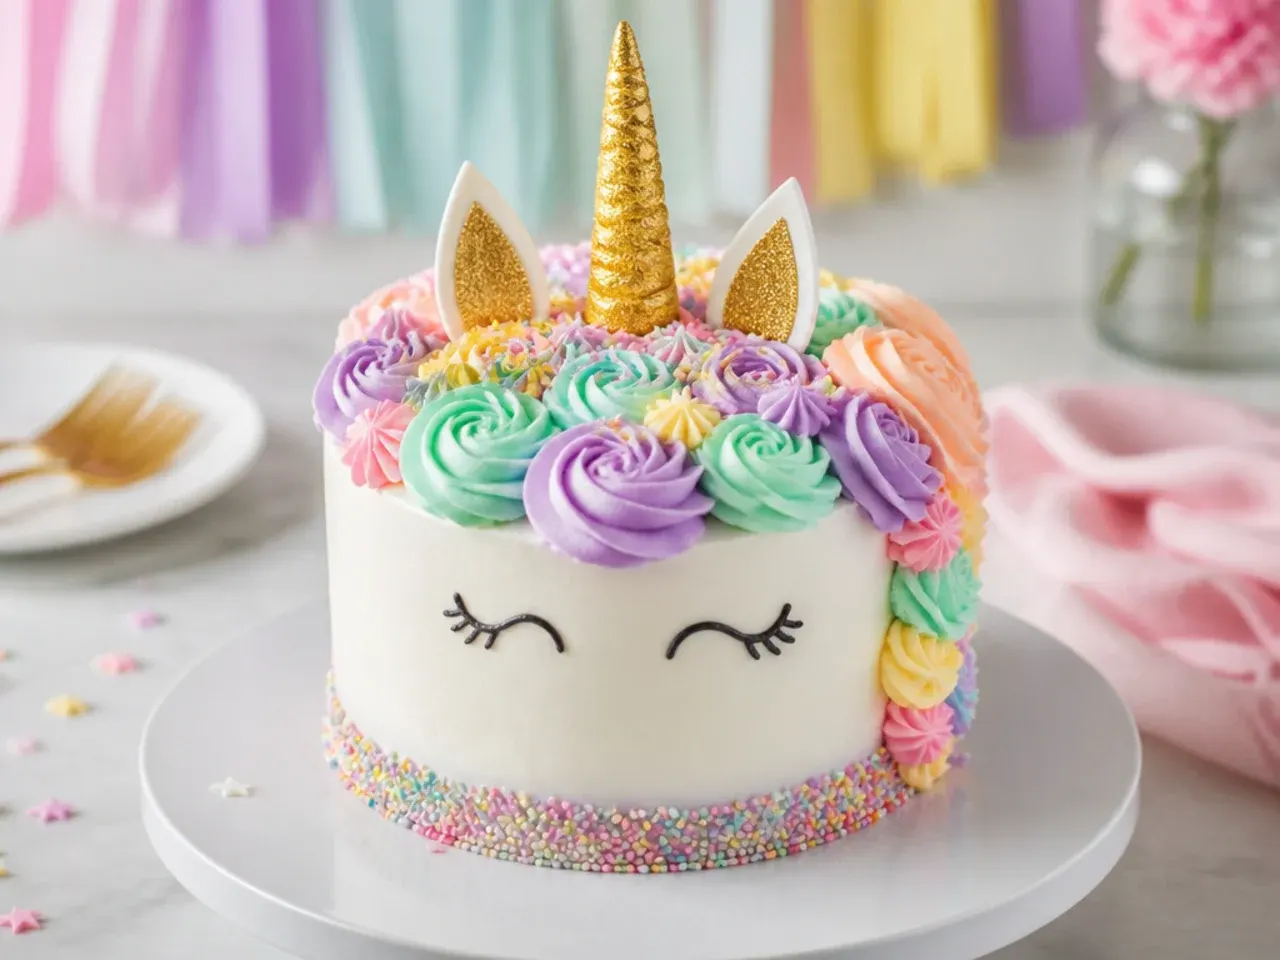
For a low-stress first birthday, bake a boxed vanilla mix in two greased 6-inch pans at 350°F (175°C) for about 22 to 25 minutes and frost with tubbed vanilla buttercream you tint yourself. This shortcut works because a smash cake gets destroyed in minutes, so a from-scratch crumb is not essential. Divide store-bought frosting into three bowls, tint pastel with gel color, and pipe simple rosettes with a 1M tip. Use a printable card-stock horn on a lollipop stick instead of fondant to skip the fiddliest step. Total hands-on time stays under an hour.
3. Elegant White-and-Gold Minimalist Unicorn Smash Cake
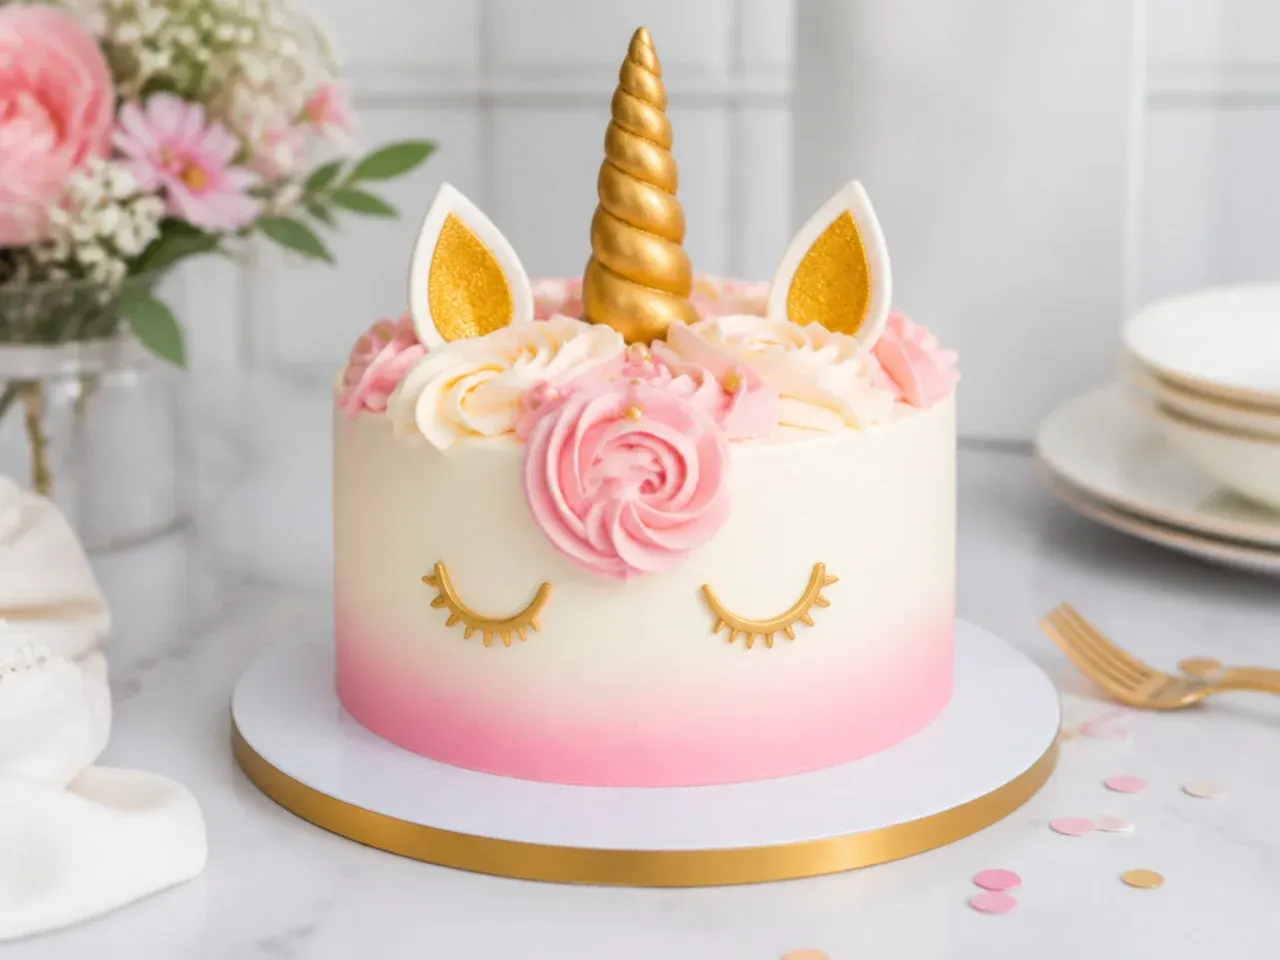
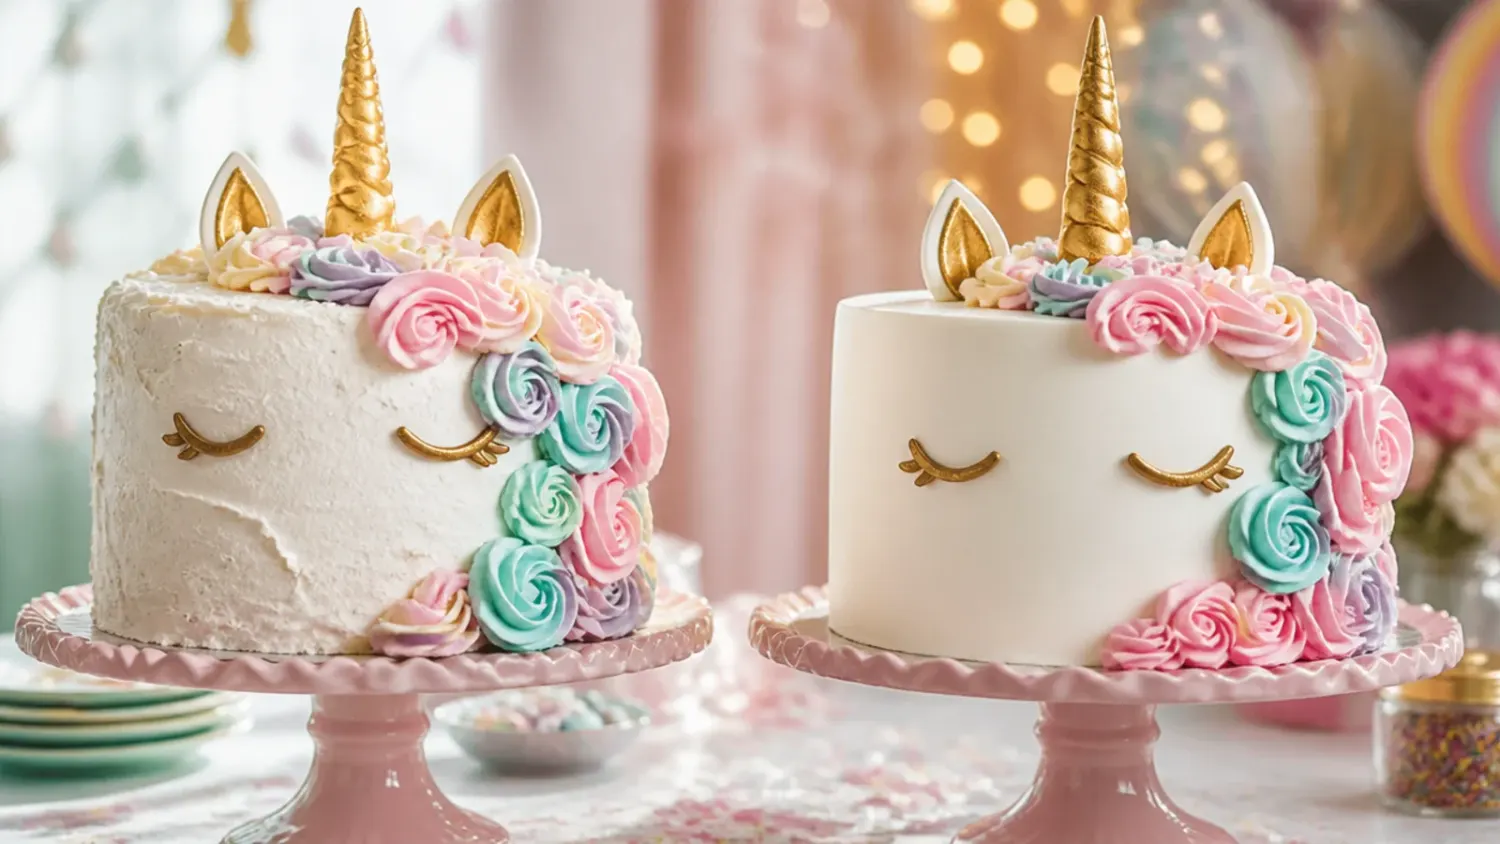
This grown-up take keeps the cake mostly bare white with a single blush ombre rosette cluster and metallic gold accents. It works for photo-forward parties where the backdrop is soft and neutral. Frost the 6-inch cake in a clean, smooth ivory buttercream using a bench scraper held at 90 degrees, then pipe only a small quarter-mane of blush and champagne rosettes near the horn. Brush the fondant horn with edible gold luster dust mixed with a drop of clear extract for a real metallic shine. Finish with a few edible gold leaf flecks pressed onto the base for understated sparkle.
4. Playful Sprinkle-Explosion Unicorn Smash Cake
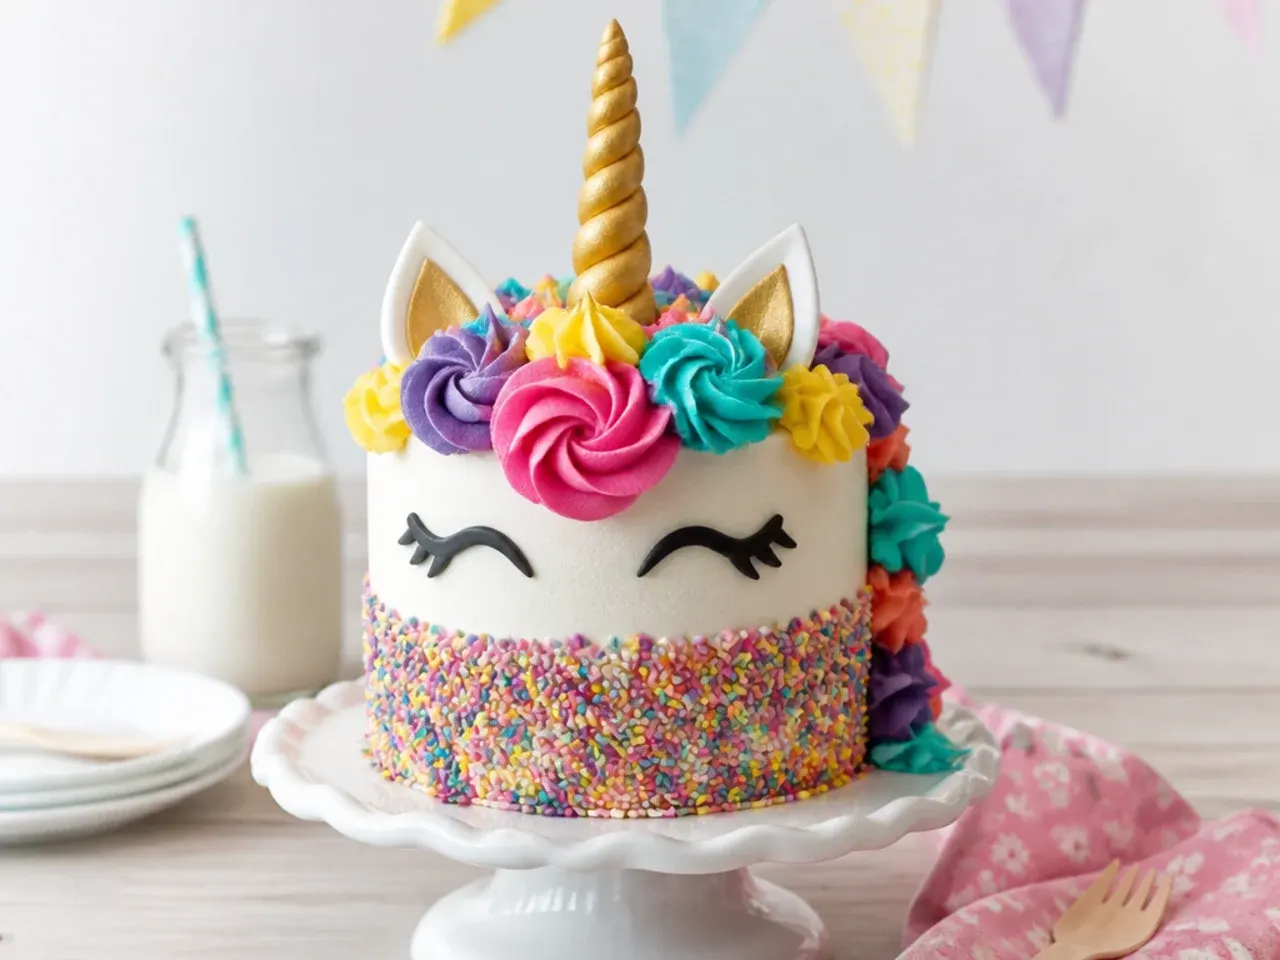
Press a rainbow of nonpareils and jimmies up the bottom third of the cake for a confetti effect little hands love. This works because the sprinkle band adds color and texture without any piping skill. Frost the chilled cake, then while the buttercream is still tacky, hold the cake over a tray and gently press handfuls of sprinkles onto the lower sides. Pipe a bright mane of rosettes in turquoise, hot pink, and yellow above the sprinkle line with a 1M tip. Add a few pastel confetti candy melts scattered on top for extra pop.
5. Modern Geometric Color-Block Unicorn Smash Cake
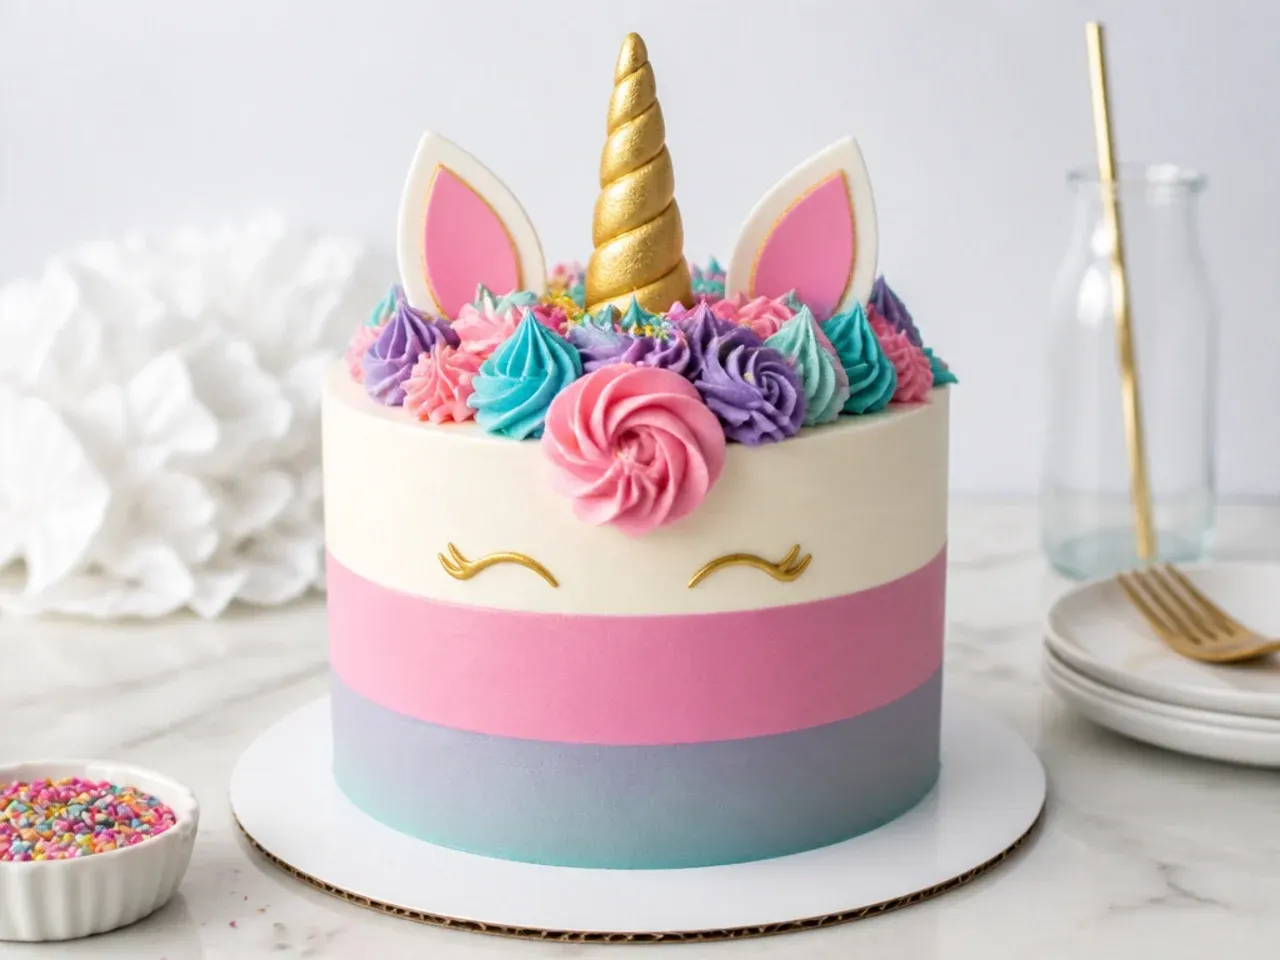
Skip the full mane and go modern with clean vertical color blocks of buttercream and a matte finish. This suits a stylish, on-trend party palette like terracotta, sage, and cream. Fill three piping bags with three tinted buttercreams, pipe rough vertical stripes around the chilled cake, then scrape smooth with a bench scraper for a striped ombre effect. Add a short, straight fondant horn in matte gold and two small triangular ears rather than a busy mane. A single row of tiny buttercream dots along the top edge keeps it minimal but finished.
Save this for later 📌
Pin this article to your Pinterest board so the full list is one tap away when you need it.
Save on Pinterest6. Rustic Naked Unicorn Smash Cake
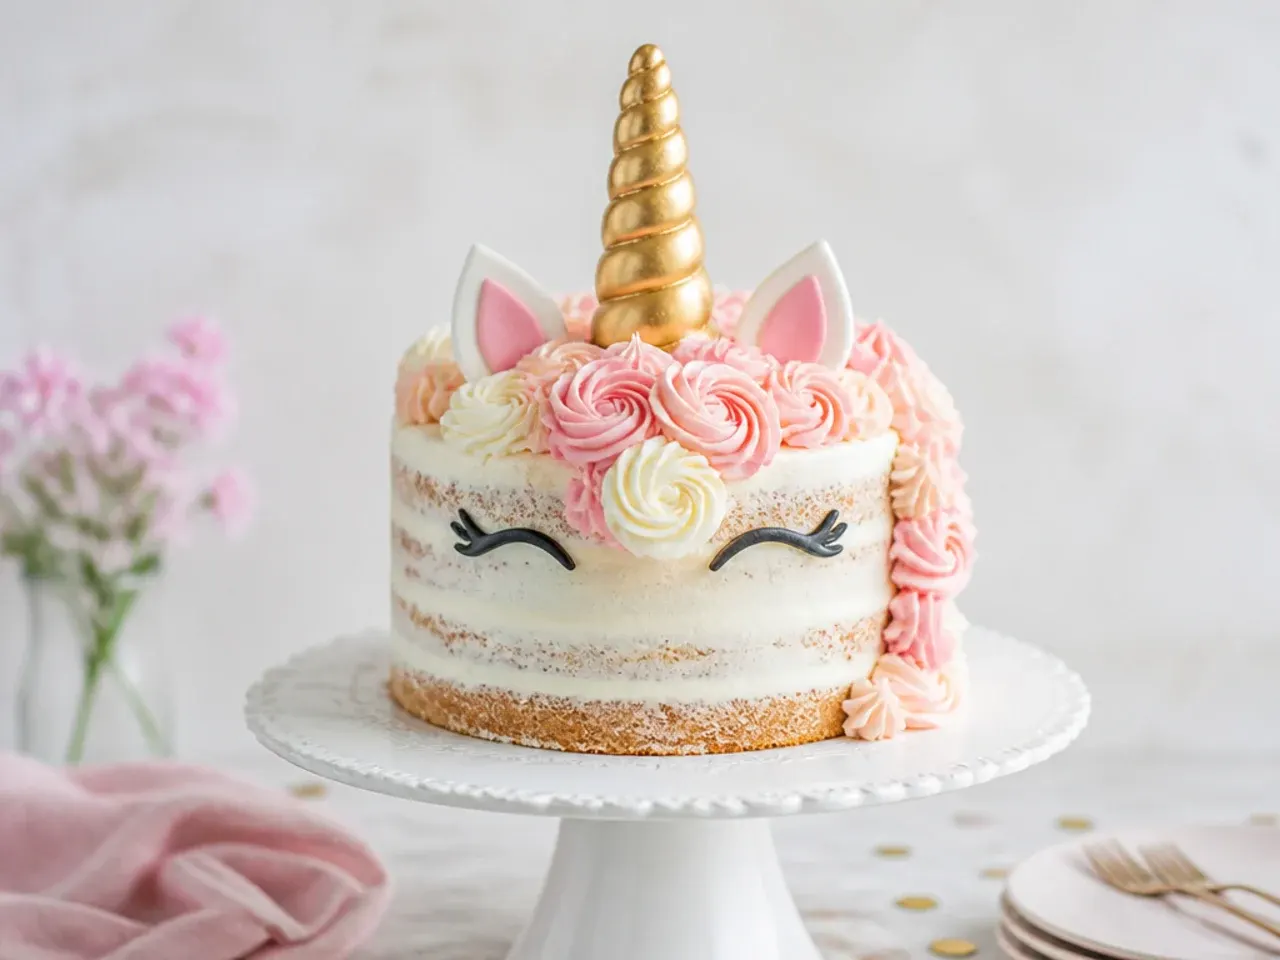
A semi-naked finish shows the vanilla sponge through a thin scrape of buttercream for a soft, homemade look. This works beautifully for garden or boho first birthdays and is very forgiving for beginners. Stack two 6-inch layers with buttercream between, then apply only a thin coat and scrape most of it away so the cake peeks through. Pipe a small, loose mane of pale rosettes and tuck a few fresh, food-safe flowers like pesticide-free pansies near the horn. Keep the horn a natural pale cream rather than bright gold to match the earthy vibe.
7. Colorful Rainbow-Layer Unicorn Smash Cake
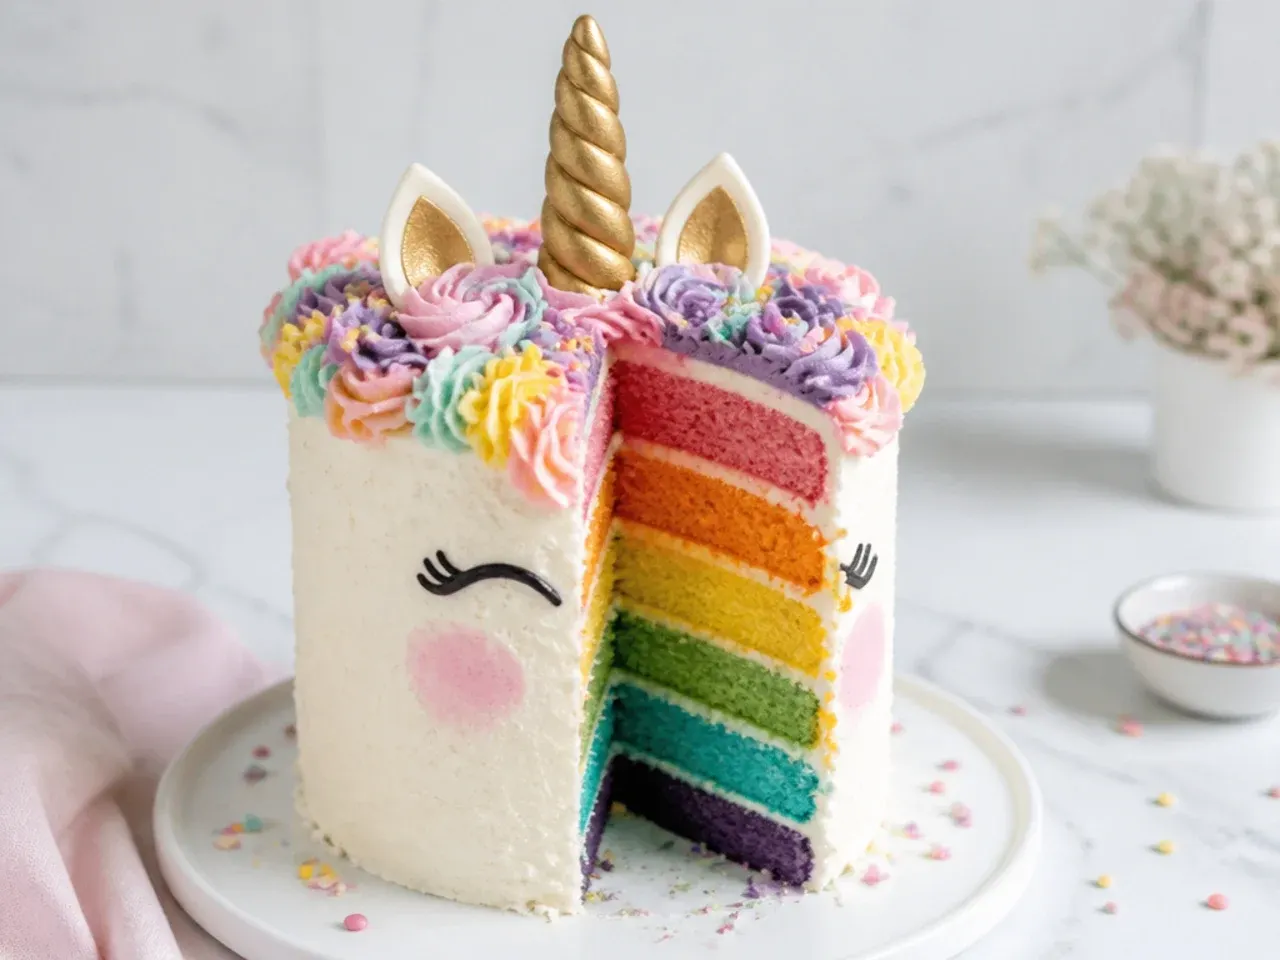
Cut into this one and every slice reveals bright rainbow layers, which makes the smash moment extra magical on camera. It works because the surprise-inside effect turns a simple white cake into a showstopper. Divide your batter into five or six bowls, tint each with gel color, and bake thin layers, or bake two thicker layers and split them. Stack with a thin buttercream layer between each color, then frost the outside white so the rainbow stays hidden until the first smash. Finish with a pastel rosette mane and gold horn as usual.
8. Minimal Single-Rosette Unicorn Smash Cake
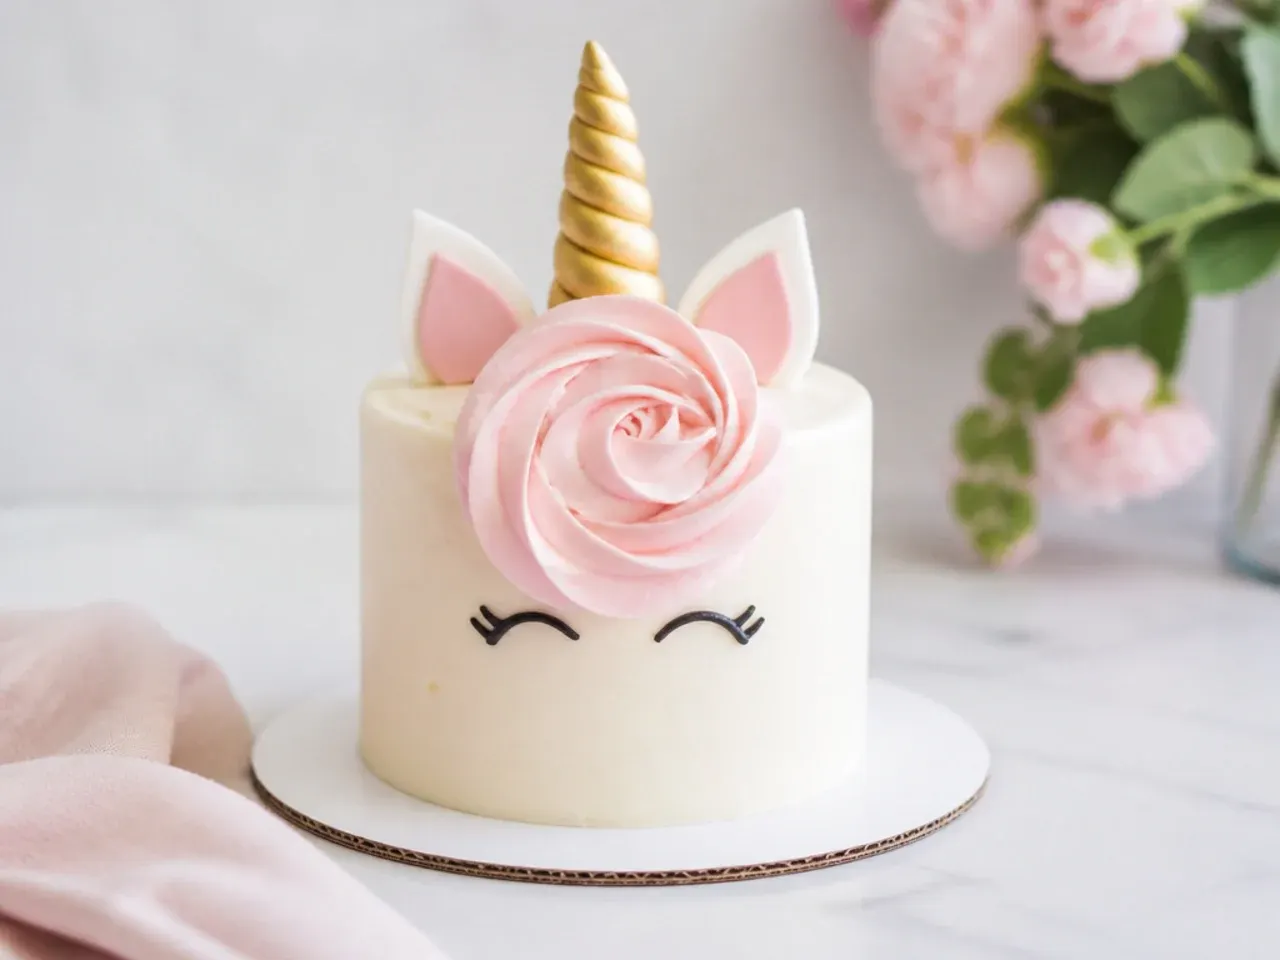
For the least fuss, pipe just one oversized rosette on top as the whole mane and let the smooth white sides do the rest. This works for busy parents who still want something clearly unicorn-themed. Frost the cake smooth, then pipe one large swirled rosette centered on top using a 1M tip in a single soft color like lavender. Set a small fondant or card-stock horn just in front of the rosette so it reads as the unicorn's crown. Two tiny buttercream ears piped with a small leaf tip complete the look in minutes.
9. Festive Birthday-Number Unicorn Smash Cake
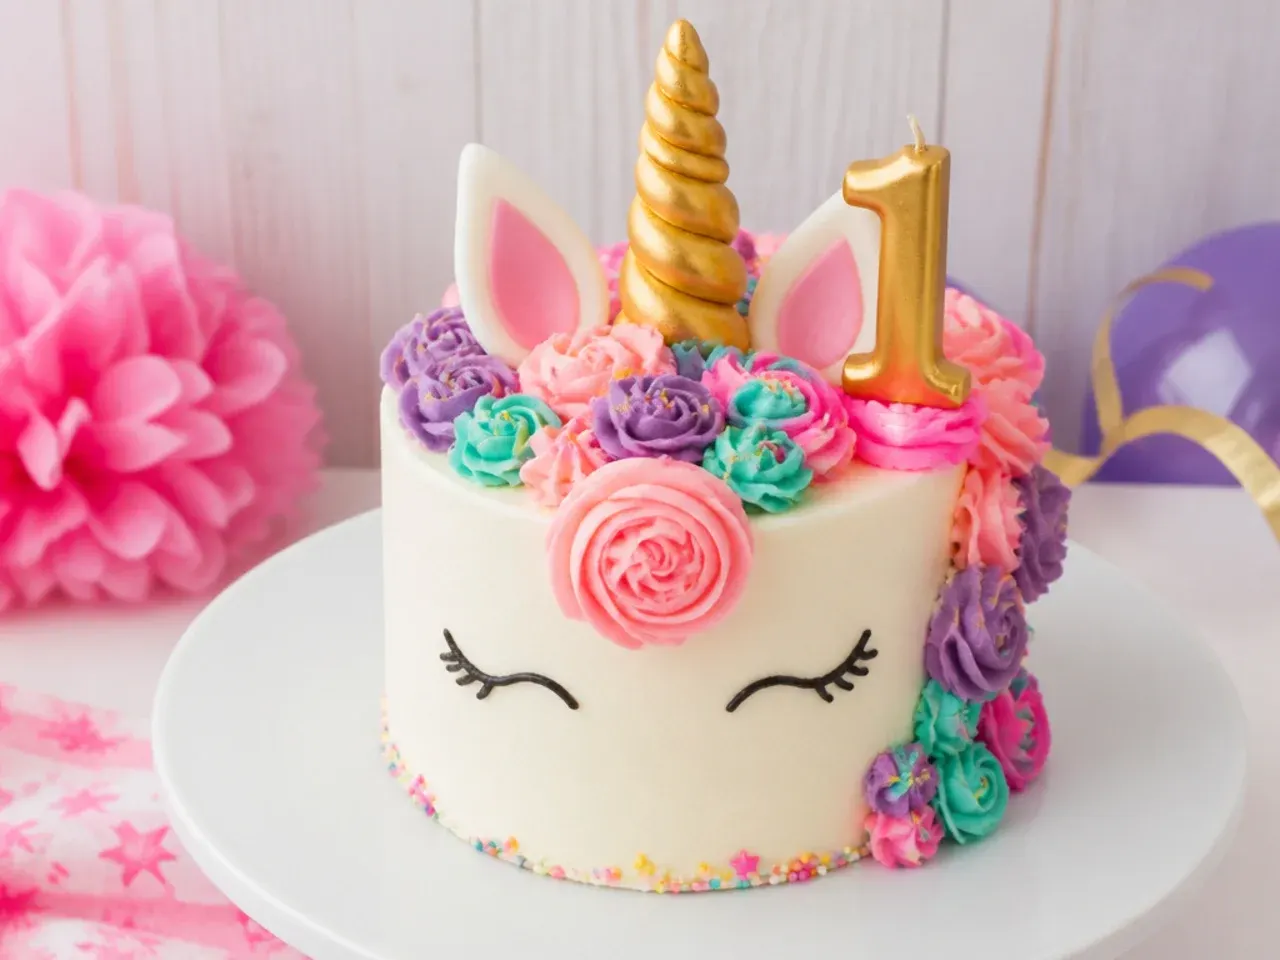
Add a gold candle number one or a small fondant number to turn the unicorn cake into a clear first-birthday centerpiece. This works because it doubles as the milestone marker in every photo. Decorate the cake with your pastel mane and horn as normal, then press a food-safe gold-wrapped number-one candle just behind the horn. For a candle-free version, cut a number one from rolled fondant and lay it flat on top, or stand it in a small mound of buttercream, so there is no toothpick on the smash cake itself. Scatter a few star sprinkles around the top edge to reinforce the celebration feel.
10. Whimsical Cloud-and-Star Unicorn Smash Cake
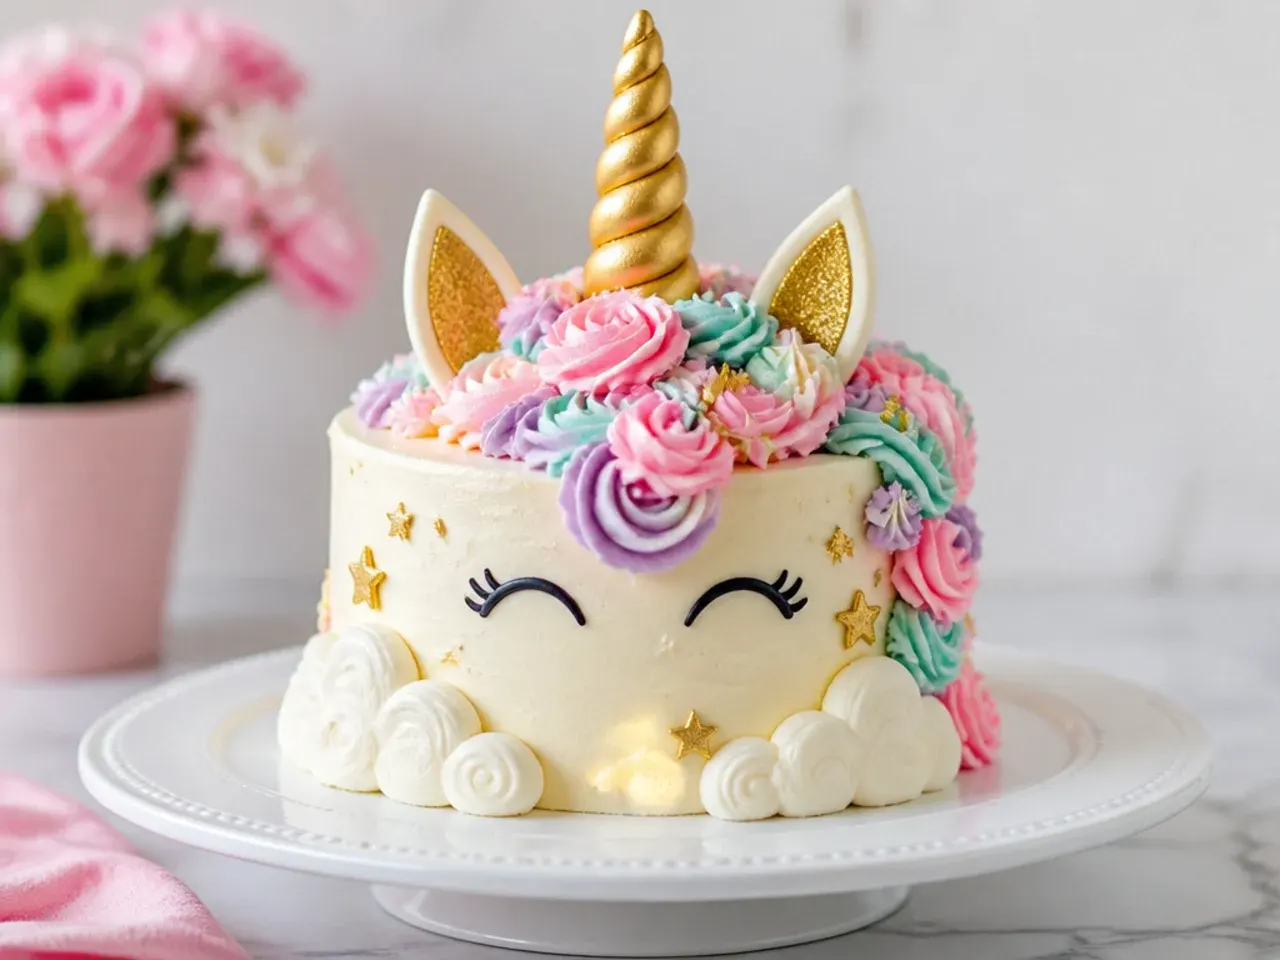
Surround the horn with fluffy buttercream clouds and edible stars for a dreamy sky theme. This works because the cloud swirls are quick to pipe and forgiving, unlike neat rosettes. Pipe soft white cloud shapes low around the base with a large round tip, then dot the sides with tiny buttercream stars using a small star tip. Set the gold horn upright on top and add a few gold or pastel edible glitter stars around it. A pale blue or lilac buttercream base makes the white clouds and gold stars really stand out.
Save this for later 📌
Pin this article to your Pinterest board so the full list is one tap away when you need it.
Save on Pinterest11. Bold Bright-Rainbow Mane Unicorn Smash Cake
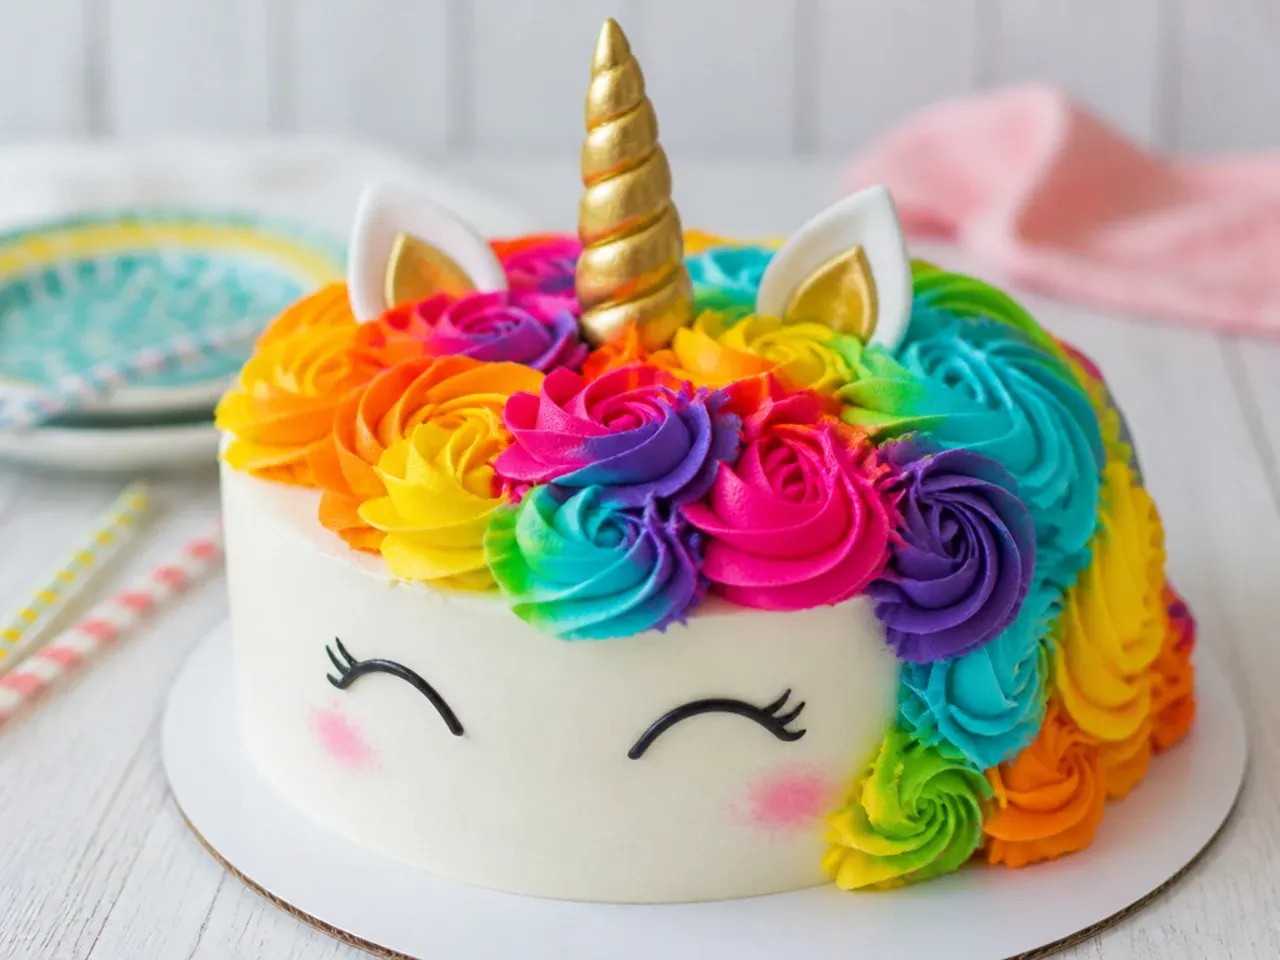
Go maximal with a saturated mane in red, orange, yellow, green, blue, and purple instead of soft pastels. This works for a lively, high-energy party and photographs boldly against a plain backdrop. Tint six small bowls of buttercream in vivid gel colors and pipe the rosettes in rainbow order cascading down one side with a 1M tip. Use gel colors, not liquid, so the buttercream stays stiff enough to hold crisp swirls. A tall gold horn and upright ears balance the busy, colorful mane on top.
12. Delicate Watercolor-Buttercream Unicorn Smash Cake
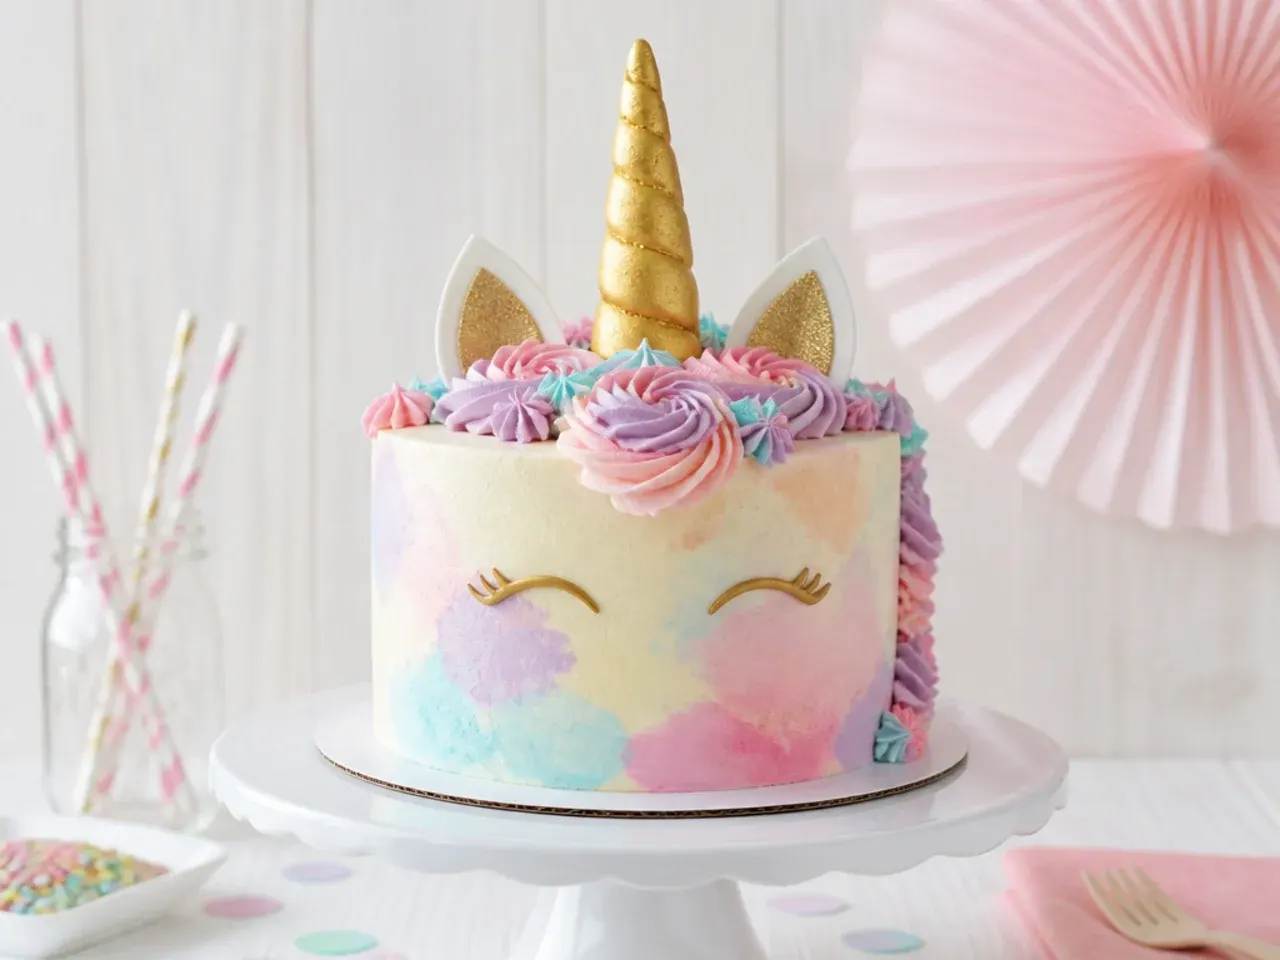
A soft watercolor wash of pastels blended right into the buttercream gives a painterly, delicate finish. This works for a refined nursery-palette party and looks far harder than it is. Smooth a white base coat, then dab small amounts of tinted buttercream in lilac, peach, and mint randomly onto the sides and blend gently with a warm palette knife for a marbled wash. Keep the mane small and delicate with a few closed-star buds rather than full rosettes. Finish with a slim pale-gold horn and a dusting of edible pearl shimmer.
13. Vintage Ruffle-Piped Unicorn Smash Cake
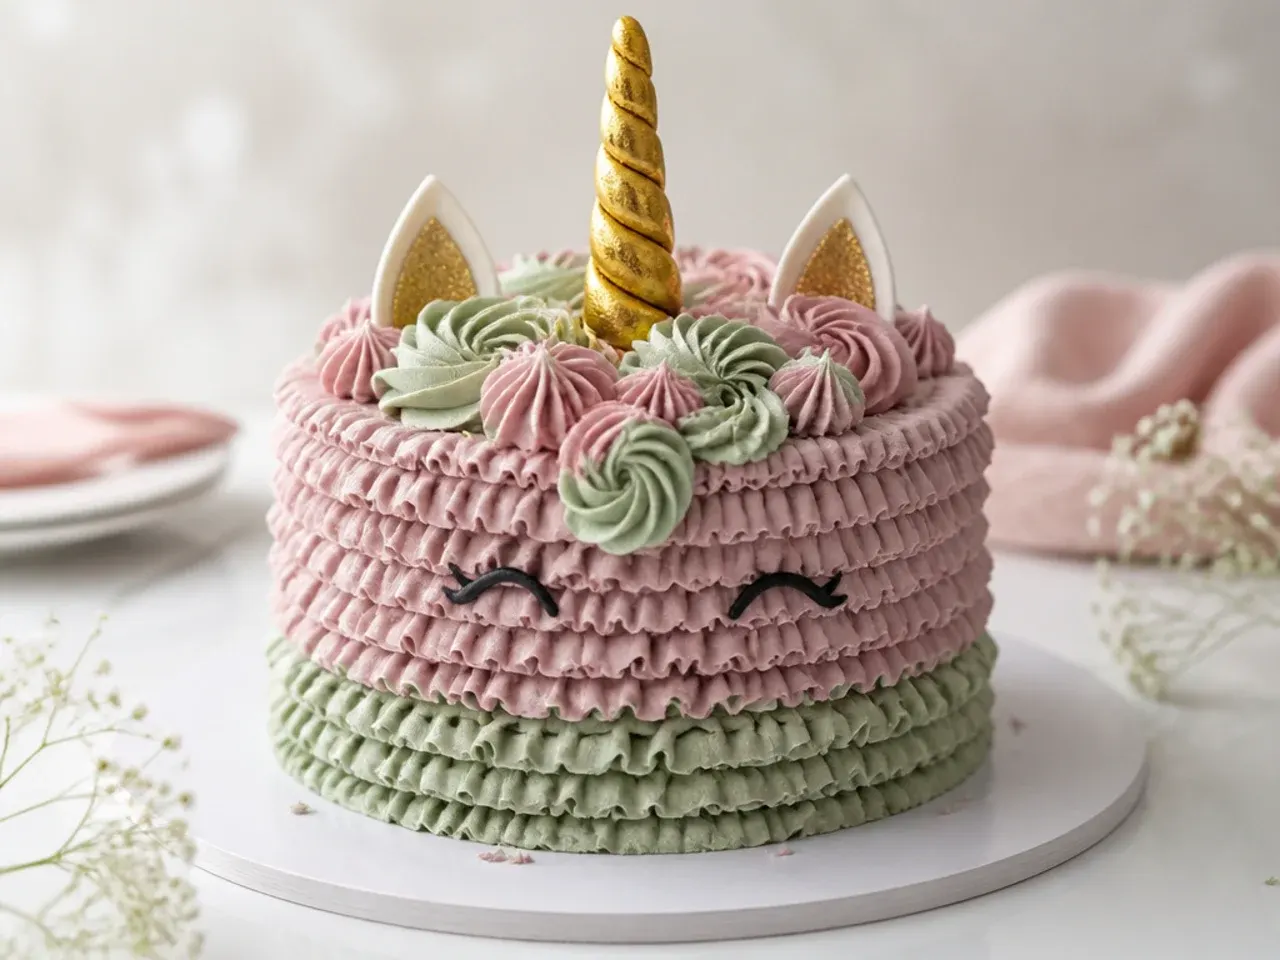
Swap rosettes for vertical buttercream ruffles for an old-fashioned, romantic feel. This works because ruffles cover the whole cake in soft texture and hide any lumpy crumb coat completely. Use a petal tip like Wilton 104 held with the wide end down, and pipe wavy vertical ruffles all the way around the chilled cake. Keep the palette to two dusty tones like mauve and sage for that vintage look. Add a modest mane of matching ruffled swirls near the horn so the whole cake feels cohesive and soft.
14. Creative Ombre Drip Unicorn Smash Cake
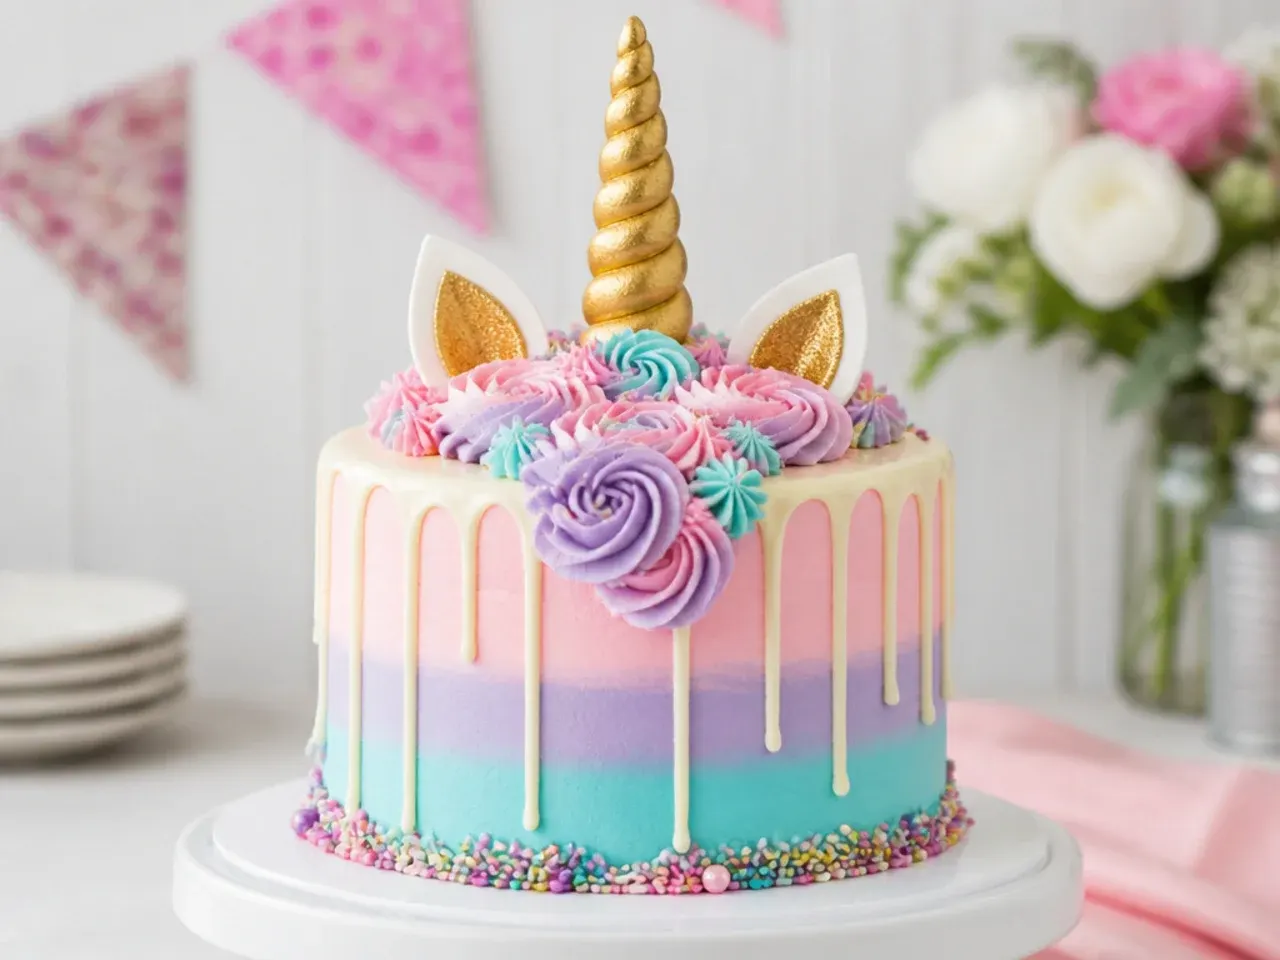
Add a pastel white-chocolate drip down the sides beneath the mane for a modern bakery finish. This works because the drip frames the cake and adds a glossy contrast to matte buttercream. Melt white chocolate or candy melts, tint pale pink, cool slightly, then spoon controlled drips down the chilled cake's edge using a squeeze bottle or spoon. Let the drip set before piping a soft ombre mane that fades from deep to pale up toward the horn. Keep drips short and even by testing one on the back of the cake first.
15. Charming Polka-Dot Unicorn Smash Cake
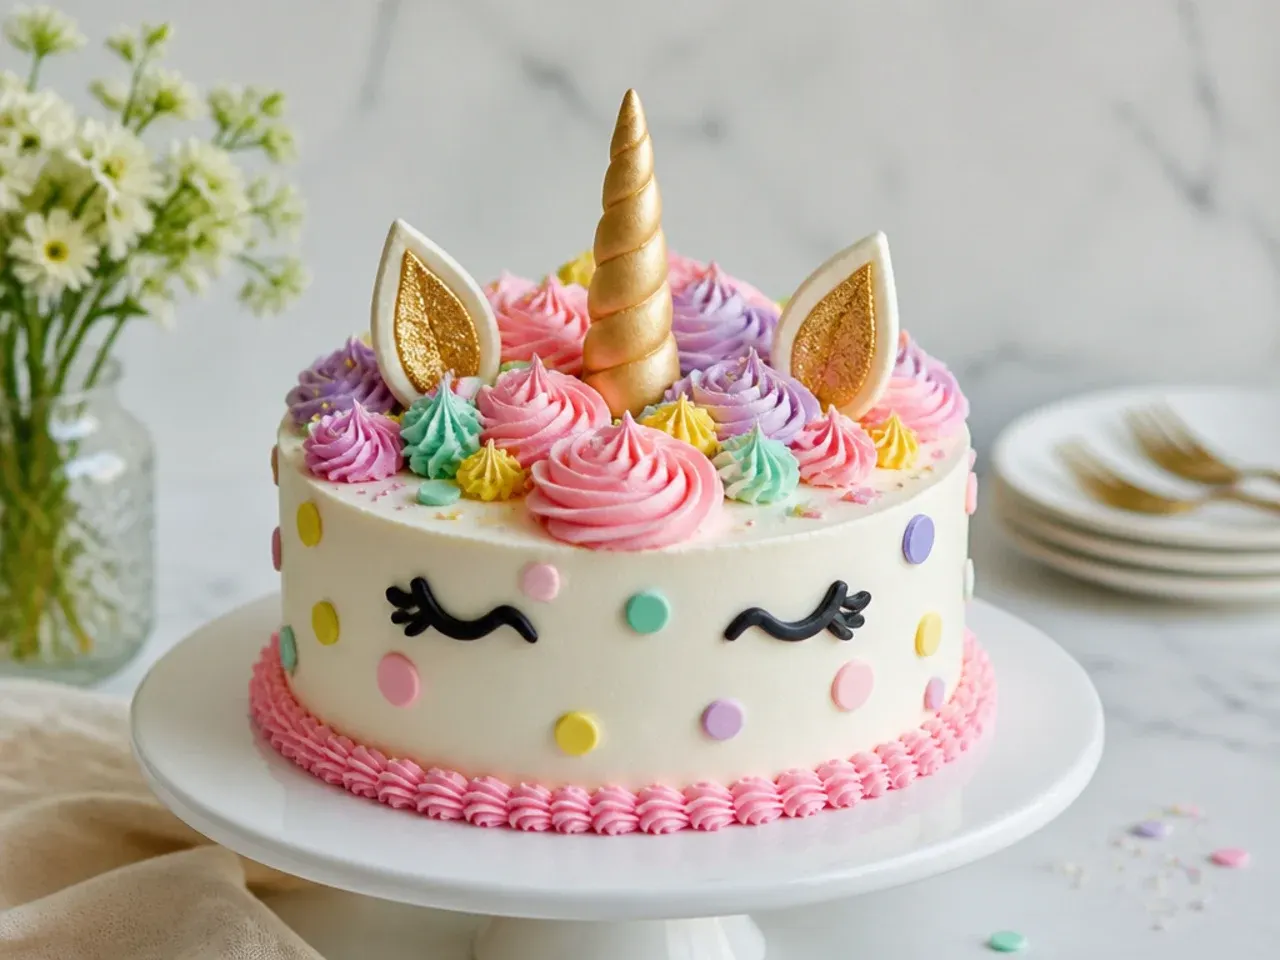
Cover the smooth white sides in evenly spaced pastel polka dots for a sweet, storybook charm. This works because dots are the easiest decoration to pipe cleanly and read as playful and baby-friendly. Fit a small round tip like Wilton 5 and pipe uniform dots in alternating pastel colors across the frosted sides, wiping any peaks flat with a damp finger. Keep the top reserved for a tidy pastel rosette mane and a gold horn. Match the dot colors to the mane so the cake feels like one charming, cohesive design.
Tips to Make These Ideas Easier
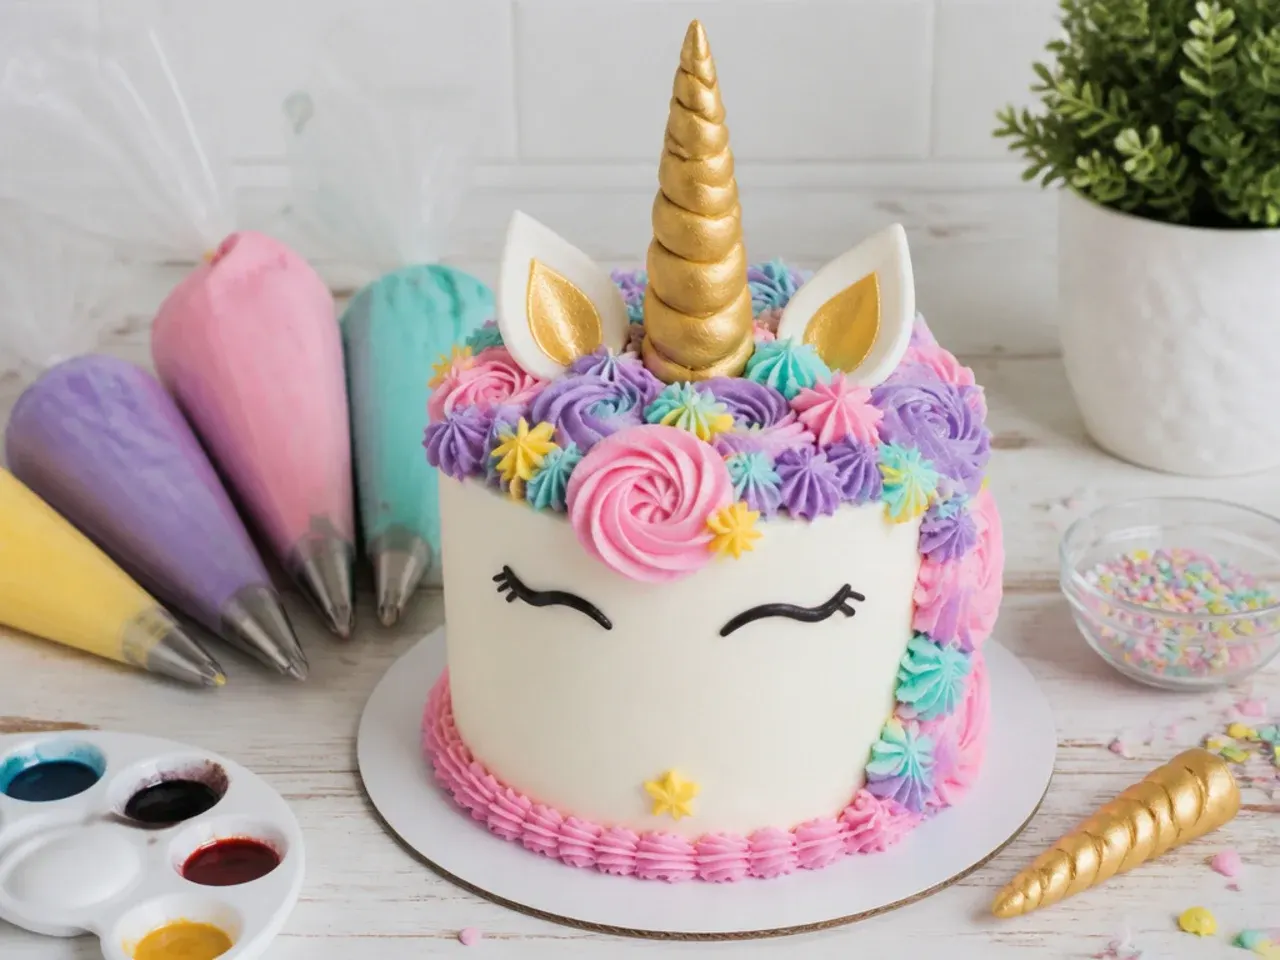
Always chill the frosted cake for at least 20 minutes before piping the mane, since firm buttercream holds crisp rosettes far better than soft. Make the fondant horn and ears two to three days ahead so they dry hard and stand upright, and store them at room temperature on parchment. Use gel food coloring rather than liquid so your buttercream stays stiff enough to pipe and your pastels stay soft. Keep a small offset spatula and a bench scraper on hand for smooth sides, and a damp cloth to wipe tips between colors. If piping feels intimidating, a printable card-stock horn and a single-color rosette top give a convincing unicorn with almost no skill.
Common Mistakes to Avoid
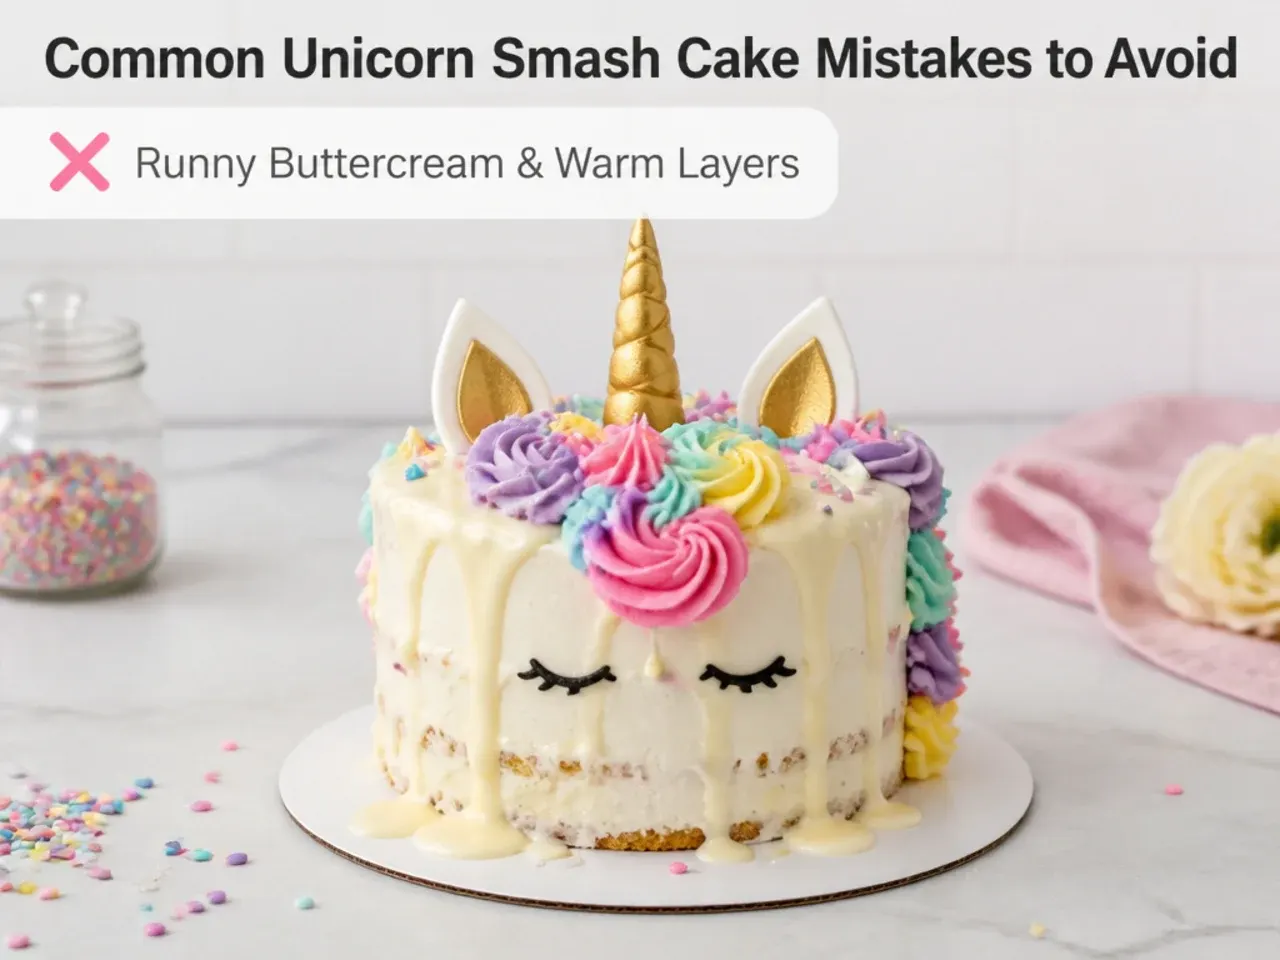
Do not frost a warm cake, as the buttercream will slide and melt, so cool layers completely and chill 20 minutes before decorating. Avoid runny buttercream from too much milk or liquid color, since a soft mix collapses into blobs instead of holding rosettes; add liquid a teaspoon at a time. Skipping the crumb coat is a common error that leaves crumbs streaking through your final layer, so always crumb-coat and chill first. Do not use inedible glitter, wired toppers, or toothpick-anchored fondant on the smash cake itself, as these are choking and injury hazards for a one-year-old. Finally, avoid decorating days ahead; assemble and pipe the day of the party so the buttercream stays fresh and the colors stay vivid.
The Recipe
The Base Recipe — Make Any of These Ideas
30 min
25 min
1 hr 30 min
8
Beginner
Ingredients 8 Person(s)
Directions
Step 1: Prep pans and oven
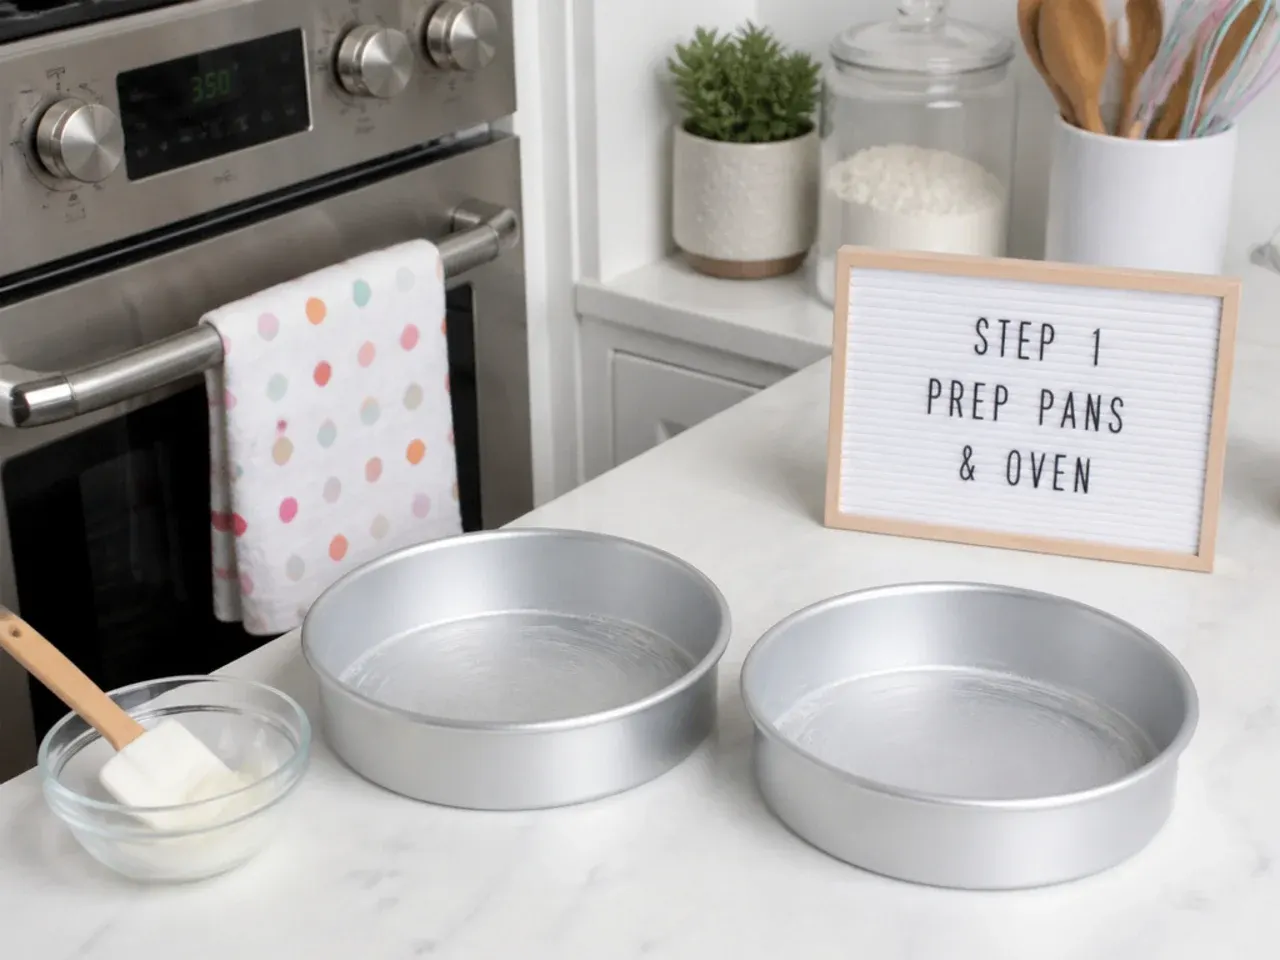
Preheat the oven to 350°F (175°C). Grease two 6-inch round cake pans, line the bottoms with parchment rounds, then grease the parchment. This double protection guarantees the delicate smash cake layers release cleanly.
Step 2: Cream butter and sugar
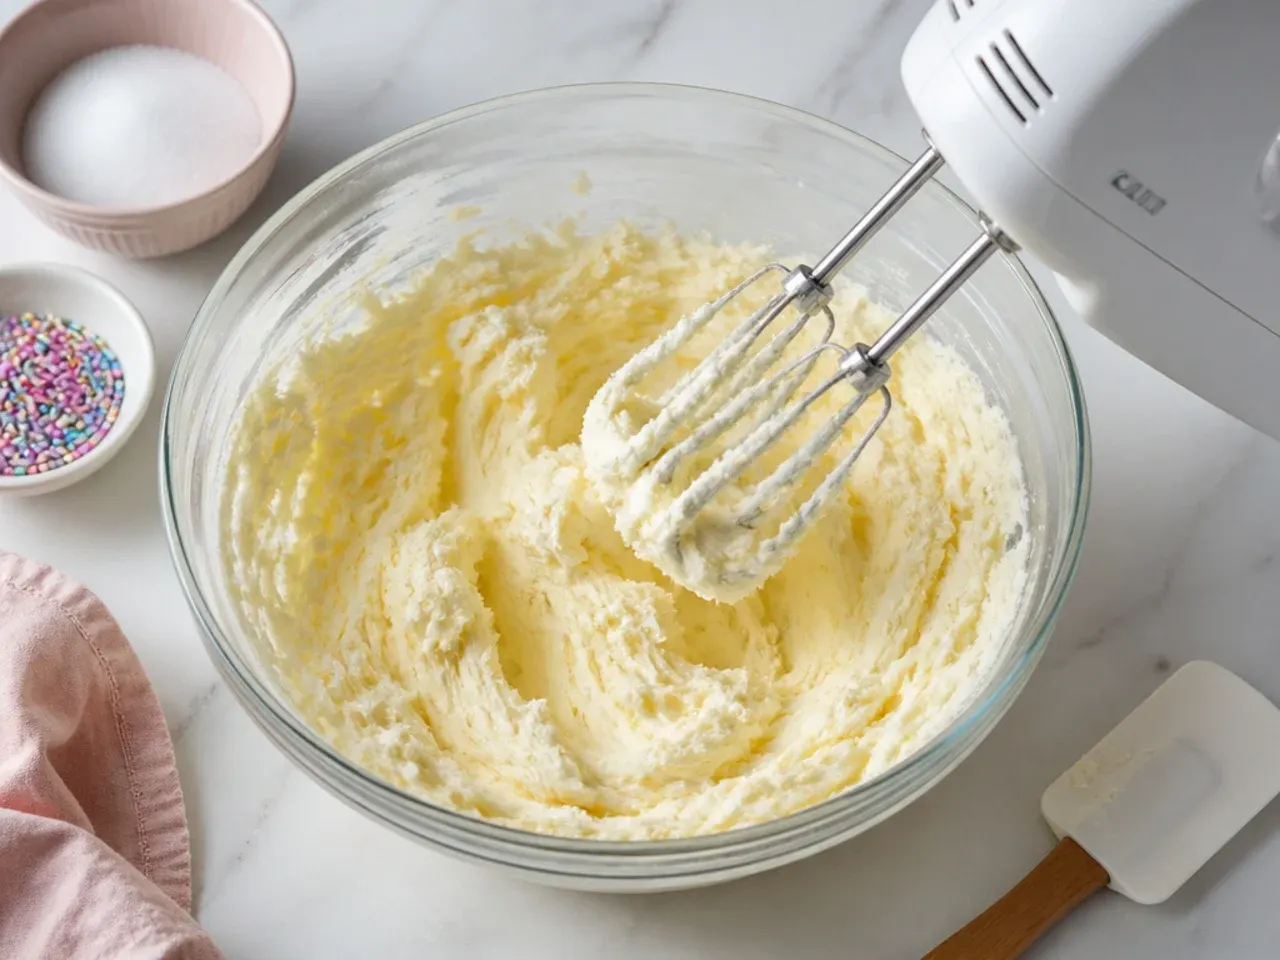
Beat the 115g softened butter and granulated sugar on medium-high for 3 to 4 minutes until pale and fluffy. Scrape down the bowl once. This step builds the air that gives the cake a soft, tender crumb.
Step 3: Add eggs and vanilla
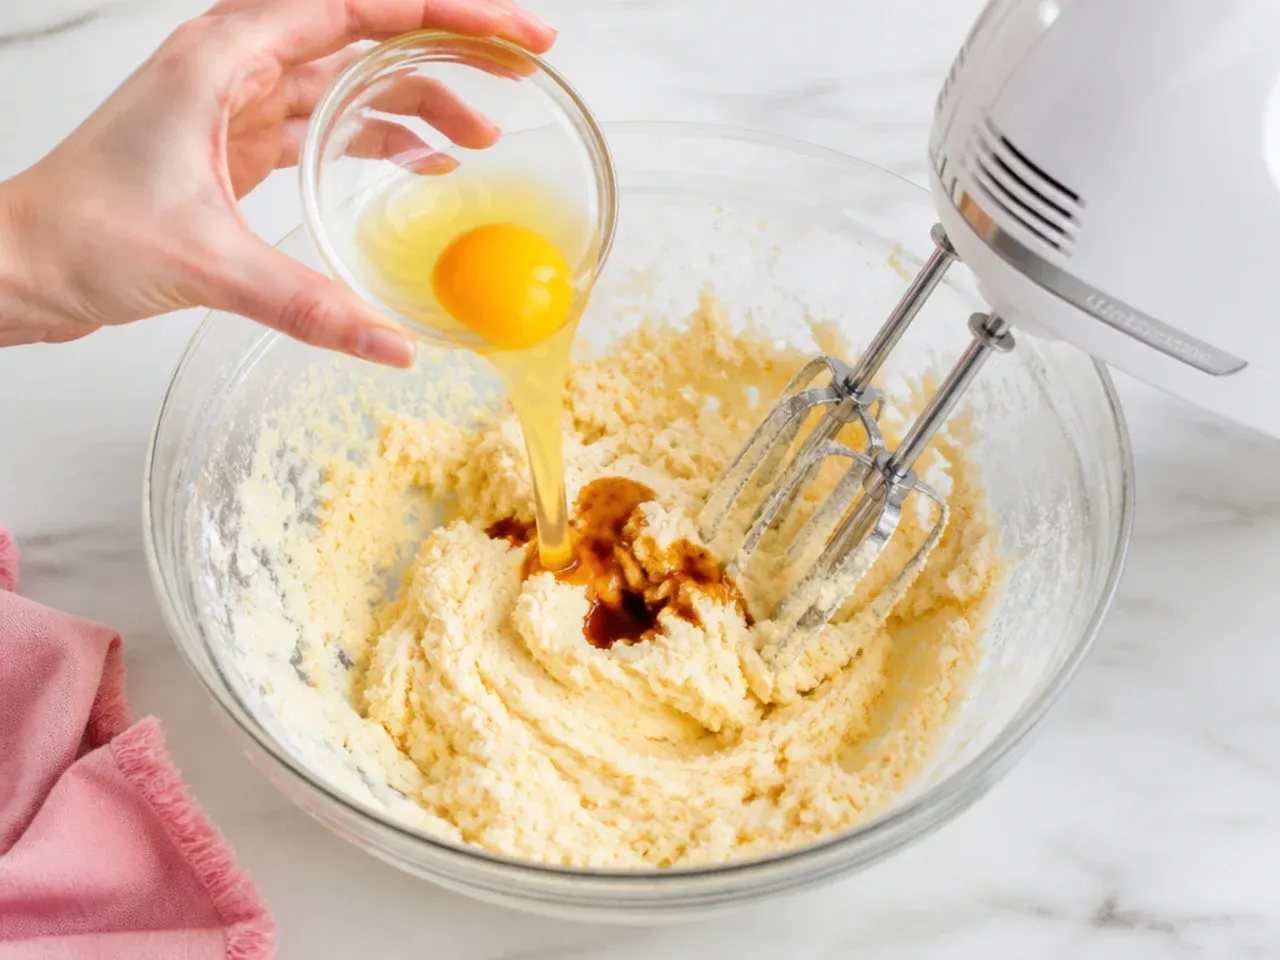
Beat in the eggs one at a time, then the 2 teaspoons vanilla, mixing well after each addition. If the mixture looks slightly curdled, add a tablespoon of the flour to bring it back together.
Step 4: Alternate dry and wet
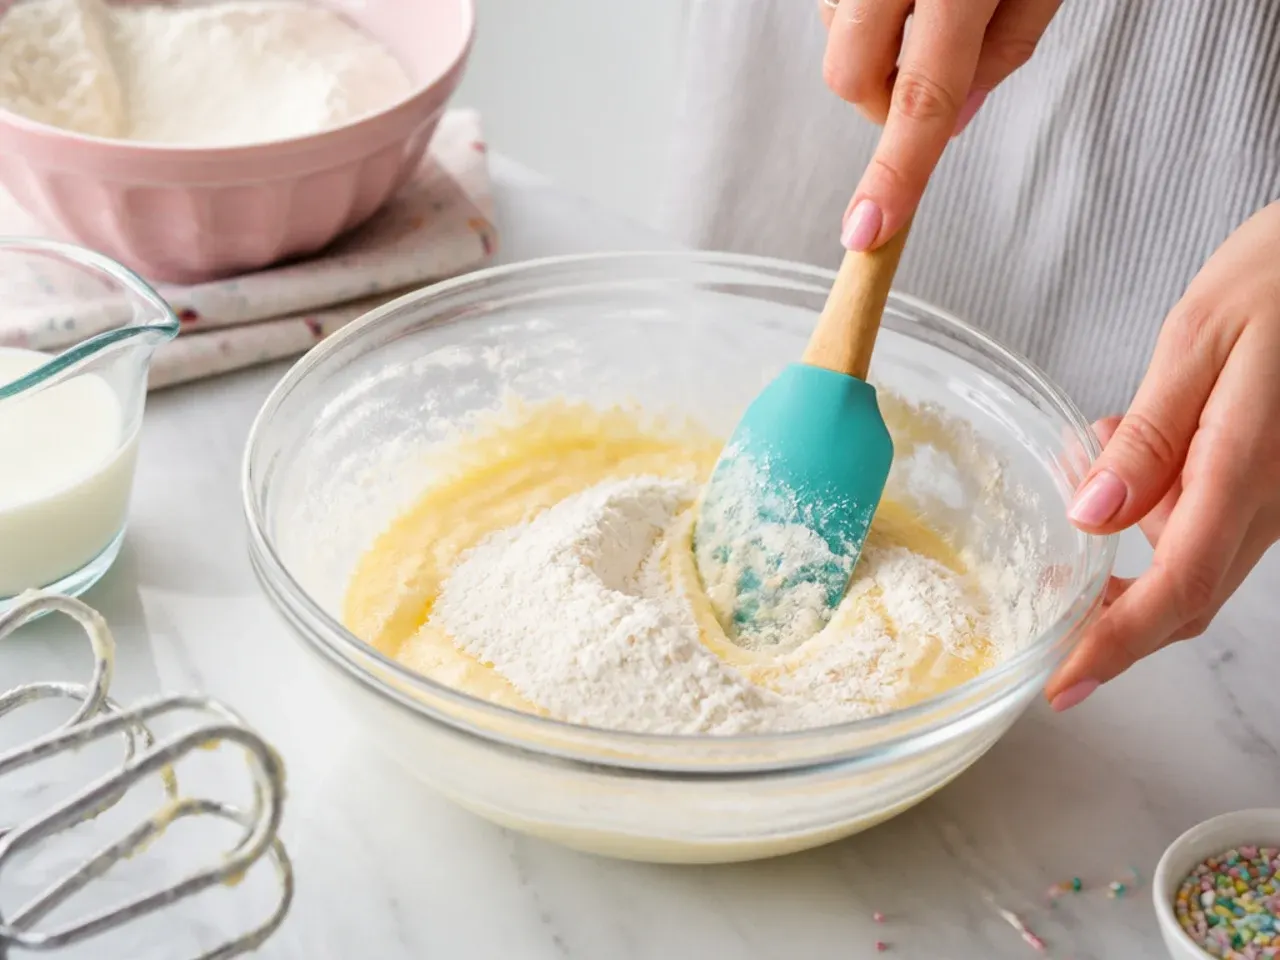
Whisk the flour, baking powder, and salt in a separate bowl. Add to the butter mixture in three additions, alternating with the 120ml milk, beginning and ending with flour. Mix on low just until no streaks remain; do not overmix or the cake turns tough.
Step 5: Bake the layers
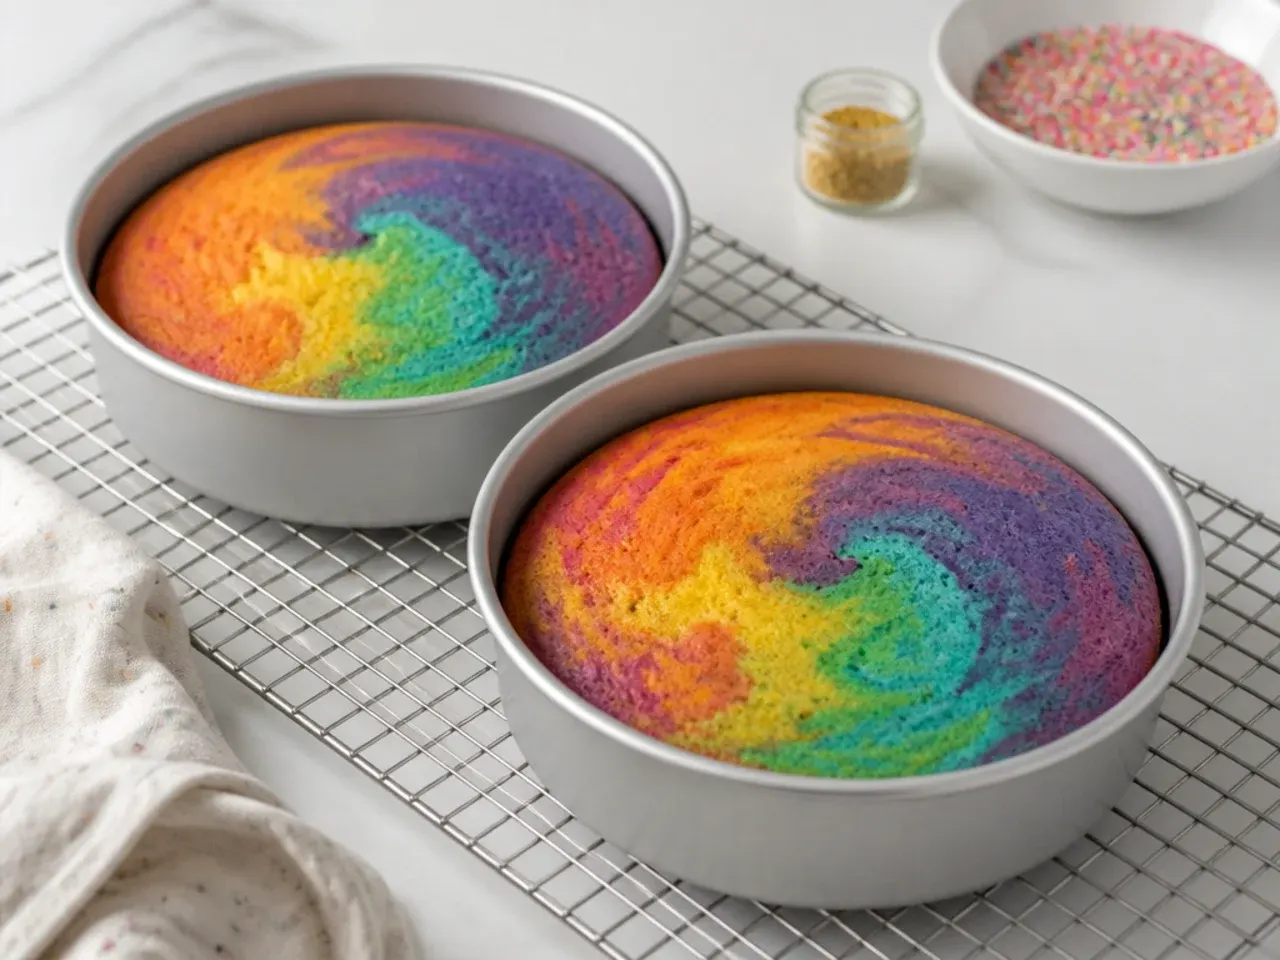
Divide the batter evenly between the two pans and smooth the tops. Bake at 350°F (175°C) for 22 to 28 minutes, until the tops spring back and a toothpick comes out clean. Rotate the pans halfway through for even baking.
Step 6: Cool and chill
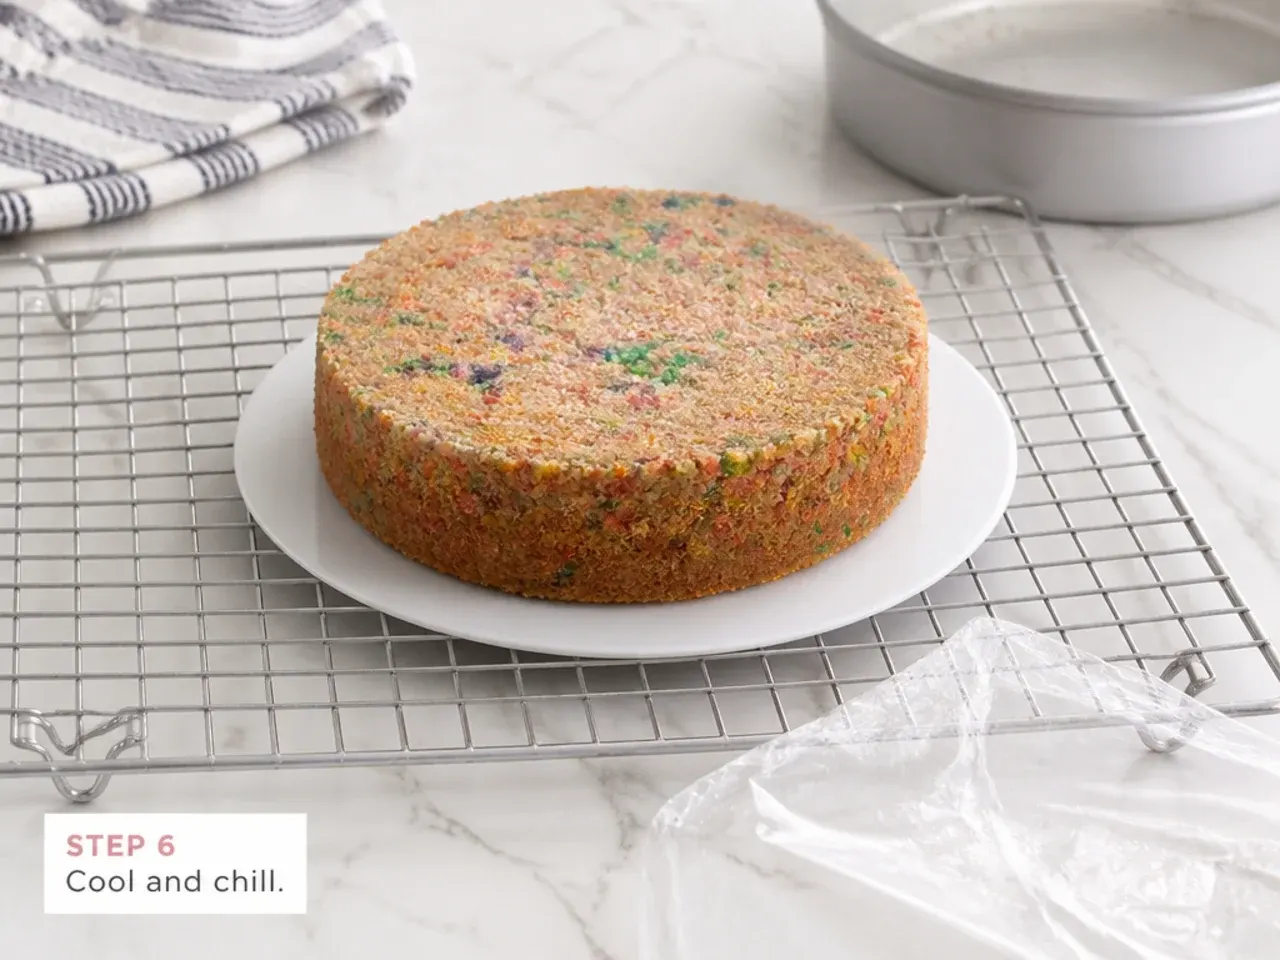
Cool the cakes in their pans for 10 minutes, then turn out onto a wire rack to cool completely. For easier frosting, wrap and chill the layers for 20 minutes or freeze for 15 minutes so they firm up and shed fewer crumbs.
Step 7: Make buttercream and assemble
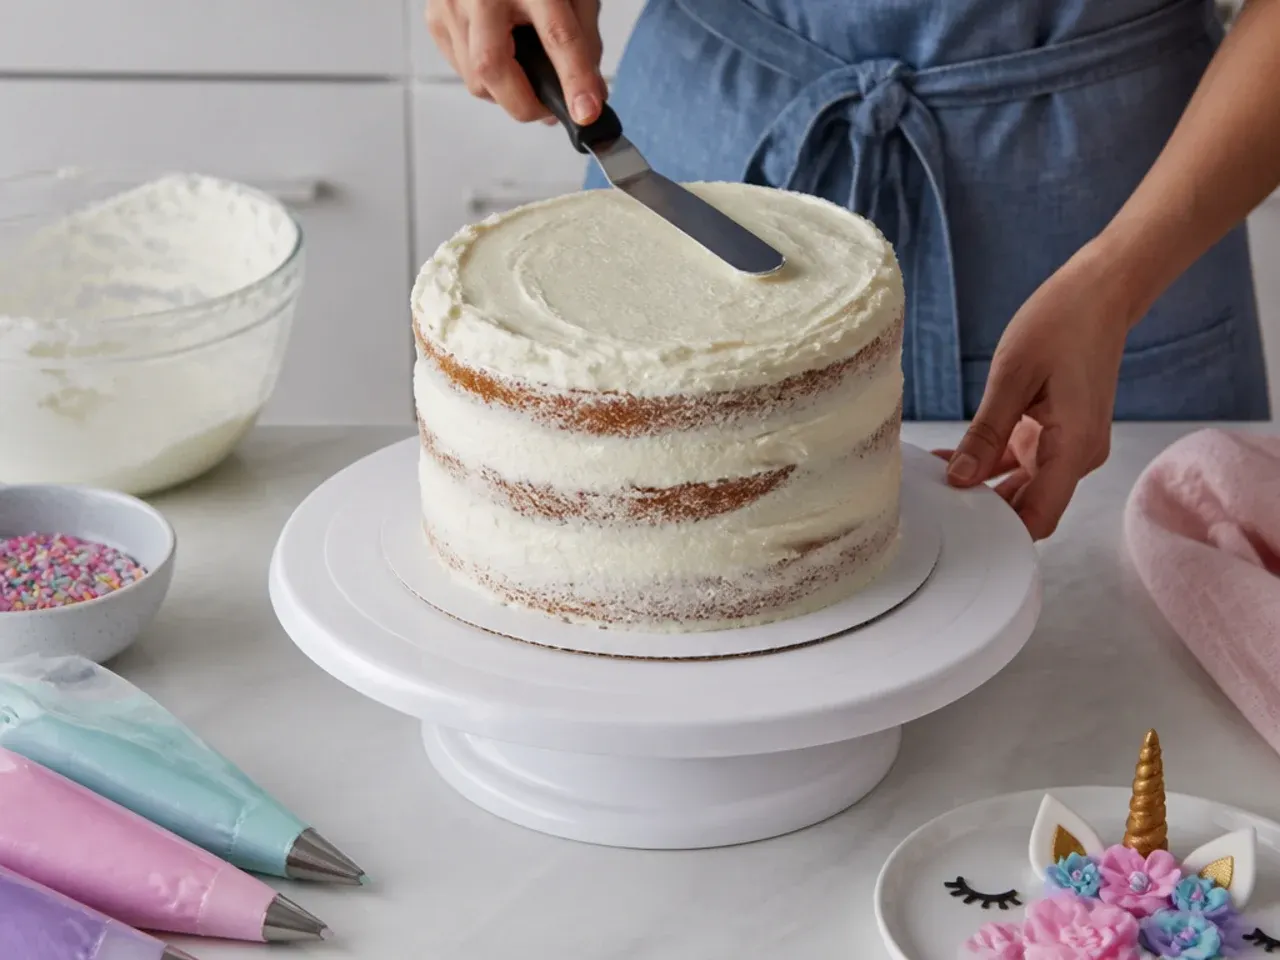
Beat the 225g butter until creamy, add the sifted confectioners' sugar in two additions, then the milk, 1 teaspoon vanilla, and a pinch of salt, and whip 2 to 3 minutes until fluffy. Stack the layers with buttercream between, crumb-coat, chill 20 minutes, then apply a smooth final coat and decorate with a tinted rosette mane and gold horn.
Frequently Asked Questions
A 6-inch two-layer cake or a 4-inch mini cake is ideal for a one-year-old. It gives a photogenic mini cake that little hands can actually reach and demolish, without wasting a large cake. This recipe uses two 6-inch pans, which is the most popular smash cake size.
Save this for later 📌
Pin this article to your Pinterest board so the full list is one tap away when you need it.
Save on Pinterest