Ingredients 12 Person(s)

Save this for later 📌
Pin this article to your Pinterest board so the full list is one tap away when you need it.
Save on PinterestDirections
Step 1: Bake the Vanilla Layers
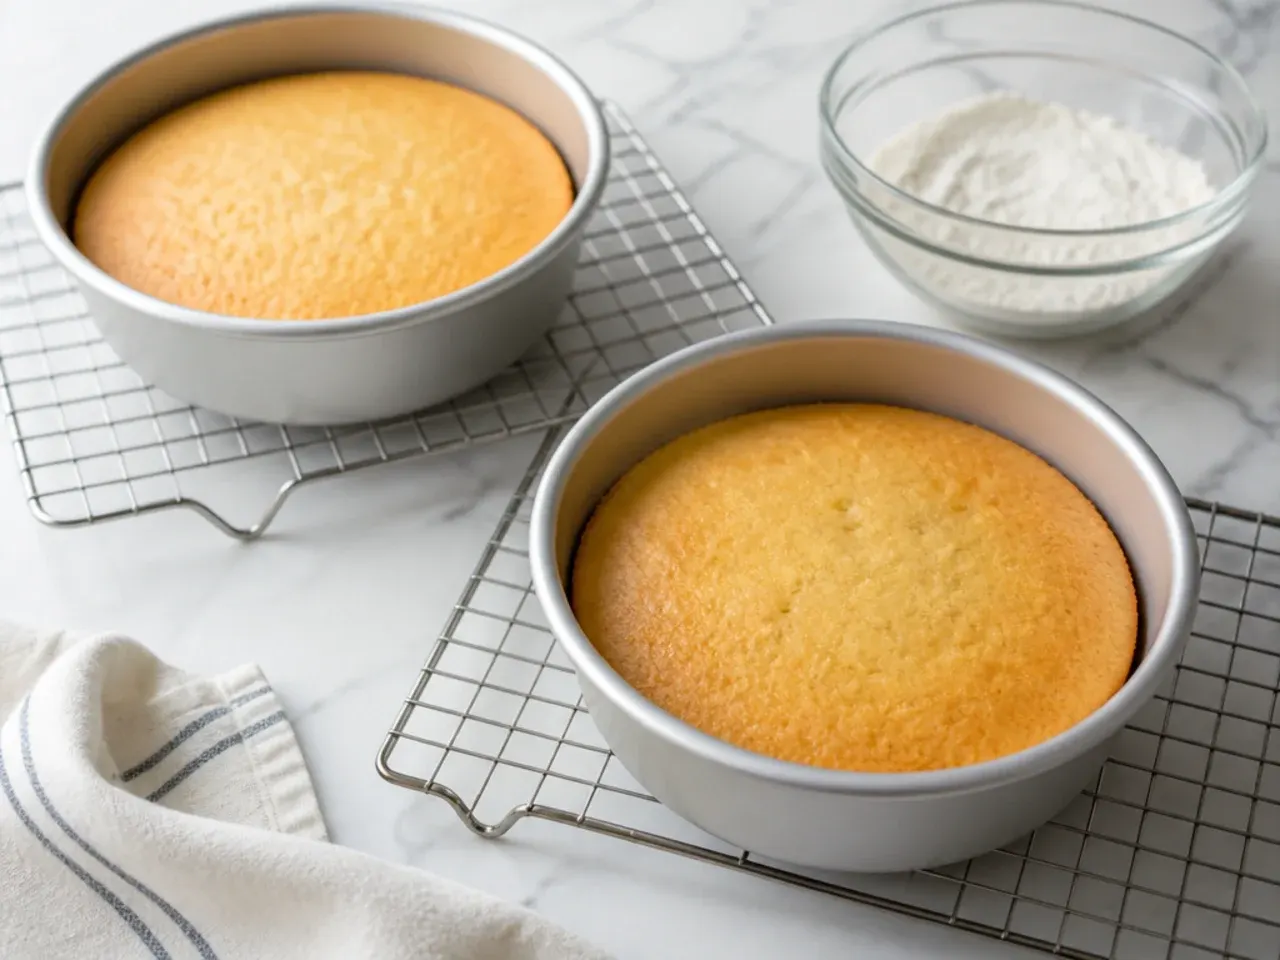
Heat the oven to 180°C/350°F (160°C fan) and grease and line three 18cm (7 inch) round tins with baking paper. Beat 230g softened butter with 300g caster sugar for a full 5 minutes until pale and fluffy, then beat in 3 eggs and 1 egg white one at a time, followed by 2 teaspoons of vanilla. Whisk 340g plain flour with 2½ teaspoons baking powder and ½ teaspoon salt, then fold it into the butter mixture in three additions, alternating with 240ml room-temperature buttermilk (no buttermilk? Stir 1 tablespoon lemon juice into whole milk and wait 5 minutes). Divide the batter evenly between the tins — about 470g each — and bake for 24-28 minutes, until a skewer comes out clean. Cool in the tins for 10 minutes, then turn out onto a wire rack; once cold, wrap the layers in cling film and chill for at least an hour, because cold layers are far easier to stack and coat.
Step 2: Whip and Tint the Buttercream
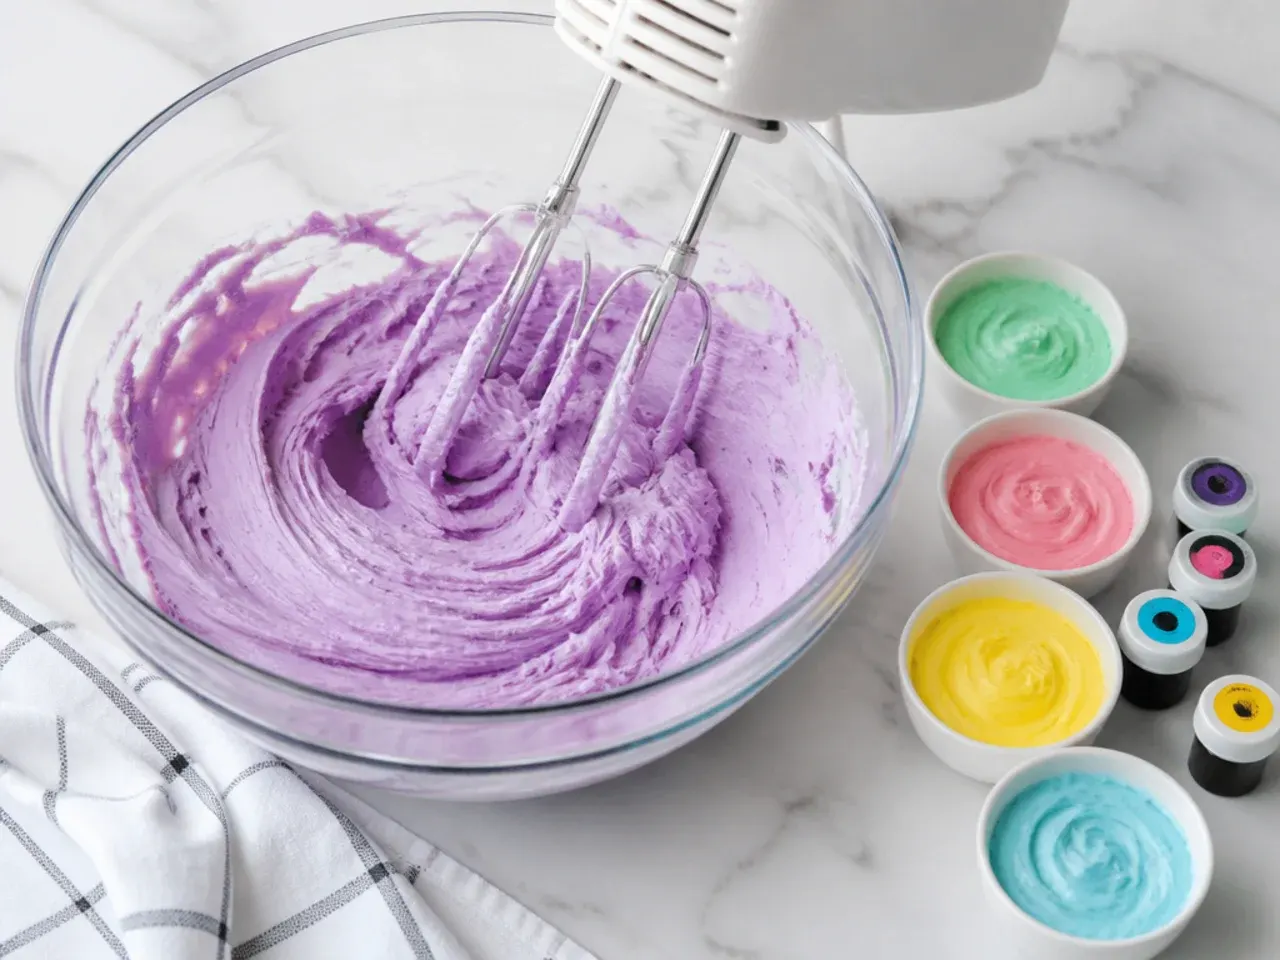
Beat 450g softened unsalted butter on medium-high speed for 5 minutes, until it is almost white — this is what keeps the base coat bright instead of yellow. Add 900g sifted icing sugar in three additions on low speed, then beat in 1 teaspoon of vanilla and 2-3 tablespoons of milk and whip on high for 3-5 minutes until light and creamy. Set aside roughly two-thirds of the batch, kept white, for filling and coating the cake. Divide the remaining third between four small bowls and tint them pastel pink, purple, teal and yellow, adding gel colour a toothpick-dab at a time. Finally, tint 2 tablespoons of the white portion black for piping the eyes later.
Step 3: Fill, Stack and Crumb Coat
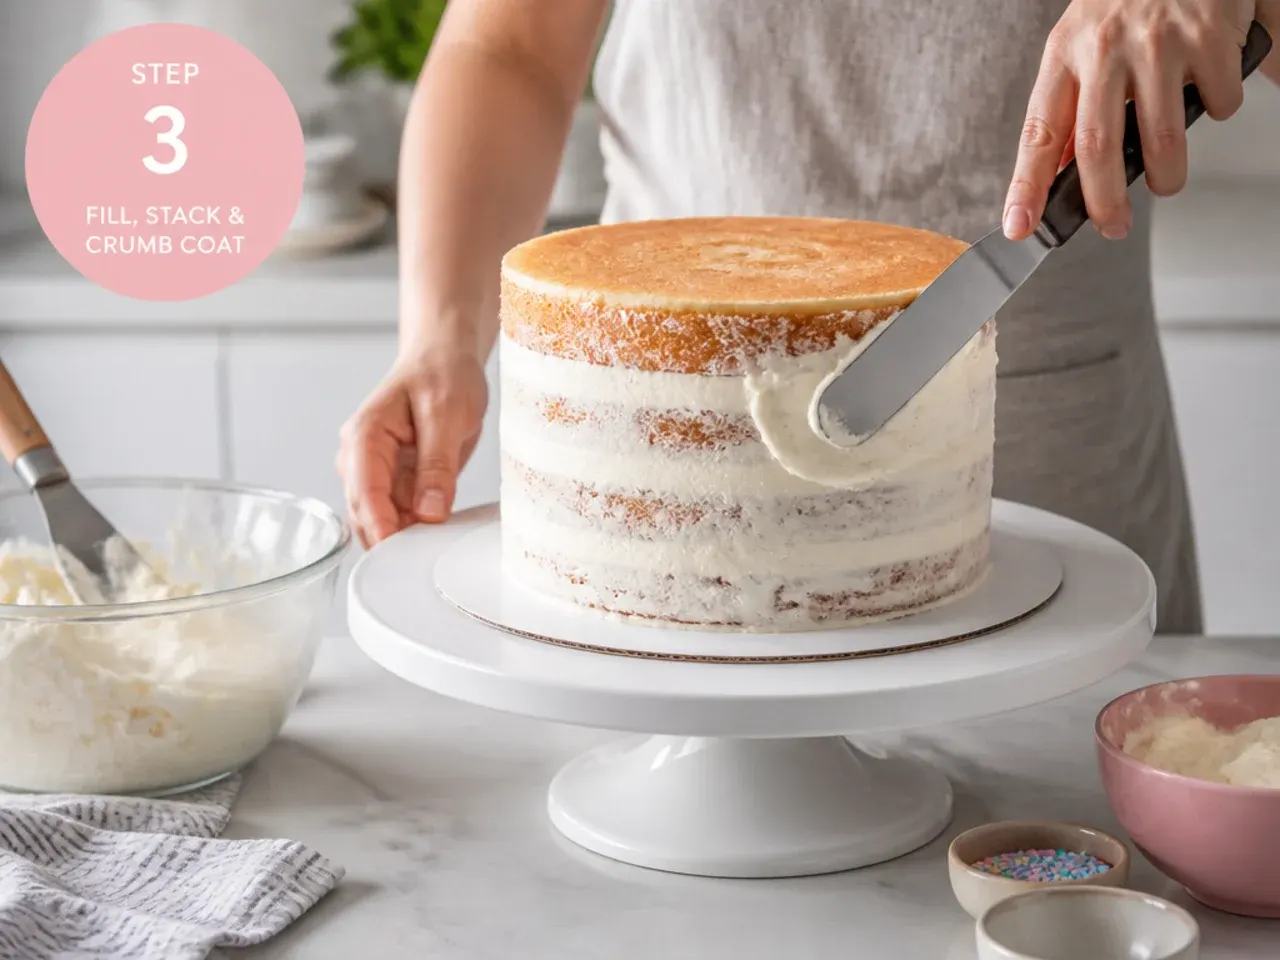
Level the domed tops of the cold layers with a serrated knife so the finished cake sits flat. Stack the layers on a cake board, spreading about 150g of white buttercream between each with an offset spatula. Spread a thin, scrappy crumb coat over the top and sides — it should be see-through in places — to lock in any loose crumbs. Chill the cake for 30 minutes, until the surface is firm to the touch; skipping this chill is the number one cause of crumbs streaking through the white top coat.
Step 4: Apply the Smooth Final Coat
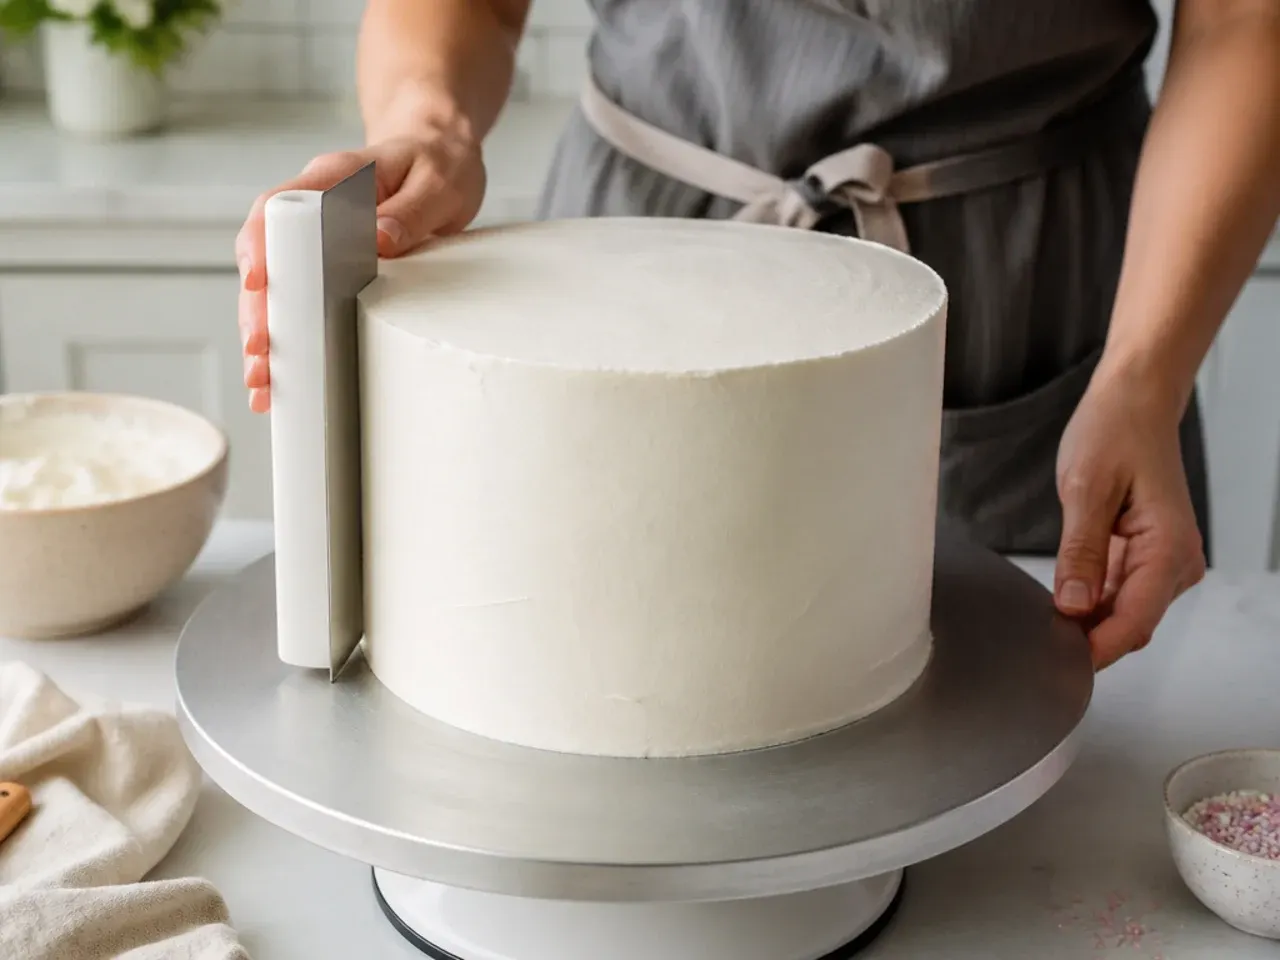
Spread a generous, even layer of white buttercream over the chilled cake, working on a turntable if you have one. Hold a bench scraper vertically against the side and rotate the cake in long, slow passes to smooth the buttercream, wiping the scraper clean between passes. Drag the raised lip of buttercream at the top edge inward with an offset spatula to create a sharp, clean edge. Because the mane only covers about a third of a buttercream unicorn cake, this smooth white coat is what people see most — take your time, then chill the cake for 15-20 minutes.
Step 5: Add the Horn, Ears and Eyes
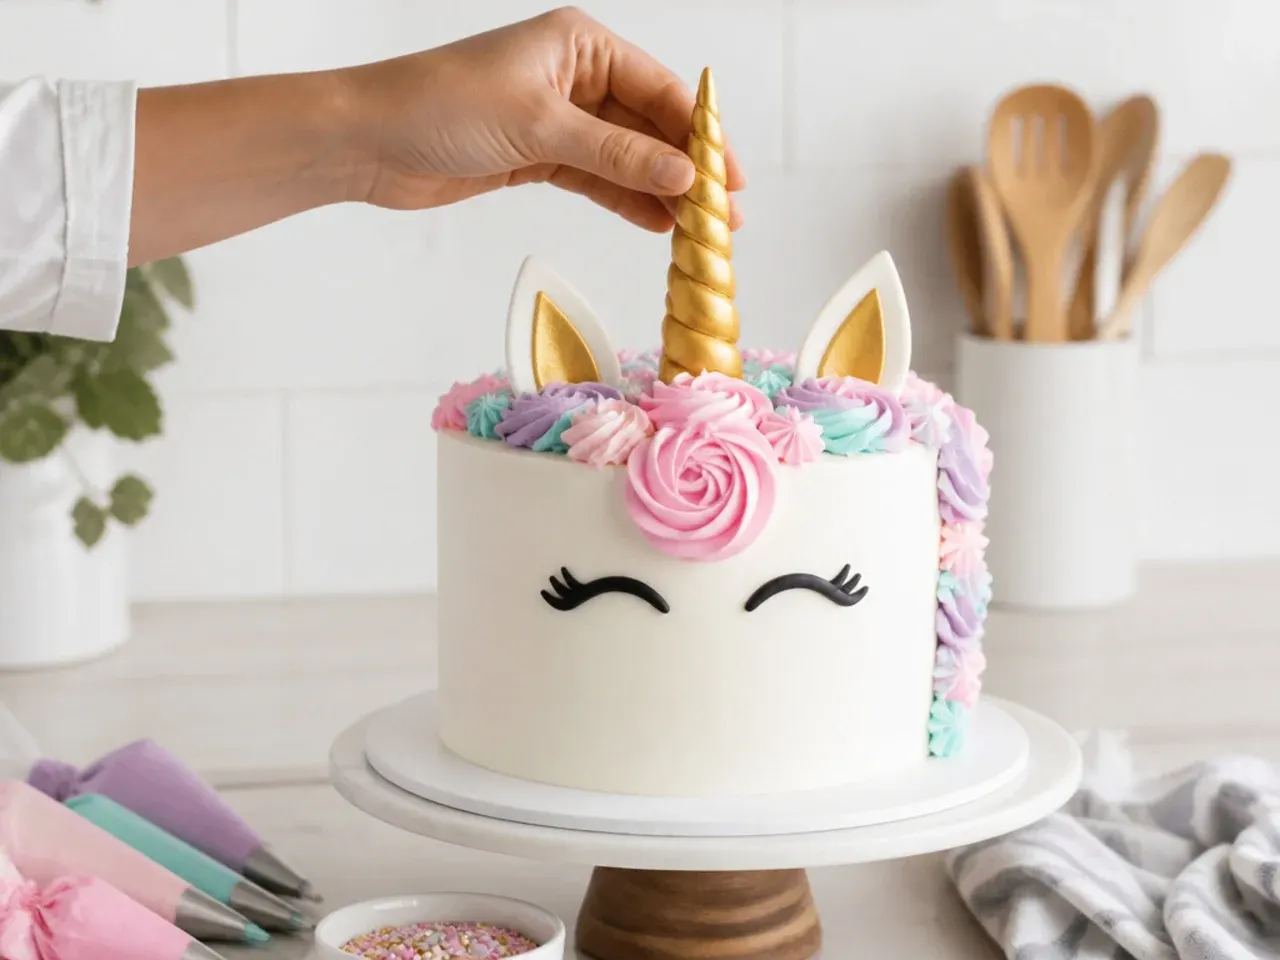
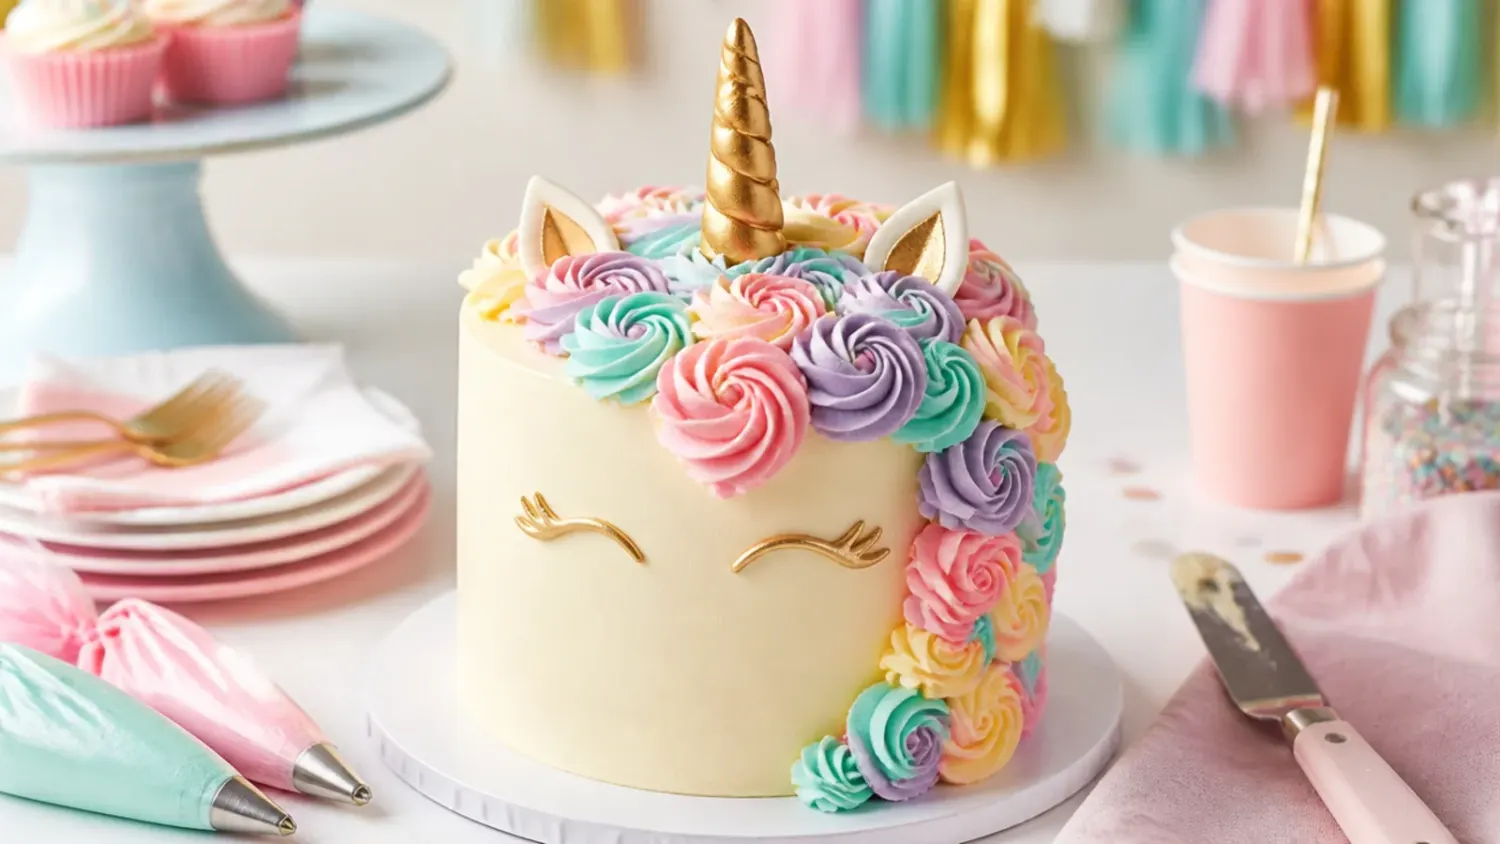
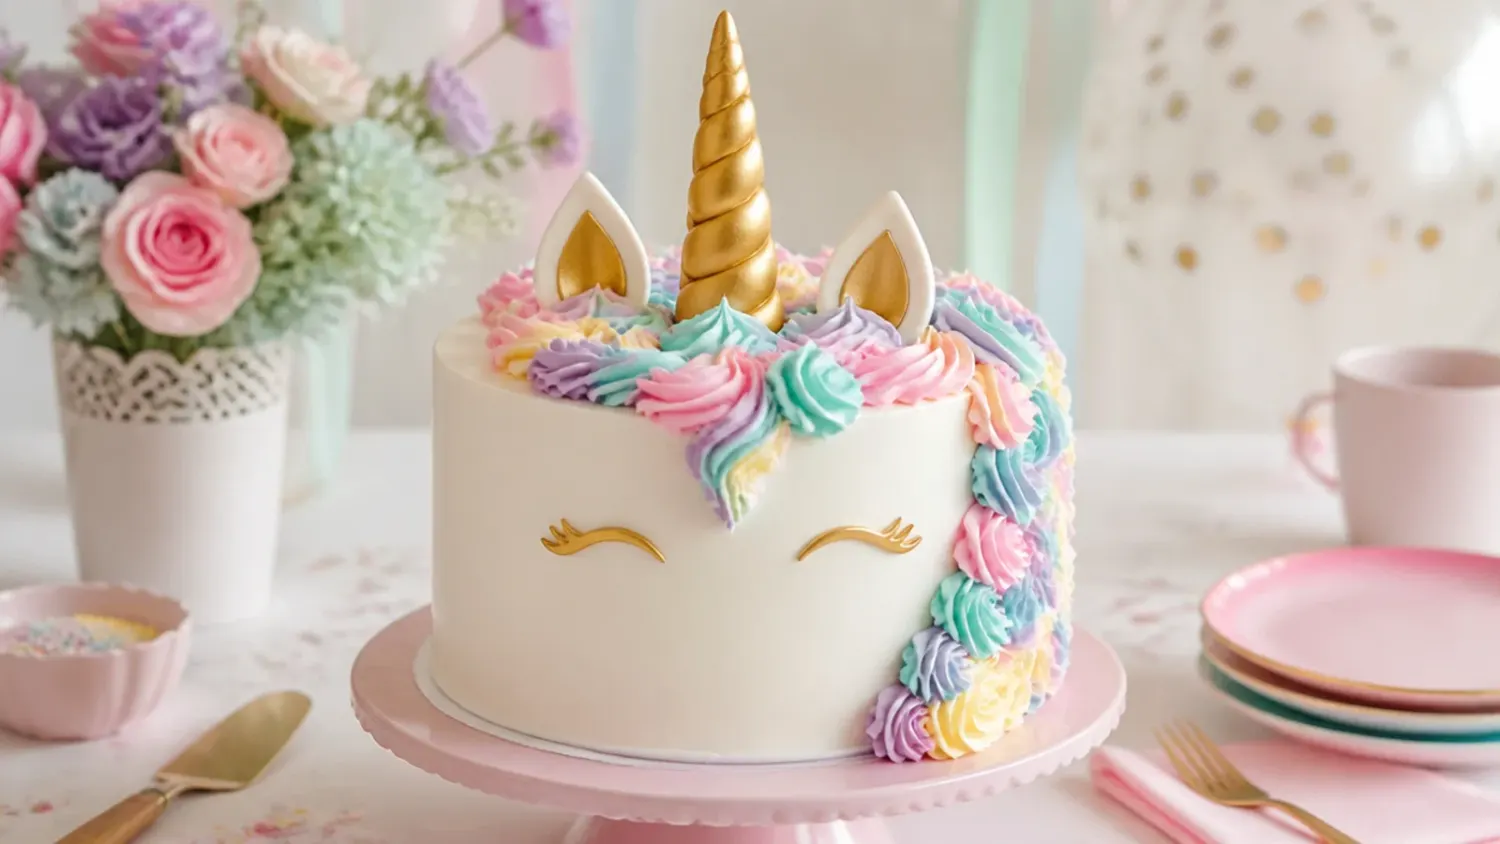
For the horn, roll two 20cm ropes of white fondant, twist them together around a wooden skewer into a taper, and leave it to dry for 24 hours before painting it with gold lustre dust mixed with a few drops of clear alcohol or lemon extract. Shape two teardrop ears from the remaining fondant, press a smaller flattened pink teardrop into the centre of each, and mount them on cocktail sticks. Push the horn into the centre-top of the cake and place an ear on each side, angled slightly outward. Pipe the sleeping eyes on the upper third of the front of the cake using the black buttercream and a No. 2 or 3 round tip: two gentle downward curves, each finished with three short flicked lashes. If time is short, a shop-bought horn-and-ears topper works perfectly — just insert it at this stage.
Step 6: Pipe the Rainbow Mane
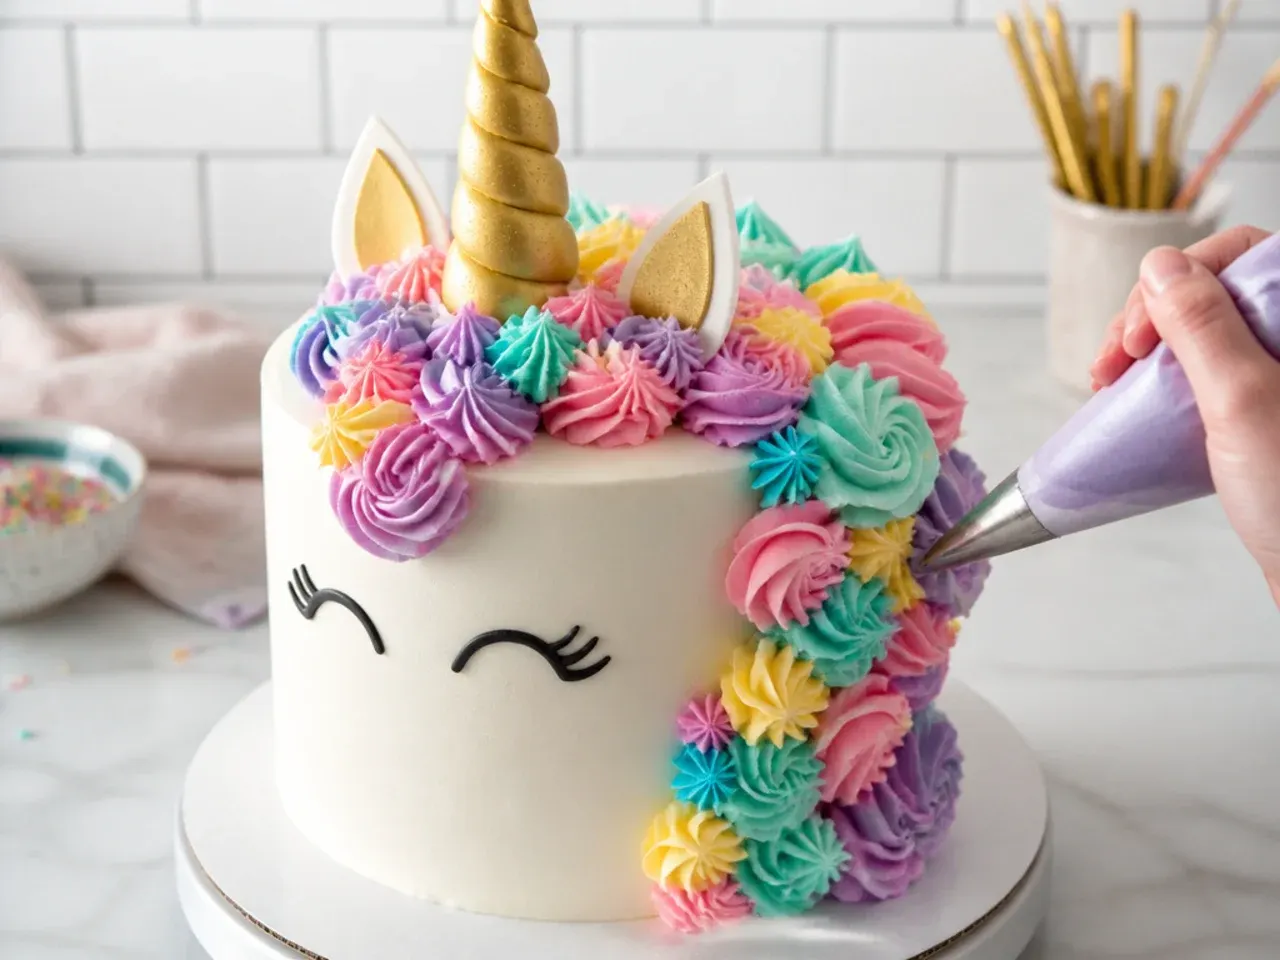
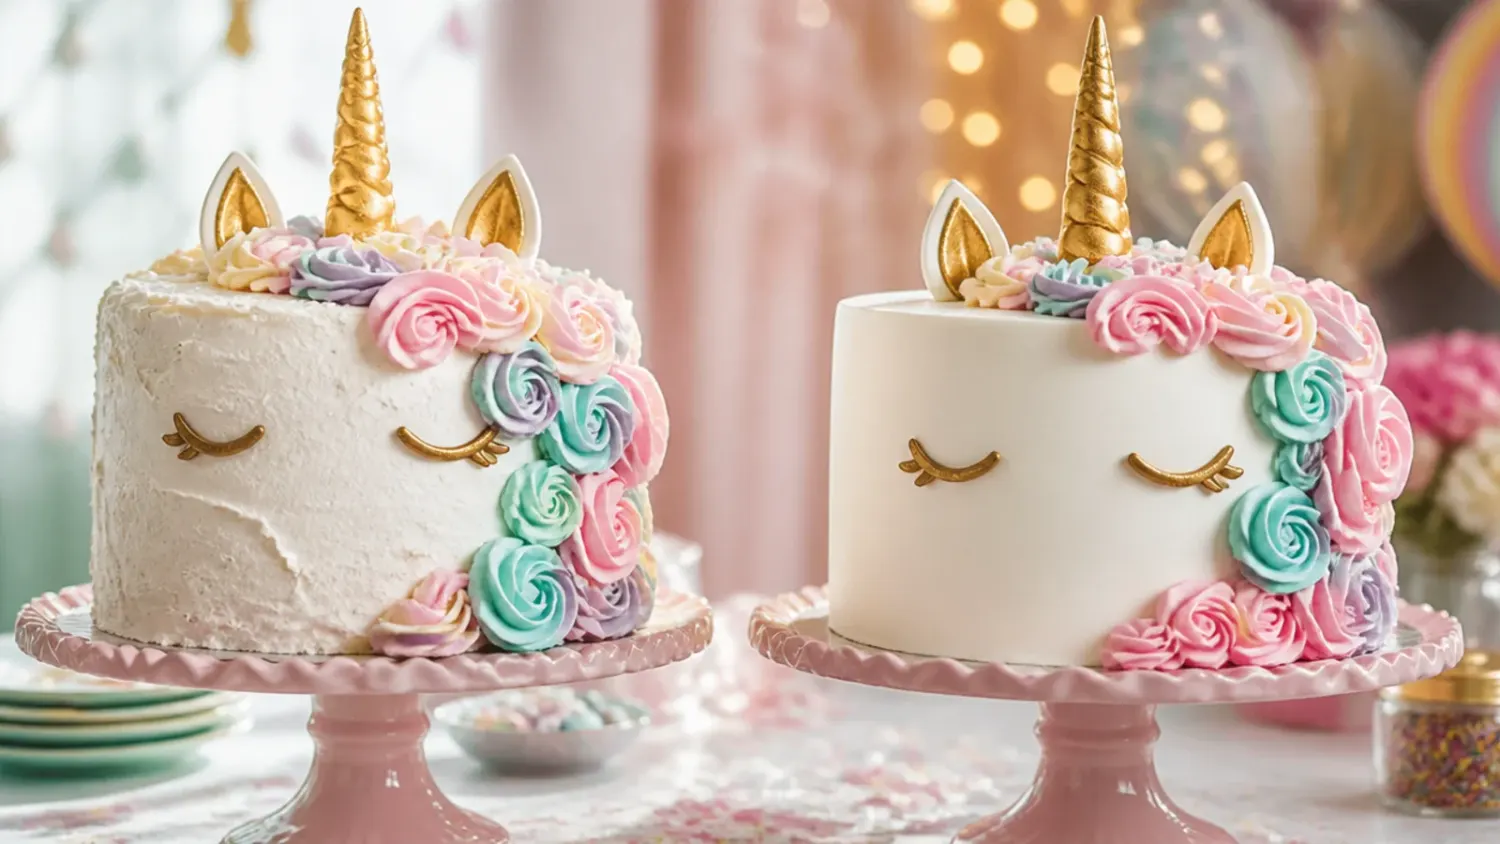
Fit piping bags with a Wilton 1M star tip and a 4B open-star tip and fill them with the tinted buttercreams. Starting just behind the horn, pipe large 1M rosettes in alternating colours in a crescent that flows between the ears, over the back edge and about halfway down the back of the cake. Fill every gap with 4B stars and small dollops so no white shows through the mane. Pipe two or three extra rosettes near the base of the back for a trailing-mane effect, then press pearl sprinkles or edible glitter gently into the fresh buttercream. Chill the finished cake for 20 minutes to set the mane before moving or transporting it.
Pro Tips
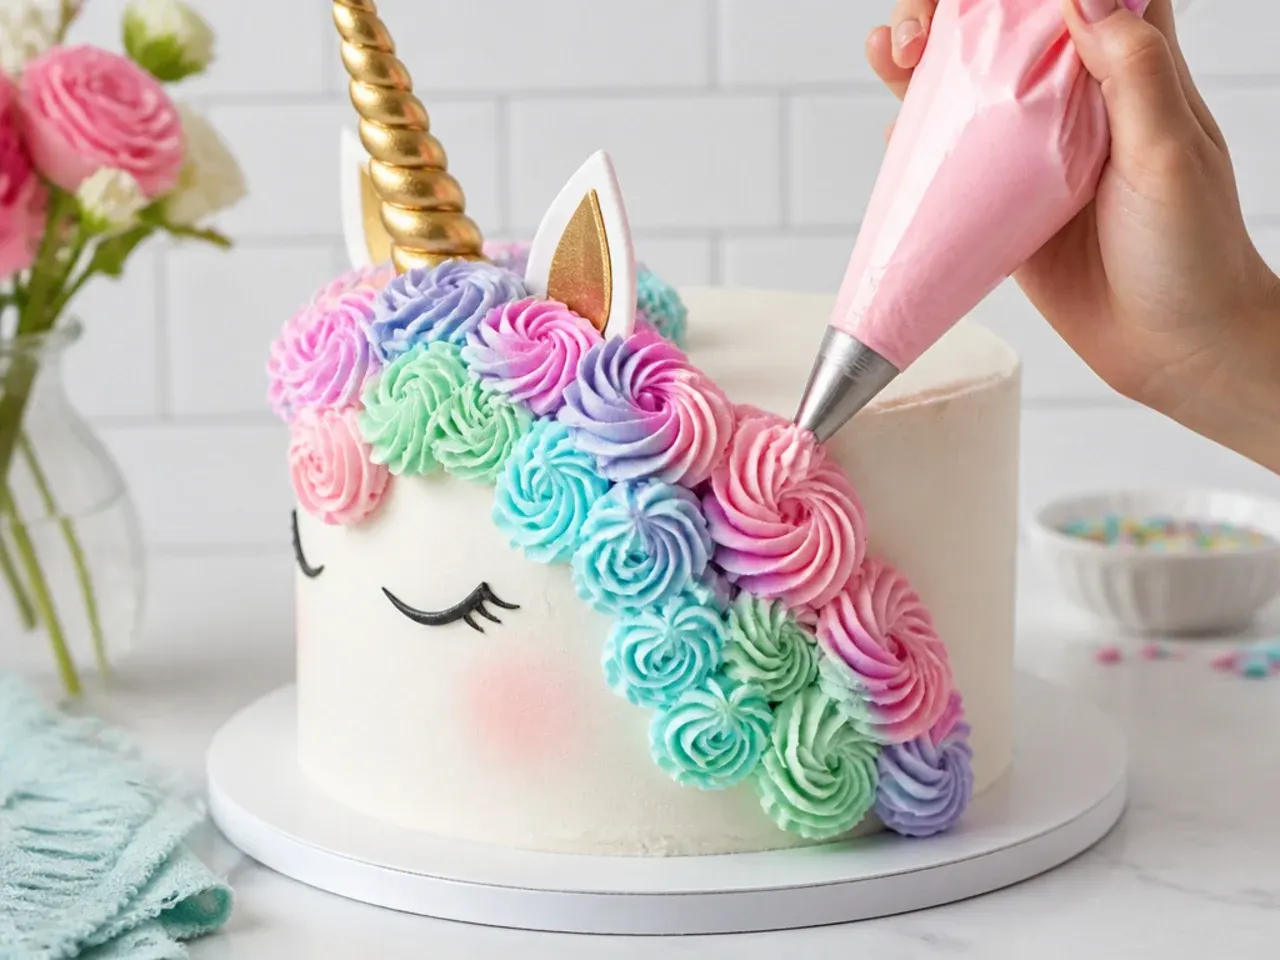
Chill the cake at every stage — 30 minutes after the crumb coat and 15-20 minutes after the final coat — because rosettes slide straight off buttercream that has gone soft. Use gel colours (Sugarflair, Wilton or AmeriColor) added with a toothpick; liquid supermarket colouring thins the buttercream and rarely gets past a washed-out pastel. For a multi-coloured swirl from one bag, pipe stripes of each colour side by side on cling film, roll it into a log, twist the ends and drop the whole log into a bag fitted with the 1M tip. Practise each rosette on a sheet of baking paper first, then scrape the buttercream back into the bowl — nothing is wasted. Keep the mane to a crescent that covers roughly a third of the cake; a fully covered top looks crowded and hides the horn. If your kitchen is warm, park the filled piping bags in the fridge for 10 minutes whenever the buttercream starts losing definition.
Storage and Make-Ahead Tips
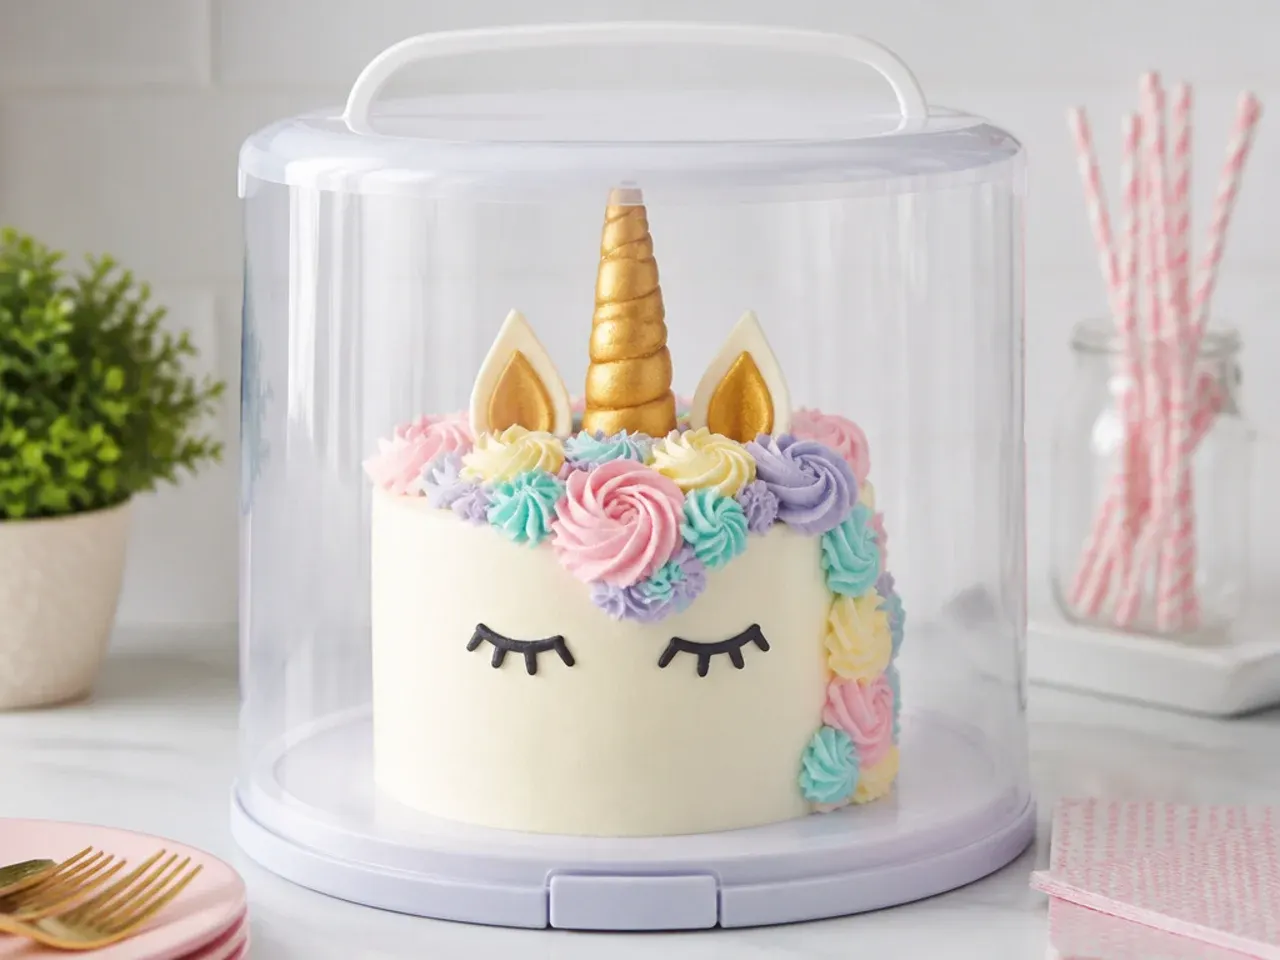
Bake the sponge layers up to 2 days ahead, wrap them tightly in cling film and keep them at room temperature, or freeze them for up to 3 months double-wrapped in cling film and foil. Buttercream keeps for 1 week in the fridge or 3 months in the freezer in an airtight tub — bring it back to room temperature and re-whip it for 2-3 minutes before piping. Make the fondant horn and ears 2-3 days in advance so they dry rock-hard and stand upright on the cake. The fully decorated cake holds beautifully for up to 3 days in the fridge inside a tall cake carrier; take it out 2-3 hours before the party so the buttercream softens back to a creamy texture. Store leftover slices with cling film pressed against the cut sides for up to 3 days in the fridge, or freeze individual slices for up to 3 months.
Learn how to make a buttercream unicorn cake in 6 simple steps, with a fluffy vanilla sponge, a rainbow rosette mane and an easy fondant horn. For more unicorn cake inspiration, browse the full Unicorn Cake Ideas board — every idea there is written for real home kitchens, not professional bakers.
Frequently Asked Questions
Yes — in fact it is easier. Bake and chill the layers, decorate the cake fully the day before, and store it in the fridge in a tall cake carrier. Take it out 2-3 hours before serving so the buttercream returns to a soft, creamy texture. Just remember the fondant horn needs to be made at least 24 hours ahead so it dries firm.

Related Recipes

Save this for later 📌
Pin this article to your Pinterest board so the full list is one tap away when you need it.
Save on Pinterest