15 Dreamy No-Bake Biscoff Cheesecakes
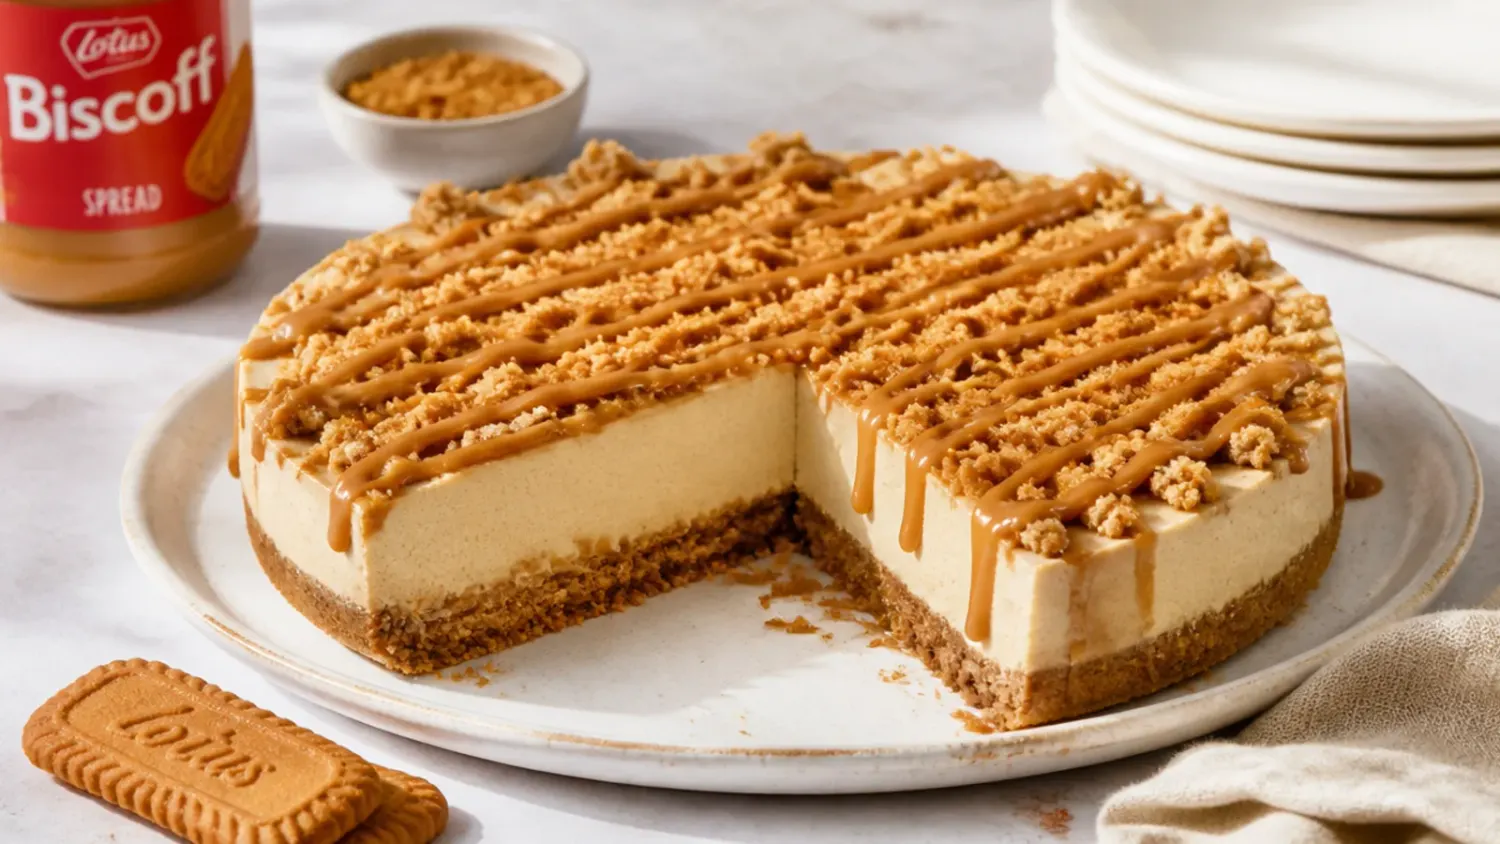
Fifteen dreamy no bake biscoff cheesecake ideas — classic drip, vegan, frozen and more — plus a foolproof base recipe that sets without gelatin. If you love biscoff cheesecake inspiration, start with our Biscoff Cheesecake Recipes collection, then browse the full Desserts hub for more.

Save this for later 📌
Pin this article to your Pinterest board so the full list is one tap away when you need it.
Save on PinterestDesserts
Beginner
Recipes
15 ideas
Table of Contents
- Why You'll Love These
- 1. Classic Biscoff Drip Cheesecake
- 2. Five-Ingredient Biscoff Cheesecake Pots
- 3. Patisserie-Style Rosette Biscoff Cheesecake
- 4. Loaded Biscoff Overload Cheesecake
- 5. White Chocolate Biscoff Cheesecake
- 6. Rustic Biscoff Cheesecake Traybake Bars
- 7. Raspberry Ripple Biscoff Cheesecake
- 8. Sleek Minimalist Biscoff Cheesecake
- 9. Gingerbread-Spice Festive Biscoff Cheesecake
- 10. Frozen Biscoff Ice Cream Cheesecake
- 11. Espresso Biscoff Cheesecake
- 12. Light Biscoff Mousse Cheesecake
- 13. Banoffee Biscoff Cheesecake
- 14. Vegan No-Bake Biscoff Cheesecake
- 15. Biscoff Cheesecake Trifle
- Pro Tips
- Serving Suggestions
- Storage and Reheating
- The Master Recipe
Why You'll Love These
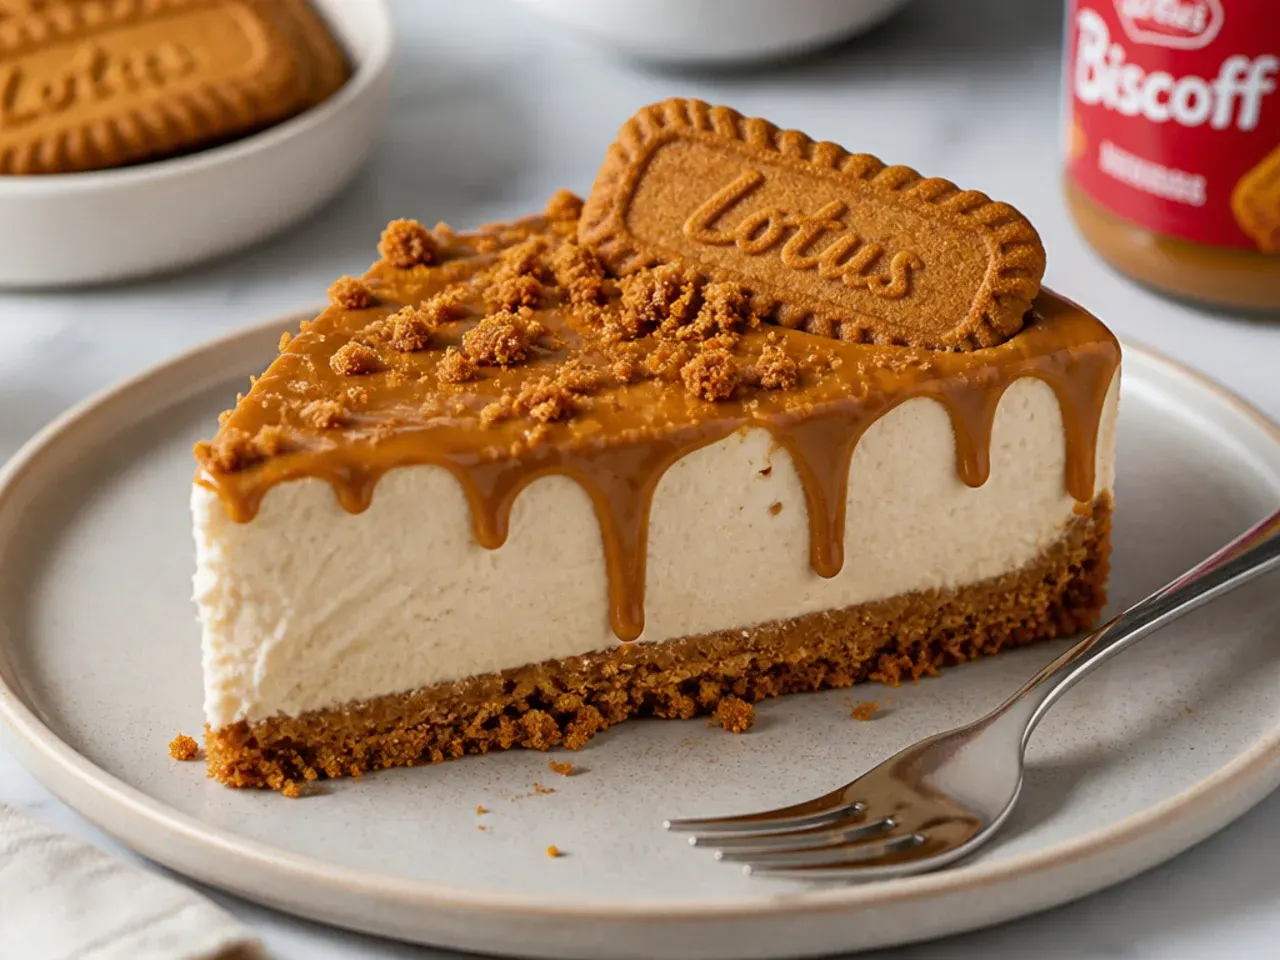
A no bake biscoff cheesecake needs no oven, no water bath and no gelatin — just an electric whisk, a 20cm (8 inch) springform tin and 6 hours in the fridge. The base recipe below uses one packet of Biscoff biscuits and a jar of Biscoff spread, so a single supermarket trip covers almost every idea in this list. Because the filling sets from whipped double cream and full-fat cream cheese, it slices cleanly yet stays mousse-light, and it can be made up to 2 days ahead of a party. Every one of the 15 variations builds on that same base, so once you have made it once you can riff endlessly. Whether you need jars for a picnic, bars for a bake sale or a piped showstopper for a birthday, there is a version here that fits.
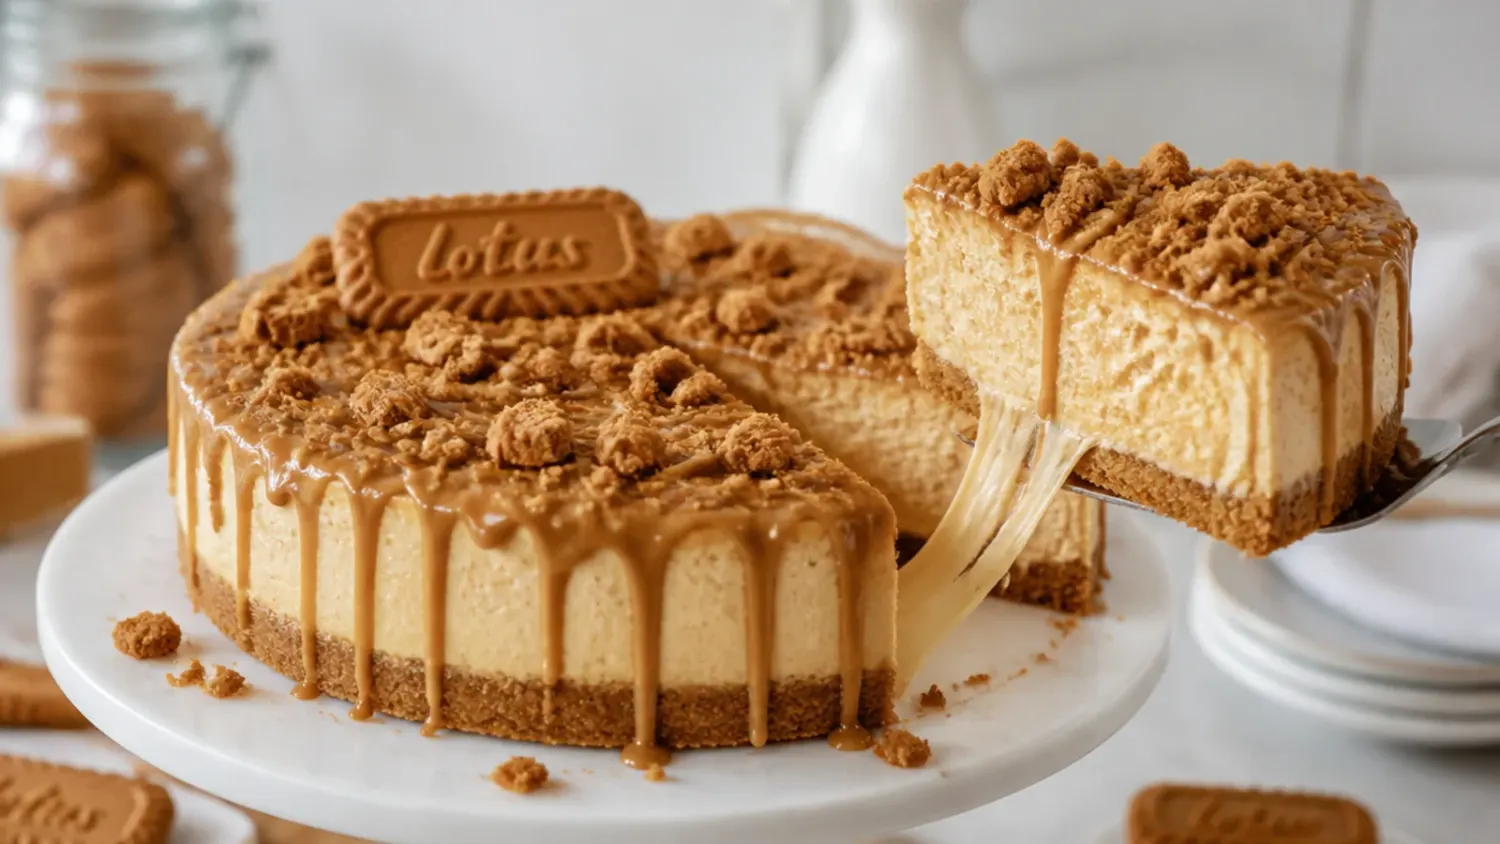
1. Classic Biscoff Drip Cheesecake
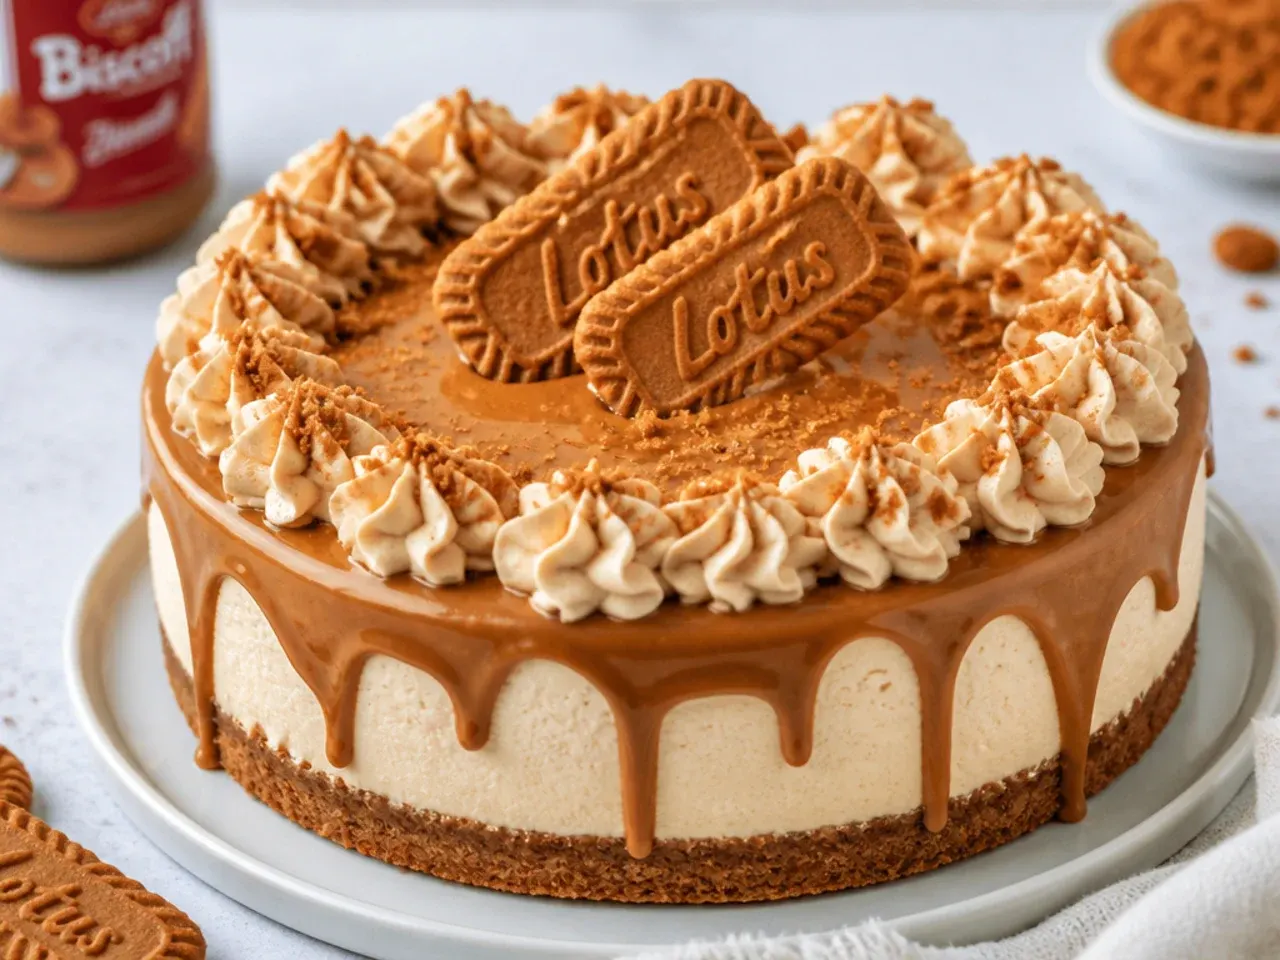
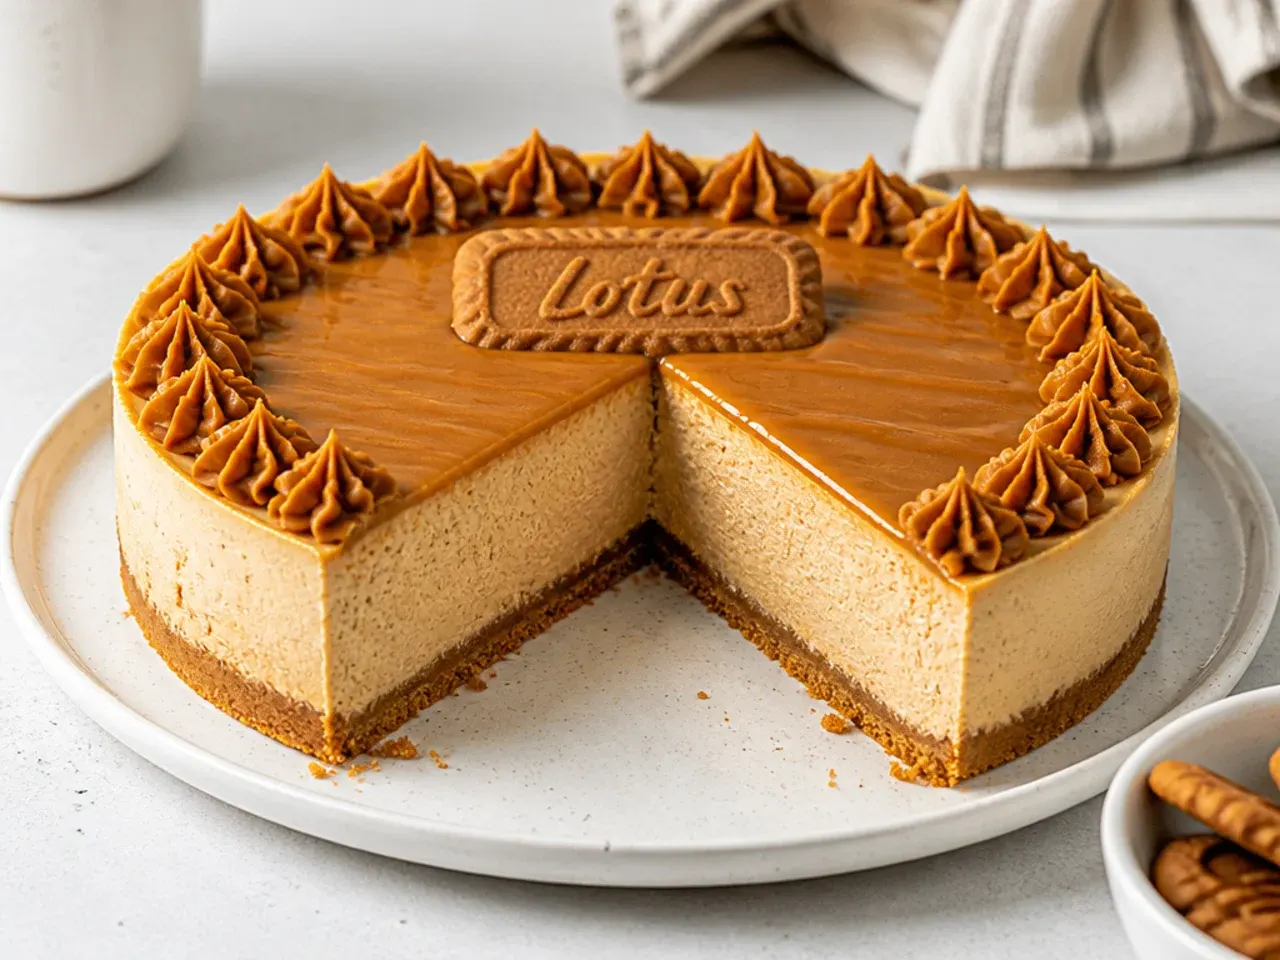
This is the definitive version: buttery biscuit base, cookie-butter cream cheese filling and a glossy layer of melted Biscoff spread poured over the top. It works because the warm spread cools into a soft fudge lid that cracks gently under the fork, giving three textures in one slice. Make the base recipe below in a 20cm (8 inch) springform, then freeze the set cheesecake for 20–30 minutes before pouring over 150g of spread melted for 30–45 seconds in the microwave — the brief freeze stops the warm topping melting the filling. Finish with a ring of crushed biscuits around the edge and chill 30 minutes more before slicing. This is the version to make first, and the one guests will ask for again.
2. Five-Ingredient Biscoff Cheesecake Pots
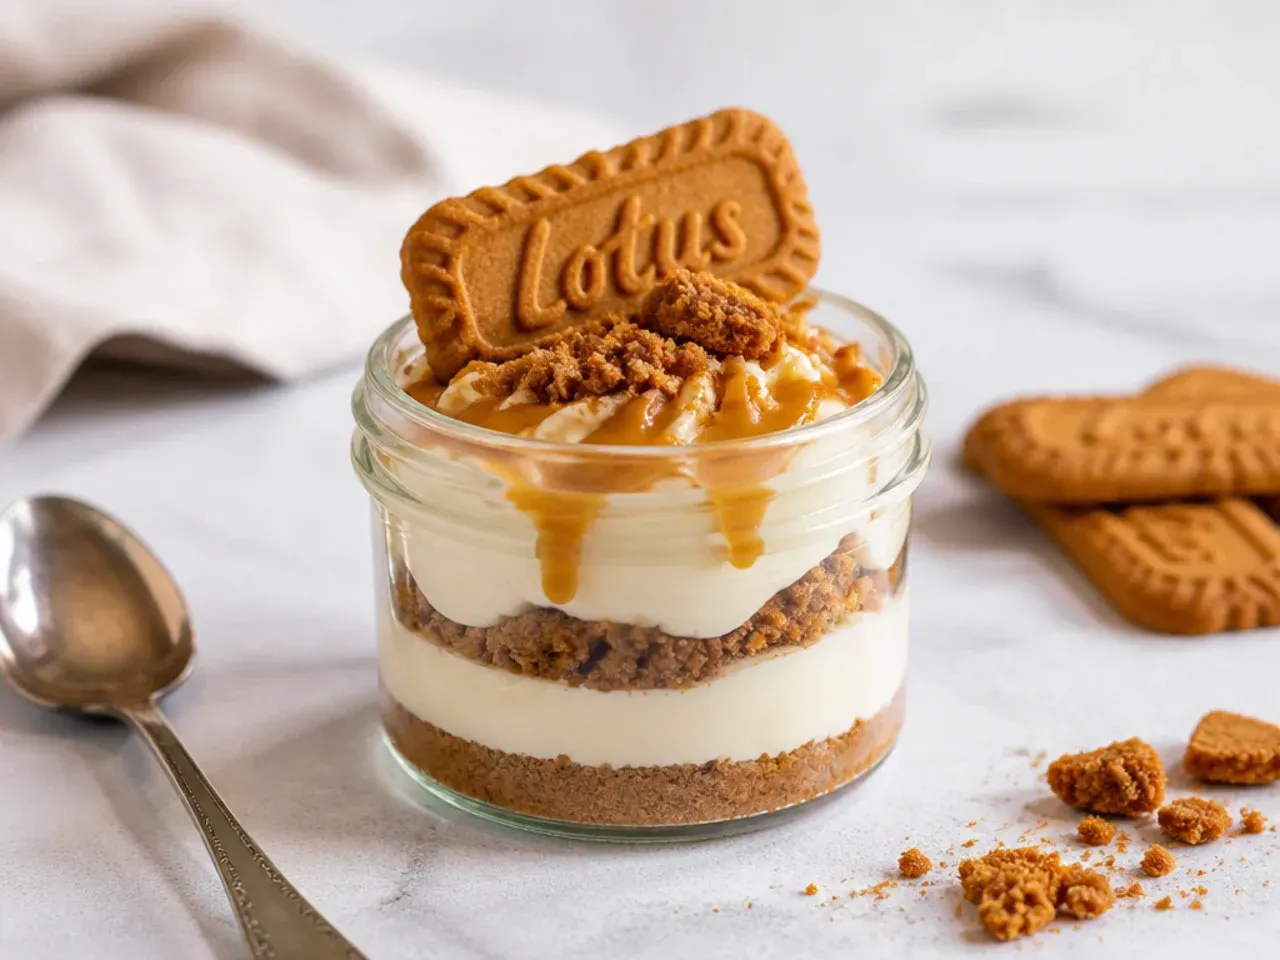
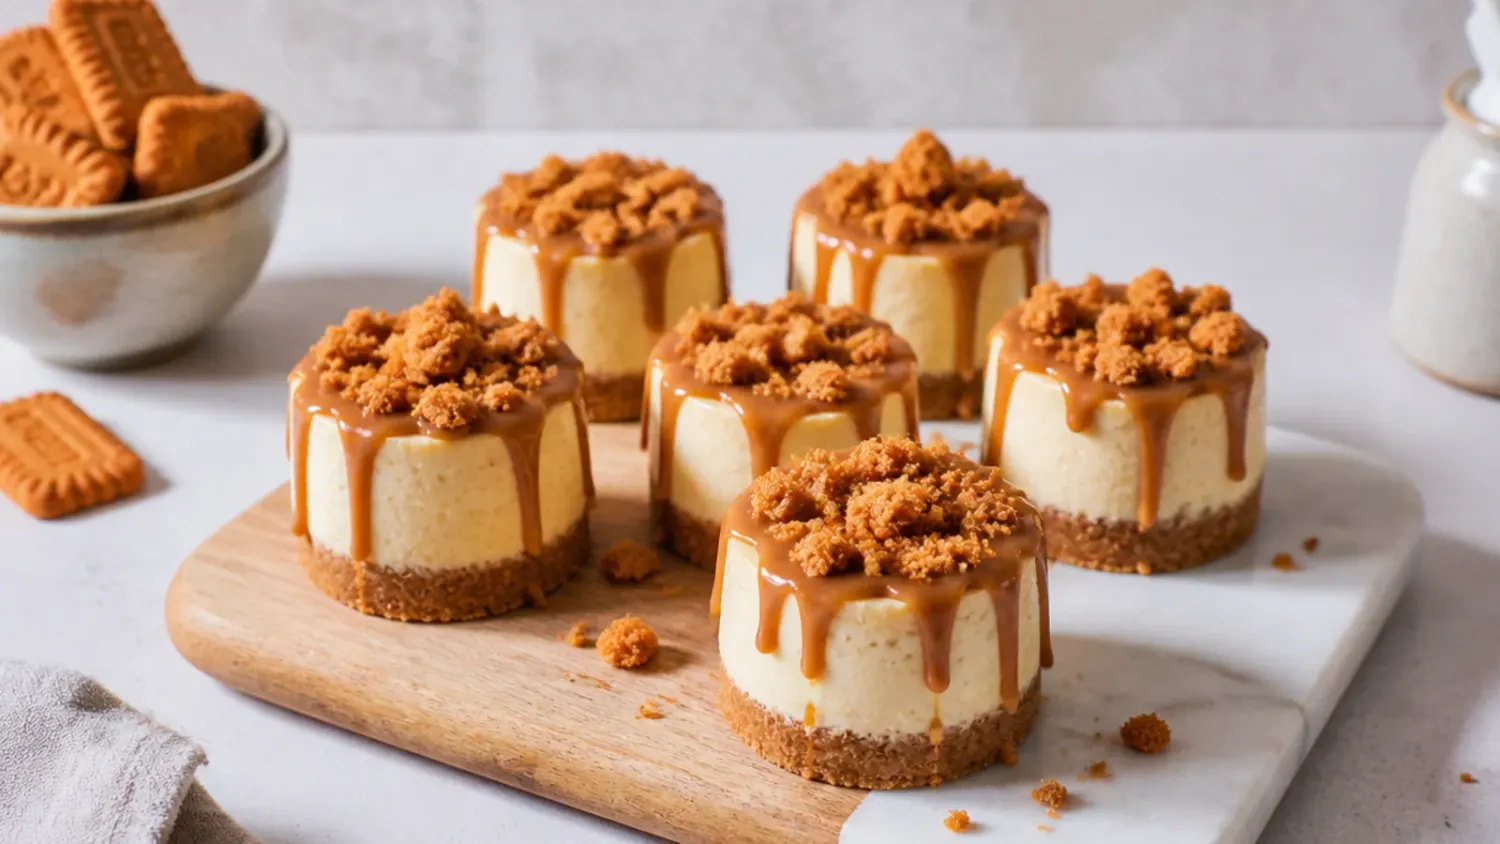
Strip the recipe to biscuits, melted butter, cream cheese, double cream and Biscoff spread, then layer it into six 250ml jam jars or tumblers instead of a tin. Because each portion is small, the pots set in just 2 hours rather than 6, making this the fastest route to biscoff cheesecake on a weeknight. Crush 150g biscuits with 60g melted butter, divide between the jars, pipe or spoon in the filling, and top each with a teaspoon of warmed spread. There is no springform to release and no slicing, so it is the most forgiving version for first-timers and a brilliant one to make with kids. Screw the lids on and they travel to picnics without a wobble.
3. Patisserie-Style Rosette Biscoff Cheesecake
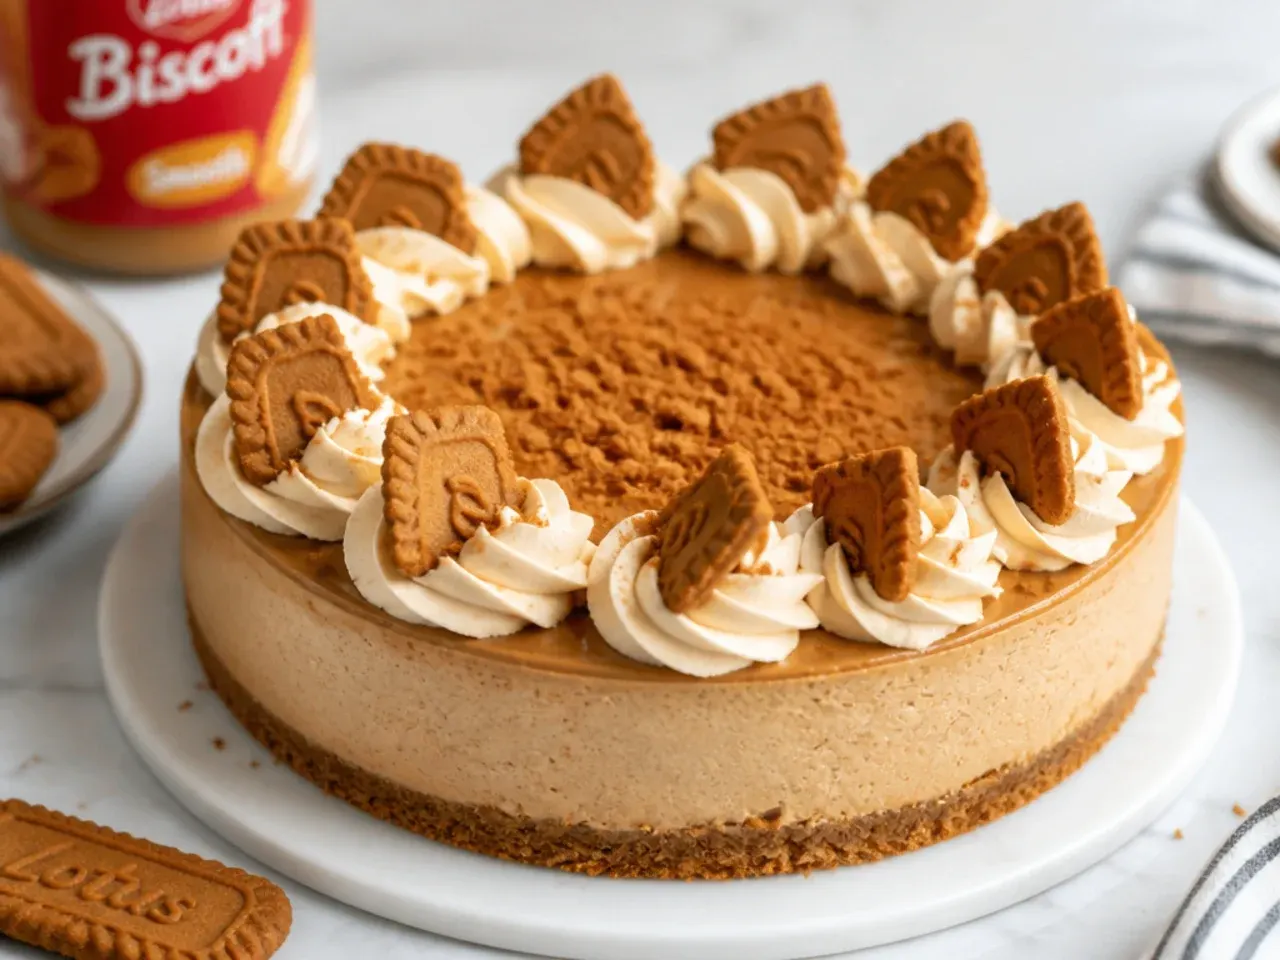
For a dessert that looks like it came from a bakery counter, line the inside of the tin with a strip of acetate before adding the filling — it releases with mirror-smooth sides. Once set, whip 150ml double cream with 1 tablespoon icing sugar to stiff peaks and pipe rosettes around the rim with a Wilton 1M star tip, spacing them about 2cm apart. Lean a halved Biscoff biscuit into every other rosette and pipe the drips down the sides from a squeeze bottle of just-warm spread for controlled, even runs. A few flecks of edible gold leaf on the rosettes lift it from homemade to patisserie. The piping takes 10 minutes but photographs like an hour's work.
4. Loaded Biscoff Overload Cheesecake
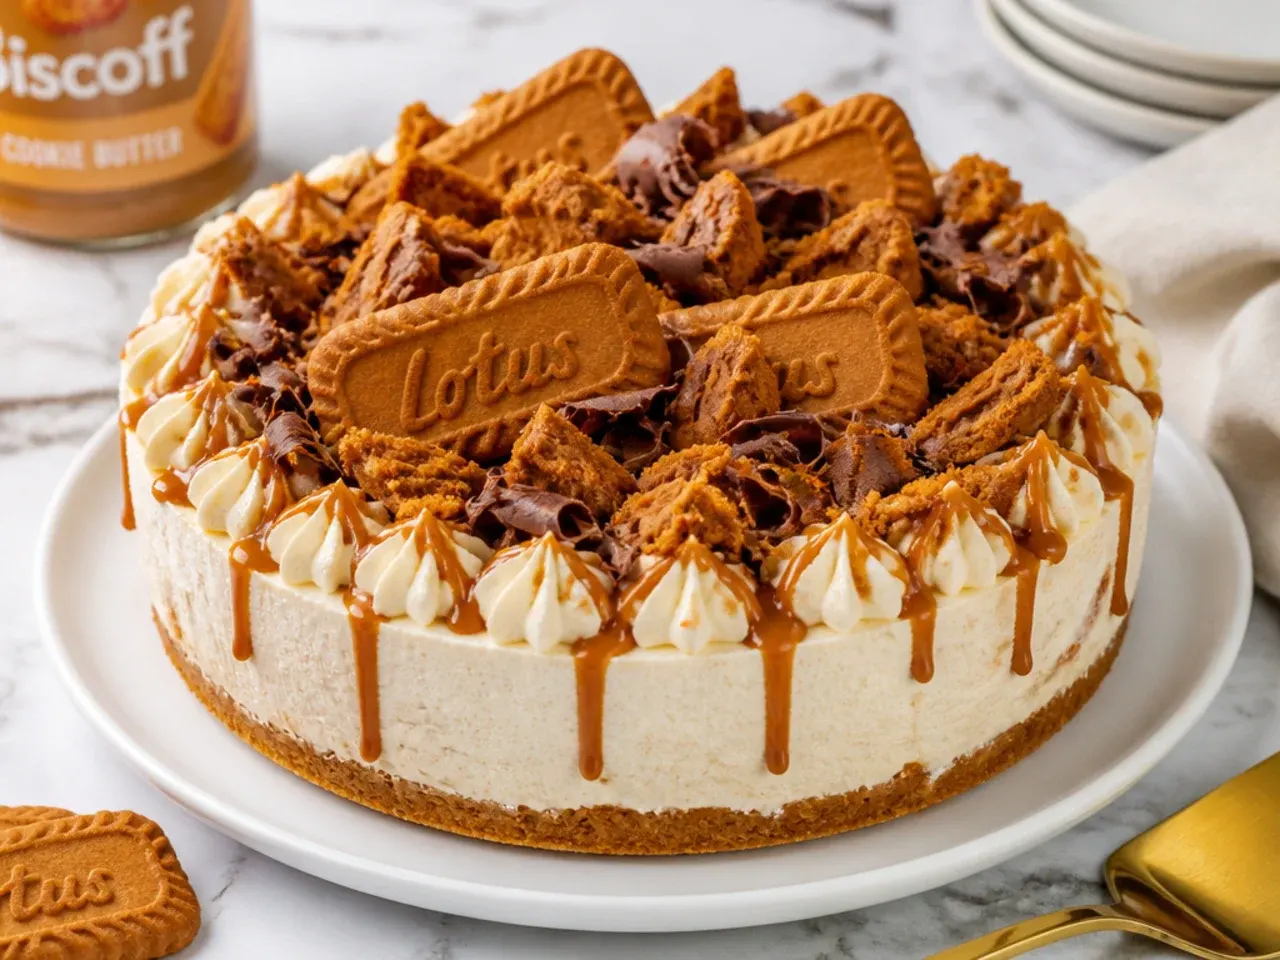
This is the maximalist crowd-pleaser: fold 100g roughly chopped Biscoff biscuits through the filling itself, then pile the top high. Pour over 200g melted spread, stand 6–8 whole biscuits upright in it while still tacky, and scatter crushed crumbs, white chocolate curls and a handful of fudge chunks between them. The chopped biscuits inside soften slightly overnight into cake-like pockets, so every bite hits crunchy, creamy and fudgy at once. It works brilliantly as a birthday cake substitute — push candles straight into the standing biscuits. Slice with a large hot knife because the loaded top needs a confident single cut.
5. White Chocolate Biscoff Cheesecake
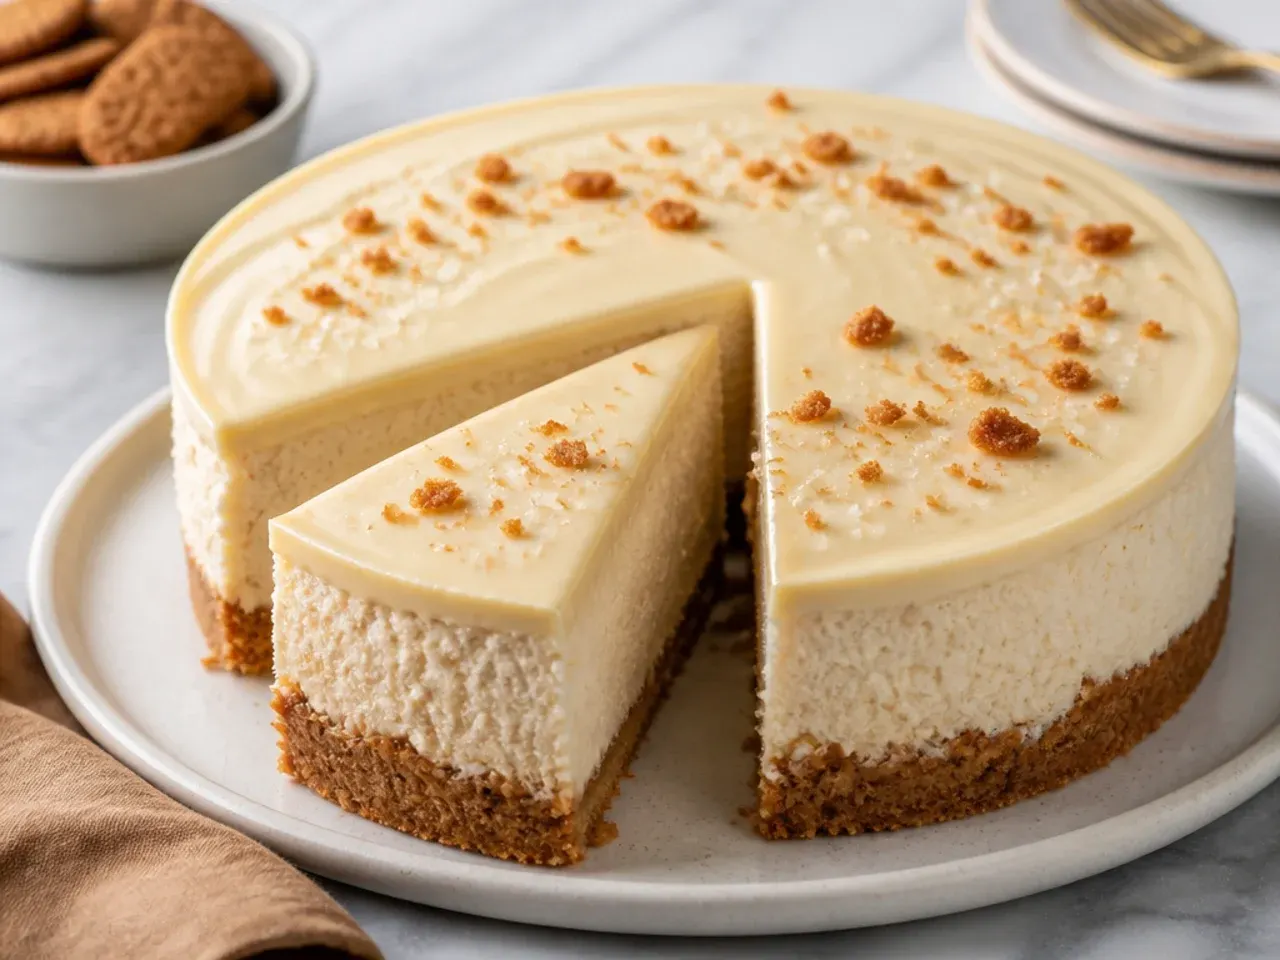
Melt 150g white chocolate, let it cool to lukewarm (about 30°C / 86°F), then beat it into the cream cheese before folding in the whipped cream. As the chocolate re-sets in the fridge it firms the whole filling, so this version slices sharply even in a warm kitchen — the most reliable choice for summer parties. Cut the icing sugar back to 50g because white chocolate brings its own sweetness. For the topping, make a quick ganache from 100g white chocolate and 50ml hot double cream, cool it 10 minutes, then pour it over the chilled cake for a pale, glossy finish. A pinch of sea salt on top keeps it from tipping into cloying.
Save this for later 📌
Pin this article to your Pinterest board so the full list is one tap away when you need it.
Save on Pinterest6. Rustic Biscoff Cheesecake Traybake Bars
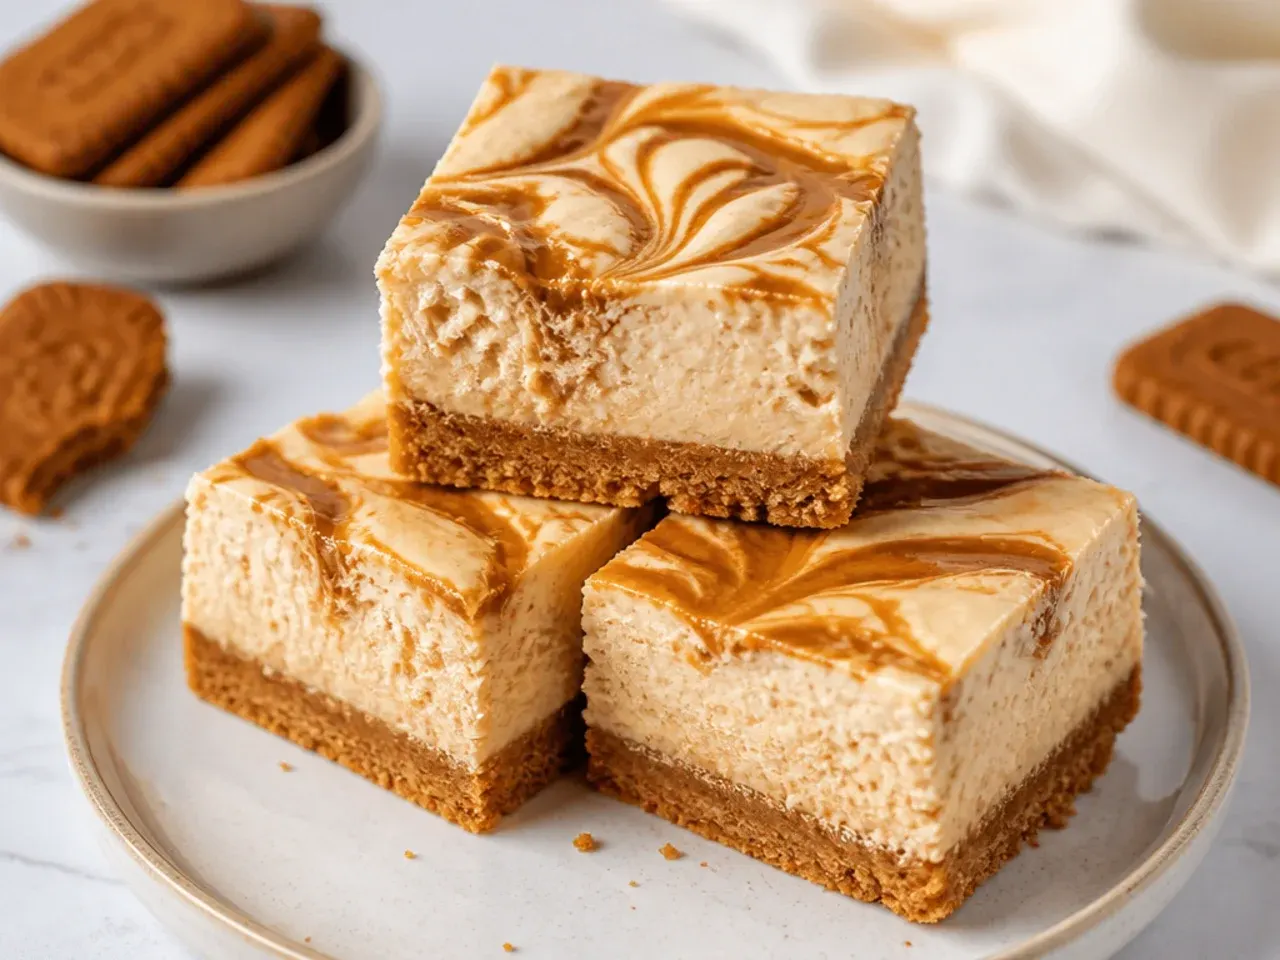
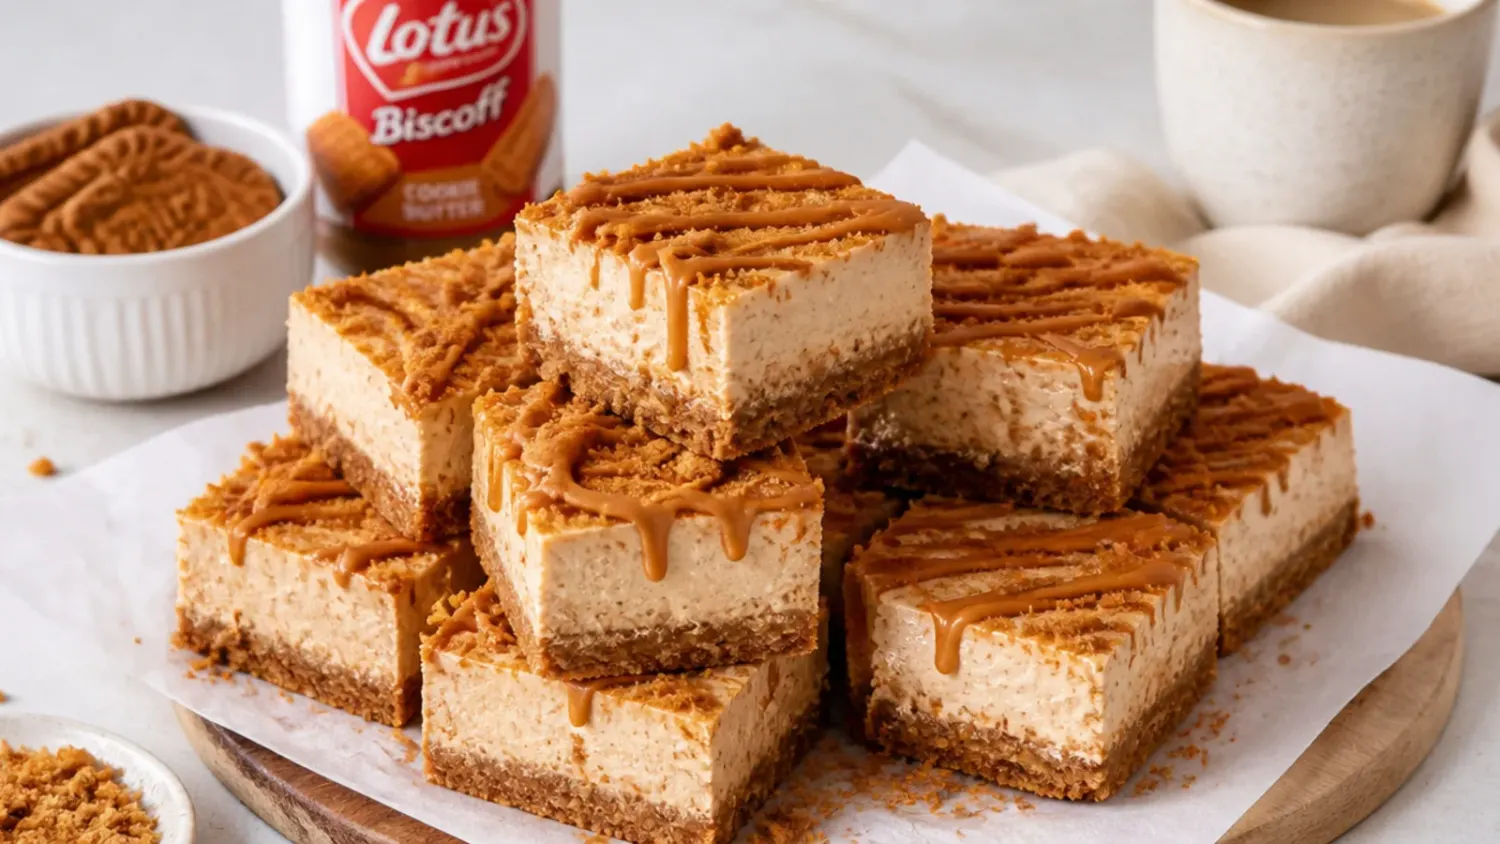
Press the base into a 23cm (9 inch) square tin lined with parchment left overhanging on two sides, then fill, chill and lift the whole slab out by the paper. Cut it into 16 bars with a hot, dry knife, wiping the blade between cuts so each bar keeps clean edges. Instead of a smooth drip, swirl the warm spread over the top with the back of a spoon for casual, rustic swoops, then scatter coarse biscuit rubble over everything. Bars firm up better than round slices for transport, which makes this the version for bake sales, school fairs and potlucks. Stack them in a tin between sheets of baking paper and they hold their shape for hours in a cool bag.
7. Raspberry Ripple Biscoff Cheesecake
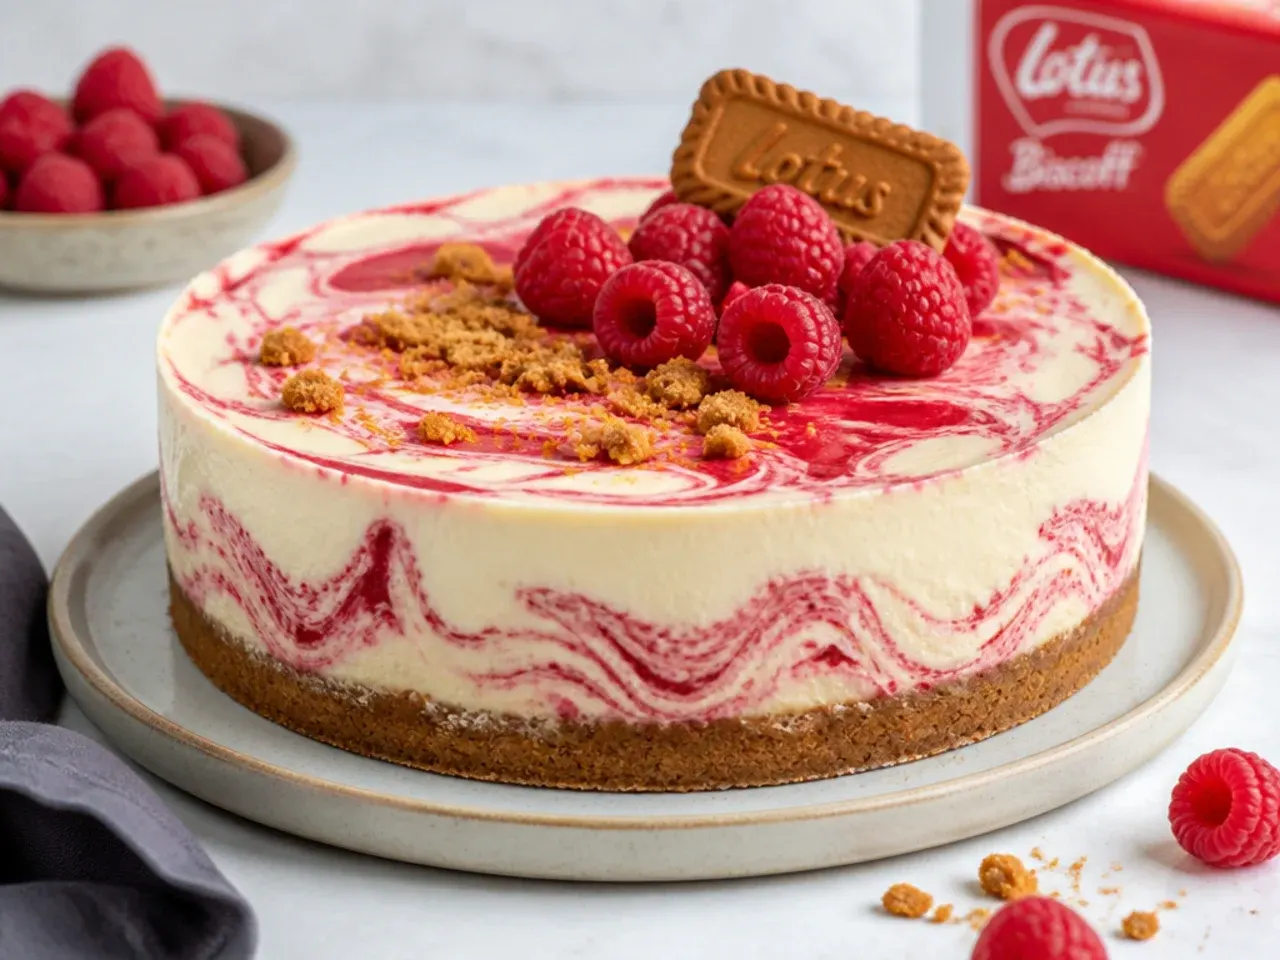
Simmer 150g raspberries with 1 tablespoon caster sugar for 5 minutes, sieve out the seeds, and cool — you will have about 4 tablespoons of vivid coulis. Spoon the filling into the tin, drop the coulis over in teaspoonfuls, and drag a skewer through in figure-of-eight motions for a marbled pink ripple. The sharp berries cut straight through Biscoff's caramelised sweetness, which is why this pairing appears on restaurant menus. Top the set cheesecake with a pile of fresh raspberries and a dusting of freeze-dried raspberry powder for colour that stays bright overnight. Keep the ripple to 4 tablespoons maximum — extra liquid loosens the set.
8. Sleek Minimalist Biscoff Cheesecake
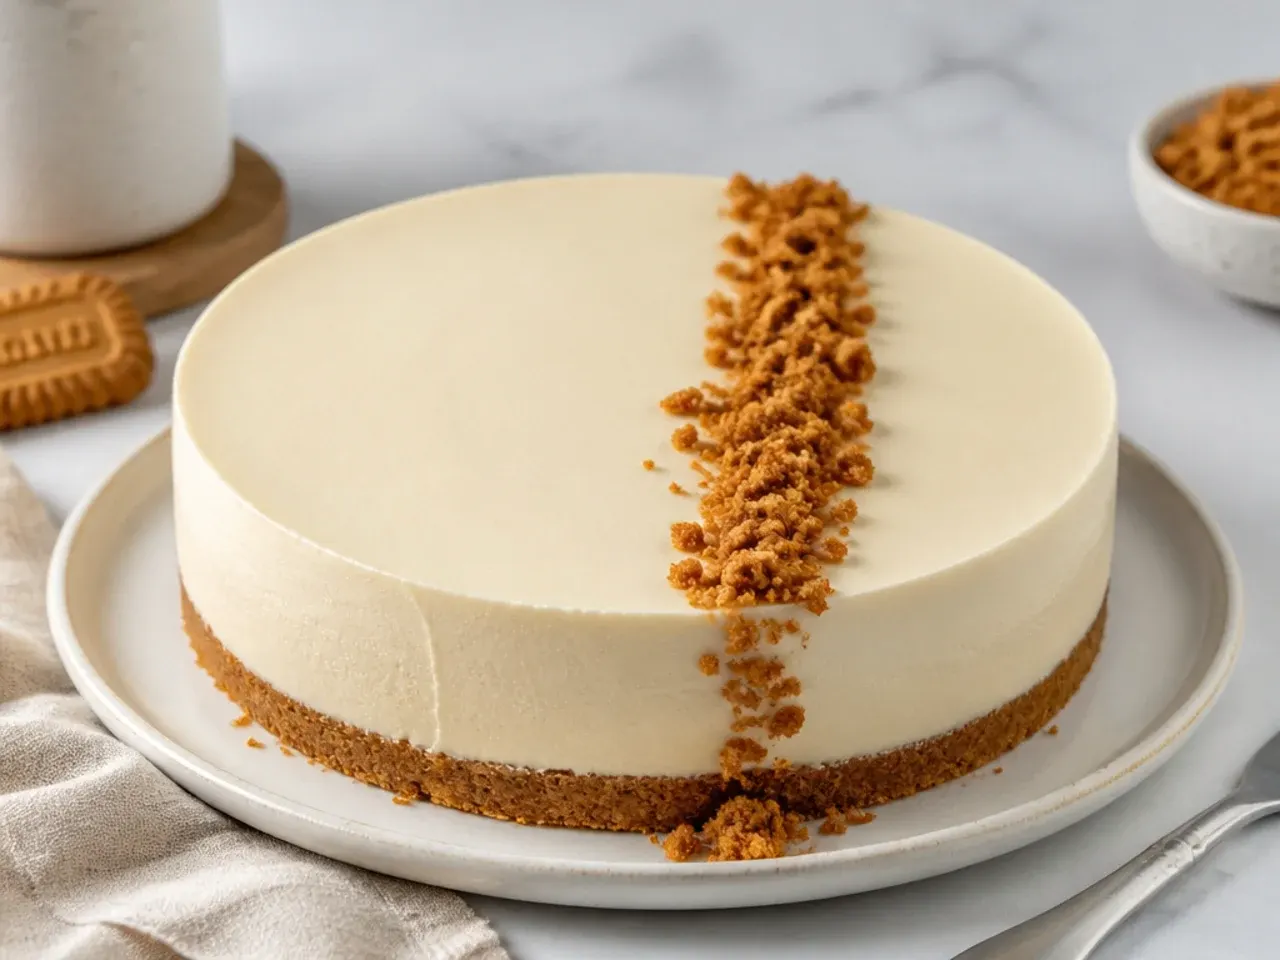
Skip the drip entirely: level the filling with an offset spatula, chill, then polish the top by sweeping a palette knife dipped in hot water across it in one pass. Use an acetate collar in the tin so the sides release perfectly straight, and decorate with nothing but a single narrow line of fine biscuit crumbs laid across the centre with the help of two strips of paper as a mask. The restraint shows off the cheesecake's velvet texture and makes the caramel colour of the filling the star. Serve it on a dark slate or matte black plate for contrast at a dinner party. It is the same recipe as the classic, but reads completely differently on the table.
9. Gingerbread-Spice Festive Biscoff Cheesecake
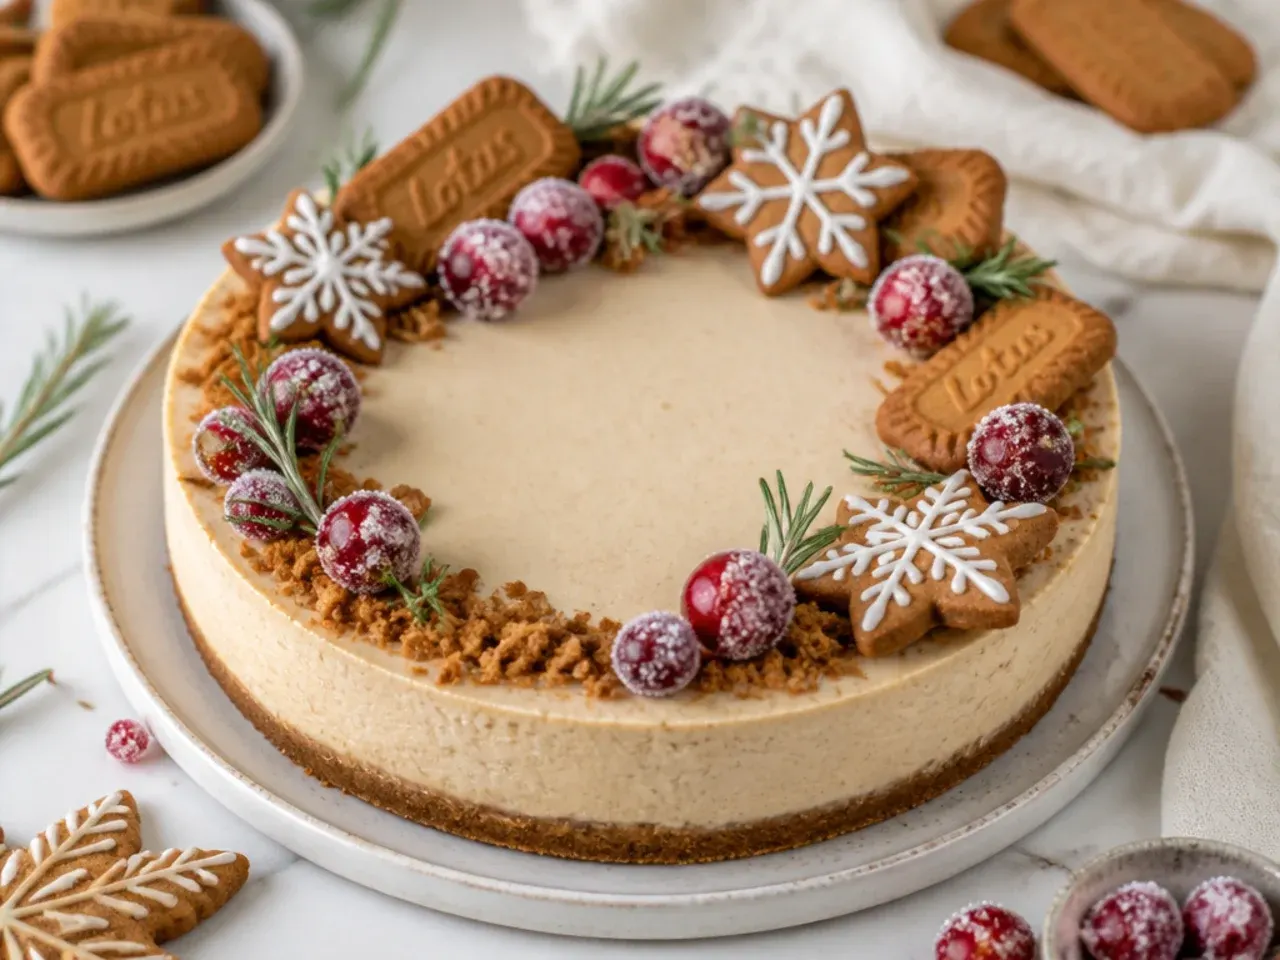
Biscoff is already a spiced speculoos biscuit, so leaning into Christmas flavours is effortless: beat 1 teaspoon ground cinnamon, ½ teaspoon ground ginger and ¼ teaspoon nutmeg into the filling with the spread. Decorate the set cake with sugared cranberries — roll fresh cranberries in lightly whisked pasteurised egg white (or a cooled sugar syrup, if you prefer to avoid raw egg on a served dessert), then caster sugar, and dry for 1 hour — plus small rosemary sprigs for a frosted-forest look. Star-shaped biscuits or gingerbread men standing in the topping make it read instantly festive for a Boxing Day table. Because it holds for 2 days in the fridge, you can make it on the 23rd and free the oven entirely for the turkey. One 20cm cheesecake serves 12, which suits most Christmas gatherings without leftovers going soft.
10. Frozen Biscoff Ice Cream Cheesecake
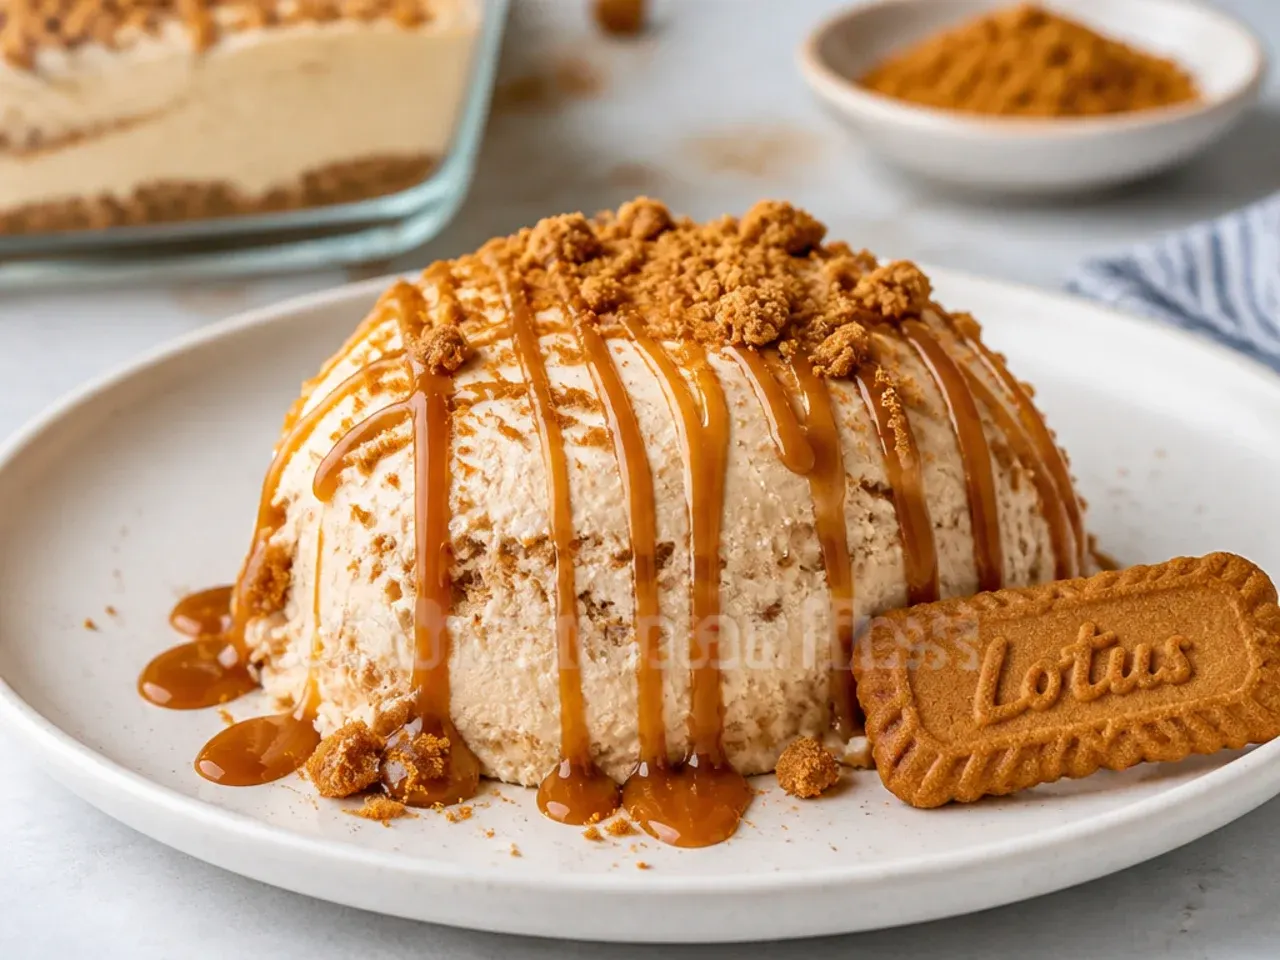
Assemble the base recipe as normal, but freeze it for at least 4 hours instead of refrigerating — the whipped cream keeps it scoopably soft rather than rock hard, so it eats like a semifreddo. Slice it straight from the freezer with a hot knife and let plates stand 5–10 minutes; the texture lands between ice cream cake and cheesecake, which children find magical. Drizzle each slice with a spoonful of spread microwaved for 20 seconds so the warm sauce pools over the frozen slice. It is the ideal summer birthday cake because it can be made a full month ahead, wrapped well in the tin. Return leftovers to the freezer within 20 minutes and they keep perfectly.
Save this for later 📌
Pin this article to your Pinterest board so the full list is one tap away when you need it.
Save on Pinterest11. Espresso Biscoff Cheesecake
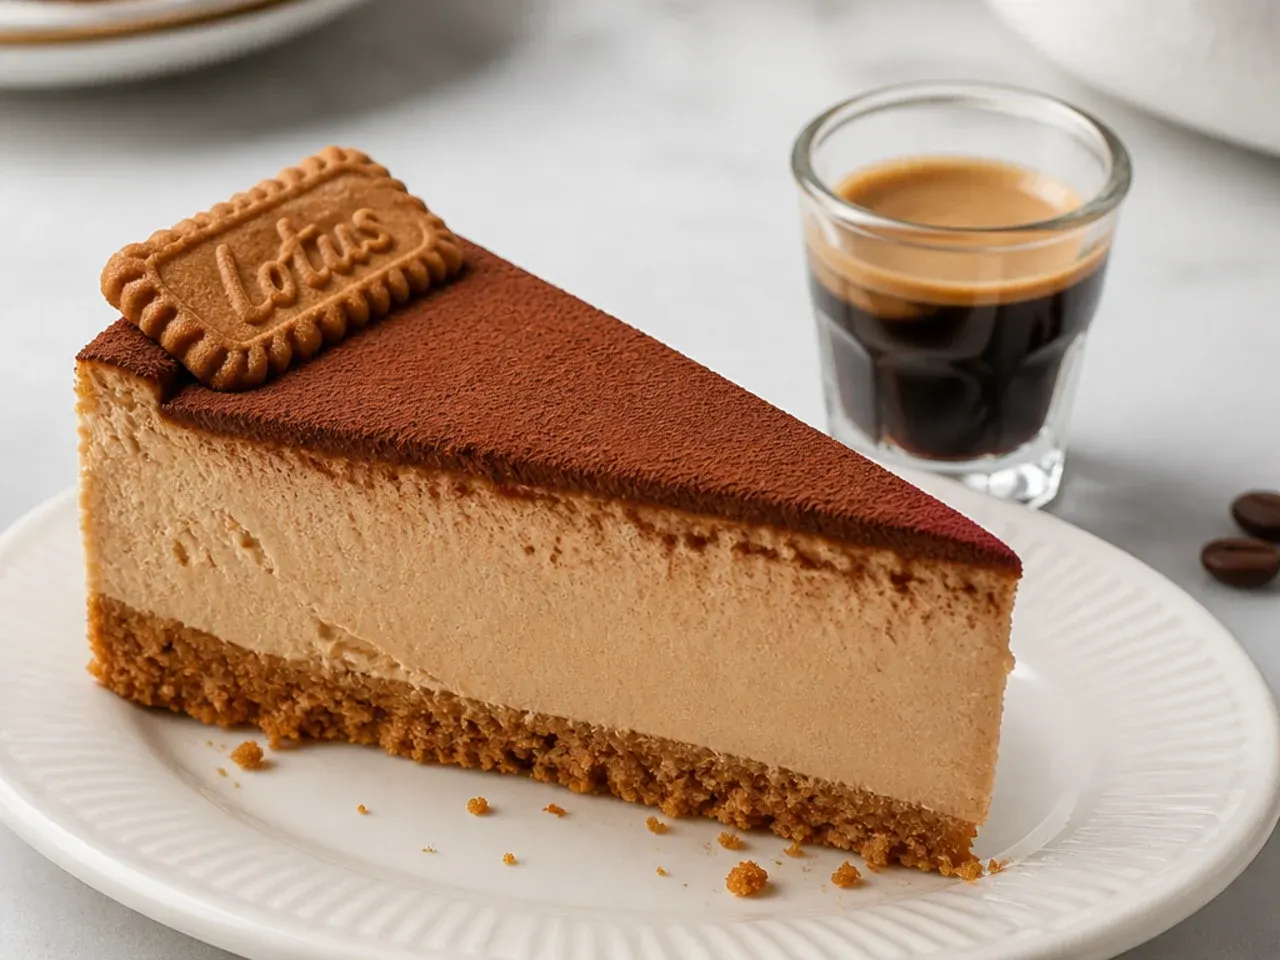
Dissolve 2 teaspoons of instant espresso powder in 1 tablespoon of boiling water, cool it briefly, and beat it in with the Biscoff spread. Coffee sharpens the biscuit's burnt-caramel notes the same way it does in tiramisu, turning the cheesecake into something closer to a speculoos latte in slice form — noticeably less sweet and very adult. Dust the set top with cocoa through a fine sieve, or lay a paper stencil over it for a pattern. Serve slices with a single shot of espresso poured at the table, affogato-style, for a dinner-party finish. Stick to espresso powder rather than brewed coffee, because extra liquid would soften the set.
12. Light Biscoff Mousse Cheesecake
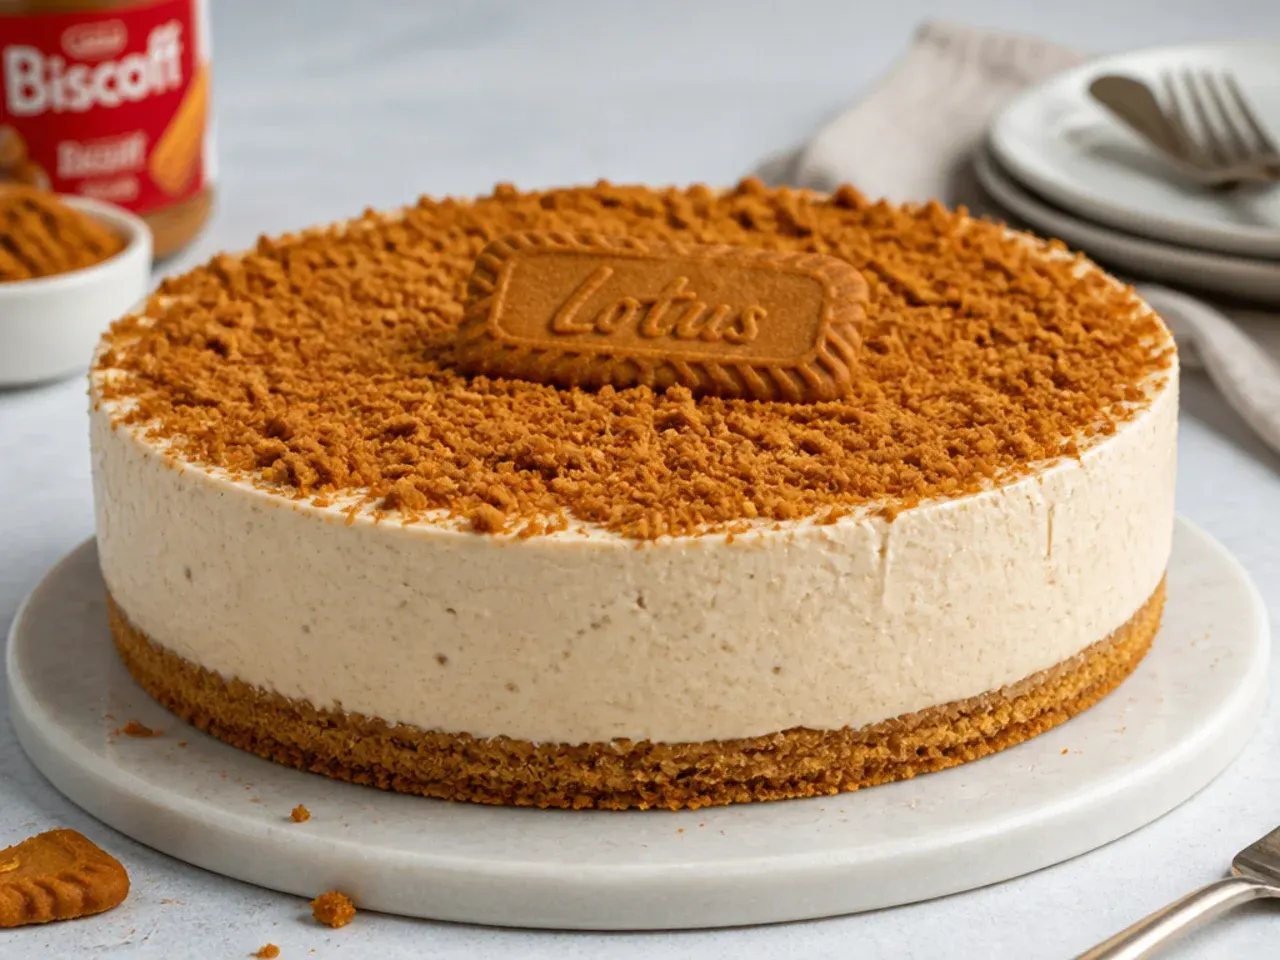
For an airier, delicate slice, increase the double cream to 400ml and whip it only to soft peaks, then stabilise the filling with gelatine: soak 3 platinum-grade leaves (or 1½ teaspoons powdered gelatine) in 2 tablespoons cold water for 5 minutes, melt gently, and beat into the cream cheese mixture before folding. The result is halfway between cheesecake and mousse — it trembles slightly on the fork but still cuts cleanly thanks to the gelatine. It sets in 4 hours and, usefully, survives warm rooms and buffet tables far longer than the standard version. Decorate lightly with a dusting of biscuit crumbs only, so nothing weighs down the surface. Vegetarians can swap in 1 teaspoon of agar powder simmered in 3 tablespoons water for 2 minutes.
13. Banoffee Biscoff Cheesecake
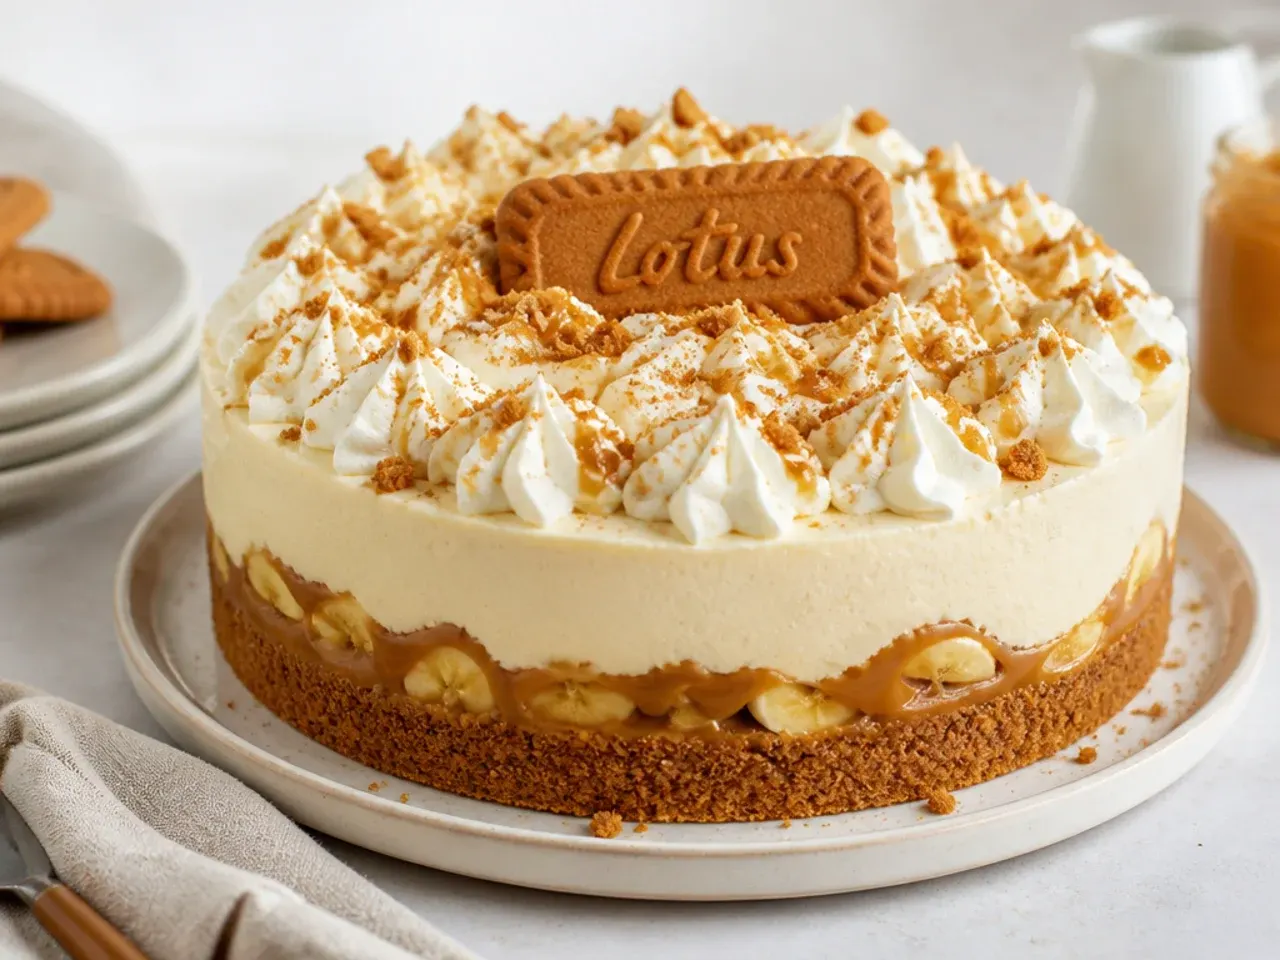
This mash-up marries Biscoff with banoffee pie, the great British retro classic. Before adding the filling, spread 4 tablespoons of thick caramel or dulce de leche over the chilled base and lay over 2 bananas sliced 5mm thick and tossed in 1 teaspoon lemon juice to stop browning. The caramel glues the banana layer in place, and the fruit's freshness balances the rich cookie-butter filling above it. Top the finished cheesecake with softly whipped cream and a grating of dark chocolate, exactly as a 1970s banoffee would be. Eat within 2 days — bananas do not improve with age — which is rarely a problem.
14. Vegan No-Bake Biscoff Cheesecake
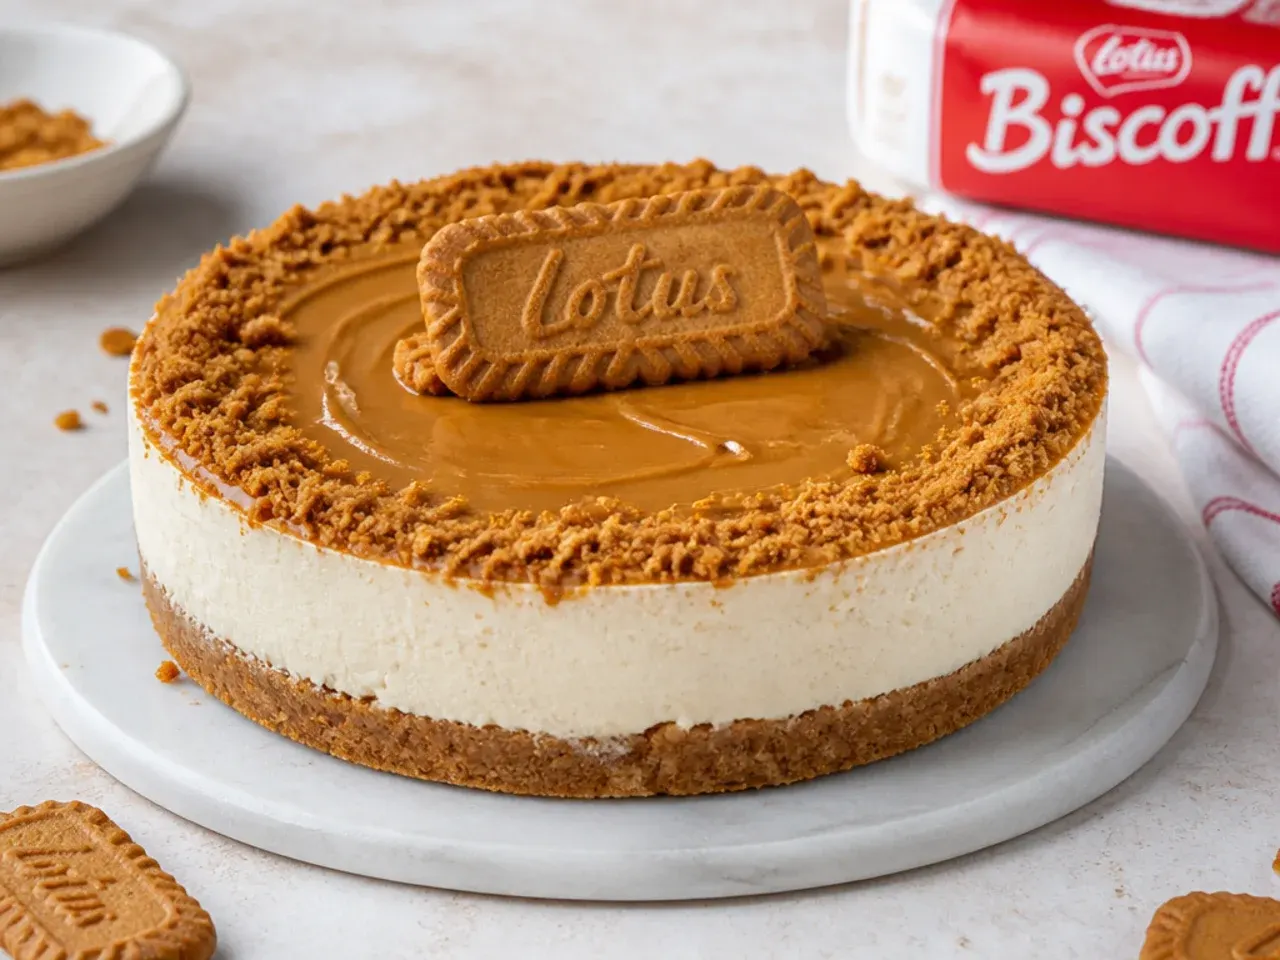
Here is the secret most lists miss: Lotus Biscoff biscuits and smooth Biscoff spread contain no dairy, so this cheesecake converts beautifully. Bind the 250g biscuit base with 90g melted coconut oil or vegan baking block instead of butter, then make the filling from 400g vegan cream cheese (Violife or supermarket own-brand), 250ml plant-based whipping cream such as Elmlea Plant Double whipped to firm peaks, 200g Biscoff spread and 60g icing sugar. Plant creams set softer than dairy, so chill overnight — a full 12 hours — before releasing the tin. Finish with the standard melted-spread drip, which is already vegan. Nobody at the table will clock the difference, which is the whole point.
15. Biscoff Cheesecake Trifle
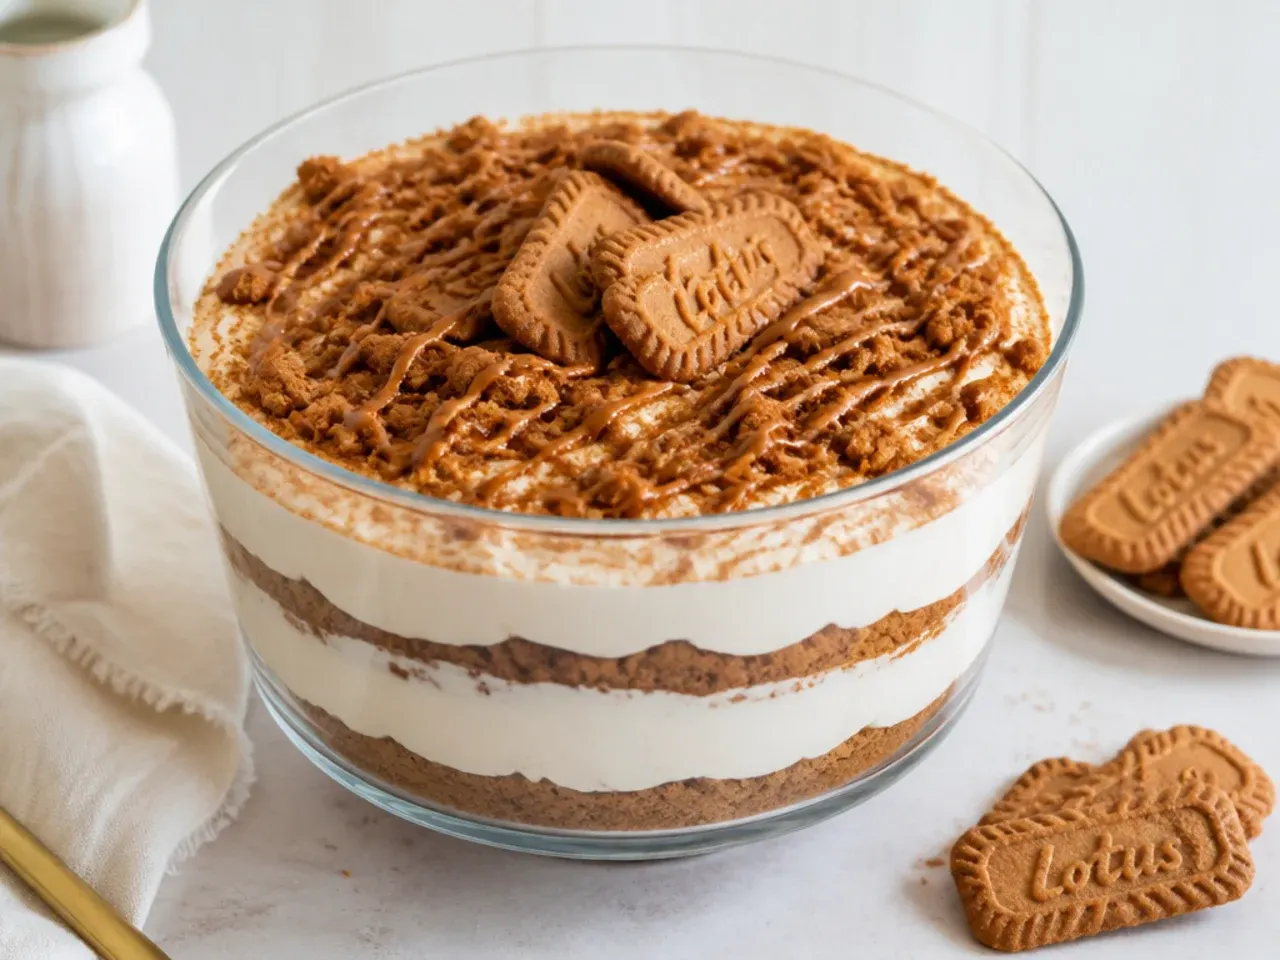
When you need dessert for a crowd with zero risk, layer the components loose in a 2-litre glass trifle bowl instead of setting them in a tin: biscuit crumbs, cheesecake filling, ribbons of melted spread, then softly whipped cream, repeated twice. Because nothing needs to hold a slice, there is no setting anxiety — 2 hours in the fridge is enough, and it serves 12–14 straight from the bowl with a big spoon. The layers look charming through the glass, especially if you press whole biscuits upright against the sides as you build. Assemble it the day before and add the final cream layer just before serving so it stays cloud-light. Individual glasses work the same way for a dinner party.
Pro Tips
Use full-fat, brick-style cream cheese (Philadelphia original in the UK and US) at room temperature — low-fat versions carry extra water and are the number one cause of a sloppy set. Whip the double cream straight from the fridge until it holds firm peaks like soft-serve ice cream; under-whipped cream is the second most common failure. Warm the spread only until it is loose, never hot, or it will deflate the cream when you beat it in. If your kitchen runs warmer than 22°C (72°F), chill the mixing bowl and beaters for 15 minutes first. Never shortcut the chill: 6 hours minimum, overnight ideally, and if a cheesecake is still soft on the day, one hour in the freezer will rescue it. Slice with a long knife dipped in hot water and wiped dry between every cut for clean, bakery-style wedges.
Serving Suggestions
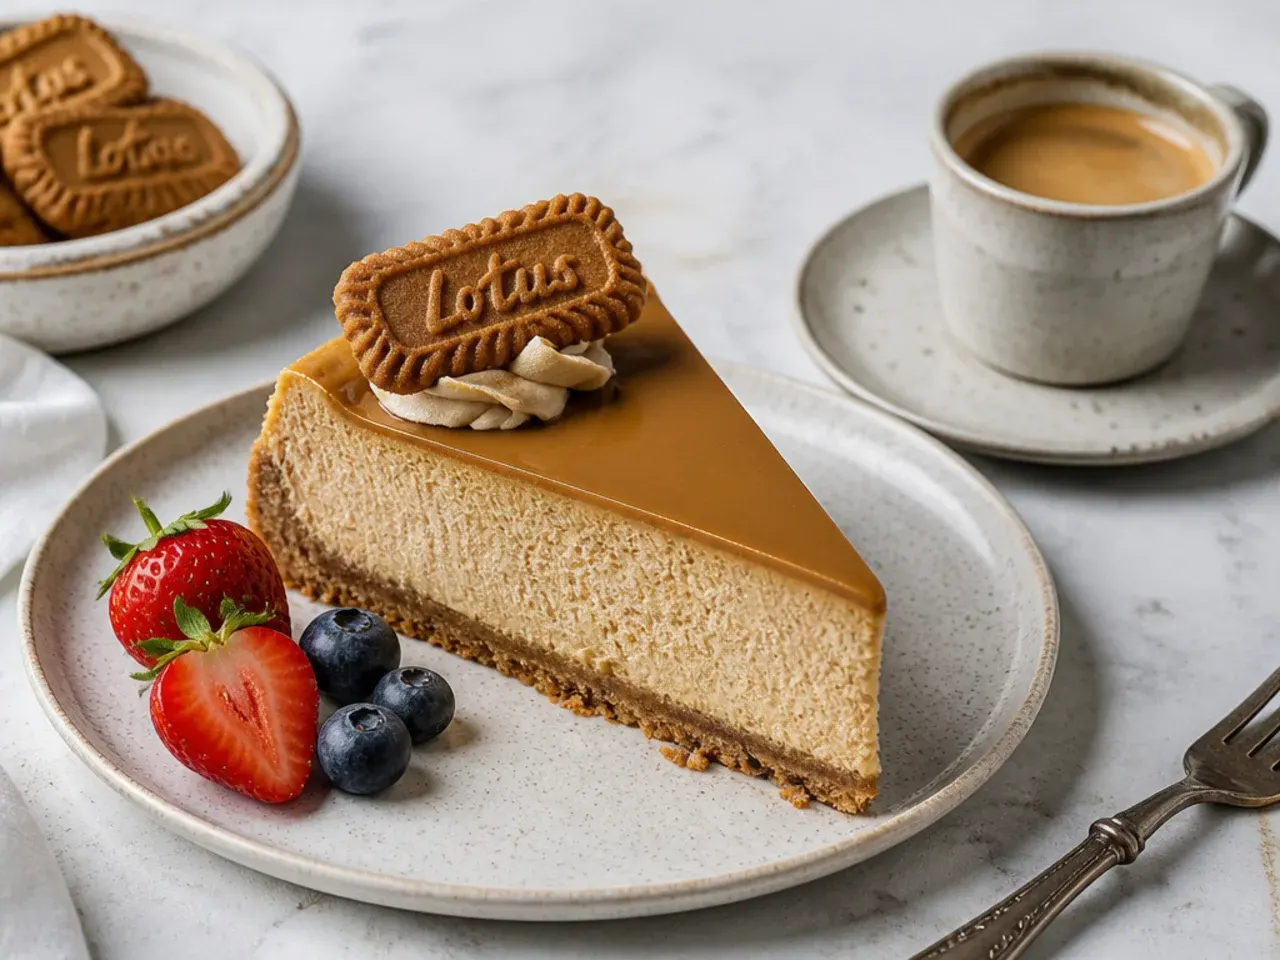
Serve slices fridge-cold but let them stand 10 minutes on the plate so the filling turns silky rather than firm. A 20cm cheesecake cuts into 12 party slices or 8 generous ones; for buffets, the pots, bars or trifle versions portion themselves. Pair it with strong coffee or a single espresso — the bitterness balances the caramelised biscuit — or with fresh raspberries and strawberries, whose acidity does the same job. For a plated dessert, add a quenelle of crème fraîche and a warm drizzle of spread microwaved for 20 seconds. At children's parties, serve the frozen version in place of both cake and ice cream and watch it disappear.
Storage and Reheating
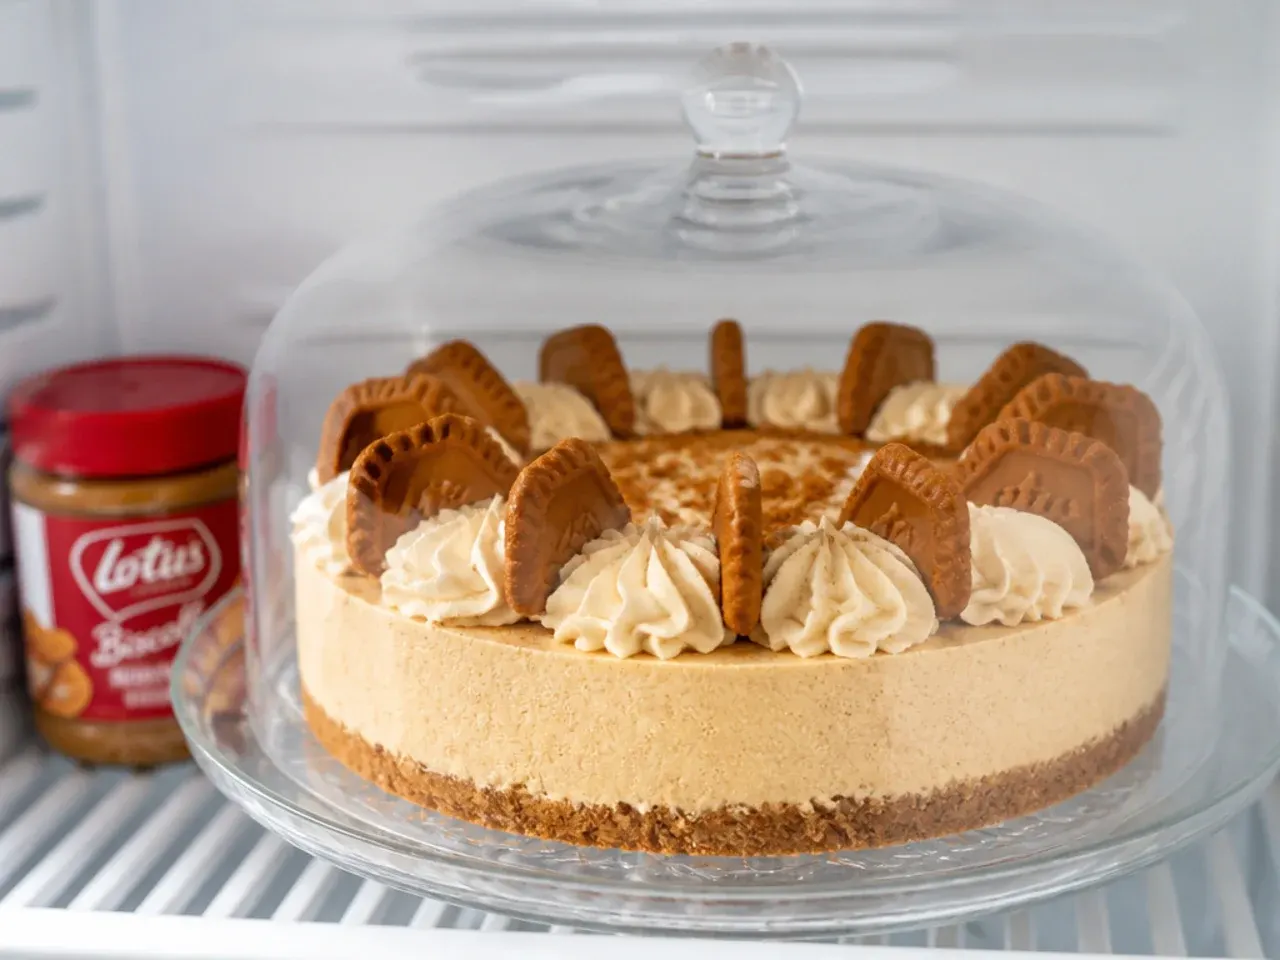
Keep the cheesecake covered or in an airtight container in the fridge, where it stays at its best for 3 to 4 days; press cling film gently against cut edges to stop them drying. It freezes well for up to 1 month — freeze it undecorated on the tin base until solid, then double-wrap in cling film and foil, and thaw for 24 hours in the fridge before adding the drip and decorations. Never thaw it on the counter, and do not leave any version out of the fridge for more than 2 hours (1 hour in hot weather), as it is a fresh dairy dessert. There is no reheating with a no-bake cheesecake, with one exception: warm the Biscoff spread drizzle for 20 seconds in the microwave just before serving. Banana and fresh-fruit versions do not freeze — eat those within 2 days.
The Recipe
The Master Recipe
30 min
0 min
7 hr (includes chilling)
12
Beginner
Ingredients 12 Person(s)
Directions
Step 1: Make the biscuit base
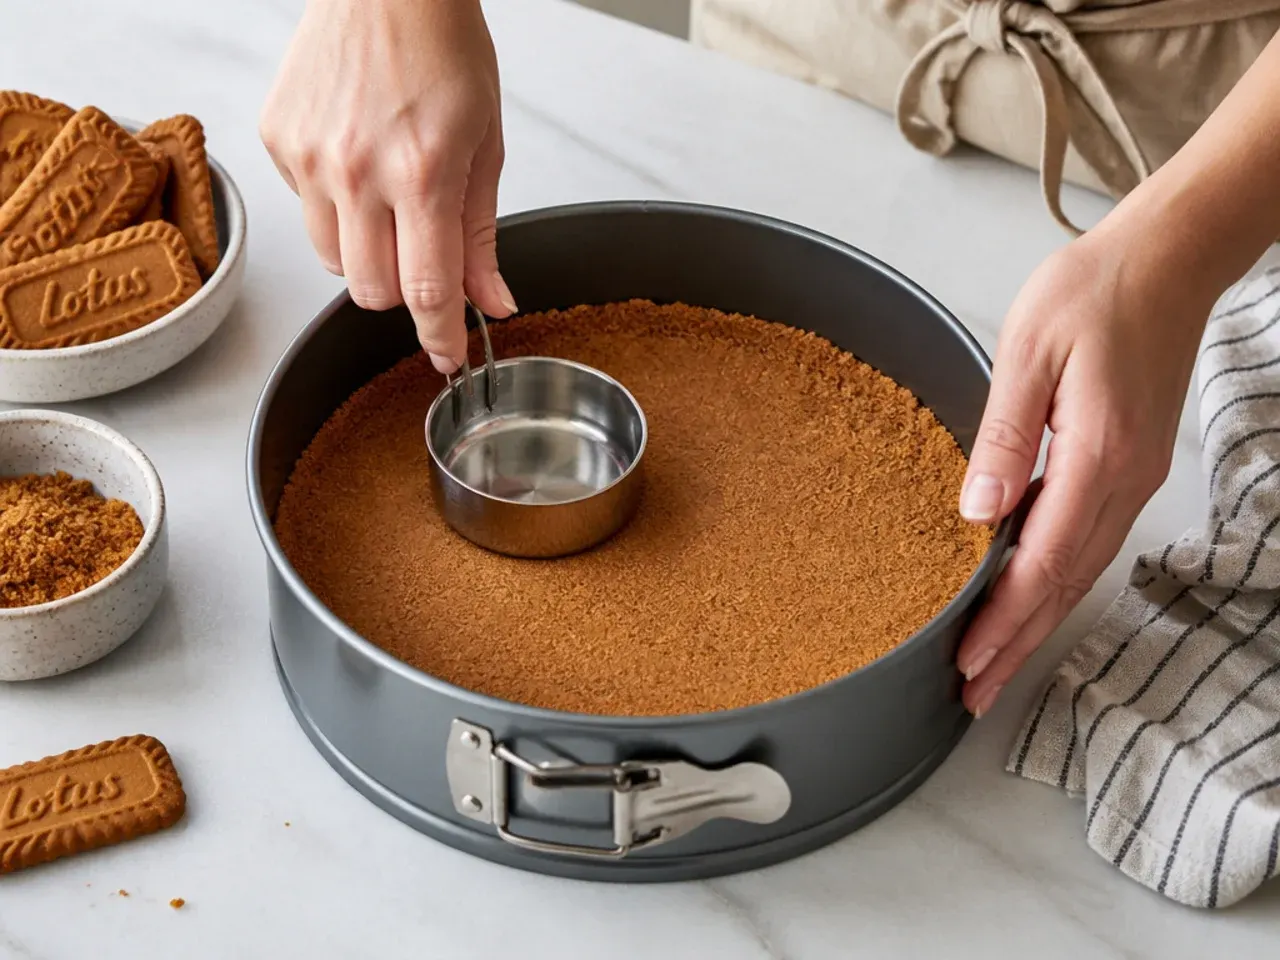
Blitz 250g Biscoff biscuits in a food processor for about 30 seconds to fine, sandy crumbs, or seal them in a zip-lock bag and bash with a rolling pin. Stir in 100g melted butter until the mixture looks like damp sand and clumps when squeezed. Tip it into a 20cm (8 inch) springform tin and press it flat and firm with the base of a glass, taking it right to the edges in an even layer about 1cm thick. Chill in the fridge for 30 minutes while you make the filling — a cold, compacted base will not crumble when sliced.
Step 2: Whip the cream
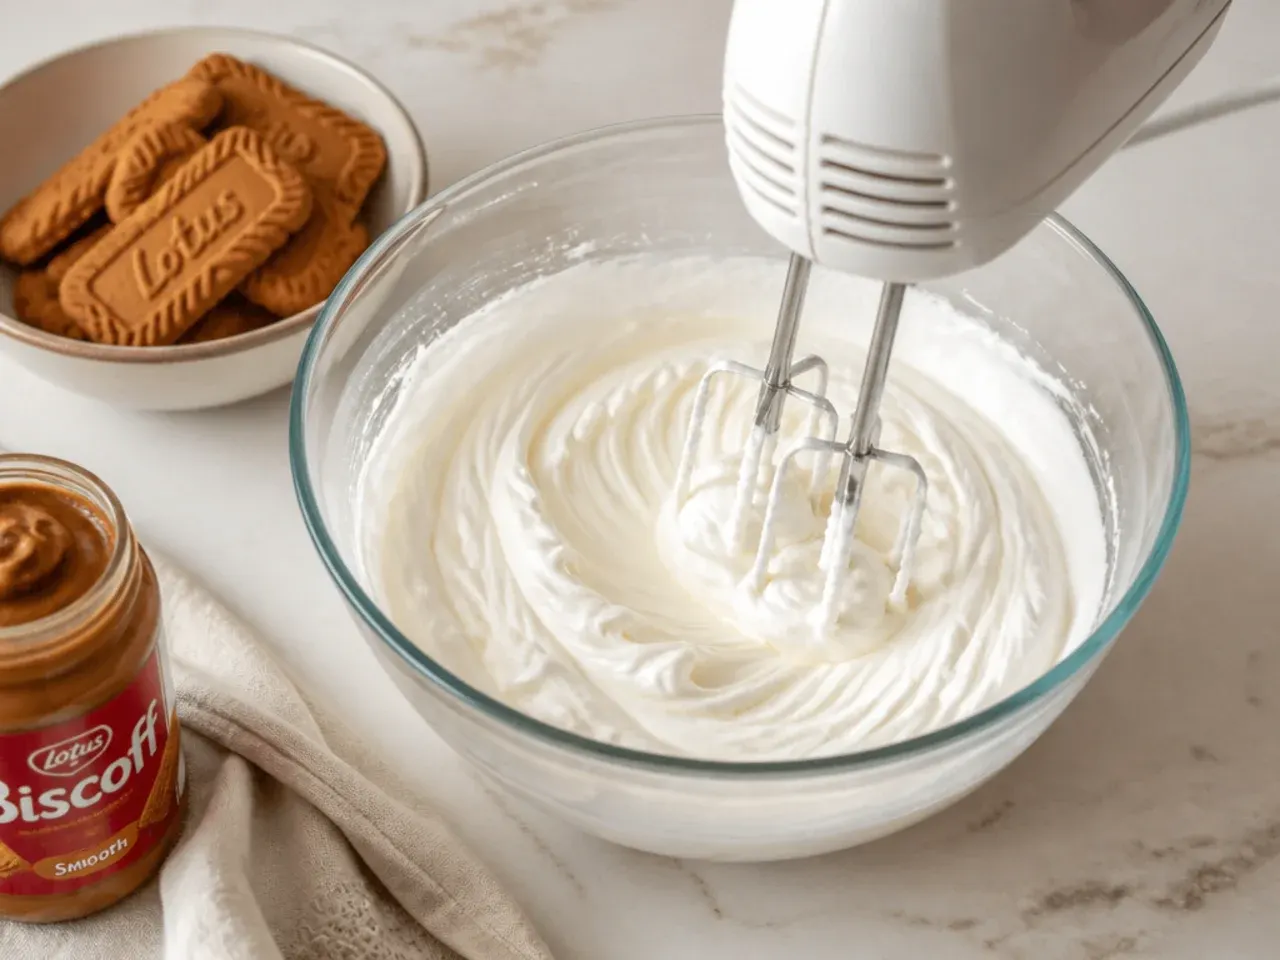
Pour 300ml cold double cream into a large bowl and whip with an electric whisk on medium speed for 2–3 minutes, until it holds firm peaks with the texture of soft-serve ice cream — the peaks should stand when you lift the beaters, with just the tips folding over. Stop the moment it gets there; over-whipped cream turns grainy and can split the filling. Set the bowl in the fridge while you make the cheese mixture. If your kitchen is warmer than 22°C (72°F), chill the bowl and beaters for 15 minutes before you start.
Step 3: Make the Biscoff filling
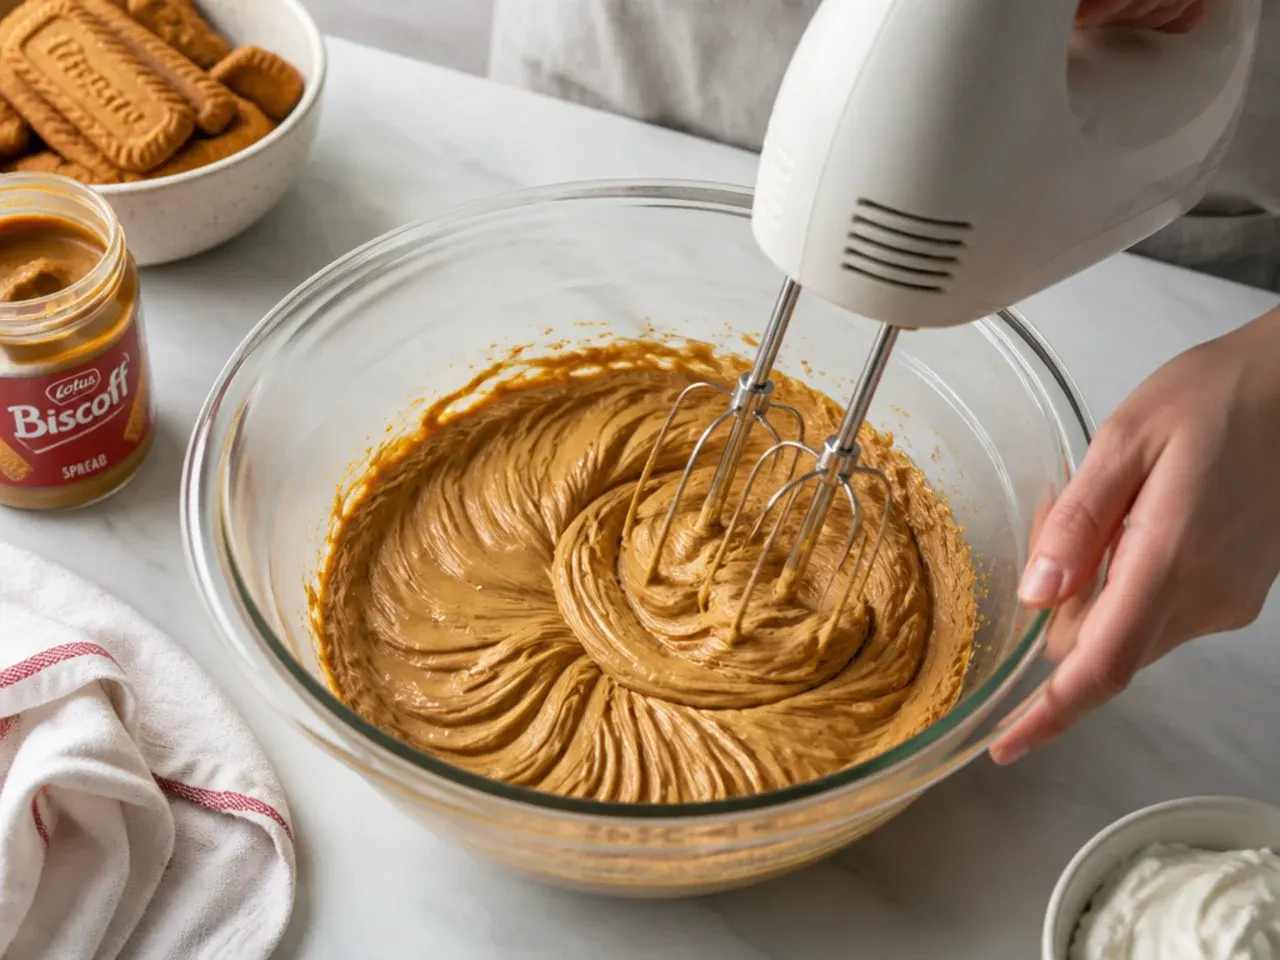
In a second large bowl, beat 500g room-temperature full-fat cream cheese with 75g sifted icing sugar, 1 teaspoon vanilla and ¼ teaspoon salt for 1–2 minutes until completely smooth, scraping down the sides once. Warm 250g Biscoff spread in the microwave for 20–30 seconds — it should be loose and stirrable but not hot to the touch. Beat the spread into the cream cheese until the mixture is an even caramel colour with no pale streaks. It should be thick, glossy and hold a ribbon when the beaters are lifted.
Step 4: Fold and fill the tin
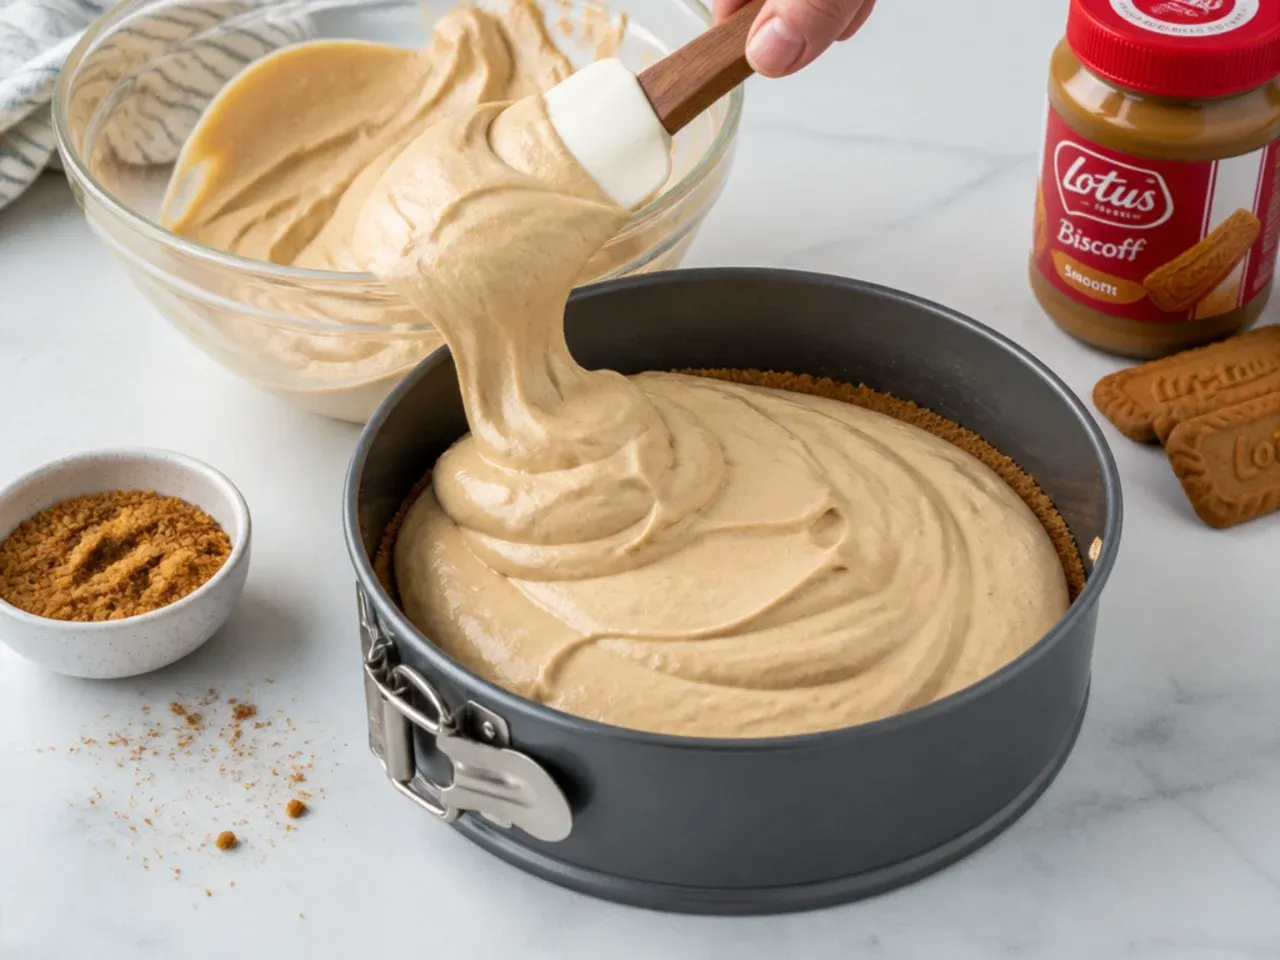
Add the whipped cream to the Biscoff mixture in two additions, folding gently with a spatula in wide strokes from the bottom of the bowl upwards until no white streaks remain — folding rather than beating keeps the air in, which is what sets the cheesecake. Spoon the filling over the chilled base and level the top with an offset spatula or the back of a spoon. Tap the tin firmly on the worktop two or three times to knock out any large air pockets. The filling should sit about 4–5cm deep and hold its surface without slumping.
Step 5: Chill until set
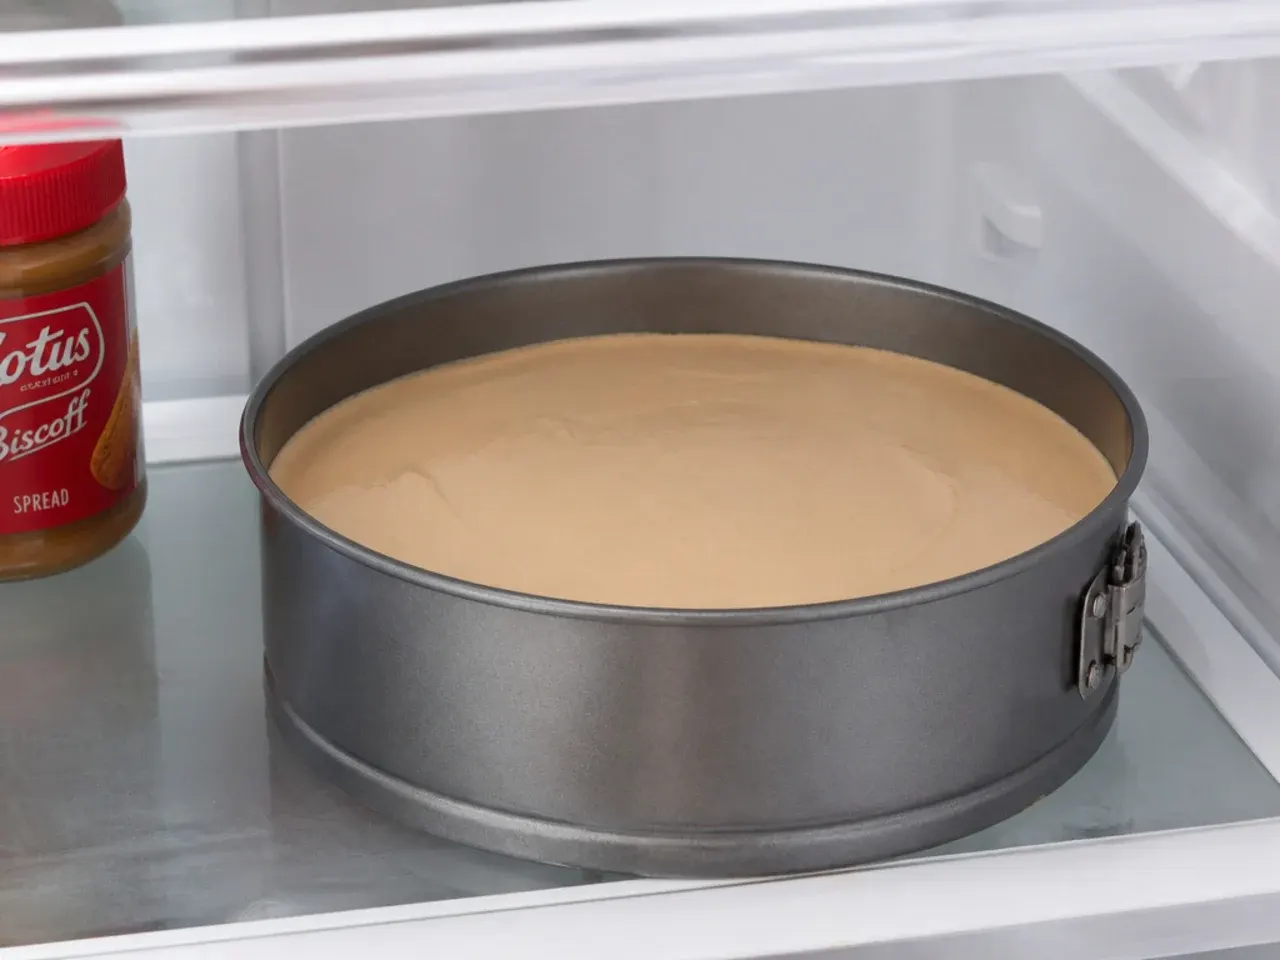
Cover the tin loosely with cling film and refrigerate for at least 6 hours, and ideally overnight (12 hours). Do not shortcut this stage — the filling firms as the cream and cream cheese chill together, and it is what makes the difference between clean slices and a spoonable mess. It is ready when the centre feels firm to a light fingertip press and the tin can be tilted slightly with no wobble. If you are short on time on the day, 1 hour in the freezer at the end of chilling will firm it up fast.
Step 6: Add the Biscoff topping
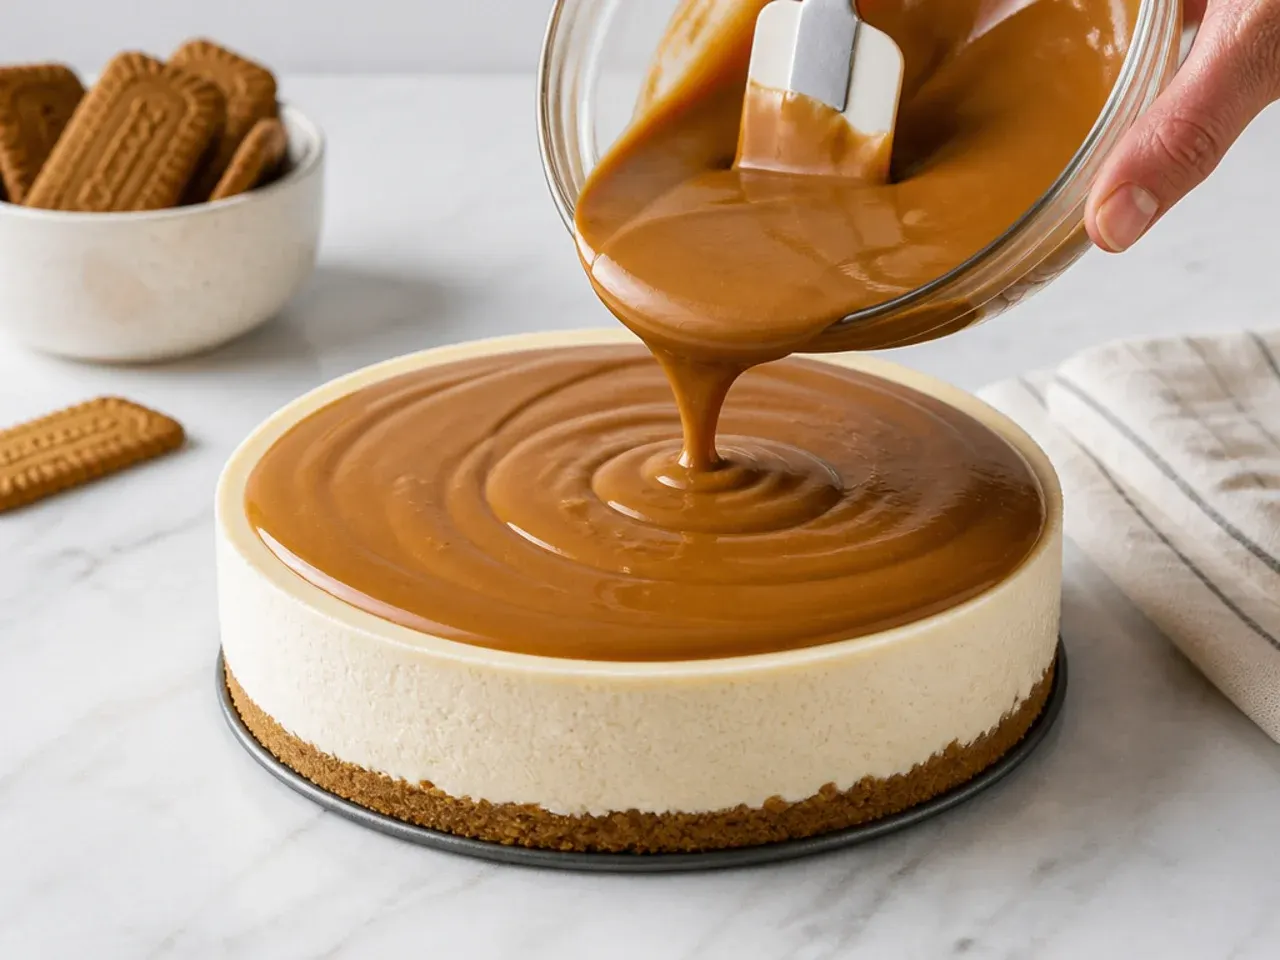
Microwave 150g Biscoff spread in a jug for 30–45 seconds, stirring halfway, until it is smooth and pourable, then let it cool for 2–3 minutes so it is warm rather than hot — pouring hot spread onto the cold filling would melt the surface. Pour it over the centre of the set cheesecake and ease it to the edges with the back of a spoon, letting a few drips run down the sides if you like the look. Return the cheesecake to the fridge for 30 minutes, until the topping is set to a soft fudge finish that no longer runs when the tin is tilted.
Step 7: Release, decorate and slice
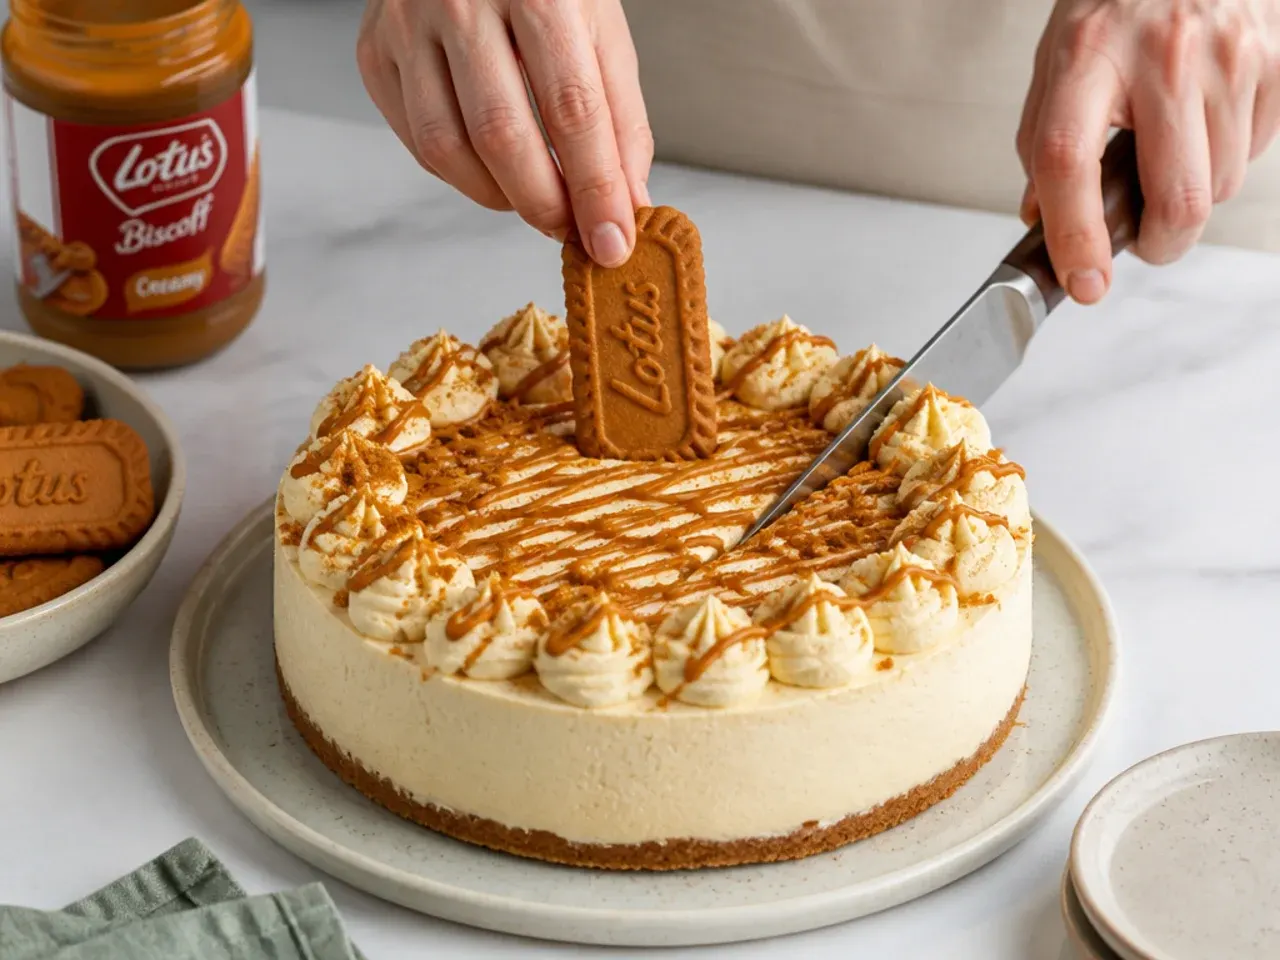
Run a thin knife dipped in hot water around the inside of the tin, then release the springform clip and lift the cheesecake onto a serving plate. Crush 2 of the reserved biscuits and scatter the crumbs in a ring around the edge, then break the remaining 2 into shards and stand them in the centre. Slice with a long, sharp knife dipped in hot water and wiped dry between every cut — each wedge should show three tidy layers: crisp base, pale caramel filling and glossy topping. Serves 12; keep any leftovers covered in the fridge.
Frequently Asked Questions
The three usual culprits are under-whipped cream, the wrong dairy or not enough chilling. The double cream must be whipped to firm peaks (soft-serve texture) before folding, the cream cheese must be full-fat brick-style, and single cream or low-fat cheese will never set. Give it a minimum of 6 hours in the fridge, ideally overnight. If it is still soft on serving day, 1 hour in the freezer will firm it enough to slice.
Save this for later 📌
Pin this article to your Pinterest board so the full list is one tap away when you need it.
Save on Pinterest