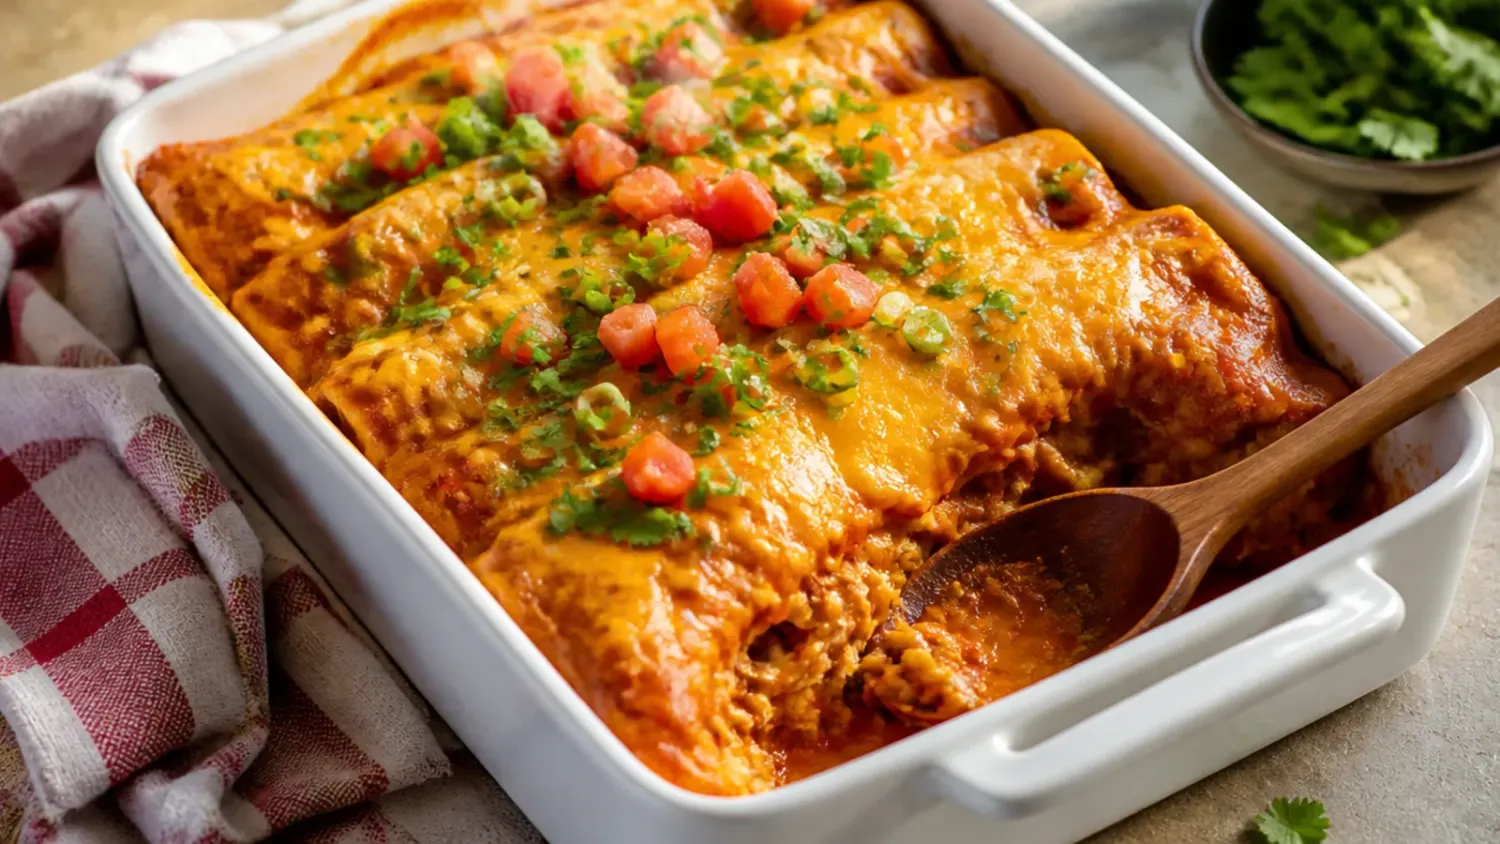
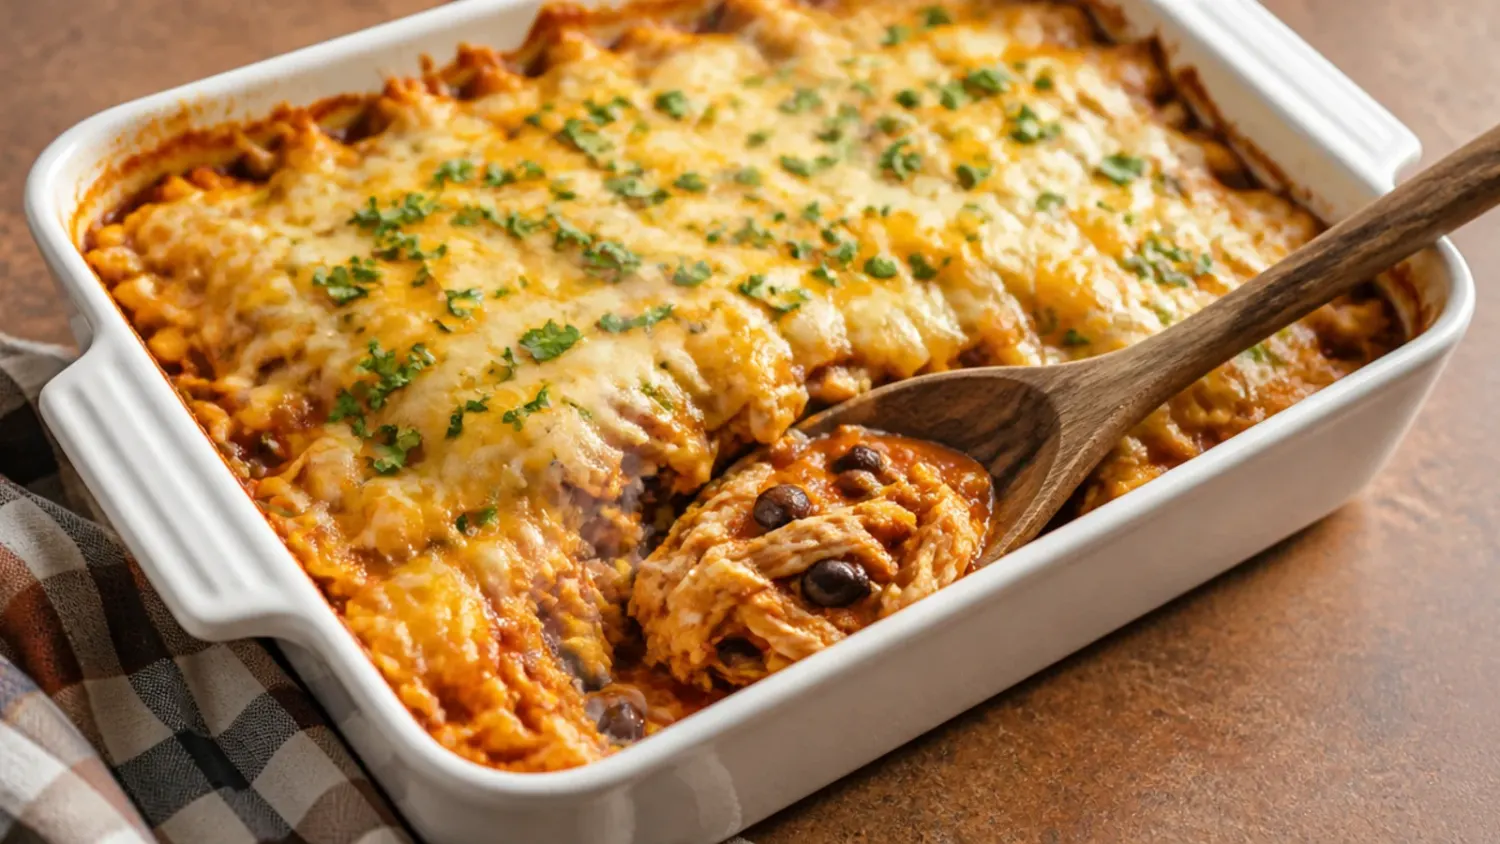
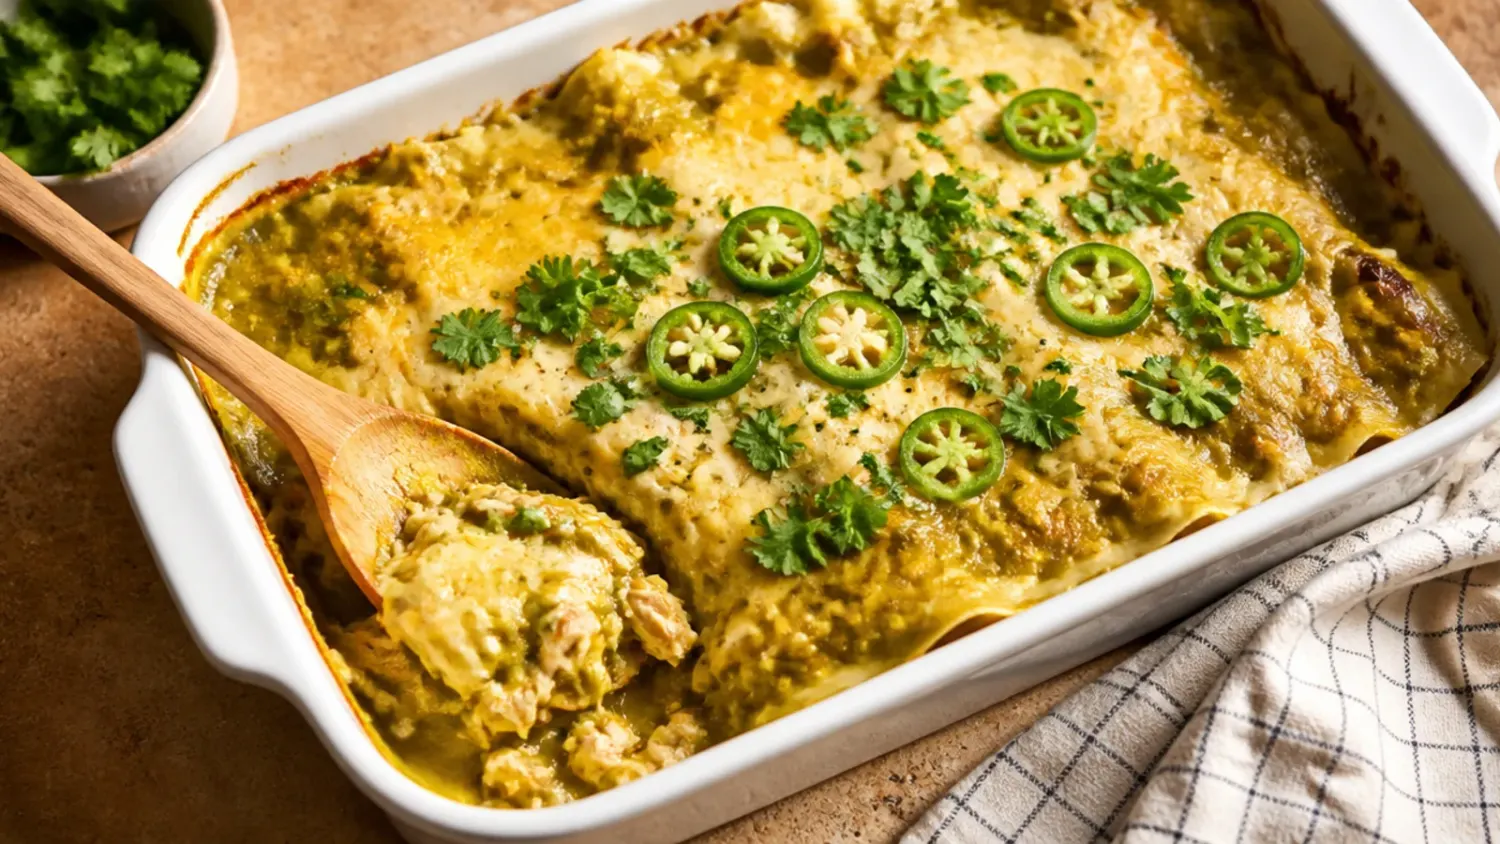
15 Creamy Enchilada Bakes I Would Change
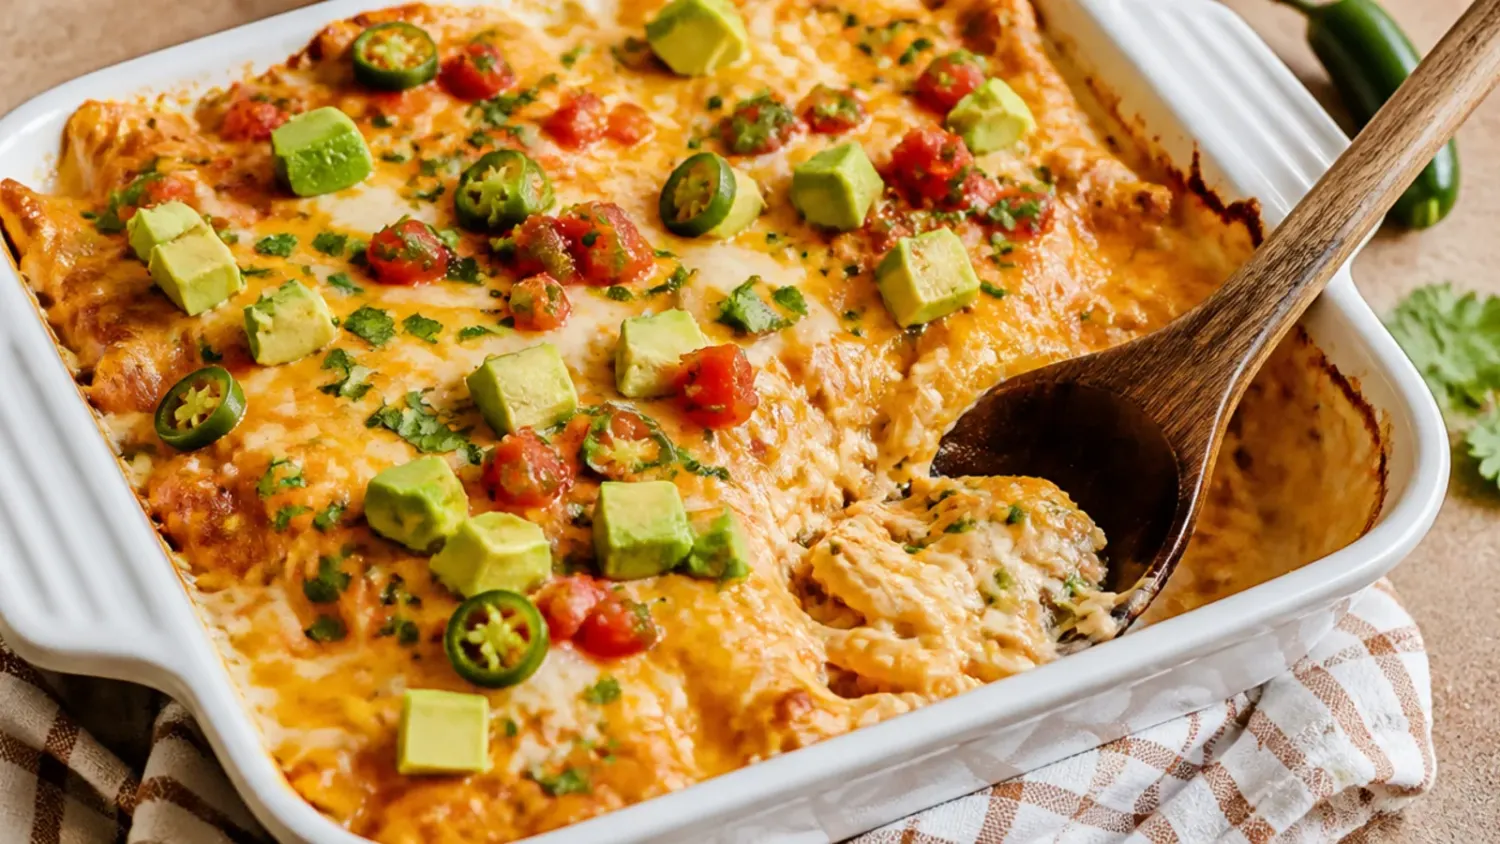
Fifteen honest lessons from years of making creamy chicken enchilada casserole, plus the exact fixes I use now. If you love chicken enchilada casserole inspiration, start with our Chicken Enchilada Casserole collection, then browse the full Comfort Dinners hub for more.

Save this for later 📌
Pin this article to your Pinterest board so the full list is one tap away when you need it.
Save on PinterestComfort Dinners
Beginner
Kitchen Journal
7 steps
Table of Contents
- Lesson 1: Warm the Tortillas Before They Go In
- Lesson 2: Corn Tortillas Beat Flour, Every Time
- Lesson 3: Grate the Cheese Yourself
- Lesson 4: Season the Chicken, Not Just the Sauce
- Lesson 5: Let It Rest Before You Cut In
- Lesson 6: Don't Drown It in Sauce
- Lesson 7: Blend the Sour Cream Into the Sauce
- Lesson 8: Toast the Spices Before They Go In
- Lesson 9: Rotisserie Chicken, Shredded While Still Warm
- Lesson 10: Char the Chillies for Real Depth
- Lesson 11: Sauce First, Then Tortillas
- Lesson 12: Cover It, Then Uncover It
- Lesson 13: Black Beans and Corn Earn Their Place
- Lesson 14: Freeze It Unbaked, Not Baked
- Lesson 15: Garnish After Baking, Not Before
- What I'd Tell a Friend Trying This
- The Recipe I Used
Lesson 1: Warm the Tortillas Before They Go In
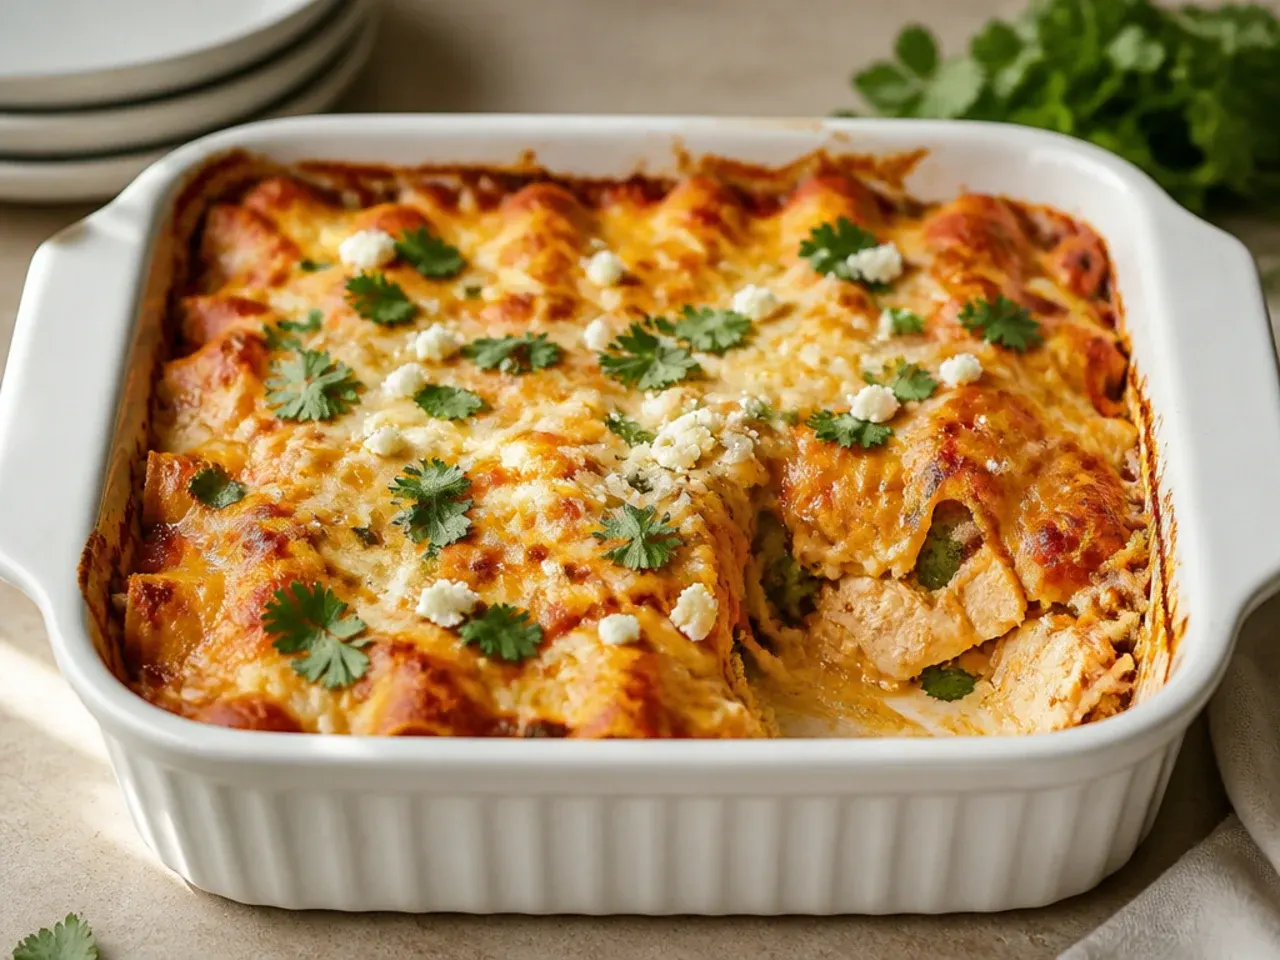
The first few times I made this, I layered cold tortillas straight from the packet and they cracked and turned gluey in the middle of the bake. Now I warm each one for about 10 seconds a side in a dry frying pan, which makes them pliable and stops them soaking up sauce like a sponge. It takes an extra five minutes but it's the single biggest fix for texture in the whole dish.
Lesson 2: Corn Tortillas Beat Flour, Every Time
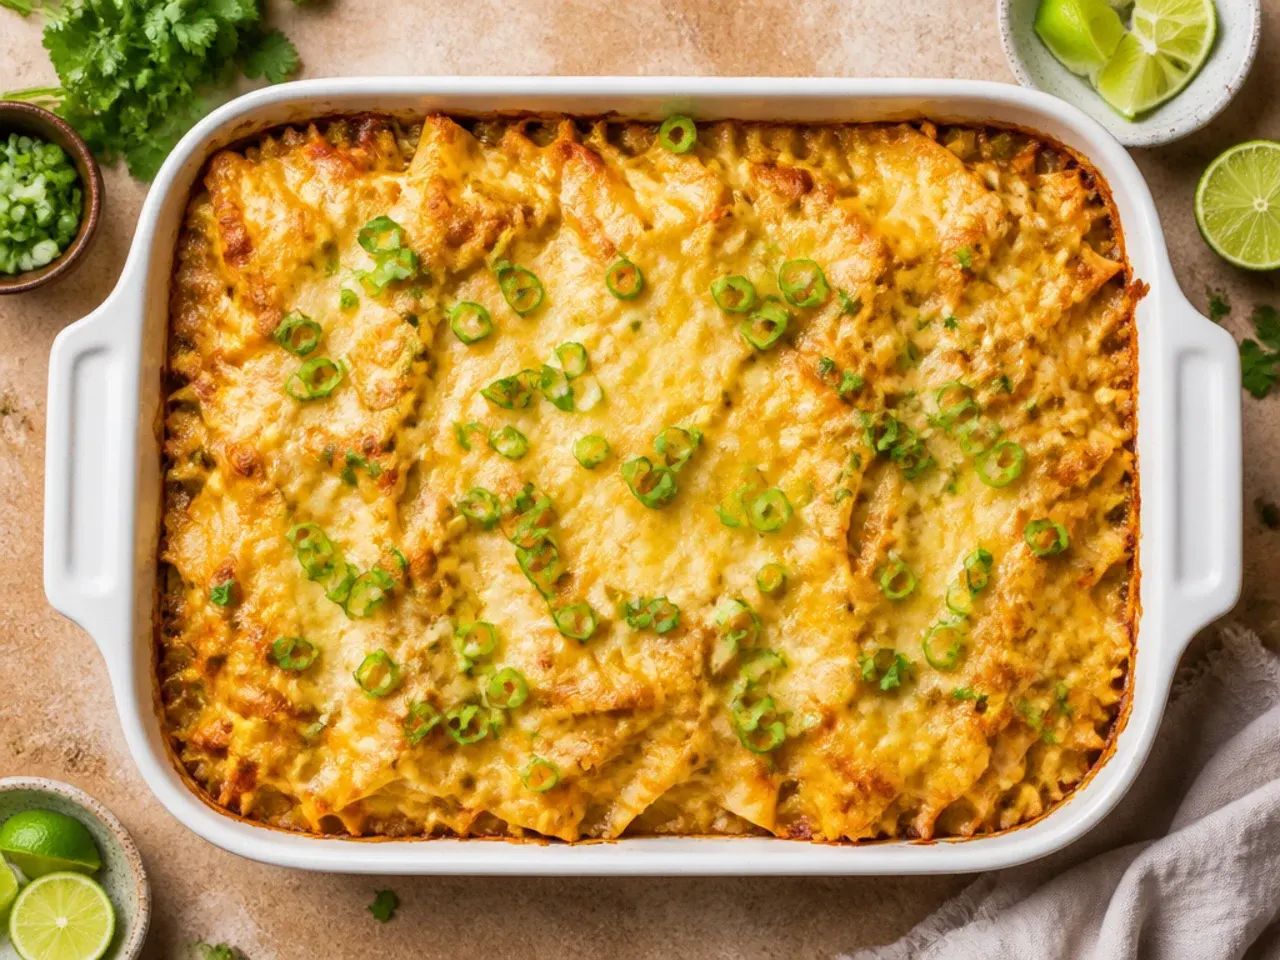
I used flour tortillas once because it was what I had, and the casserole turned into a dense, gummy brick by the time it cooled. Corn tortillas hold their structure under sauce and cheese in a way flour ones just can't manage. If corn tortillas aren't available, I now tear flour ones smaller and use fewer layers of sauce to compensate.
Lesson 3: Grate the Cheese Yourself
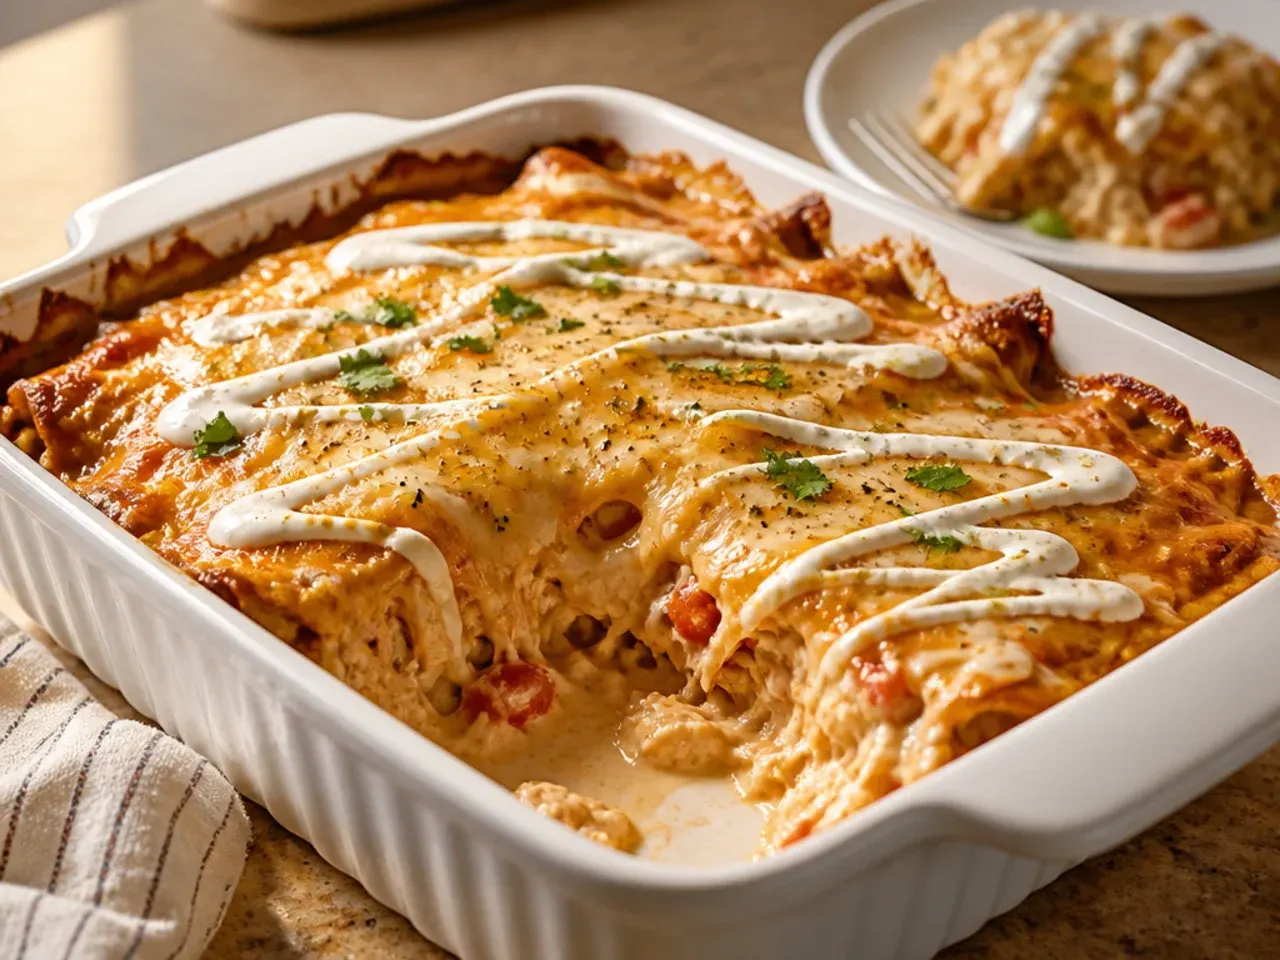
Bagged pre-shredded cheese seemed like the obvious shortcut, but it's coated in anti-caking starch that stops it melting smoothly, so my early bakes had a slightly grainy, oily top layer. Grating a block of Monterey Jack or cheddar myself takes maybe three extra minutes and melts into that stretchy, glossy finish I actually want. It also tastes noticeably better, since block cheese hasn't been sitting around drying out.
Lesson 4: Season the Chicken, Not Just the Sauce
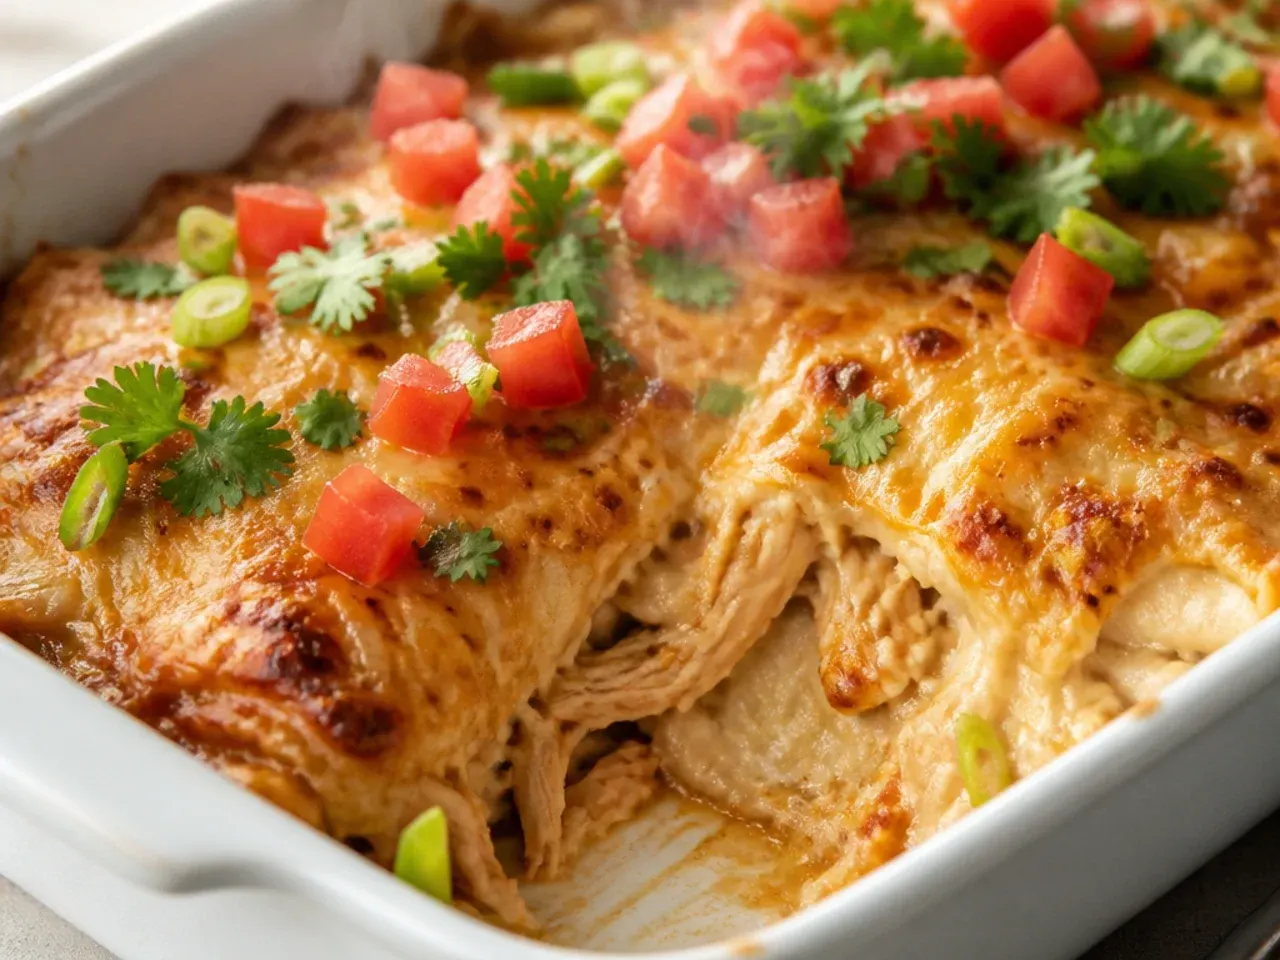
For a long time I relied entirely on the enchilada sauce for flavour and left the shredded chicken plain, which meant every bite tasted one-note. Now I toss the warm shredded chicken with cumin, garlic powder, a pinch of chilli powder and salt before it ever meets the sauce. That way the flavour is built in layers instead of sitting only on the surface.
Lesson 5: Let It Rest Before You Cut In
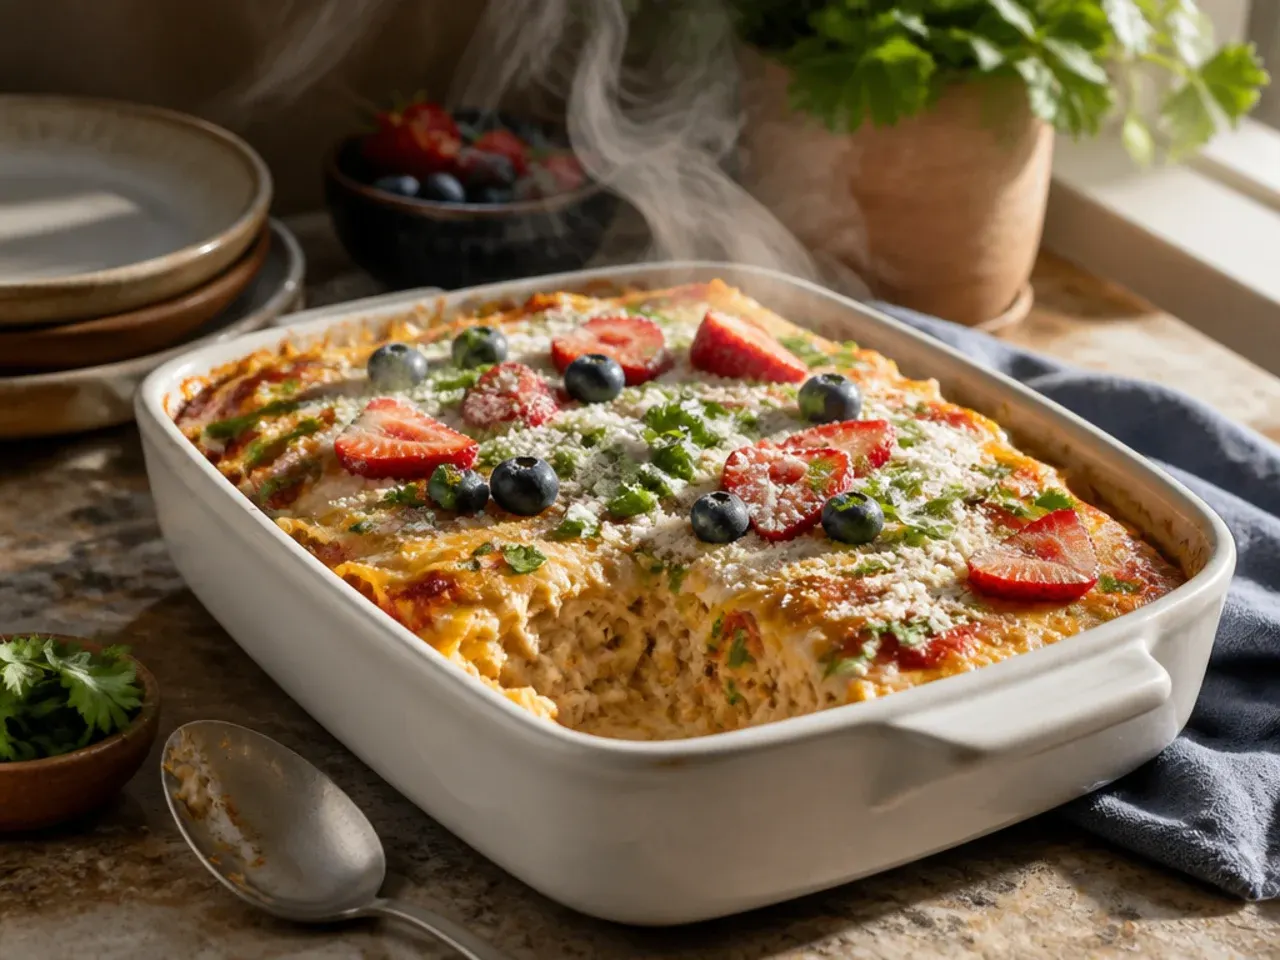
I used to serve this straight from the oven and every portion collapsed into a saucy puddle on the plate. Ten minutes of resting on the counter lets the cheese and sauce firm up just enough that you get clean, stackable slices instead of a scoop. It's a small thing, but it changes how the dish looks and eats.
Lesson 6: Don't Drown It in Sauce
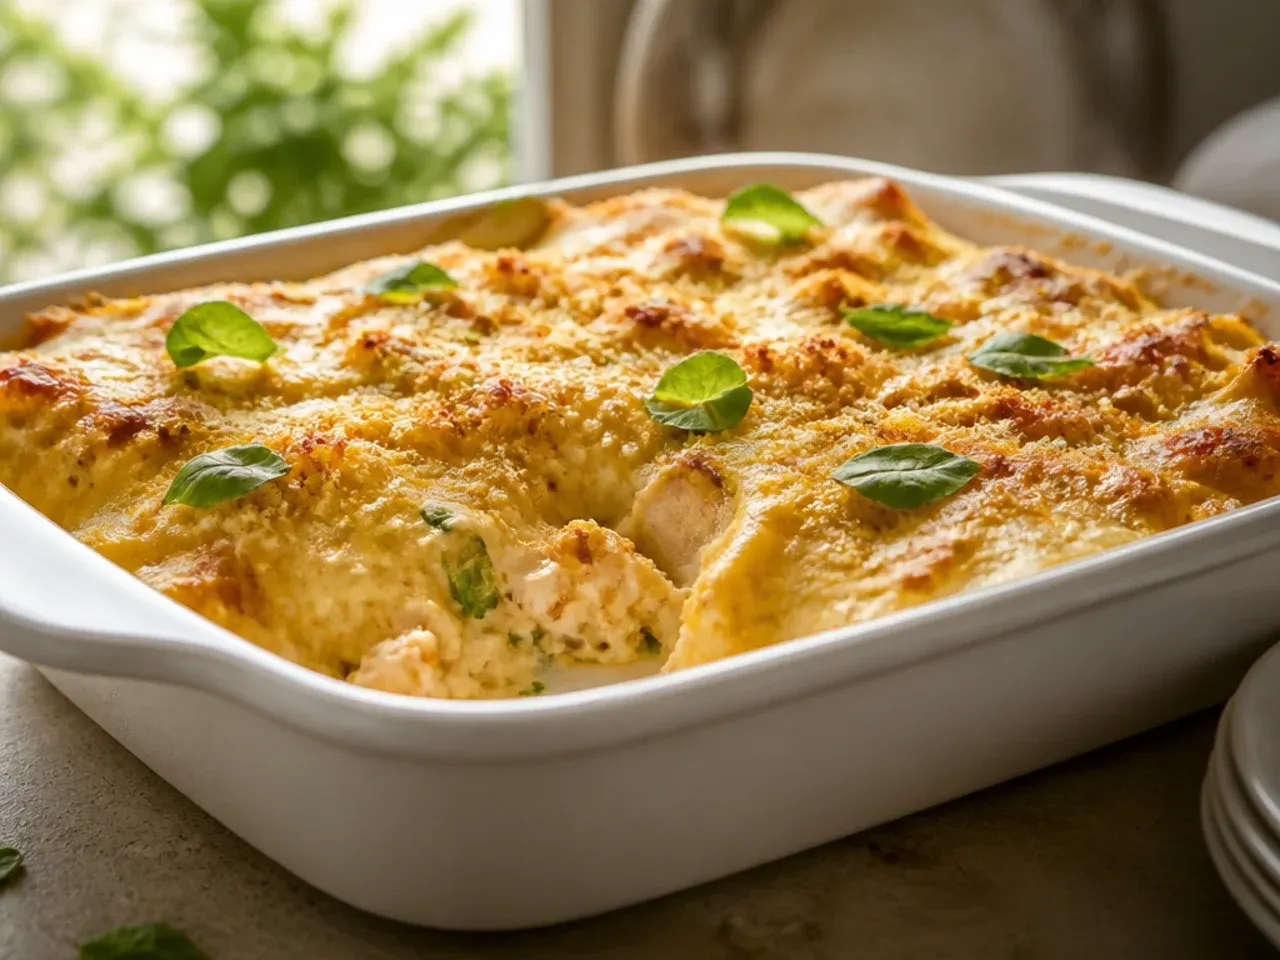
My first version used almost a litre of sauce because I assumed more meant creamier, and the middle layer never set, staying wet and slippery even after 40 minutes in the oven. I now stick to roughly 480 ml (2 cups) total, spread thin between layers rather than poured on thick. The casserole holds together far better and the sauce flavour is actually easier to taste when it isn't diluting everything else.
Lesson 7: Blend the Sour Cream Into the Sauce
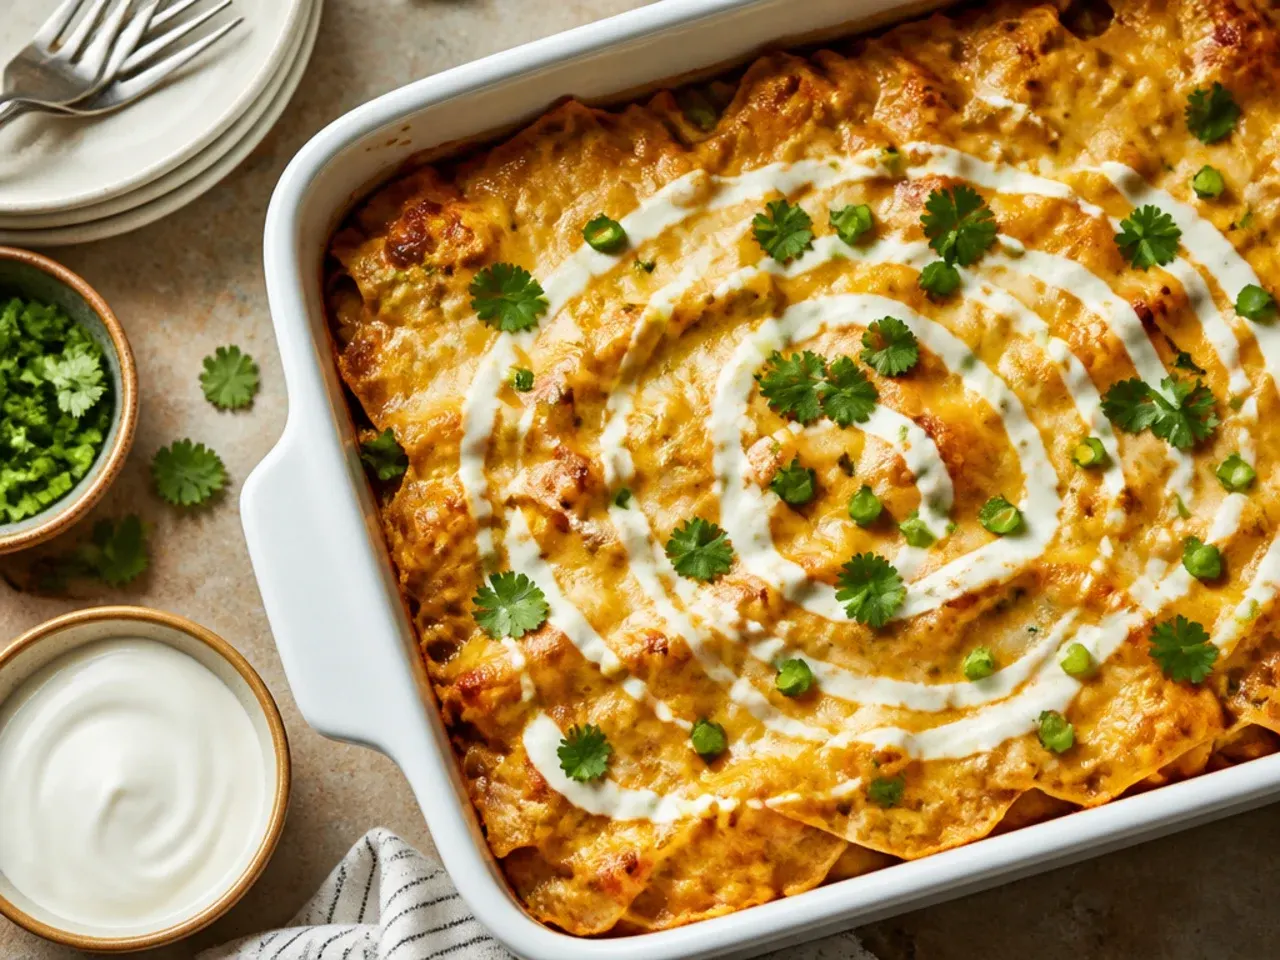
Dolloping sour cream on top after baking looked nice but did nothing for the inside of the dish, which is where I actually wanted the creaminess. Now I whisk about 120 g (1/2 cup) of sour cream straight into the warm enchilada sauce before it touches the tortillas. It turns a fairly thin, sharp sauce into something rounder and genuinely creamy all the way through.
Lesson 8: Toast the Spices Before They Go In
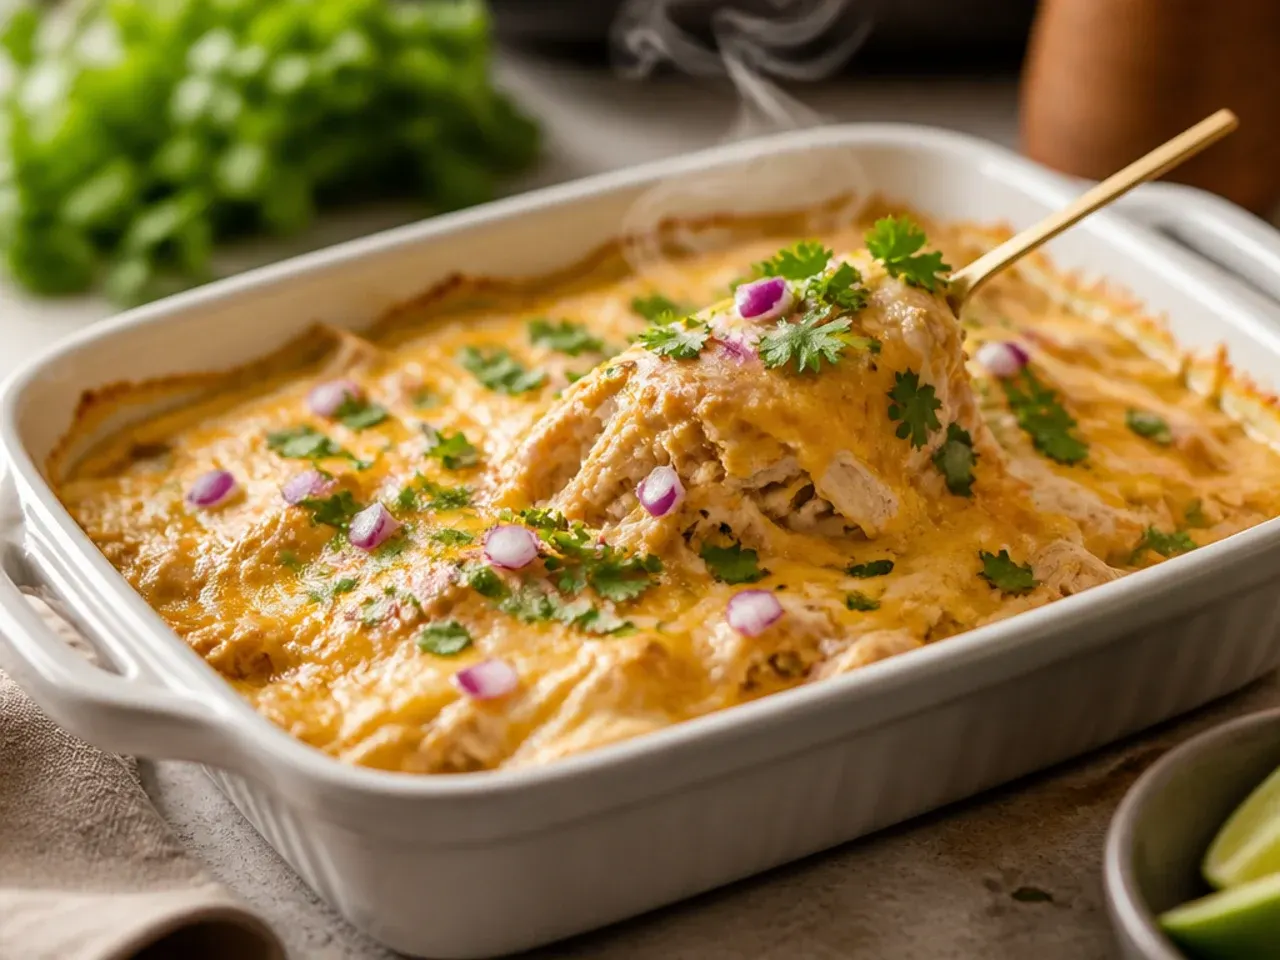
I used to shake cumin and chilli powder straight into the sauce cold, and the flavour always tasted slightly flat and dusty. Now I bloom the spices in the oil for 30-60 seconds while sautéing the onion and garlic, which wakes up their oils and makes the whole sauce taste rounder. It's a step that costs nothing but a minute of stirring.
Lesson 9: Rotisserie Chicken, Shredded While Still Warm
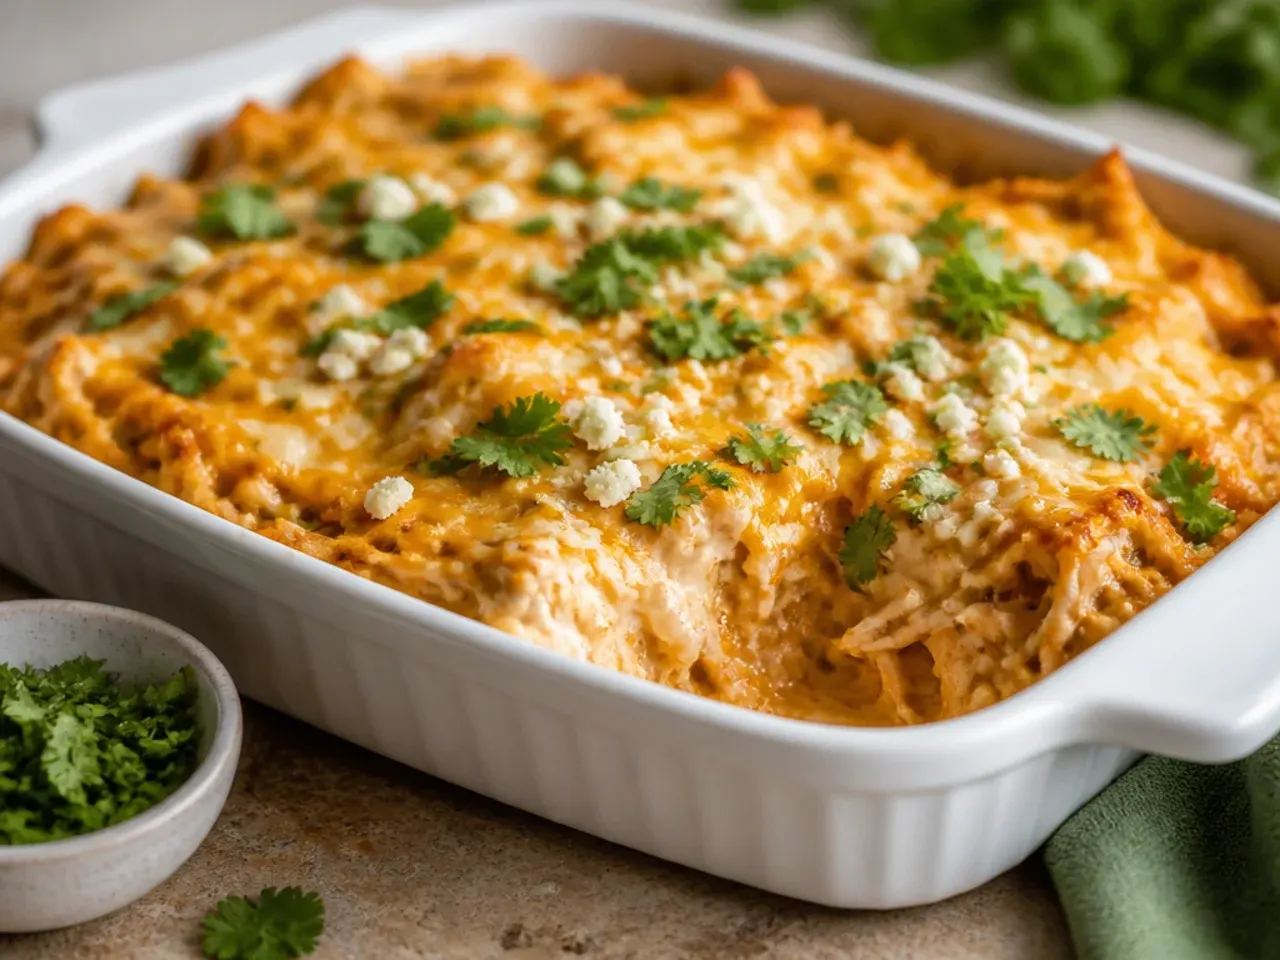
Poaching chicken breast from scratch every time made this feel like a much bigger job than it needed to be, so I switched to a shop-bought rotisserie chicken. Shredding it while it's still warm is easier on the hands and the meat soaks up the spice mix better than cold chicken does. One bird gives me more than enough for a 6-serving casserole with leftovers for tacos.
Lesson 10: Char the Chillies for Real Depth
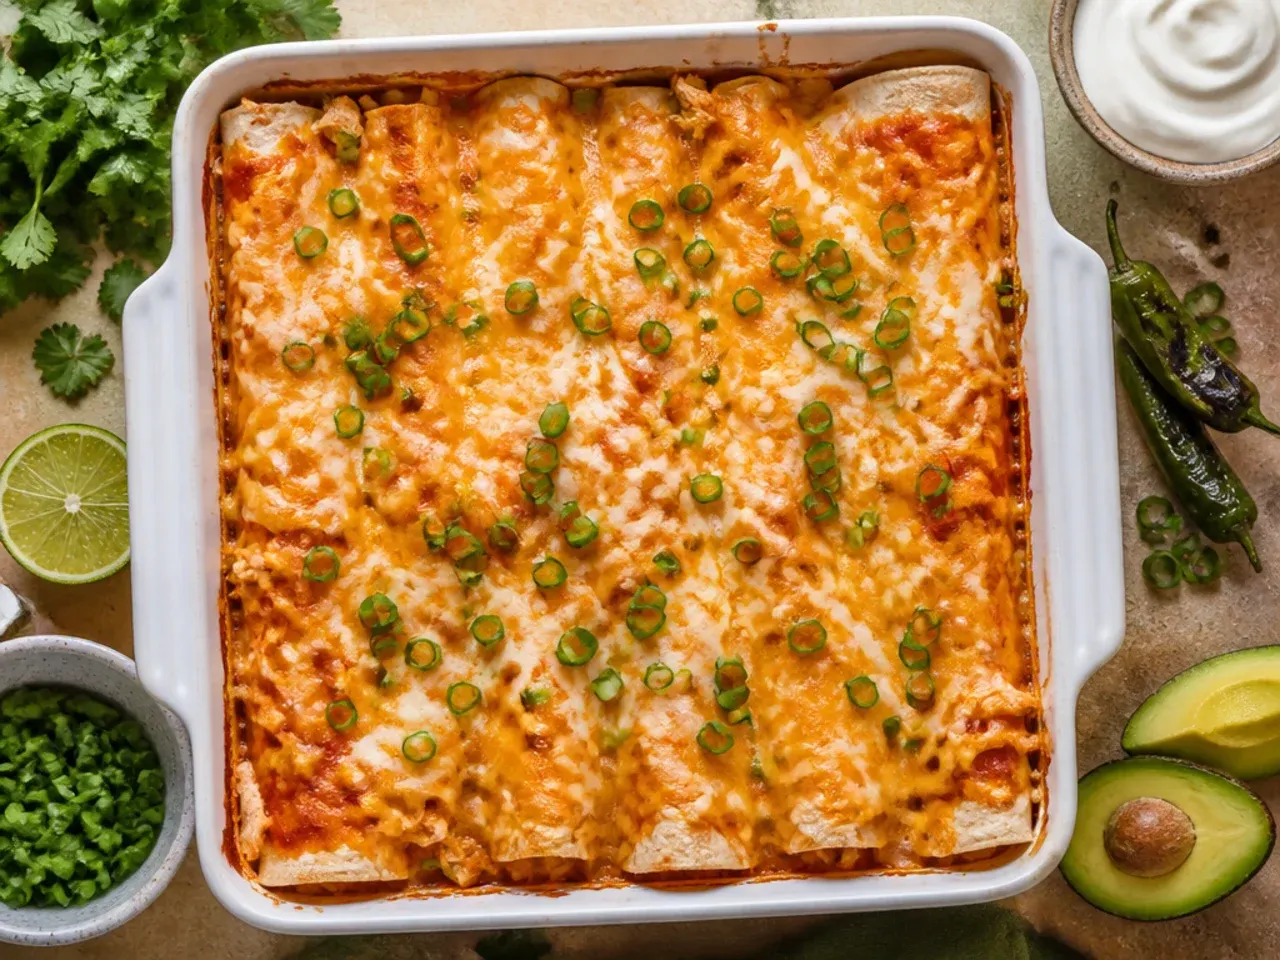
Using plain tinned green chillies straight from the can gave the casserole a flat, slightly tinny flavour that never quite disappeared. Now I roast a poblano pepper directly over the gas flame or under the grill until the skin blisters black, then peel and dice it. That smoky char comes through in every bite and it's the closest I've gotten to restaurant-style depth at home.
Lesson 11: Sauce First, Then Tortillas
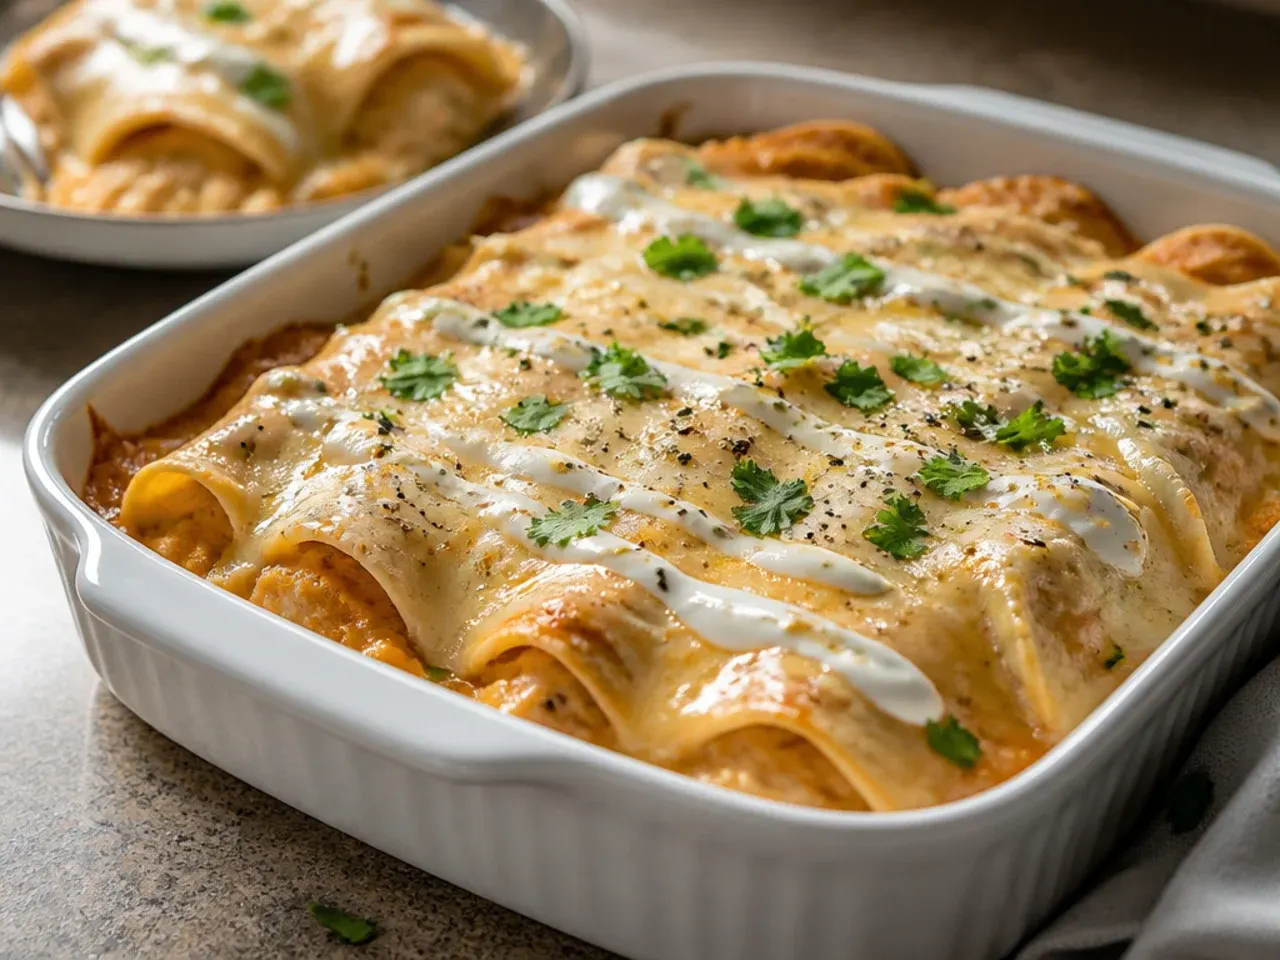
I skipped the bottom layer of sauce for ages, and the tortillas underneath always caught and stuck to the dish, tearing when I served it. A thin layer of sauce spread across the base before the first tortilla goes in stops that completely and gives you a cleaner first slice. It's the same trick lasagne relies on and it works exactly the same way here.
Lesson 12: Cover It, Then Uncover It
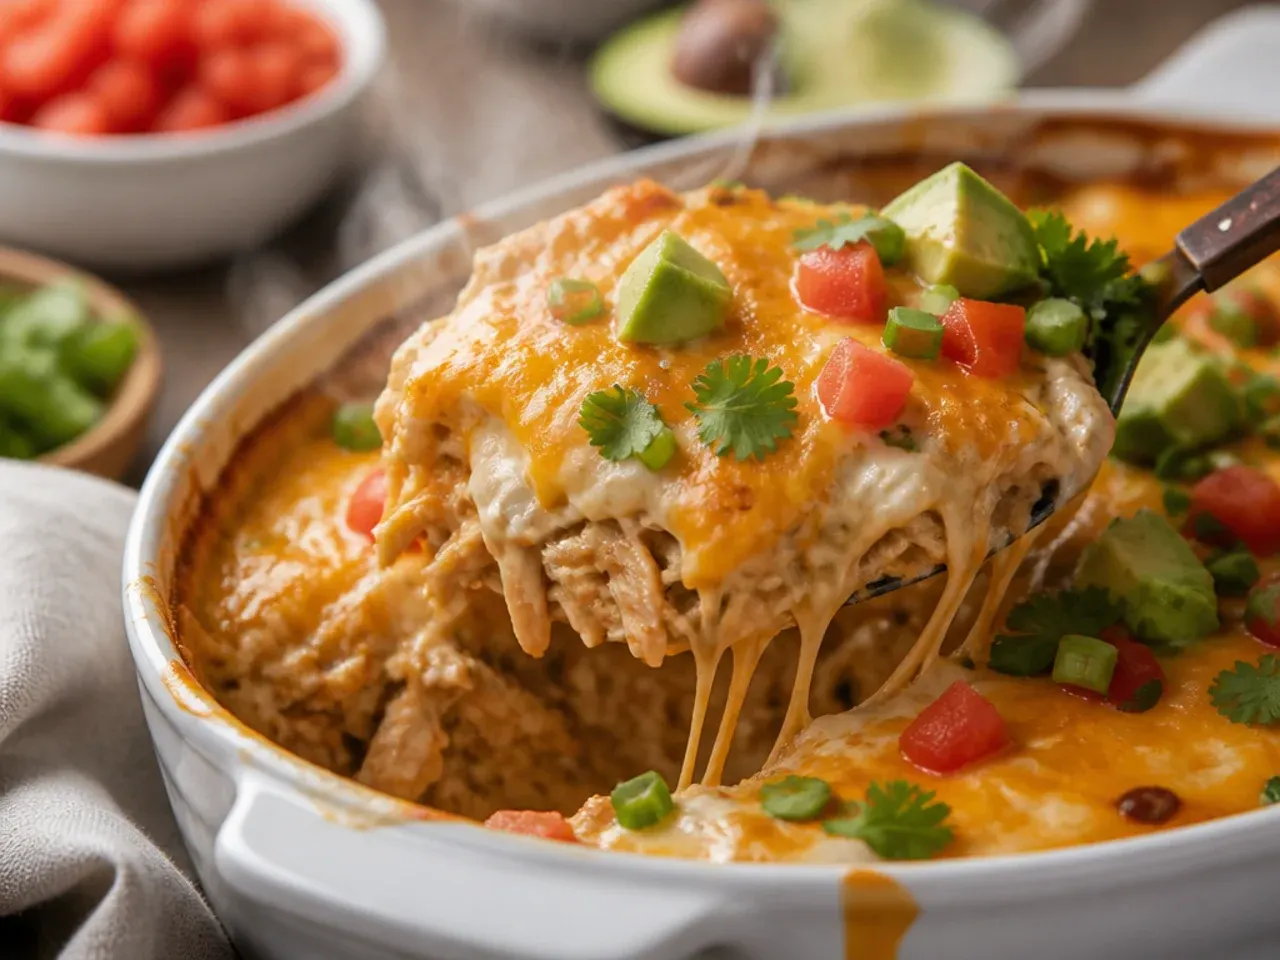
Baking uncovered the whole time dried out the top layer of tortillas before the middle was even hot, and baking covered the whole time left the cheese pale and unmelted-looking. My fix now is foil on for the first 20 minutes at 190°C (375°F), then off for the final 10-15 minutes so the top browns and bubbles properly. That split approach gets a hot centre and a genuinely golden top every time.
Lesson 13: Black Beans and Corn Earn Their Place
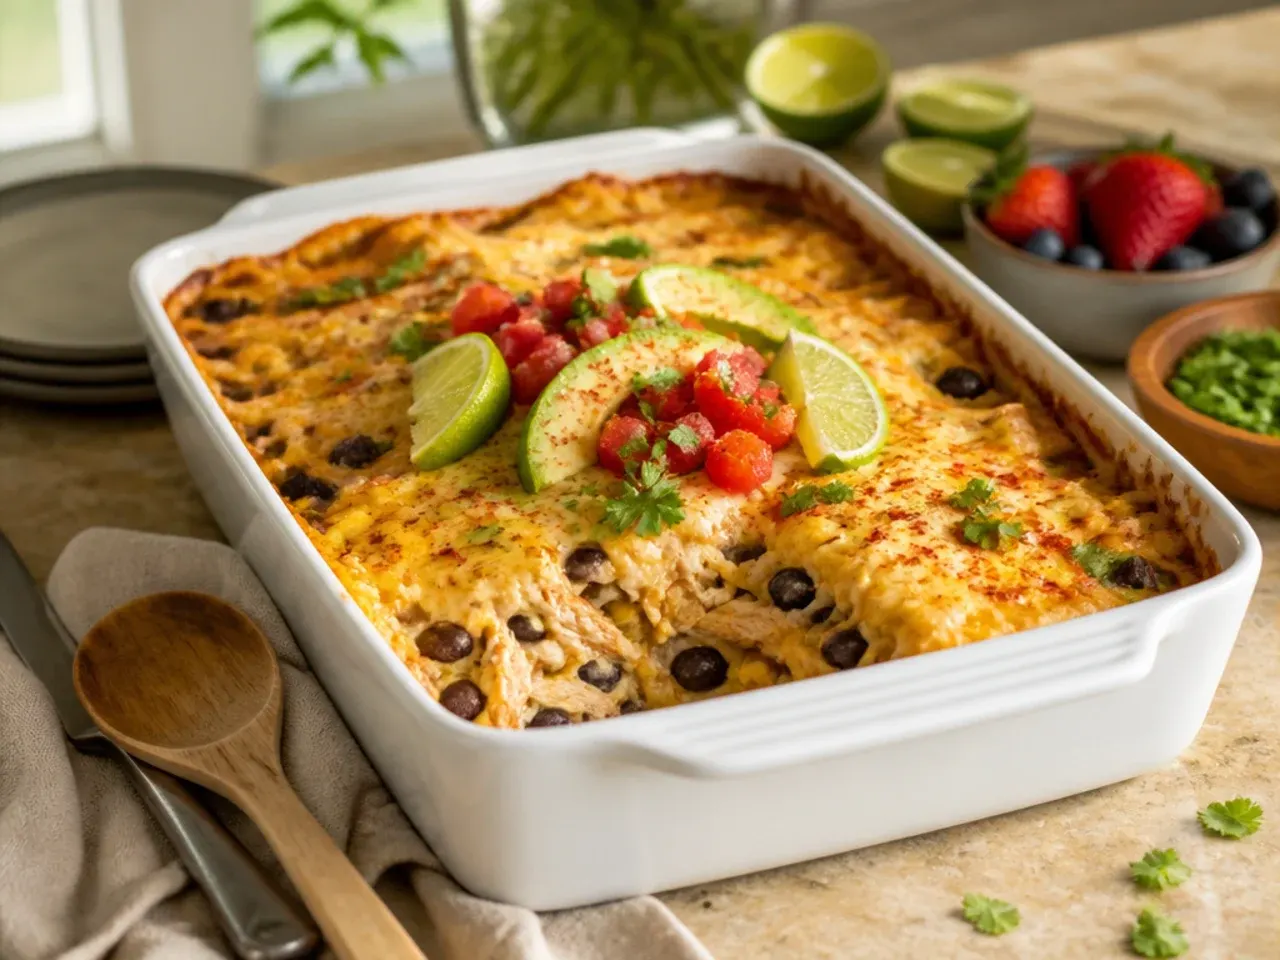
My earliest versions were just chicken, sauce and cheese, and while that's fine, it left the texture pretty uniform and the dish felt heavier than it needed to. Stirring in 200 g (1 cup) of drained black beans and 150 g (1 cup) of sweetcorn kernels with the chicken adds bite, natural sweetness and a bit more volume without more meat. It also means the casserole stretches further, which matters when you're feeding a family.
Lesson 14: Freeze It Unbaked, Not Baked
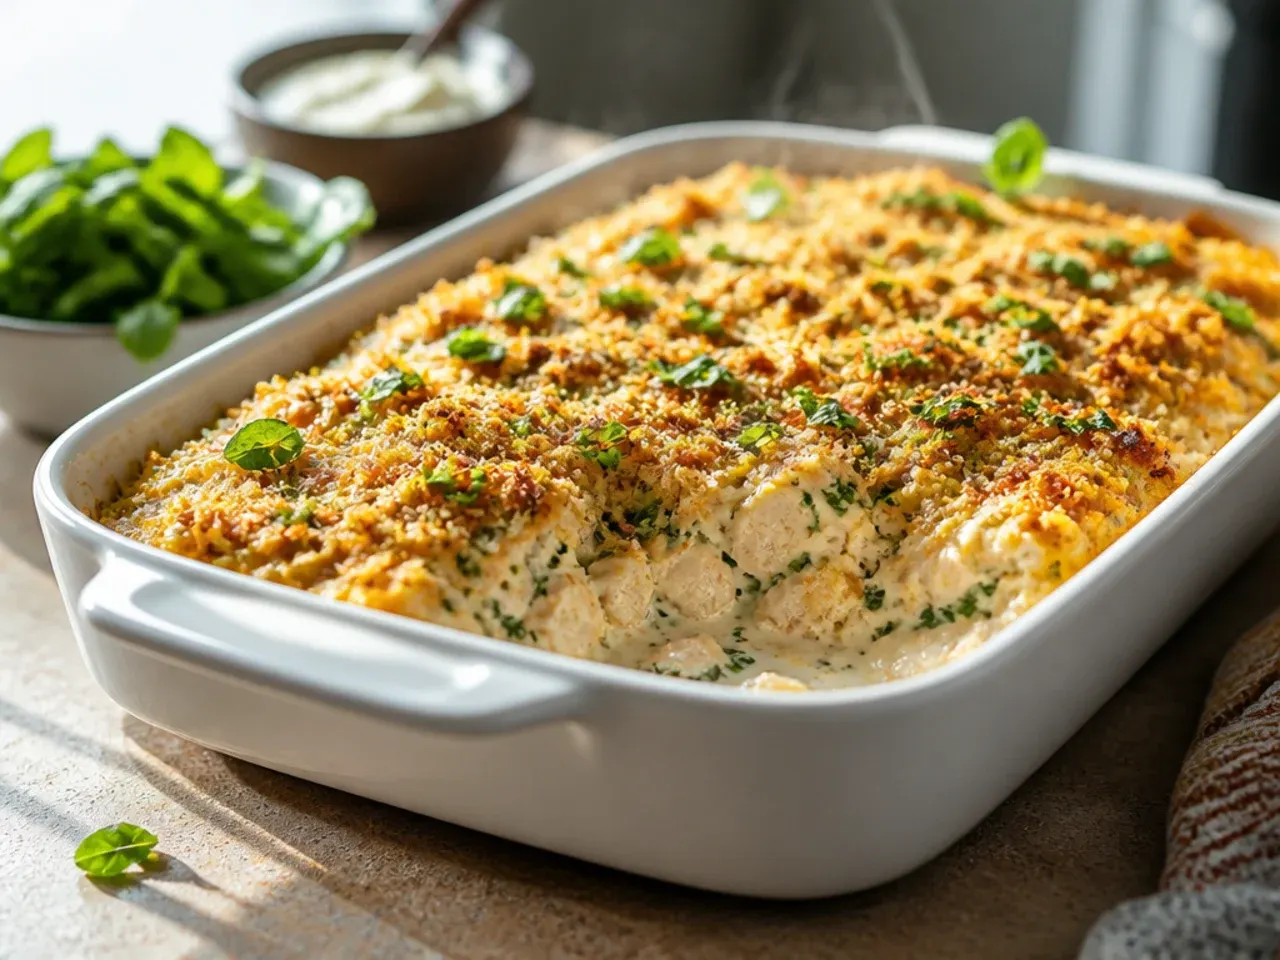
Freezing leftover baked casserole always gave me a slightly rubbery, watery result once reheated, because the tortillas had already absorbed as much sauce as they could before freezing. Now I assemble the whole thing in a foil tray, freeze it unbaked, and bake it straight from frozen at 180°C (350°F) for about 55-60 minutes. The tortillas stay firmer and the texture on reheating is far closer to fresh.
Lesson 15: Garnish After Baking, Not Before
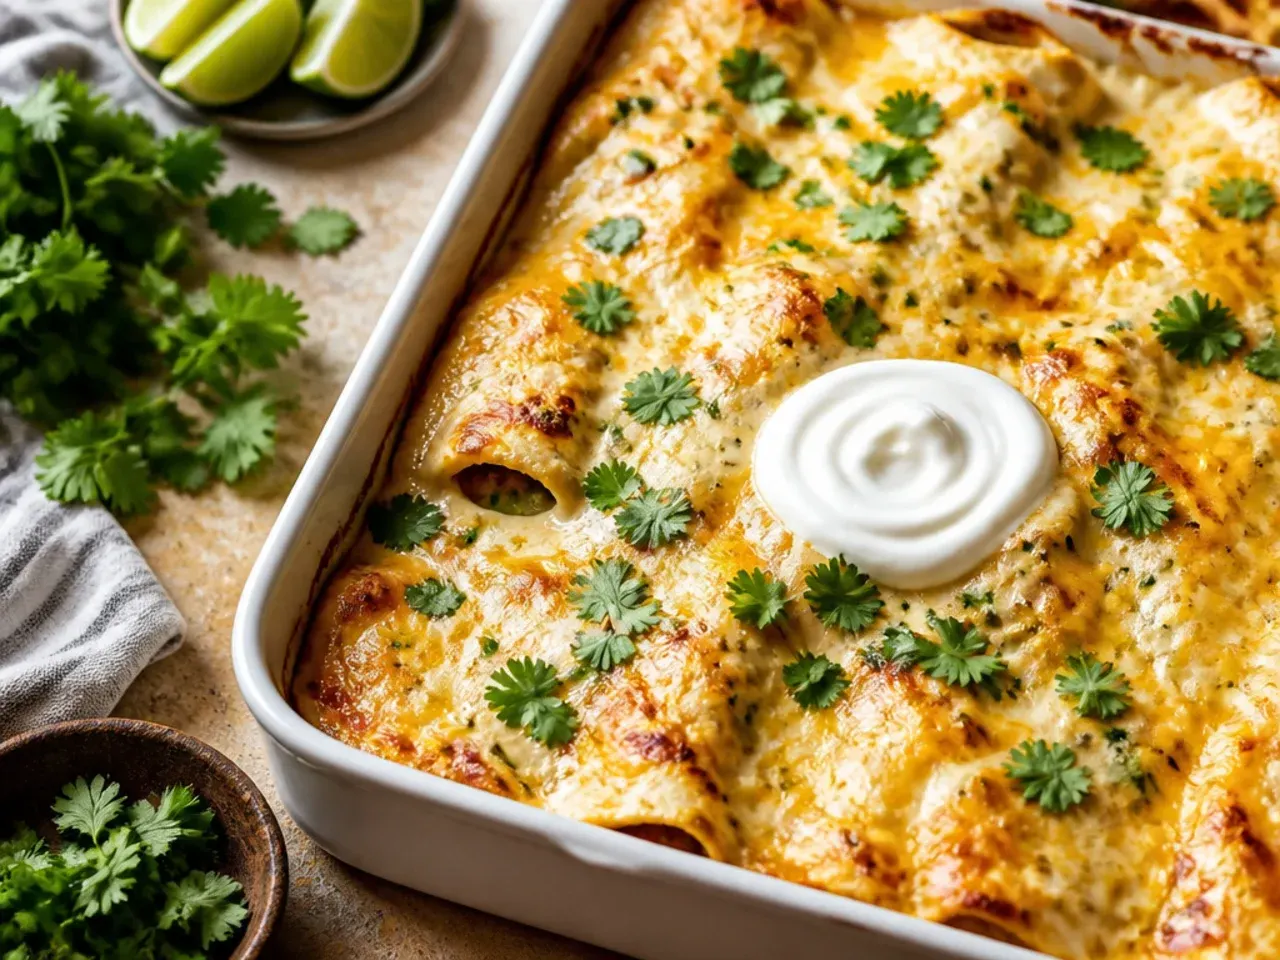
I used to scatter coriander and spring onion on top before the dish went in the oven, and by the time it came out they'd wilted into sad, dark flecks. Now everything fresh goes on after baking, once it's had its 10-minute rest: chopped coriander, a squeeze of lime and a few slices of spring onion. It keeps the colours bright and gives the finished dish a fresh contrast against all that melted cheese.
What I'd Tell a Friend Trying This
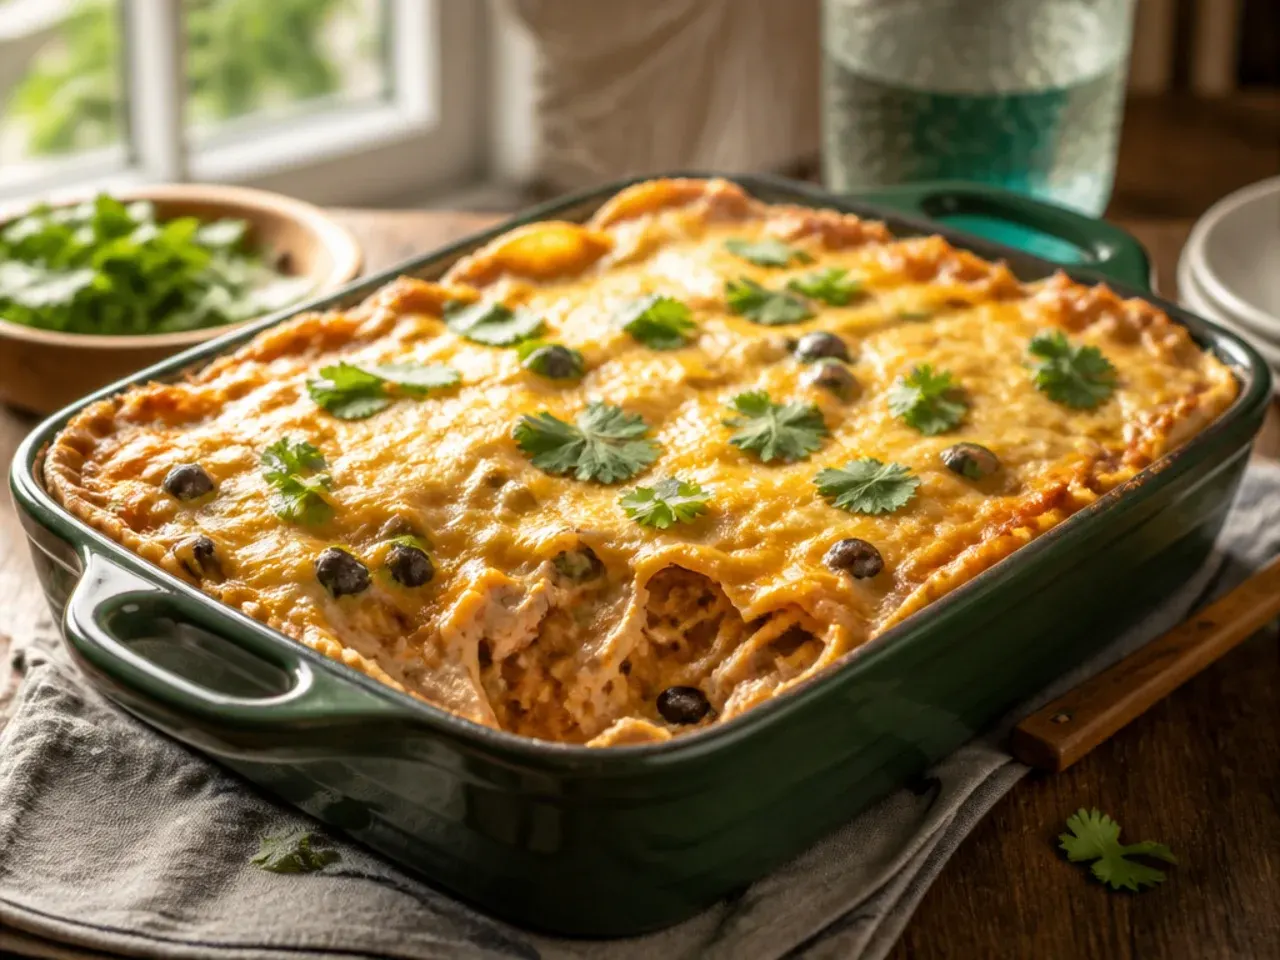
If you only take three things from all this: warm your tortillas, don't overdo the sauce, and let the whole thing rest before you cut into it. Everything else is a nice-to-have that makes it better, but those three fixes are what stop the dish falling apart or turning soggy. Start with the recipe below exactly as written the first time, then start swapping in the lessons above once you know how your oven and your dish behave.
The Recipe
The Recipe I Used
20 min
35 min
55 min
6
Beginner
Ingredients 6 Person(s)
Directions
Step 1: Build the Creamy Sauce
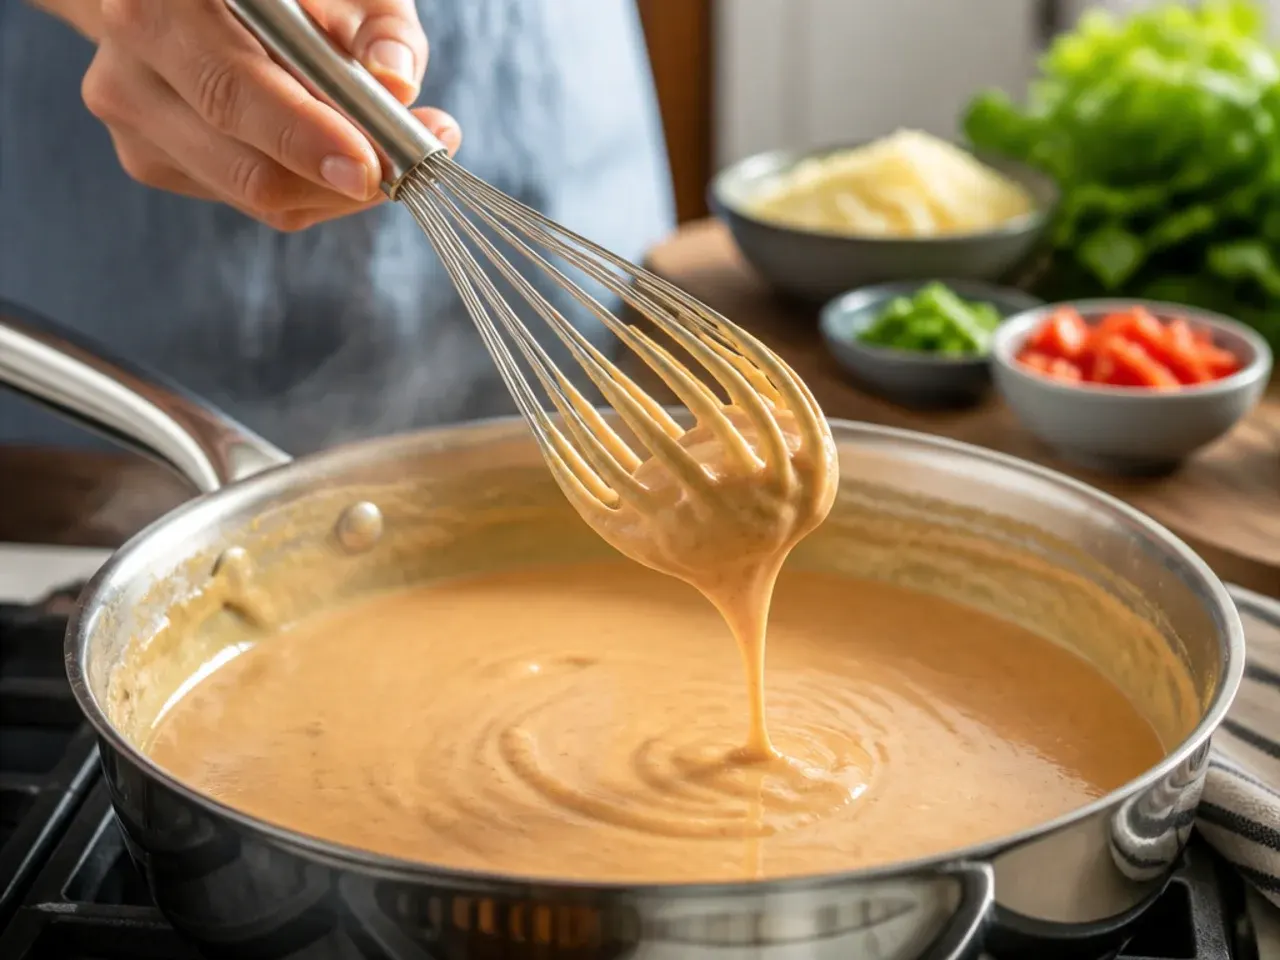
Heat the olive oil in a saucepan over medium heat and cook the onion for 4-5 minutes until soft. Add the garlic, cumin and chilli powder and stir for 30-60 seconds until fragrant, then pour in the enchilada sauce and simmer for 3 minutes. Take off the heat and whisk in the sour cream until fully combined and smooth.
Step 2: Season and Mix the Chicken
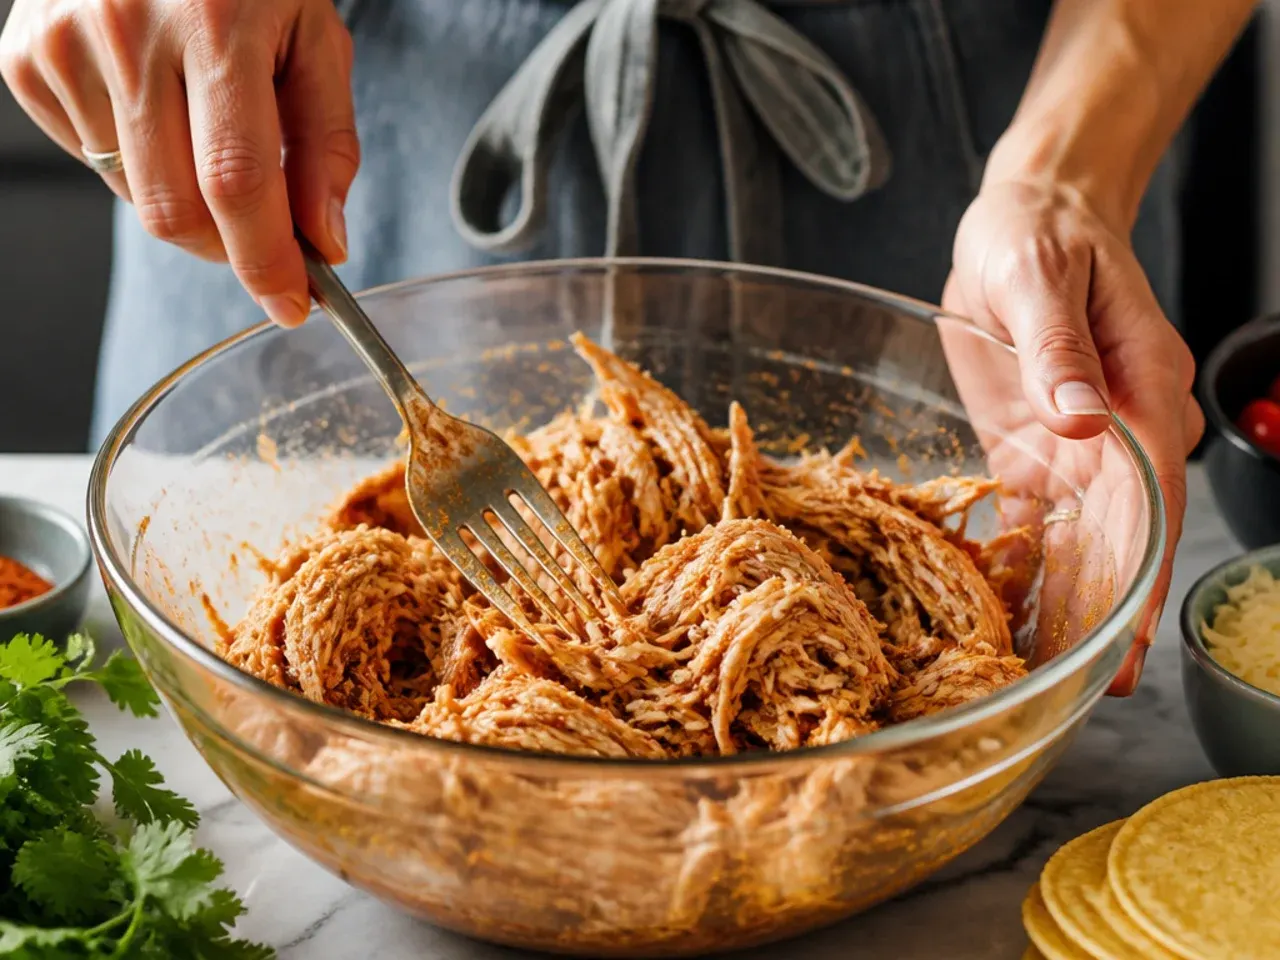
In a large bowl, toss the shredded chicken with a pinch of the same spice mix, a good pinch of salt, the diced poblano, black beans and sweetcorn. Stir in about a third of the sauce so the chicken mixture is coated but not swimming. Set aside while you warm the tortillas.
Step 3: Warm the Tortillas
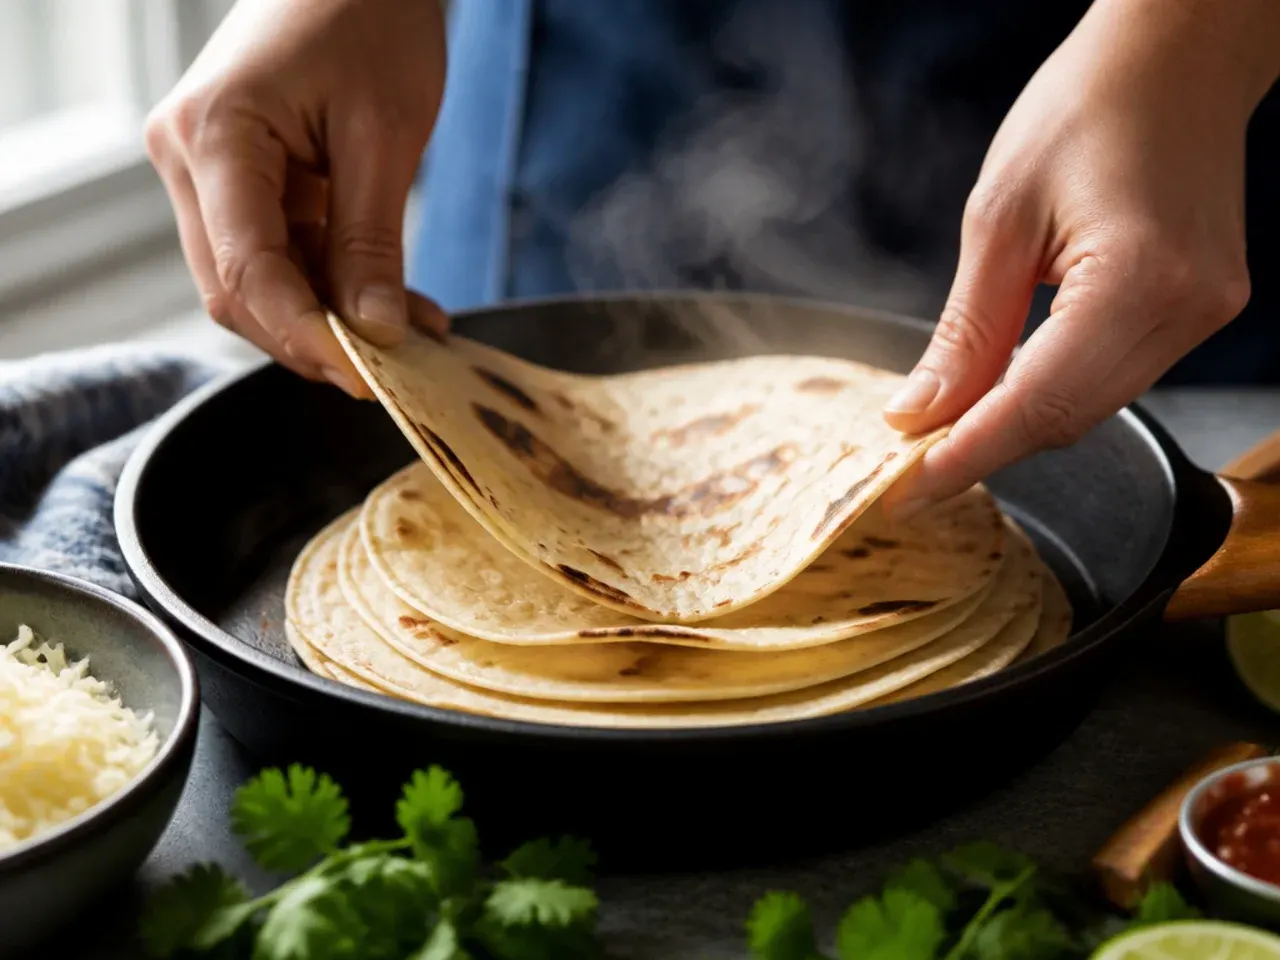
Working in batches, warm each corn tortilla for about 10 seconds per side in a dry frying pan over medium heat until soft and pliable. Stack them under a clean tea towel to keep them warm and flexible until you're ready to layer.
Step 4: Layer the Base
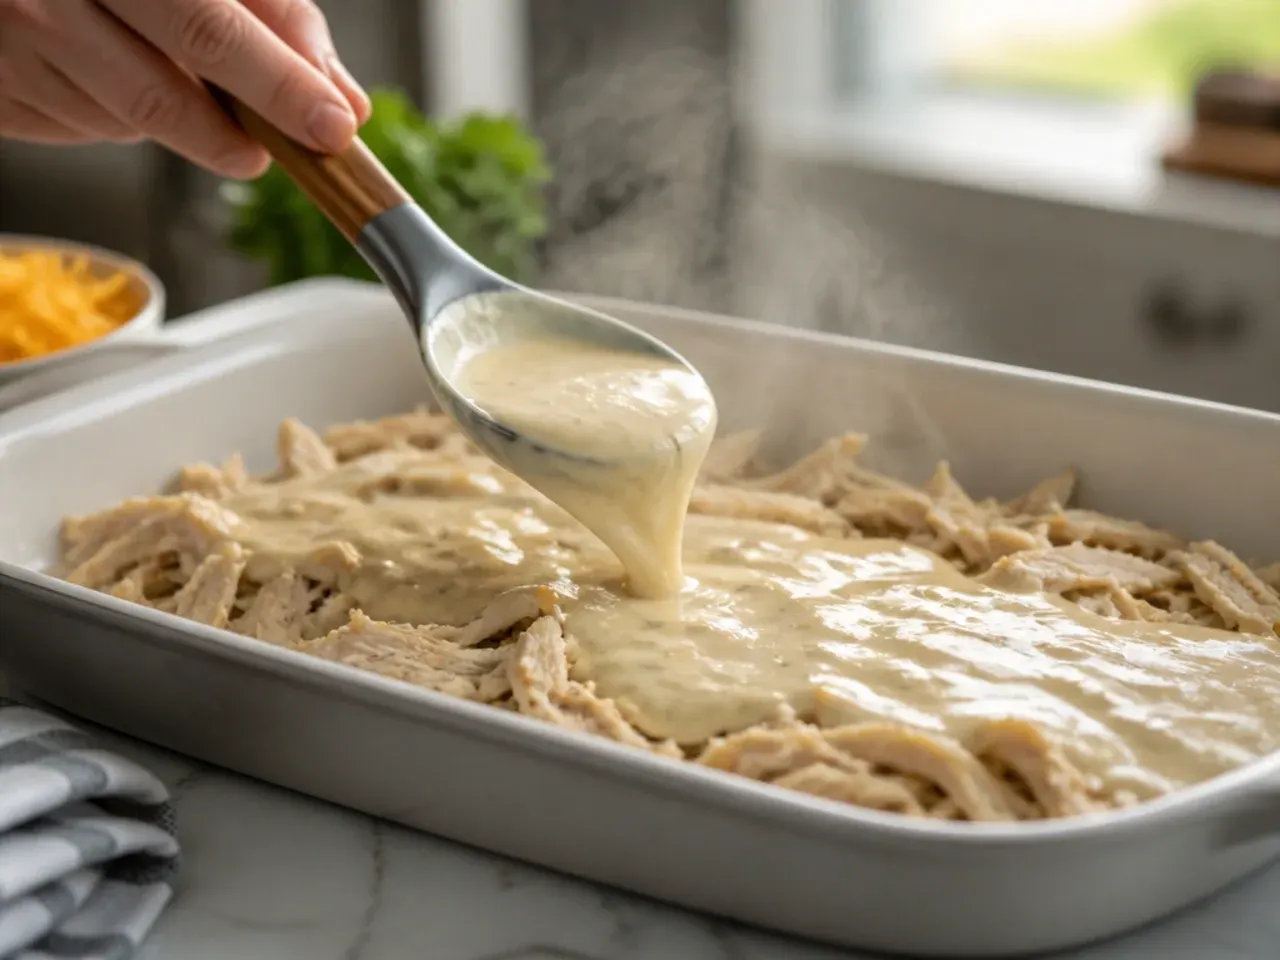
Preheat the oven to 190°C (375°F). Spread a thin layer of the remaining sauce across the bottom of a 23x33 cm (9x13 in) baking dish, then lay down 4 tortillas, overlapping slightly to cover the base. Top with a third of the chicken mixture and a third of the grated cheese.
Step 5: Repeat the Layers
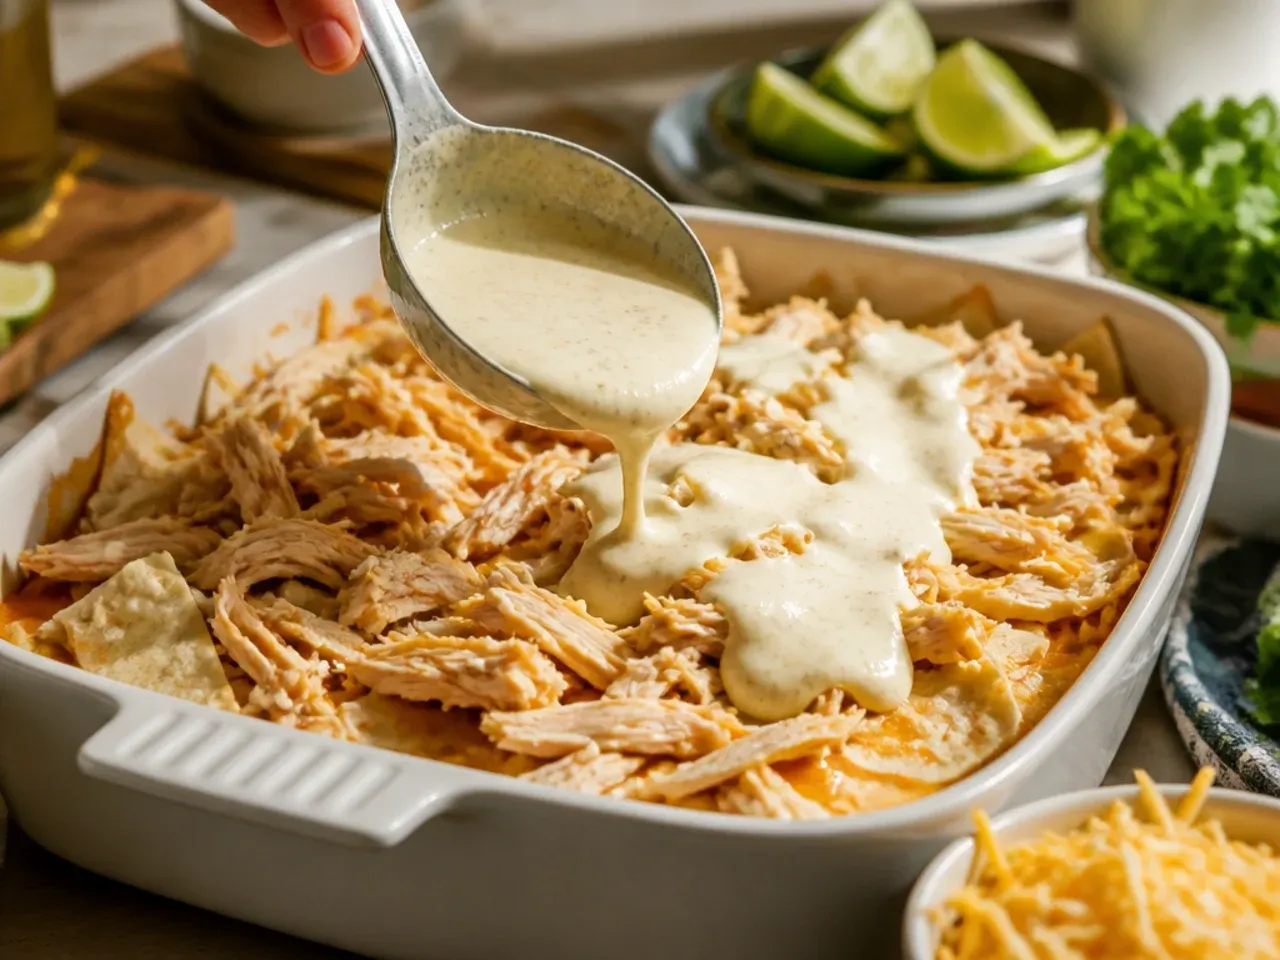
Repeat the layering twice more: tortillas, chicken mixture, cheese, finishing with the last of the cheese on top. Pour any remaining sauce evenly over the final layer so the top doesn't dry out in the oven.
Step 6: Bake Covered, Then Uncovered
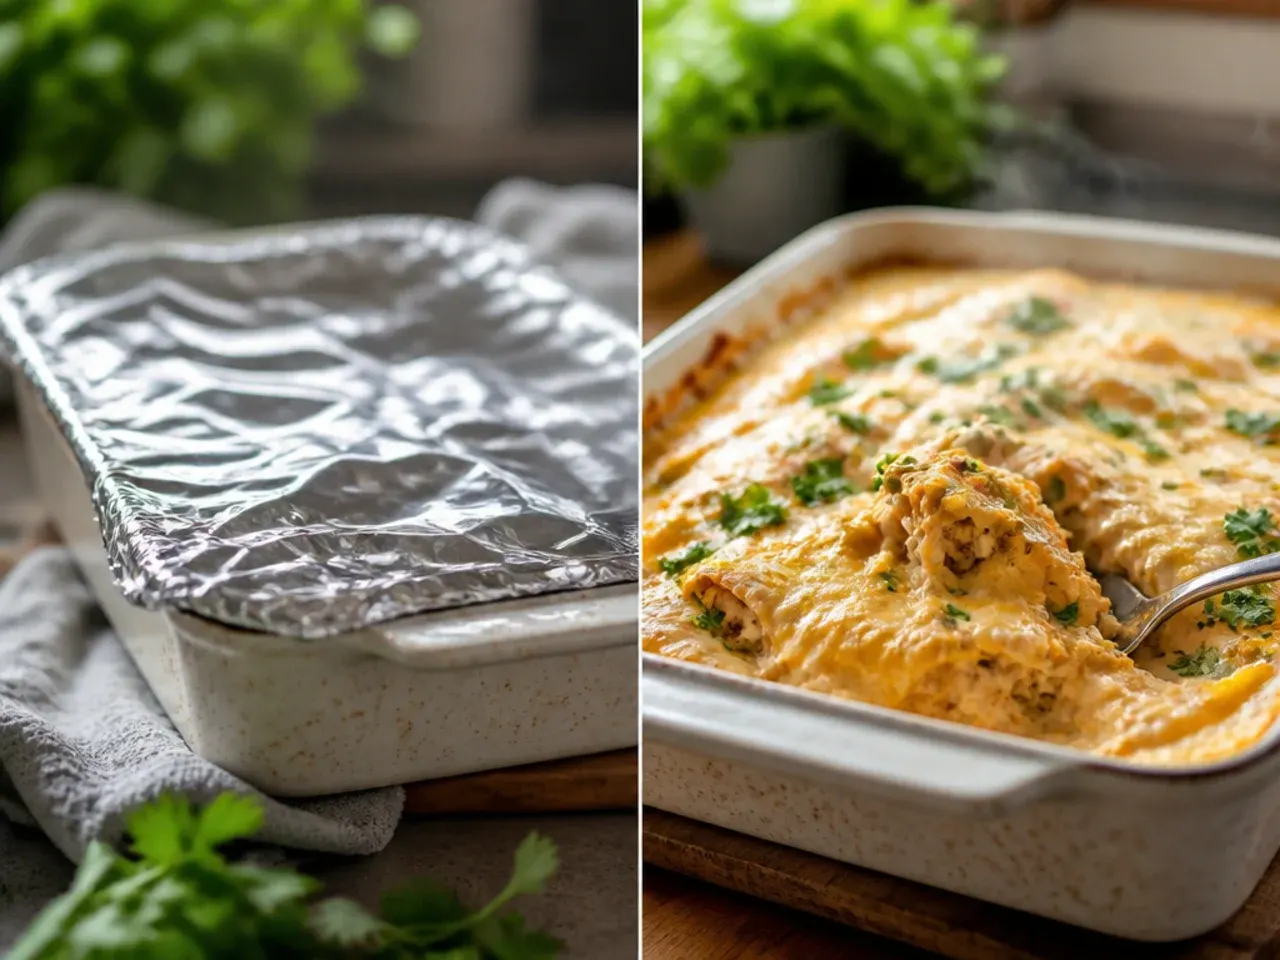
Cover the dish tightly with foil and bake for 20 minutes. Remove the foil and bake for a further 10-15 minutes, until the cheese is fully melted, golden in spots and the sauce is bubbling at the edges.
Step 7: Rest and Garnish
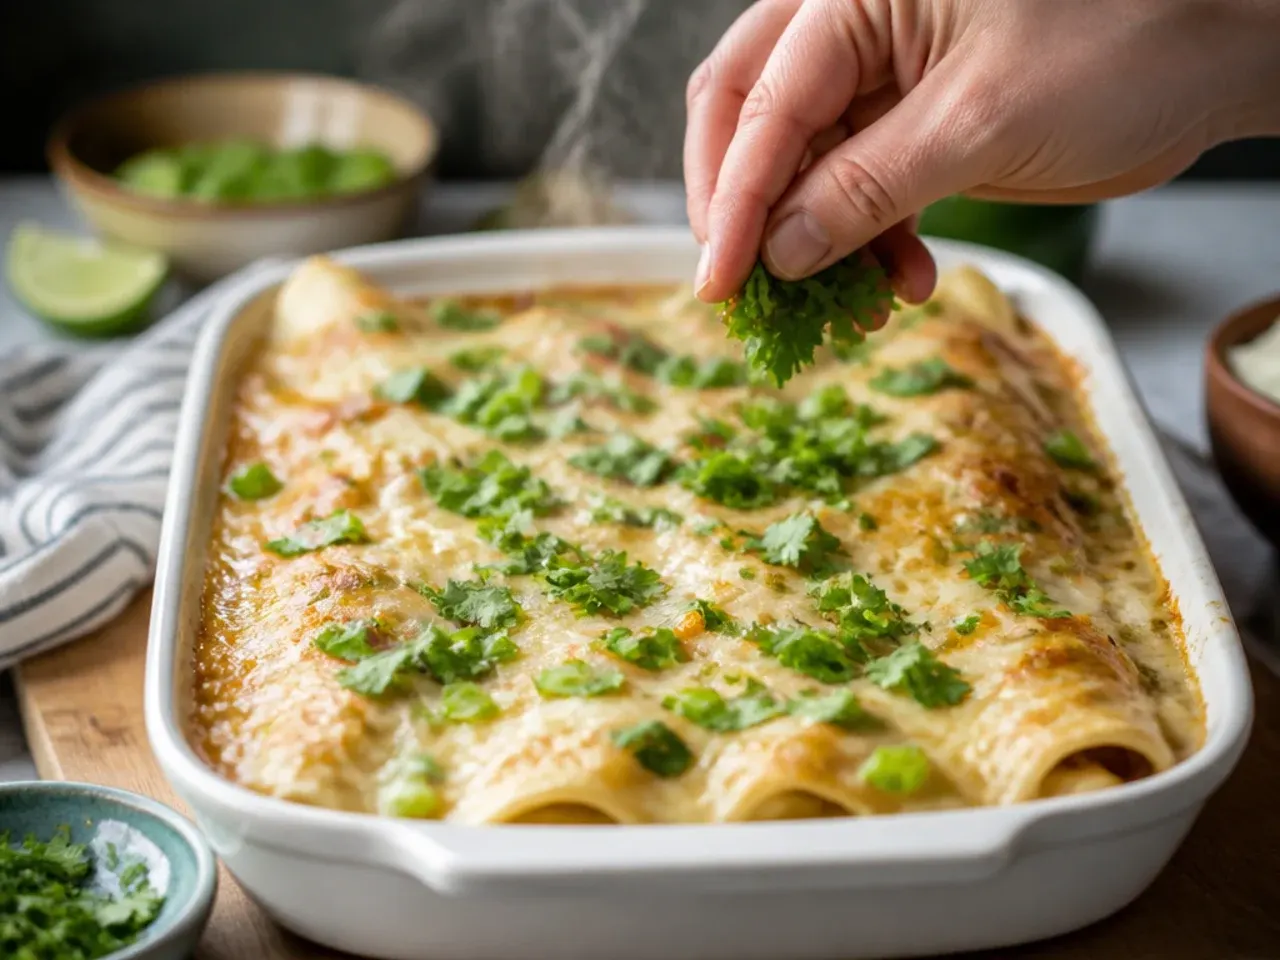
Let the casserole rest on the counter for 10 minutes before cutting so the layers set enough to slice cleanly. Finish with fresh coriander, a squeeze of lime and a scattering of spring onion just before serving.
Frequently Asked Questions
You can, but the texture changes quite a bit. Flour tortillas absorb sauce faster and tend to turn dense and gummy rather than holding a bit of structure the way corn tortillas do. If flour is all you have, use fewer sauce layers and tear the tortillas into smaller pieces so they distribute the moisture more evenly.
Save this for later 📌
Pin this article to your Pinterest board so the full list is one tap away when you need it.
Save on Pinterest