Ingredients 10 Person(s)

Save this for later 📌
Pin this article to your Pinterest board so the full list is one tap away when you need it.
Save on PinterestDirections
Step 1: Prep the Tin and Oven
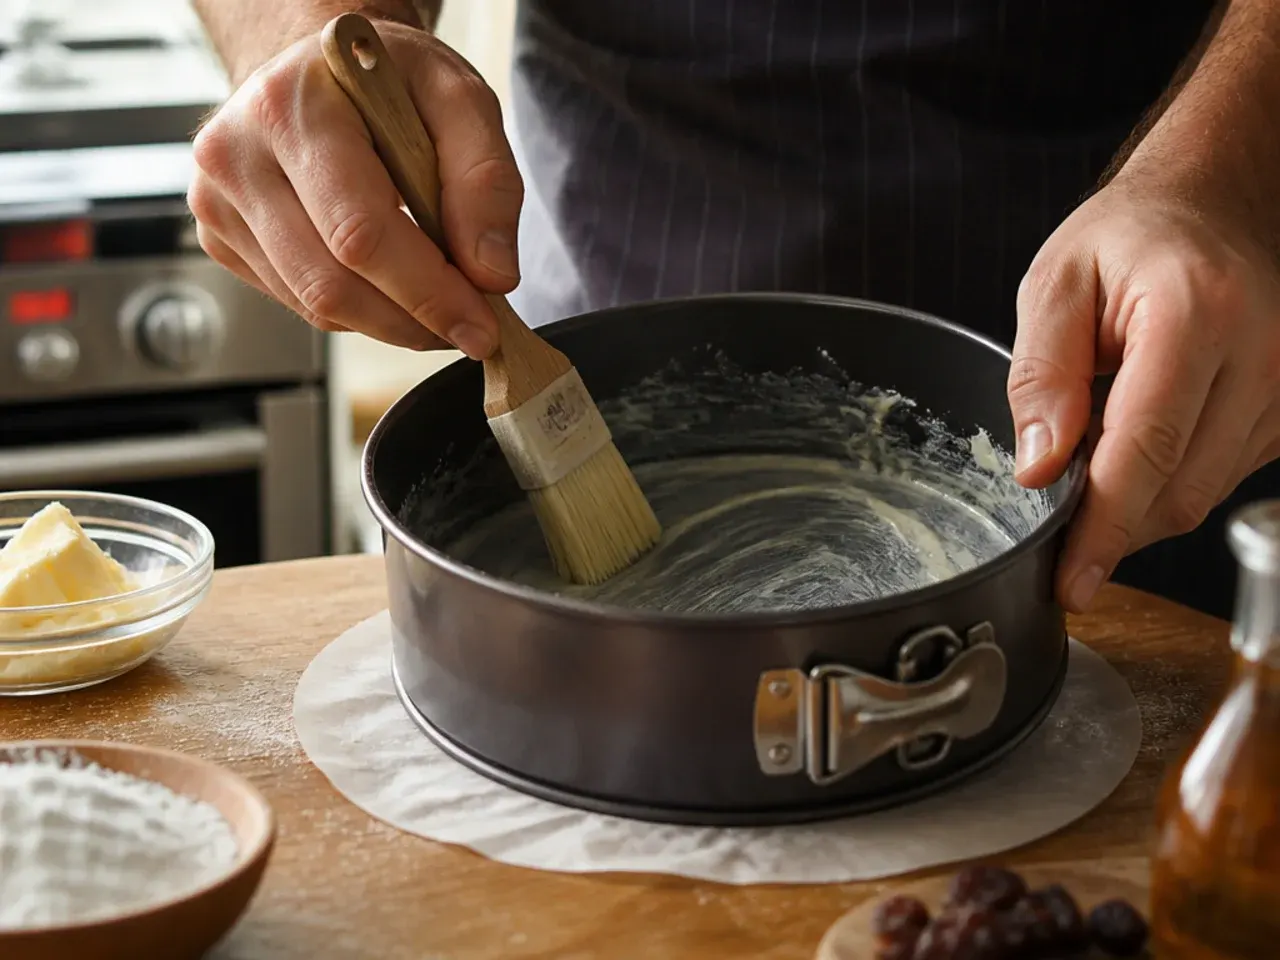
Preheat the oven to 180°C (350°F) and butter a 23 cm (9 in) bundt tin thoroughly, then dust it with a spoonful of flour, tapping out the excess so every groove is coated. A well-prepped tin is what lets the cake drop out cleanly later, so don't skip the corners and centre tube.
Step 2: Whisk the Dry Ingredients
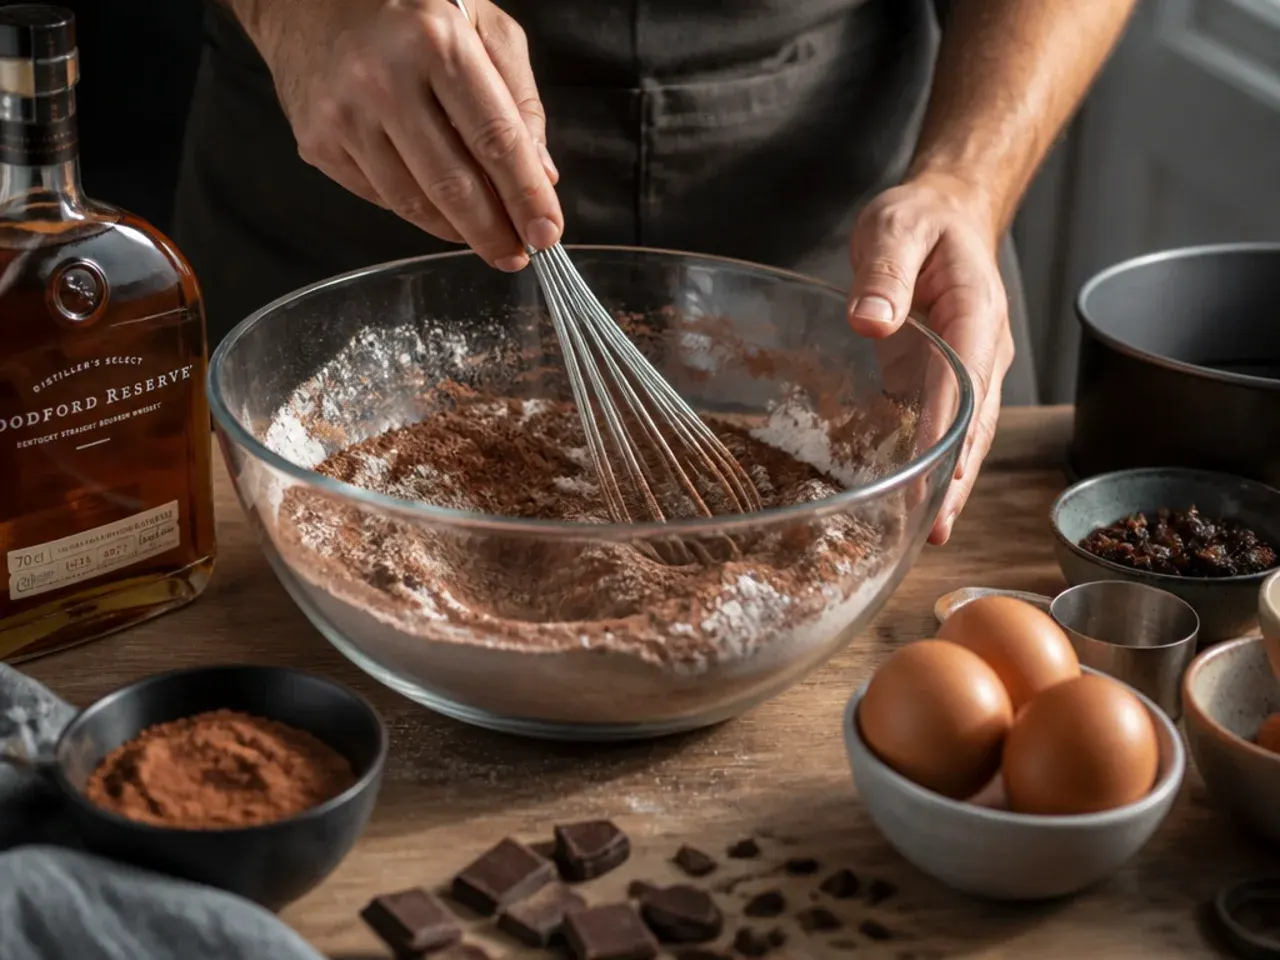
In a large bowl, whisk together the plain flour, cocoa powder, baking powder, bicarbonate of soda and salt until evenly combined and no cocoa streaks remain. Set this bowl aside within reach of the mixer, since you'll add it to the batter in stages.
Step 3: Cream the Butter and Sugar
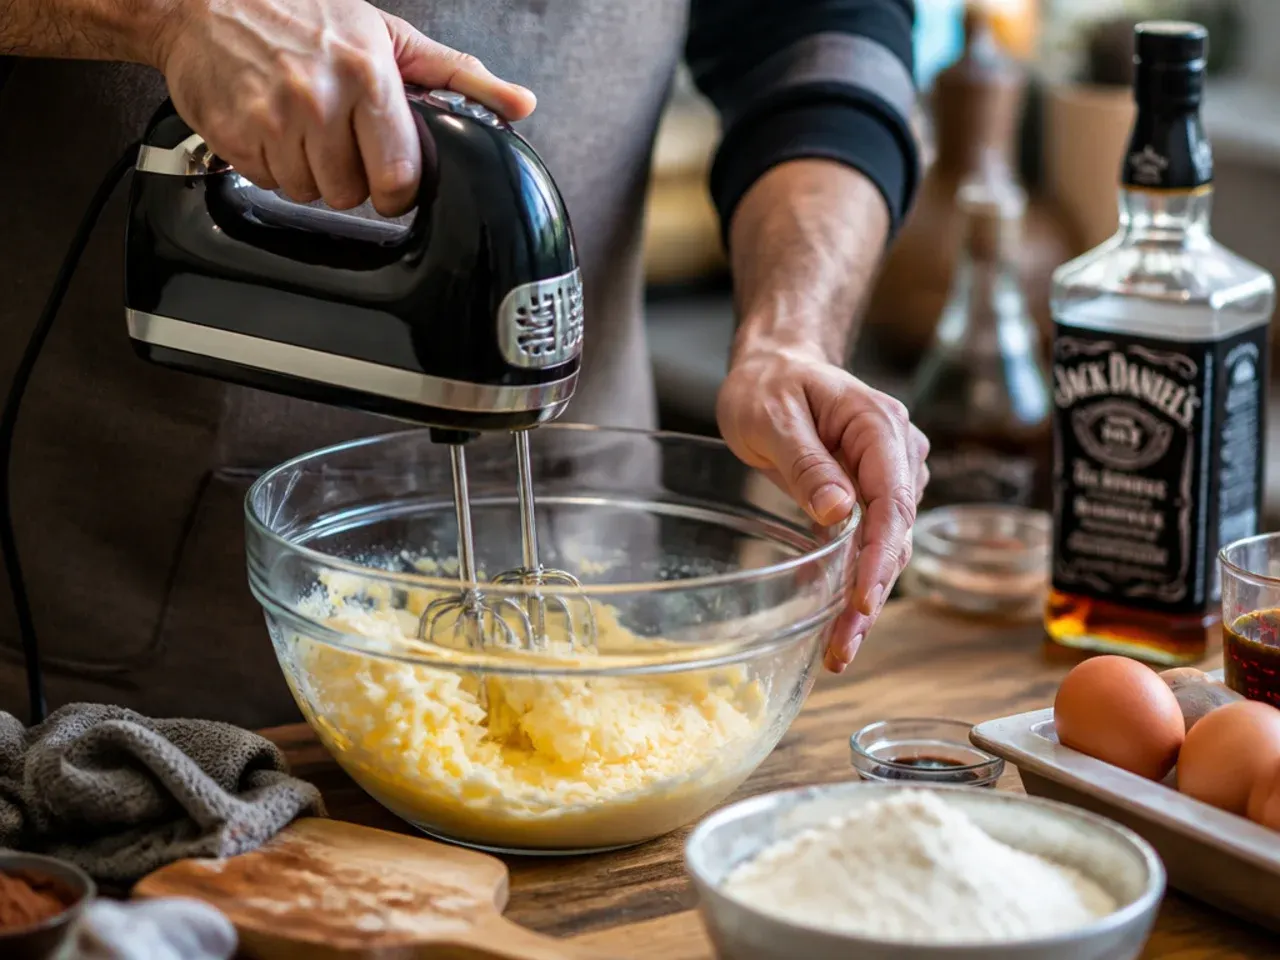
Beat the 200 g (7 oz) butter and 300 g (10.5 oz) brown sugar together with an electric mixer on medium-high for 3 to 4 minutes, until noticeably paler and fluffy rather than grainy. Scrape down the sides of the bowl once halfway through so no sugar sticks unmixed at the base.
Step 4: Beat in the Eggs
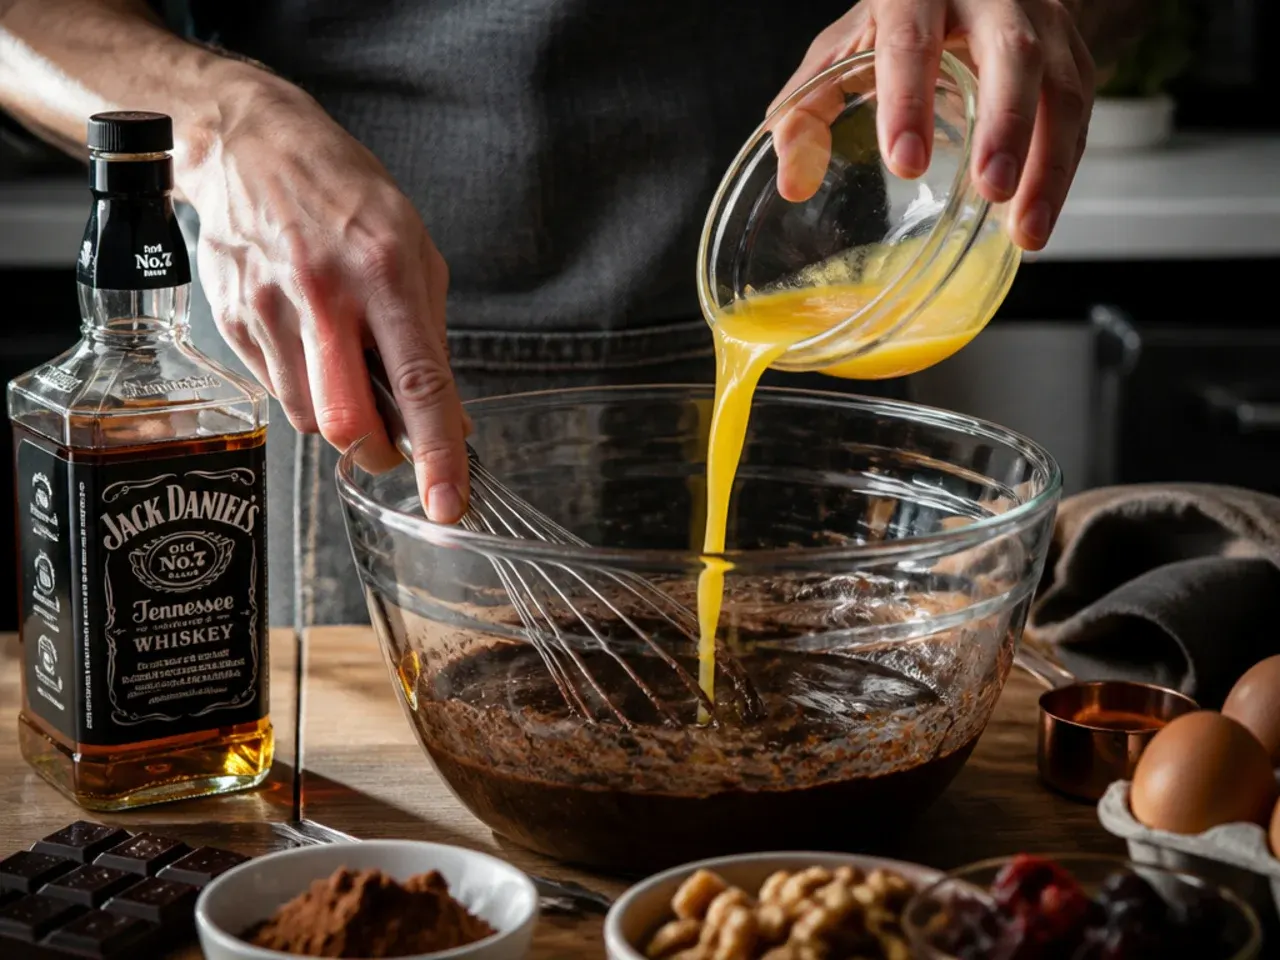
Add the eggs one at a time, beating for about 20 seconds after each before adding the next, which keeps the mixture from splitting. If it does look curdled, beat in a tablespoon of the measured flour to bring it back together smoothly.
Step 5: Add the Vanilla and Coffee-Buttermilk Mix
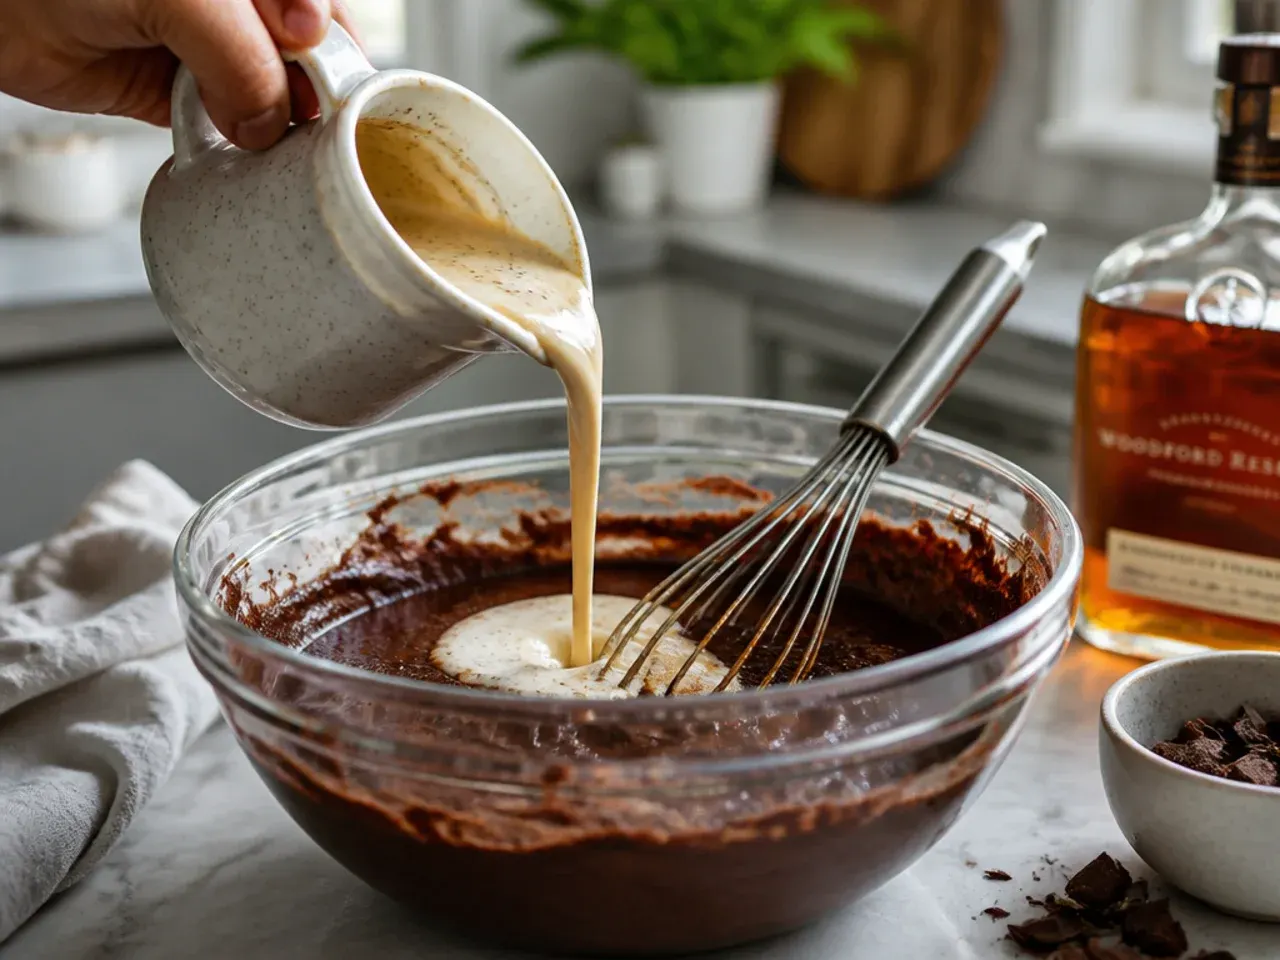
Stir the vanilla extract into the cooled coffee and buttermilk in a jug. Beating on low speed, add this liquid to the butter mixture in a slow, steady stream so the batter stays smooth rather than splashy.
Step 6: Fold in the Dry Ingredients
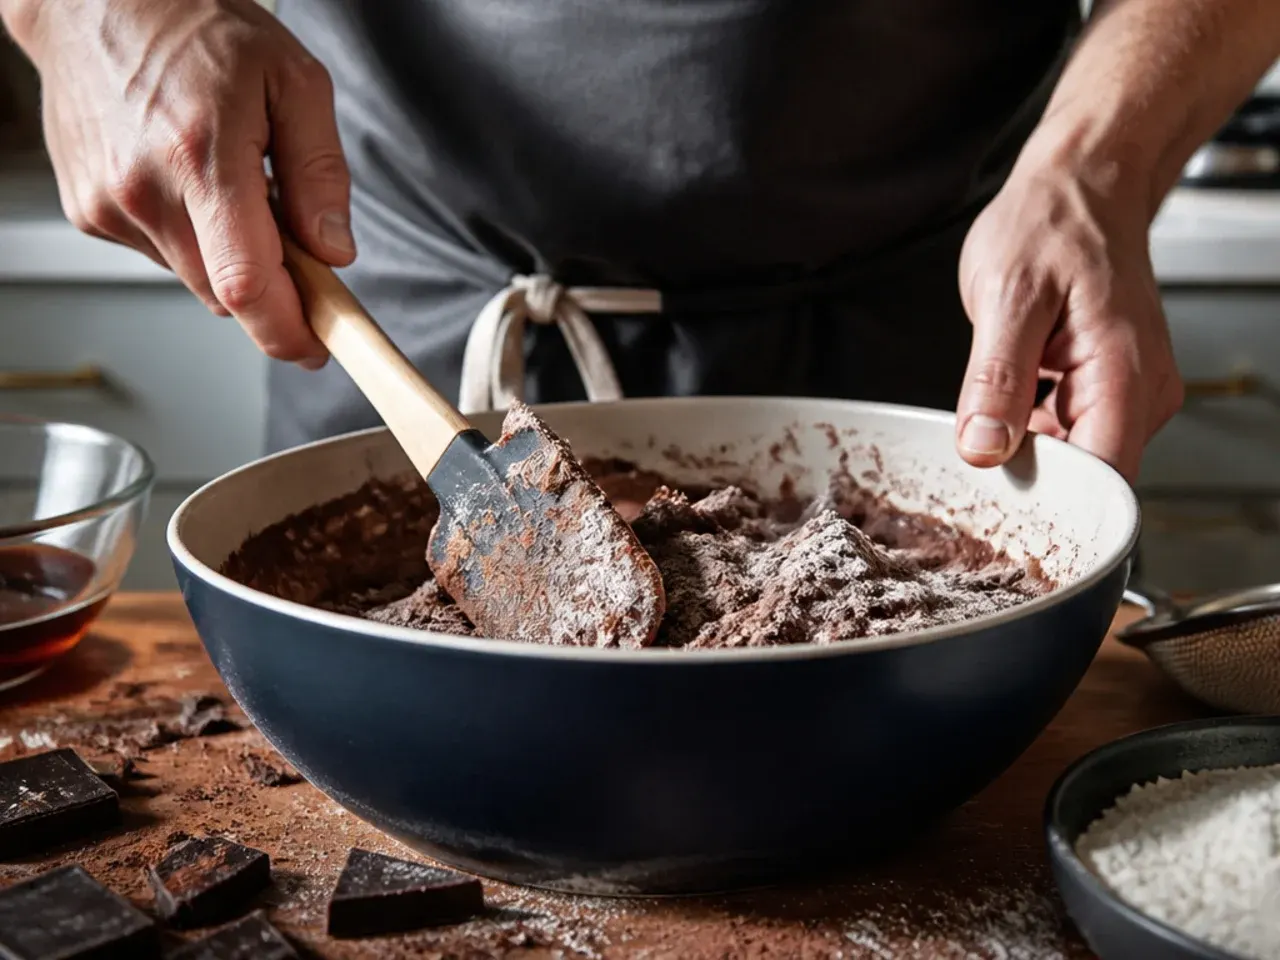
Add the dry flour mixture in three additions, folding gently with a spatula until just combined after each one. Stop as soon as no dry flour is visible, since overworking the batter here is what makes the crumb tough instead of tender.
Step 7: Fill the Tin
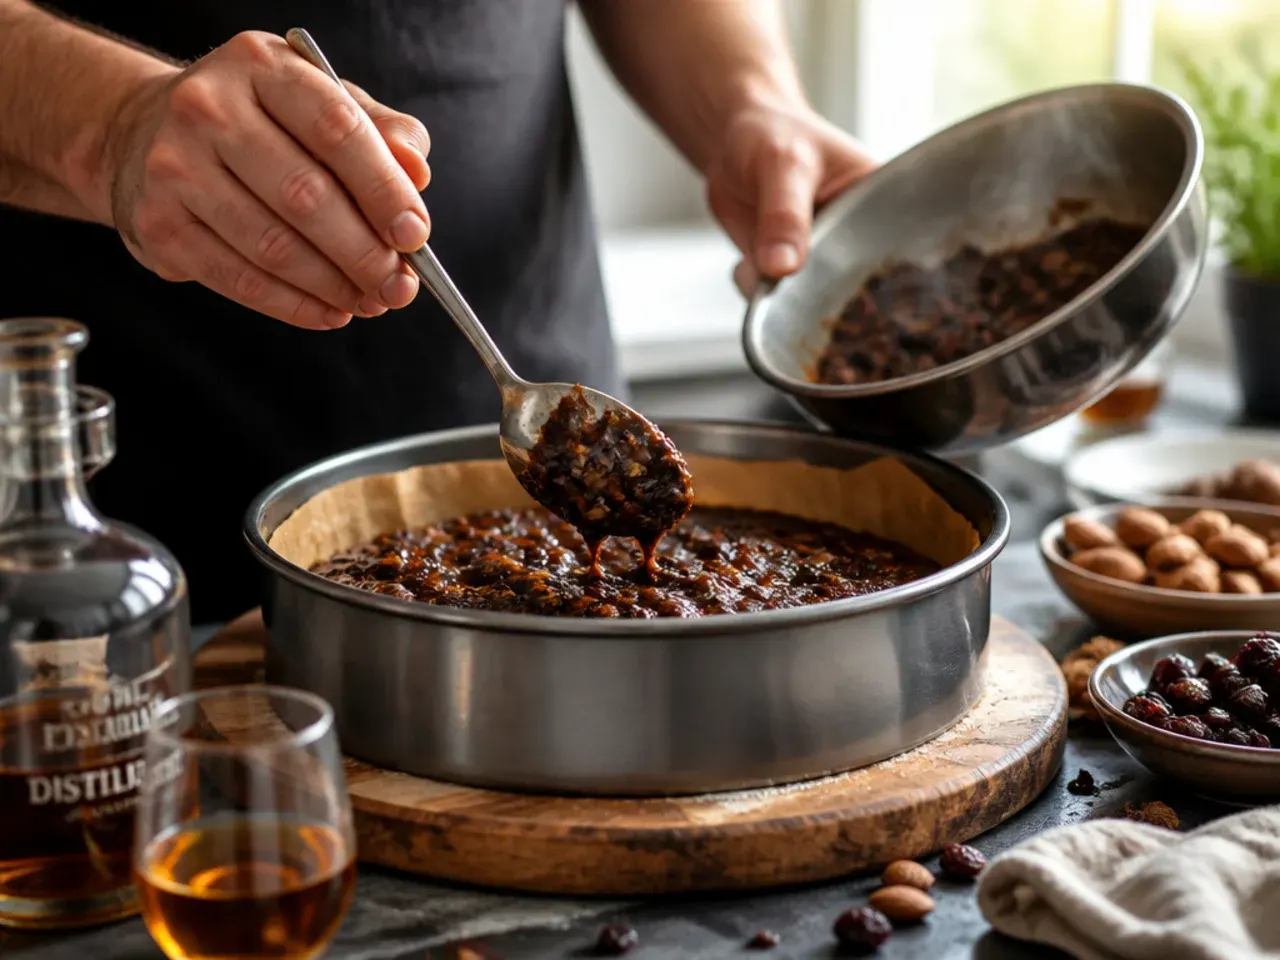
Pour the batter into the prepared bundt tin and smooth the top with the back of a spoon, tapping the tin firmly on the counter twice to knock out any large air pockets. The batter should fill the tin no more than two-thirds full to leave room for rising.
Step 8: Bake the Cake
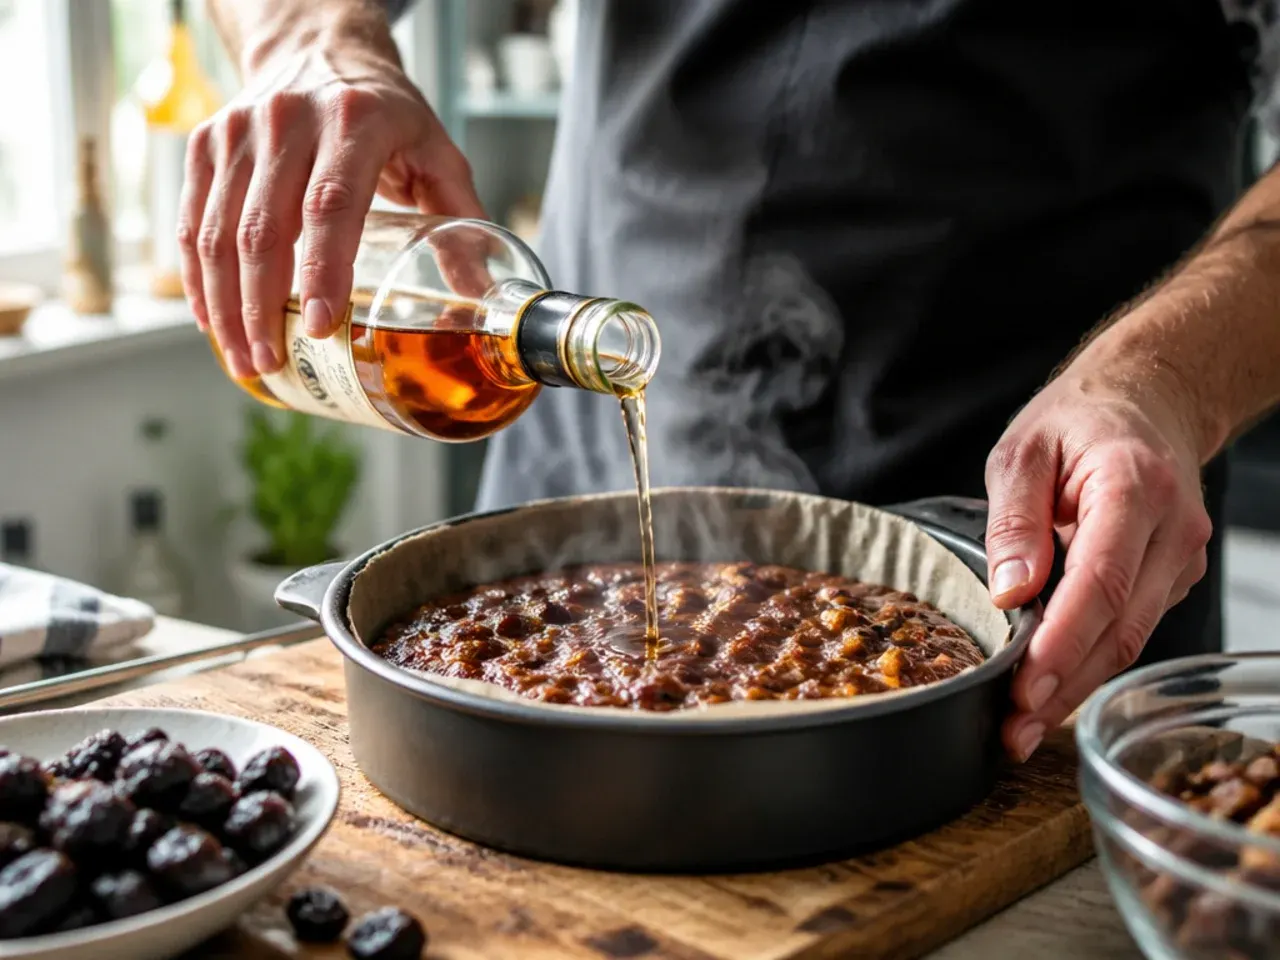
Bake for 42 to 48 minutes, until the top springs back when pressed gently and a skewer inserted into the thickest part comes out with a few moist crumbs rather than wet batter. Rotate the tin halfway through baking if your oven runs unevenly.
Step 9: Cool in the Tin
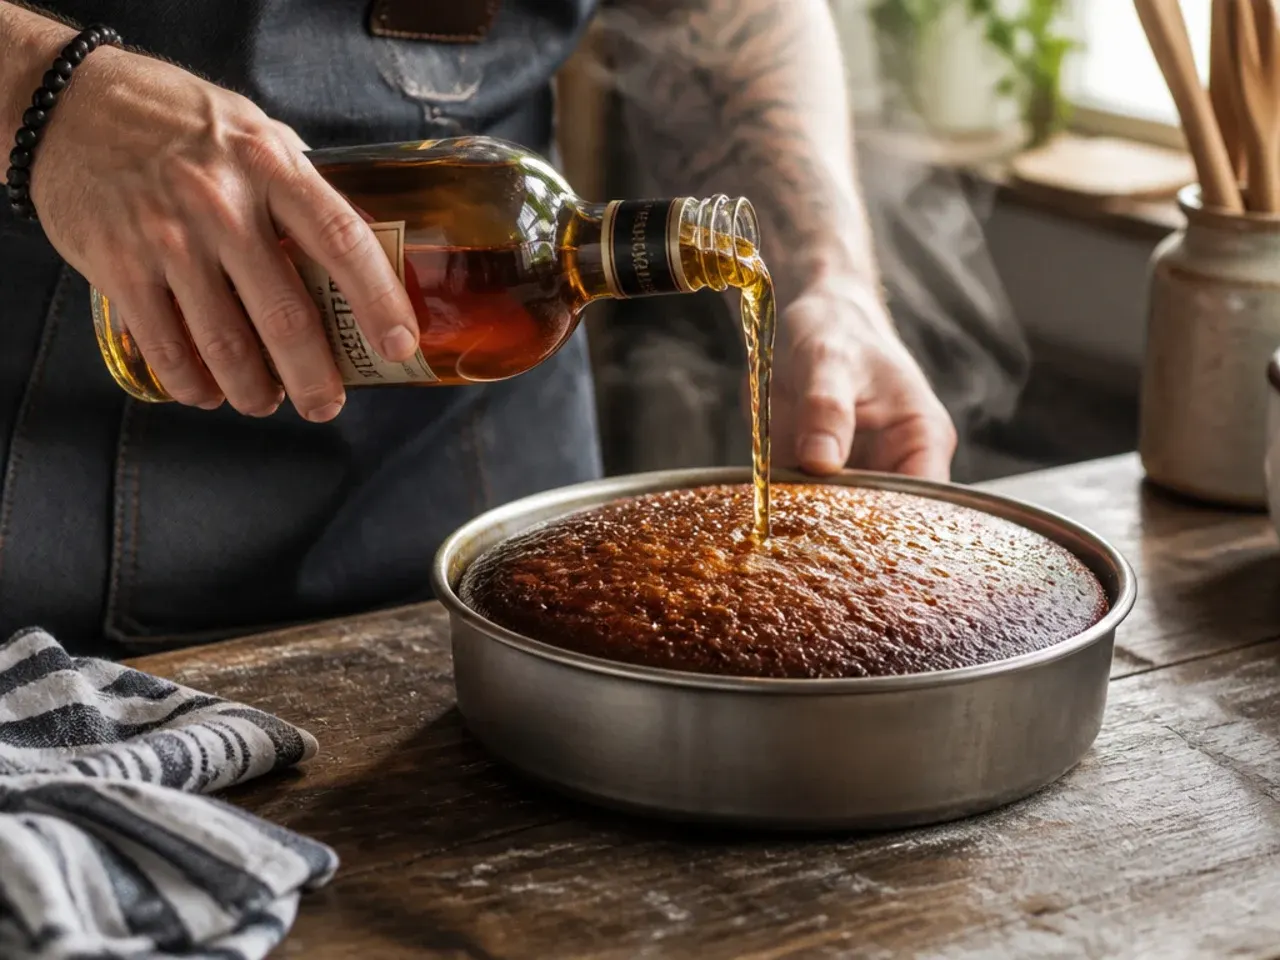
Leave the cake to cool in the tin on a wire rack for 15 minutes, no longer, since a bundt shape that sits too long can stick as it contracts. This short rest firms the crumb just enough to unmould cleanly.
Step 10: Turn Out and Cool Completely
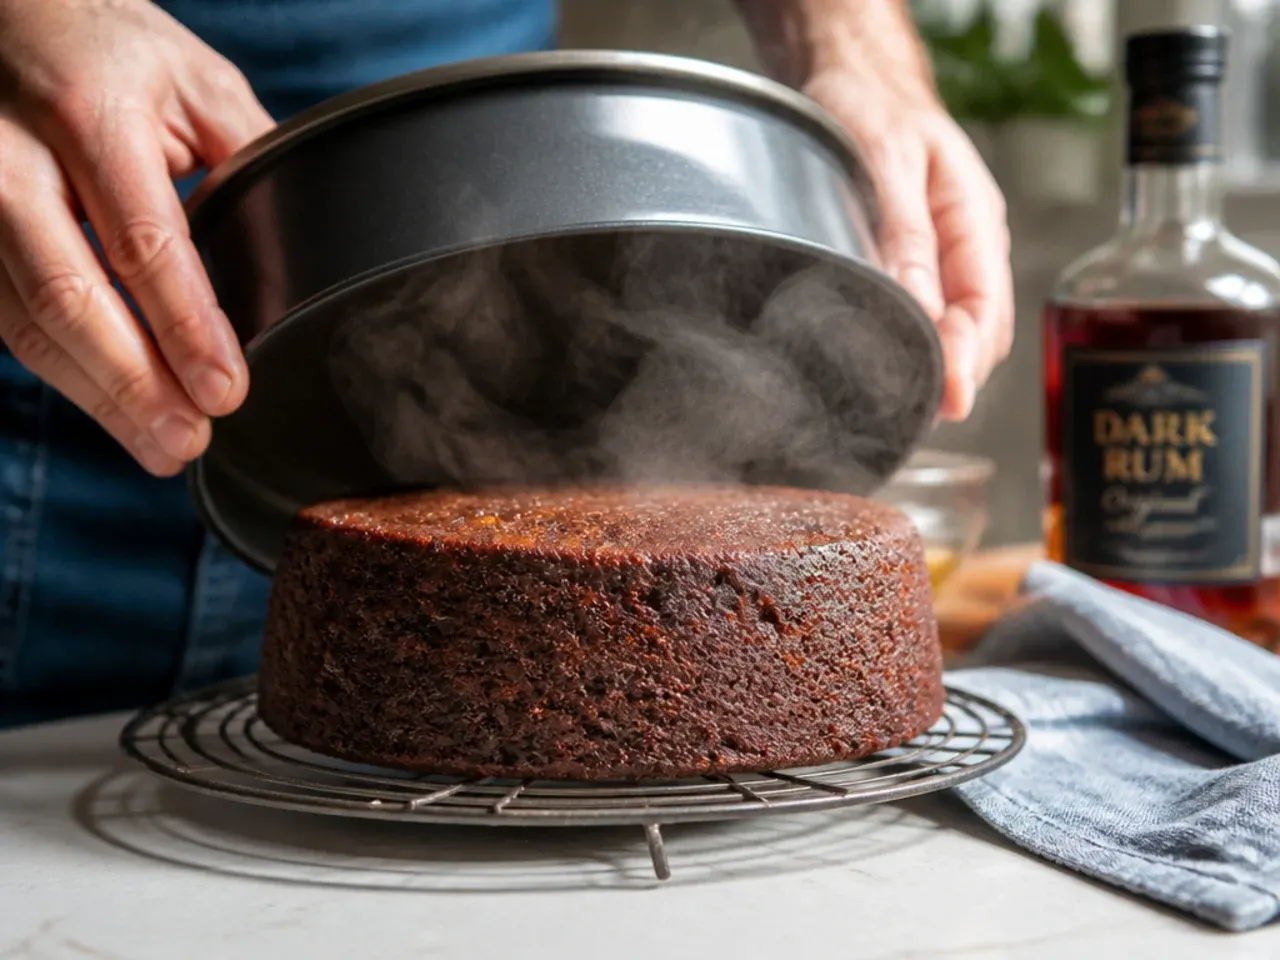
Place the wire rack over the tin, flip both together, and lift the tin away; the cake should drop free with a gentle shake. Let it cool completely, at least 1 hour, on the rack before glazing, since a warm cake will melt the glaze straight off.
Step 11: Make the Everyday Glaze
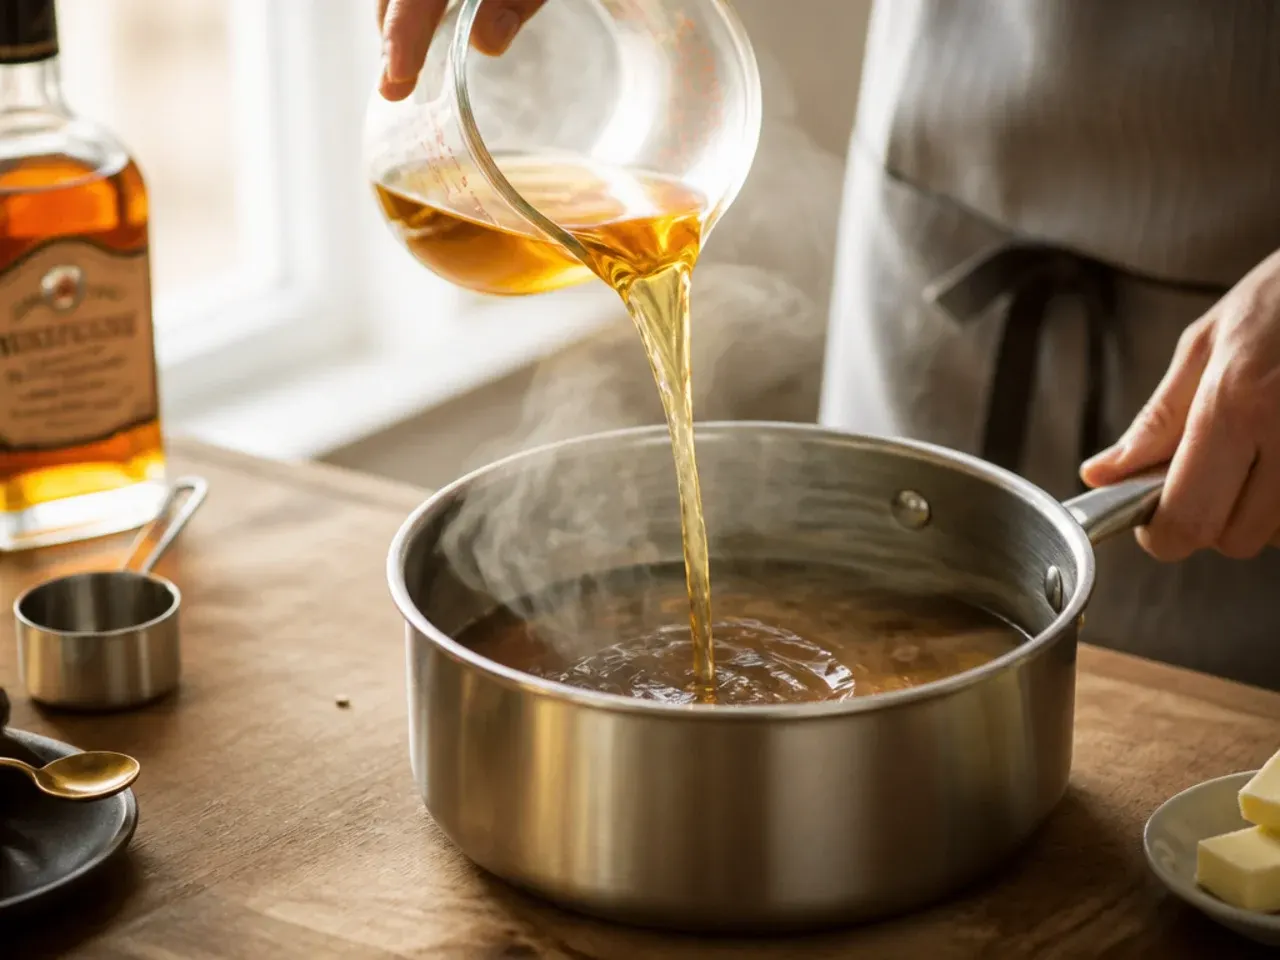
In a small saucepan over medium heat, melt the 100 g (3.5 oz) butter with the 100 g (3.5 oz) brown sugar and double cream, stirring constantly until the sugar dissolves and the mixture starts to bubble gently at the edges, about 2 to 3 minutes. Remove from the heat as soon as it's smooth and glossy; this is the family-friendly glaze everyone can eat.
Step 12: Set Aside the Family-Friendly Portion
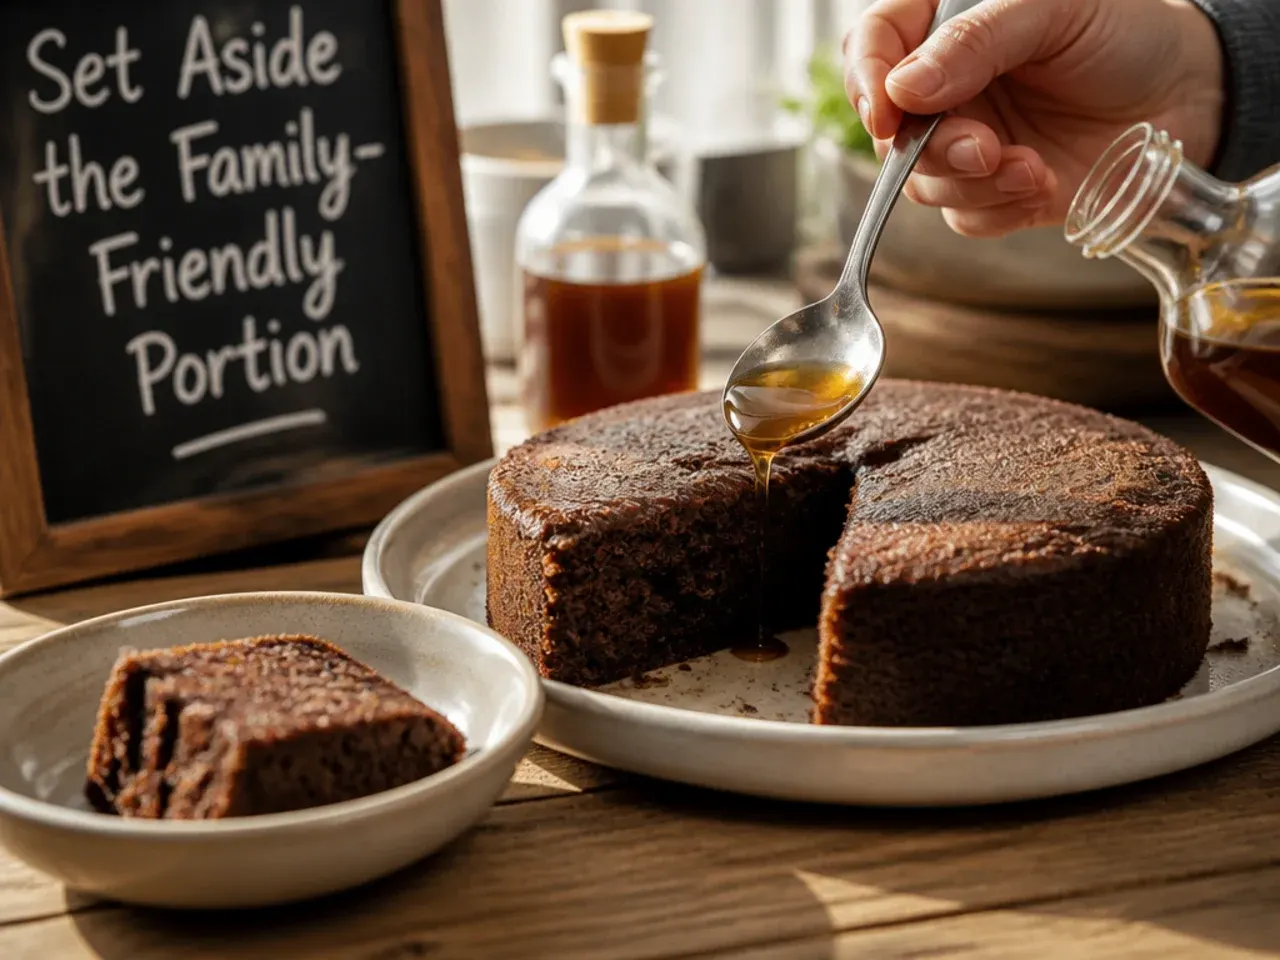
If you want both versions from one batch, pour off and reserve a third of the warm glaze into a separate jug now, before adding any spirit. Keep this portion covered nearby so it doesn't cool and thicken too much before you need it.
Step 13: Make It Boozy (21+, Optional)
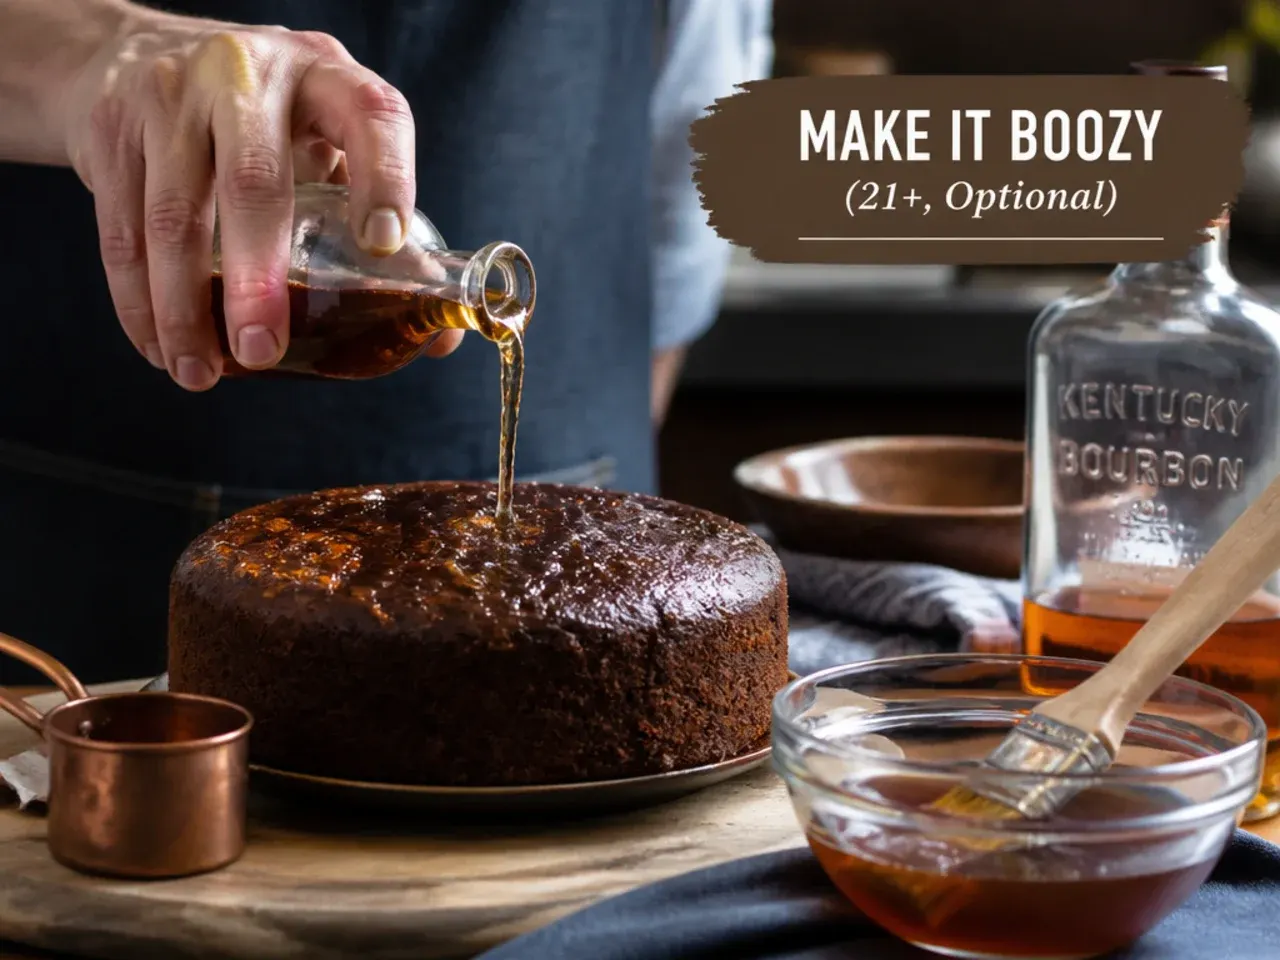
Off the heat, stir the 60 ml (¼ cup) dark spiced rum or bourbon into the remaining glaze until fully combined, then let it sit for 1 minute so the sharp alcohol smell settles before tasting. This step is strictly for the adult portion, is for those aged 21 and over, and should always be enjoyed responsibly; skip it entirely and use only the reserved glaze from Step 12 if serving children or anyone who doesn't drink.
Step 14: Glaze the Cake
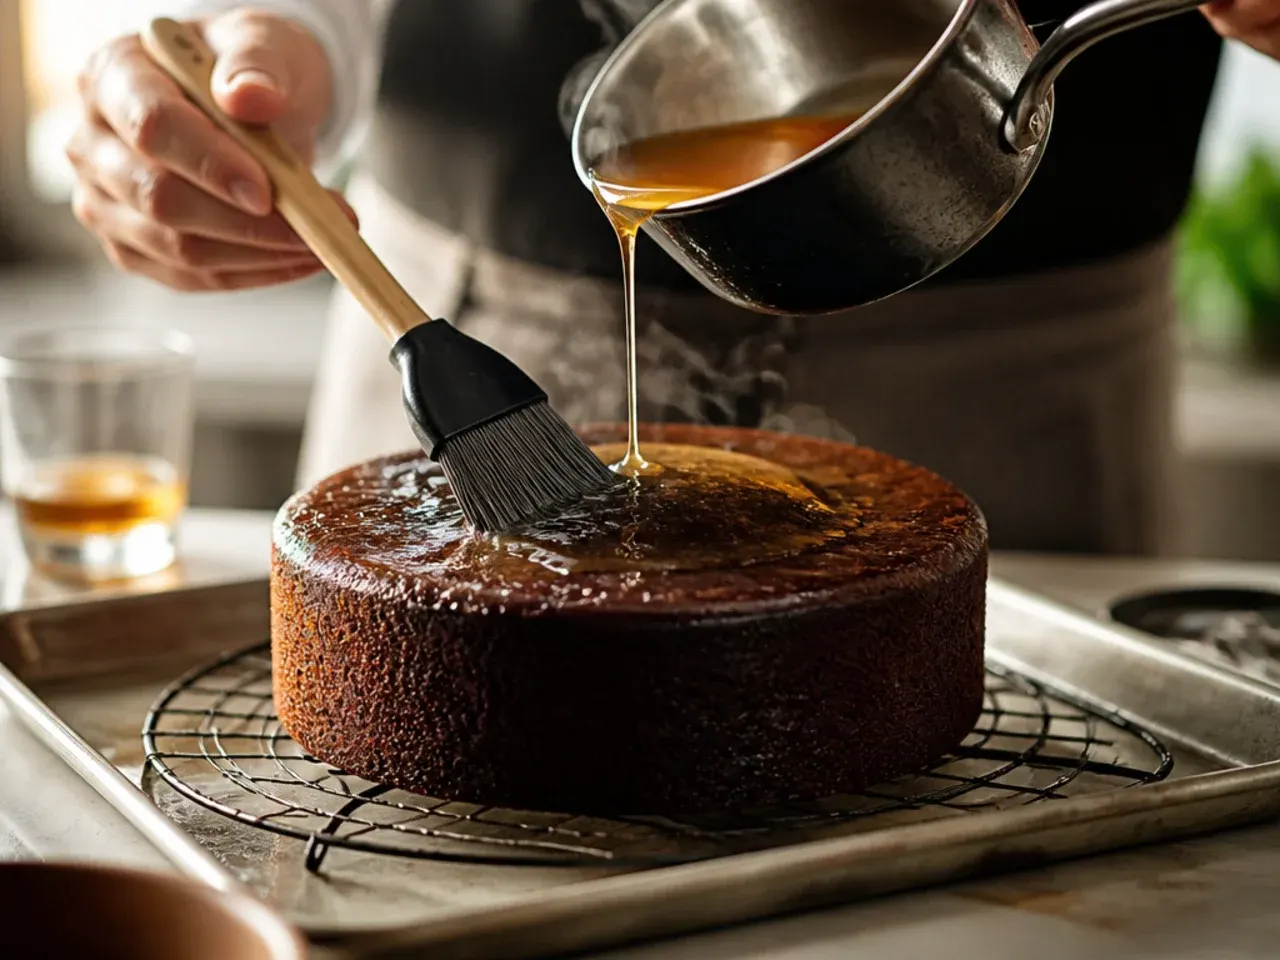
With the cake still on its rack over a tray to catch drips, spoon the plain glaze over one section and the boozy glaze over the other, or glaze the whole cake with just one version, letting it run naturally down into the ridges. Work in two light coats rather than one heavy pour, waiting about 2 minutes between coats so the first layer can soak in slightly.
Step 15: Rest Before Slicing
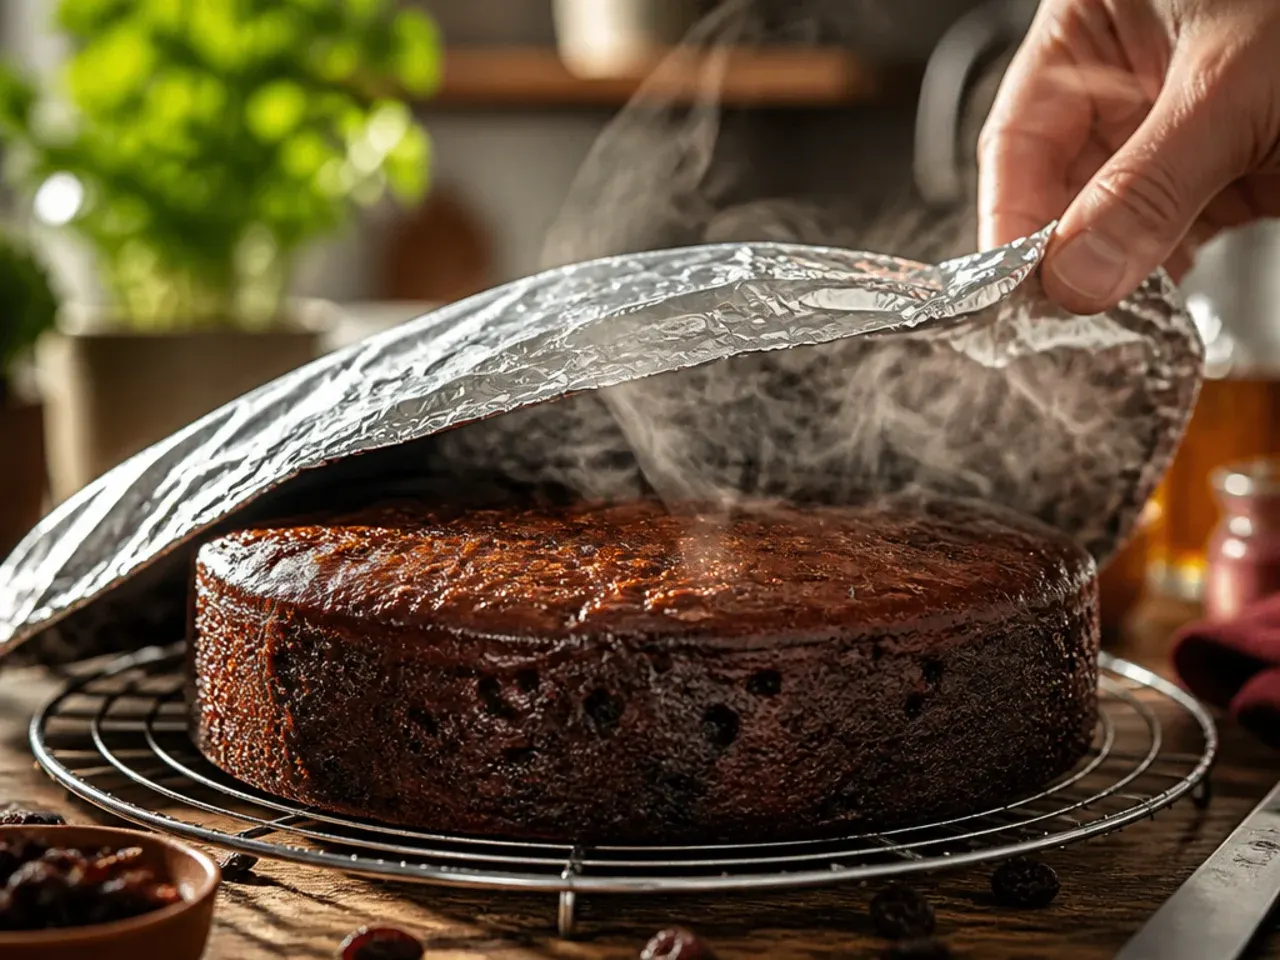
Let the glaze set at room temperature for 15 to 20 minutes before slicing, so it firms into a glossy coating instead of pooling off the knife. Use a serrated knife and wipe the blade between cuts for the cleanest slices through the ridged shape.
Pro Tips for the Best Alcohol Cake Ideas for Men
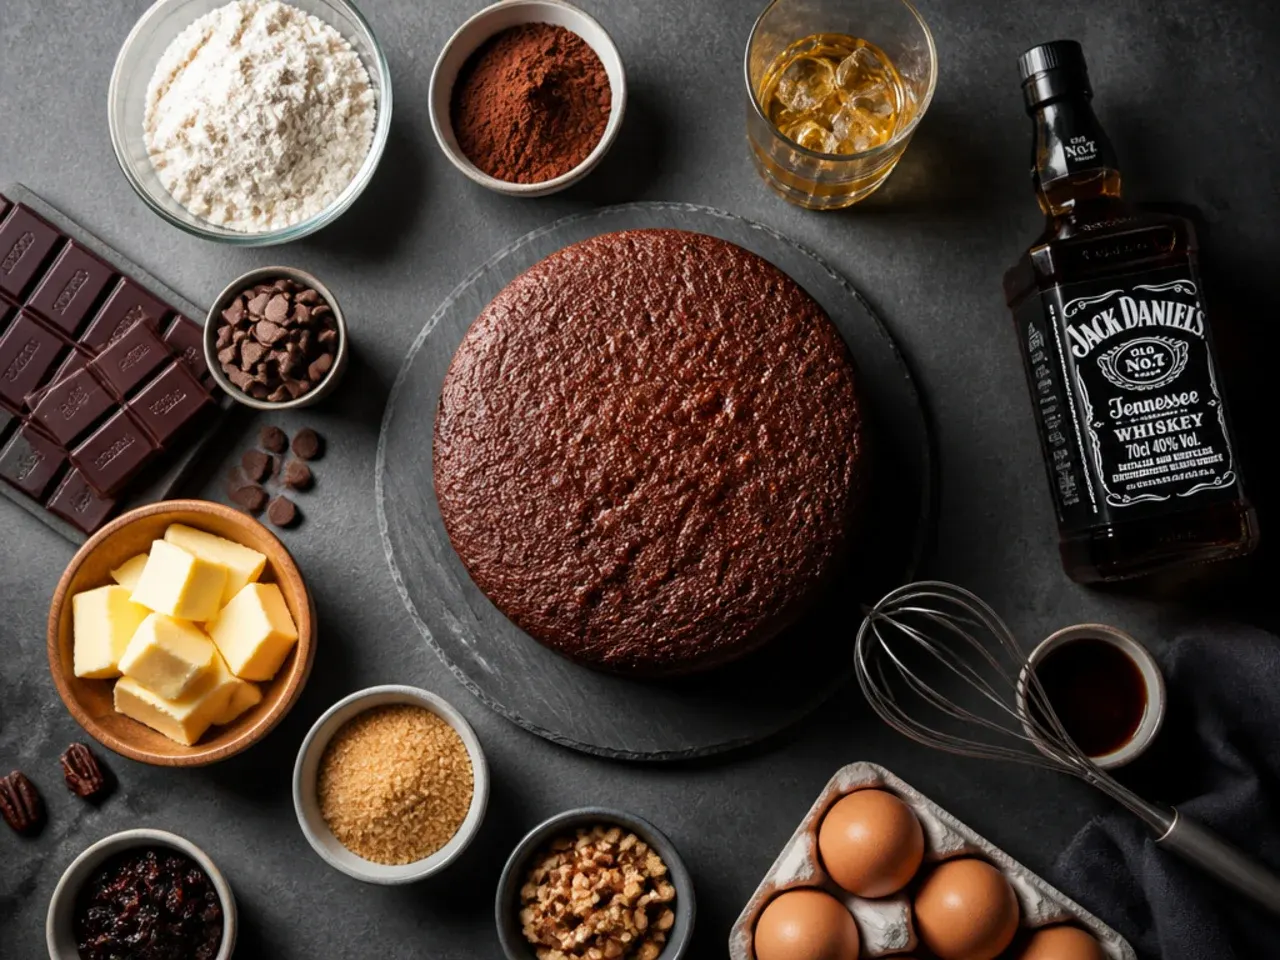
Bake the sponge itself completely alcohol-free and only add spirit to the glaze at the very end, off the heat, so you control exactly how boozy the finished cake tastes rather than gambling on how much cooks off in the oven. Warm the glaze gently and pour it over a fully cooled cake in two light coats rather than one heavy one, which lets the first layer soak in before the second sits glossy on top. If you're serving a mixed crowd, hold back a third of the plain glaze before adding any spirit, so you can finish part of the cake family-friendly and part of it boozy from the same batch. Any spirit-finished slices are for adults 21 and over only, and should be enjoyed responsibly alongside the alcohol-free version everyone else is eating.
Storage and Reheating
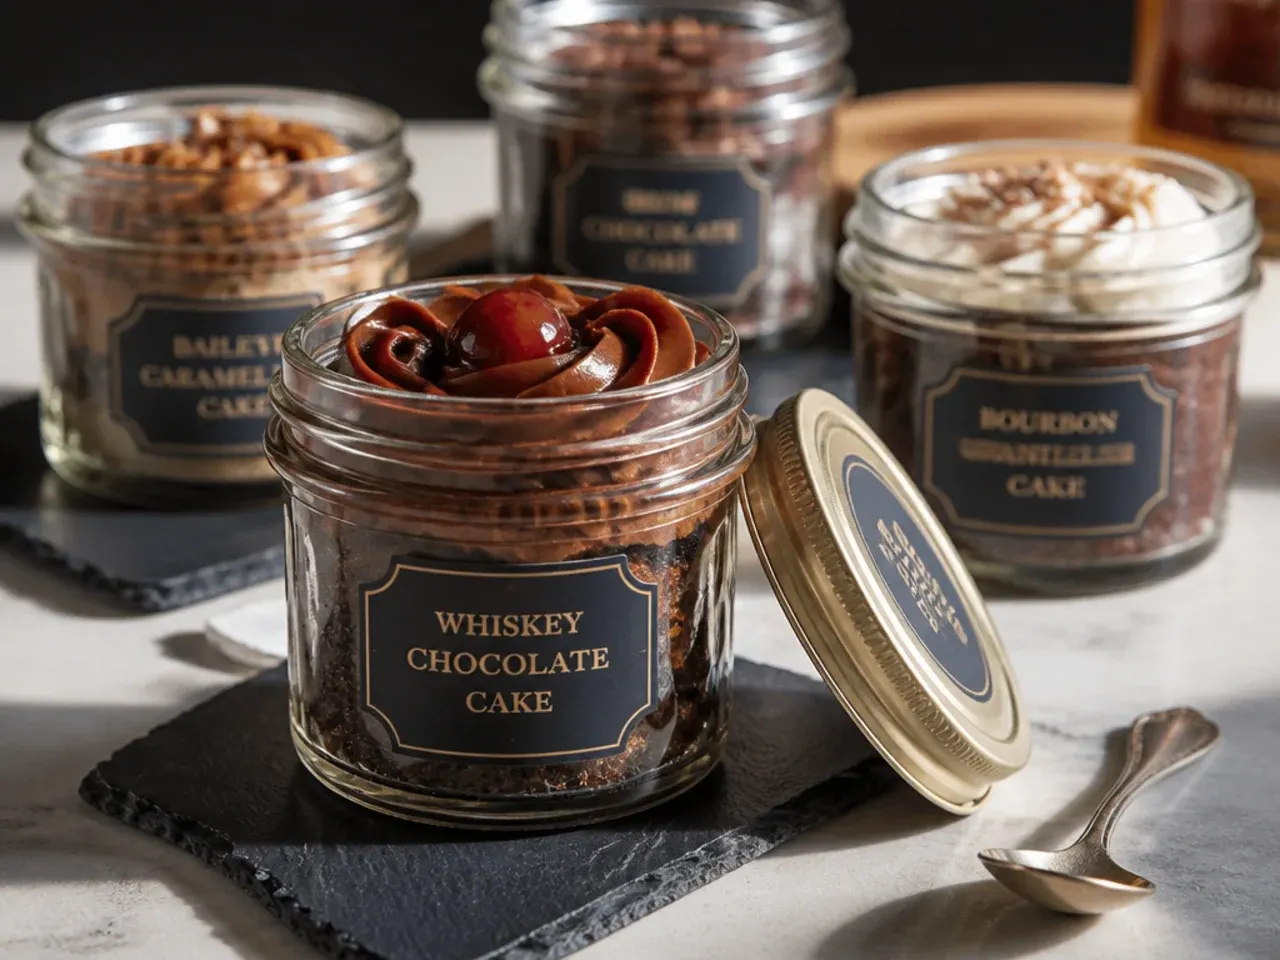
Once fully glazed and cooled, store the cake under a cake dome or in an airtight container at room temperature for up to 3 days, or in the fridge for up to a week if you used the cream-based glaze. Wrap unglazed sponge tightly in cling film and freeze for up to 3 months, then thaw overnight at room temperature and glaze fresh, since a frozen glazed surface tends to weep as it defrosts. To warm a slice, microwave it for 10 to 15 seconds on medium power, just enough to loosen the glaze and take the chill off, rather than heating it until steaming. Bring a fridge-cold cake back to room temperature for about 30 minutes before serving, as the glaze sets firmer and tastes duller straight from the cold.
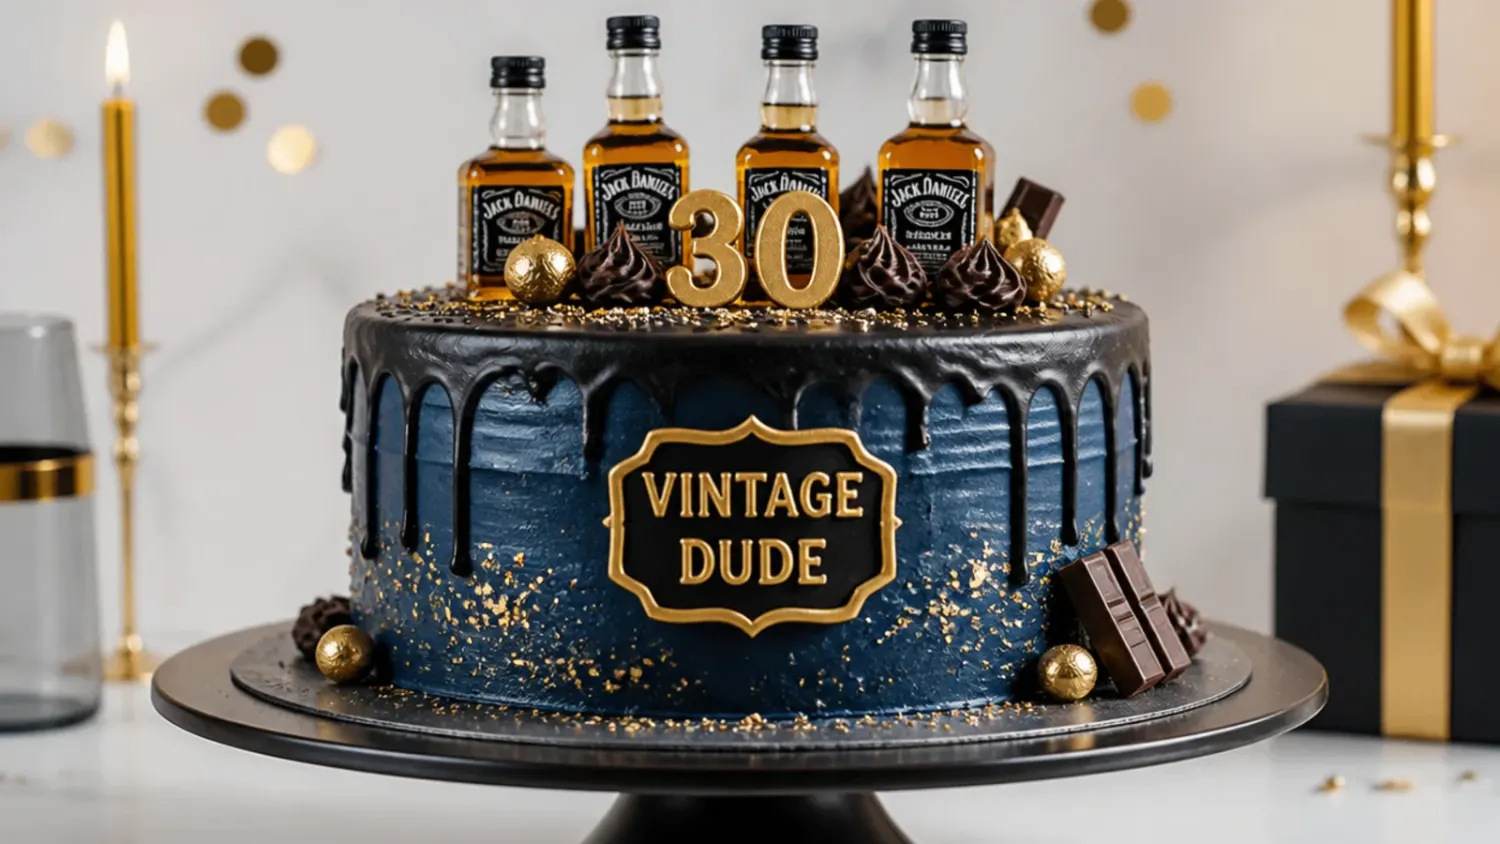
Family-friendly alcohol cake ideas for men: a rich coffee-chocolate cake with an easy glaze, plus a clearly labelled boozy 21+ rum or bourbon version. For more cake ideas for men inspiration, browse the full Cake Ideas for Men board — every idea there is written for real home kitchens, not professional bakers.
Frequently Asked Questions
Long baking in the batter itself does burn off most of the alcohol, but a glaze added after baking, like the boozy version in Step 13 here, is never heated again, so nearly all of that spirit stays in the finished cake. That's exactly why this recipe keeps the sponge itself completely alcohol-free and only adds spirit to a portion of the glaze at the end, so you know precisely which slices are boozy and which aren't. If you want a genuinely alcohol-free cake for everyone, simply skip Step 13 and use only the plain glaze from Step 11. Never assume a splash of spirit in a warm sauce or glaze has cooked away just because it touched heat briefly earlier in the recipe.

Related Recipes
Save this for later 📌
Pin this article to your Pinterest board so the full list is one tap away when you need it.
Save on Pinterest