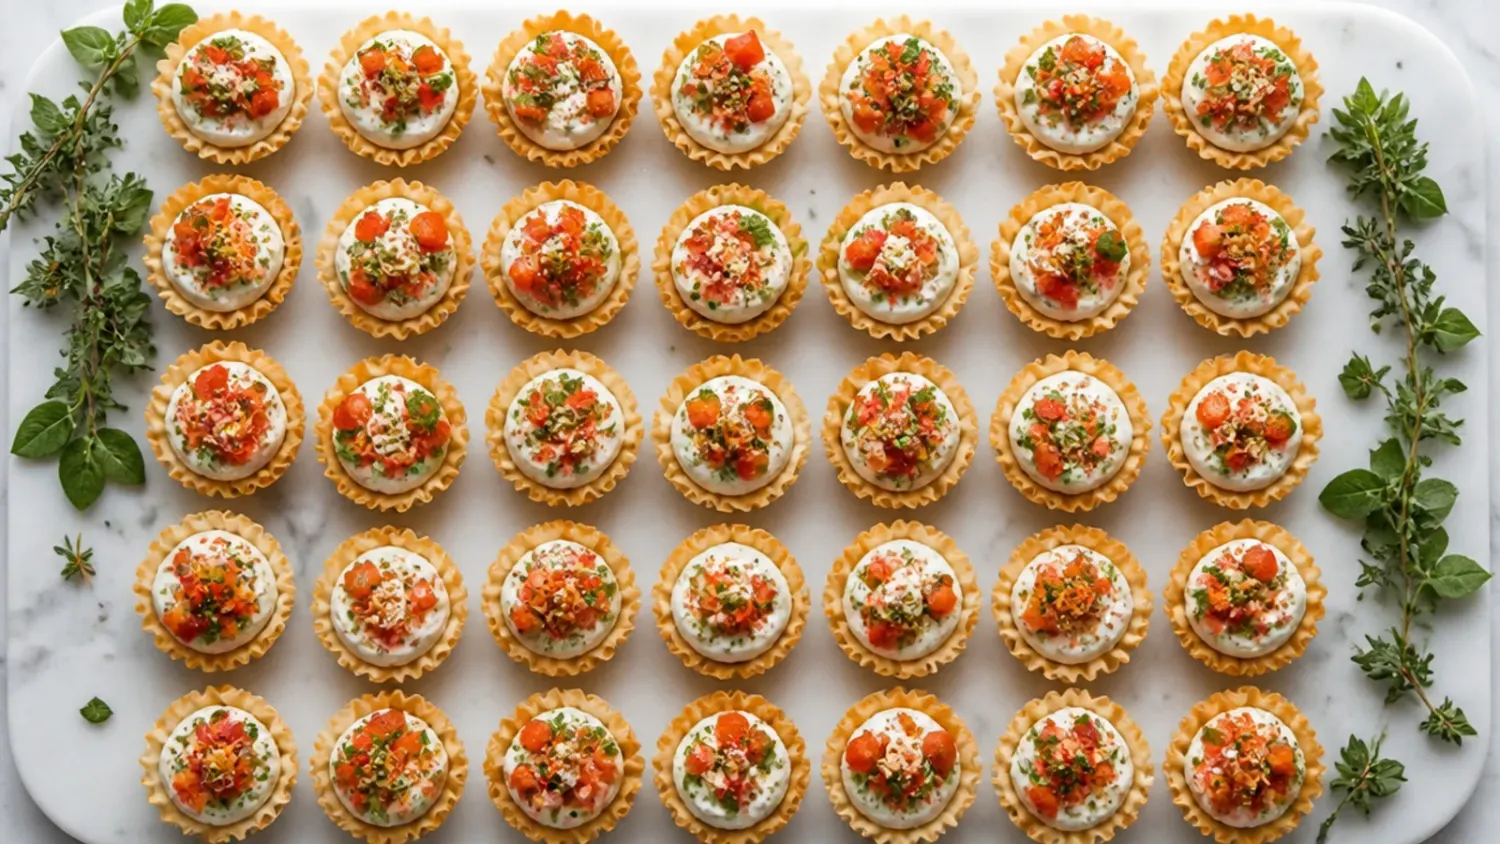
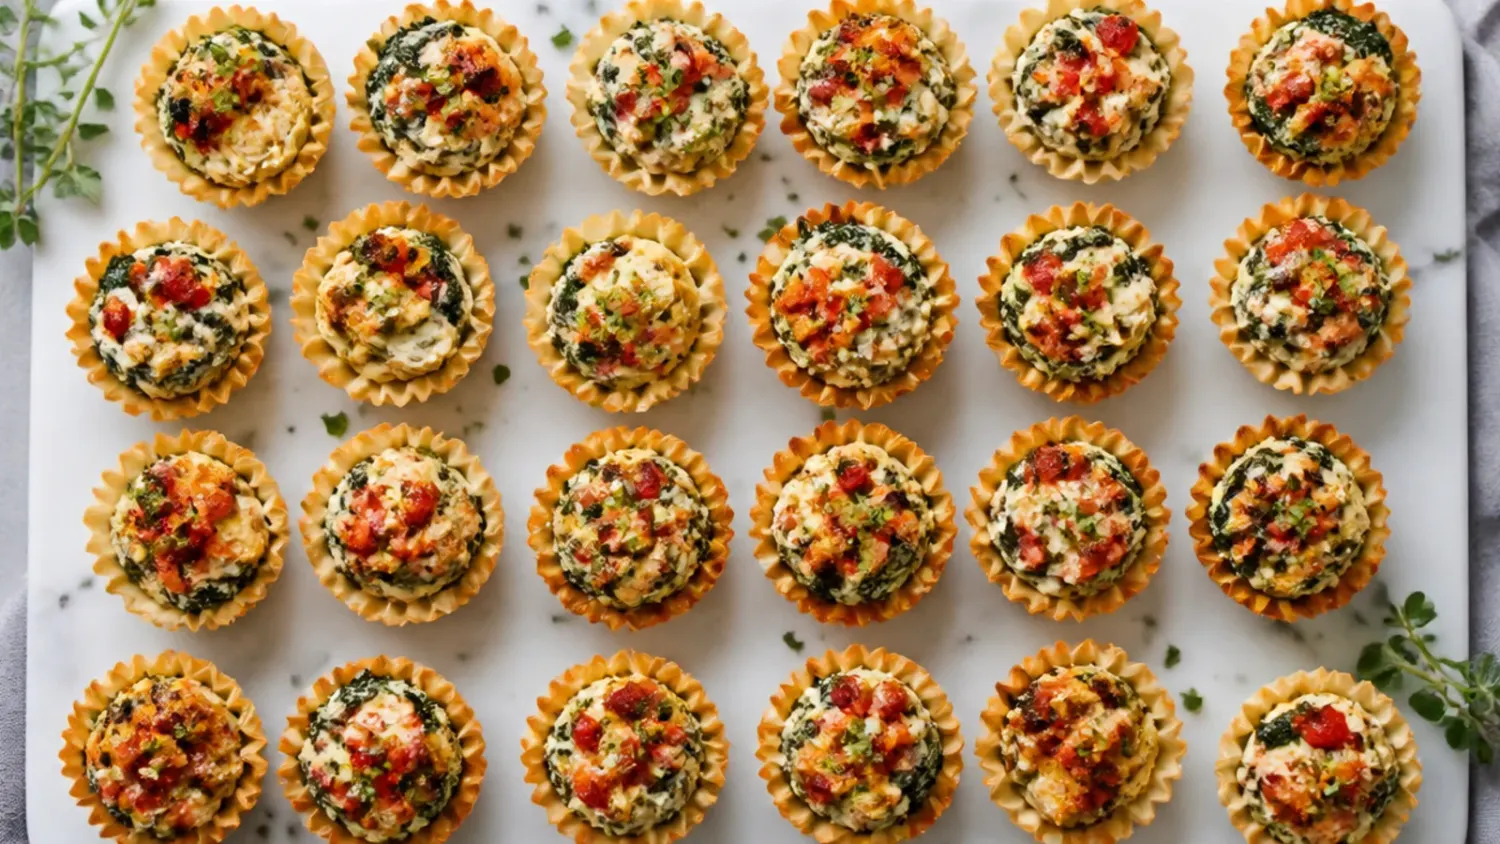
15 Bacon Phyllo Cup Appetizers I Make Every Year
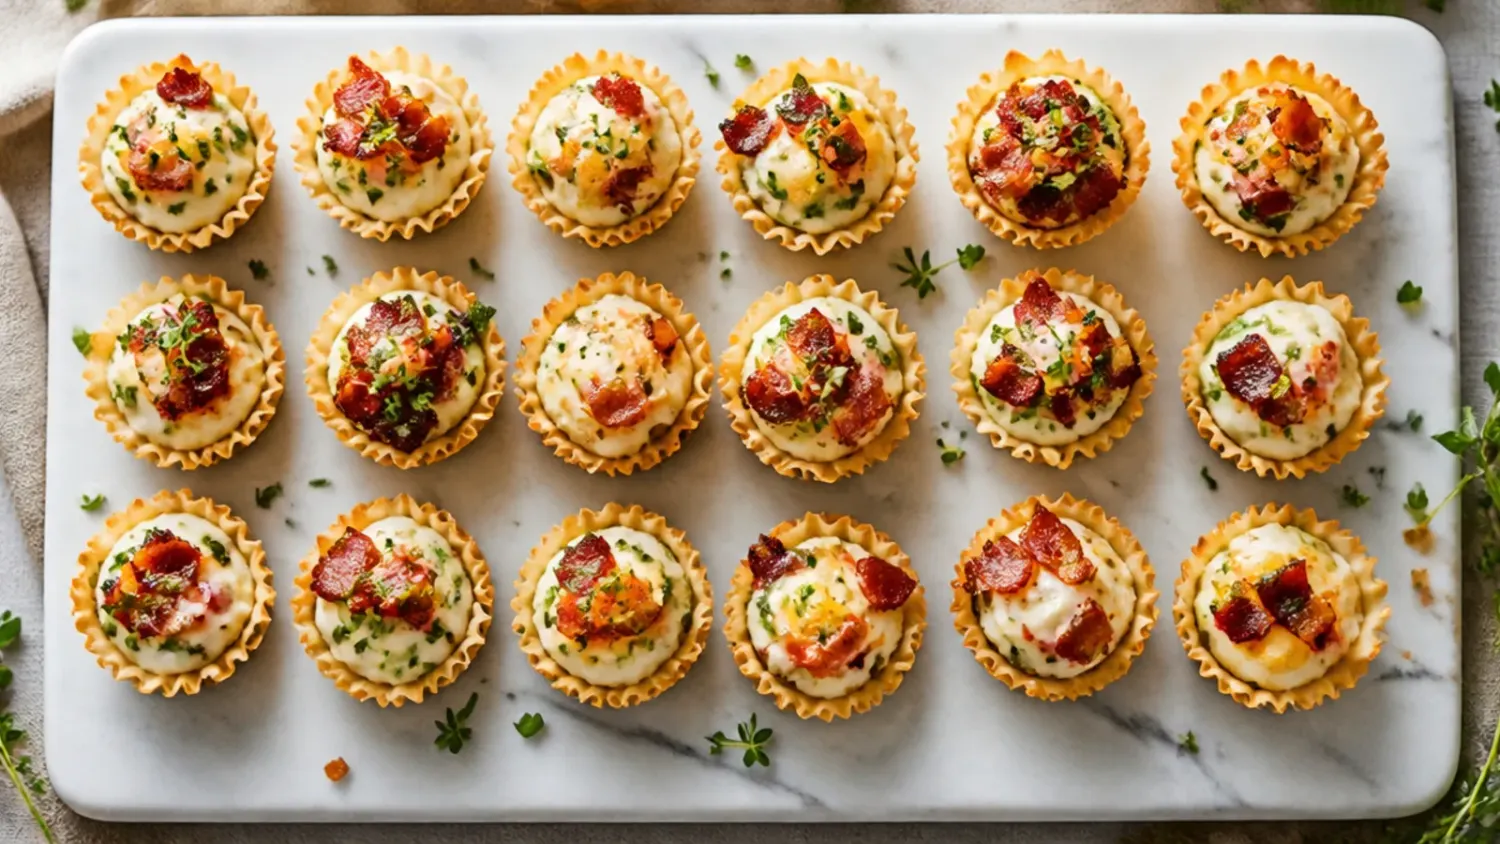
15 honest lessons from years of making bacon phyllo cup appetizers, plus the fixes that stop soggy shells and burnt edges. If you love phyllo cup appetizers inspiration, start with our Phyllo Cup Appetizers collection, then browse the full Sides, Dips & Snacks hub for more.

Save this for later 📌
Pin this article to your Pinterest board so the full list is one tap away when you need it.
Save on PinterestSides, Dips & Snacks
Beginner
Kitchen Journal
7 steps
Table of Contents
- Lesson 1: Stop Overfilling the Cups
- Lesson 2: Drain the Bacon Properly or Regret It
- Lesson 3: Watery Filling Ruins the Shell
- Lesson 4: Taste the Filling Before It Goes In
- Lesson 5: Handle Frozen Shells Gently
- Lesson 6: Skip the Pre-Shredded Cheese
- Lesson 7: Let the Cups Rest Before Moving Them
- Lesson 8: High Heat Burns the Edges First
- Lesson 9: Chop the Bacon Small and Even
- Lesson 10: Soften the Filling Before Scooping
- Lesson 11: Herbs Belong on Top, Not Underneath
- Lesson 12: One Box Never Seems to Be Enough
- Lesson 13: Assembled Cups Don't Wait Well
- Lesson 14: Test One Tray Before Committing the Rest
- Lesson 15: Reheating Needs a Hot Oven, Not a Microwave
- What I'd Tell a Friend Trying This
- The Recipe I Used
Lesson 1: Stop Overfilling the Cups

My first Christmas making these, I piled the cheese mixture as high as I could and half of it oozed over the tray while baking. Now I use a levelled teaspoon per shell, no more, because the filling puffs slightly as it heats and needs somewhere to go. A neat, slightly domed spoonful bakes evenly and doesn't glue the cups to the tray with burnt overflow.
Lesson 2: Drain the Bacon Properly or Regret It

I used to tip bacon straight from the pan into the filling, grease and all, and ended up with pools of fat at the bottom of every cup. Now the bacon goes onto a double layer of kitchen paper for a couple of minutes before it's chopped and folded in. It sounds fussy, but it's the difference between a crisp shell and one that's gone soft and greasy by the time it reaches the table.
Lesson 3: Watery Filling Ruins the Shell
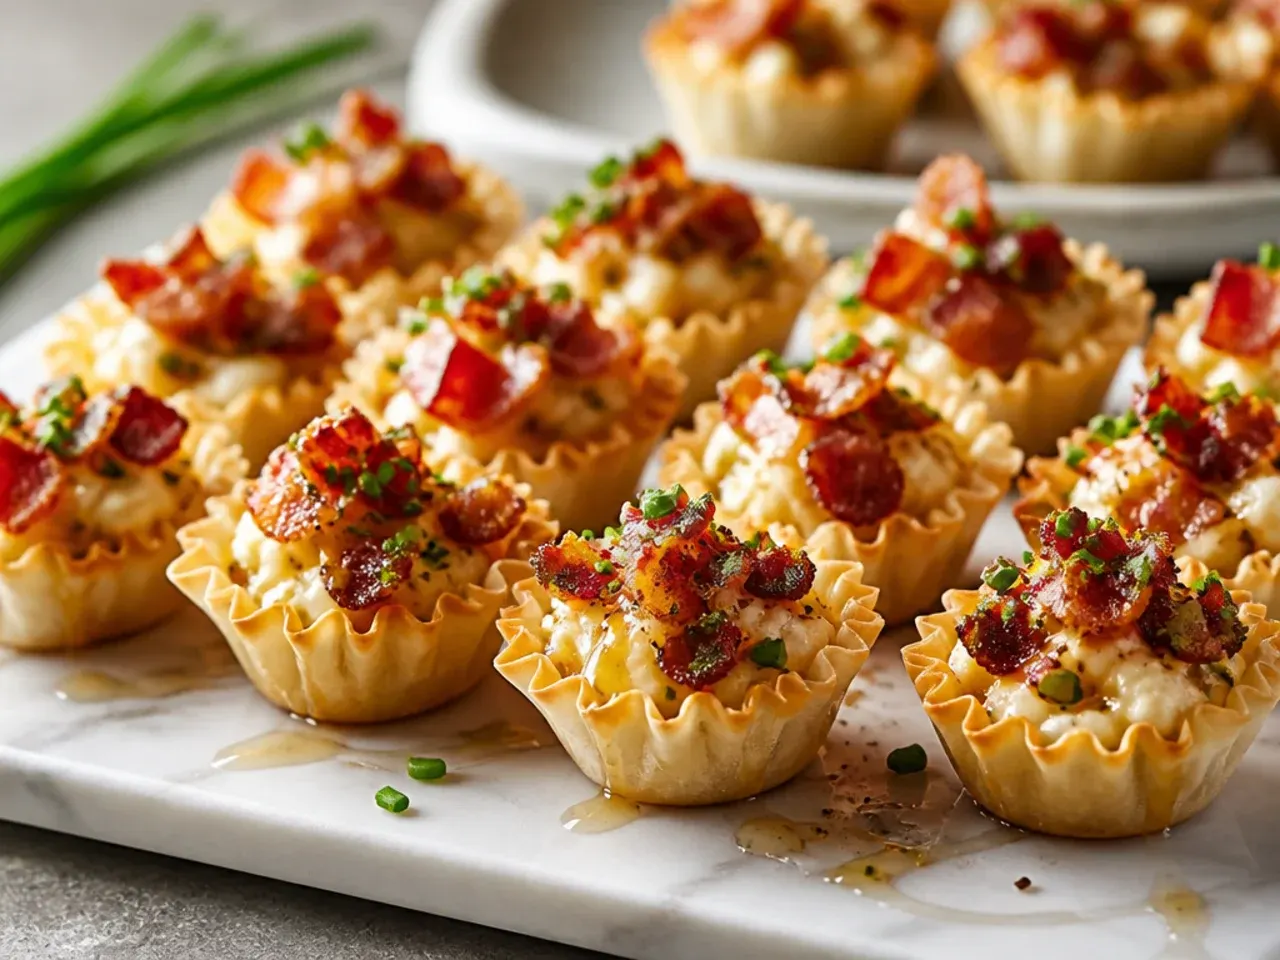
A batch made with low-fat soured cream and thin cream cheese left the shells soggy before I'd even got them out of the oven. Full-fat cream cheese and a small amount of soured cream give body without excess liquid, which keeps the delicate phyllo crisp underneath. If a filling looks loose in the bowl, it will definitely be loose once it's warmed through in the oven.
Lesson 4: Taste the Filling Before It Goes In

I once assembled an entire tray of bland cups because I forgot that cold cream cheese mutes seasoning far more than you'd expect. Now I always taste a spoonful of the raw filling and season it slightly stronger than seems necessary, since baking softens the flavours further. A pinch of smoked paprika and a crack of black pepper make a real difference that plain salt alone doesn't fix.
Lesson 5: Handle Frozen Shells Gently
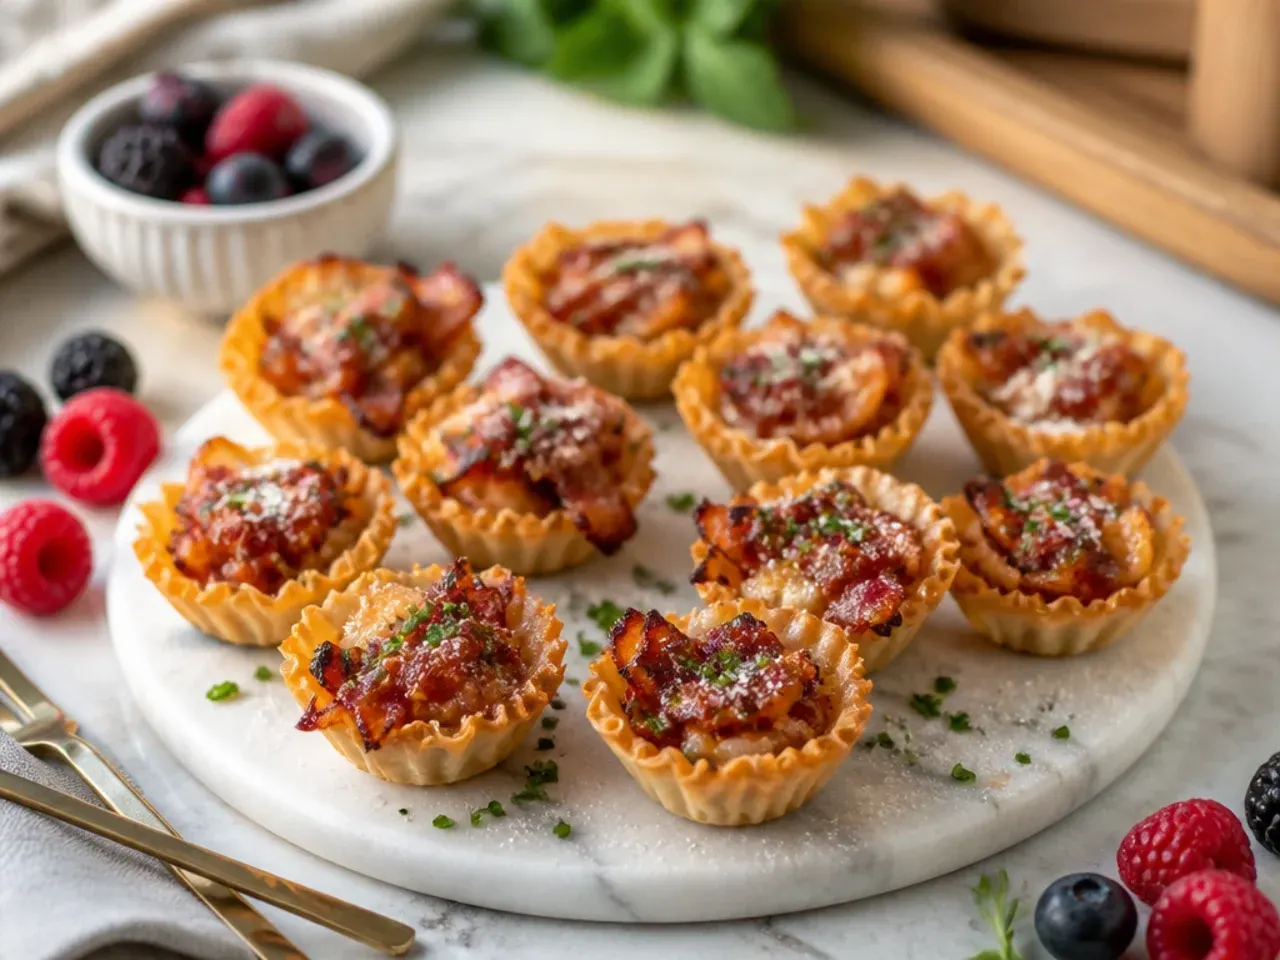
Straight out of the freezer, phyllo shells are brittle, and I cracked half a box trying to separate them too quickly one busy afternoon. Now I let the box sit at room temperature for about 10 minutes before easing the shells apart, which softens them just enough to handle without snapping. Rushing this step costs more time in the end than the ten minutes it saves.
Lesson 6: Skip the Pre-Shredded Cheese

Bagged shredded cheddar has an anti-caking coating that stops it melting smoothly, and my early batches came out with a slightly grainy, separated look. Grating a block of mature cheddar myself takes an extra five minutes but melts into the cream cheese properly. It's a small swap that noticeably improves how glossy and even the finished cups look.
Lesson 7: Let the Cups Rest Before Moving Them
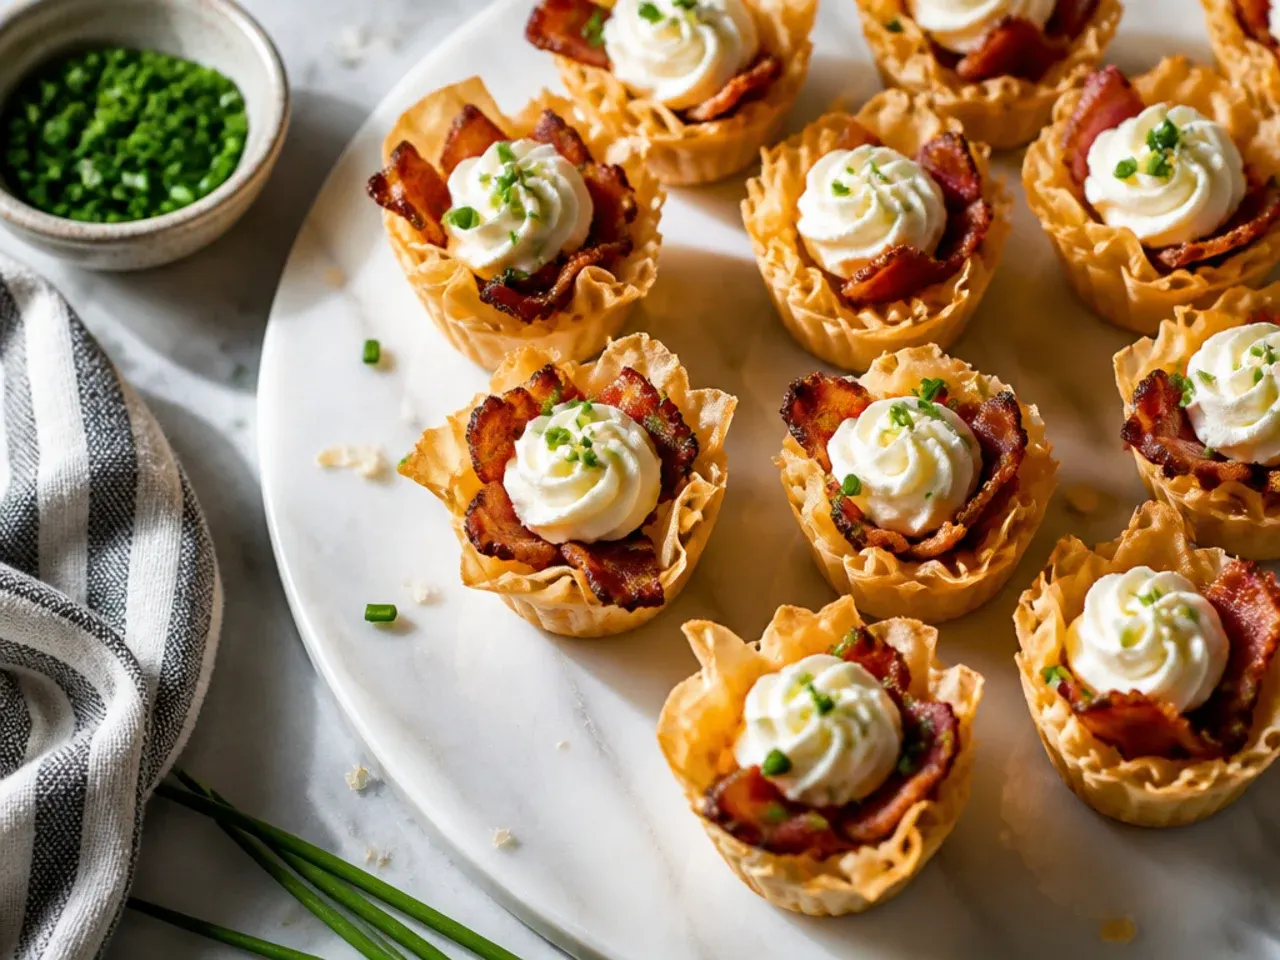
Pulling the cups off the tray the moment they came out of the oven meant the bottoms tore away and stuck, leaving me with a mess of loose pastry. Now I leave the tray alone for a good 3 to 5 minutes so the shells firm up slightly as they cool. Patience here means every cup lifts off cleanly instead of falling apart in my hand.
Lesson 8: High Heat Burns the Edges First
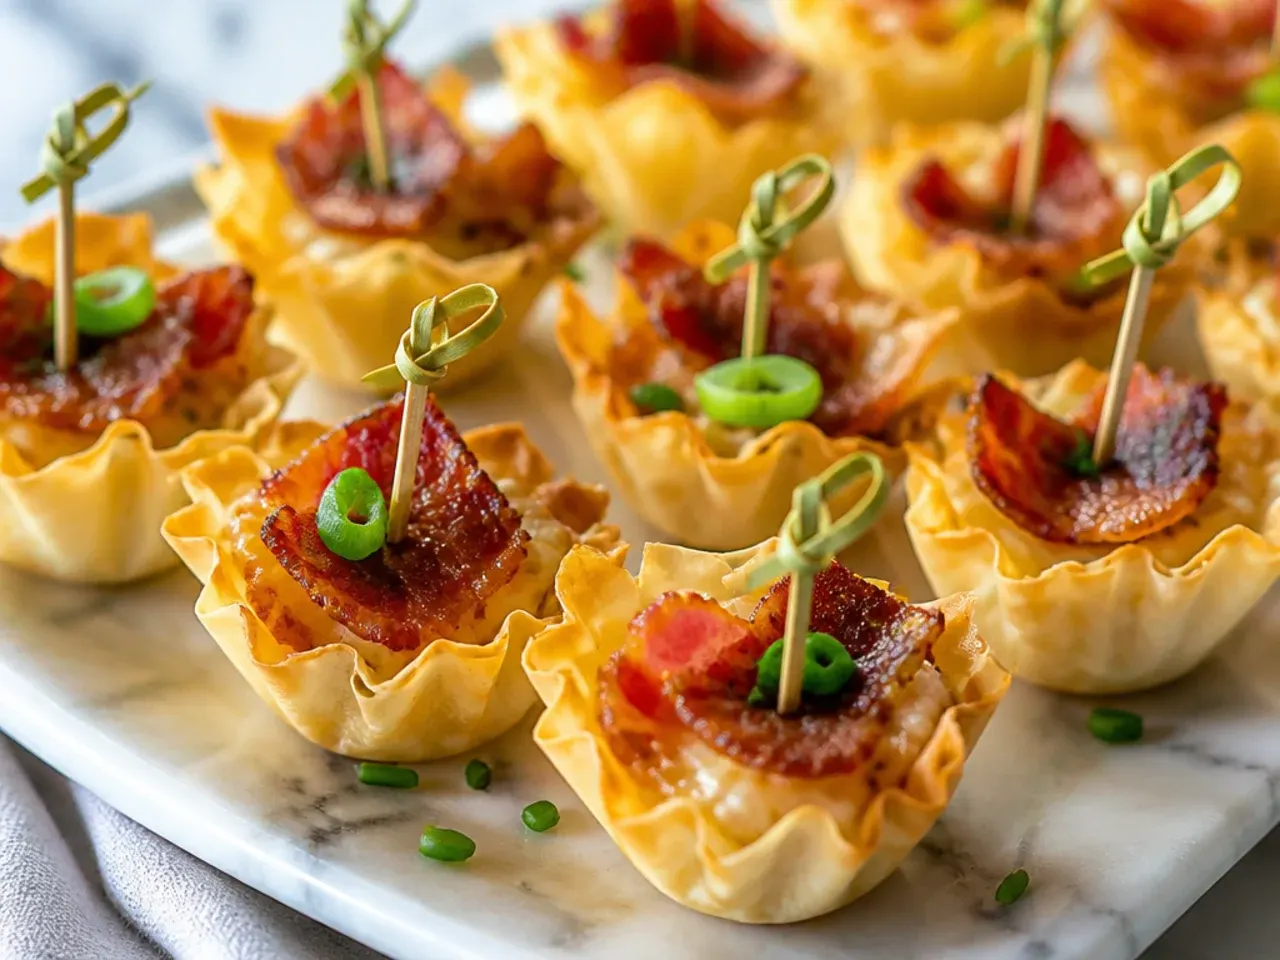
Trying to speed things along at 220°C (425°F) once left me with scorched shell rims and a filling that was still barely warm in the centre. These bacon phyllo cup appetizers do best at a gentler 180°C (350°F), which gives the cheese time to melt through before the pastry edges catch. If your oven runs hot, checking a minute or two early saves the whole tray.
Lesson 9: Chop the Bacon Small and Even
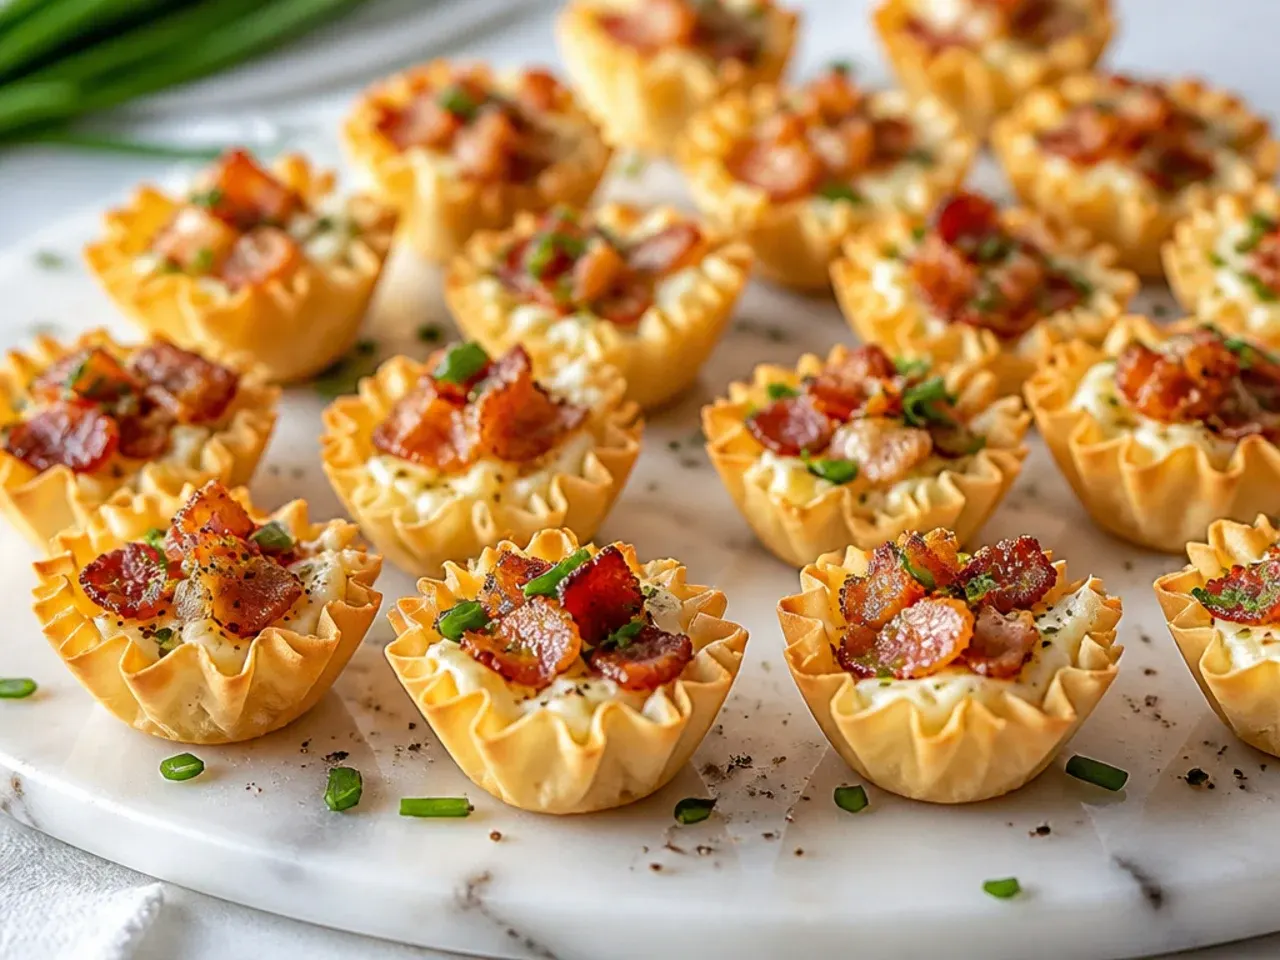
Large bacon shards look impressive but tip the little cups over on the serving tray and make each bite inconsistent, some all bacon, some none. I now chop it finely and evenly, roughly the size of a lentil, so every spoonful of filling gets a fair share. It also means the cups sit flat and stack neatly if I'm arranging them ahead of a party.
Lesson 10: Soften the Filling Before Scooping
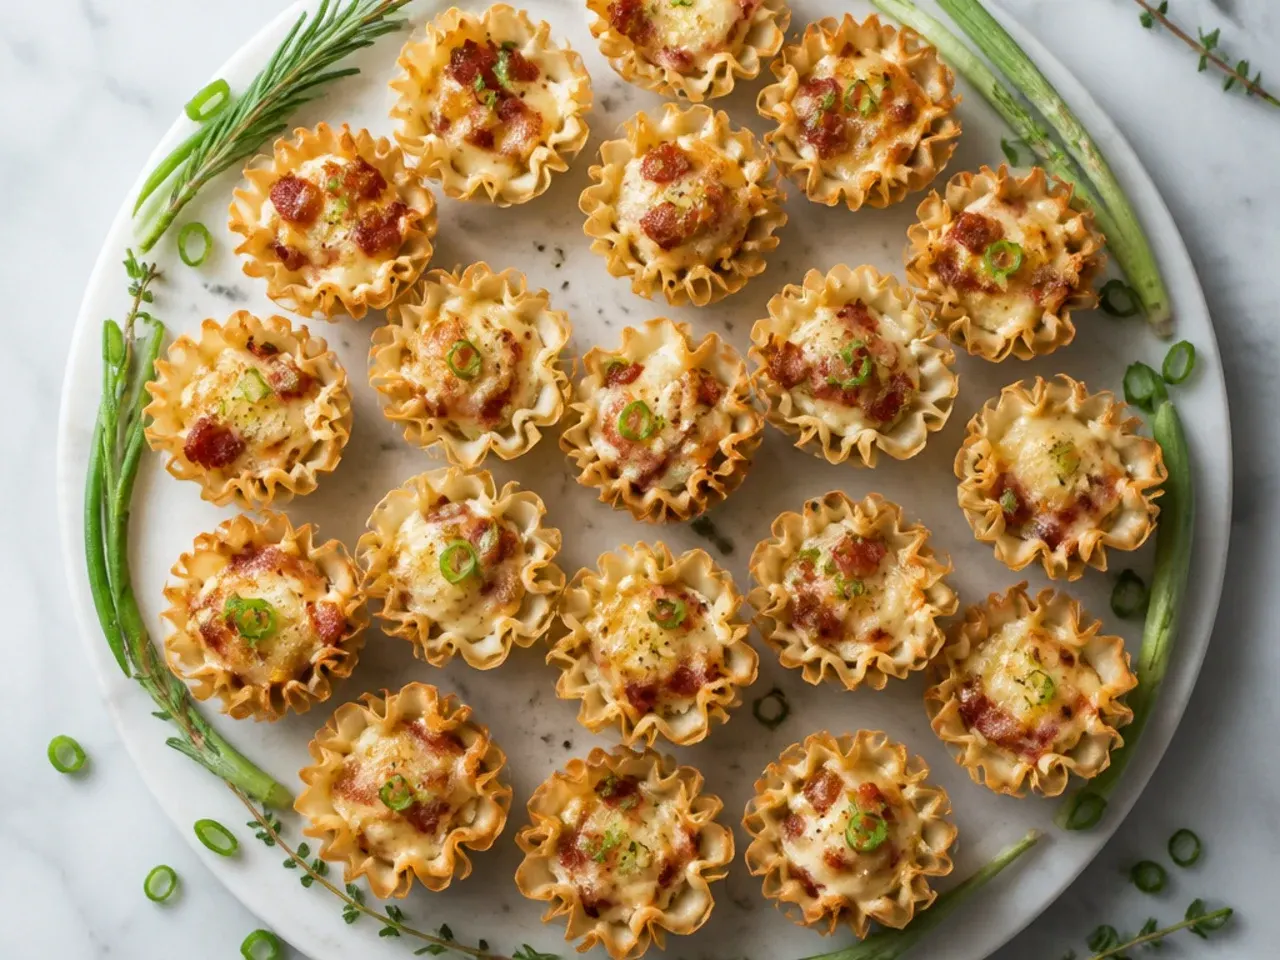
Straight from the fridge, the filling is stiff enough to tear the fragile phyllo as I tried to press it in, cracking several shells in one go. Letting it sit at room temperature for 15 to 20 minutes first makes it soft enough to scoop and spread gently with the back of a teaspoon. Cold filling and delicate pastry simply don't mix well together.
Lesson 11: Herbs Belong on Top, Not Underneath
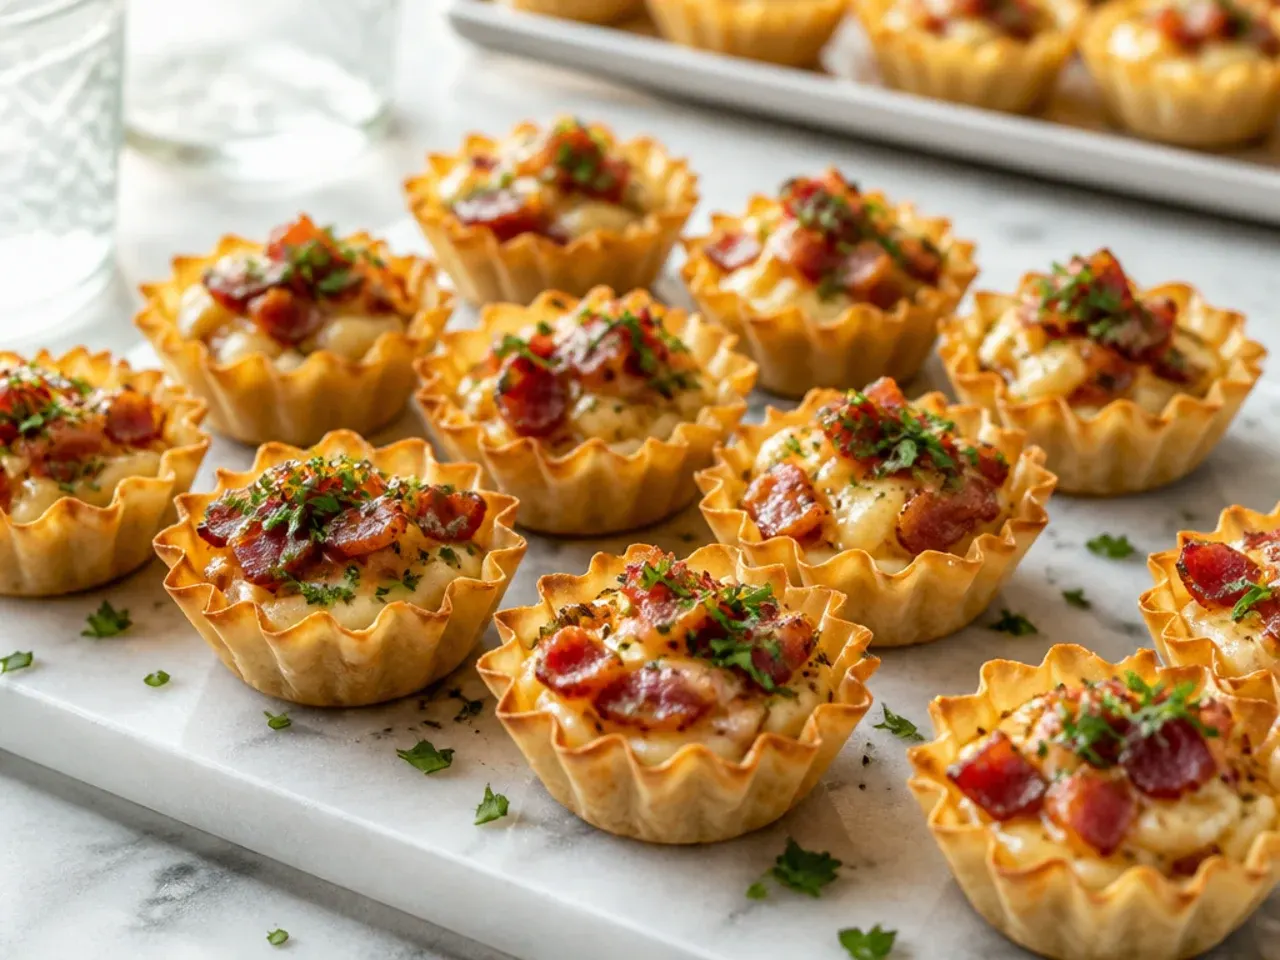
I mixed fresh chives into the filling before baking once and they turned dark and bitter under the heat, losing all their fresh flavour. Now any fresh herb goes on as a garnish straight after the cups come out of the oven, when the residual heat is gentle enough not to scorch it. It keeps the colour bright and the flavour exactly as intended.
Lesson 12: One Box Never Seems to Be Enough

I underestimated a party of twelve with a single 15-count box and ran out within minutes, leaving latecomers empty-handed. Two boxes, giving 30 cups, is now my standard baseline for a gathering of six to eight people who'll happily eat more than one each. It's an easy thing to double up on, since the filling itself keeps well for a second batch.
Lesson 13: Assembled Cups Don't Wait Well
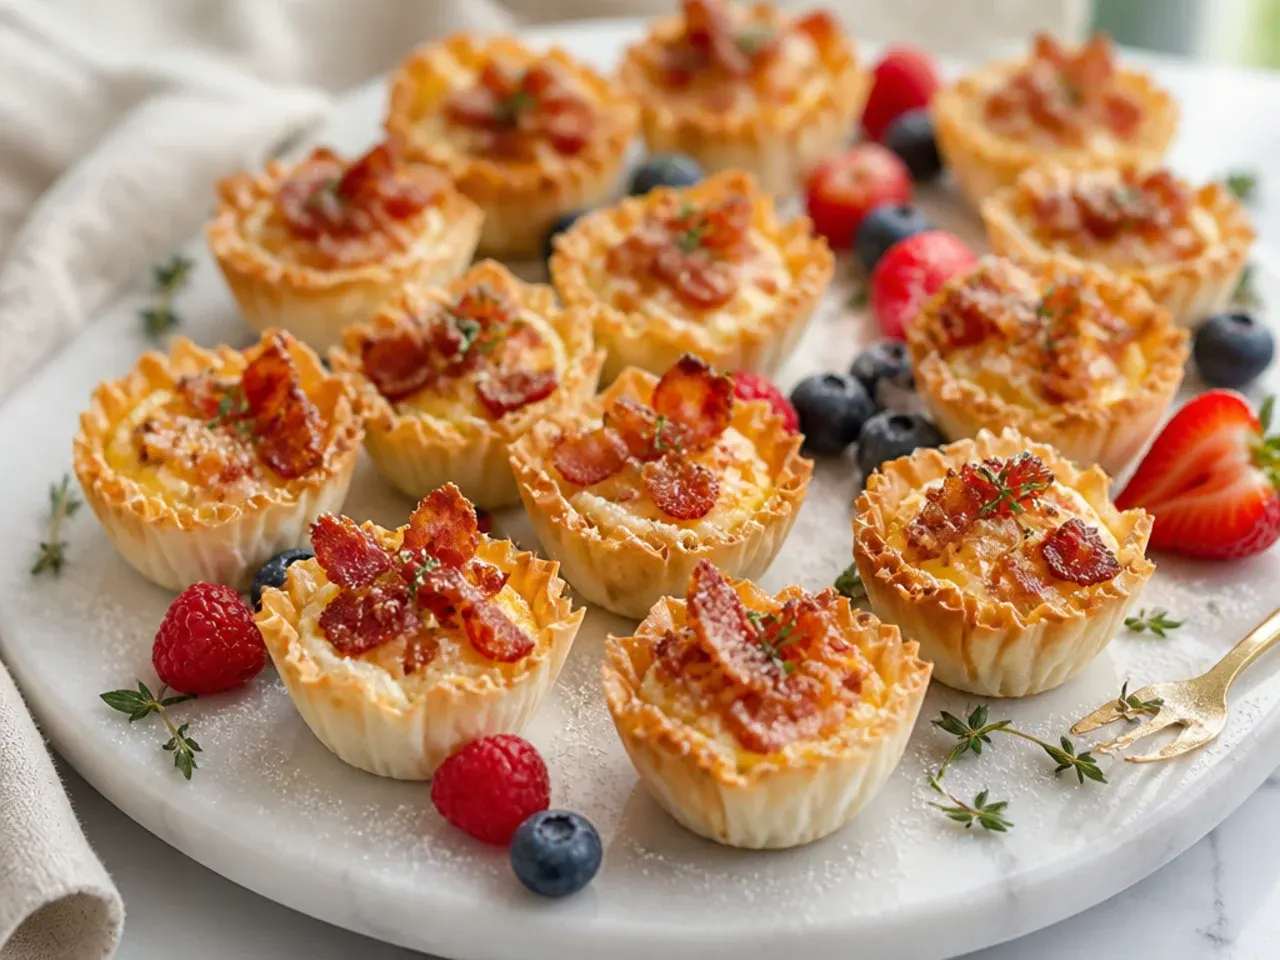
I filled a tray a few hours ahead once, thinking it would save time, and the moisture from the filling had softened the shells long before they reached the oven. Now I only fill the cups right before baking, though the filling itself can be made and chilled up to two days in advance. Keeping the wet and dry components separate until the last moment is what actually saves time on the day.
Lesson 14: Test One Tray Before Committing the Rest

My oven has a hot back corner I didn't know about until an entire batch scorched on one side while the front stayed pale. I now bake a single test tray first, note the timing and any rotation needed, then apply that to the rest of the batches with confidence. It takes an extra five minutes but has saved me from ruining a full party's worth of appetisers more than once.
Lesson 15: Reheating Needs a Hot Oven, Not a Microwave
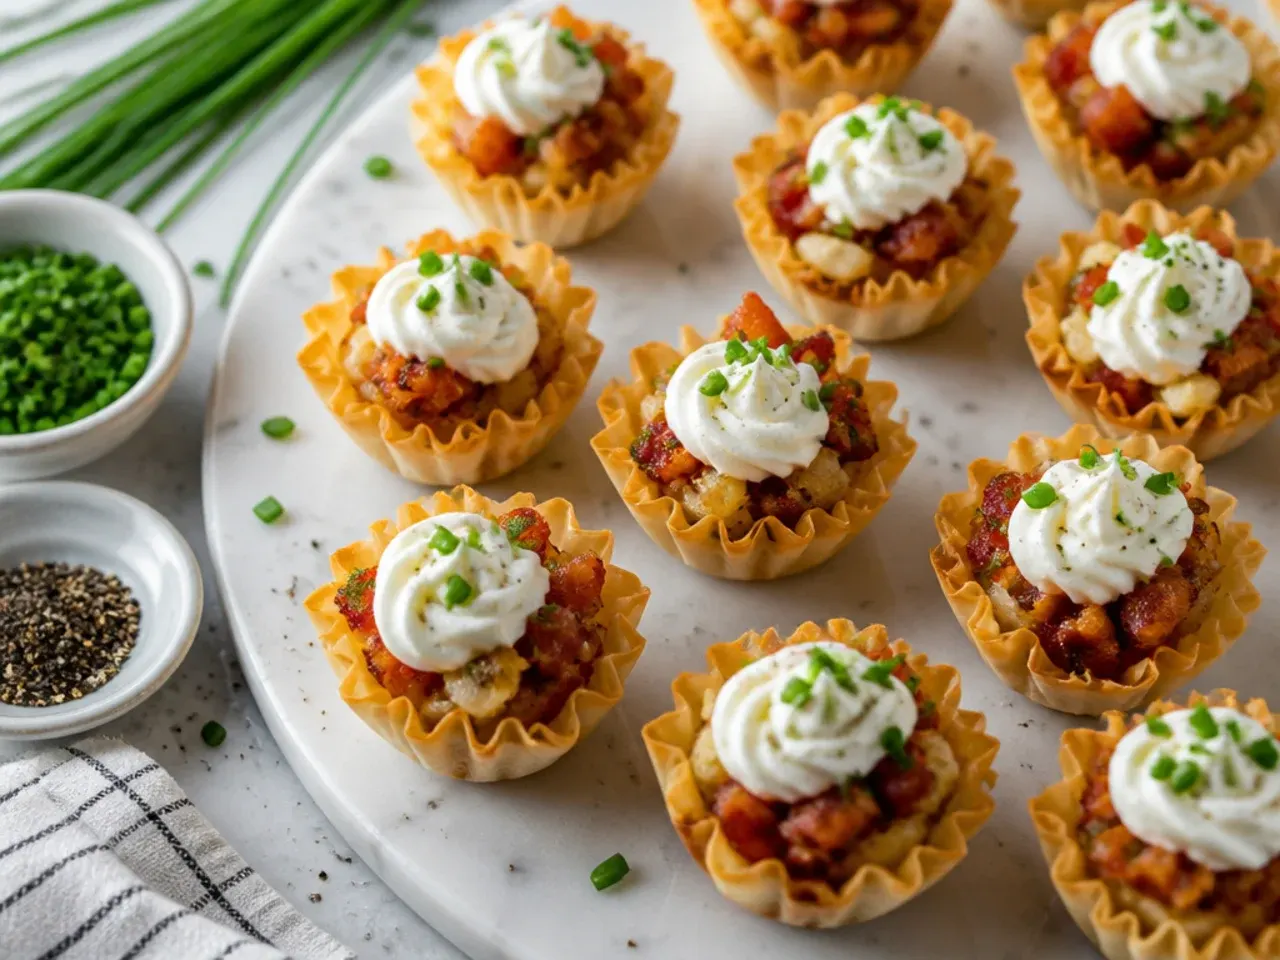
Leftover cups warmed in the microwave came out chewy and limp within seconds, all the crispness gone. A few minutes in a hot oven, around 180°C (350°F), brings the shells back to crisp and warms the filling through without turning it rubbery. If I know there will be leftovers, I keep this in mind rather than reaching for the quickest option.
What I'd Tell a Friend Trying This
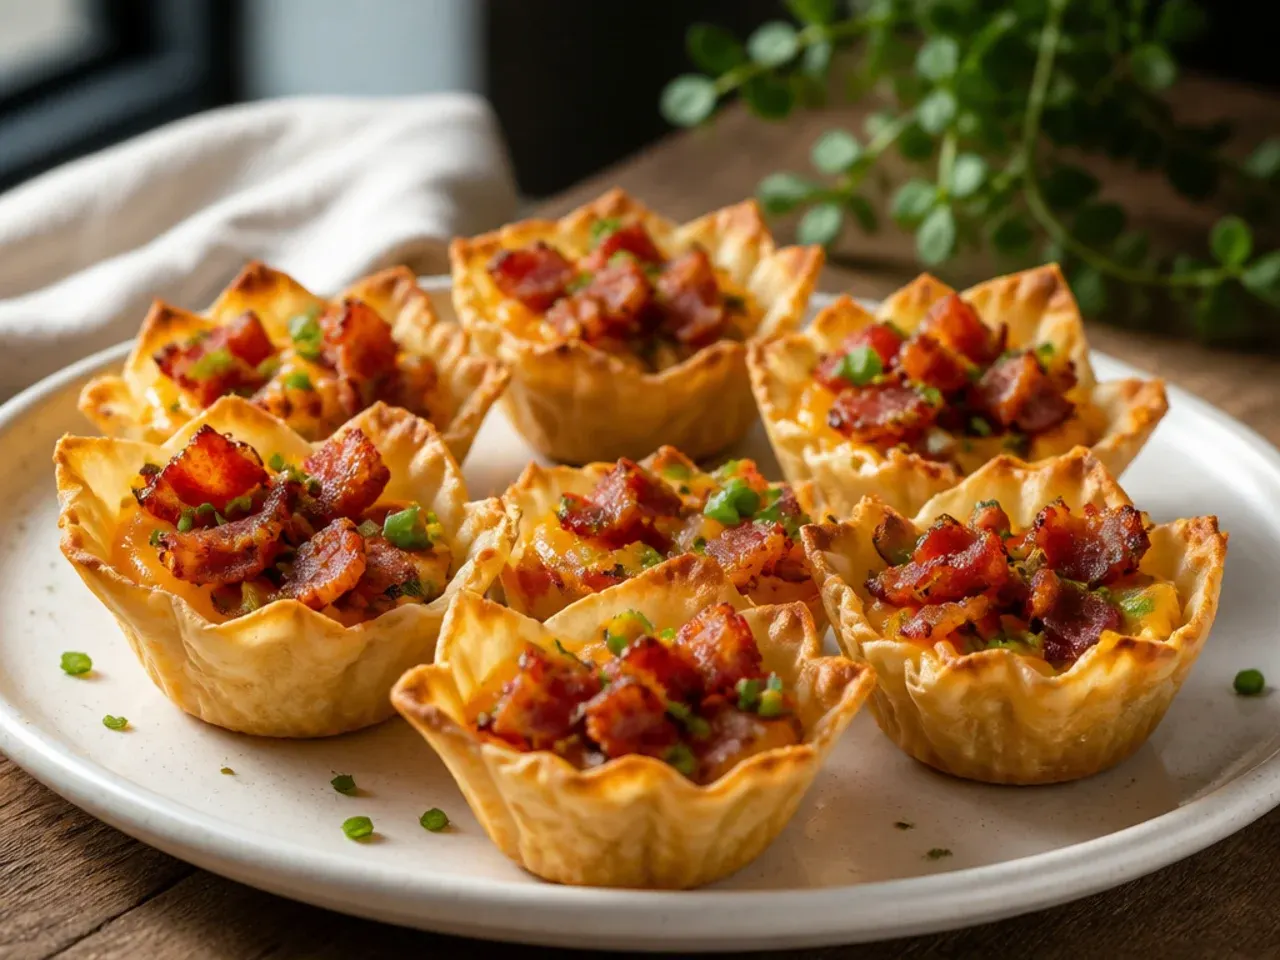
Bacon phyllo cup appetizers are genuinely forgiving once you know the handful of things that go wrong, and every one of them has an easy fix. Drain the bacon, don't overfill, let the filling come to room temperature, and bake gently rather than blasting the heat, and you'll get crisp, golden cups every time. Make the filling ahead if it helps your day, but always fill and bake the shells at the last moment. Once you've made a batch or two, it becomes one of the easiest party foods to pull together with real confidence.
The Recipe
The Recipe I Used
20 min
20 min
40 min
6
Beginner
Ingredients 6 Person(s)
Directions
Step 1: Cook the Bacon Until Crisp
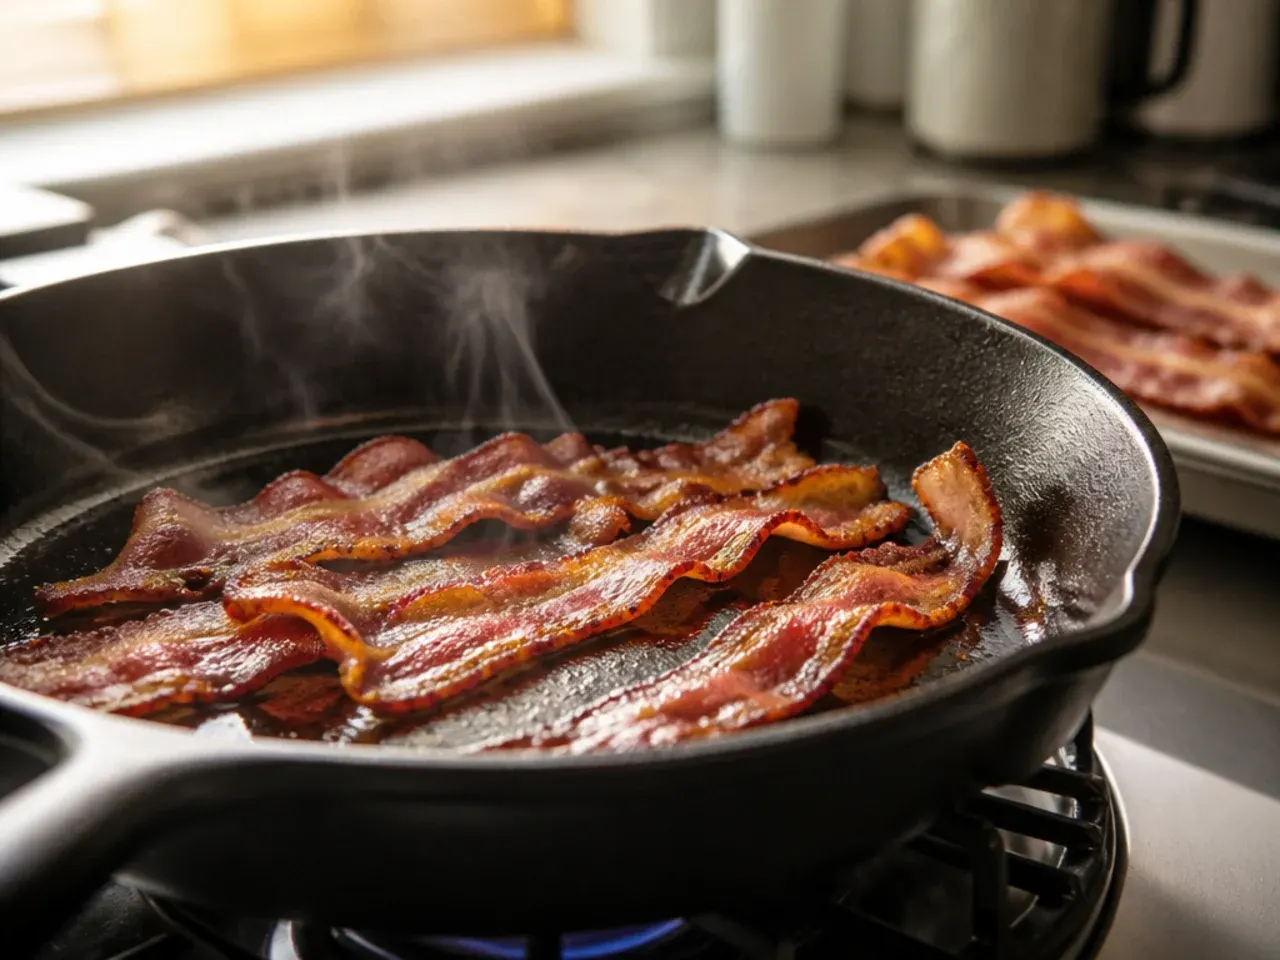
Fry the diced bacon in a dry pan over medium heat for about 5 minutes, stirring often, until deeply golden and crisp. Tip it onto kitchen paper and leave to drain for a couple of minutes, then chop it small and even.
Step 2: Make the Cheese Filling
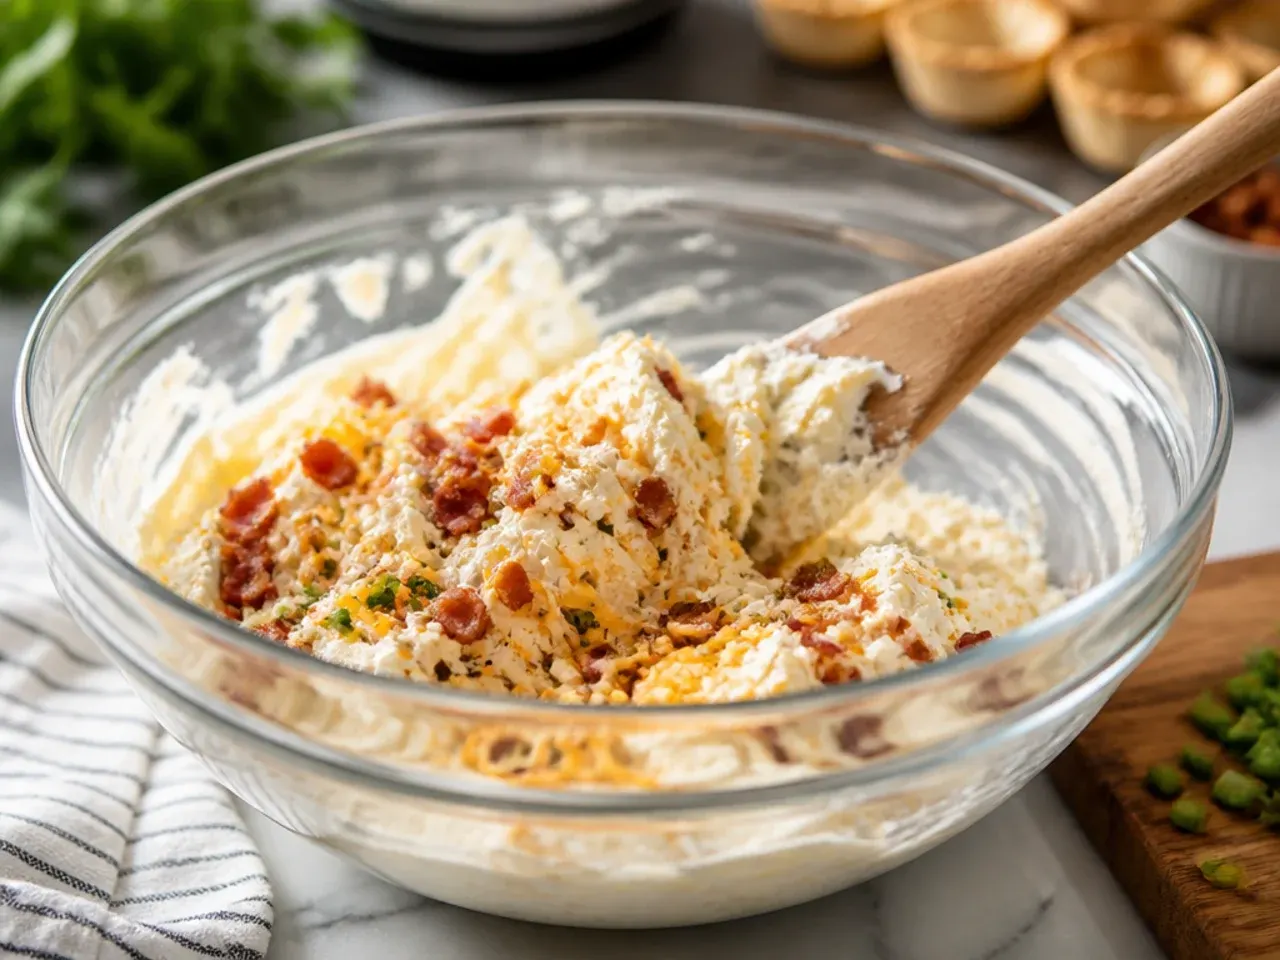
In a bowl, beat the softened cream cheese and soured cream together until smooth, then stir in the grated cheddar, spring onions and crushed garlic. The mixture should be thick enough to hold its shape on a spoon.
Step 3: Season and Fold in the Bacon
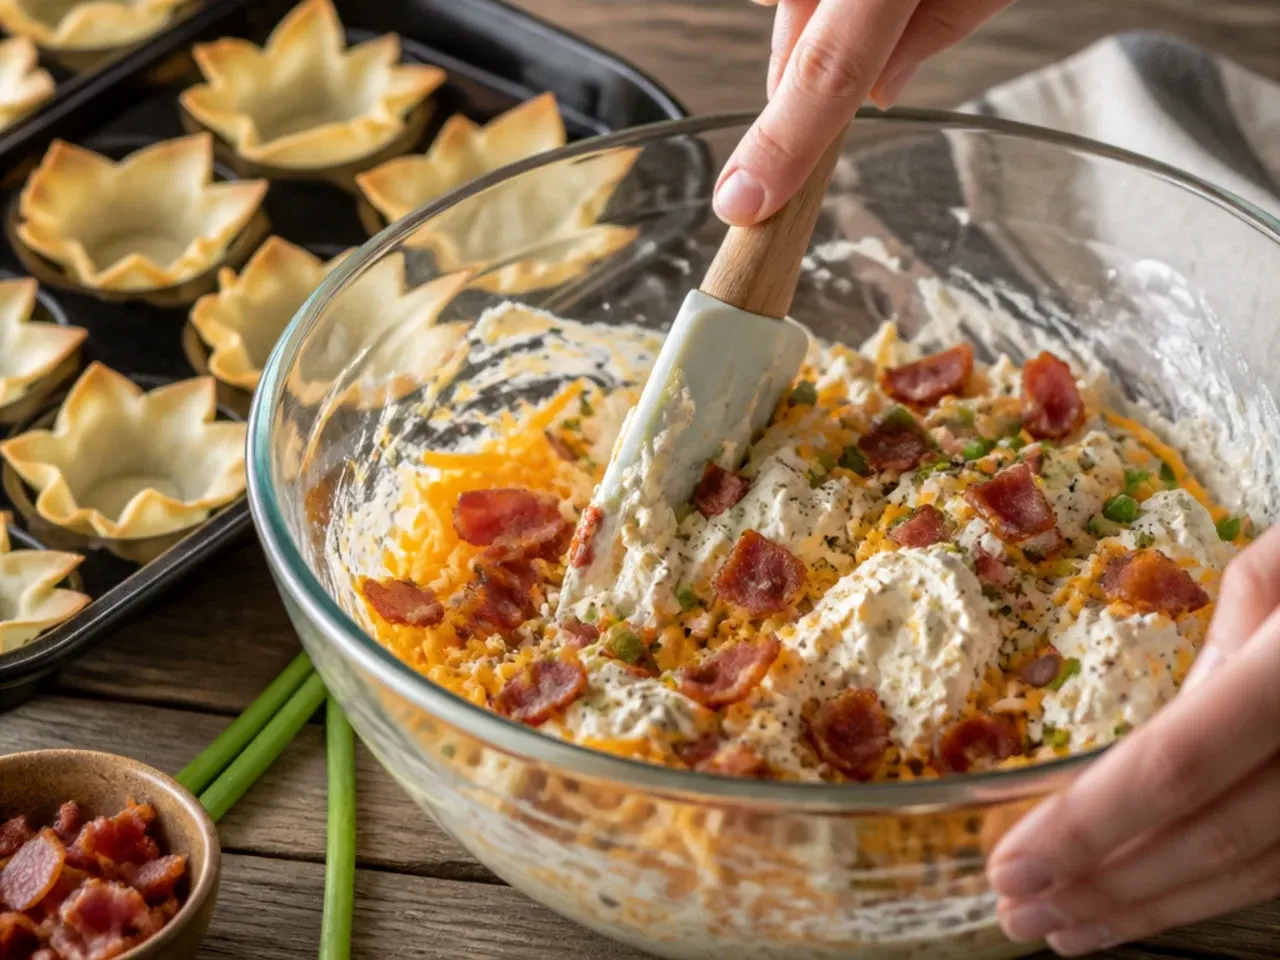
Add the smoked paprika, a pinch of salt and a good grind of black pepper, then taste and adjust since cold filling always needs slightly more seasoning than expected. Fold in three-quarters of the chopped bacon, saving the rest for topping.
Step 4: Arrange the Phyllo Shells
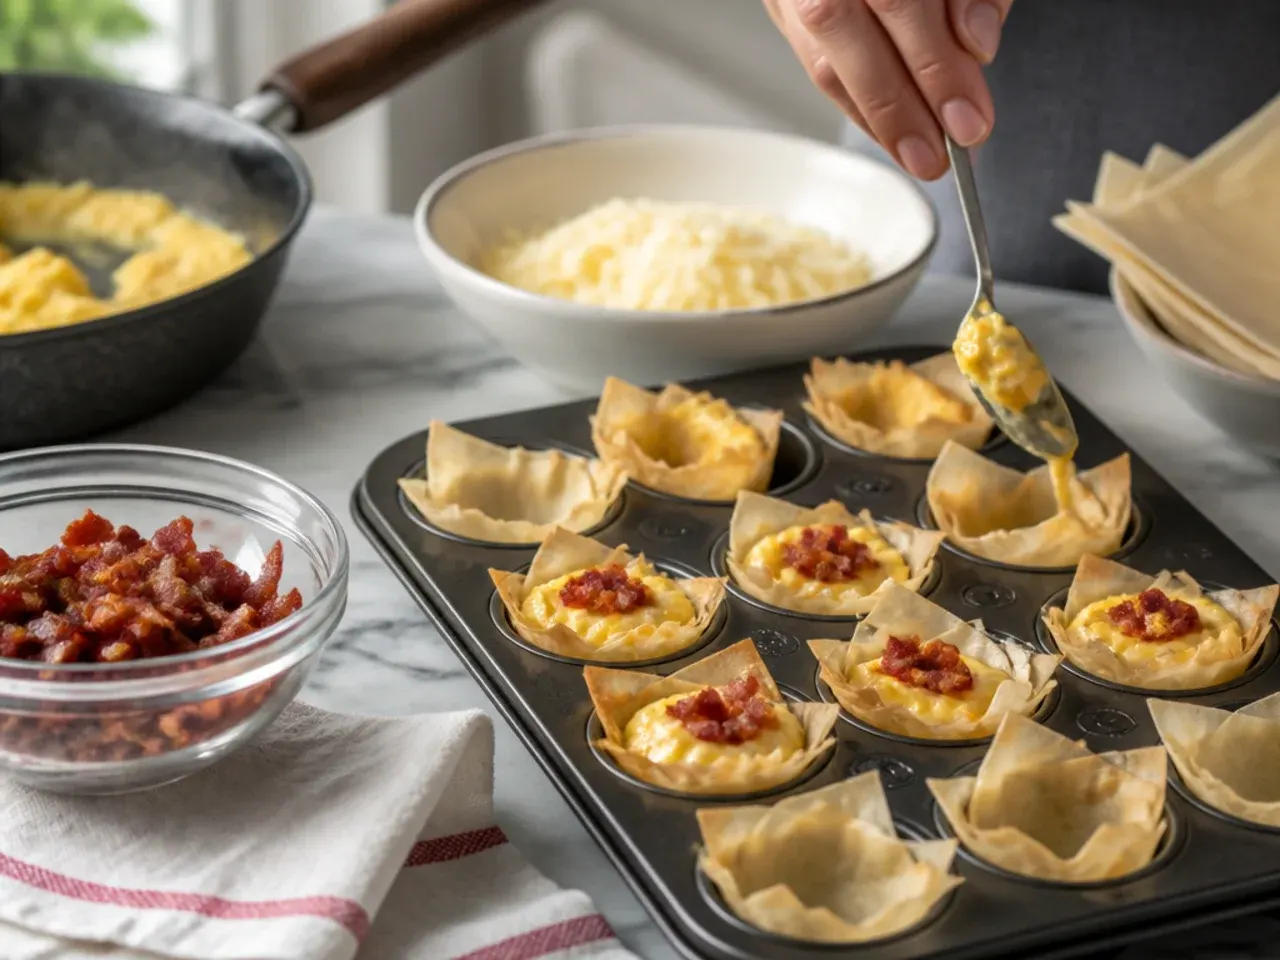
Preheat the oven to 180°C (350°F). Arrange the thawed phyllo shells in a single layer on a baking tray, spaced slightly apart so hot air can circulate around each one.
Step 5: Fill Each Cup
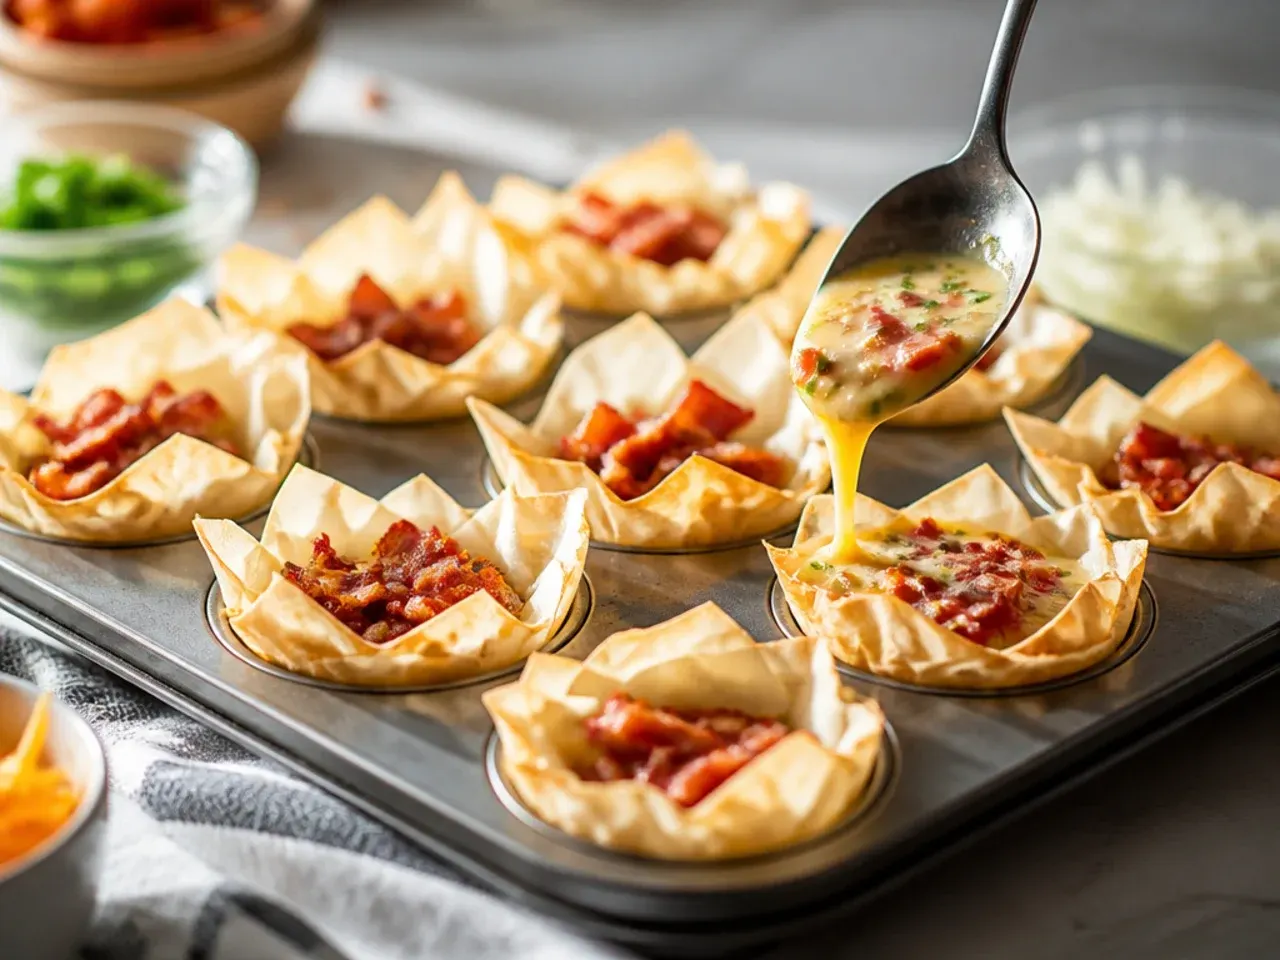
Using a teaspoon, fill each shell with a level, slightly domed spoonful of the cheese and bacon mixture, taking care not to overfill or press too hard against the fragile pastry. Scatter the reserved bacon over the tops.
Step 6: Bake Until Golden and Bubbling
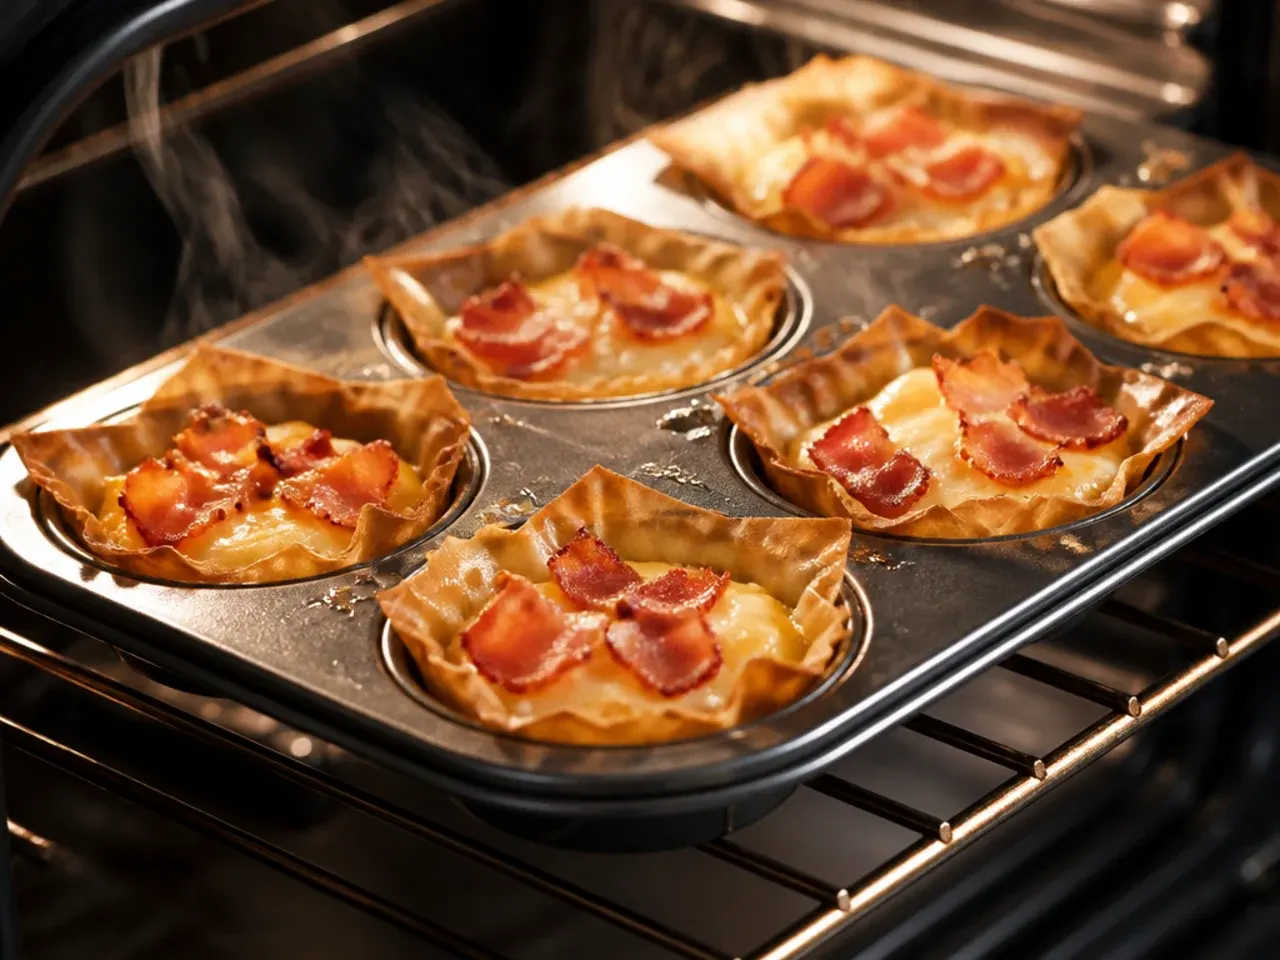
Bake for 10 to 12 minutes, until the cheese is melted and bubbling and the shell edges are golden brown. Rotate the tray halfway through if your oven bakes unevenly.
Step 7: Cool, Garnish and Serve
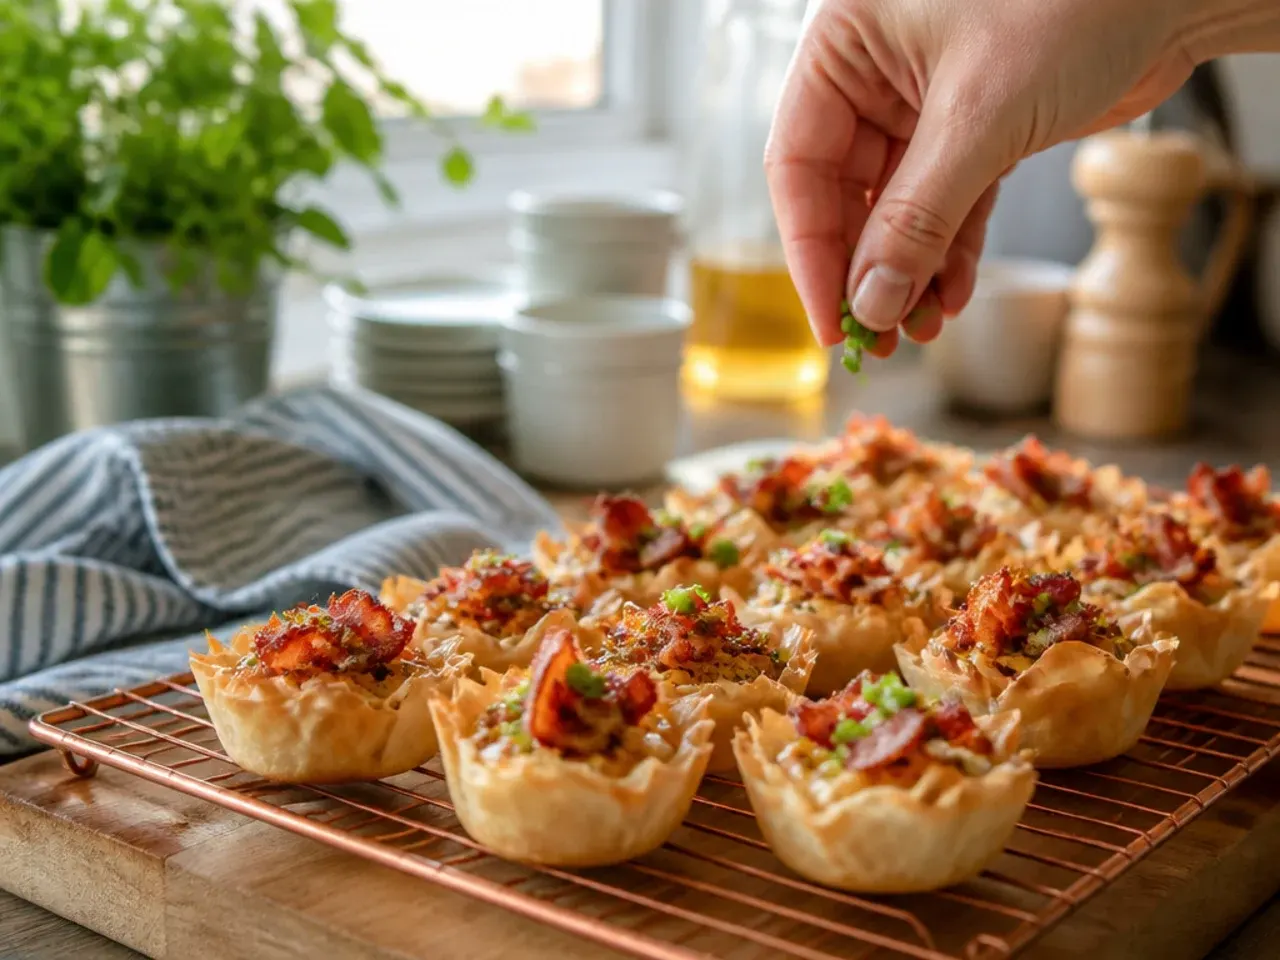
Leave the cups to rest on the tray for 3 to 5 minutes so the shells firm up before moving them. Scatter over the fresh chives just before serving warm.
Frequently Asked Questions
Yes, but keep the wet and dry parts separate until you're ready to bake. Cook the bacon and mix the cheese filling up to two days ahead and store it covered in the fridge, then fill the shells and bake just before serving. Filling the shells too early softens the delicate pastry, so that step should always happen right at the end. Bring the chilled filling to room temperature for about 20 minutes before scooping, as it spreads far more easily than straight from the fridge.
Save this for later 📌
Pin this article to your Pinterest board so the full list is one tap away when you need it.
Save on Pinterest