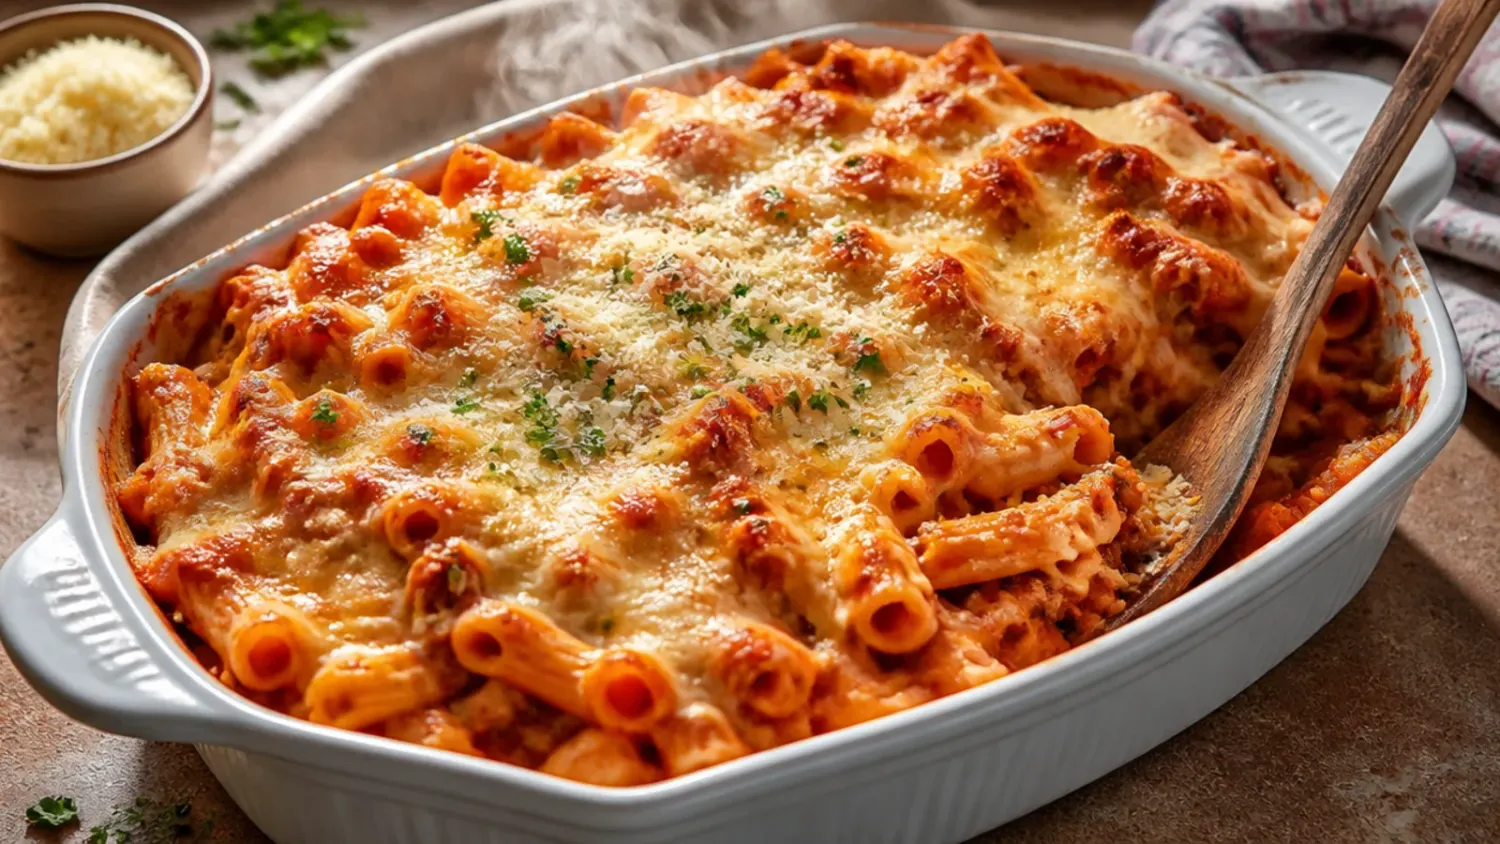
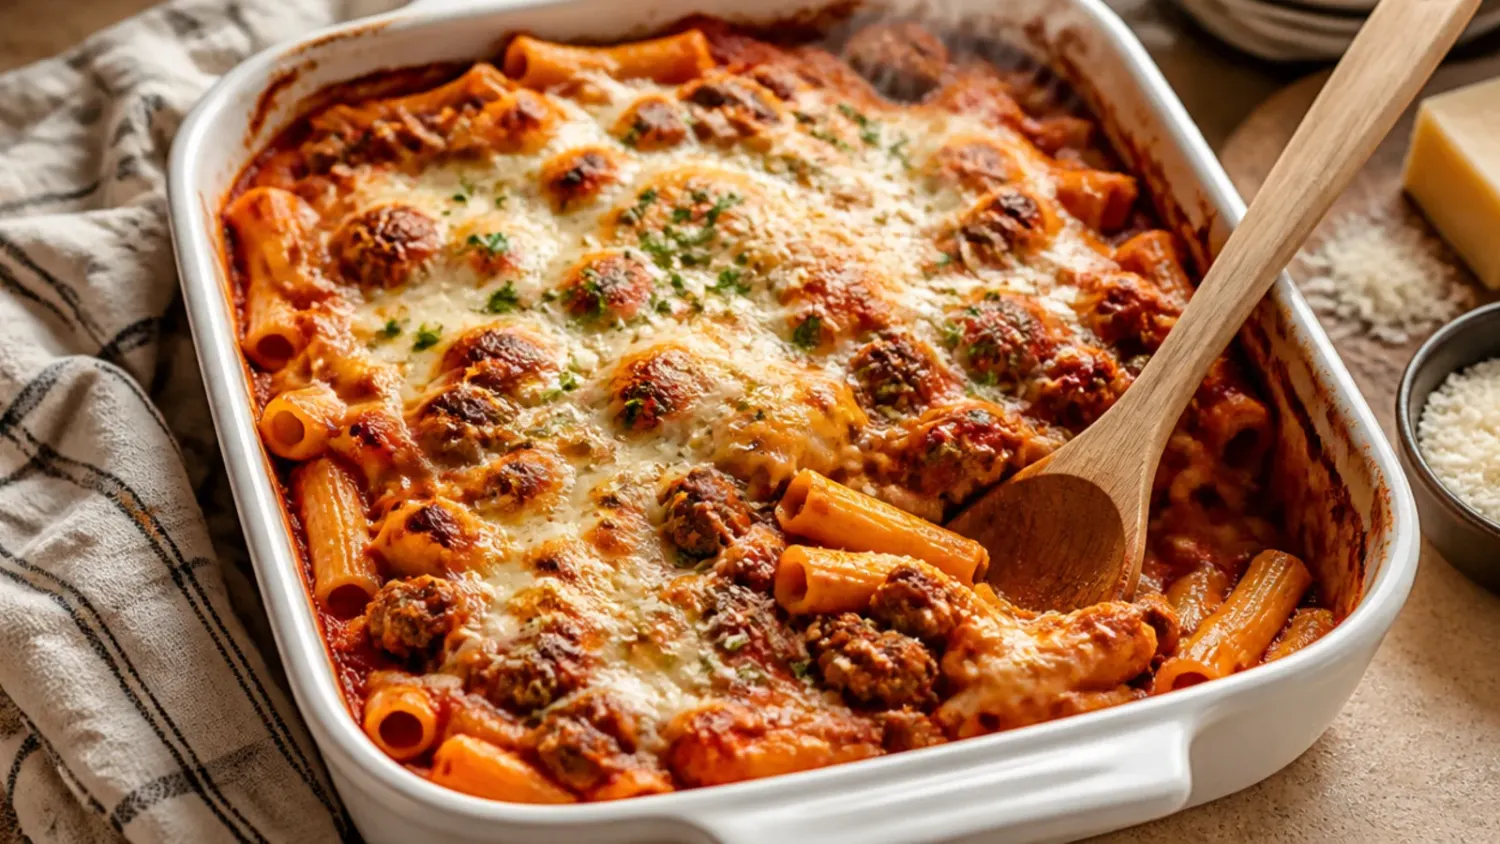
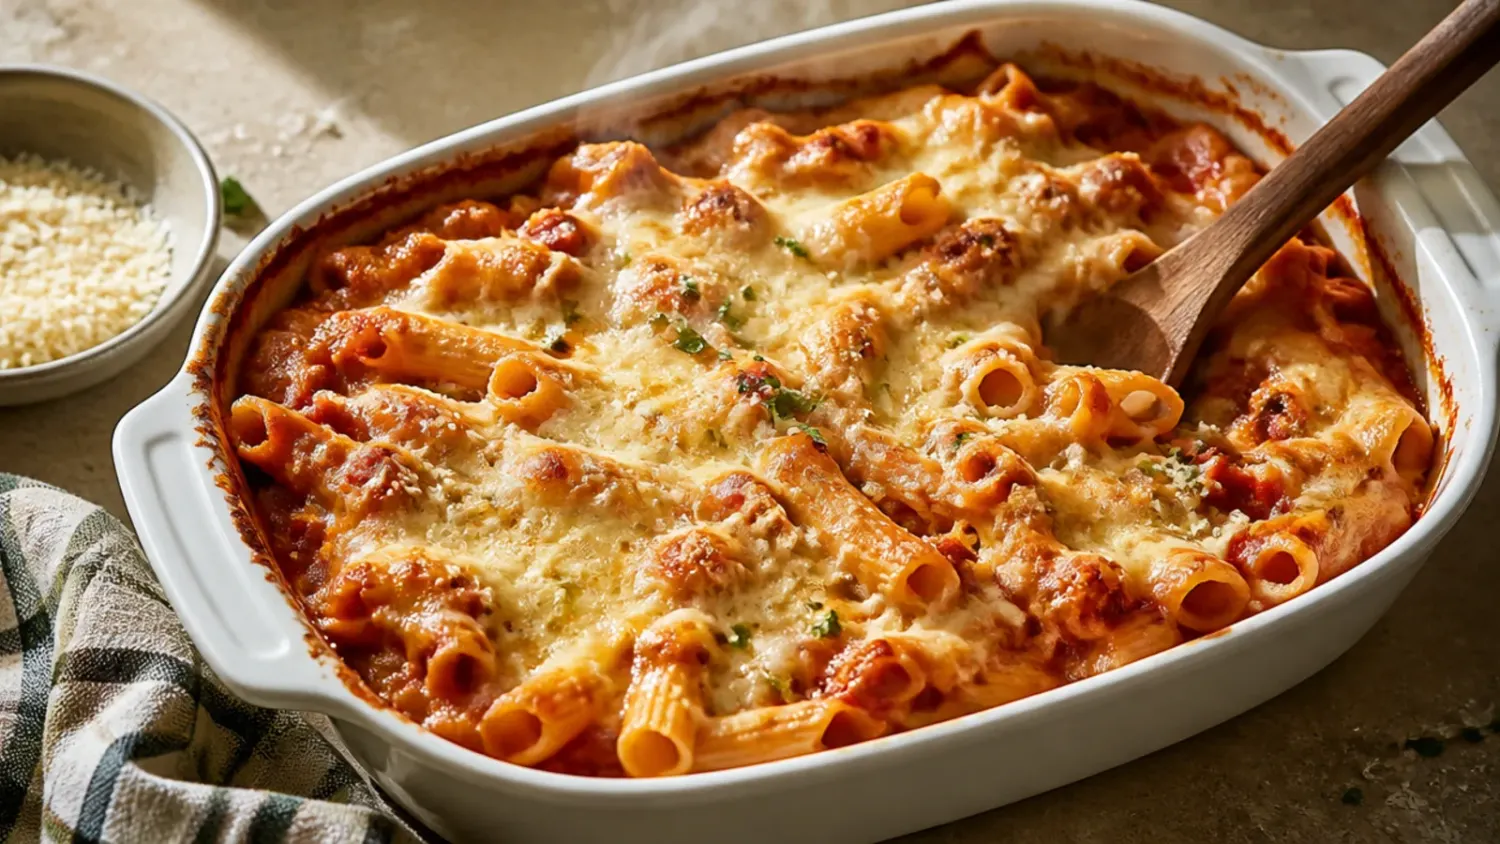
20 Baked Ziti with Ricotta Tips I Wish I Knew Sooner
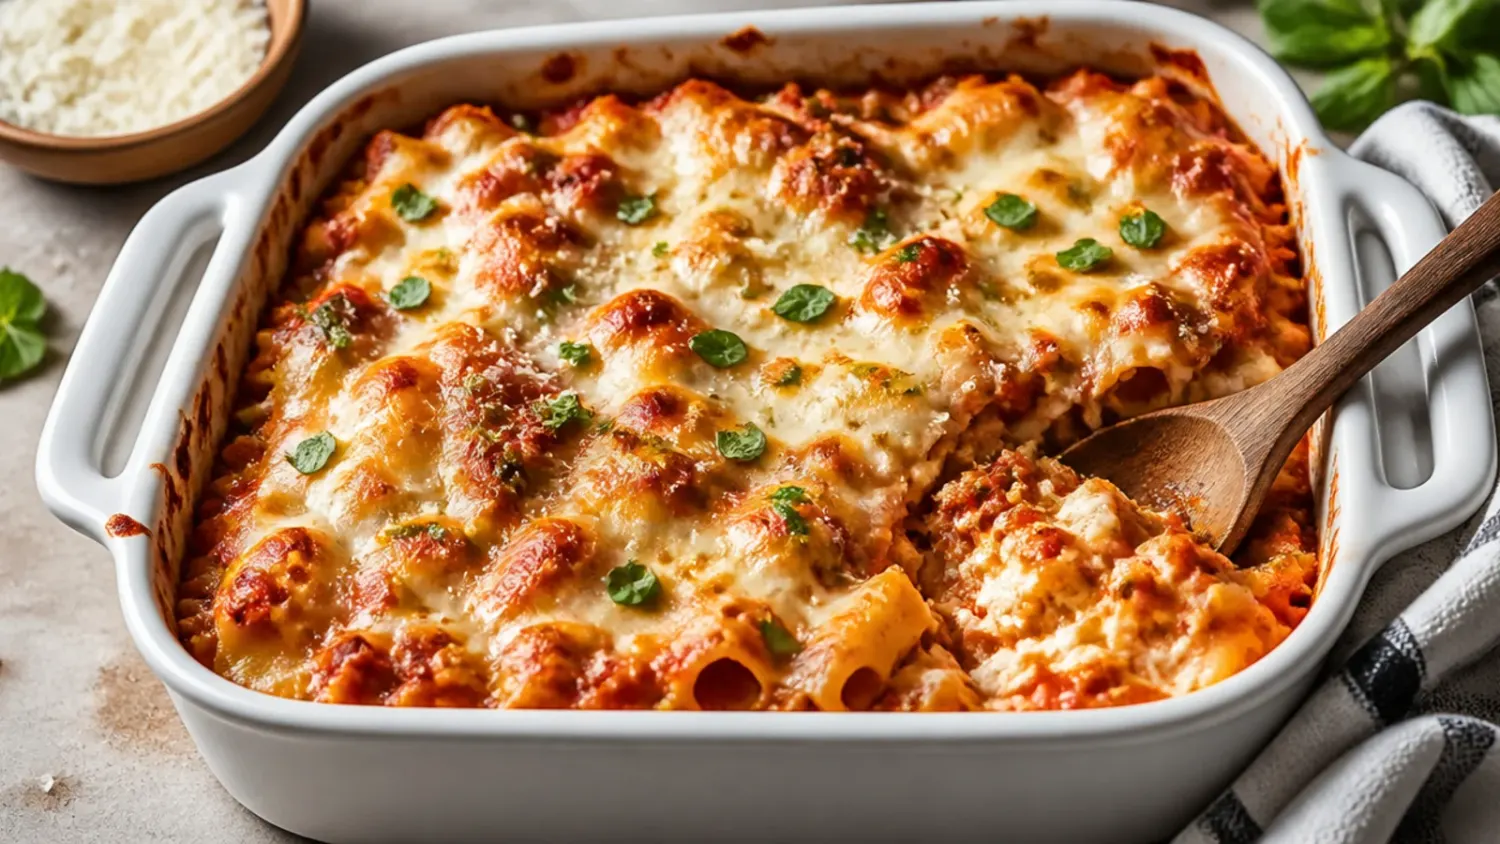
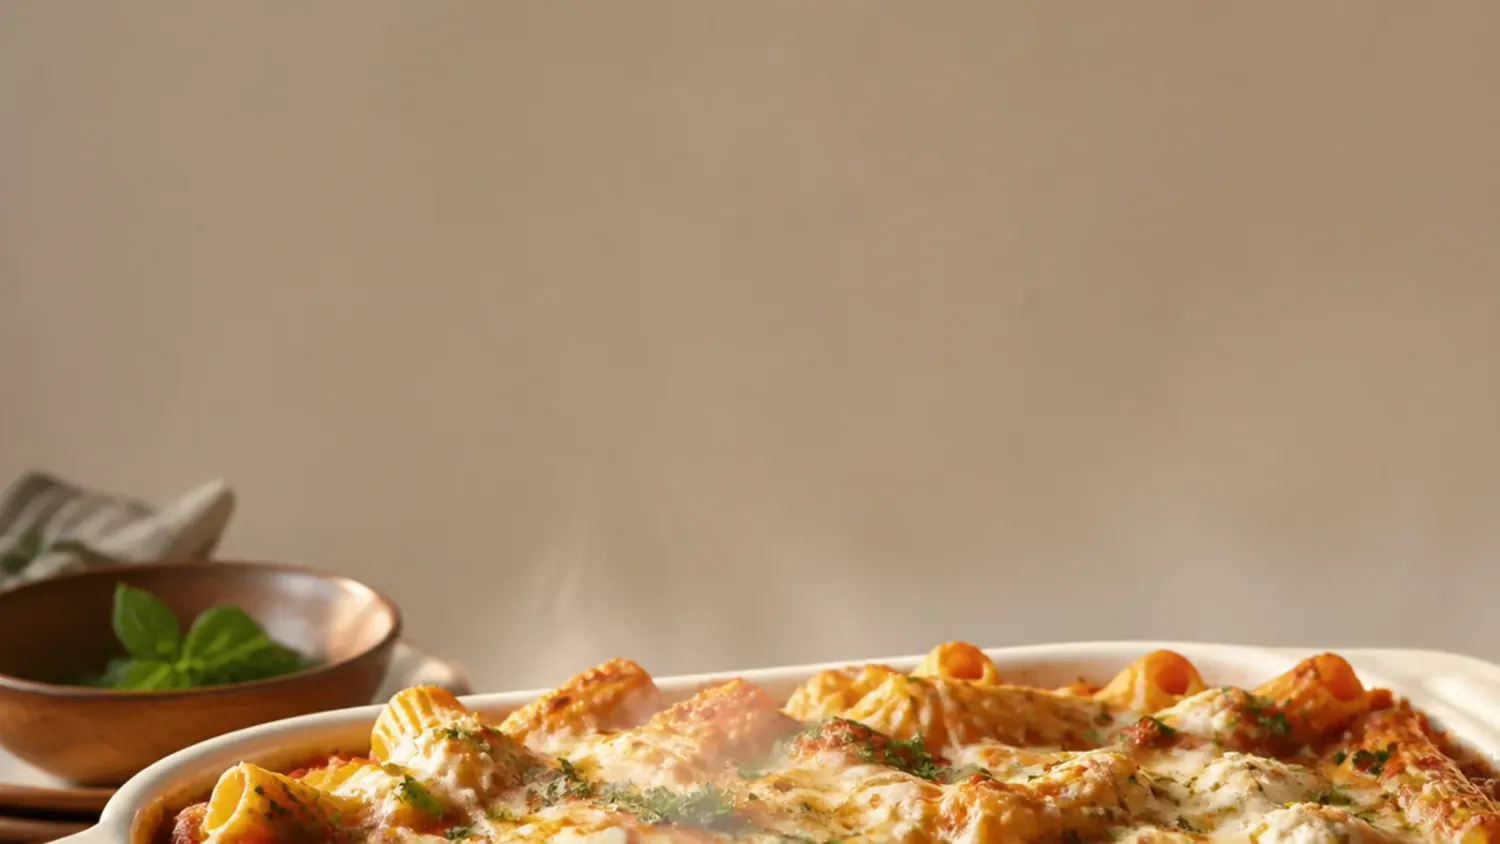
20 honest lessons from making baked ziti with ricotta again and again — the real mistakes, the fixes, and what finally stopped it going watery or dry. If you love baked ziti inspiration, start with our Baked Ziti collection, then browse the full Comfort Dinners hub for more.
Save this for later 📌
Pin this article to your Pinterest board so the full list is one tap away when you need it.
Save on PinterestComfort Dinners
Intermediate
Kitchen Journal
7 steps
Table of Contents
- Lesson 1: My First Baked Ziti with Ricotta Was a Watery Mess
- Lesson 2: I Used to Boil the Pasta Until It Was Fully Cooked
- Lesson 3: I Was Too Stingy with the Sauce
- Lesson 4: I Was Mixing the Ricotta in Too Thoroughly
- Lesson 5: I Wasn't Salting the Pasta Water
- Lesson 6: I Was Buying Low-Fat Ricotta to Save Calories
- Lesson 7: I Was Baking It Uncovered the Whole Time
- Lesson 8: I Was Cutting into It Straight Out of the Oven
- Lesson 9: I Was Using a Dish That Was Too Shallow
- Lesson 10: I Only Ever Used Mozzarella
- Lesson 11: I Wasn't Draining the Sausage Fat
- Lesson 12: I Left the Ricotta Completely Unseasoned
- Lesson 13: I Used Whatever Tinned Tomatoes Were Cheapest
- Lesson 14: I Baked It Straight from the Fridge Without Adjusting the Time
- Lesson 15: I Was Freezing It After Baking, Not Before
- Lesson 16: I Reheated Leftovers Without Adding Any Moisture
- Lesson 17: I Kept Guessing When It Was Done by the Clock Alone
- Lesson 18: I Was Buying Pre-Shredded Mozzarella
- Lesson 19: I Overfilled the Dish Right to the Rim
- Lesson 20: I Didn't Reserve Any Pasta Water
- What I'd Tell a Friend Trying This
- The Recipe I Used
Lesson 1: My First Baked Ziti with Ricotta Was a Watery Mess
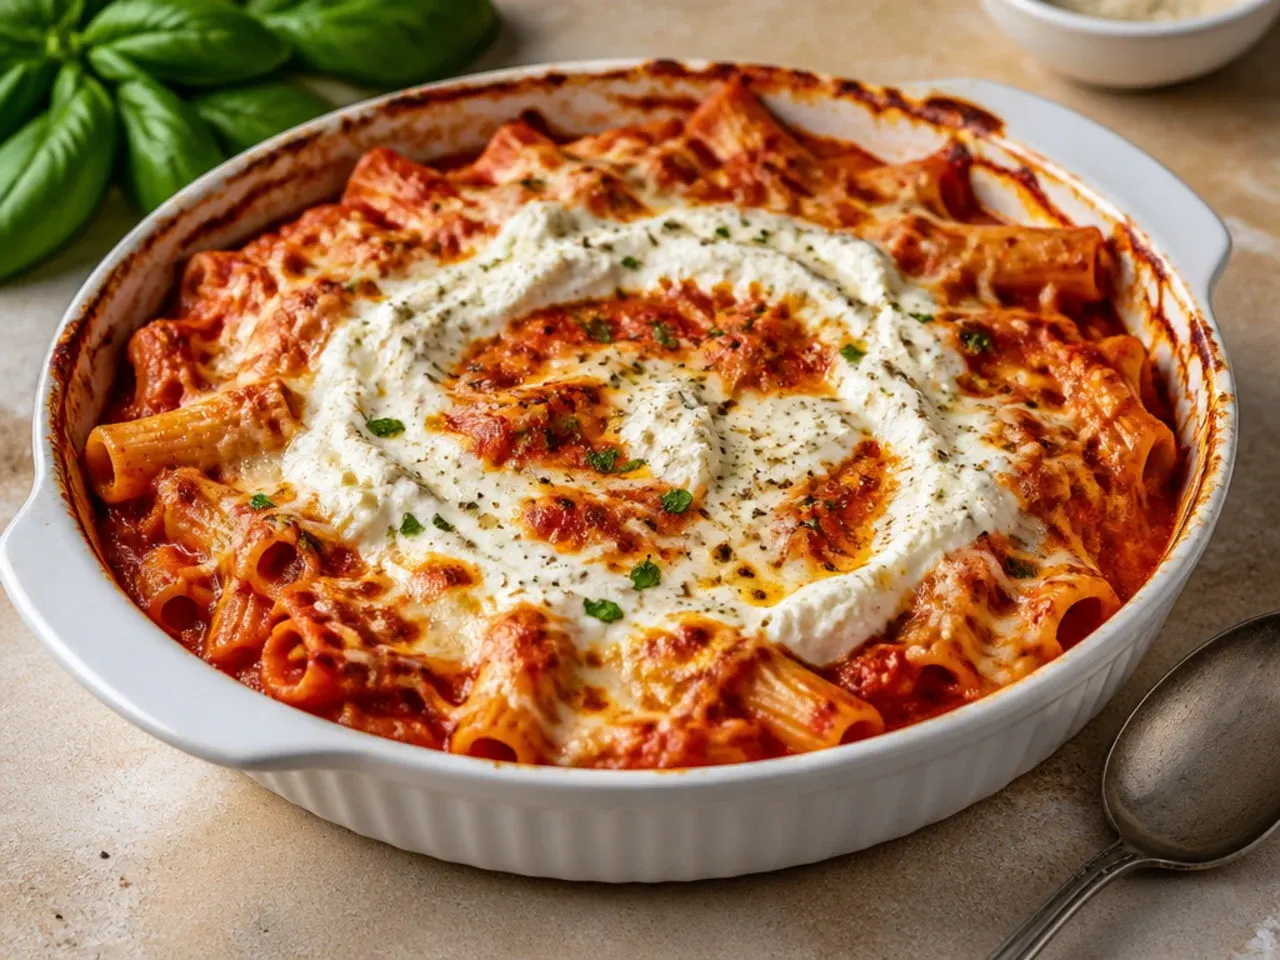
The first time I made baked ziti with ricotta, I skipped the egg because I didn't think it mattered, and the whole tray ended up swimming in liquid once it cooled. Ricotta breaks down as it bakes on its own, releasing whey that pools under the cheese instead of clinging to the pasta. Now I whisk one egg into every 425 g (15 oz) tub before it goes anywhere near the dish, and the texture holds together in neat, creamy pockets instead. It's a thirty-second step that fixes a problem I used to blame on the sauce.
Lesson 2: I Used to Boil the Pasta Until It Was Fully Cooked
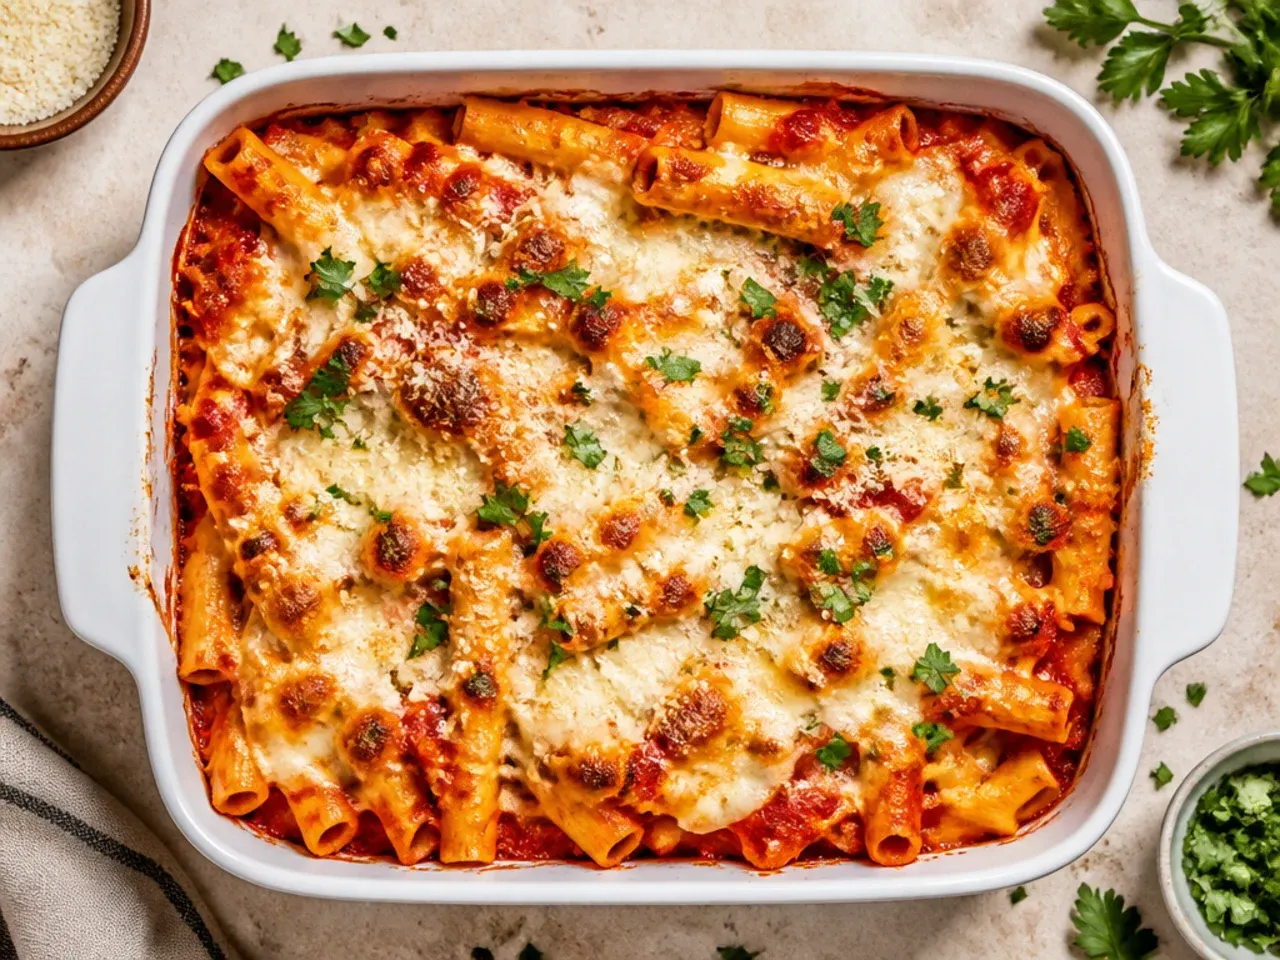
I used to cook the ziti right to the packet time, which felt correct, but by the time it came out of the oven it had gone soft and shapeless. Pasta keeps cooking in a hot casserole, soaking up sauce and steam for the full 35-40 minutes it's in there. Now I pull it 2 minutes under the packet's minimum time, while it's still noticeably firm to the bite, and it lands perfectly tender after baking. If you've ever wondered why a good baked ziti has more bite than yours, this is usually why.
Lesson 3: I Was Too Stingy with the Sauce
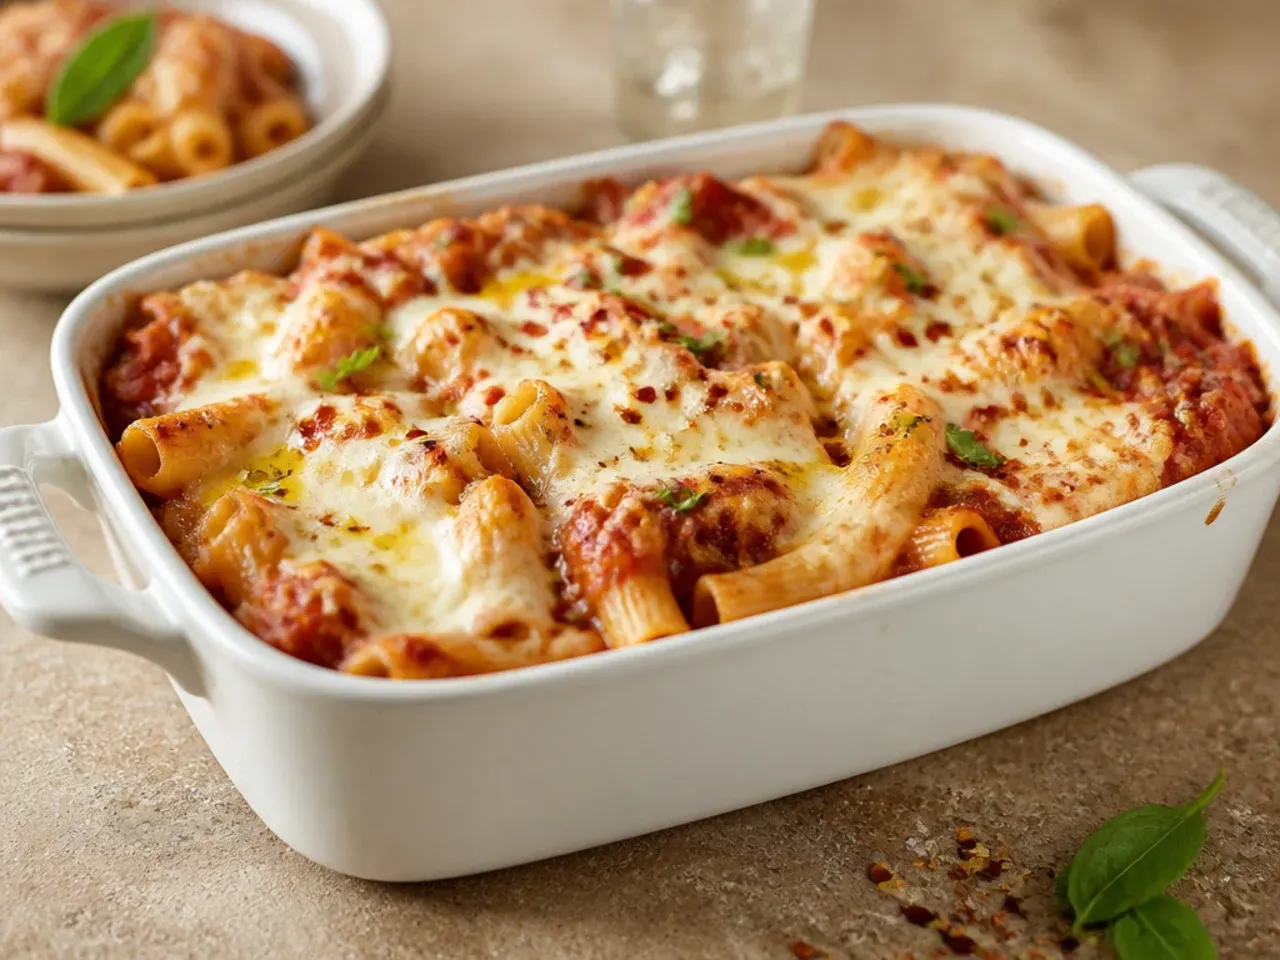
My early attempts always looked dry at the edges, and I assumed I'd overbaked them. The real issue was that I wasn't using enough sauce to begin with — the pasta drinks a surprising amount of liquid as it bakes, and if you start light, you finish dry. I now use at least 1.1 litres (about 4 1/2 cups) of sauce for 450 g (1 lb) of pasta, with a mugful of reserved pasta water on hand to loosen it further. Generous sauce going in is non-negotiable now.
Lesson 4: I Was Mixing the Ricotta in Too Thoroughly
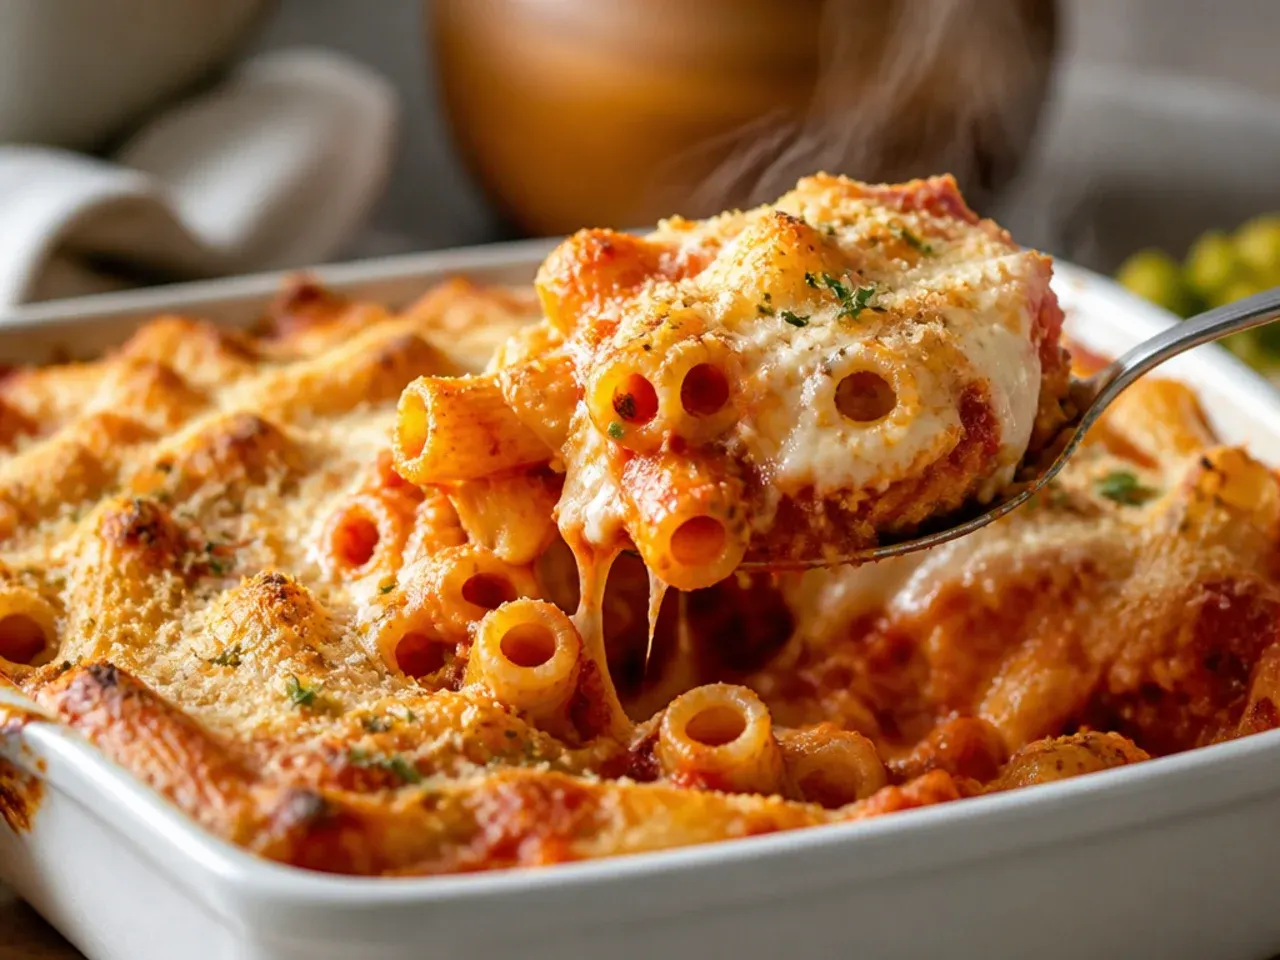
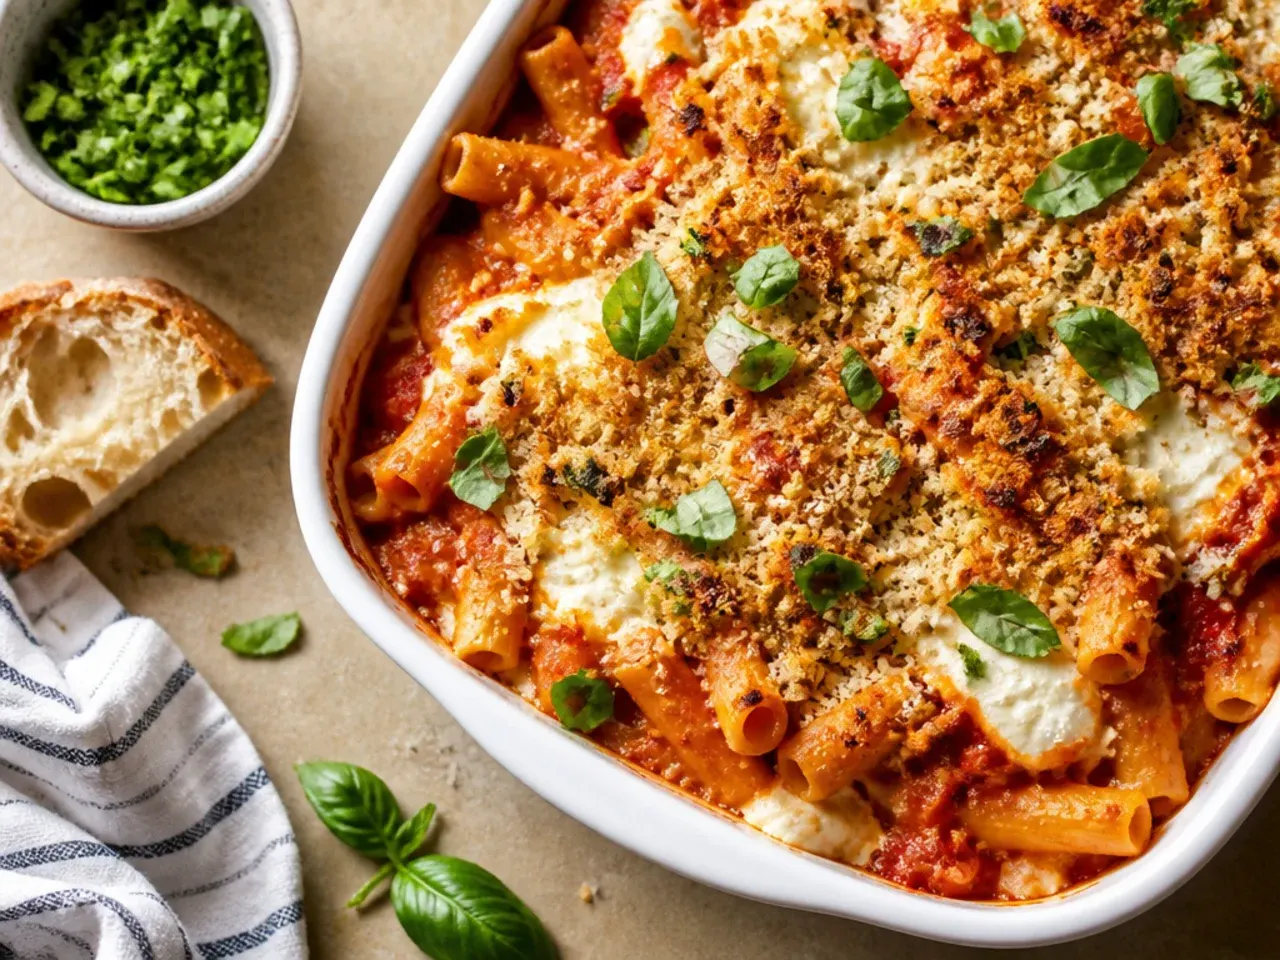
For years I stirred the ricotta mixture through the pasta until everything was evenly coated, thinking that meant better distribution. It just turned the whole bake a flat pink colour and buried the creamy contrast that makes ricotta worth using. Now I dollop it on in spoonfuls and fold it through with only two or three turns, so distinct pockets of ricotta survive the bake. Cutting into a slice and seeing those white pockets against the red sauce is genuinely half the appeal.
Lesson 5: I Wasn't Salting the Pasta Water
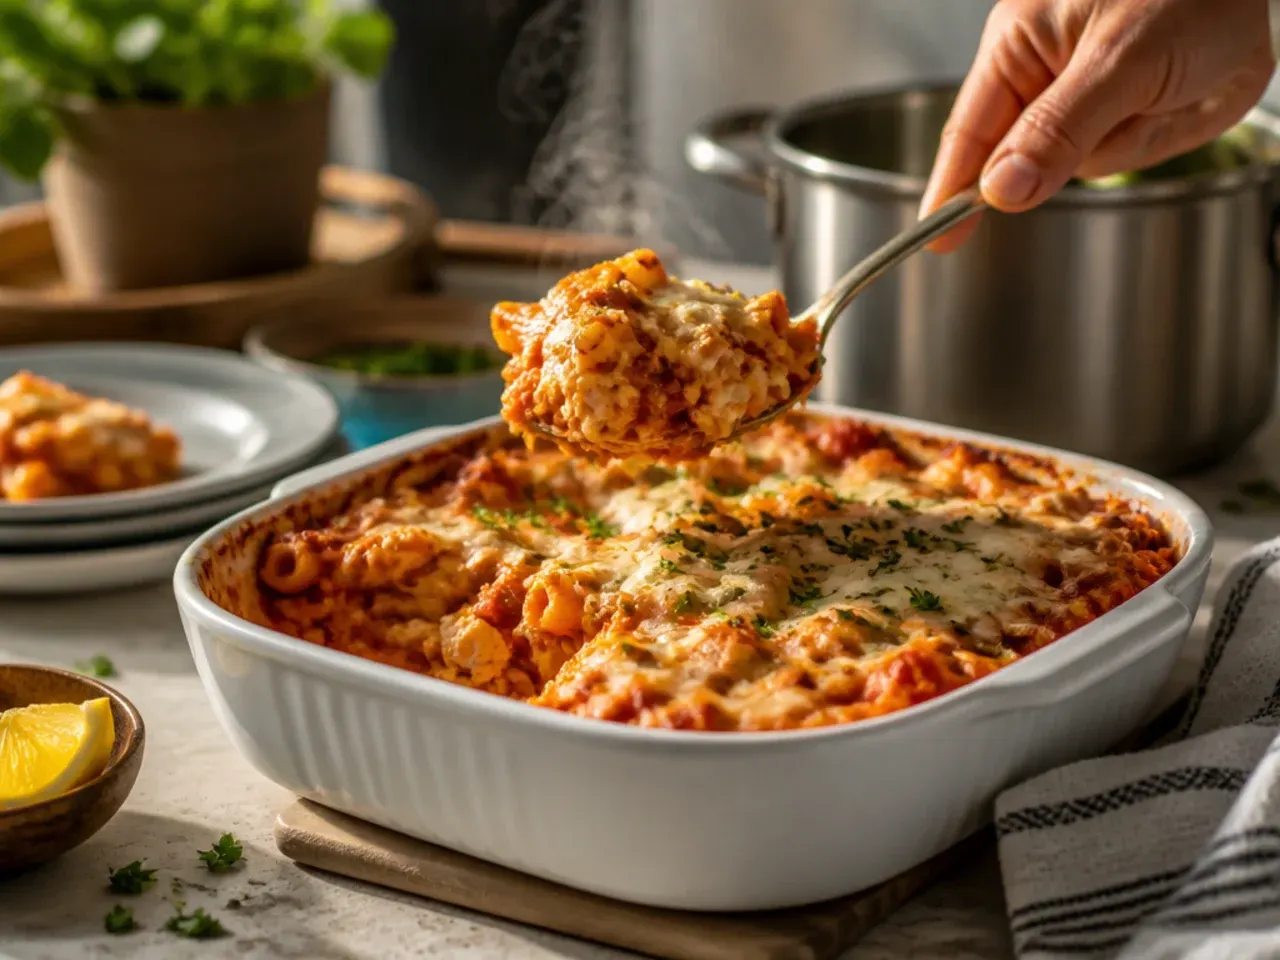
I used to season only the sauce and skip salting the pasta water, assuming the sauce would carry all the flavour. Unsalted pasta actually tastes noticeably bland even under a good sauce, because the seasoning never gets into the noodle itself. I now salt the boiling water until it tastes like the sea, roughly 1 tablespoon per 4 litres of water, before the ziti goes in. It's a small habit that makes every forkful taste better, not just the top layer of sauce.
Lesson 6: I Was Buying Low-Fat Ricotta to Save Calories
Reaching for low-fat ricotta felt sensible, but it made the finished bake noticeably wetter and less creamy every single time. Low-fat ricotta holds far more water than the whole-milk kind, and that water has nowhere to go except into your casserole. I switched to whole-milk ricotta and started tipping it into a sieve for 10 minutes before mixing, which drains off any extra whey. The difference in texture is bigger than the difference on the nutrition label ever was.
Lesson 7: I Was Baking It Uncovered the Whole Time
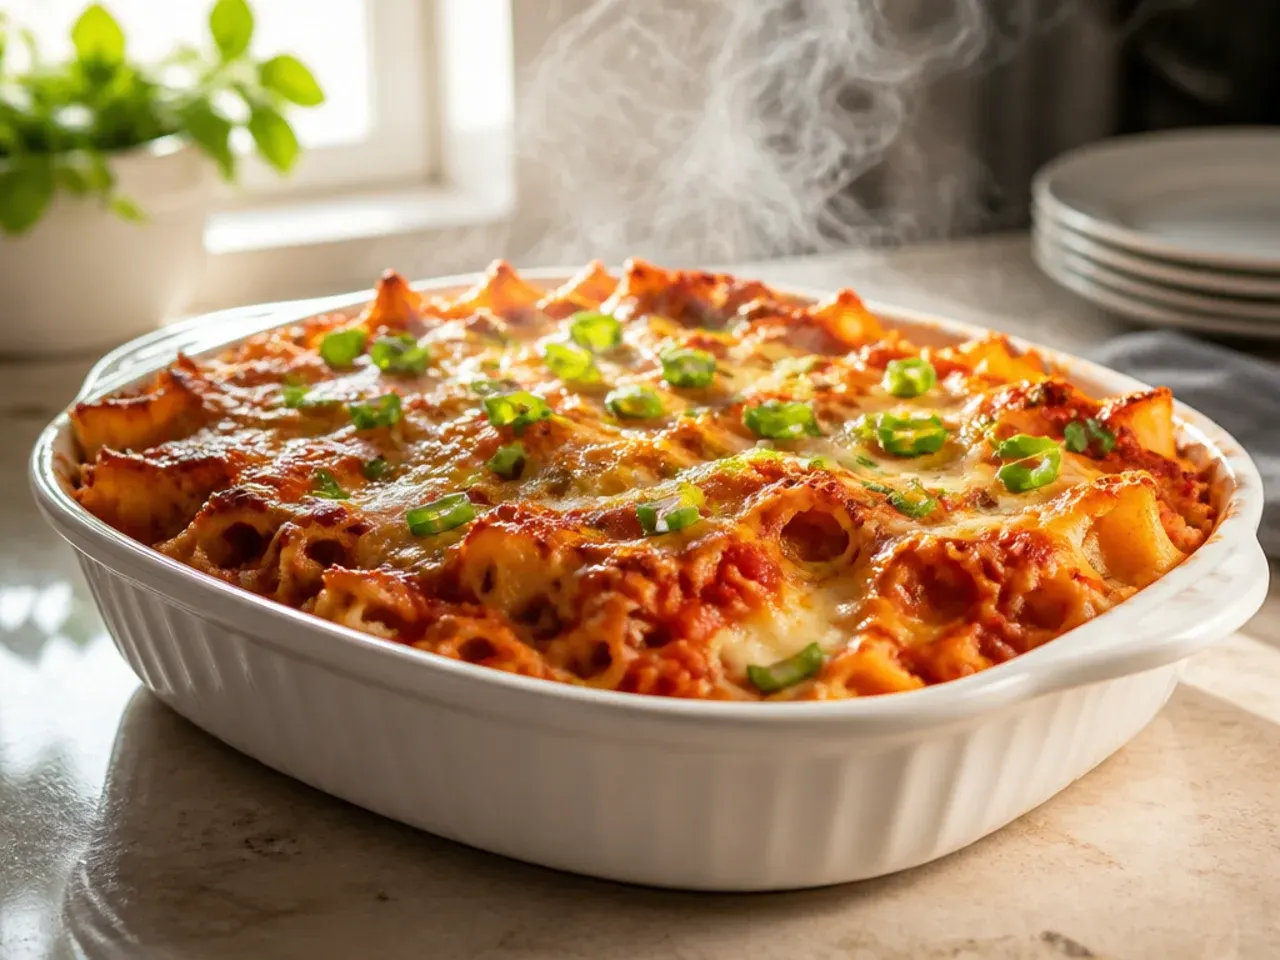
I used to bake my baked ziti with ricotta uncovered from start to finish, and the cheese on top would turn dark brown and chewy long before the middle was properly hot. Covering the dish tightly with foil for the first 20 minutes traps steam and heats the centre through gently, without the top racing ahead. I only remove the foil for the final 15-20 minutes, just long enough for the cheese to turn golden and bubble at the edges. It's the difference between a burnt top and an evenly cooked bake.
Lesson 8: I Was Cutting into It Straight Out of the Oven
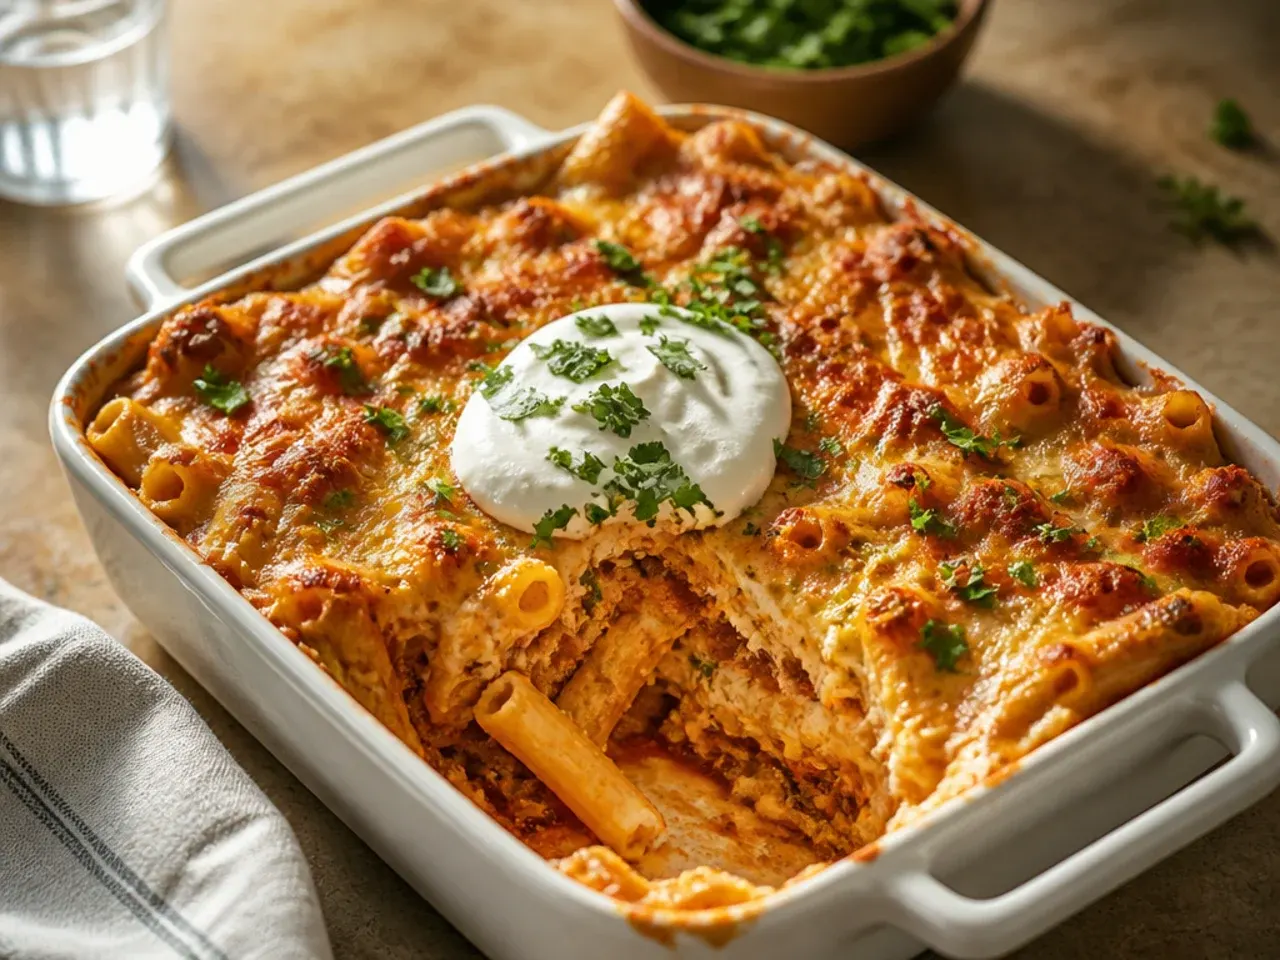
Impatience used to cost me every time — I'd cut into the ziti the moment it came out, and the sauce would pool everywhere while the slice collapsed. Giving it 10-15 minutes to rest lets the cheese and sauce firm up just enough to hold their shape when you serve. I use that time to toss a salad or set the table, so it doesn't feel like wasted waiting. Slices that used to slide apart now come out clean and hold their layers.
Lesson 9: I Was Using a Dish That Was Too Shallow
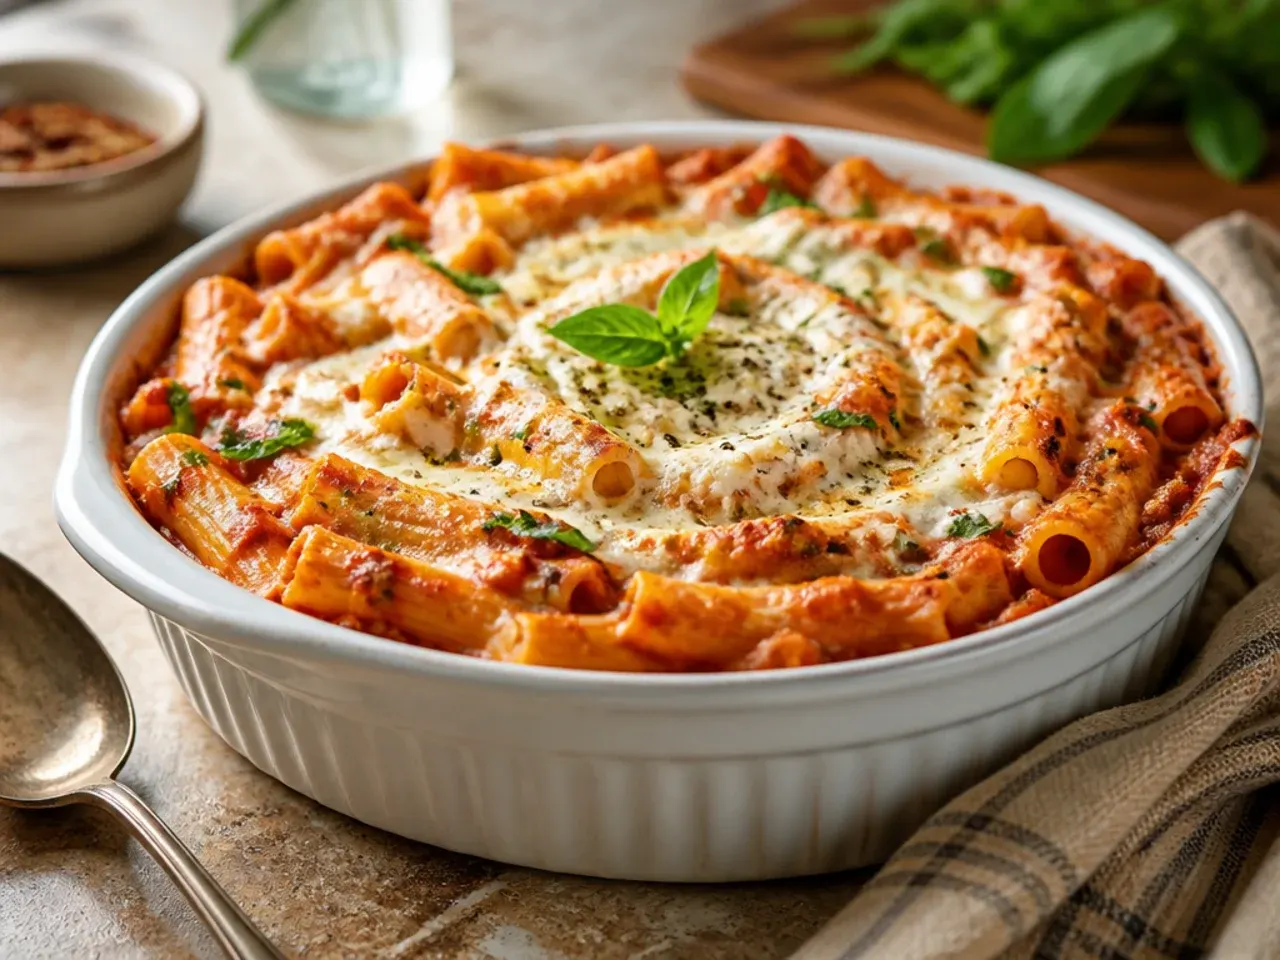
A shallow baking dish seemed fine until sauce started bubbling over the sides and burning onto the bottom of my oven. Baked ziti needs room to bubble without spilling, so I switched to a proper deep 23x33 cm (9x13 in) dish and haven't had a boil-over since. If you're not sure your dish is deep enough, sit it on a rimmed baking sheet the first time just in case. It also bakes more evenly, since the pasta isn't spread so thin it dries out at the edges.
Lesson 10: I Only Ever Used Mozzarella
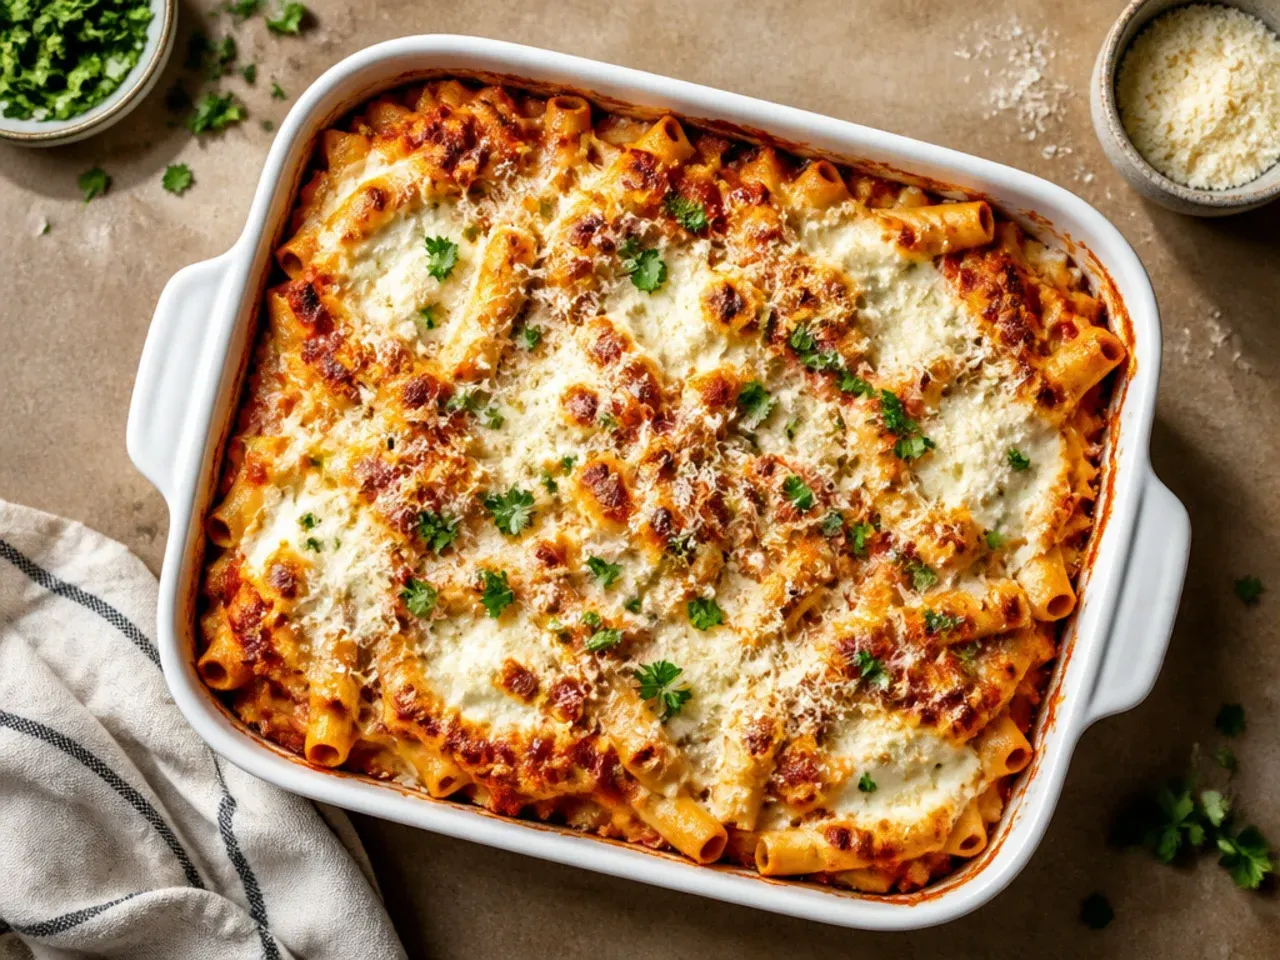
My first several attempts used mozzarella alone, and while it melted fine, the flavour stayed pretty one-note. Adding Parmesan into both the ricotta mixture and the top layer brought a salty, nutty depth that mozzarella alone can't give you. I now use a three-cheese approach — ricotta for creaminess, mozzarella for that stretchy melt, and Parmesan for flavour — in every batch. It's a small ingredient change that makes a genuinely noticeable difference.
Lesson 11: I Wasn't Draining the Sausage Fat
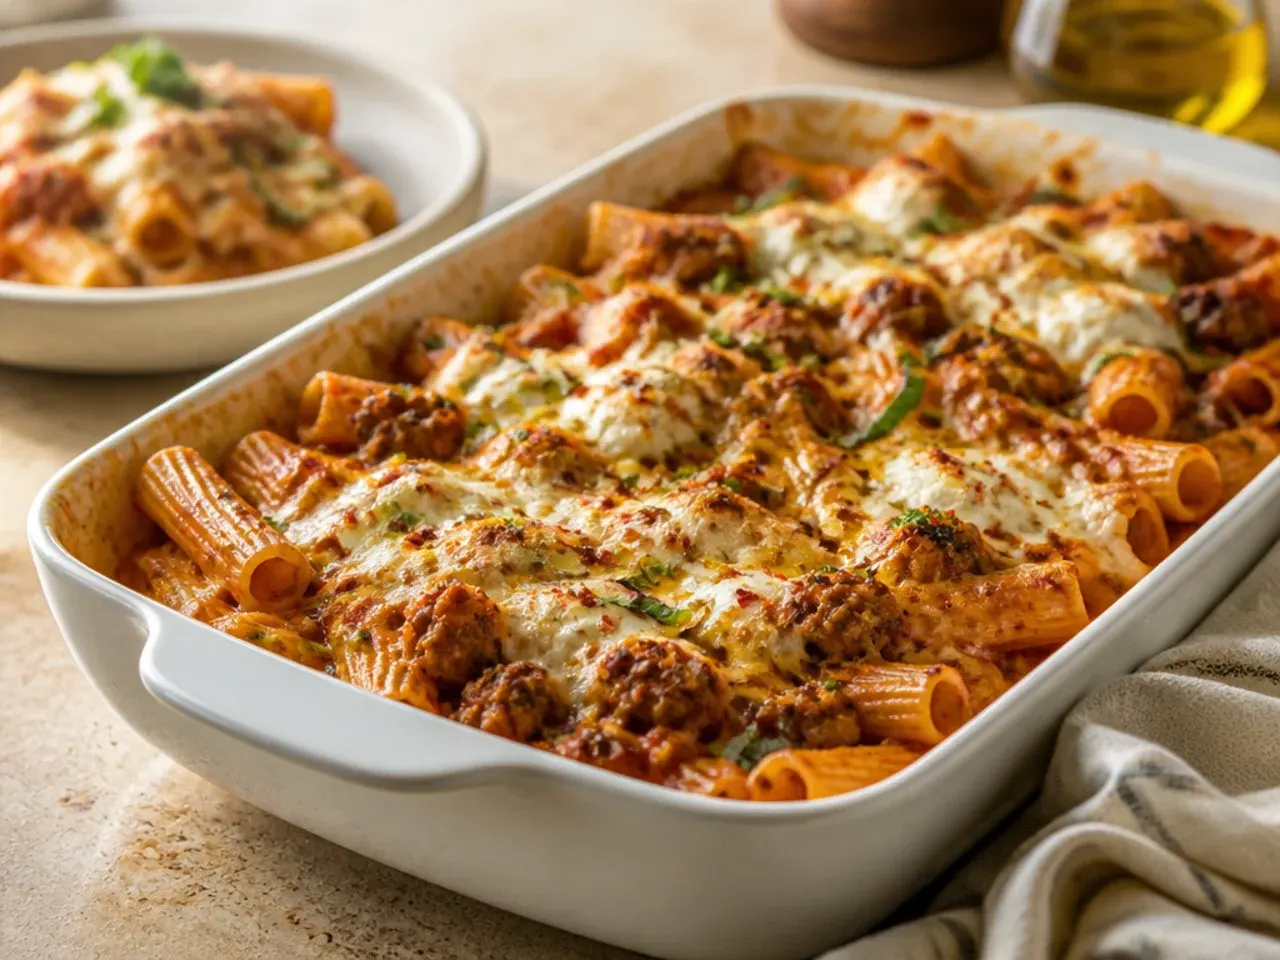
I used to tip the browned sausage straight into the sauce, fat and all, because it felt wasteful to throw any away. The finished bake ended up greasy, with an oily sheen sitting on top of the sauce once it cooled slightly. Now I drain off all but about 1 tablespoon of rendered fat before adding the onion and garlic, keeping just enough to cook them in. The sauce tastes cleaner and the dish doesn't feel heavy the way it used to.
Lesson 12: I Left the Ricotta Completely Unseasoned
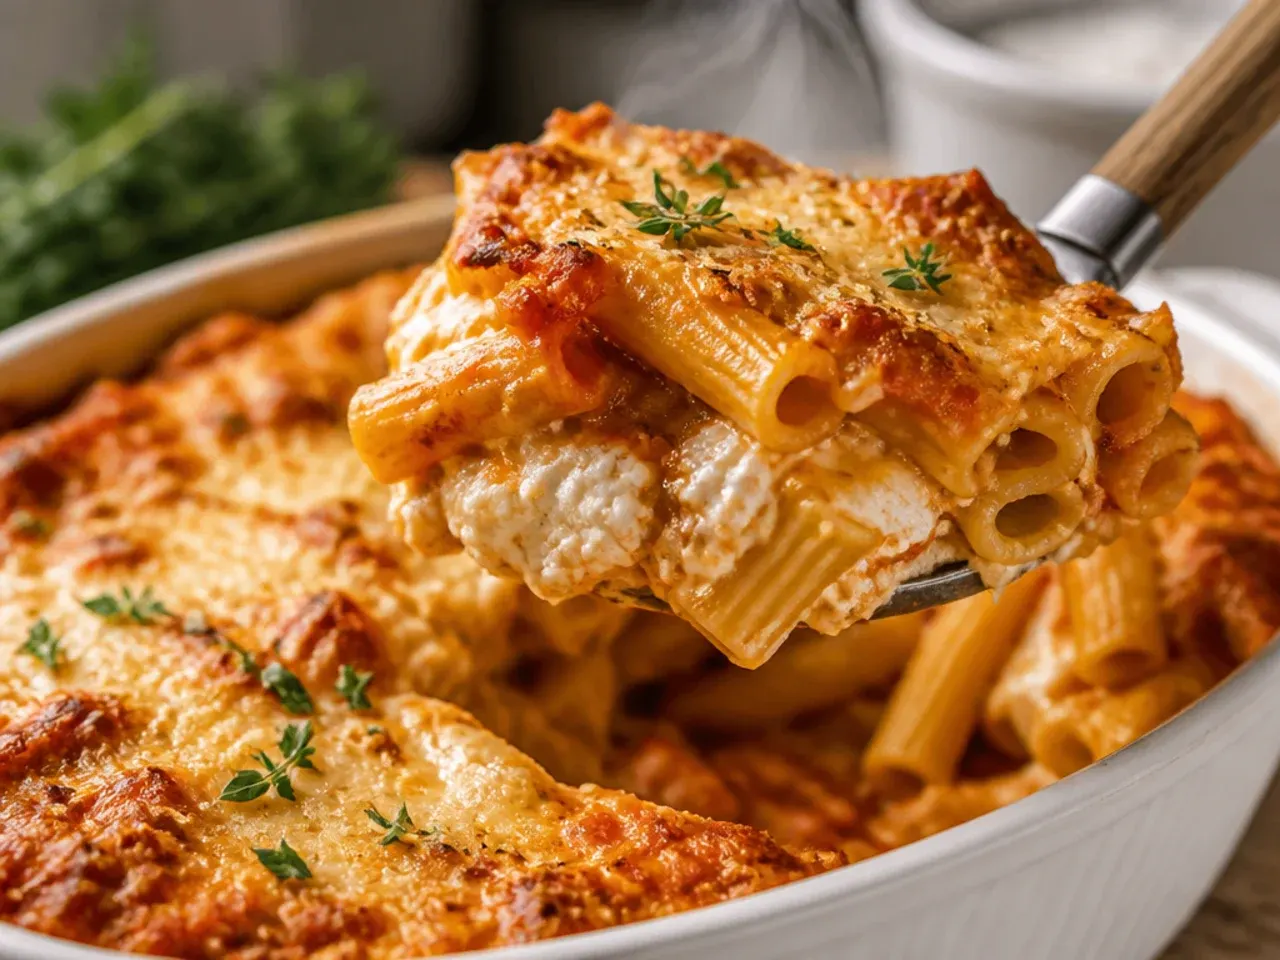
For a long time I treated the ricotta as a neutral filler and only seasoned the sauce, which meant every other bite of pure ricotta tasted flat. Whisking salt, pepper, and a handful of Parmesan into the ricotta mixture itself before it goes anywhere near the pasta fixes that instantly. I sometimes add a pinch of dried oregano too, so the ricotta pockets taste seasoned rather than just creamy. It's such a quick fix that I'm annoyed it took me this long to think of it.
Lesson 13: I Used Whatever Tinned Tomatoes Were Cheapest
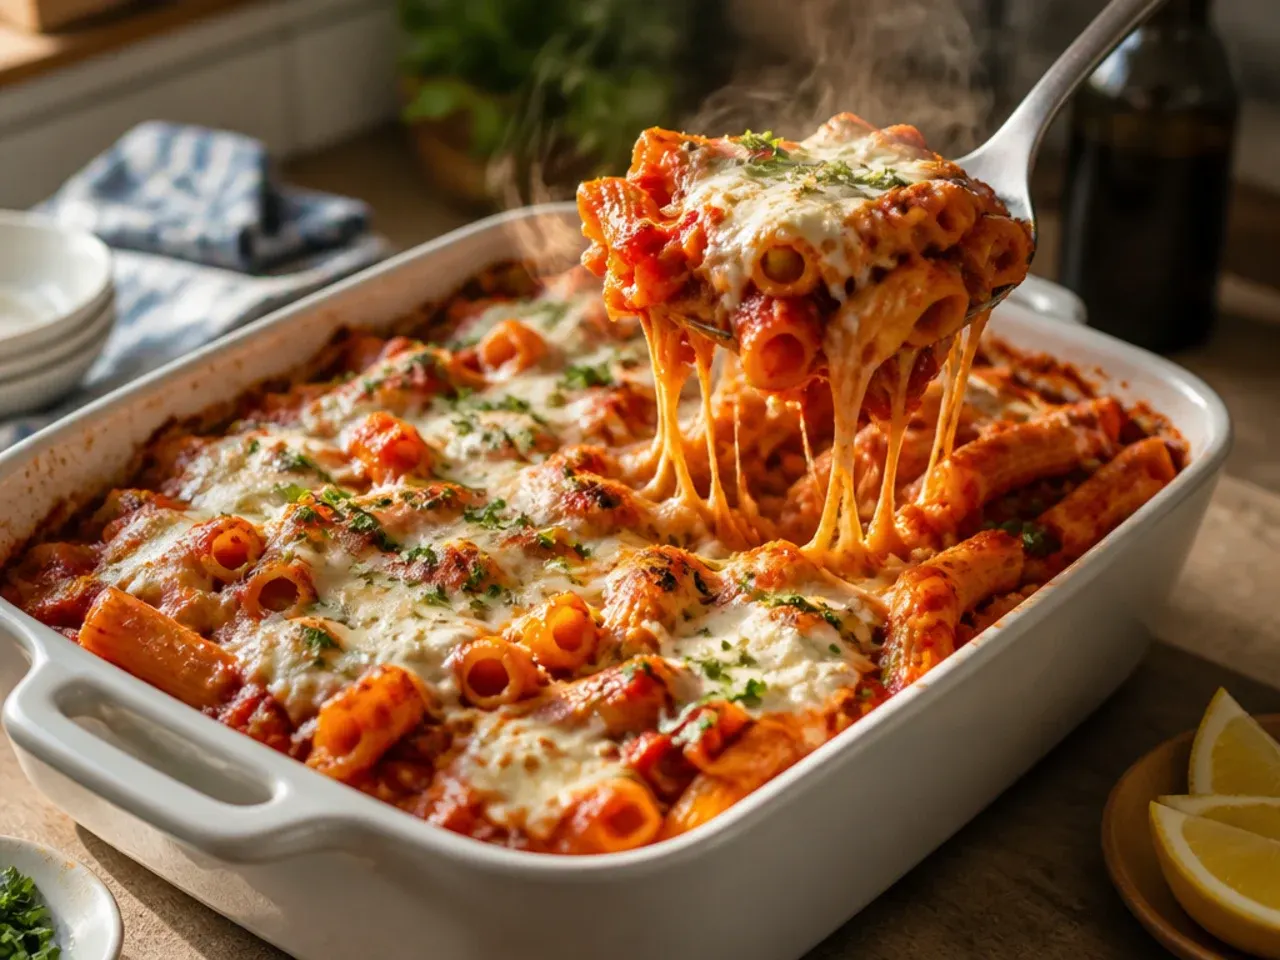
Bargain tinned tomatoes tend to taste thin and slightly metallic, and no amount of oregano fully covers that up once it's baked into a casserole. Switching to a better-quality passata as the sauce base, combined with just one tin of good chopped tomatoes for texture, made the sauce taste rounder without any extra effort. I also let it simmer for a full 15 minutes uncovered so it has time to thicken and concentrate before it meets the pasta. The sauce quality really does show through in the finished bake.
Lesson 14: I Baked It Straight from the Fridge Without Adjusting the Time
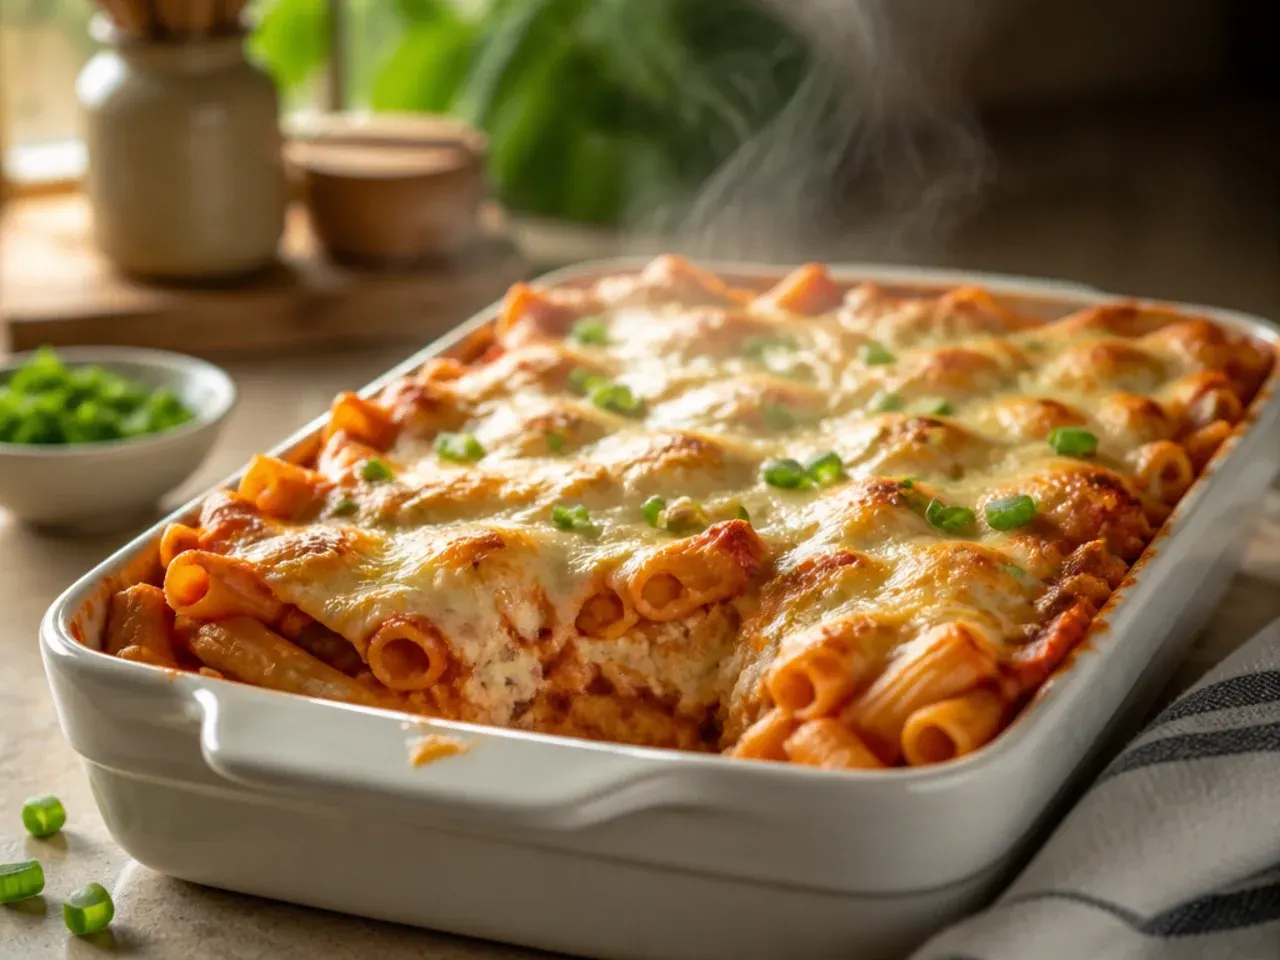
The first time I assembled baked ziti with ricotta the night before, I baked it for the usual time and found the centre still lukewarm when I cut in. A cold dish straight from the fridge needs extra time for the heat to reach the middle, so I now add 15-20 minutes to the covered portion of the bake whenever it's going in chilled. Letting the dish sit on the counter for 20 minutes while the oven preheats also helps take the worst of the chill off. It's an easy step to forget when you're excited to just get dinner on the table.
Lesson 15: I Was Freezing It After Baking, Not Before
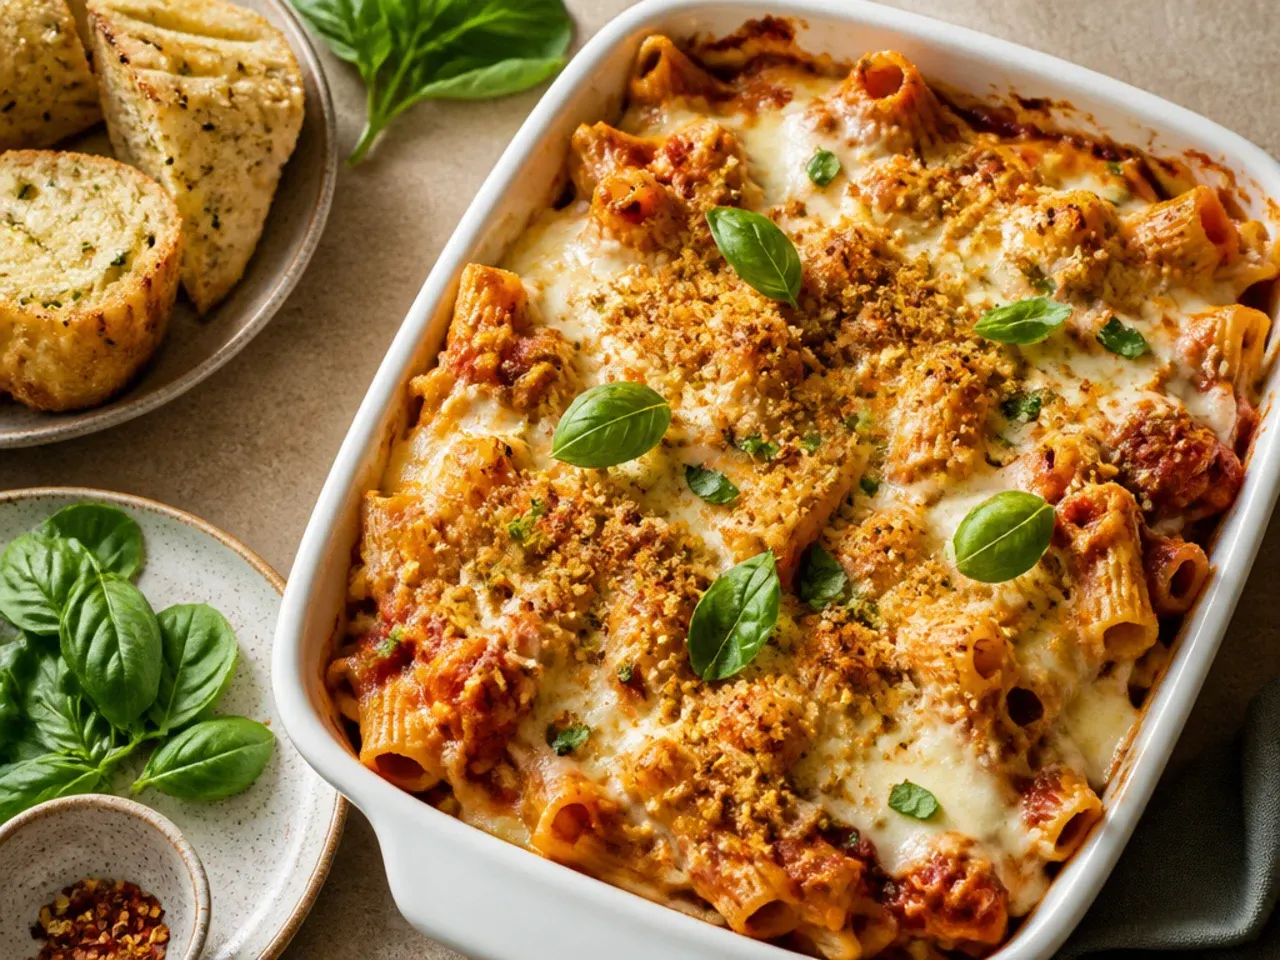
I used to freeze whatever was left over after baking, and every time it reheated, the pasta had gone soft and a bit mushy. Freezing it unbaked instead — fully assembled but not yet in the oven — keeps the pasta's texture much closer to fresh once it's baked off later. I thaw it in the fridge overnight and then bake it as normal, adding a few extra minutes since it's still cold. If you're making a batch specifically to freeze, this order matters more than almost anything else.
Lesson 16: I Reheated Leftovers Without Adding Any Moisture
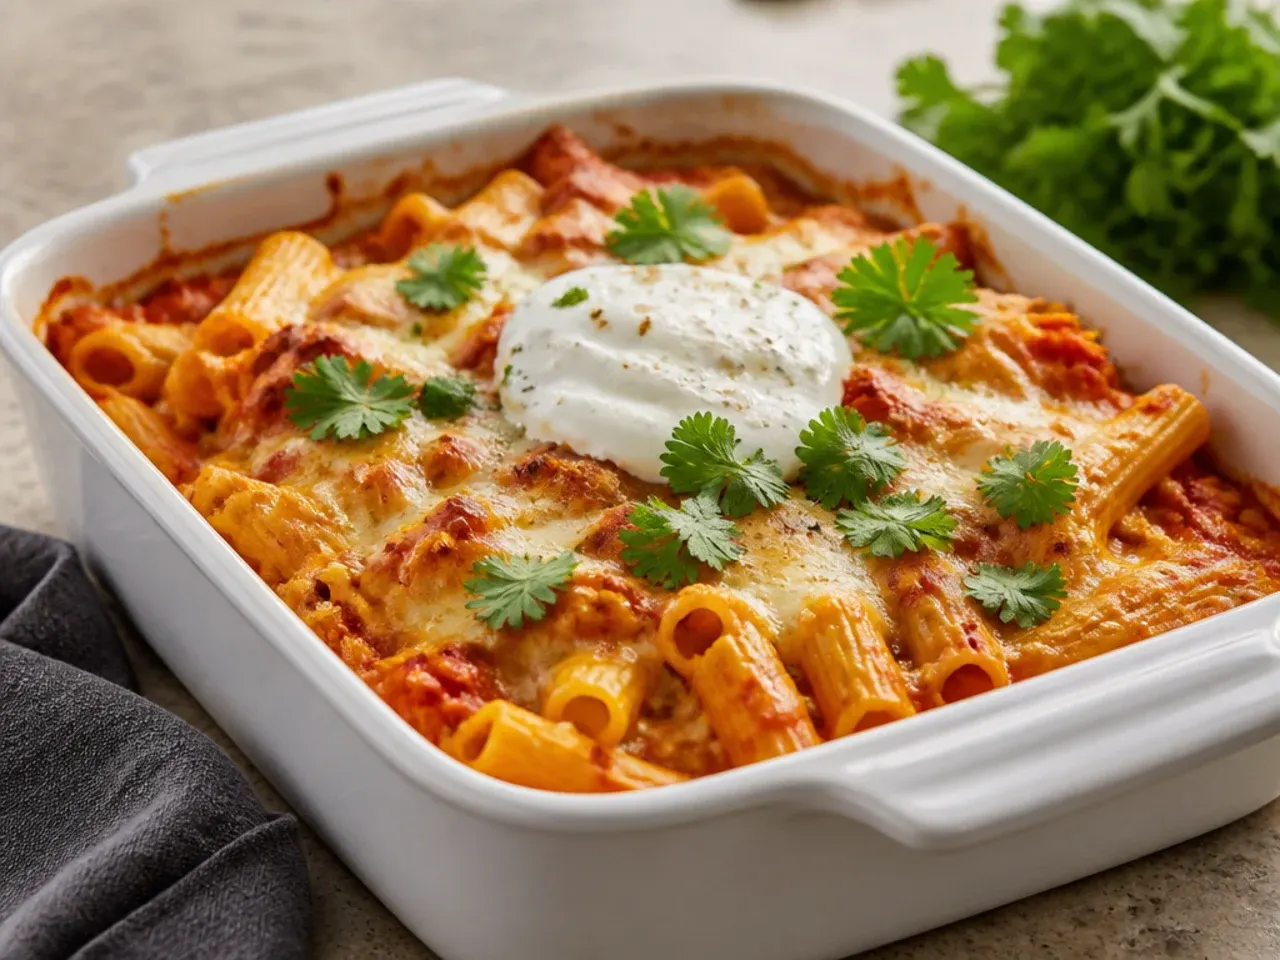
Reheating leftover baked ziti straight in the microwave with nothing added used to leave it noticeably drier than it was the night before. The pasta keeps absorbing whatever liquid is around it, so a portion with no extra sauce just tightens up as it reheats. Now I spoon a little extra sauce or even a splash of water over the top, cover it, and reheat gently, which brings it back close to its original texture. It only takes an extra thirty seconds and makes leftovers actually worth looking forward to.
Lesson 17: I Kept Guessing When It Was Done by the Clock Alone
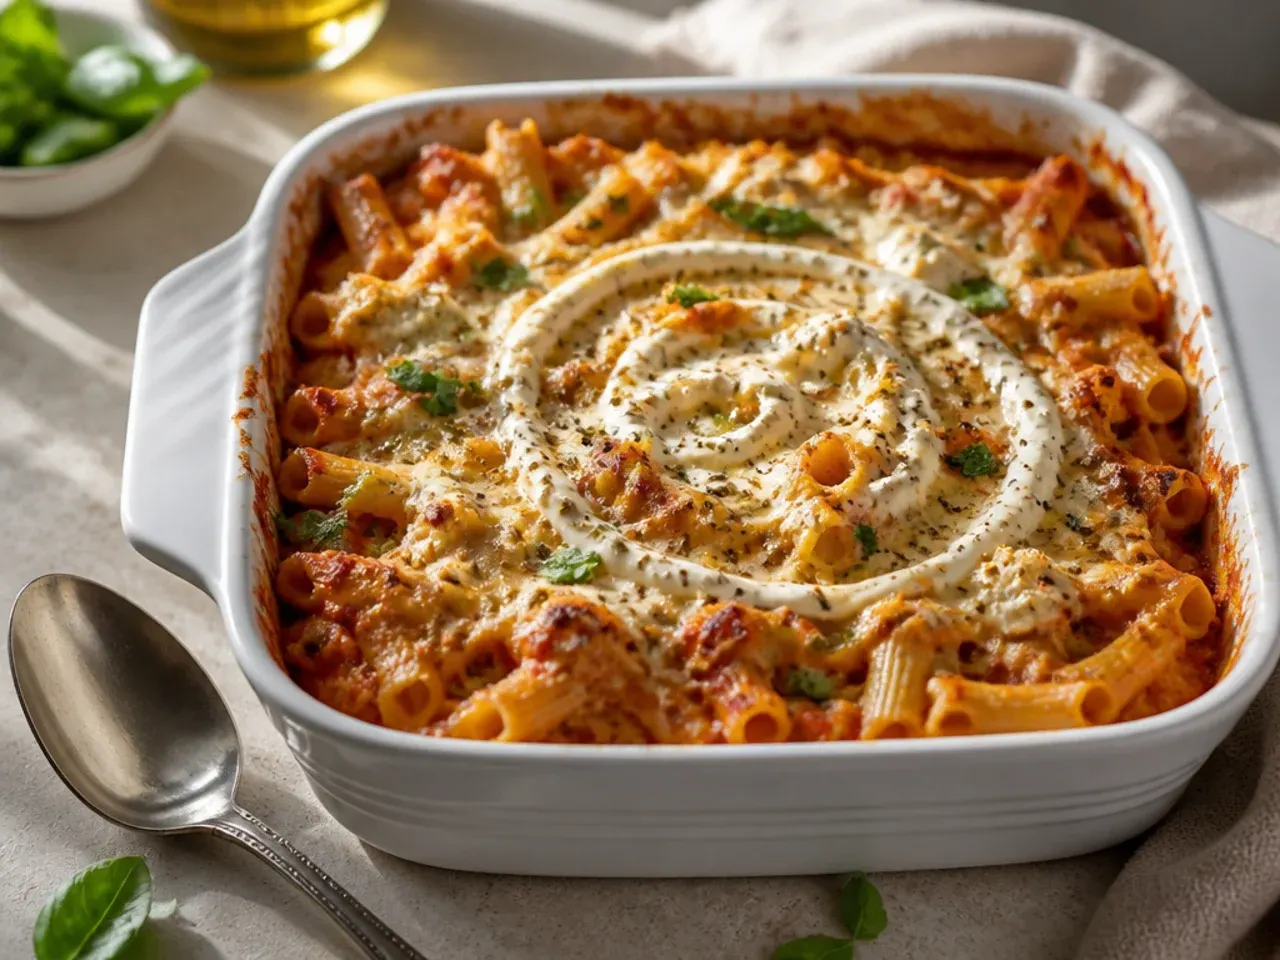
Early on I'd pull the dish the moment the timer went off, regardless of what it actually looked like, and sometimes that meant an undercooked centre or an overbaked top. Now I use visual cues instead of relying purely on time — the sauce should be visibly bubbling at the edges of the dish, and the cheese on top should be golden with a few deep brown spots. If it's not bubbling yet, it goes back in for another 5 minutes, foil off. Ovens vary enough that the clock is only ever a starting guideline.
Lesson 18: I Was Buying Pre-Shredded Mozzarella
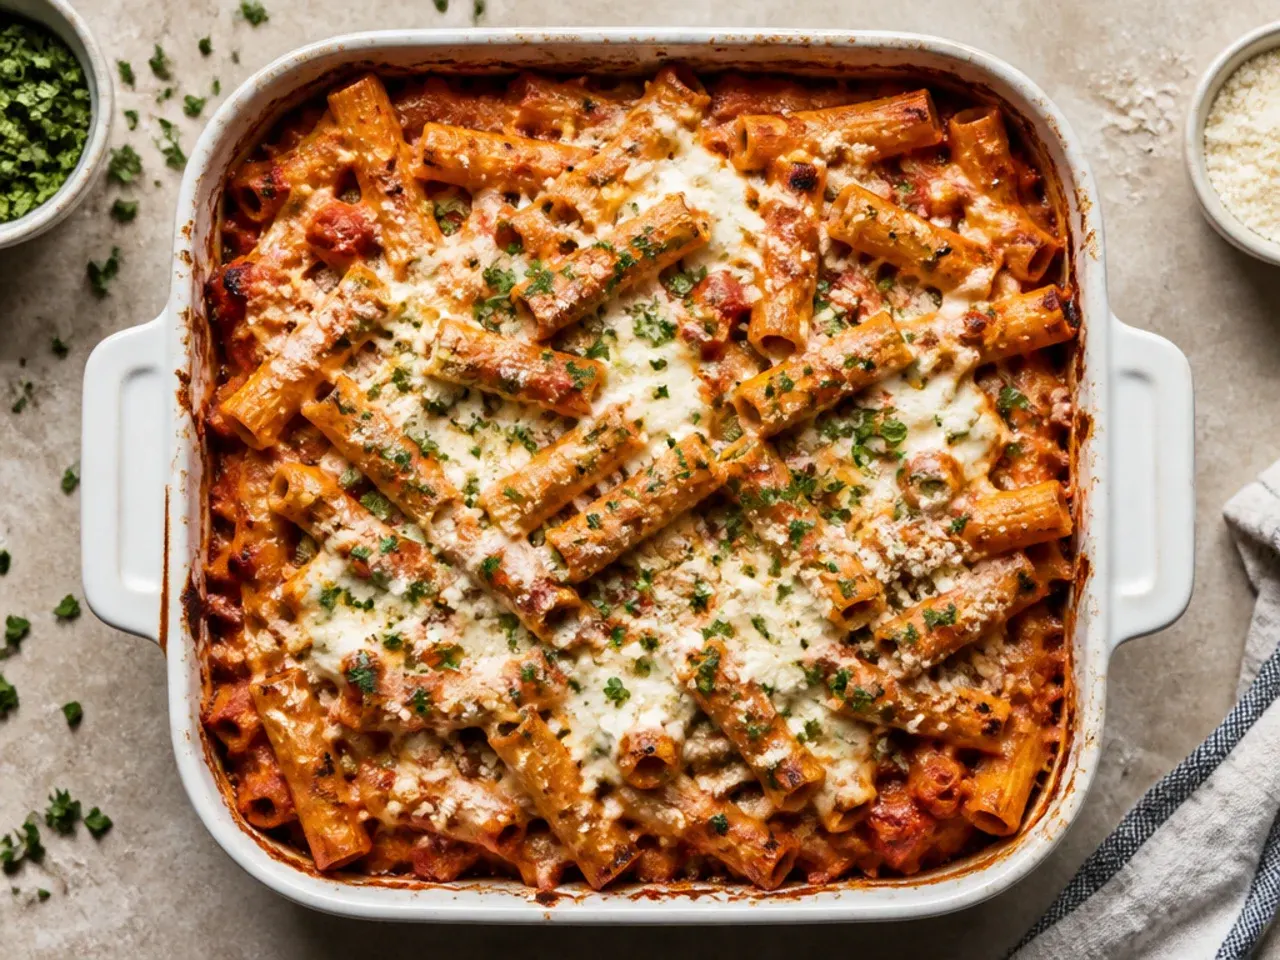
Bags of pre-shredded mozzarella are convenient, but the anti-caking coating on them stops the cheese from melting as smoothly as a block you shred yourself. My topping used to look slightly separated and greasy instead of stretchy and even. Now I buy a block of low-moisture mozzarella and shred it myself right before it goes on top, which melts into a much more even, glossy layer. It's a few extra minutes of effort for a noticeably better finish.
Lesson 19: I Overfilled the Dish Right to the Rim
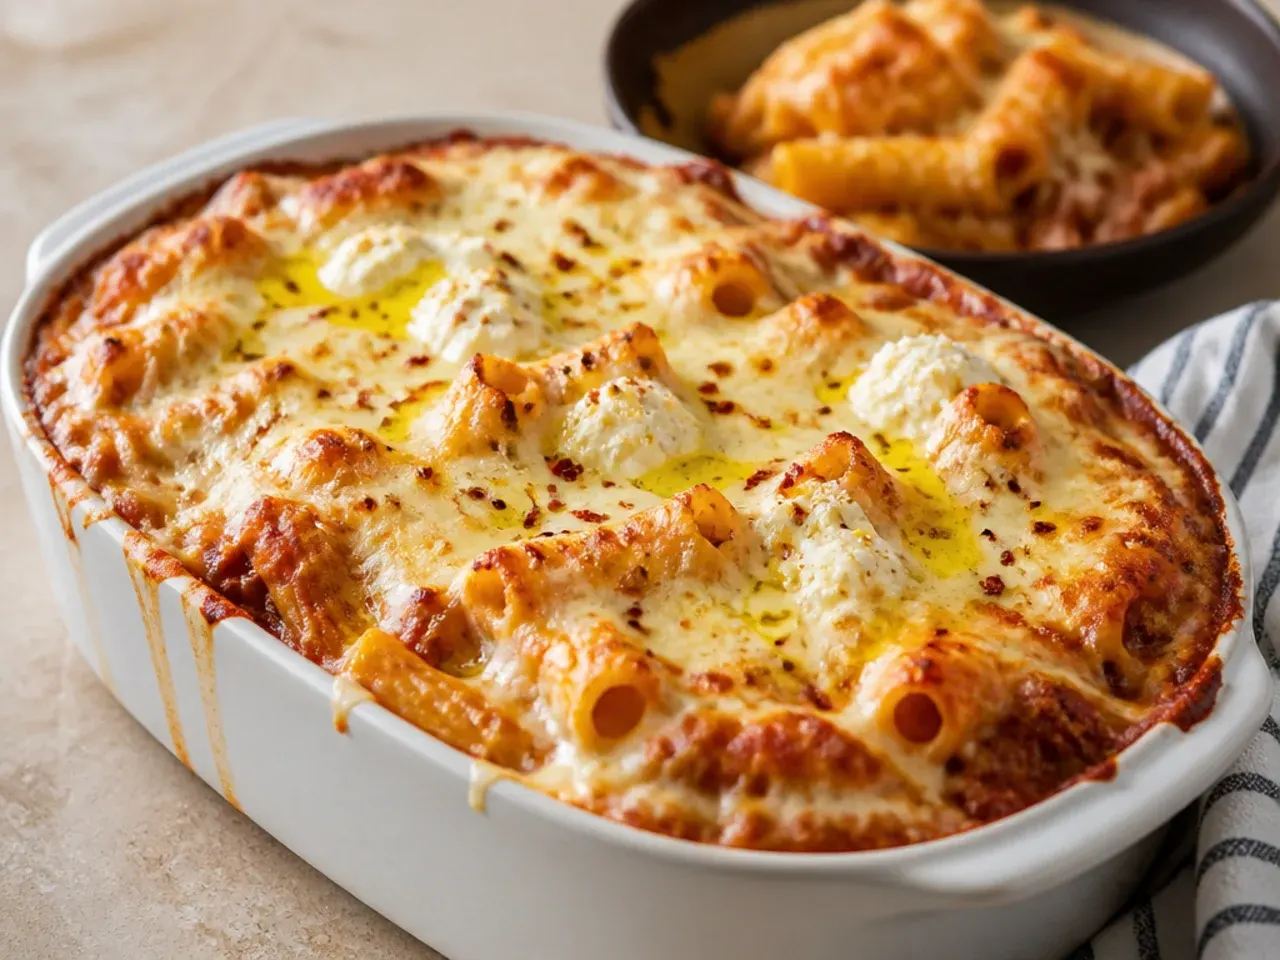
Trying to fit every bit of pasta and sauce into one dish, I used to pile it right up to the edge, and it always bubbled over onto the oven floor. Leaving about 2 cm (3/4 in) of headroom below the rim gives the sauce somewhere to bubble without spilling over as it heats. If I've got slightly too much filling for one dish, I now just split the extra into a small second dish rather than overfilling the main one. My oven has stayed a lot cleaner since I started doing this.
Lesson 20: I Didn't Reserve Any Pasta Water
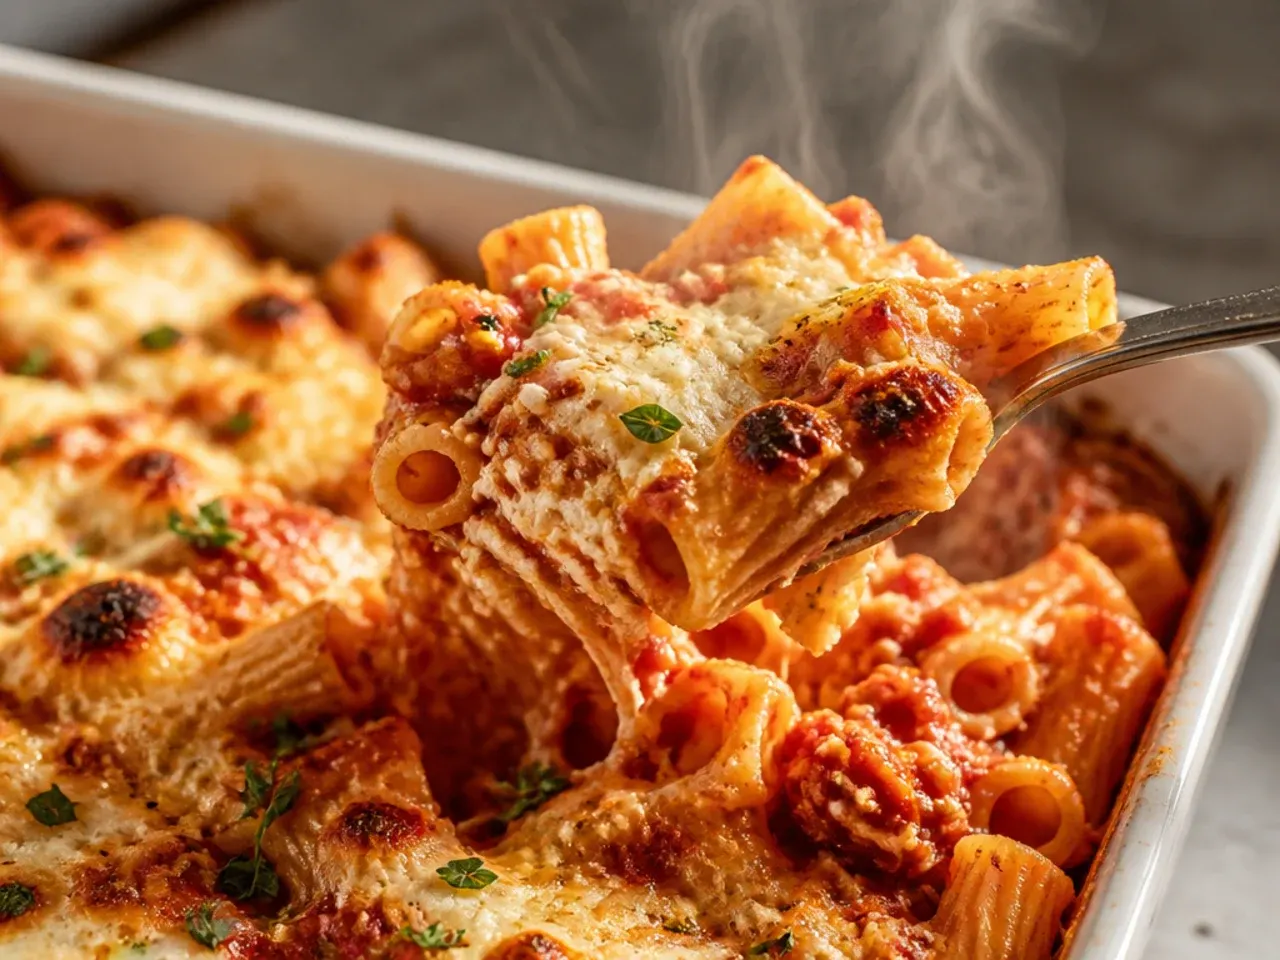
I used to drain the pasta and pour the water straight down the sink, then wonder why the mixture looked dry and clumpy once the sauce was stirred through. That starchy reserved water is exactly what you need to loosen everything up if the sauce has thickened too much or the pasta looks tight. I now scoop out about 240 ml (1 cup) with a mug before draining, every single time, whether I end up using it or not. Having it on hand costs nothing and has saved more than one batch from going dry.
What I'd Tell a Friend Trying This
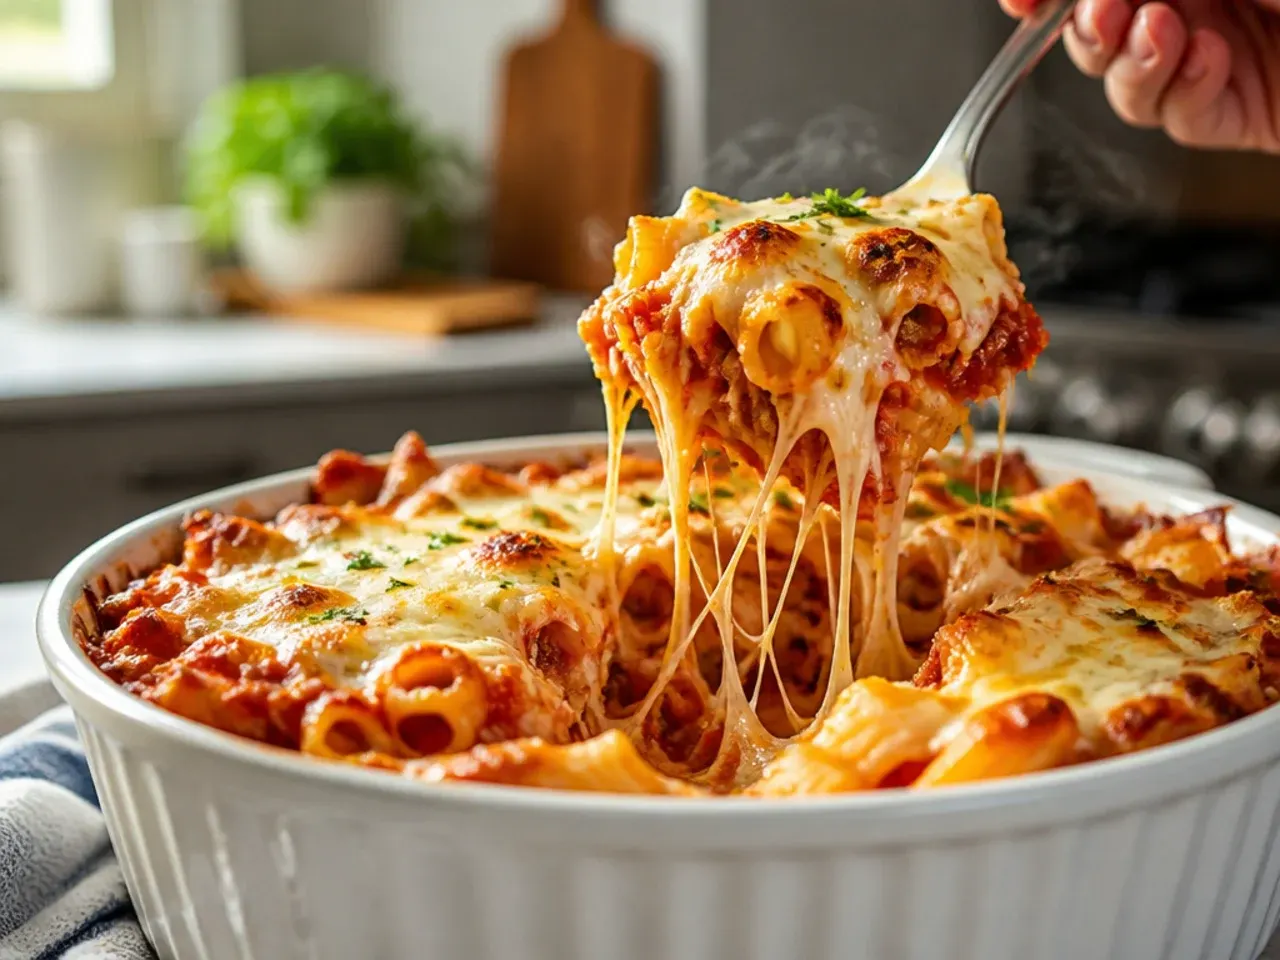
If you're making baked ziti with ricotta for the first time, don't overthink it — undercook the pasta slightly, use generous sauce, whisk an egg into the ricotta, and cover the dish for the first part of baking. Those four things alone fix most of the problems I ran into over dozens of attempts. Everything else, from the cheese blend to the resting time, just makes a good bake a bit better rather than saving it from going wrong. Start there, taste as you go, and you'll land on a version your own family asks for by name.
The Recipe
The Recipe I Used
25 min
65 min
1 hr 30 min
8
Intermediate
Ingredients 8 Person(s)
Directions
Step 1: Boil the pasta just shy of done
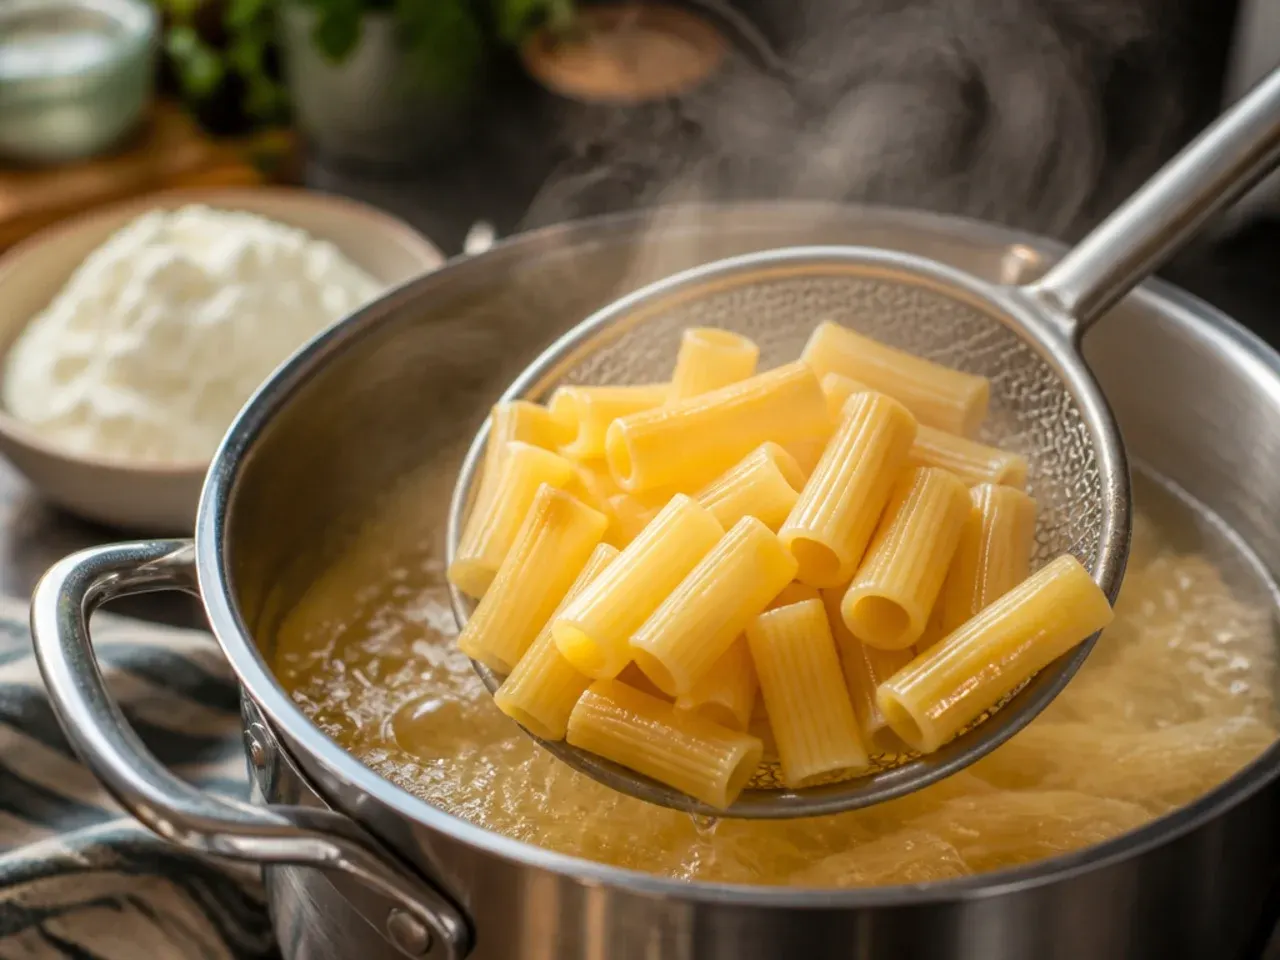
Bring a large pot of well-salted water (it should taste like the sea, about 1 tbsp salt per 4 litres) to a rolling boil and cook 450 g (1 lb) ziti for 2 minutes less than the packet's minimum time, until still firm to the bite. Reserve 240 ml (1 cup) of the starchy pasta water before draining, then toss the pasta with a drizzle of oil so it doesn't stick while you finish the sauce. The pasta keeps cooking in the oven, so pulling it undercooked now is what keeps the final bake from turning mushy.
Step 2: Brown the sausage and aromatics
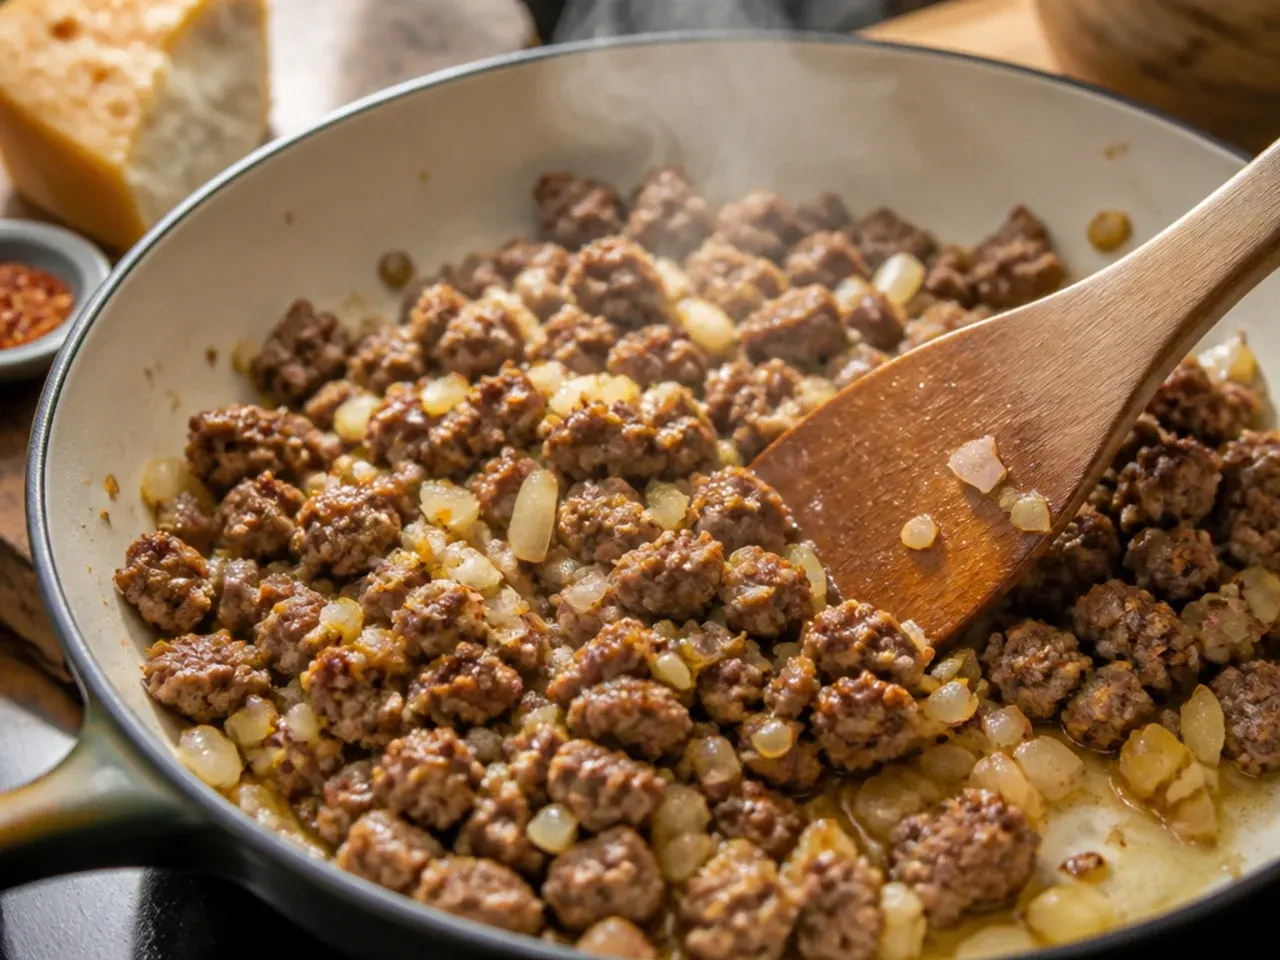
Set a large, deep pan over medium-high heat and cook 450 g (1 lb) Italian sausage, breaking it into small pieces, for 6-8 minutes until deeply browned and no longer pink, with an internal temperature of at least 74°C (165°F) on a meat thermometer; tip off all but 1 tbsp of the rendered fat. Add the chopped onion and cook for 4-5 minutes until soft and translucent, then stir in the minced garlic for 30 seconds until fragrant. This browning step is where most of the dish's savoury depth comes from, so don't rush past it to get to the saucy part.
Step 3: Build and simmer the sauce
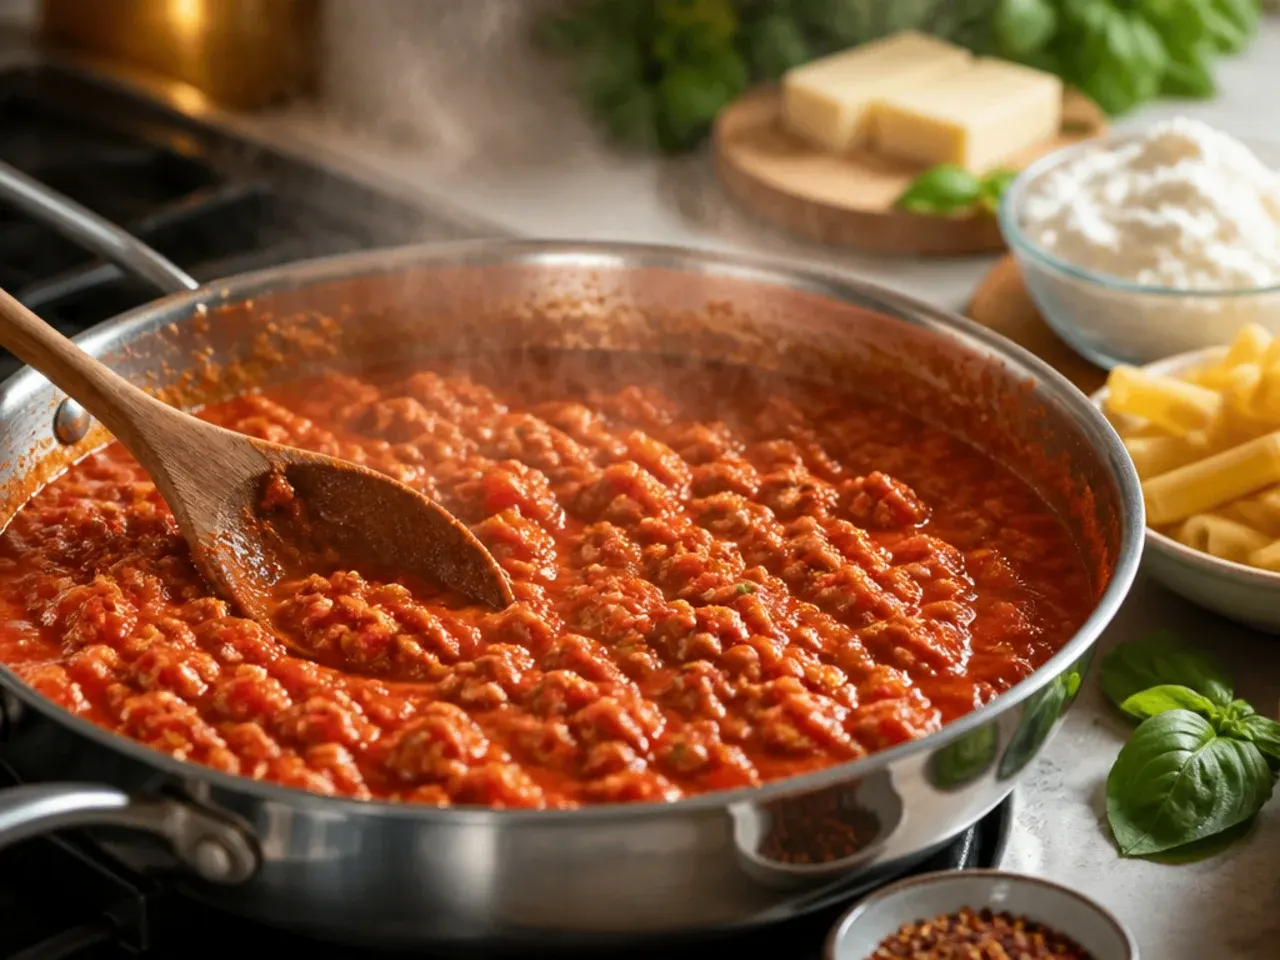
Pour in 700 ml (24 oz) passata and 400 g (14 oz) tinned chopped tomatoes, then stir in 1 tbsp tomato paste, 1 tsp dried oregano, 1 tsp salt, and 1/2 tsp black pepper. Bring to a gentle simmer and cook uncovered for 15 minutes, stirring occasionally, until the sauce has thickened enough to coat the back of a spoon. Taste and adjust the seasoning now, since this is the last chance to fix the sauce before it's baked into the pasta.
Step 4: Season the ricotta
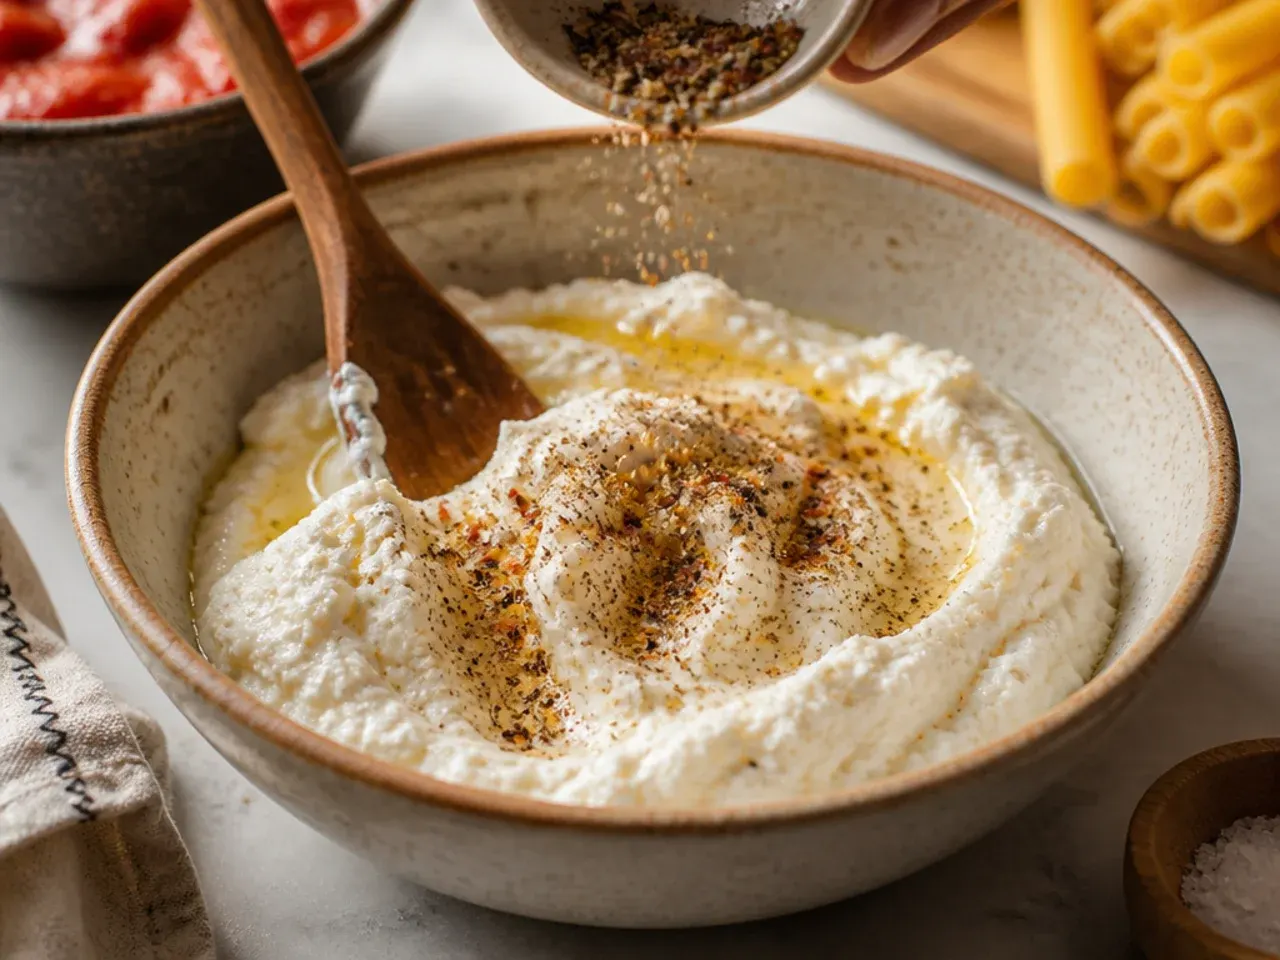
In a medium bowl, whisk 425 g (15 oz) whole-milk ricotta with 1 large egg, half the grated Parmesan (about 35 g / 1/3 cup), and a good pinch of salt and pepper until smooth. The egg is what keeps the ricotta from breaking down into a watery, grainy layer as it bakes, so don't skip it even in a rushed version.
Step 5: Combine the pasta and ricotta pockets
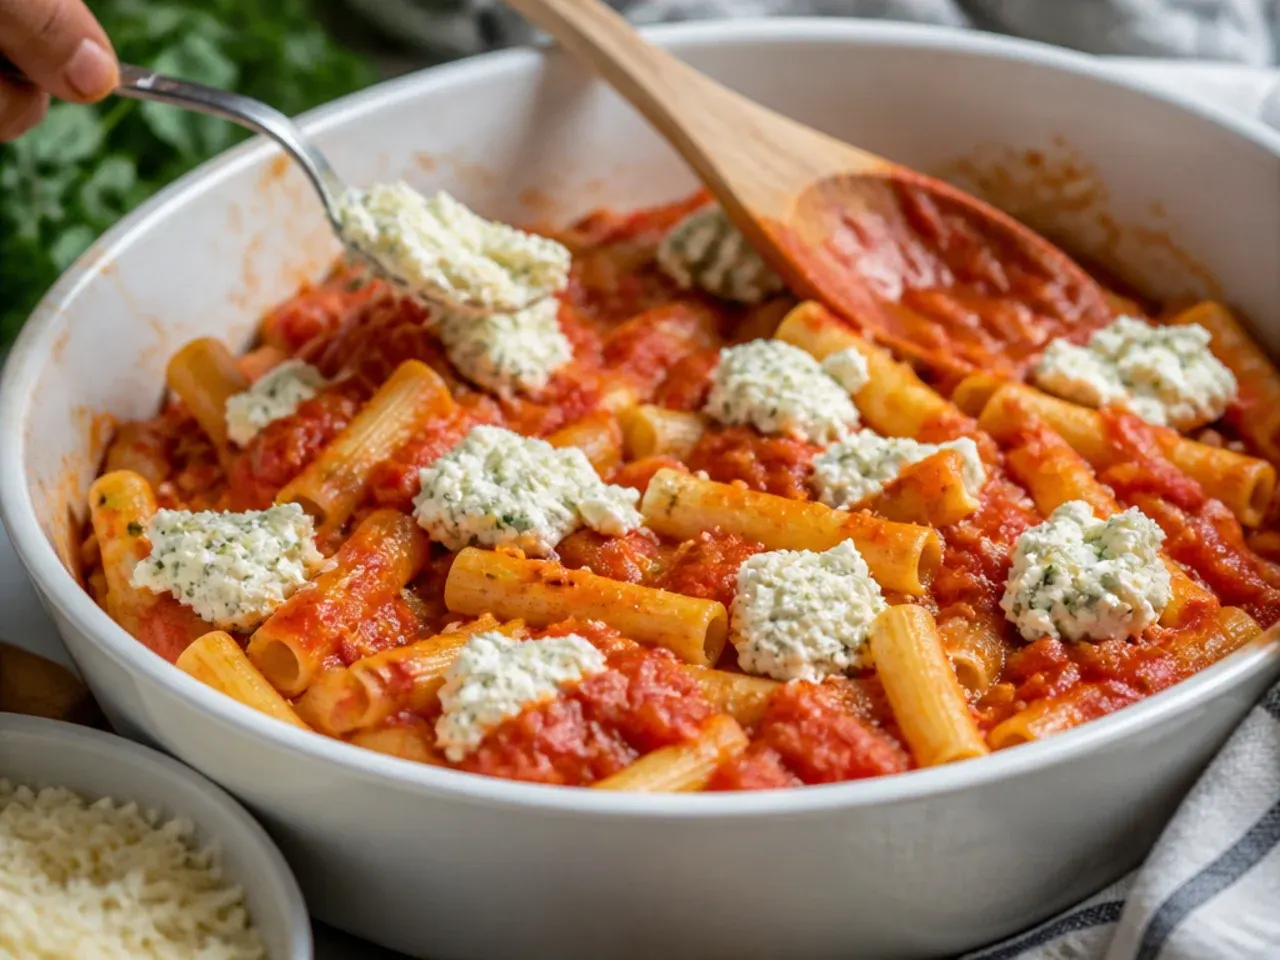
Stir about two-thirds of the sauce through the drained pasta, then dollop the ricotta mixture over the top in spoonfuls and fold it through with just two or three gentle turns. You want to still see distinct creamy pockets of ricotta rather than an evenly pink mixture, since those pockets give baked ziti its signature texture. If the pasta looks at all dry or tight, loosen it with a splash of the reserved pasta water.
Step 6: Assemble and bake
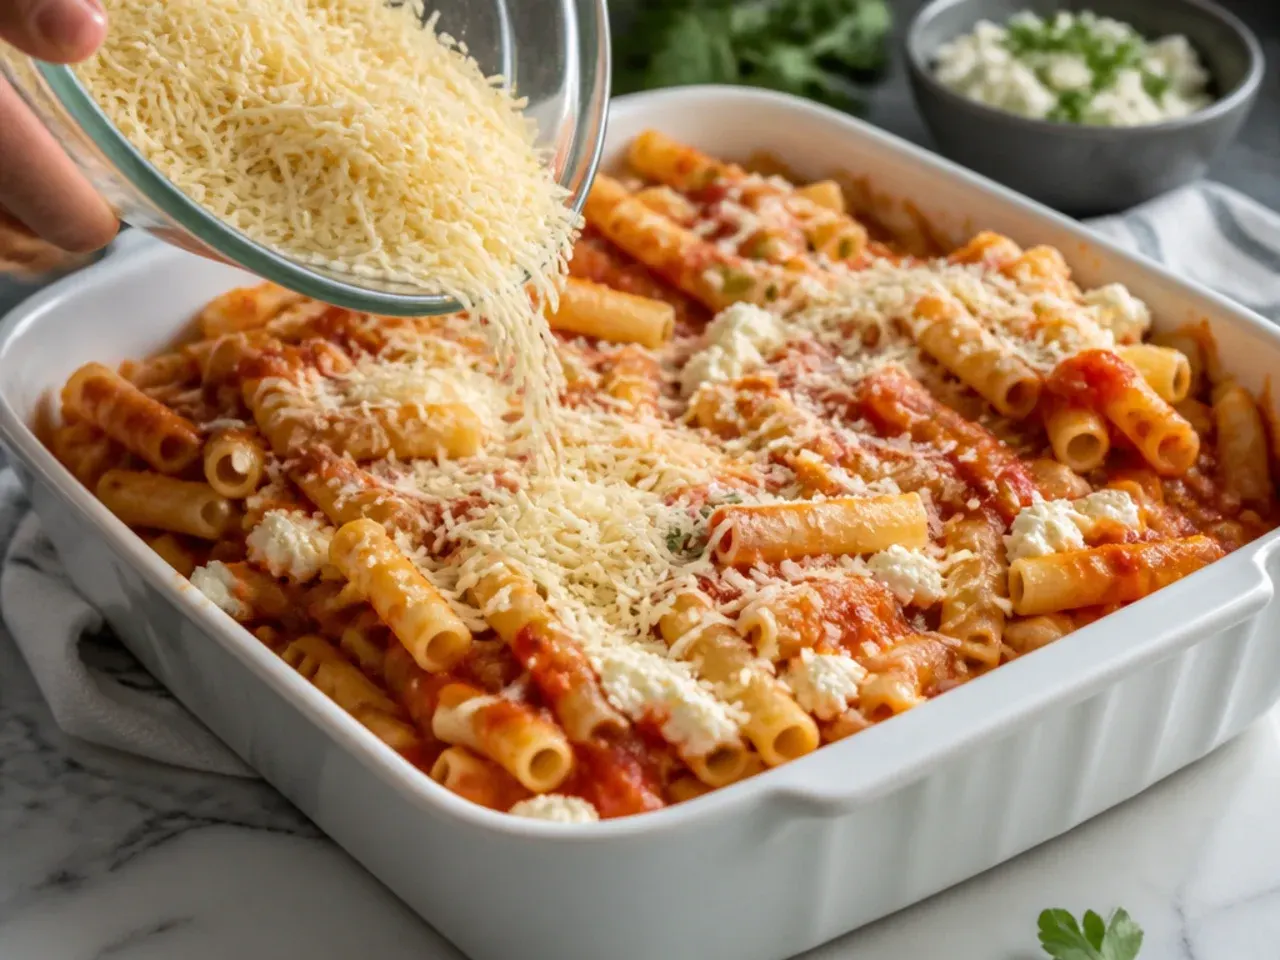
Spread the pasta into a greased deep 23x33 cm (9x13 in) baking dish, spoon over the remaining sauce, then scatter with 300 g (3 cups) shredded mozzarella and the remaining Parmesan. Cover tightly with foil and bake at 190°C (375°F) for 20 minutes, then uncover and bake a further 15-20 minutes until the top is golden and bubbling at the edges. If the cheese is browning faster than the centre is heating through, loosely tent the foil back over it rather than pulling the dish early.
Step 7: Rest, garnish, and serve
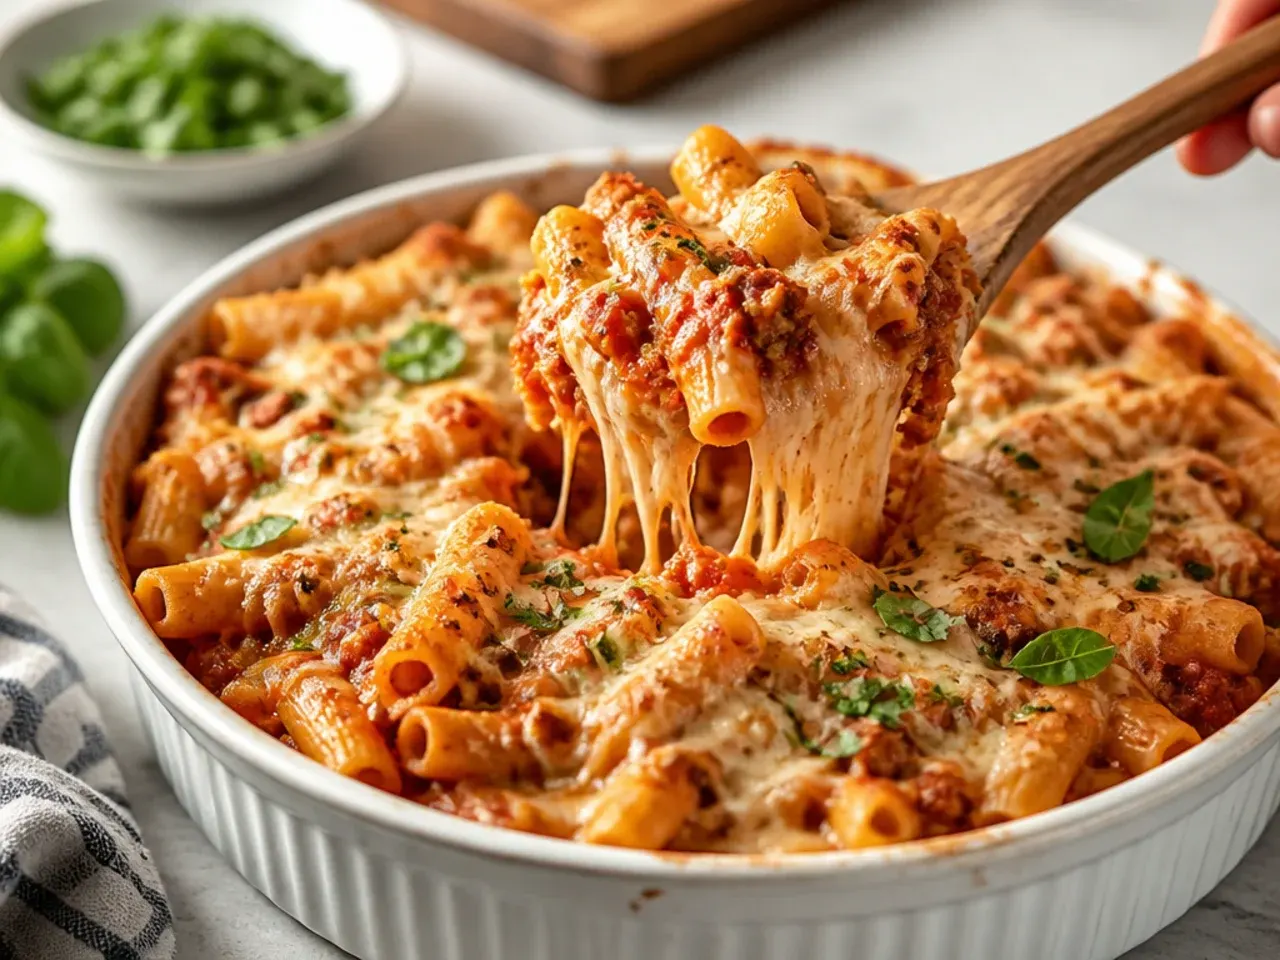
Remove the ziti from the oven and let it rest for 10-15 minutes before cutting; this lets the cheese and sauce settle so slices hold together instead of sliding apart. Scatter with the torn fresh basil just before serving. Leftovers keep well in the fridge and taste even better the next day once the flavours have had time to meld.
Frequently Asked Questions
Yes — assemble the whole dish up to the point of baking, cover tightly, and refrigerate for up to 2 days. Because it's going in cold, add 15-20 minutes to the covered baking time so the centre has a proper chance to heat through. You can also freeze it unbaked for up to 3 months; thaw overnight in the fridge before baking as directed. Baking it fresh from unbaked, rather than reheating an already-baked portion, keeps the pasta from turning mushy.
Save this for later 📌
Pin this article to your Pinterest board so the full list is one tap away when you need it.
Save on Pinterest