
Ingredients 12 Person(s)

Save this for later 📌
Pin this article to your Pinterest board so the full list is one tap away when you need it.
Save on PinterestDirections
Step 1: Prep your tins and oven
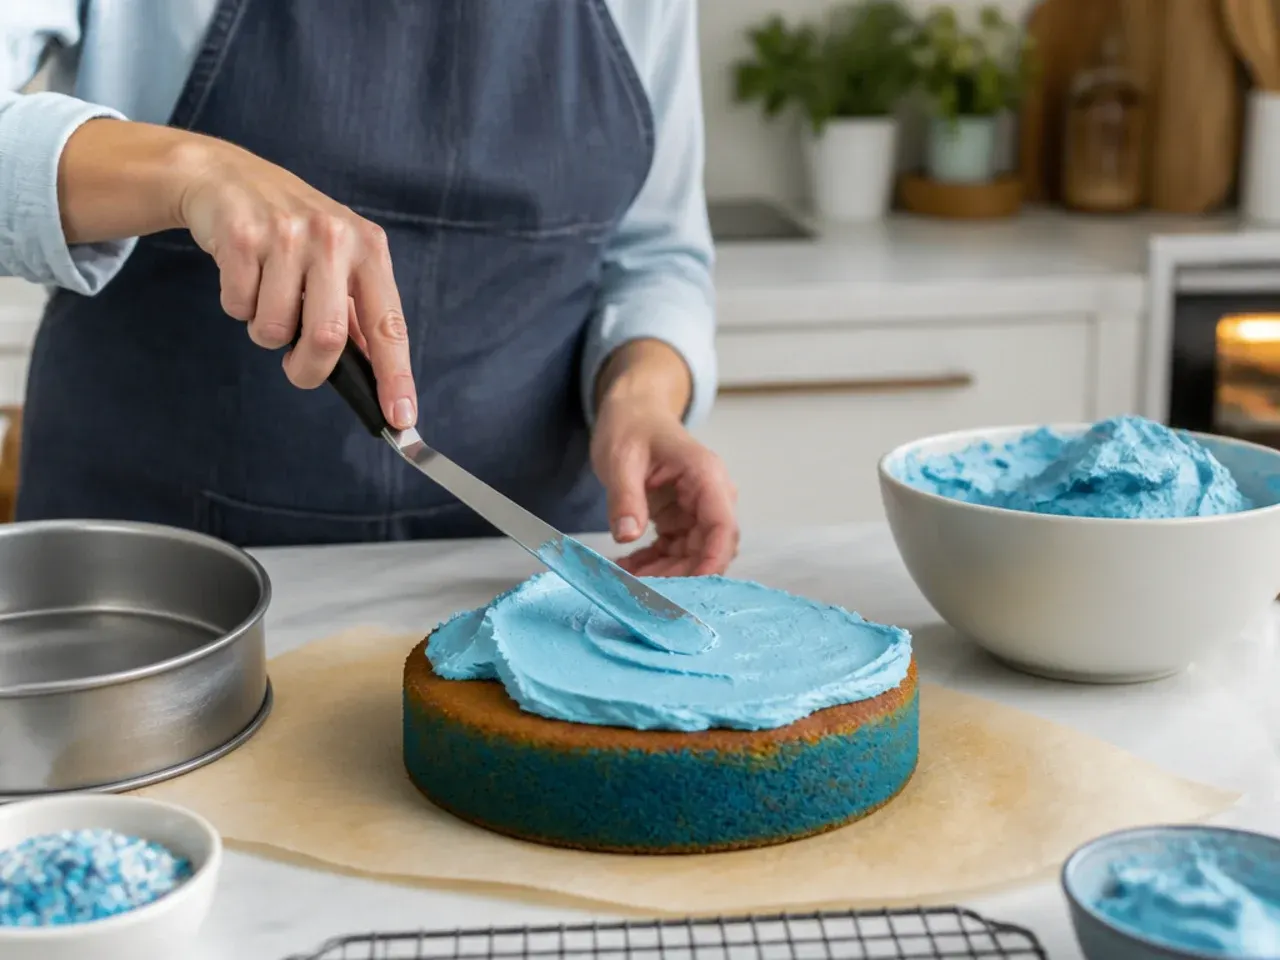
Preheat the oven to 180°C (160°C fan / 350°F) and grease two 20 cm (8 in) round cake tins, lining the bases with baking paper. Having both tins ready before you start mixing means the batter goes straight into the oven while the raising agent is still active, which gives a taller, more even rise.
Step 2: Cream the butter and sugar
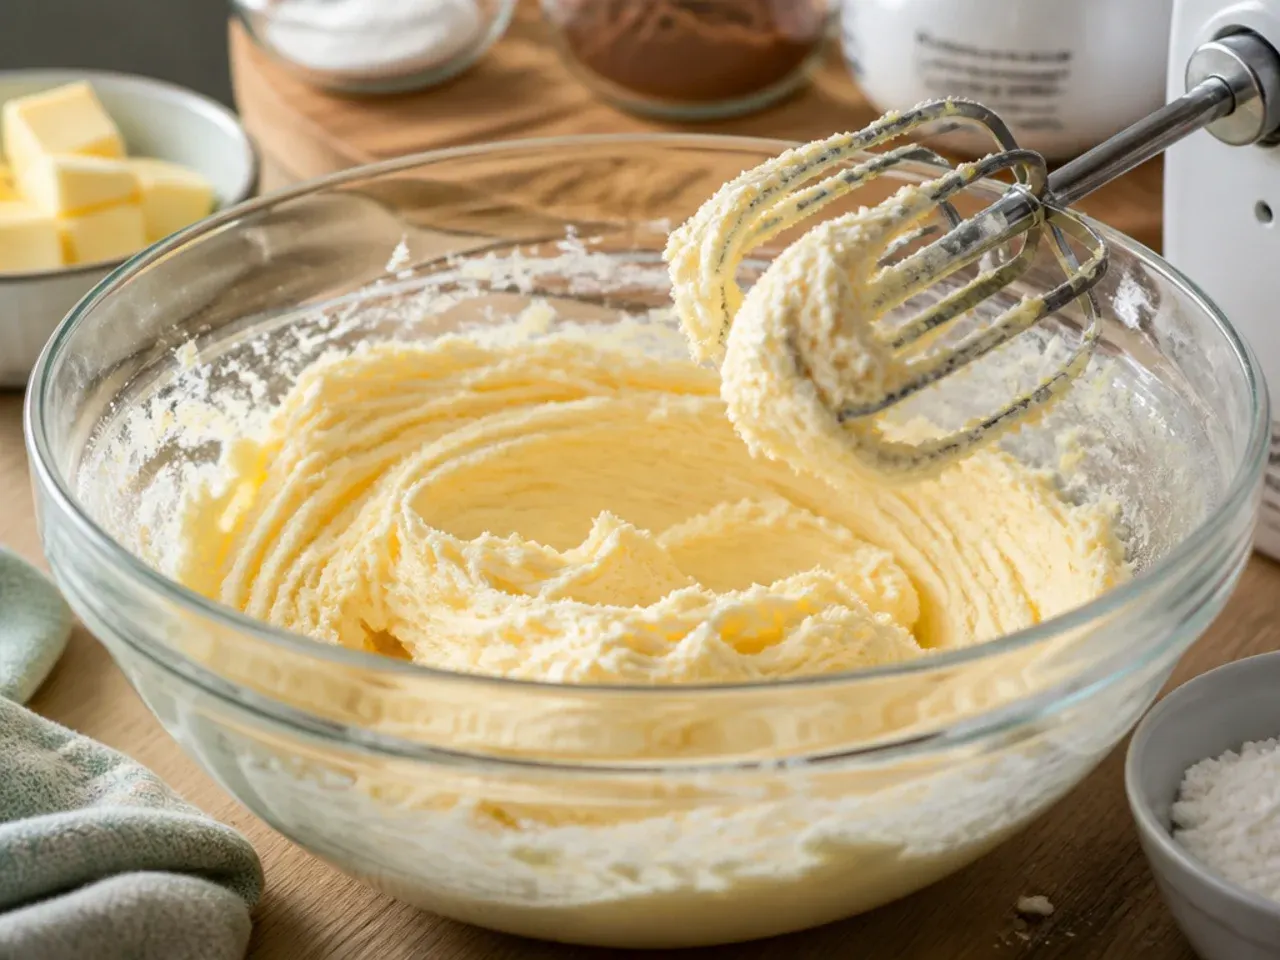
Beat 225 g (8 oz) softened butter with 225 g (8 oz) caster sugar for 3-4 minutes on medium-high speed until pale, light and fluffy, scraping down the bowl halfway through. This step incorporates air that gives the sponge its structure, so don't rush it even though the mixture looks combined after a minute.
Step 3: Add the eggs and dry ingredients
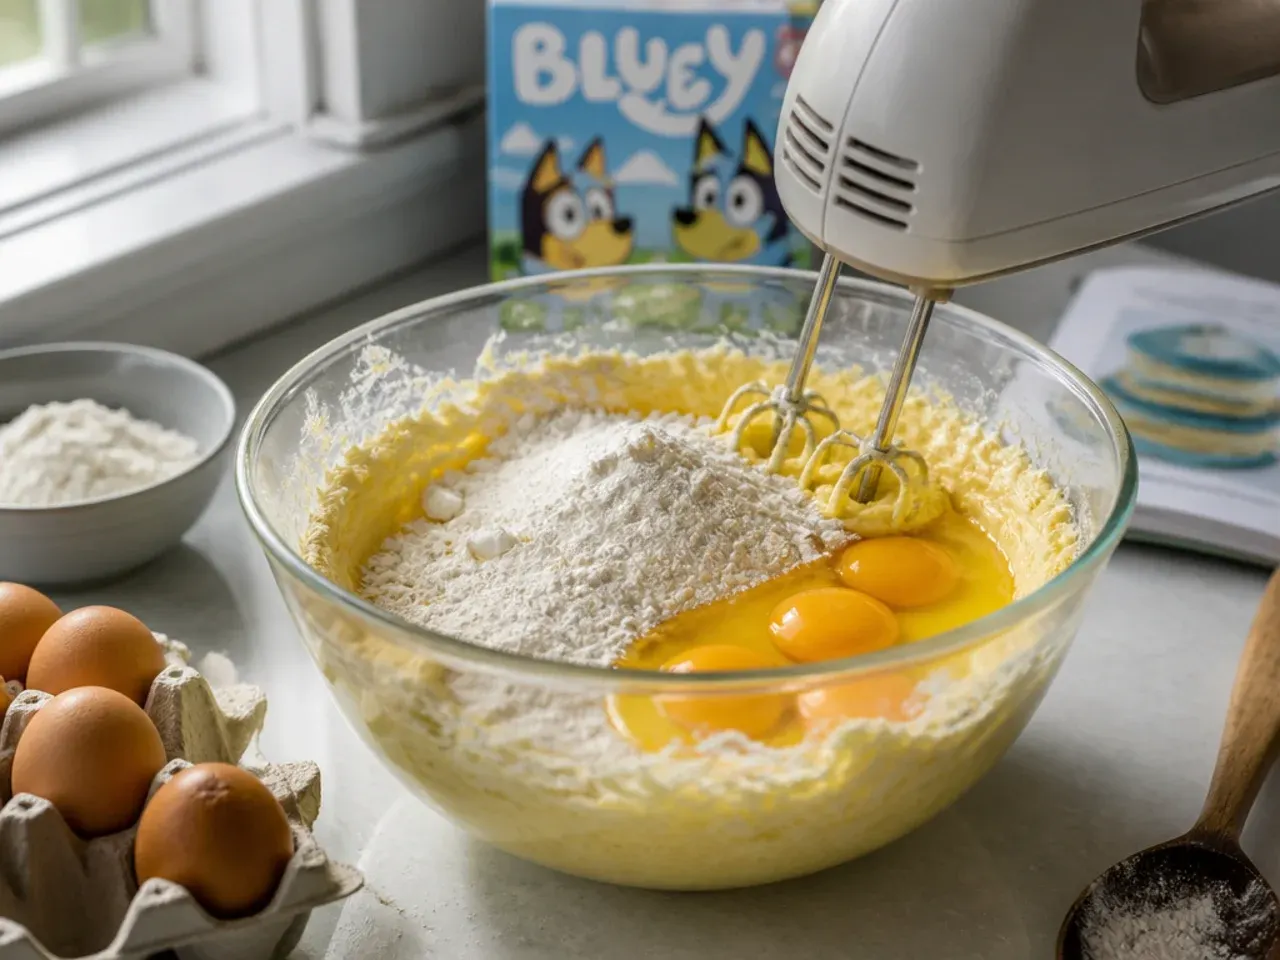
Beat in the 4 eggs one at a time, adding a spoonful of the flour with the last egg to stop the mixture curdling. Fold in the remaining 225 g (8 oz) self-raising flour and 2 tsp baking powder by hand with a large metal spoon, then stir through 2 tbsp milk and 2 tsp vanilla extract until the batter drops easily off the spoon.
Step 4: Divide and bake the sponges
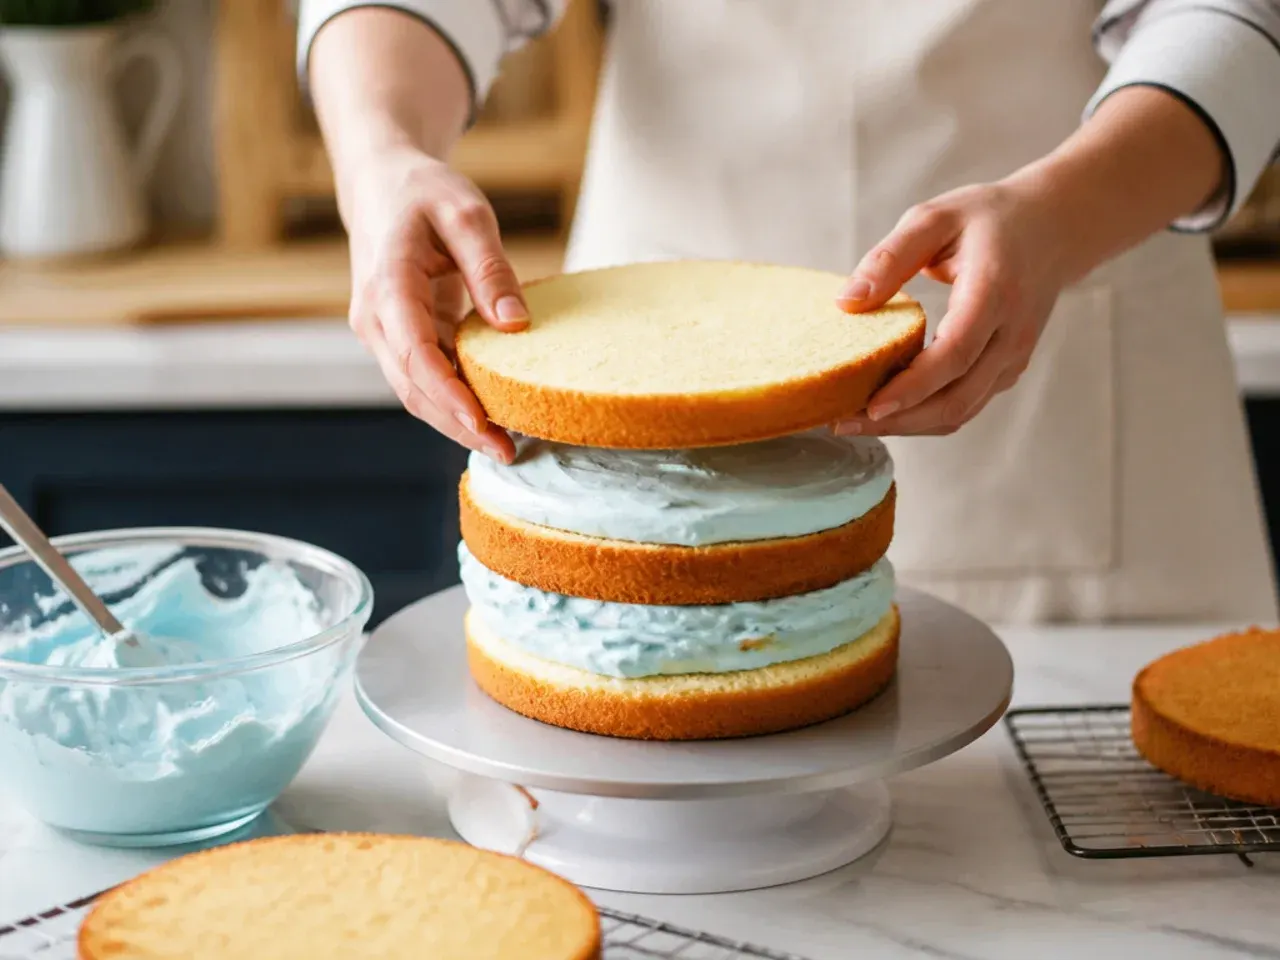
Split the batter evenly between the two prepared tins and smooth the tops with the back of a spoon. Bake for 25-28 minutes until golden and well risen, and a skewer inserted into the centre comes out clean; the sponge should also spring back when lightly pressed.
Step 5: Cool completely before decorating
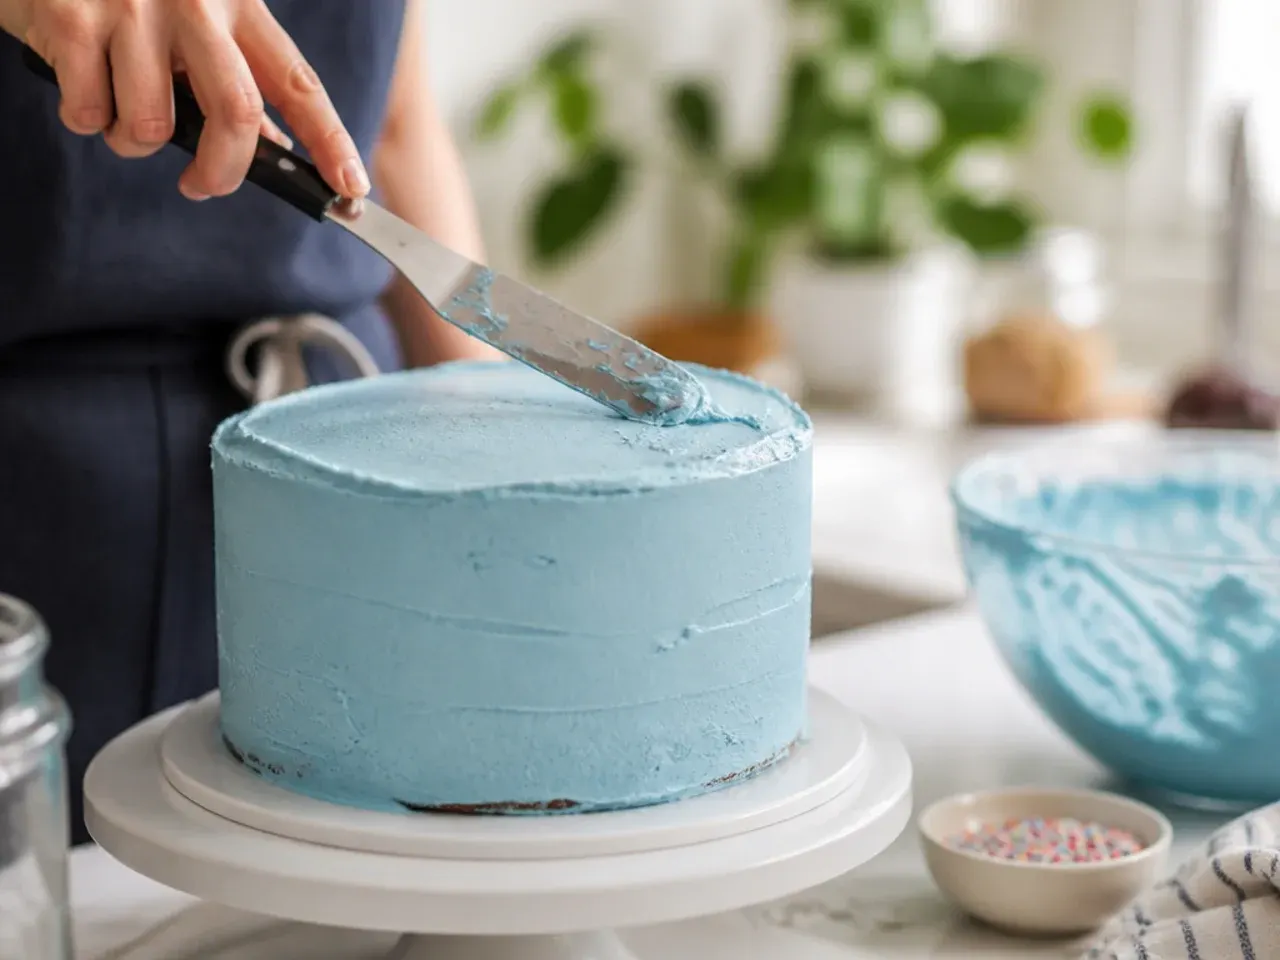
Leave the sponges in their tins for 10 minutes, then turn out onto a wire rack to cool fully, at least 1 hour. Buttercream melts and slides on warm cake, so resist decorating until the sponges are completely cold to the touch.
Step 6: Make the vanilla buttercream base
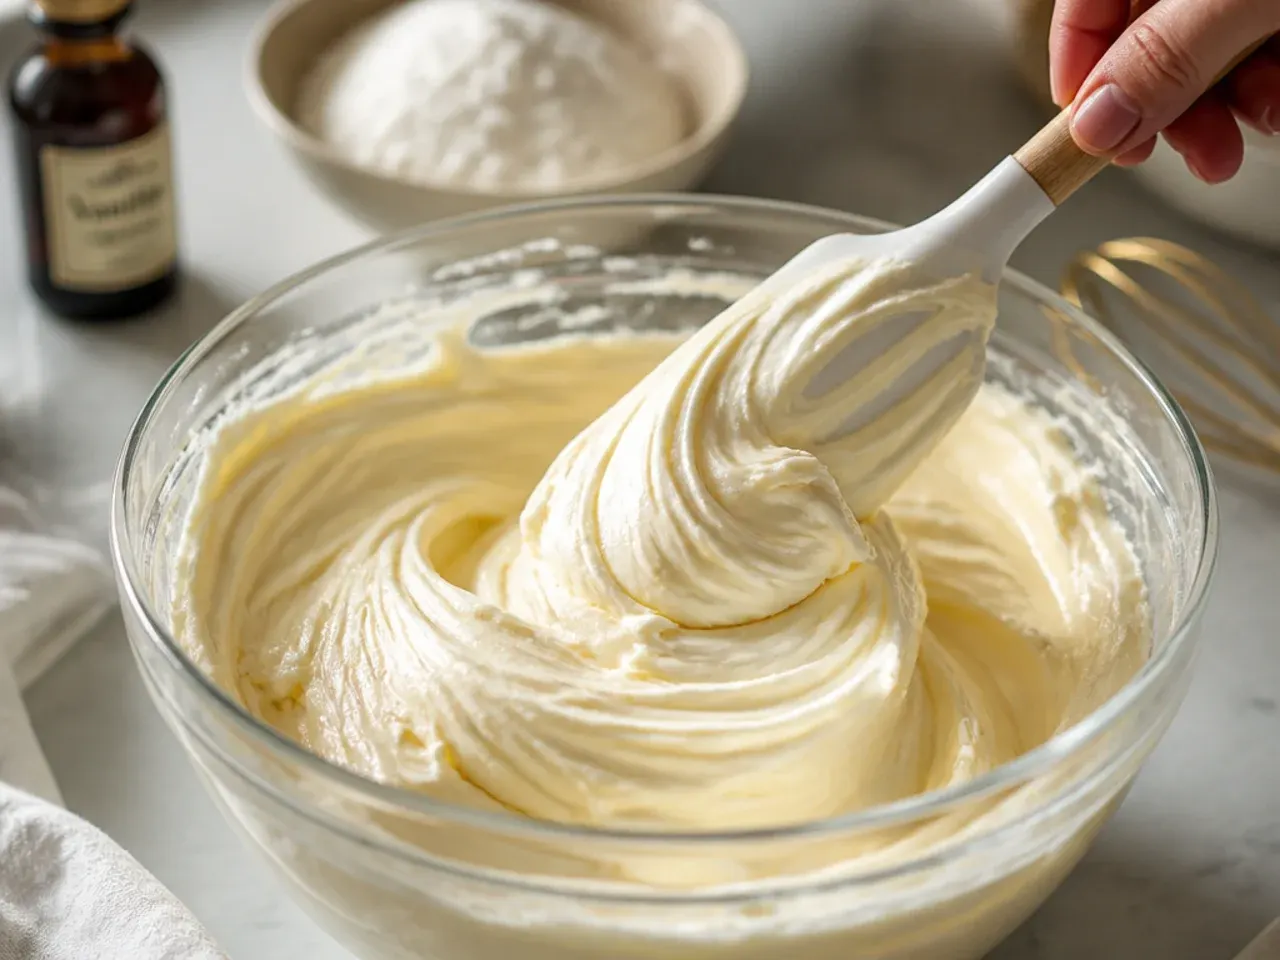
Beat 350 g (12 oz) softened butter alone for 2 minutes until smooth, then add 700 g (1½ lb) sifted icing sugar in three additions, beating on low speed to avoid a sugar cloud. Mix in 3 tbsp milk and 1 tsp vanilla extract and beat for a final 3 minutes on medium-high until light, smooth and fluffy.
Step 7: Split and colour the buttercream
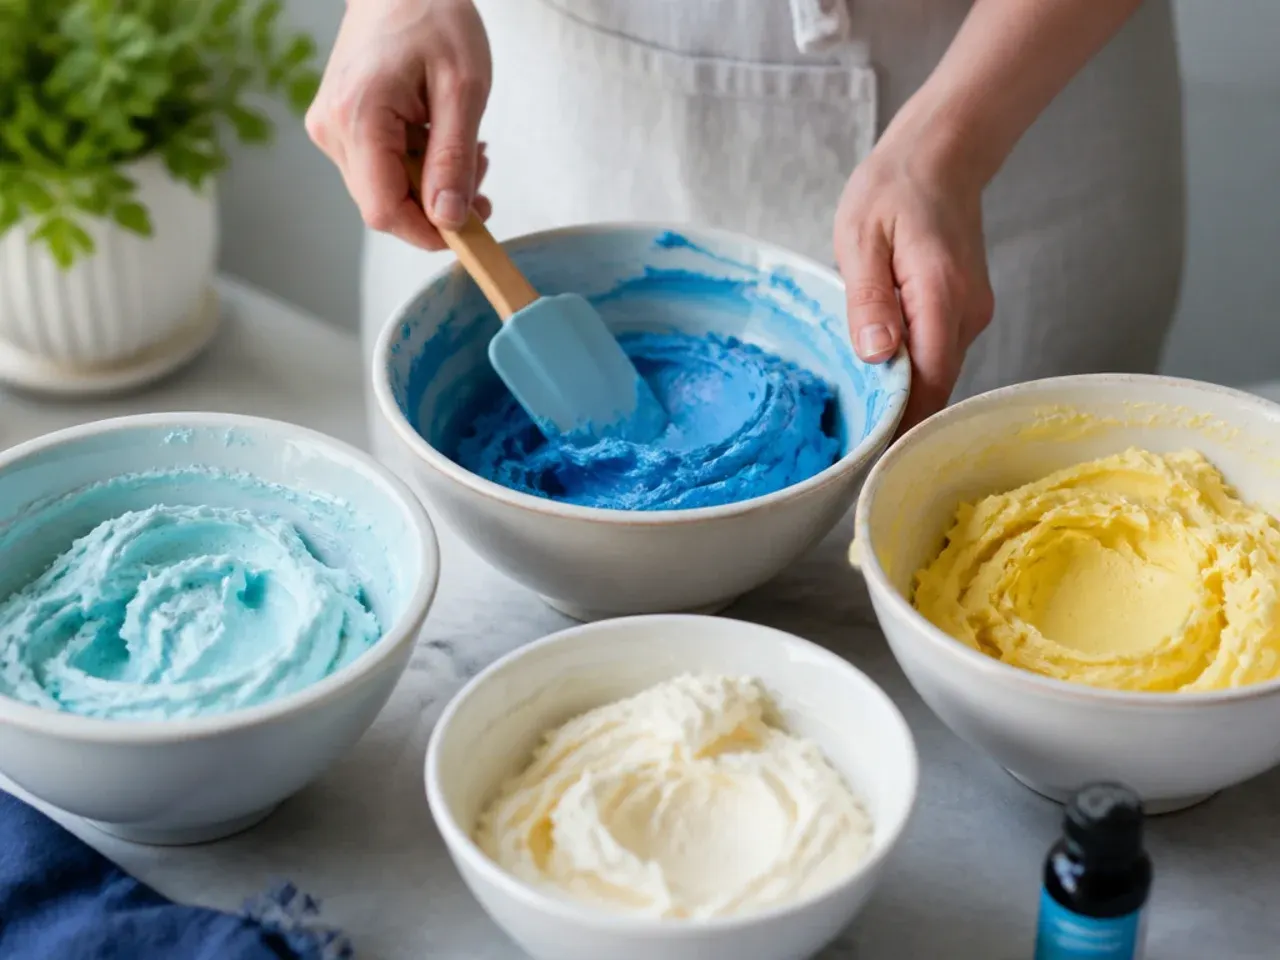
Divide the buttercream into three bowls: roughly half for Heeler blue, a quarter for Bingo orange, and a quarter left white for details. Colour the blue portion with blue gel plus a tiny toothpick-tip of violet gel to counter the buttercream's natural yellow tone, and colour the second portion with orange gel until you reach a warm, rusty shade rather than neon orange.
Step 8: Level and fill the sponges
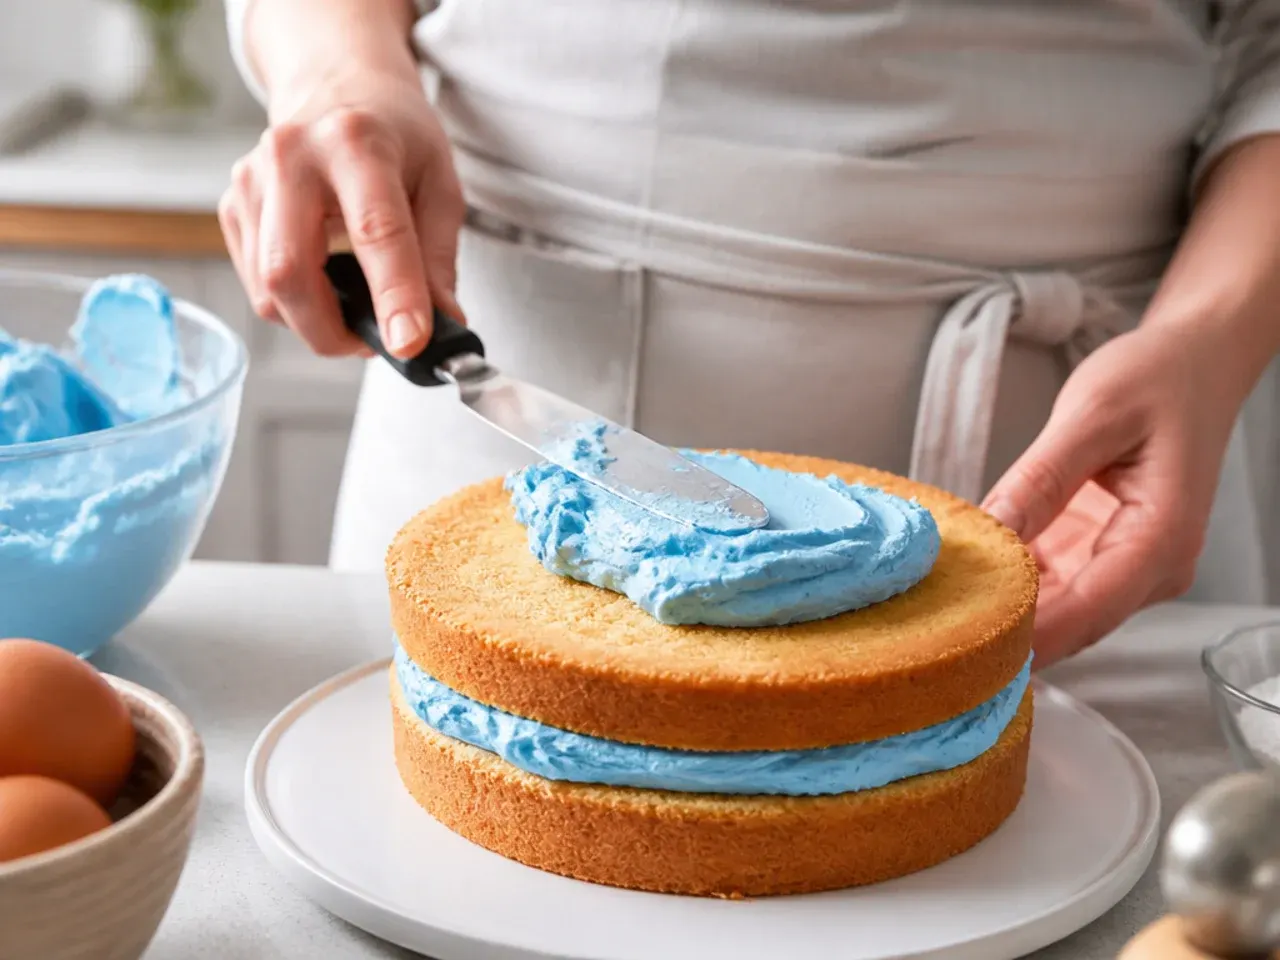
Use a serrated knife to level the domed tops of both sponges so they stack flat. Place the first layer on your cake board or turntable, spread an even 1 cm layer of blue buttercream across the top with an offset spatula, then set the second sponge on top.
Step 9: Apply a thin crumb coat
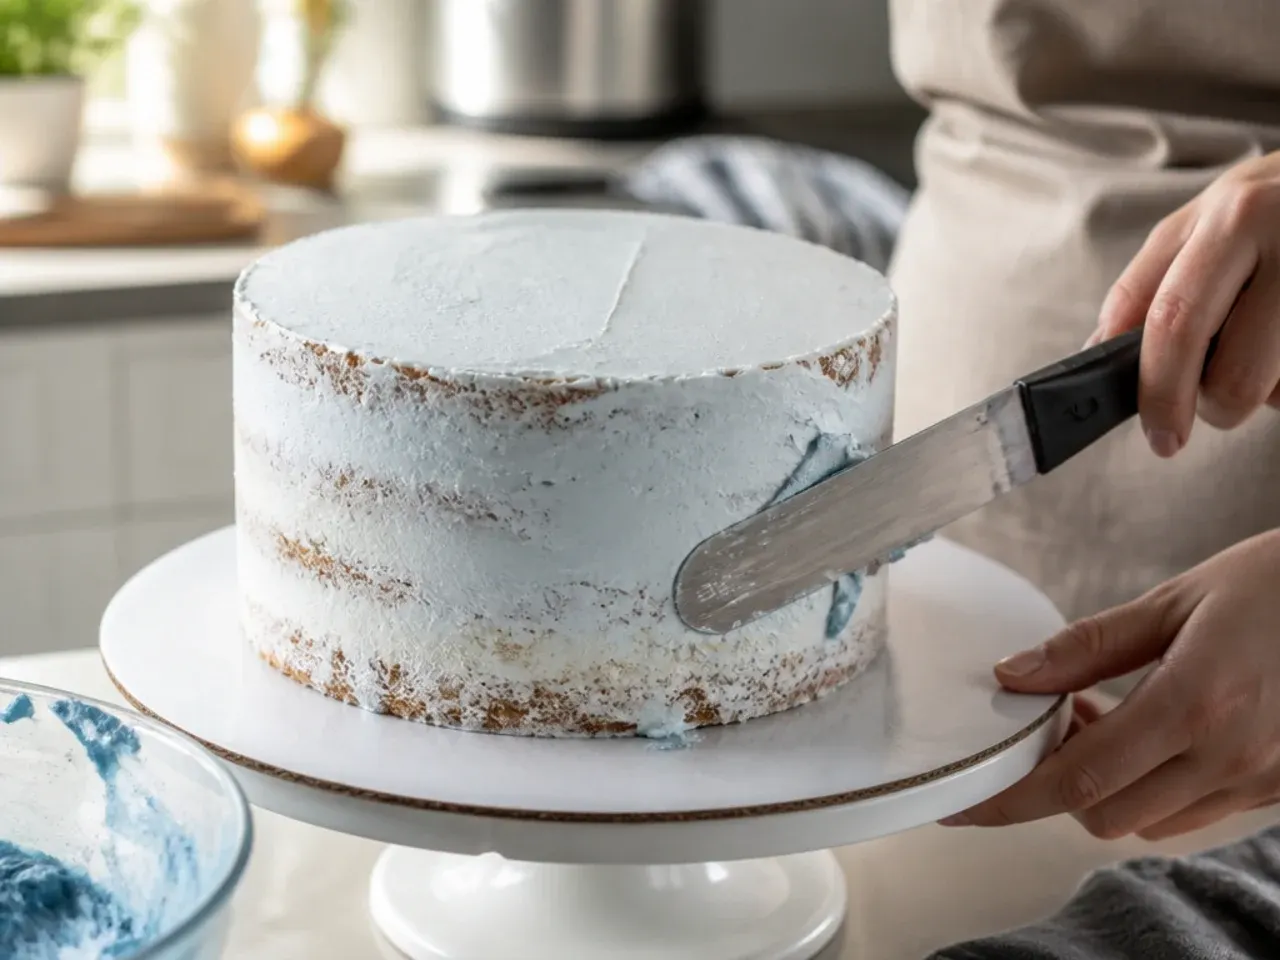
Cover the whole cake in a thin layer of buttercream, just enough to seal in loose crumbs, using a bench scraper to smooth the sides as you go. Chill the crumb-coated cake in the fridge for 15-20 minutes until firm to the touch before adding the final coat.
Step 10: Idea 1 - the two-tone split design
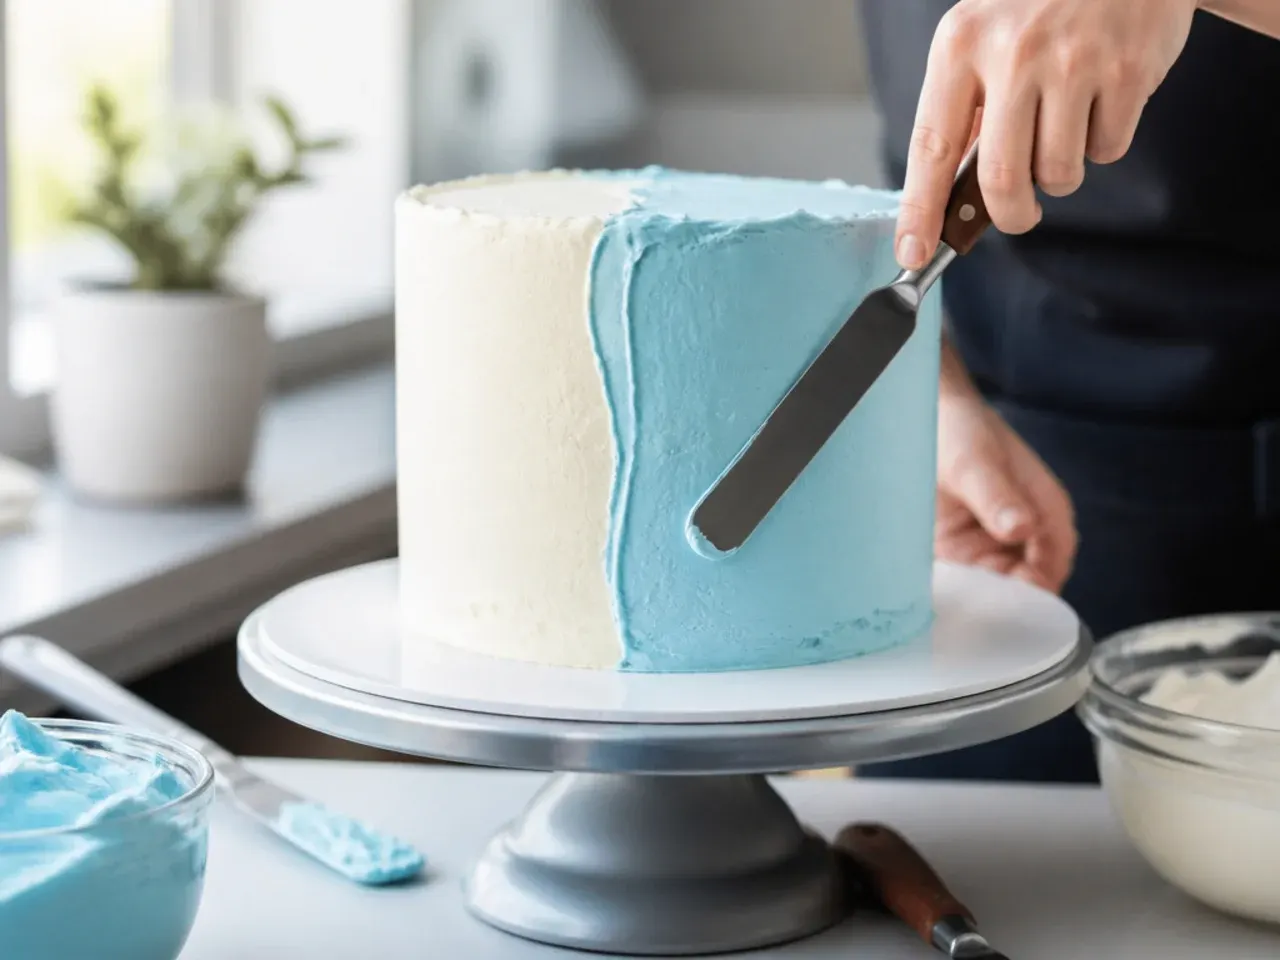
For the simplest of these bluey buttercream cake ideas, spread the light blue buttercream over one half of the cake and the orange over the other half, running the divide straight down the centre. Smooth each side separately with the scraper, wiping it clean between colours, then run it once around the whole cake to blend a clean seam where the two colours meet.
Step 11: Idea 2 - piped paw print border
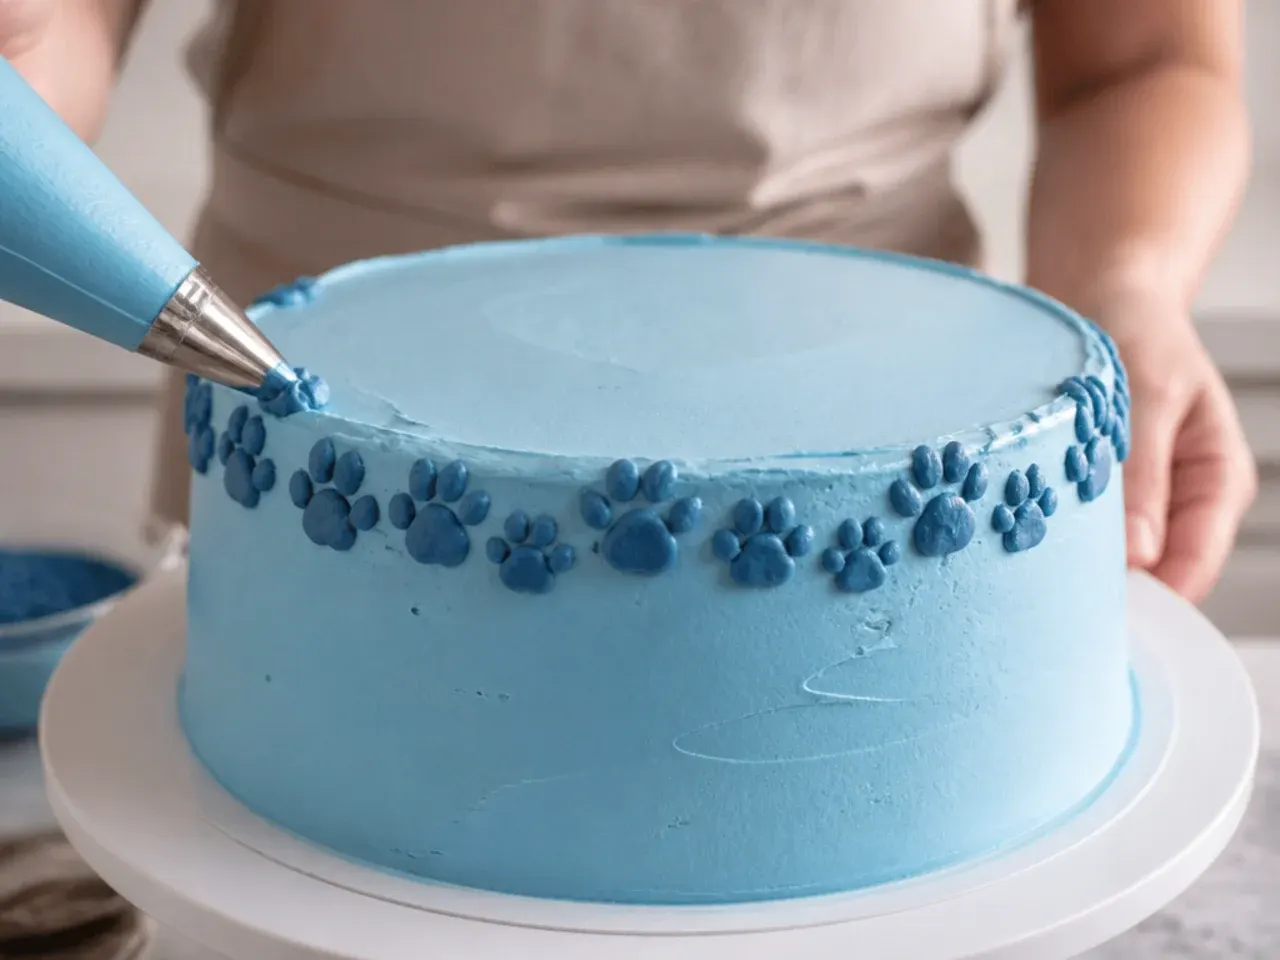
Fit a small round nozzle with the leftover white buttercream and pipe a ring of paw prints around the base of the cake: one round blob for the pad and four small dots above it for the toes. Space the paw prints about 4 cm apart so they read clearly rather than blurring together, and let each print set for a minute before touching the cake again.
Step 12: Idea 3 - ombre ear rosettes on top
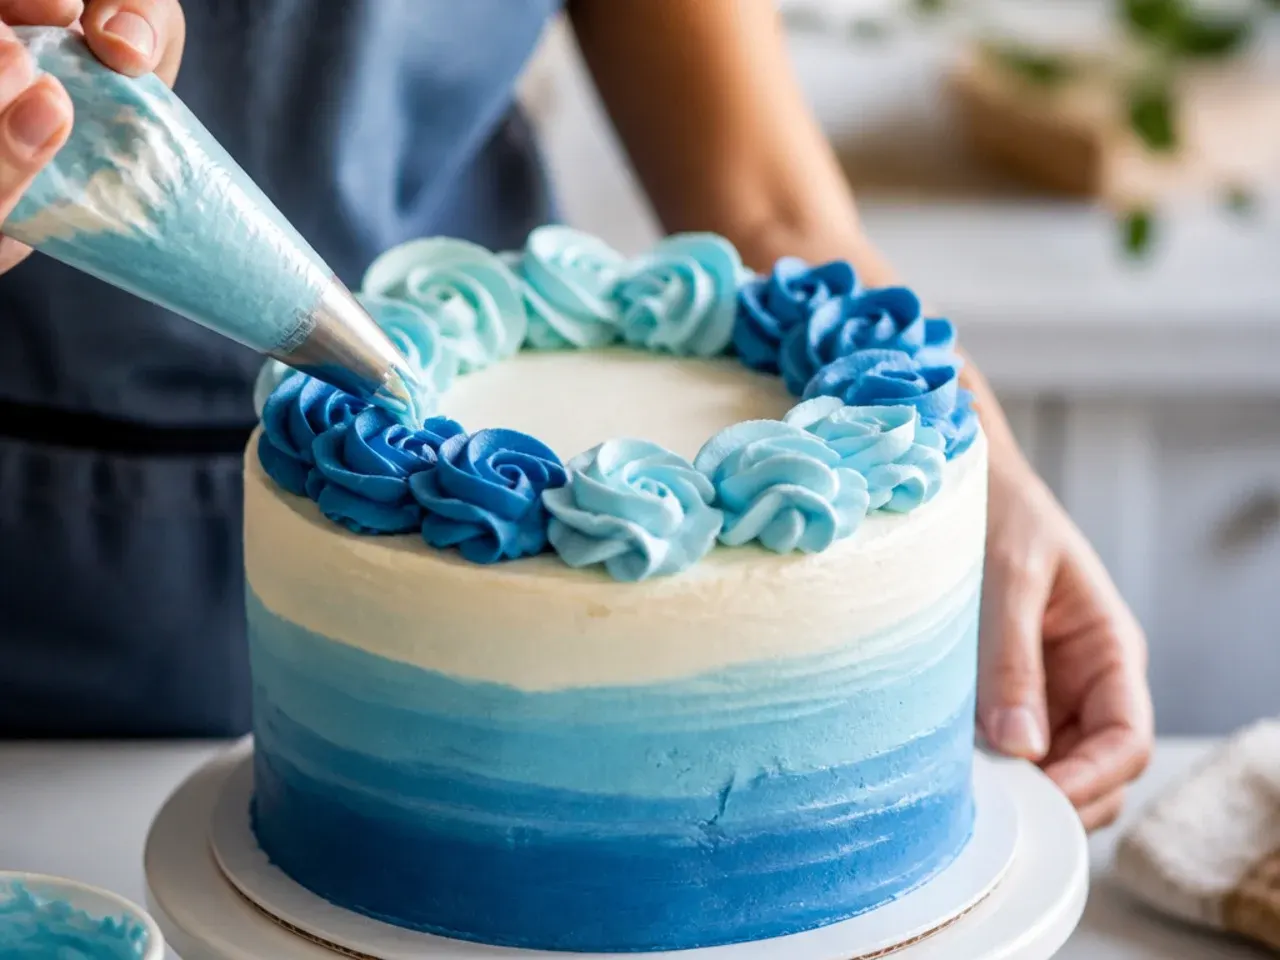
Using a large closed star tip, pipe rosettes in three shades of blue, from pale to navy, in two ear-shaped clusters near the top edge of the cake to echo Heeler-style ears without copying any printed artwork. Start each rosette in the centre and pipe outward in a tight spiral, releasing pressure before lifting the bag away to avoid a peak.
Step 13: Idea 4 - fondant paw and bone cut-outs
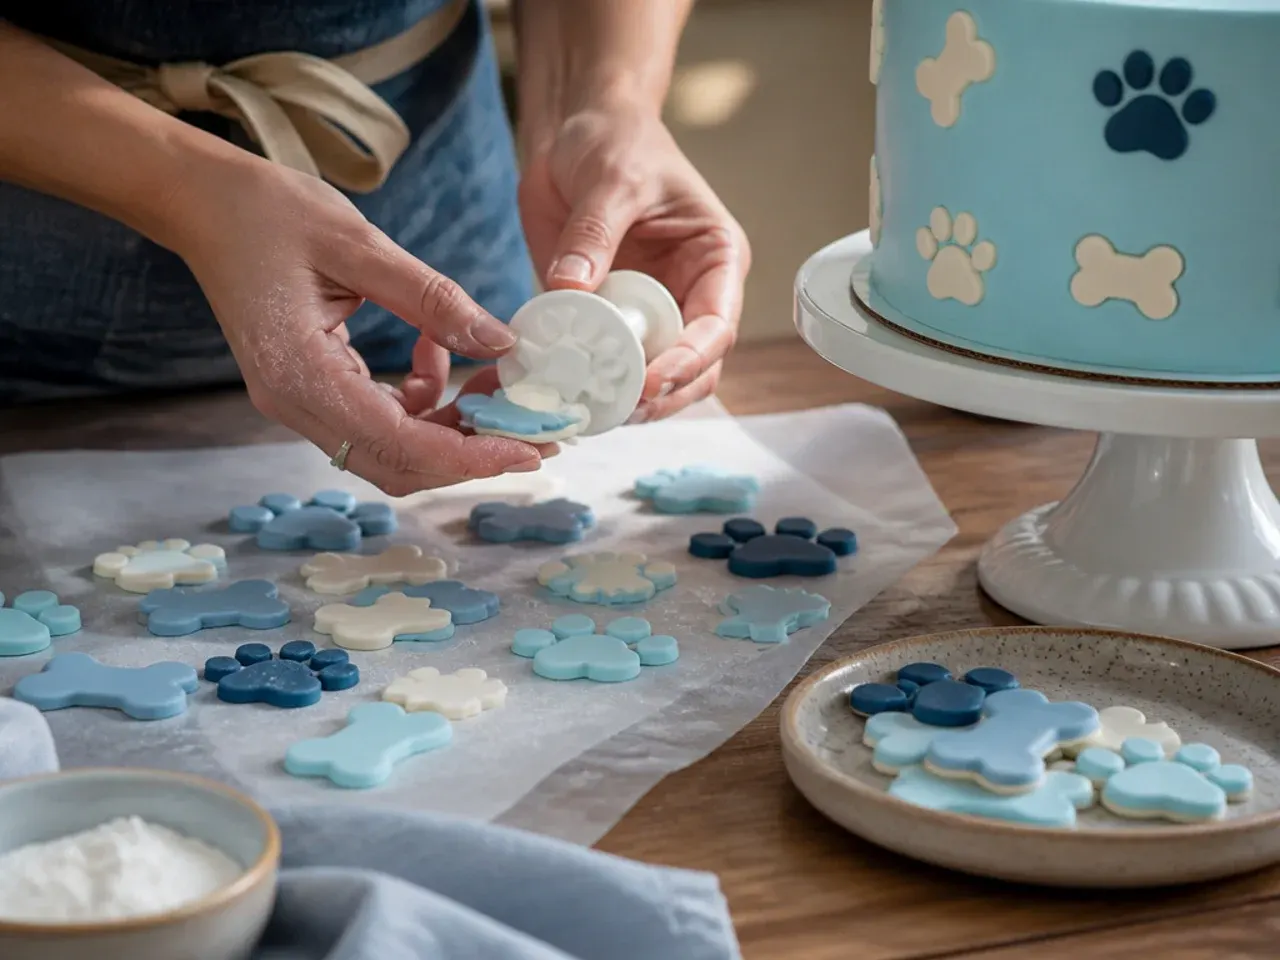
Roll out white fondant to about 3 mm thick and use small paw print and bone cutters to stamp out a handful of shapes; leave them to firm up on baking paper for 15 minutes. Press the cut-outs gently onto the sides of the cake while the buttercream is still slightly tacky so they stick without sliding down.
Step 14: Idea 5 - simple topper placement
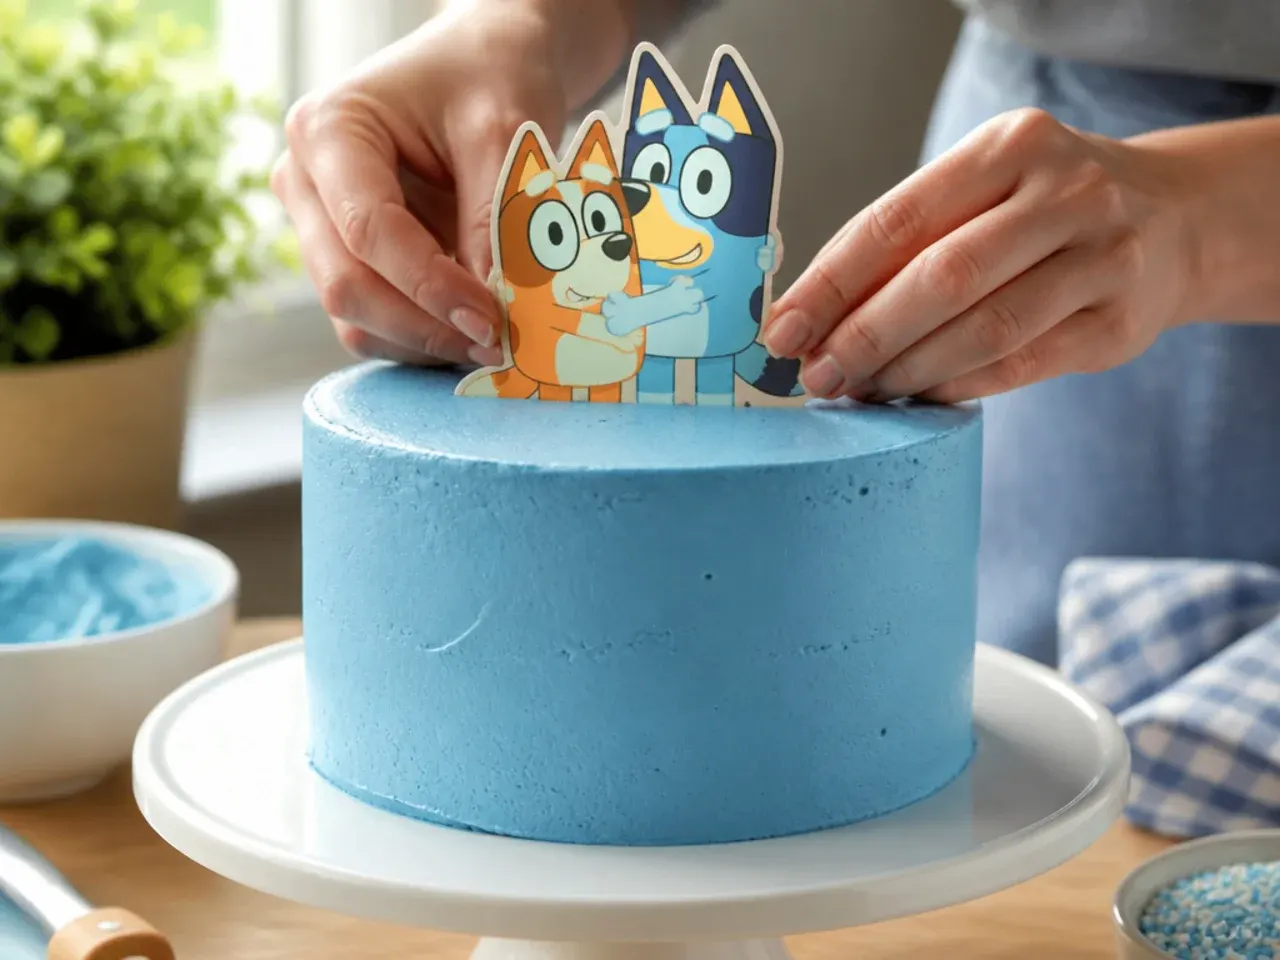
Finish with a low-key topper rather than printed character imagery: a fondant bone, a wooden 'Happy Birthday' pick, or a small arrangement of blue and orange sugar pearls scattered across the top. Press any topper into the buttercream while it's still soft so it holds firmly once the cake sets.
Step 15: Chill to set, then serve
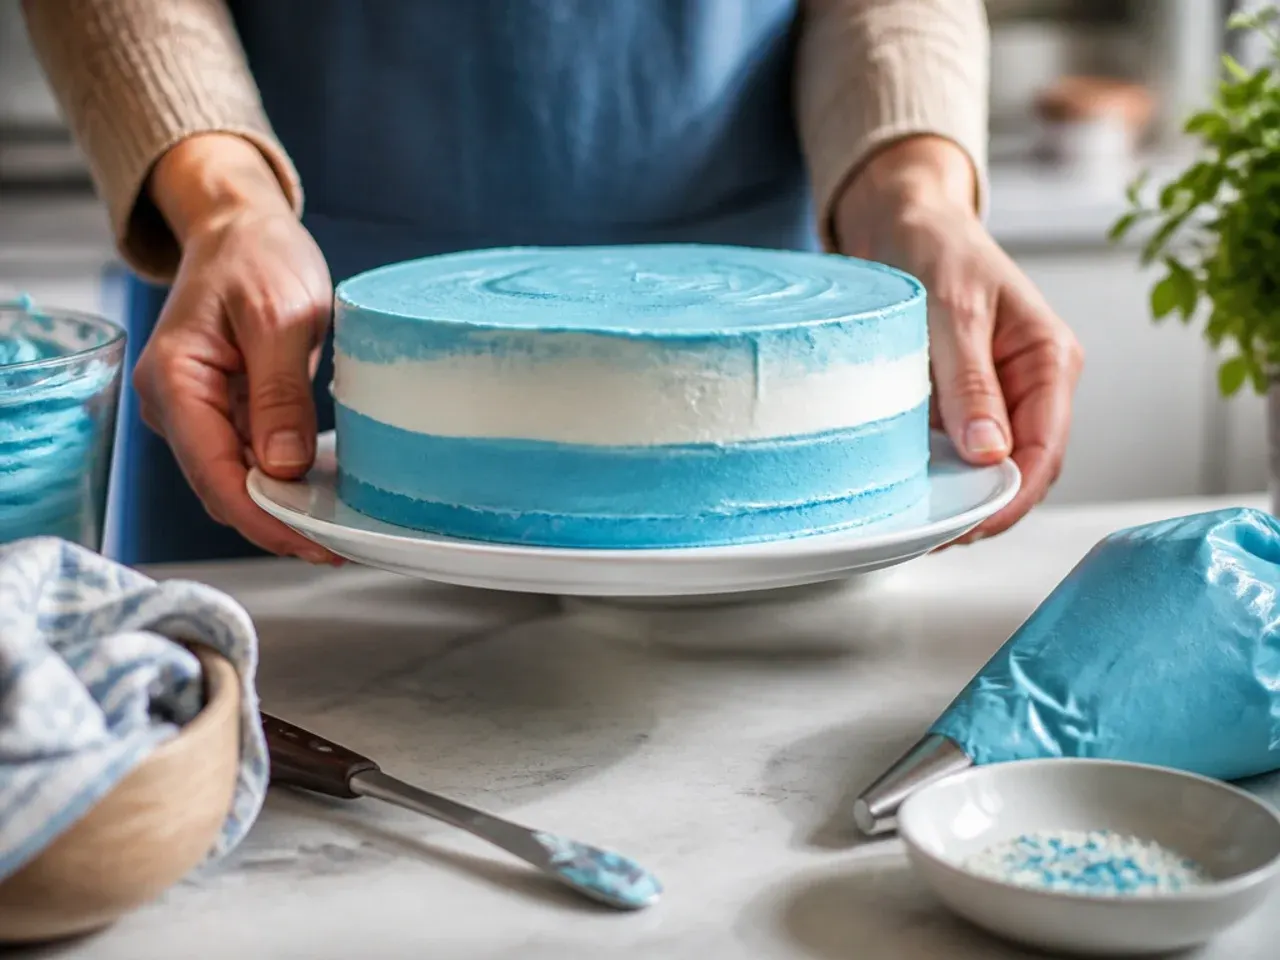
Chill the finished cake for 20-30 minutes so the buttercream and any fondant details firm up and hold their shape during transport or slicing. Let it sit at room temperature for 20 minutes before serving so the sponge is soft and the buttercream isn't stiff from the fridge.
Pro Tips for Nailing the Bluey Colour Palette
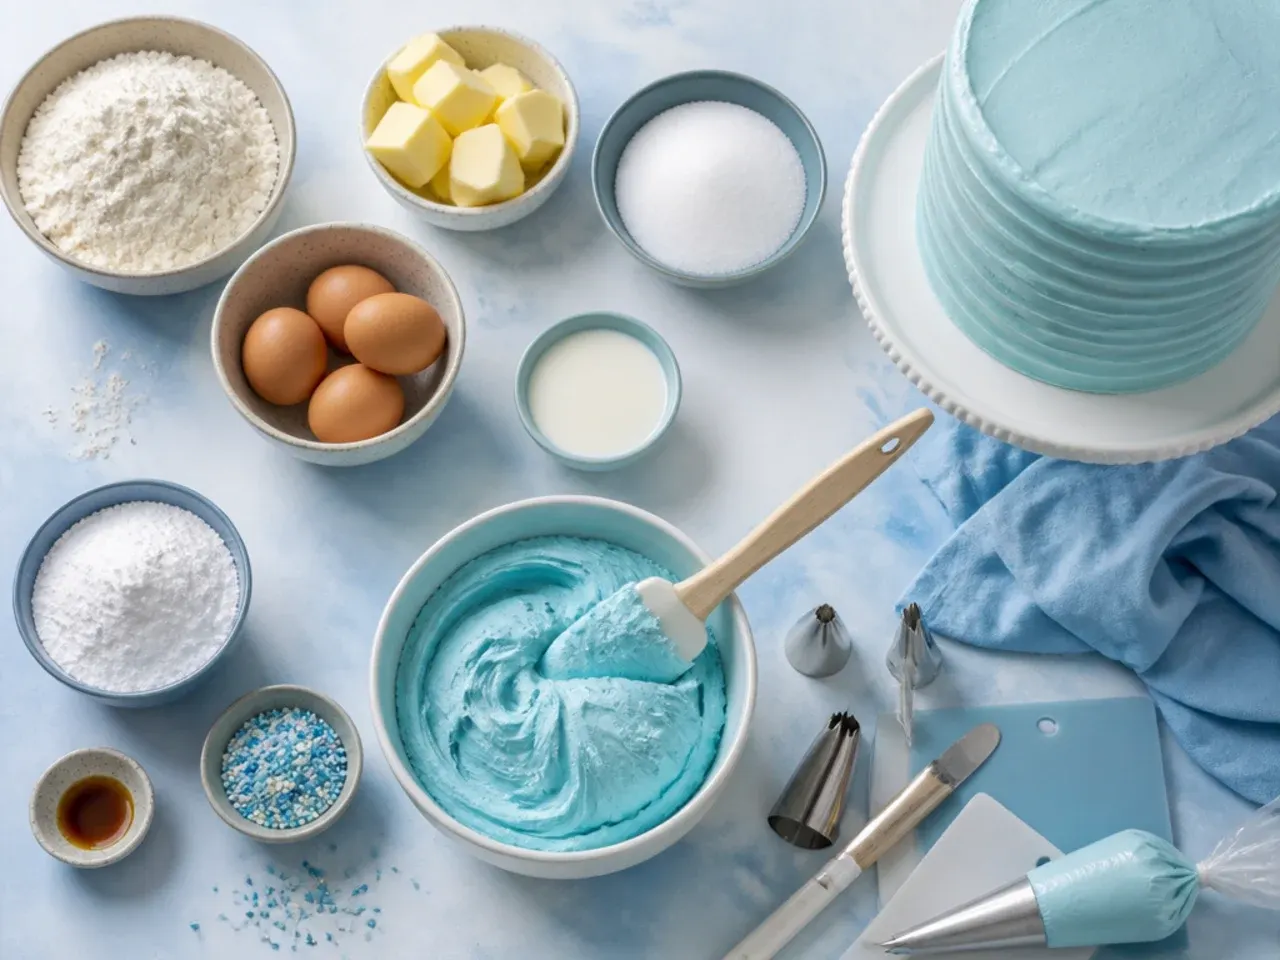
Heeler blue leans slightly grey rather than bright sky blue, so add a tiny toothpick-tip of violet or purple gel to your blue buttercream to knock back the yellow undertone from the butter. Always use gel or paste food colouring rather than liquid, since liquid colouring thins the buttercream and forces you to add extra icing sugar to compensate. Mix colour in gradually, a little at a time, and let the buttercream sit for 10 minutes before judging the shade, as gel colours deepen slightly once fully absorbed. Keep a small bowl of plain white buttercream aside before colouring so you always have a neutral base to lighten a shade that has gone too dark.
Storage and Make-Ahead Tips
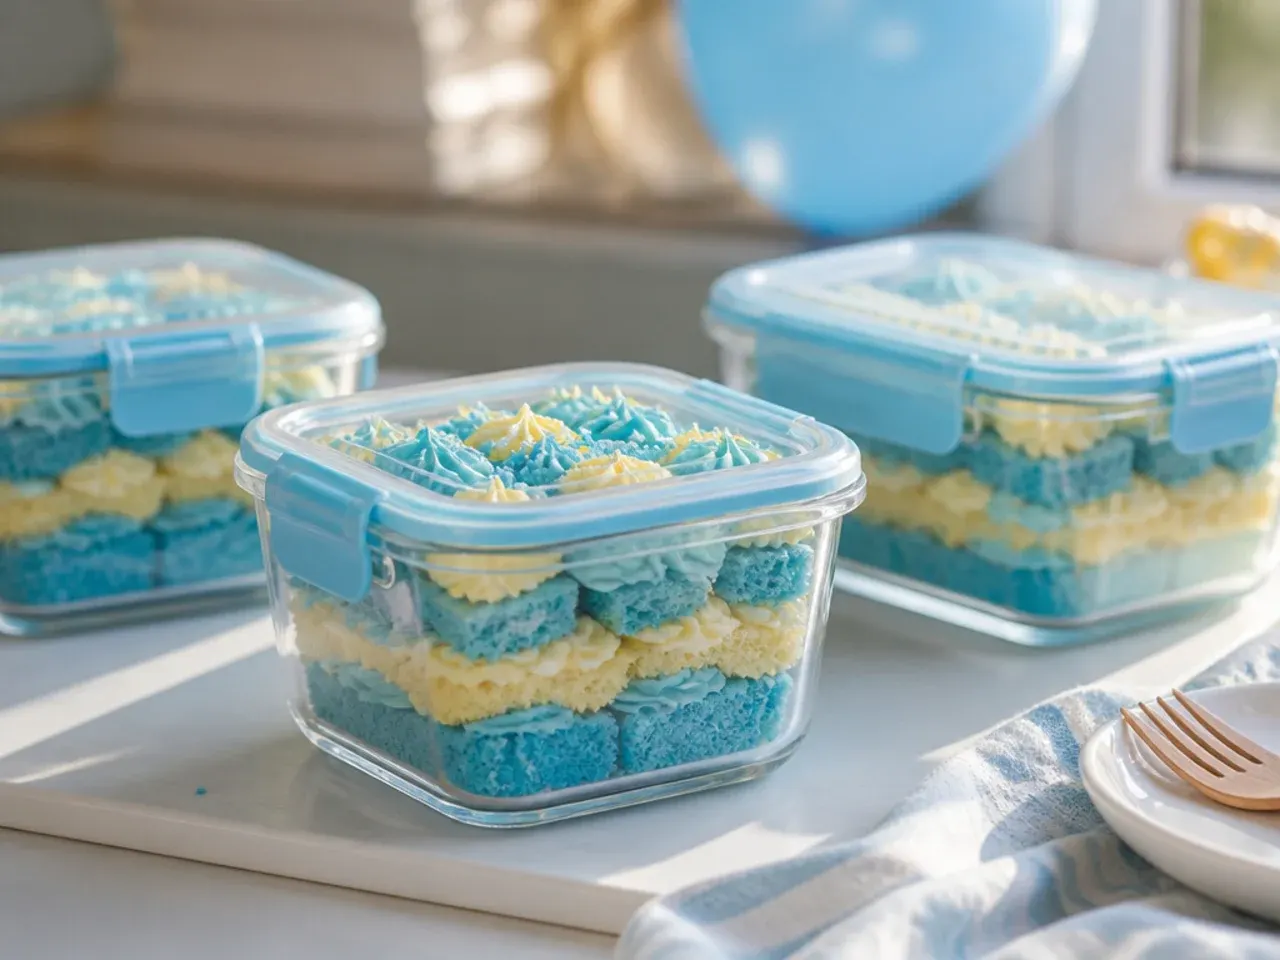
The undecorated sponges can be baked up to 2 days ahead, wrapped tightly in cling film once fully cool and stored at room temperature, or frozen for up to 2 months and thawed overnight in the fridge before filling. Buttercream can be made 3 days in advance and kept in an airtight container in the fridge; bring it back to room temperature and re-beat for 2-3 minutes to restore its smooth, pipeable texture. Once fully decorated, store the finished cake in the fridge if the room is warm, but let it sit out for 30-45 minutes before serving so the buttercream softens and the sponge isn't cold and dense. A decorated cake keeps well for up to 3 days covered loosely with a cake dome or upturned bowl in the fridge.
15 bluey buttercream cake ideas showing how to bake, colour and pipe a blue-and-orange Heeler-style birthday cake step by step. For more bluey cake ideas inspiration, browse the full Bluey Cake Ideas board — every idea there is written for real home kitchens, not professional bakers.
Frequently Asked Questions
Yes, buttercream alone can carry the whole design. Colour it in blue and orange shades, use a bench scraper for the smooth two-tone split, and pipe details like paw prints and rosettes with a round or star nozzle instead of hand-shaping fondant. A simple wooden or card topper finishes the look without any fondant work at all, which makes this a good option for beginner bakers.

Related Recipes
Save this for later 📌
Pin this article to your Pinterest board so the full list is one tap away when you need it.
Save on Pinterest