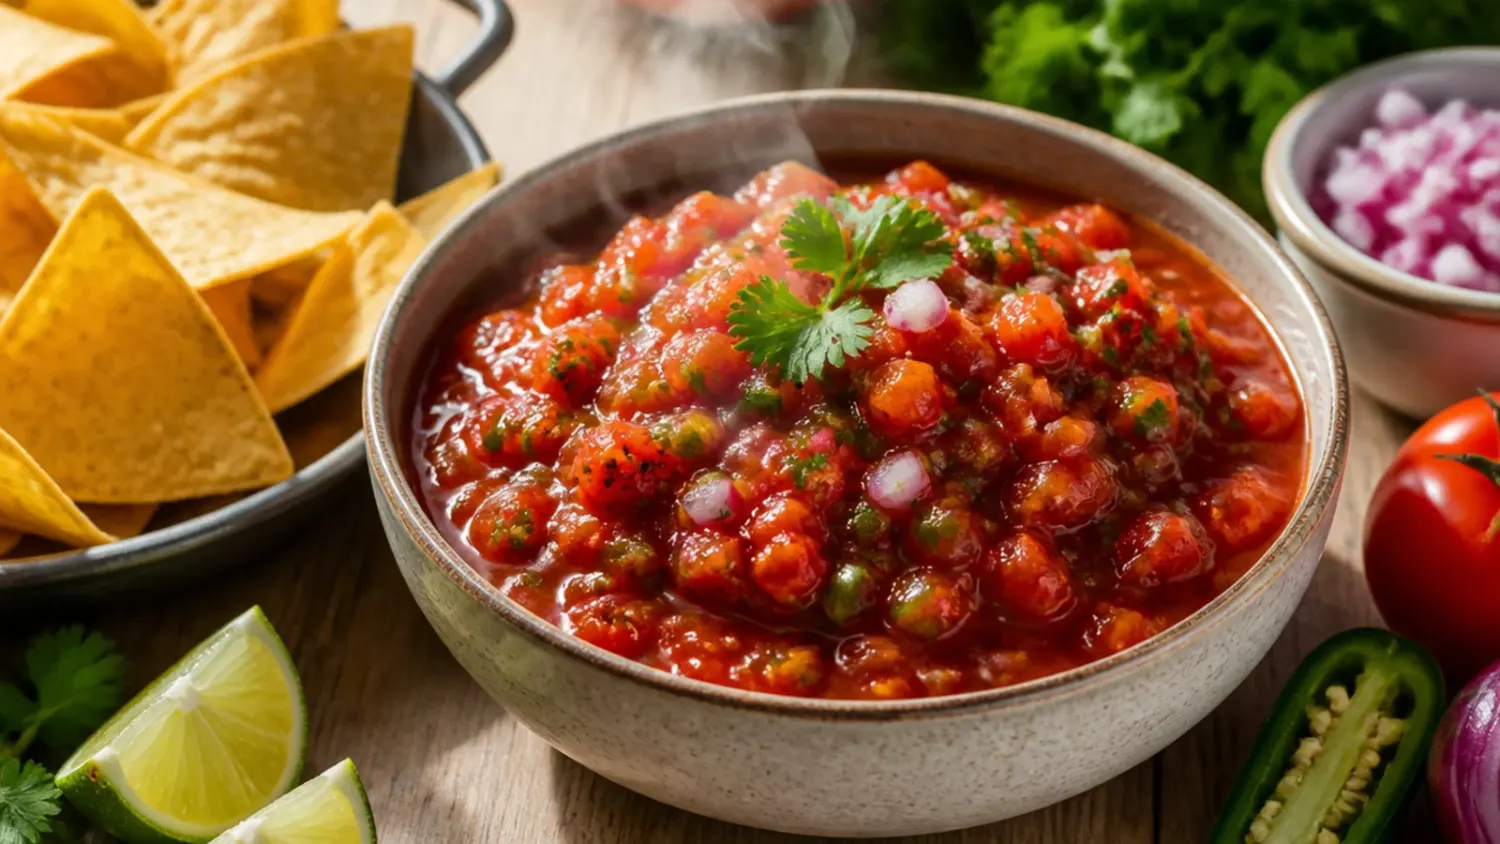
Ingredients 8 Person(s)

Save this for later 📌
Pin this article to your Pinterest board so the full list is one tap away when you need it.
Save on PinterestDirections
Step 1: Gather your canned tomatoes
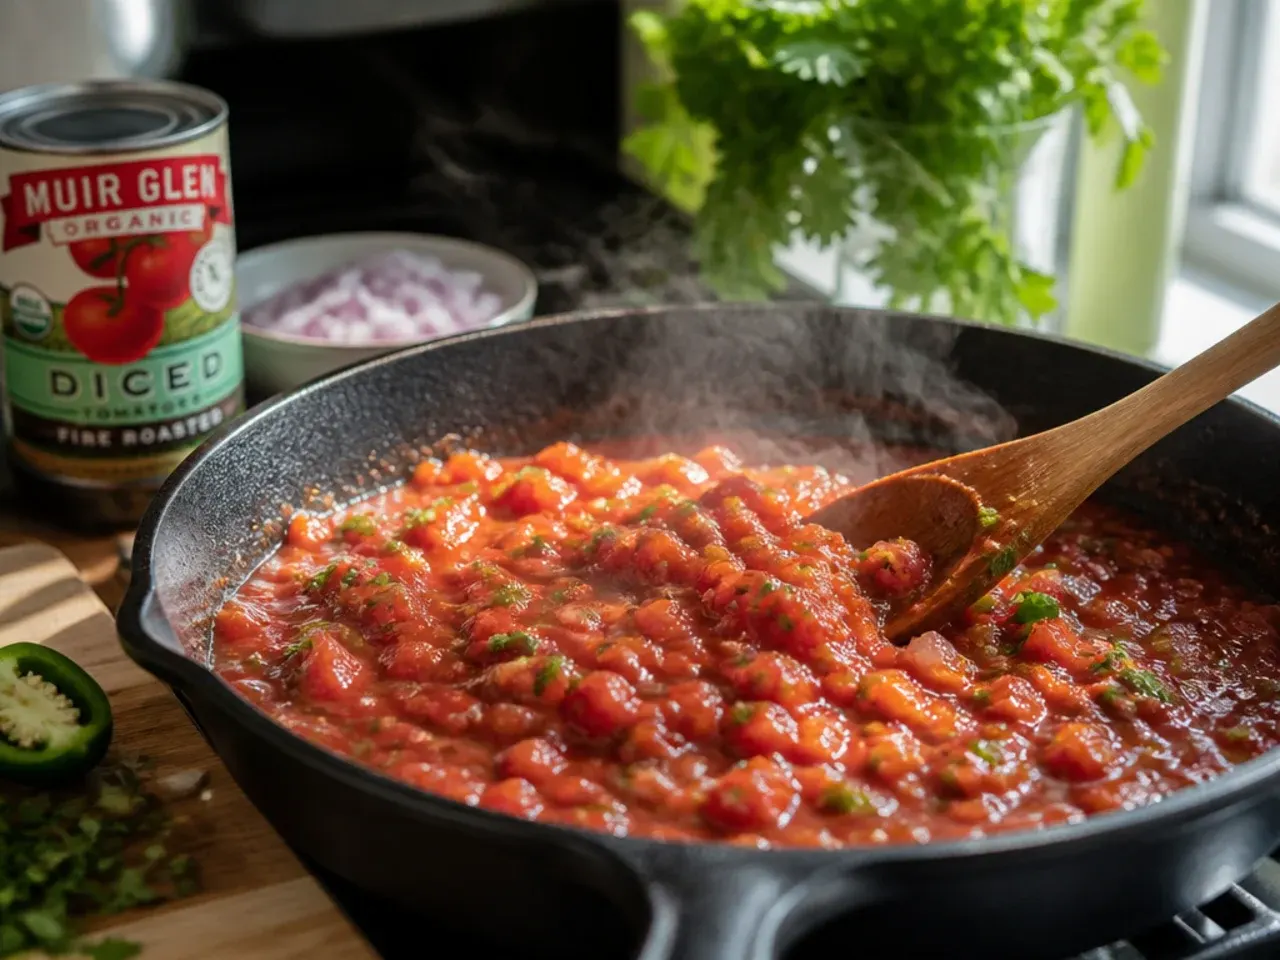
Pull one 800 g (28 oz) tin of fire-roasted whole tomatoes and one 280 g (10 oz) tin of diced tomatoes with green chillies from the cupboard; fire-roasted tomatoes give noticeably deeper flavour than plain ones. Check both tins are in date and give them a shake before opening, since firm tomatoes settle at the bottom. Set a large sieve over a bowl on the counter so you're ready to drain the moment they're open. Keep a can opener and sharp knife within reach for the next few steps.
Step 2: Drain and reserve the tomato liquid
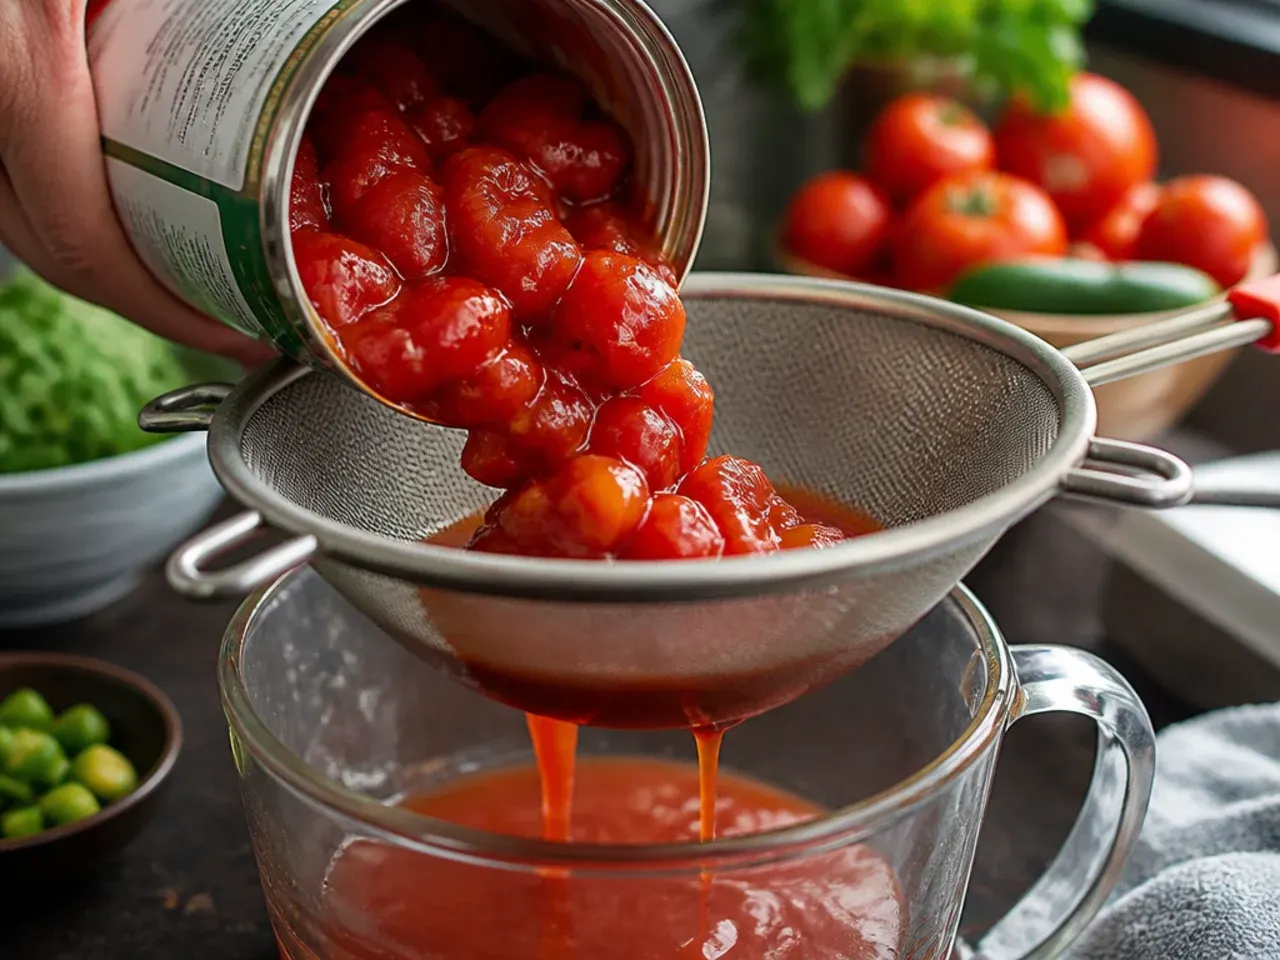
Empty both tins into the sieve and let them drain for 2-3 minutes, pressing gently with a spoon to release excess liquid. Reserve about 120 ml (1/2 cup) of the drained juice in a small cup rather than tipping it away. This liquid becomes your adjustable thinner later, so don't discard it. The tomatoes themselves should look glossy but no longer swimming in juice.
Step 3: Toast the garlic and jalapeño for depth
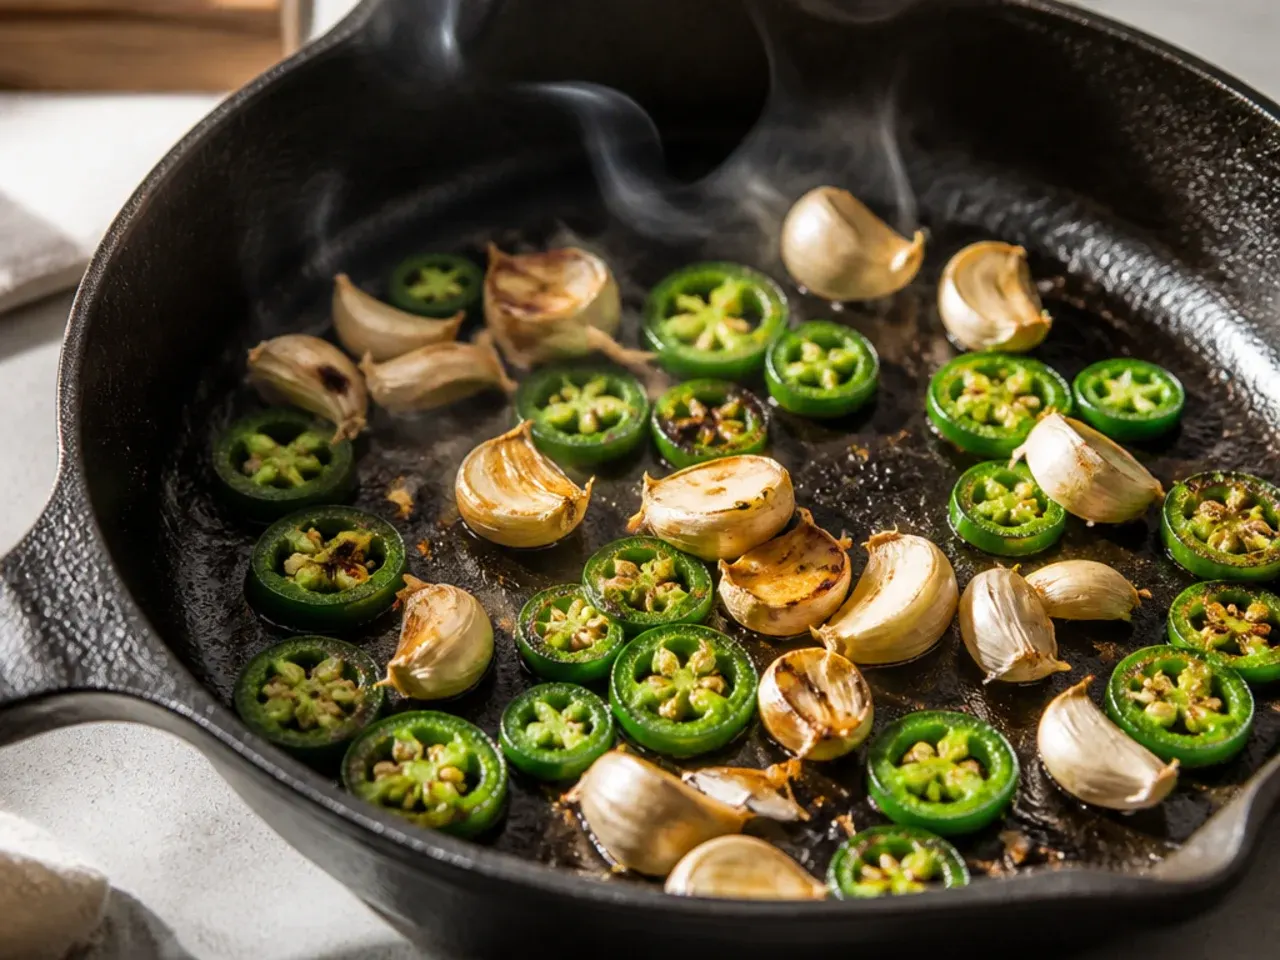
Heat a small dry frying pan over medium heat for 1 minute, then add 2 unpeeled garlic cloves and 1 whole jalapeño. Toast for 3-4 minutes, turning every minute, until the jalapeño skin blisters and blackens in spots and the garlic softens slightly. This optional dry-toasting step adds a smoky, roasted note raw aromatics can't match. Remove both from the pan and set aside to cool for 2 minutes before handling.
Step 4: Peel the toasted garlic
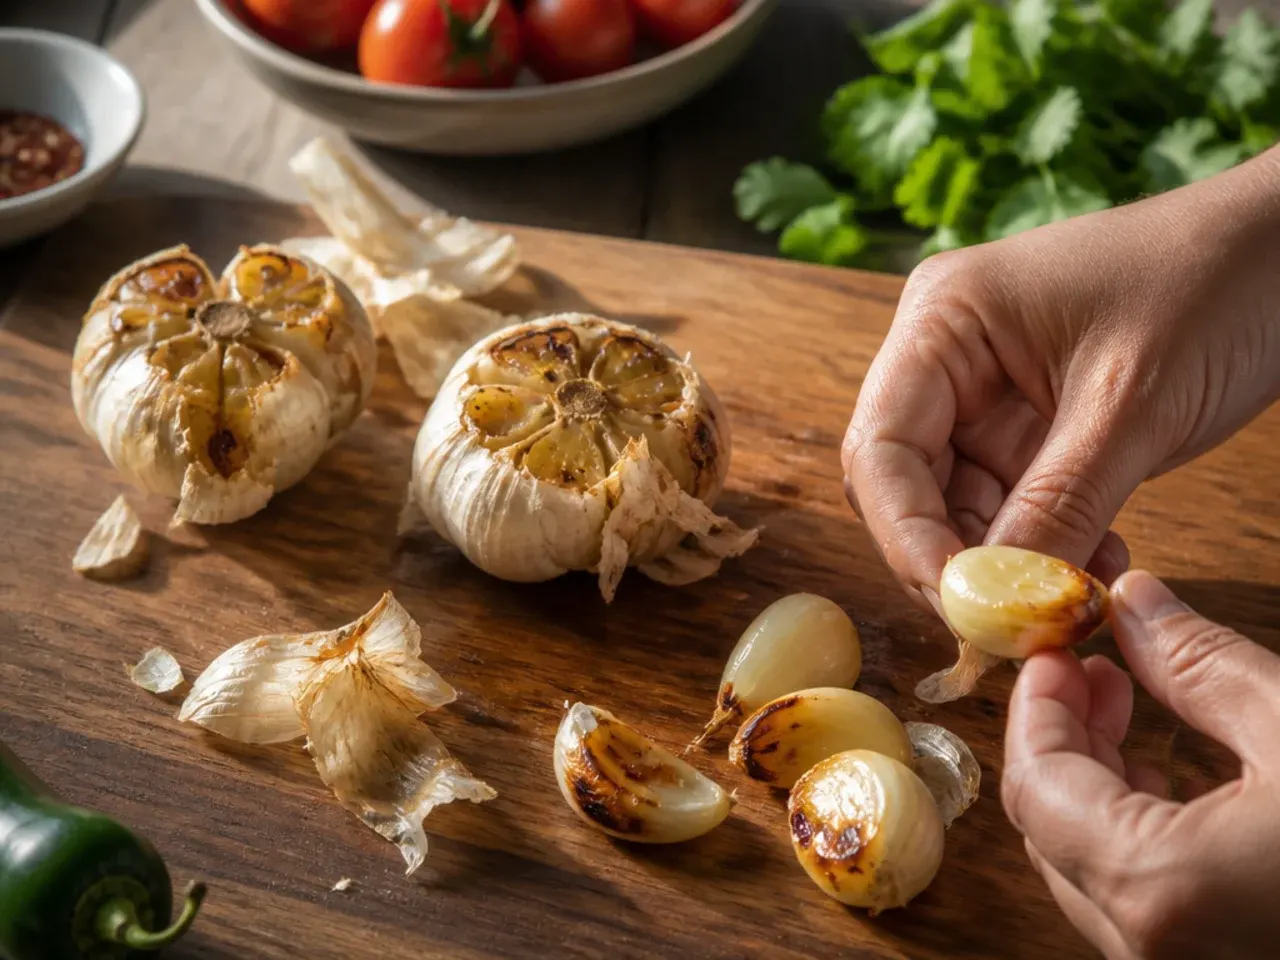
Once cool enough to touch, squeeze each garlic clove between your fingers so the softened flesh pops out of its papery skin. Discard the skins and any noticeably burnt bits. The garlic should look pale gold and smell fragrant, not bitter or charred black. Set the peeled cloves aside with the jalapeño.
Step 5: Deseed the jalapeño to control heat
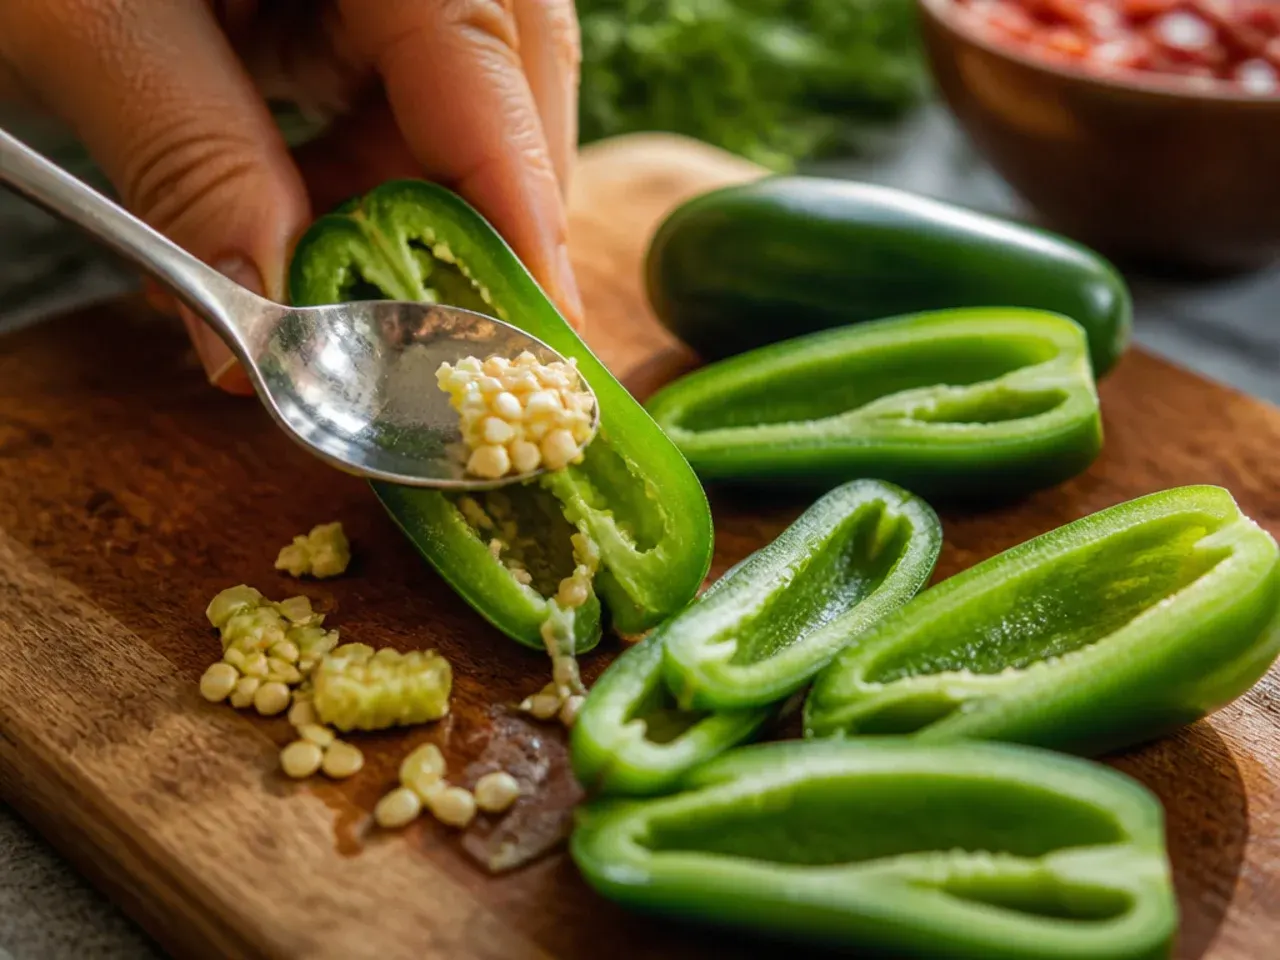
Slice the toasted jalapeño in half lengthways and scrape out the seeds and white pith with a small spoon for a milder salsa, or leave some seeds in for extra heat. Remove and discard the stem. Roughly chop the pepper into 2-3 pieces so it blends evenly rather than leaving hot pockets. Wash your hands well afterwards, or wear gloves, since the oils cling to skin.
Step 6: Peel and rough-chop the onion
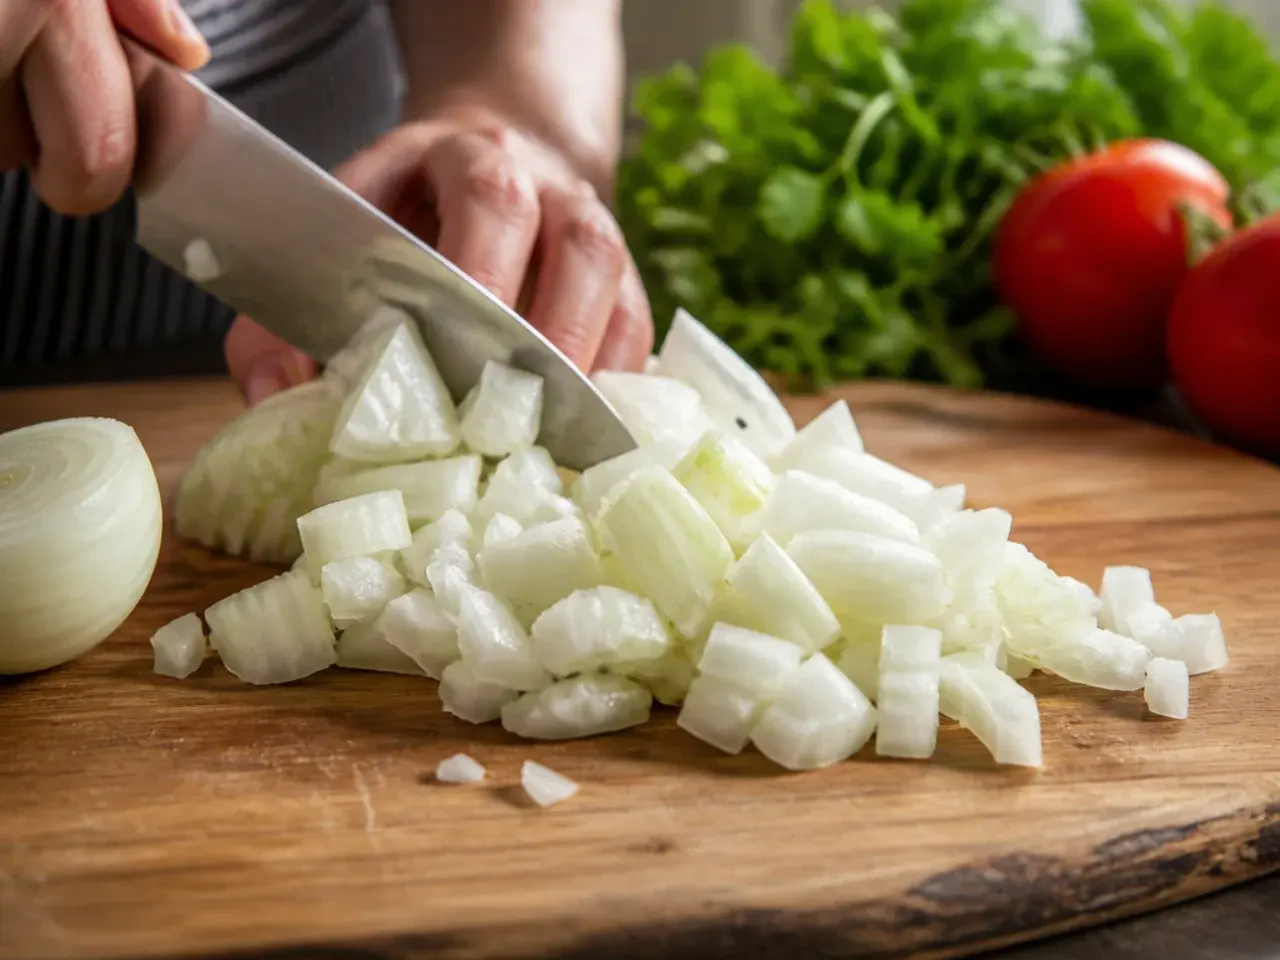
Peel about 100 g (3.5 oz), roughly half a medium white onion, and cut it into four rough chunks rather than fine dice, since the processor does the fine work. White or red onion both work, though white gives the classic sharper restaurant-style bite. Keep the pieces roughly the same size so they break down evenly.
Step 7: Rinse and rough-chop the cilantro
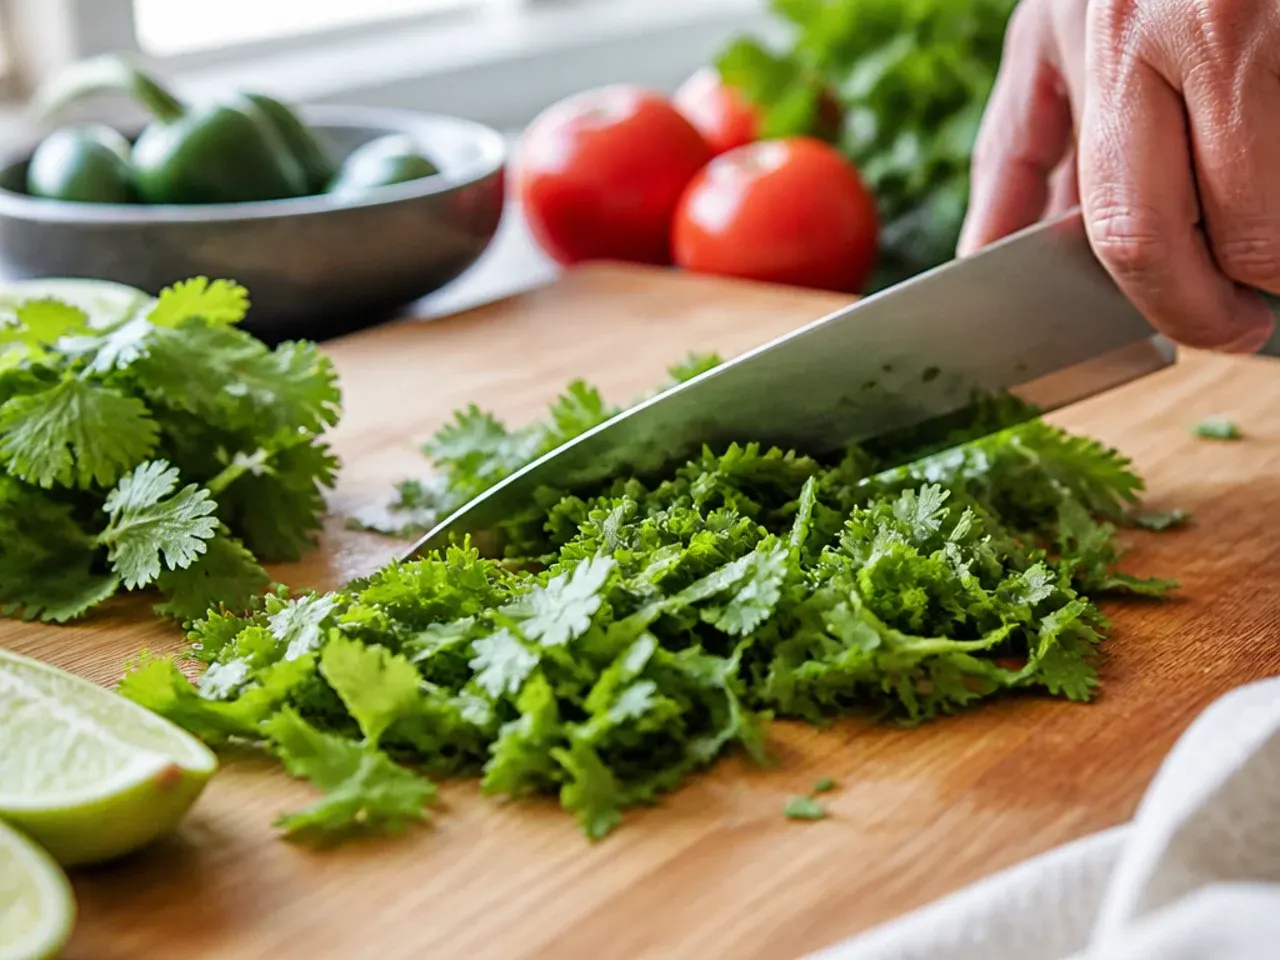
Rinse 15 g (about 1/2 cup packed) fresh cilantro leaves and tender stems under cold water and shake dry. Roughly chop into 2-3 cm lengths; there's no need to pick leaves from stems individually, since the thin upper stems are tender and flavourful. Set aside a small handful separately for garnishing later.
Step 8: Juice the lime
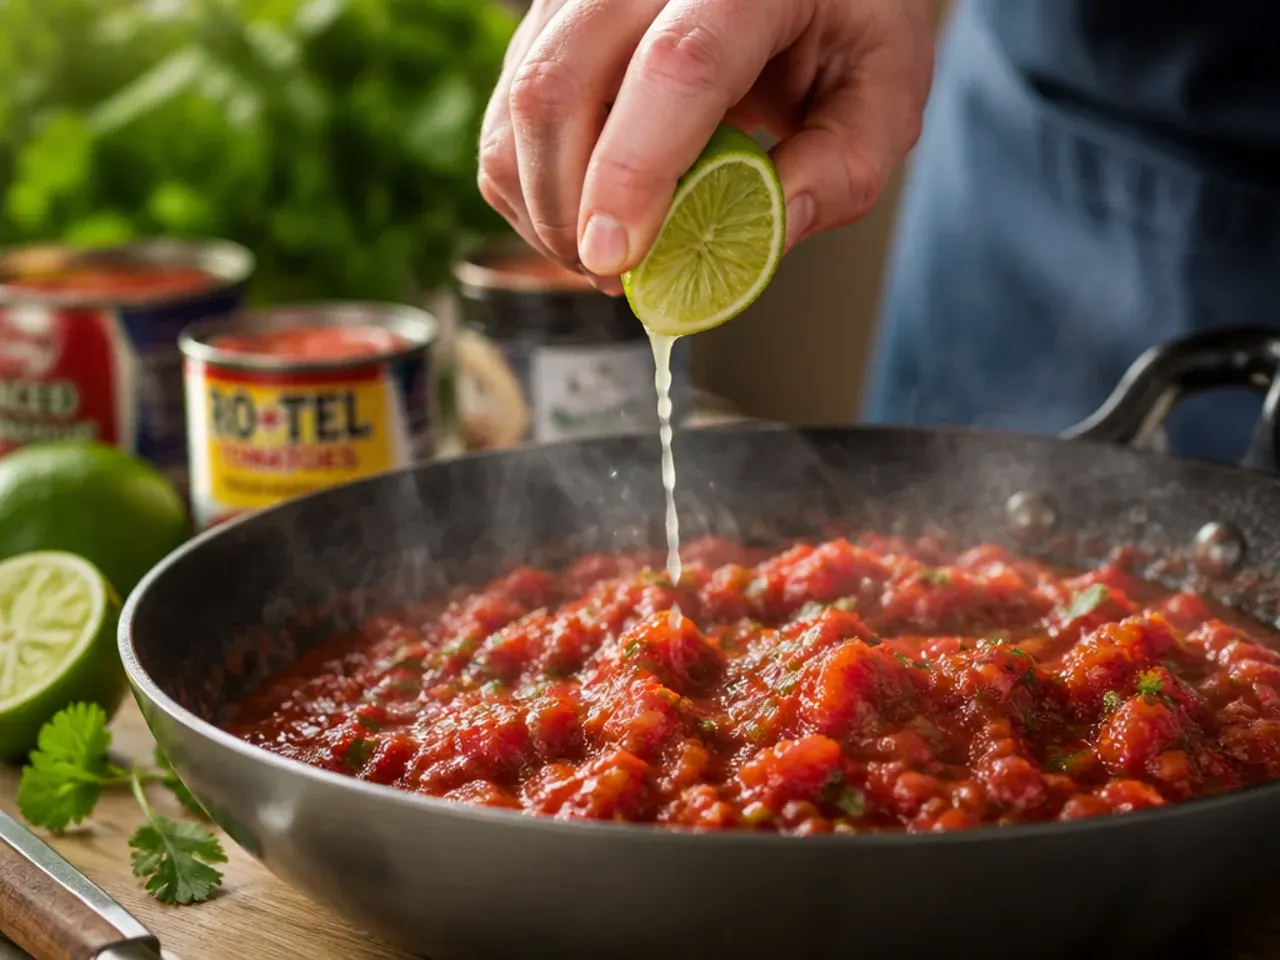
Roll one whole lime firmly against the counter with the flat of your hand for 10 seconds to release more juice, then halve and squeeze it to yield about 30 ml (2 tbsp). Strain out any pips with your fingers or a small sieve. Fresh lime juice is essential here; bottled juice tastes flat and won't balance the canned tomatoes' sweetness the same way.
Step 9: Measure the dry seasonings
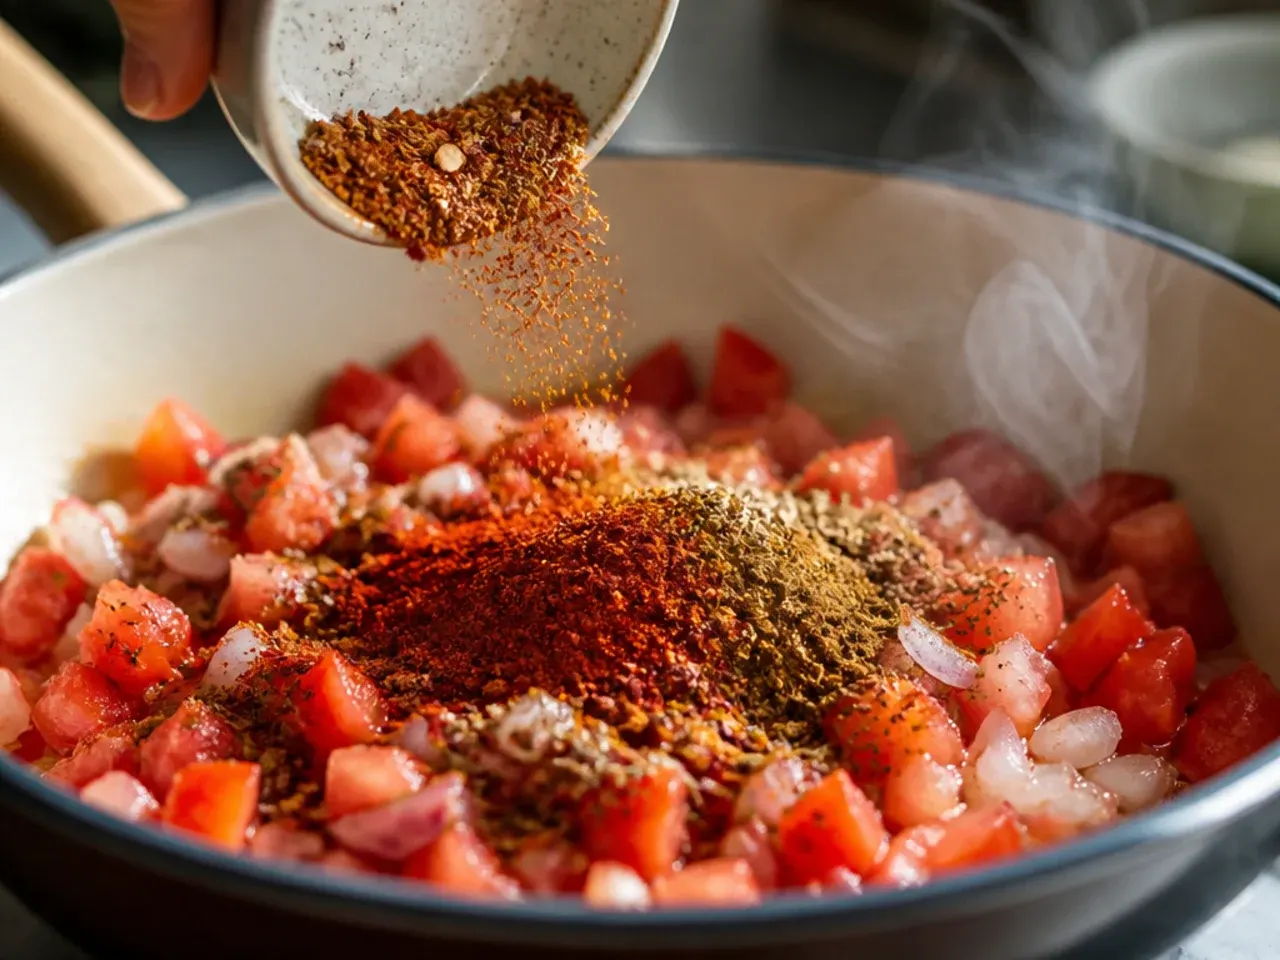
Measure 5 g (1 tsp) fine sea salt, 2 g (1/2 tsp) ground cumin, 5 g (1 tsp) granulated sugar, and 1 g (1/4 tsp) black pepper into a small bowl. Measuring everything upfront means you won't be scrambling mid-blend. If you enjoy a smoky edge, stir 1 g (1/4 tsp) chipotle powder into the same bowl.
Step 10: Layer the aromatics into the processor first
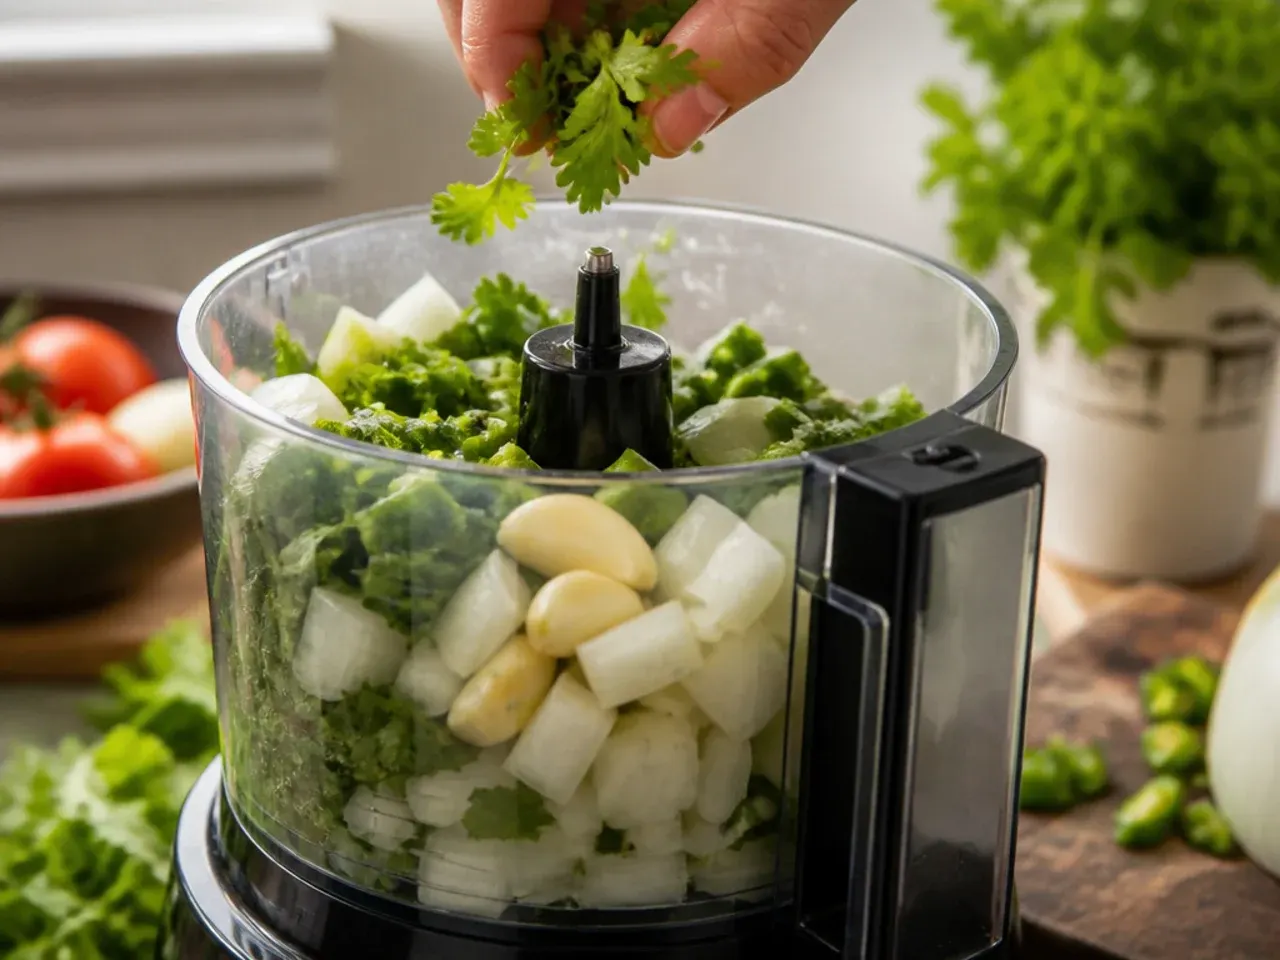
Add the peeled garlic, chopped jalapeño, onion chunks, and chopped cilantro to the bowl of a food processor or blender. Putting the tougher aromatics in first, beneath the tomatoes, helps them mince evenly instead of getting pushed to the sides. Fit the lid and make sure the blade is seated properly before pulsing.
Step 11: Pulse the aromatics to a fine mince
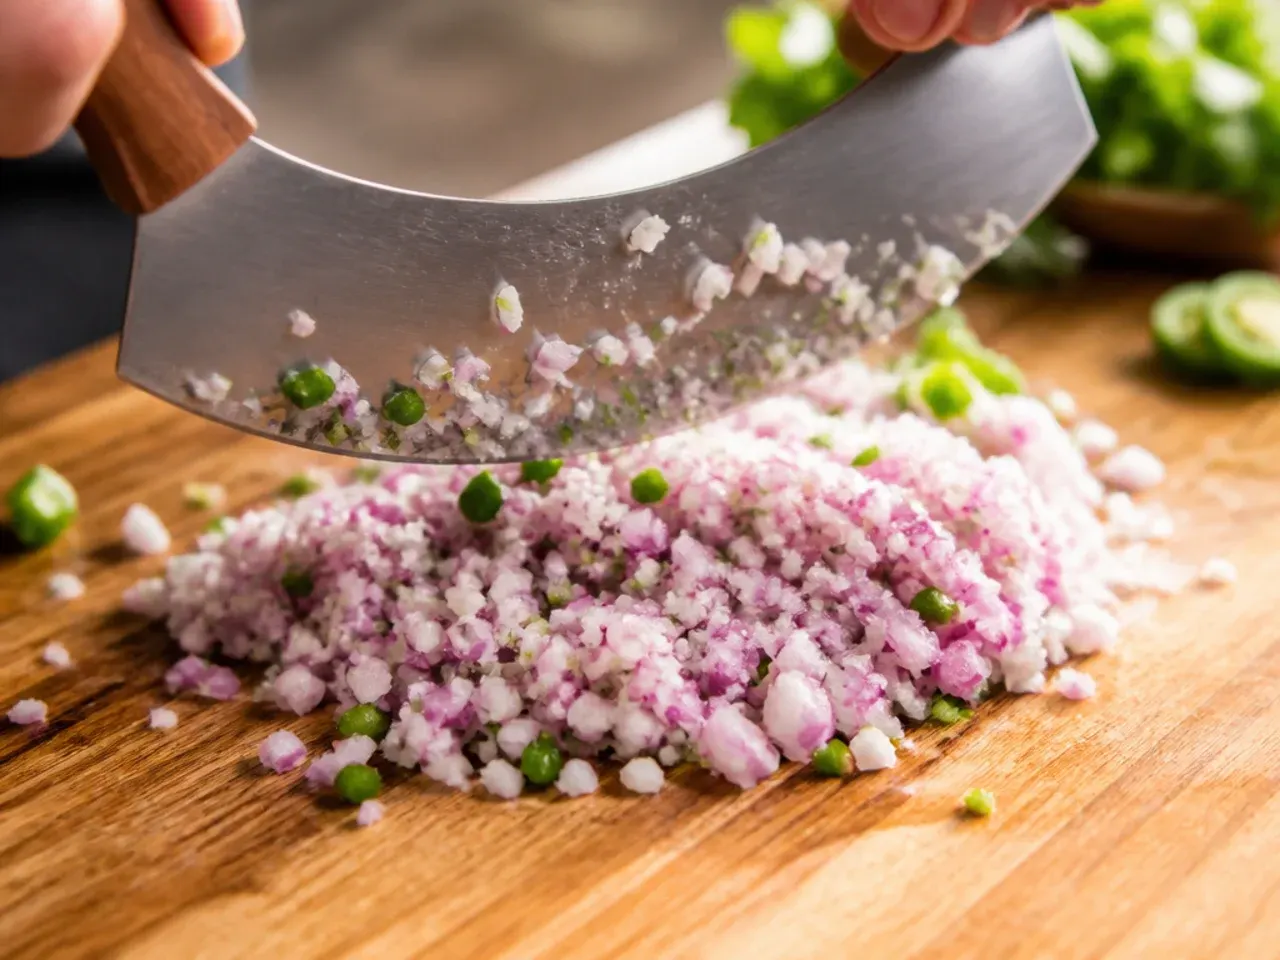
Pulse 6-8 times in one-second bursts until the onion, garlic, jalapeño, and cilantro are finely minced but not liquefied, scraping down the sides once halfway through. Aim for pieces roughly 2-3 mm across, not a smooth paste. Over-processing at this stage makes the whole salsa taste bitter from broken-down onion.
Step 12: Add the drained tomatoes on top
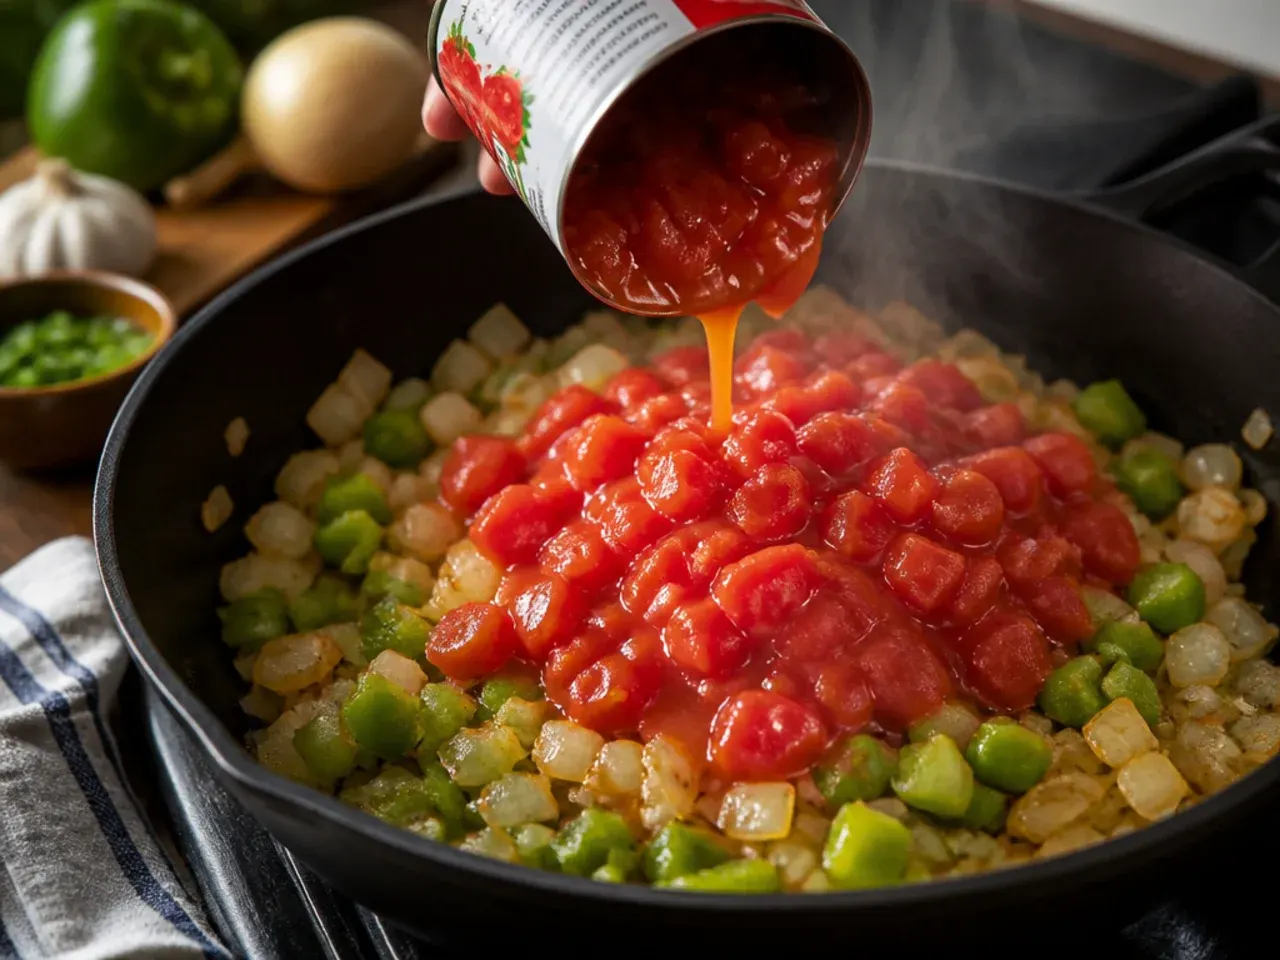
Tip most of the drained whole and diced tomatoes into the processor on top of the minced aromatics, holding back a small handful (about 60-75 g) in a separate bowl to adjust texture and heat later if needed. Add the seasoning mix from Step 9 and the 30 ml (2 tbsp) lime juice at the same time so everything blends in together. Don't add the reserved tomato liquid yet.
Step 13: Pulse to your preferred texture
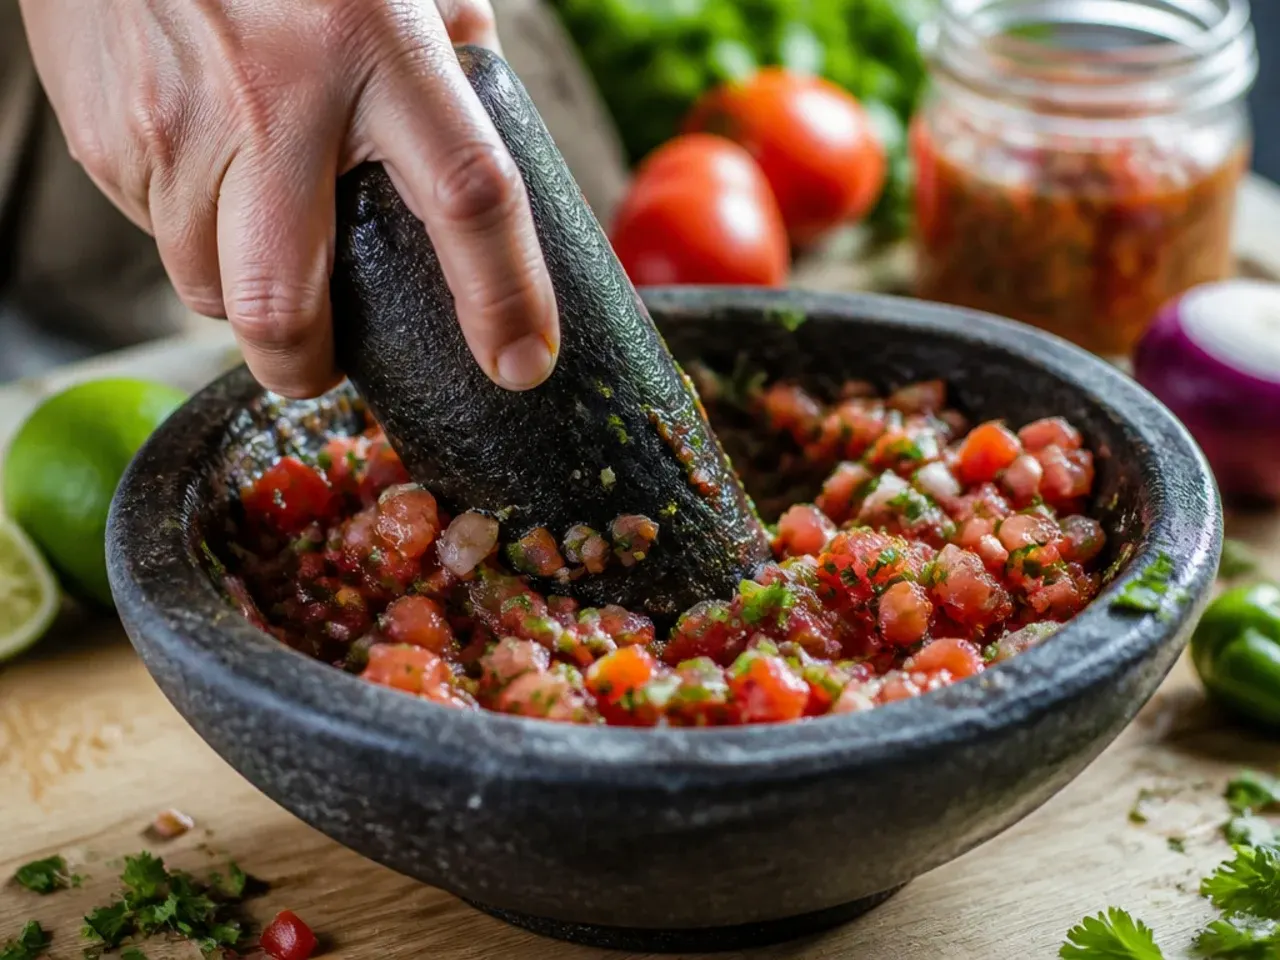
Pulse in short 1-second bursts, 8-10 times total, checking the texture after every few pulses. For classic restaurant-style salsa, aim for small, chunky pieces rather than a smooth purée; stop as soon as the biggest tomato chunks are about 5-8 mm. Scrape down the sides with a spatula halfway through so nothing hides unblended at the bottom.
Step 14: Check the consistency
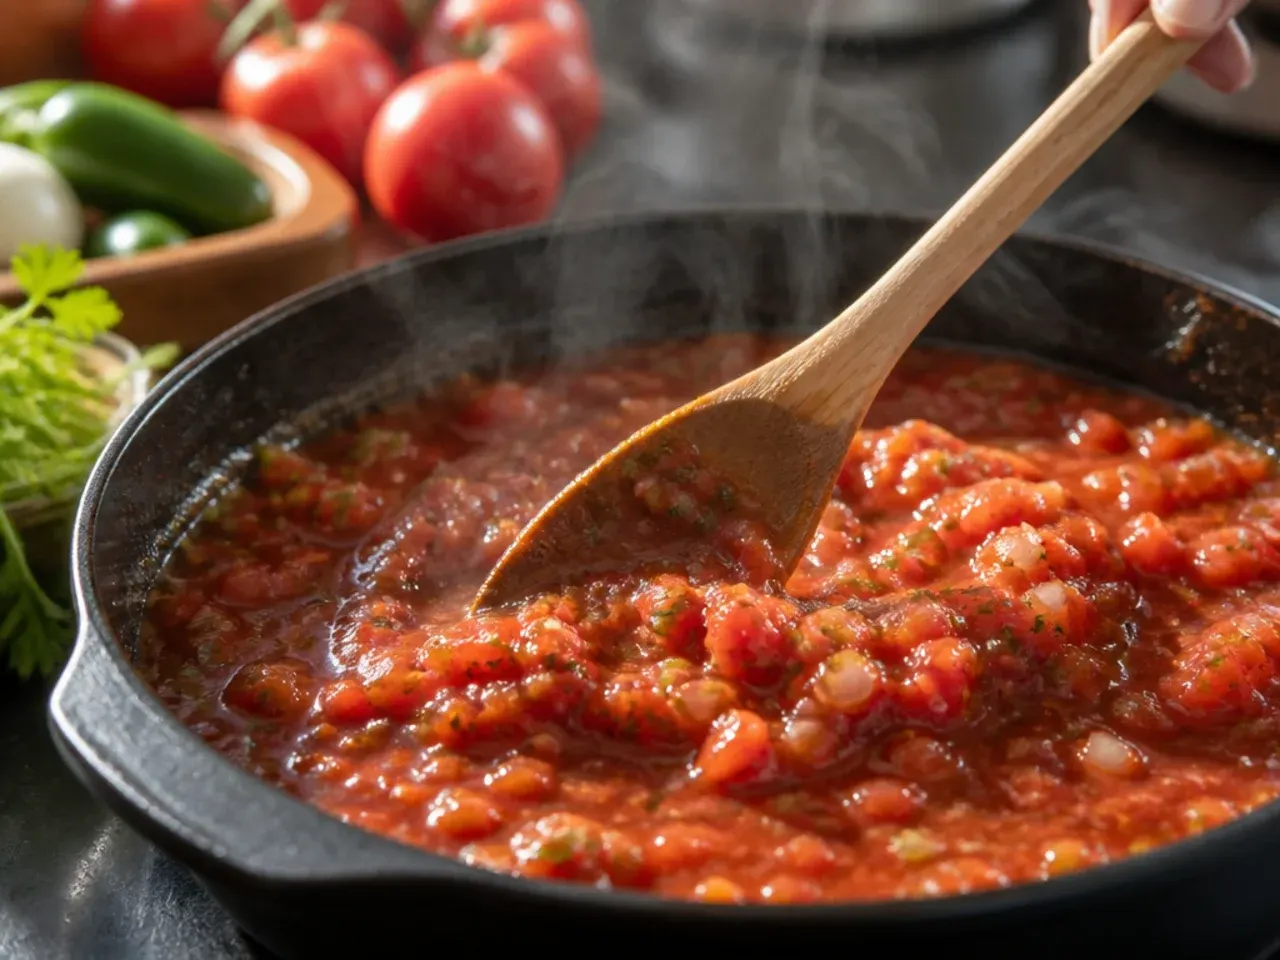
Spoon a little salsa onto a plate and tilt it; it should hold a slight mound rather than run thin and watery. If it looks too thick or dry for your taste, add the reserved tomato liquid, 15 ml (1 tbsp) at a time, pulsing once after each addition. If it looks watery instead, stir in another small handful of drained tomato rather than adding more liquid.
Step 15: Loosen with reserved tomato liquid if needed
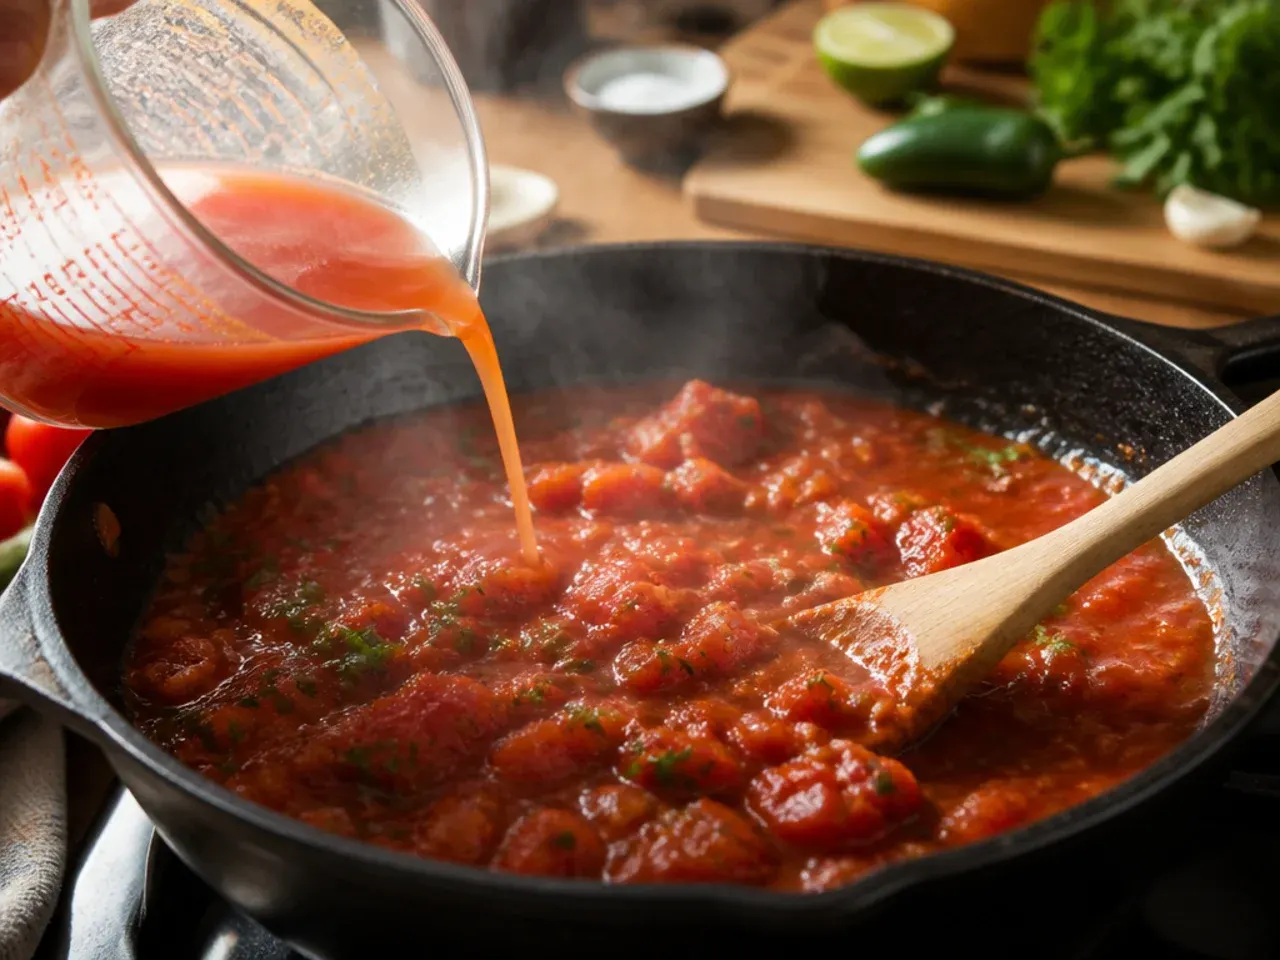
For a looser, more pourable salsa, add up to 60 ml (1/4 cup) of the reserved tomato liquid from Step 2, pulsing briefly after each splash. Add it gradually, since it's easy to over-thin the salsa and hard to thicken it back up afterwards. Most batches need no more than 2-3 tablespoons total.
Step 16: Taste for salt
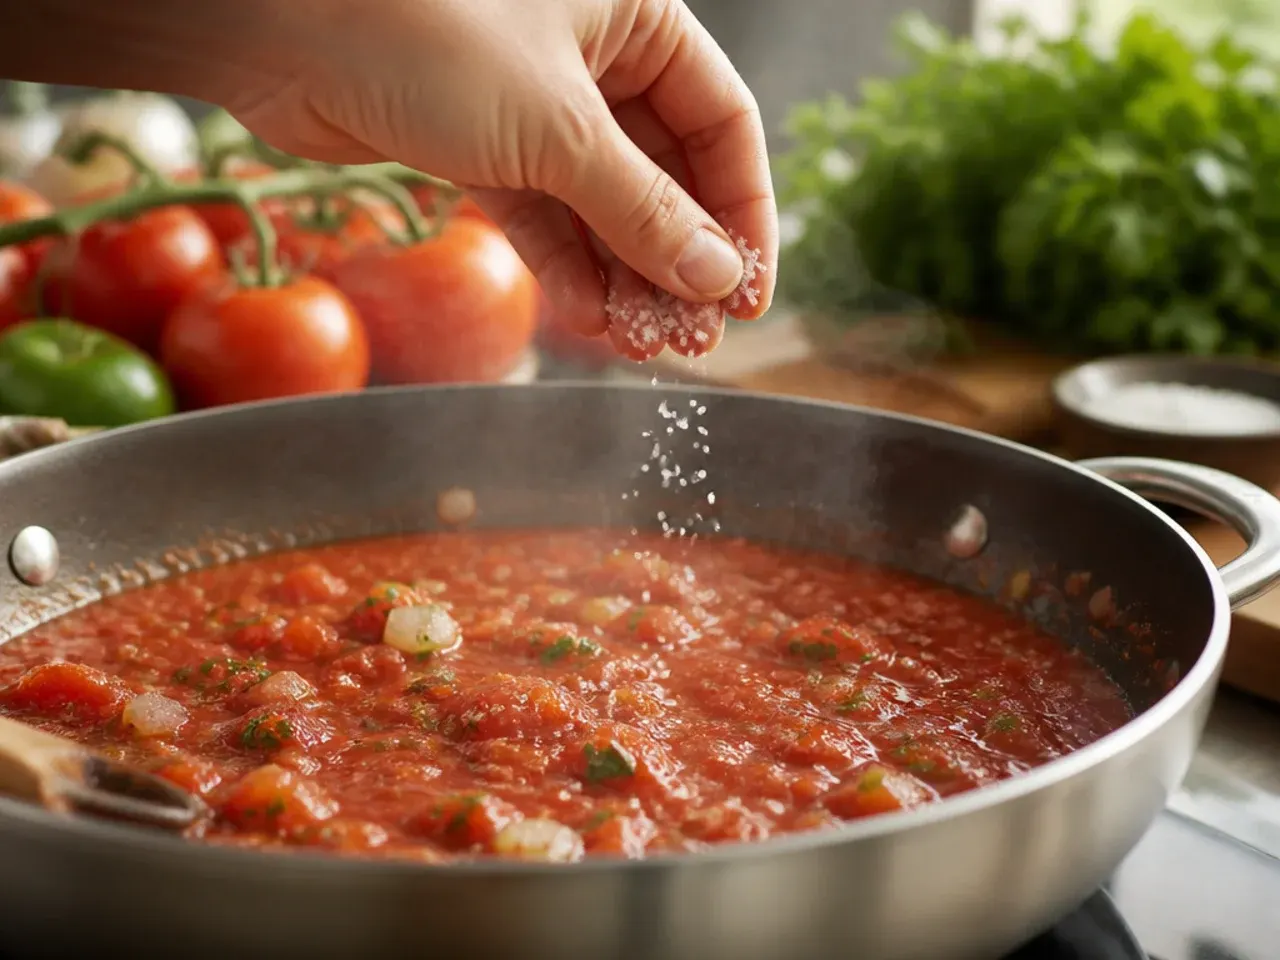
Dip a clean spoon in and taste the salsa directly; it should taste bright and well-seasoned, not flat. If it tastes dull, add a further pinch (about 1 g) of salt, pulse once, and taste again. Canned tomatoes vary in saltiness between brands, so this check matters more than the original measurement.
Step 17: Taste for acidity and sweetness
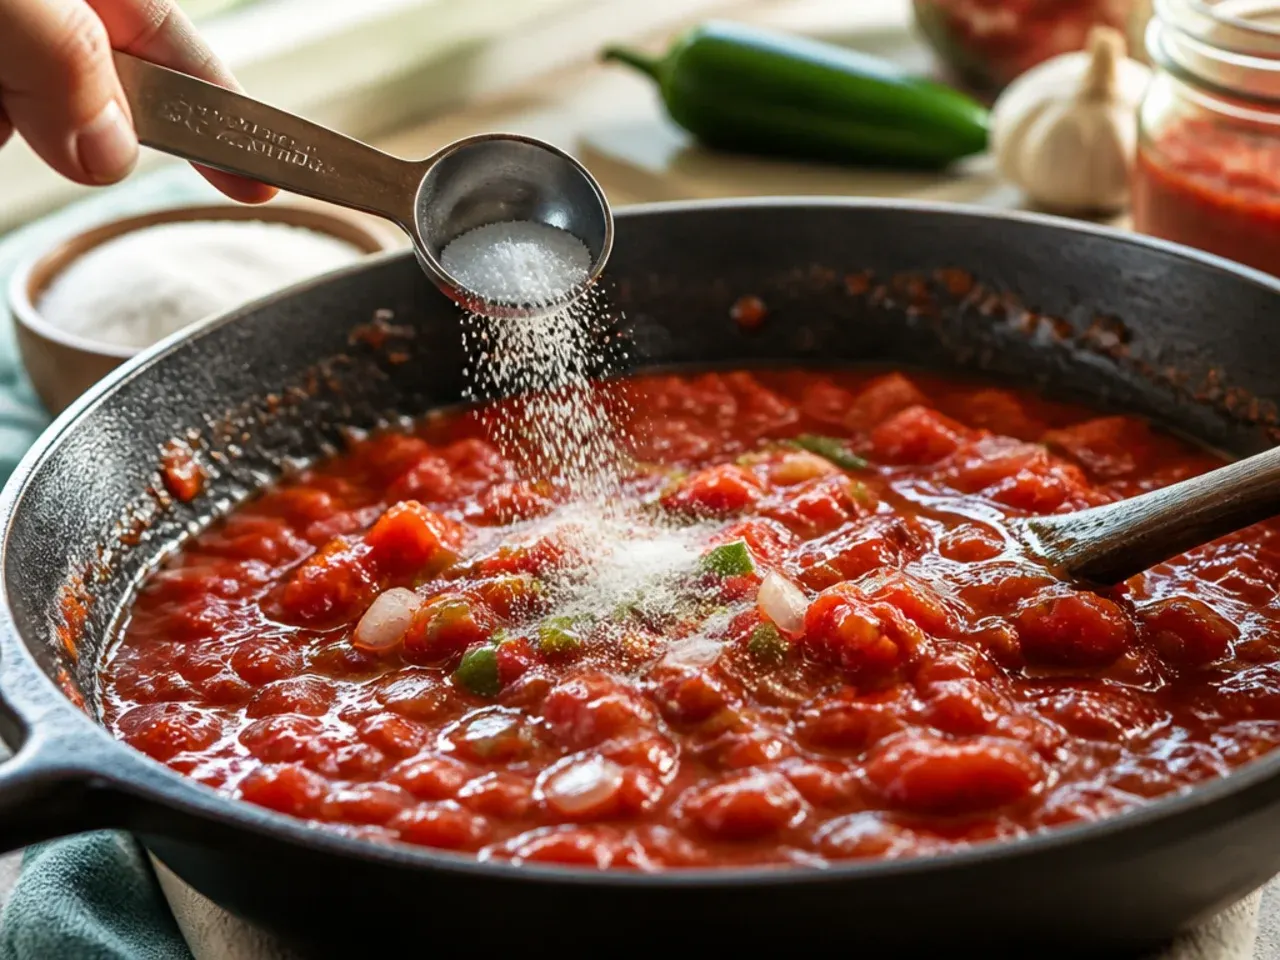
The salsa should taste balanced between tangy and mildly sweet, with the lime cutting through the tomatoes' natural sugar. If it tastes too sharp, add another 2 g (1/2 tsp) sugar; if it tastes flat or one-note, add another squeeze of lime juice. Adjust in small increments and pulse briefly before tasting again.
Step 18: Taste for heat and adjust
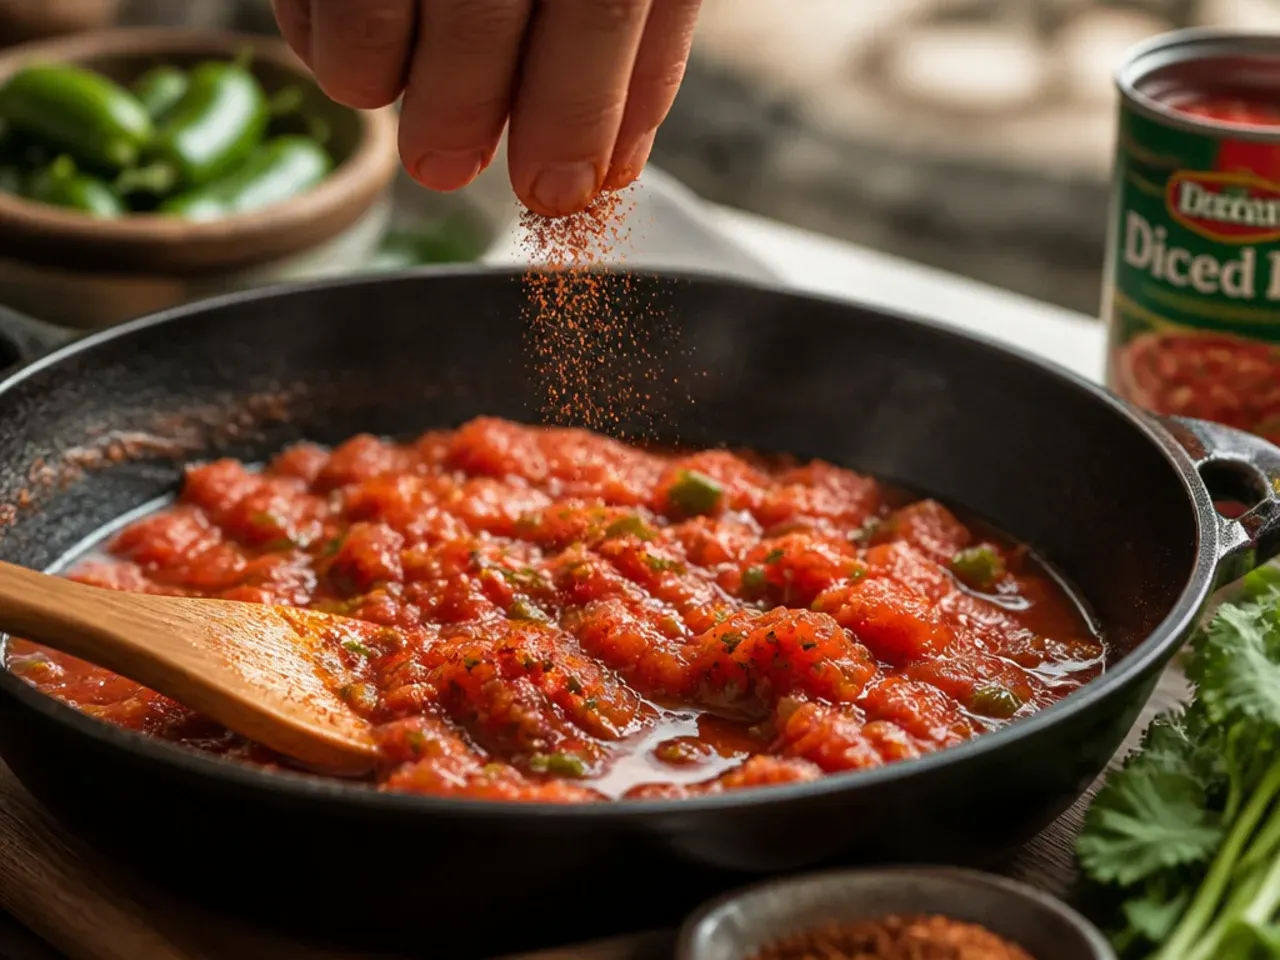
For more heat, finely chop half a fresh raw jalapeño or add a pinch more chipotle powder and pulse it in for 2-3 short bursts. If the salsa is too hot, stir through an extra 30-45 g (about 2-3 tbsp) of drained plain canned tomato to mellow it, rather than trying to fish out chilli already blended in. Always taste a full spoonful, not just a lick, since heat builds after a few seconds.
Step 19: Do a final overall taste check
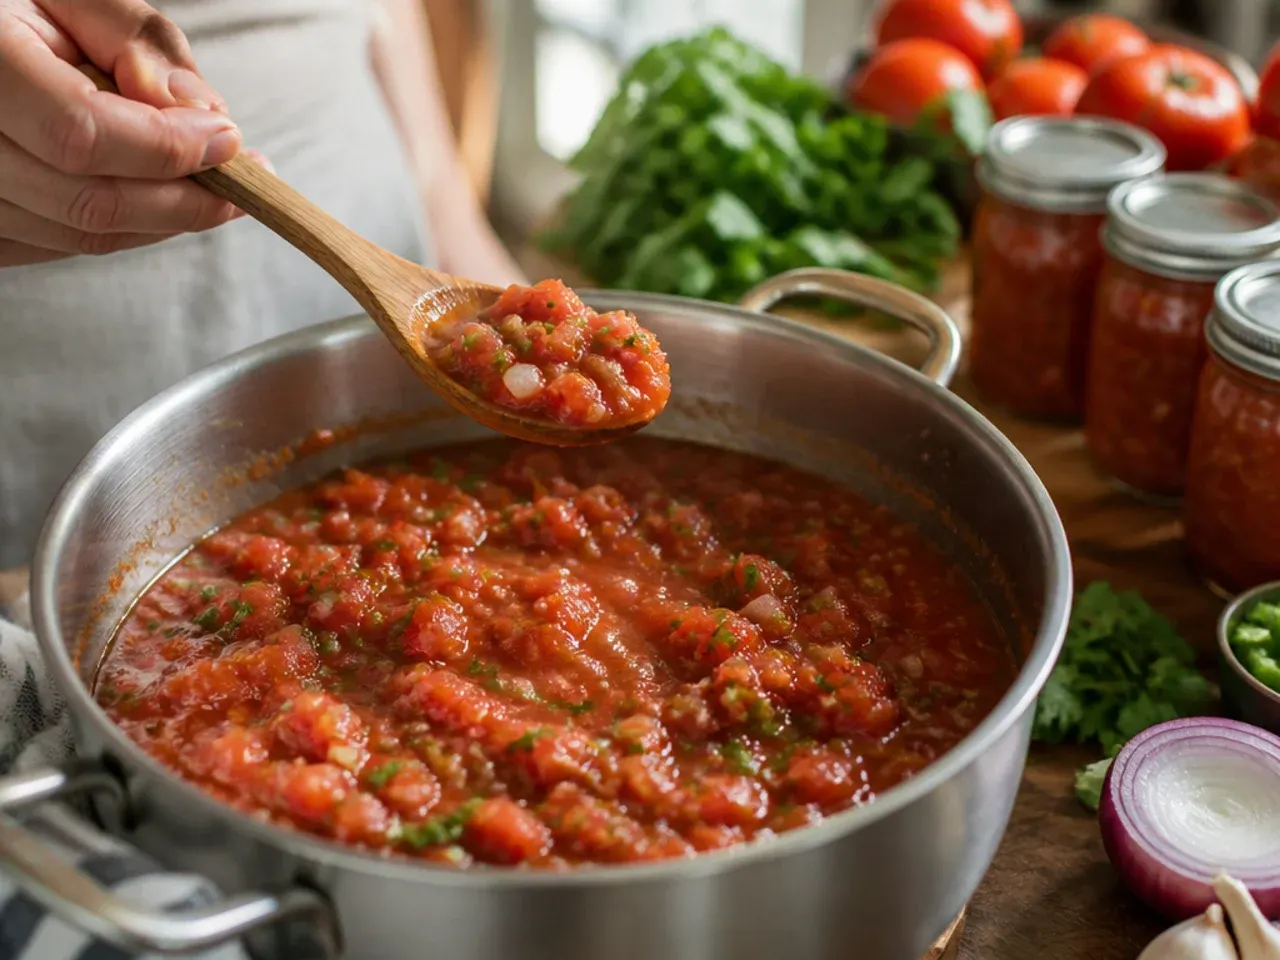
Taste once more for balance across salt, acid, sweetness, and heat together, since adjusting one element can shift how the others come across. The salsa should taste vivid and moreish on its own, not needing chips to carry the flavour. Once everything tastes rounded and bright, move on to chilling.
Step 20: Transfer the salsa to a storage container
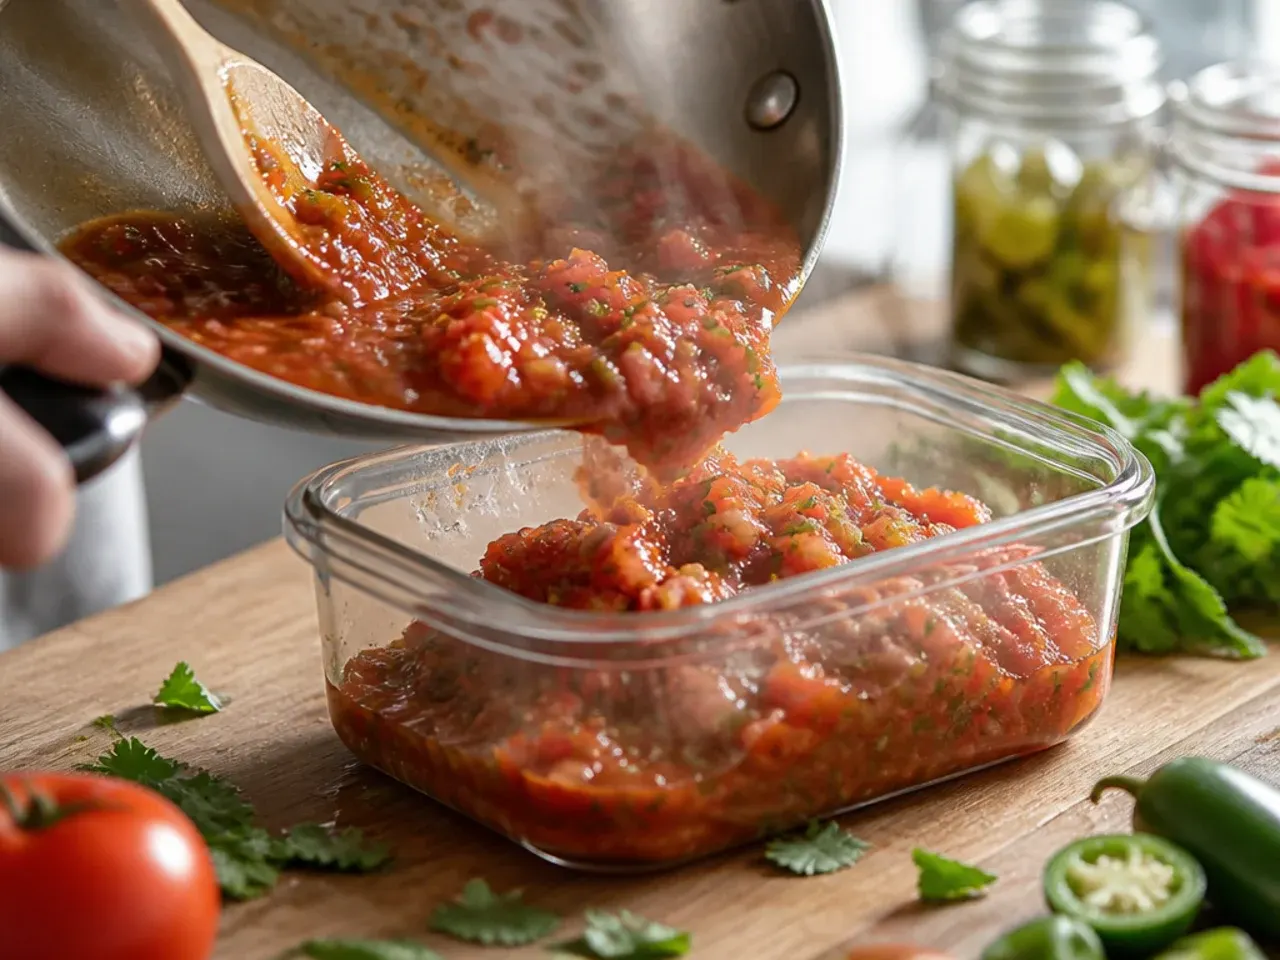
Pour the finished salsa into a clean glass jar or airtight container with a tight-fitting lid, filling to about 1 cm below the rim to leave room for stirring later. A glass jar lets you see the colour and check for separation before serving. Wipe the rim clean so the lid seals properly.
Step 21: Cover and chill to let flavours meld
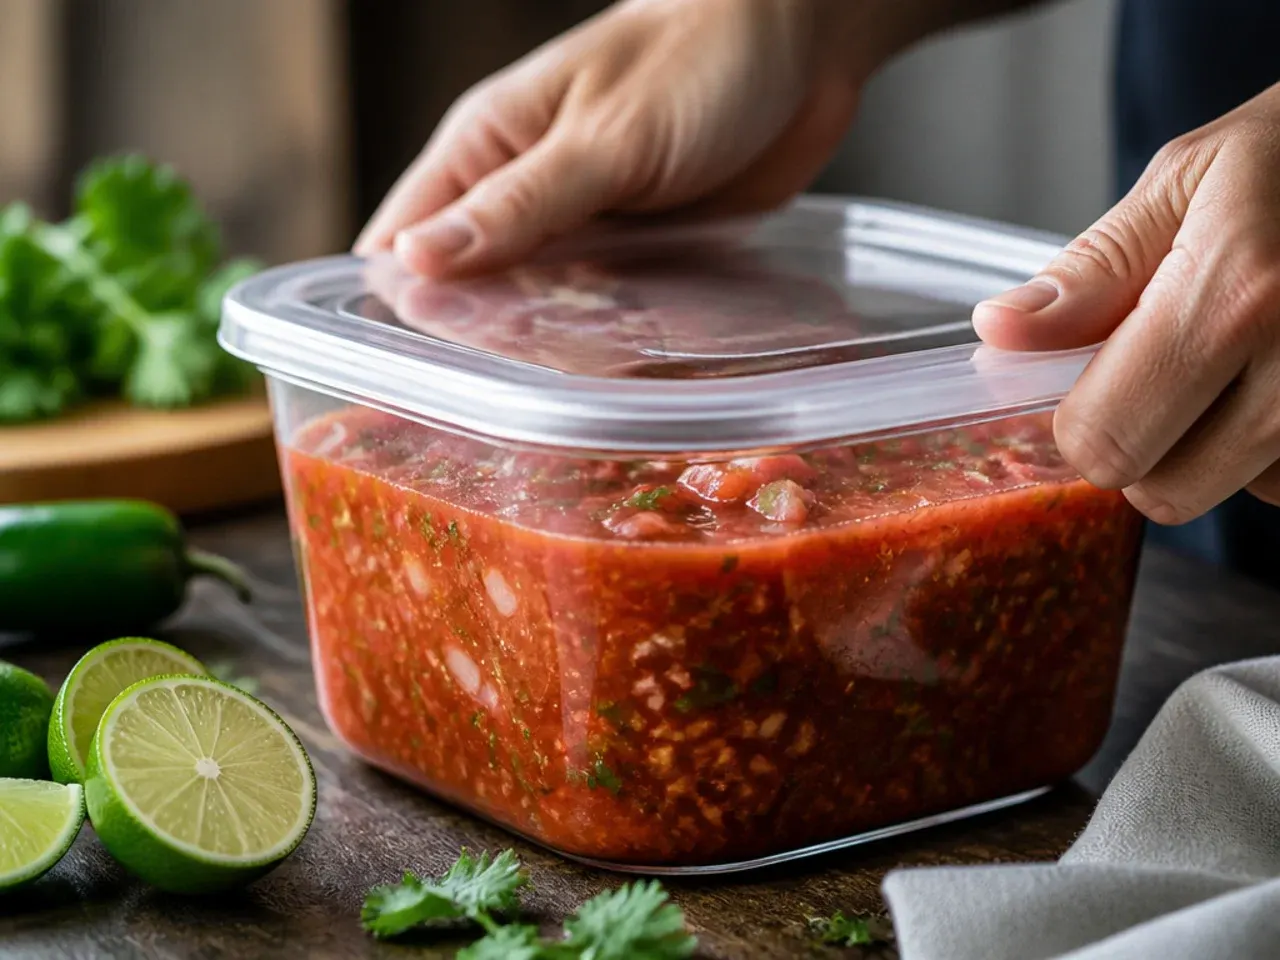
Seal the container and refrigerate for at least 1 hour before serving; this resting time is what makes canned-tomato salsa taste like it's simmered for hours. The onion mellows, the garlic rounds out, and the lime and cumin fully permeate the tomatoes during this time. For the best flavour, chill for up to 4 hours or overnight.
Step 22: Stir before serving
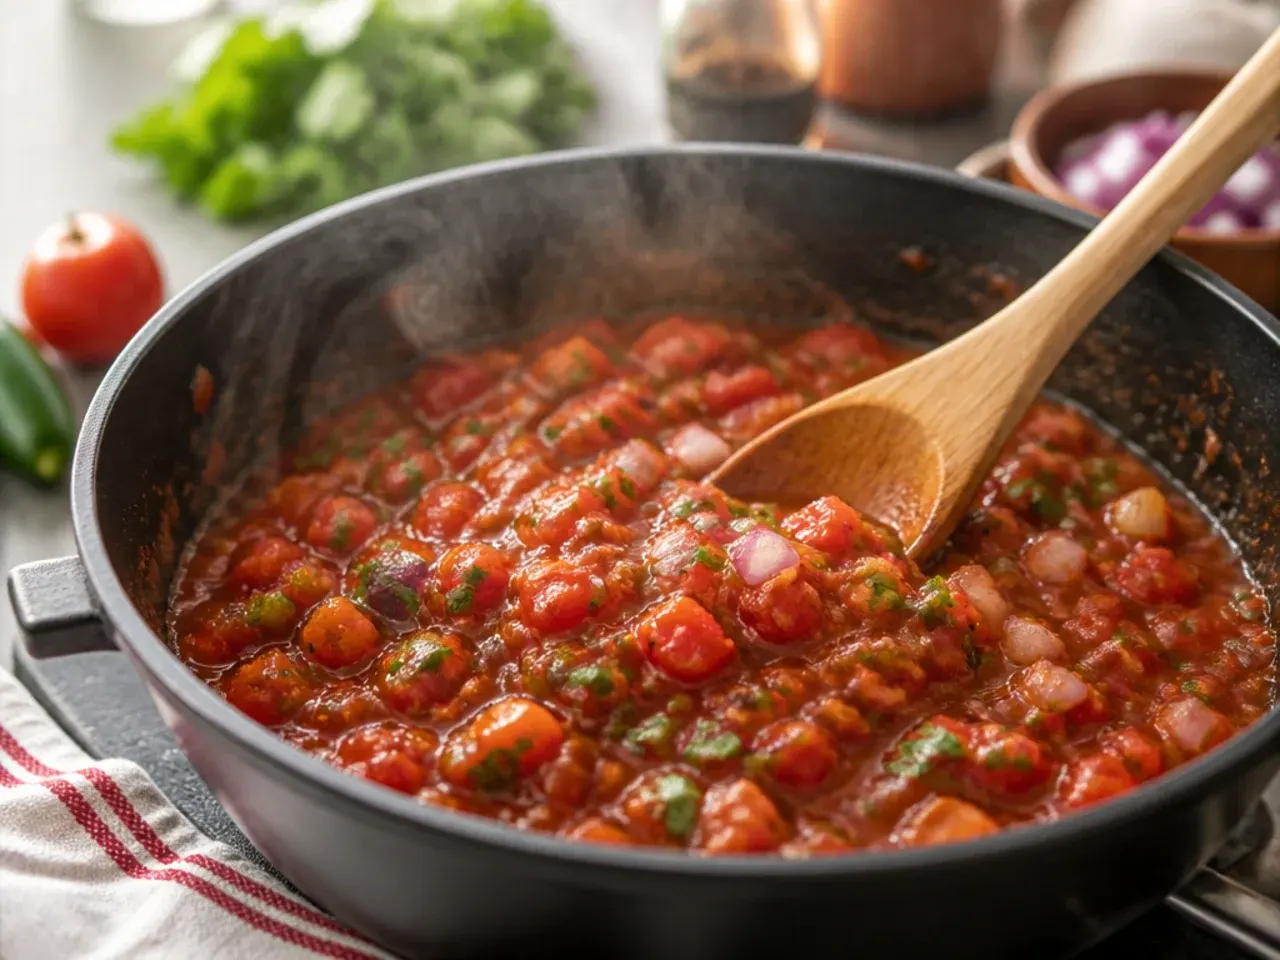
Remove the salsa from the fridge and give it a good stir with a spoon, since the solids settle slightly and the liquid can separate a little during chilling. It should look glossy and cohesive again after stirring, with visible flecks of cilantro and jalapeño throughout. If it's separated more than expected, stir in a small splash of the reserved tomato liquid.
Step 23: Taste once more after chilling
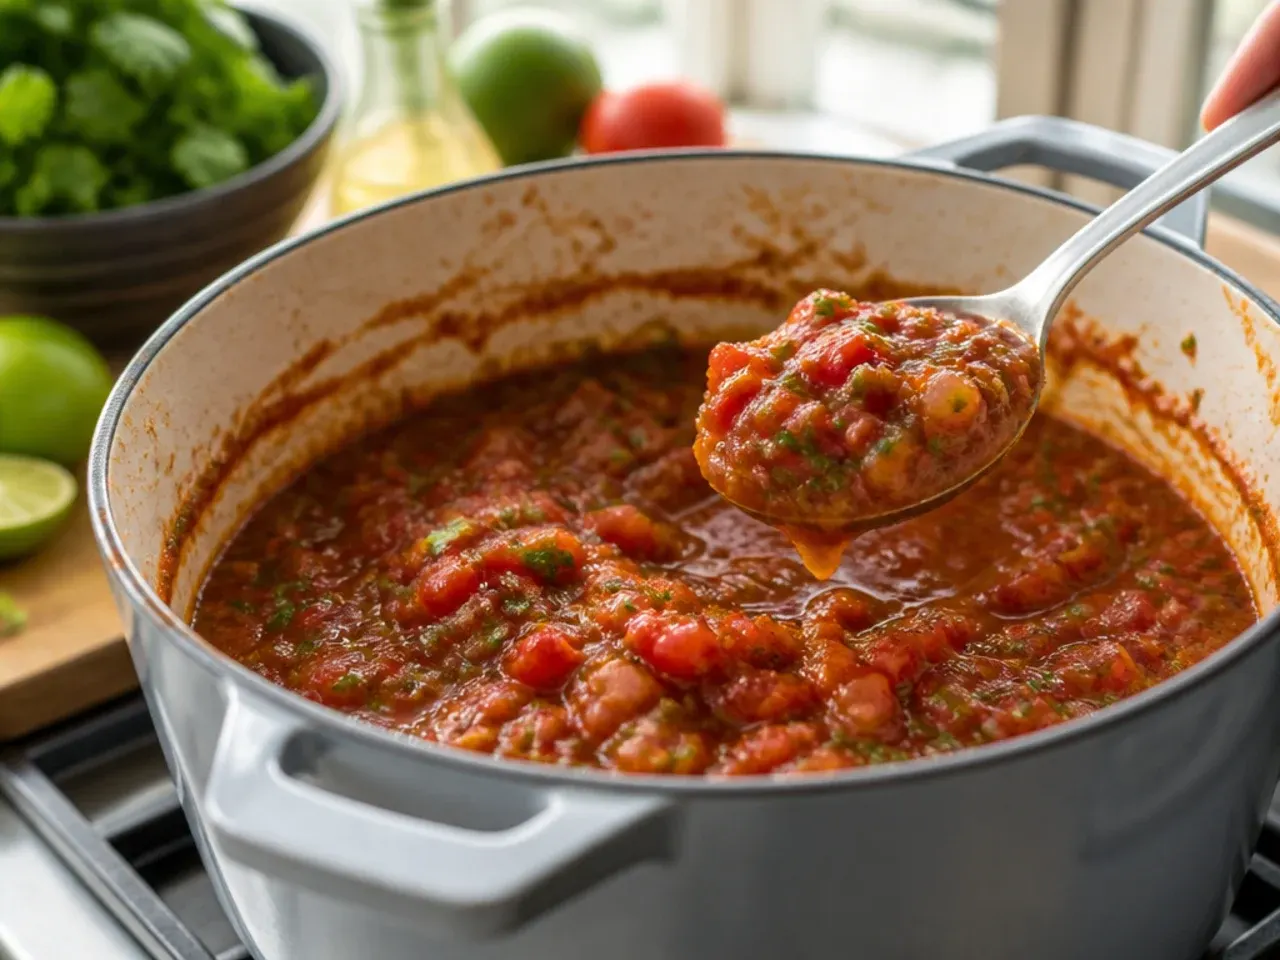
Cold temperatures mute seasoning, so taste the chilled salsa again and add a final pinch of salt or squeeze of lime if it tastes flatter than before. This is the most commonly skipped step, and it's the difference between good and great homemade salsa. Adjust only in small increments, since you can't remove seasoning once it's in.
Step 24: Garnish just before serving
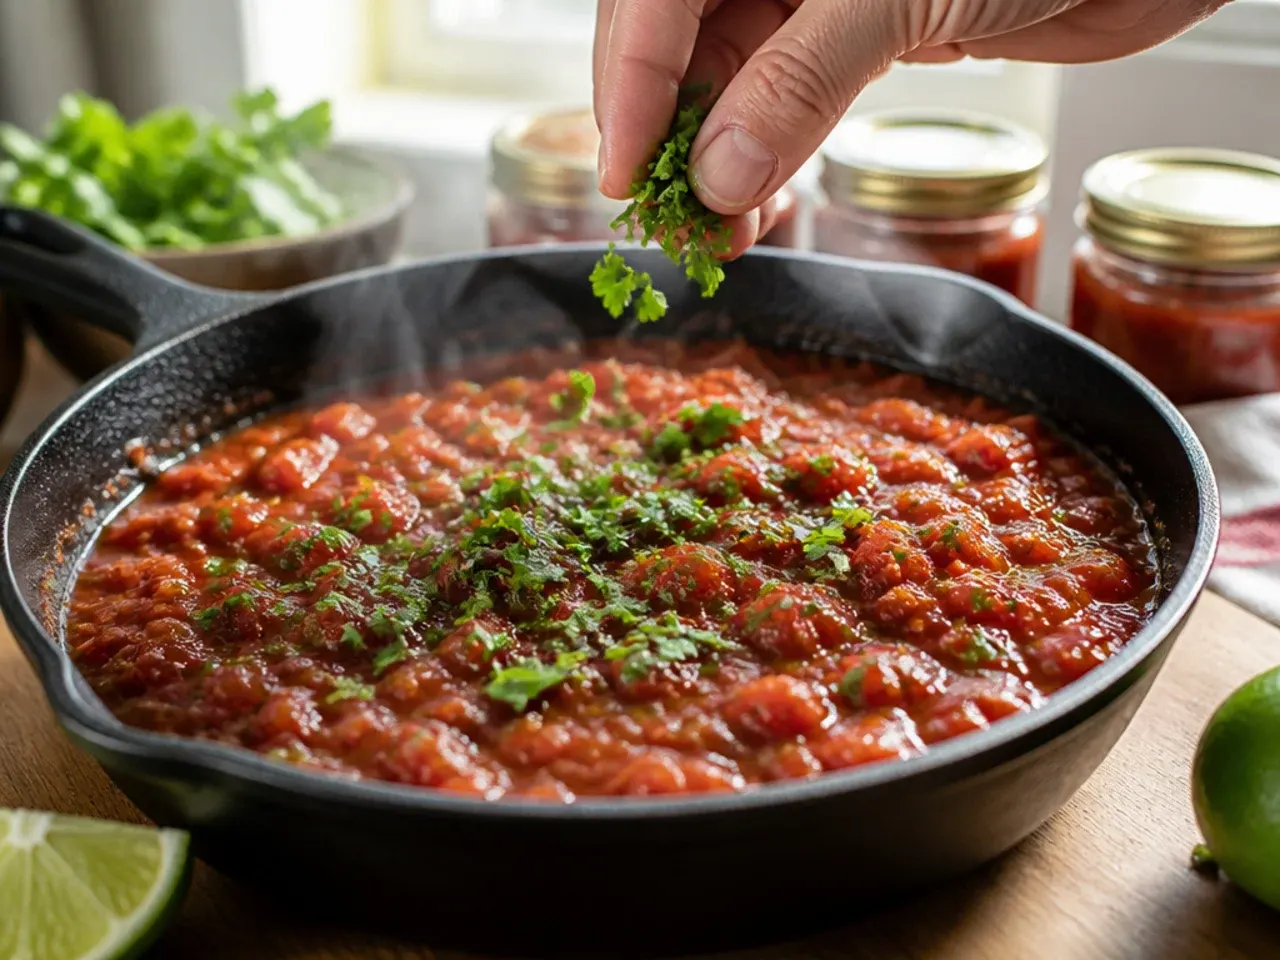
Scatter the reserved handful of chopped cilantro from Step 7 over the top just before bringing the salsa to the table. A few thin rings of fresh jalapeño or a light dusting of extra chipotle powder also make an attractive finishing touch. Garnishing at the last minute keeps the herbs looking fresh rather than wilted.
Step 25: Portion into a serving bowl
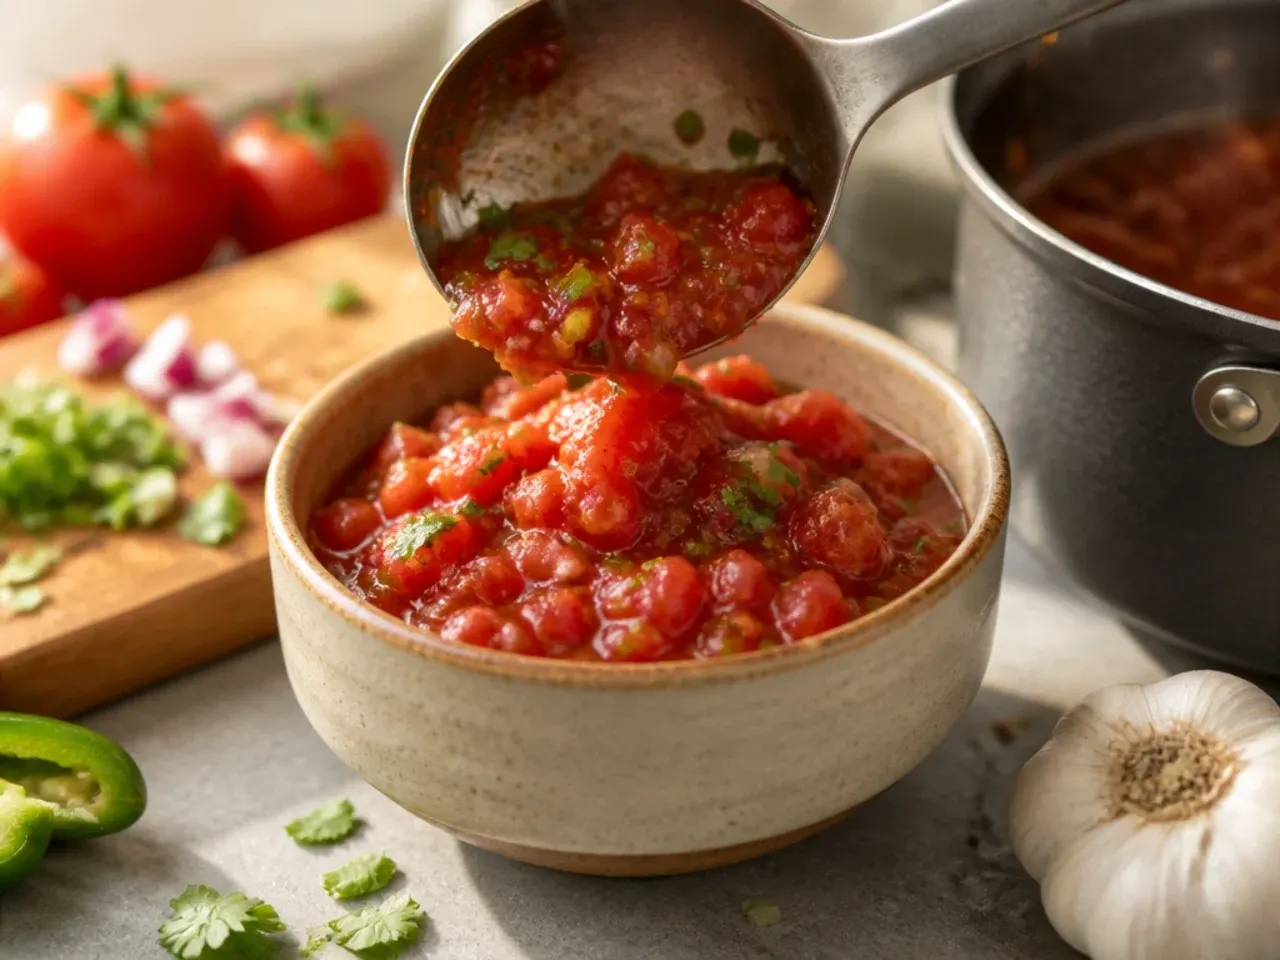
Spoon the salsa into a small serving bowl rather than serving straight from the storage jar, using about 240 ml (1 cup) per bowl for a group of 4-6 people snacking alongside chips. Keep the remaining salsa covered and chilled in its original container so it stays fresh for topping up.
Step 26: Warm tortilla chips to serve alongside
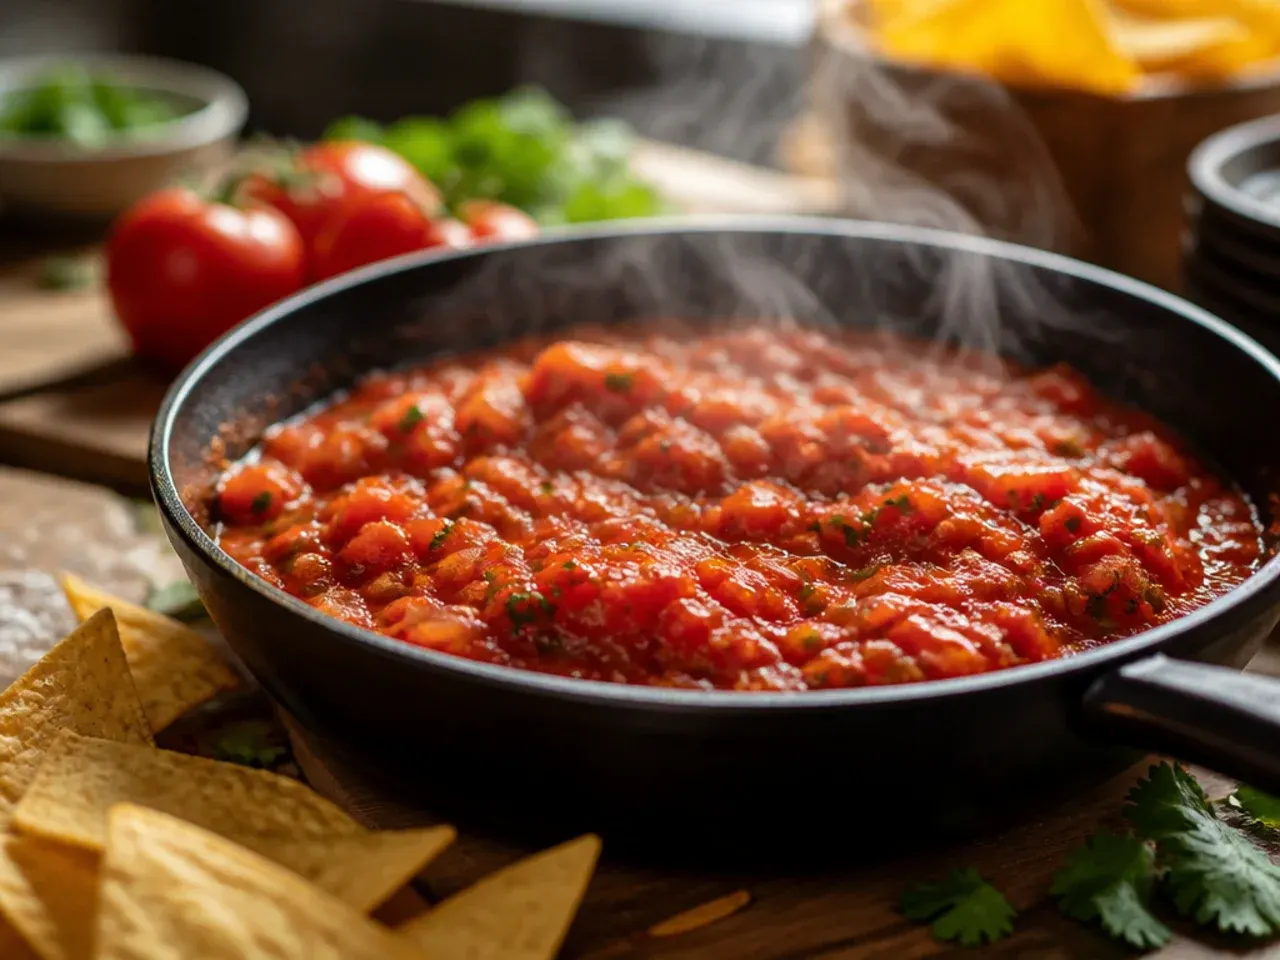
If serving with shop-bought tortilla chips, warm them on a baking tray at 180°C (350°F) for 4-5 minutes until just crisp and lightly toasted at the edges. Warm chips soften the contrast against cold salsa and bring out more corn flavour. Let them cool for 1 minute before serving so they don't wilt the salsa on contact.
Step 27: Use it hot as a quick cooked topping (optional)
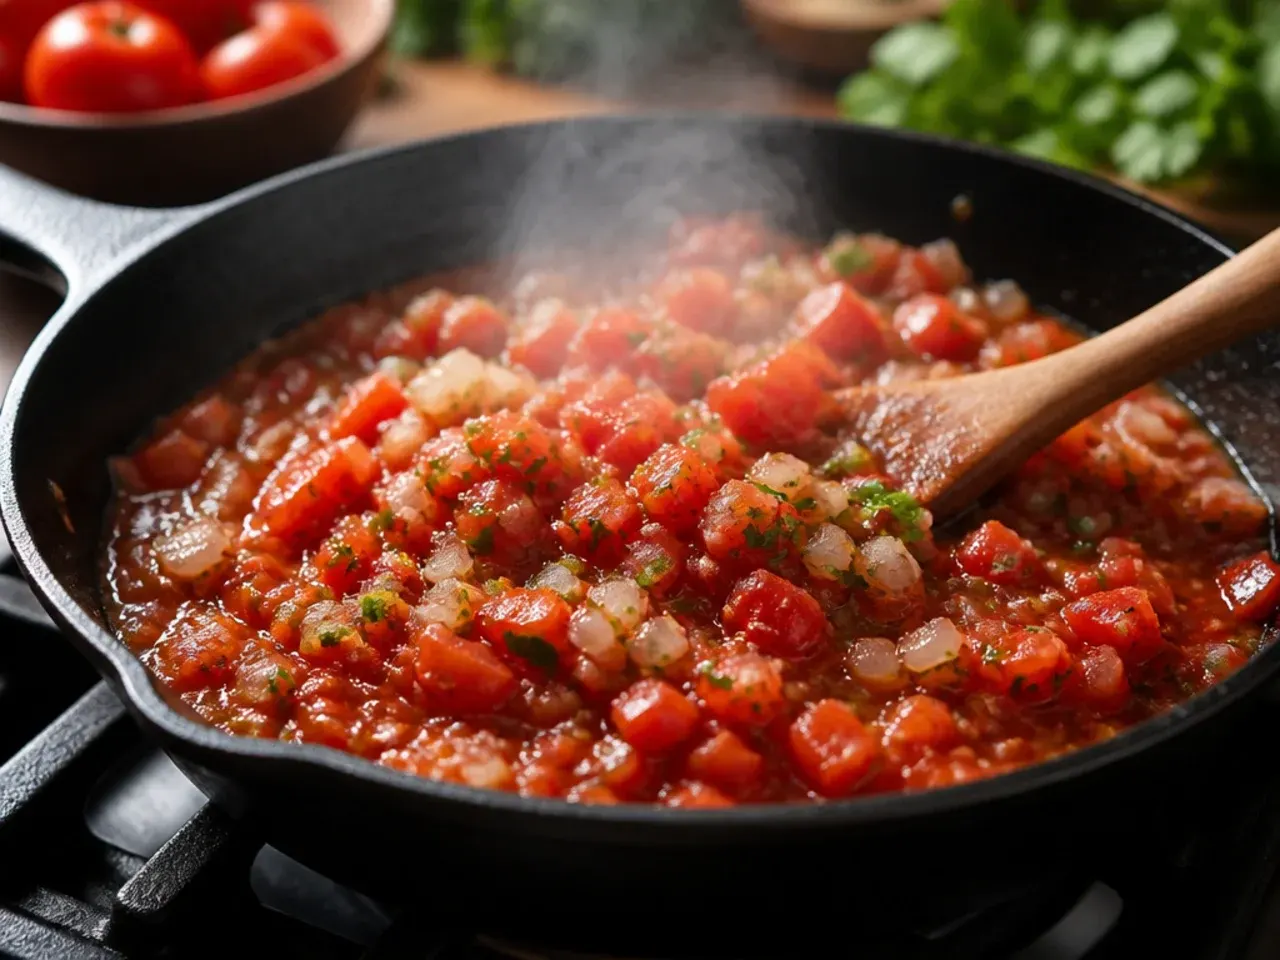
For a warm version to spoon over eggs, tacos, or grilled chicken, tip the finished salsa into a small saucepan and simmer gently over low heat for 5 minutes, stirring occasionally, until just heated through and slightly thickened. Don't let it boil hard, or the fresh lime and cilantro flavours will cook off and turn muted. Remove from the heat as soon as it's steaming.
Step 28: Check the seasoning again if serving warm
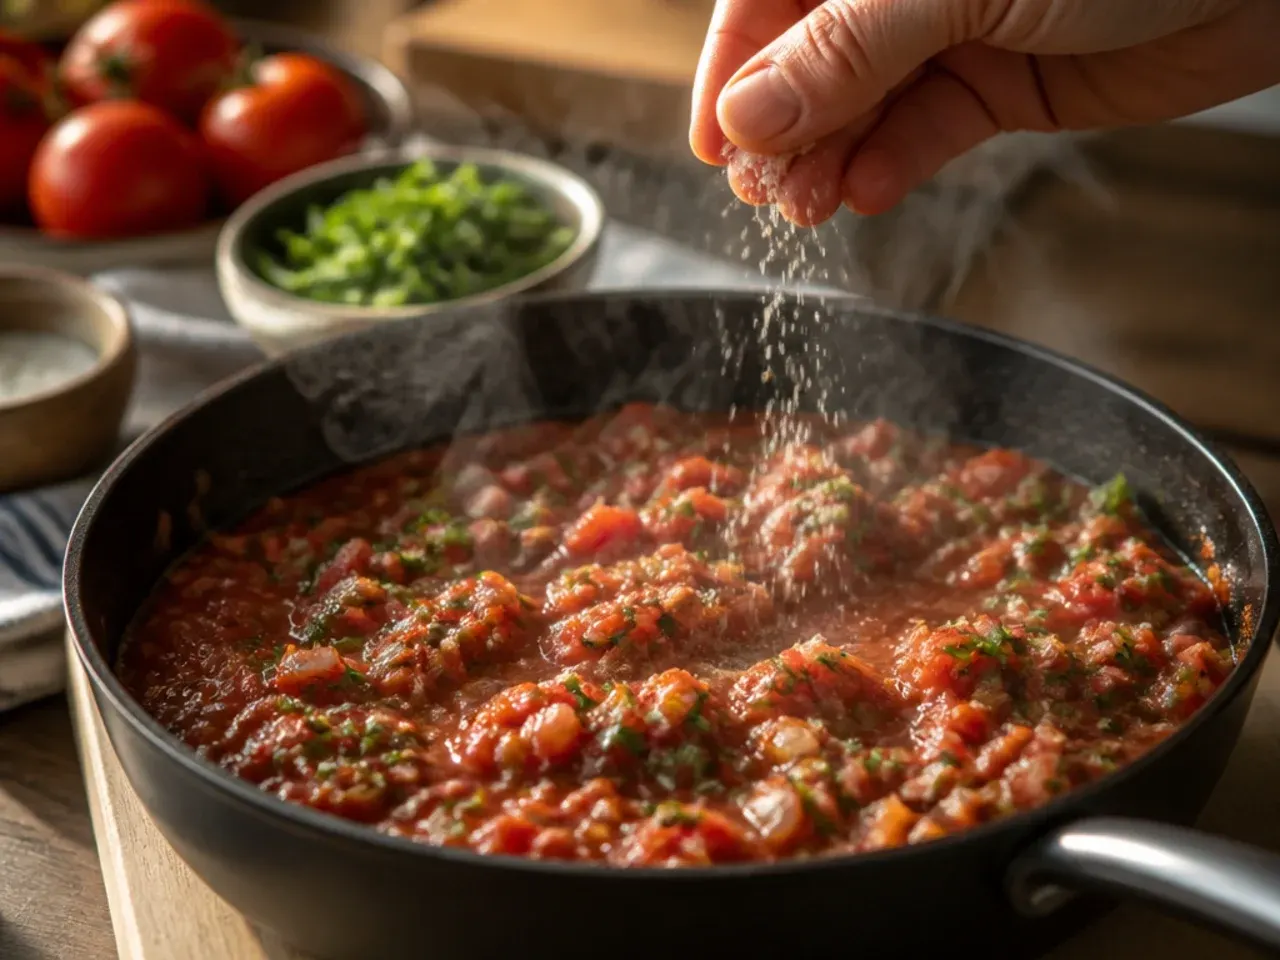
Heat mutes salt and chilli differently than cold does, so taste the warmed salsa once more and add a small pinch of salt or a fresh squeeze of lime if it tastes muted. This keeps the flavour just as vivid served hot as it was cold. Serve immediately once seasoned to your liking.
Step 29: Rest any leftovers before storing
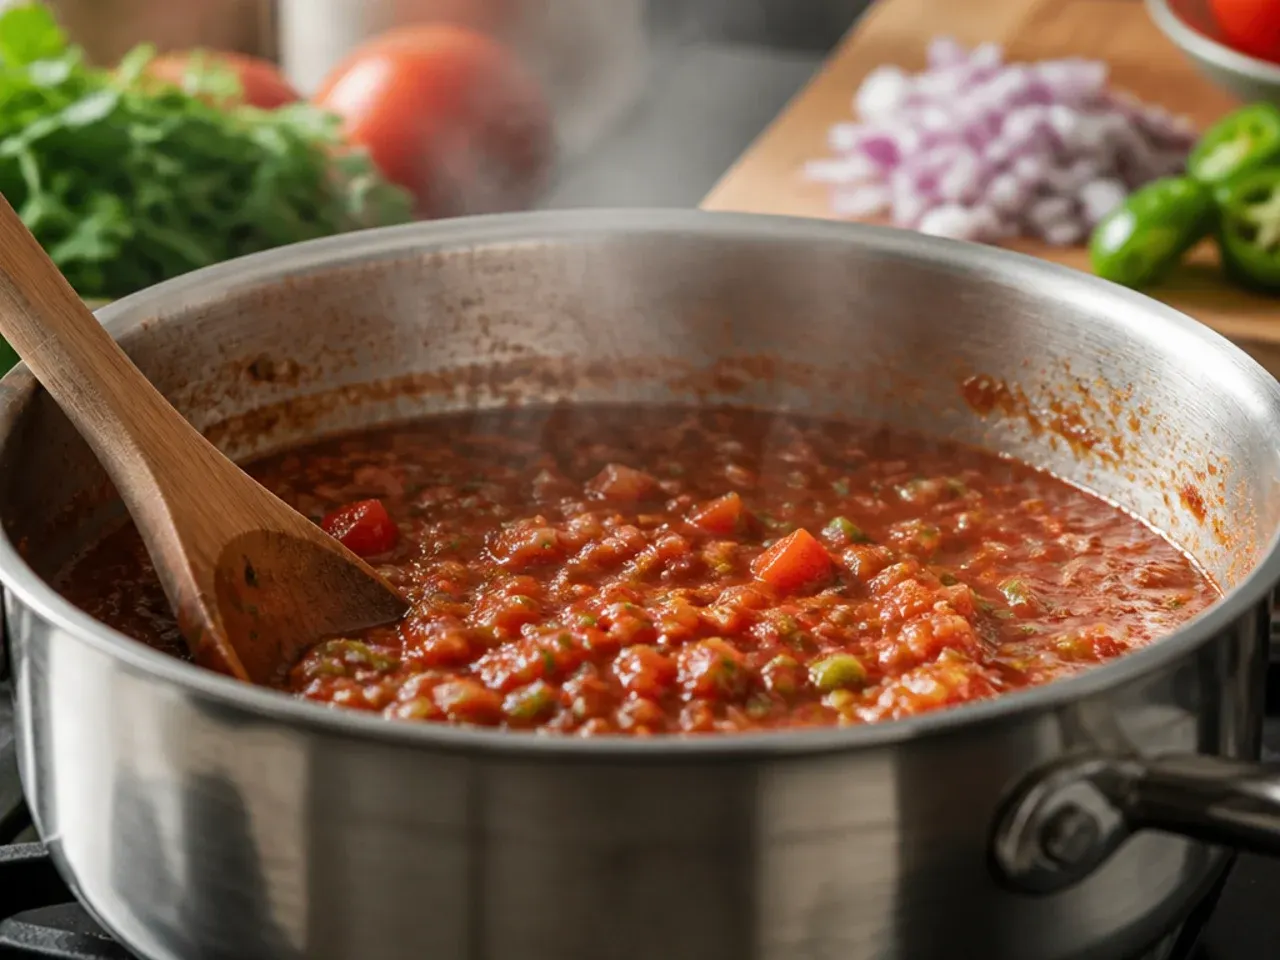
Let leftover salsa cool to room temperature for no more than 30 minutes before returning it to an airtight container and refrigerating; don't leave it out longer, since canned tomatoes and fresh aromatics are perishable. Cooling briefly first prevents condensation from watering down the texture once chilled. Cover tightly so it doesn't absorb other fridge odours.
Step 30: Label and date the container
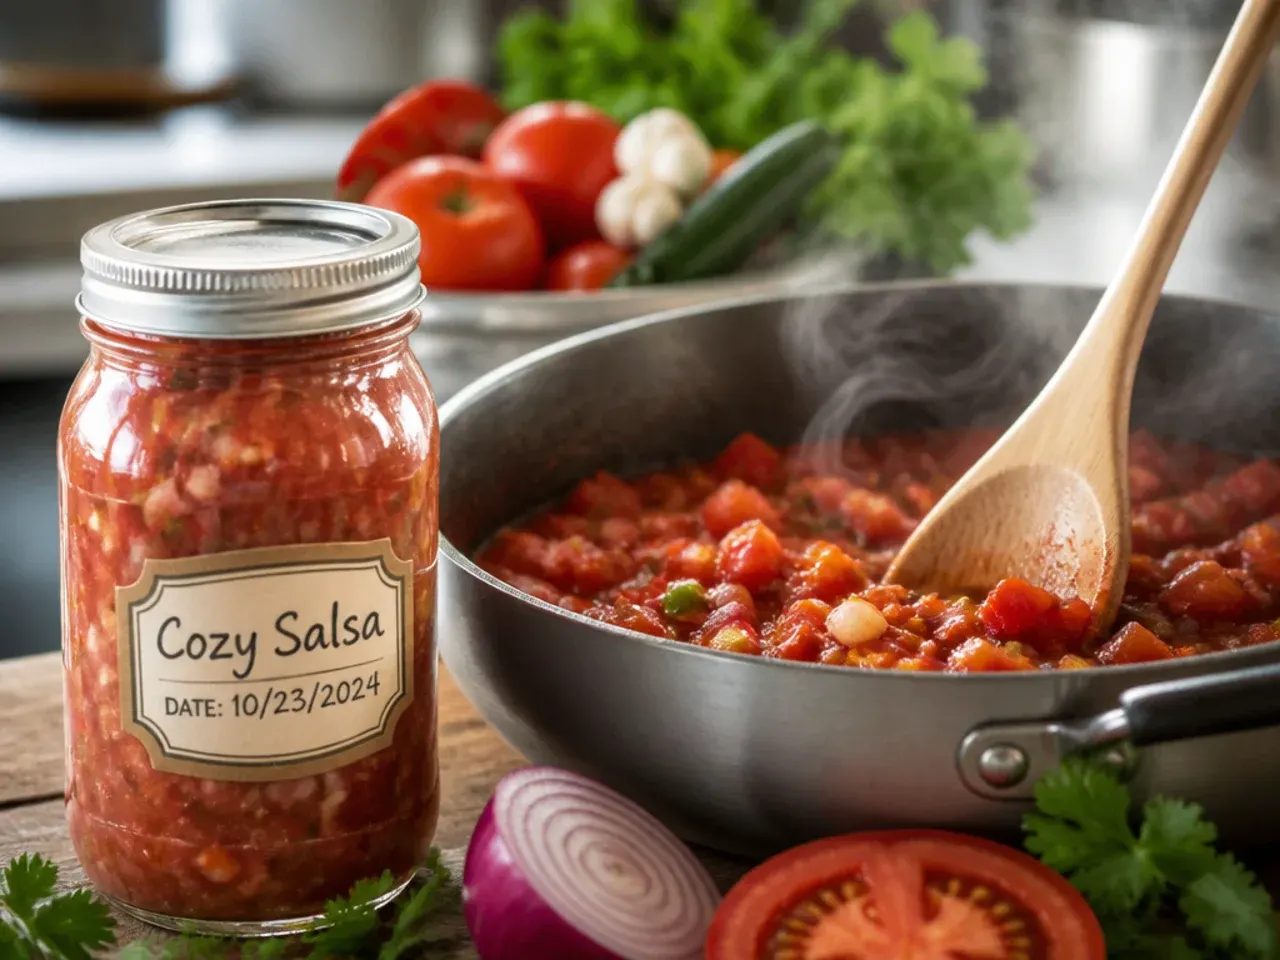
Write the date on a piece of tape or a sticky label on the container lid so you know exactly how fresh it is; homemade salsa is best within 5-7 days. This small habit prevents food waste and means you always know when it's time to make a fresh batch. Store it on a fridge shelf rather than the door, where temperature fluctuates most.
Pro Tips for Restaurant-Style Canned Salsa
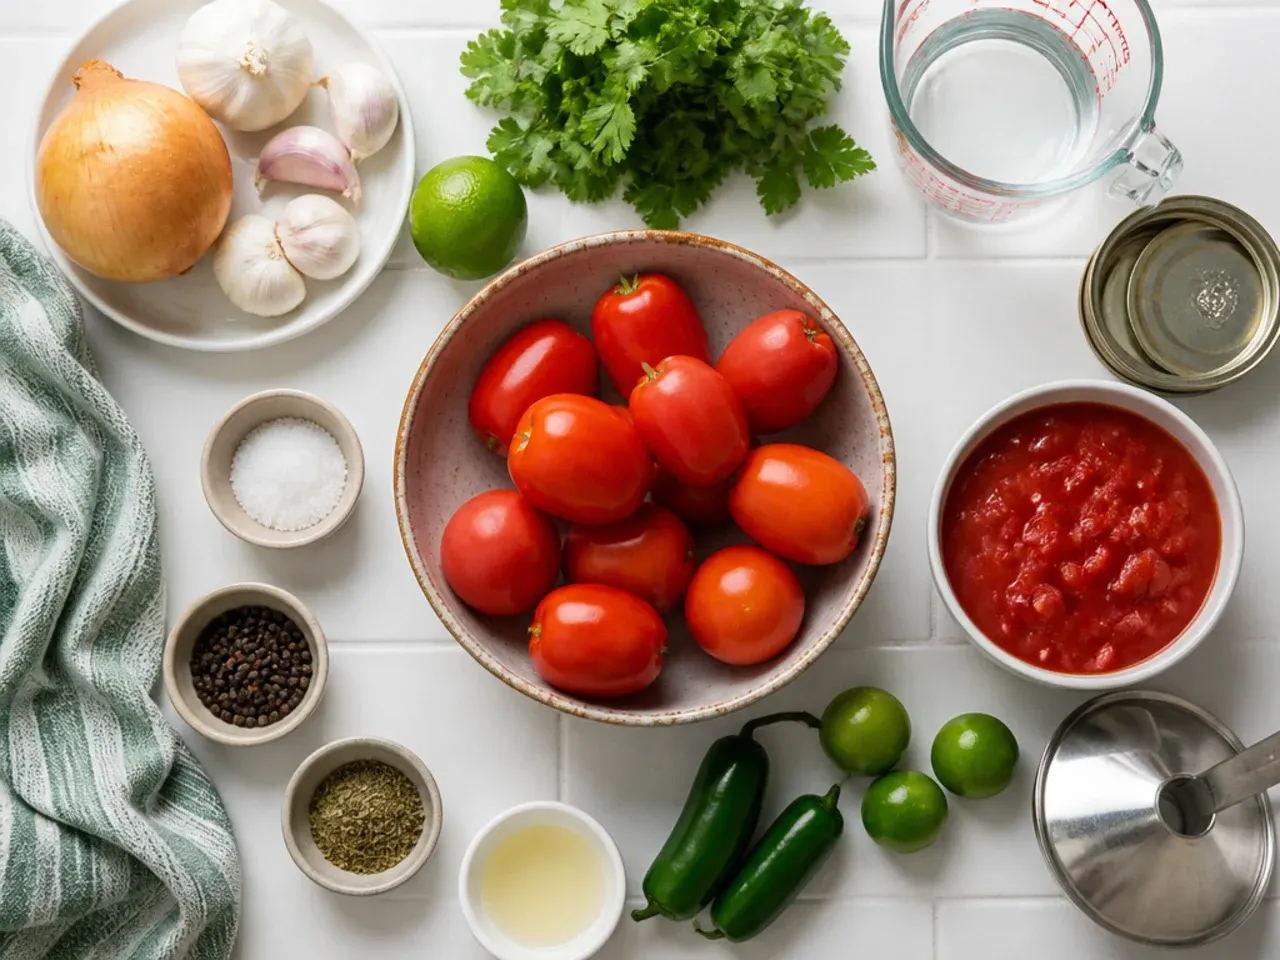
Fire-roasted tinned tomatoes make the single biggest difference to flavour, since the charring mimics hours of slow-roasting fresh tomatoes in just minutes. Always pulse rather than run the blender continuously; steady one-second bursts keep the onion and garlic from turning bitter and mushy. If your food processor only has one speed setting, work in two smaller batches rather than overloading the bowl, since an overcrowded batch often ends up watery at the bottom and chunky on top. A splash of the reserved tomato liquid from draining is a better thickness fix than plain water, since it keeps the flavour concentrated instead of diluted.
Storage and Make-Ahead Tips
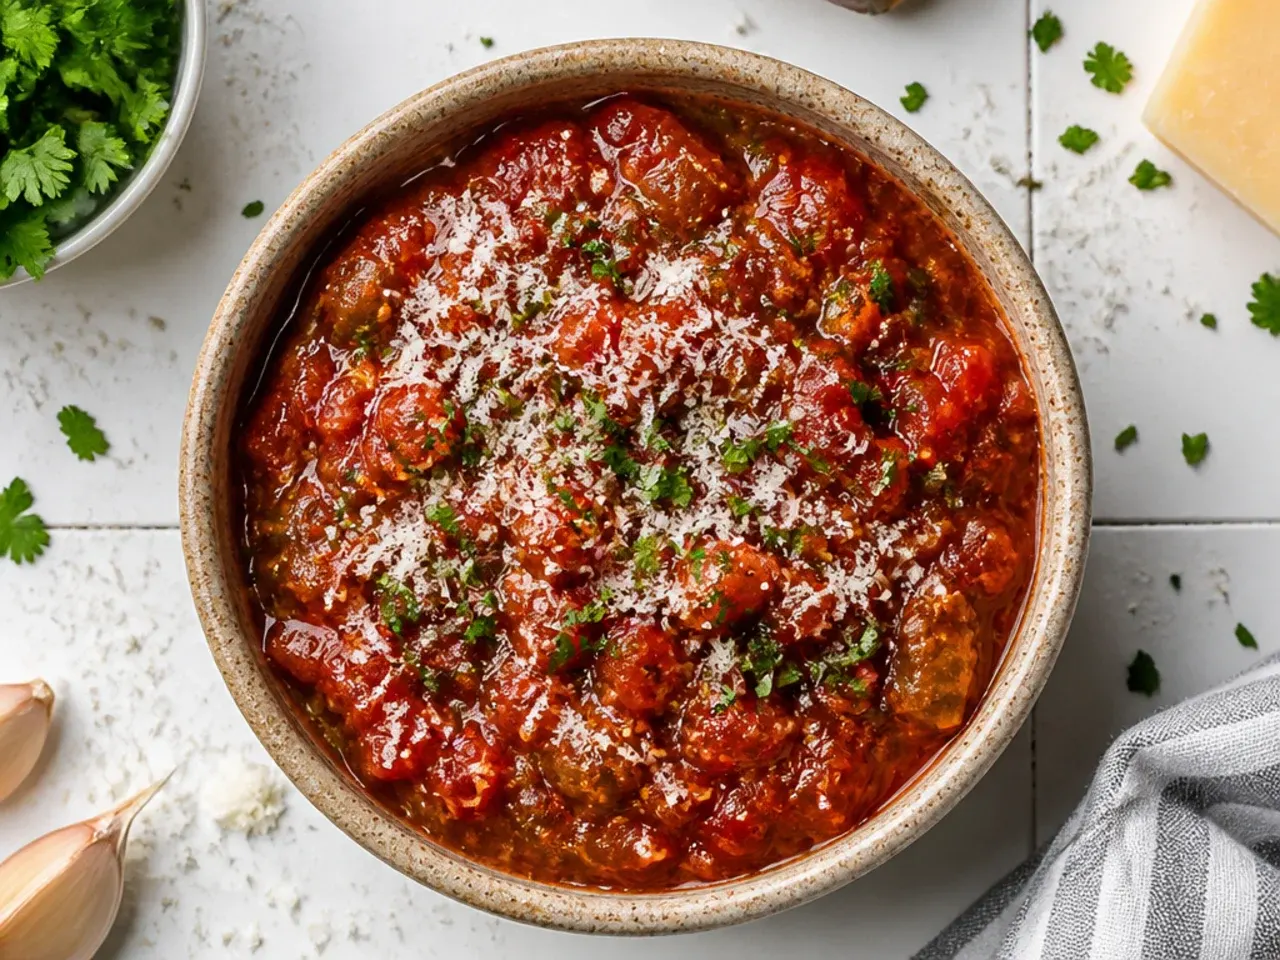
This salsa keeps well in an airtight container in the fridge for 5-7 days, and the flavour actually improves after the first 24 hours as the aromatics mellow into the tomatoes. It can be made up to 3 days ahead of a party without any loss of quality, which makes it a genuinely useful make-ahead appetizer. Freezing isn't recommended for the fresh cilantro-and-lime version, since thawed onion and pepper turn watery and limp, though a cooked, cumin-heavy batch freezes acceptably in a sealed container for up to 2 months. Always thaw frozen salsa overnight in the fridge and stir well before serving, since it separates slightly during freezing.
This canned salsa recipe blends pantry tomatoes into a bright, restaurant-style dip with balanced heat and real technique for perfect texture every time. For more salsa recipe inspiration, browse the full Salsa Recipes board — every idea there is written for real home kitchens, not professional bakers.
Frequently Asked Questions
Yes, and it's actually better a day ahead. Making it 24 hours in advance gives the onion, garlic, and lime time to mellow into the tomatoes properly, whereas salsa served right after blending can taste a little sharp and disjointed. Store it covered in the fridge and give it a good stir before serving. It keeps well for up to a week, so this is one of the easiest genuinely make-ahead party dishes.

Related Recipes
Save this for later 📌
Pin this article to your Pinterest board so the full list is one tap away when you need it.
Save on Pinterest