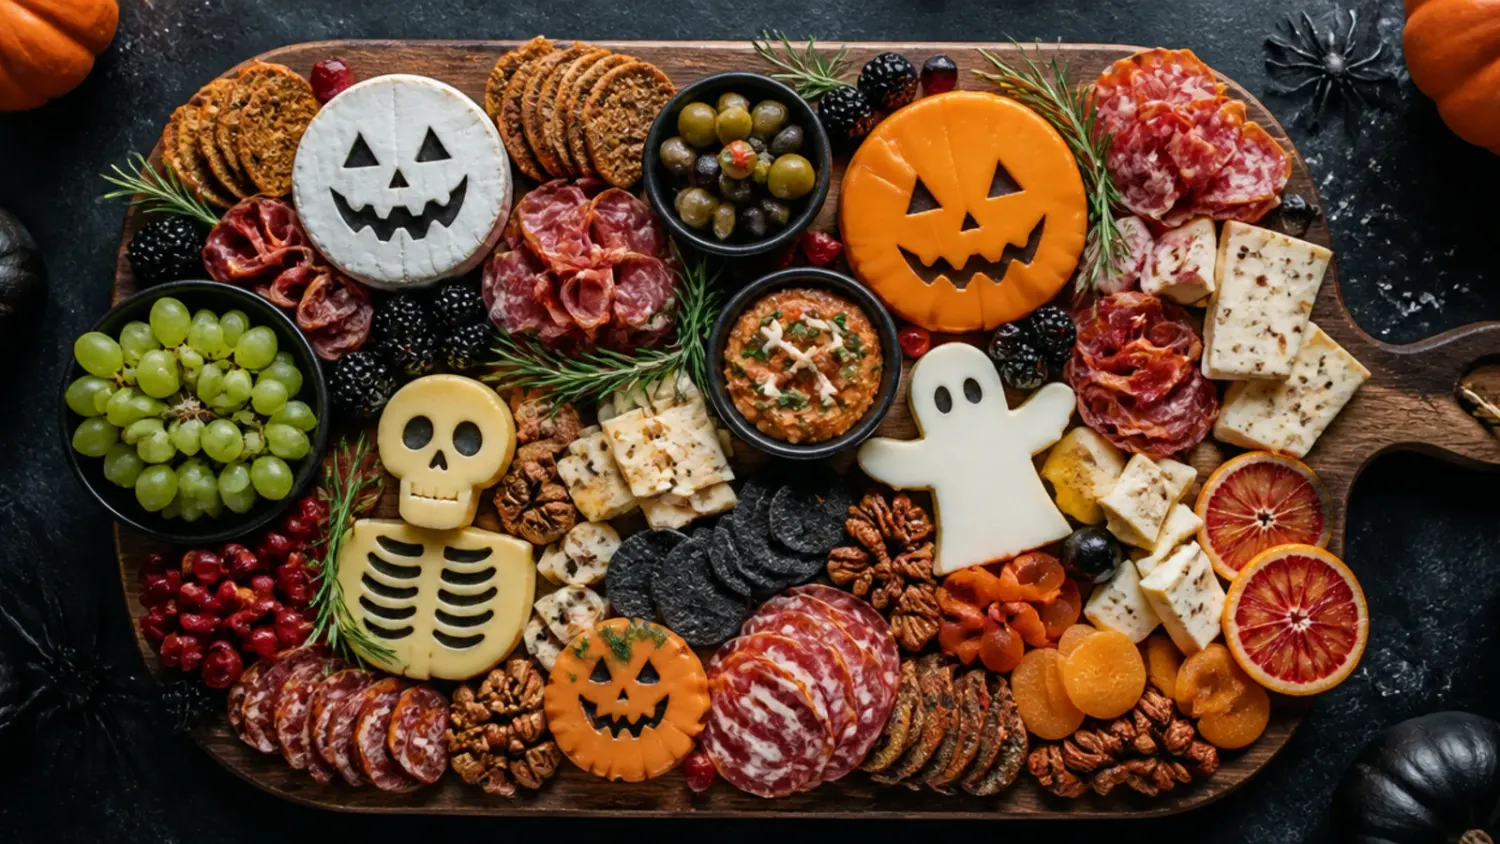
Ingredients 8 Person(s)
Save this for later 📌
Pin this article to your Pinterest board so the full list is one tap away when you need it.
Save on PinterestDirections
Step 1: Choose and prep your board
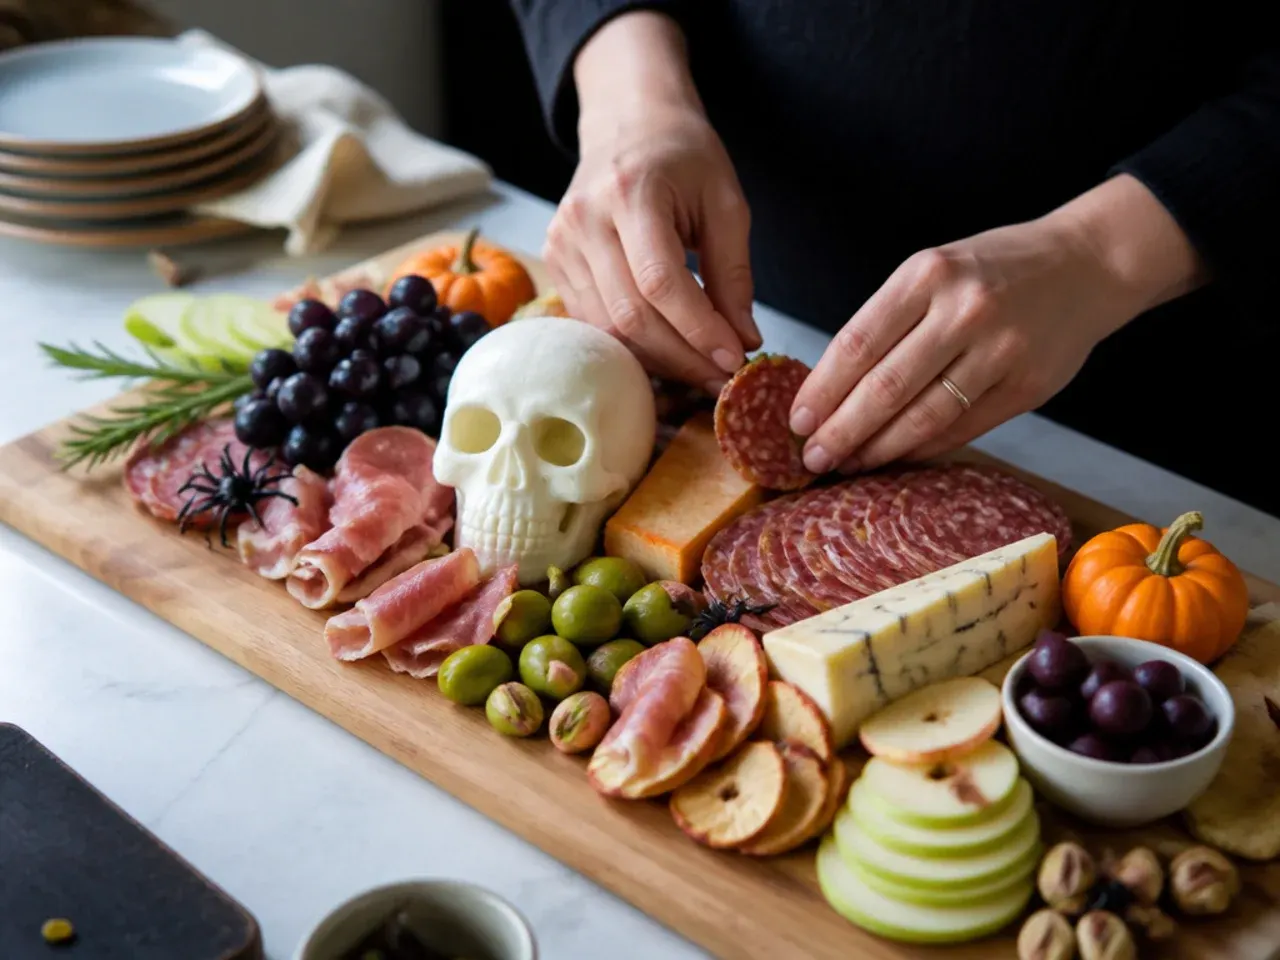
Pick a large, flat serving board or platter at least 40 cm (16 in) across so there's room to keep ingredients in separate clusters. Wipe it dry and set it on the surface where you'll serve it, since a fully loaded board is heavy and awkward to move once assembled.
Step 2: Cut the cheddar into pumpkin shapes
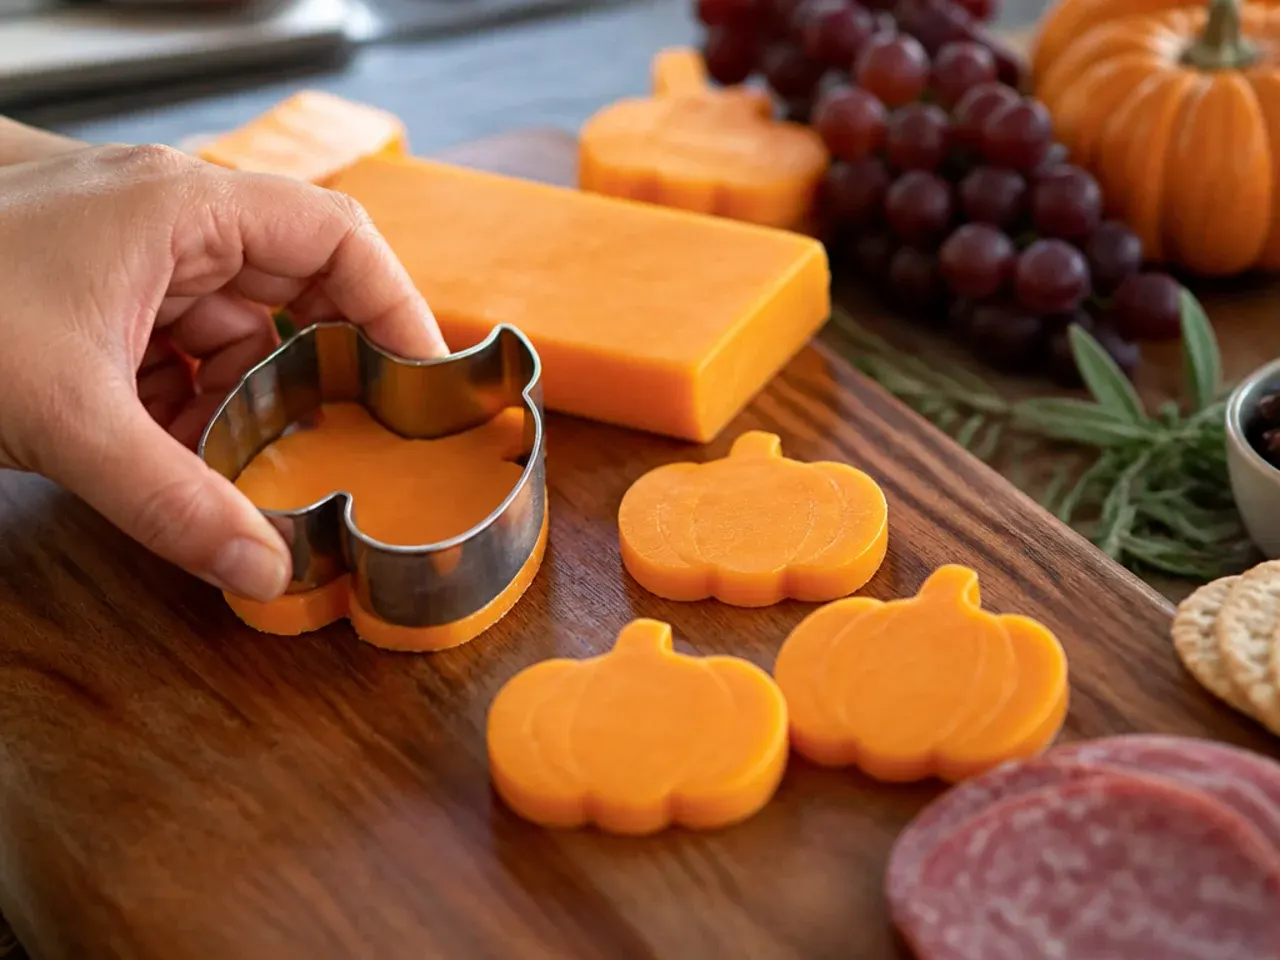
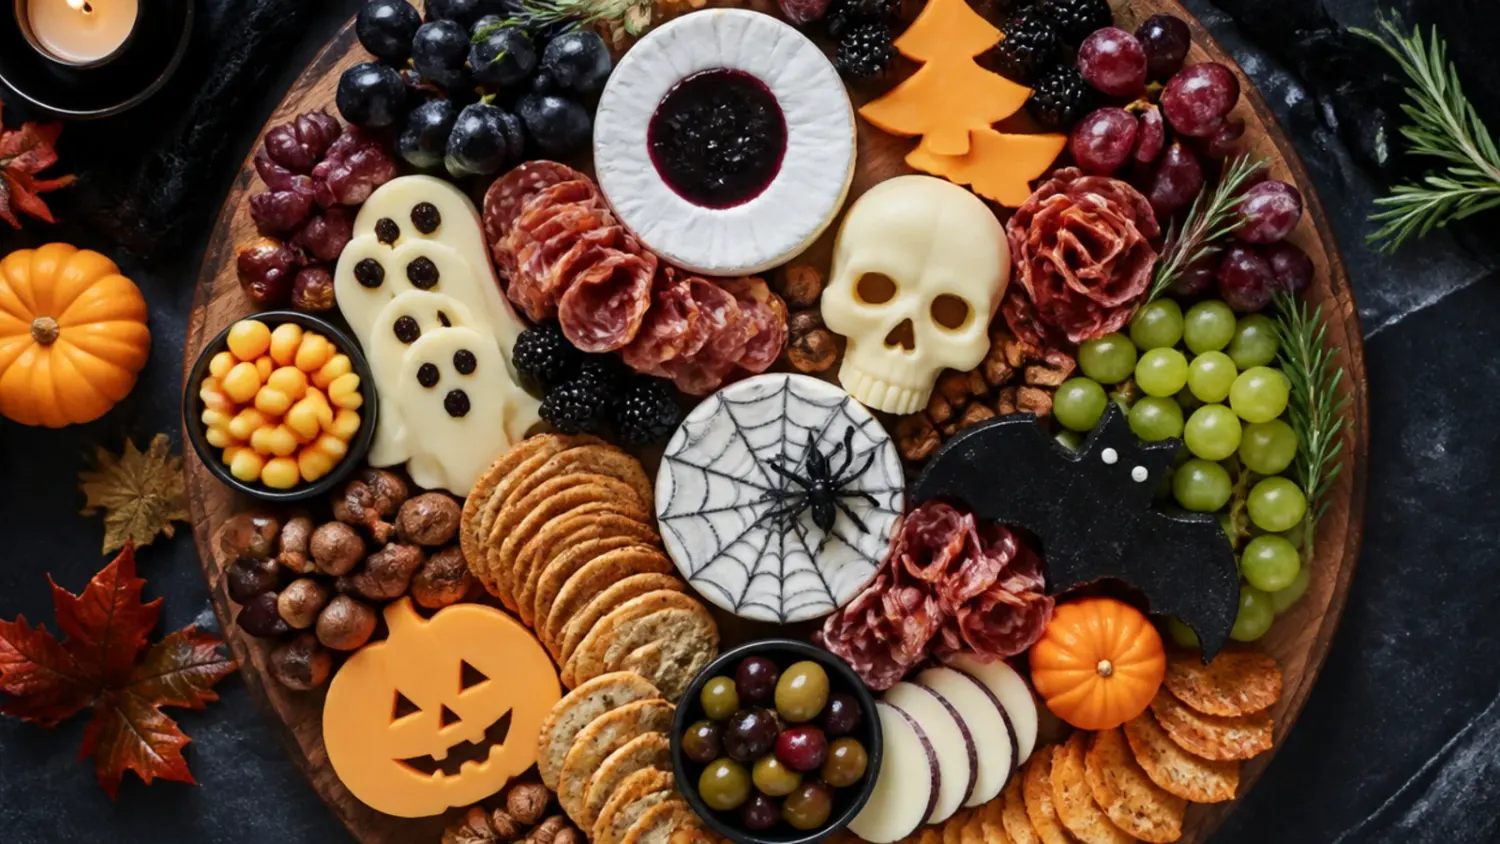
Slice 200 g (7 oz) cheddar into rounds about 2 cm (¾ in) thick, then use a small knife to round off the edges into a pumpkin outline. Score shallow vertical lines around each round with the knife tip to mimic pumpkin ridges.
Step 3: Add pretzel stems to the cheese pumpkins
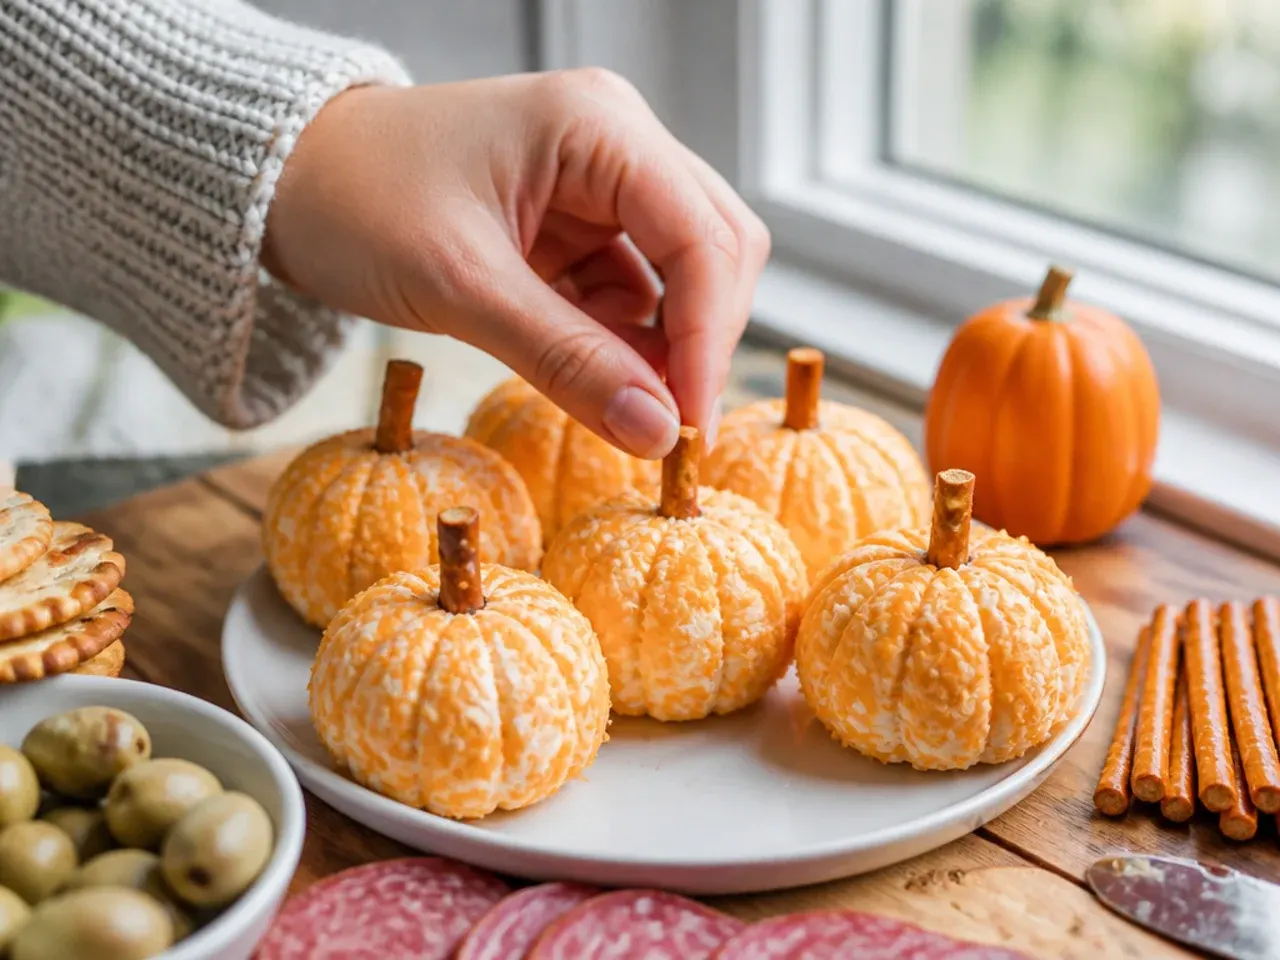
Snap 6-8 pretzel sticks into 2 cm (¾ in) lengths and press one upright into the centre of each cheddar pumpkin. This small detail is what reads as "pumpkin" from a distance, so take the extra minute to do it for every piece.
Step 4: Make the spiderweb dip base
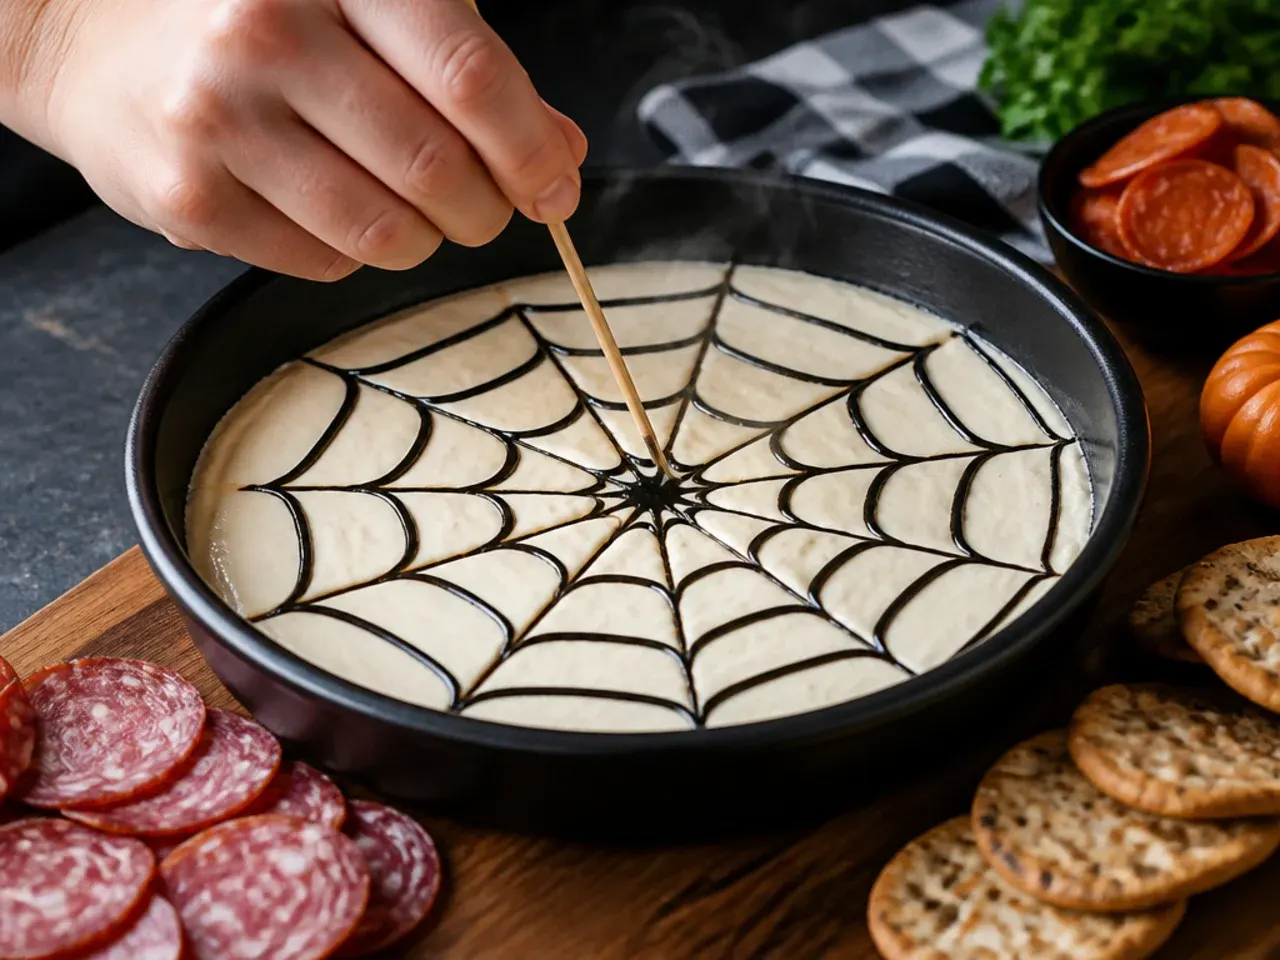
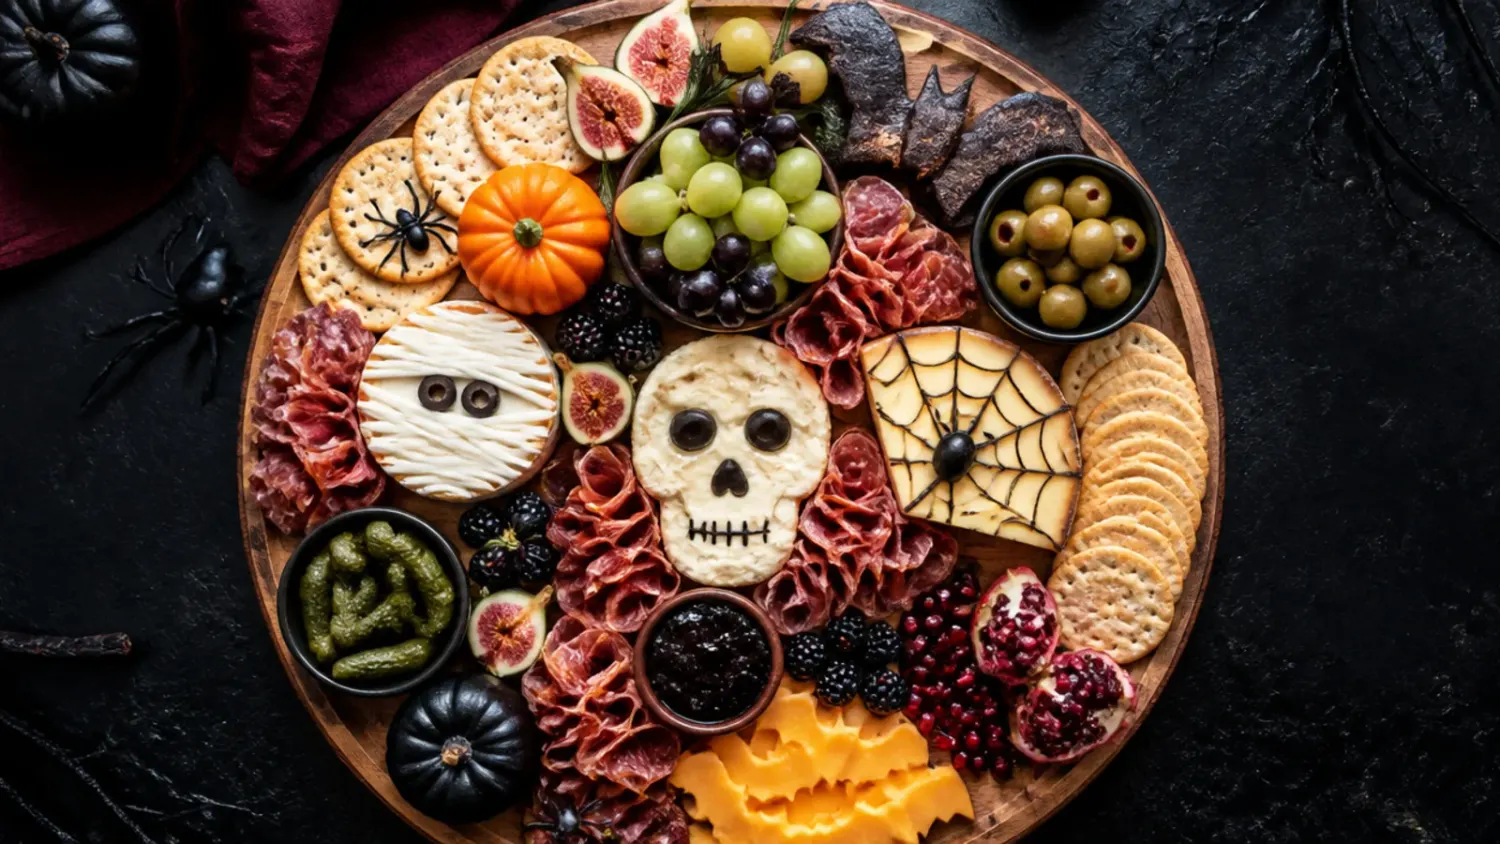
Spread 100 g (3.5 oz) softened cream cheese into an even, flat layer across a small serving plate or shallow bowl, about 1 cm (½ in) thick. Smooth the surface with the back of a spoon so the web pattern shows up clearly in the next step.
Step 5: Pipe the spiderweb pattern
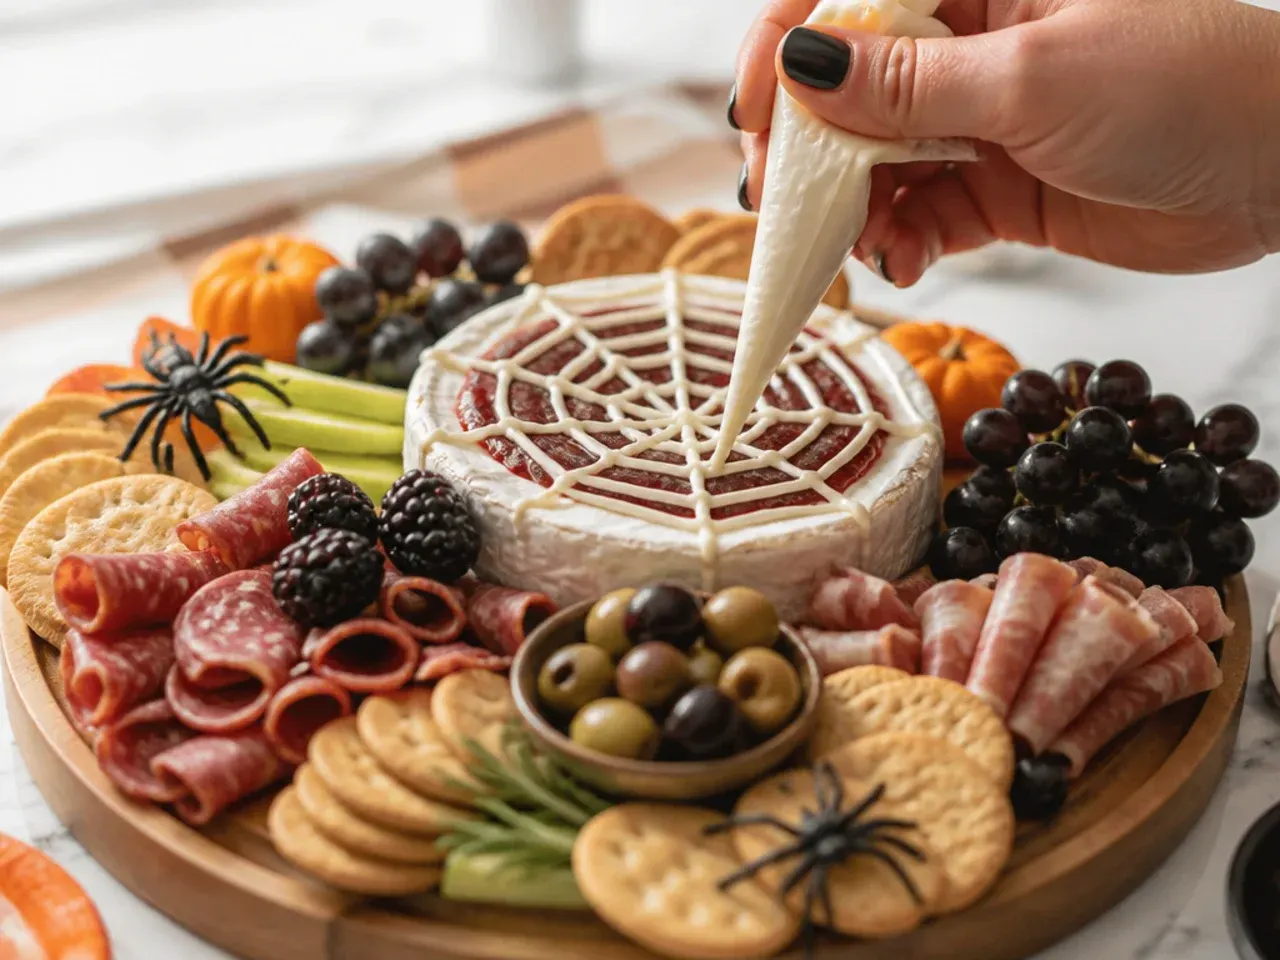
Spoon the balsamic glaze or tapenade into a piping bag or a sandwich bag with the corner snipped off, then pipe 4-5 concentric circles outward from the centre of the cream cheese. Drag a cocktail stick from the centre to the edge in 8 straight lines, wiping it clean between each drag, to pull the circles into a spiderweb.
Step 6: Assemble the olive spiders
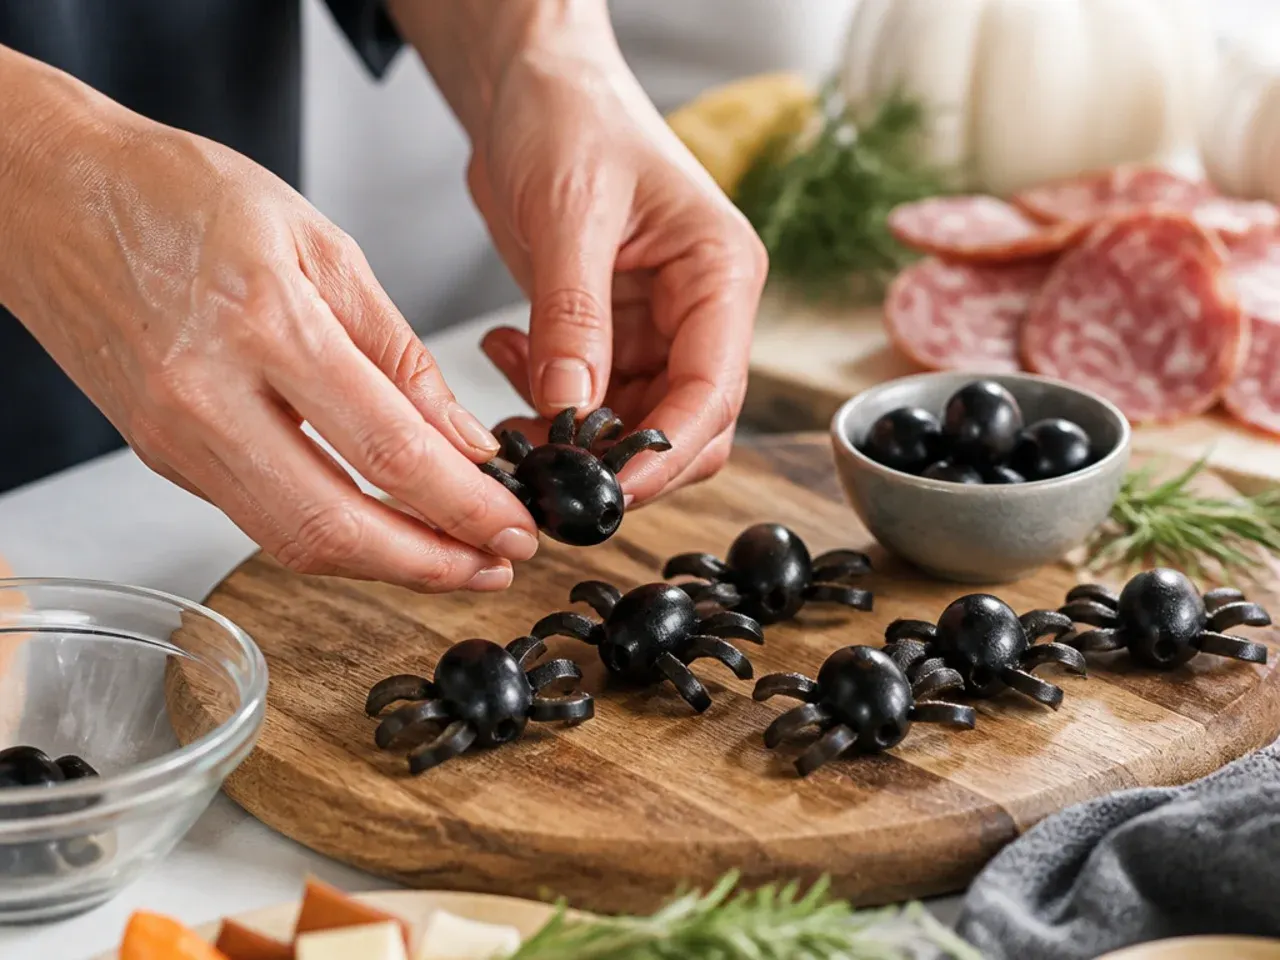
Halve 8-10 black olives lengthways and set the rounded sides up as spider bodies. Push 4 short pieces of pretzel stick into each side of the olive at an angle to form legs, so each spider has 8 legs total.
Step 7: Fold the salami into bat wings
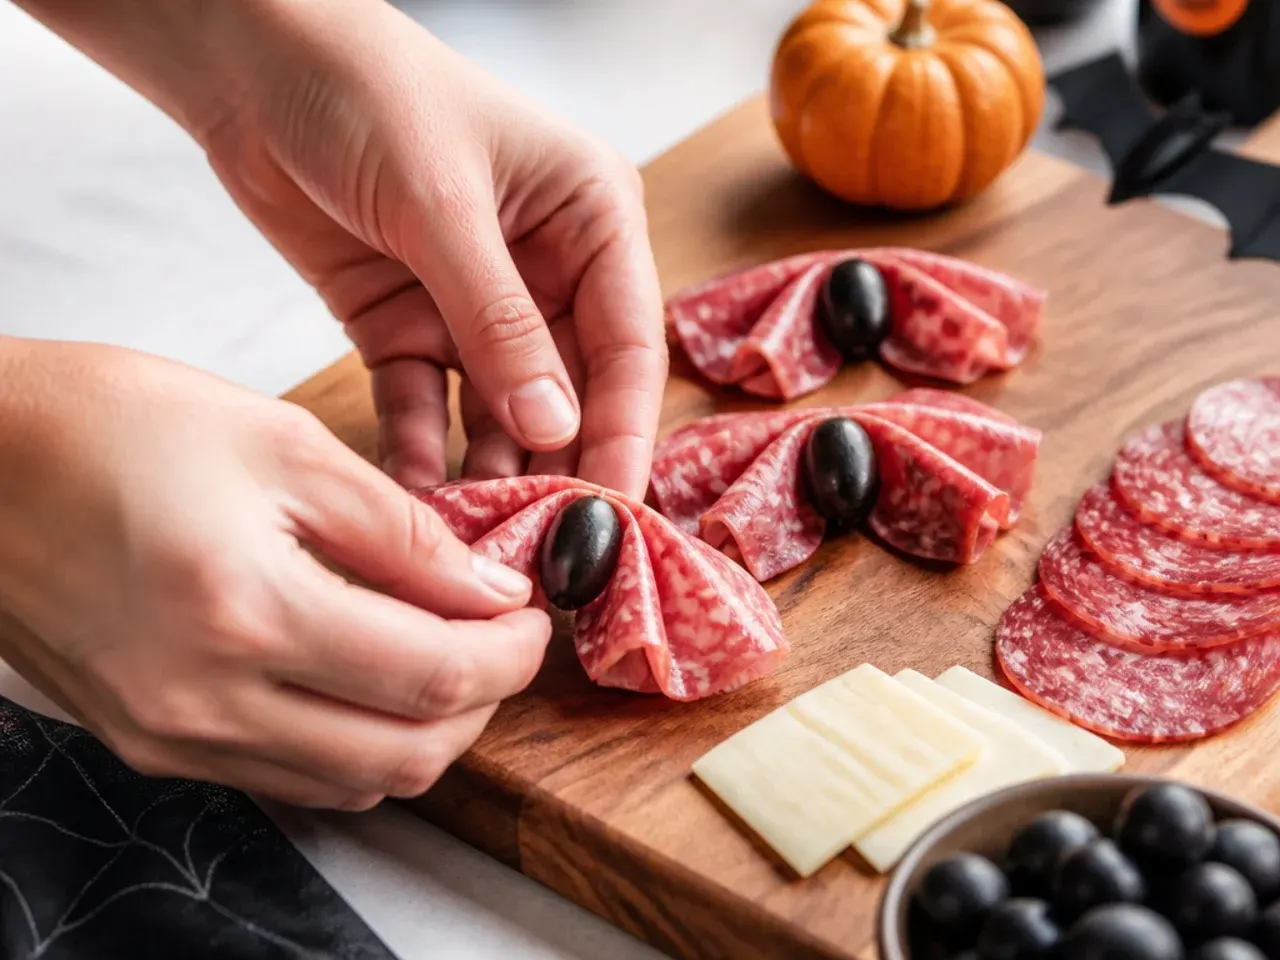
Take a slice of salami and fold it in half, then fold each half back on itself to create a fan-like wing shape; pinch the centre together. Repeat with 8-10 slices and set them aside on a plate ready to place in pairs.
Step 8: Roll the prosciutto into ribbons
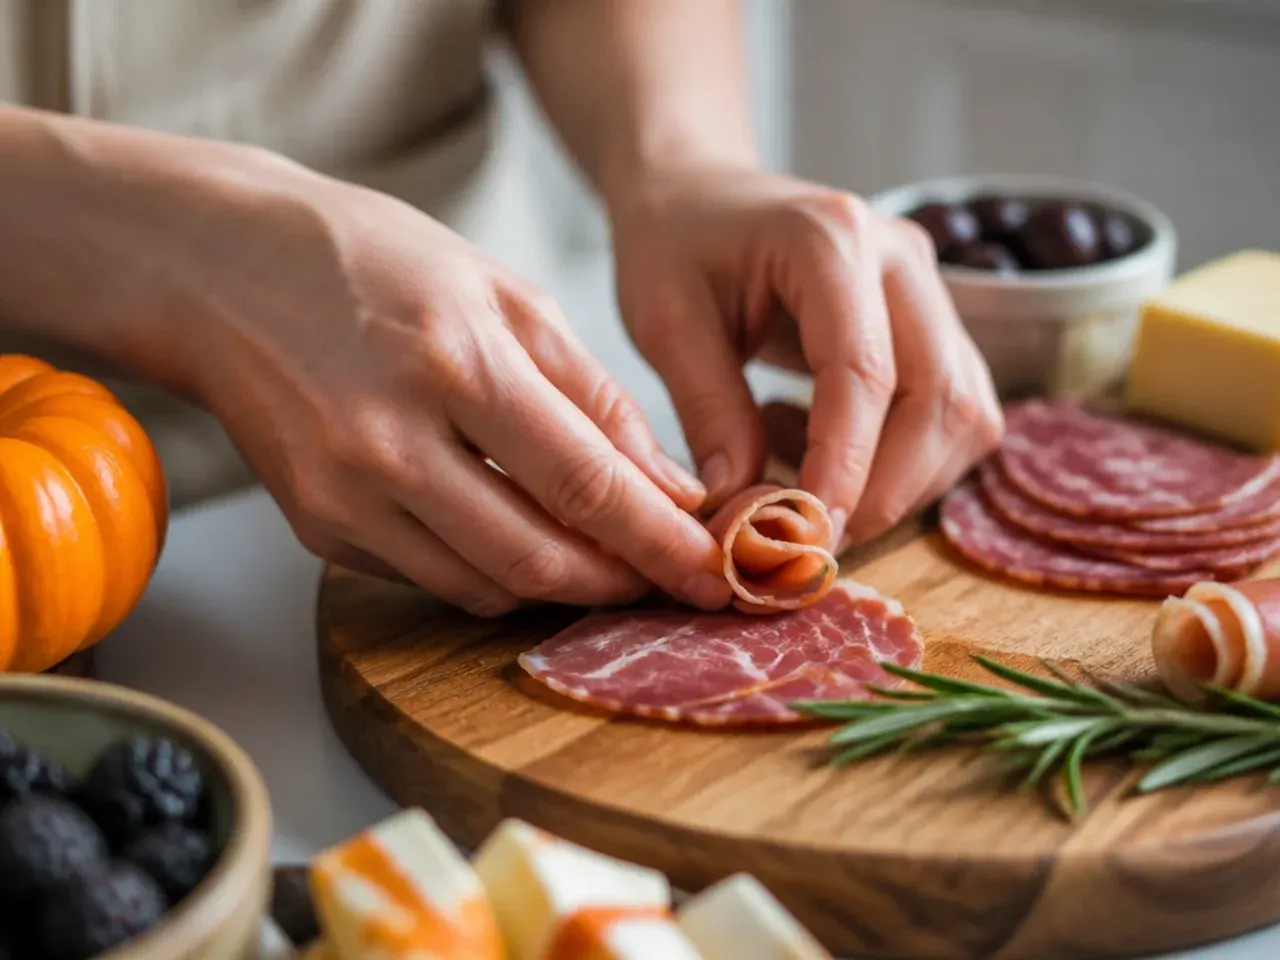
Loosely fold each slice of prosciutto in half lengthways, then roll it from one end into a soft ribbon or rose shape. Make 8-10 rolls so you have enough to fill a full cluster on the board.
Step 9: Build the breadstick broomsticks
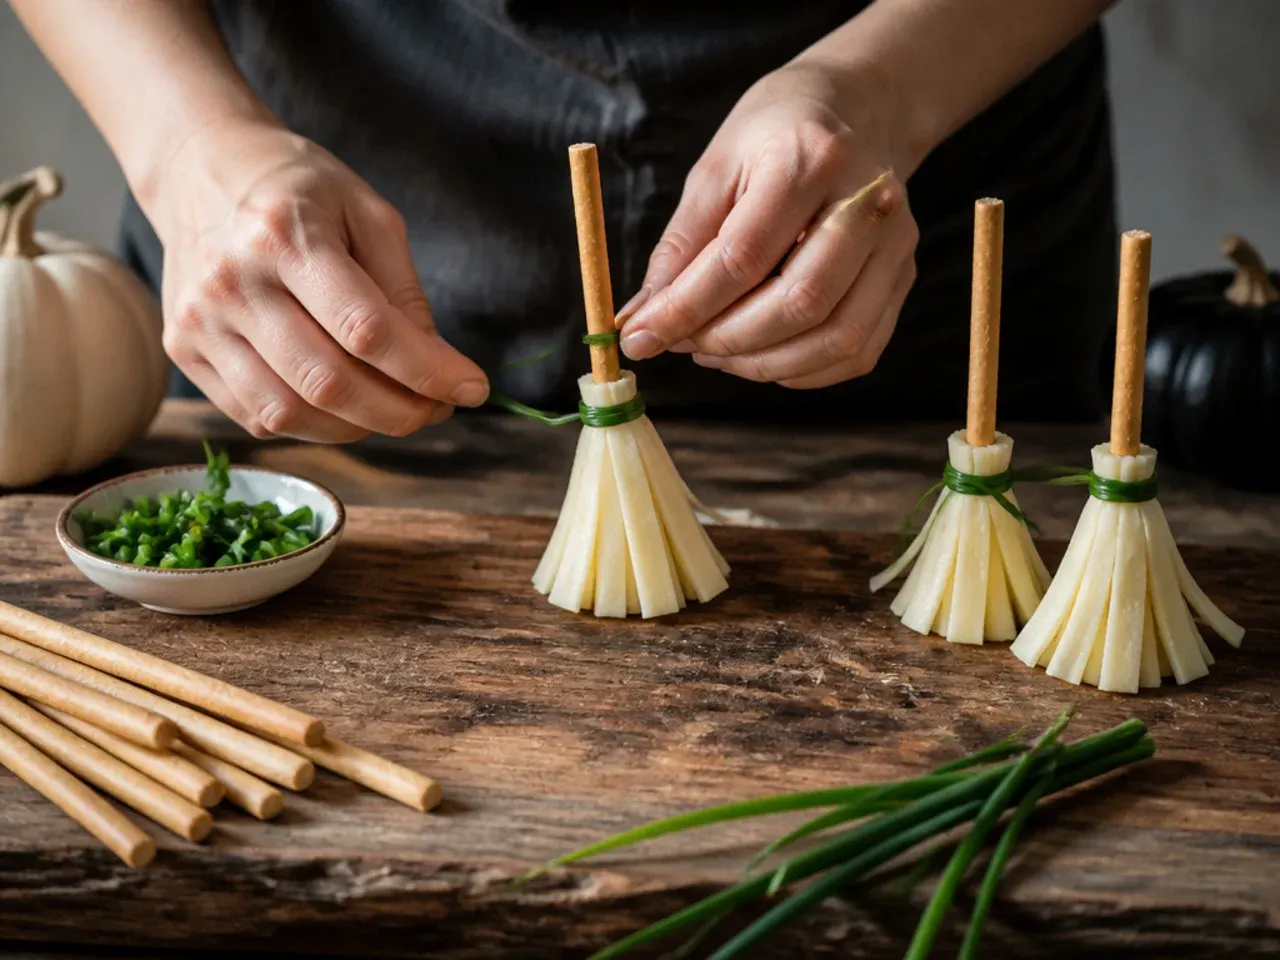
Snip the rosemary sprigs into 3 cm (1¼ in) bristle pieces and gather 4-5 pieces around the tip of a breadstick. Tie the bristles in place with a thin strip of chive or a small piece of kitchen string, leaving the rosemary ends loose to fan out like broom bristles.
Step 10: Place the spiderweb dip as the focal point
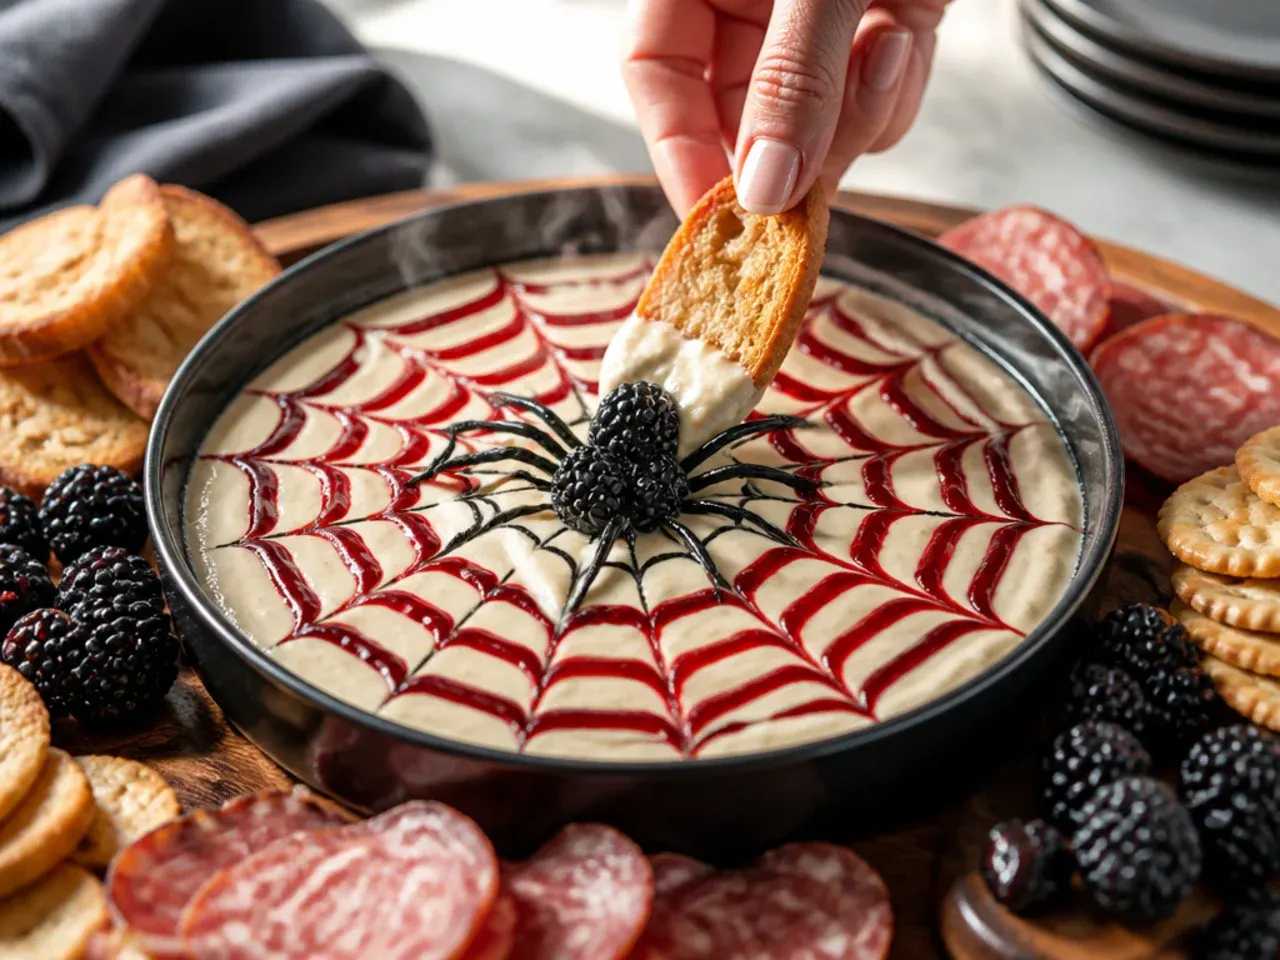
Set the spiderweb dip plate slightly off-centre on the board rather than dead in the middle, since an asymmetrical layout looks more natural. This becomes your anchor point, and every other cluster will be arranged working outward from it.
Step 11: Add the cheese pumpkins around the dip
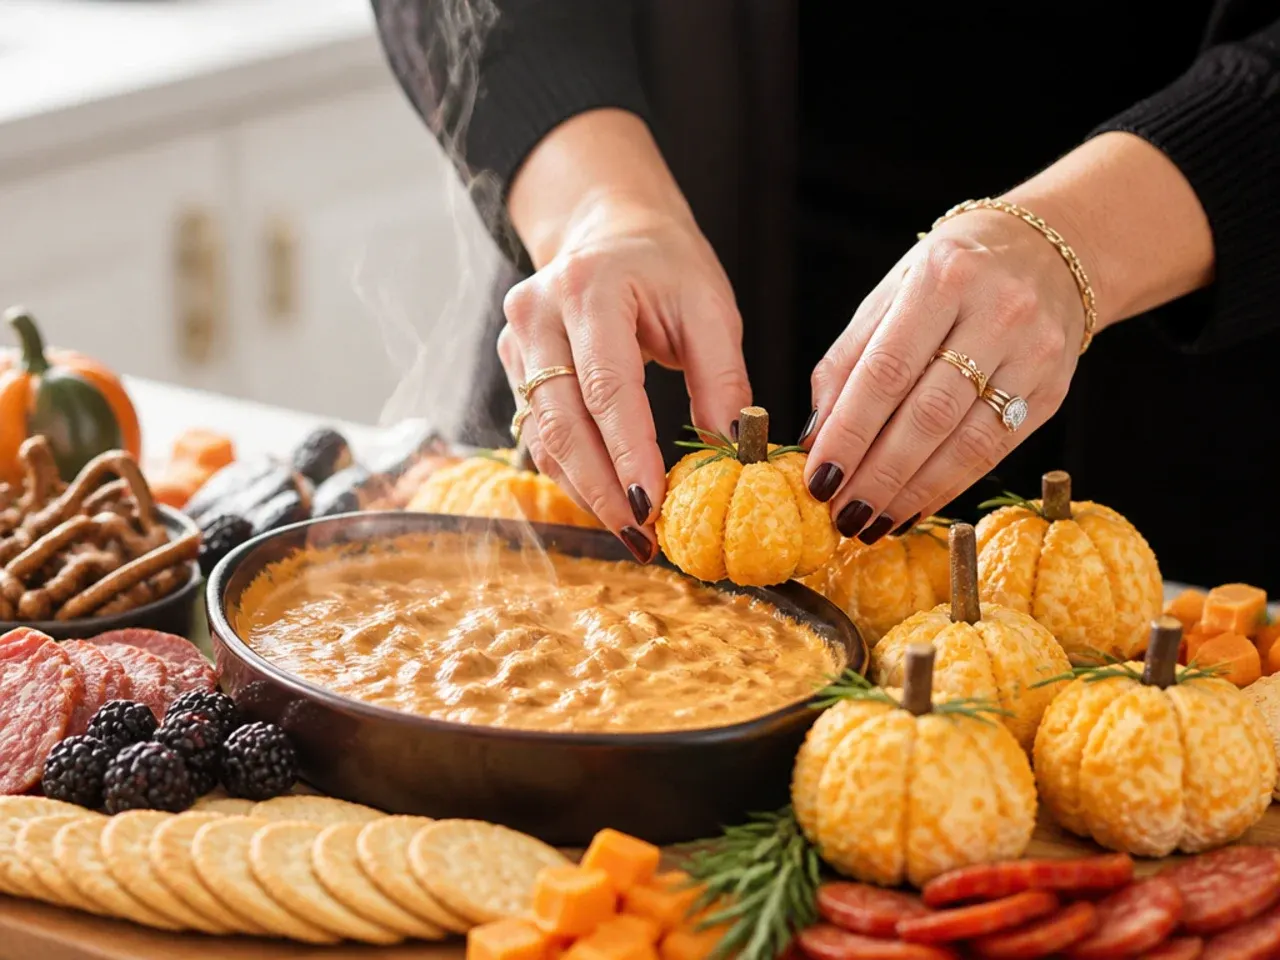
Arrange all 6-8 cheddar pumpkins in a loose curved line running along one side of the dip, leaving small gaps between each piece rather than pushing them edge to edge.
Step 12: Fan out the salami bat wings
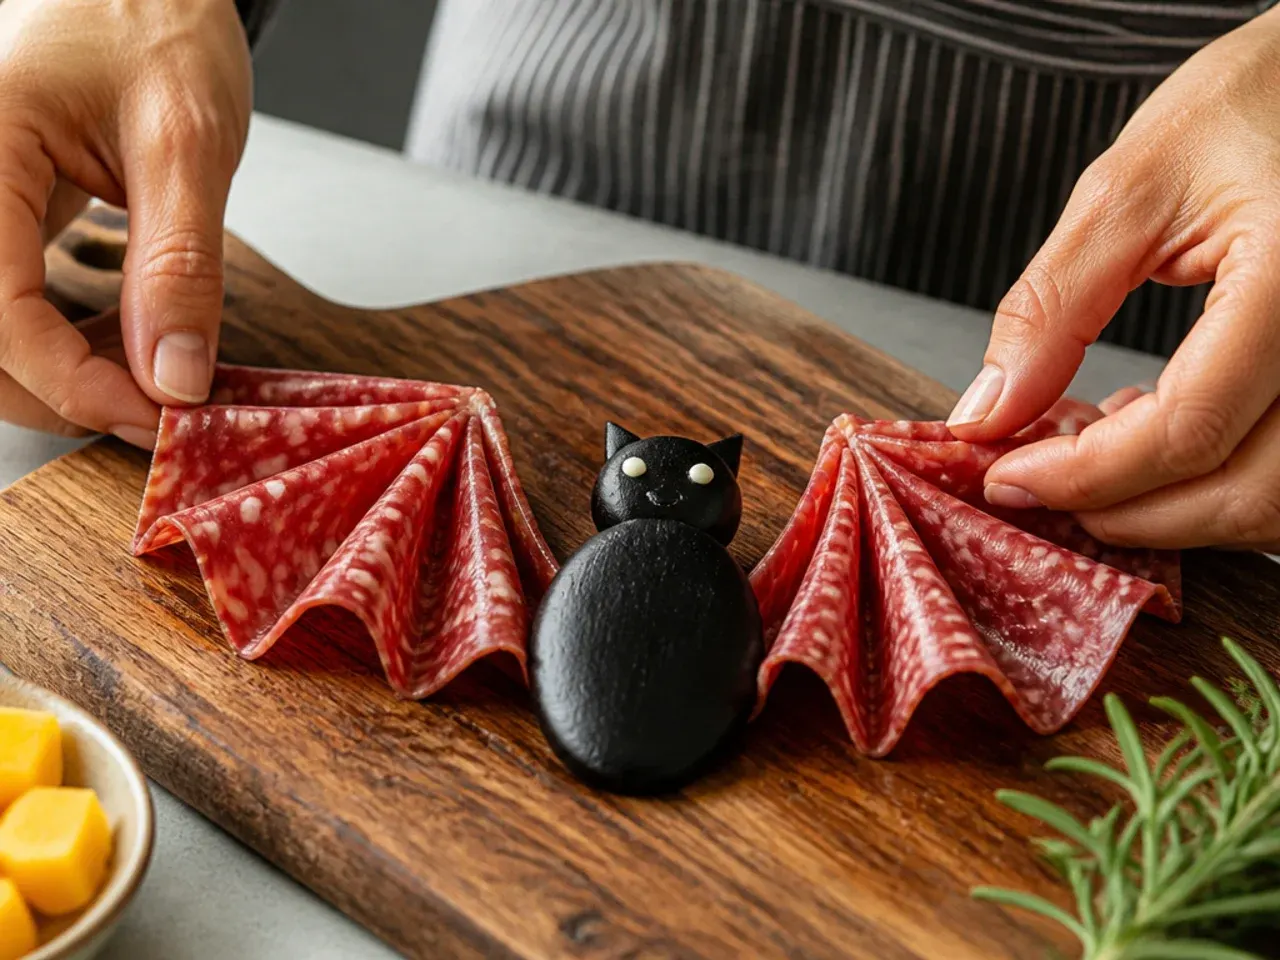
Place the folded salami wings in pairs, tips pointing outward, in the section opposite the cheese pumpkins. Overlap each pair slightly so the fan shape holds together when guests pick pieces up.
Step 13: Coil the prosciutto ribbons into a cluster
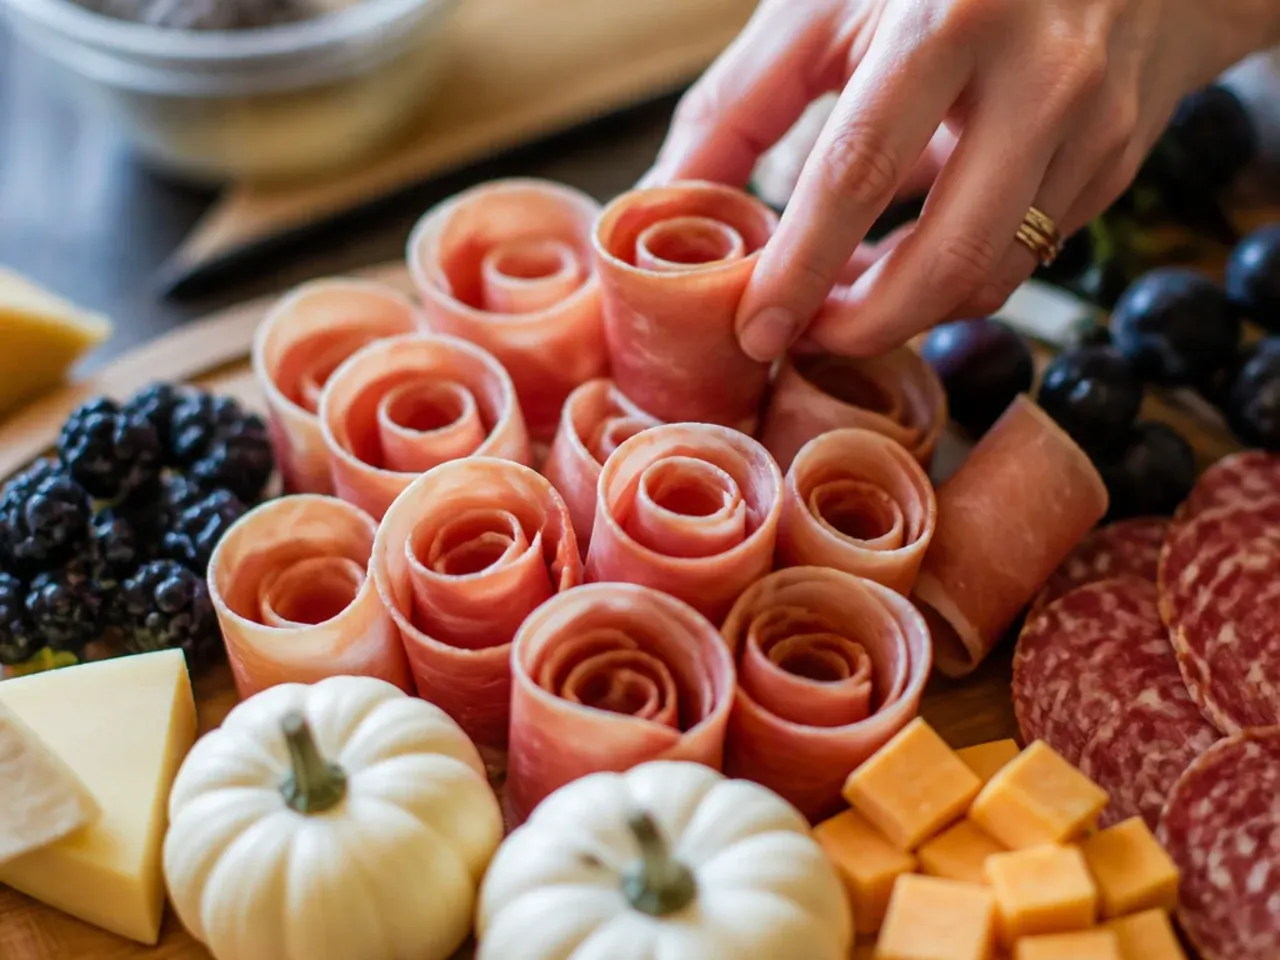
Stand the prosciutto rolls upright in a tight group of 4-5 in one corner of the board, then let 3-4 more lean outward from the base of the cluster. This gives the section height and stops the board from looking flat.
Step 14: Scatter the olive spiders across the board
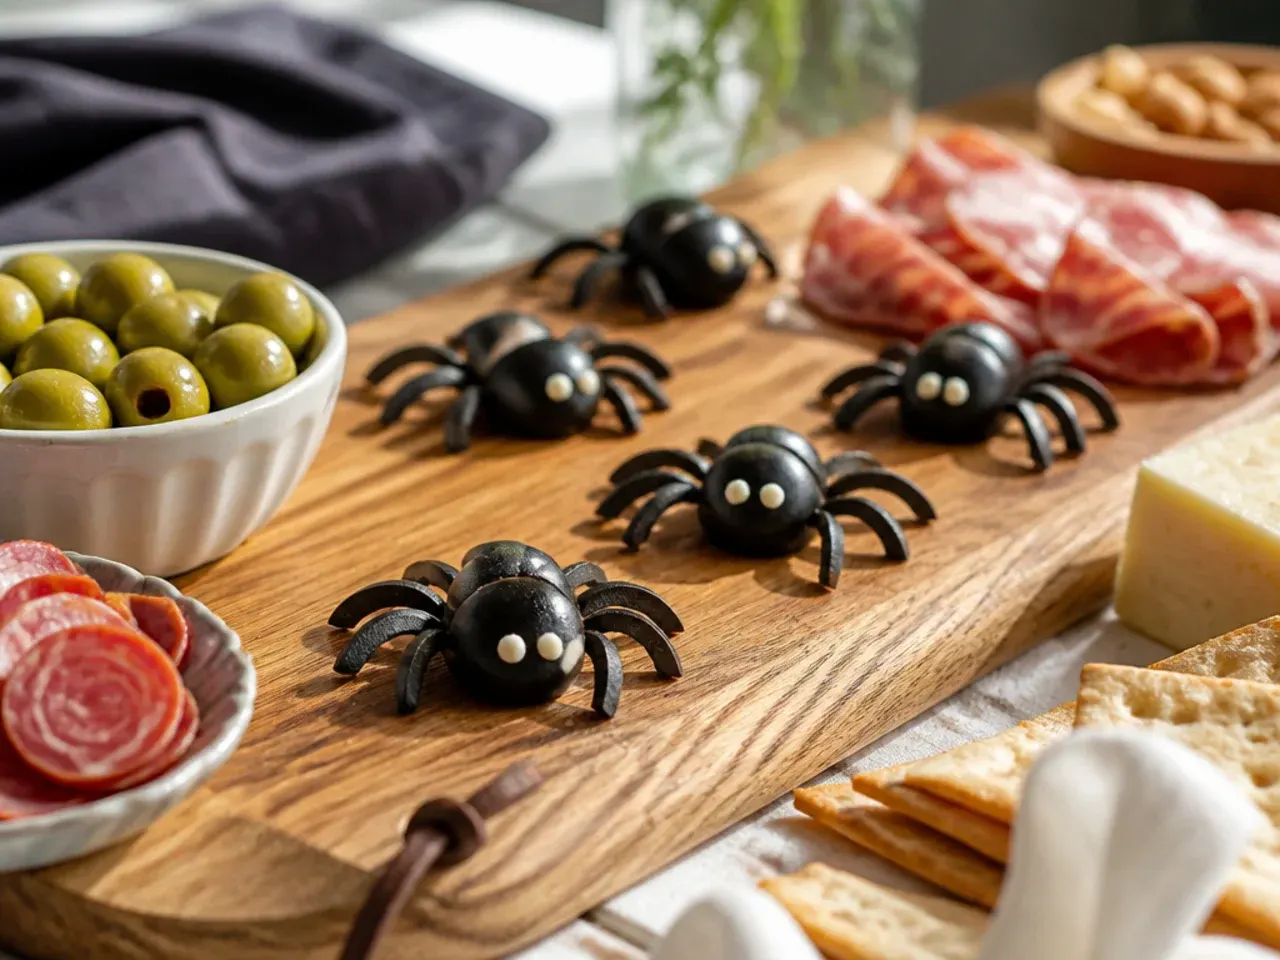
Distribute the assembled olive spiders individually rather than in a cluster, tucking 2-3 near the spiderweb dip and the rest into gaps between the cheese and meat. Spreading them out makes the whole board feel spooky rather than confining the theme to one corner.
Step 15: Add the mozzarella eyeball garnish
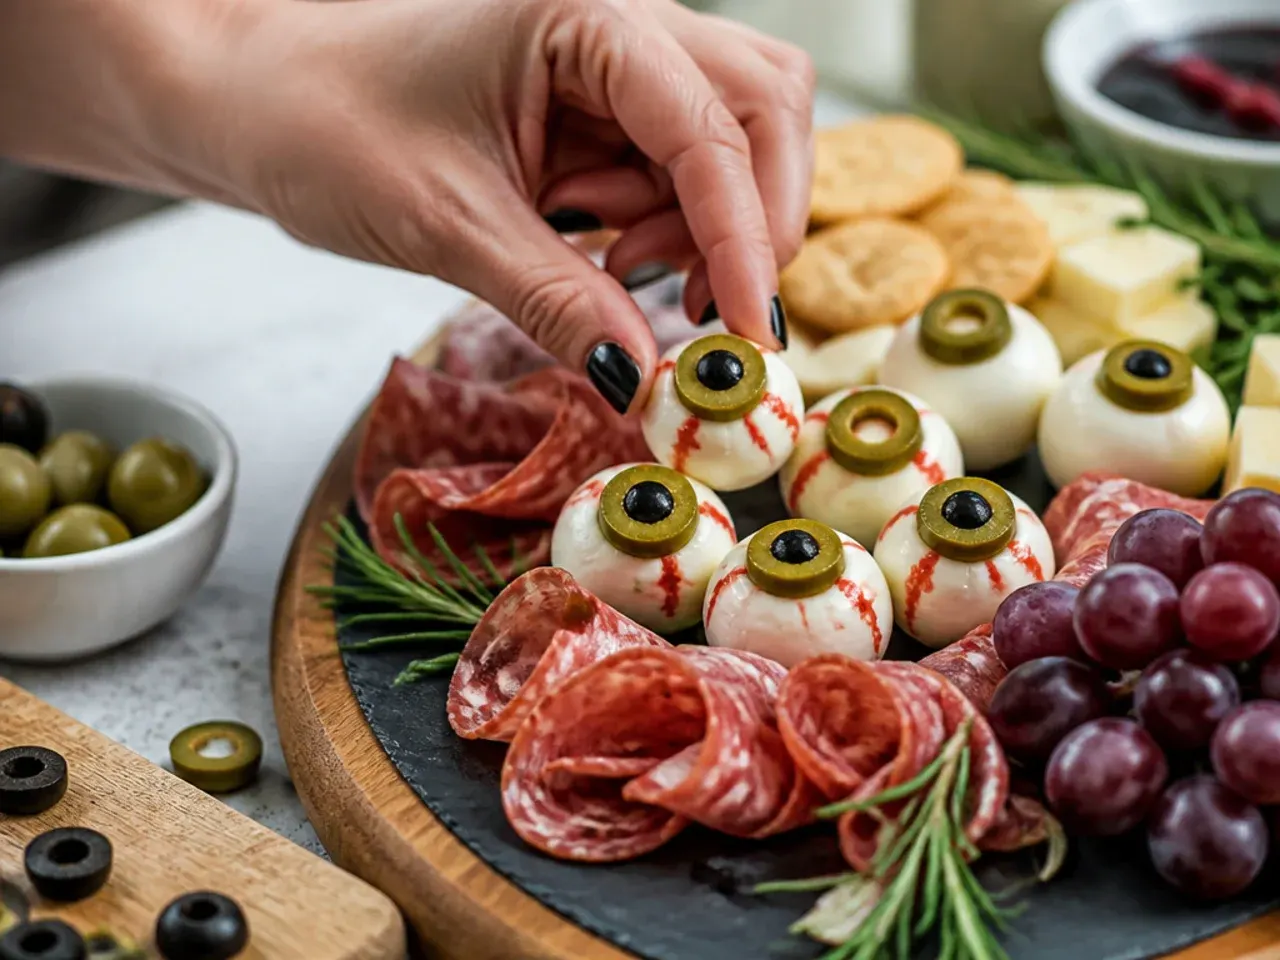
Drop a tiny dot of the balsamic glaze onto each mini mozzarella ball to form a pupil, then nestle 8-10 of these "eyeballs" into the gaps near the olive spiders. Use a cocktail stick to add the dot so you get a small, neat mark rather than a smear.
Step 16: Fill in with breadsticks and crackers
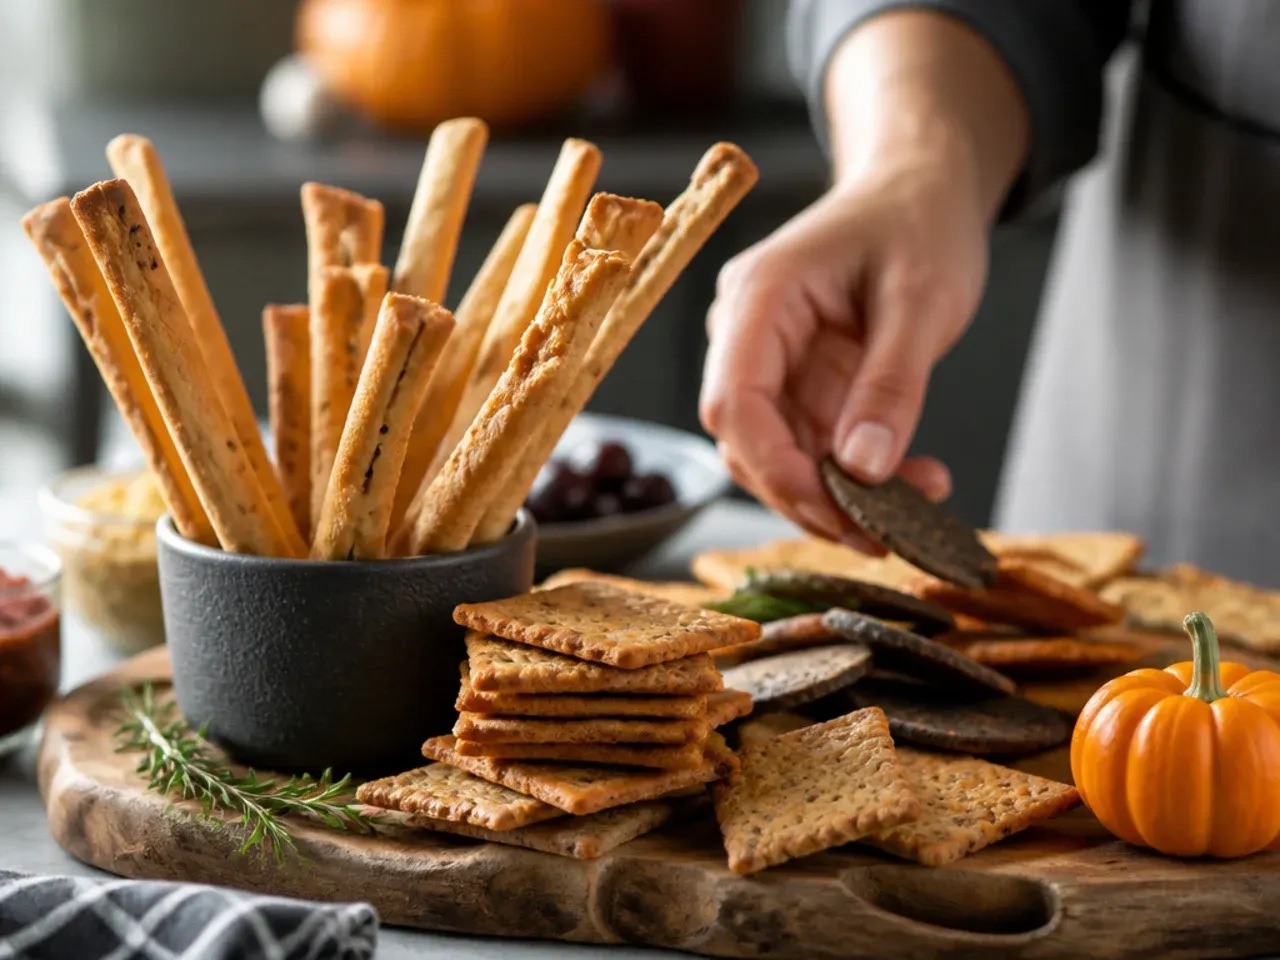
Stand the plain breadsticks and 2-3 broomstick breadsticks in a jar or narrow glass positioned at one end of the board, angled outward like a bouquet. Fan the mixed crackers flat in a slightly overlapping row along an open edge of the board.
Step 17: Add the grape clusters
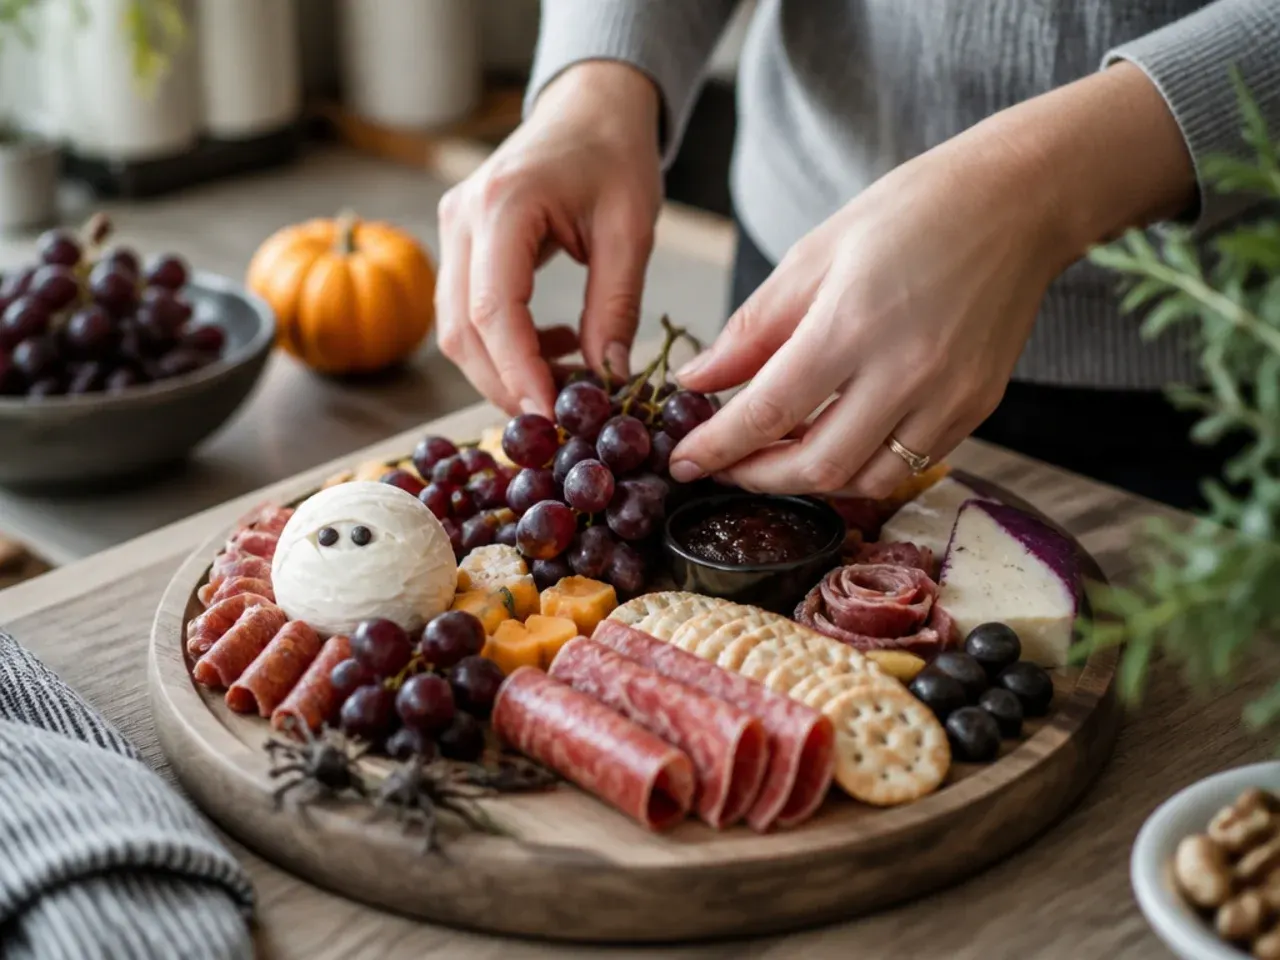
Pile the halved grapes into 2 small clusters, one near the cheese and one near the meat, mounding them slightly so they hold together. The cut sides catch the light and add a glossy contrast next to the matte cheese and meat.
Step 18: Tuck in the dried apricots and almonds
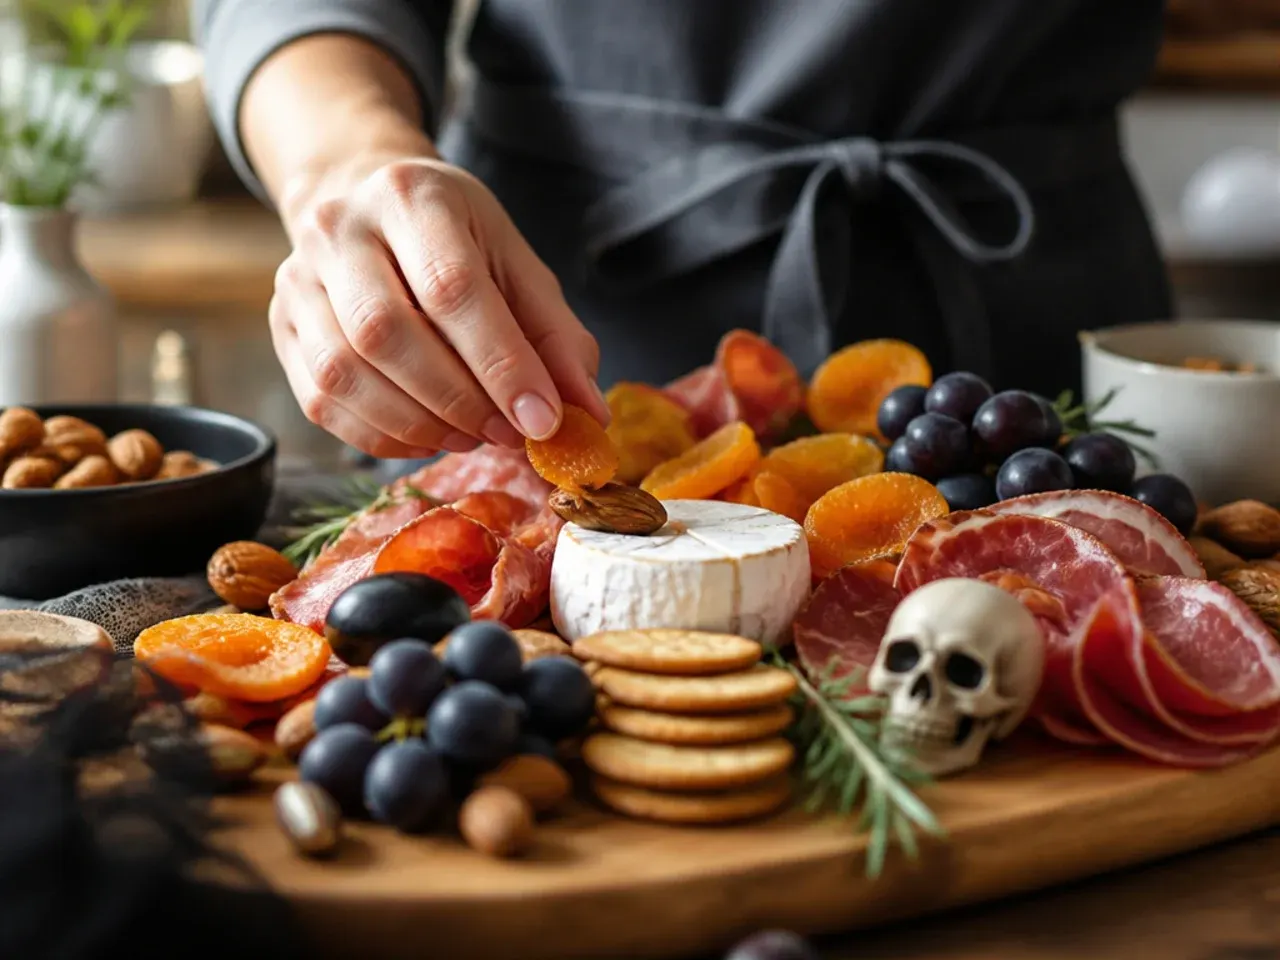
Fill any remaining gaps with dried apricots, placing them in small groups of 3-4 rather than scattering them one by one. Scatter a few whole almonds loosely around the olive spiders as extra "legs" and texture.
Step 19: Do a final gap check
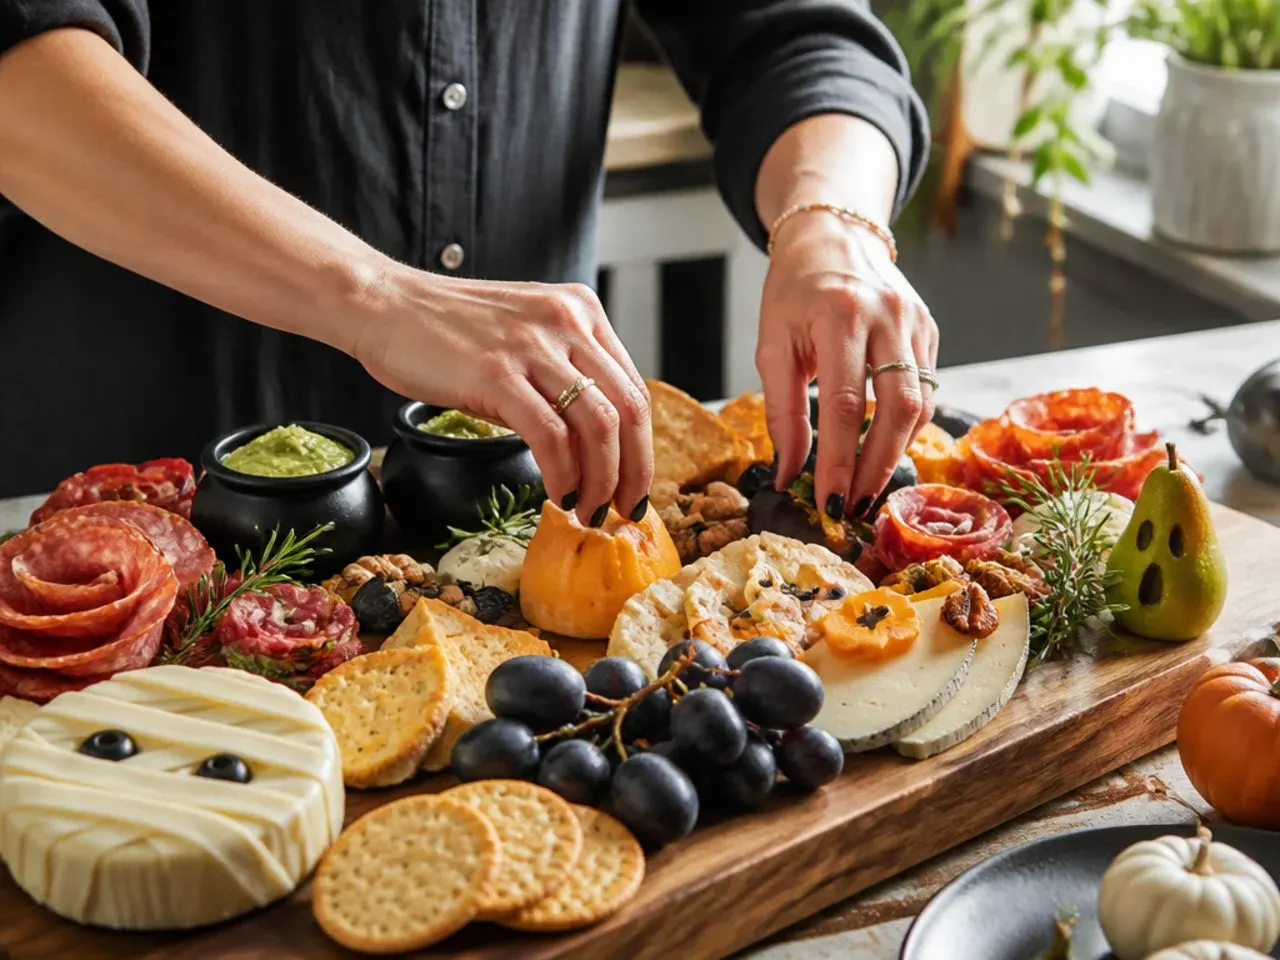
Step back and look at the board from above; any bare patches of board larger than a coin should be filled with a grape, an apricot or a cracker. Adjust the salami and prosciutto clusters if they've slumped, re-fanning them so the shapes stay crisp.
Step 20: Chill briefly and serve
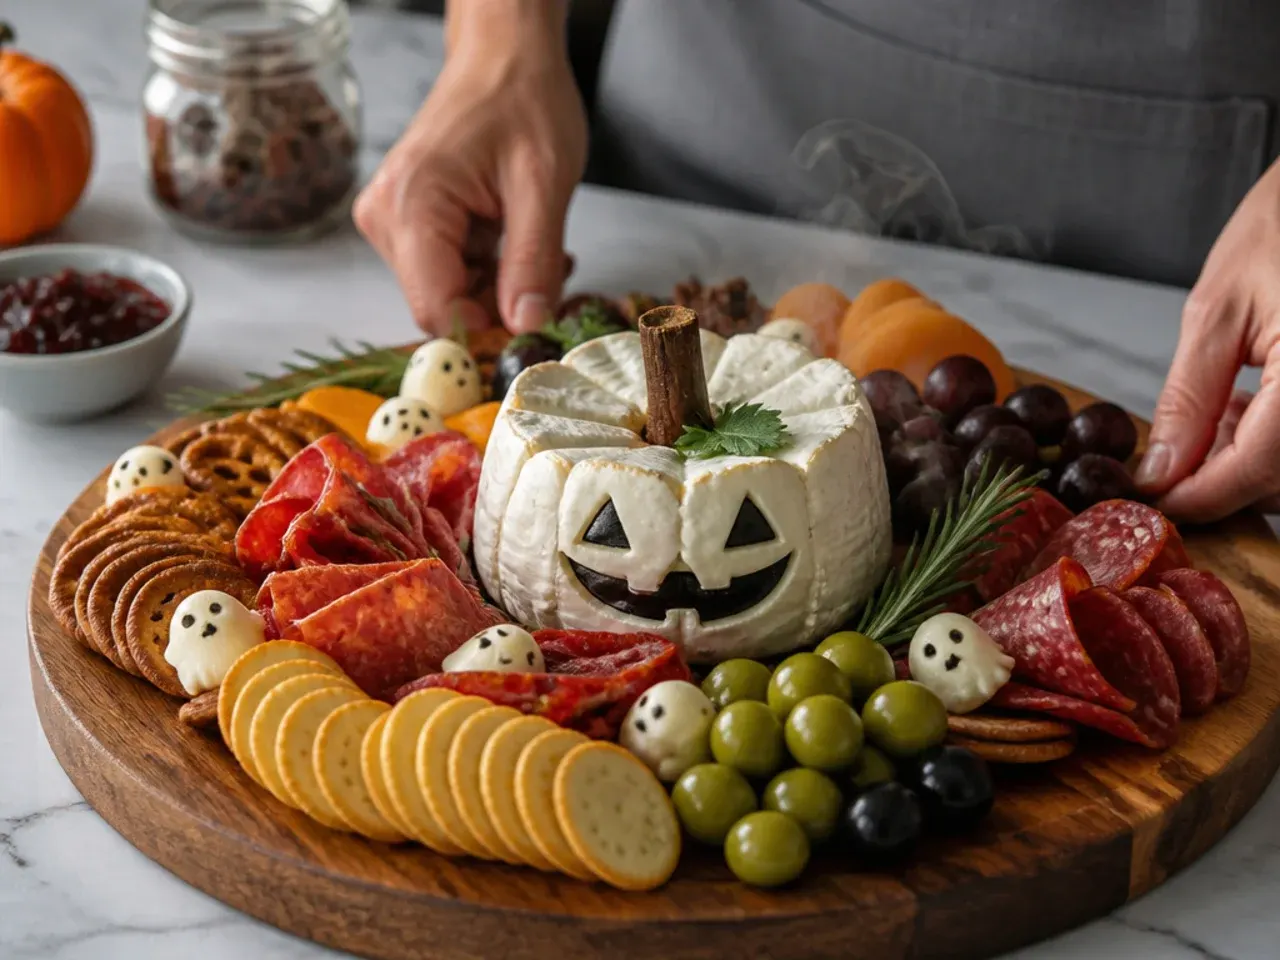
Rest the finished board in the fridge, loosely covered, for 15-20 minutes before serving so the cheese and dip firm up slightly and hold their shape when guests start picking at it. Set out small plates and a cheese knife next to the board so guests can serve themselves without disturbing the whole layout.
Pro Tips for a Showstopping Halloween Board
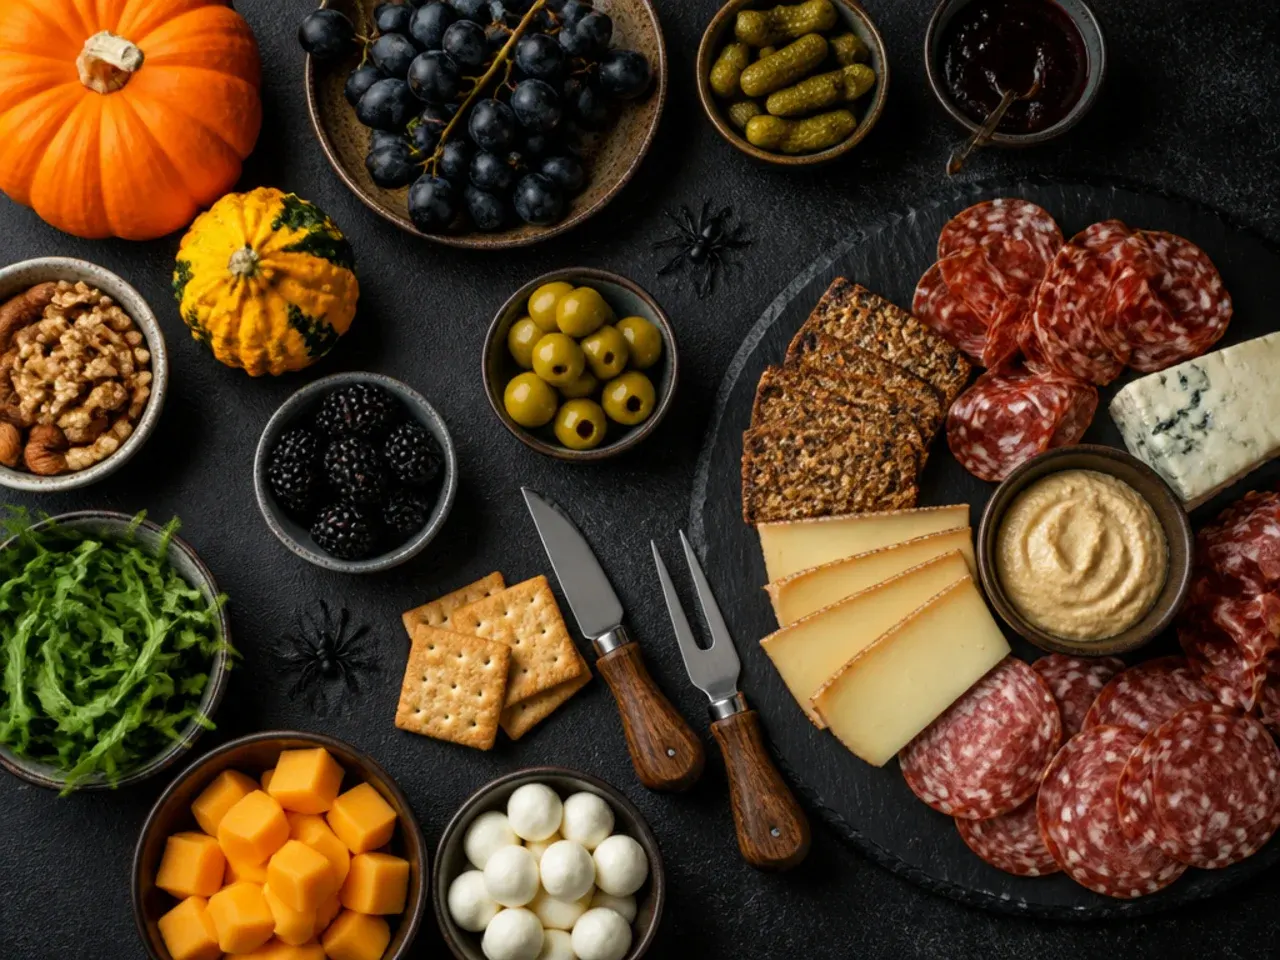
Work in odd-numbered clusters of three or five for the cheeses and bowls, since odd groupings look more natural than symmetrical rows. Vary height by propping one corner of the board on a rolled tea towel, then lean crackers and breadsticks against the raised edge so the board doesn't look flat. Contrast colour on purpose: the orange cheese pumpkins and black olive spiders read as "Halloween" from across the room, so keep those two elements as your anchor points and build everything else around them. If a section looks sparse once you've placed the main ingredients, fill the gap with a small pile of grapes or a few whole almonds rather than leaving bare board showing.
Storage and Make-Ahead Tips
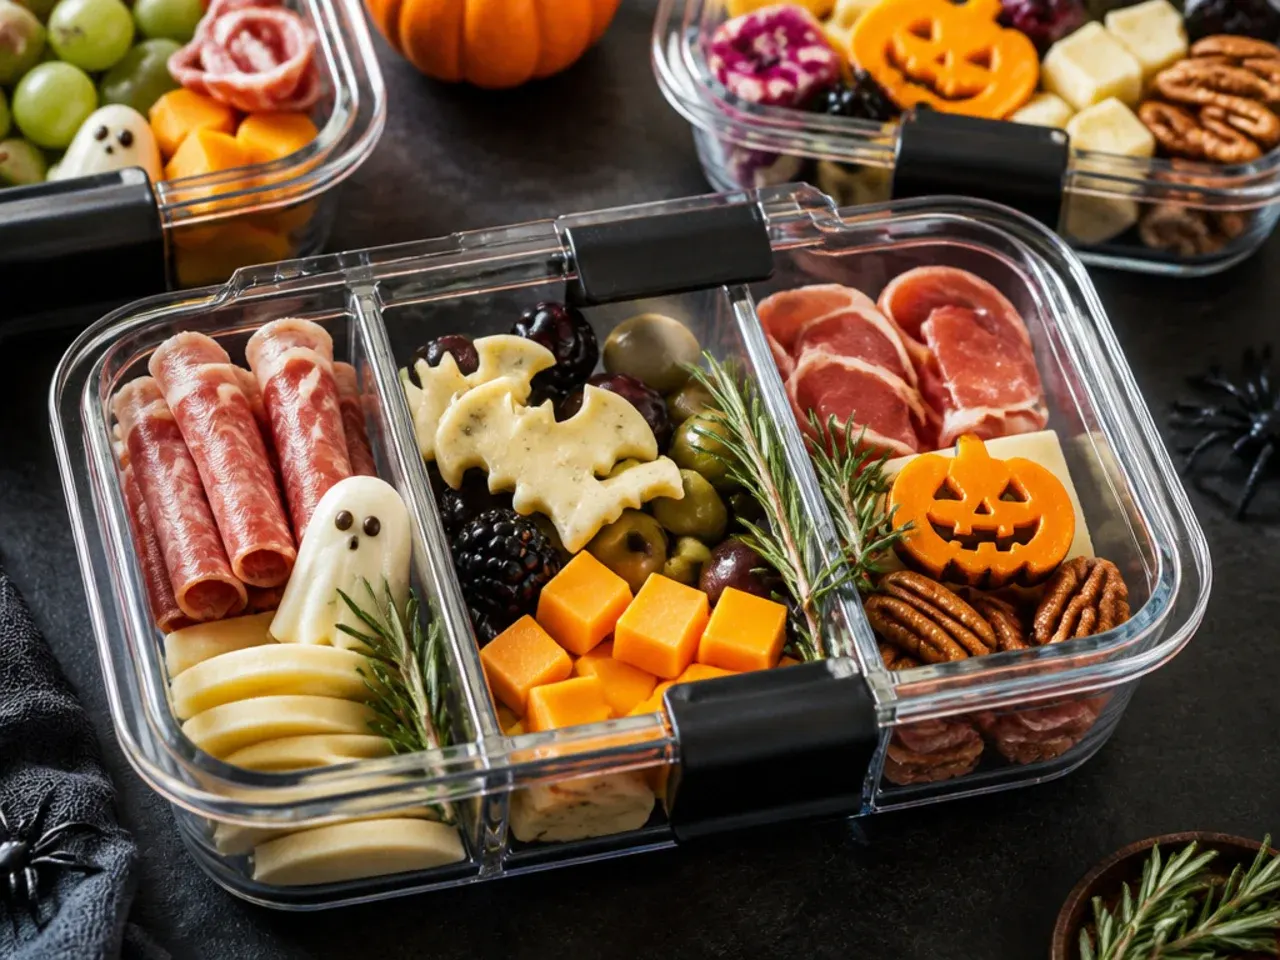
Prep the components up to 24 hours ahead: cut the cheese, fold the salami and make the spiderweb dip, then store each element separately in airtight containers in the fridge. Assemble the full board no more than 1-2 hours before your guests arrive, since cut cheese and cured meat dry out and curl at the edges if left exposed too long. Leftovers keep for up to 3 days in the fridge if you separate the meat, cheese and dip back into their own containers rather than storing the whole board as one. This board has no cooked elements to reheat, so simply bring the cheese and meat back to room temperature for 15-20 minutes before serving again for the best flavour.
These charcuterie board halloween ideas turn cheese, cured meats and a spiderweb dip into a spooky centrepiece in under an hour. For more halloween charcuterie board inspiration, browse the full Halloween Charcuterie Board board — every idea there is written for real home kitchens, not professional bakers.
Frequently Asked Questions
Prep the individual components, cheese cubes, folded meats, and the spiderweb dip, up to 24 hours ahead and store them separately in airtight containers in the fridge. Assemble the full board no more than 1-2 hours before guests arrive, since cut cheese and open meat slices dry out and curl if left exposed for longer. This staged approach keeps the board looking fresh at serving time while saving you most of the work the day before.

Related Recipes
Save this for later 📌
Pin this article to your Pinterest board so the full list is one tap away when you need it.
Save on Pinterest