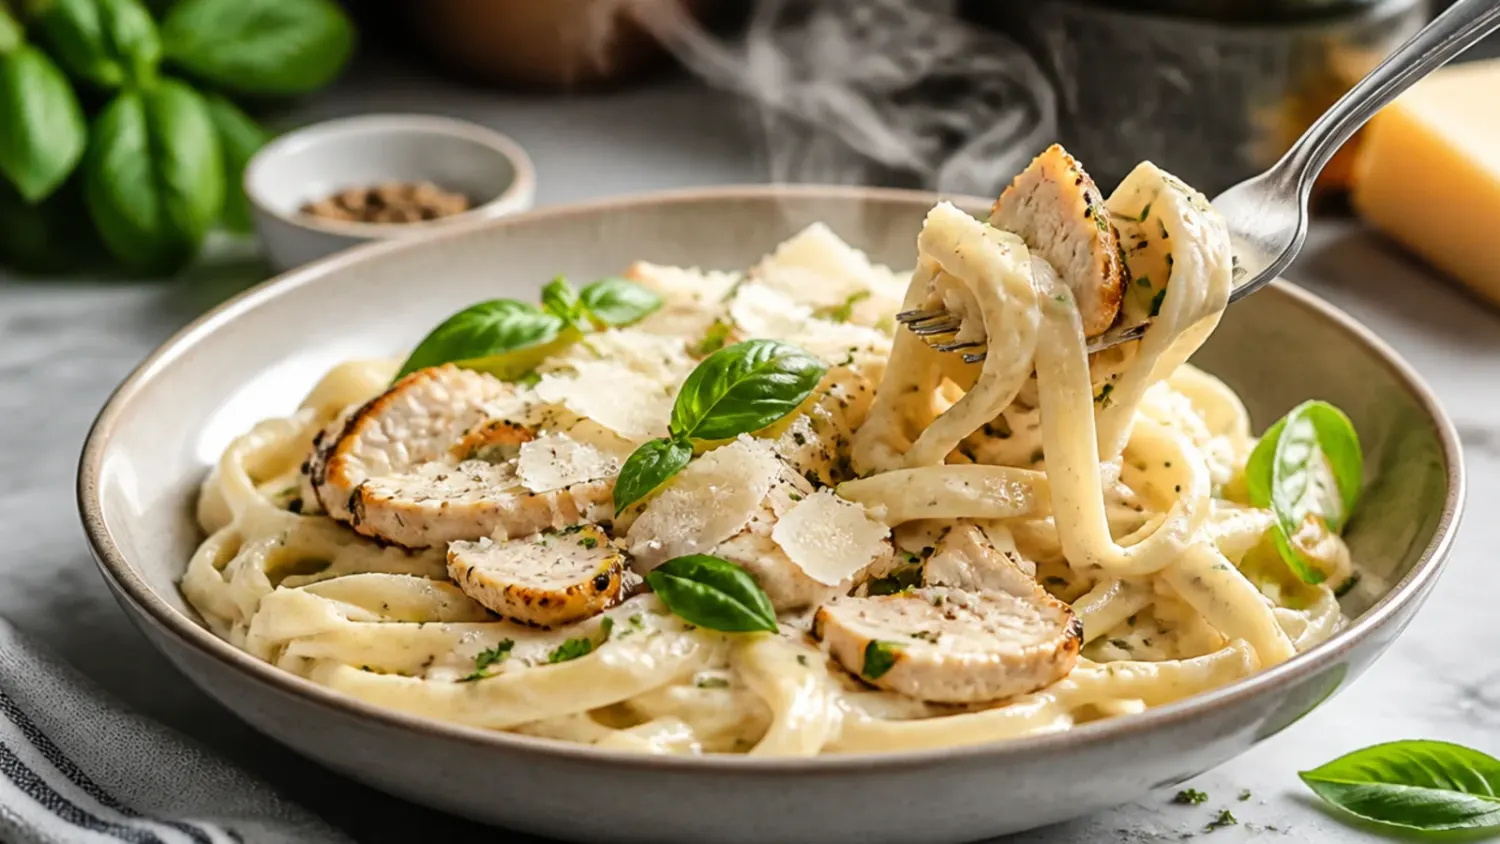
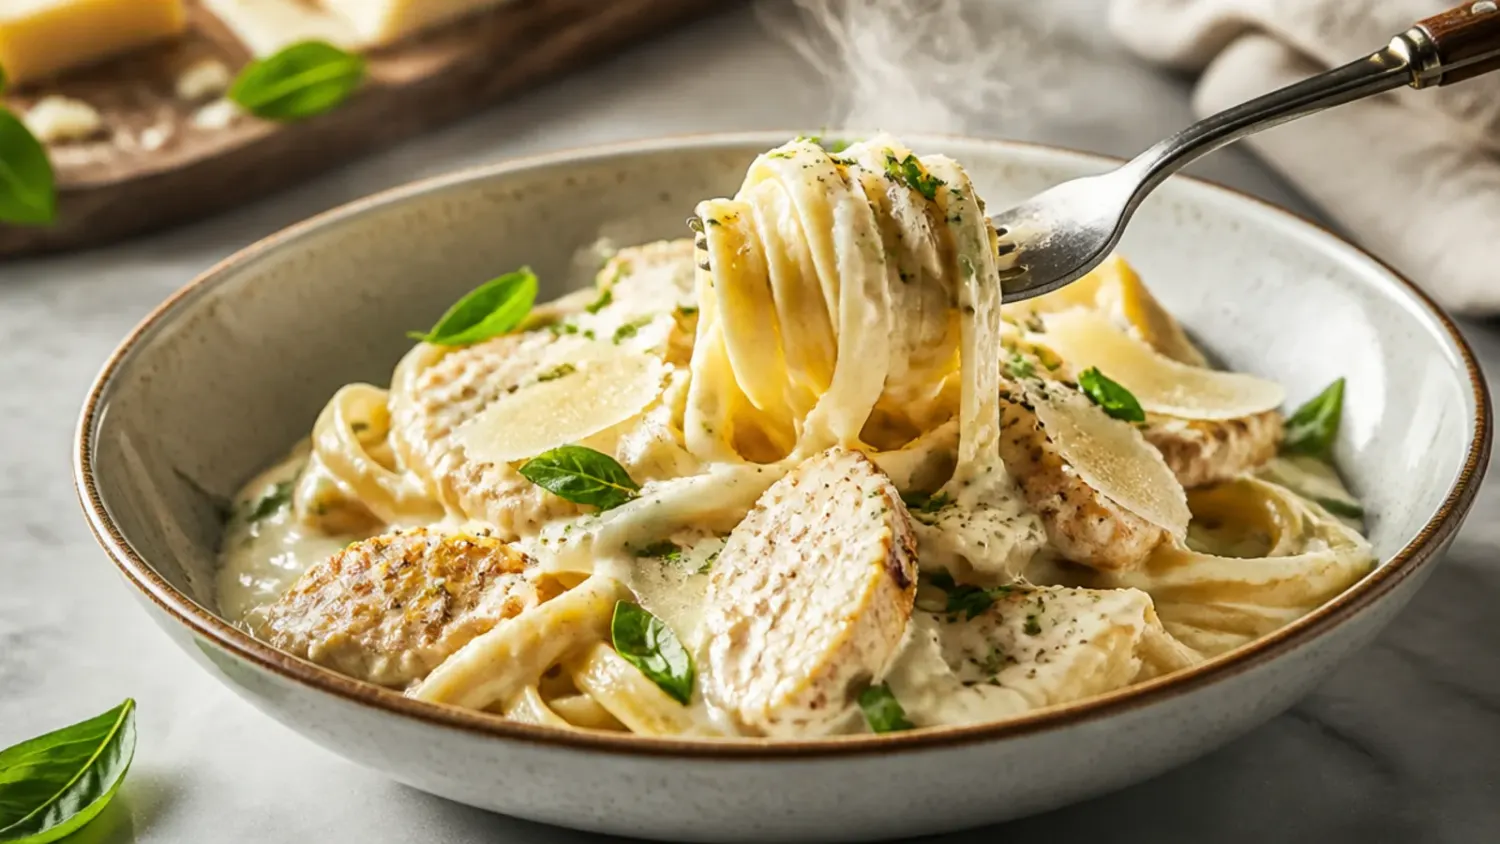
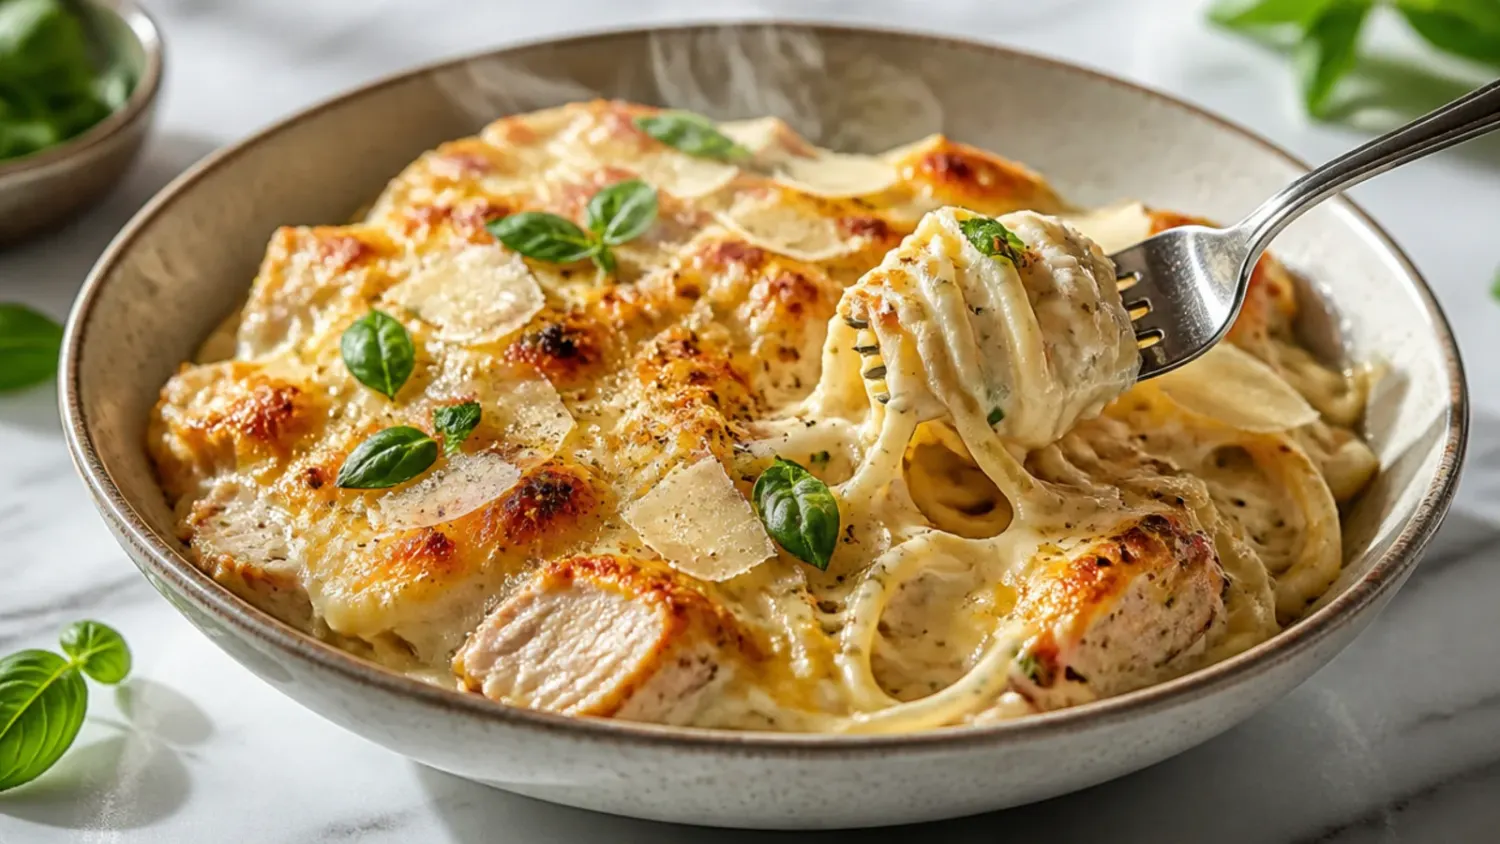
20 Chicken Alfredo Recipe Tips I Wish I Knew Sooner
Twenty hard-won lessons from making this chicken alfredo recipe again and again — the exact mistakes, fixes, and technique that finally made the sauce silky every time. If you love chicken alfredo inspiration, start with our Chicken Alfredo collection, then browse the full Comfort Dinners hub for more.
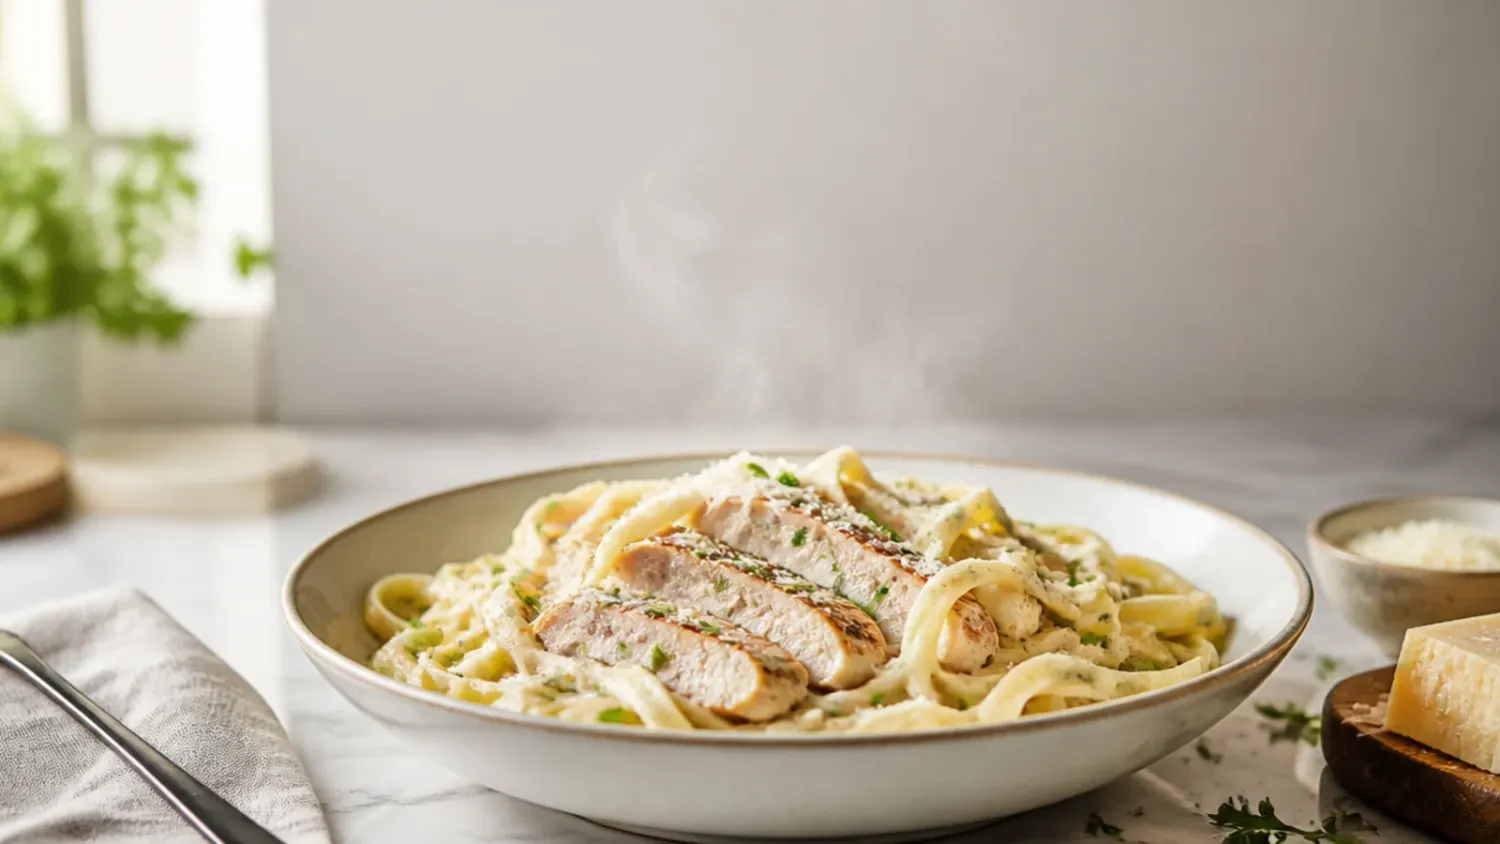
Save this for later 📌
Pin this article to your Pinterest board so the full list is one tap away when you need it.
Save on PinterestComfort Dinners
Beginner
Kitchen Journal
7 steps
Table of Contents
- Lesson 1: Skip the Bagged Parmesan
- Lesson 2: Never Let the Cream Boil
- Lesson 3: Add the Cheese Off the Heat, a Handful at a Time
- Lesson 4: Slice the Chicken Breast in Half First
- Lesson 5: Use a Thermometer, Not a Cut-and-Peek
- Lesson 6: Don't Substitute Milk or Half-and-Half
- Lesson 7: Always Save a Cup of Pasta Water
- Lesson 8: Never Rinse the Fettuccine
- Lesson 9: Pull the Pasta a Minute Early
- Lesson 10: Add the Garlic Last, Not First
- Lesson 11: Let the Chicken Rest Before Slicing
- Lesson 12: Give the Cream Time to Reduce
- Lesson 13: Go Easy on the Nutmeg
- Lesson 14: Time the Pasta and Sauce to Finish Together
- Lesson 15: Salt the Pasta Water Properly
- Lesson 16: Skip the Jarred Minced Garlic
- Lesson 17: Reheat Low and Slow, Never on a Hot Microwave Blast
- Lesson 18: Freeze the Sauce and Chicken, Not the Pasta
- Lesson 19: Warm the Bowls Before Plating
- Lesson 20: Always Taste and Adjust Right at the End
- What I'd Tell a Friend Trying This Chicken Alfredo Recipe
- The Recipe I Used
Lesson 1: Skip the Bagged Parmesan
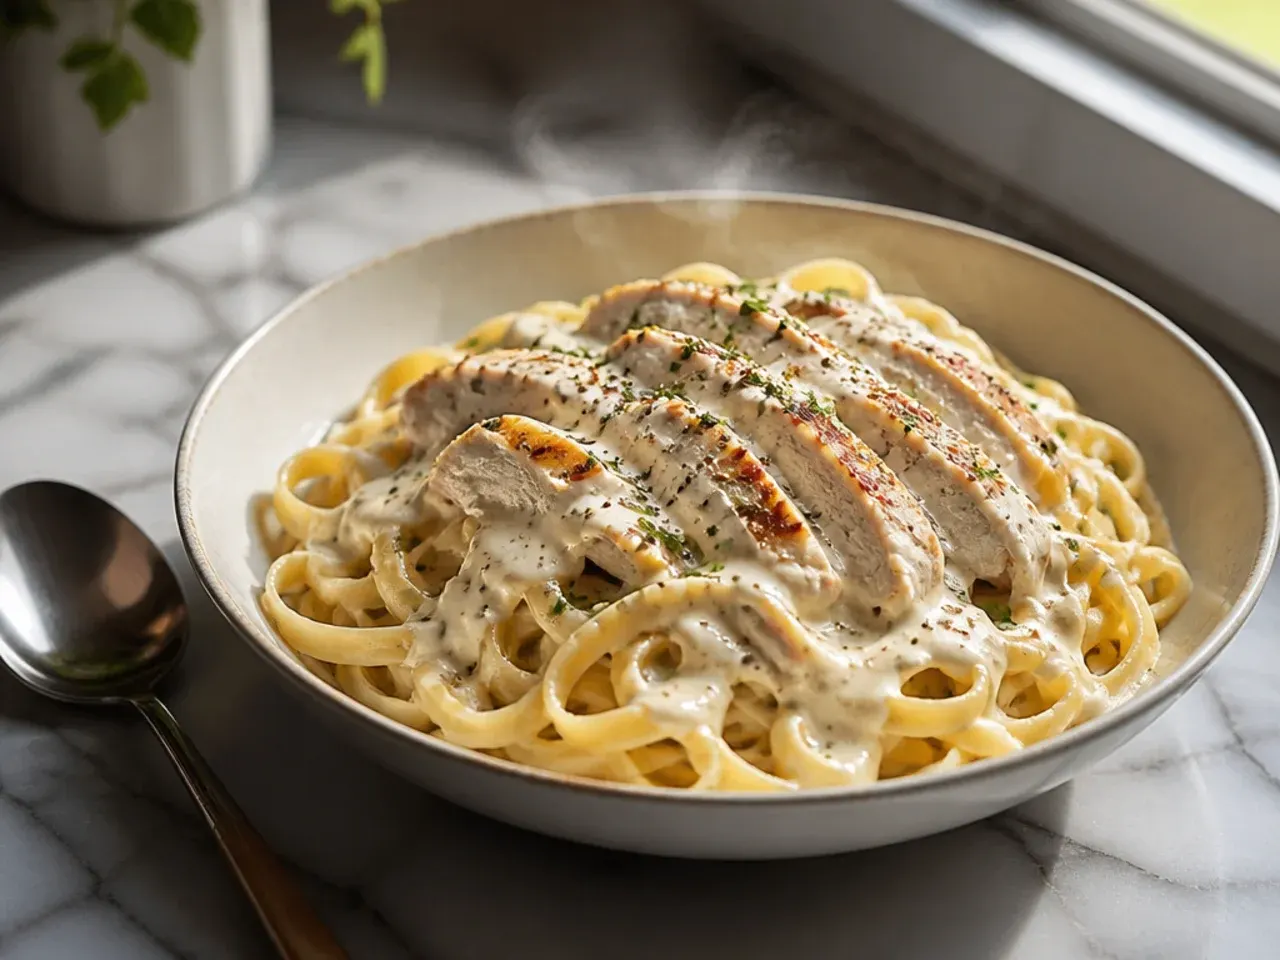
The first few times I made this chicken alfredo recipe, I grabbed a bag of pre-shredded Parmesan because it was faster, and the sauce always came out slightly gritty no matter how gently I stirred. Turns out those bags are coated in cellulose and starch to stop clumping, and that same coating stops the cheese melting smoothly into cream. Now I buy a block and grate 100 g (1 cup) myself with a microplane right before it goes in the pan — it takes two extra minutes and the sauce is silk every time.
Lesson 2: Never Let the Cream Boil
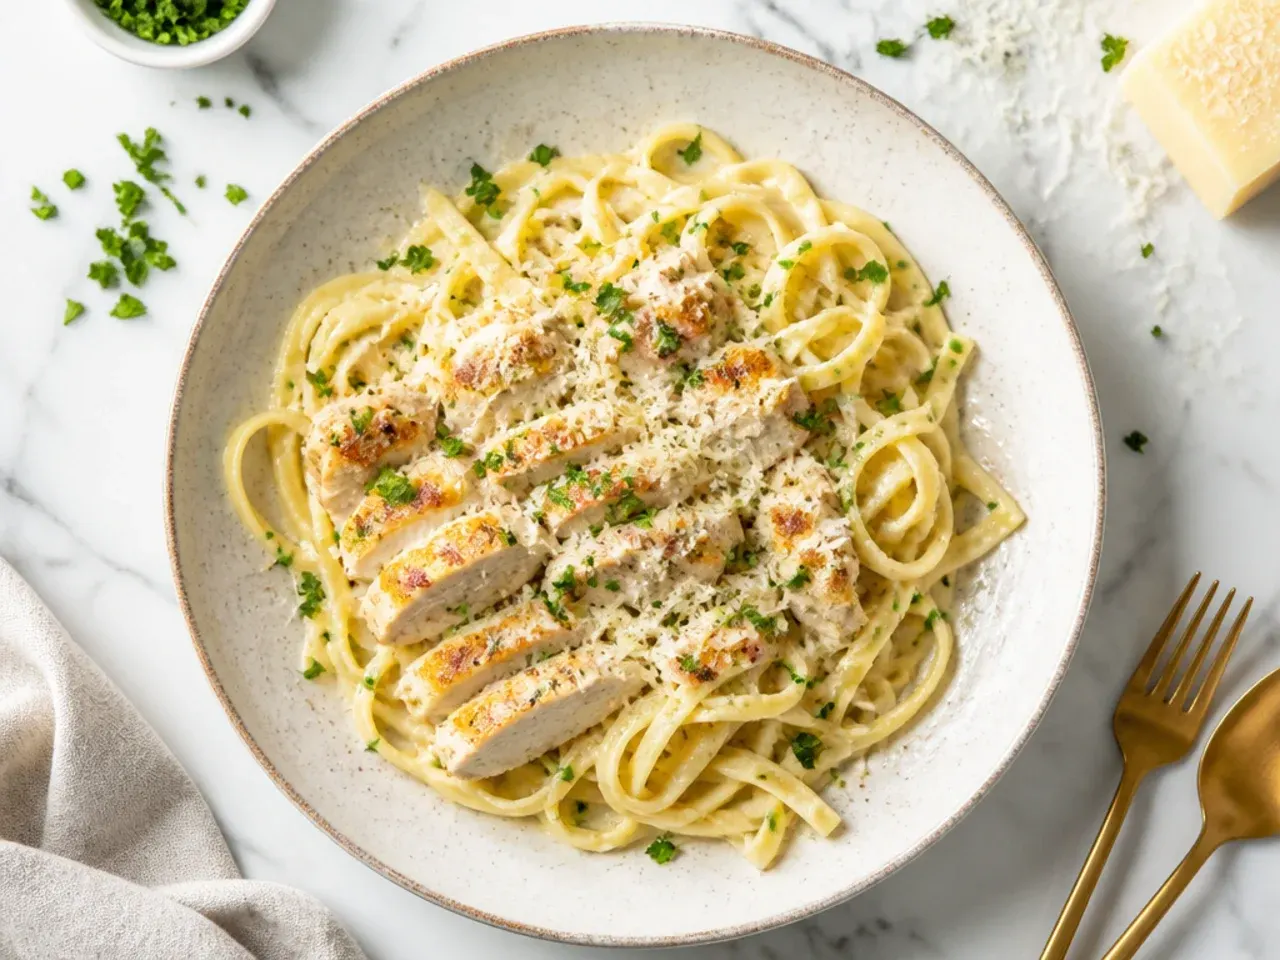
I used to crank the heat to speed things up, and the first time I watched 480 ml (2 cups) of heavy cream go from simmering to a rolling boil in about ten seconds, the sauce broke into greasy pools right in front of me. Cream separates when it gets too hot, and there's no rescuing it once the fat splits out. Now I keep the burner on medium-low and watch for small bubbles just at the edge of the pan — that's as hot as alfredo sauce should ever get.
Lesson 3: Add the Cheese Off the Heat, a Handful at a Time
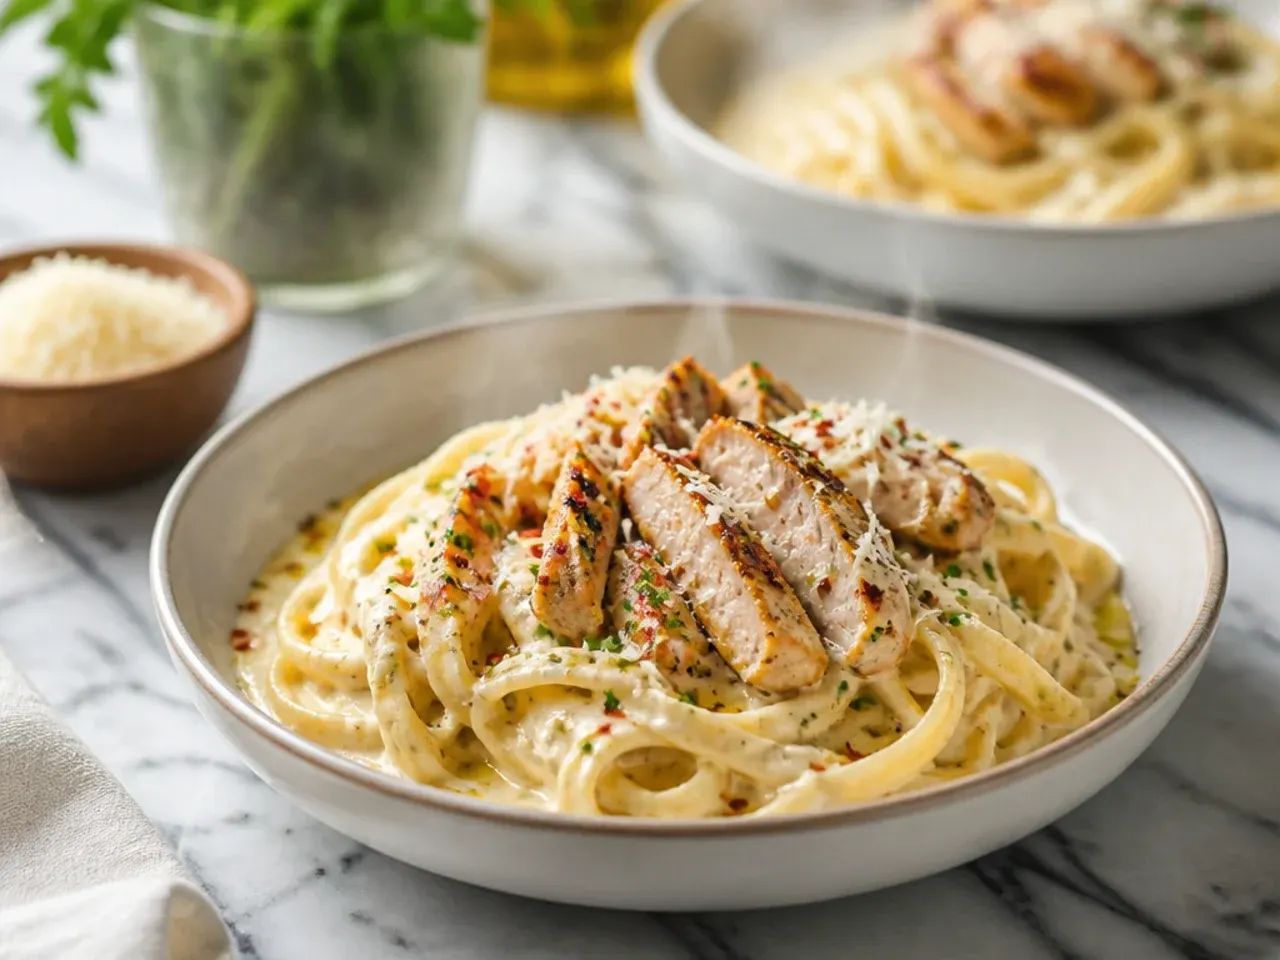
My early batches went from smooth to grainy the second I dumped in all the Parmesan at once while the pan was still on the stove. Cheese seizes when it hits sudden heat, and by the time I noticed, the sauce was full of little clumps I couldn't whisk out. Now I pull the pan completely off the burner first, then whisk in the cheese in three or four additions, letting each one melt before adding more.
Lesson 4: Slice the Chicken Breast in Half First
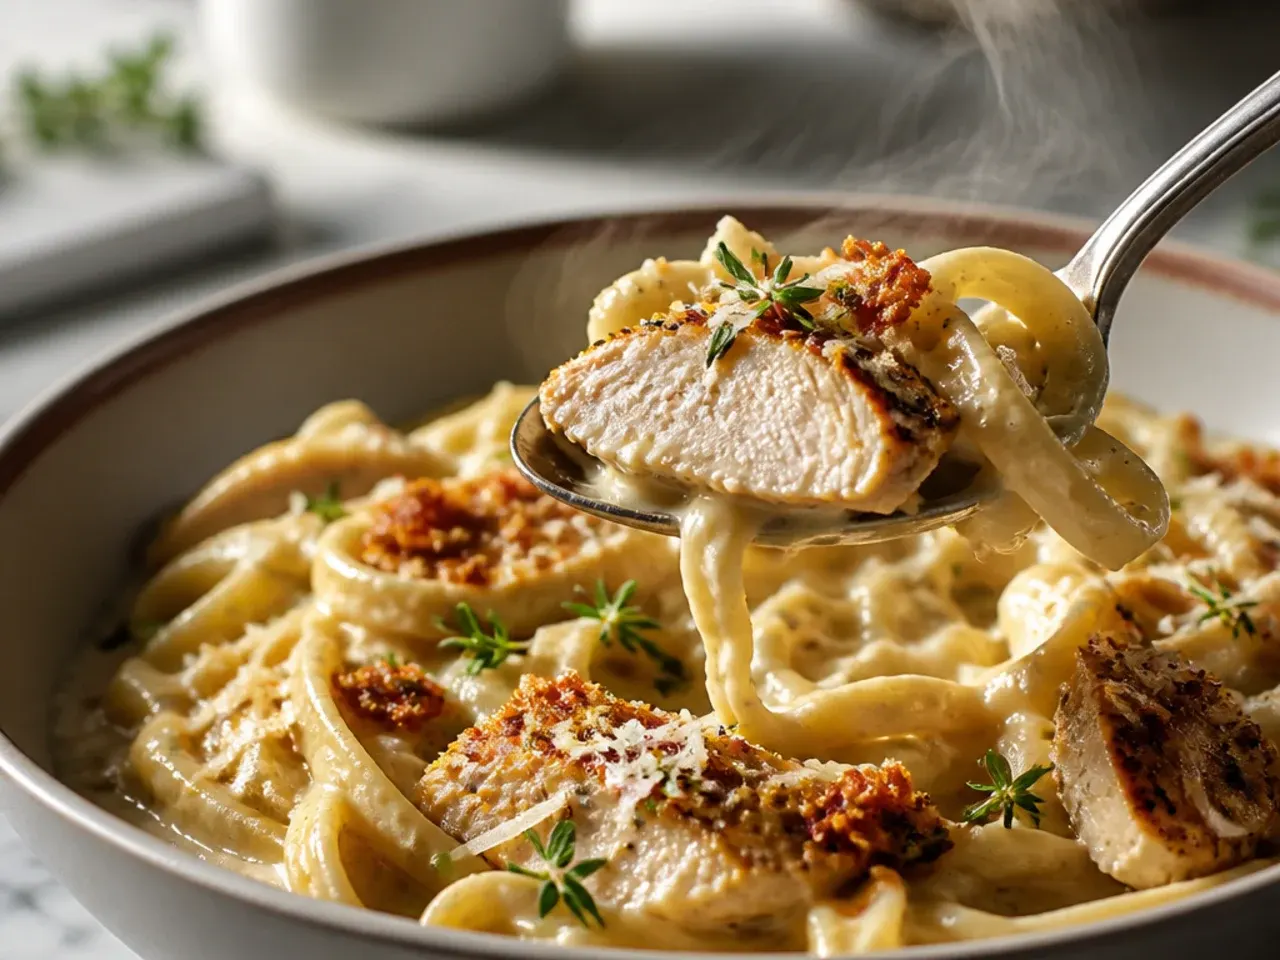
I used to sear whole chicken breasts and they'd cook unevenly — burnt outside, still pink in the thickest part. Slicing each 450 g (1 lb) breast horizontally into two thinner cutlets before seasoning fixed it completely, because the thinner pieces cook through at the same rate they brown. It also cuts the searing time down to about 5-6 minutes per side instead of ten-plus.
Lesson 5: Use a Thermometer, Not a Cut-and-Peek
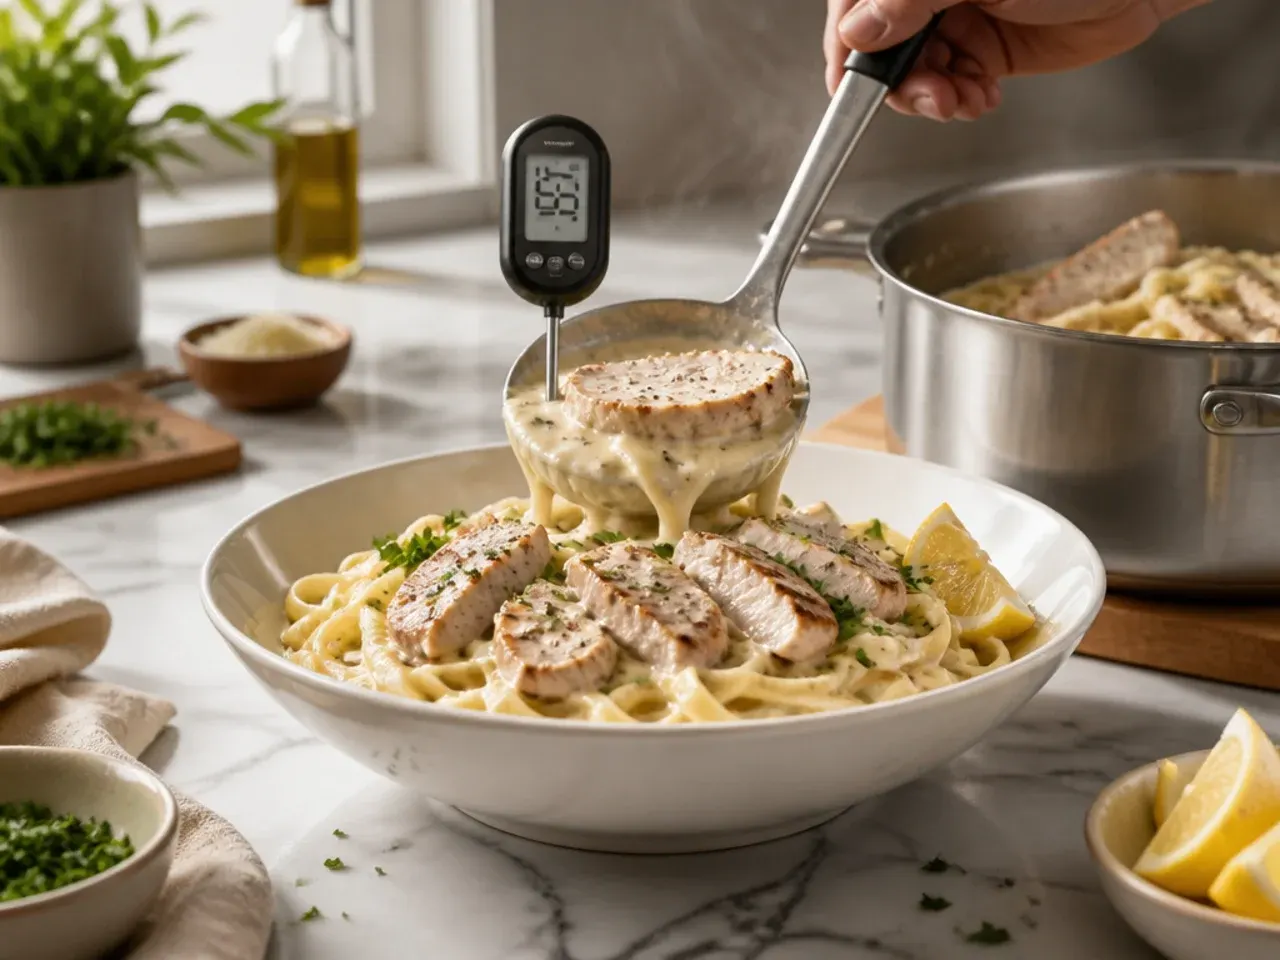
I spent years cutting into the thickest part of the chicken to check if it was done, which let all the juices spill onto the board and left the meat drier by the time it hit the pasta. A cheap instant-read thermometer solved it — I pull the chicken the moment it hits 74°C (165°F) in the centre, no guessing and no lost juices. It's the single cheapest upgrade I've made to this recipe.
Lesson 6: Don't Substitute Milk or Half-and-Half
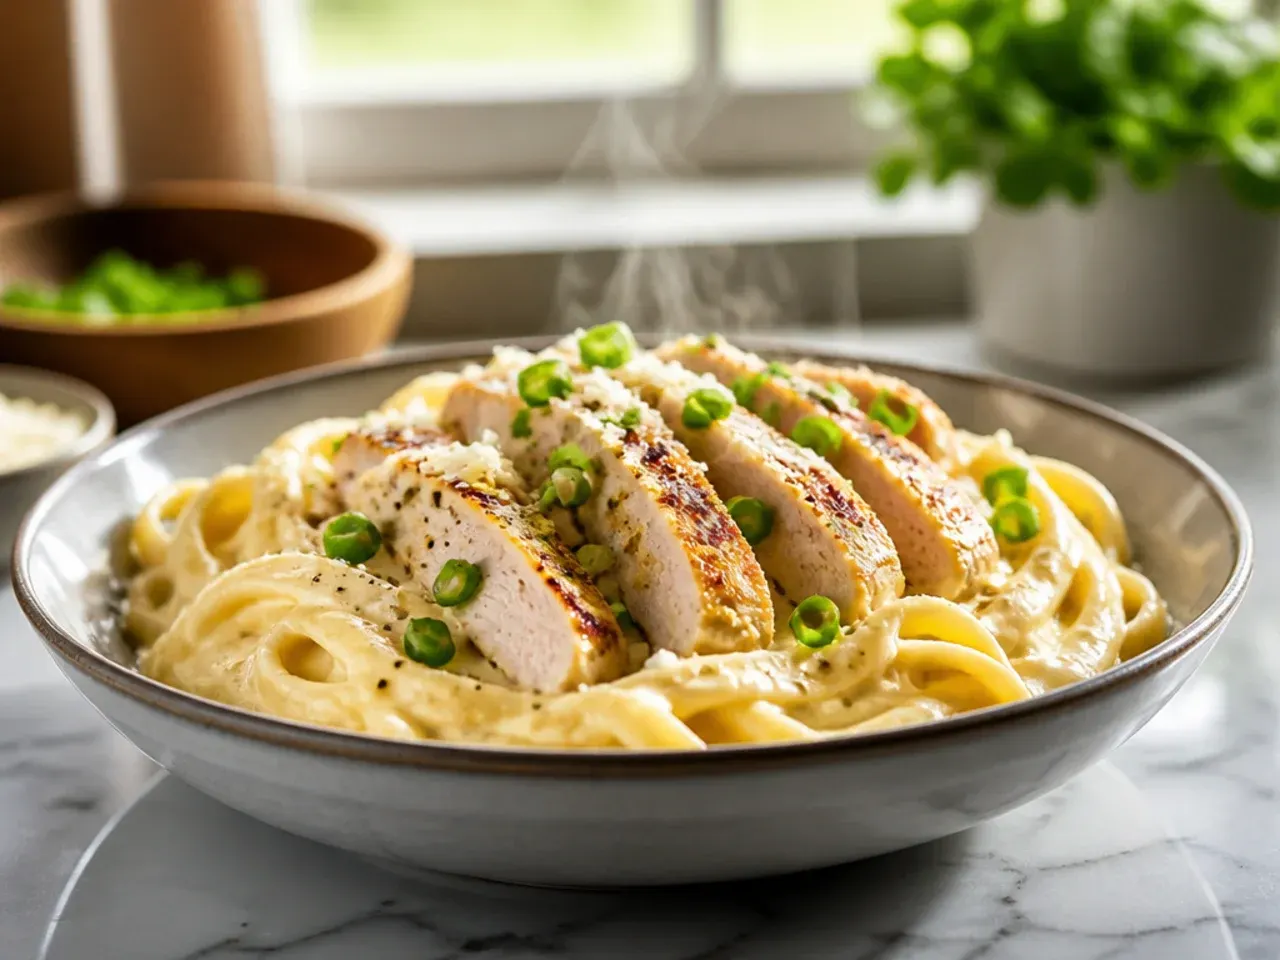
Trying to lighten the dish, I once swapped the heavy cream for half-and-half, and the sauce never thickened properly and looked slightly curdled by the time it hit the pasta. Cream needs at least 36% milkfat to emulsify with the Parmesan and stay smooth under heat; anything lower breaks more easily. If I want it lighter now, I use the full cream but serve a smaller portion rather than swapping the fat content.
Lesson 7: Always Save a Cup of Pasta Water
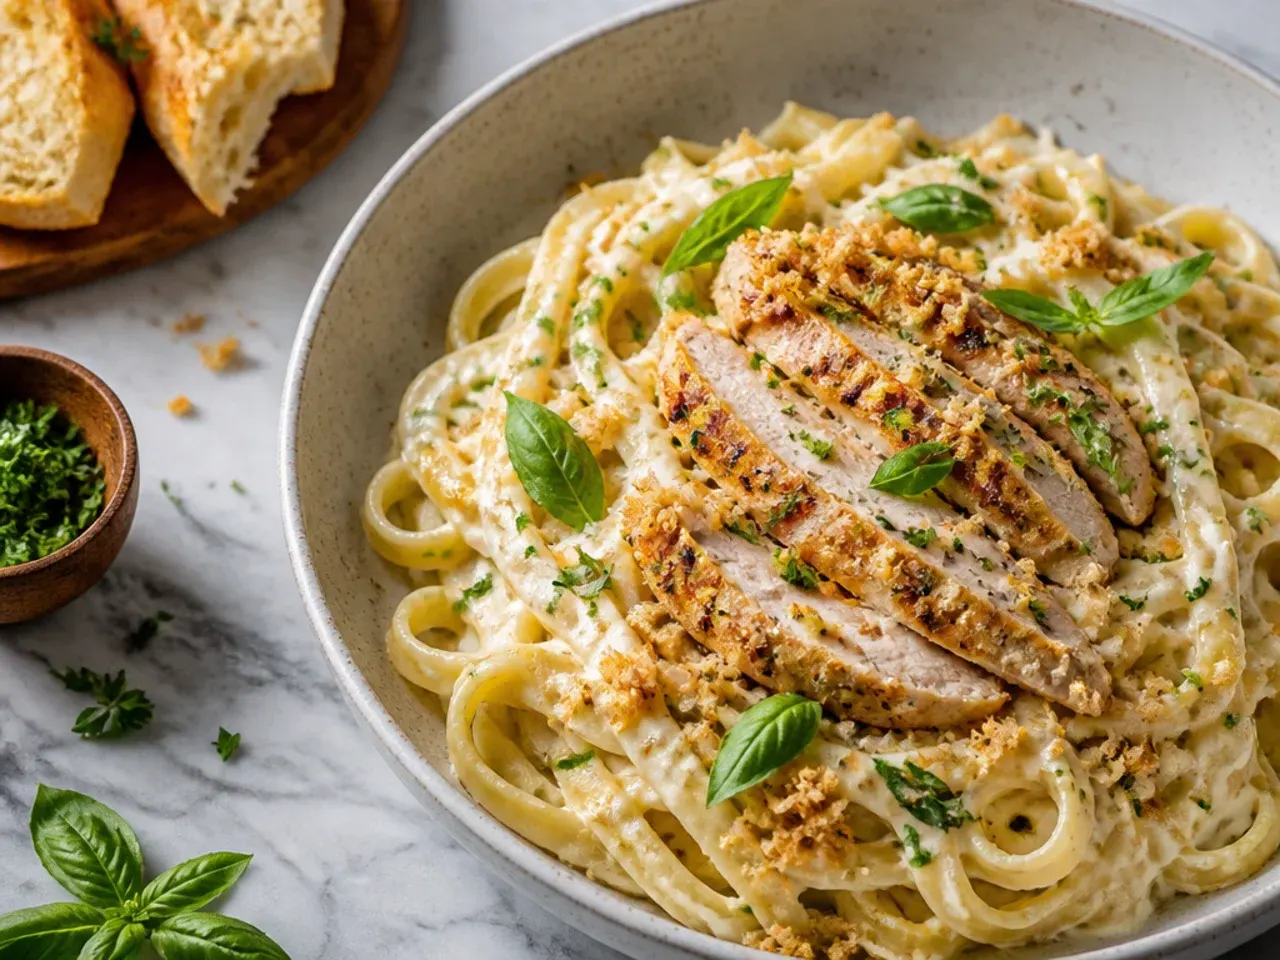
The first handful of times, I'd drain the fettuccine straight into the colander and forget the water entirely, then wonder why the finished dish looked more like a paste than a sauce. Now I scoop out 120 ml (1/2 cup) of the starchy water right before draining, and adding it a splash at a time at the end loosens the sauce into something that coats the pasta instead of clumping on top of it. It's the one step I never skip anymore.
Lesson 8: Never Rinse the Fettuccine
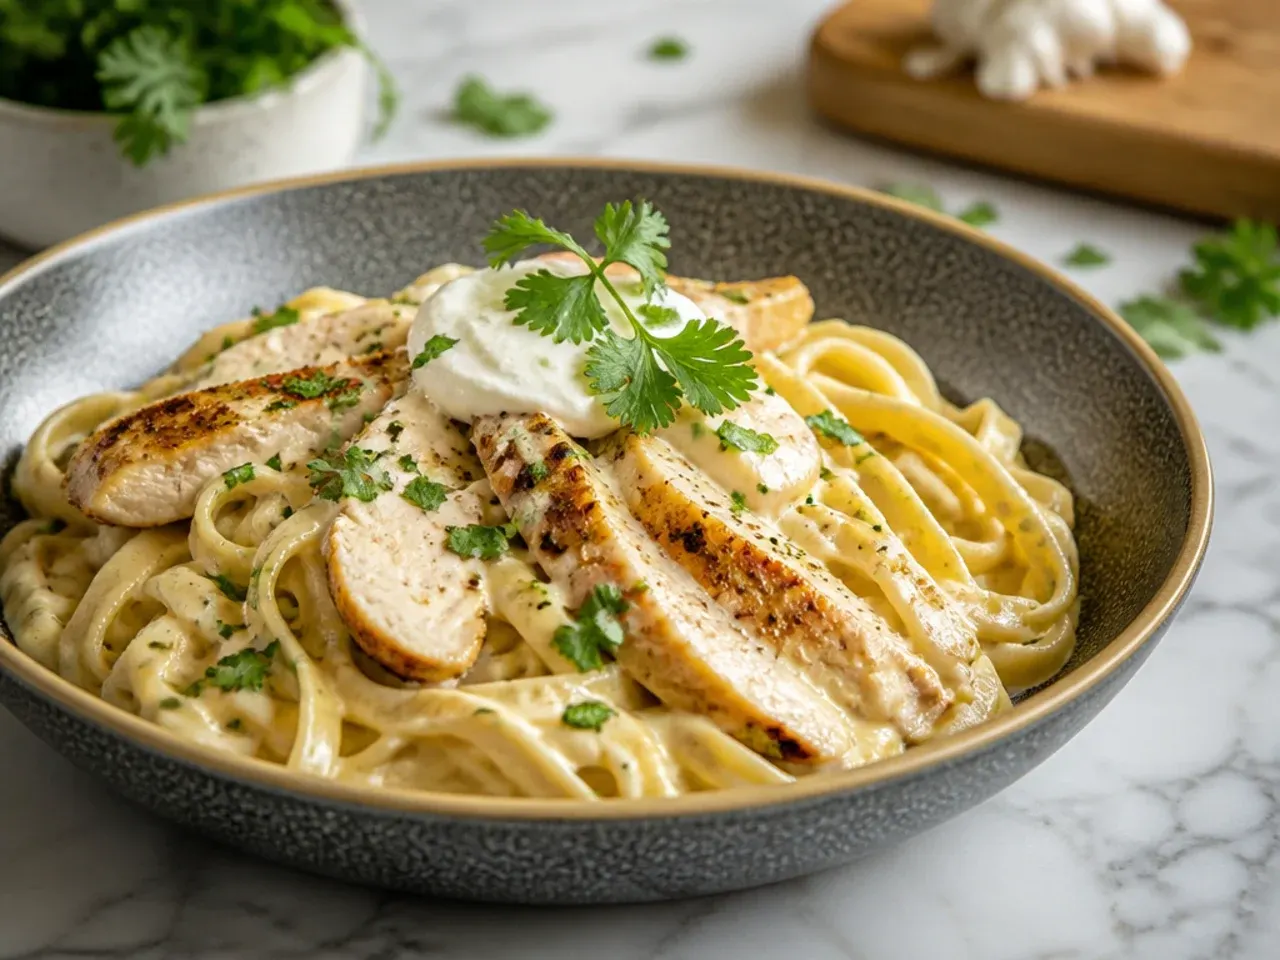
Out of habit from other recipes, I used to rinse the pasta under cold water after draining, and the sauce would slide right off instead of clinging to each strand. That starchy film on the surface of cooked pasta is exactly what helps alfredo sauce grip on, so rinsing it away undoes half the work of a good sauce. I just drain and go straight into the pan now — no rinse, no delay.
Lesson 9: Pull the Pasta a Minute Early
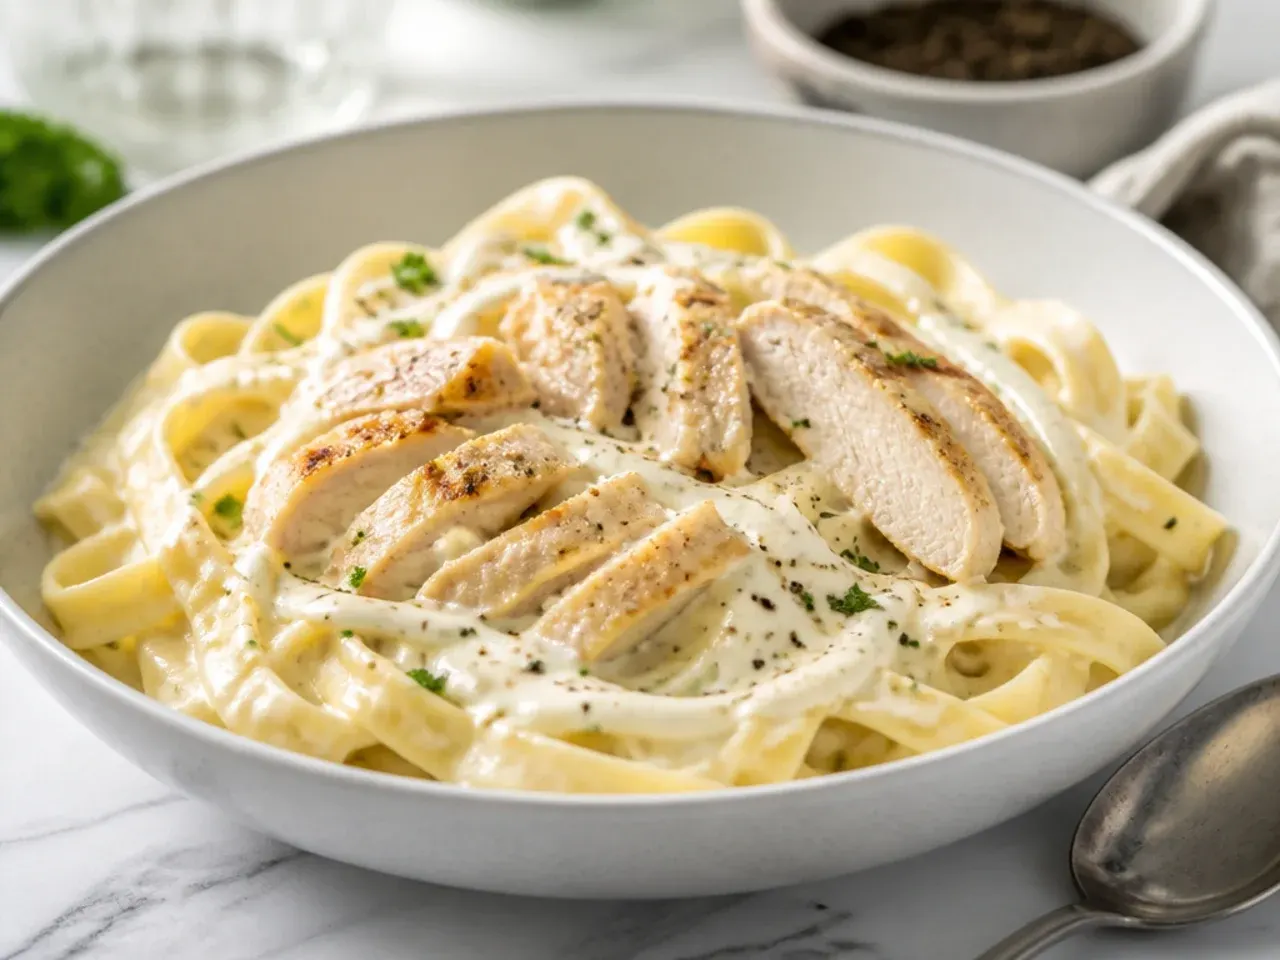
I used to cook fettuccine to the full time on the packet, and by the time it had been tossed through hot sauce and rested for serving, it was noticeably softer than I wanted. Now I pull it at around 9 minutes rather than the full 11, right at al dente with a bit of bite left, because it keeps cooking gently once it's tossed with the hot sauce. That extra minute of residual cooking makes a real difference to the final texture.
Lesson 10: Add the Garlic Last, Not First

In my early versions I'd put the garlic in with the butter right at the start and let them heat up together, and more often than not the garlic turned bitter and brown before the butter had even fully melted. Garlic only needs 30-45 seconds in already-melted butter over medium heat before it's fragrant, and going past that turns it acrid fast. I now melt the butter first, then add the garlic last and pull the pan off almost immediately.
Lesson 11: Let the Chicken Rest Before Slicing
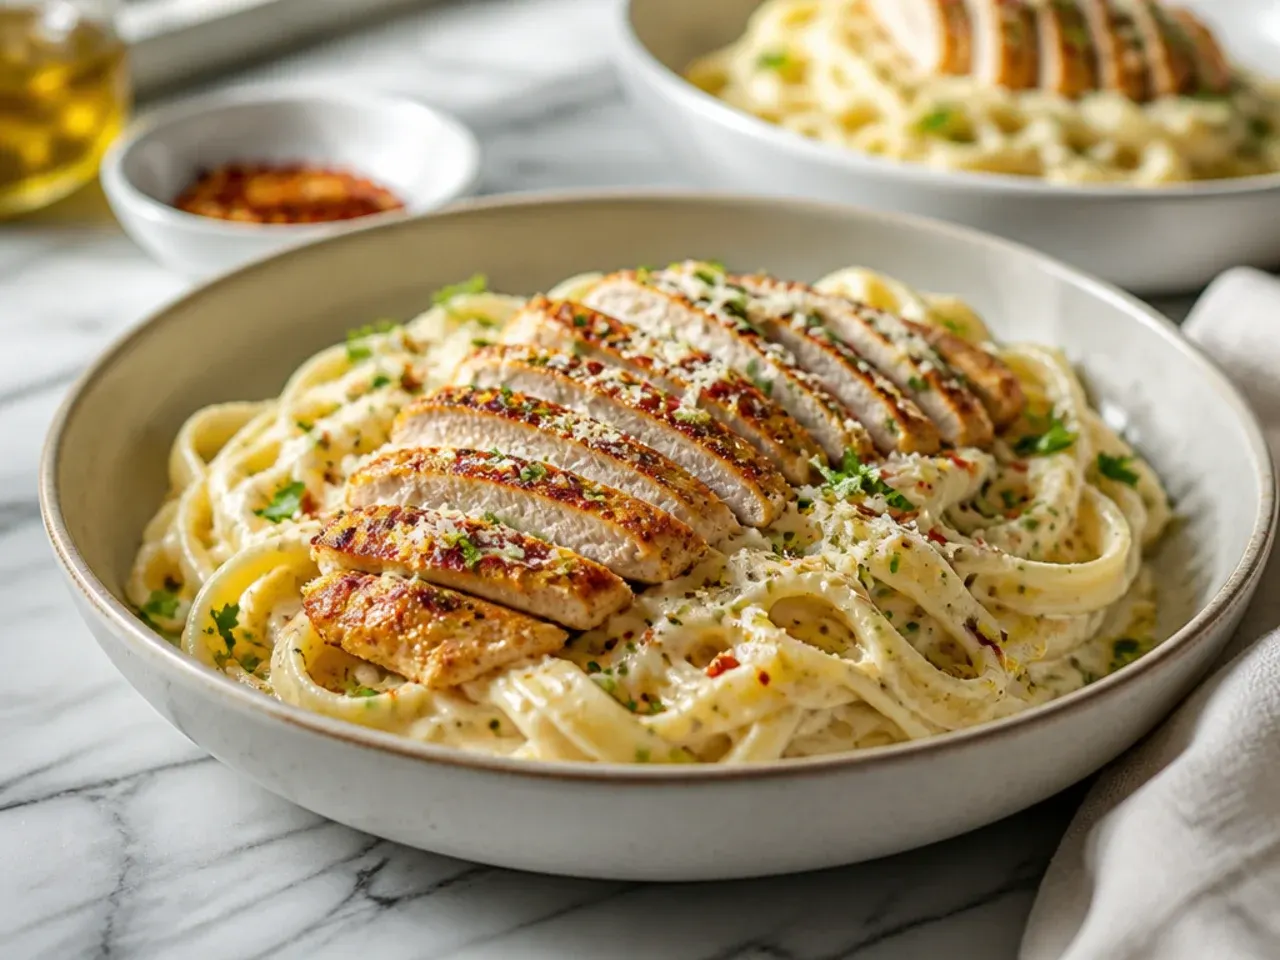
Slicing the chicken straight off the pan used to leave a puddle of juice on the cutting board and drier meat in the bowl. Now I tent it loosely with foil and let it sit for about 5 minutes while I finish the sauce, which gives the juices time to redistribute through the meat instead of running out. It's a small wait that makes the chicken noticeably more tender in the final dish.
Lesson 12: Give the Cream Time to Reduce
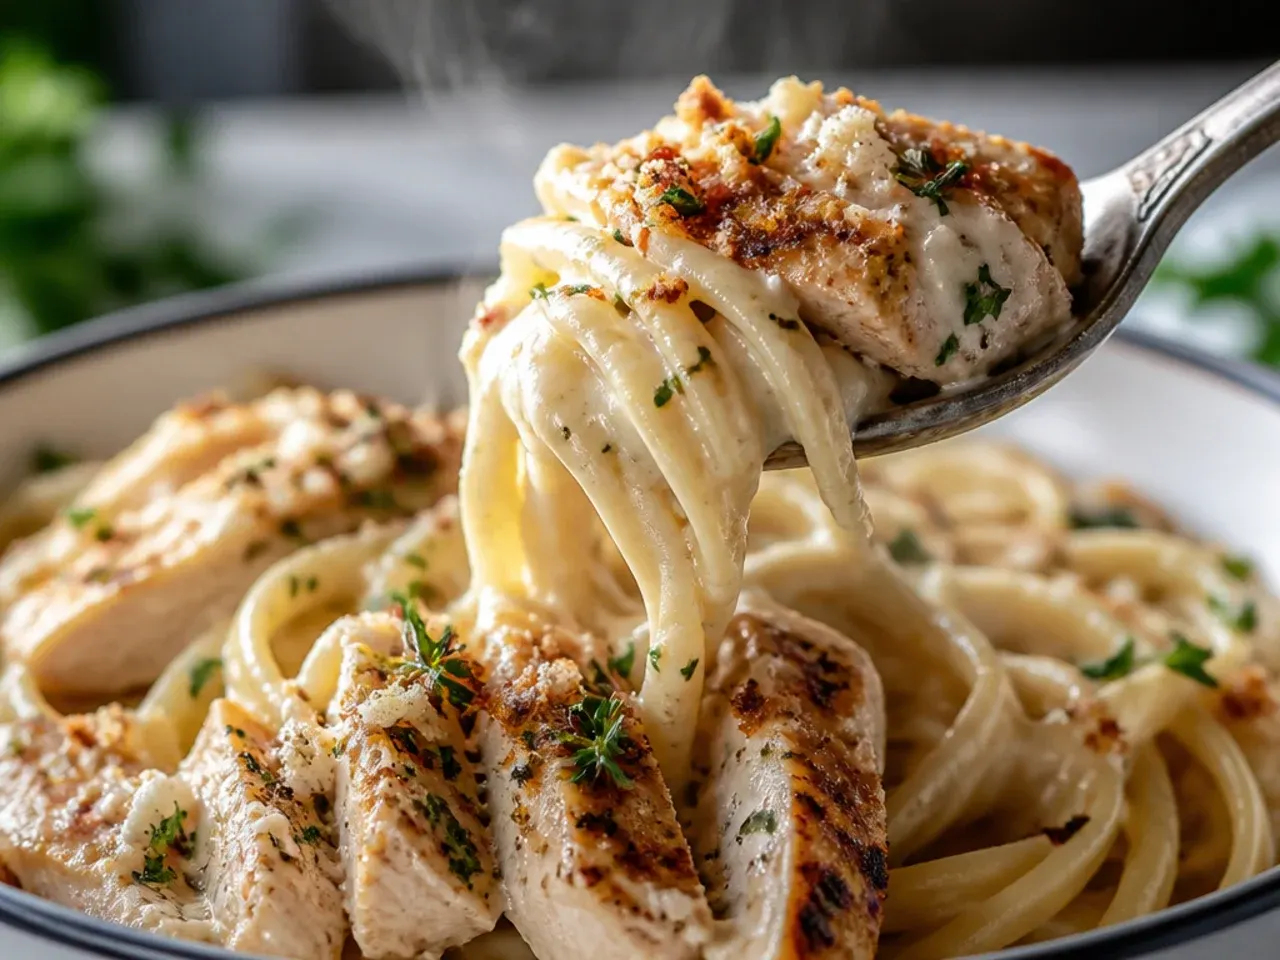
Impatient early on, I'd add the Parmesan to the cream after only two or three minutes of simmering, and the sauce stayed thin and never properly coated the pasta. Cream needs a genuine 8-10 minutes at a gentle simmer to reduce and thicken enough that it coats the back of a spoon before the cheese even goes in. Rushing this step just pushes the problem downstream to a sauce that's too thin no matter how much cheese you add.
Lesson 13: Go Easy on the Nutmeg
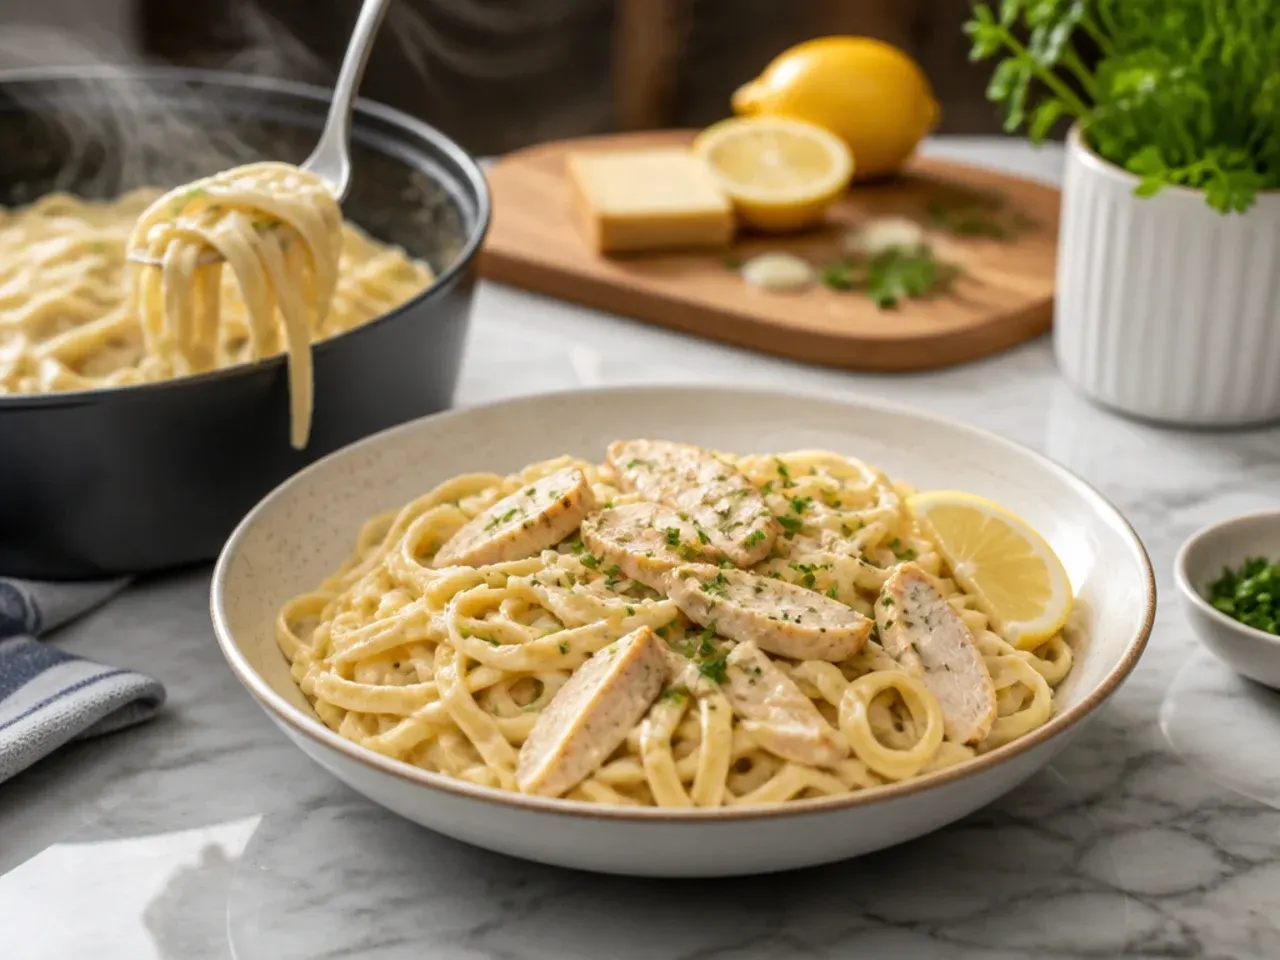
I once doubled the nutmeg thinking more warmth would deepen the flavour, and instead it took over the whole dish and tasted more like a spiced dessert than a savoury pasta. A scant 1/4 tsp of freshly grated nutmeg in 480 ml (2 cups) of cream is genuinely all this needs to round out the richness without anyone identifying it as nutmeg. I grate it straight from a whole nutmeg now rather than using the pre-ground stuff, which is more potent so even less is needed.
Lesson 14: Time the Pasta and Sauce to Finish Together
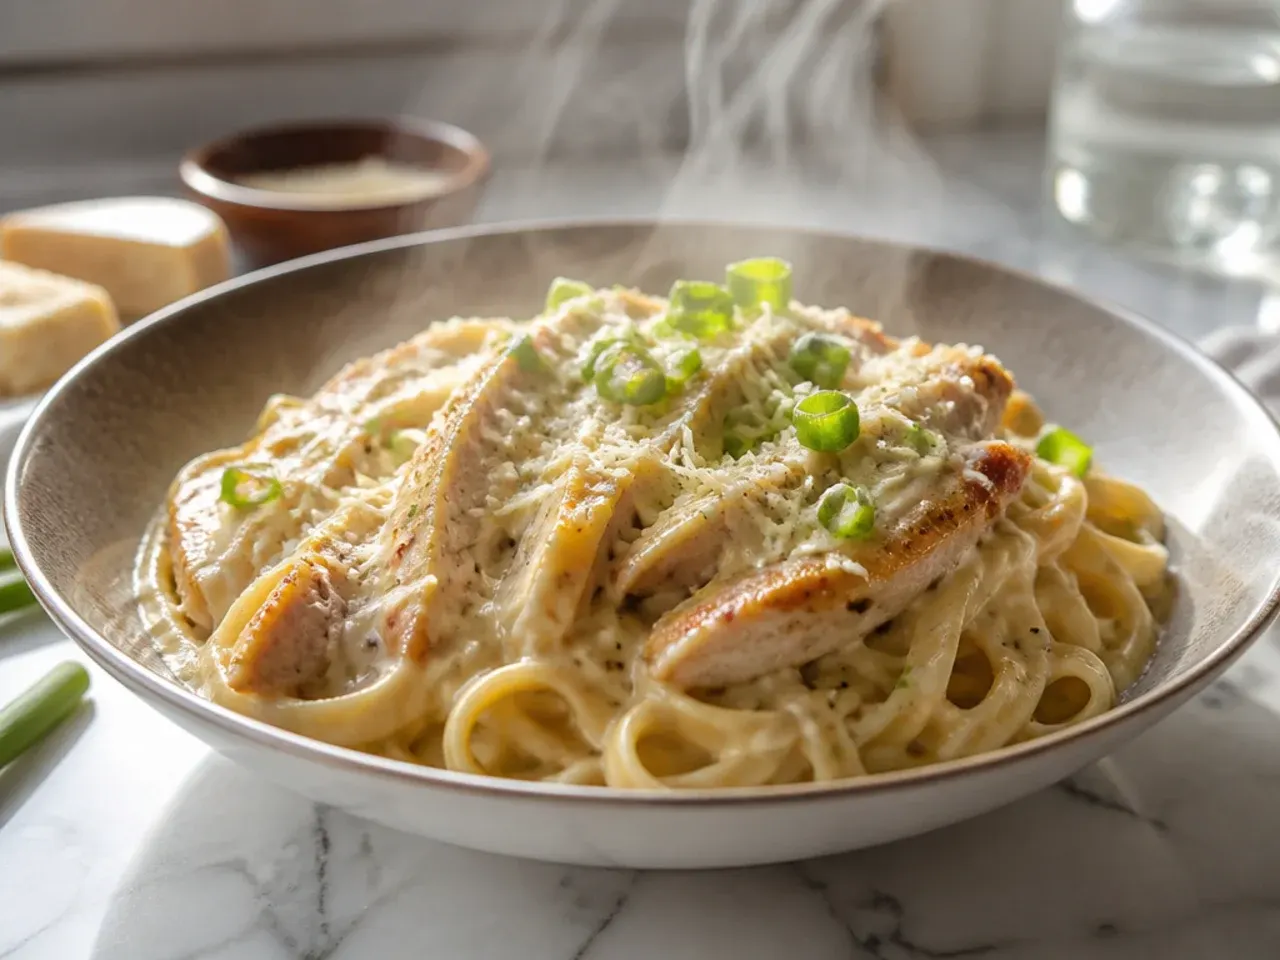
I used to make the sauce first and let it sit while the pasta finished boiling, and by the time they met, the sauce had cooled and gone slightly gluey on top. Now I start the pasta water boiling before I even touch the sauce, so the noodles hit the pan hot right as the cream finishes reducing. Getting both elements hot at the same moment matters more than I expected for how smoothly everything comes together.
Lesson 15: Salt the Pasta Water Properly
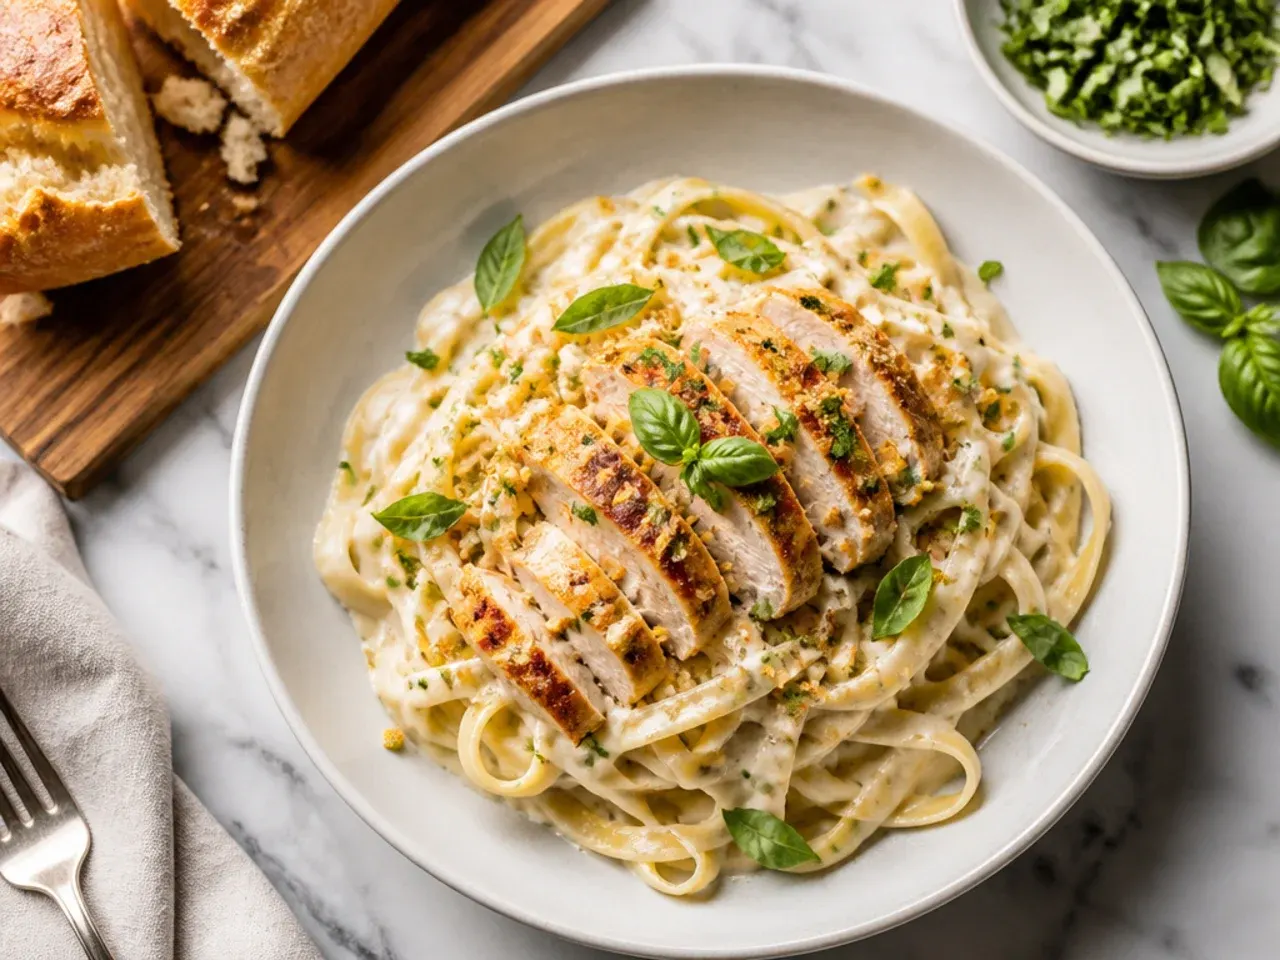
For a while I under-salted the pasta water because I figured the sauce would season everything anyway, and the finished dish always tasted flat even with a well-seasoned sauce on top. Pasta only absorbs seasoning while it's cooking, so I now salt the water until it tastes like light seawater — roughly 1 tbsp per 2 litres. That base layer of seasoning in the noodles themselves makes the whole plate taste more complete.
Lesson 16: Skip the Jarred Minced Garlic
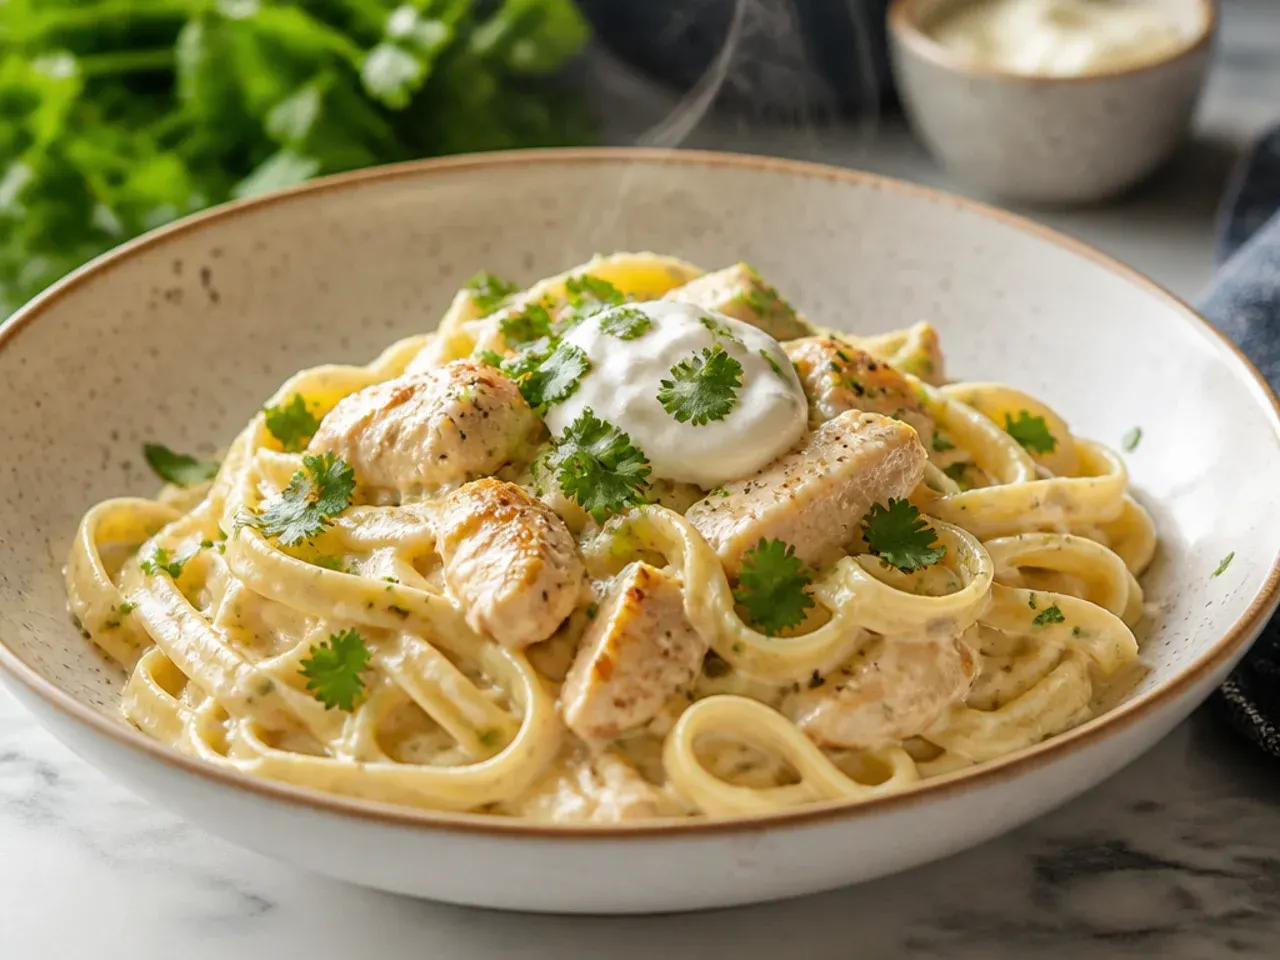
Jarred garlic was a convenient shortcut for a while, but the flavour came through muted and slightly metallic compared to garlic minced fresh right before cooking. Four cloves of fresh garlic, minced just before it hits the butter, gives a rounder, sharper flavour that actually holds up against the richness of the cream and cheese. It's a two-minute job with a knife that changes the whole dish.
Lesson 17: Reheat Low and Slow, Never on a Hot Microwave Blast
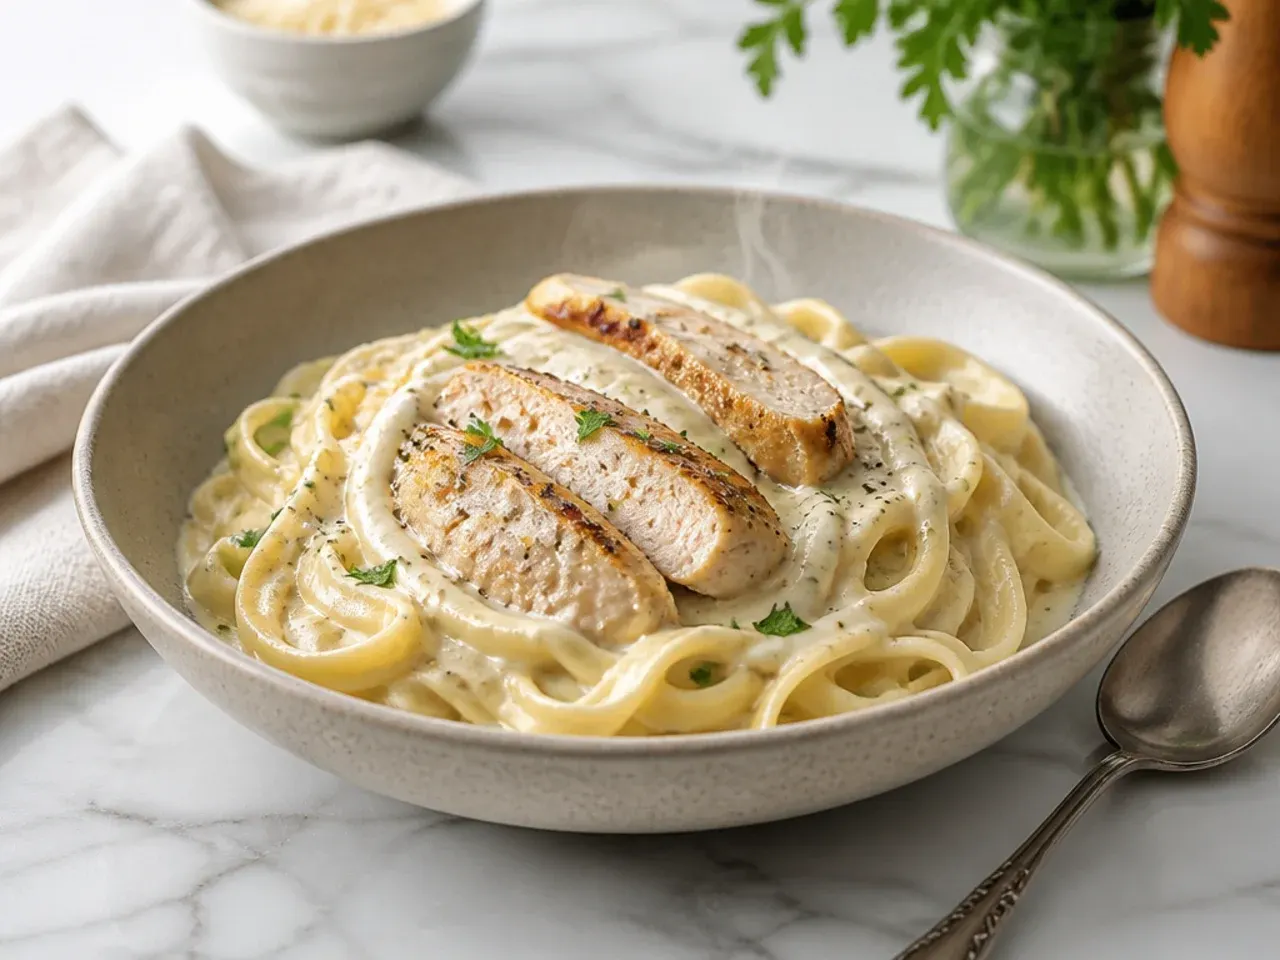
Nuking leftovers on full power used to leave me with a broken, oily sauce and rubbery chicken every single time. Now I reheat leftovers in a skillet over low heat with a splash of milk or reserved pasta water, stirring gently until it comes back together, which takes about 5 minutes but keeps the texture intact. If I do use the microwave, I run it at 50% power in short bursts and stir between each one.
Lesson 18: Freeze the Sauce and Chicken, Not the Pasta
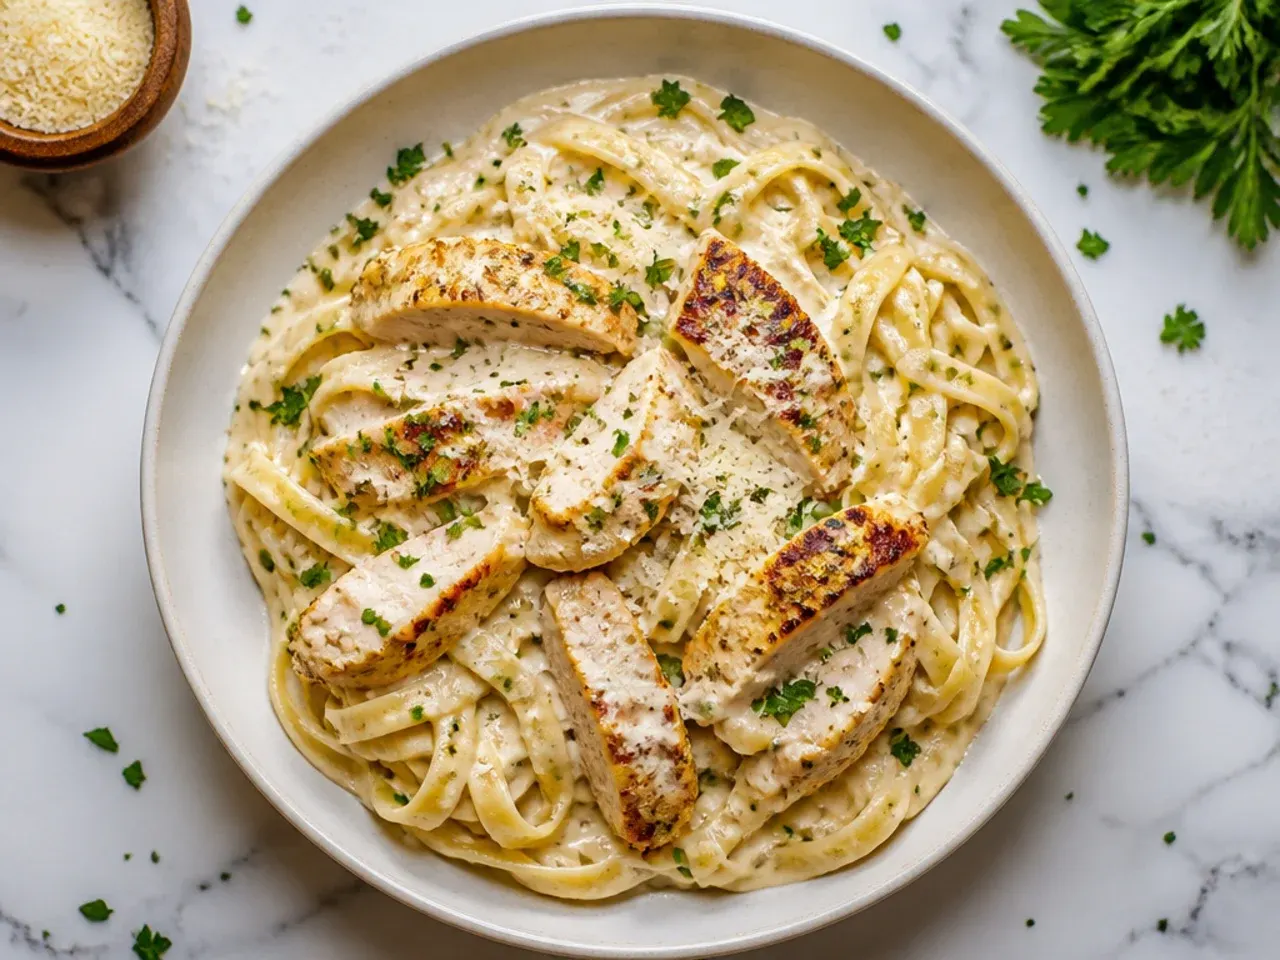
I froze a full batch once, pasta and all, and after thawing it turned to mush with a watery, separated sauce that never came back together properly. The sauce and chicken freeze well on their own for 3-6 months in an airtight container, but cooked pasta just doesn't survive freezing and thawing intact. Now if I'm meal-prepping ahead, I freeze the sauce and chicken together and always cook fresh pasta when I'm ready to serve.
Lesson 19: Warm the Bowls Before Plating
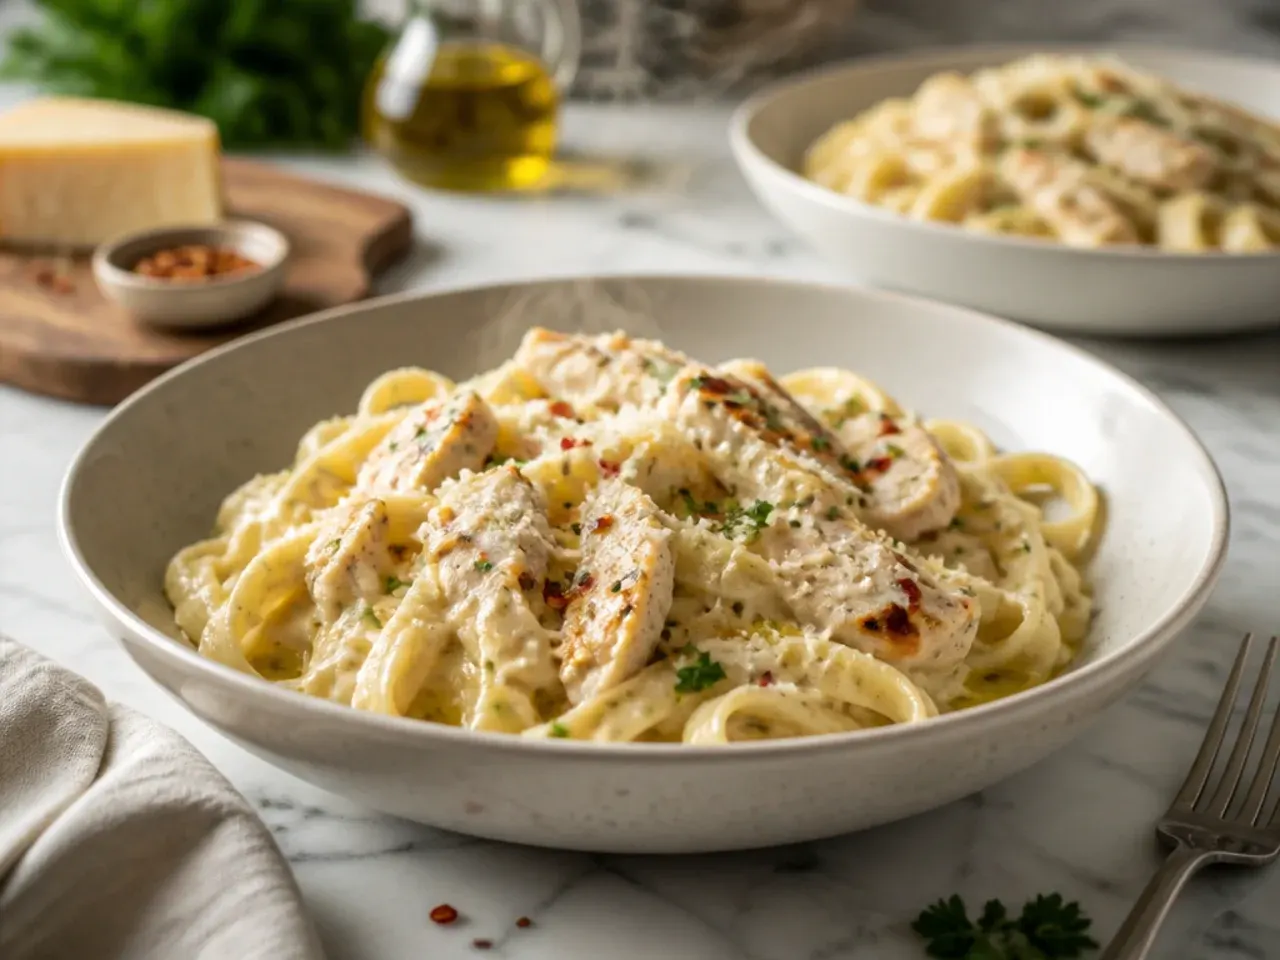
Serving this into cold bowls straight from the cupboard used to cool the sauce faster than I expected, and it would visibly start to thicken and seize before anyone had taken a bite. Now I run the bowls under hot tap water and dry them, or warm them briefly in a low oven, right before plating. It sounds fussy, but it keeps the sauce glossy and pourable for those first few important minutes at the table.
Lesson 20: Always Taste and Adjust Right at the End
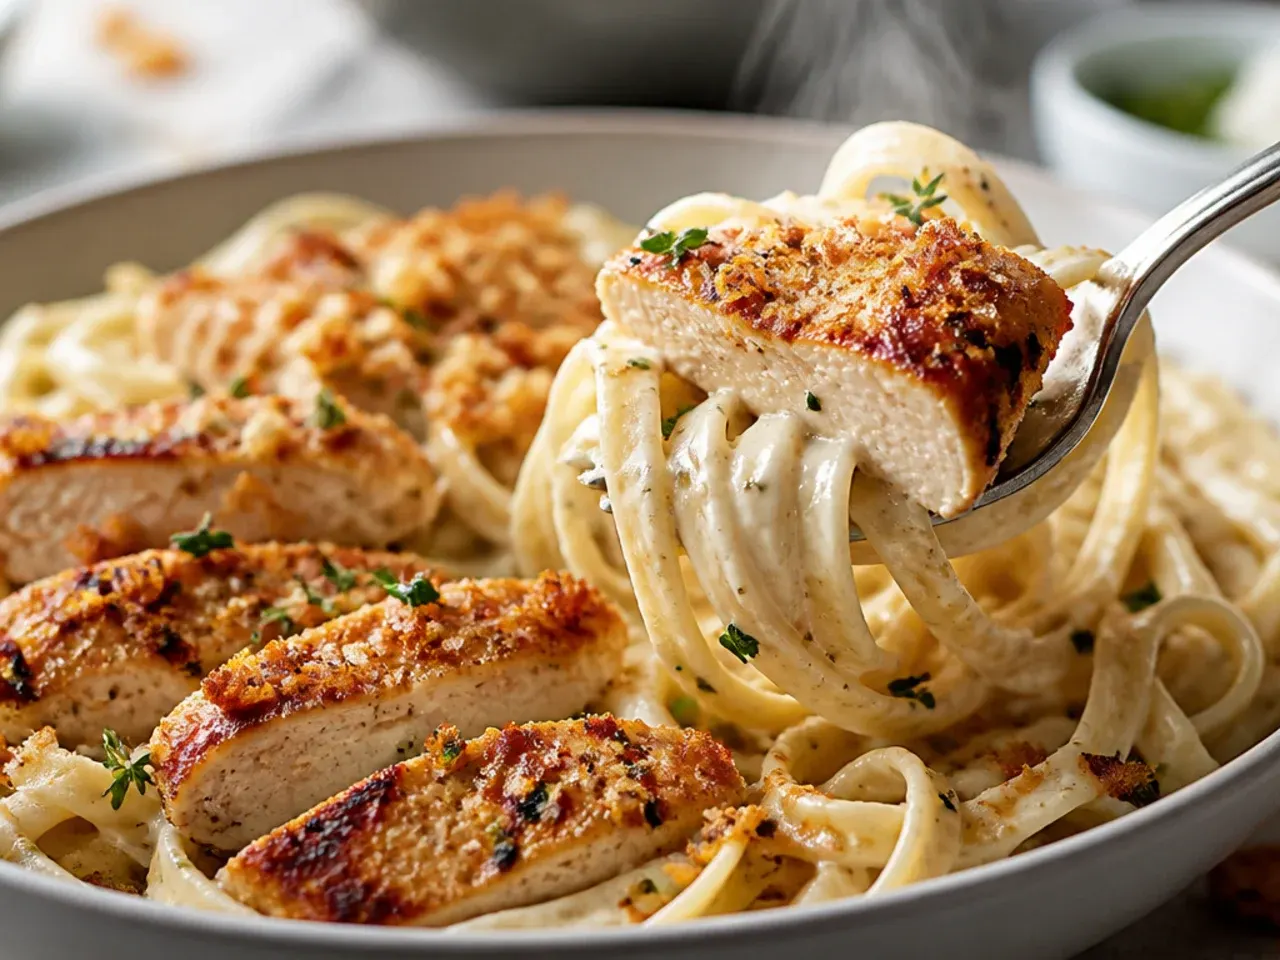
I used to plate the moment the pasta was tossed in the sauce, and more than once it landed on the table slightly under-seasoned because I'd trusted the recipe amounts blindly. Now I taste right before serving and add a pinch more salt or a crack of pepper if the richness is dulling the seasoning, which it often does. That last thirty-second check is the difference between a good plate and one that actually tastes balanced.
What I'd Tell a Friend Trying This Chicken Alfredo Recipe
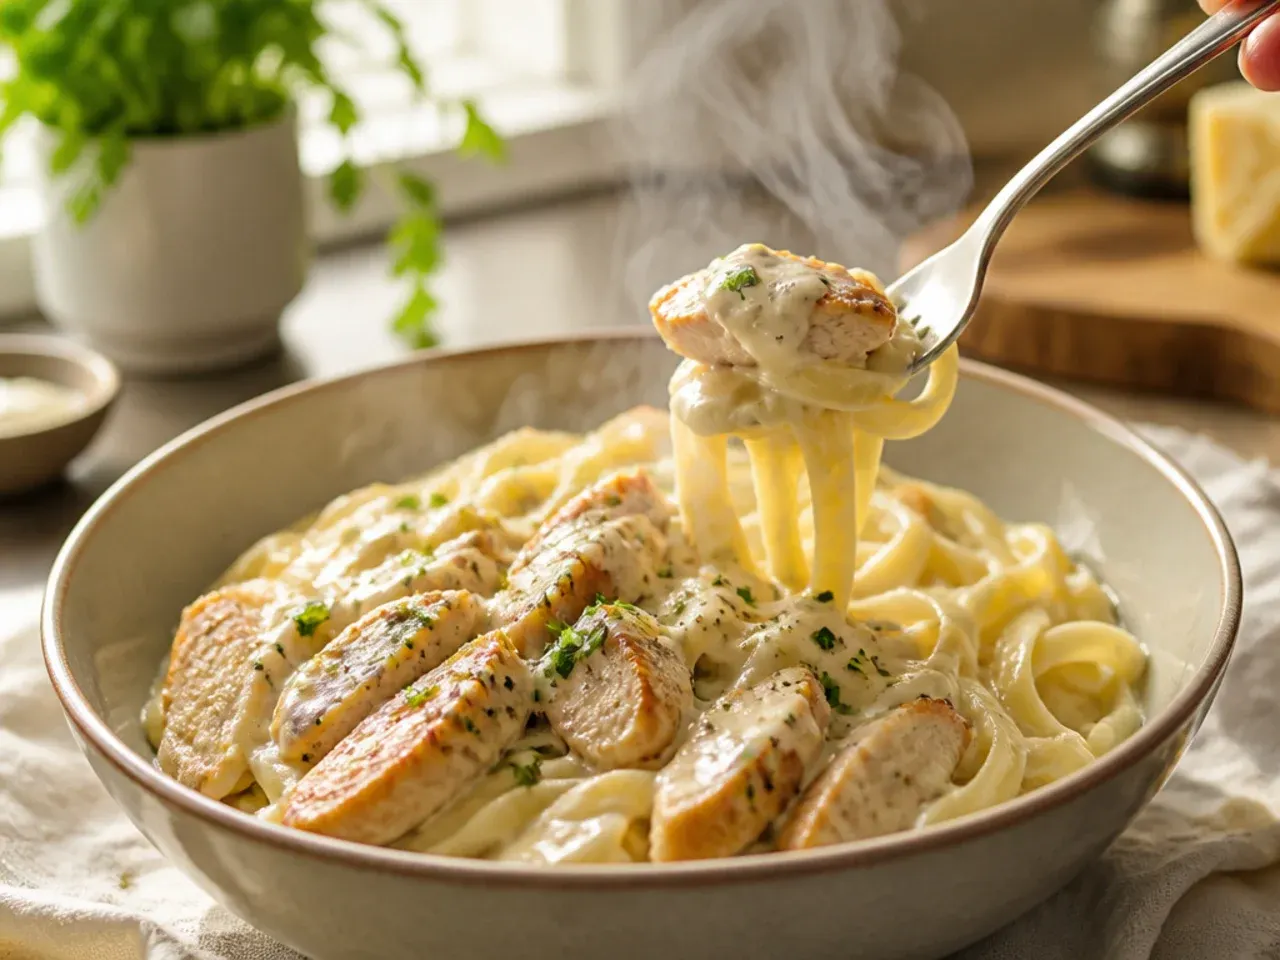
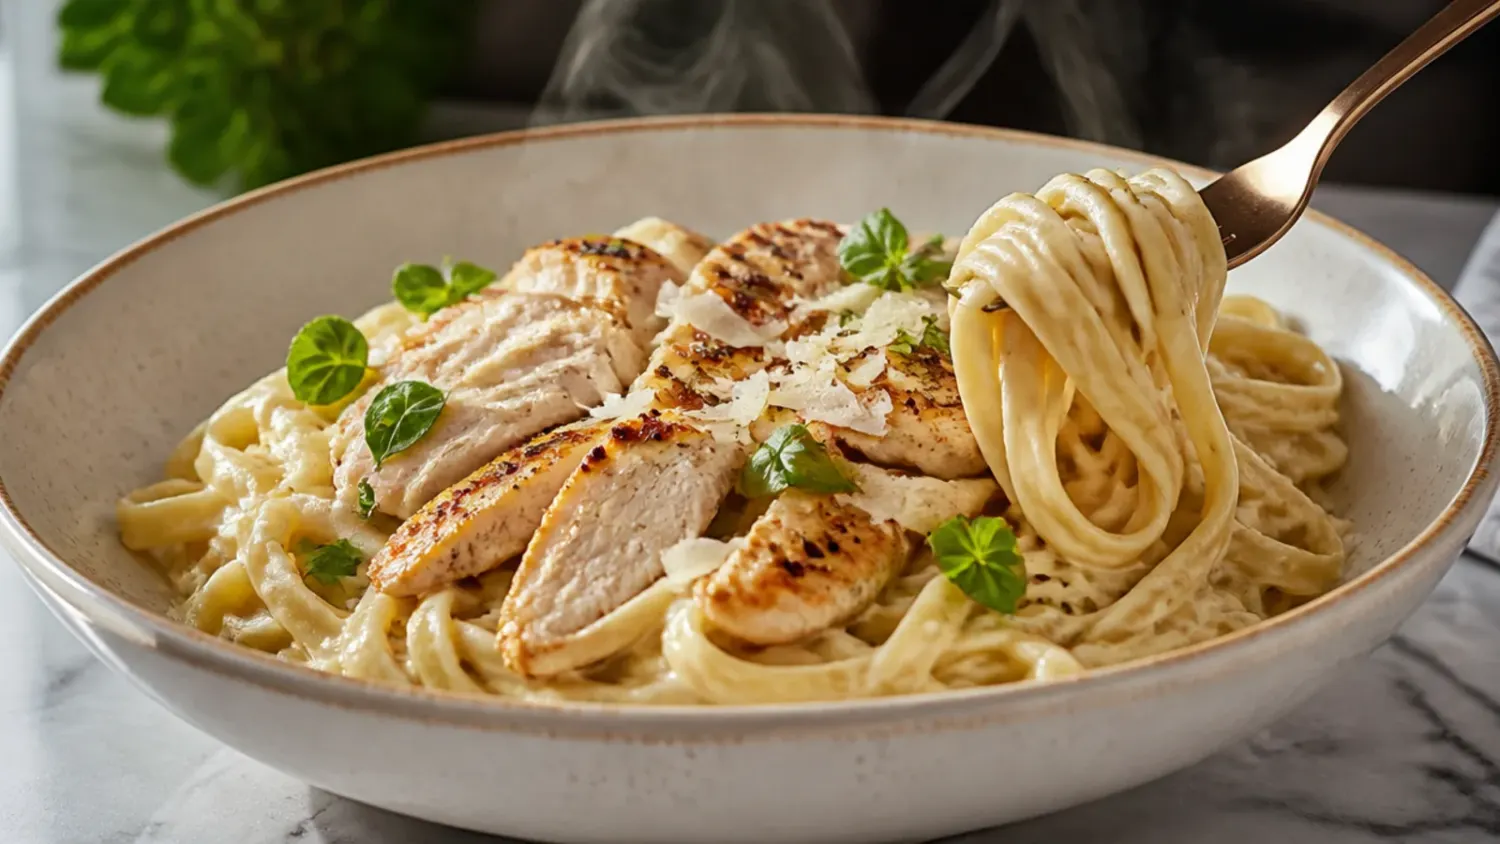
If you take nothing else from twenty attempts, grate your own Parmesan, never let the cream boil, and always keep a cup of pasta water on standby — those three habits fix almost every problem I ever ran into. Don't rush the cream's simmer time and don't rinse your pasta, and you're most of the way to a sauce that actually looks like the photos. This chicken alfredo recipe rewards patience more than skill, and once the rhythm clicks, it's genuinely a 45-minute weeknight meal rather than a fussy restaurant dish.
The Recipe
The Recipe I Used
15 min
30 min
45 min
4
Beginner
Ingredients 4 Person(s)
Directions
Step 1: Sear the chicken
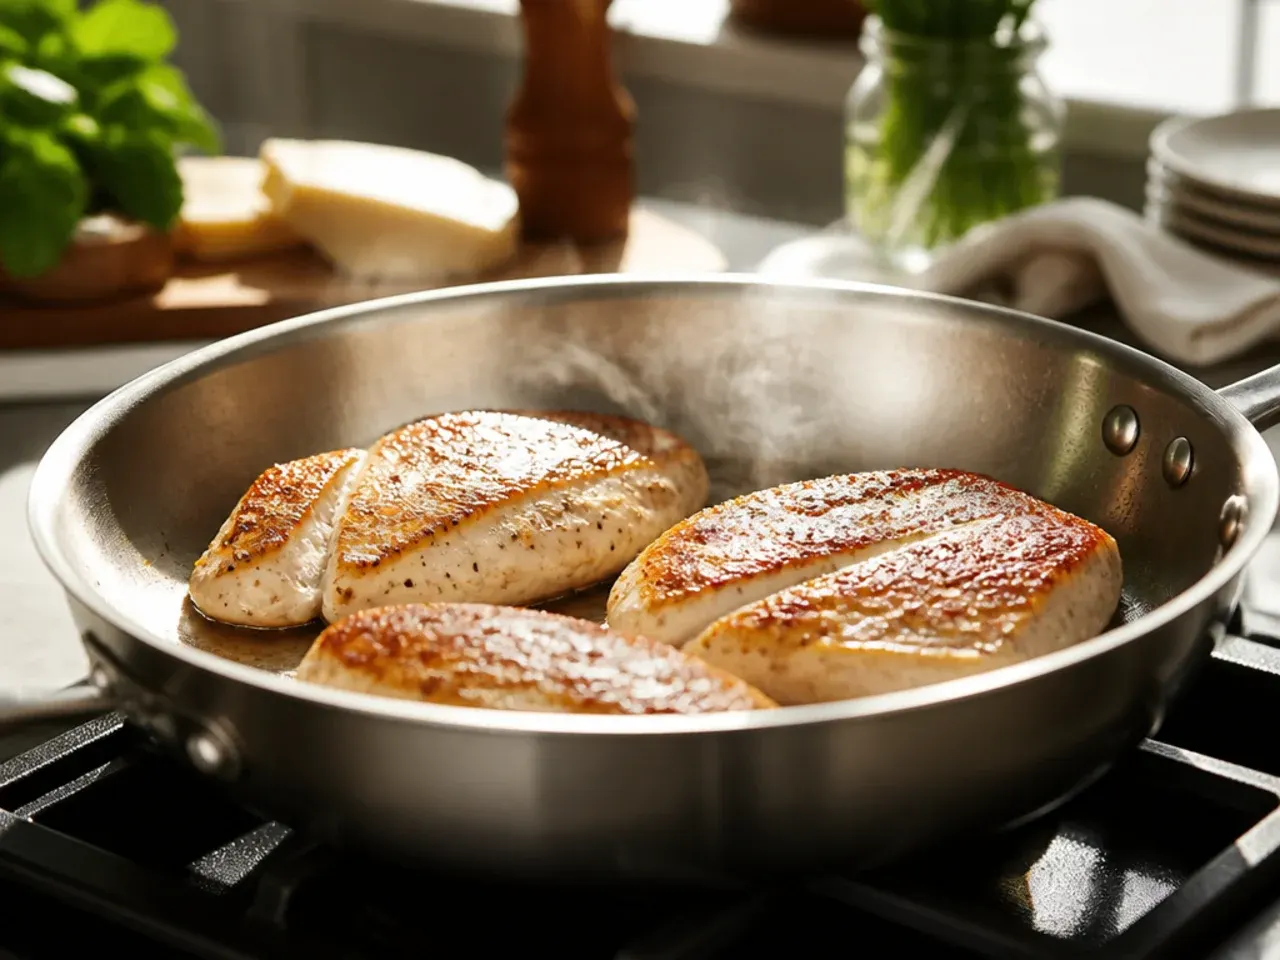
Pat 450 g (1 lb) chicken breasts dry, slice horizontally into thin cutlets, and season both sides with 1/2 tsp salt and 1/4 tsp pepper. Heat 2 tbsp olive oil in a large skillet over medium-high heat and sear the cutlets for 5-6 minutes per side until golden and the internal temperature reads 74°C (165°F). Transfer to a plate, tent loosely with foil, and let rest while you finish the rest of the dish.
Step 2: Cook the pasta
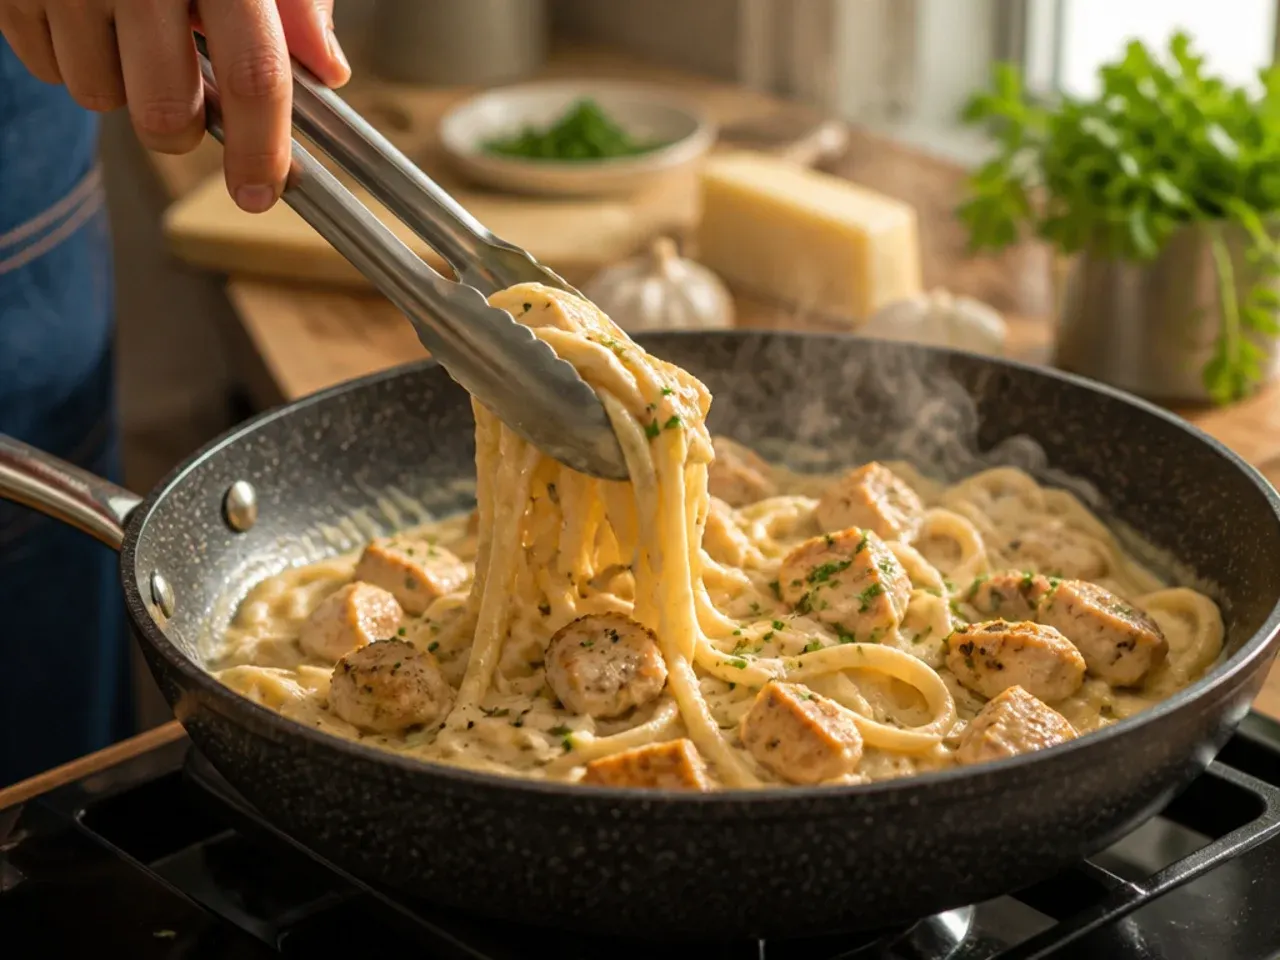
Bring a large pot of well-salted water to a rolling boil and cook 340 g (12 oz) fettuccine until al dente, about 9-11 minutes. Before draining, scoop out 120 ml (1/2 cup) of the starchy pasta water and set it aside for later. Drain the pasta but don't rinse it — the surface starch helps the sauce cling.
Step 3: Build the garlic butter base
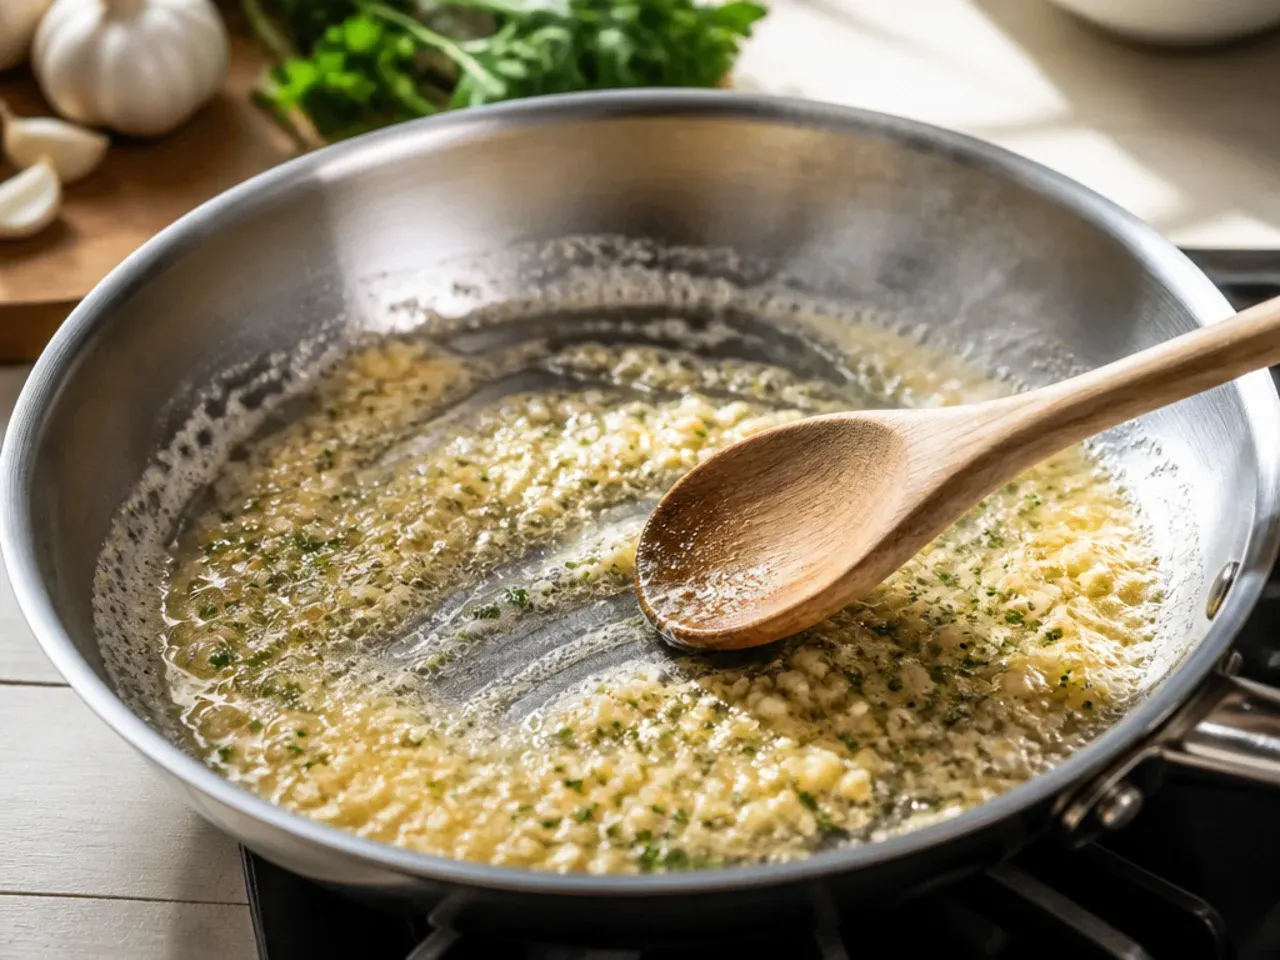
In the same skillet used for the chicken, wipe out any burnt bits, then melt 60 g (4 tbsp) butter over medium heat. Add 4 cloves minced garlic and sauté for 30-45 seconds, stirring constantly, just until fragrant — garlic burns fast and turns bitter within seconds of browning.
Step 4: Simmer the cream
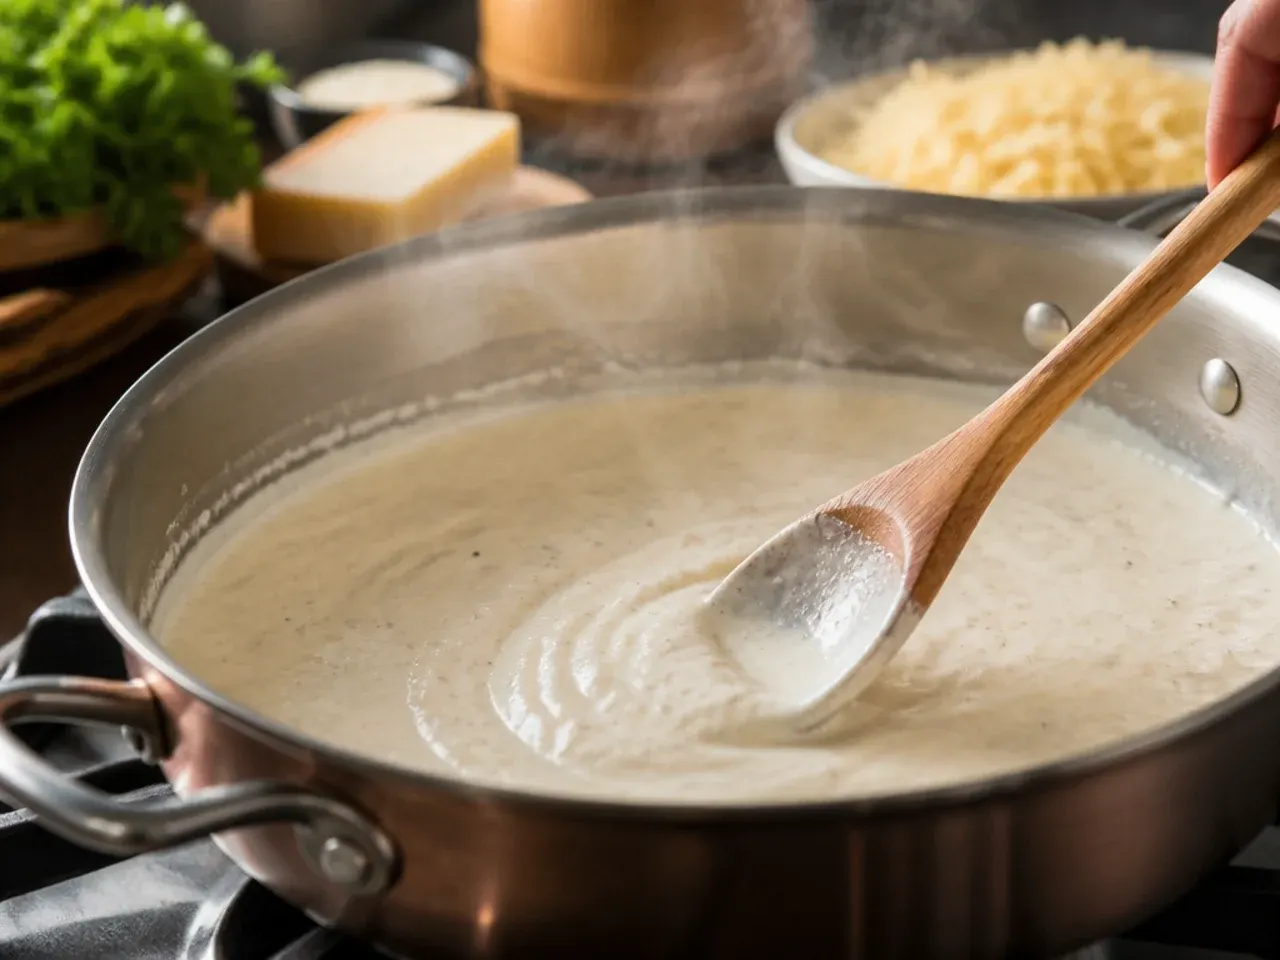
Pour in 480 ml (2 cups) heavy cream, add the remaining 1/2 tsp salt and 1/4 tsp nutmeg, and bring to a gentle simmer over medium-low heat, with small bubbles only at the edge of the pan, never a rolling boil. Let it simmer for 8-10 minutes, stirring occasionally, until it thickens enough to coat the back of a spoon.
Step 5: Melt in the Parmesan
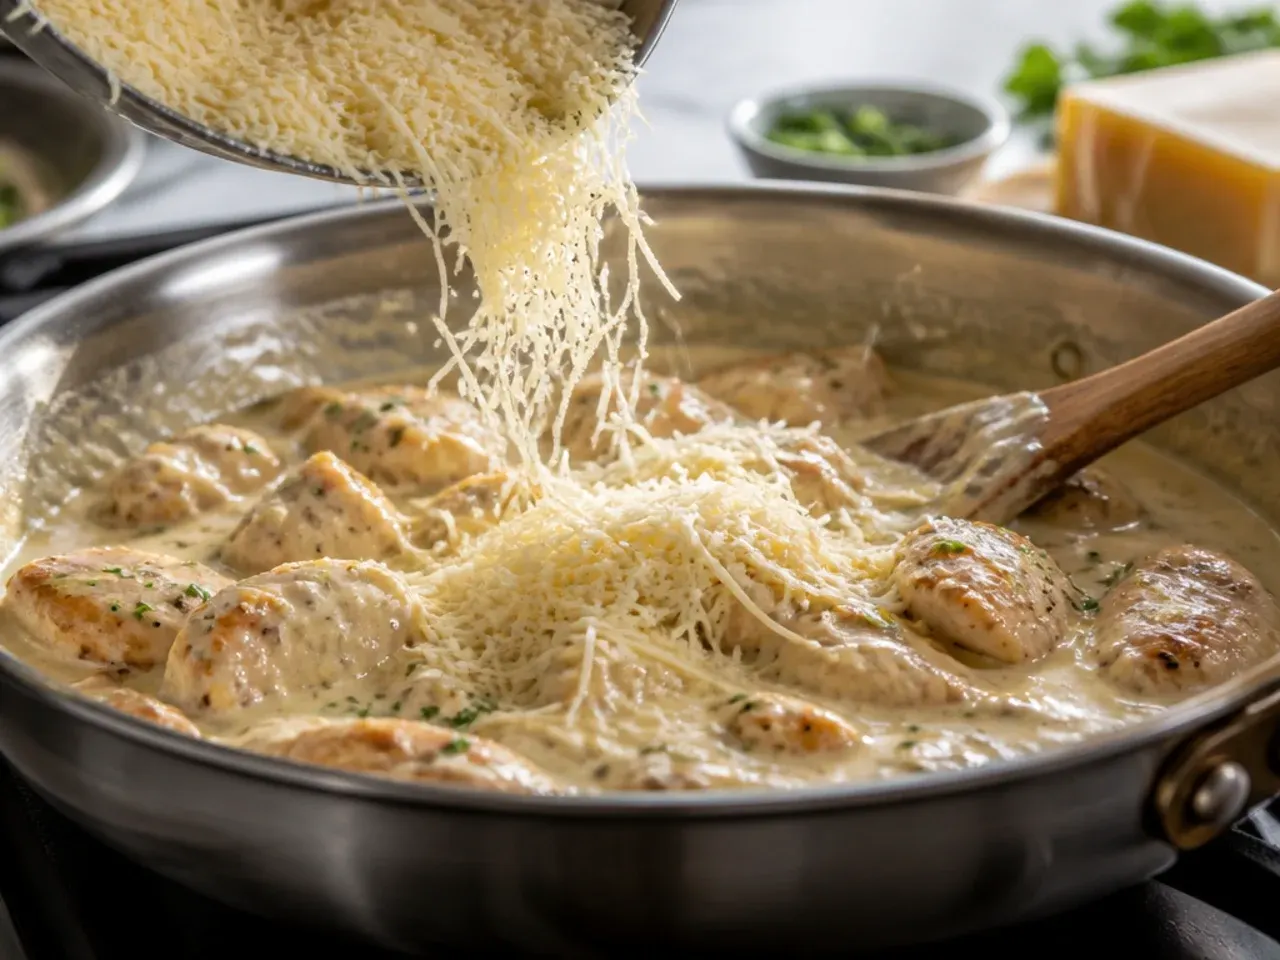
Take the pan completely off the heat, then add 100 g (1 cup) freshly grated Parmesan a handful at a time, whisking after each addition until fully melted before adding more. Adding it all at once or over direct heat is what turns the sauce grainy instead of silky.
Step 6: Combine pasta, chicken, and sauce
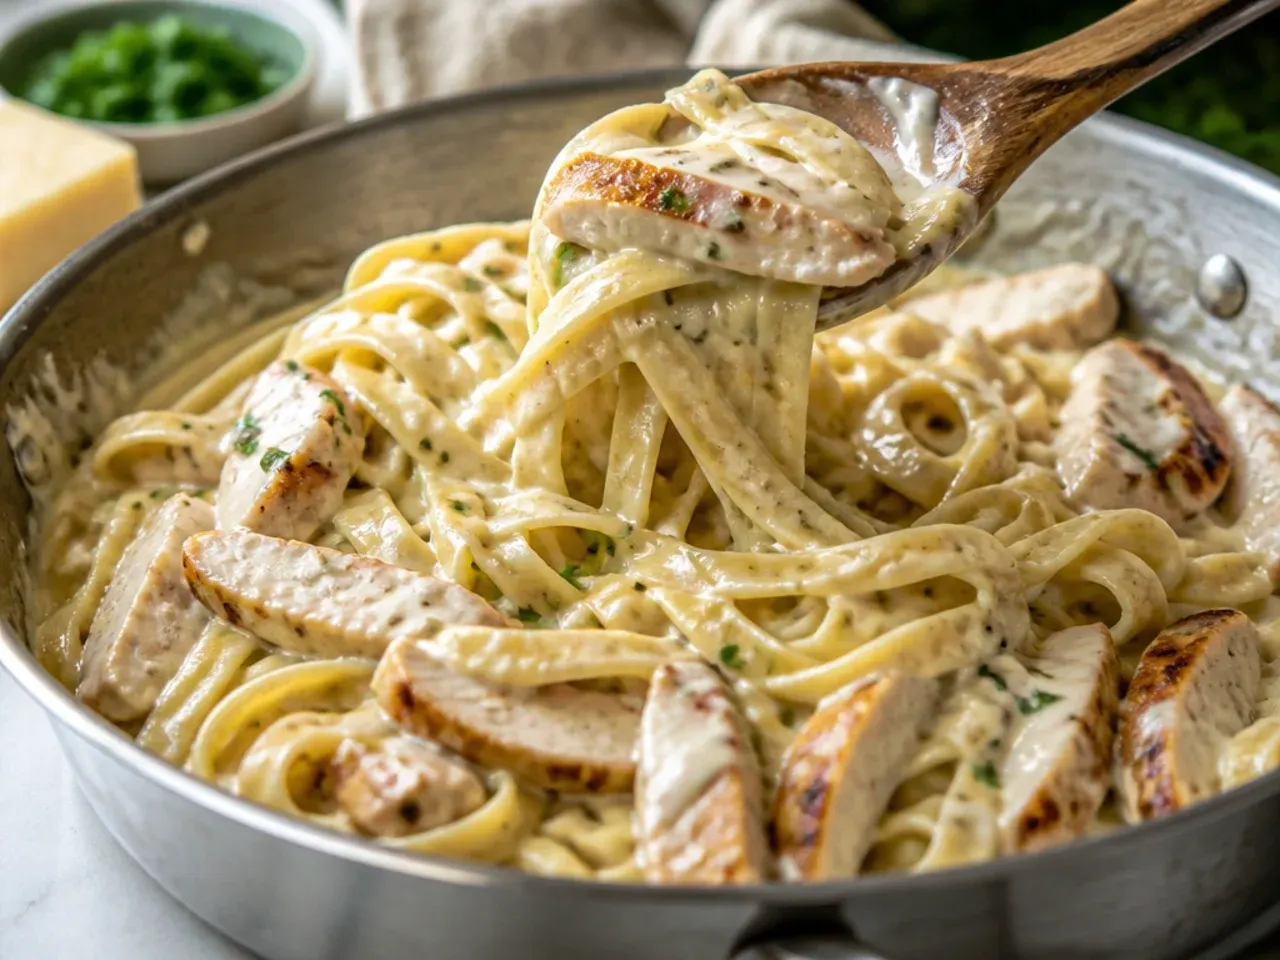
Return the pan to low heat, add the drained fettuccine, and toss with tongs until every strand is coated. Slice the rested chicken into strips, fold it through the pasta, and stir in the reserved pasta water a splash at a time until the sauce turns glossy and coats a spoon without pooling.
Step 7: Rest and serve
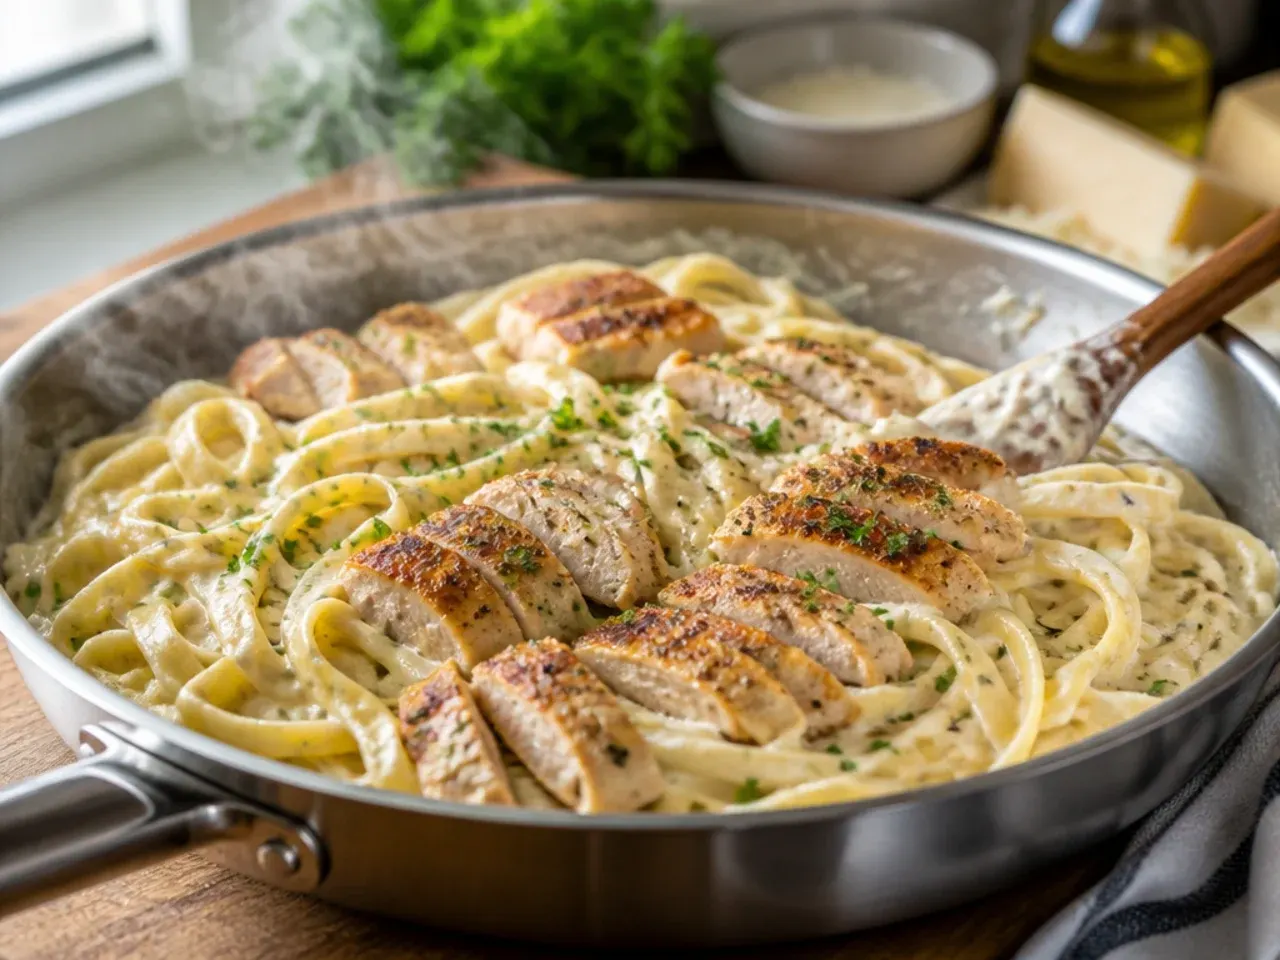
Let the pasta sit off the heat for 2 minutes so the sauce continues to thicken and cling as it cools slightly. Divide between warmed bowls, top with extra Parmesan and chopped parsley, and serve immediately, since alfredo thickens fast once it stops moving.
Frequently Asked Questions
You can cook the chicken and make the sauce up to a day ahead and store them together in the fridge, then reheat gently on the stovetop and toss with freshly cooked pasta when you're ready to eat. I don't recommend fully assembling the dish with pasta ahead of time, because the noodles keep absorbing sauce as they sit and the texture suffers. If you're prepping for a weeknight, this partial make-ahead approach saves the most time without sacrificing the sauce's texture. Store the sauce and chicken in an airtight container for up to 24 hours before reheating.
Save this for later 📌
Pin this article to your Pinterest board so the full list is one tap away when you need it.
Save on Pinterest