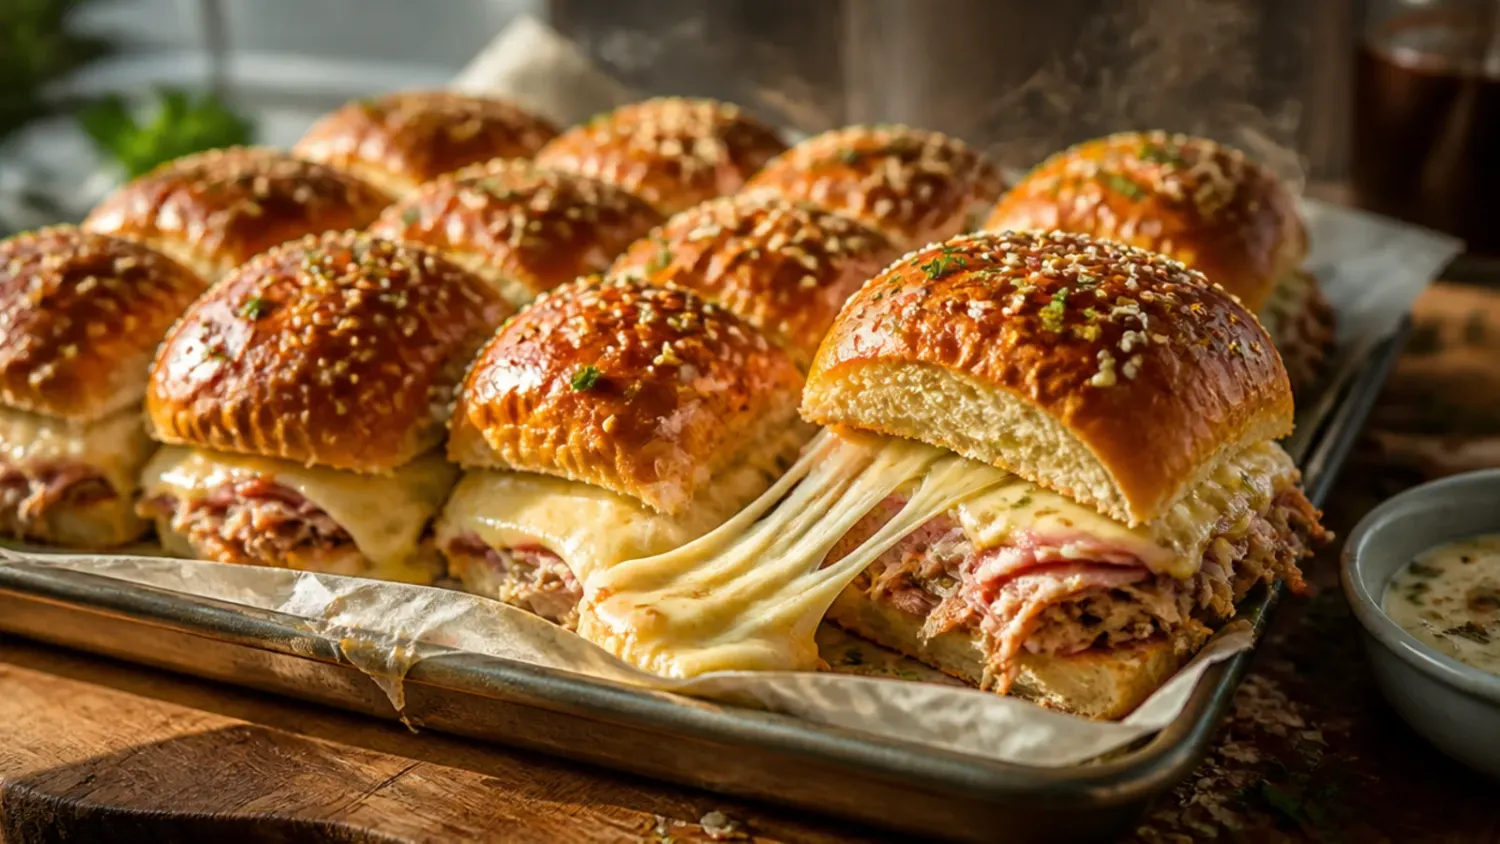
Ingredients 12 Person(s)
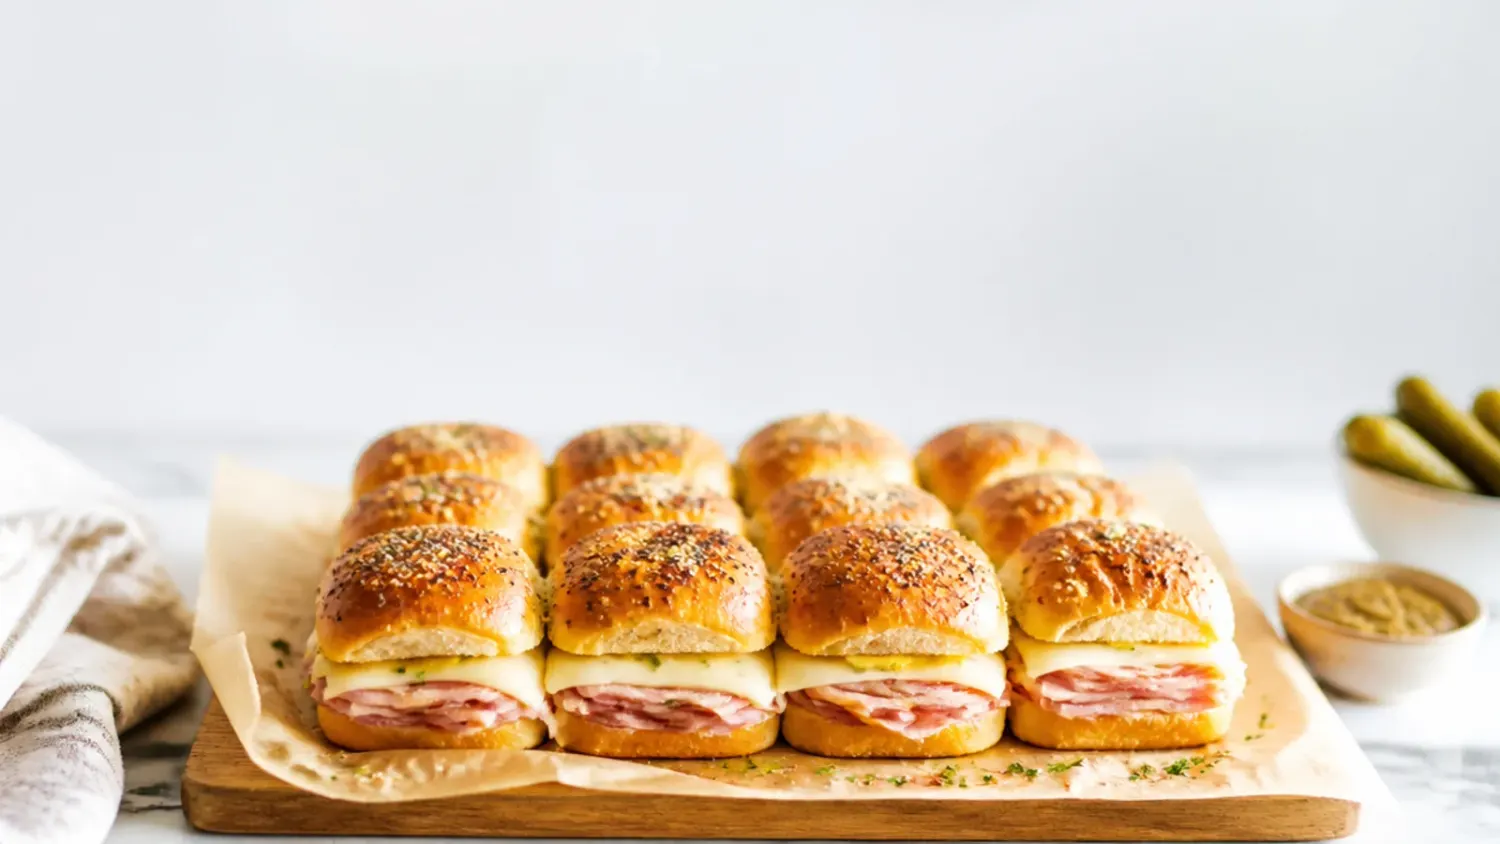
Save this for later 📌
Pin this article to your Pinterest board so the full list is one tap away when you need it.
Save on PinterestDirections
Step 1: Gather and chill your ingredients
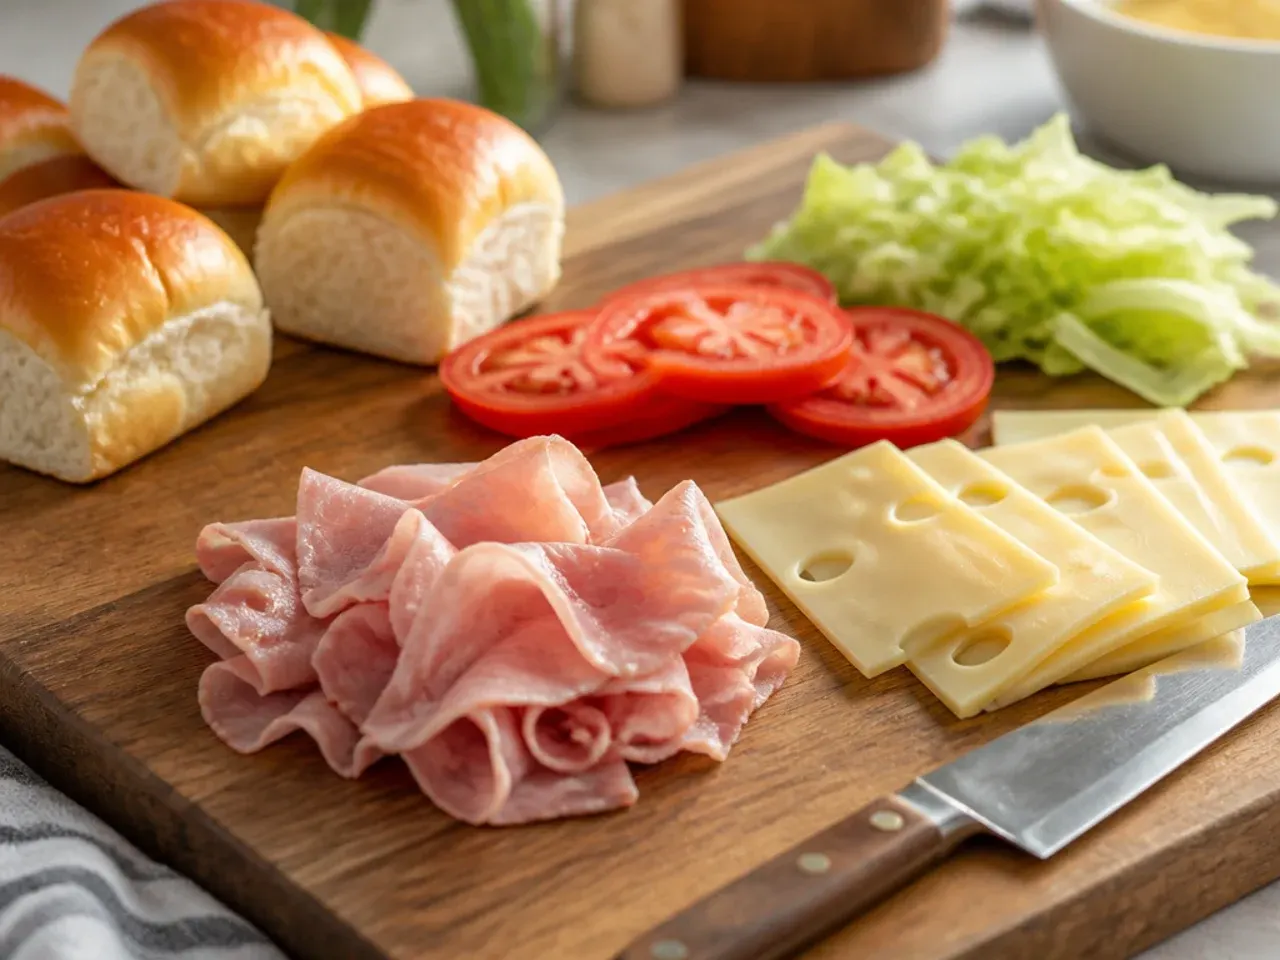
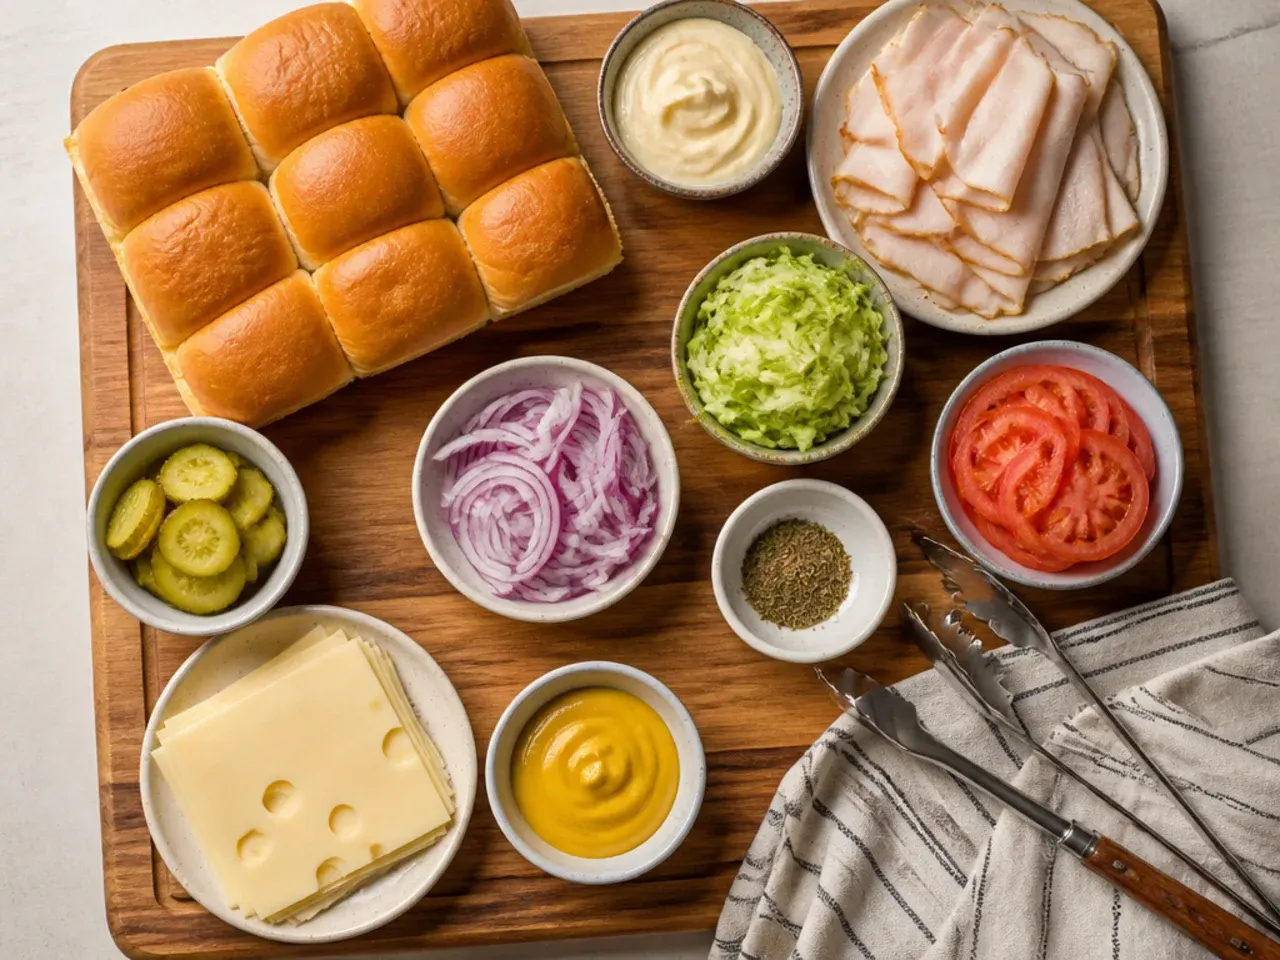
Pull the ham, turkey and both cheeses from the fridge only when you're ready to build, since cold cuts assemble more neatly when firm. Set out the mayonnaise, mustard, ranch seasoning, lettuce, tomato and red onion so everything is within reach. Working cold keeps the sliders from turning greasy or wilted before they even reach the table.
Step 2: Make the tangy mayo-mustard spread
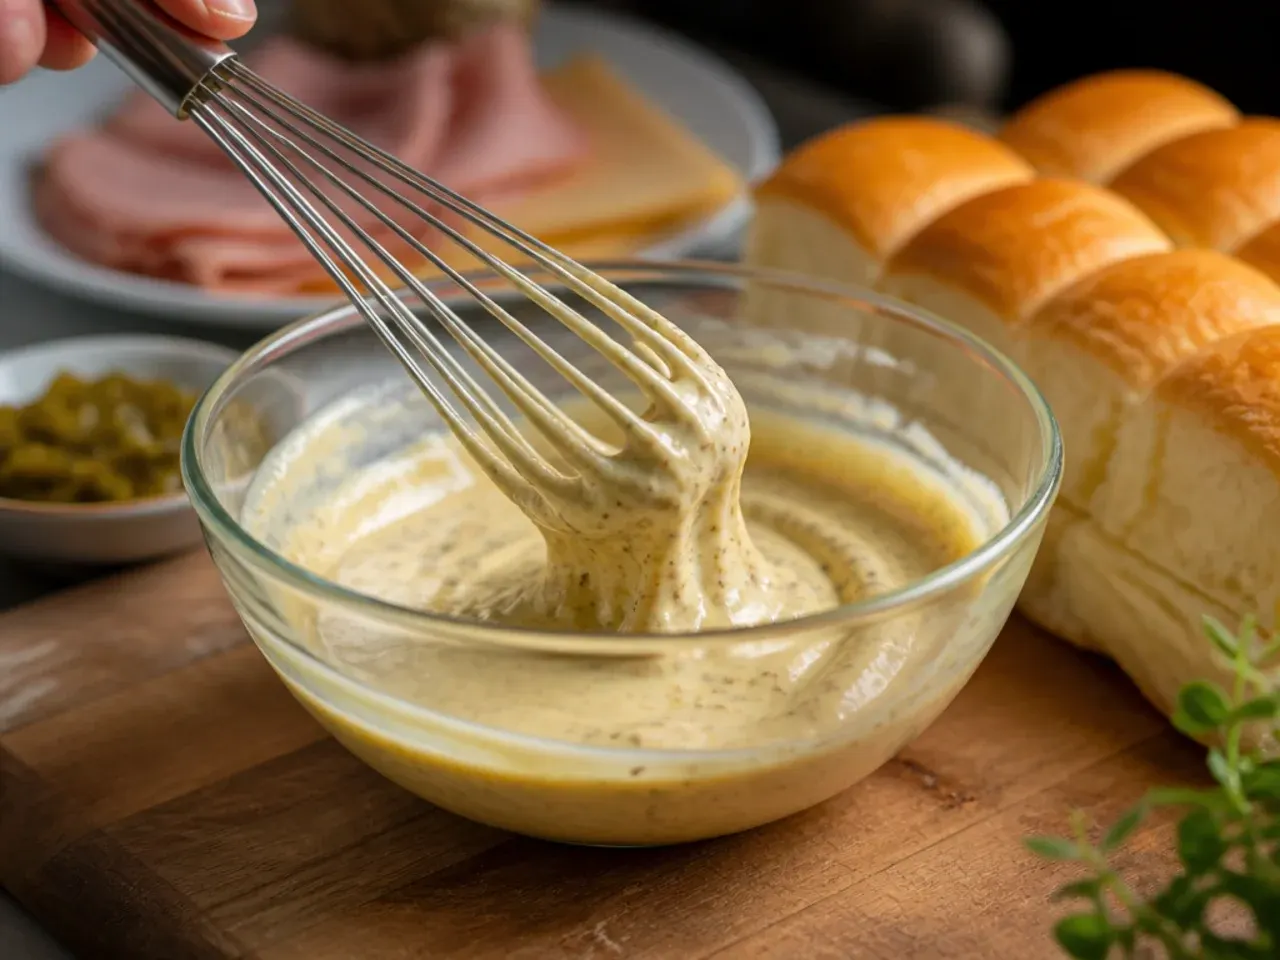
In a small bowl, whisk 60 g (1/4 cup) mayonnaise, 30 g (2 tbsp) Dijon or honey mustard and 15 g (1 tbsp) ranch seasoning until smooth and pale gold. Taste and add a pinch more ranch seasoning if you want a sharper tang. This spread does double duty as glue and flavour base, so don't skip it.
Step 3: Mellow the red onion
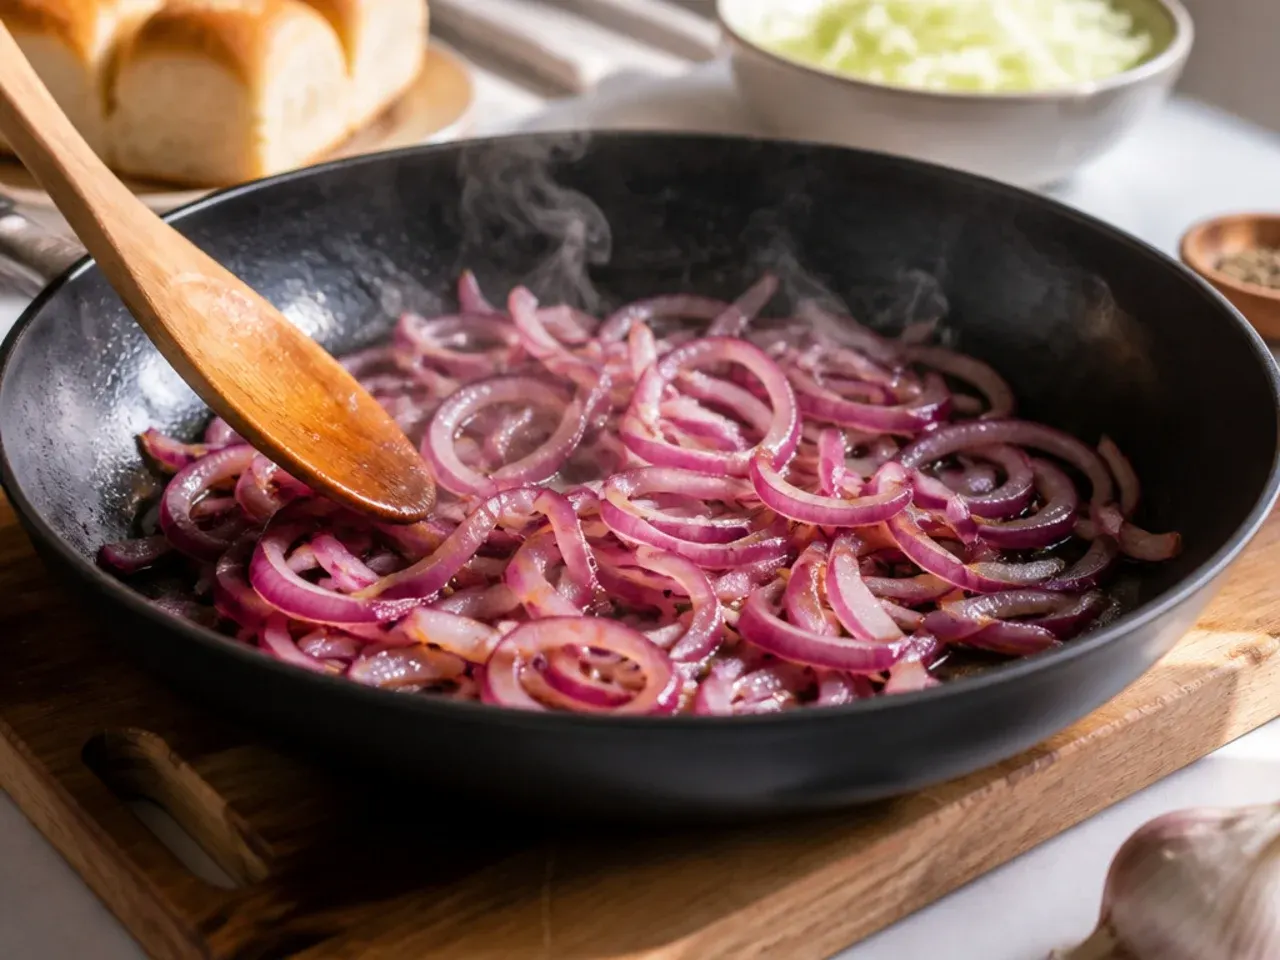
Slice 50 g (1/2 small onion) of red onion as thinly as you can, ideally with a mandoline for even, see-through rings. Drop the slices into a bowl of ice water and let them sit for 10 minutes, then drain and pat dry. This quick soak pulls out the raw bite so the onion stays crunchy without overpowering the other flavours.
Step 4: Prep the lettuce
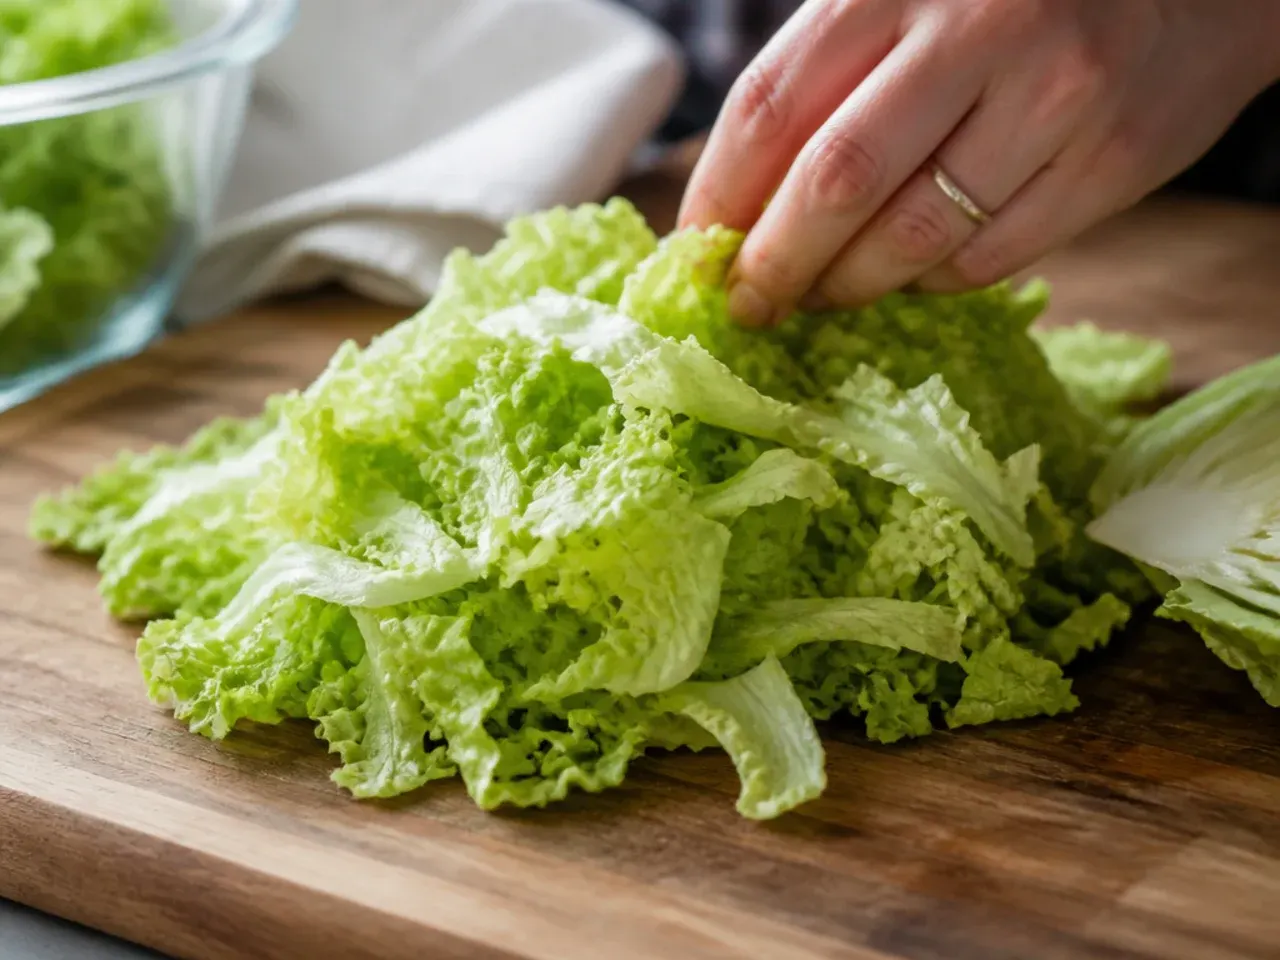
Wash 100 g (2 cups) of iceberg or romaine lettuce and spin or pat it completely dry. Shred it into fine ribbons about 5 mm (1/4 inch) wide. Dry lettuce is essential here, since any leftover water will seep into the rolls and turn them soggy.
Step 5: Slice and drain the tomato
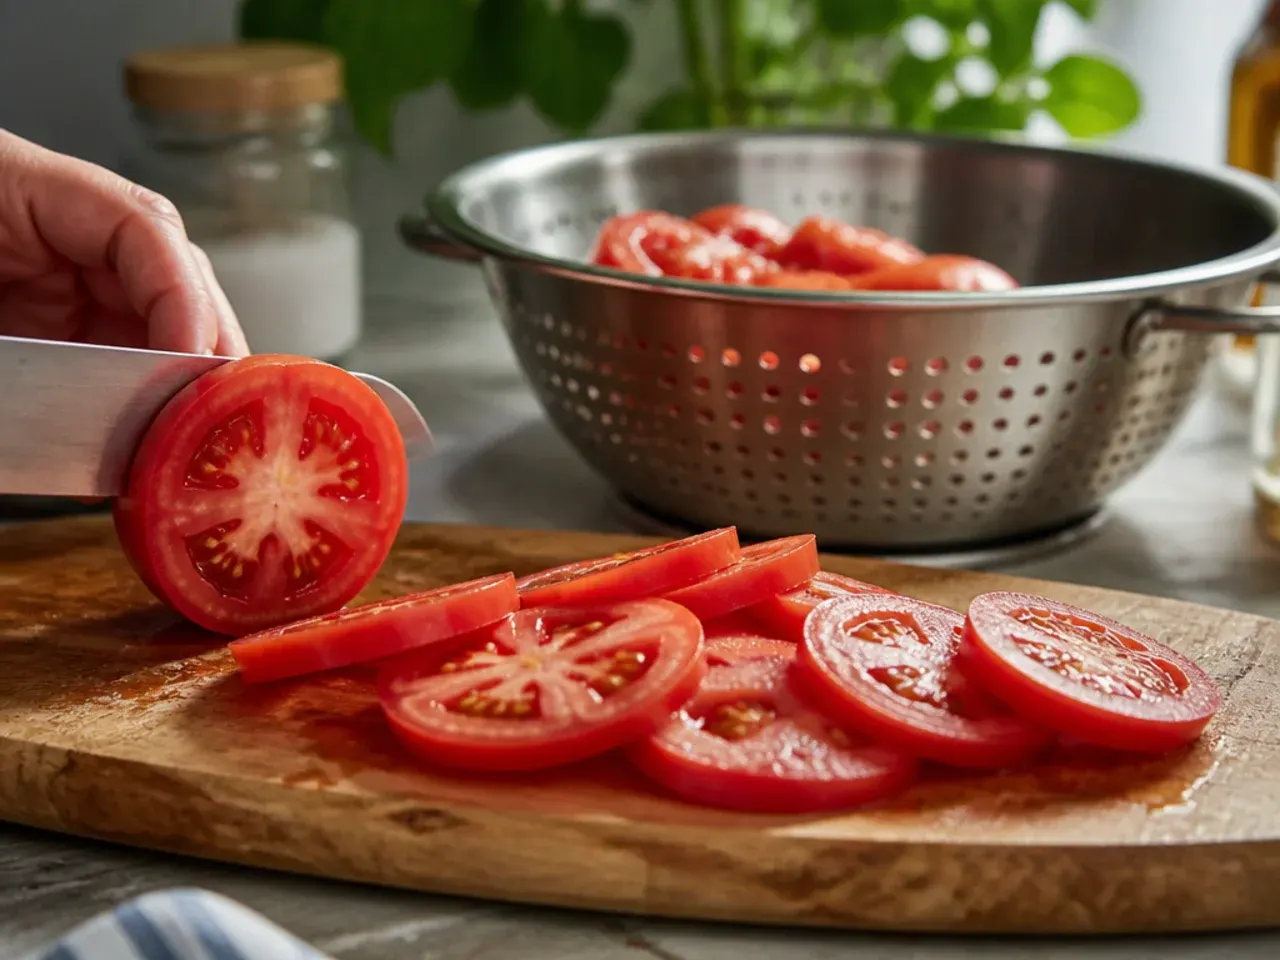
Cut 1 medium tomato, about 150 g (5 oz), into thin, even slices roughly 5 mm (1/4 inch) thick. Lay the slices on kitchen paper and blot both sides to draw out excess juice. Well-drained tomato is the difference between a crisp slider and a mushy one by the time it's served.
Step 6: Check your cheese slices
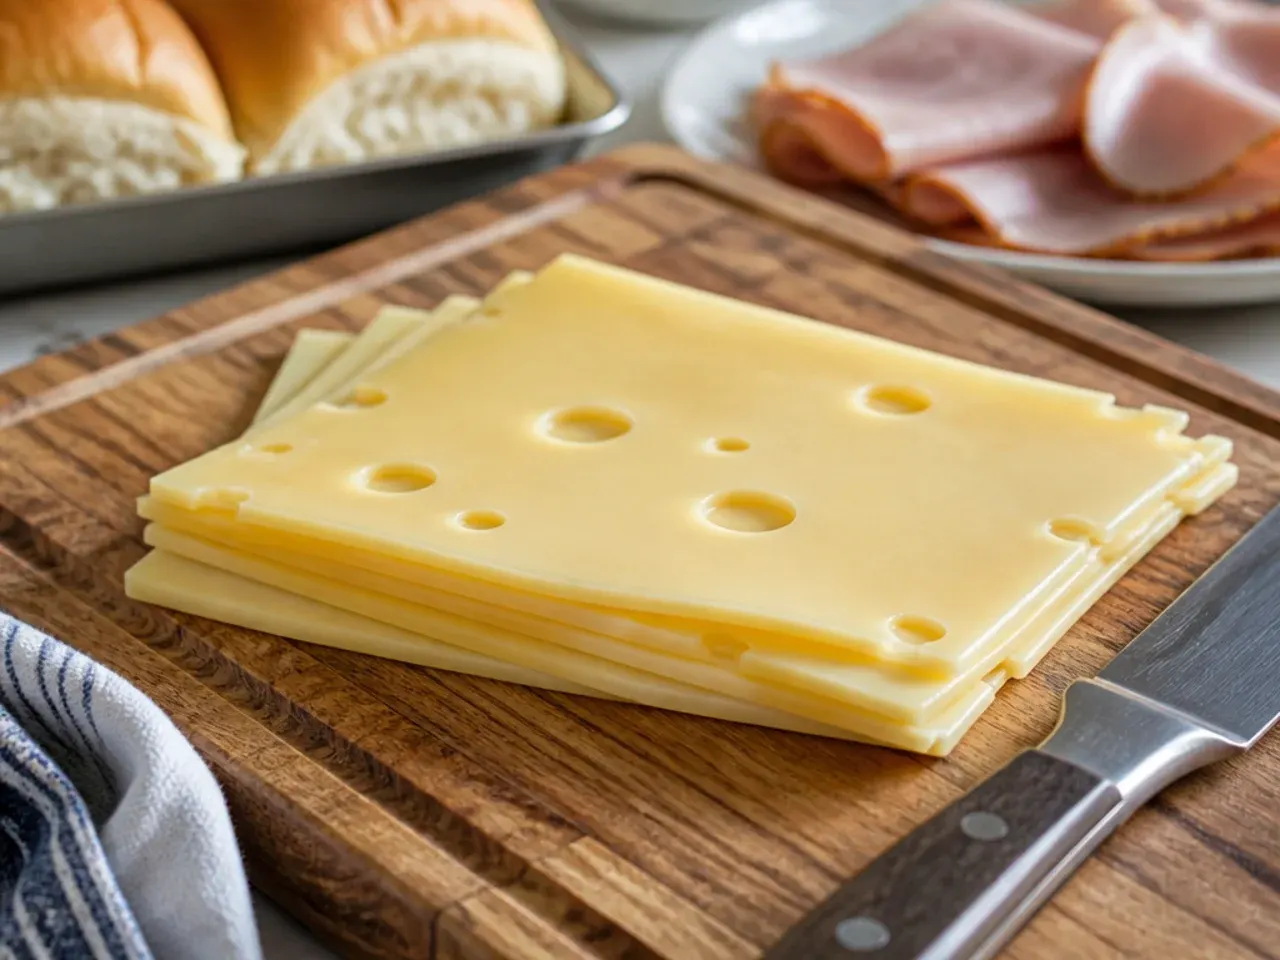
If your cheddar and Swiss or provolone came in a block rather than pre-sliced, cut 170 g (6 oz) of each into thin, roll-width slices about 3 mm (1/8 inch) thick. You want roughly 8 slices per cheese so every slider gets full coverage edge to edge. Thin, even slices give a more consistent bite even though these stay cold.
Step 7: Separate the ham into portions
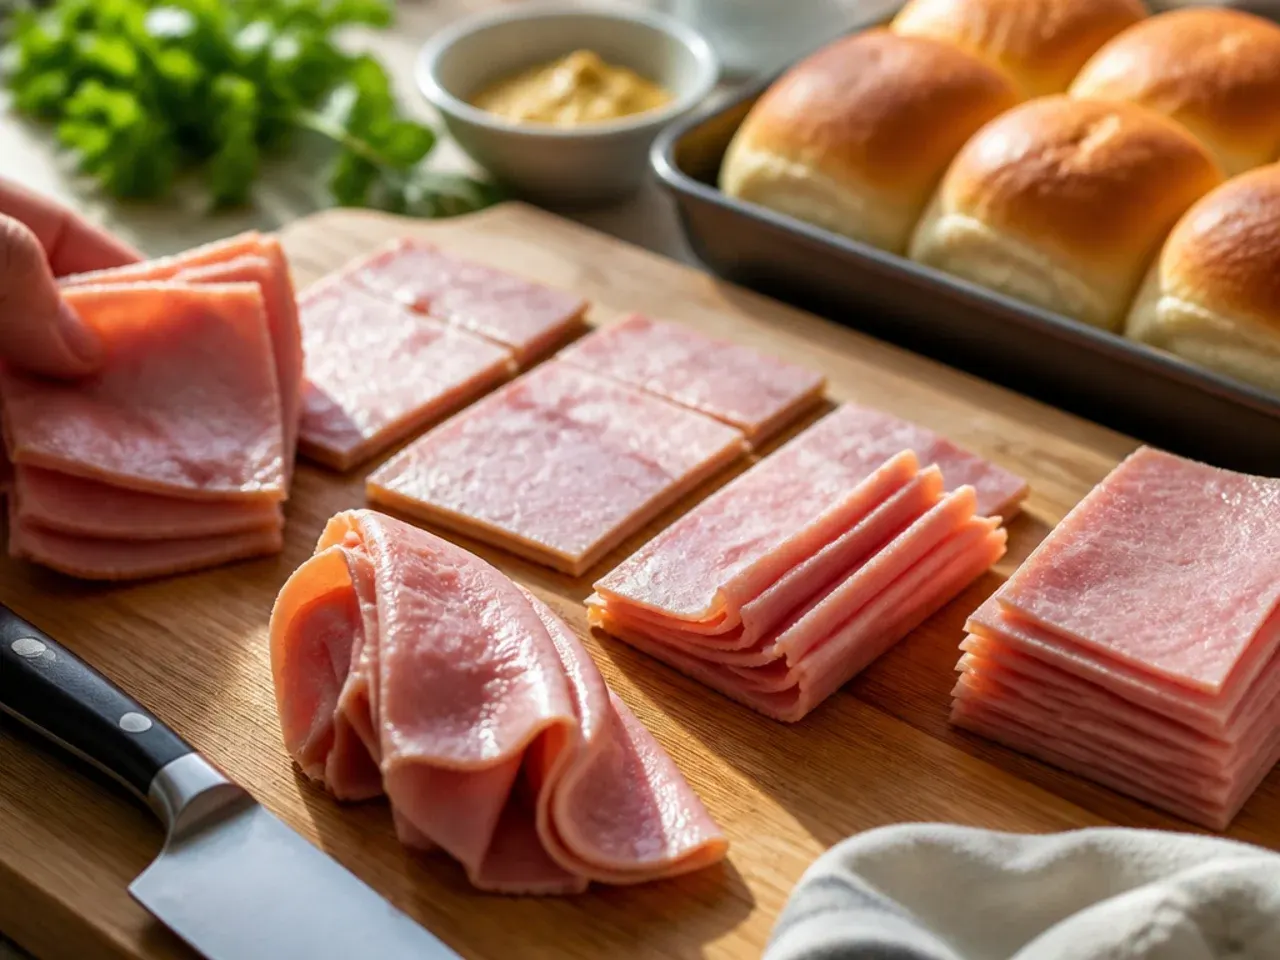
Fan out 350 g (12 oz) of sliced deli ham and loosely fold each slice in half or into soft ripples rather than laying it flat. Ripple-folding traps a little air, which makes the ham taste thicker and more generous once it's cut into individual sliders. Aim for enough folded portions to cover all 12 rolls without gaps.
Step 8: Separate the turkey into portions
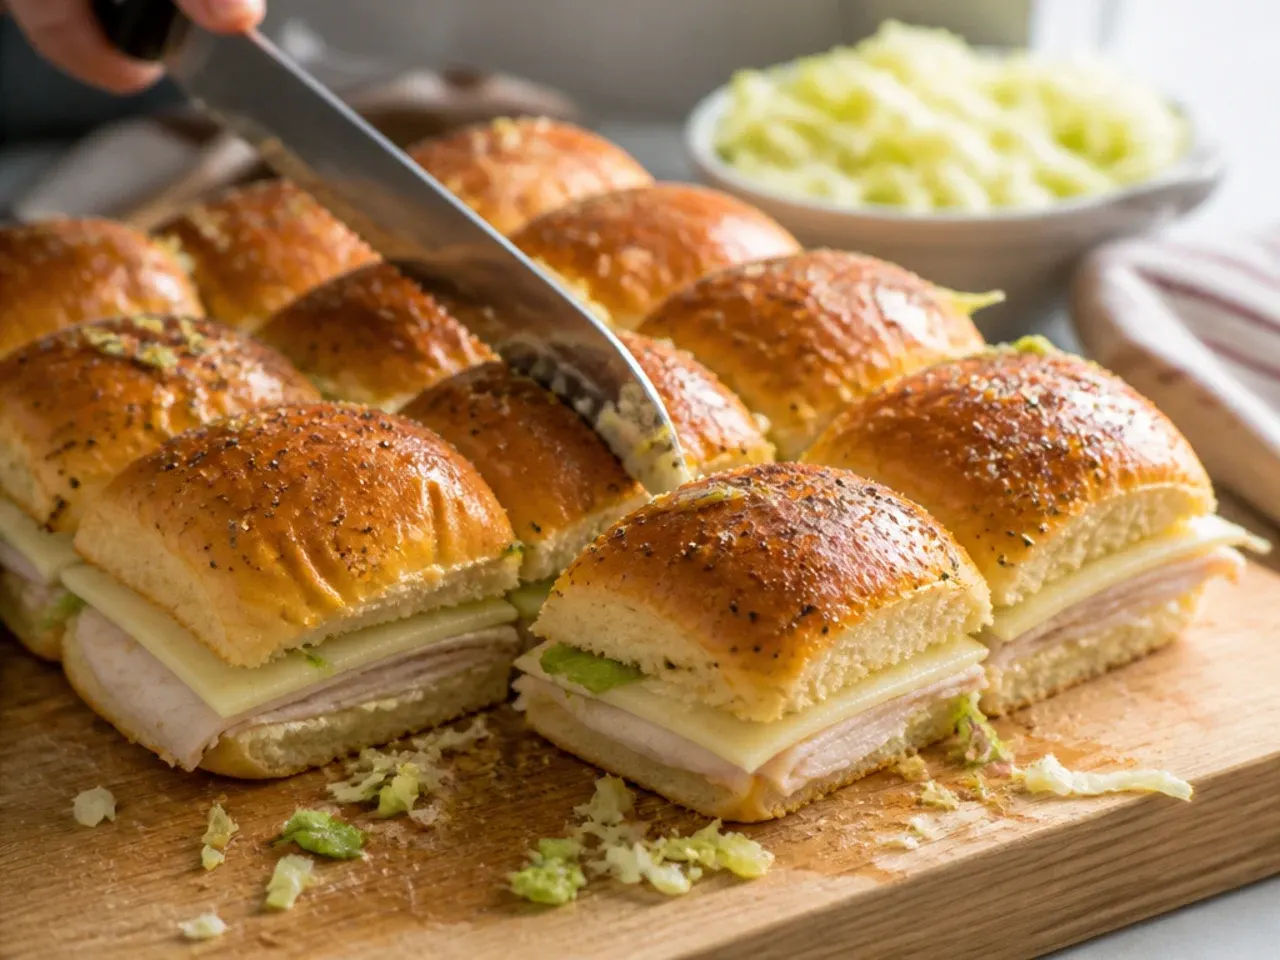
Do the same ripple-fold with 200 g (7 oz) of sliced smoked turkey, keeping the pieces loose rather than compressed. Folding both meats the same way keeps every bite consistent whichever slider someone picks up. Set the portions aside on a plate, covered, until you're ready to layer.
Step 9: Slice the rolls as one slab
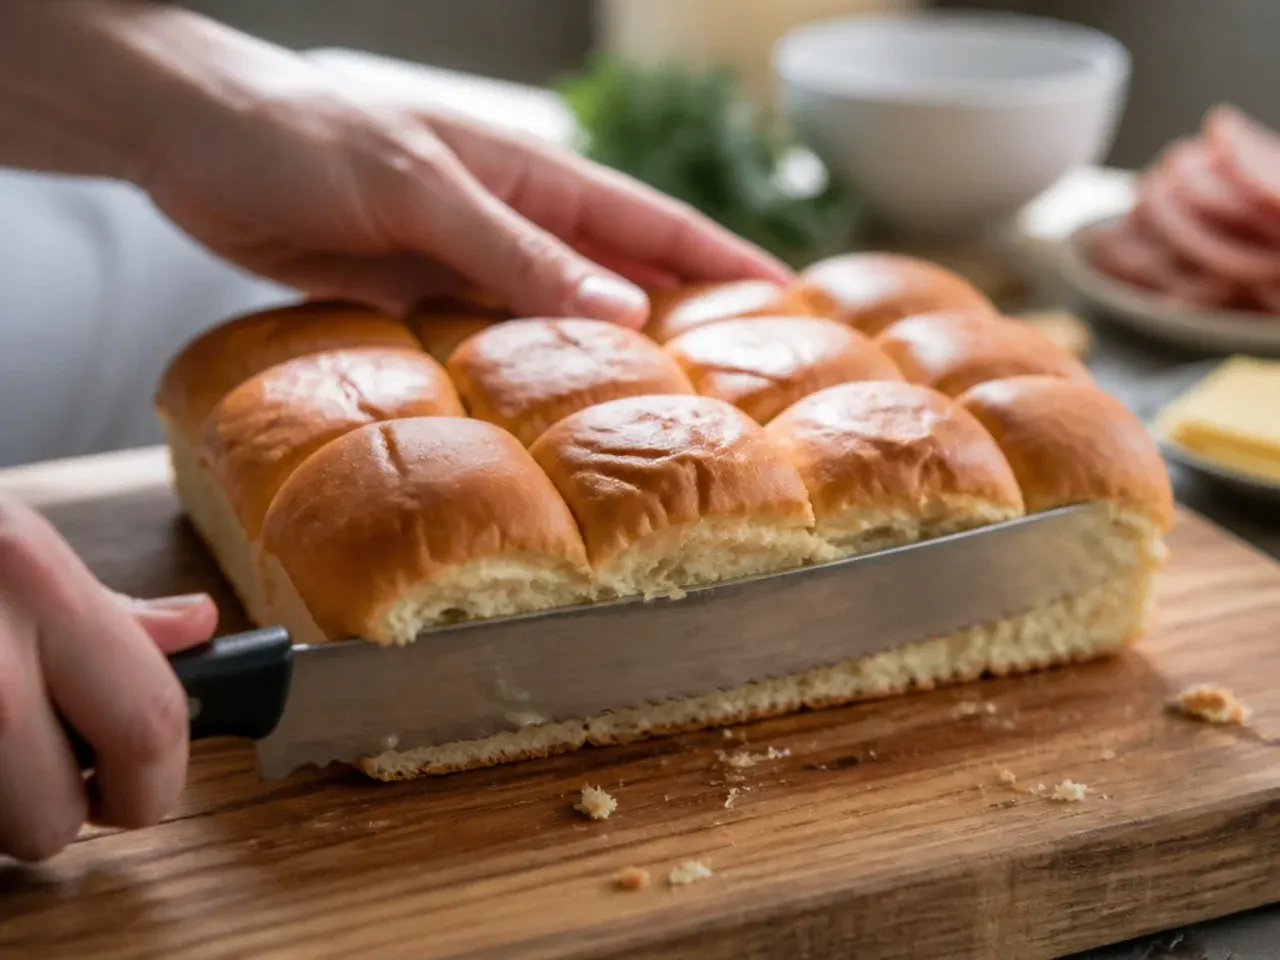
Without pulling the 12-count tray of Hawaiian rolls apart, use a long serrated bread knife to slice straight through the whole block horizontally, about halfway up the sides. Keep the knife level so you end up with one connected top slab and one connected bottom slab. Cutting them as a unit now is what makes the final slicing so much neater later.
Step 10: Set the bottom slab in a tray
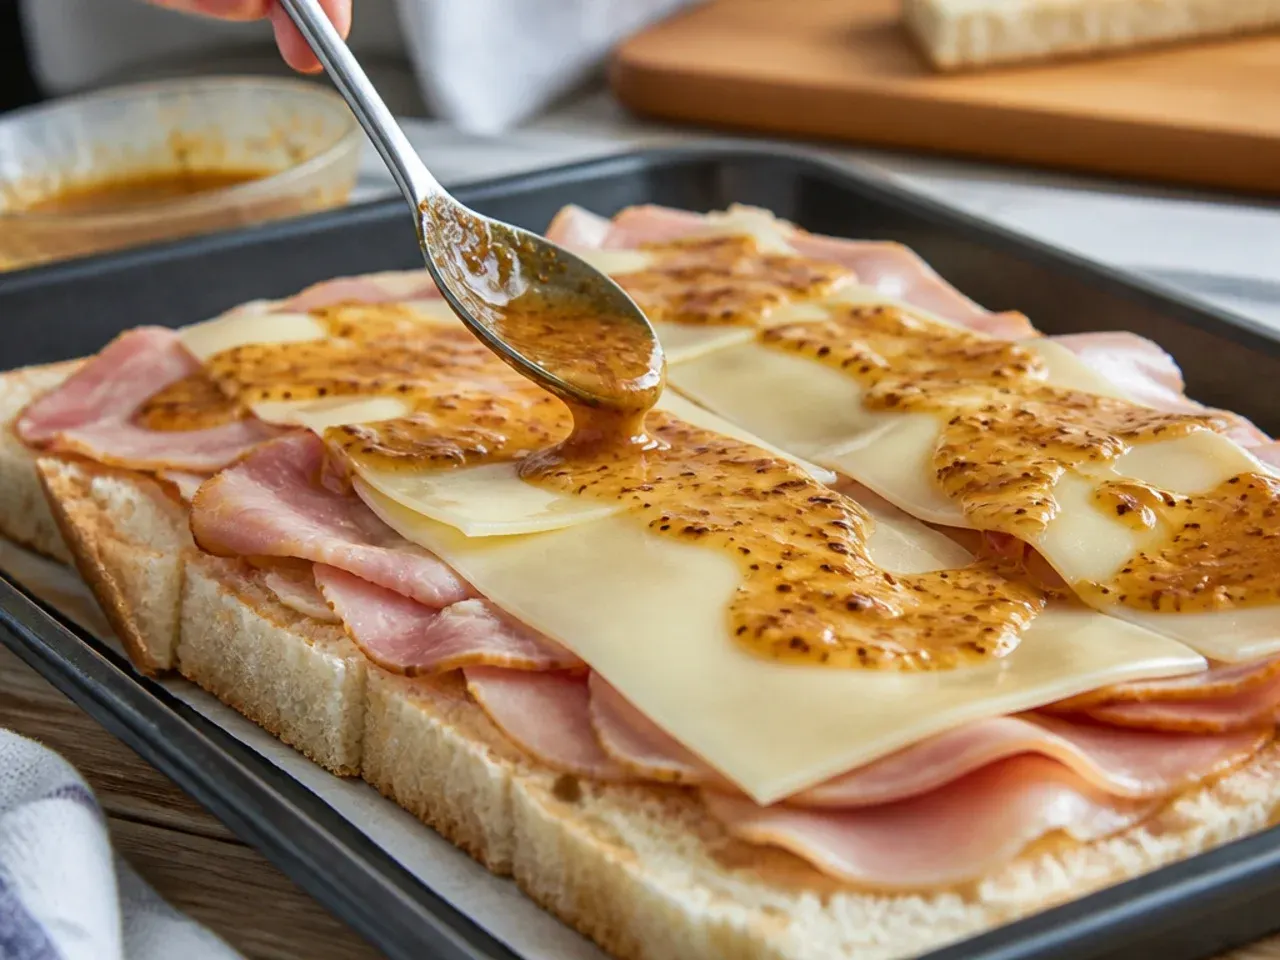
Lay the bottom half of the rolls cut-side up in a 23 x 33 cm (9 x 13 inch) baking dish or on a flat serving board. Keeping the rolls in the tray they came in, or a similarly sized dish, stops the layers from sliding around as you build. This is your base for every layer that follows.
Step 11: Spread half the sauce on the base
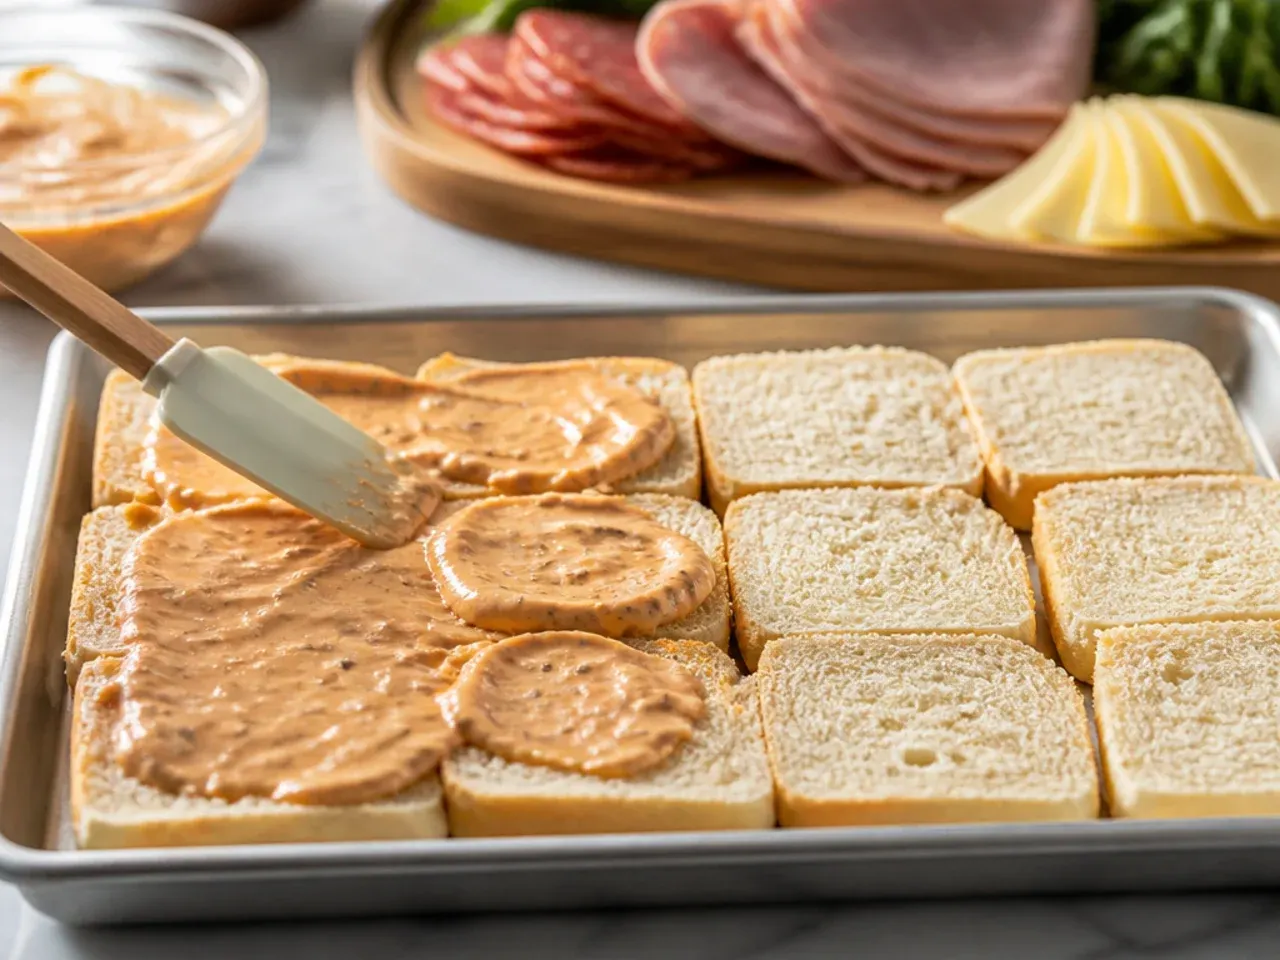
Spoon roughly half of the mayo-mustard spread over the cut side of the bottom roll slab and use the back of the spoon to spread it edge to edge. An even layer here means every bite gets seasoning instead of just the middle rolls. Don't rush this step; a thin, complete coat matters more than a thick, patchy one.
Step 12: Layer the first cheese
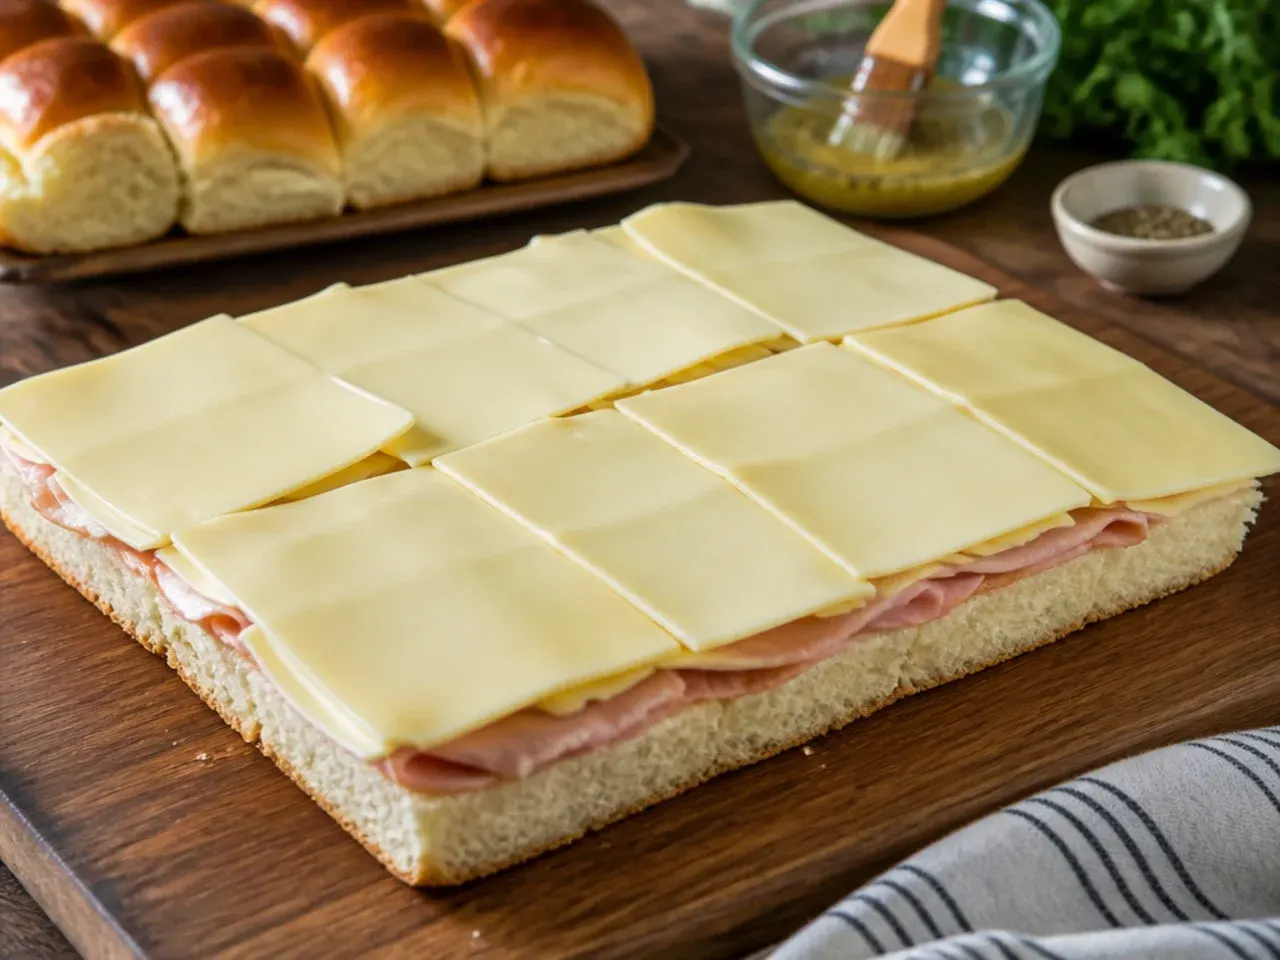
Lay the 170 g (6 oz) of sliced cheddar directly onto the sauced rolls in a single, slightly overlapping layer. Overlapping the edges by about 1 cm (1/2 inch) means there are no bare gaps once the sliders are cut apart. This first cheese layer also acts as a barrier that keeps the bread from soaking up moisture from the meat above.
Step 13: Layer the ham
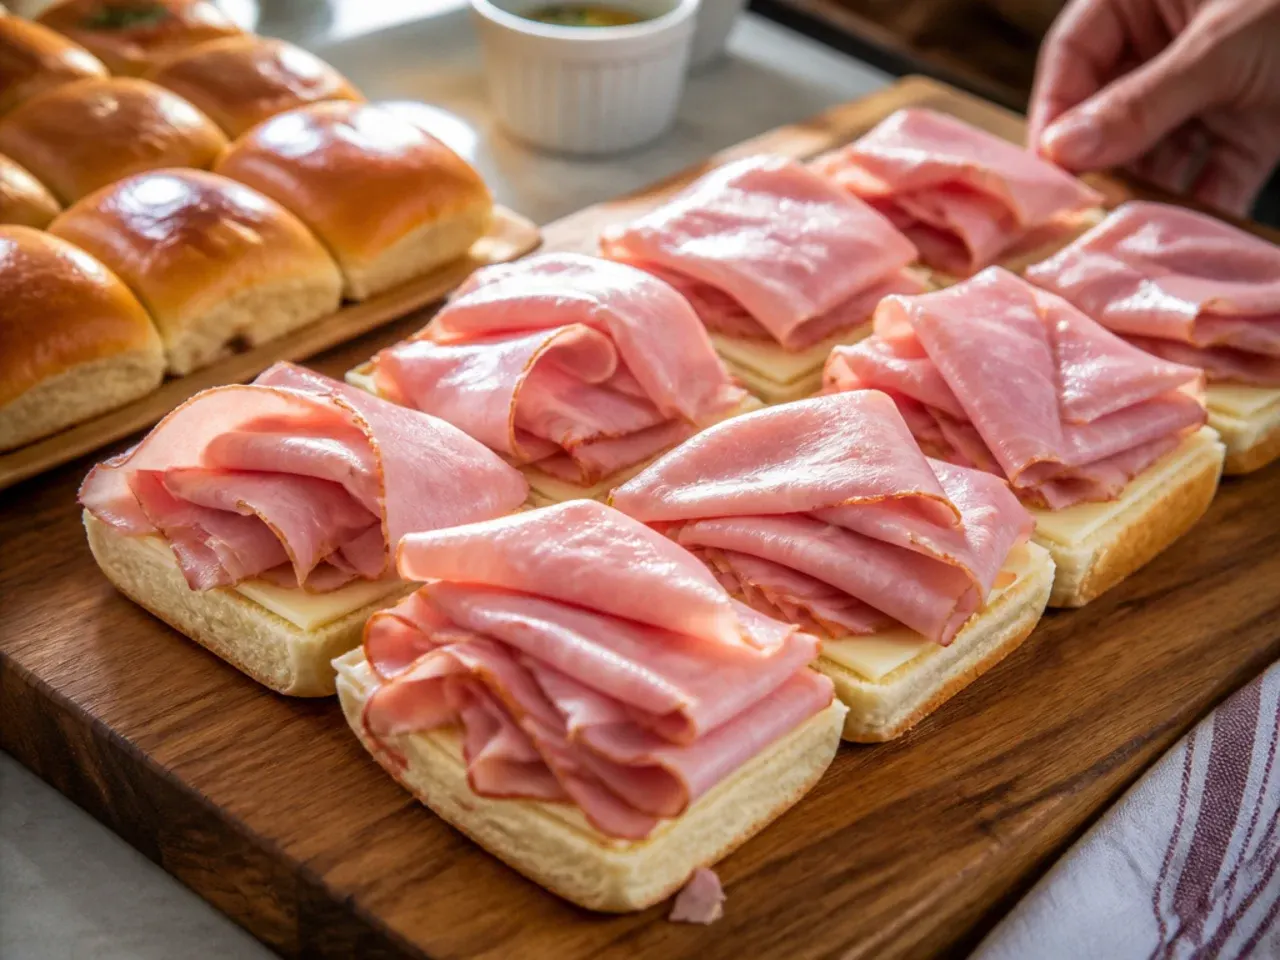
Arrange the folded ham portions from step 7 evenly over the cheddar, working corner to corner so every future slider gets a fair share. Aim for a layer about 1 cm (1/2 inch) thick once it's settled. Press very gently with your palm to compact it slightly without squashing the rolls flat.
Step 14: Layer the turkey
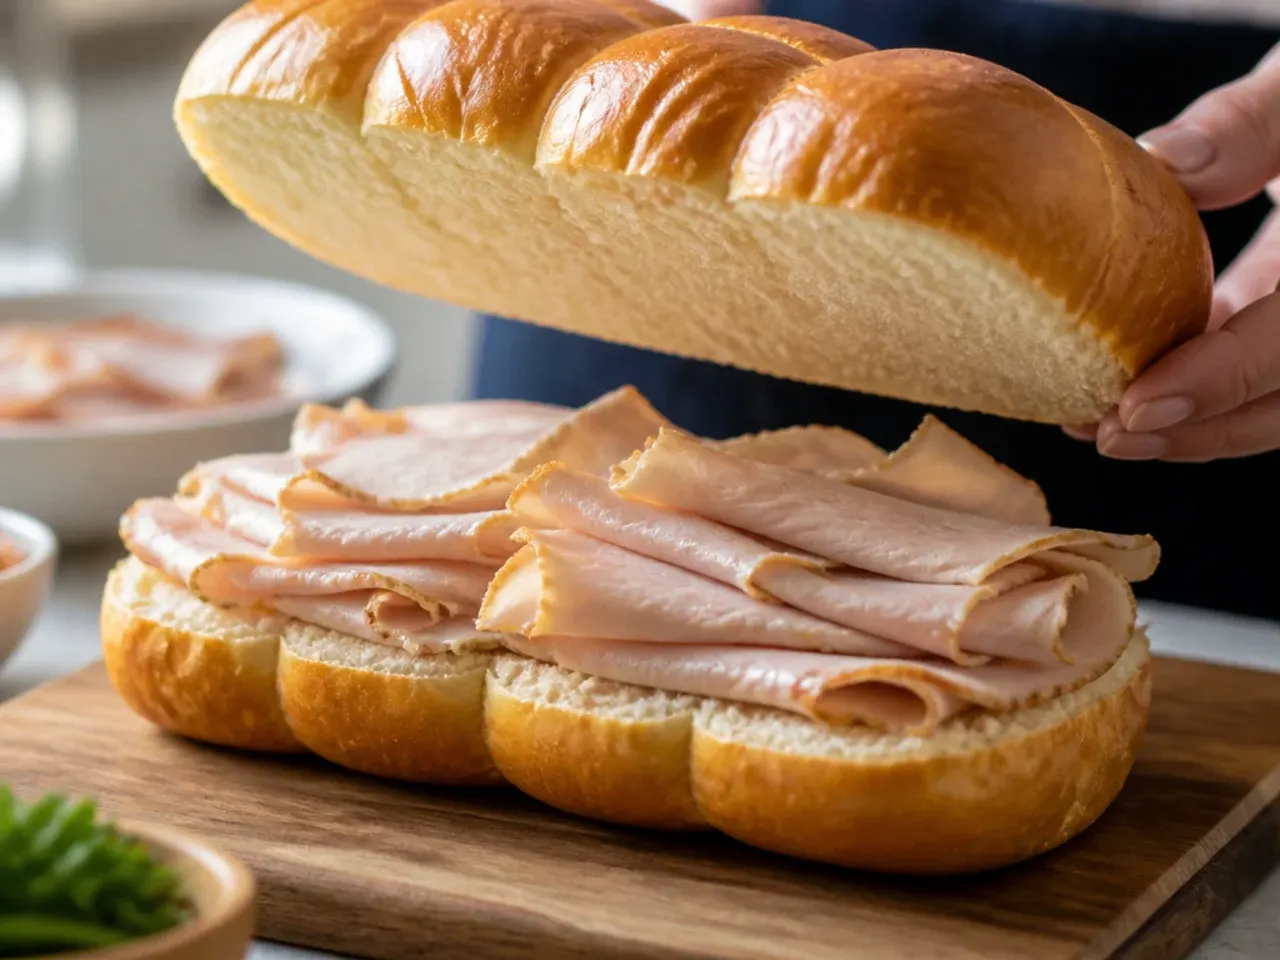
Repeat with the folded turkey portions from step 8, layering them over the ham in the same corner-to-corner fashion. Two meats stacked this way give each slider a fuller, deli-counter texture rather than one thin single layer. Keep the edges tidy so the filling lines up with the roll edges below.
Step 15: Layer the second cheese
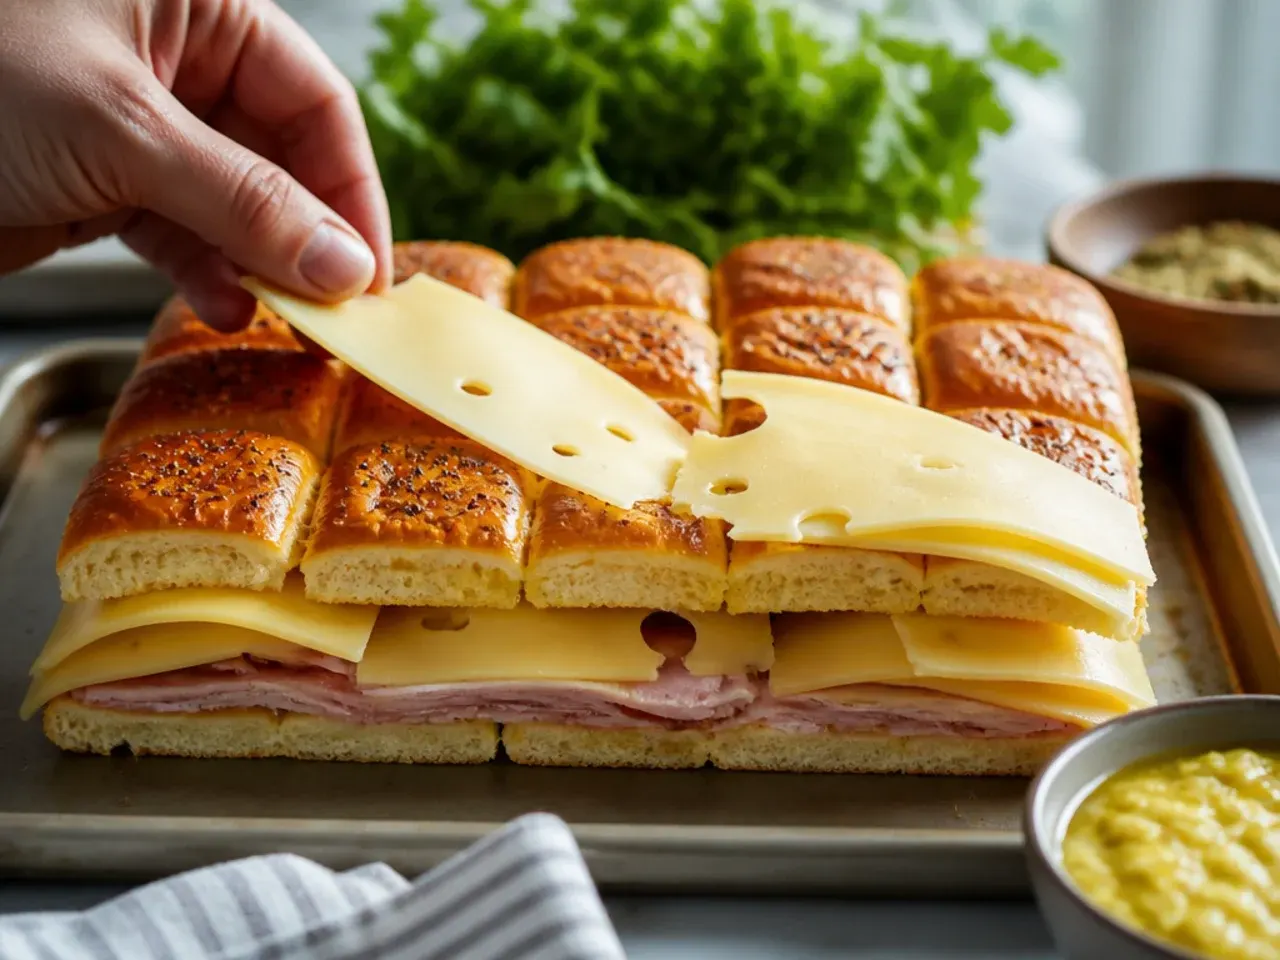
Top the meats with the 170 g (6 oz) of sliced Swiss or provolone, again overlapping the slices slightly so there are no gaps. This second cheese layer holds the meat in place and gives the top of the sandwich the same clean bite as the bottom. Smooth it flat with your hand so the surface is level before you add the vegetables.
Step 16: Add the tomato
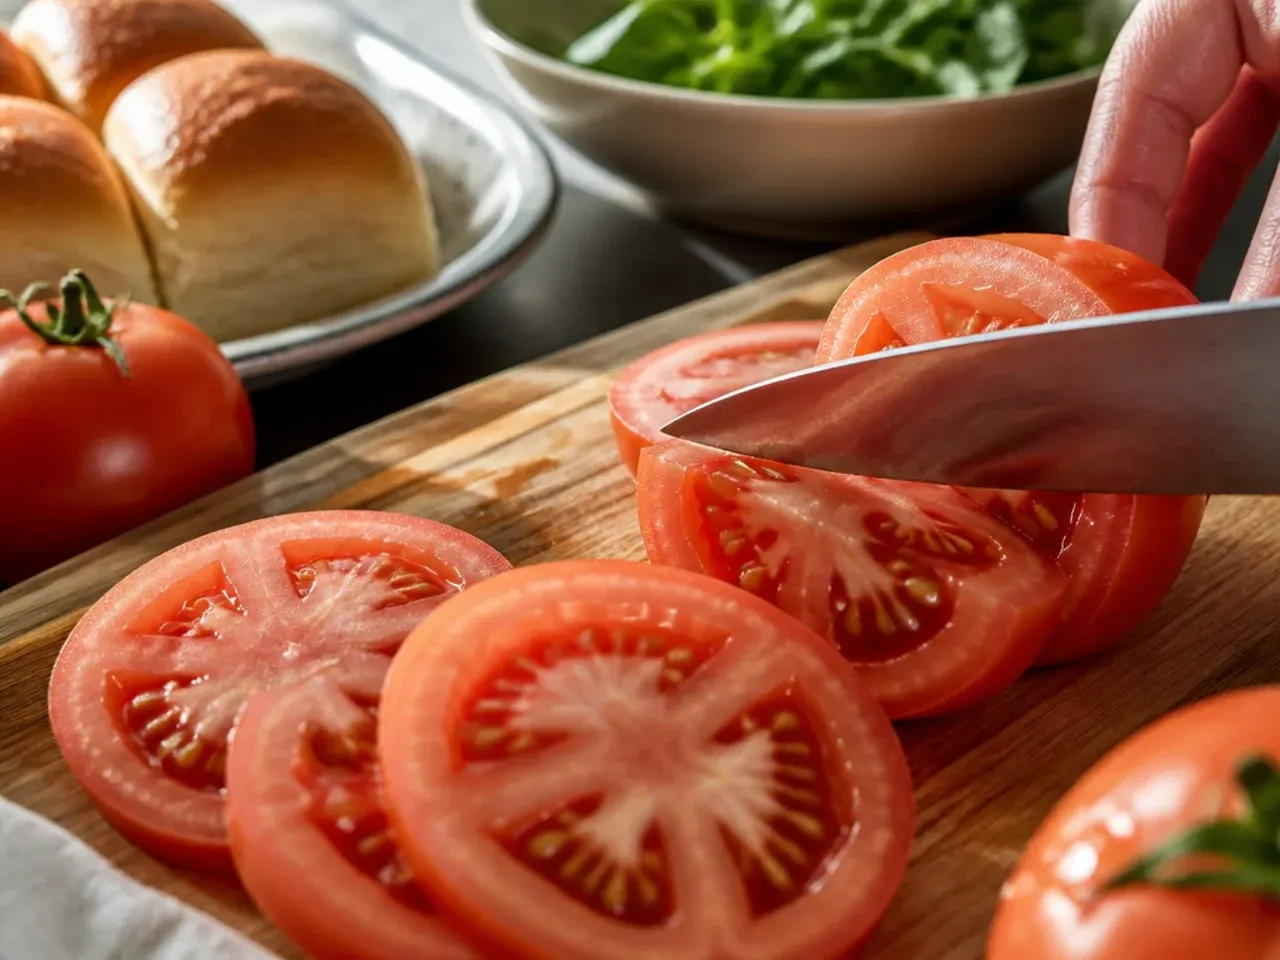
Lay the drained tomato slices from step 5 evenly across the cheese, spacing them so every slider gets at least one piece. Because they've been blotted dry, they'll add juicy flavour without turning the bread soft. Skip this layer if you're packing the sliders more than an hour ahead, and add fresh tomato just before serving instead.
Step 17: Scatter the onion
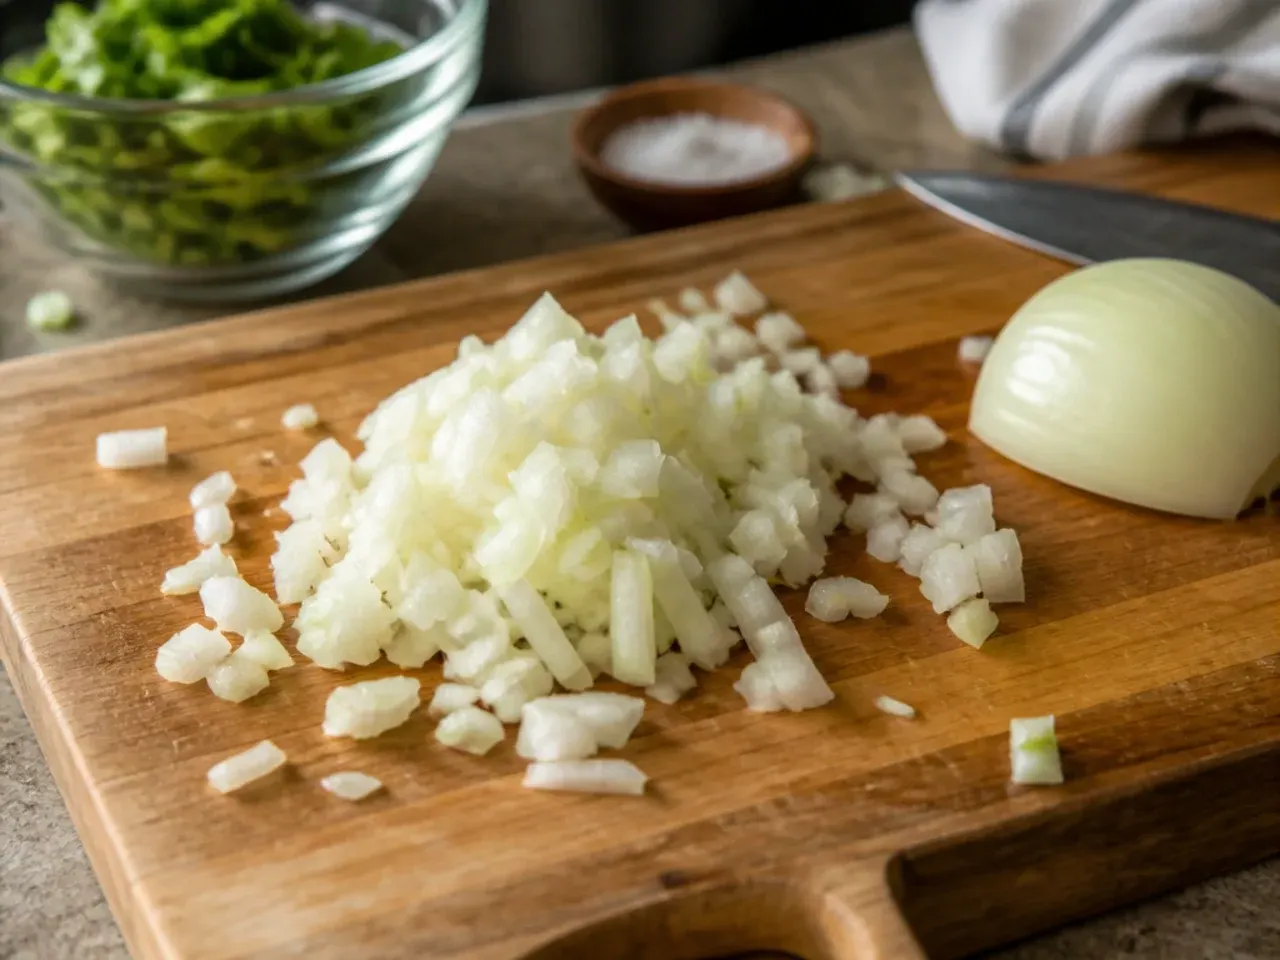
Sprinkle the drained, mellowed red onion from step 3 over the tomato in a thin, even scatter. A little goes a long way here, so resist the urge to pile it on unless you know your crowd loves a sharper bite. The pale pink rings should be visible but not clumped in any one spot.
Step 18: Add the lettuce
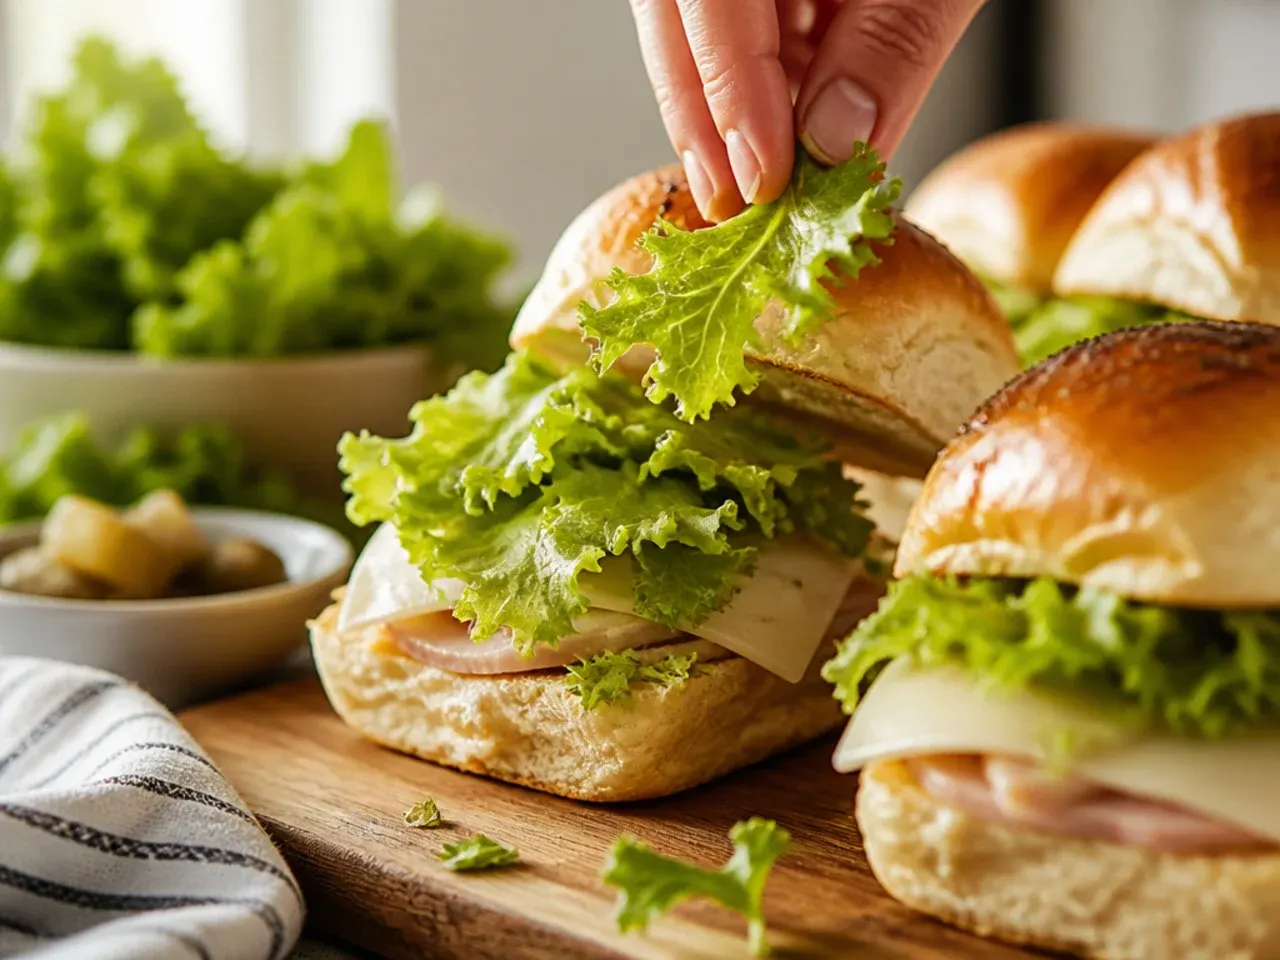
Scatter the dry, shredded lettuce from step 4 over the top in an even, fluffy layer about 1 cm (1/2 inch) high. Lettuce added at this stage stays crisp because it's protected between the vegetables below and the top bun above. Press down very lightly just to help it hold its position.
Step 19: Season the filling
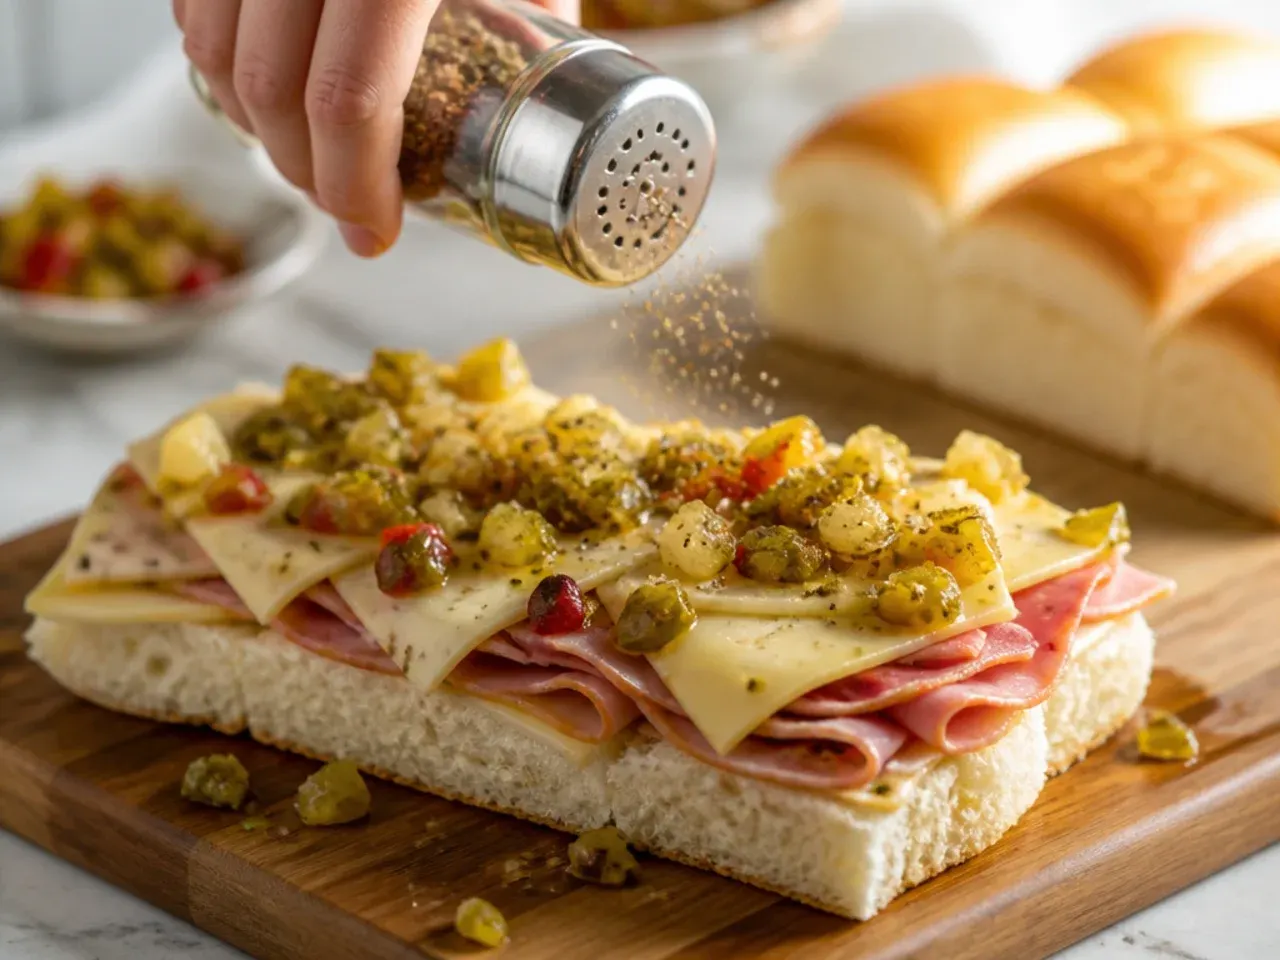
Finish the filling with a light, even grind of black pepper, about 1/4 teaspoon across the whole tray. If you like a little more punch, a small extra pinch of the ranch seasoning here works well too. Go easy, since the mayo-mustard spread and cheese are already well seasoned.
Step 20: Sauce the top bun slab
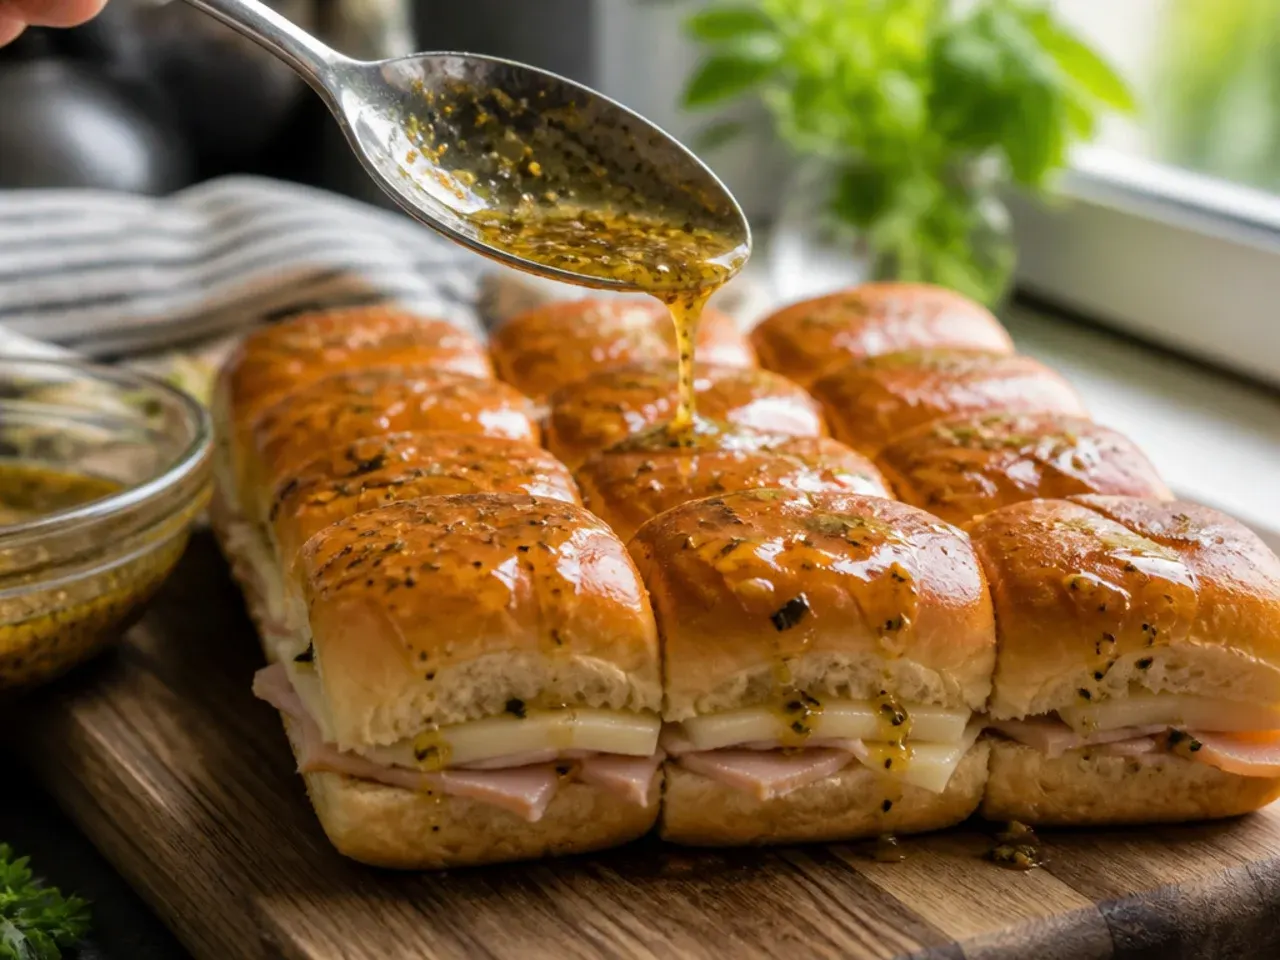
Spread the remaining half of the mayo-mustard mixture over the cut side of the top roll slab, covering it the same way you did the base in step 11. Sauce on both sides means the flavour comes through in every bite, not just the bottom. Work quickly so the sauce doesn't have time to soften the bread before it's stacked.
Step 21: Close the sliders
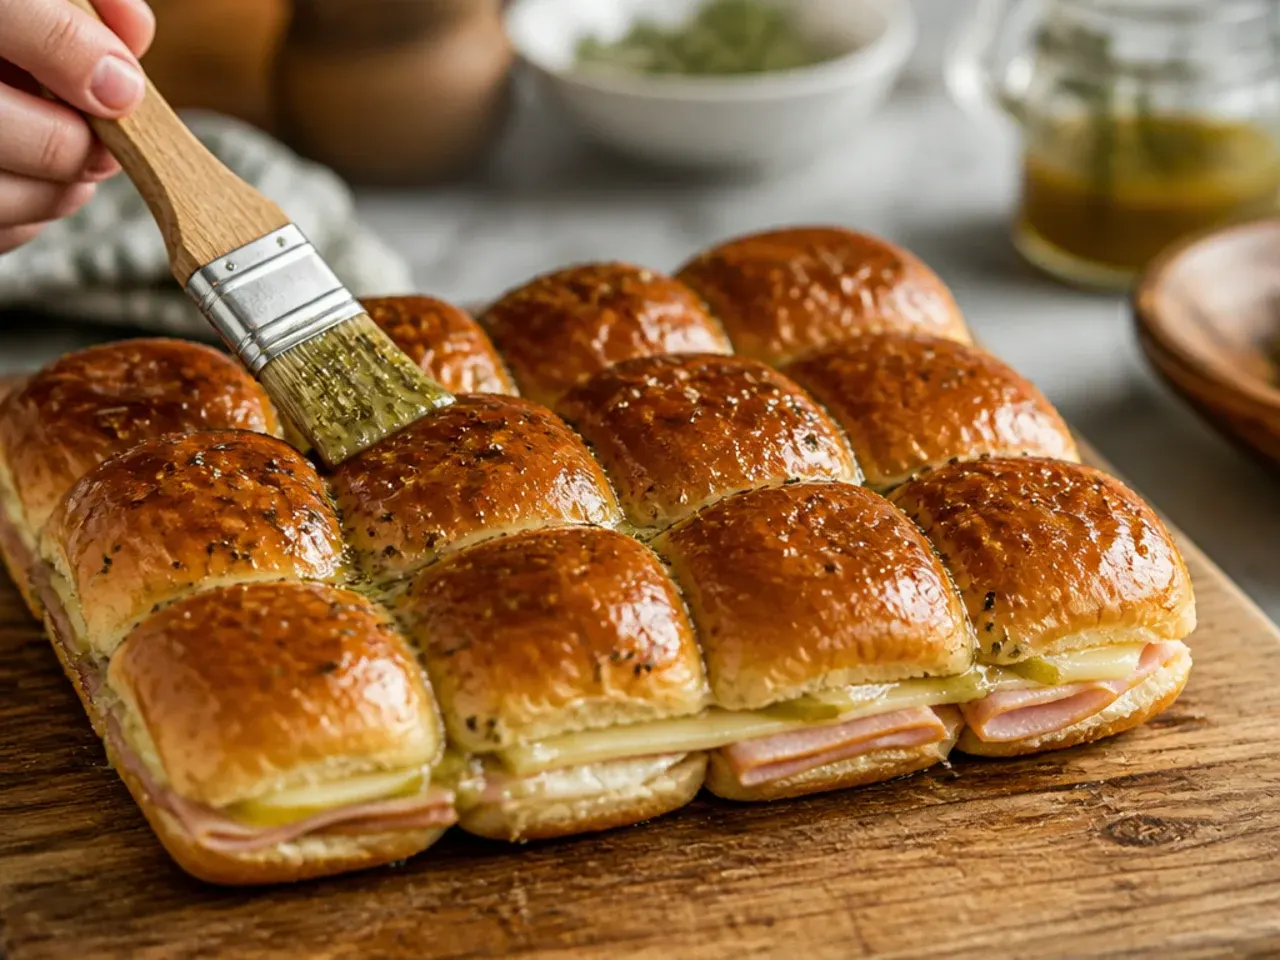
Carefully lower the sauced top slab onto the filling, lining up the edges with the bottom slab so the block stays square. Press down gently and evenly with both palms across the whole tray, just enough to settle the layers without squeezing filling out the sides. You should now have one neat, connected slab of filled sliders.
Step 22: Wrap tightly
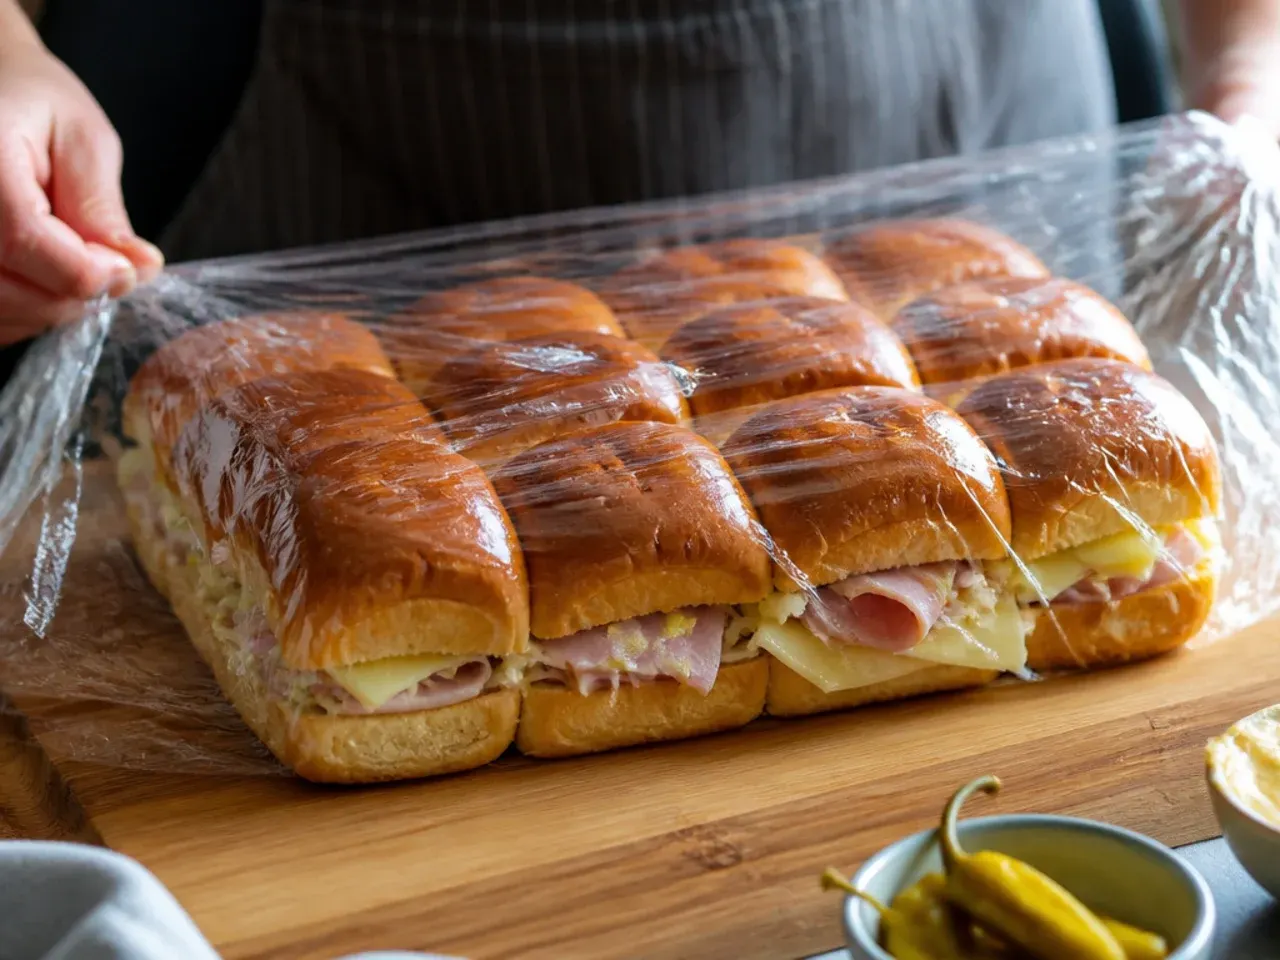
Cover the tray snugly with cling film, pressing it down onto the surface of the rolls to seal in freshness. A tight wrap stops the tops from drying out and keeps the lettuce crisp while everything chills. If you're transporting the sliders, this is also the point to add a layer of foil for extra protection.
Step 23: Chill to firm up
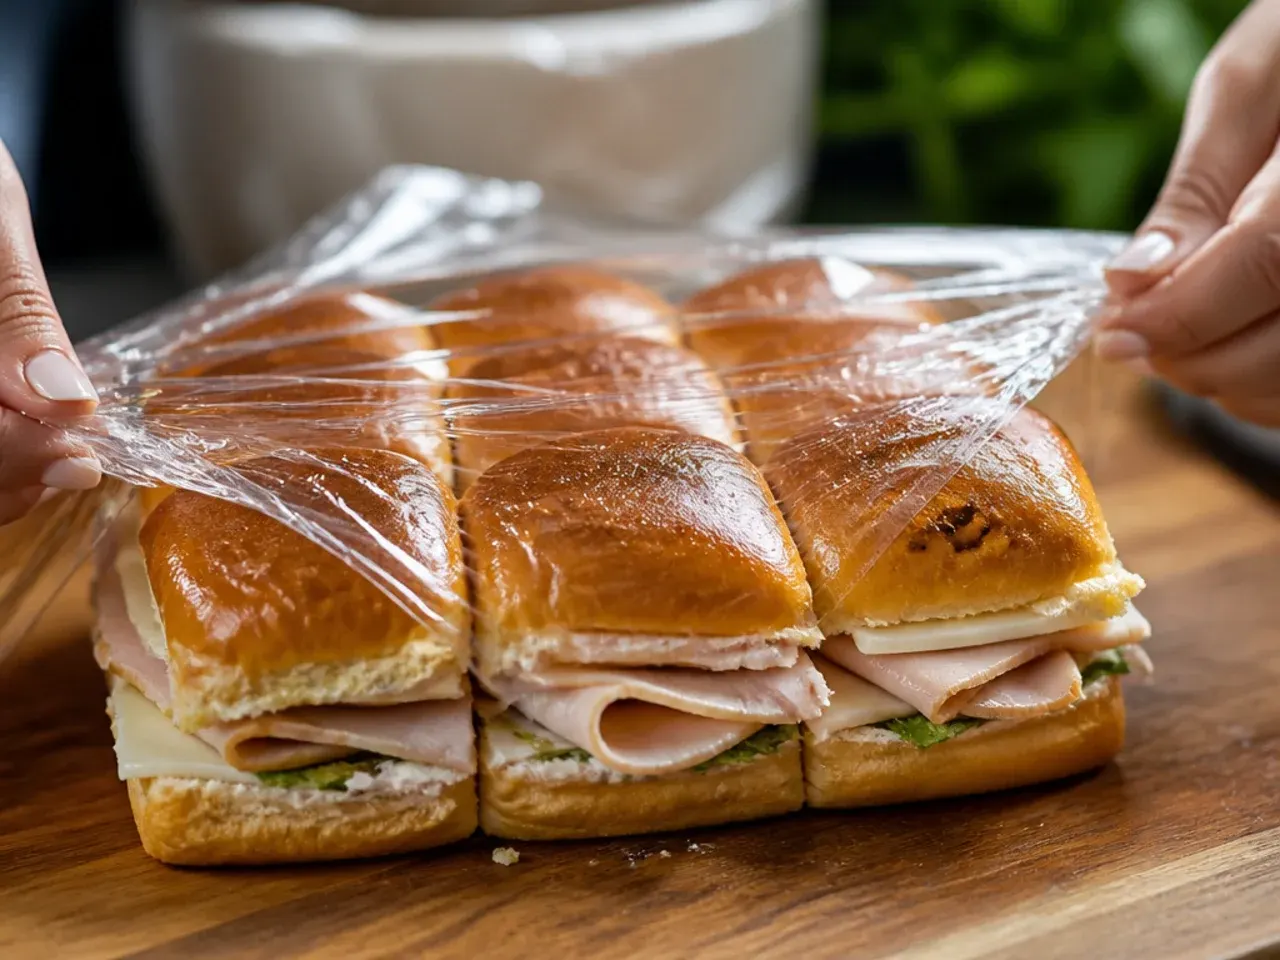
Refrigerate the wrapped tray for at least 30 minutes and up to 2 hours before serving, keeping the fridge at or below 4°C (40°F). Chilling lets the sauce settle into the bread and firms the whole block, which makes for much cleaner cuts in the next step. Don't skip this rest even if you're short on time; even 30 minutes makes a visible difference.
Step 24: Cut into individual sliders
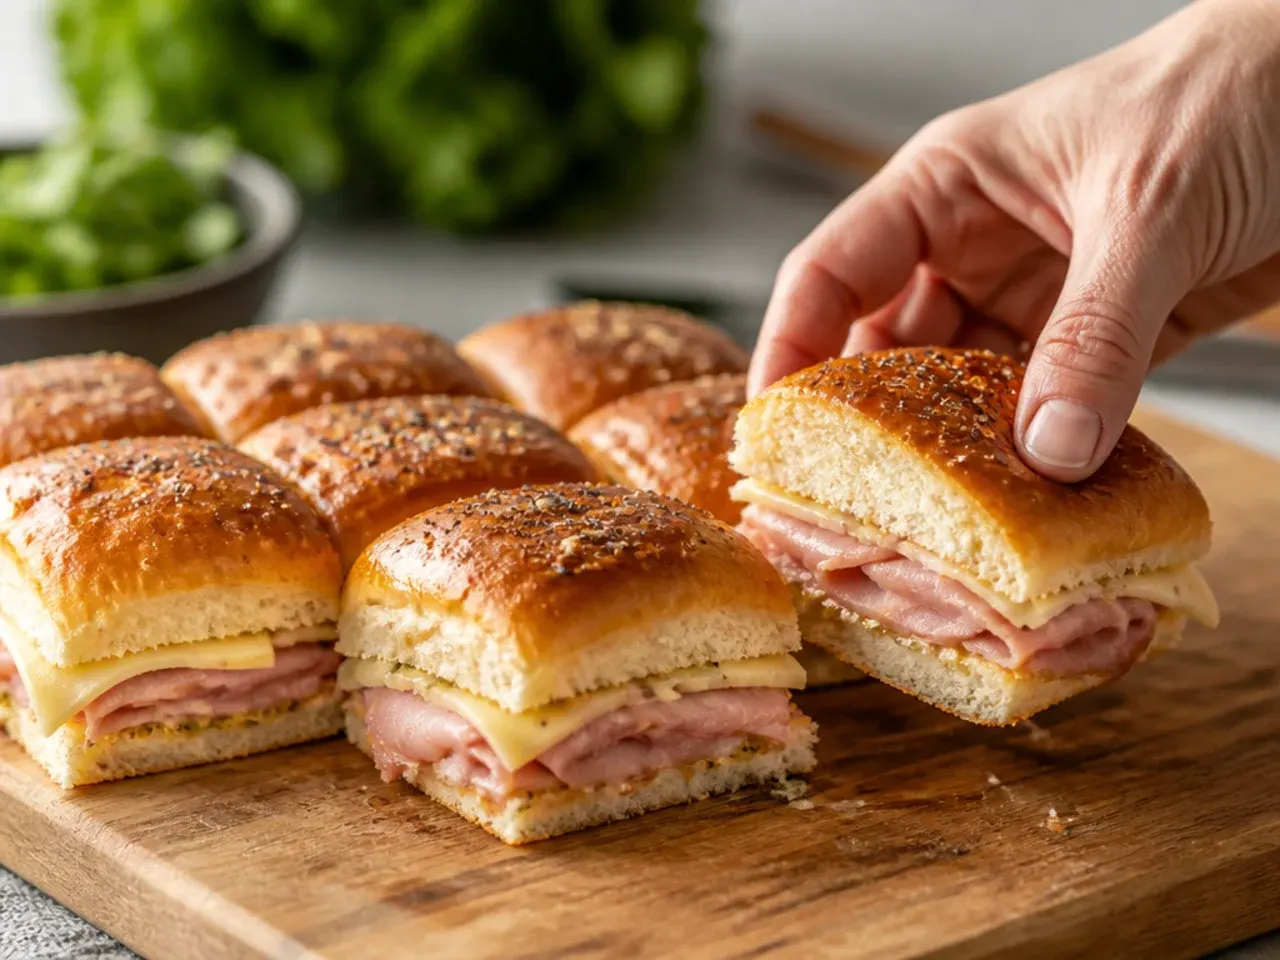
Using a sharp serrated knife, slice straight down along the natural seams between the rolls, wiping the blade clean between cuts if it gets sticky. You should end up with 12 neat, evenly filled sliders, each with visible layers of cheese, meat and vegetables at the cut edge. Cutting after chilling, rather than before, is what keeps the filling from squeezing out.
Step 25: Serve or pack to go
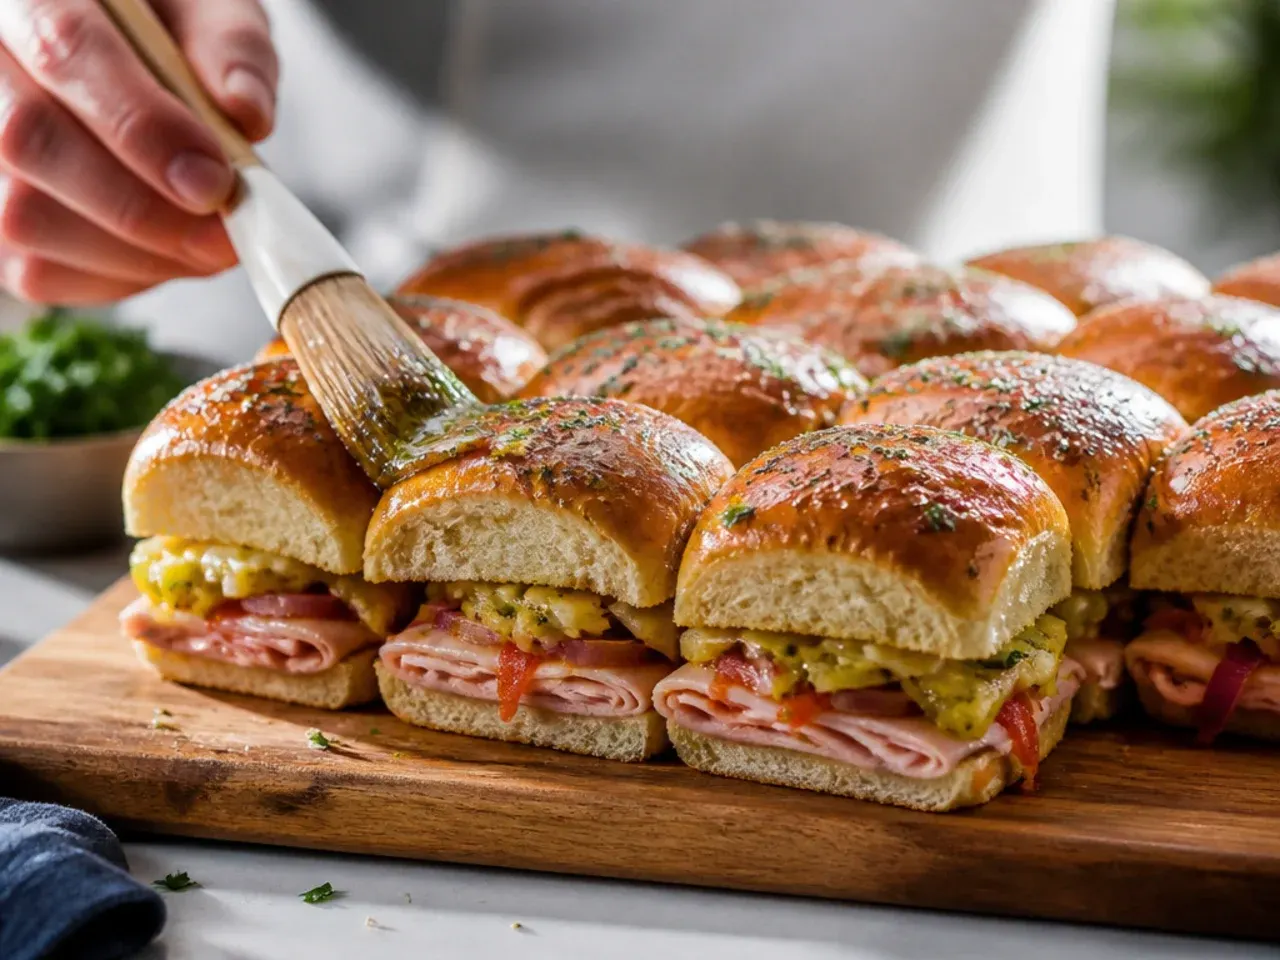
Arrange the sliders cut-side up on a platter or board, or nestle them back into their original tray for easy transport. Keep them chilled until serving, ideally over an ice pack if you're heading to a picnic or a warm outdoor event. Serve straight from the fridge for the best texture and the cleanest, most photogenic cut edges.
Pro Tips for the Best Cold Sliders Recipes Hawaiian Rolls
Keep every component cold right up until assembly, since warm meat or cheese makes the whole tray slide apart when you cut it. Blot the tomato and drain the onion without fail, because these are the two ingredients most likely to turn Hawaiian rolls soggy within an hour. Swap a smear of softened butter under the sauce layer for extra richness if you like, and always cut with a serrated knife once the block has chilled, never before.
Storage and Make-Ahead Tips for Cold Sliders
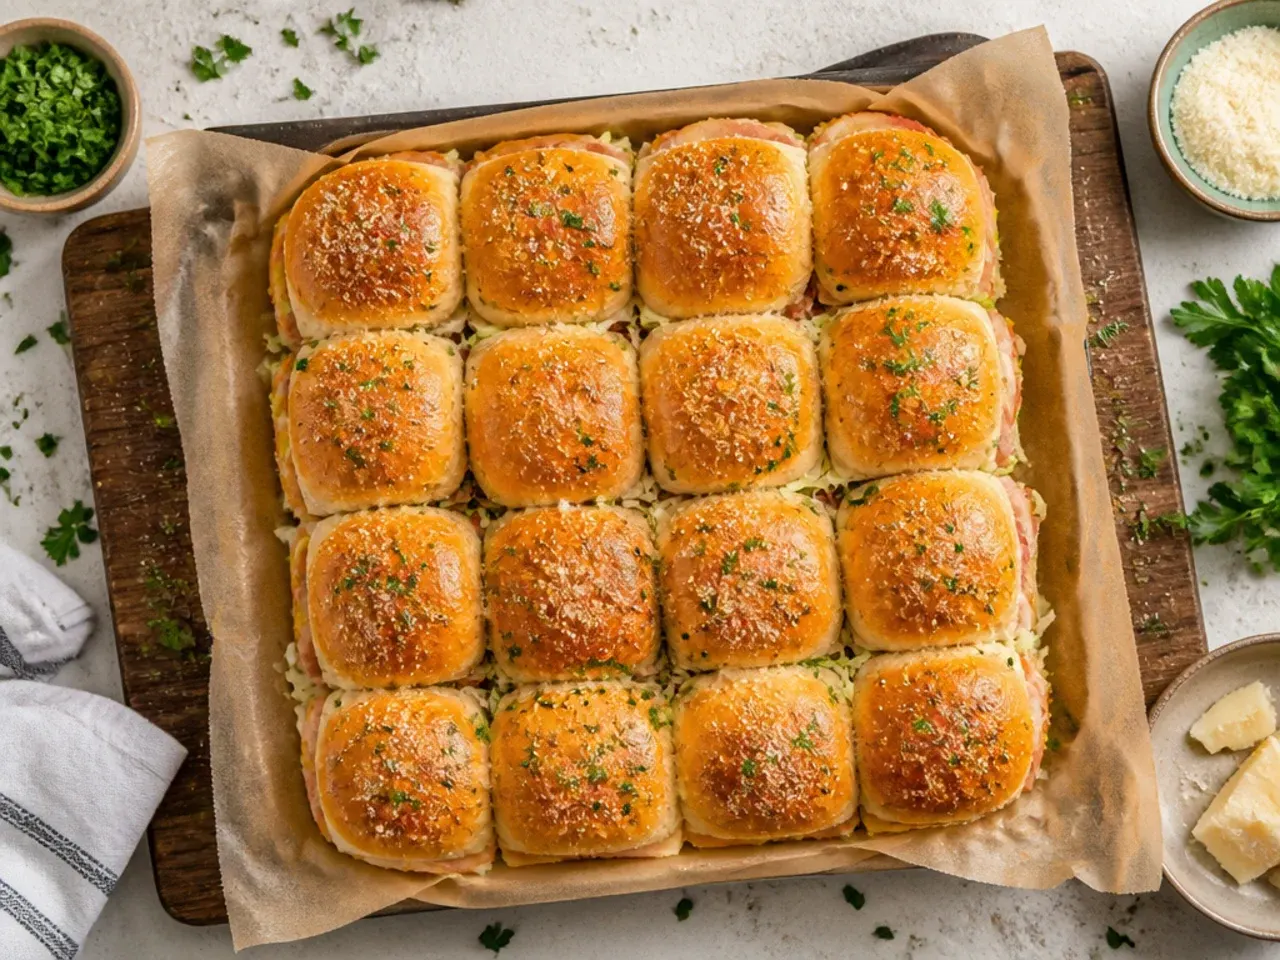
Assemble the full tray up to 24 hours ahead, wrap it tightly in cling film, and refrigerate until serving; hold the tomato back and add it just before serving if you're prepping that far in advance. Once cut, leftover sliders keep well in an airtight container in the fridge for up to 3 days. Cold sliders on Hawaiian rolls travel well for picnics and lunchboxes precisely because there's no reheating involved, so pack them straight from the fridge with an ice pack for the best texture.
These cold sliders recipes hawaiian rolls layer ham, turkey and cheese with a tangy mayo-mustard spread for an easy no-bake tray ready in under an hour. For more sliders recipes hawaiian rolls inspiration, browse the full Sliders Recipes Hawaiian Rolls board — every idea there is written for real home kitchens, not professional bakers.
Frequently Asked Questions
Yes, and it's one of the reasons this recipe works so well for parties. Build the full tray up to a day ahead, wrap it tightly in cling film, and keep it in the fridge until you're ready to serve. For the crispest results, hold back the tomato and add it just before serving rather than the night before. Chilling overnight actually helps the mayo-mustard spread settle into the bread, so the flavour is even better the next day.

Related Recipes
Save this for later 📌
Pin this article to your Pinterest board so the full list is one tap away when you need it.
Save on Pinterest