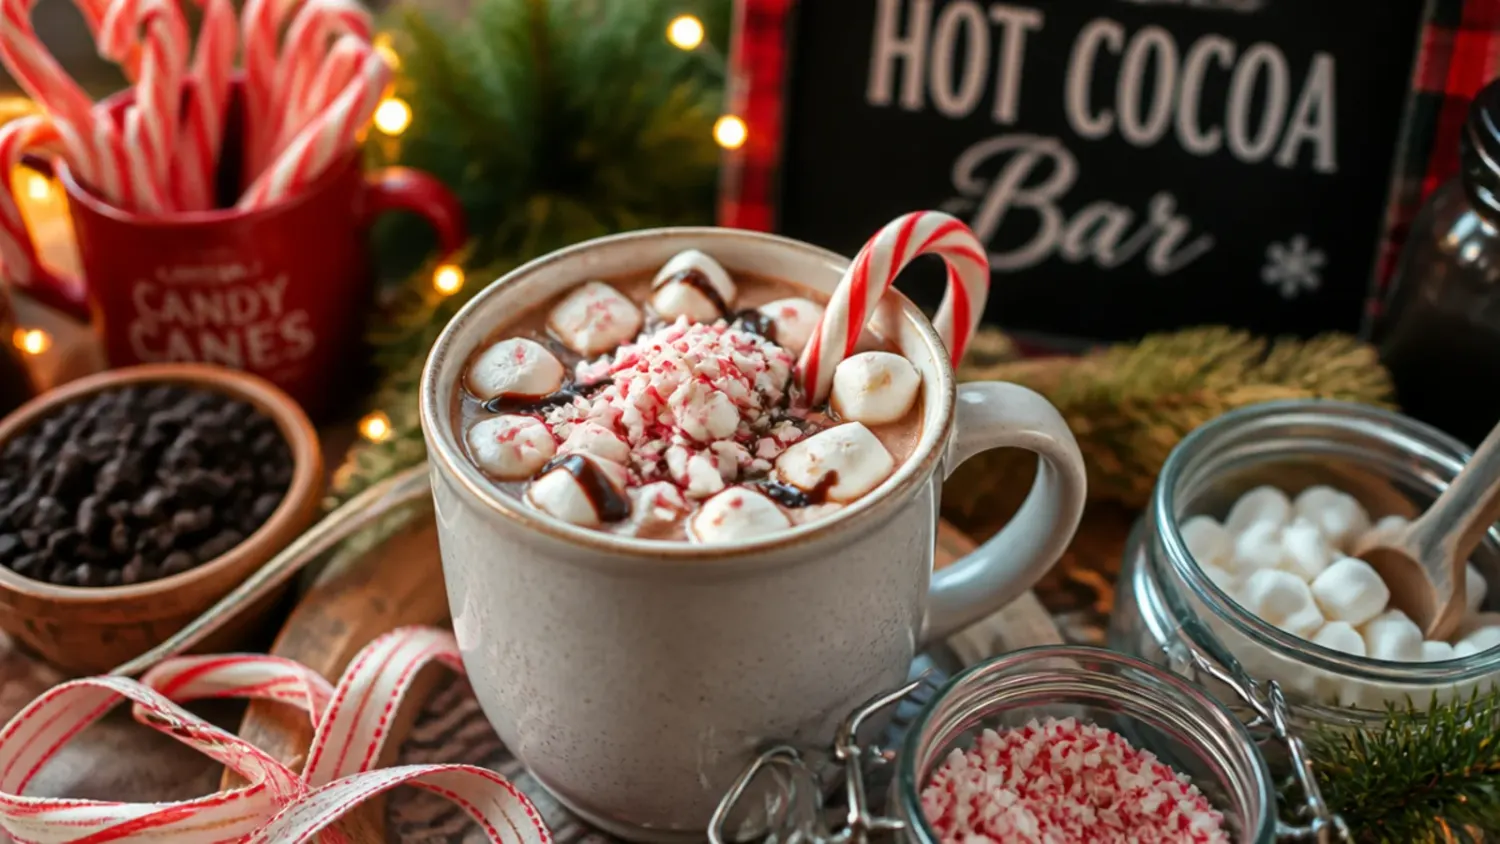
Ingredients 6 Person(s)
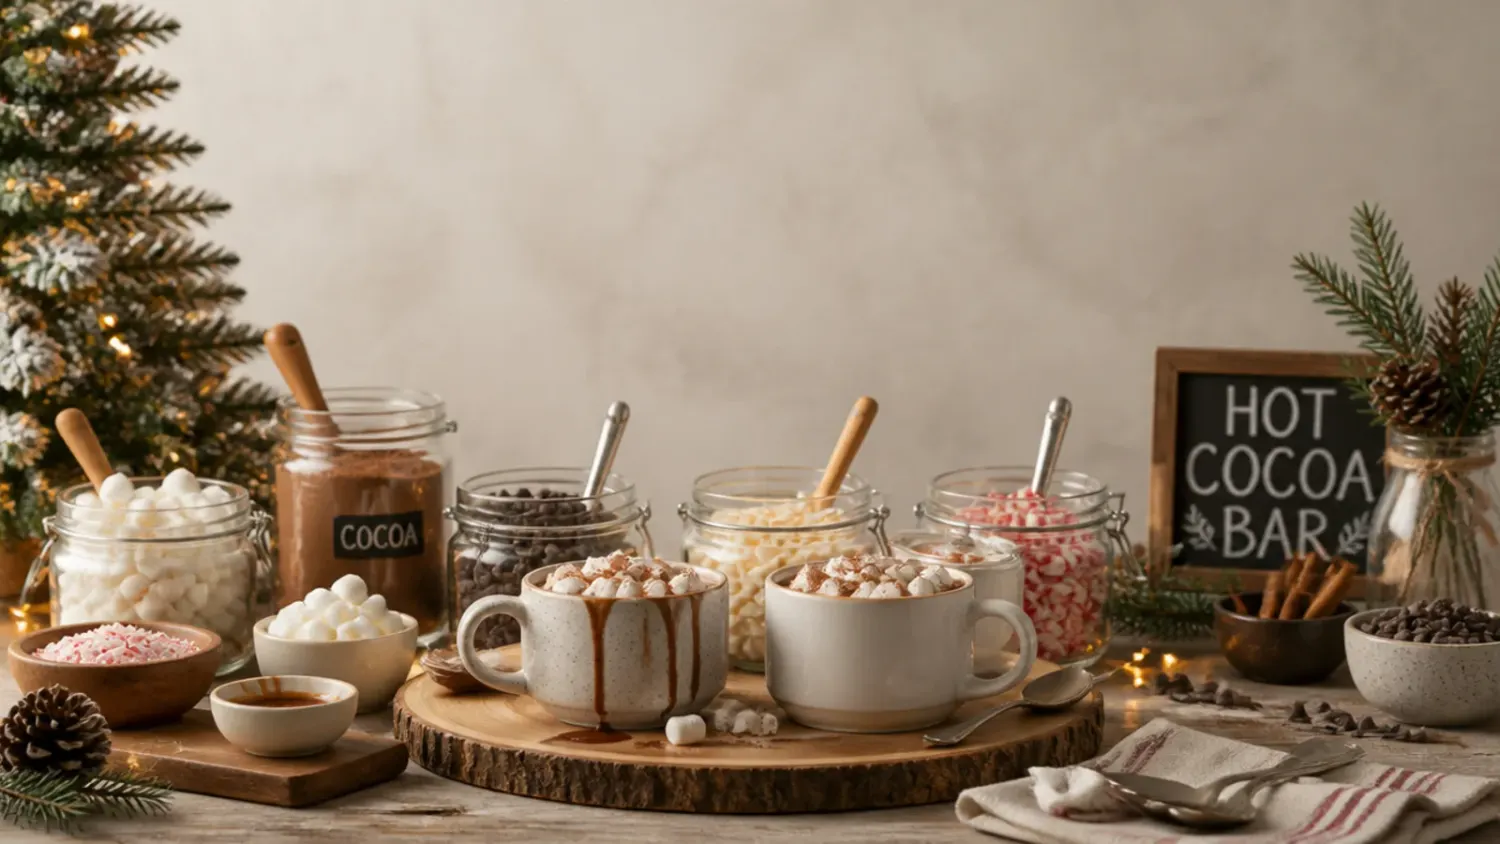
Save this for later 📌
Pin this article to your Pinterest board so the full list is one tap away when you need it.
Save on PinterestDirections
Step 1: Gather Your Hot Cocoa Bar Essentials
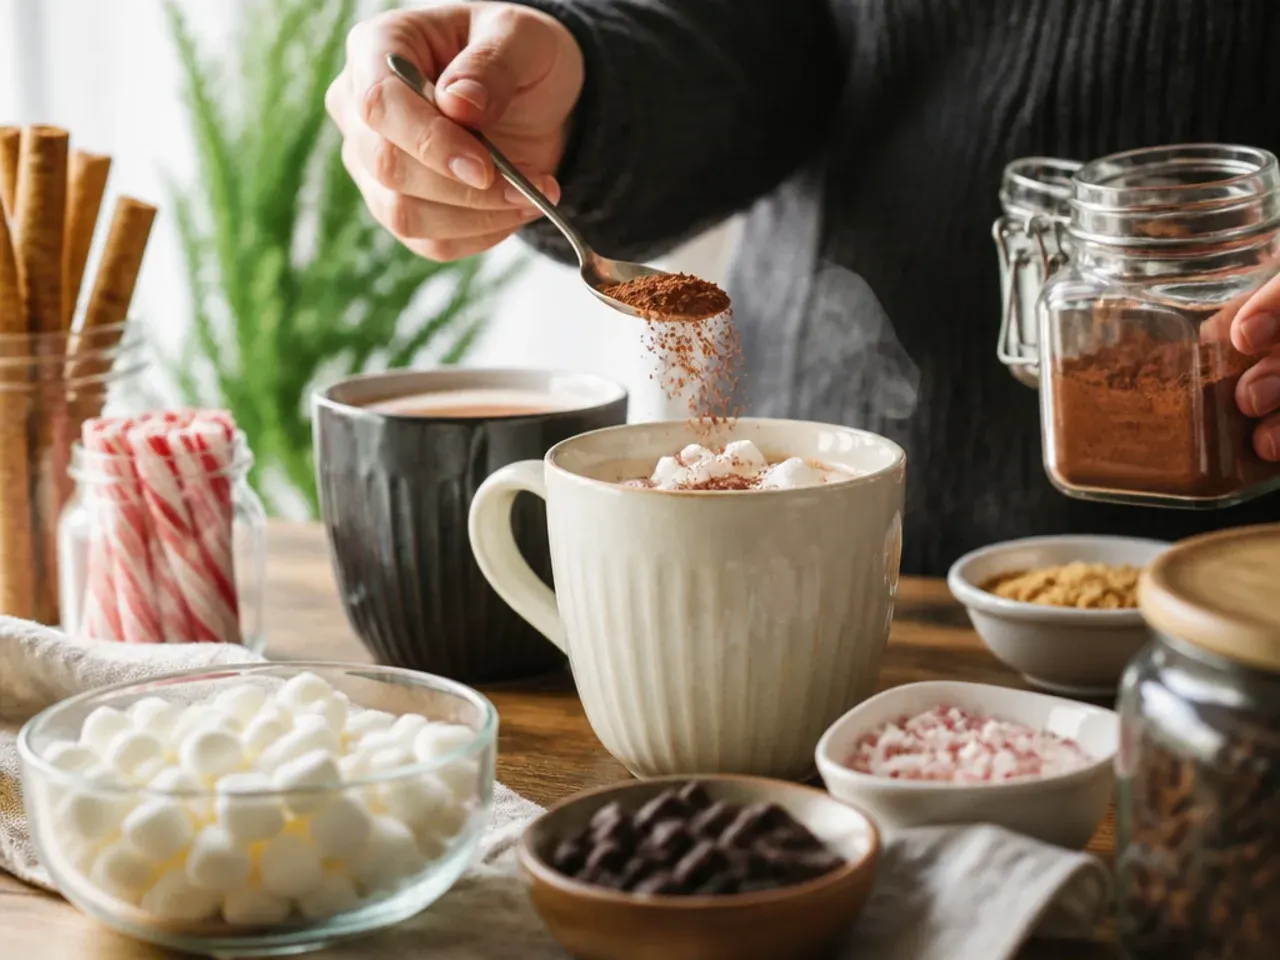
Lay out a large pot or slow cooker, a ladle, 6-8 mugs, and every topping in its own small bowl before you start heating anything. Having everything within reach means the base goes straight from stove to bar while it's still hot, rather than cooling down while you search the cupboards.
Step 2: Choose Your Cocoa Base Method
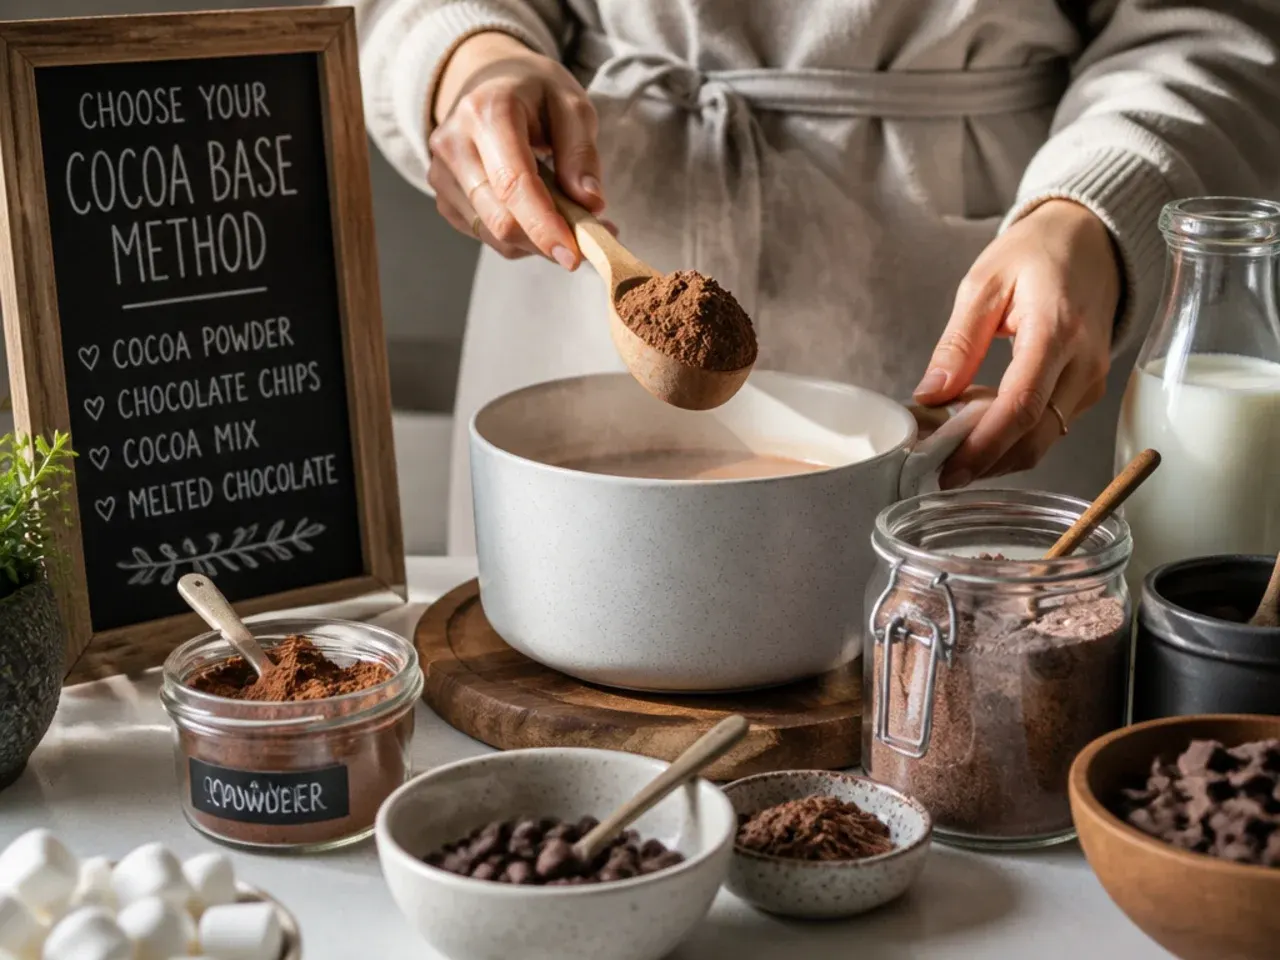
Decide between a classic cocoa-powder base or a richer melted-chocolate base, since both work well but taste noticeably different. Cocoa powder gives a lighter, more traditional drink, while melted dark chocolate makes a thicker, more indulgent one closer to a European-style hot chocolate.
Step 3: Warm the Milk
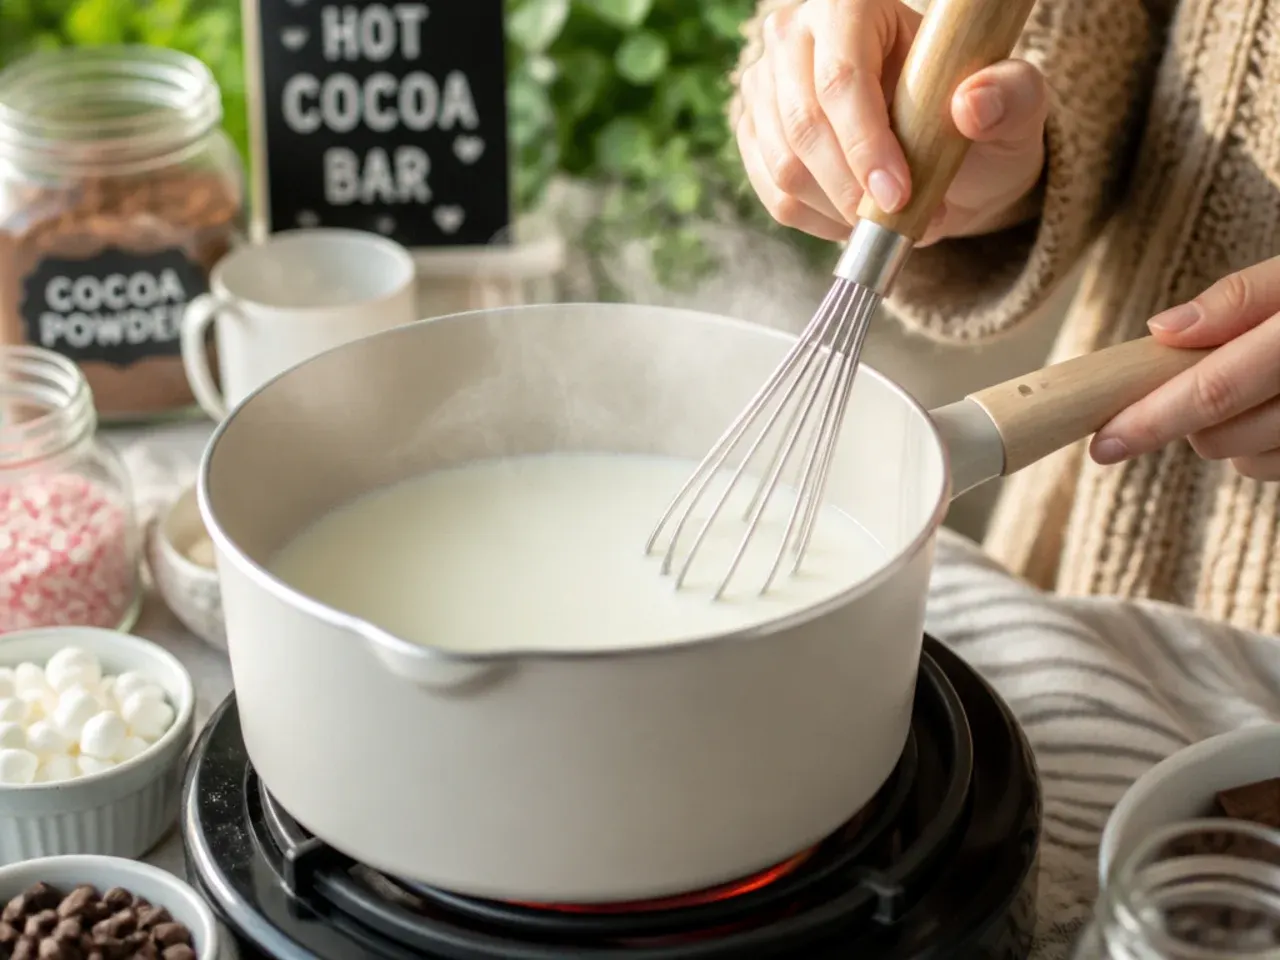
Pour the 1000 ml (4 cups) of whole milk into a heavy-based saucepan and warm it over medium-low heat for about 3-4 minutes, stirring occasionally so it doesn't catch on the base. You want small bubbles just starting to form around the edge of the pan, not a rolling boil.
Step 4: Whisk in the Cocoa and Sugar
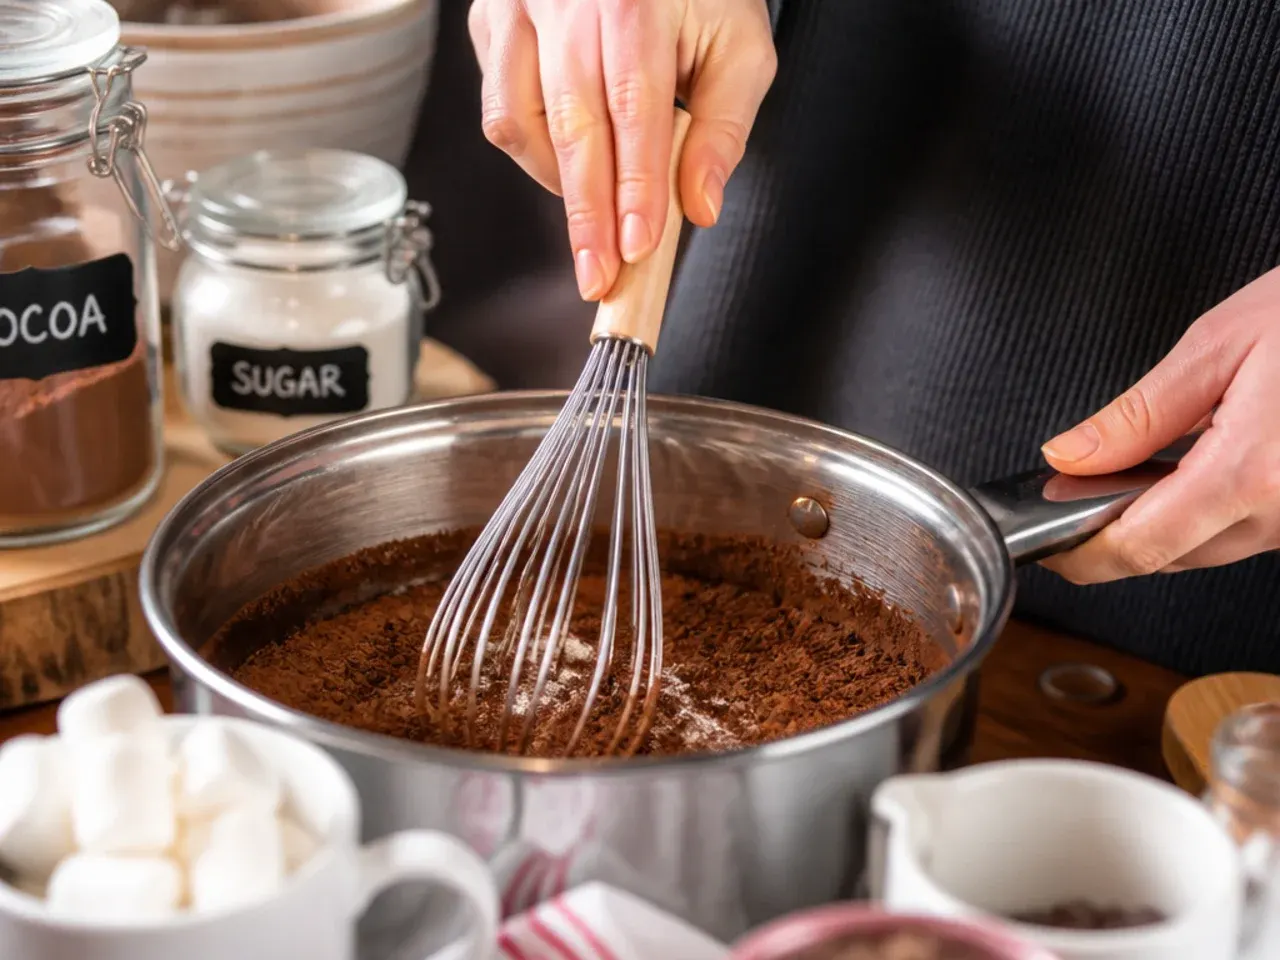
In a small bowl, whisk the 60 g cocoa powder with the 75 g sugar and the pinch of salt until no lumps remain, then whisk this mixture into the warm milk. Whisking the dry ingredients together first stops the cocoa from clumping the moment it hits the liquid.
Step 5: Melt in the Chocolate for Extra Richness
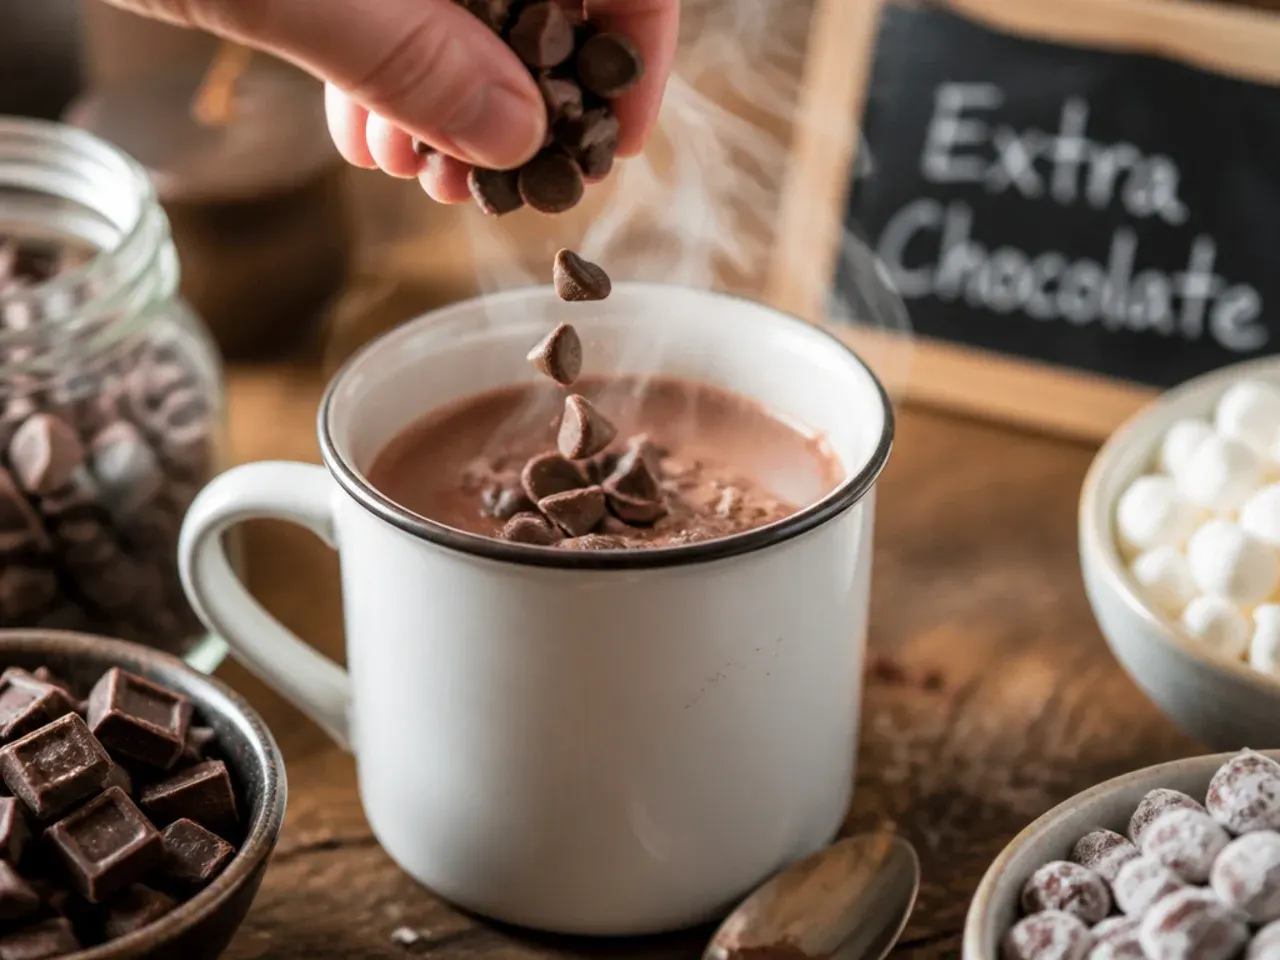
Add the 100 g finely chopped dark chocolate to the pan and whisk continuously for 2-3 minutes until it's fully melted and the mixture looks glossy. This step turns a thin cocoa drink into a properly rich, silky hot chocolate.
Step 6: Simmer Gently, Don't Boil
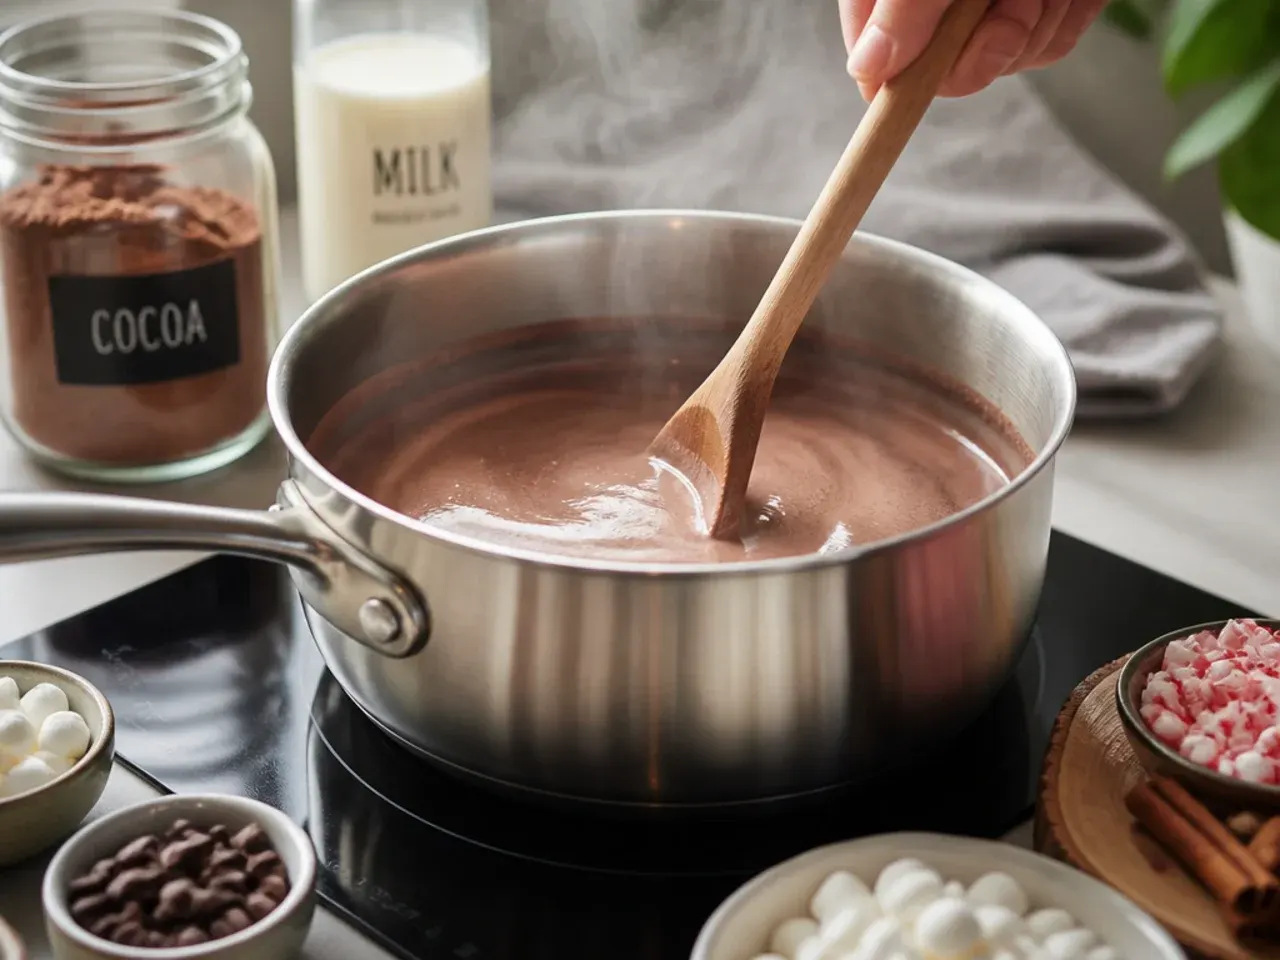
Reduce the heat to low and let the mixture simmer gently for 5 minutes, stirring every minute or so, until it thickens very slightly and coats the back of a spoon. Keep it well below a boil, since boiling milk can split and dull the chocolate flavour.
Step 7: Taste and Adjust Sweetness
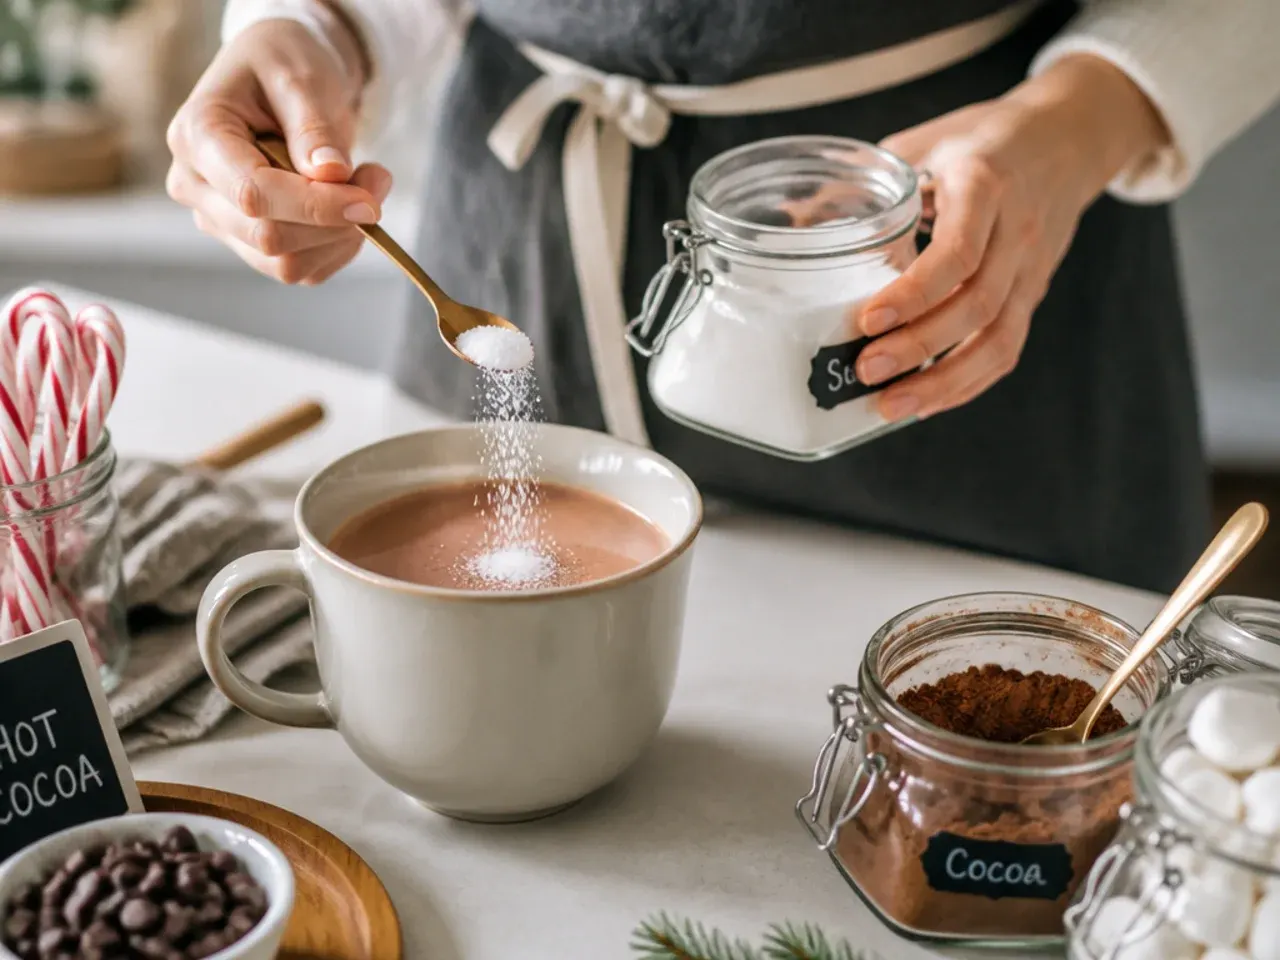
Stir in the 5 ml vanilla extract, then taste the base and add a touch more sugar if you prefer it sweeter. This is the last chance to balance the flavour before it goes into the bar, so adjust it now rather than mug by mug later.
Step 8: Set Up the Toppings Station
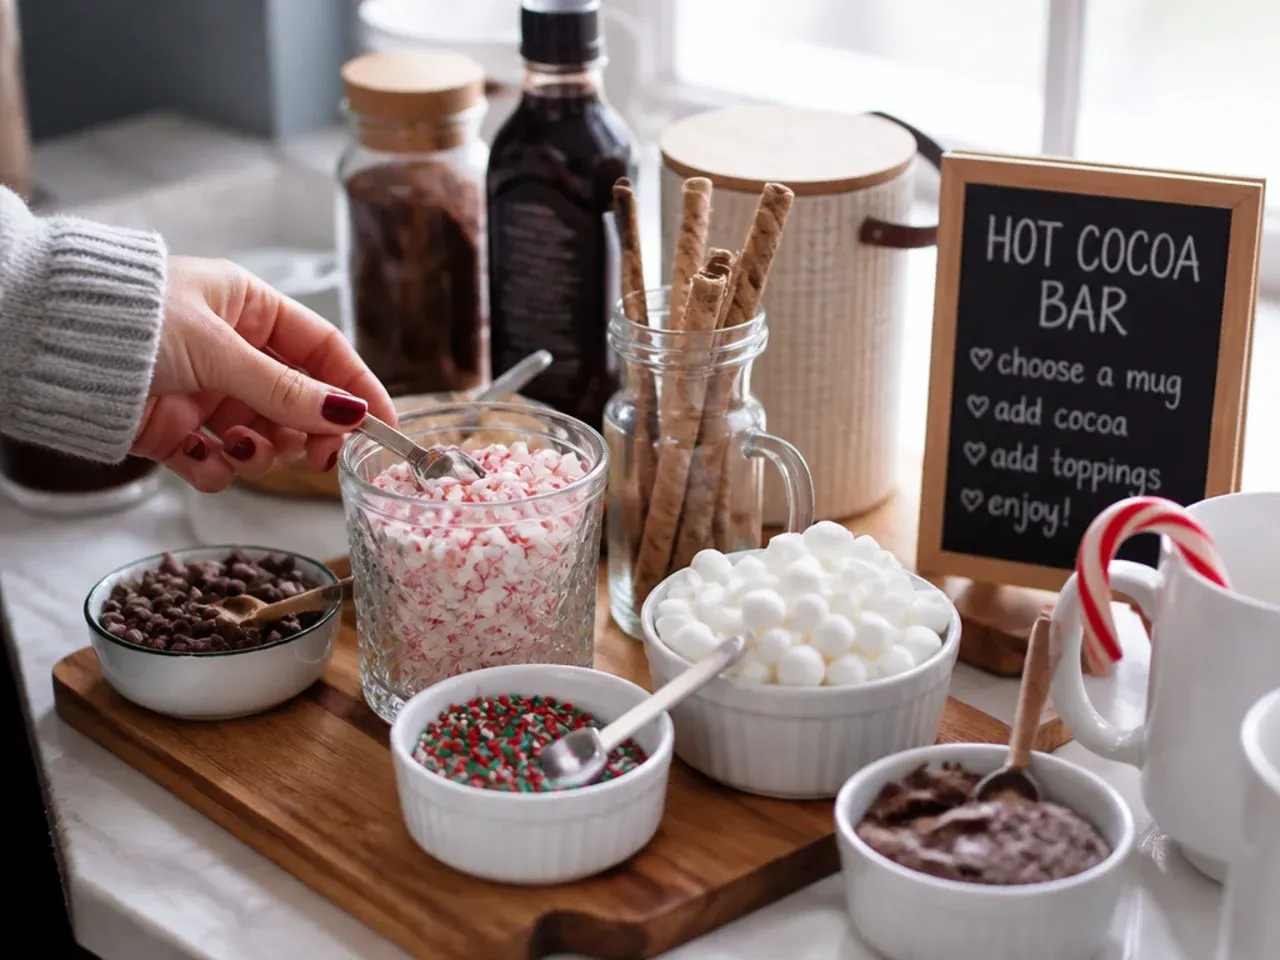
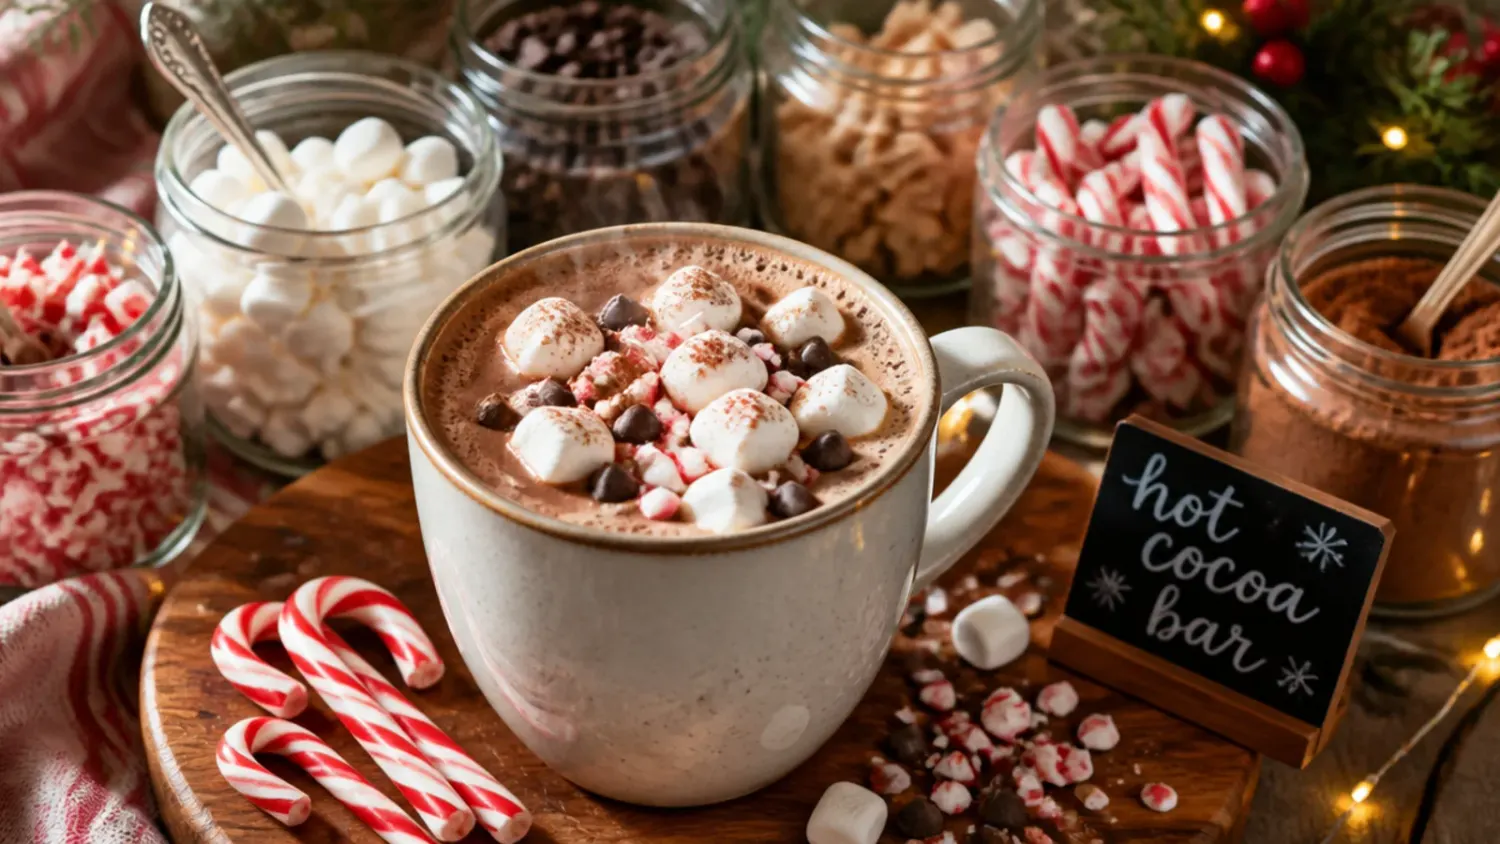
Arrange the topping bowls in a rough order from wet to dry, cream and caramel first, dry toppings like sprinkles and shavings last, so drizzles don't run into powders. Place the station next to, not underneath, the pot of hot cocoa to avoid drips landing in the toppings.
Step 9: Arrange Marshmallows and Whipped Cream
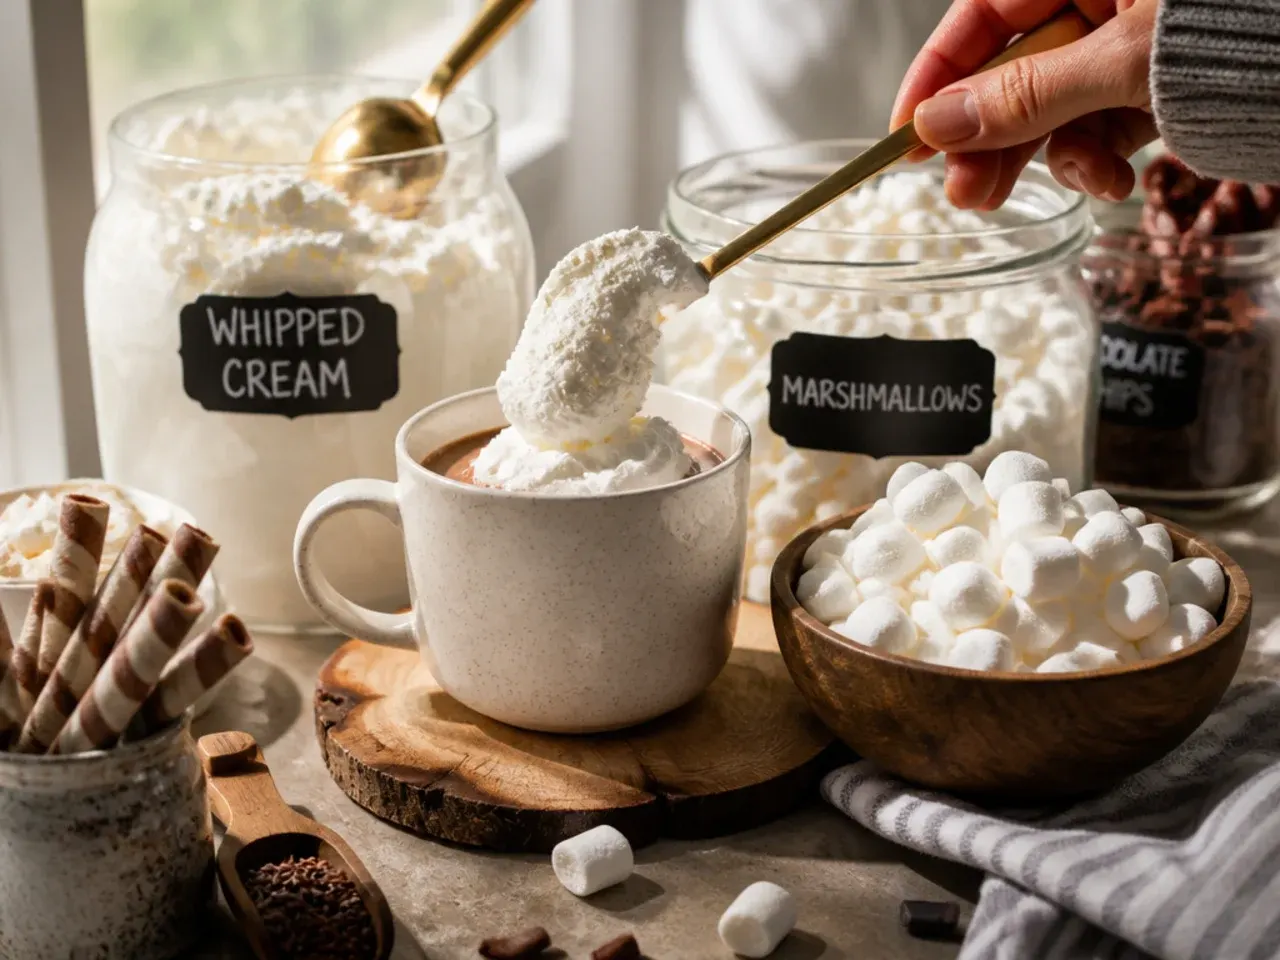
Put the 150 g mini marshmallows in a wide, shallow bowl with a slotted spoon, and keep the 120 ml whipped cream in a piping bag or a bowl with a spoon nearby. Wide bowls let guests scoop a generous handful in one go instead of chasing individual marshmallows around a deep container.
Step 10: Add Crunchy and Crushed Toppings
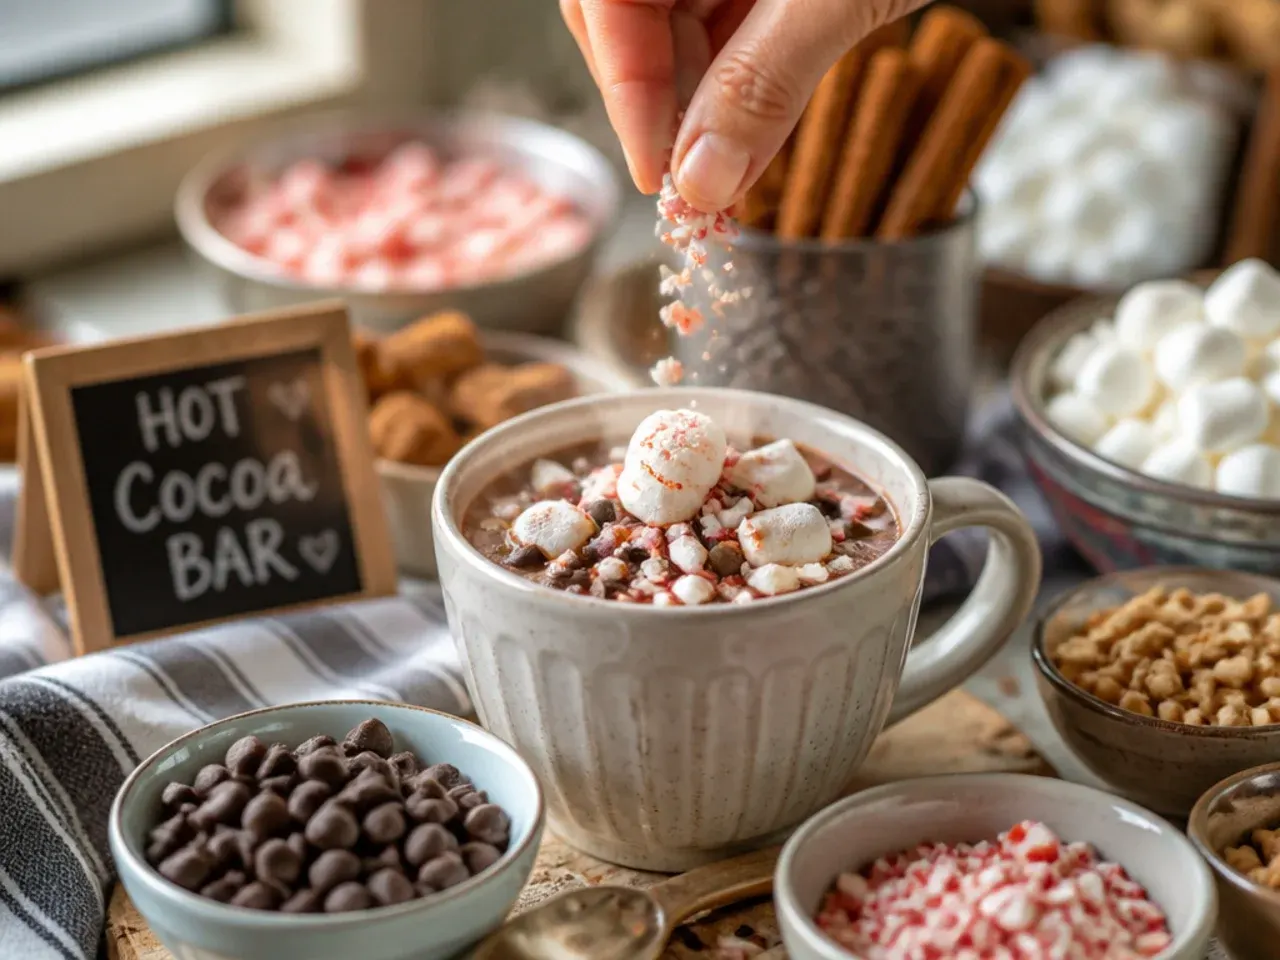
Set out the 30 g chocolate shavings and 50 g crushed candy canes in small bowls with teaspoons, keeping them separate from anything sticky so they stay free-flowing. Crushing the candy canes in a sealed bag with a rolling pin a few hours ahead saves last-minute mess.
Step 11: Offer Flavoured Syrups and Extracts
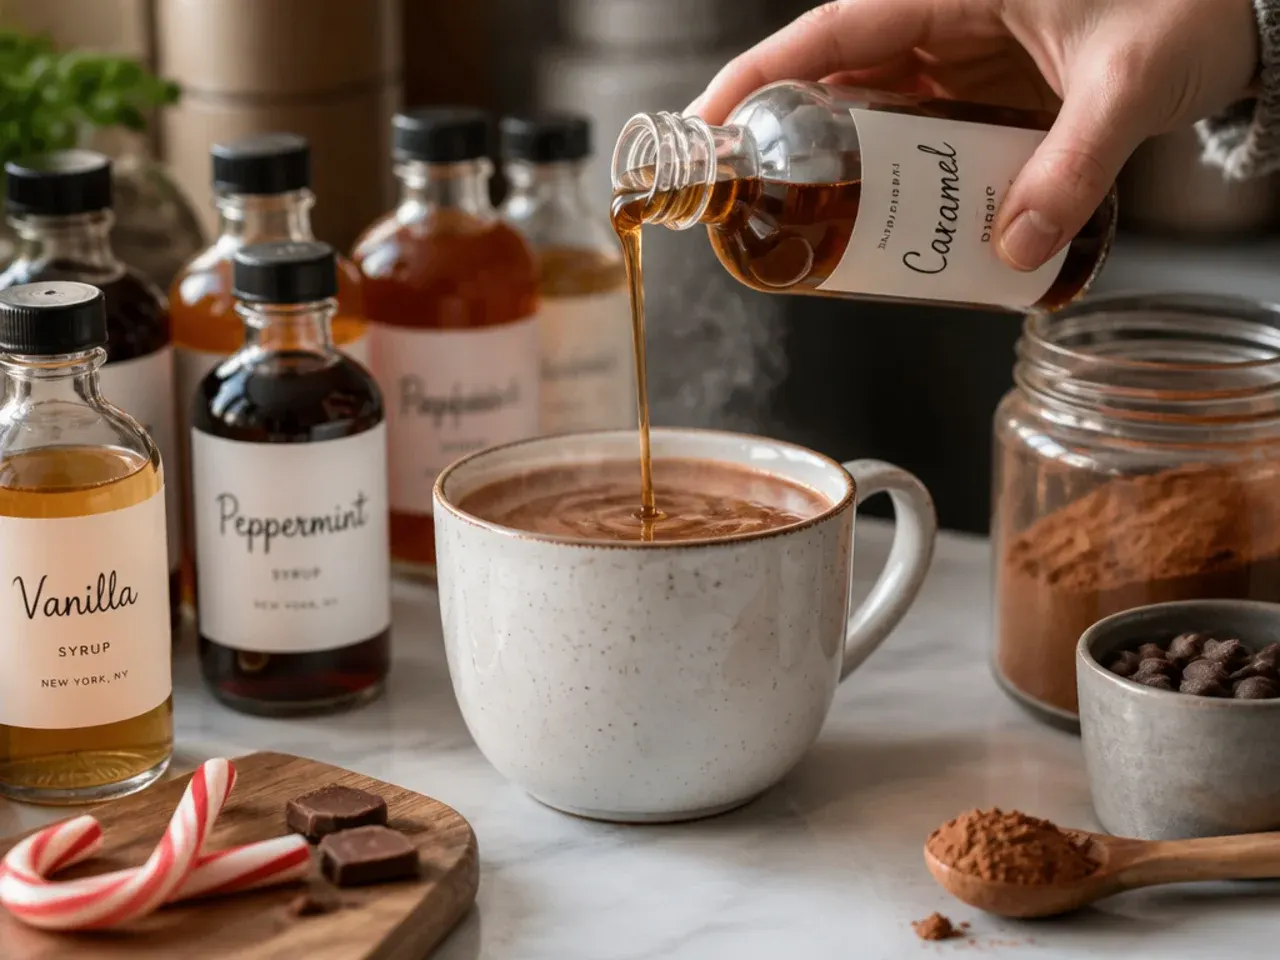
Line up small jugs or squeeze bottles of the 60 ml caramel sauce alongside optional flavoured syrups like peppermint or hazelnut, so guests can stir in 10-15 ml (about 1 tbsp) to taste. Squeeze bottles give far more control than pouring straight from a large jar.
Step 12: Include Spice and Warmth Options
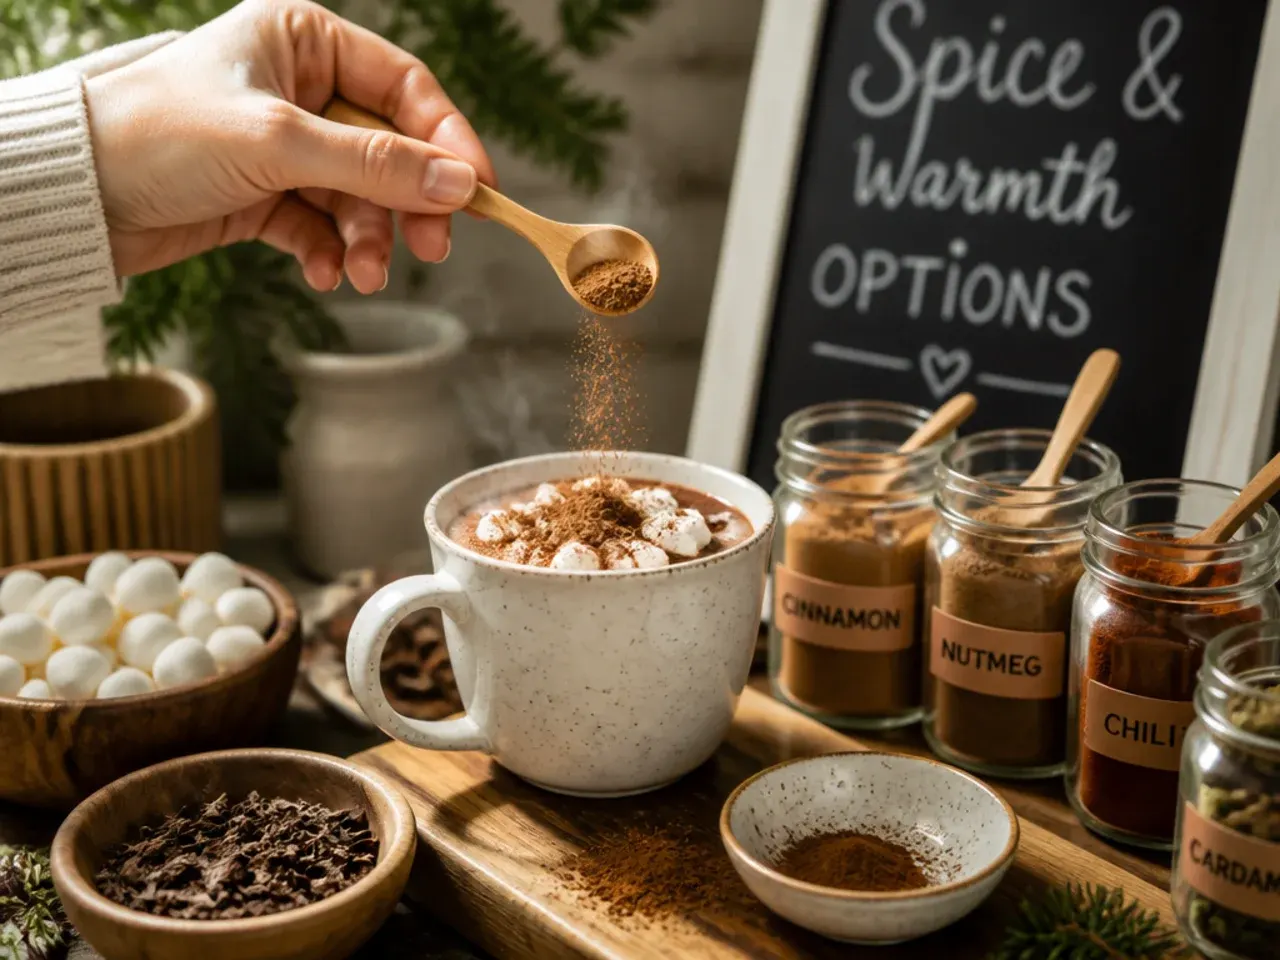
Place the 4 cinnamon sticks in a tall glass along with a small dish of ground cinnamon or nutmeg for guests who like a warming, spiced finish. A single cinnamon stick doubles as both a flavour infuser and a stirrer, so it earns its place twice over.
Step 13: Add a Sipper and Stirrer Station
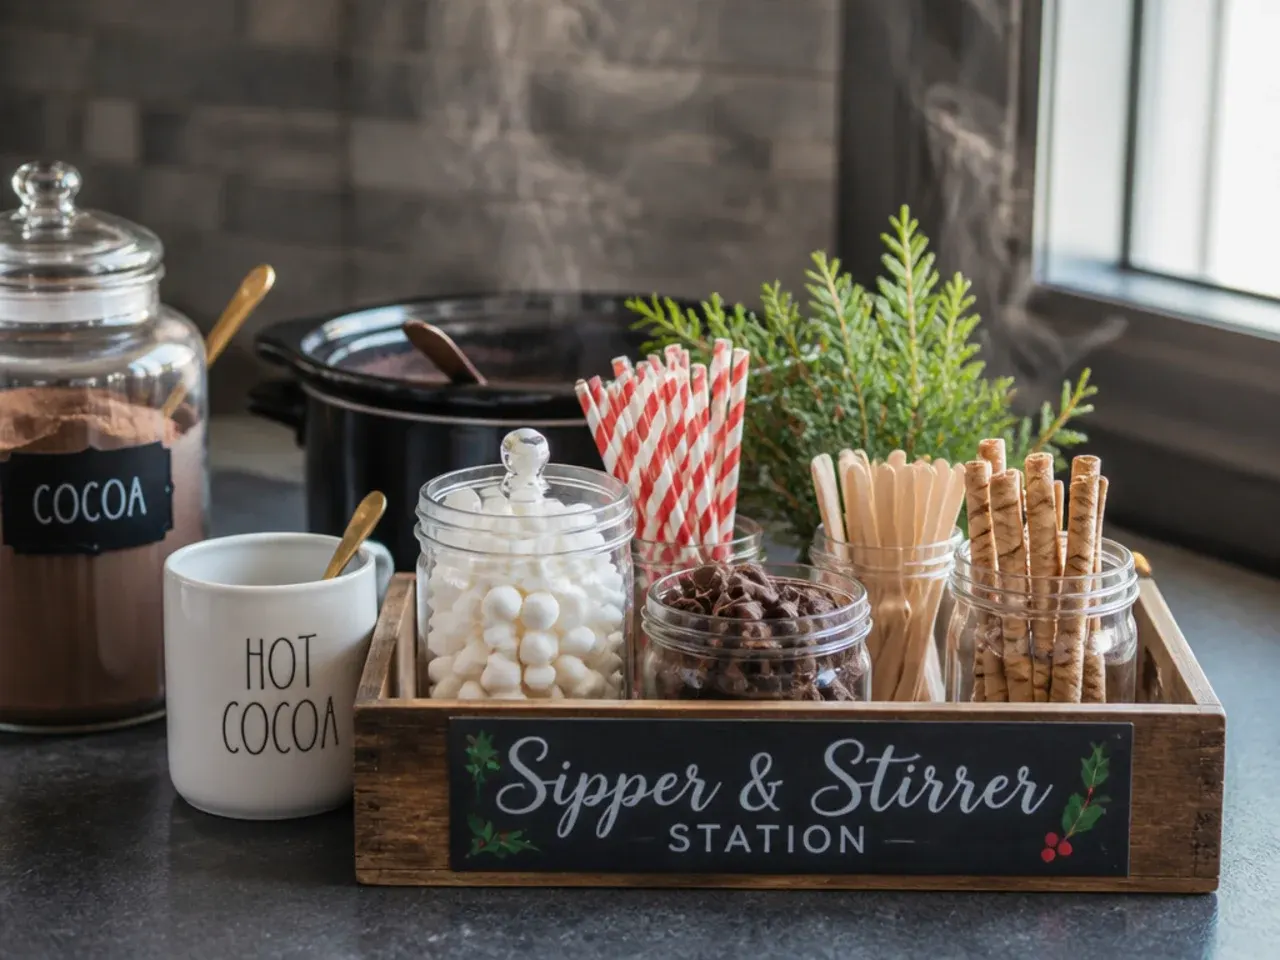
Set out a small cup of candy cane stirrers, long spoons or extra cinnamon sticks right next to the mugs, since guests need something to stir in their toppings before the marshmallows melt. This tiny detail keeps the line moving because nobody has to hunt for a spoon.
Step 14: Fill and Label the Mugs
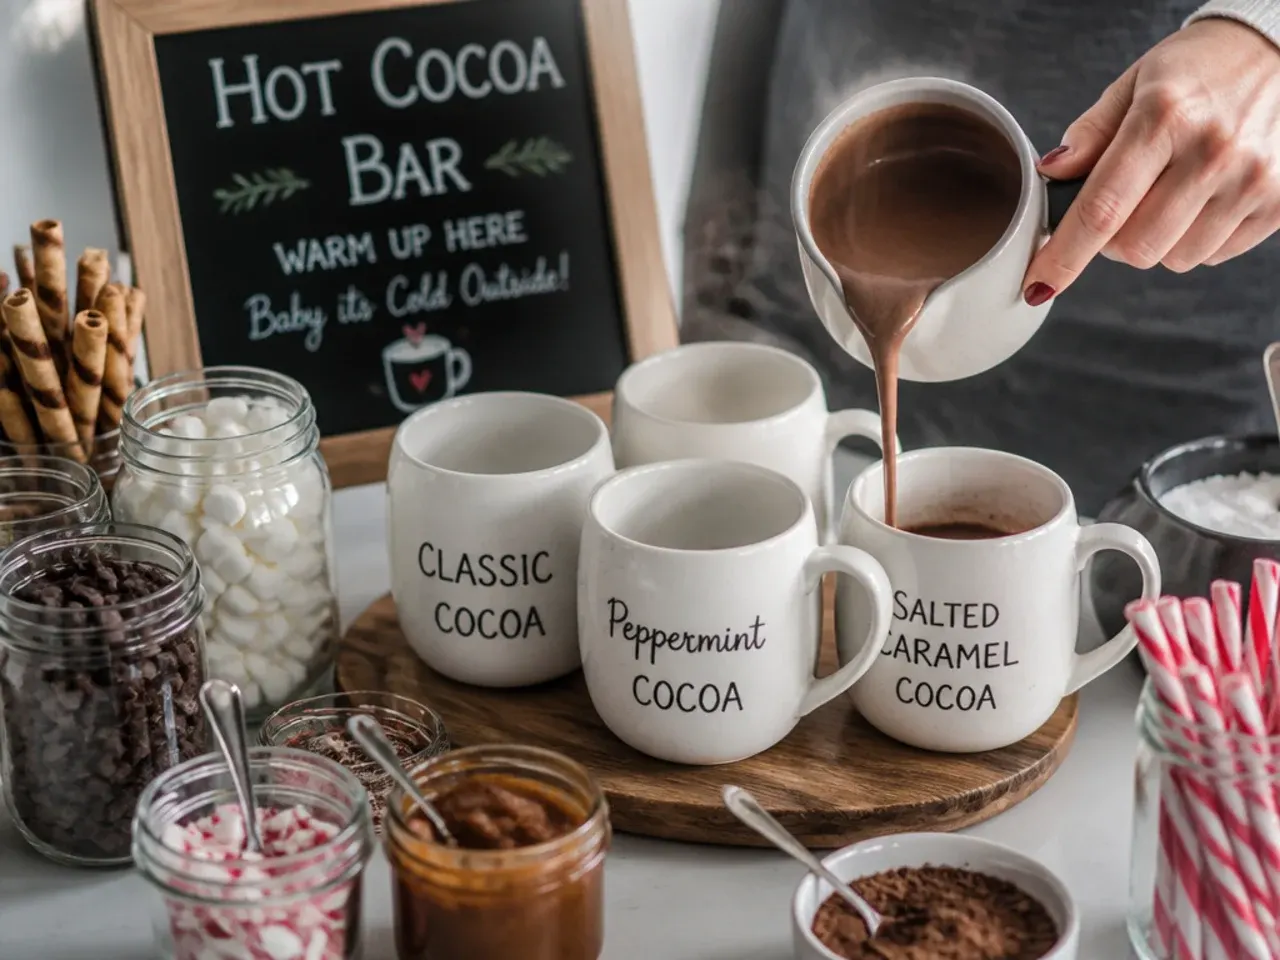
Ladle about 165 ml (roughly 2/3 cup) of the hot cocoa base into each mug, filling it around three-quarters full to leave room for toppings without spilling. If you're using different mug styles, a small chalkboard label naming the base flavour helps guests choose quickly.
Step 15: Serve and Let Guests Build Their Own Cup
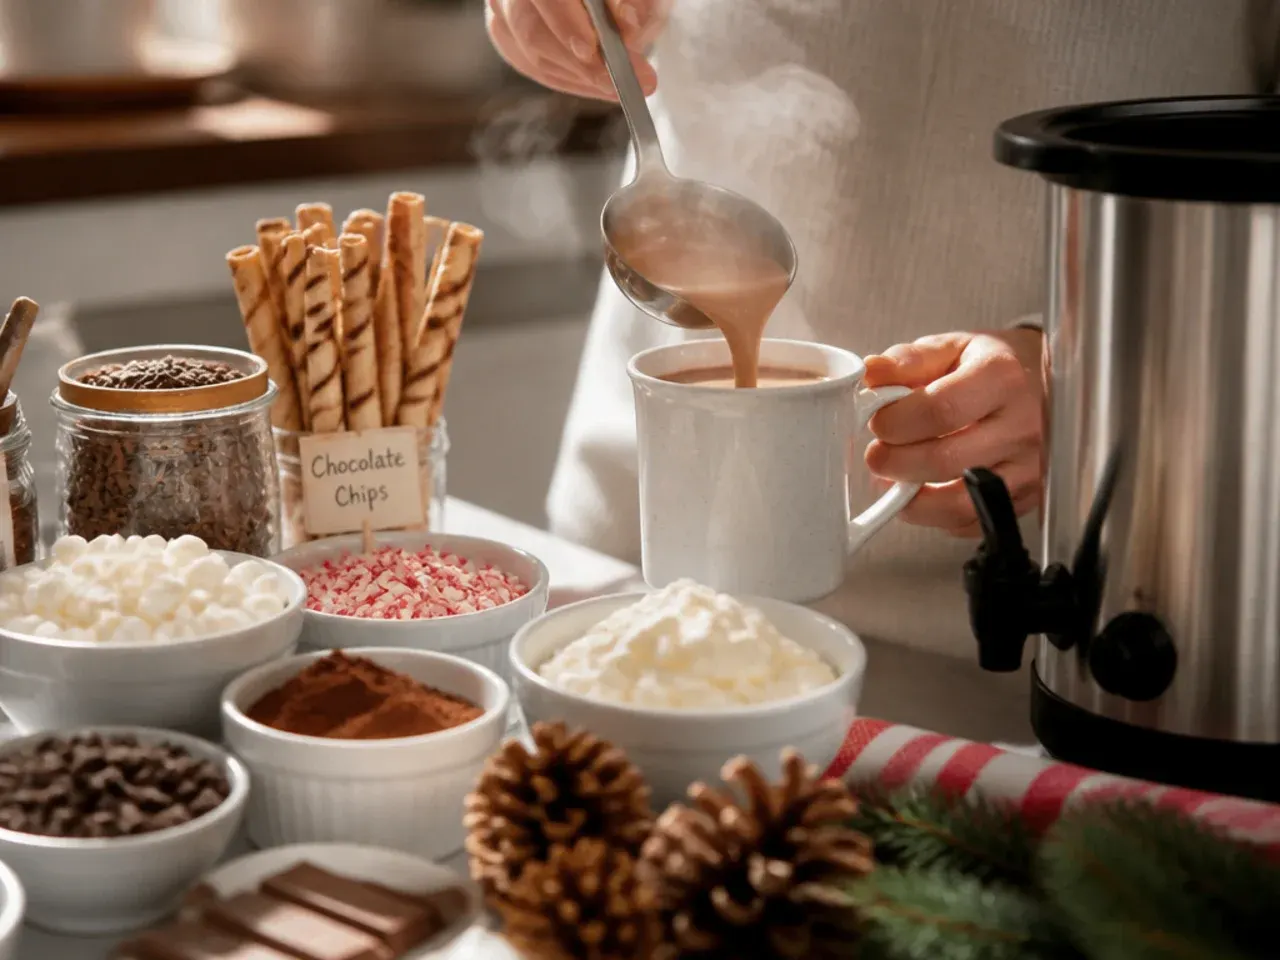
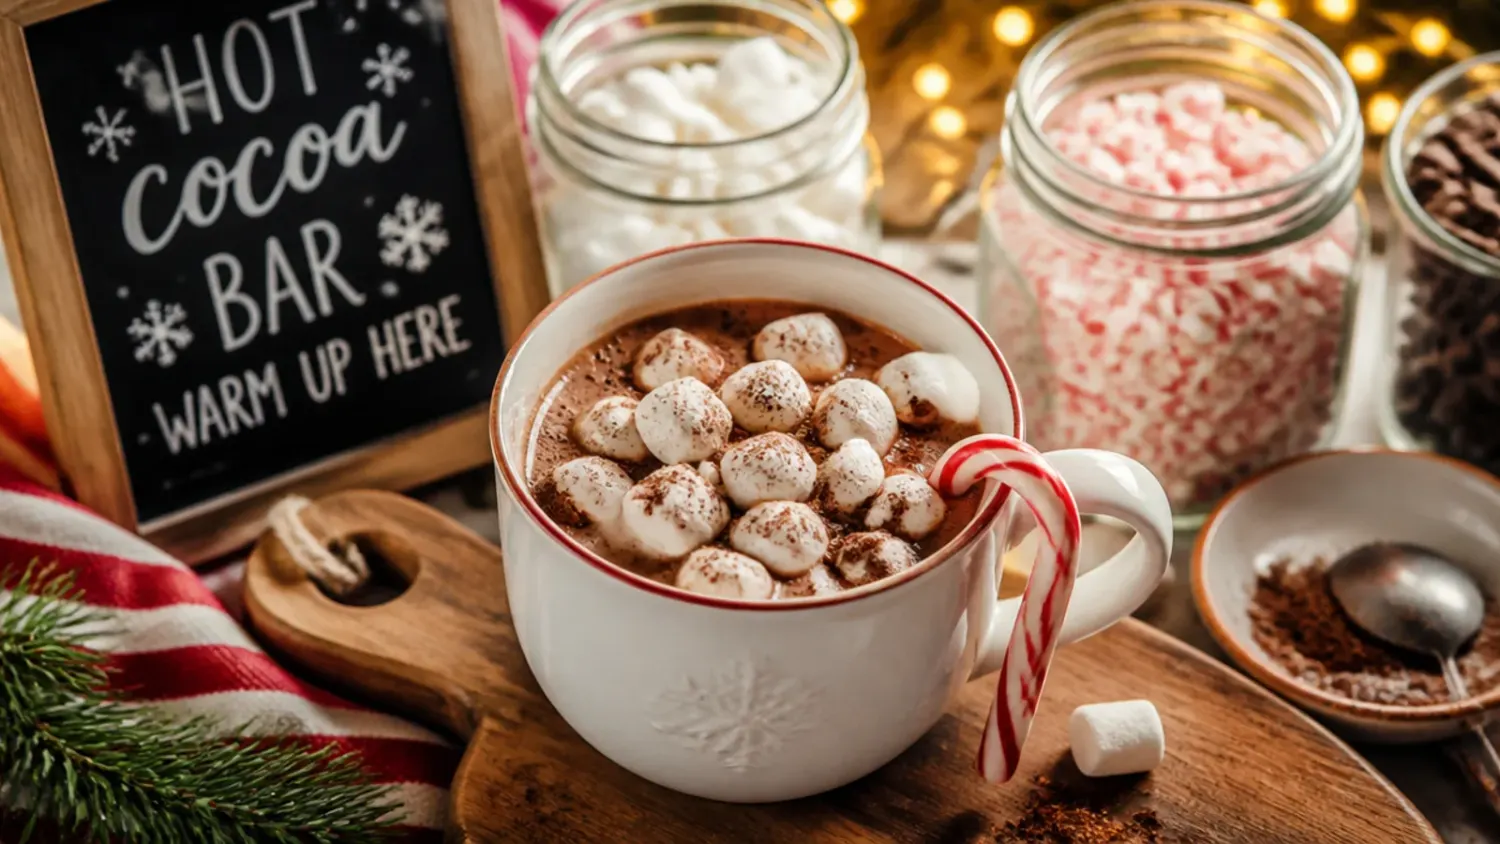
Invite everyone to move down the station, spooning on marshmallows, cream, crushed toppings and a drizzle of syrup or caramel in whatever order they like. Serve immediately while the base is still hot enough to melt the marshmallows on contact, which is really the whole point of the bar.
Pro Tips for a Hot Cocoa Bar That Actually Works
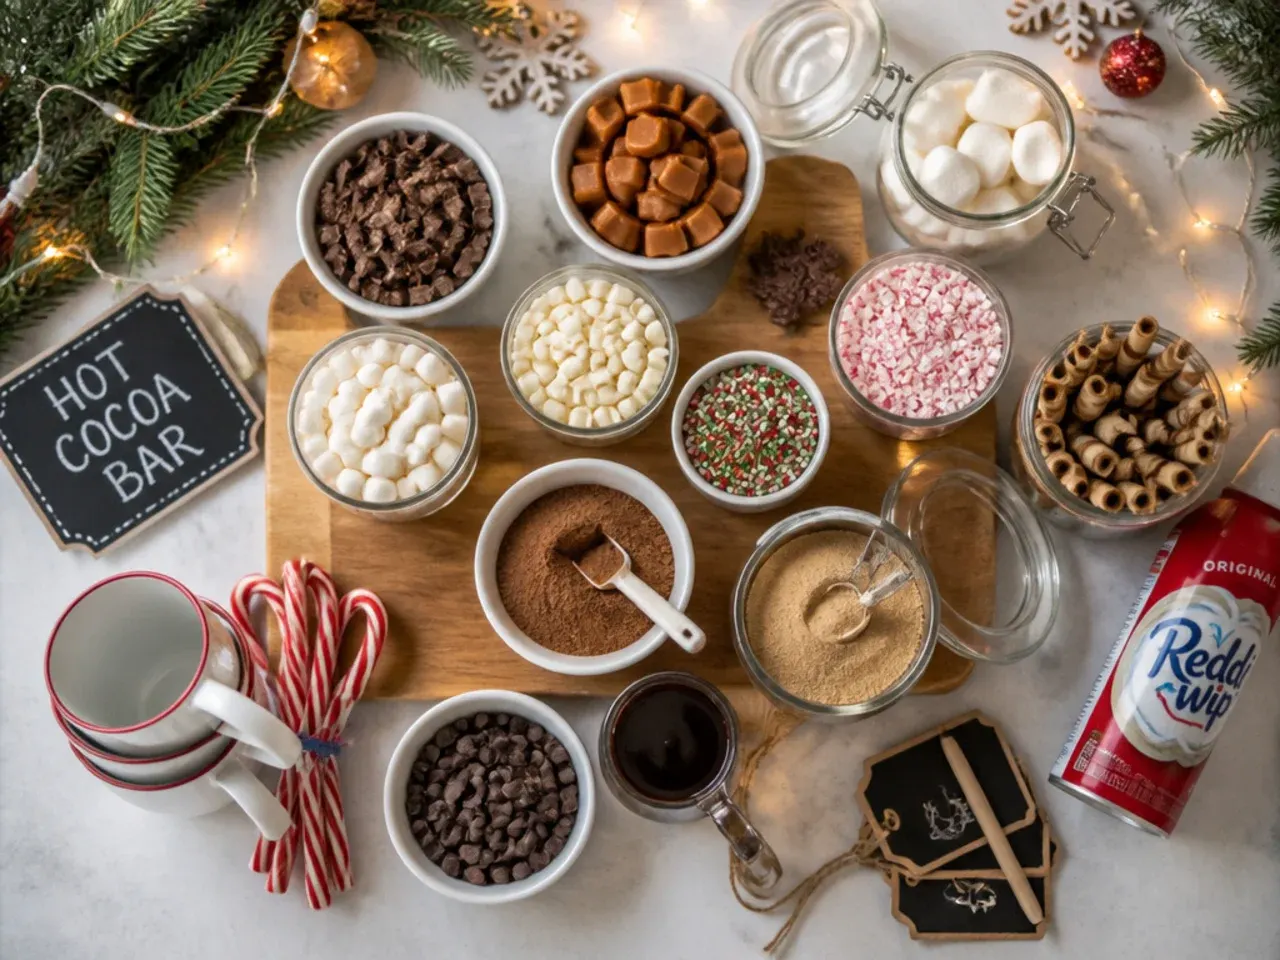
Warm your mugs with hot tap water for a minute before filling them, as a cold mug pulls heat straight out of the cocoa and it goes lukewarm fast. Chop the dark chocolate finely rather than using chunks, since small pieces melt smoothly into hot milk without leaving grainy streaks. Keep the cocoa base on the lowest simmer setting or in a slow cooker on warm so it stays pourable for a couple of hours without scorching on the bottom. Set toppings out in small bowls with their own spoons rather than one shared scoop, which keeps the line moving and stops sticky marshmallows sticking to the caramel spoon.
Make It Ahead and Batch Tips
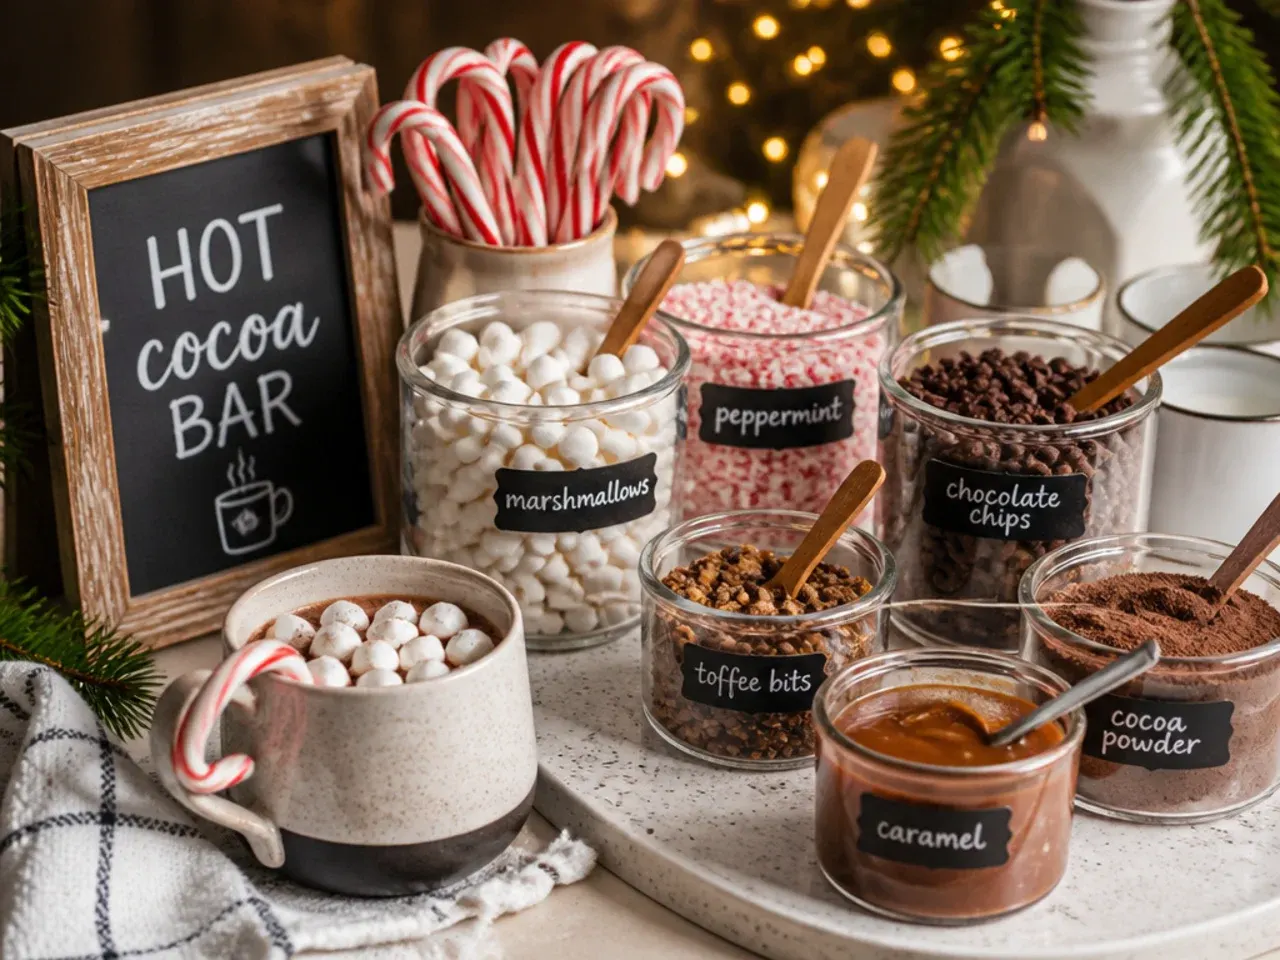
The cocoa base keeps well in the fridge for up to 4 days in an airtight jug, so you can make a double batch the night before a party and simply reheat it gently on the stove or in the microwave in 30-second bursts, stirring between each. For a slow cooker version, whisk everything together in the pot, cook on low for 2 hours, then switch to warm for serving over several hours. Toppings like crushed candy canes, chocolate shavings and cinnamon sticks can be portioned into small jars a day ahead, but leave whipped cream and marshmallows until just before guests arrive so they stay fresh. Freeze any leftover cocoa base in a sealed container for up to 2 months and thaw it in the fridge overnight before reheating.
Build a DIY hot cocoa bar with a rich stovetop base and a proper toppings station so everyone can stir up their own perfect mug. For more hot cocoa bar inspiration, browse the full Hot Cocoa Bar Ideas board — every idea there is written for real home kitchens, not professional bakers.
Frequently Asked Questions
At minimum you need a hot cocoa base (either melted on the stove or kept warm in a slow cooker), mugs, a ladle, and 4-6 toppings such as mini marshmallows, whipped cream, chocolate shavings, crushed candy canes, caramel sauce and cinnamon sticks. Small individual bowls with their own spoons for each topping make the station much faster to use than one shared tray. A stirrer of some kind, whether a spoon or a candy cane, finishes the setup nicely.

Related Recipes
Save this for later 📌
Pin this article to your Pinterest board so the full list is one tap away when you need it.
Save on Pinterest