20 Egg Hashbrown Casserole Before and After Upgrades
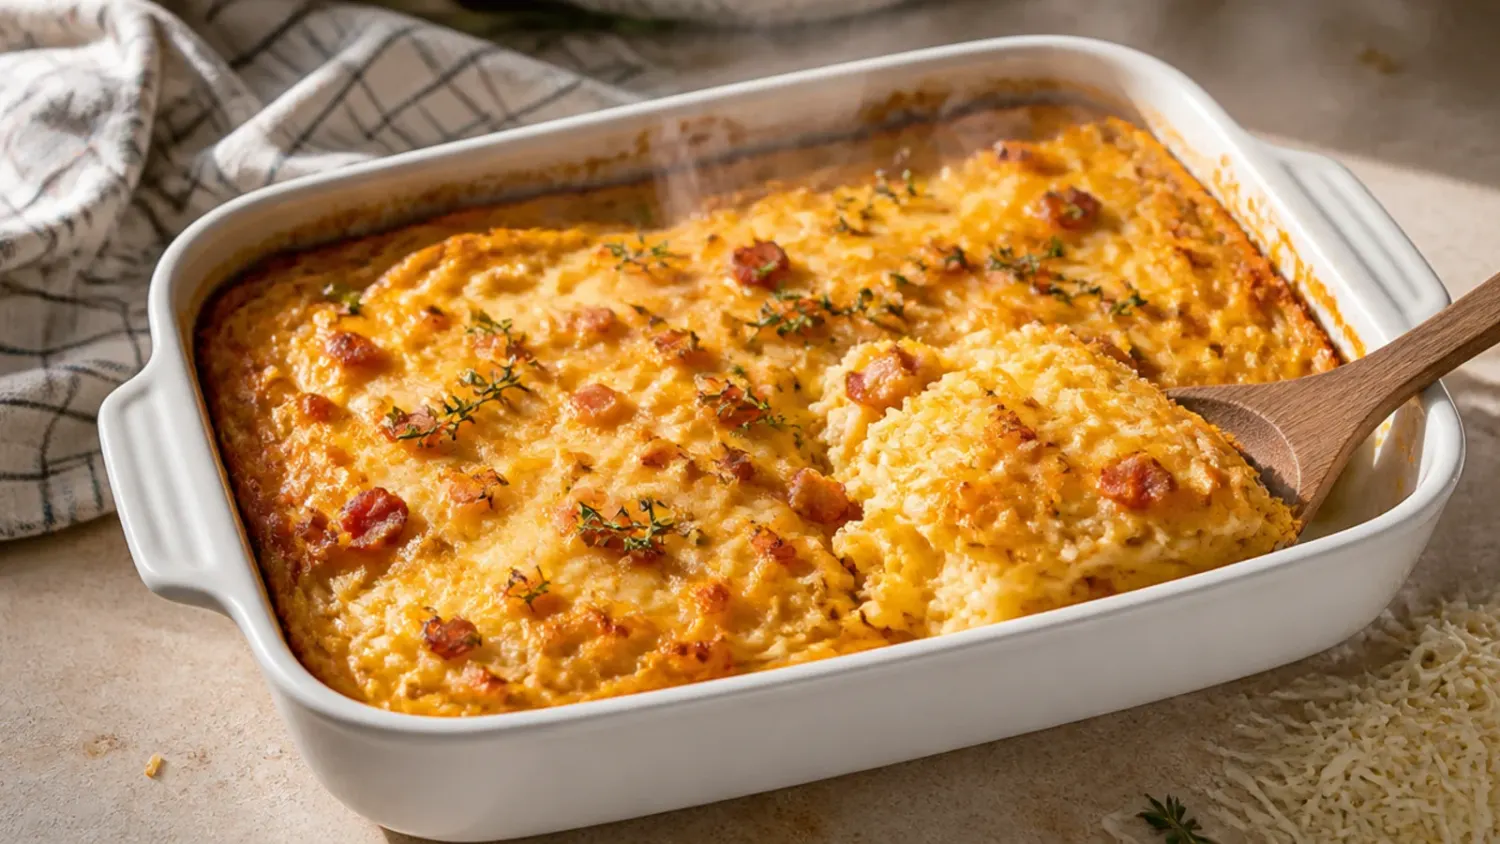
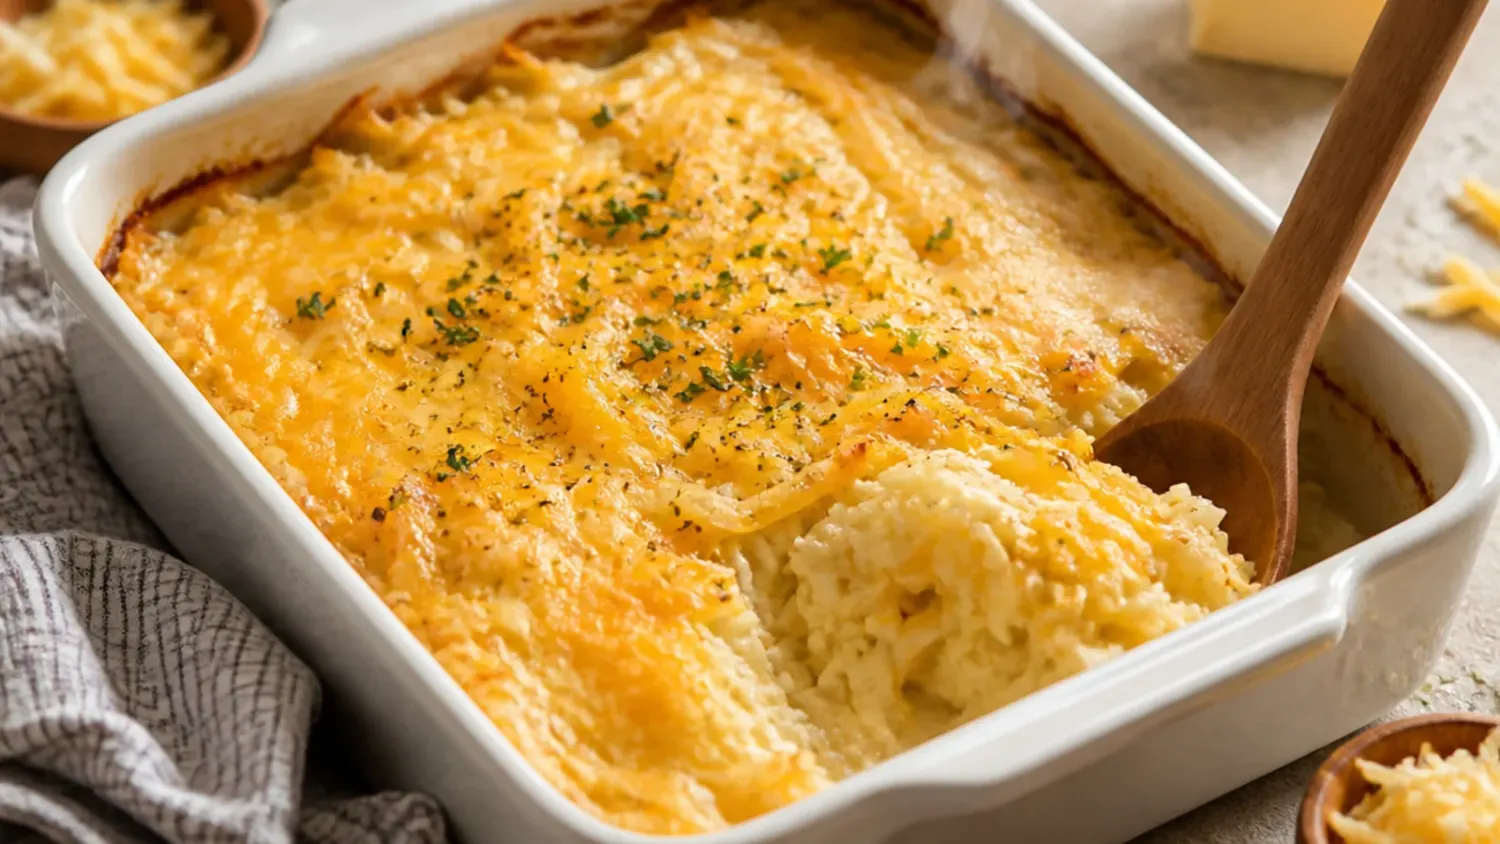
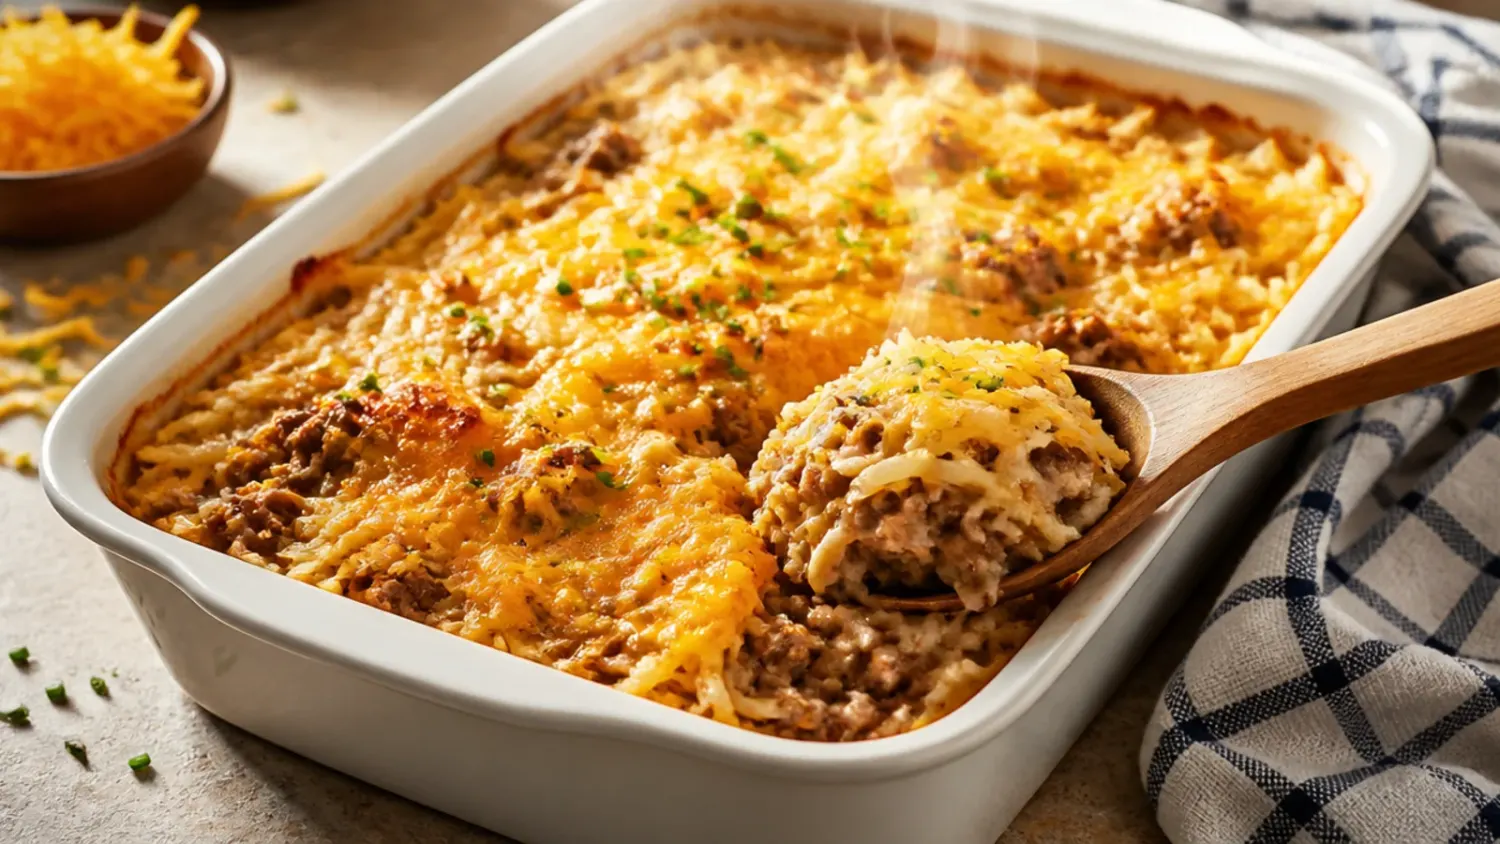
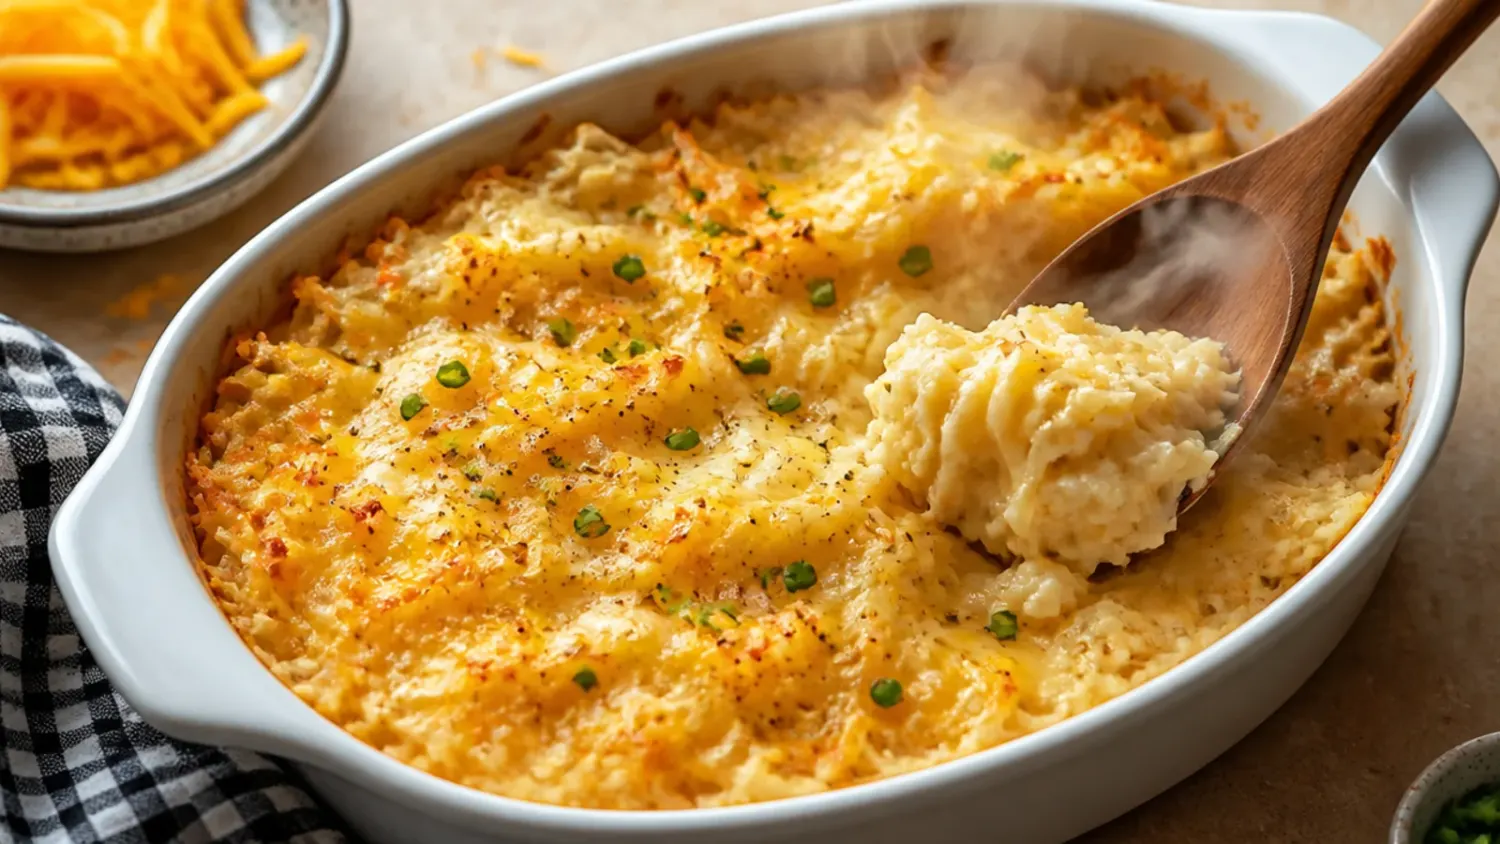
20 real lessons from making egg hashbrown casserole again and again, the fixes that turn a soggy bake into a golden, sliceable brunch. If you love hashbrown casserole inspiration, start with our Hashbrown Casserole collection, then browse the full Comfort Dinners hub for more.

Save this for later 📌
Pin this article to your Pinterest board so the full list is one tap away when you need it.
Save on PinterestComfort Dinners
Beginner
Kitchen Journal
7 steps
Table of Contents
- Lesson 1: Squeeze the Hash Browns Properly Dry
- Lesson 2: Don't Skip the Thaw
- Lesson 3: Season and Butter the Potatoes First
- Lesson 4: Get the Egg-to-Potato Ratio Right
- Lesson 5: Sour Cream Beats Plain Milk
- Lesson 6: Fully Cook and Drain the Sausage
- Lesson 7: Sauté the Onion, Don't Add It Raw
- Lesson 8: Split the Cheese, Don't Dump It All In
- Lesson 9: The Dish Size Actually Matters
- Lesson 10: Season the Eggs, Not Just the Potatoes
- Lesson 11: Cover with Foil if the Top Browns Too Fast
- Lesson 12: Trust a Knife Test, Not Just the Clock
- Lesson 13: Let It Rest Before You Cut It
- Lesson 14: Assemble It the Night Before for a Better Texture
- Lesson 15: Freeze Leftovers in Slices, Not the Whole Tray
- Lesson 16: Rotate the Dish Halfway Through Baking
- Lesson 17: Bacon Needs a Different Approach Than Sausage
- Lesson 18: Extra Vegetables Need to Lose Their Water First
- Lesson 19: Doubling the Recipe Isn't Just Doubling the Ingredients
- Lesson 20: Fresh Herbs on Top Change Everything
- What I'd Tell a Friend Trying This
- The Recipe I Used
Lesson 1: Squeeze the Hash Browns Properly Dry
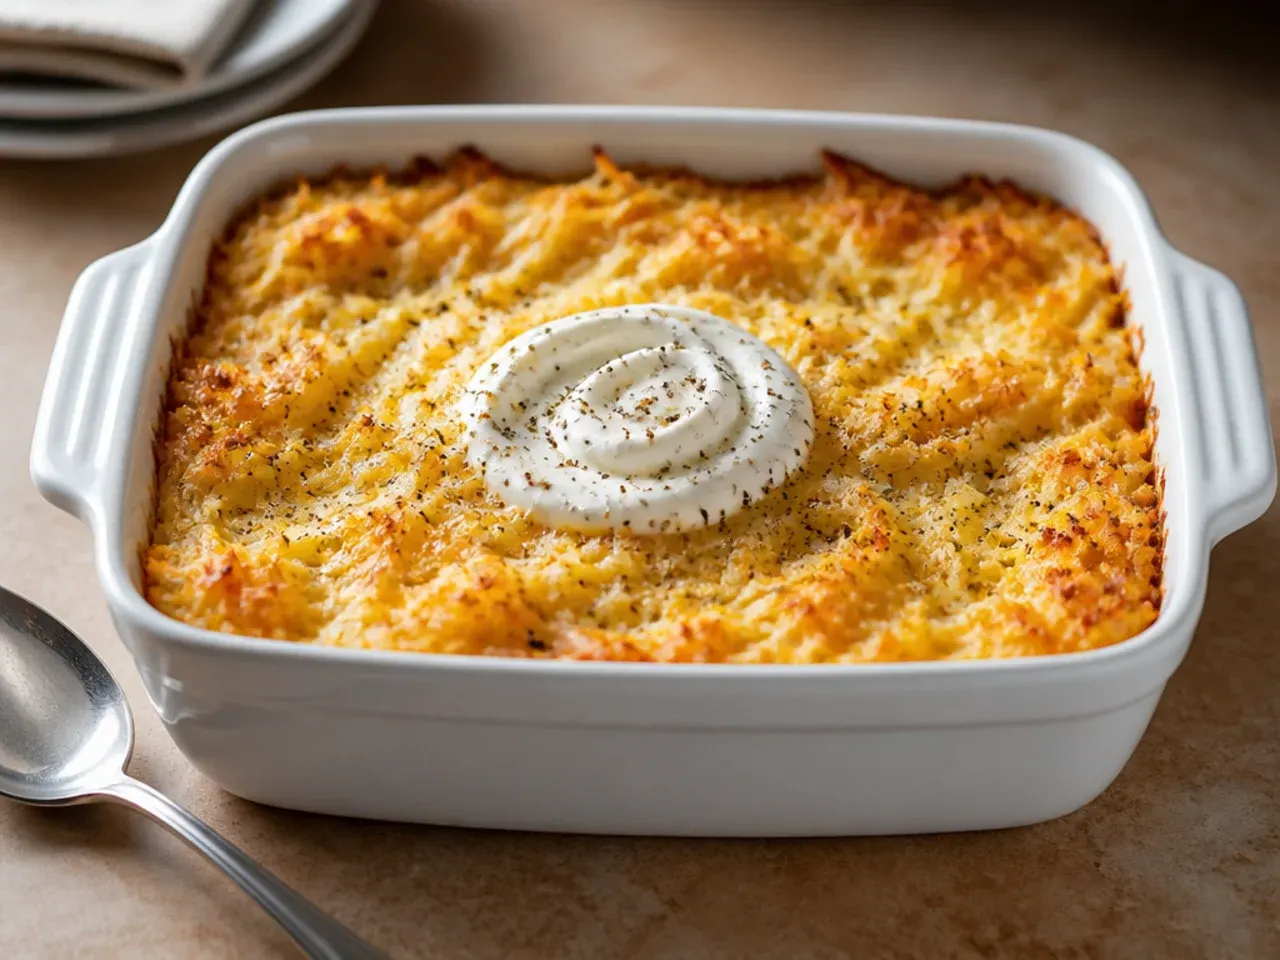
The first three times I made this, the centre stayed wet no matter how long I baked it, and the culprit was moisture trapped in the shredded potatoes. Now I thaw a 900g (2 lb) bag of frozen hash browns fully, then wring them out in a clean tea towel until my arms ache and no more liquid drips out. That single step cut my bake time by close to 10 minutes and finally gave me a casserole that sliced into clean squares instead of collapsing into mush.
Lesson 2: Don't Skip the Thaw
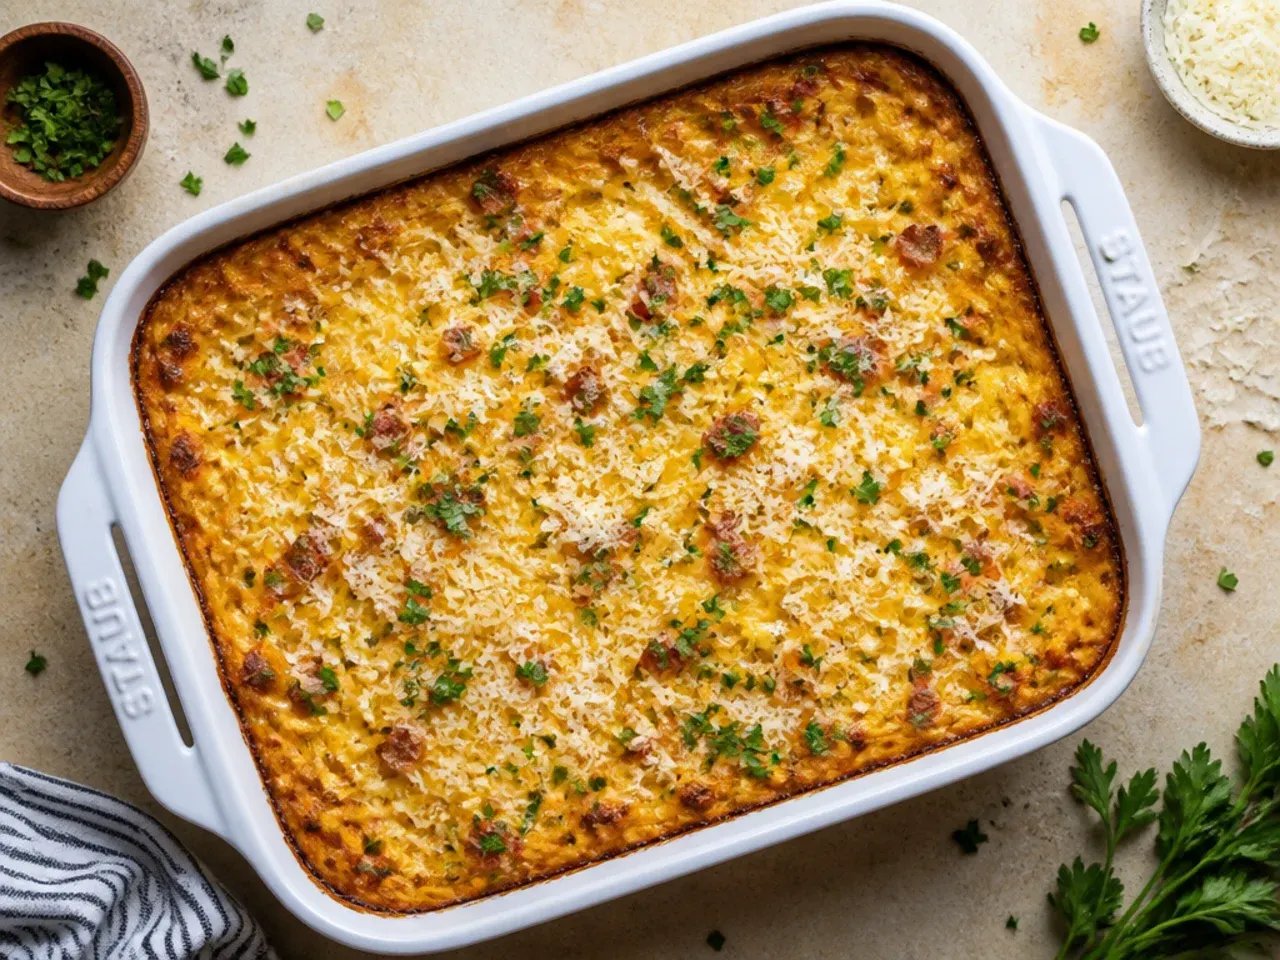
I once dumped hash browns straight from the freezer into the dish to save time, and the ice crystals melted mid-bake and pooled under the eggs. The centre stayed loose and cold while the edges were already browning, so I had to shove the whole thing back in for another 20 minutes. Now I leave the bag in the fridge overnight or spread the hash browns on a tray at room temperature for an hour before I even think about assembling.
Lesson 3: Season and Butter the Potatoes First
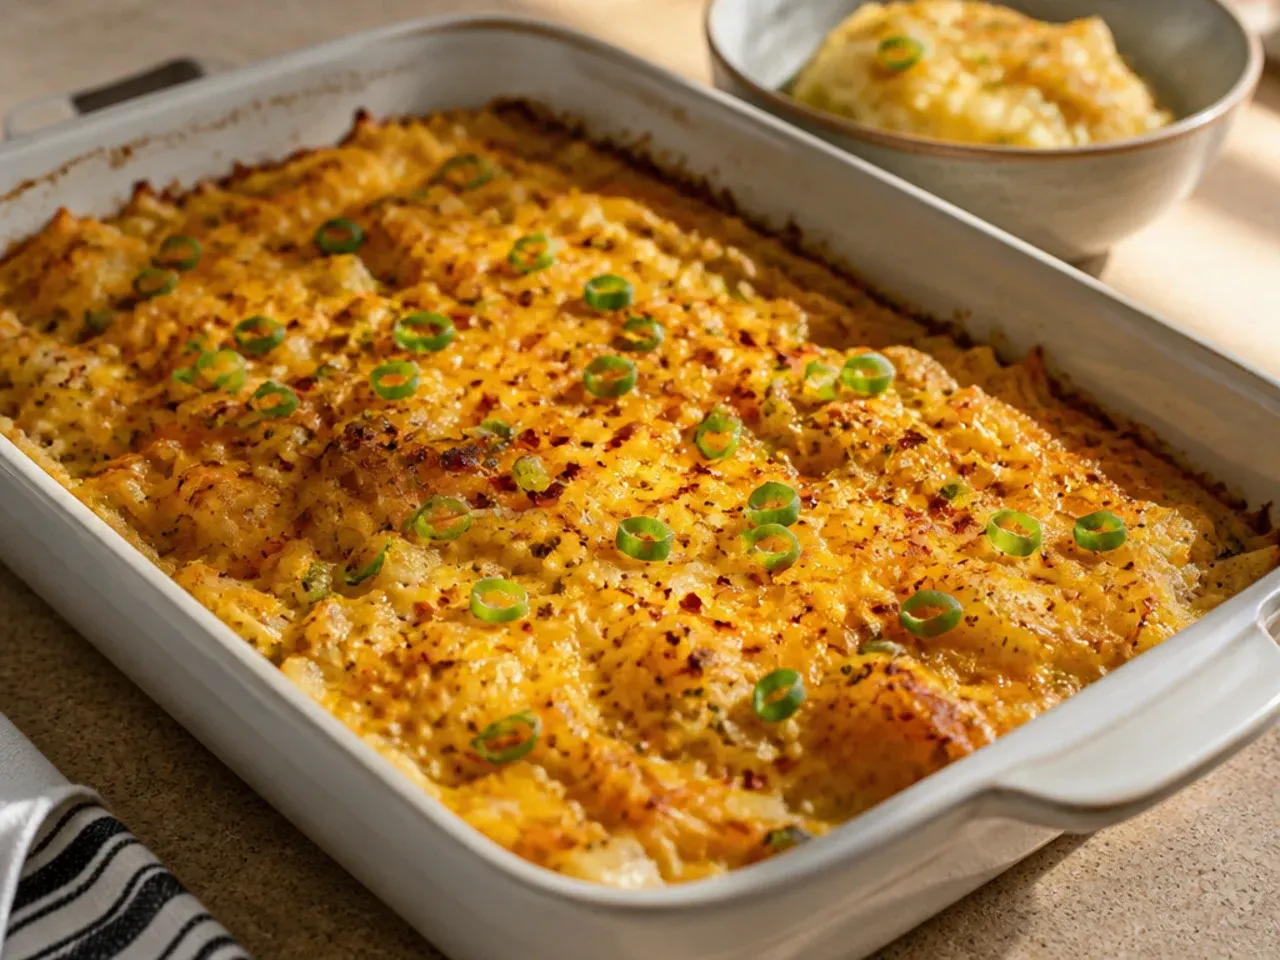
For ages I just tipped raw hash browns into the dish and seasoned the egg mixture, wondering why the potato layer tasted flat under all that cheese. Tossing the dried hash browns with 40g (3 tbsp) melted butter, 1 tsp garlic powder and a pinch of salt before they go anywhere near the dish means every forkful has flavour, not just the top. It also helps the shreds crisp slightly at the edges instead of steaming into a paste.
Lesson 4: Get the Egg-to-Potato Ratio Right
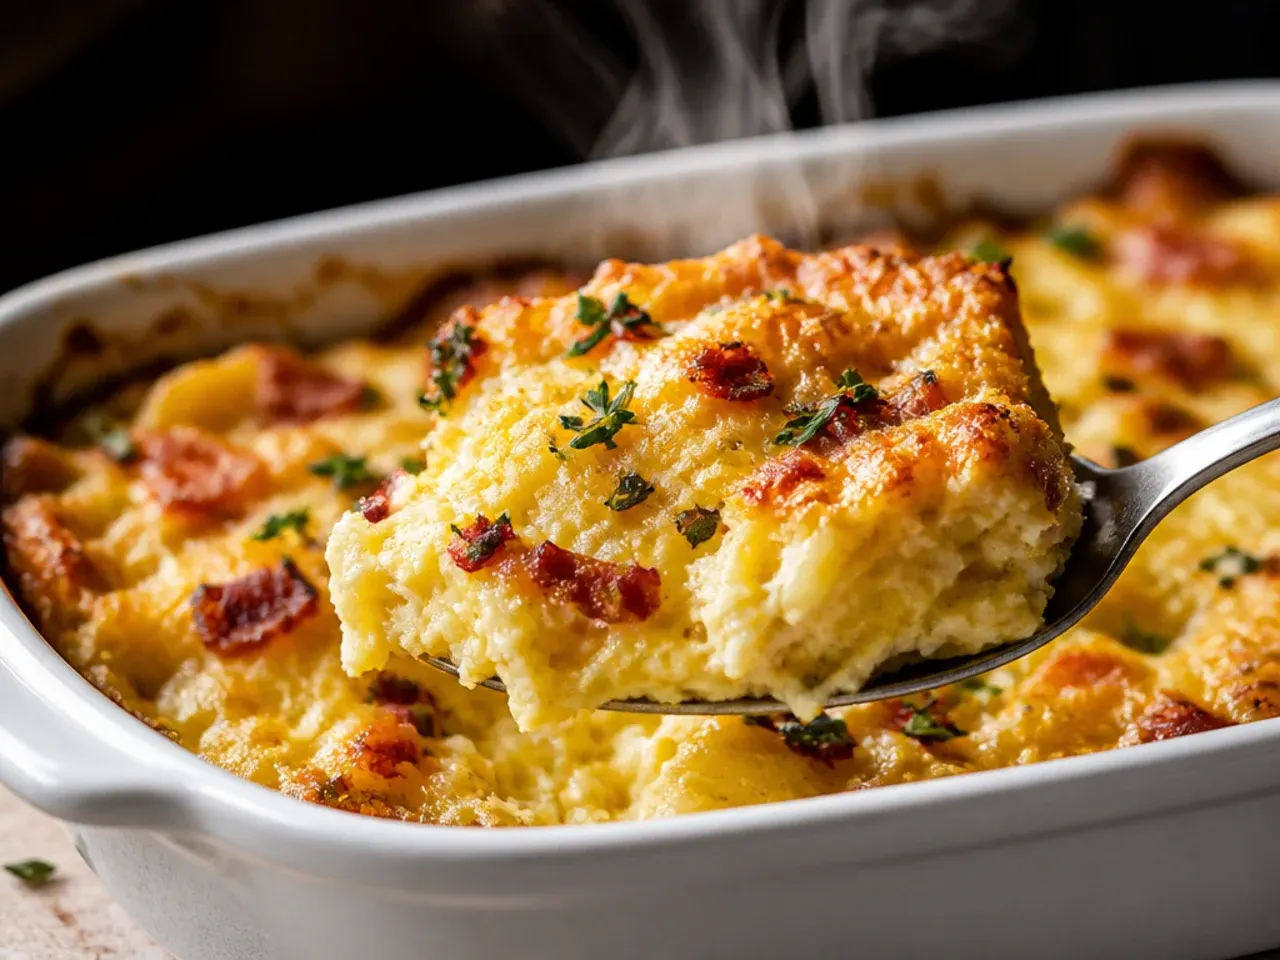
Six eggs to 900g of hash browns left me with dry, crumbly squares that fell apart when I lifted them out. I now use 10 large eggs for the same amount of potato, which is enough to properly bind everything into custardy layers rather than a loose potato pile. Any fewer and it reads more like hash browns with egg on the side than an actual casserole.
Lesson 5: Sour Cream Beats Plain Milk
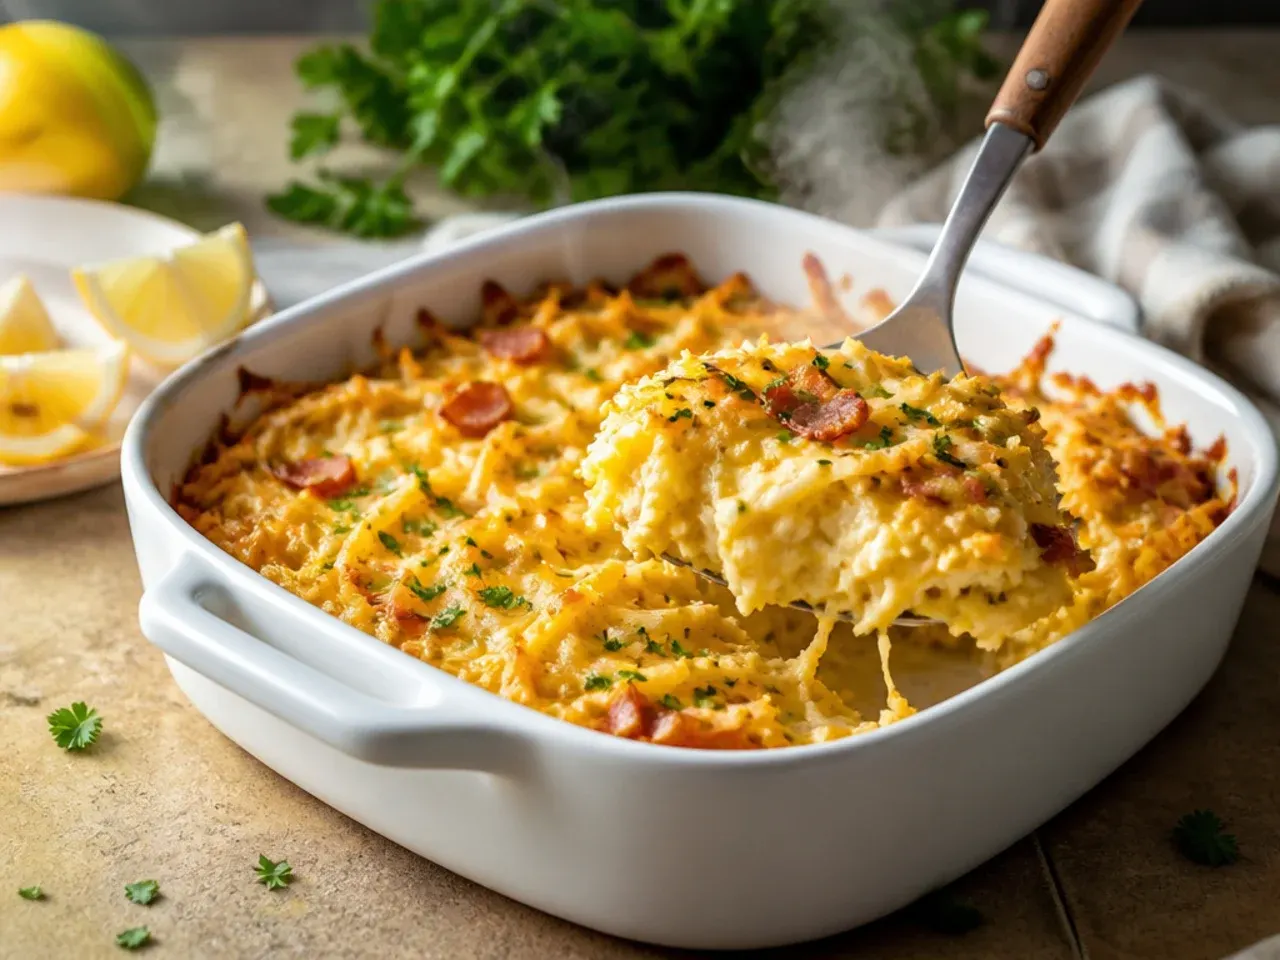
Using only 240ml (1 cup) of milk gave me eggs that turned rubbery and slightly grey by the time the centre finished setting. Swapping half of that for 240g (1 cup) of full-fat sour cream keeps the eggs tender and adds a faint tang that cuts through the cheese. It's the single swap that gets the most comments when people ask what makes this version different.
Lesson 6: Fully Cook and Drain the Sausage
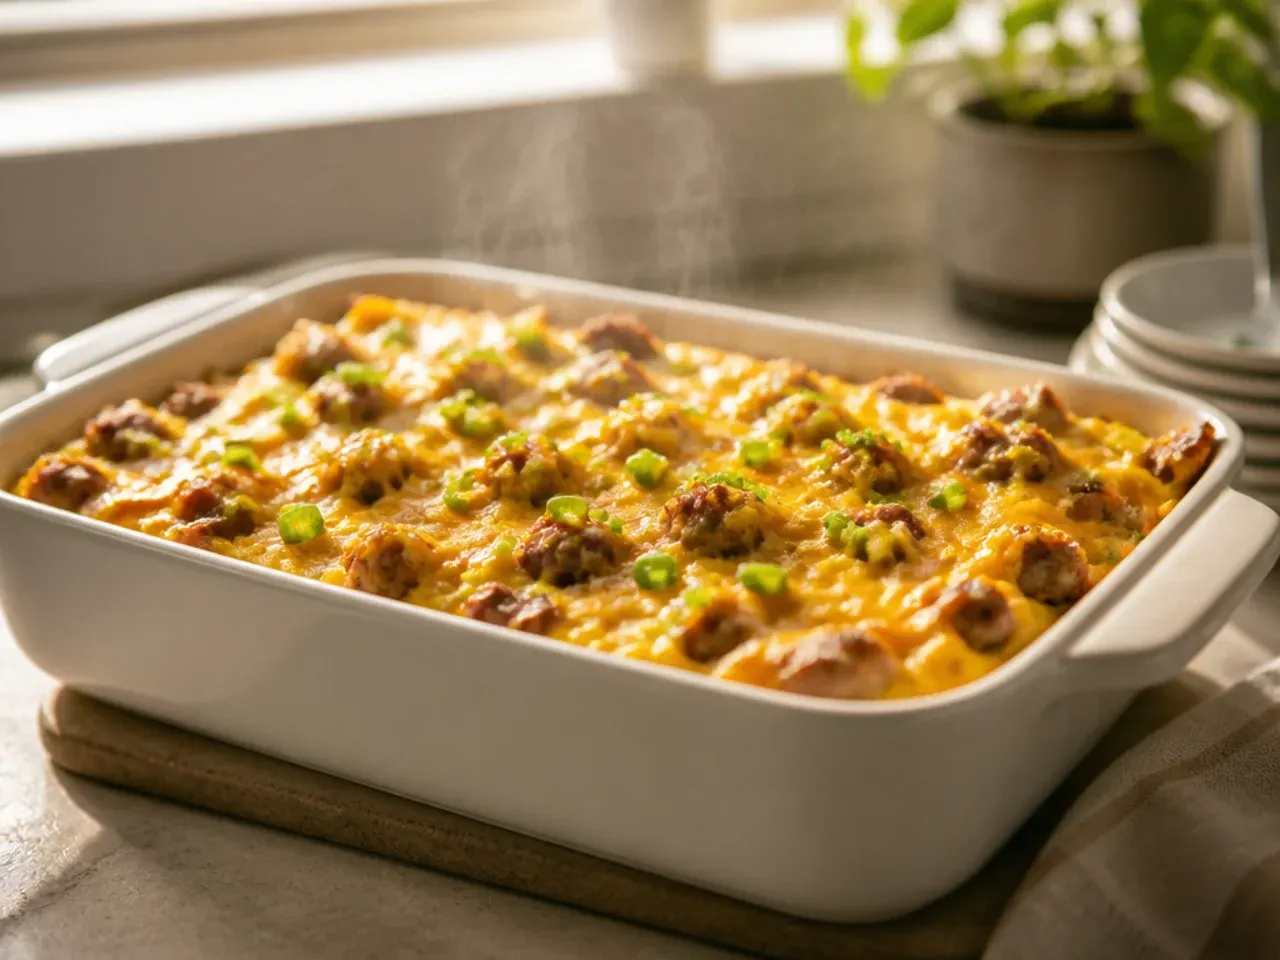
I browned 350g (12 oz) sausage but left it slightly pink in the middle once, assuming the oven time would finish the job, and it didn't cook evenly under all that egg. Now I brown it until no pink remains and an instant-read thermometer reads 71°C (160°F), then tip it into a sieve to drain the fat before it goes anywhere near the dish. Skipping the drain step the one time I rushed left a greasy layer pooling at the bottom that no one wanted to eat.
Lesson 7: Sauté the Onion, Don't Add It Raw
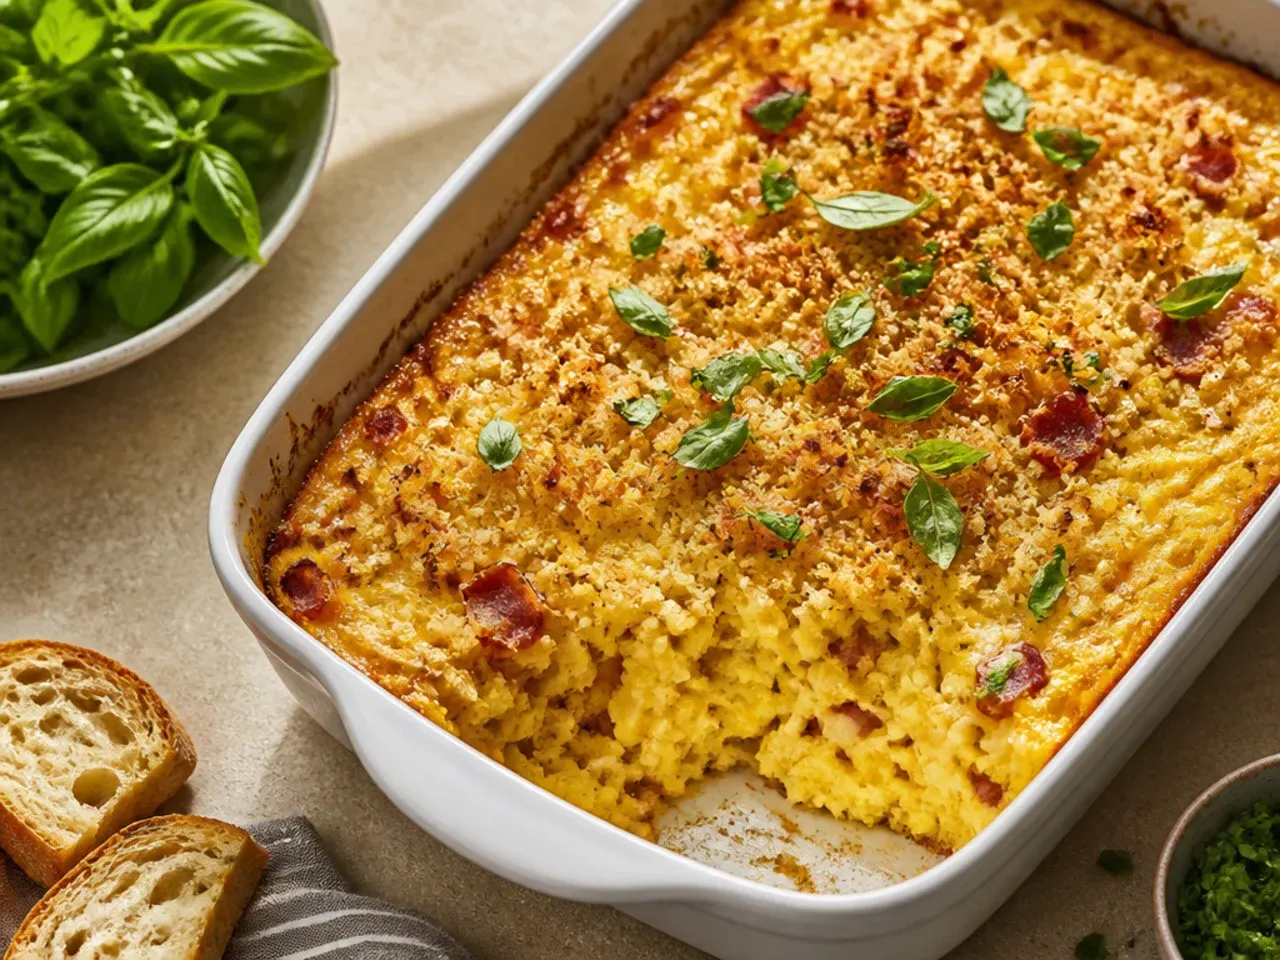
Raw diced onion straight into the mix never fully cooks through in a 45-50 minute bake, and I learned that the hard way when guests got sharp, crunchy bites of onion. Now I sweat about 120g of diced onion in the same pan as the sausage for 4-5 minutes until soft and translucent before it joins the casserole. It softens the flavour and means every layer cooks at roughly the same rate.
Lesson 8: Split the Cheese, Don't Dump It All In
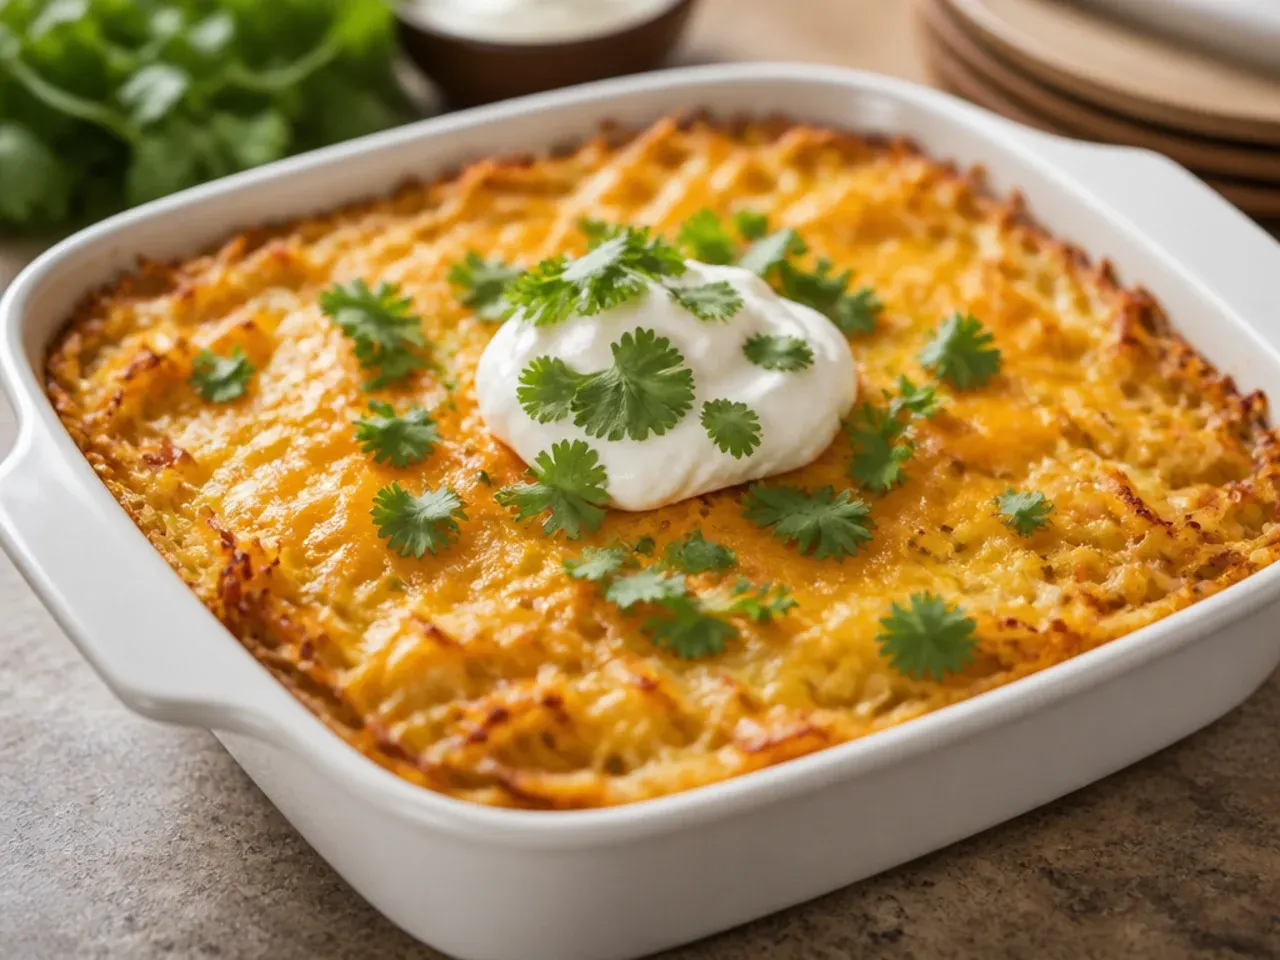
My first few bakes had all 300g (3 cups) of shredded cheddar mixed into the potato layer, which left the top pale and the inside greasy from all that melted fat pooling under the eggs. I now stir half the cheese through the base and save the rest to scatter over the top for the last stretch of baking. That top layer is what gives you the golden, bubbling crust that makes this dish look as good as it tastes.
Lesson 9: The Dish Size Actually Matters
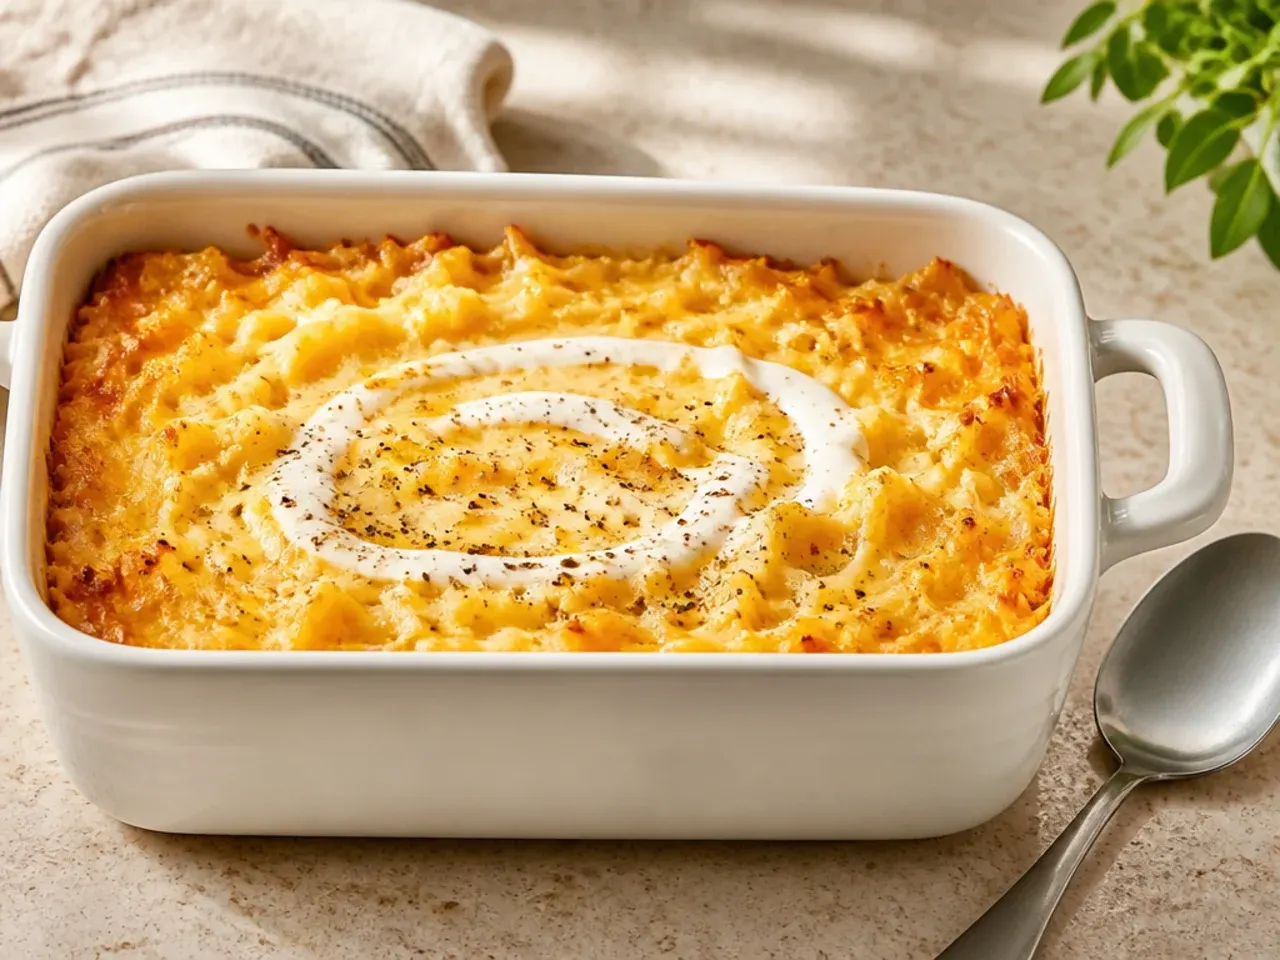
I tried squeezing this into a smaller dish once to avoid pulling out my usual pan, and the egg mixture nearly overflowed while the centre stayed underdone because it was too deep to cook through evenly. A 23x33cm (9x13 inch) baking dish is the right depth for this amount of filling, giving you a casserole that sets evenly from edge to centre. Anything deeper and you're fighting burnt edges before the middle is even close to done.
Lesson 10: Season the Eggs, Not Just the Potatoes
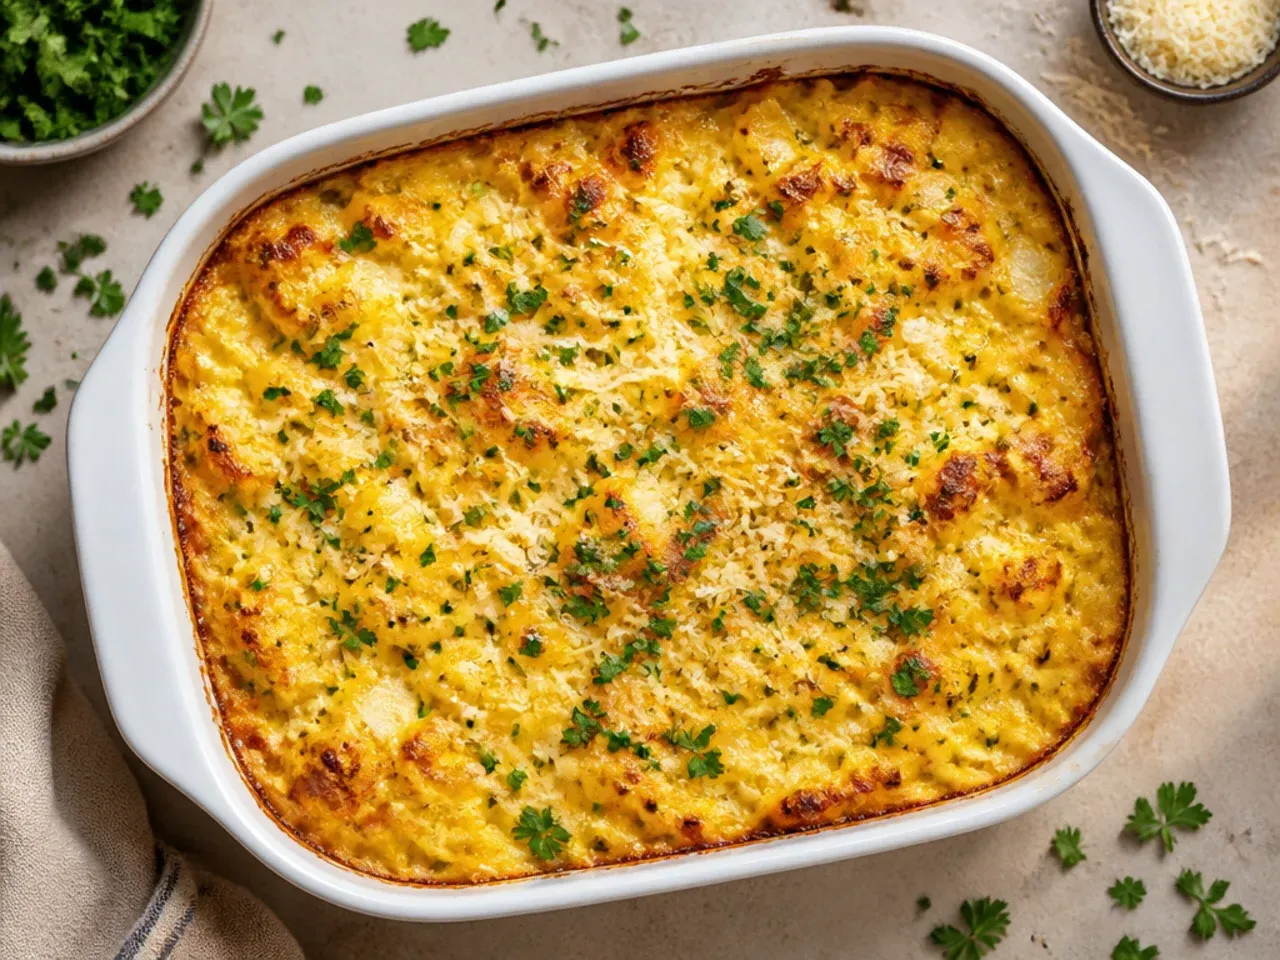
I assumed the seasoned hash browns and salty sausage would carry the whole dish, but the egg layer itself tasted bland when I skipped seasoning the whisked mixture directly. Now I add 1 tsp salt and 1/2 tsp black pepper straight into the eggs before pouring, which seasons every layer rather than leaving the eggy parts tasting like nothing. It's a small step that makes a bigger difference than any extra cheese ever did.
Lesson 11: Cover with Foil if the Top Browns Too Fast
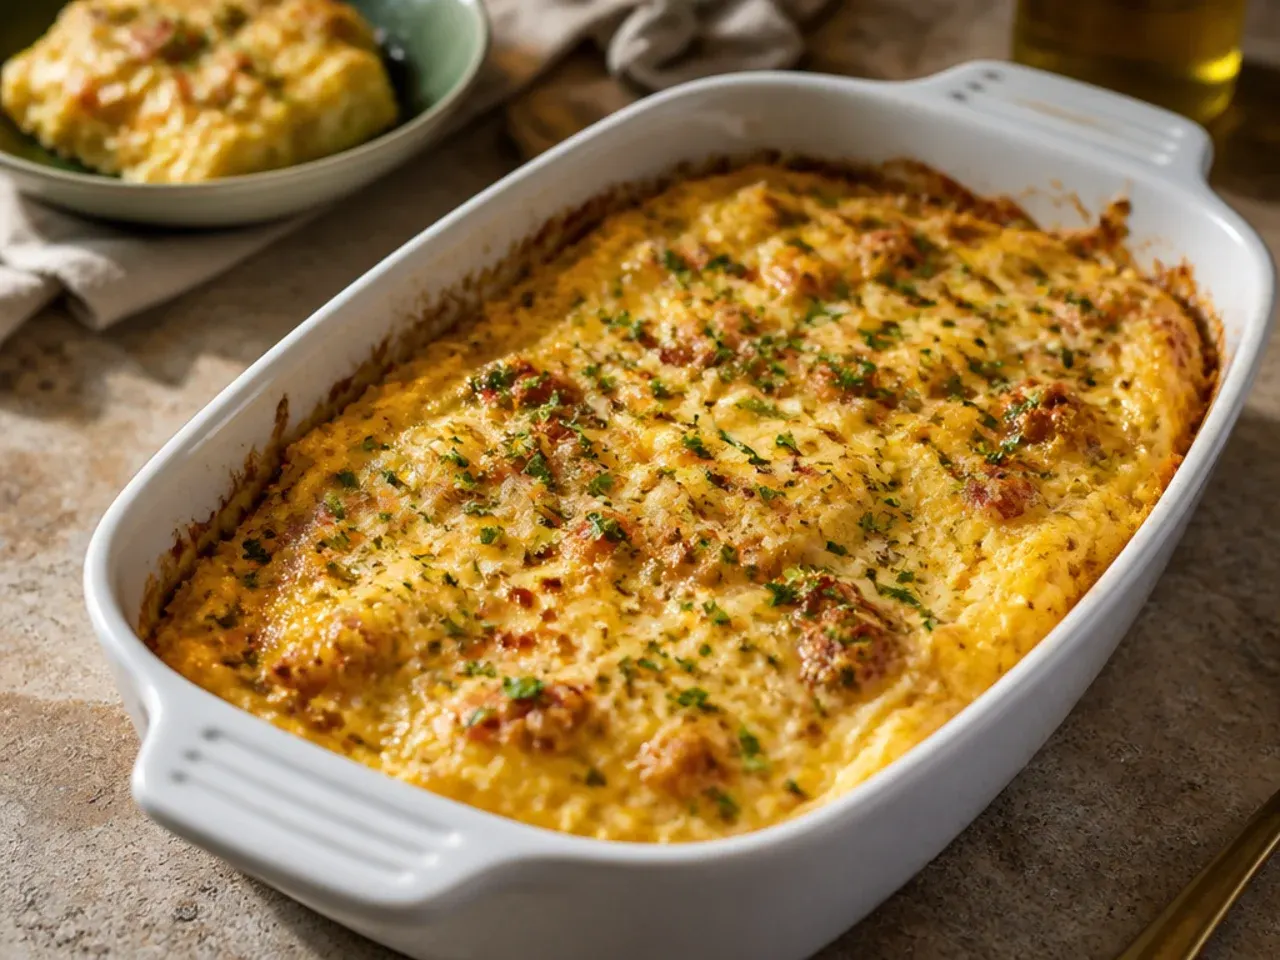
In a hotter oven, my cheese topping went from golden to nearly burnt while the centre was still wobbly, because the top cooks faster than the eggs underneath can set. Now if the top looks done by the 30-minute mark, I loosely tent it with foil for the remaining time so the centre can catch up without the cheese scorching. It's saved more than one casserole that would otherwise have gone straight in the bin.
Lesson 12: Trust a Knife Test, Not Just the Clock
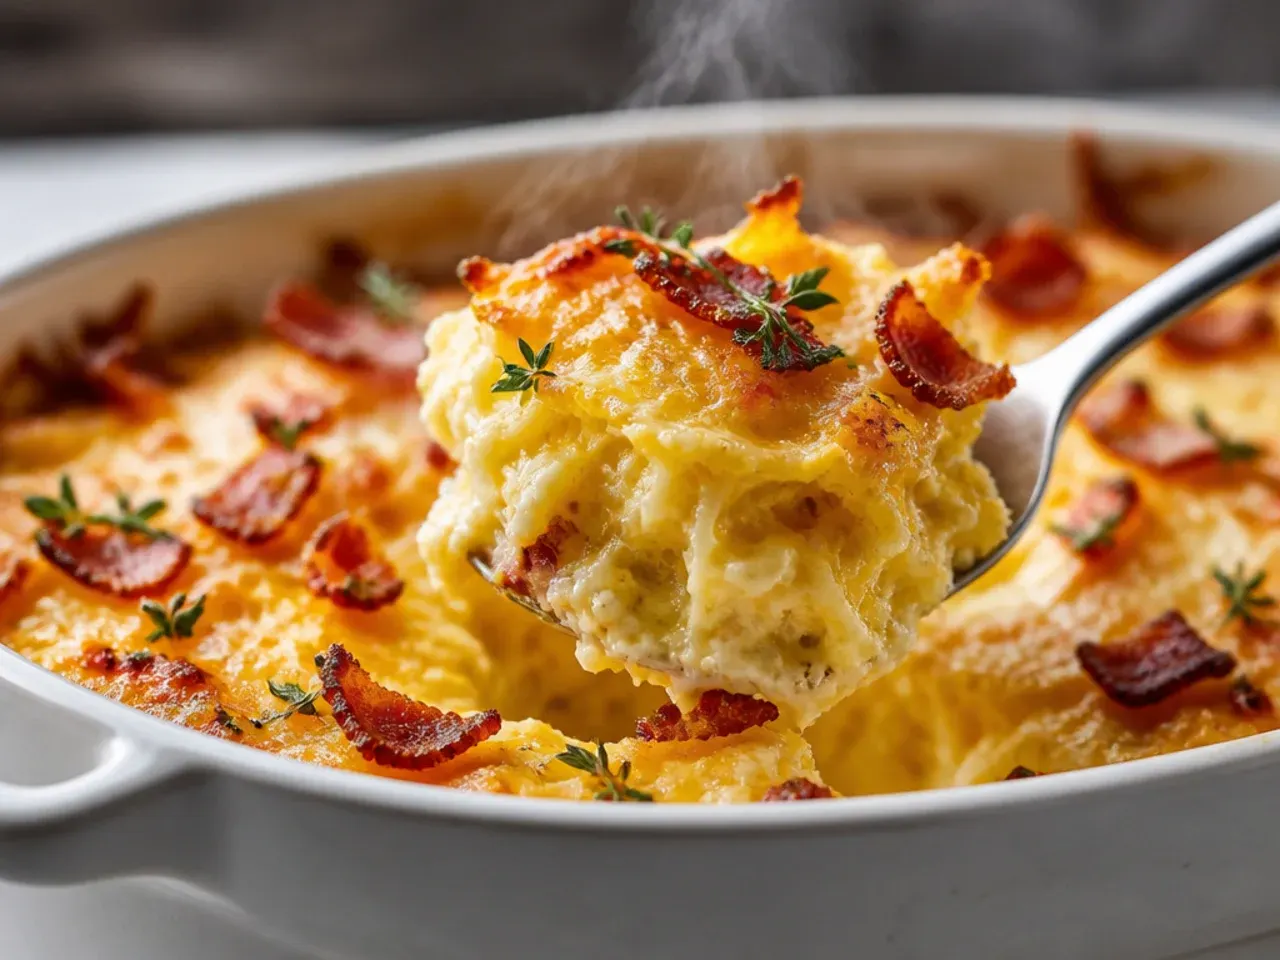
I used to pull this out the second the timer hit 45 minutes, and more than once the centre was still visibly liquid under a deceptively golden top. Now I slide a thin knife into the middle, and if it comes out with any wet egg clinging to it, it goes back in for another 5-10 minutes. Ovens vary enough that the visual and knife checks matter more than any fixed time on a recipe card.
Lesson 13: Let It Rest Before You Cut It
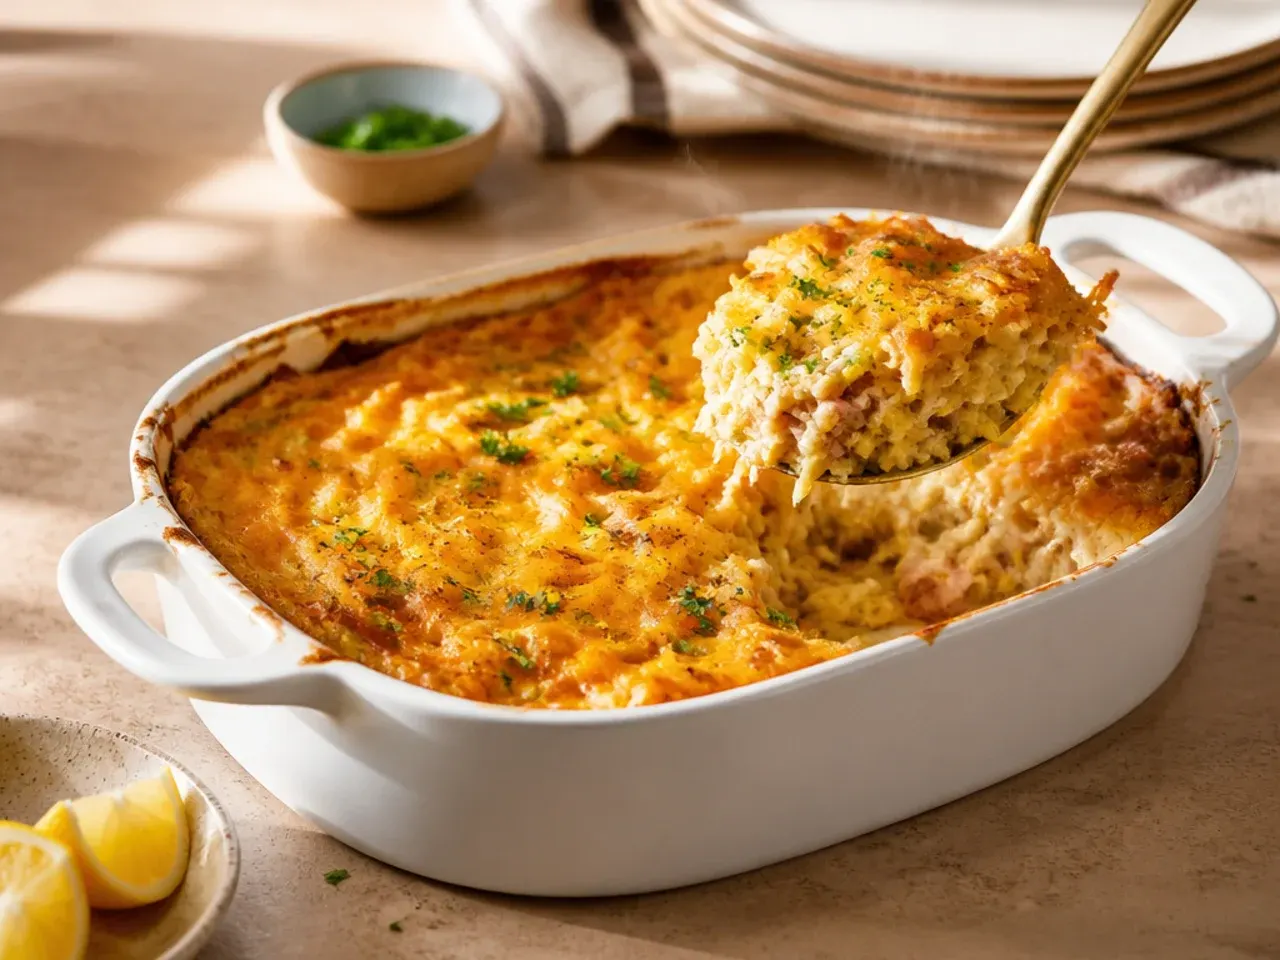
Cutting into this straight from the oven turned my clean squares into a scrambled mess that slid apart on the plate. Now I let the casserole sit for a full 10 minutes on the counter before slicing, which gives the eggs time to firm up completely. It's the easiest fix on this whole list and the one I'm most likely to forget when people are already at the table waiting.
Lesson 14: Assemble It the Night Before for a Better Texture
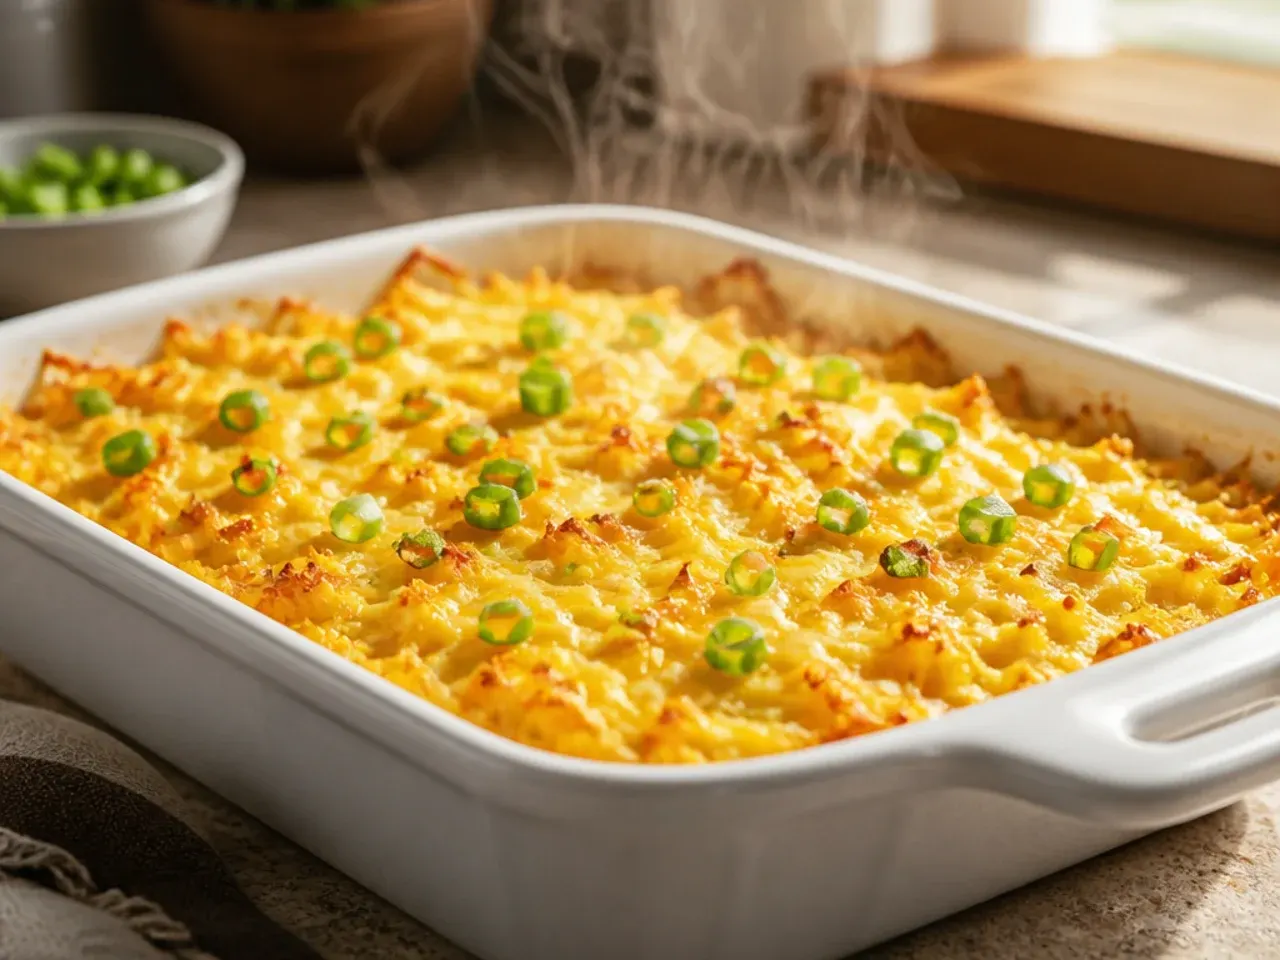
I was sceptical that make-ahead would actually improve anything, but assembling the whole casserole the evening before and refrigerating it overnight, then baking straight from the fridge, gives the hash browns time to soften evenly in the egg mixture. It also means I add about 5-10 extra minutes to the bake time since it's starting cold. This is now my default for any morning I'm hosting, because the prep is done before I've even had coffee.
Lesson 15: Freeze Leftovers in Slices, Not the Whole Tray
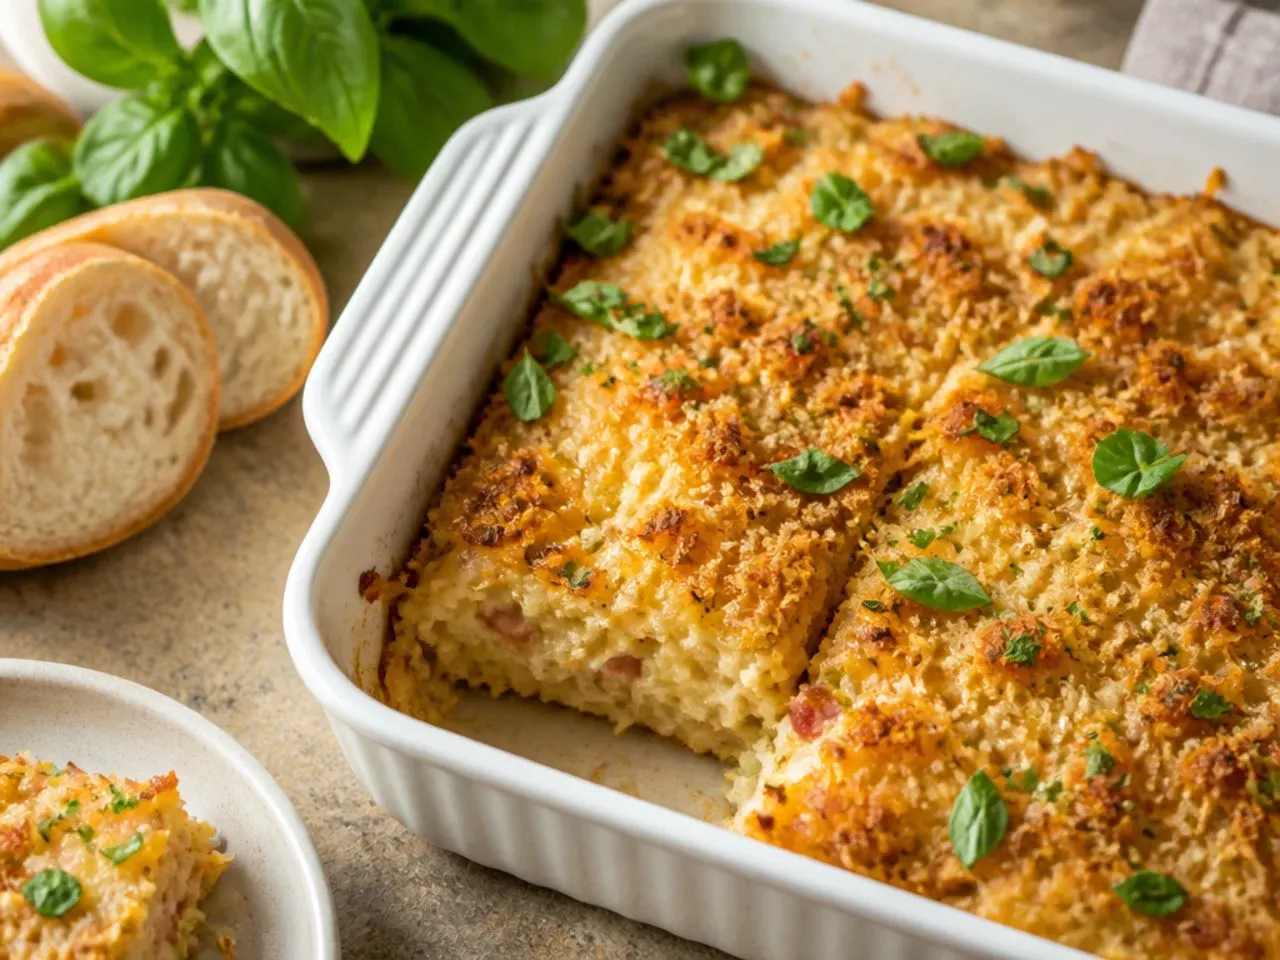
I froze a full leftover casserole in one block once and ended up thawing far more than I needed just to get a couple of portions out. Now I slice any extra into individual portions before freezing, wrapped in foil, so I can pull out exactly what I want for up to 3 months. Reheating from frozen in a 160°C (325°F) oven until piping hot keeps the texture far better than the microwave ever did.
Lesson 16: Rotate the Dish Halfway Through Baking
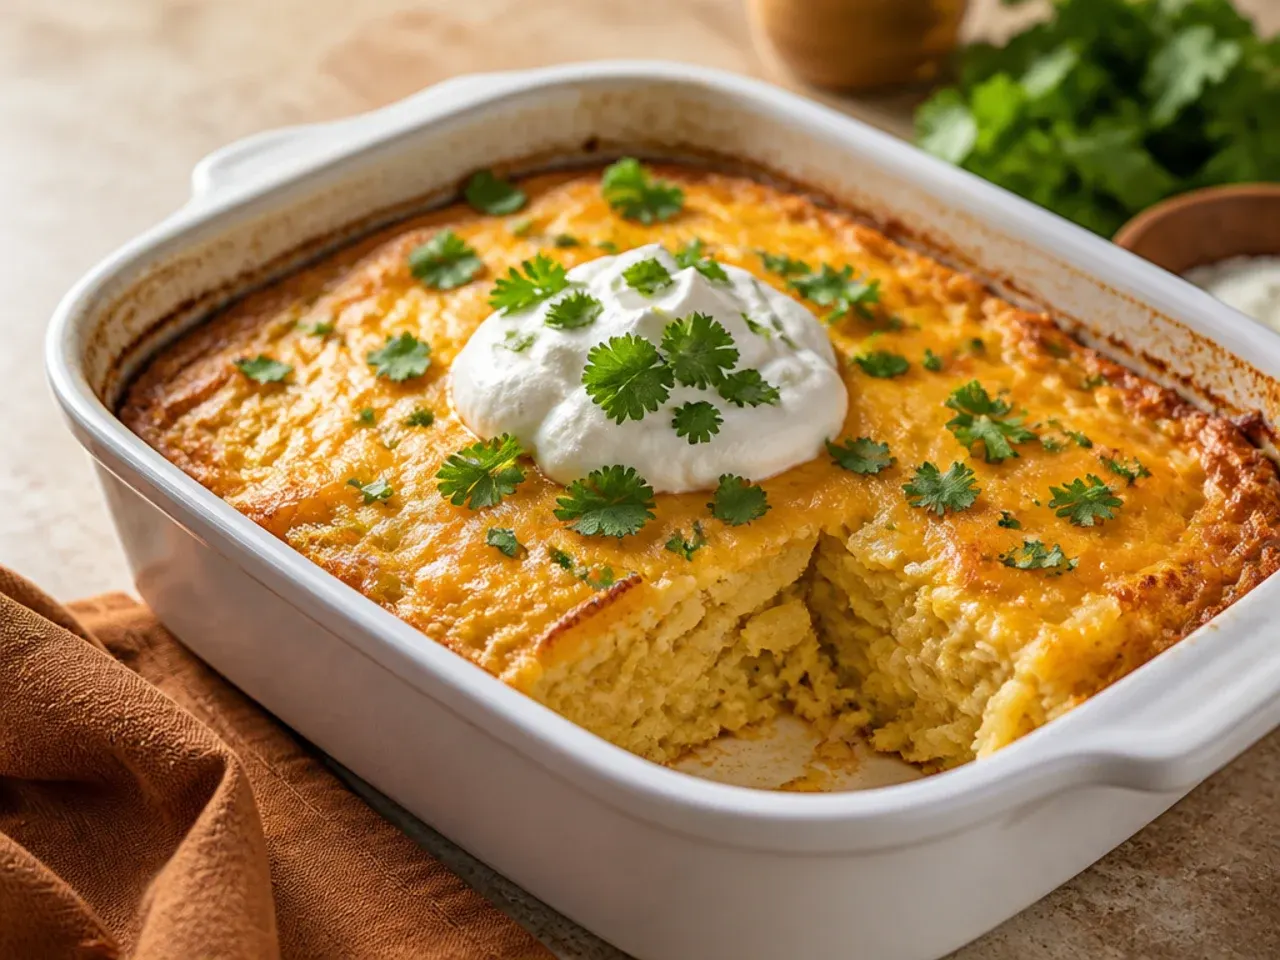
One side of my oven runs noticeably hotter than the other, and for months I didn't realise that's why one corner of the casserole was always more done than the rest. Turning the dish 180 degrees at the halfway point, around the 25-minute mark, evens out the browning and the doneness across the whole tray. If you've never checked your oven for hot spots, this dish will tell you exactly where they are.
Lesson 17: Bacon Needs a Different Approach Than Sausage
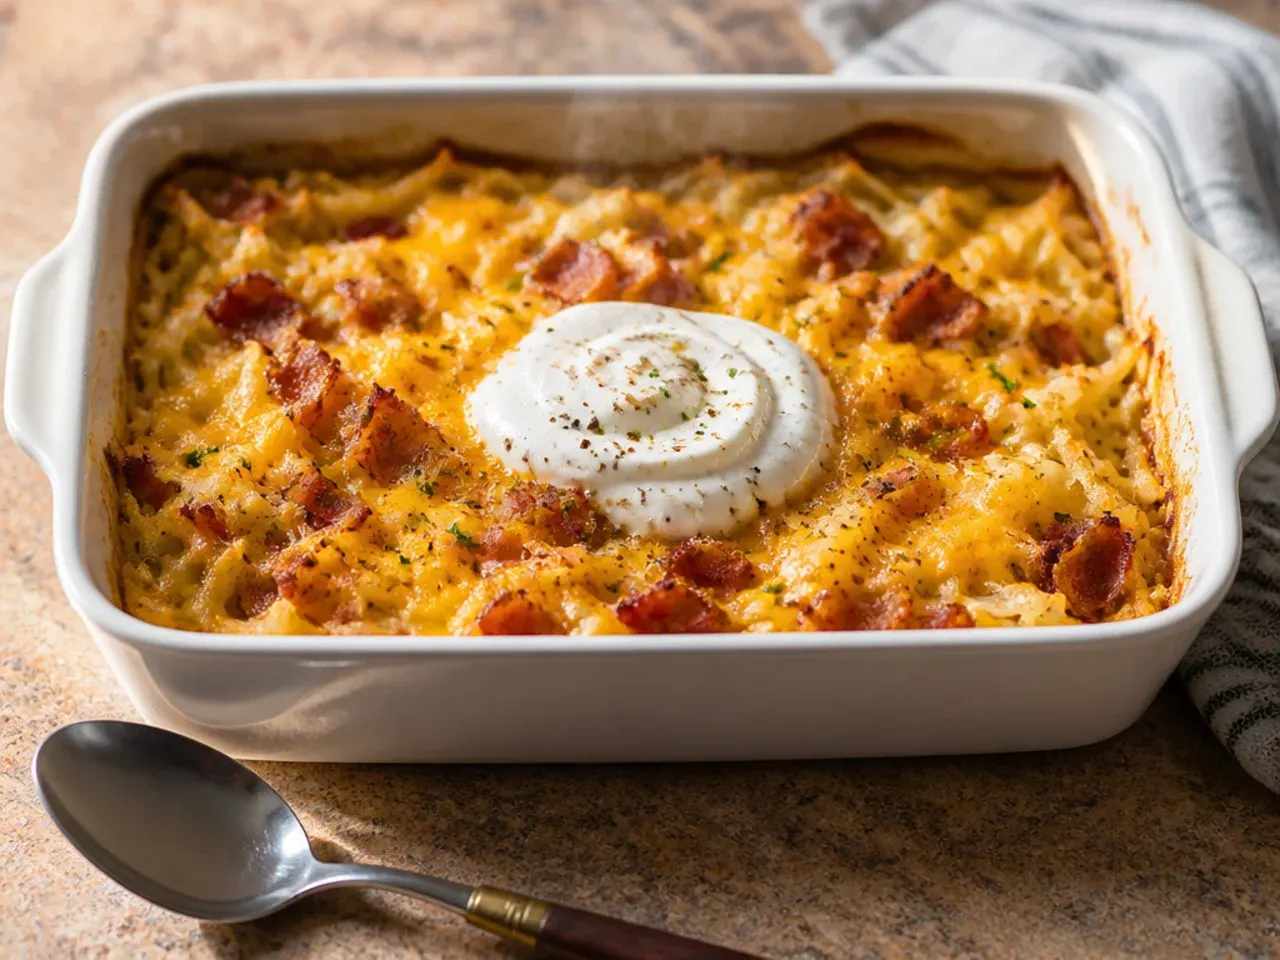
Swapping in 350g (12 oz) of chopped bacon for the sausage seemed like a simple substitution, but bacon releases far more fat as it cooks and left the base greasy when I added it straight from the pan. Now I cook the bacon until crisp, drain it well on kitchen paper, and only then fold it through the potatoes. It gives a smokier flavour than sausage and a nice bit of crunch, as long as you deal with the extra fat first.
Lesson 18: Extra Vegetables Need to Lose Their Water First
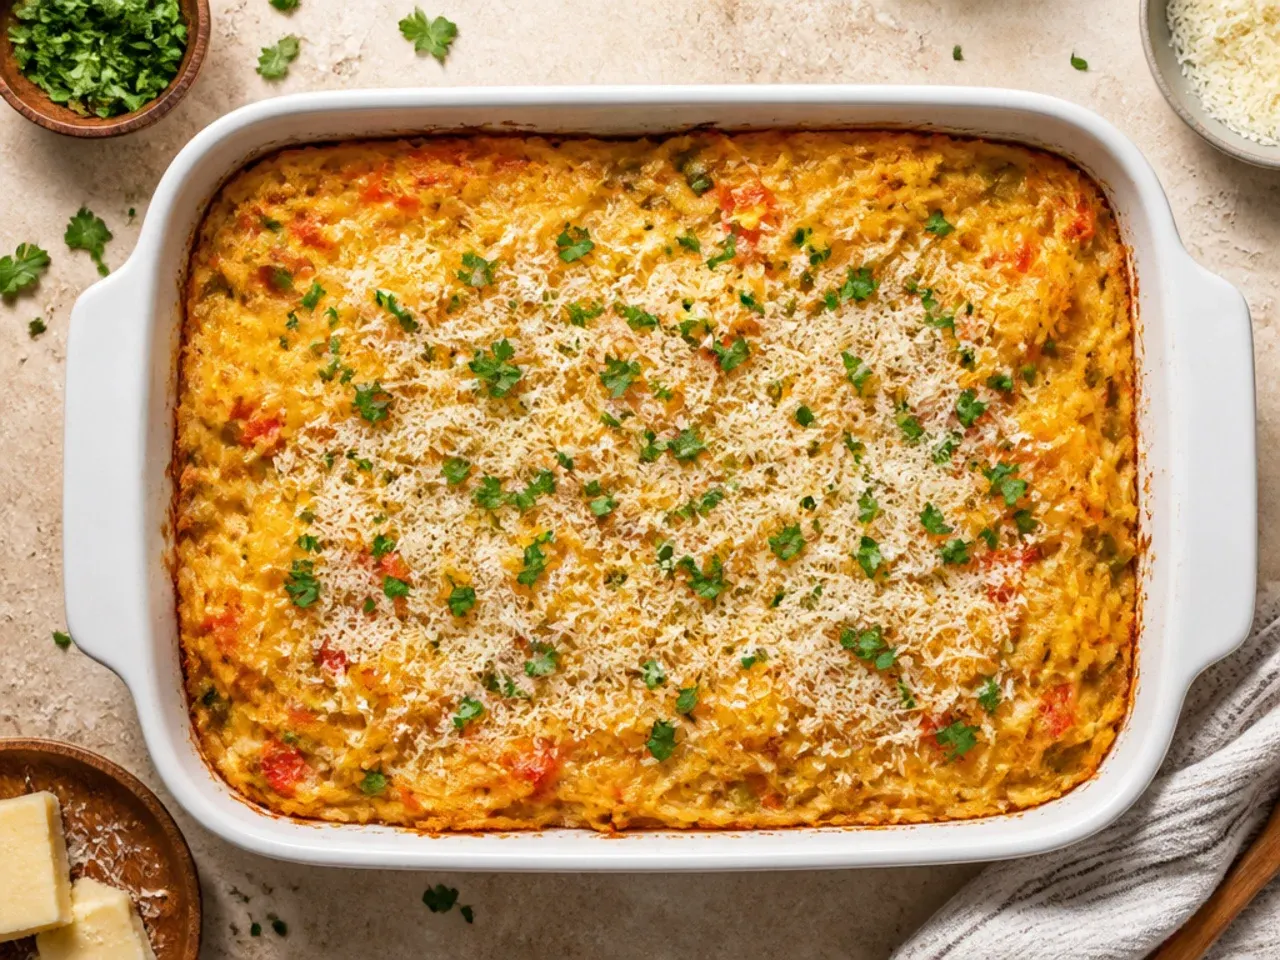
Adding raw diced mushrooms or extra bell pepper straight into the mix once left the finished casserole noticeably wetter, because vegetables release moisture as they cook that the hash browns can't absorb fast enough. Now any extra vegetables get a quick sauté in the same pan as the onion until their liquid has cooked off before joining the base. It's an extra five minutes that stops a good idea from turning into a soggy one.
Lesson 19: Doubling the Recipe Isn't Just Doubling the Ingredients
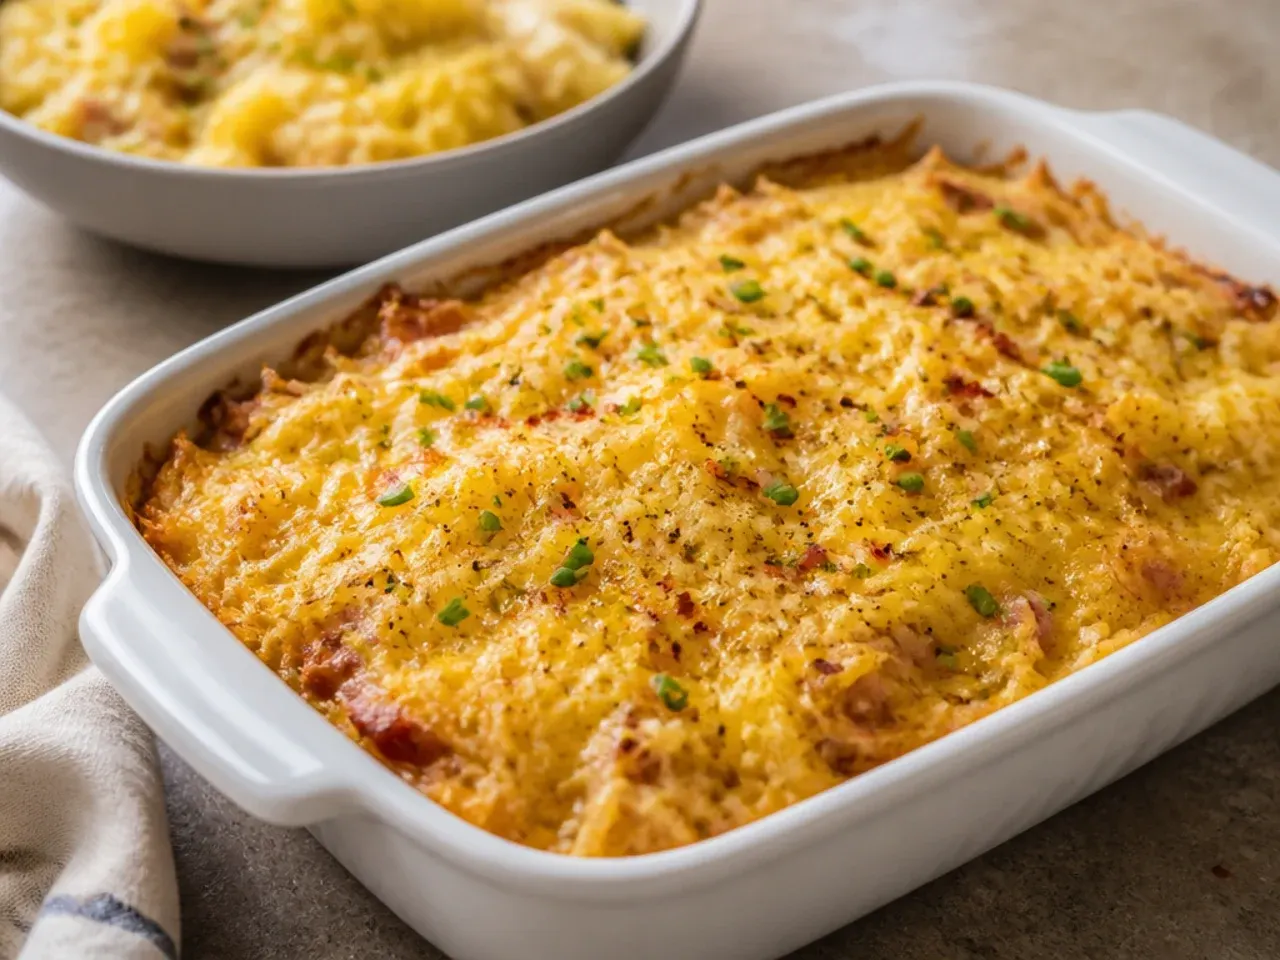
I doubled every ingredient for a larger crowd once but kept the same bake time, and the much deeper filling left the centre undercooked well past the point the top was burning. When I double this now, I split it across two 23x33cm (9x13 inch) dishes rather than one deep one, so the heat still reaches the centre in the same 45-50 minutes. It's more dishes to wash, but it's the only way I've found to keep the texture consistent at a bigger batch size.
Lesson 20: Fresh Herbs on Top Change Everything
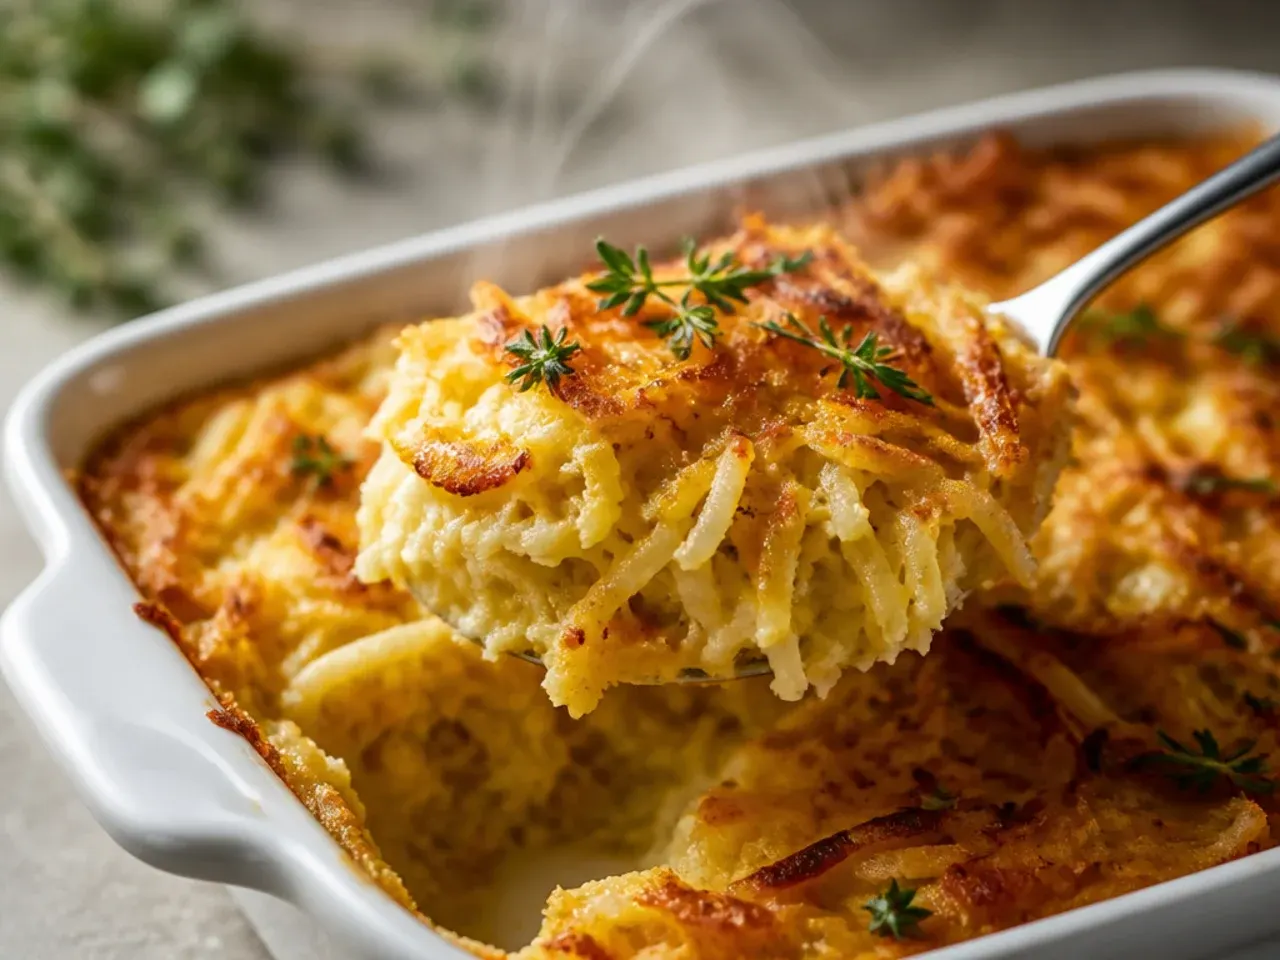
For a long time I served this straight from the oven with nothing on top, and it tasted good but slightly one-note after the first few bites. Scattering 30g (1/4 cup) of chopped fresh chives or spring onion over the top right before serving adds a sharp, fresh contrast to all that cheese and egg. It's a tiny finishing touch that takes seconds and noticeably lifts the whole dish.
What I'd Tell a Friend Trying This
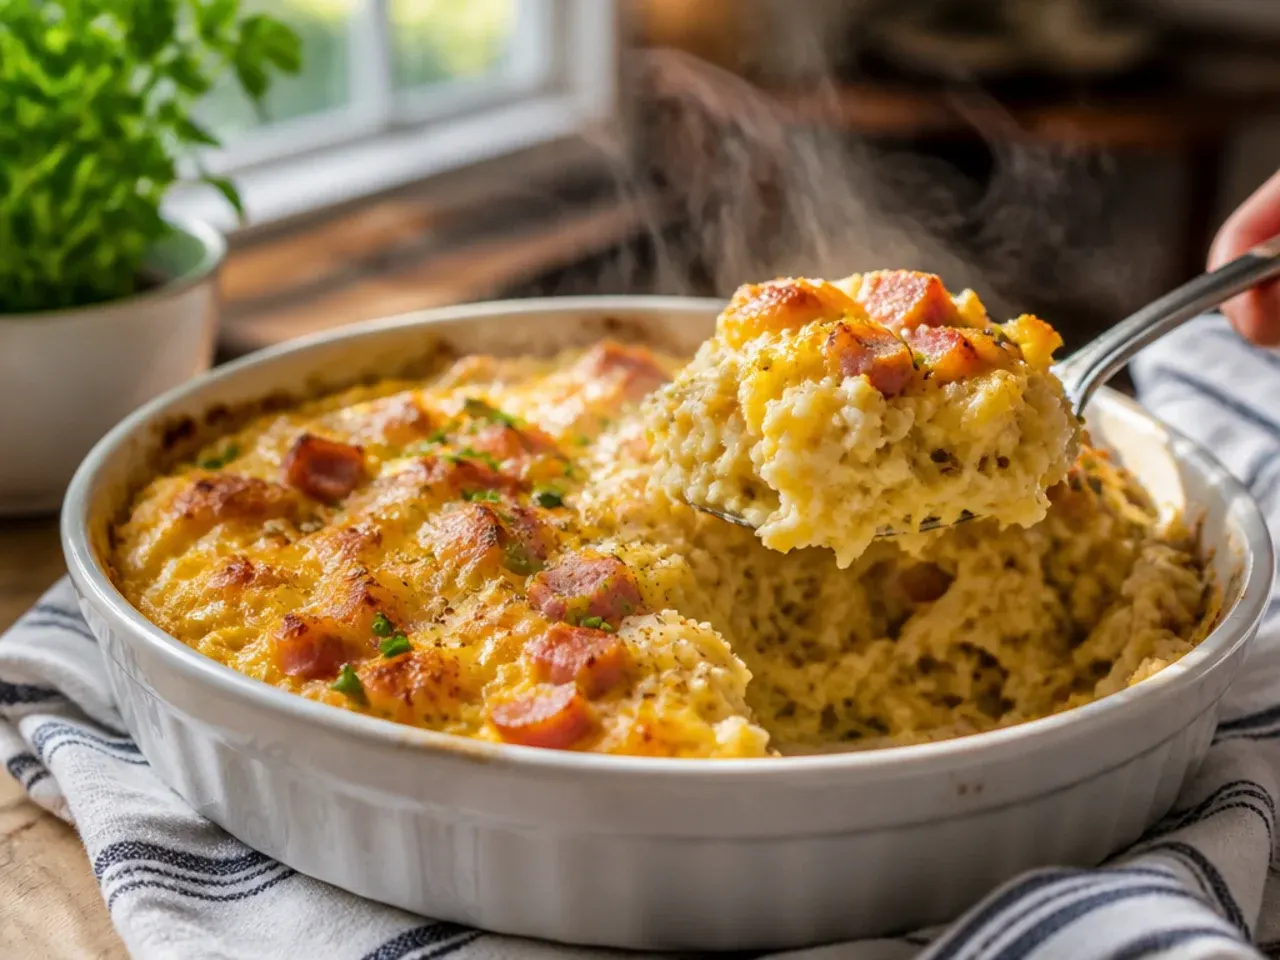
If you're making egg hashbrown casserole for the first time, don't skip drying the hash browns and don't rush the resting time at the end. Those two habits alone will save you from the soggy, falling-apart results that put a lot of people off this dish in the first place. Everything else, from the cheese to the sausage to the herbs on top, is genuinely up to your taste, so treat the base method as the part worth getting right and build from there.
The Recipe
The Recipe I Used
20 min
50 min
1 hr 10 min
8
Beginner
Ingredients 8 Person(s)
Directions
Step 1: Prep and season the hash browns
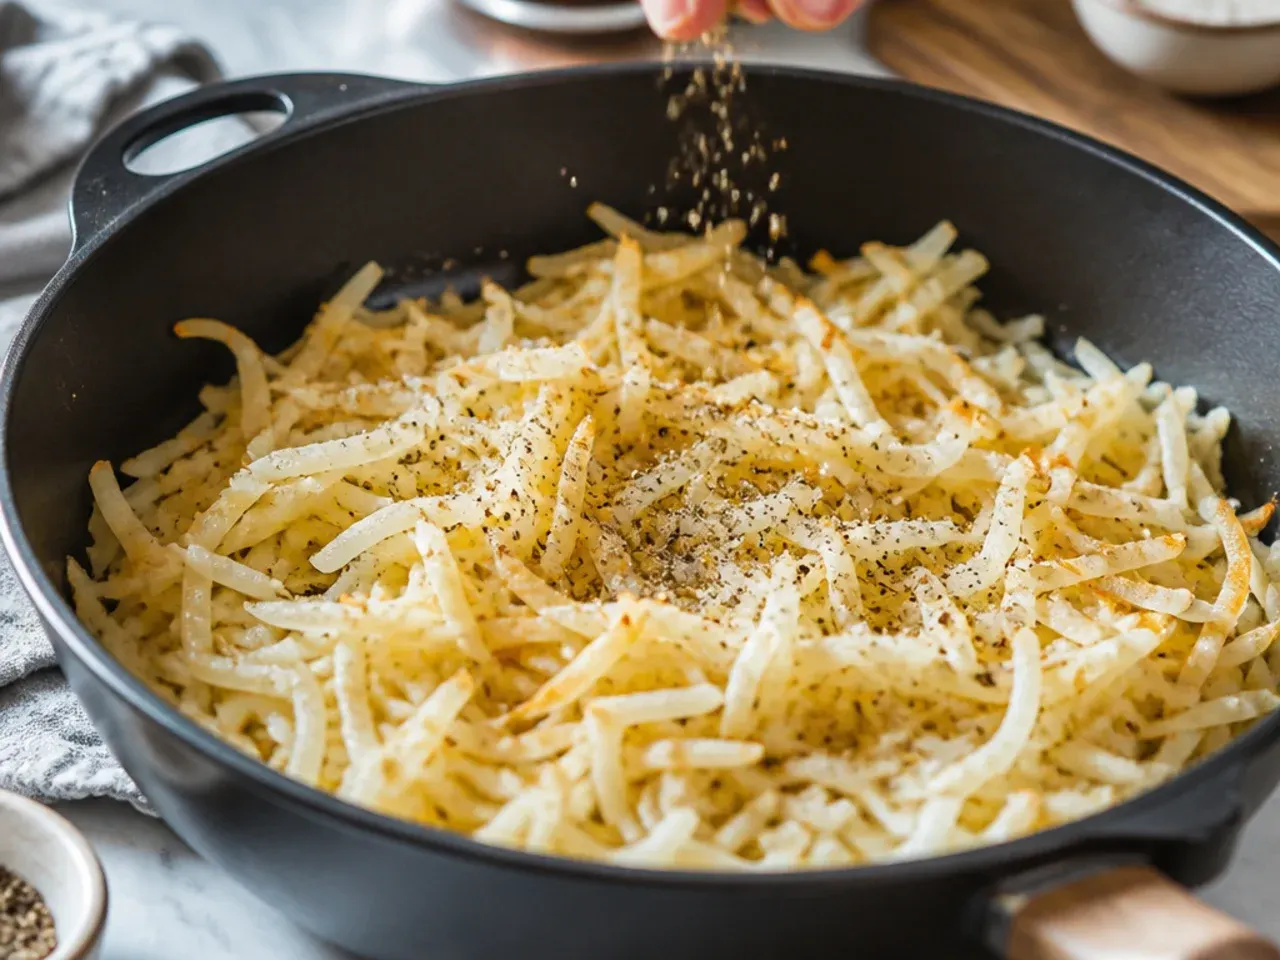
Thaw 900g (2 lb) frozen hash browns completely, then wring them out in a clean tea towel until no more liquid drips out. Toss the dried shreds with 40g (3 tbsp) melted butter, 1 tsp garlic powder and a pinch of salt, then spread evenly across the base of a greased 23x33cm (9x13 inch) baking dish.
Step 2: Cook the sausage and vegetables
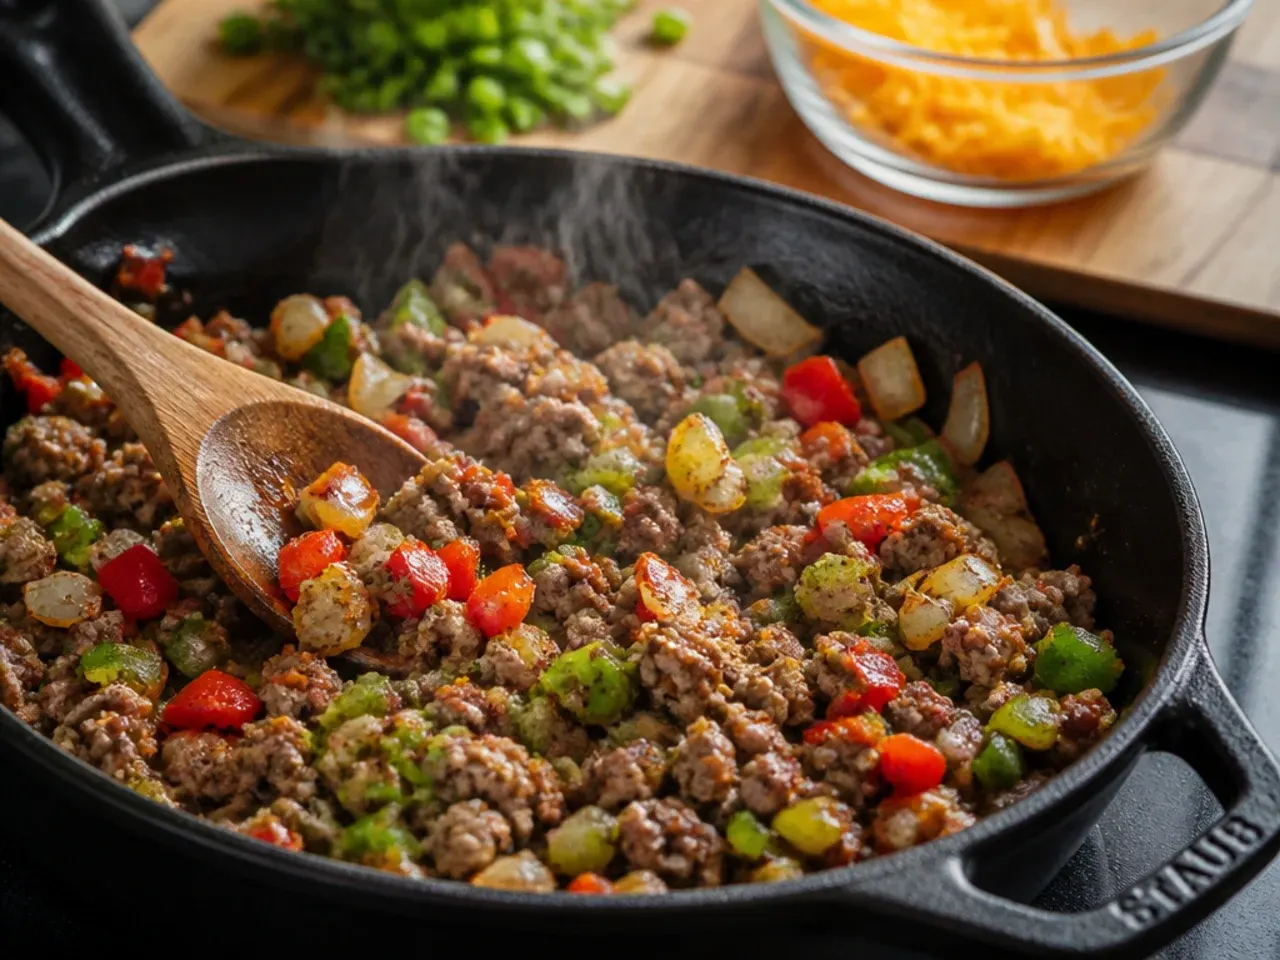
In a large frying pan over medium heat, cook 350g (12 oz) sausage, breaking it up as it browns, until no pink remains and internal temperature reaches 71°C (160°F), then drain in a sieve to remove excess fat. In the same pan, sauté 120g (1 small, about 3/4 cup) diced onion and 150g (1 medium, about 1 cup) diced red pepper for 4-5 minutes until soft and translucent.
Step 3: Build the base layer
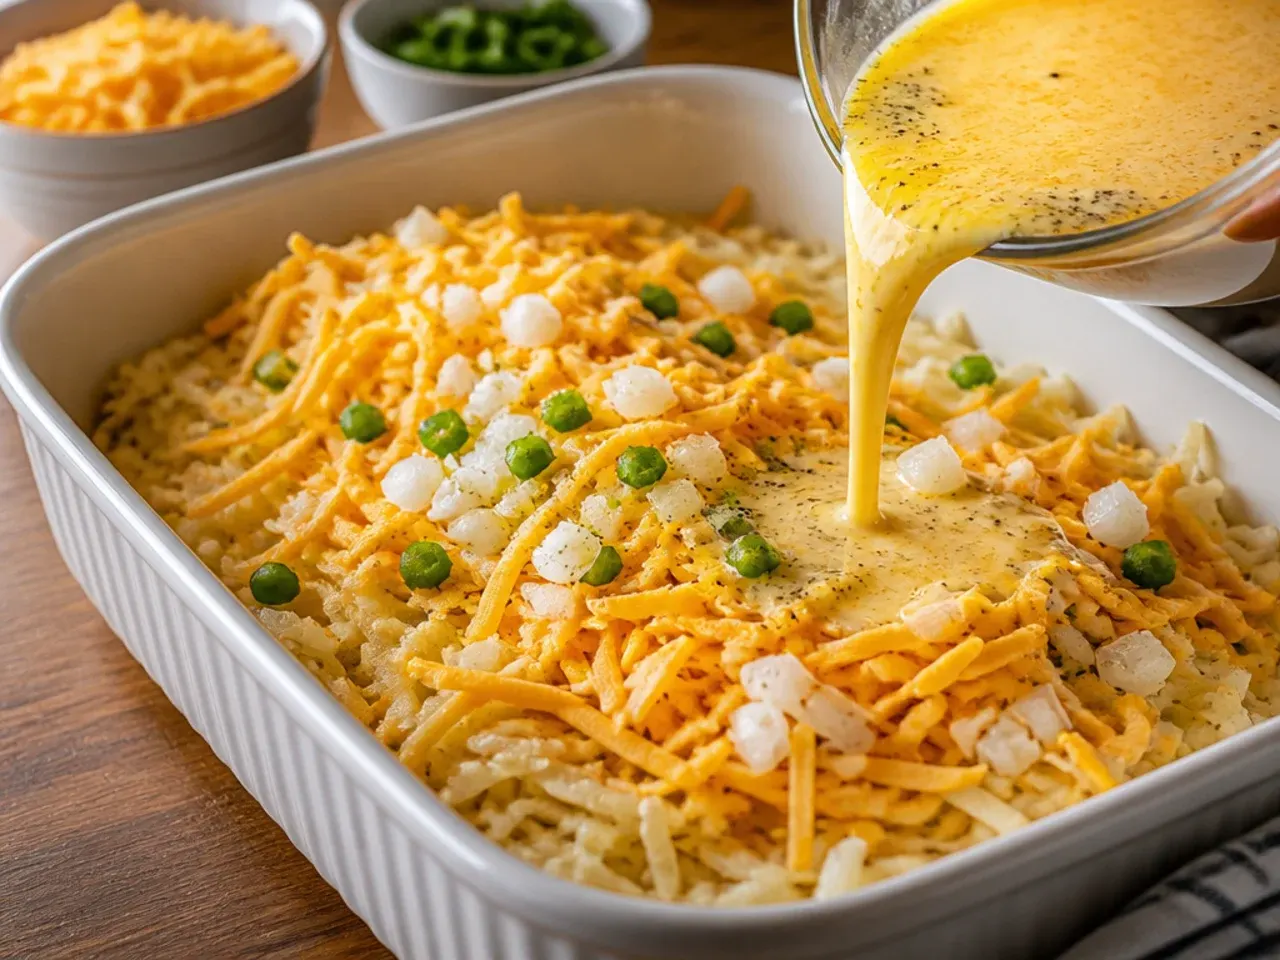
Scatter the drained sausage and sautéed vegetables over the hash browns in the dish. Sprinkle half of the 300g (3 cups) shredded cheddar over the top and gently combine everything with a spoon so it's evenly distributed across the base.
Step 4: Whisk the egg mixture
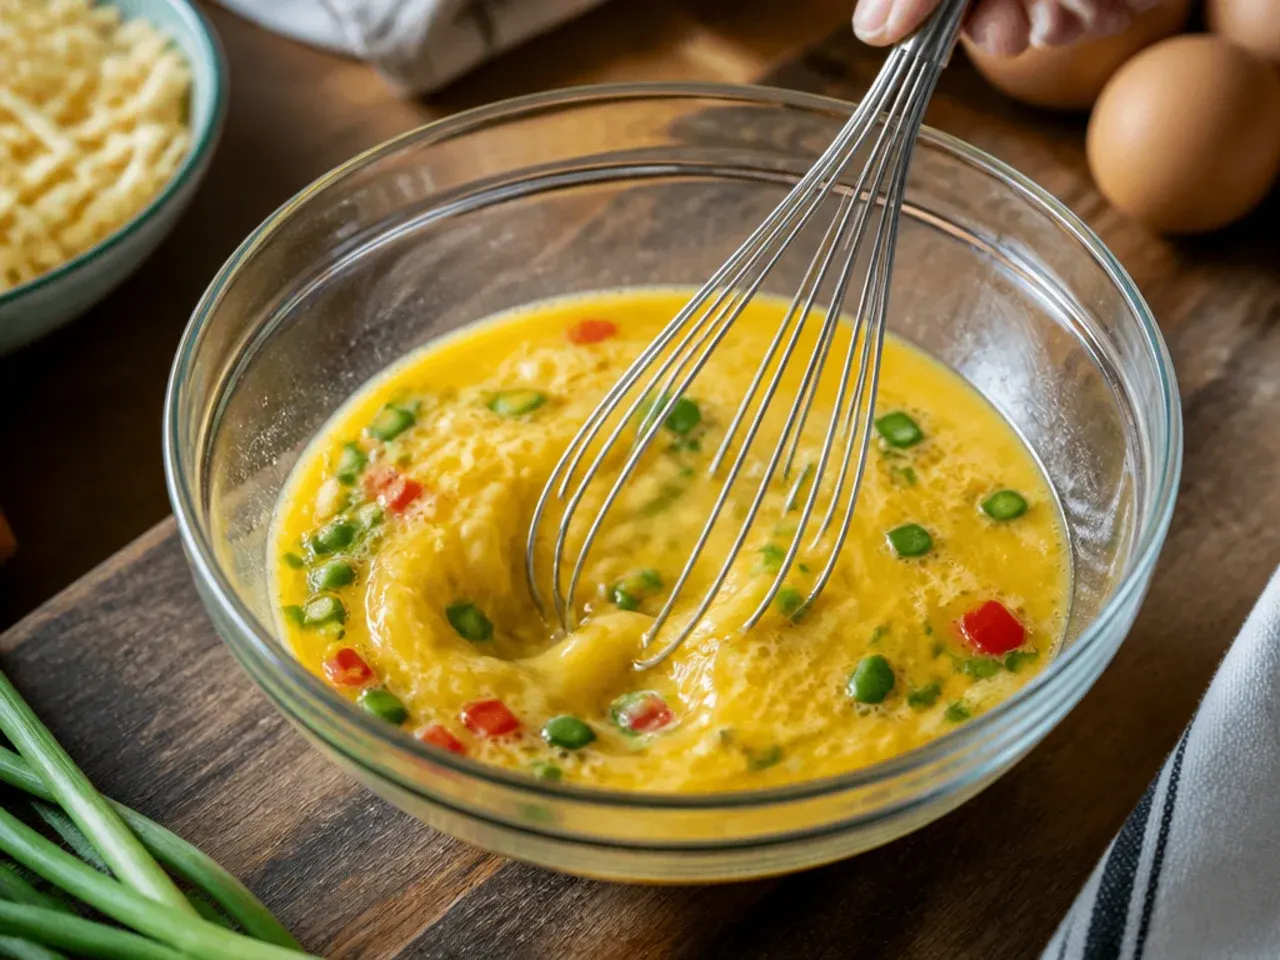
In a large bowl, whisk 10 large eggs with 240ml (1 cup) whole milk and 240g (1 cup) sour cream until fully combined with no streaks of egg white remaining. Season with 1 tsp salt and 1/2 tsp black pepper.
Step 5: Assemble and top with cheese
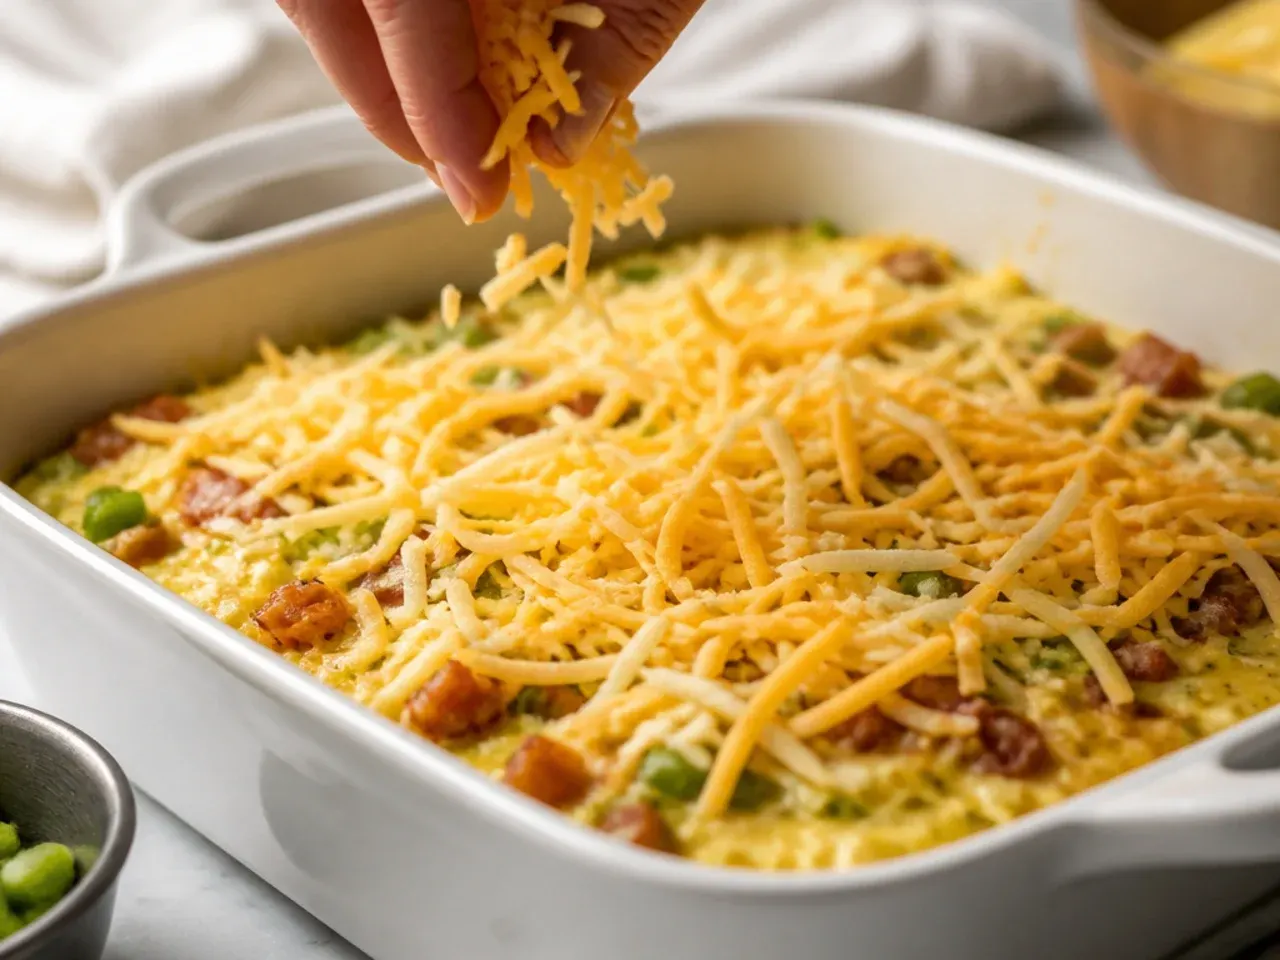
Pour the egg mixture evenly over the potato and sausage base, pressing down gently with the back of a spoon so the eggs settle into every gap. Scatter the remaining cheddar cheese over the top in an even layer.
Step 6: Bake until set and golden
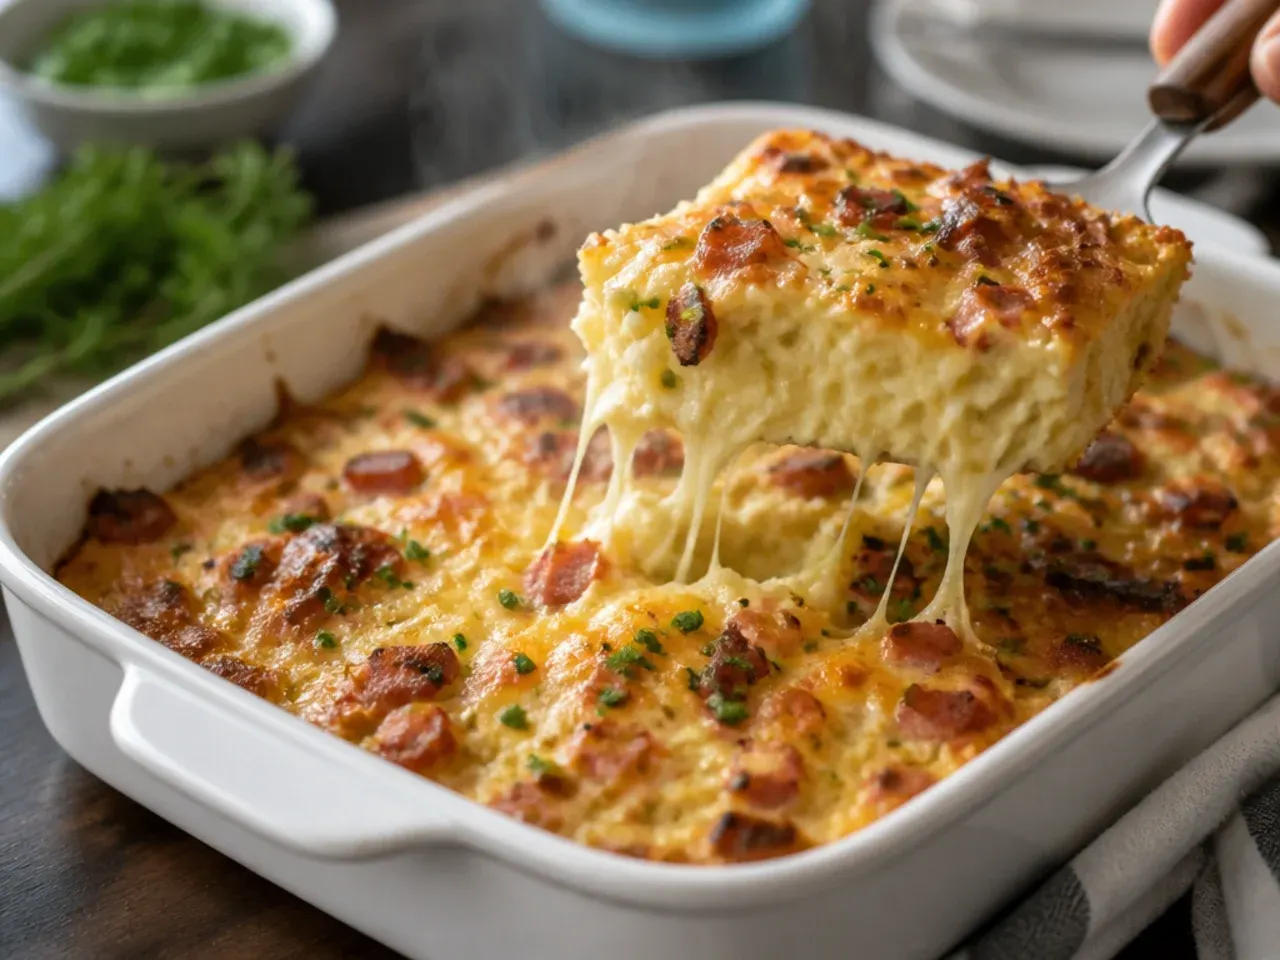
Bake at 190°C (375°F) for 45-50 minutes, rotating the dish 180 degrees at the 25-minute mark to even out any oven hot spots, and tenting loosely with foil after 30 minutes if the top is browning faster than the centre is setting. It's ready when a knife inserted in the middle comes out clean and the edges are golden and bubbling.
Step 7: Rest, garnish and serve
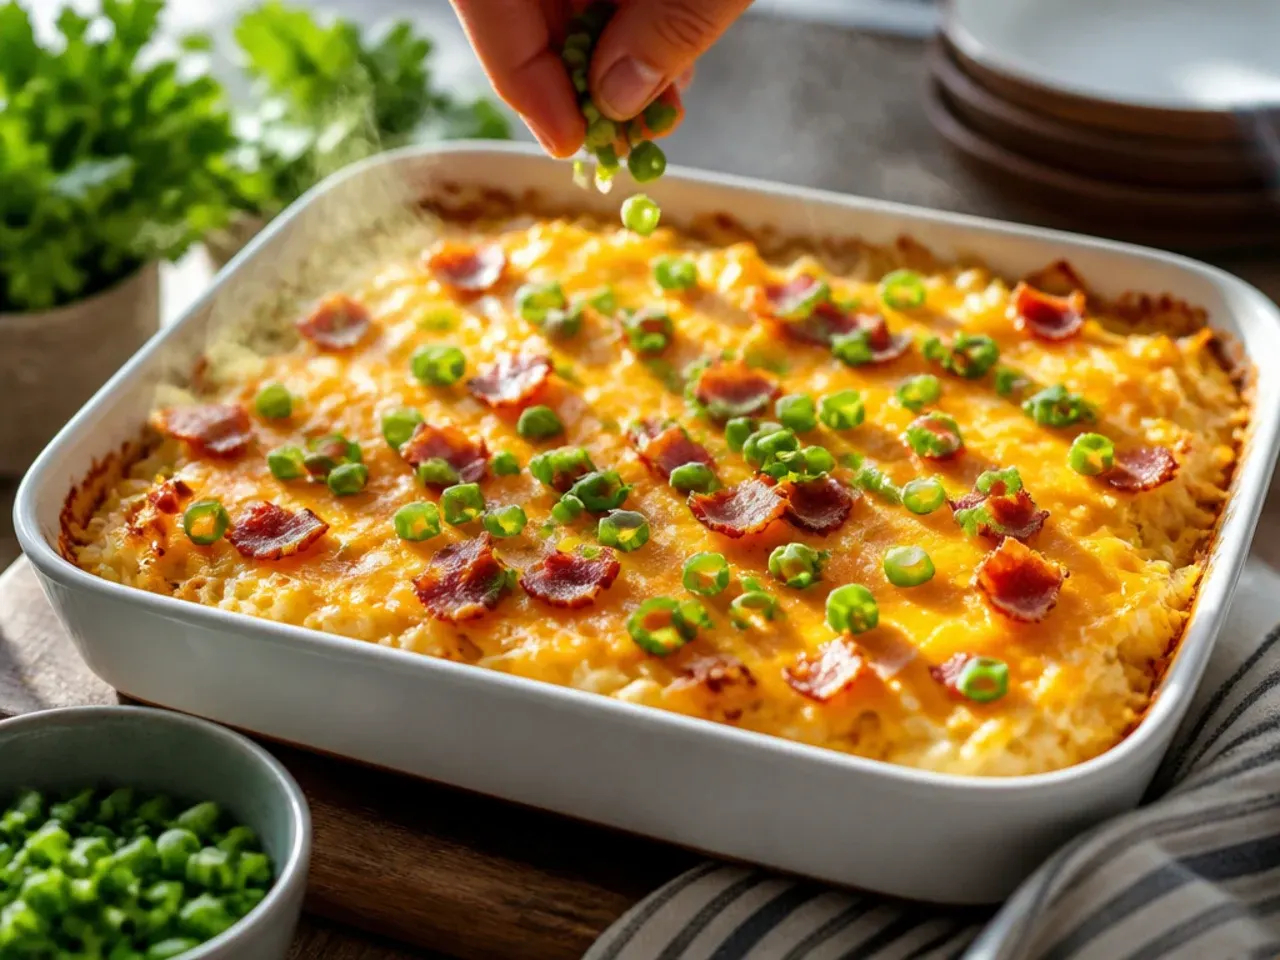
Let the casserole rest on the counter for 10 minutes before cutting so the eggs fully firm up. Scatter 30g chopped chives or spring onion over the top, then slice into squares and serve warm.
Frequently Asked Questions
Yes, this is one of the best make-ahead breakfast bakes there is. Assemble the full casserole up to the point of baking, cover tightly and refrigerate for up to 24 hours, then bake straight from the fridge the next morning. Because it's starting cold, add an extra 5-10 minutes to the bake time and check for doneness with a knife in the centre before pulling it out.
Save this for later 📌
Pin this article to your Pinterest board so the full list is one tap away when you need it.
Save on Pinterest