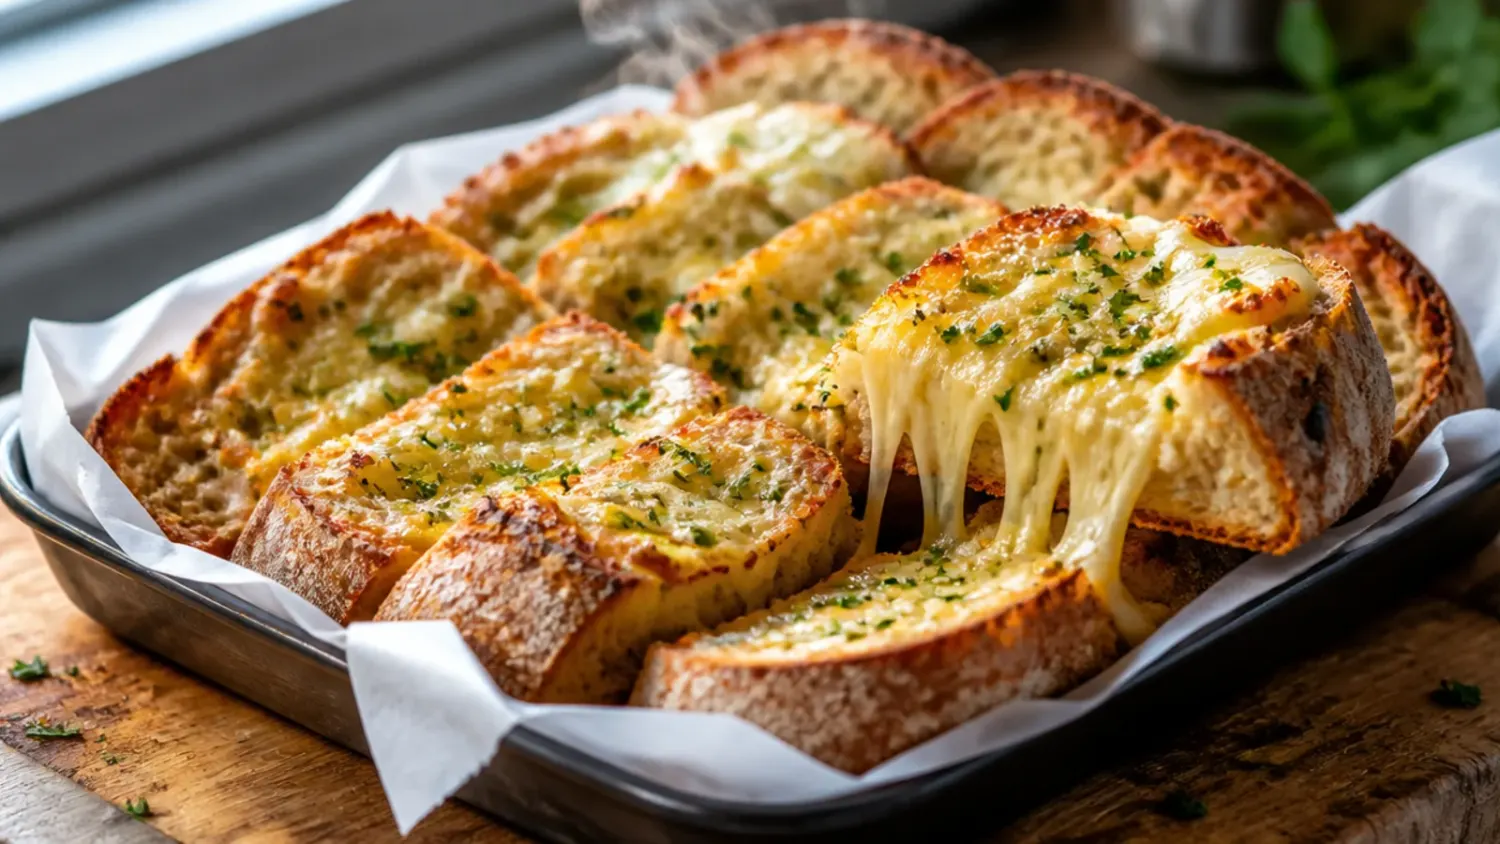
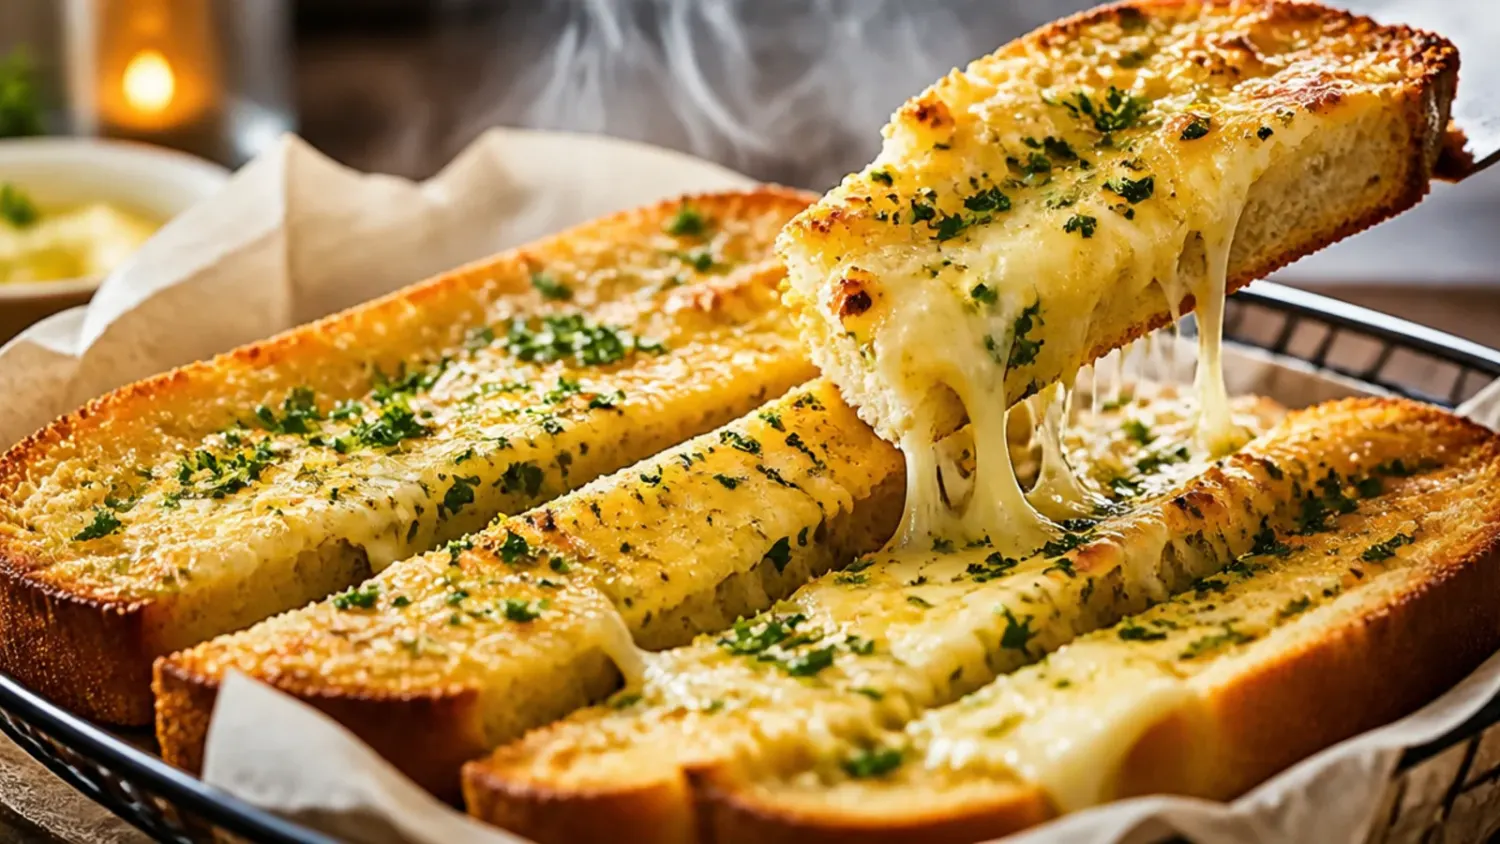
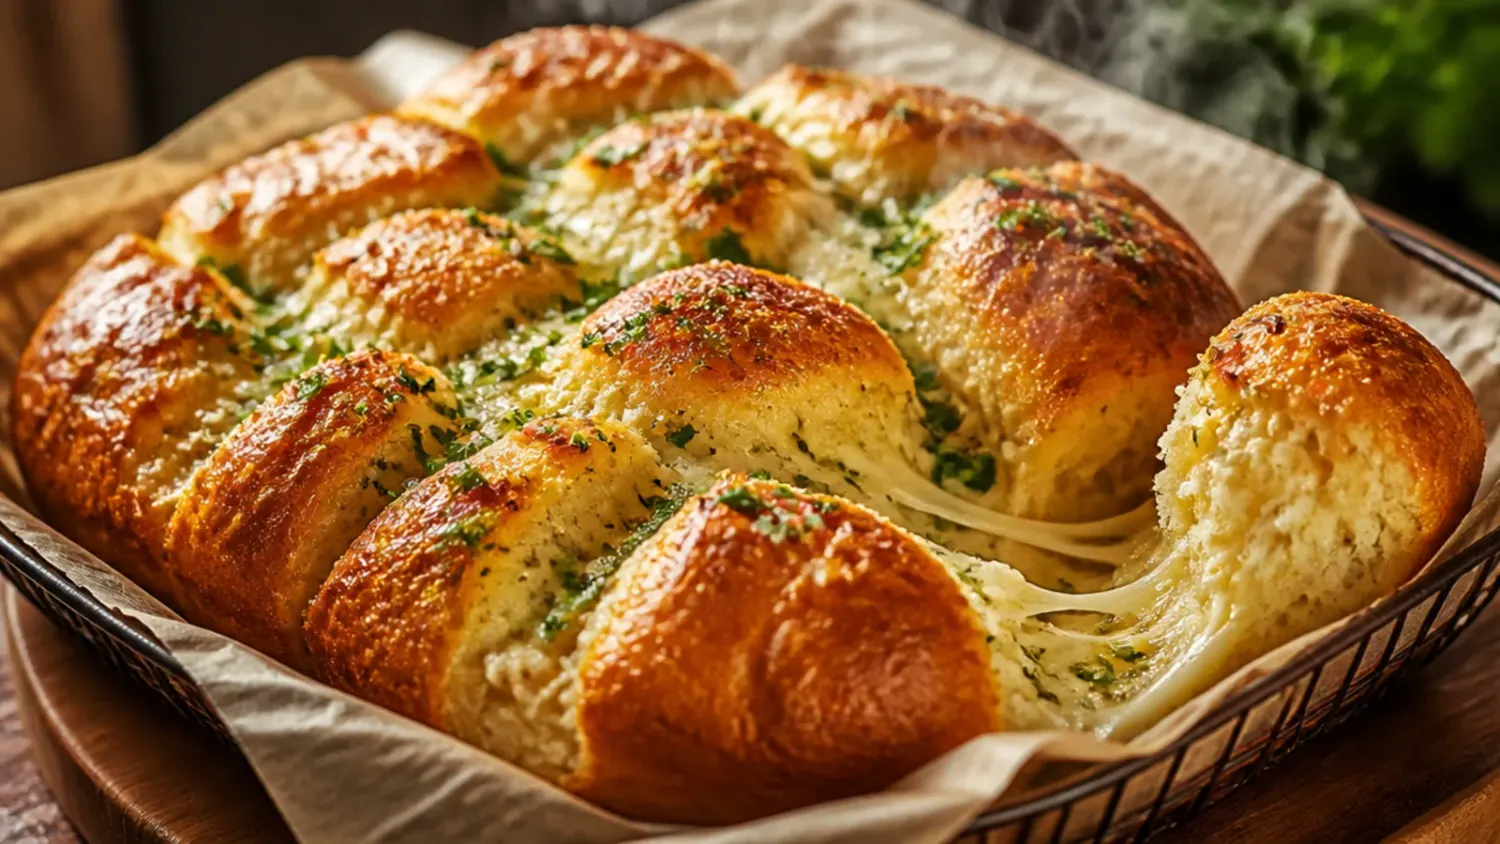
20 Garlic Bread Recipes: What I Learned Making Them
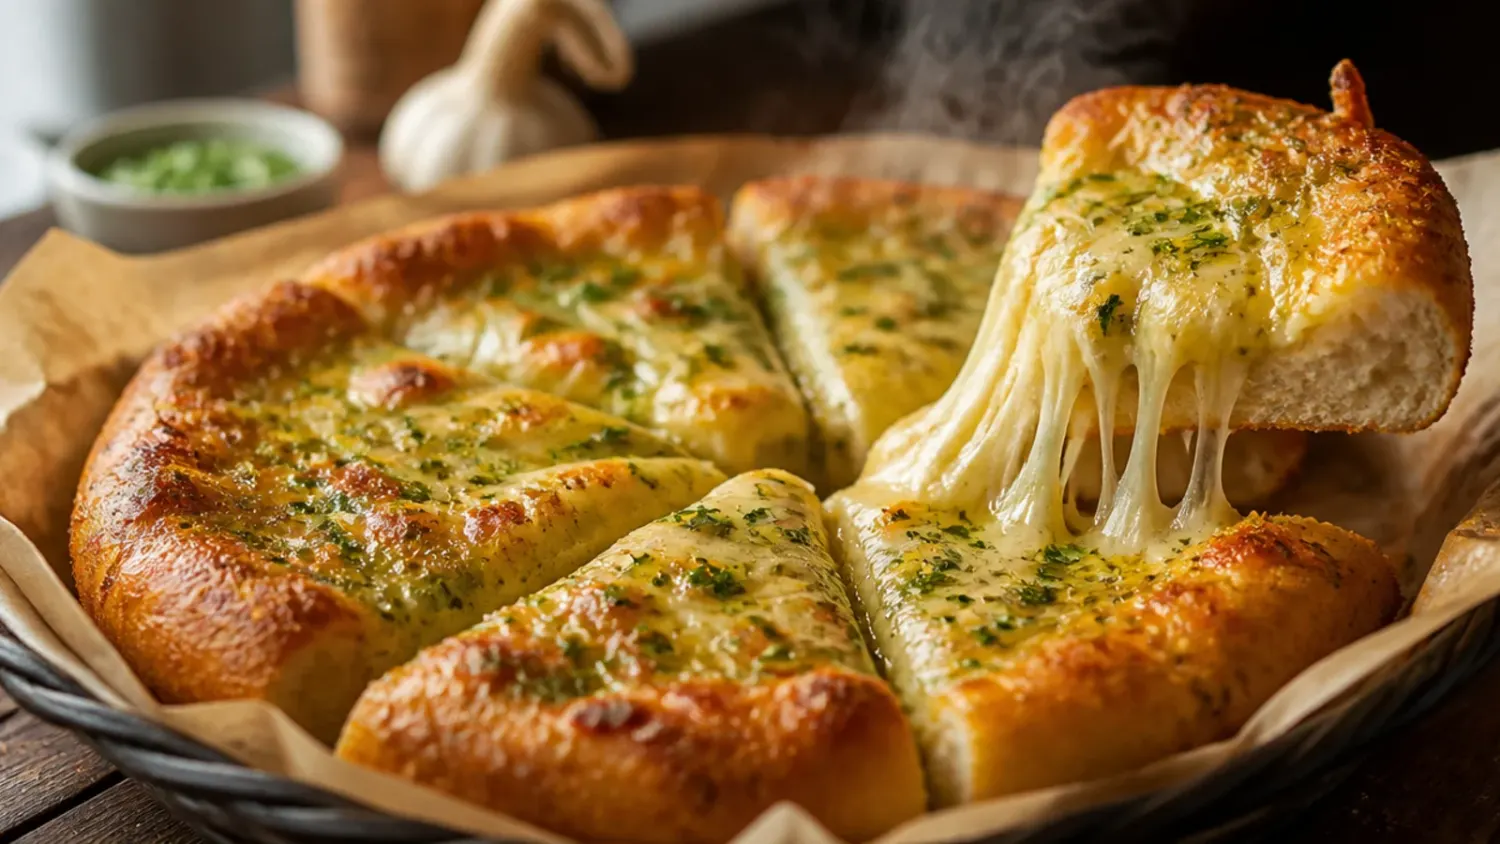
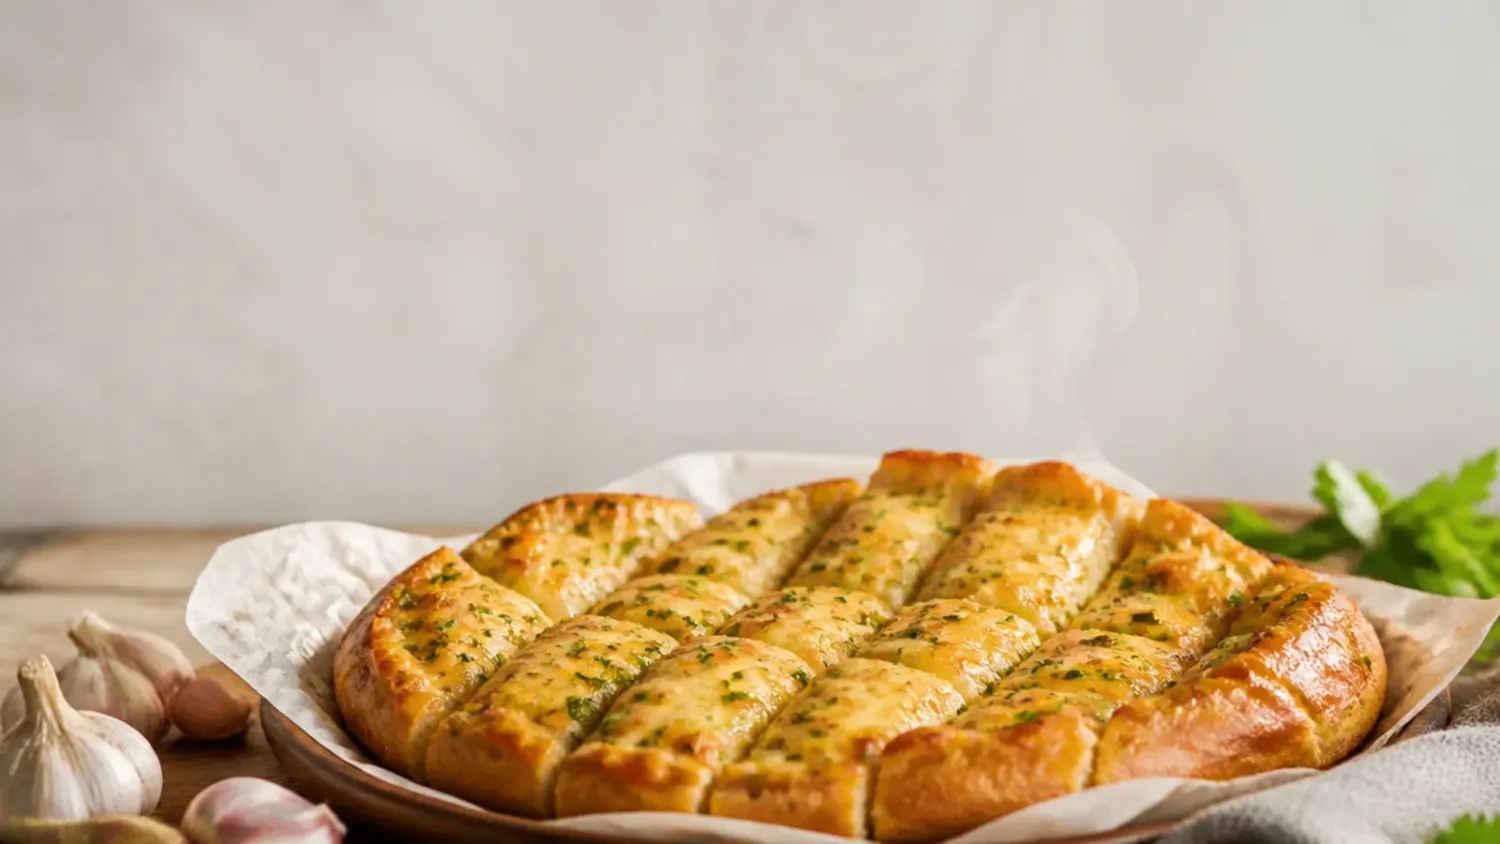
Twenty real lessons from making garlic bread pizza again and again, plus the fixes that finally got the crust crisp and the cheese right. If you love garlic bread inspiration, start with our Garlic Bread Recipes collection, then browse the full Sides, Dips & Snacks hub for more.
Save this for later 📌
Pin this article to your Pinterest board so the full list is one tap away when you need it.
Save on PinterestSides, Dips & Snacks
Beginner
Kitchen Journal
7 steps
Table of Contents
- Lesson 1: Pre-Bake the Base or It Turns to Mush
- Lesson 2: Go Easy on the Garlic Butter
- Lesson 3: Fresh Mozzarella Makes It Watery
- Lesson 4: Use Less Sauce Than You Think
- Lesson 5: Bake on the Middle Rack, Not Top or Bottom
- Lesson 6: Fresh Garlic Beats the Jar Every Time
- Lesson 7: Unsalted Butter Gives You Control
- Lesson 8: Roll the Dough Thicker Than a Regular Pizza
- Lesson 9: Let the Dough Rest Before You Shape It
- Lesson 10: Rest the Pizza Before You Cut It
- Lesson 11: Garlic Butter Can Burn Under High Heat
- Lesson 12: Buy the Block, Shred It Yourself
- Lesson 13: A Dark Baking Tray Burns the Base
- Lesson 14: Preheat Properly, Including Any Stone
- Lesson 15: Add Fresh Parsley After Baking, Not Before
- Lesson 16: Frozen Garlic Toast Needs a Different Timeline
- Lesson 17: Dock the Dough Before It Goes In
- Lesson 18: Parmesan Under the Mozzarella Adds Real Depth
- Lesson 19: Thin the Sauce Before It Touches the Dough
- Lesson 20: Use a Pizza Wheel, Not a Serrated Knife
- What I'd Tell a Friend Trying This
- The Recipe I Used
Lesson 1: Pre-Bake the Base or It Turns to Mush
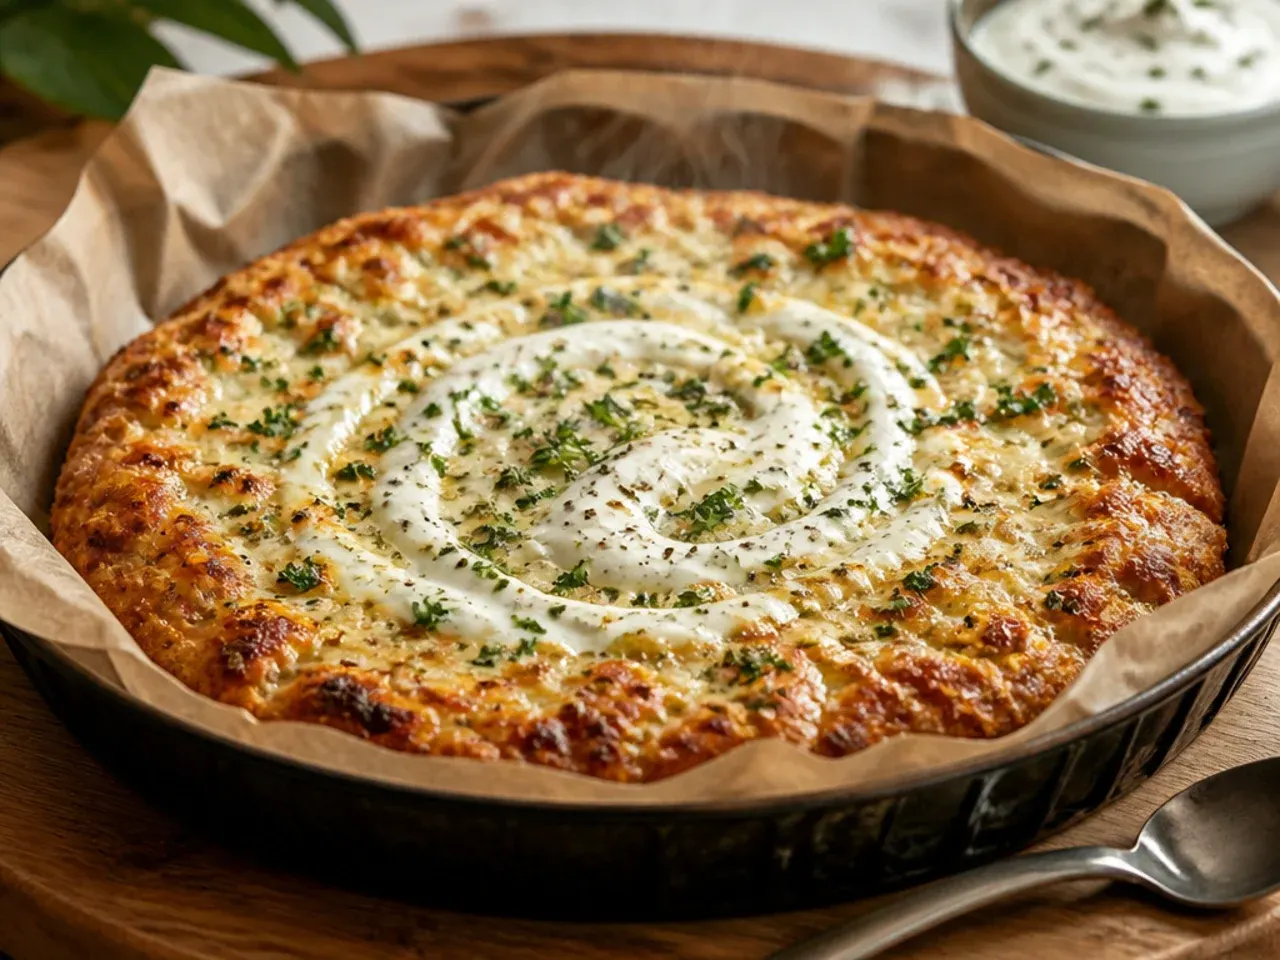
The first time I skipped par-baking, my garlic bread pizza came out with a doughy, wet centre even though the top looked perfect. Sauce and cheese trap moisture, so if the dough hasn't had a head start it never catches up underneath. Now I always bake the plain garlic-buttered base at 200°C (400°F) for 6-7 minutes before adding anything else. That short investment is the difference between a slice that holds its shape and one that folds in half.
Lesson 2: Go Easy on the Garlic Butter
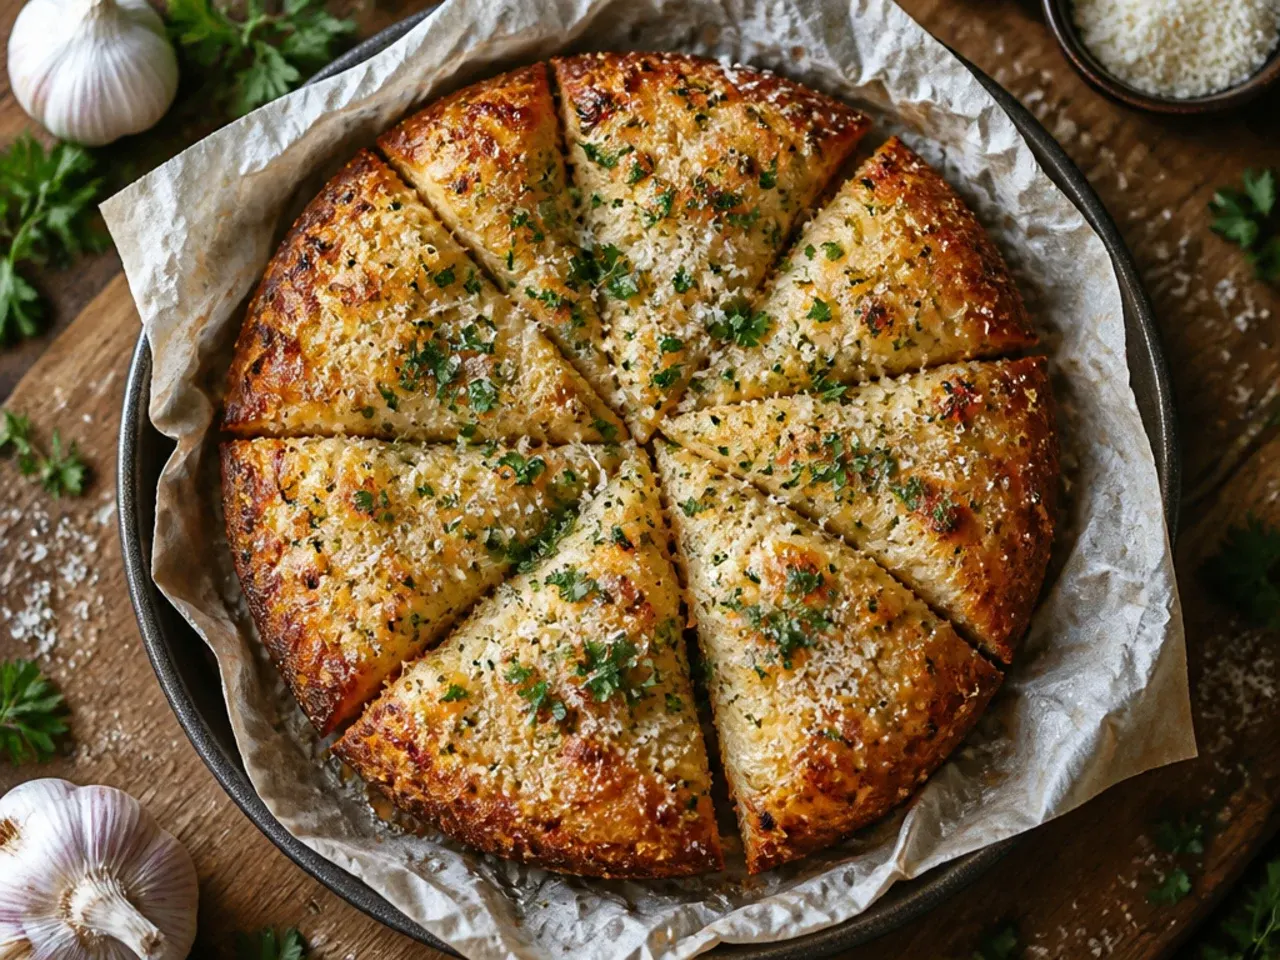
I used to slather on the full 115g (1/2 cup) of garlic butter thinking more meant more flavour, but the excess just pooled under the cheese and left the crust greasy and pale instead of golden. Now I spread it in a thin, even layer right to the edges and hold back any extra to brush on after baking. A restrained layer crisps properly in the oven, while a thick one steams the dough from underneath. The bread ends up tasting more of garlic, not less, because it isn't diluted by grease.
Lesson 3: Fresh Mozzarella Makes It Watery
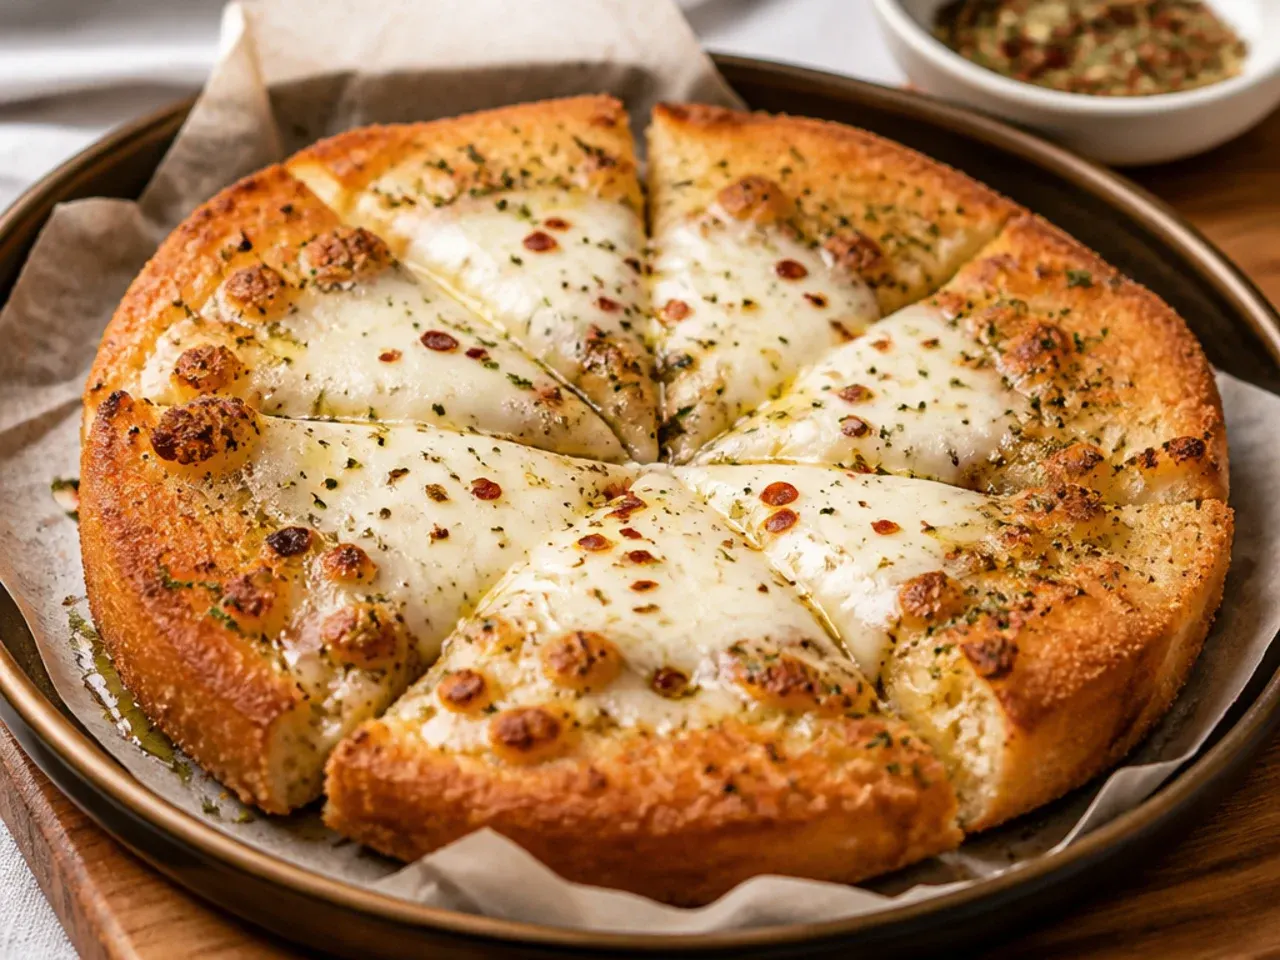
I once used fresh ball mozzarella straight from its brine and ended up with a pizza swimming in whey by the time it came out of the oven. Fresh mozzarella carries far more moisture than a low-moisture block, and that water has nowhere to go but into the crust. I switched to a firm, low-moisture mozzarella block that I shred myself, and the melt is stretchier with none of the puddling. If fresh mozzarella is all I have, I now pat it dry and tear it small so it releases less liquid.
Lesson 4: Use Less Sauce Than You Think
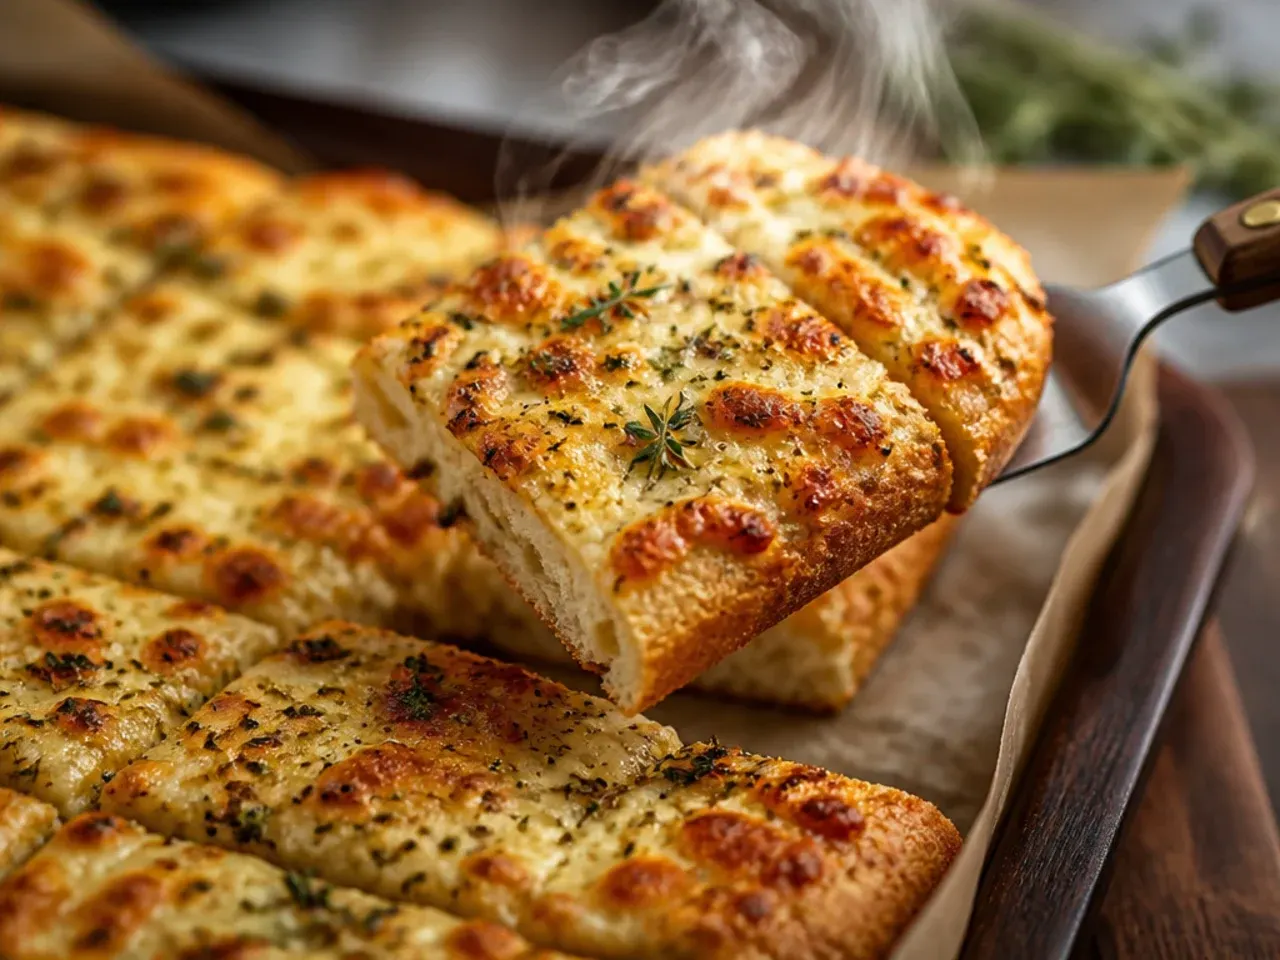
My early attempts used a generous 240ml (1 cup) of sauce, and the finished bread was floppy and sour-tasting because the base never got a chance to firm up underneath it. I cut back to about 180ml (3/4 cup) spread thinly, leaving a visible border of garlic butter around the edge. A thin layer clings to the cheese and toppings without soaking into the crumb, so every bite still has crunch. If the sauce looks watery in the jar, I simmer it down for a couple of minutes first to concentrate it.
Lesson 5: Bake on the Middle Rack, Not Top or Bottom
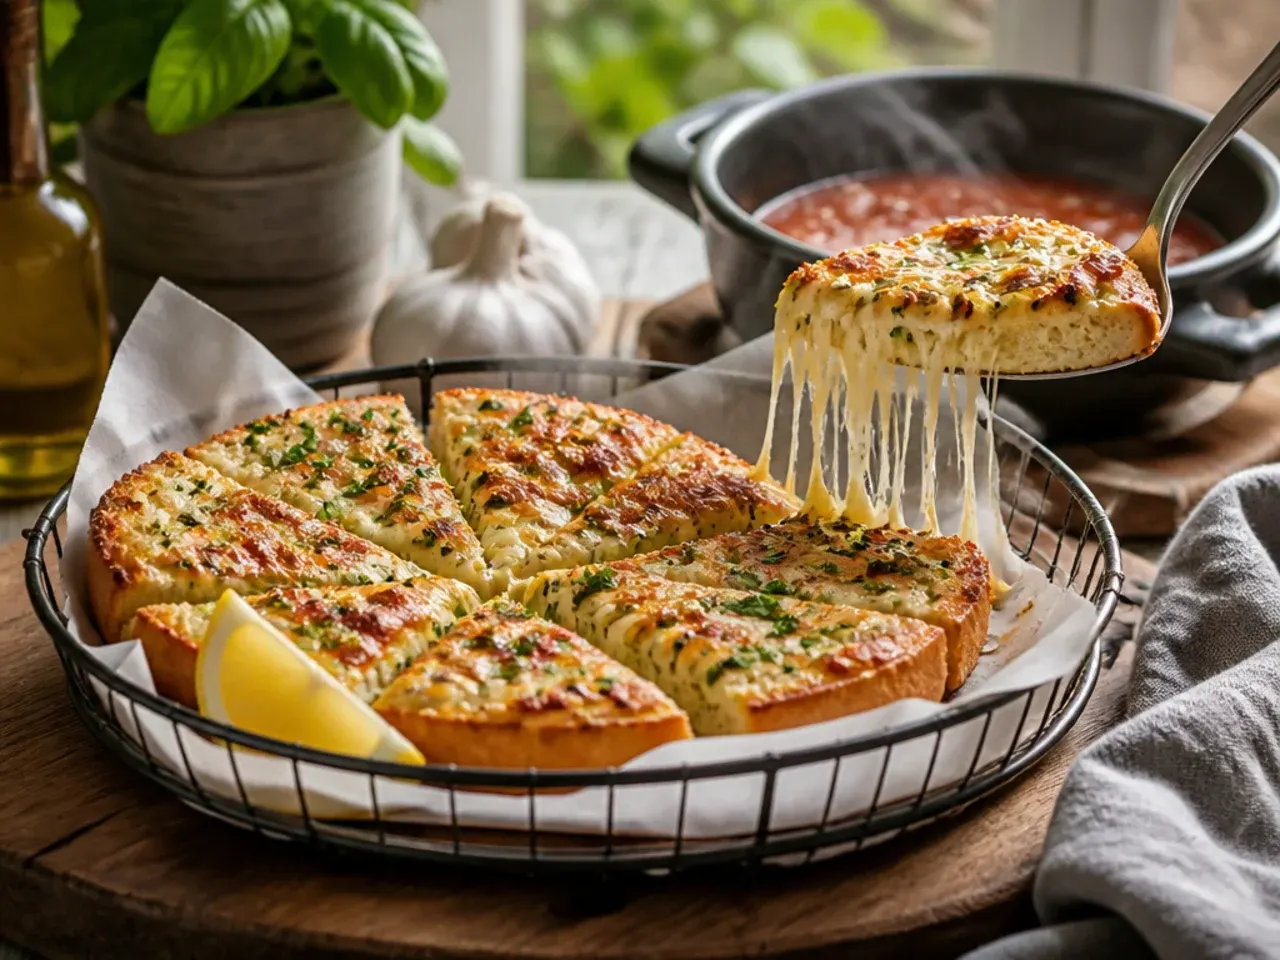
Baking on the top shelf browned my cheese beautifully while the underside of the bread stayed pale and slightly raw. Moving the tray to the middle rack let heat circulate evenly around the pizza instead of blasting only the top. Now the crust and the cheese finish at the same time, both landing that deep golden colour I'm after. Rack position genuinely changed the texture more than any ingredient swap did.
Lesson 6: Fresh Garlic Beats the Jar Every Time
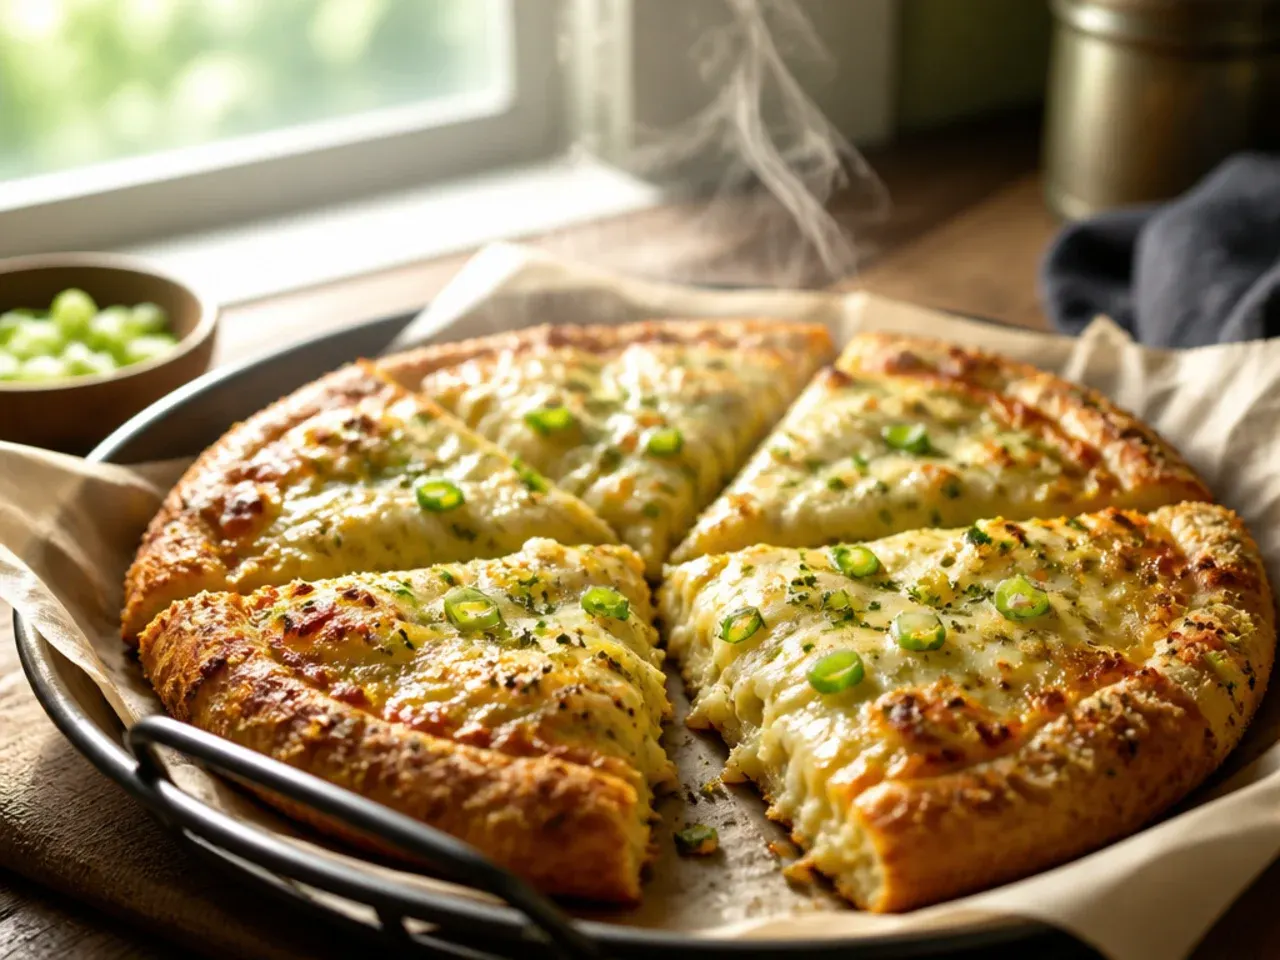
I tried cutting corners with garlic powder once and the finished pizza tasted flat, with none of the sweet, savoury depth I was expecting. Fresh cloves, finely minced, release oils that bloom in melted butter in a way powder simply can't replicate. Now I mince 5 cloves (about 20g) by hand and let them sit in the softened butter for 10 minutes before spreading, which mellows any harshness. The difference is obvious on the first bite, not just in theory.
Lesson 7: Unsalted Butter Gives You Control
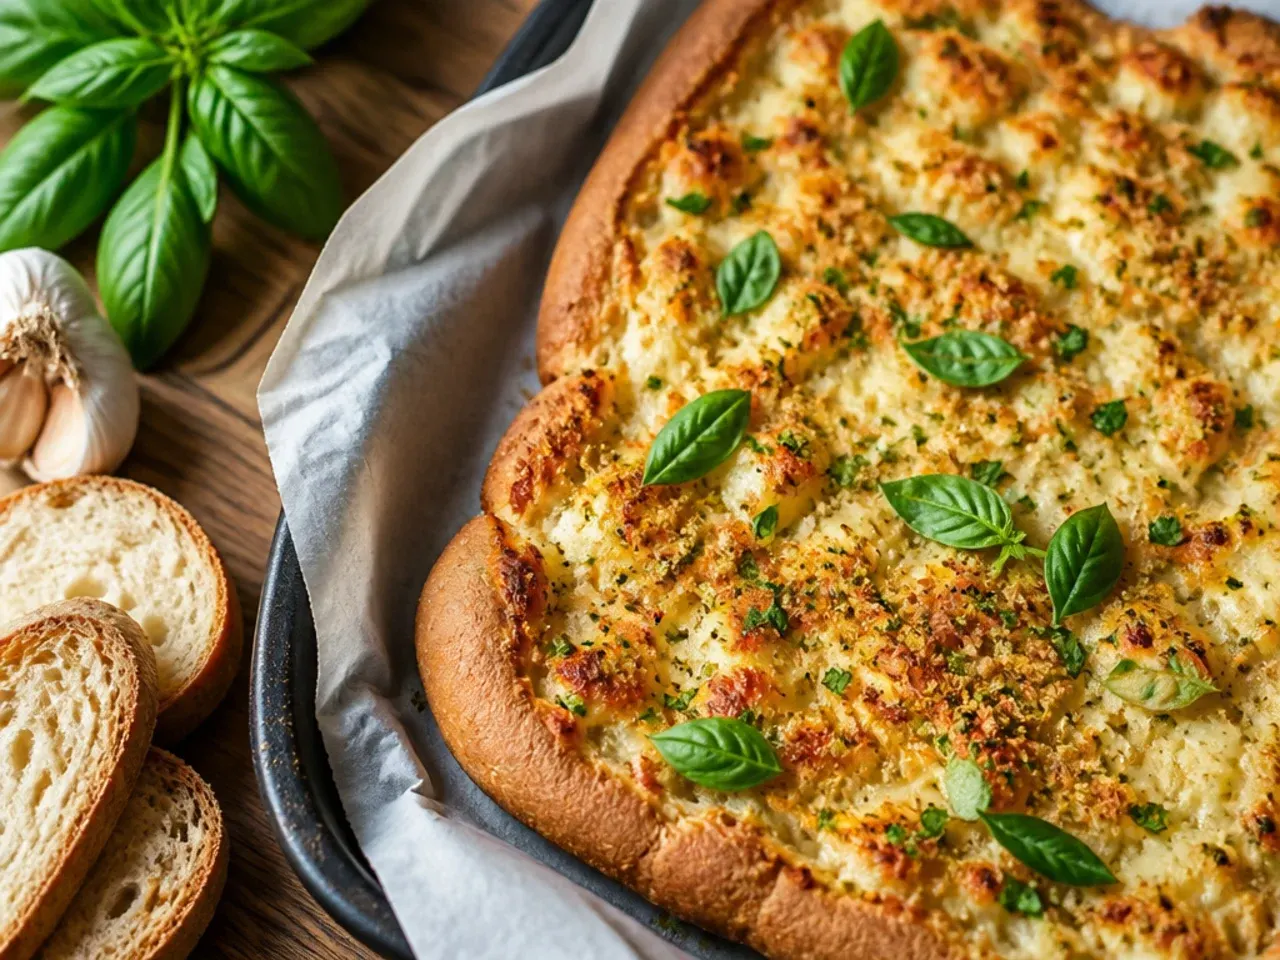
Using salted butter alongside a seasoned sauce and salty parmesan left one batch nearly inedible, the saltiness stacking up from every layer at once. I switched to unsalted butter and added a measured 1.5g (1/4 tsp) of salt to the garlic mixture myself, so I could taste and adjust as I went. That single change let me actually taste the garlic and cheese instead of just salt. Now I season the butter, not the whole pizza, and it comes out balanced every time.
Lesson 8: Roll the Dough Thicker Than a Regular Pizza
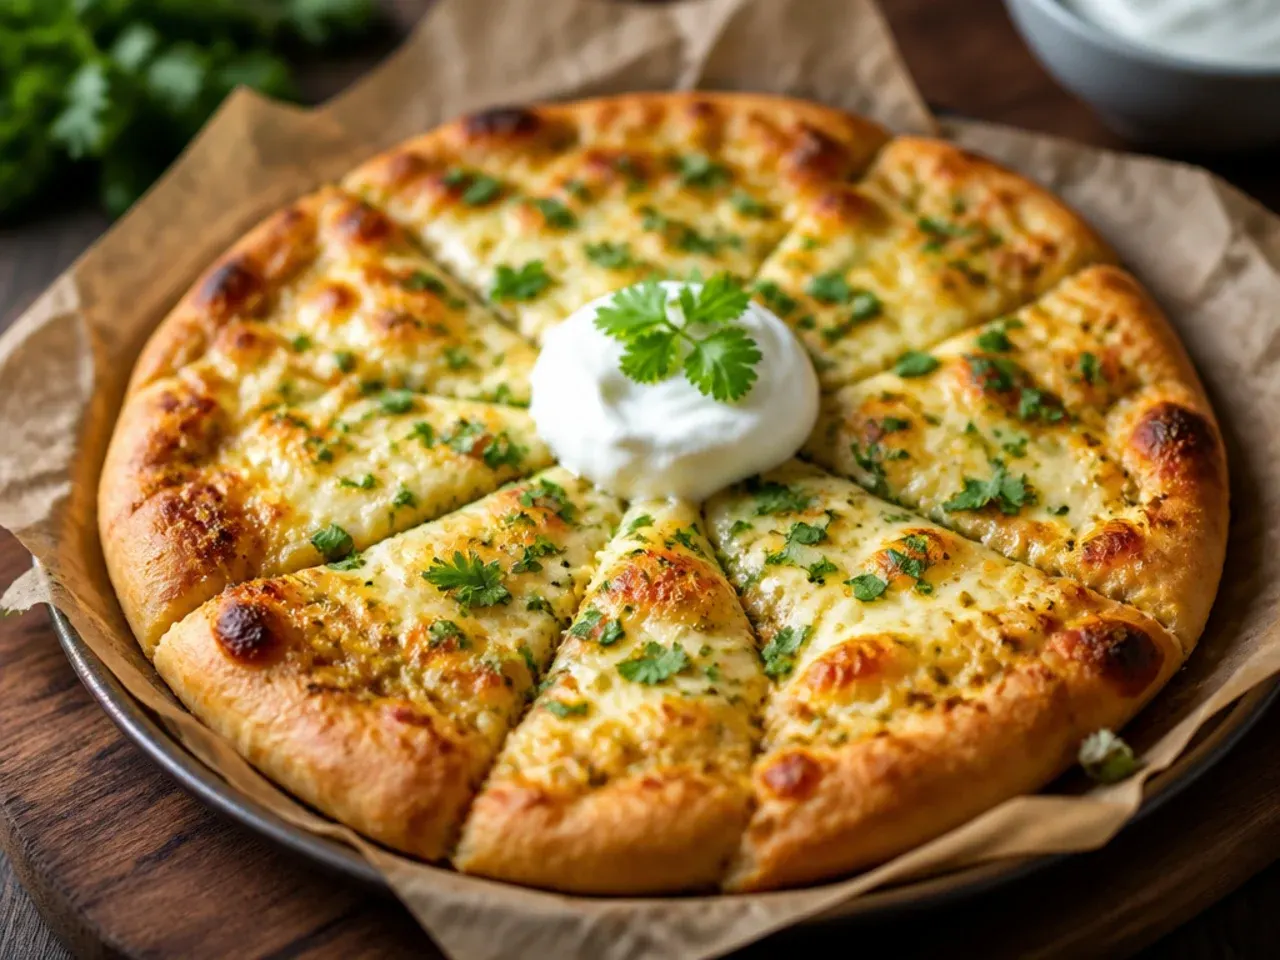
My first few attempts used a thin, stretched pizza base, and the edges burned black before the cheese in the centre had even melted. Garlic bread pizza needs a slightly thicker base than a classic thin-crust pizza because it's carrying garlic butter, sauce, and cheese all at once. I now roll it to about 1cm (1/3 inch) thick, which gives a soft, doughy interior with a crisp shell instead of a cracker that scorches. Thicker dough also holds its shape when you pick up a slice.
Lesson 9: Let the Dough Rest Before You Shape It
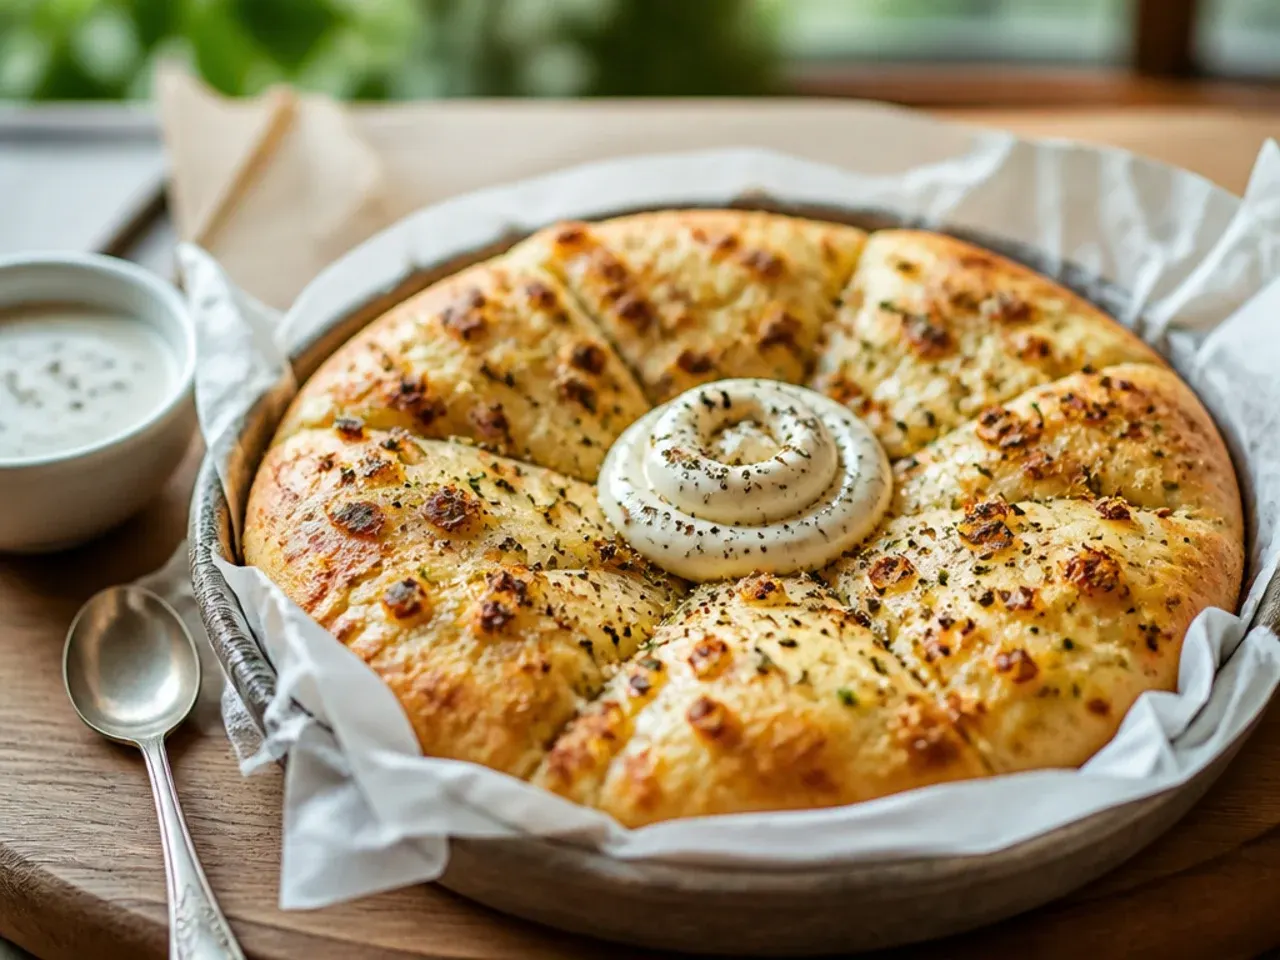
Skipping the rest meant my dough kept springing back every time I tried to stretch it, leaving me with a lumpy, uneven shape that baked unevenly too. Now I let the dough sit, loosely covered, at room temperature for 15-20 minutes after dividing it, which relaxes the gluten fully. Shaping takes a fraction of the time and the edges come out even instead of thick in some spots and torn in others. It's a small wait that saves a lot of frustration.
Lesson 10: Rest the Pizza Before You Cut It
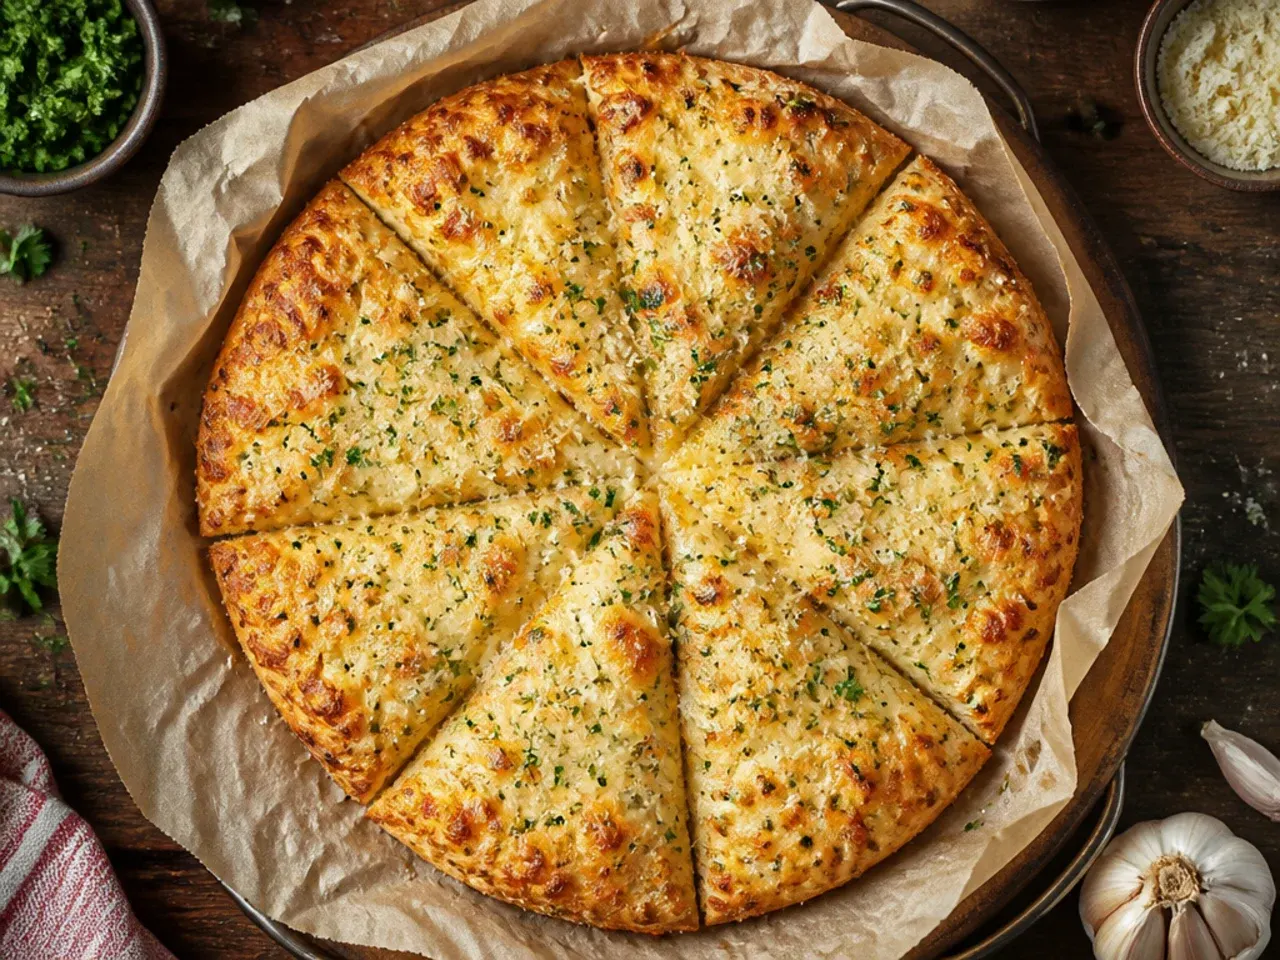
Cutting straight out of the oven meant the molten cheese just slid off with the knife, leaving bald patches of sauce on one slice and a cheese avalanche on another. Now I let the whole pizza sit for 4-5 minutes on a wire rack before slicing, giving the cheese just enough time to set without going cold. A sharp pizza wheel in one confident motion, rather than a sawing knife, keeps the topping in place too. Patience here matters more than technique.
Lesson 11: Garlic Butter Can Burn Under High Heat
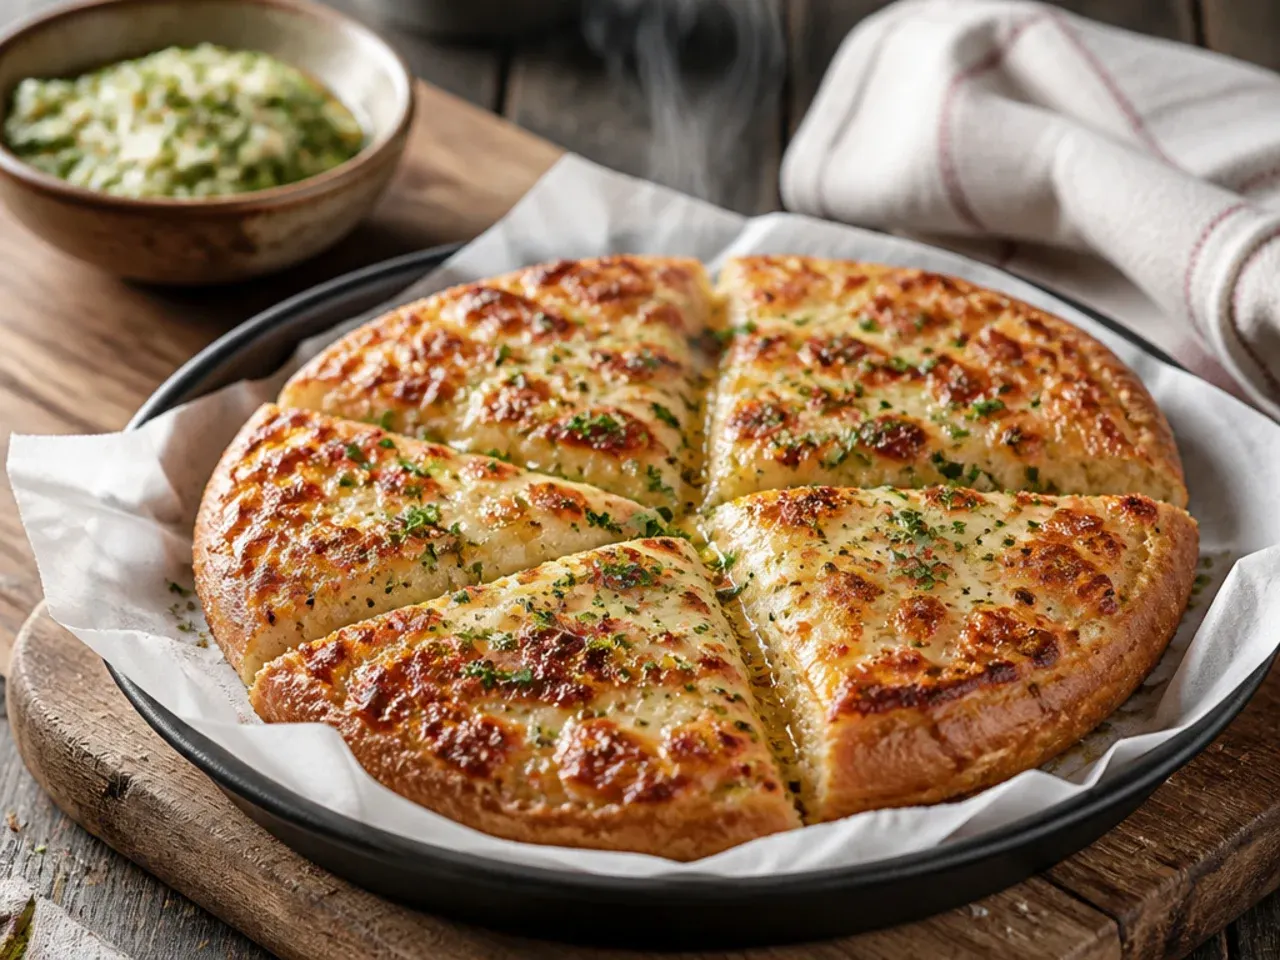
When I tried baking the whole way through at a fierce 230°C (450°F), the garlic in the butter turned bitter and dark before the cheese had properly bubbled. Garlic scorches fast once its natural sugars catch, so intense heat that suits a bare crust is too much for a garlic-buttered one. I now keep the oven at a steadier 200-220°C (400-425°F) for the full bake and add any extra raw garlic as a finishing touch afterwards. That way I get char on the cheese, not bitterness in the base.
Lesson 12: Buy the Block, Shred It Yourself
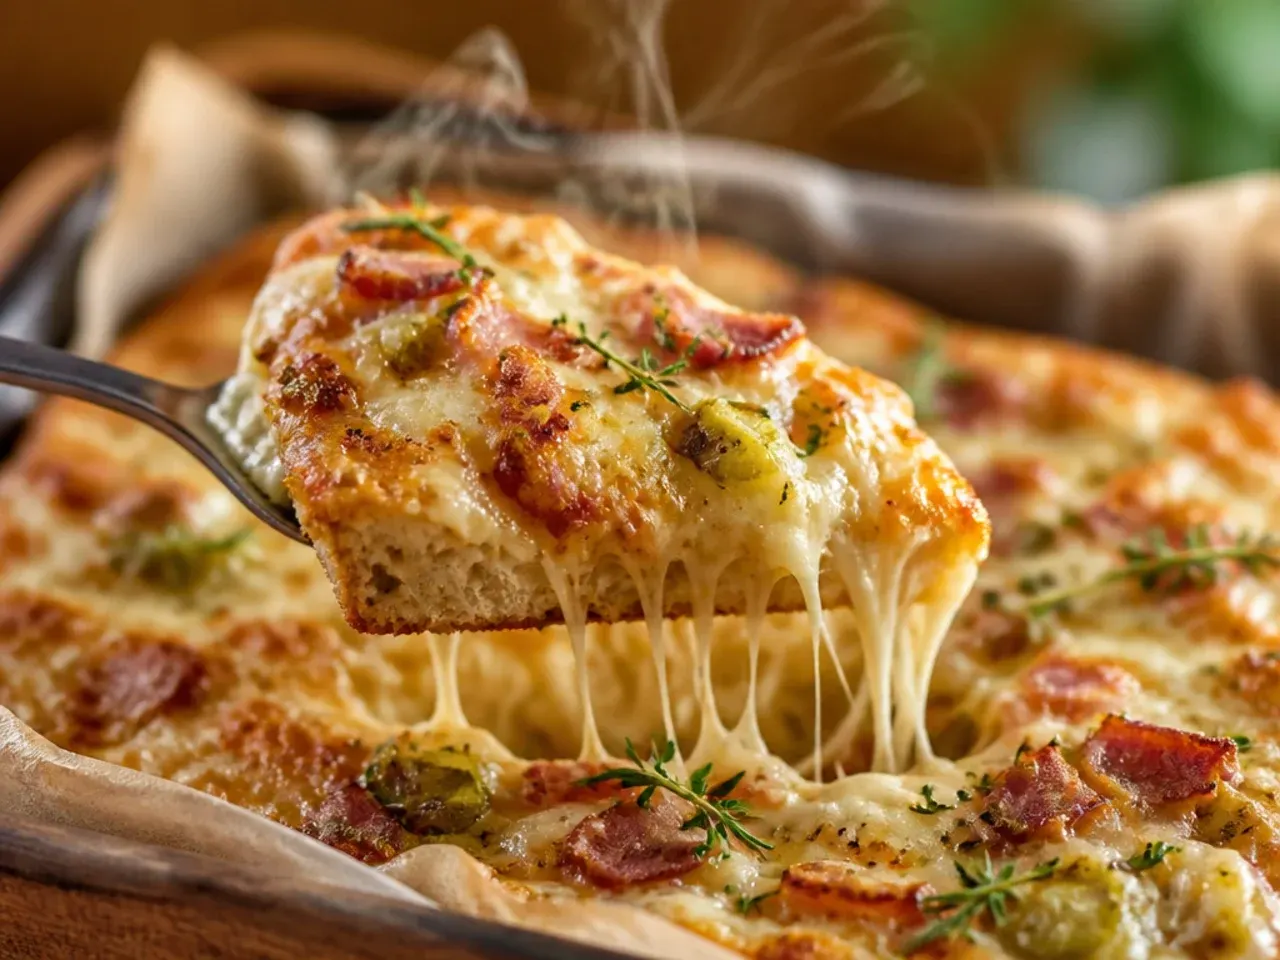
Pre-shredded bags of mozzarella seemed like the obvious shortcut, but the anti-caking starch coating stopped it melting smoothly and left a slightly grainy, greasy layer on top. Shredding a block myself takes about two minutes and melts into the stretchy, glossy finish I actually want. I keep a box grater dedicated to cheese for exactly this reason now. It's one extra step that makes a genuinely visible difference in the finished bake.
Lesson 13: A Dark Baking Tray Burns the Base
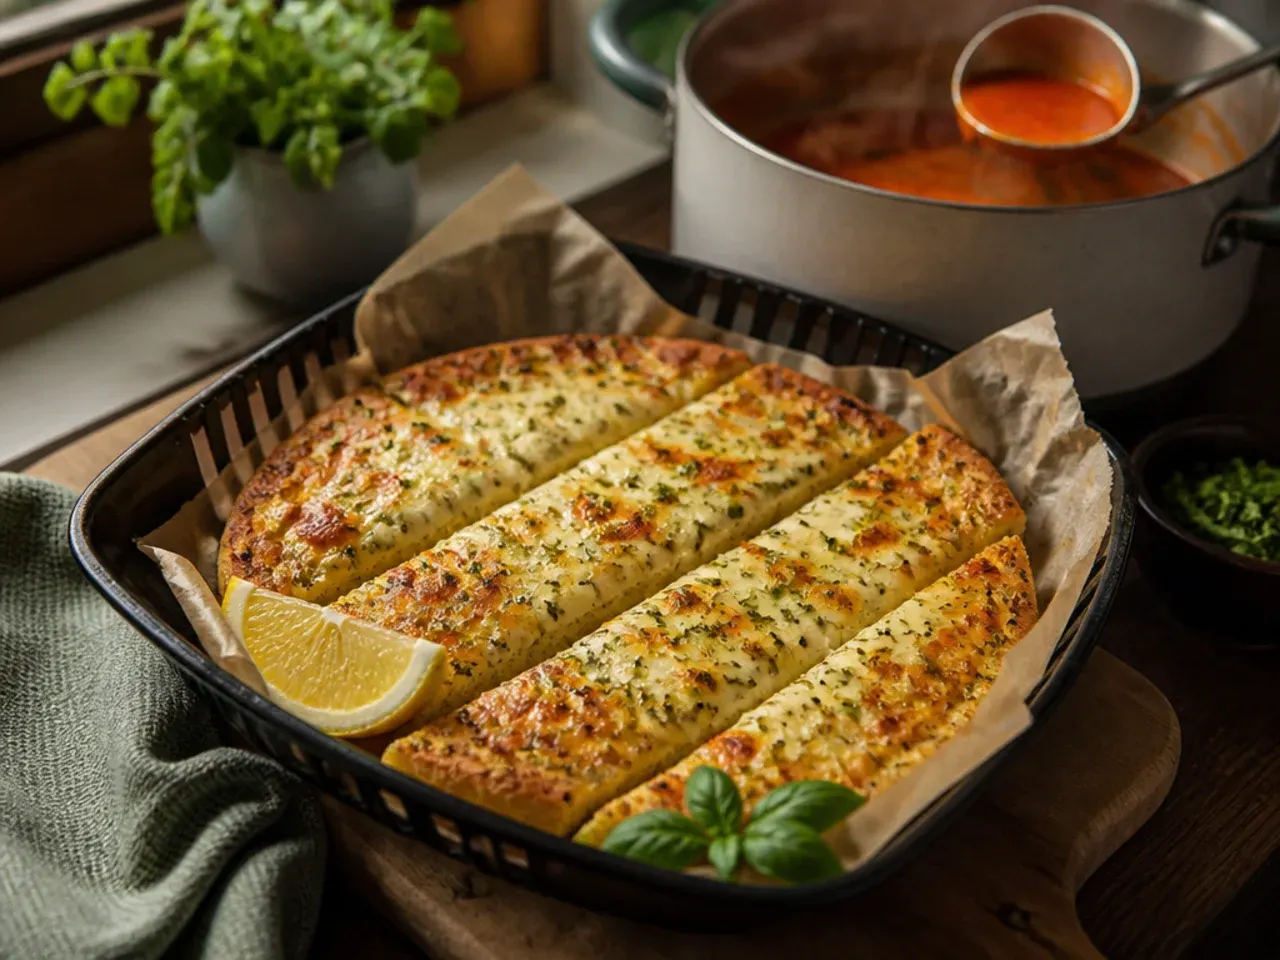
I once used an old, dark non-stick tray and the underside of the bread was nearly black while the top was still pale, because dark metal absorbs and holds far more heat than light metal does. Switching to a light aluminium tray, or baking directly on a preheated pizza stone, gave the base a much more even, controlled colour. If a dark tray is all I've got, I now drop the oven temperature by about 10°C (20°F) and watch closely near the end. The tray itself turned out to matter almost as much as the recipe.
Lesson 14: Preheat Properly, Including Any Stone
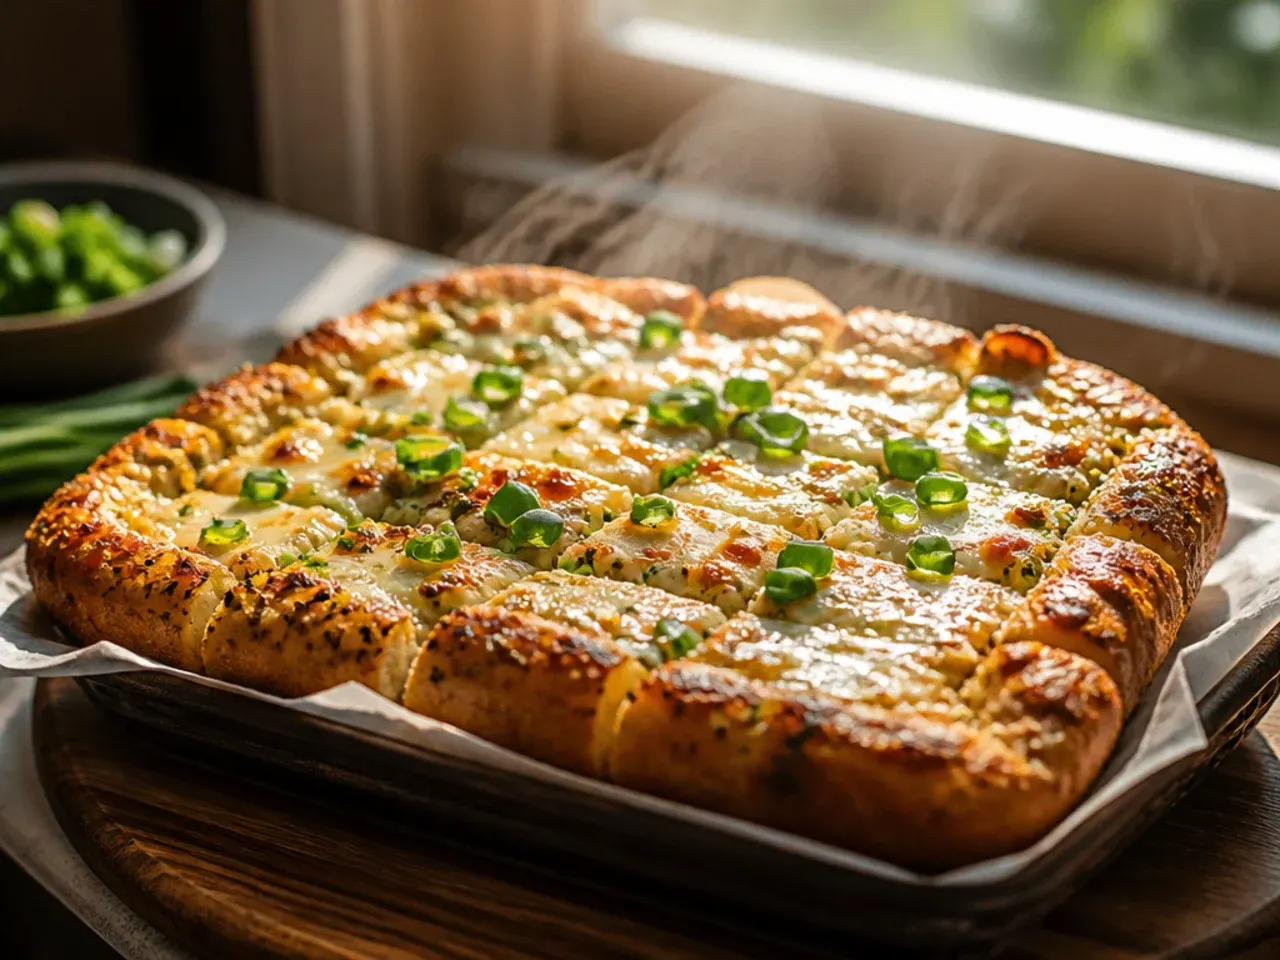
Sliding the pizza in the moment the oven beeped meant the base never really got that initial blast of heat it needs to crisp, and the whole bake ran slow and uneven. Now I preheat for a full 15-20 minutes, and if I'm using a pizza stone, I give it that same window sitting inside the hot oven before the dough ever touches it. A properly heated stone or tray sears the underside on contact, which is where a lot of the crunch actually comes from. Rushing the preheat is an easy way to undo every other careful step.
Lesson 15: Add Fresh Parsley After Baking, Not Before
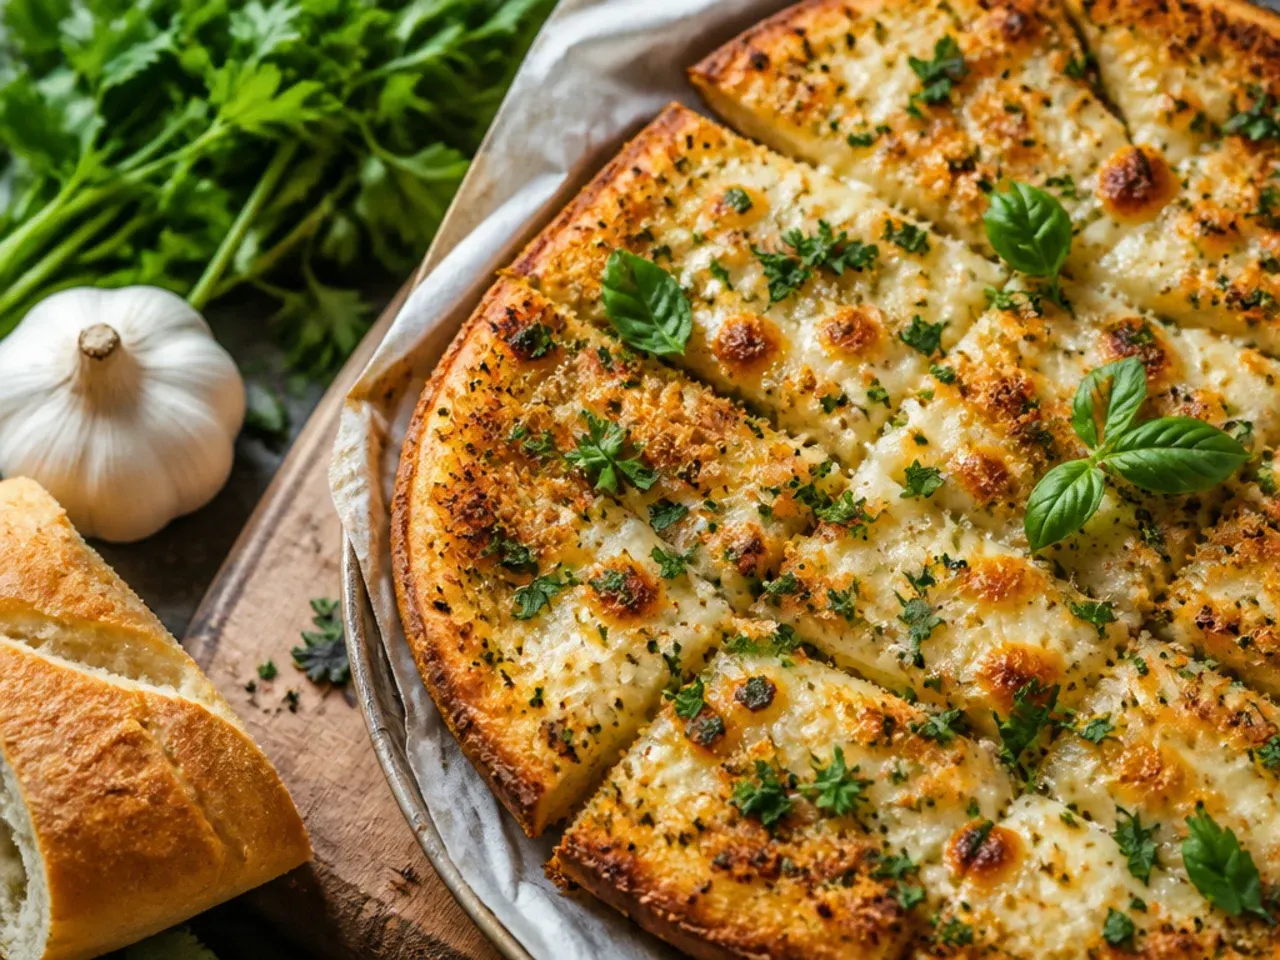
Scattering fresh parsley over the raw pizza before it went in the oven left me with blackened, bitter-tasting flecks by the time it came out. Fresh herbs simply can't survive 15-20 minutes of oven heat without scorching. I now stir a little parsley into the garlic butter that goes on before baking, but save a fresh handful, chopped, to scatter on top the moment the pizza comes out. It stays bright green and tastes clean instead of burnt.
Lesson 16: Frozen Garlic Toast Needs a Different Timeline
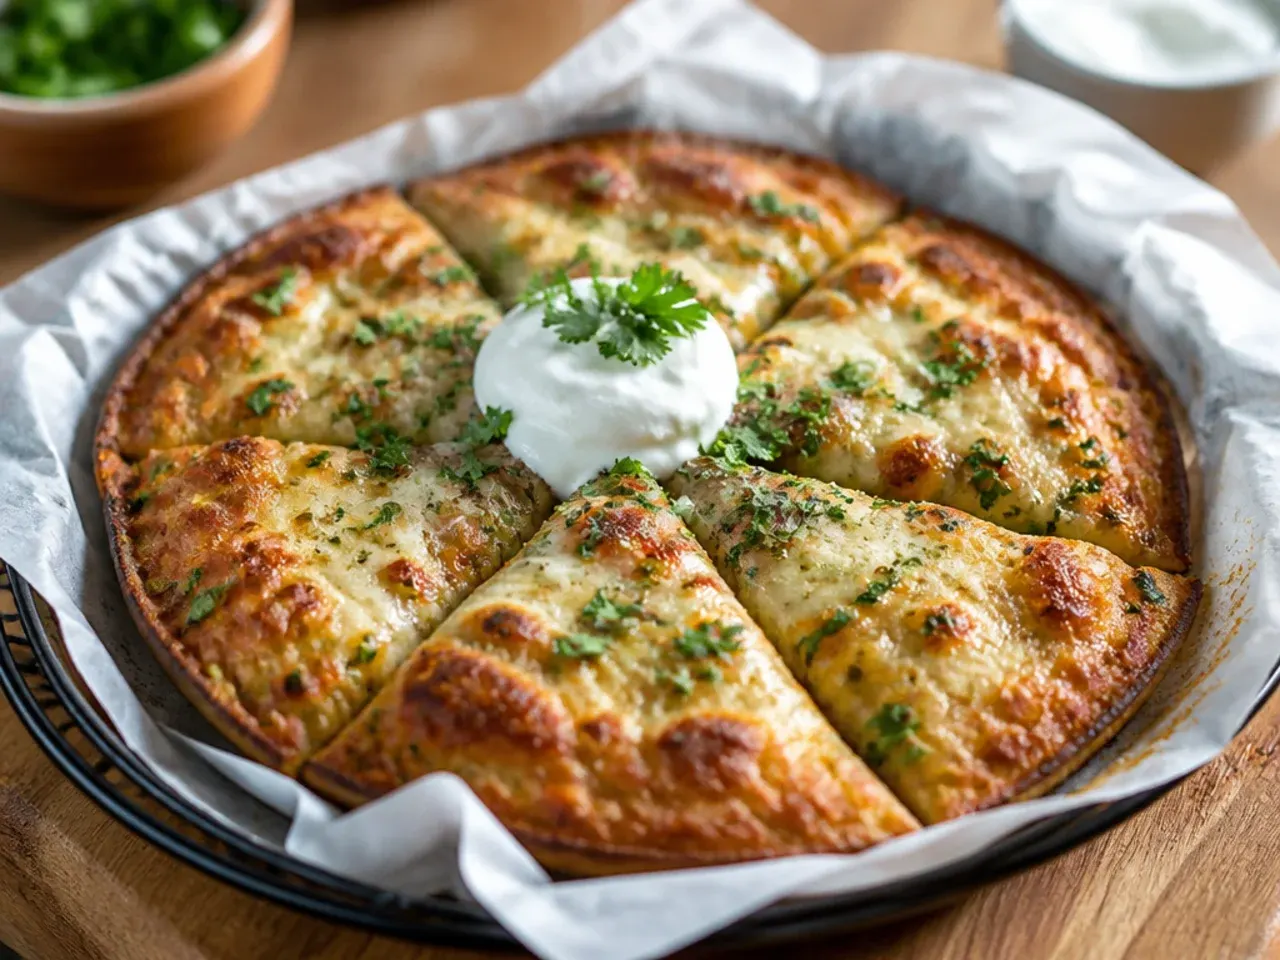
The first time I built this on frozen garlic Texas toast instead of raw dough, I used my usual pizza timing and ended up with cold, unmelted cheese in the centre. Frozen toast needs its own head start, around 5 minutes at 220°C (425°F) straight from frozen, before sauce and cheese go anywhere near it. Once topped, it only needs another 12-15 minutes rather than the fuller bake raw dough requires. Treating every base the same way was the mistake, not the ingredient itself.
Lesson 17: Dock the Dough Before It Goes In
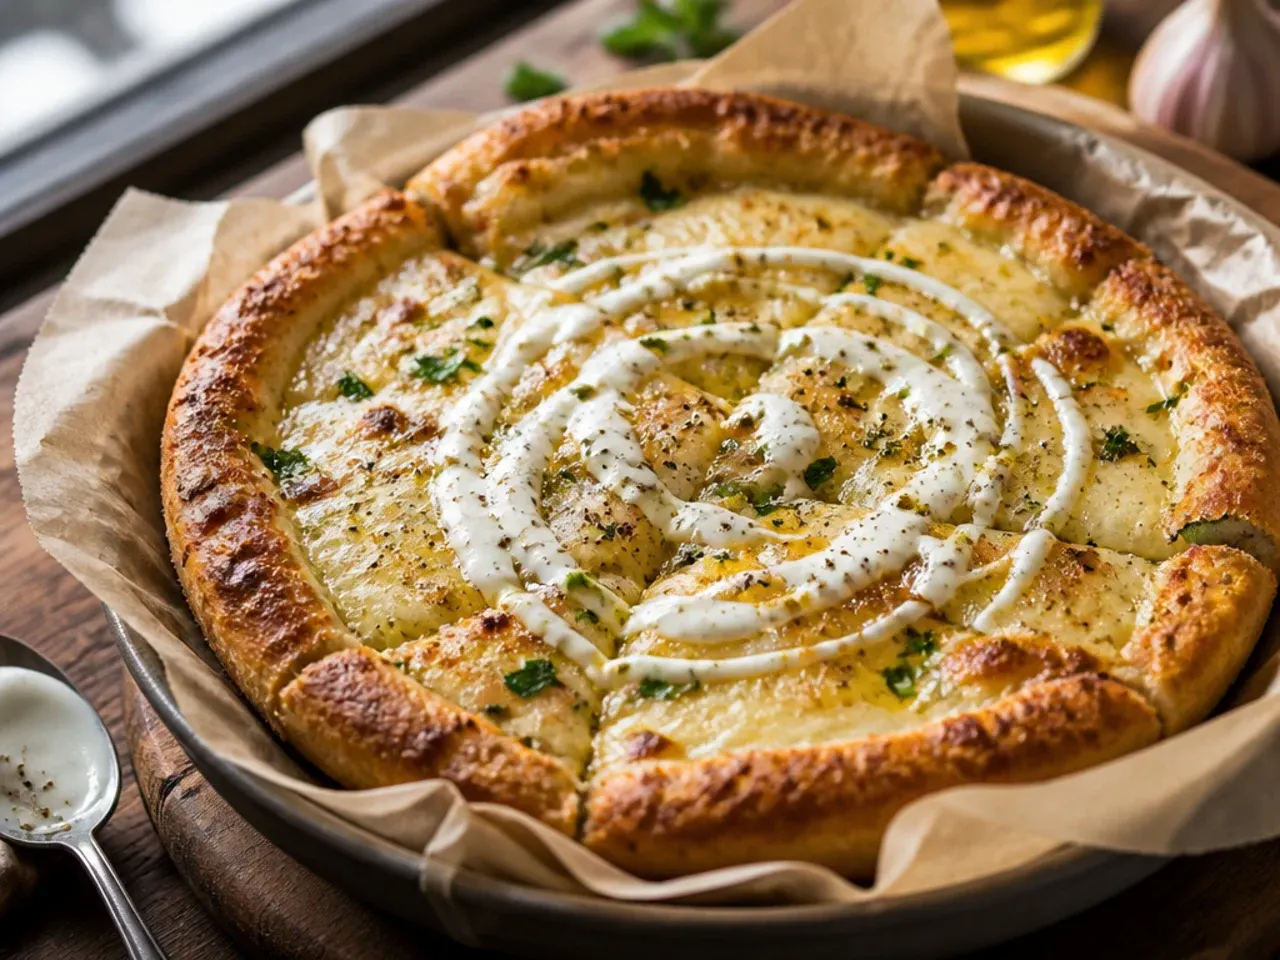
An un-docked base puffed up into one giant air pocket in the middle, so the sauce and cheese slid straight off to the edges the moment I opened the oven door. Now I prick the shaped dough all over with a fork before it ever sees garlic butter, which lets steam escape evenly instead of building up in one spot. The base bakes flat and even, giving the toppings somewhere stable to sit. It takes ten seconds and prevents one of the most annoying failures in the whole process.
Lesson 18: Parmesan Under the Mozzarella Adds Real Depth
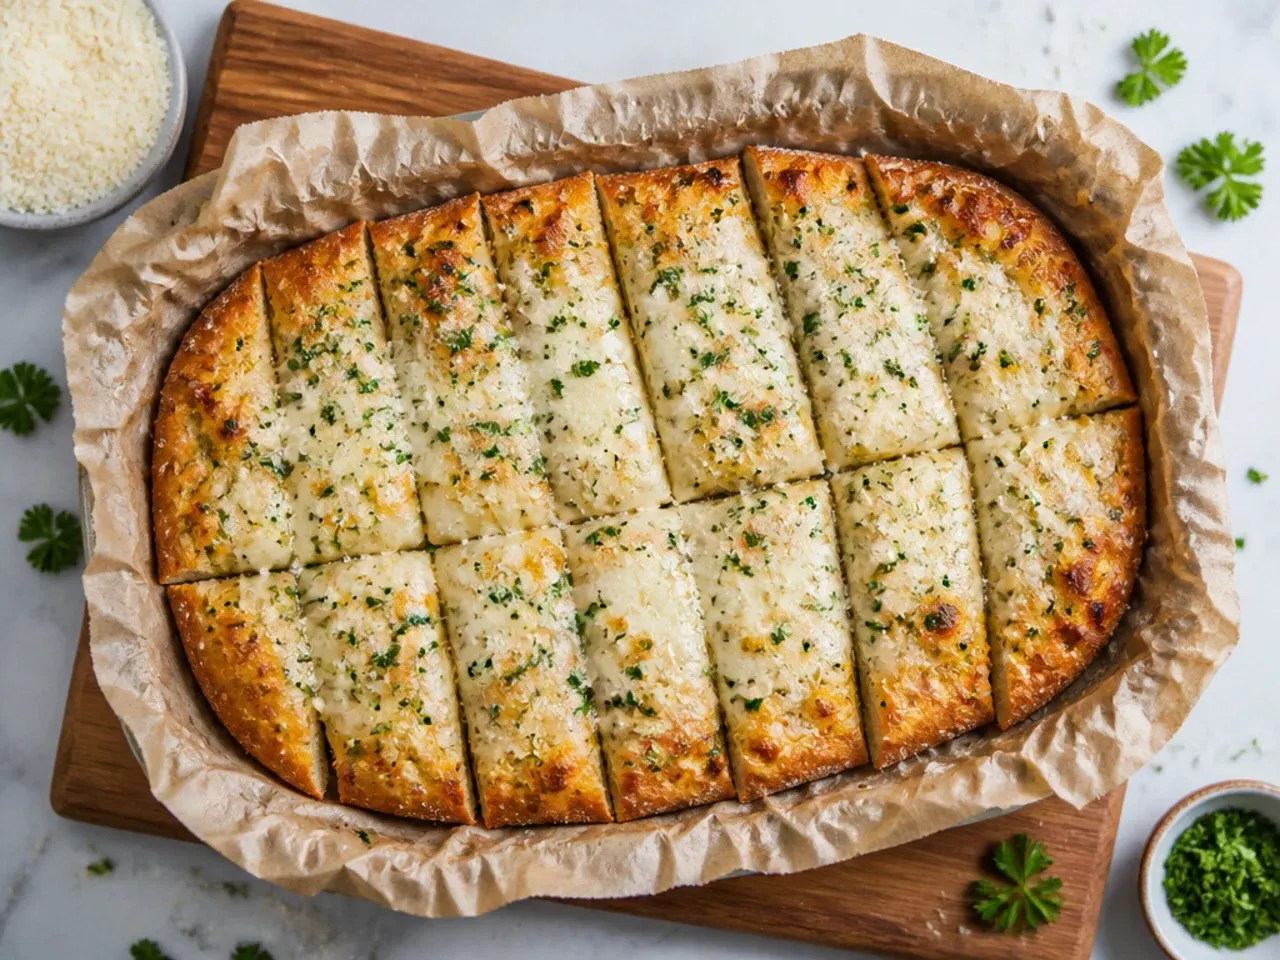
Leaving parmesan out entirely, or scattering it only on top at the very end, meant the pizza tasted like plain melted cheese with none of the savoury backbone I was after. Now I sprinkle about 40g (1/3 cup) of finely grated parmesan directly onto the sauce before the mozzarella goes on, so it melts into the layer below rather than just sitting on top. A second light dusting over the mozzarella adds browning and a bit of crunch as it bakes. That double layer is what makes the cheese pull taste properly savoury rather than just milky.
Lesson 19: Thin the Sauce Before It Touches the Dough
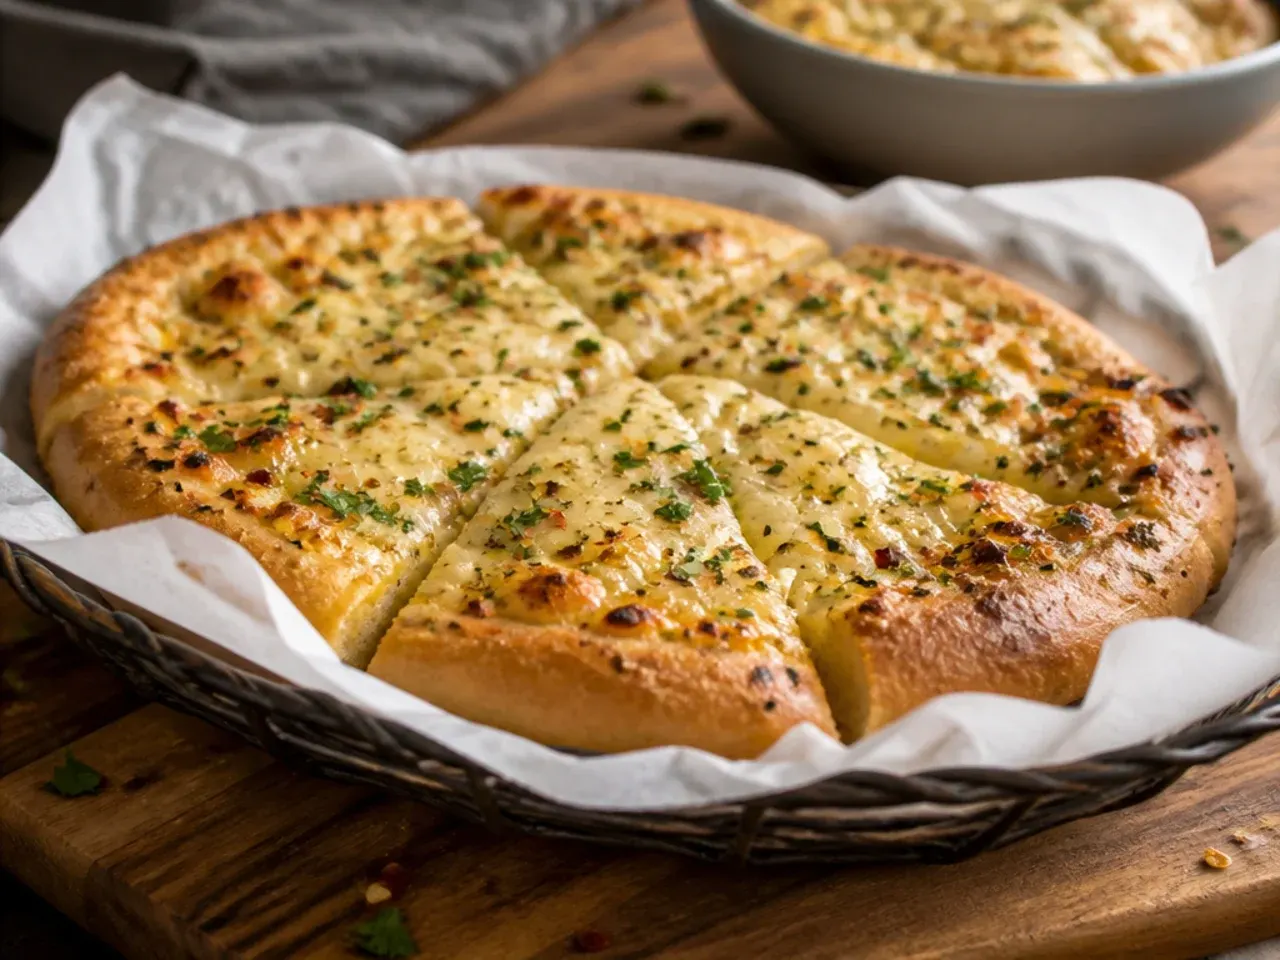
Using a thick, watery tinned tomato sauce straight from the tin left pockets of liquid under the cheese that never fully cooked off in the bake time. I now simmer the sauce on the hob for 3-4 minutes first to thicken it and cook out some of that raw liquid before it goes anywhere near the dough. A jarred pizza sauce, already reduced and seasoned, works better here than a runnier marinara. Getting the sauce right before baking saves the crust from turning soggy underneath.
Lesson 20: Use a Pizza Wheel, Not a Serrated Knife
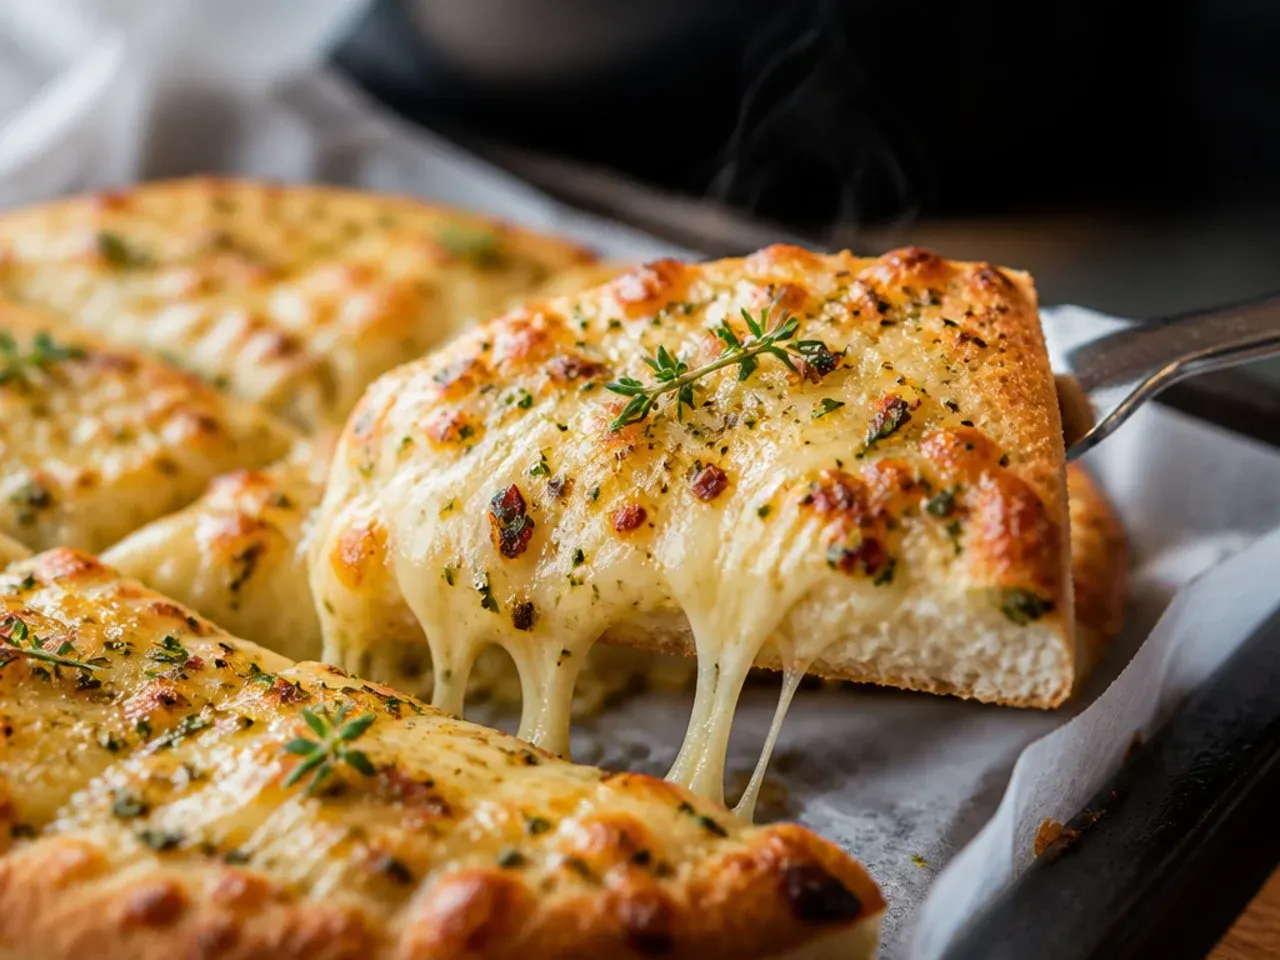
Sawing through a finished pizza with a bread knife dragged the cheese and toppings sideways, leaving torn, messy slices instead of clean wedges. Switching to a sharp pizza wheel and rolling straight down through the pizza in one motion keeps every topping exactly where it landed. I cut into wedges for a round base and neat squares for a rectangular tray bake, whichever suits the shape I've made. It's a small tool change that makes the finished pizza actually look like the photo I was chasing.
What I'd Tell a Friend Trying This
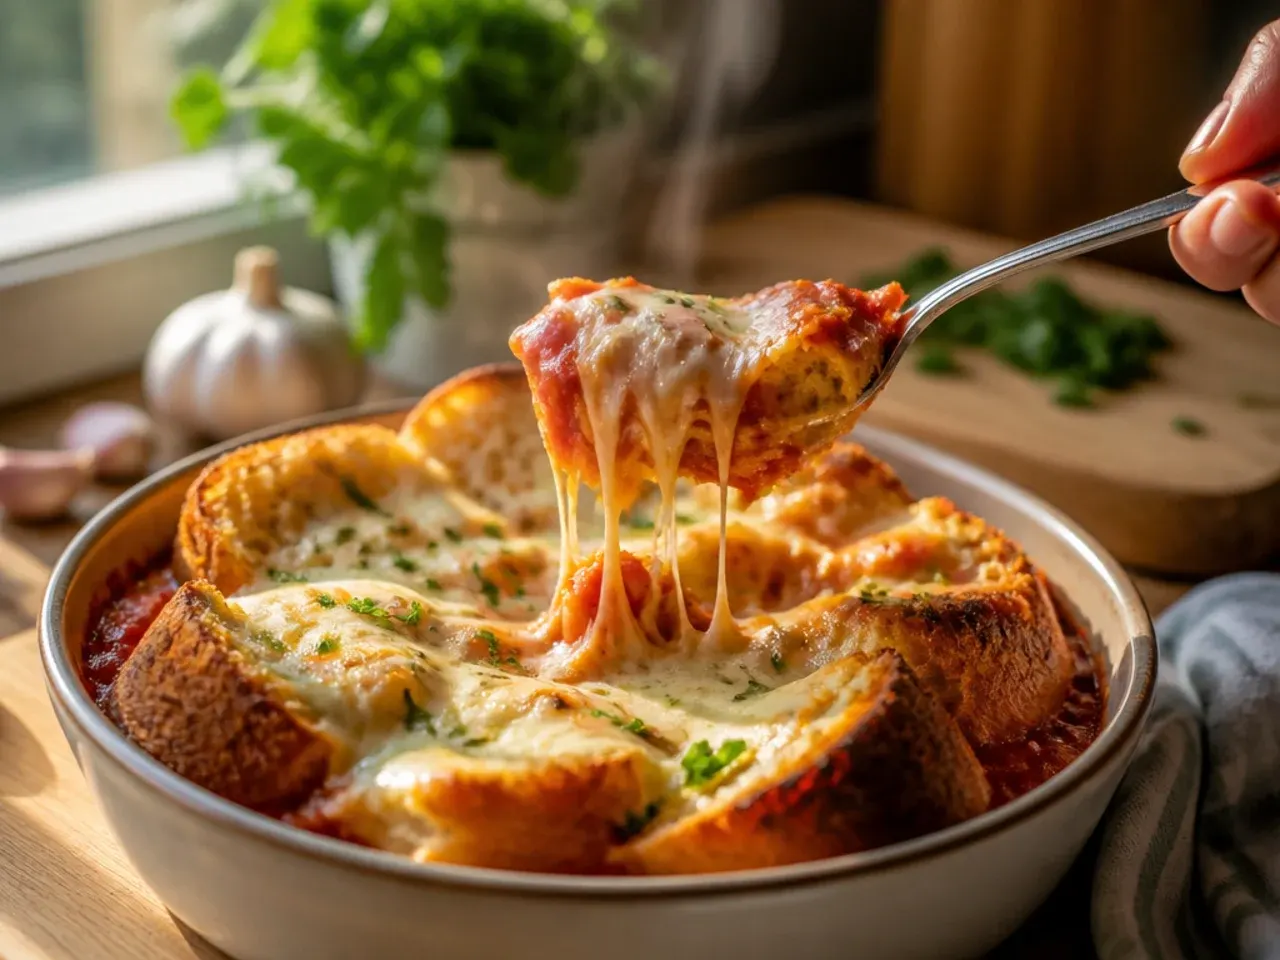
Pre-bake your base, go lighter than feels natural on both the garlic butter and the sauce, and use a proper low-moisture block of mozzarella instead of the bag. Keep the oven at a steady 200-220°C (400-425°F), give it a full preheat, and let the finished pizza rest for a few minutes before you touch a knife to it. Every lesson above came from a specific batch that went slightly wrong, and every fix is genuinely simple once you know it. Start with those few habits and your garlic bread pizza will taste like it came from a proper kitchen, not a quick fix.
The Recipe
The Recipe I Used
20 min
25 min
45 min
6
Beginner
Ingredients 6 Person(s)
Directions
Step 1: Make the garlic butter
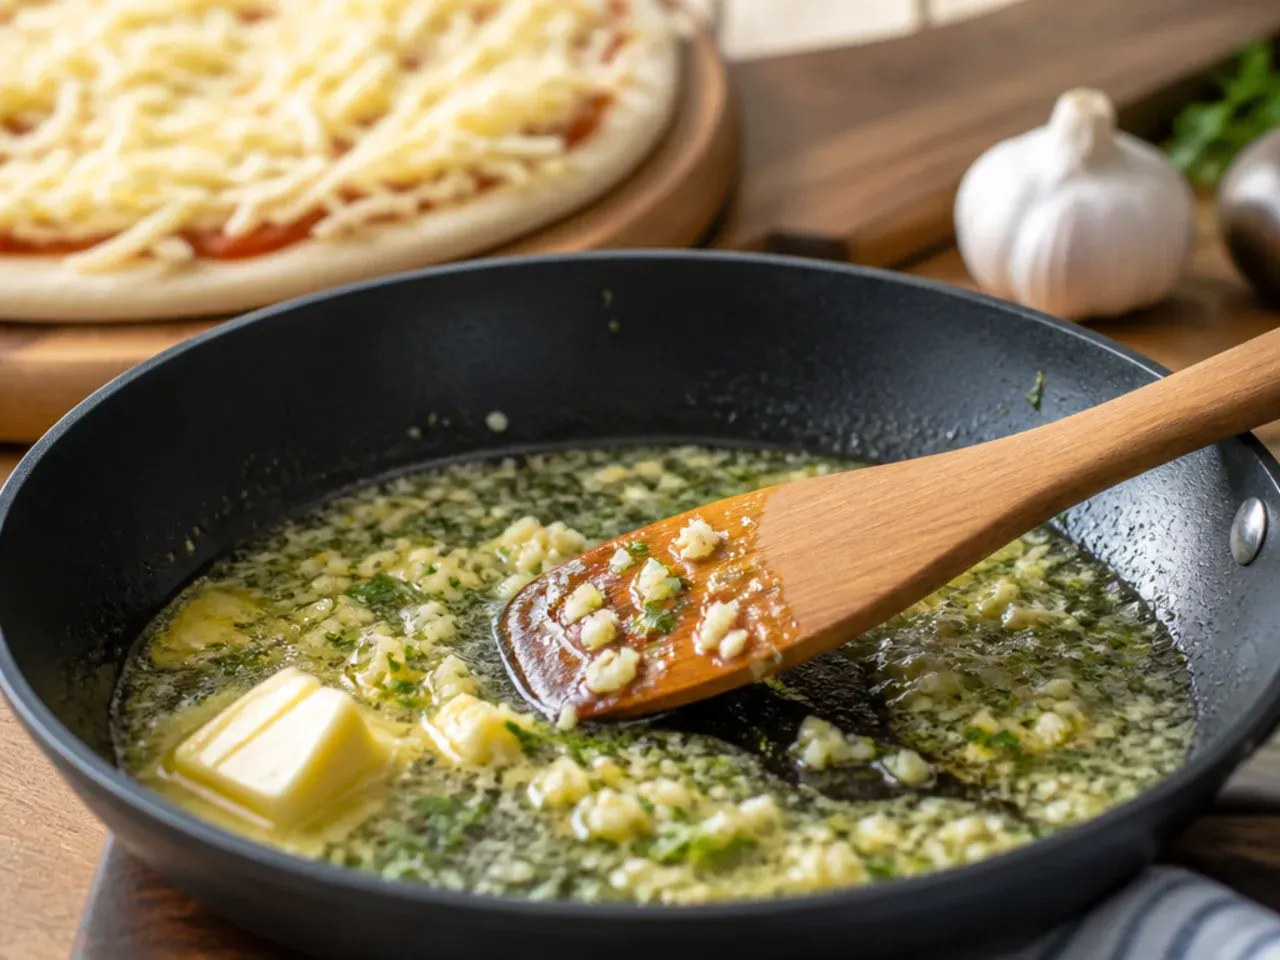
In a small bowl, mash the softened 115g (1/2 cup) butter with the minced garlic, half the parsley, the olive oil, and 1.5g (1/4 tsp) salt until evenly combined. Let it sit at room temperature for 10 minutes so the garlic mellows into the butter instead of tasting sharp and raw.
Step 2: Shape the dough
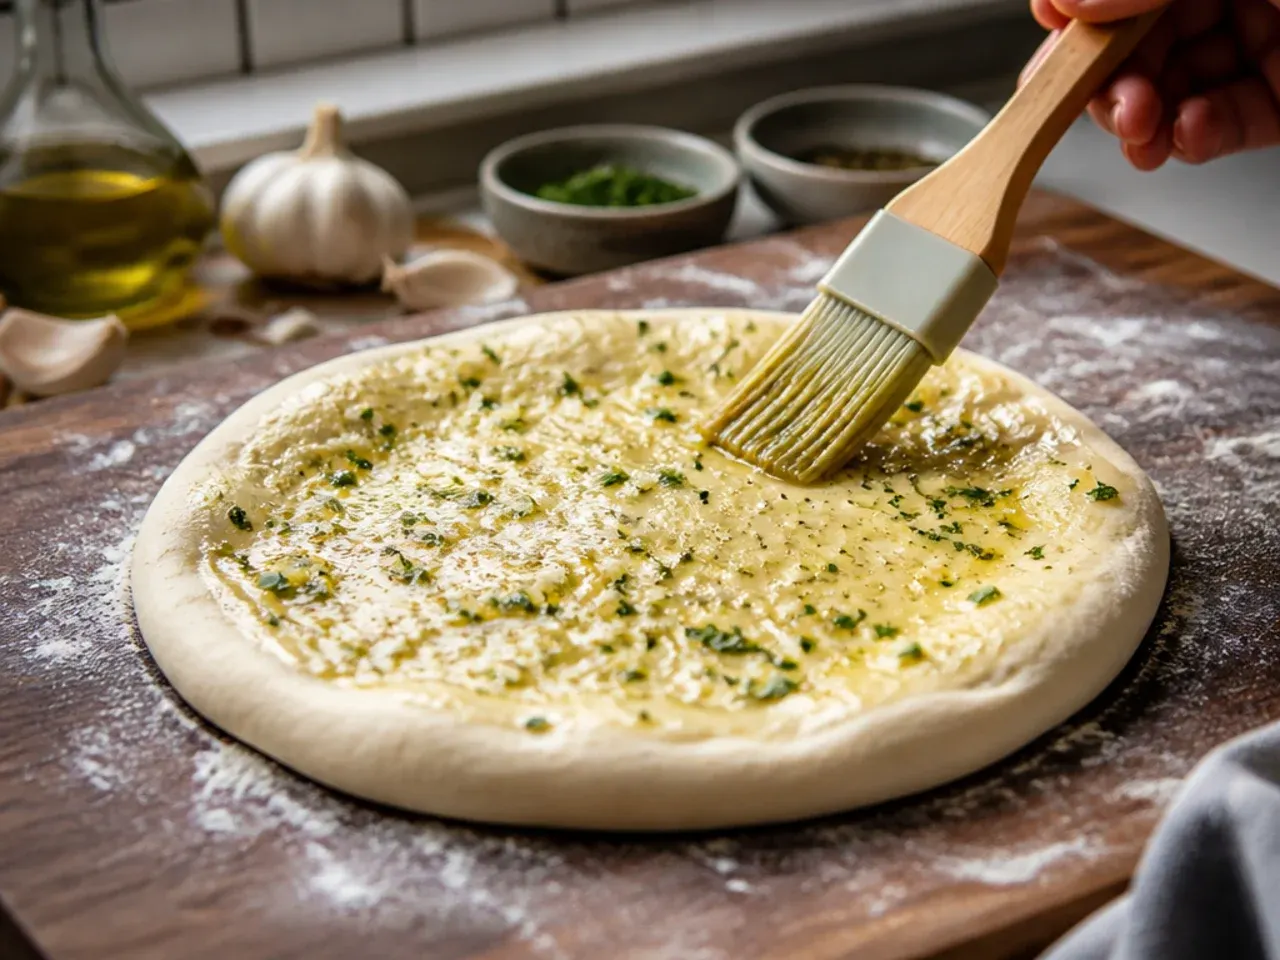
On a lightly floured surface, stretch or roll the pizza dough into a 30cm (12 inch) round or a 25 x 35cm (10 x 14 inch) rectangle, about 1cm (1/3 inch) thick. Transfer it to a light-coloured baking tray or a preheated pizza stone, then prick the surface all over with a fork so it doesn't puff up unevenly, letting it rest 15-20 minutes first if it keeps springing back.
Step 3: Pre-bake with garlic butter
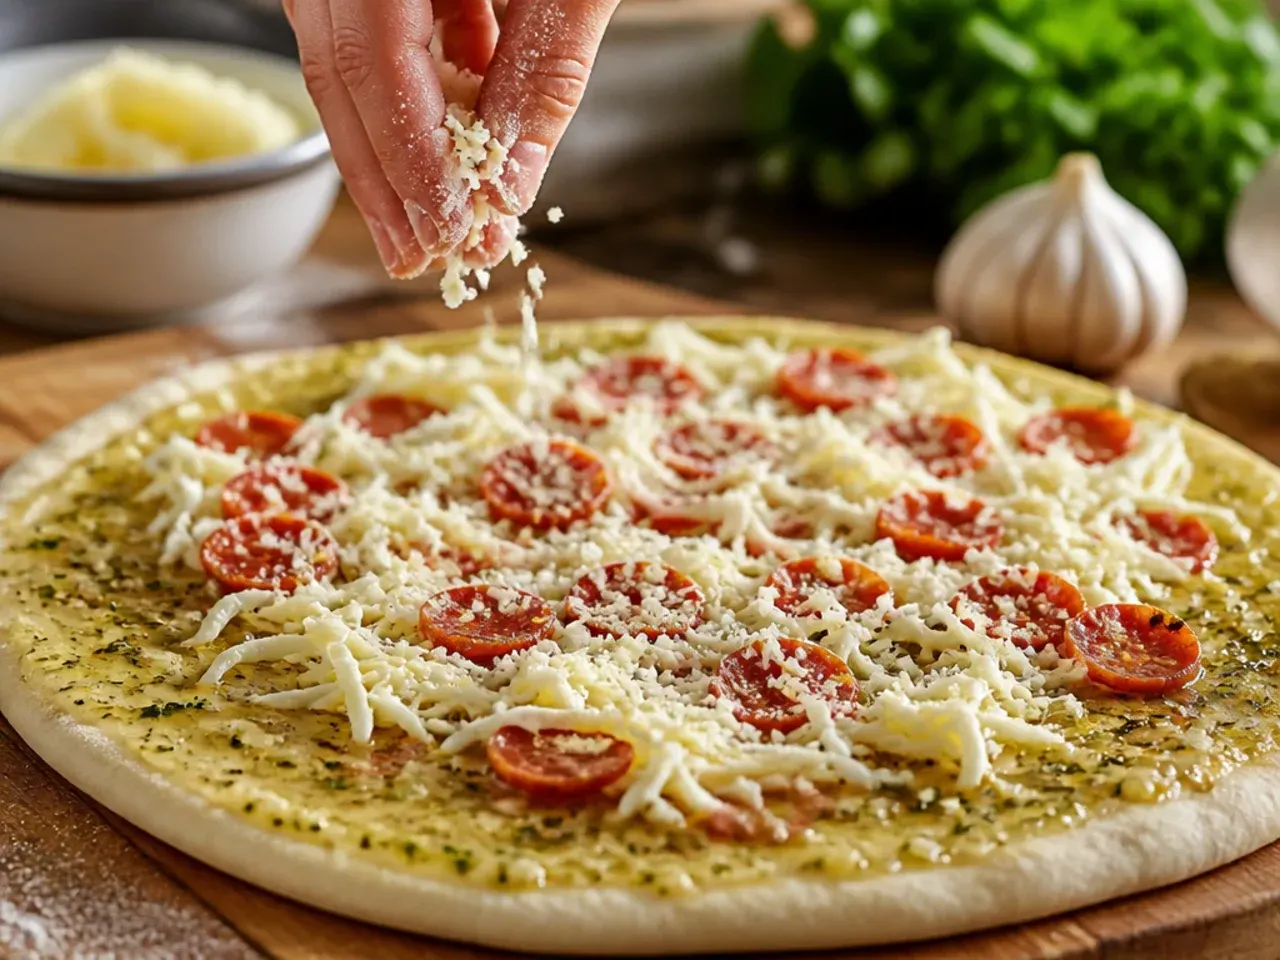
Spread about two-thirds of the garlic butter over the dough in a thin, even layer right to the edges. Bake in a fully preheated oven at 200°C (400°F) for 6-7 minutes, until the surface looks set and just barely golden at the edges, so the crust won't turn soggy once the sauce and cheese go on.
Step 4: Add the sauce
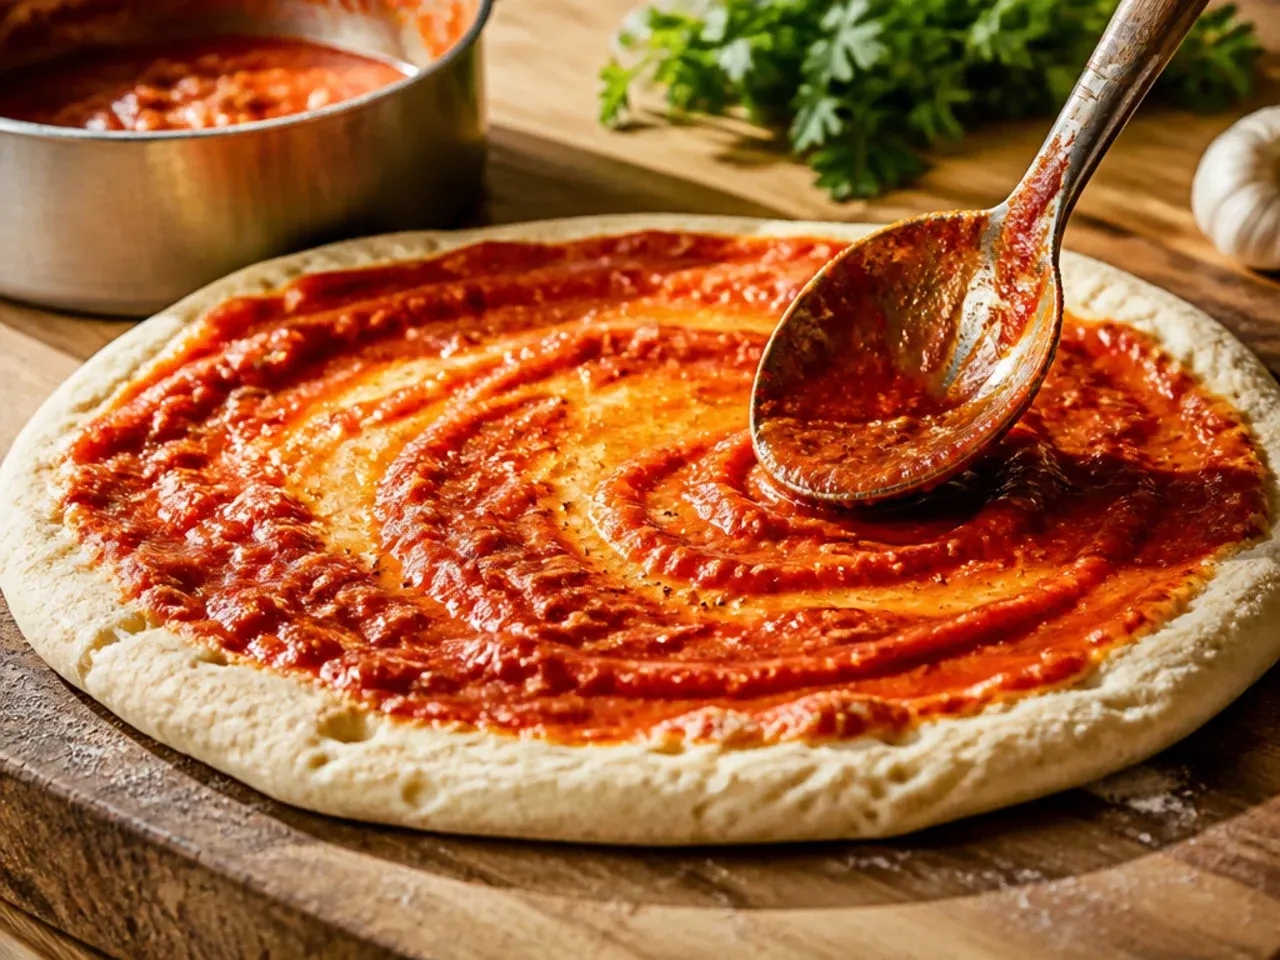
Spread 180ml (3/4 cup) of pizza sauce over the par-baked base in a thin layer, leaving a 2cm (3/4 inch) border of garlic butter crust visible around the edge. If the sauce looks thin or watery, simmer it on the hob for 3-4 minutes first so it doesn't seep into the crust.
Step 5: Layer the cheese
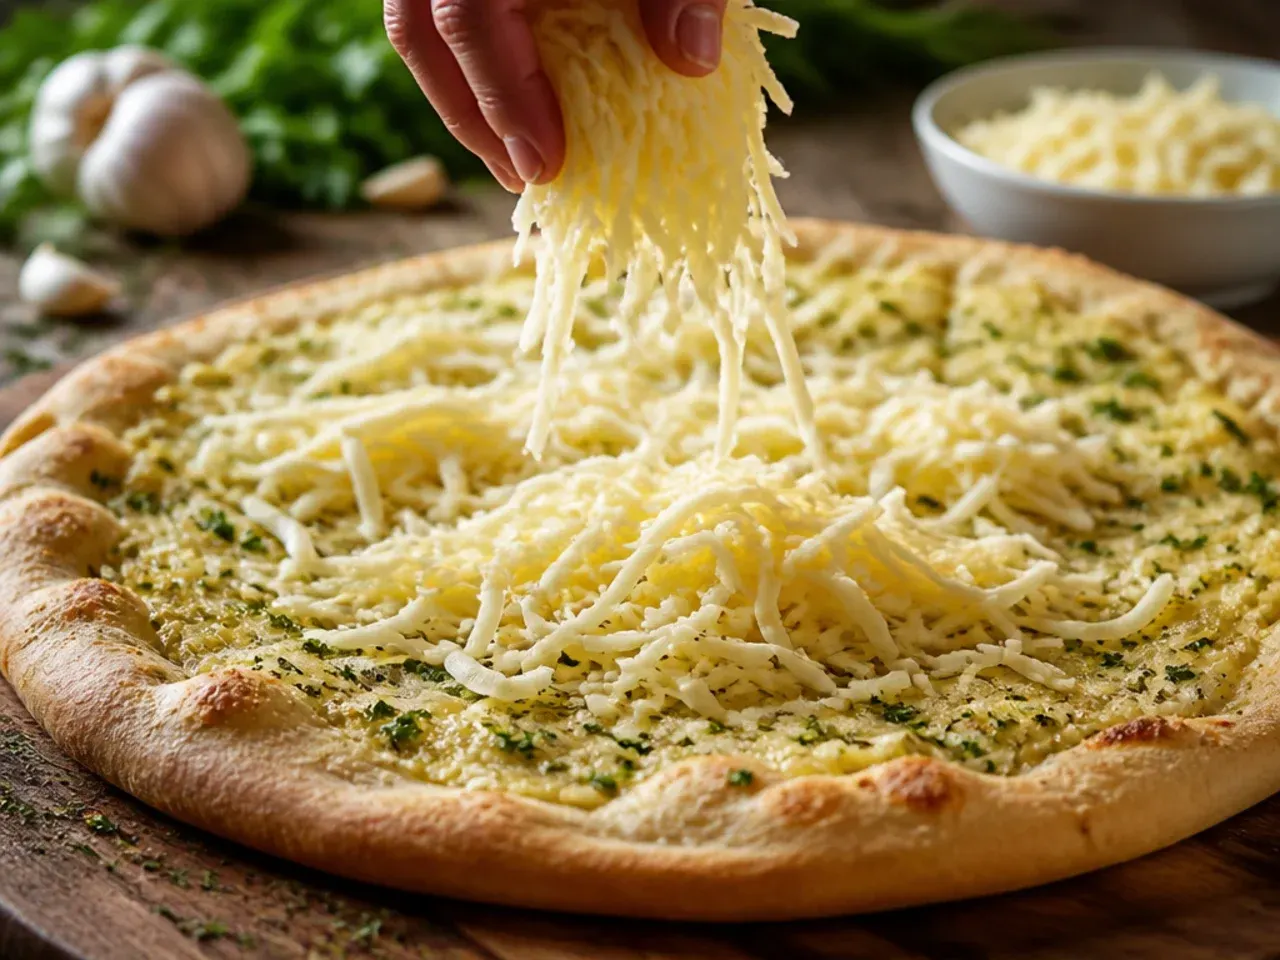
Scatter half the parmesan directly over the sauce, then top evenly with the shredded mozzarella so it melts into a solid layer rather than clumping in the centre. Finish with the remaining parmesan and a pinch of red pepper flakes if using, keeping the layer even for a uniform melt.
Step 6: Bake until golden and bubbling
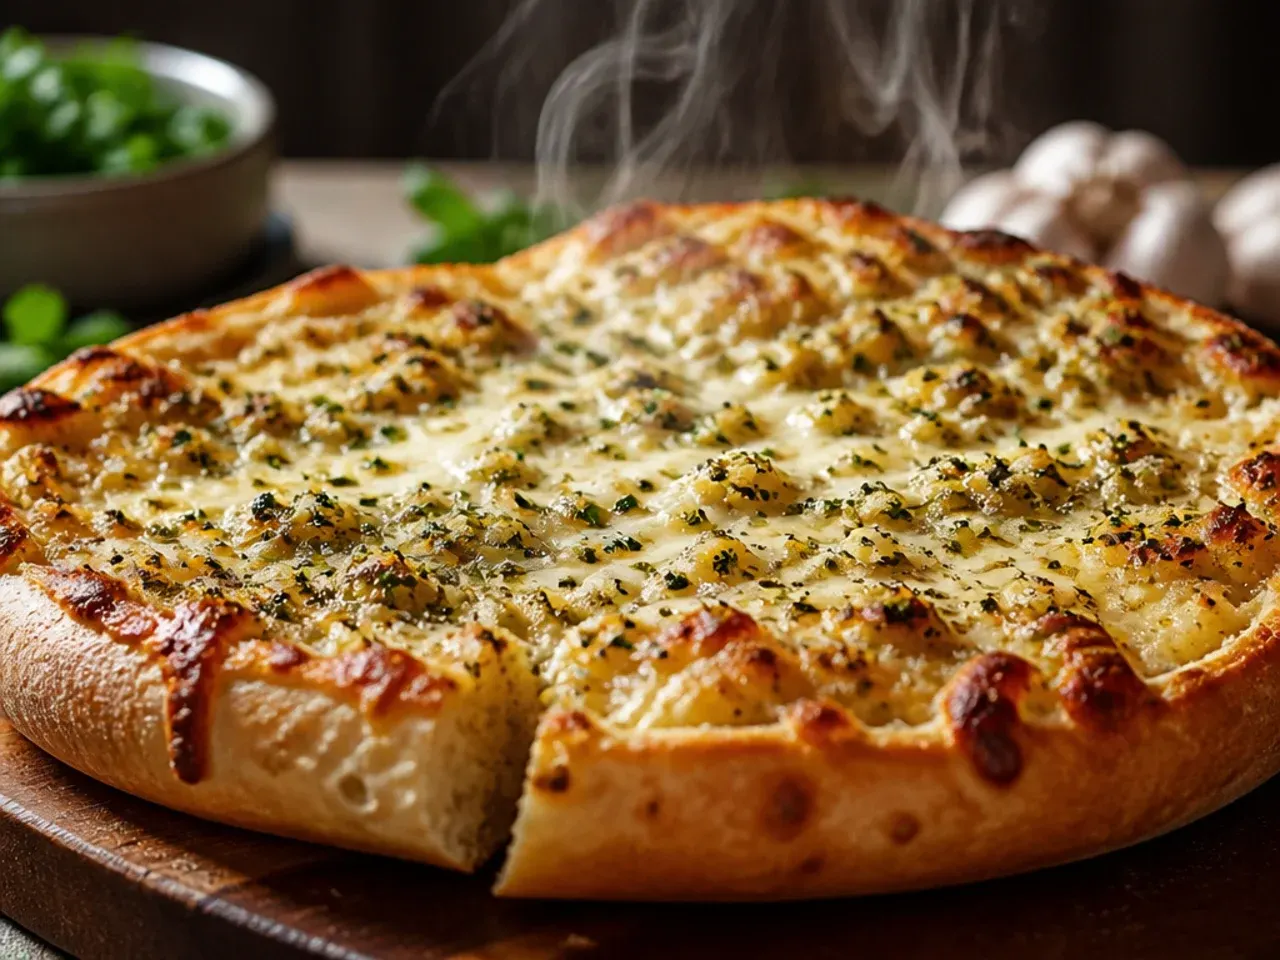
Return the pizza to the oven and bake at 200-220°C (400-425°F) for 10-15 minutes, until the cheese is fully melted, bubbling, and turning golden in spots, and the crust edges are deep golden brown. Rotate the tray halfway through if your oven has hot spots, and watch closely near the end since garlic butter can scorch quickly.
Step 7: Rest, garnish, and slice
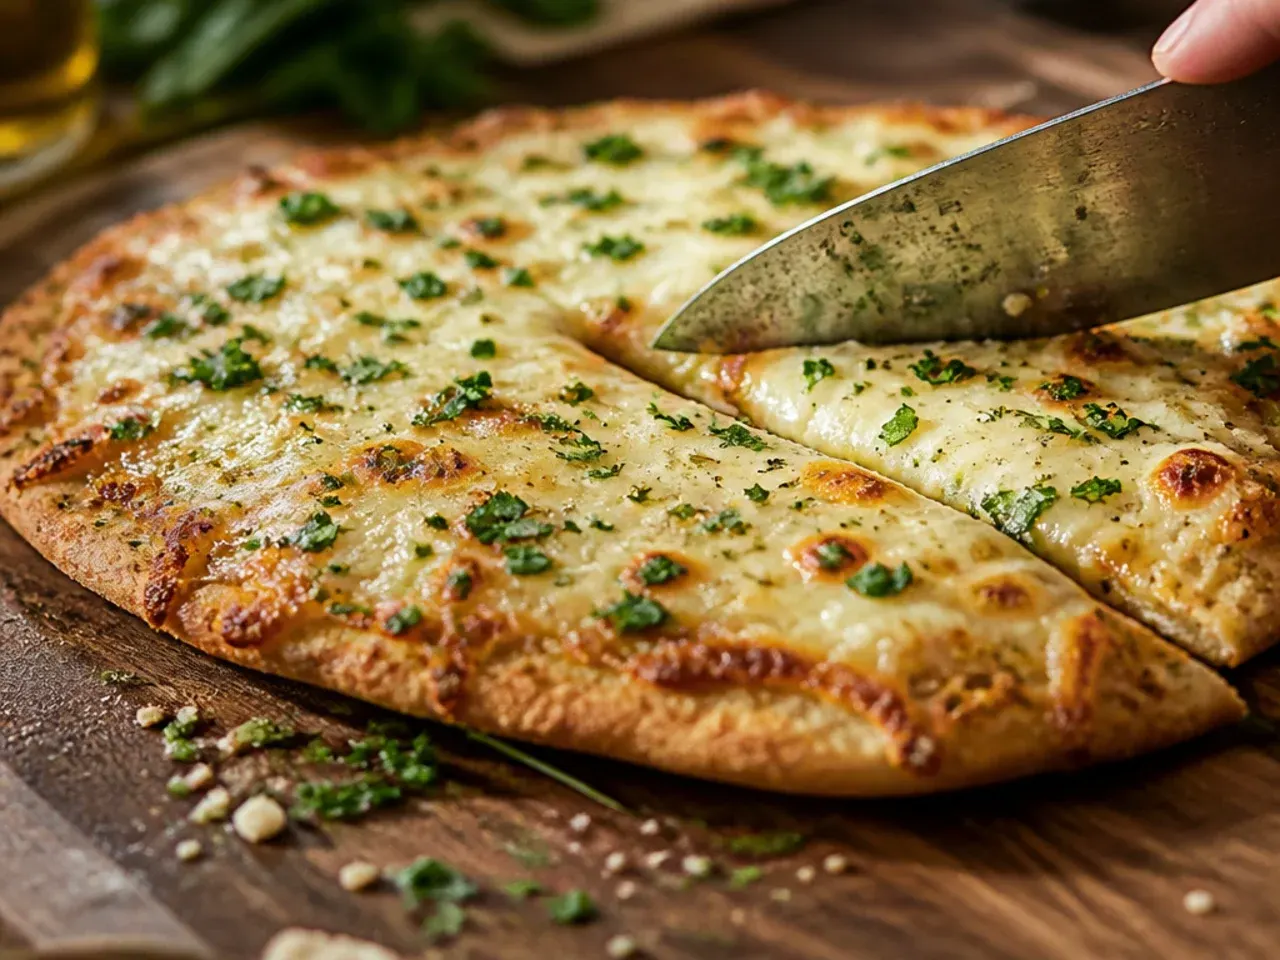
Let the pizza rest on a wire rack for 4-5 minutes so the cheese sets slightly before cutting. Scatter over the remaining fresh parsley, then slice into wedges or squares with a sharp pizza wheel in one clean pass and serve immediately while the crust is still crisp.
Frequently Asked Questions
Yes, make the garlic butter and shred the cheese up to 2 days ahead and keep them separately in airtight containers in the fridge. You can also par-bake the plain garlic-buttered base, cool it completely, then wrap and refrigerate it for up to a day before adding sauce and cheese and finishing the bake. I don't recommend assembling the full pizza with sauce and cheese ahead of time, though, since the moisture will soak into the crust and leave it soggy by the time it bakes. Prepping the components separately gets you nearly all the time-saving benefit without sacrificing texture.
Save this for later 📌
Pin this article to your Pinterest board so the full list is one tap away when you need it.
Save on Pinterest