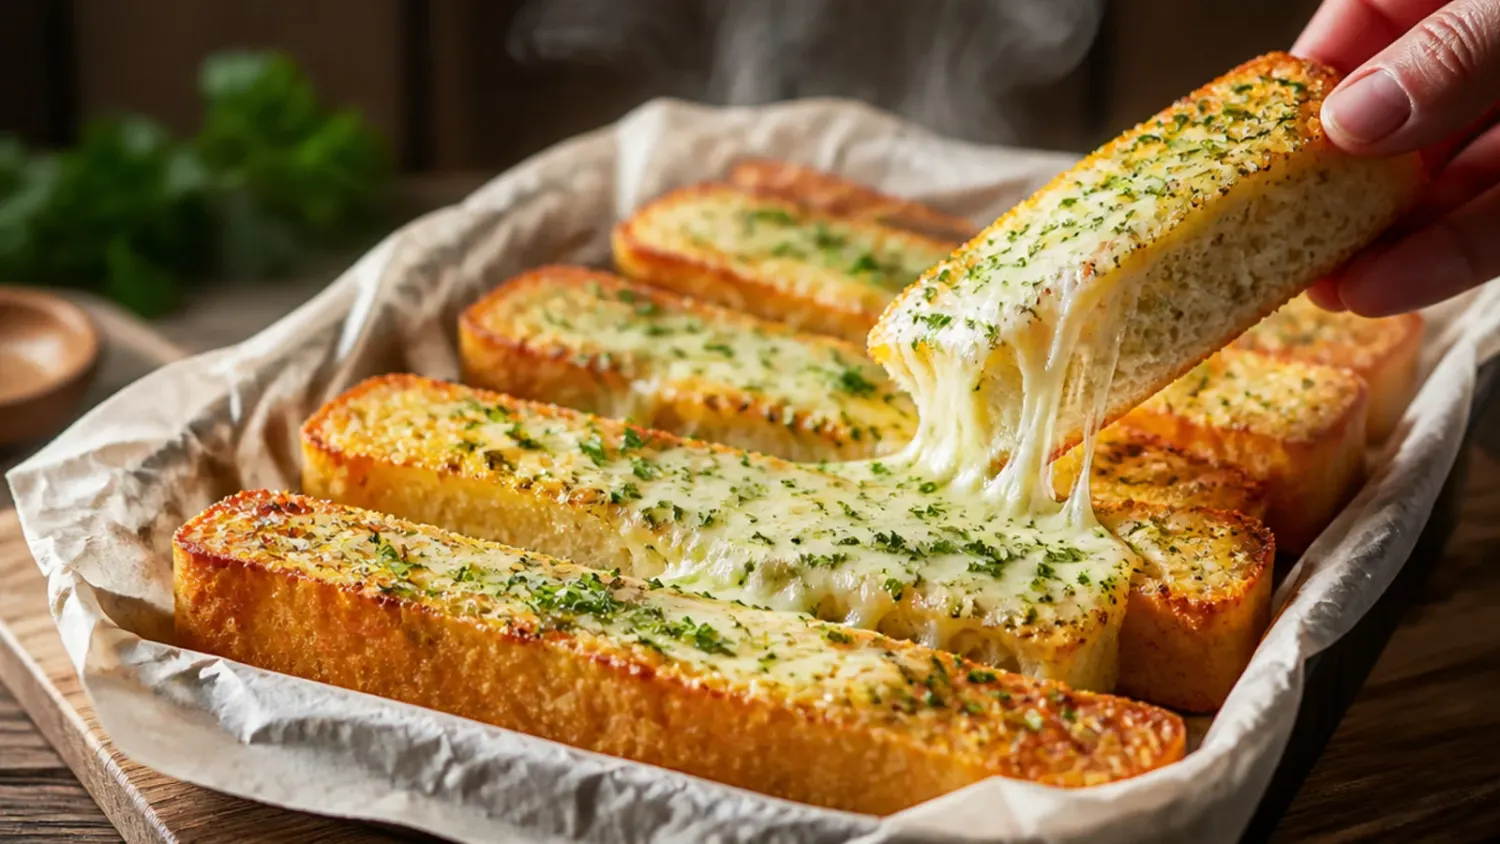
Ingredients 12 Person(s)
Save this for later 📌
Pin this article to your Pinterest board so the full list is one tap away when you need it.
Save on PinterestDirections
Step 1: Bloom the yeast
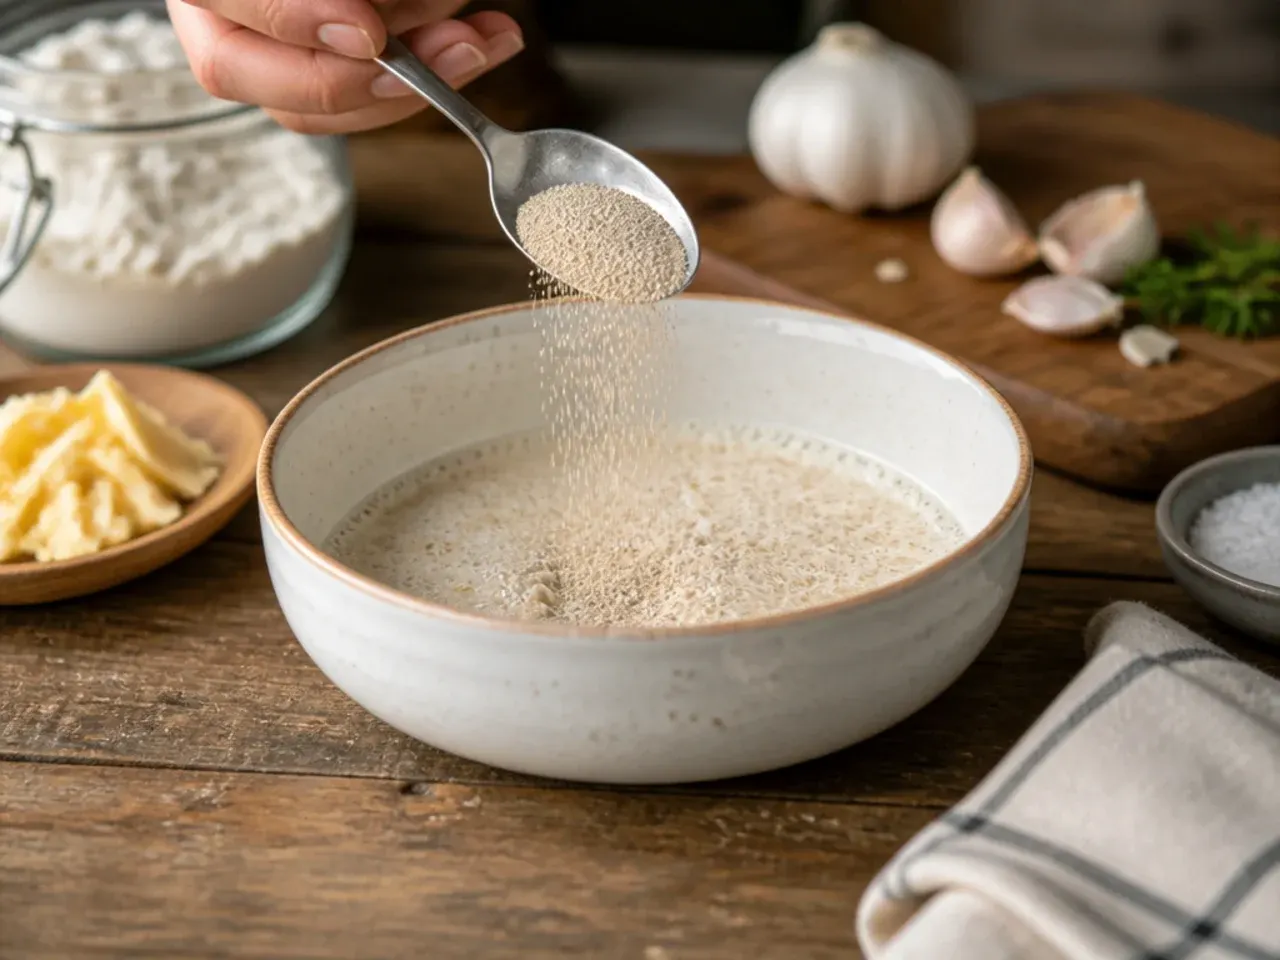
In a jug, stir 300 ml (1 1/4 cups) warm water, about 43°C (110°F), with 12 g (1 tbsp) granulated sugar until dissolved, then sprinkle over 7 g (2 1/4 tsp) instant yeast. Let it stand for 5-8 minutes until the surface turns foamy and smells yeasty. If it stays flat with no bubbles, the yeast is dead and you'll need a fresh batch.
Step 2: Mix the dry ingredients
In a large mixing bowl, whisk together 500 g (4 cups) plain flour and 9 g (1 1/2 tsp) fine salt so the salt is evenly distributed rather than sitting in one pocket. Make a well in the centre for the wet ingredients. Keep 2-3 tablespoons of flour aside in case the dough needs adjusting later.
Step 3: Combine wet and dry
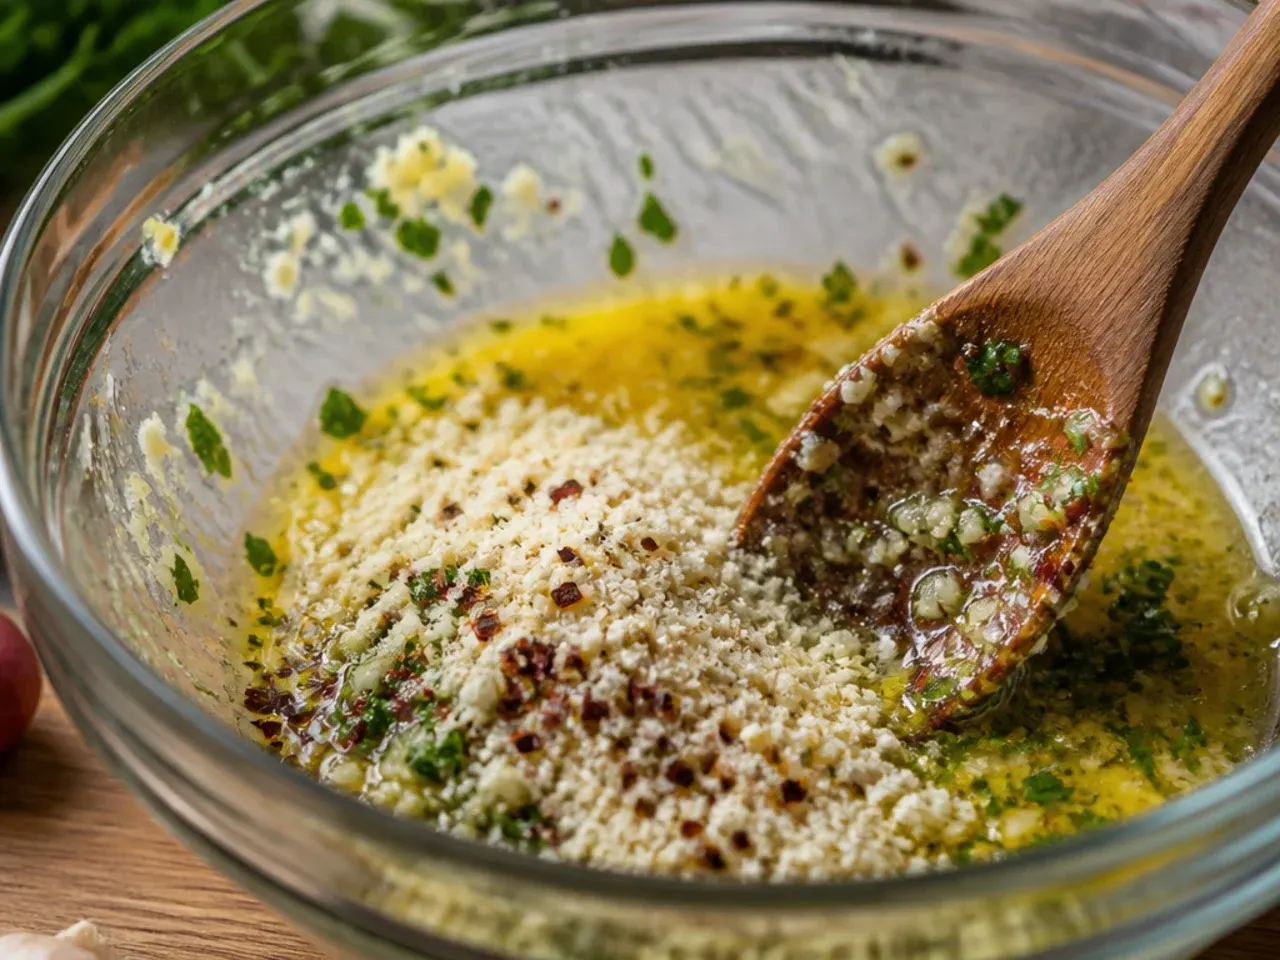
Pour the frothy yeast mixture and 30 ml (2 tbsp) olive oil into the well and stir with a wooden spoon or dough hook until a shaggy, sticky dough forms, about 2 minutes. The dough should pull together but still cling lightly to the sides of the bowl. Add the reserved flour a spoonful at a time only if it's too wet to handle.
Step 4: Knead until smooth
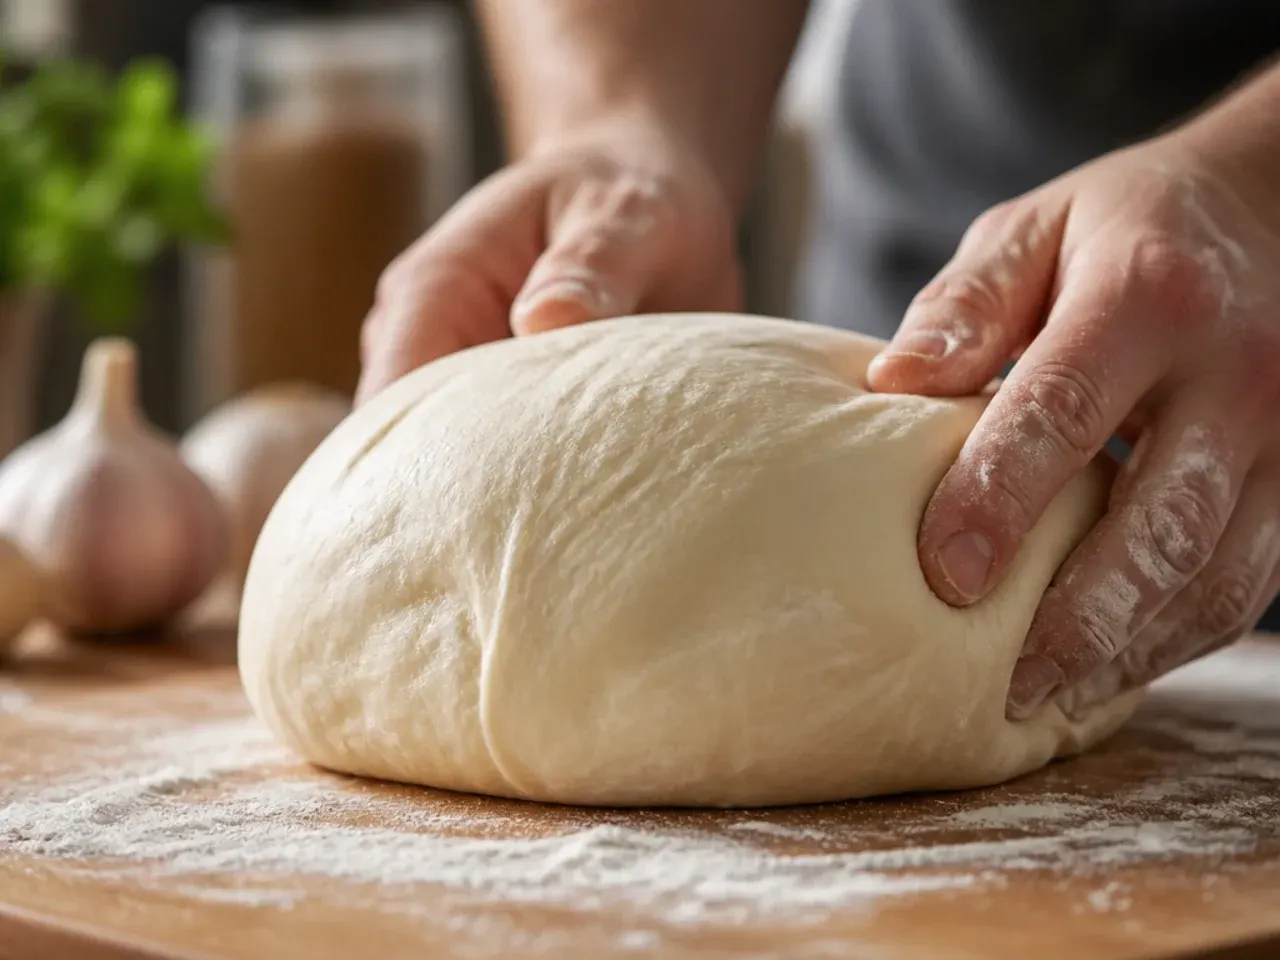
Turn the dough onto a lightly floured surface and knead for 8-10 minutes by hand, or 5-6 minutes on medium speed with a stand mixer's dough hook, until smooth, elastic and only slightly tacky. Press a finger into the dough; it should spring back slowly, leaving a faint indent. Avoid adding too much extra flour or the finished breadsticks will turn out dense.
Step 5: First rise
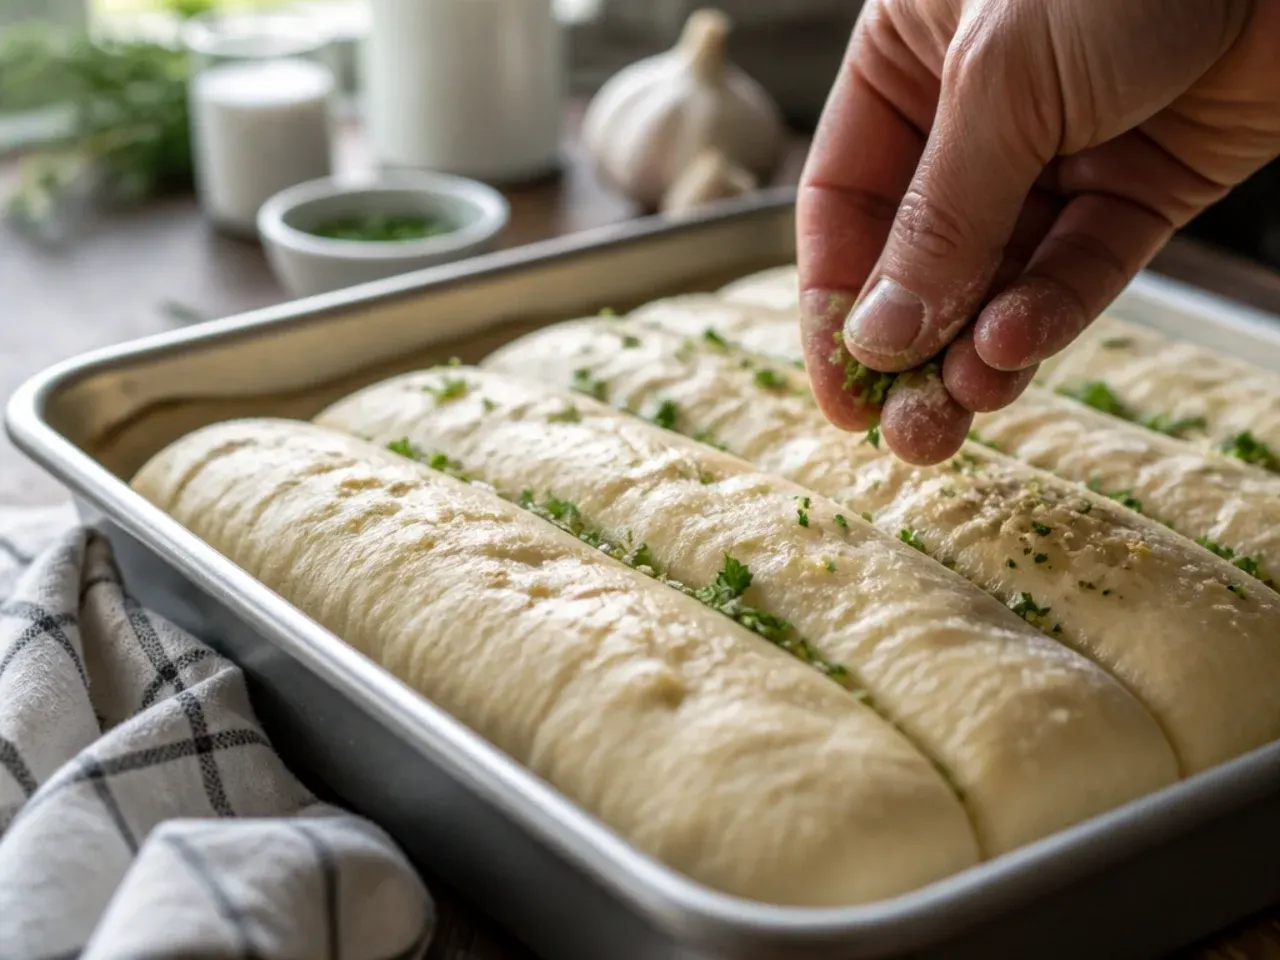
Shape the dough into a ball and place it in a lightly oiled bowl, turning once to coat all sides. Cover with cling film or a damp tea towel and leave in a warm spot, around 27°C (80°F), for 45-60 minutes, until doubled in size. Press two fingers into the dough; if the indent stays, it's ready.
Step 6: Make the garlic butter
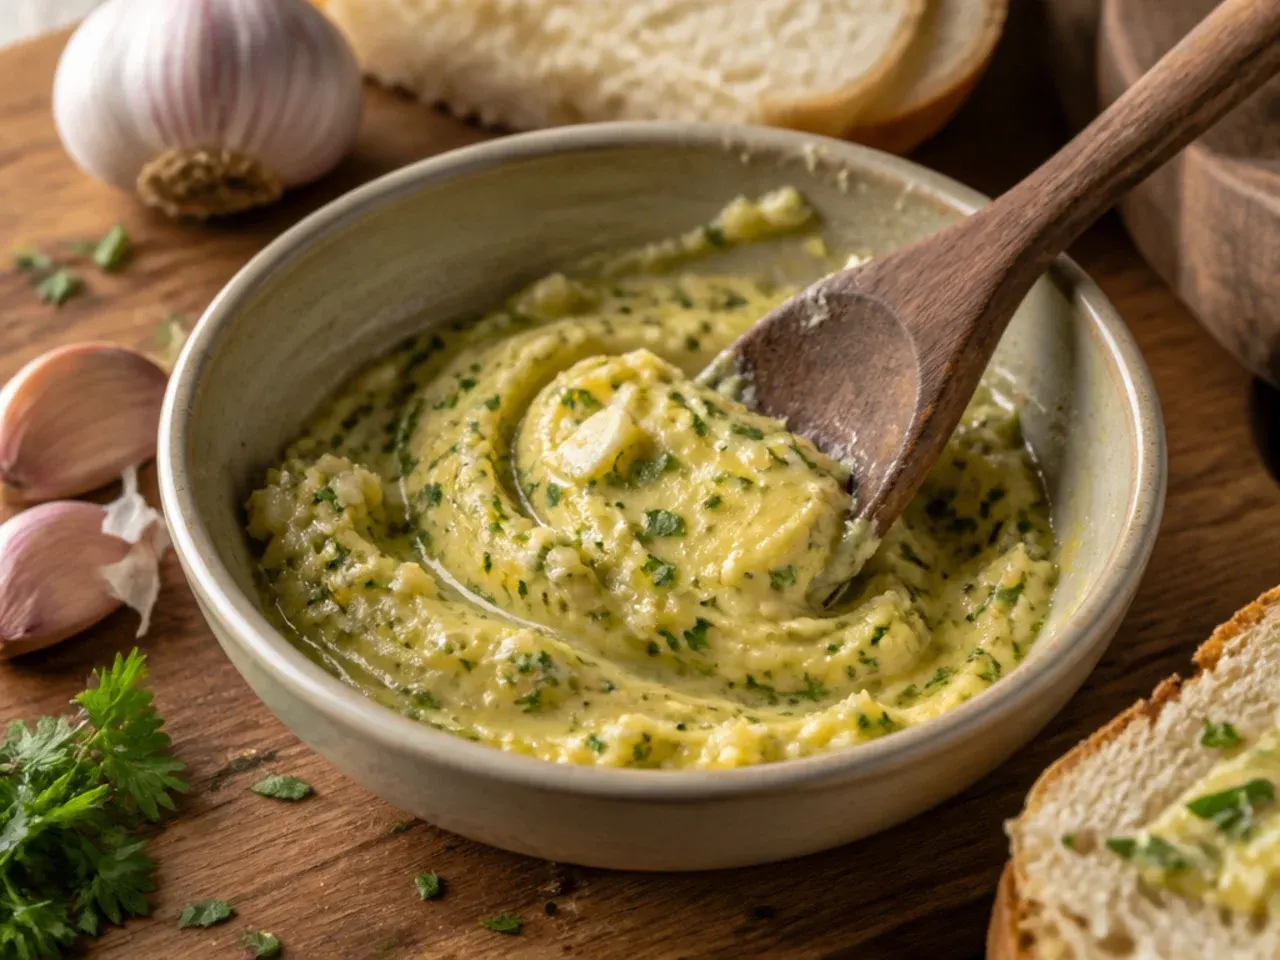
While the dough rises, melt 60 g (4 tbsp) unsalted butter in a small saucepan over low heat, then add 15 g (4 cloves) garlic, minced, and cook for 30-45 seconds until fragrant but not browned. Remove from the heat and stir in the pinch of red pepper flakes, if using. Set aside to cool slightly; warm, not hot, butter absorbs into the dough instead of pooling on top.
Step 7: Punch down and rest
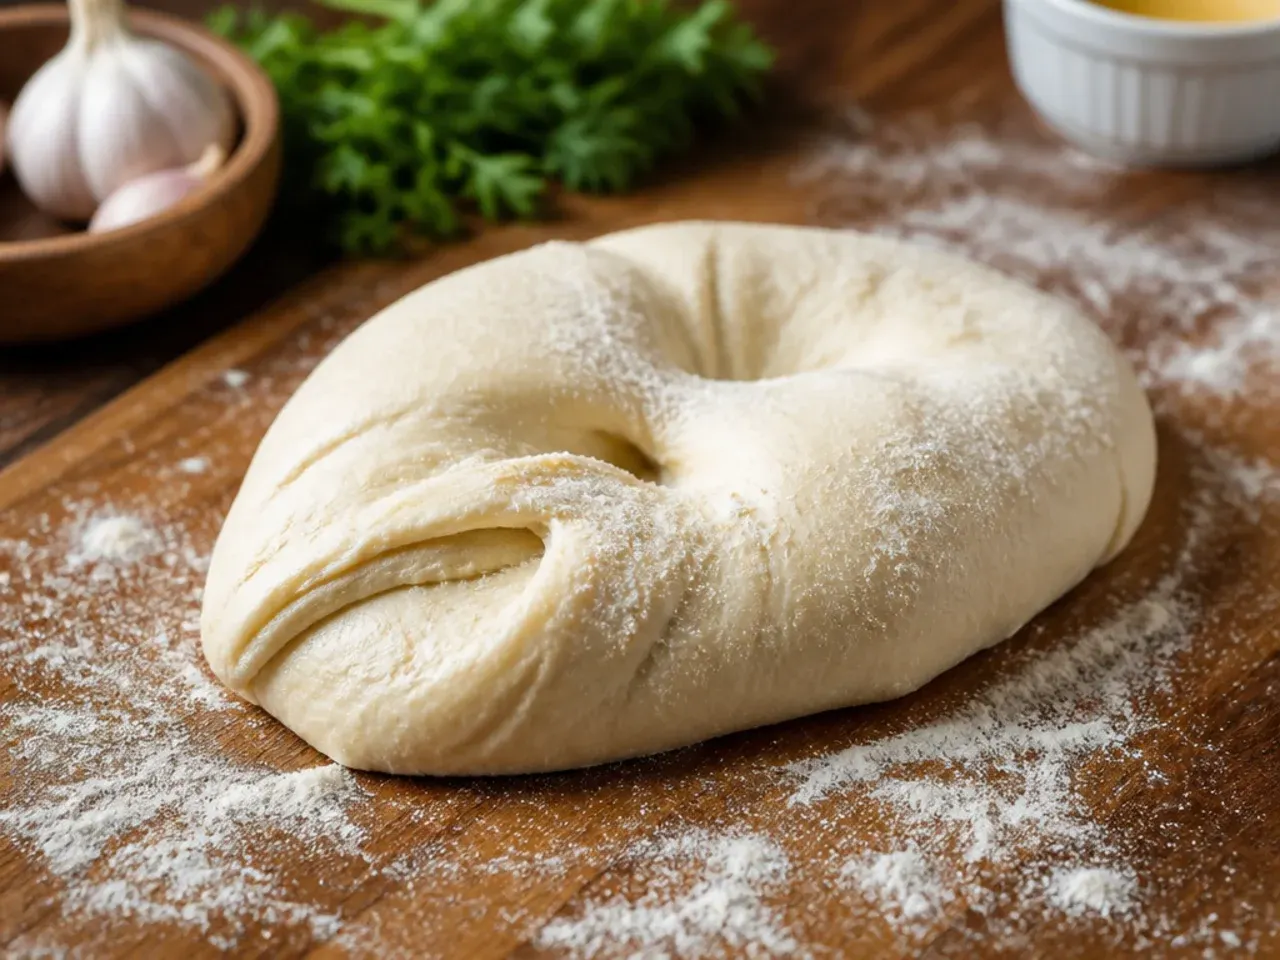
Once doubled, punch the dough down gently in the centre to release the air, then turn it out onto a lightly floured surface. Let it rest for 5 minutes so the gluten relaxes and it's easier to shape. This short pause stops the dough from snapping back when you roll it.
Step 8: Divide the dough
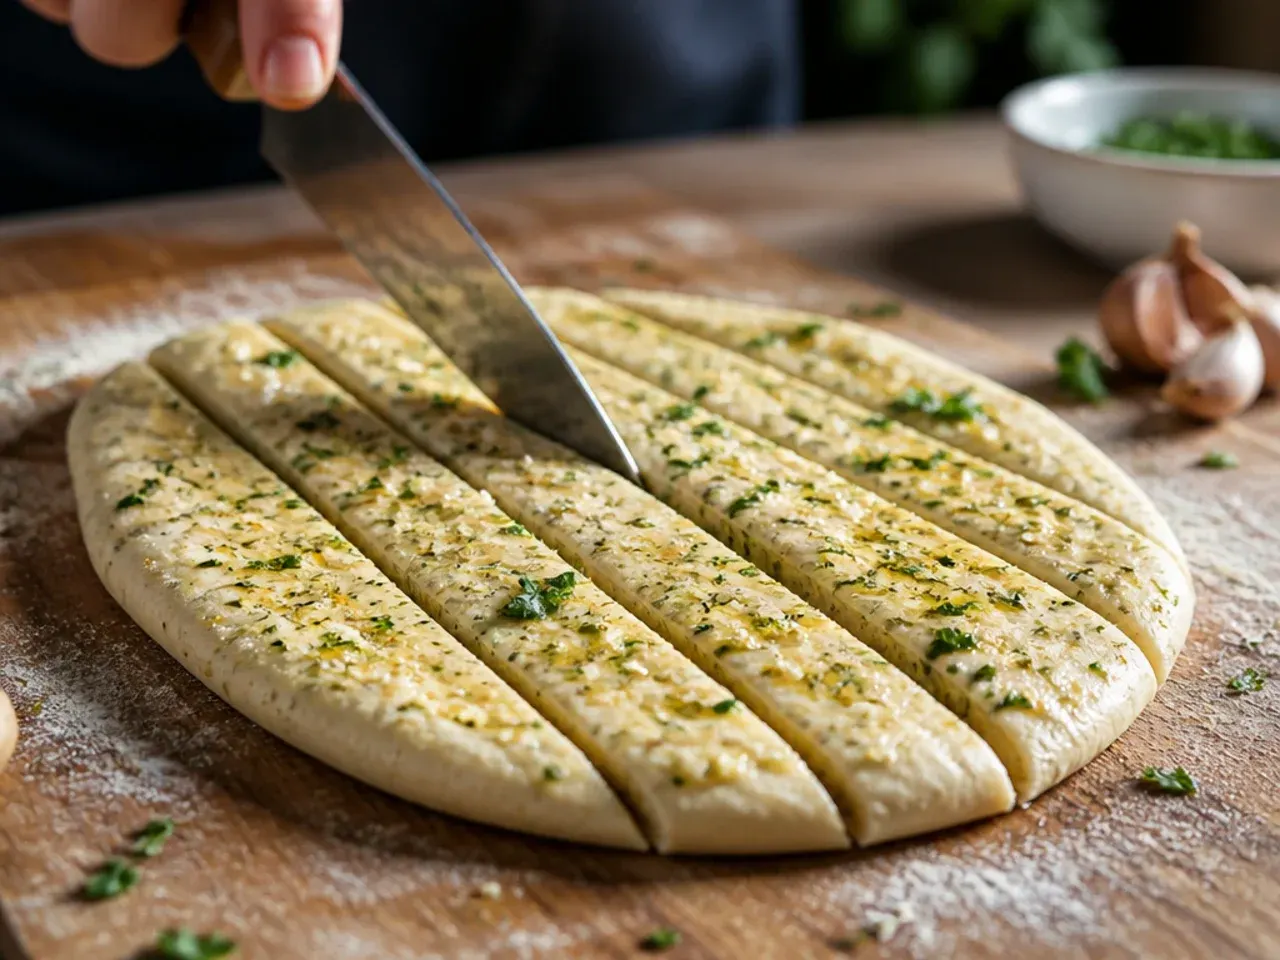
Using a bench scraper or sharp knife, divide the dough into 12 equal pieces, roughly 65-70 g each. Weighing the pieces on a kitchen scale keeps every breadstick the same size so they bake evenly. Cover the pieces you're not working with so they don't dry out.
Step 9: Roll into breadsticks
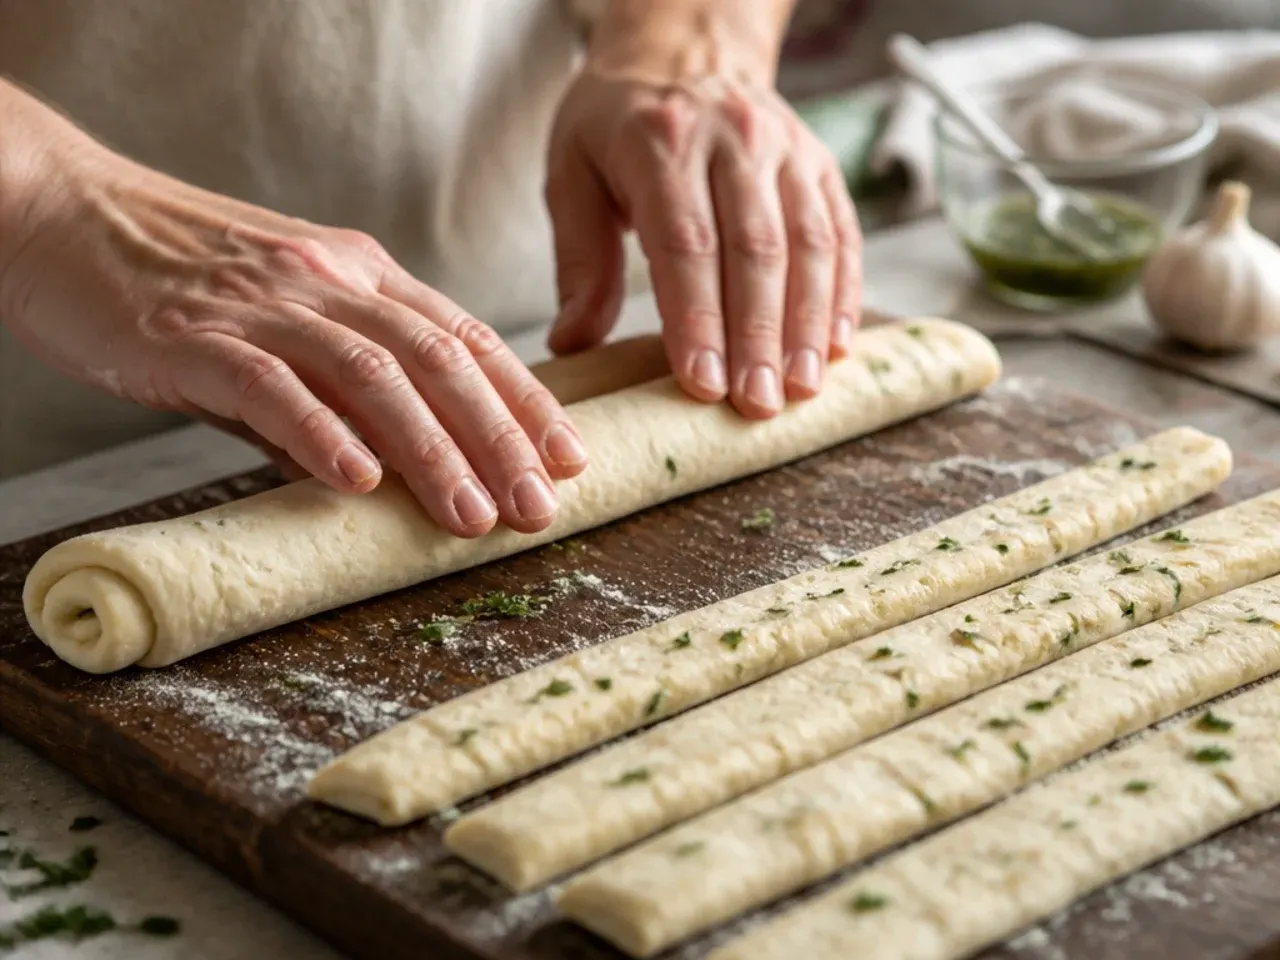
Roll each piece of dough between your palms and the counter into a rope about 18-20 cm (7-8 inches) long and 2.5 cm (1 inch) thick, tapering slightly at the ends. Keep even pressure so the rope doesn't thin out in the middle, which causes uneven baking. Slightly rustic, uneven shapes are fine and add homemade charm.
Step 10: Arrange on the tray
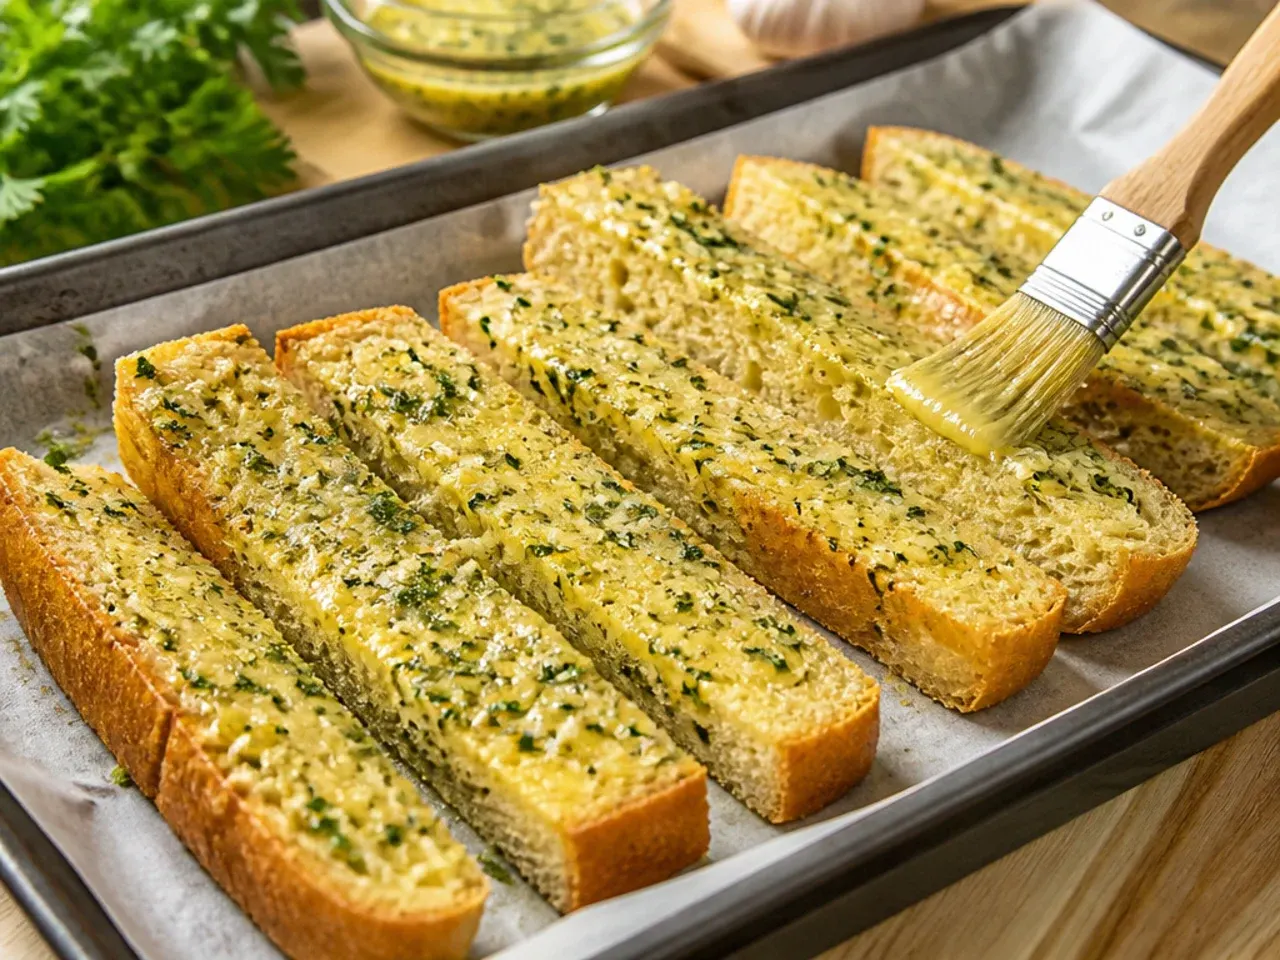
Place the shaped breadsticks on a large baking tray lined with parchment paper, spacing them about 3 cm (just over 1 inch) apart so they have room to expand without fusing together. Use two trays if needed rather than crowding one. This spacing is what gives each stick a crisp side as well as a soft top.
Step 11: Second rise
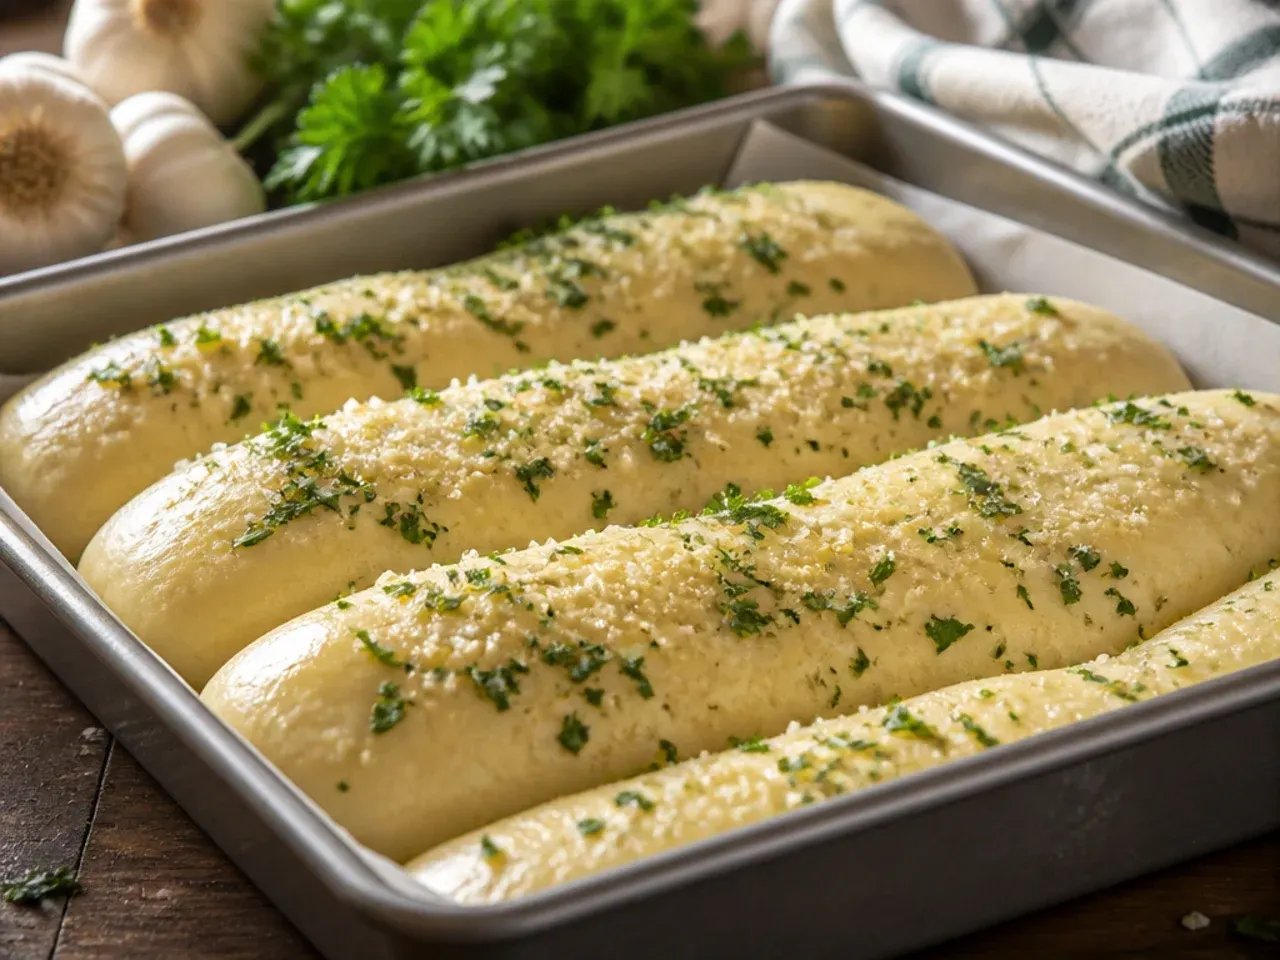
Cover the tray loosely with oiled cling film and let the breadsticks rise again for 20-30 minutes at room temperature, until visibly puffy. They won't double this time, but should look noticeably plumper than when shaped. Preheat the oven while this rise finishes.
Step 12: Preheat the oven
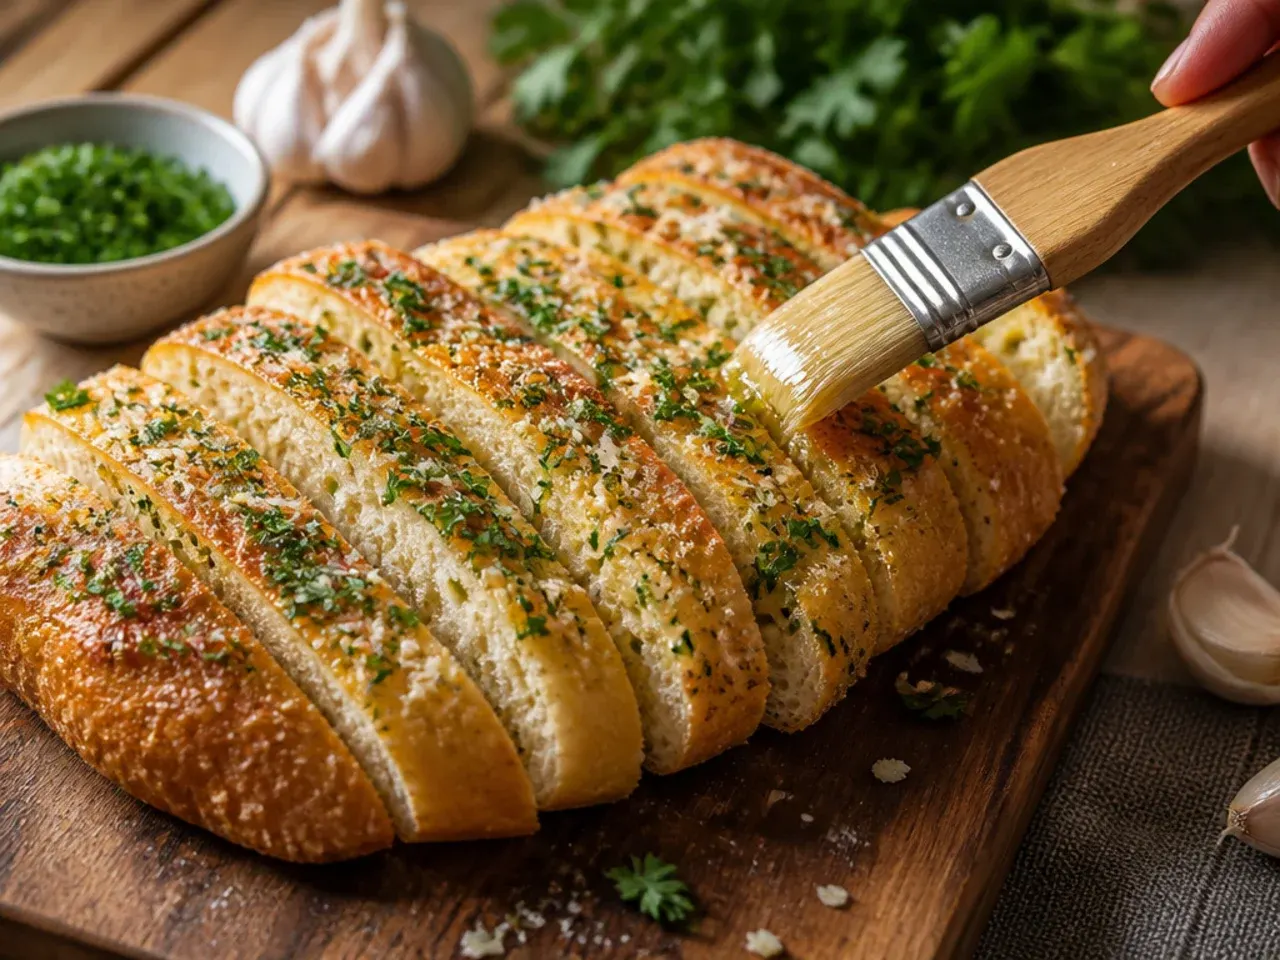
Preheat the oven to 200°C (400°F), using the fan setting if you have one, so it's fully up to temperature by the time the second rise ends. An oven thermometer is worth using here, since a too-cool oven is the main reason breadsticks turn out pale and doughy. Position a rack in the middle of the oven.
Step 13: Brush before baking
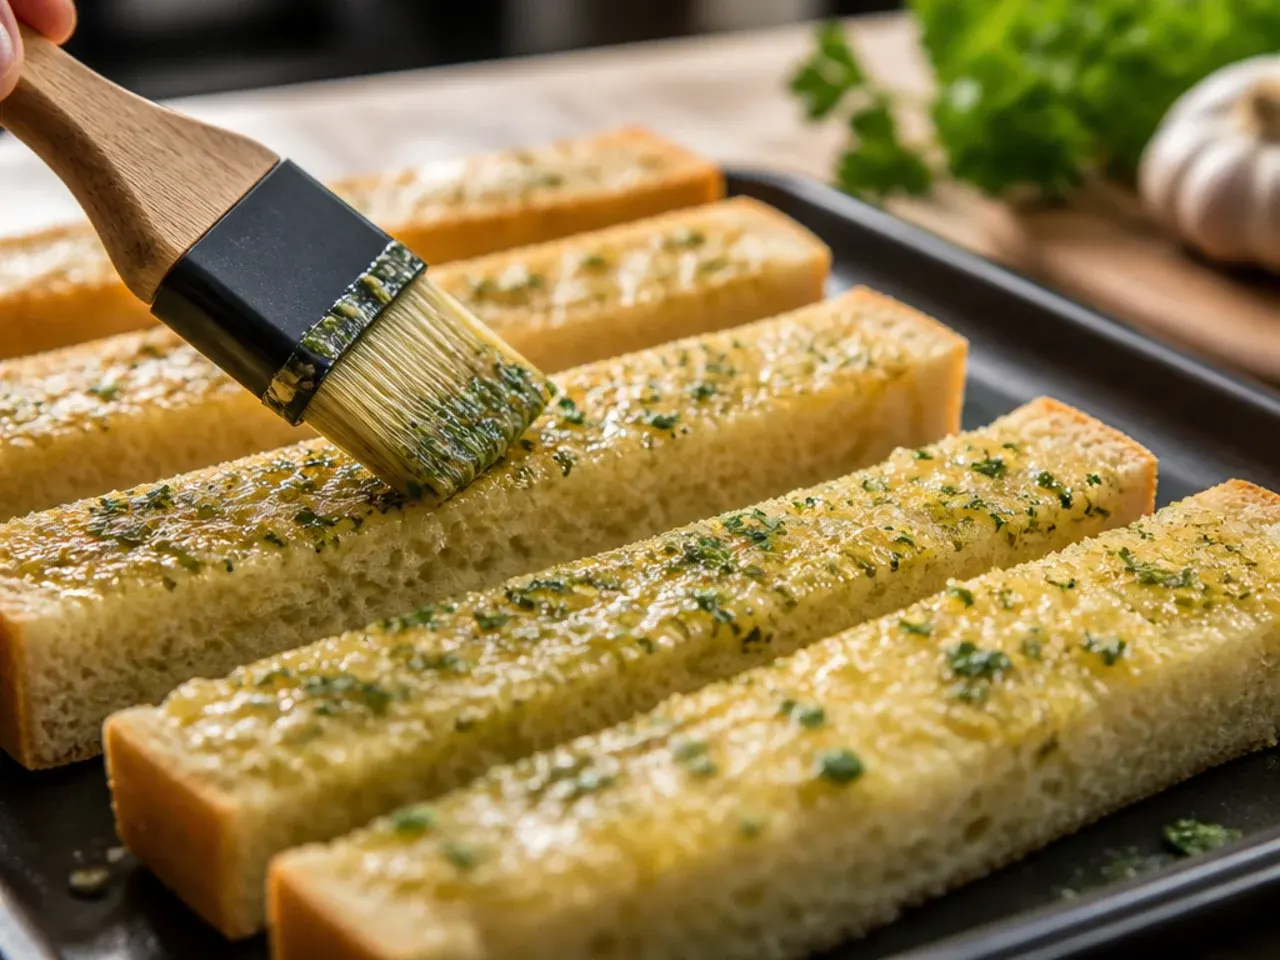
Just before baking, brush the tops of the breadsticks lightly with about half of the garlic butter using a pastry brush. This early coat helps the crust turn golden rather than staying plain white and gives the garlic flavour time to soak into the dough as it bakes.
Step 14: Bake the first stage
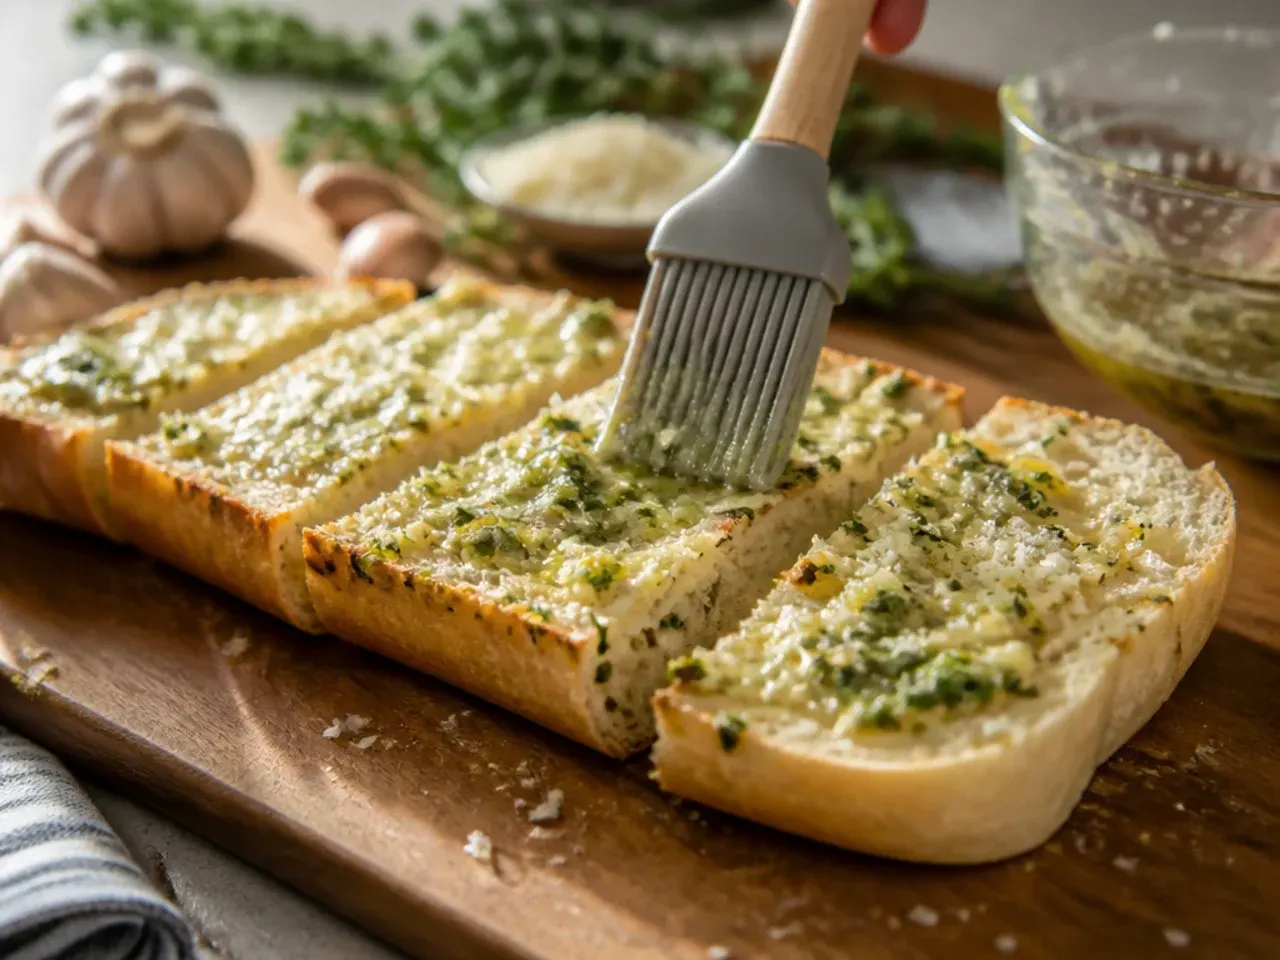
Bake the breadsticks for 8 minutes, until they've puffed up and just started to set but haven't yet coloured. Rotate the tray back to front if your oven has hot spots. Watch through the door rather than opening it, as an early draft can deflate the dough.
Step 15: Brush again midway
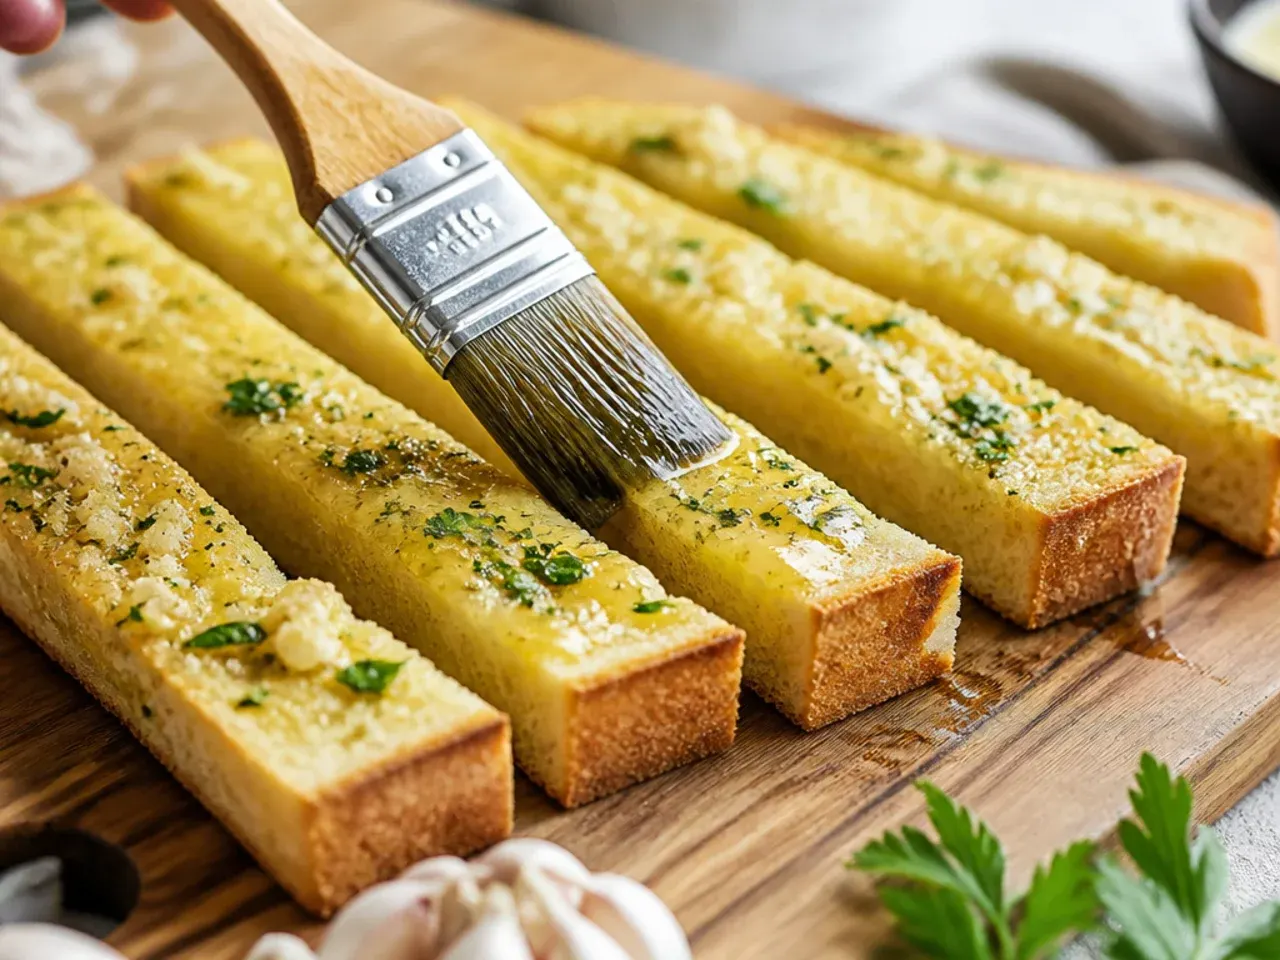
Open the oven and quickly brush the breadsticks with a second layer of the remaining garlic butter, reserving about a tablespoon for after baking. Work fast so the oven doesn't lose too much heat. This second coat builds deeper garlic flavour into the crust.
Step 16: Finish baking
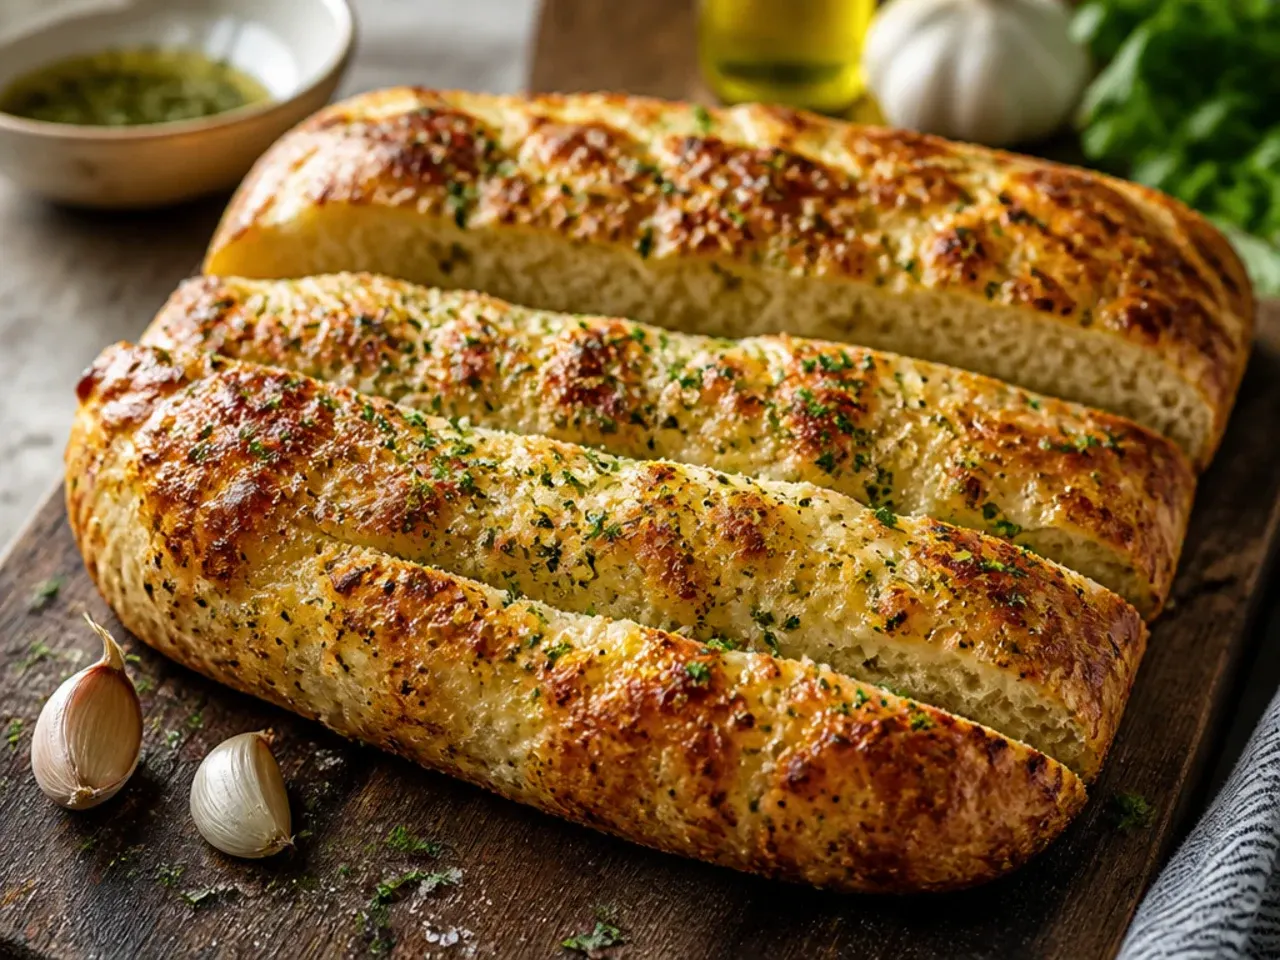
Return the tray to the oven and bake for a further 5-7 minutes, until the breadsticks are golden brown on top and sound hollow when tapped on the base. Total bake time should land around 13-15 minutes; pull them as soon as they colour, since a minute too long turns them dry.
Step 17: Check for doneness
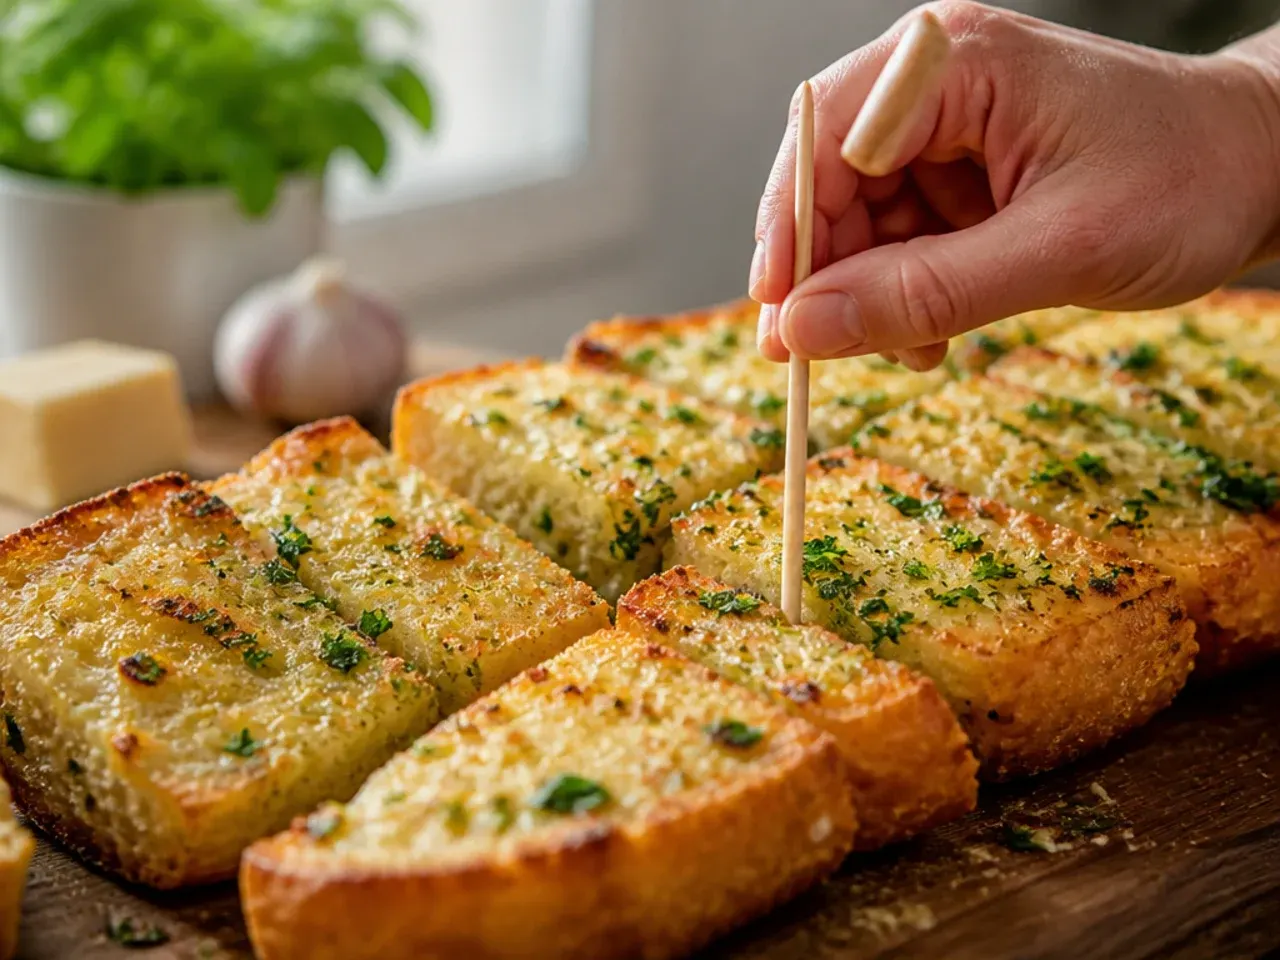
For certainty, insert an instant-read thermometer into the centre of one breadstick; it should read about 93°C (200°F) when fully baked through. The crust should be a deep golden colour and the sides lightly crisp, while the inside stays soft and pillowy.
Step 18: Remove from the oven
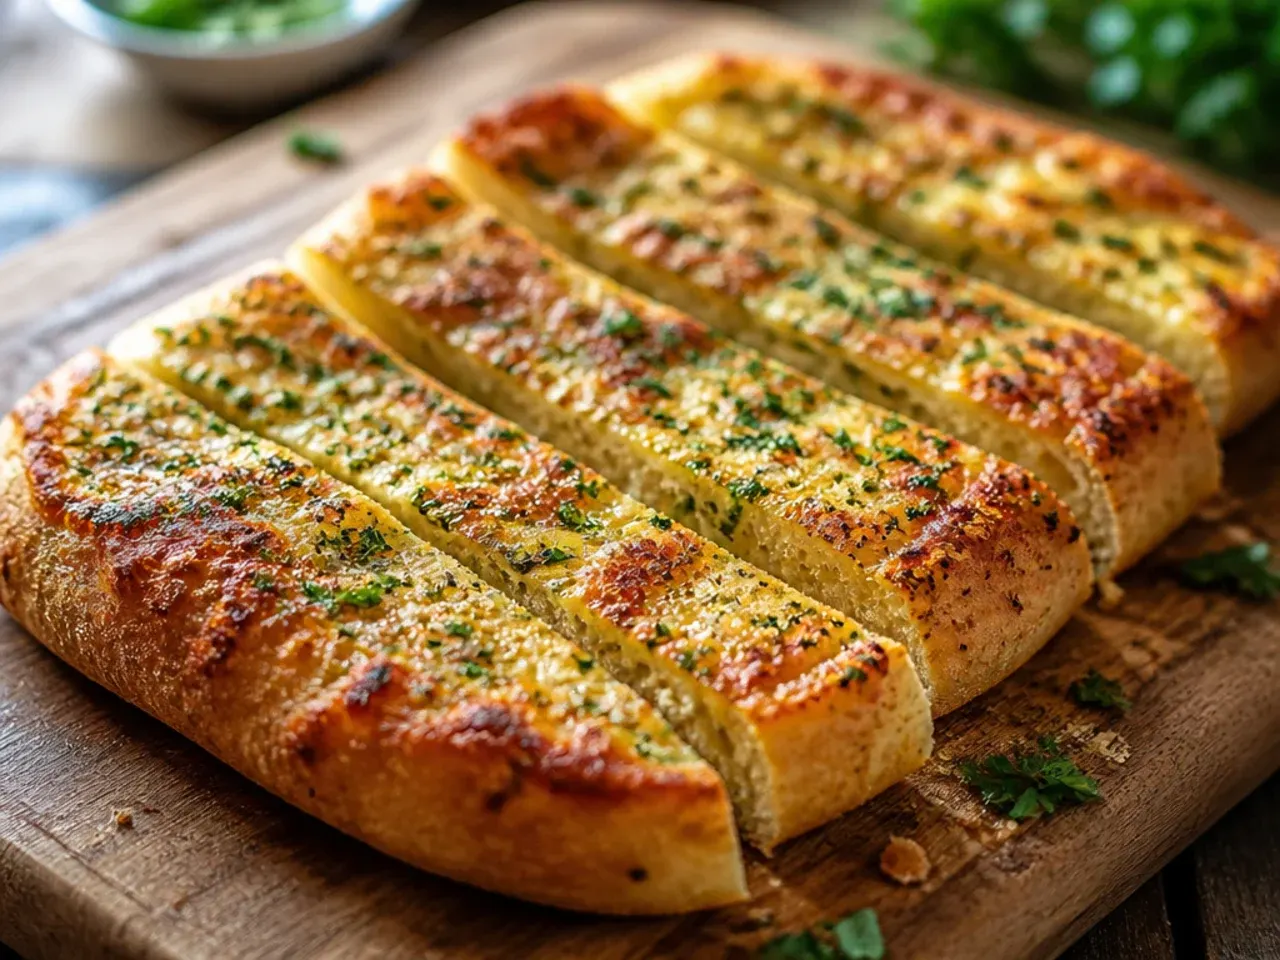
Take the tray out of the oven and set it on a wire rack or heatproof surface. Let the breadsticks sit on the hot tray for 1 minute; this brief rest firms up the base slightly so they're easier to move without tearing.
Step 19: Brush with the final butter
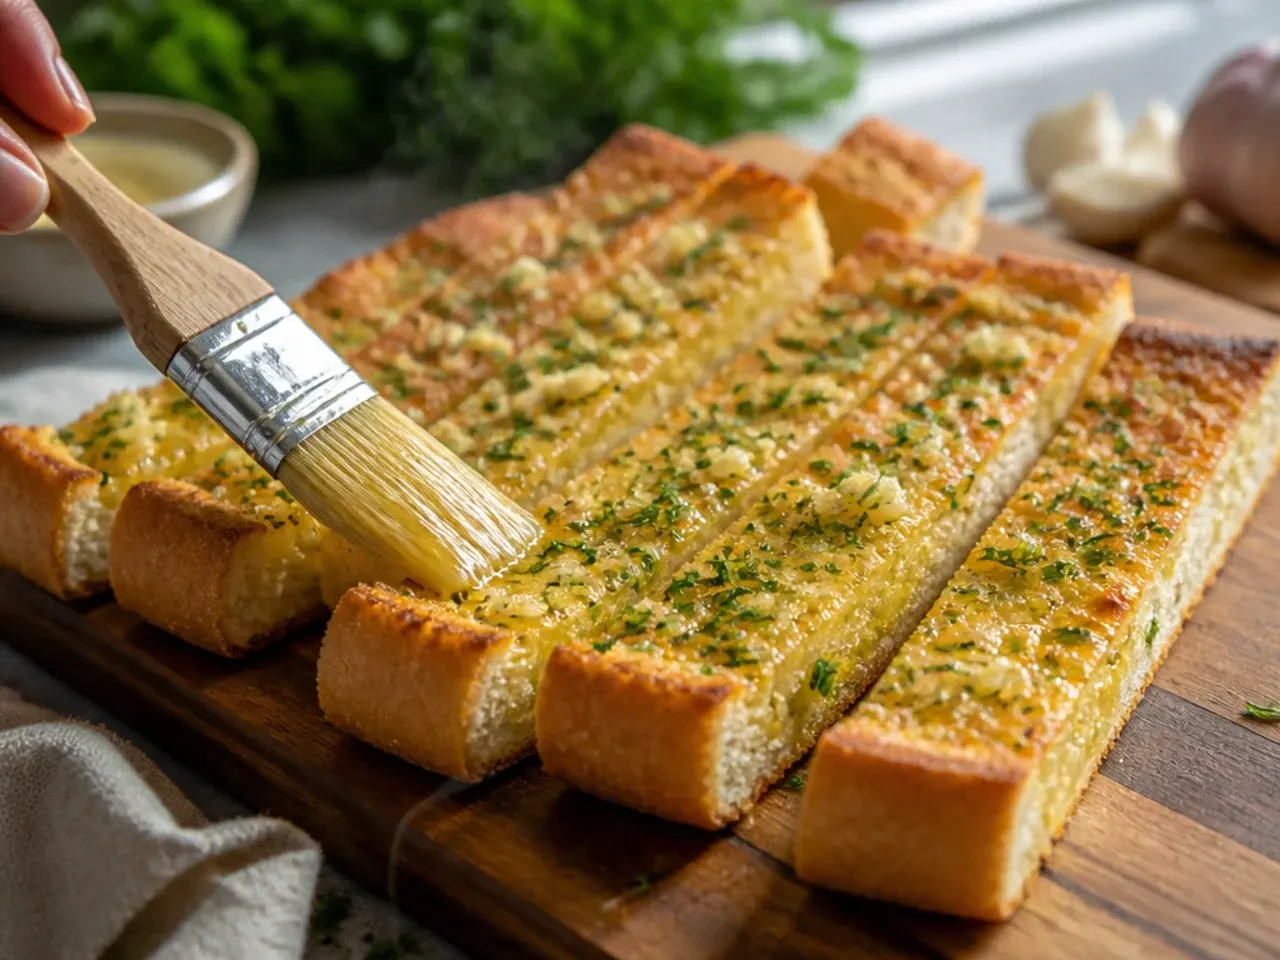
While still hot, brush the breadsticks with the last of the garlic butter you set aside. Doing this the moment they leave the oven means the butter melts straight into the crust instead of sitting on top, so every bite tastes buttery rather than just looking glossy.
Step 20: Add the Parmesan
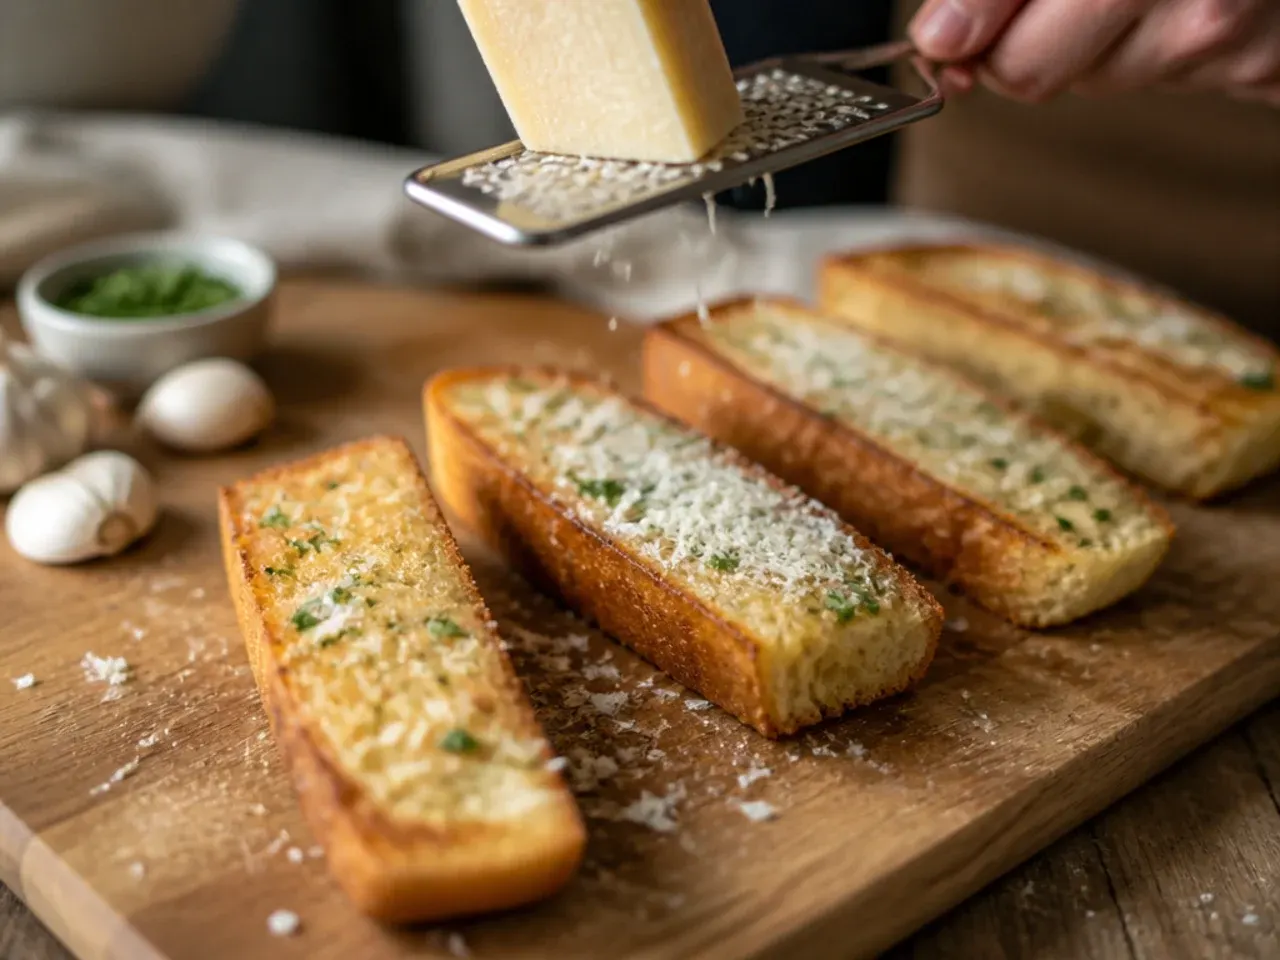
Sprinkle 30 g (1/4 cup) finely grated Parmesan cheese evenly over the warm breadsticks so it melts slightly from the residual heat and clings to the buttery crust. Tilt the tray gently if needed to distribute the cheese into every crevice.
Step 21: Finish with herbs
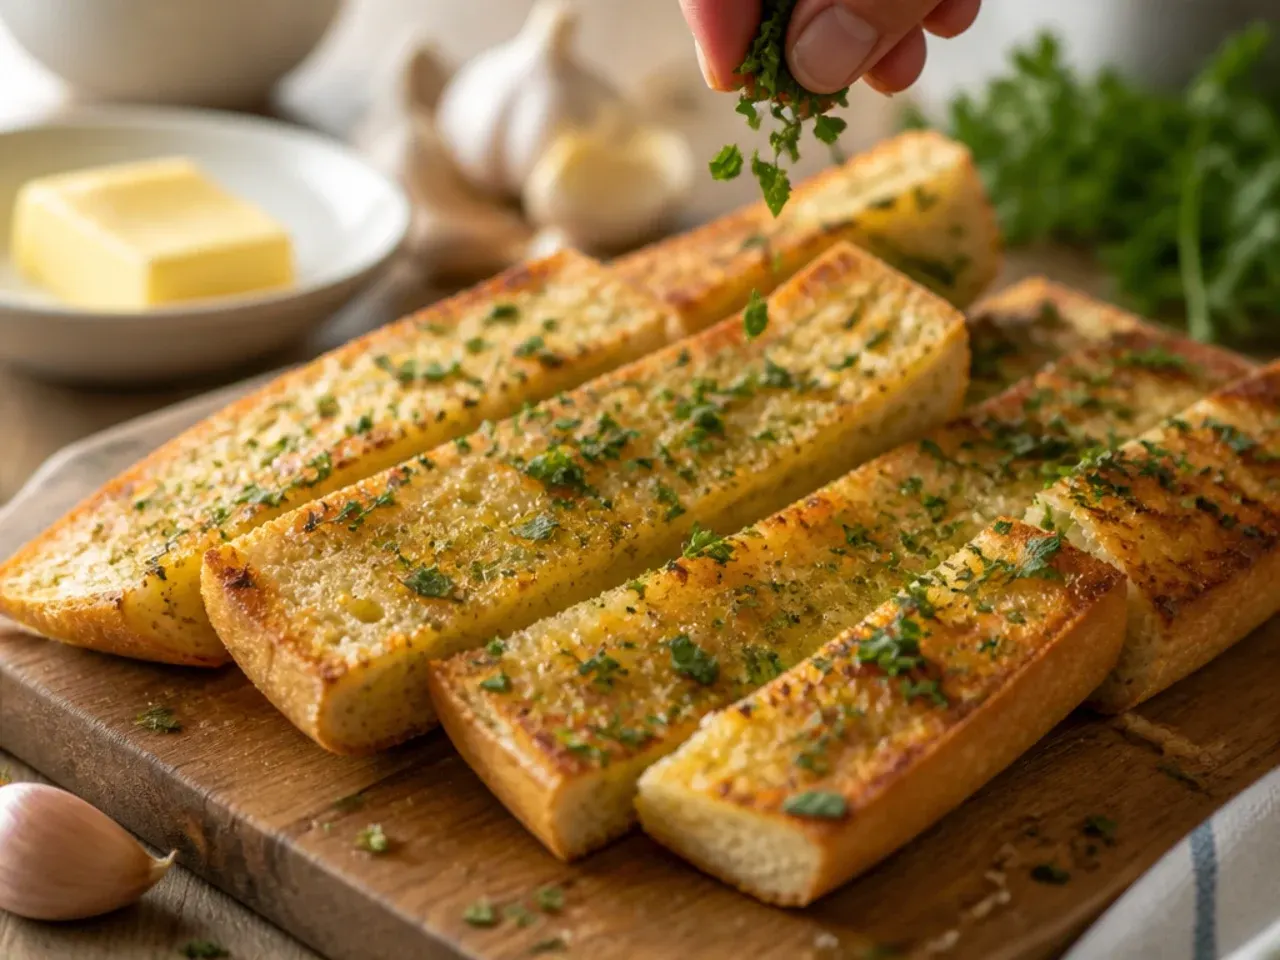
Scatter over 4 g (1 tablespoon) freshly chopped parsley and a light pinch of flaky sea salt for contrast and colour. The green flecks against the golden crust also make the breadsticks look bakery-fresh for photos.
Step 22: Rest briefly
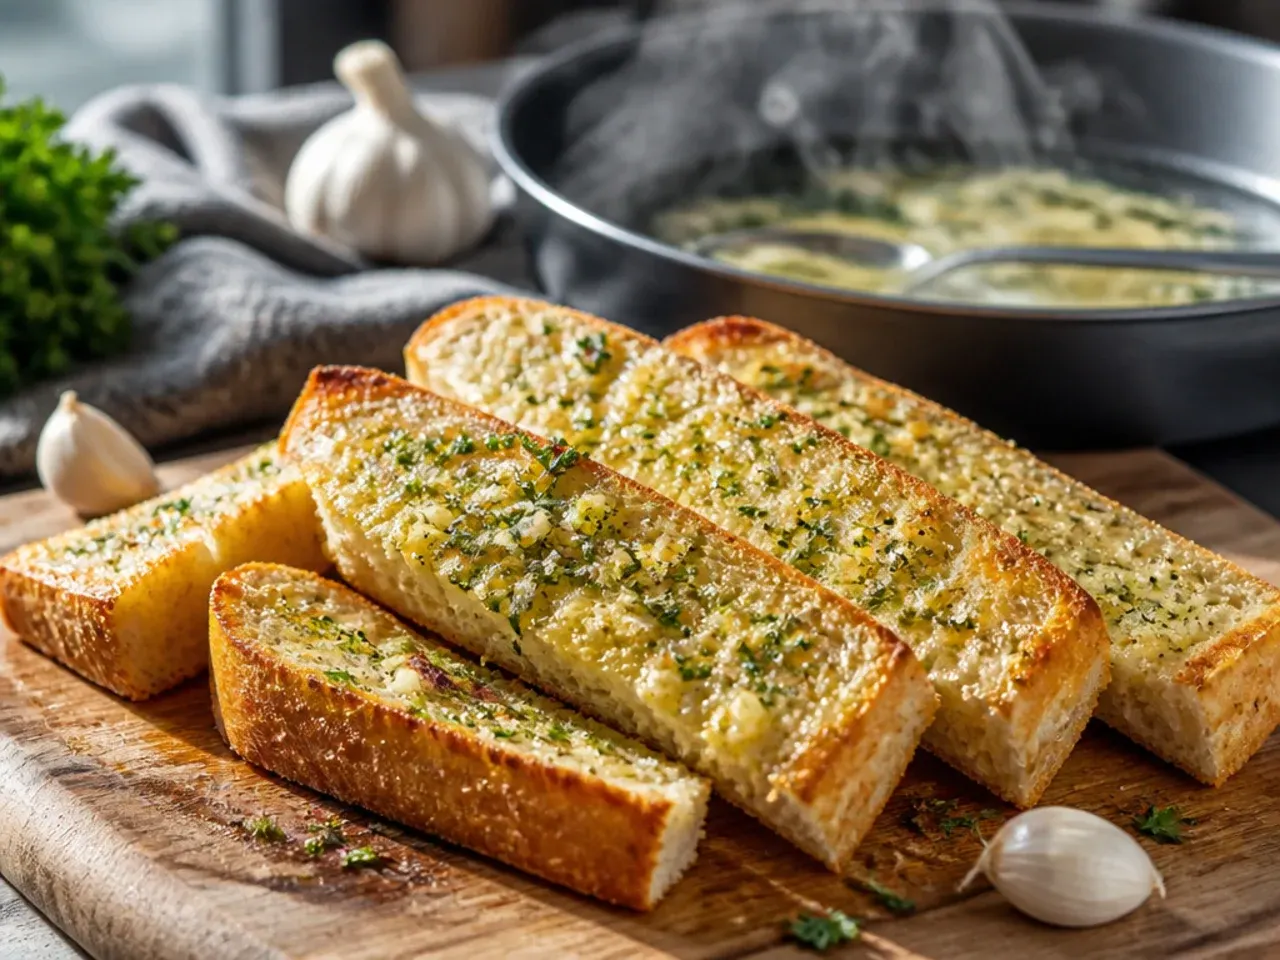
Let the breadsticks rest for 3-5 minutes on the tray before serving. This short rest lets the crumb structure set so the centres firm up from soft-and-steamy to properly soft-and-sliceable, without losing warmth.
Step 23: Transfer to serve
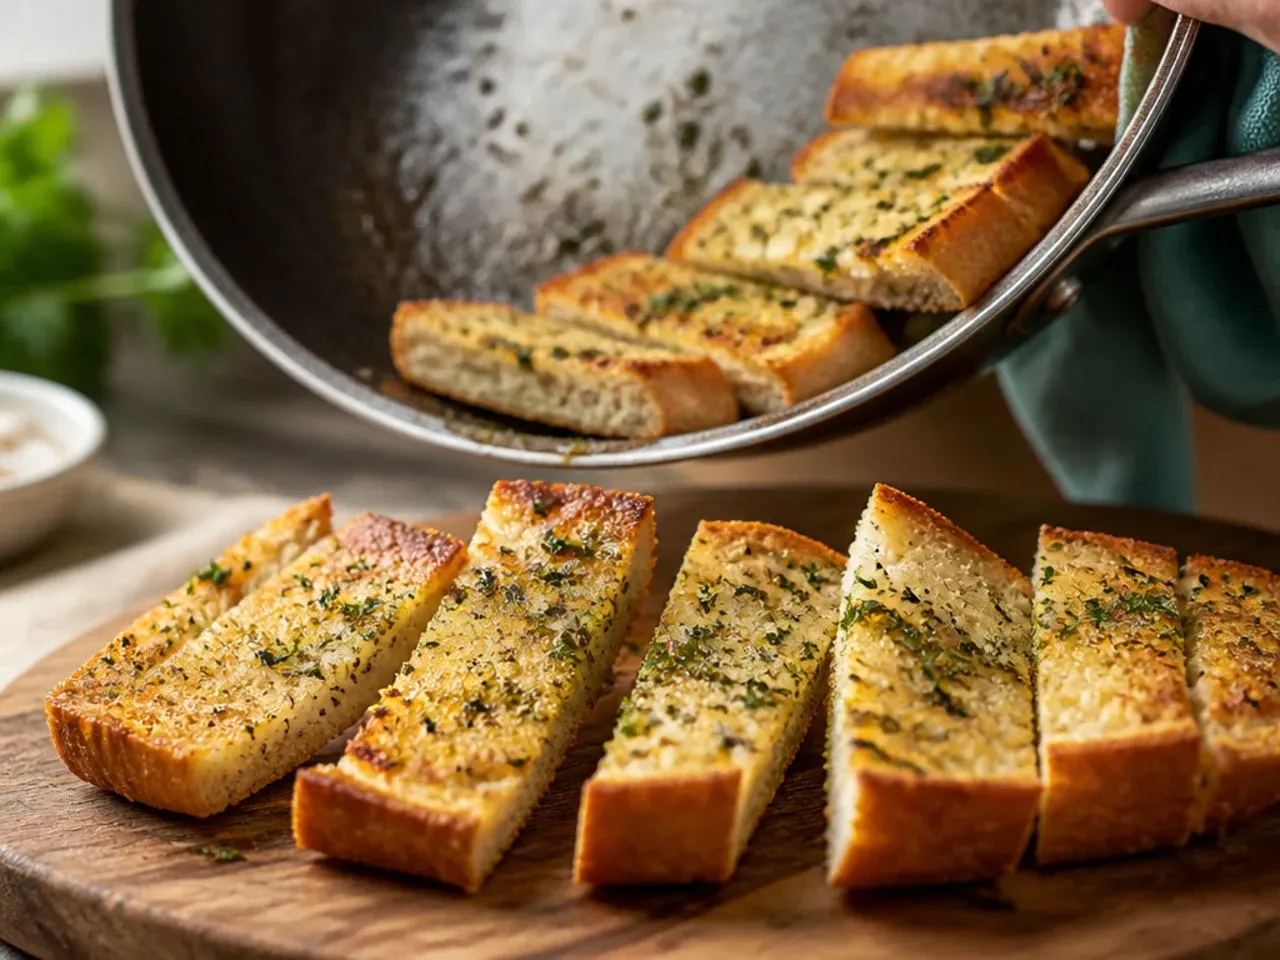
Move the breadsticks to a linen-lined basket or wooden board using tongs or a spatula, keeping them close together so they stay warm longer. Serving straight from the tray works too if you're short on time.
Step 24: Add a dipping sauce
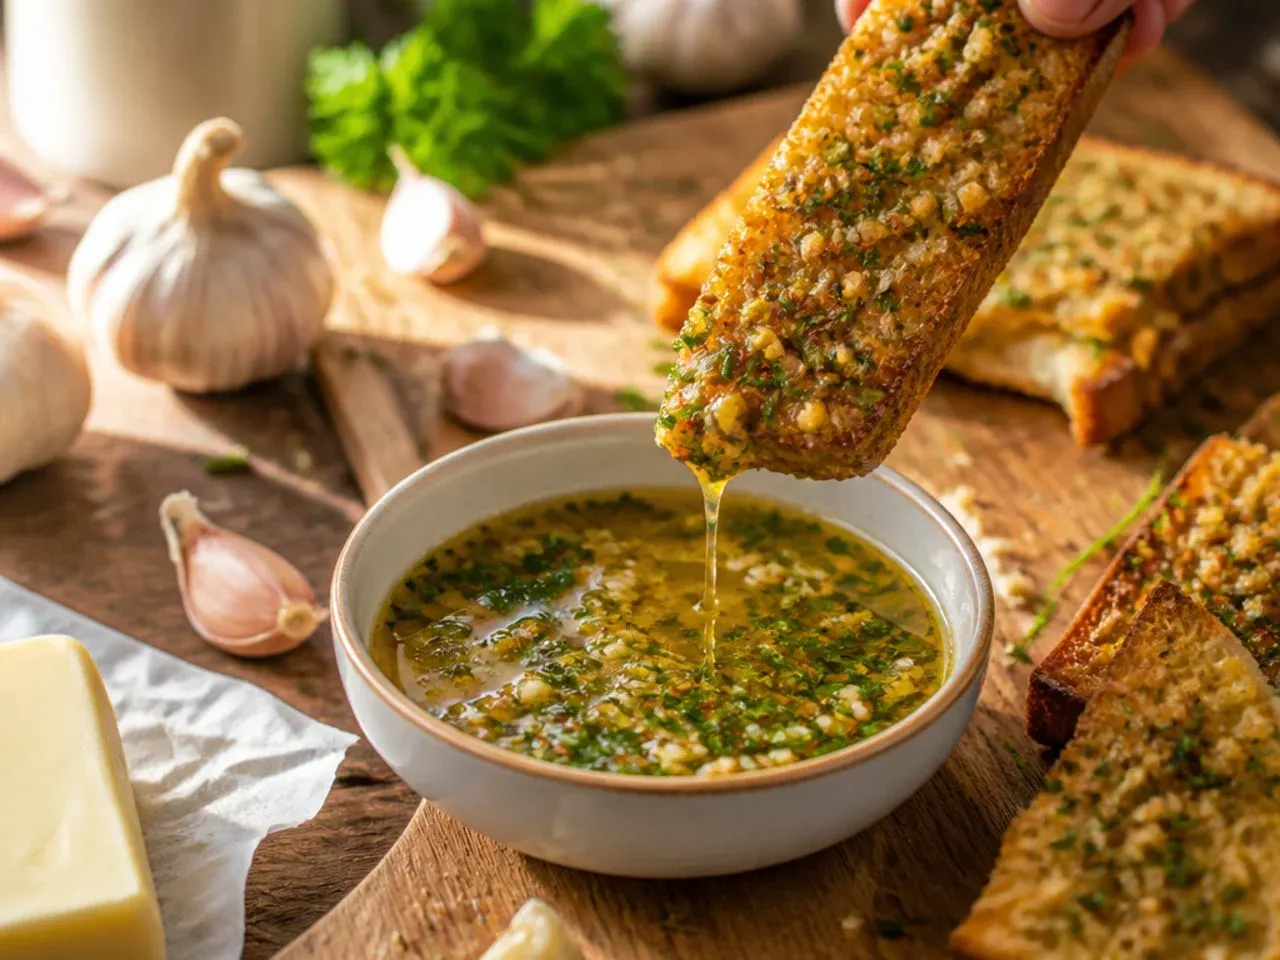
Serve alongside a small bowl of warm marinara sauce, extra garlic butter, or ranch dressing for dipping. A cup of marinara reheated for 60-90 seconds in the microwave pairs particularly well with the garlicky, cheesy crust.
Step 25: Serve and enjoy
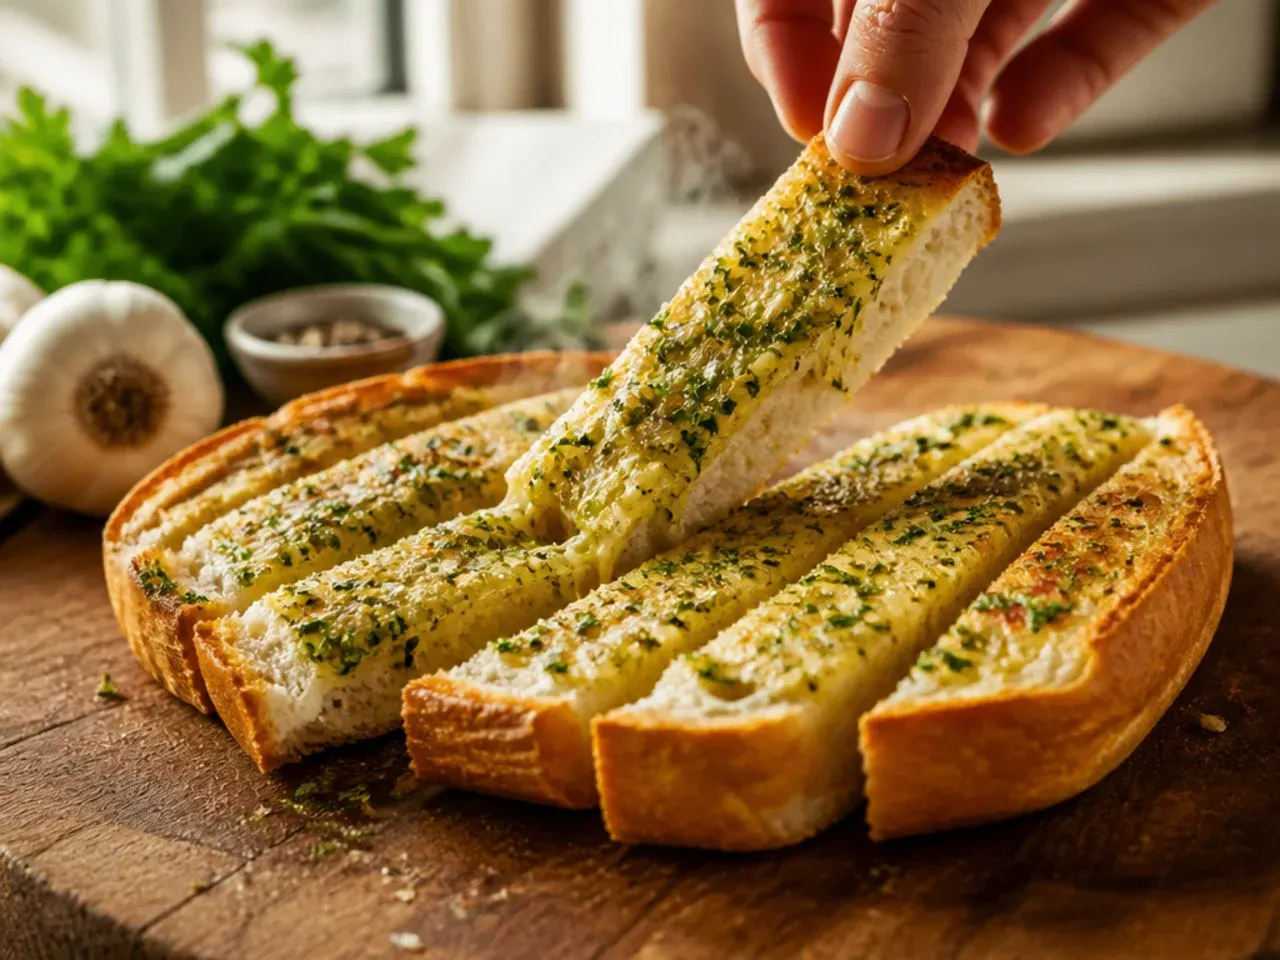
Pull or slice the breadsticks apart while still warm, when the crumb is at its softest and the garlic butter is most fragrant. Any leftovers are best wrapped and stored the same day for the freshest results, following the storage tips below.
Pro Tips for Perfect Garlic Bread Sticks Every Time
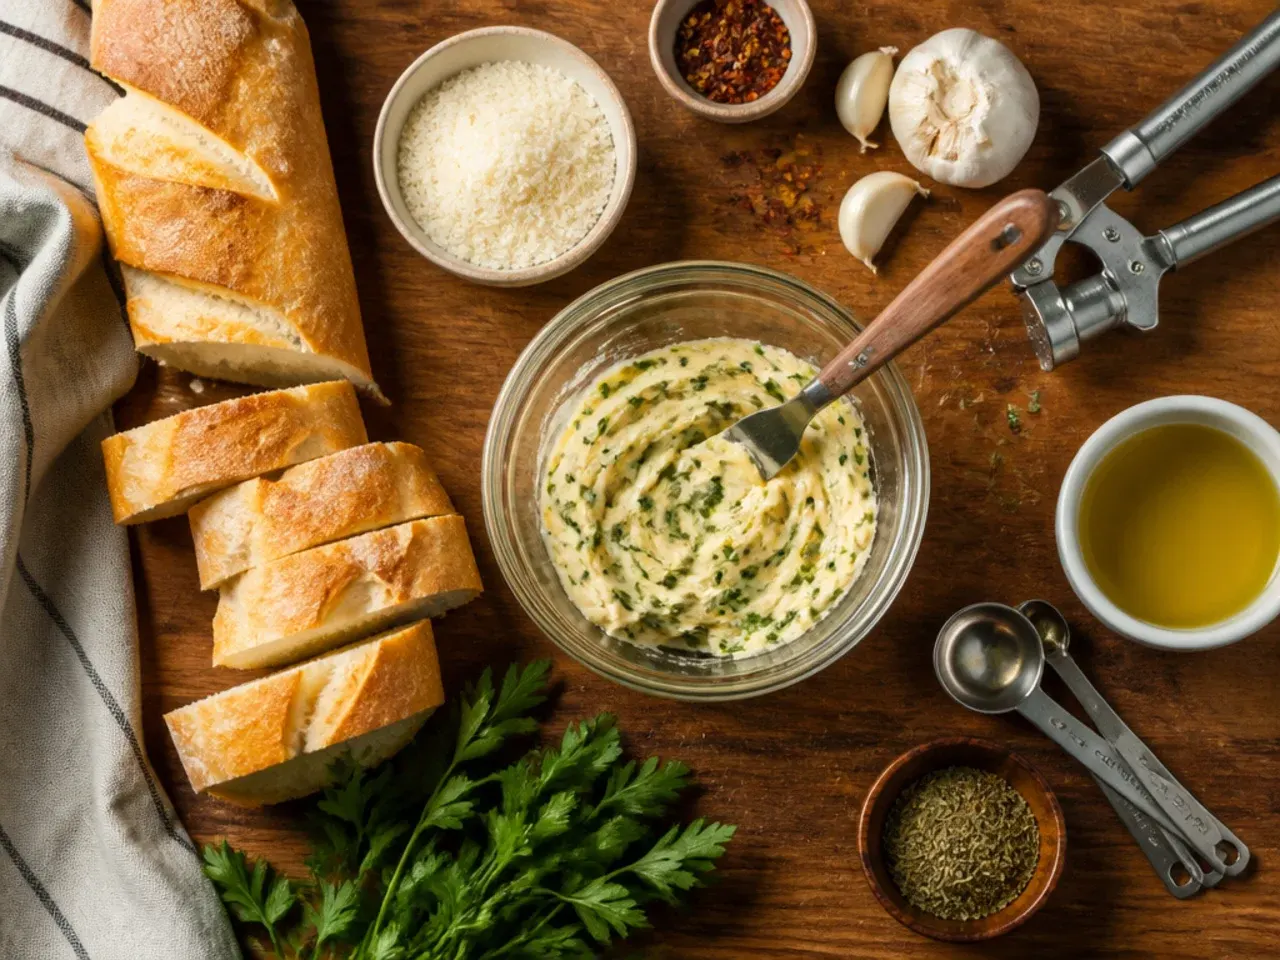
Use fresh garlic rather than garlic powder for the butter; sauteing it briefly mellows the sharp bite while keeping a punchy aroma powder can't match. Weigh your flour rather than scooping with cups, since too much packed-in flour is the single biggest cause of dense, dry garlic bread sticks. If your kitchen is cool, let the dough rise in the oven with just the light on, which creates a gentle 27-30°C (80-86°F) environment for a reliable rise. Always brush the butter on in two stages, once before baking and once straight after, so the flavour builds instead of just sitting on top.
Storing, Freezing and Reheating Garlic Bread Sticks
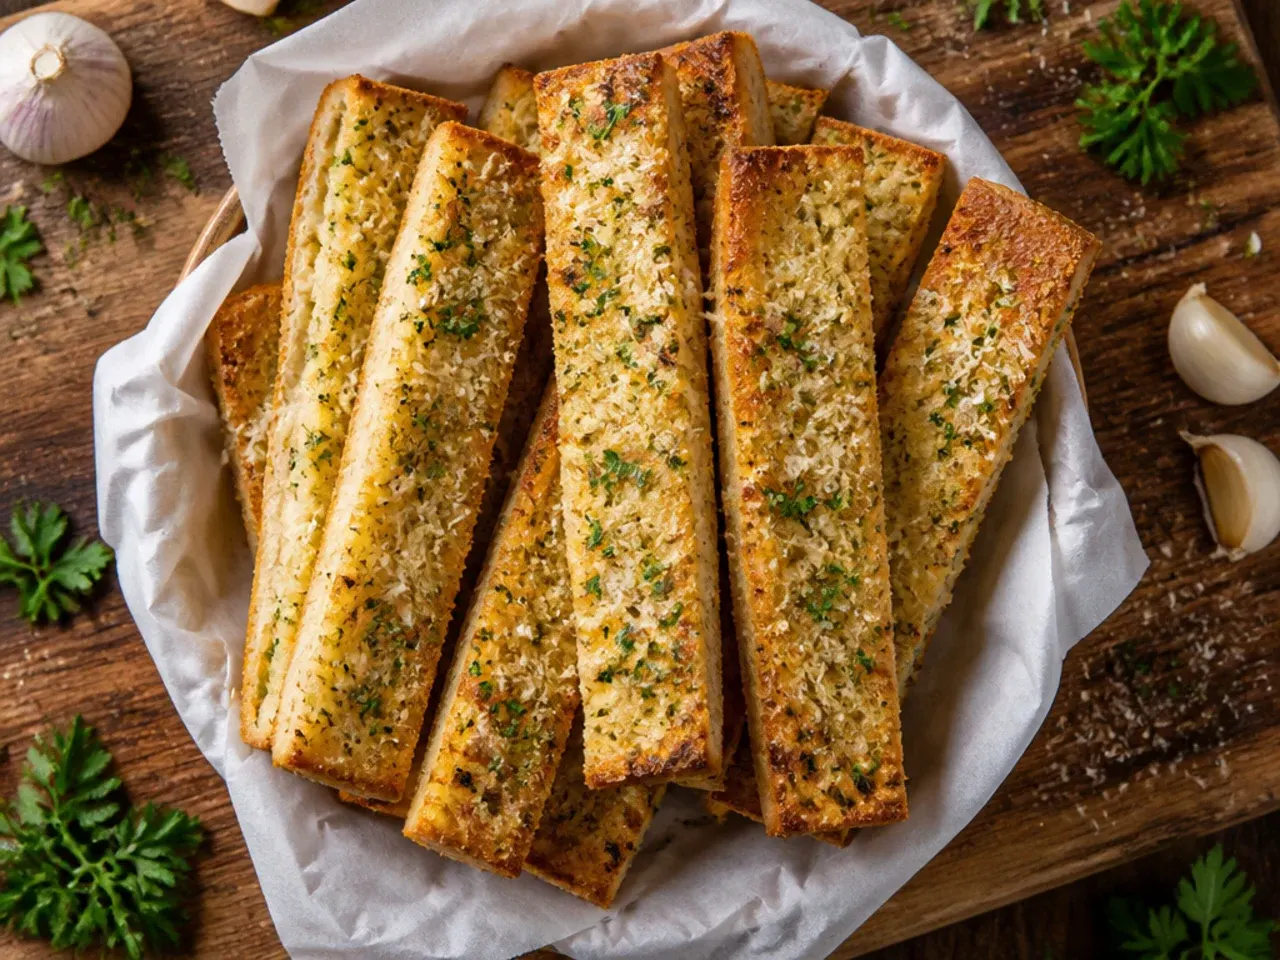
Cooled garlic bread sticks keep well in an airtight container at room temperature for up to 3 days; skip the fridge, as it dries the bread out faster than the counter does. To freeze, wrap the cooled breadsticks individually in foil, then place them in a freezer bag or container for up to 3 months. Reheat from frozen by leaving them wrapped in foil and baking at 190°C (375°F) for 10-15 minutes, or about 8 minutes if thawed, until warmed through and the crust re-crisps. For a make-ahead option, shape the dough through the tray step, cover and refrigerate overnight, then let it sit at room temperature for 30 minutes before the second rise and baking.
Make soft, golden garlic bread sticks at home with a simple yeast dough, garlicky butter and melted Parmesan, plus make-ahead and freezer tips. For more garlic bread inspiration, browse the full Garlic Bread Recipes board — every idea there is written for real home kitchens, not professional bakers.
Frequently Asked Questions
Yes, you can prepare the dough through shaping, then cover the tray and refrigerate it overnight before the second rise; let it sit at room temperature for about 30 minutes to take the chill off before baking as usual. You can also bake the breadsticks fully, cool them, and freeze for up to 3 months. Reheat wrapped in foil at 190°C (375°F) for 10-15 minutes and they taste freshly baked. Both methods mean you can enjoy warm, garlicky bread sticks without doing all the work on the day you serve them.

Related Recipes
Save this for later 📌
Pin this article to your Pinterest board so the full list is one tap away when you need it.
Save on Pinterest