
Ingredients 16 Person(s)

Save this for later 📌
Pin this article to your Pinterest board so the full list is one tap away when you need it.
Save on PinterestDirections
Step 1: Prepare the tins and oven
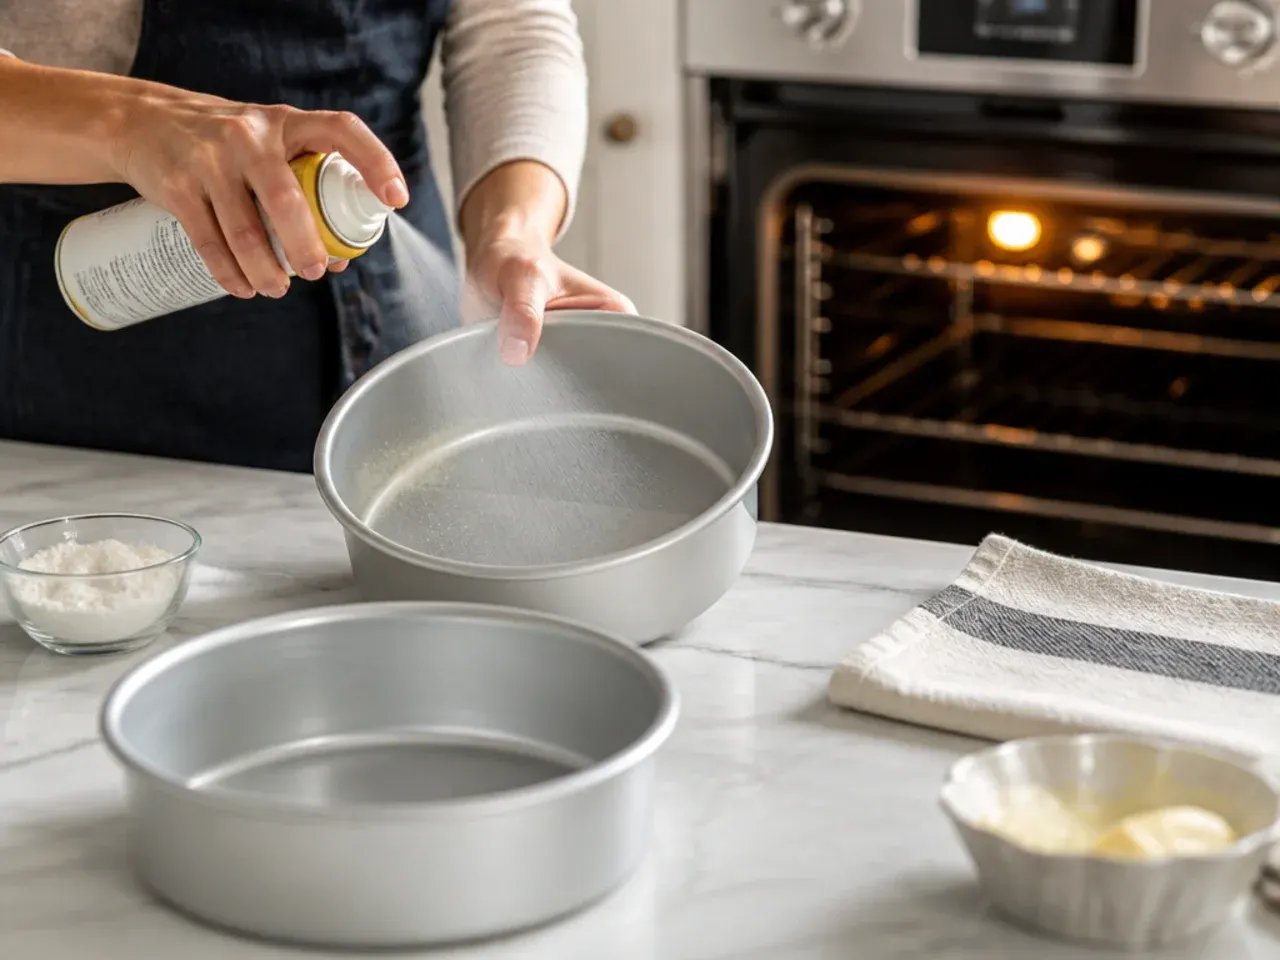
Grease two 20 cm (8 in) round cake tins and line the bases with baking paper. Preheat the oven to 180°C (350°F) so it's fully up to temperature before the batter goes in, which keeps the sponge rising evenly.
Step 2: Cream the butter and sugar
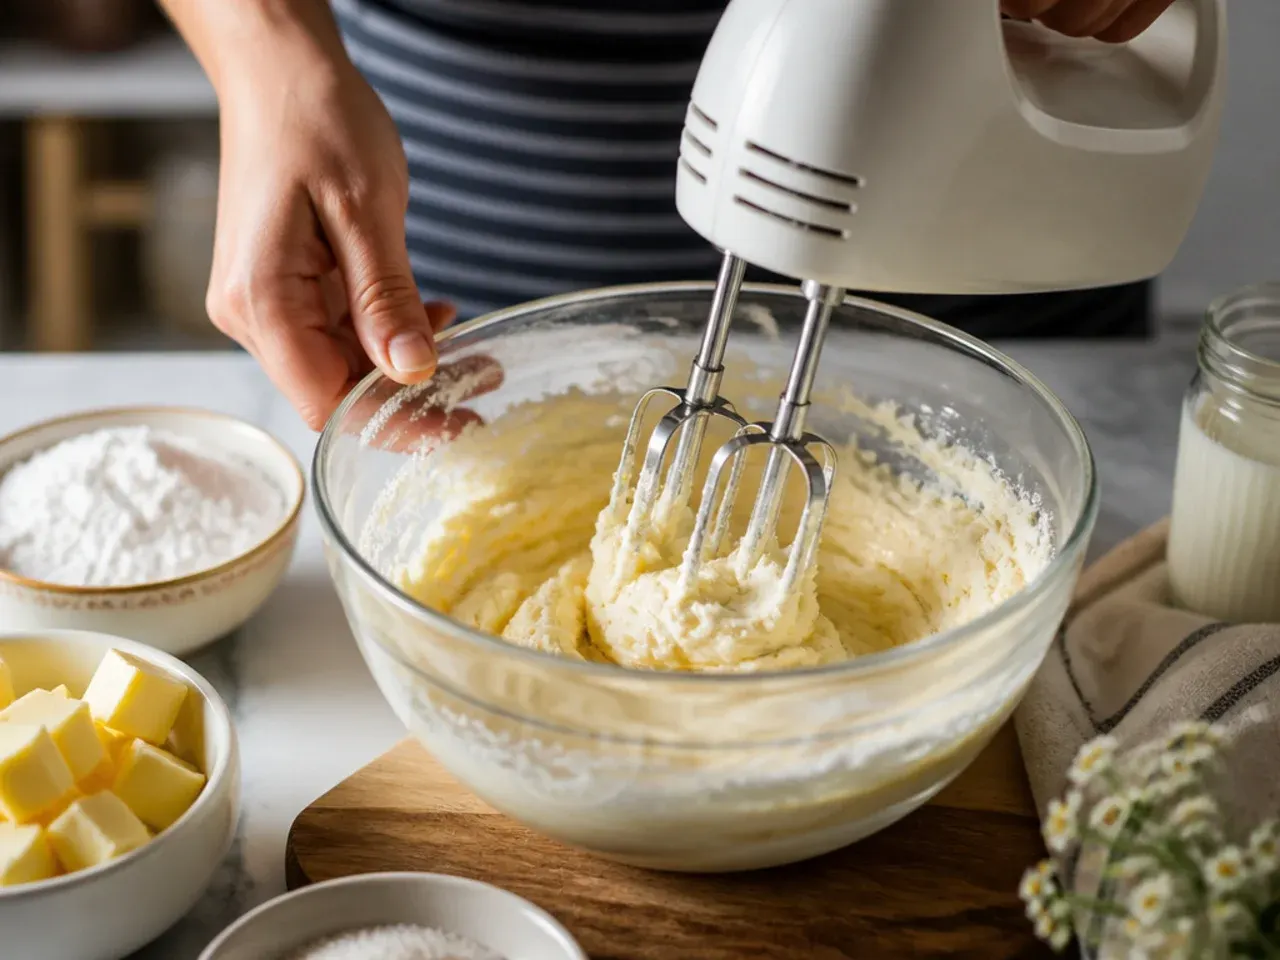
Beat 350 g (12 oz) softened butter with 350 g (12 oz) caster sugar for 3-4 minutes until pale, fluffy and noticeably lighter in colour. This traps air that gives the sponge its soft texture, so don't rush this step.
Step 3: Add the eggs gradually
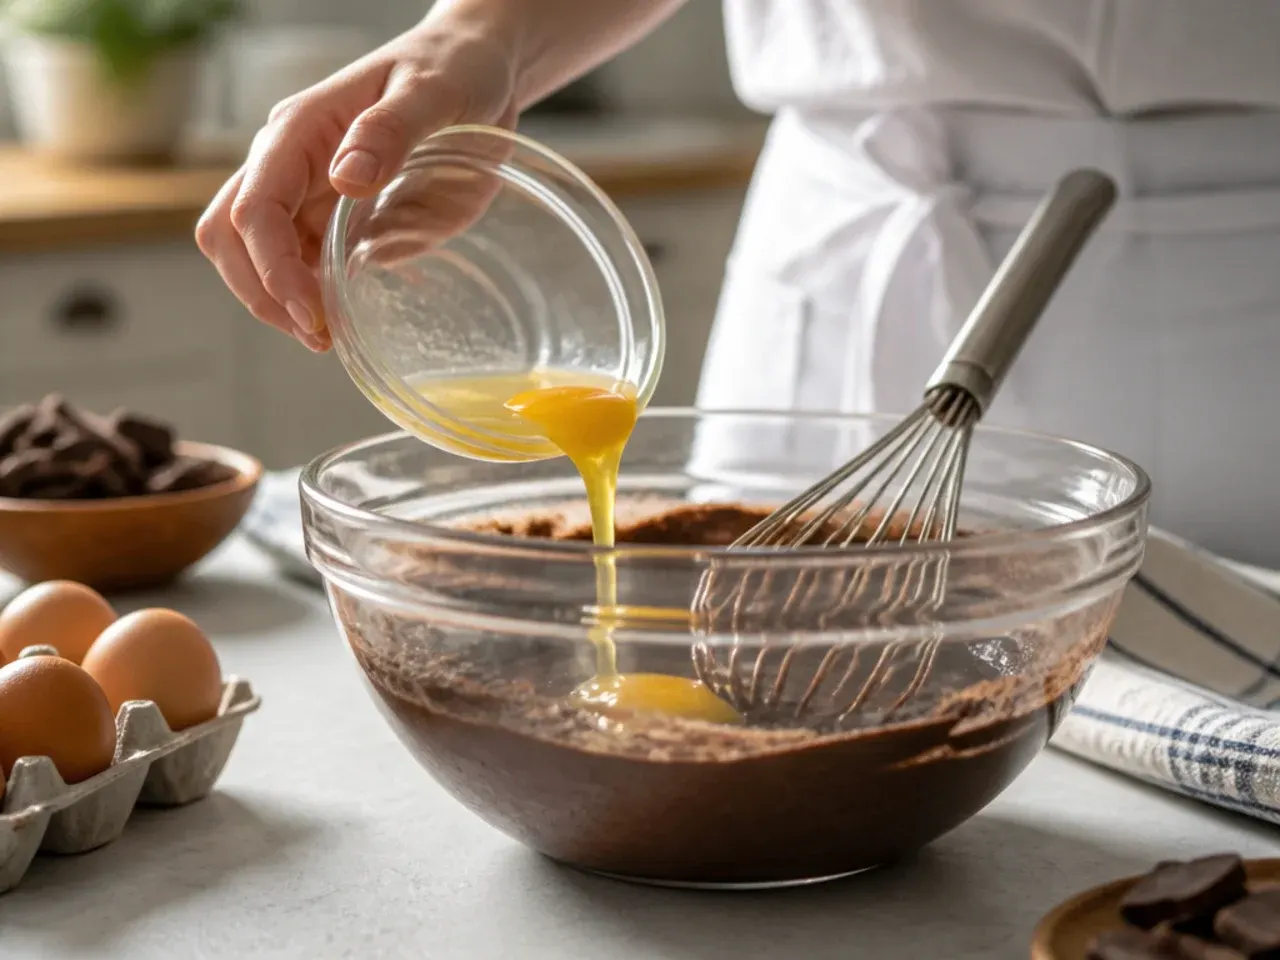
Beat in the 6 eggs one at a time, adding a spoonful of the flour with each if the mixture looks like it's splitting. The batter should stay smooth and glossy throughout.
Step 4: Fold in the flour and vanilla
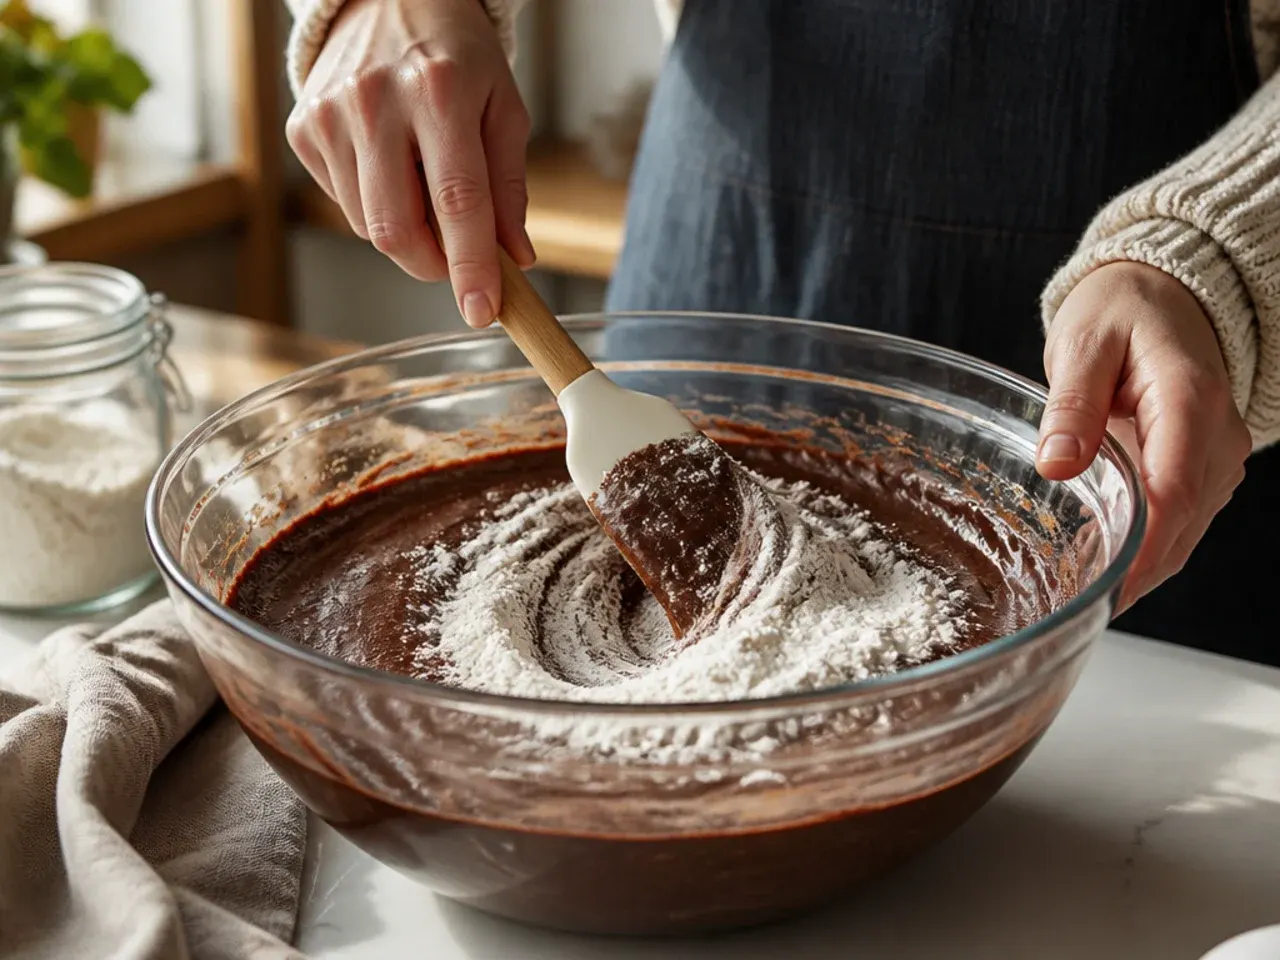
Sift in 350 g (12 oz) self-raising flour and fold gently with a large metal spoon until just combined, then stir through 2 tsp vanilla extract. Overmixing at this stage knocks out air and makes the cake tough, so stop as soon as no dry flour remains.
Step 5: Divide and bake the sponges
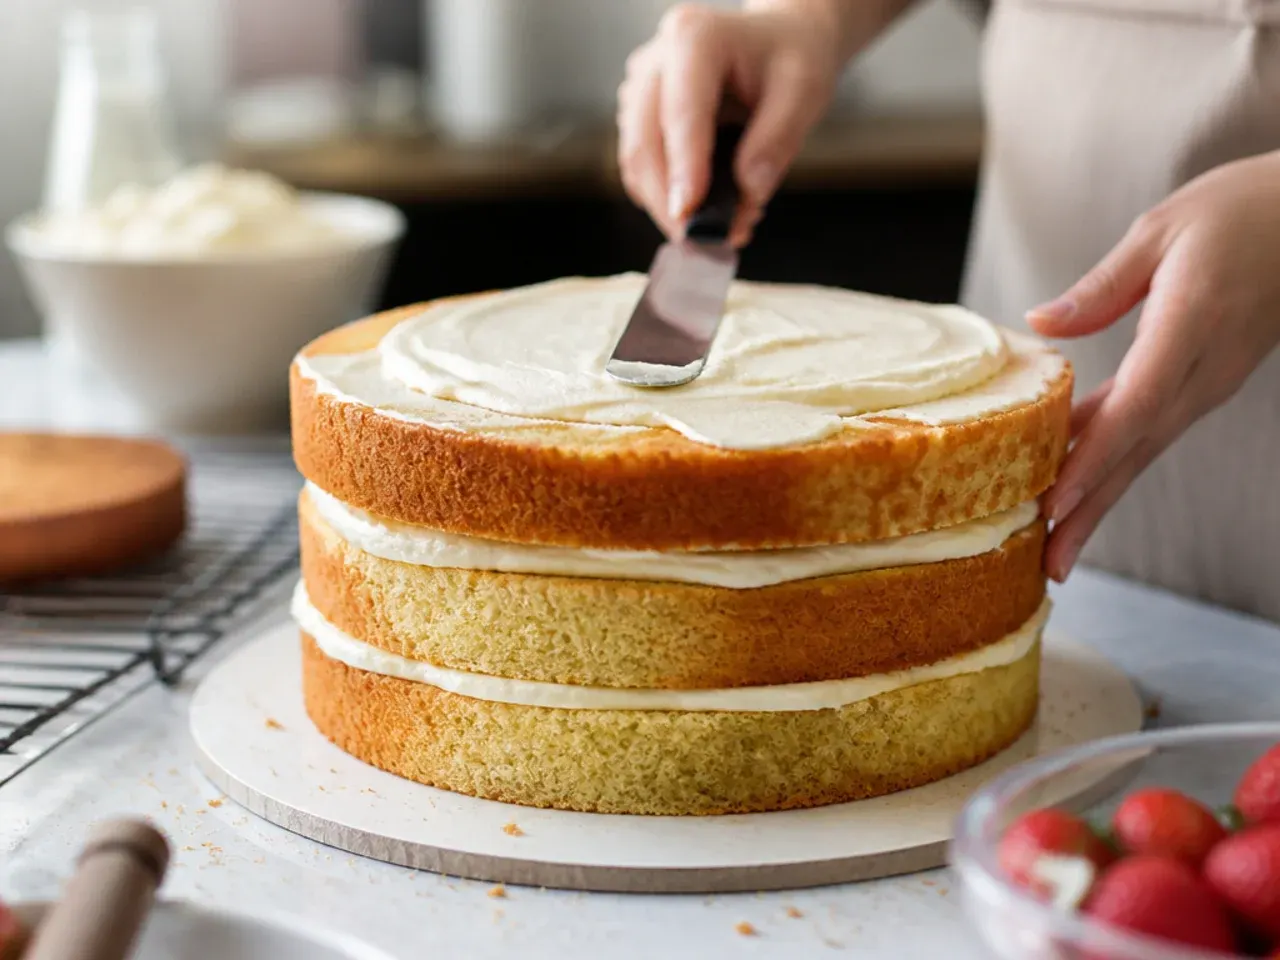
Split the batter evenly between the two prepared tins and smooth the tops with a spatula. Bake for 25-28 minutes until golden and springy to the touch, and a skewer inserted in the centre comes out clean.
Step 6: Cool the sponges completely
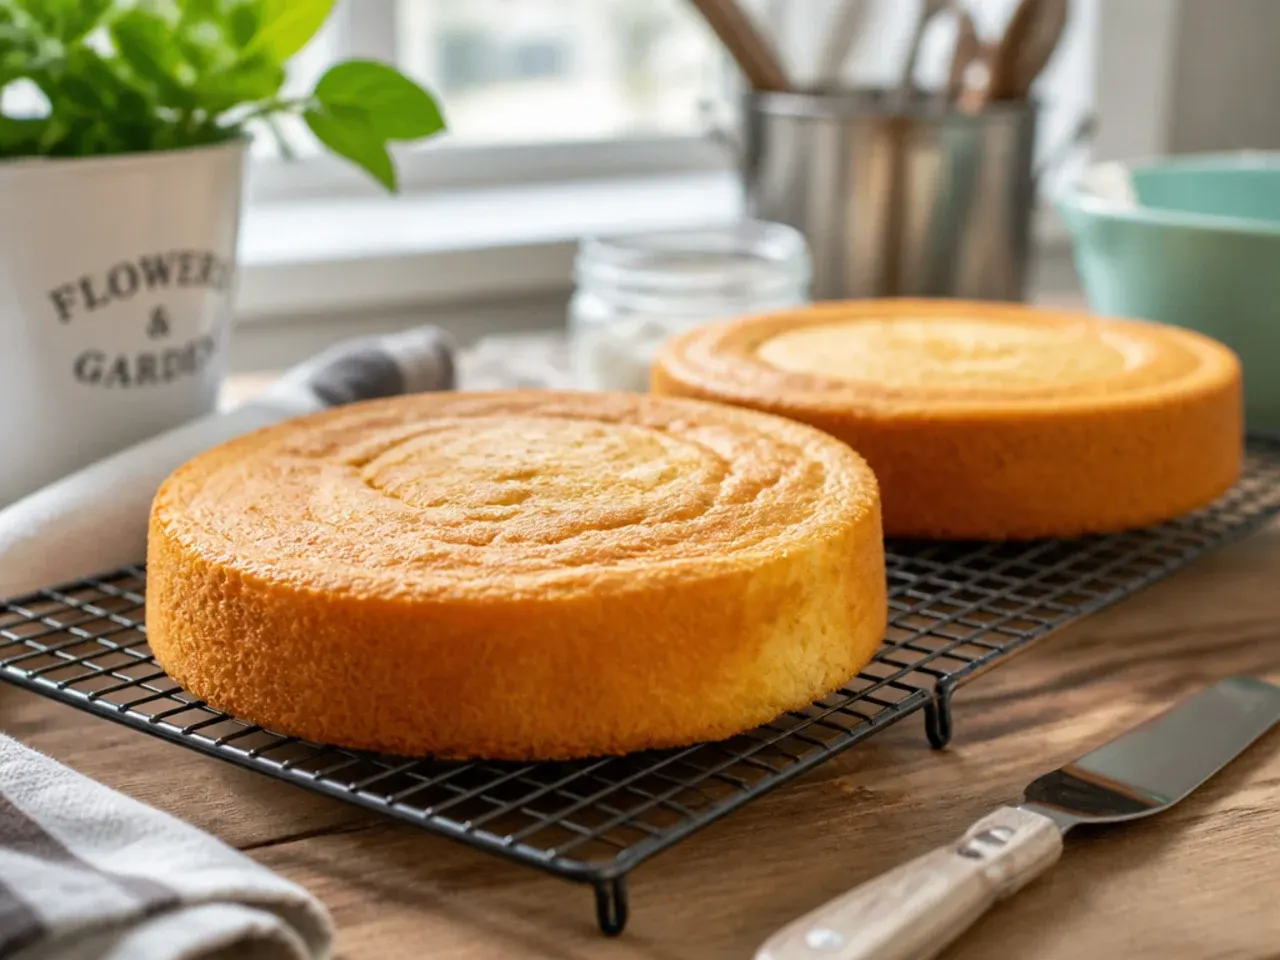
Leave the cakes in their tins for 10 minutes, then turn out onto a wire rack to cool fully, about 1 hour. Decorating a warm cake melts the buttercream, so don't skip this waiting time.
Step 7: Level the layers
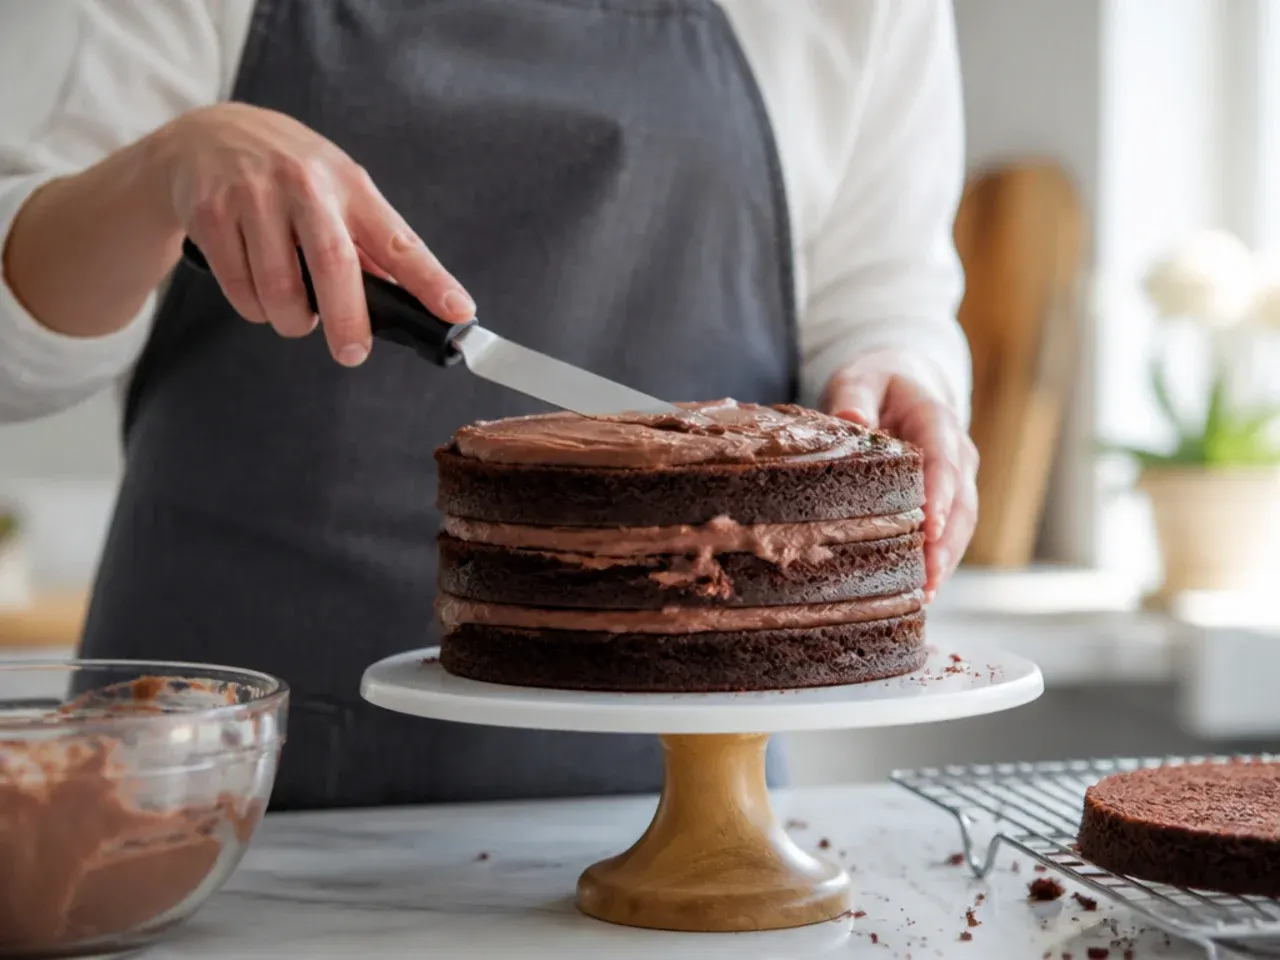
Use a serrated knife to trim any domed tops flat, so the two layers stack evenly. Keep the offcuts for a trifle or cake pops rather than wasting them.
Step 8: Make the vanilla buttercream
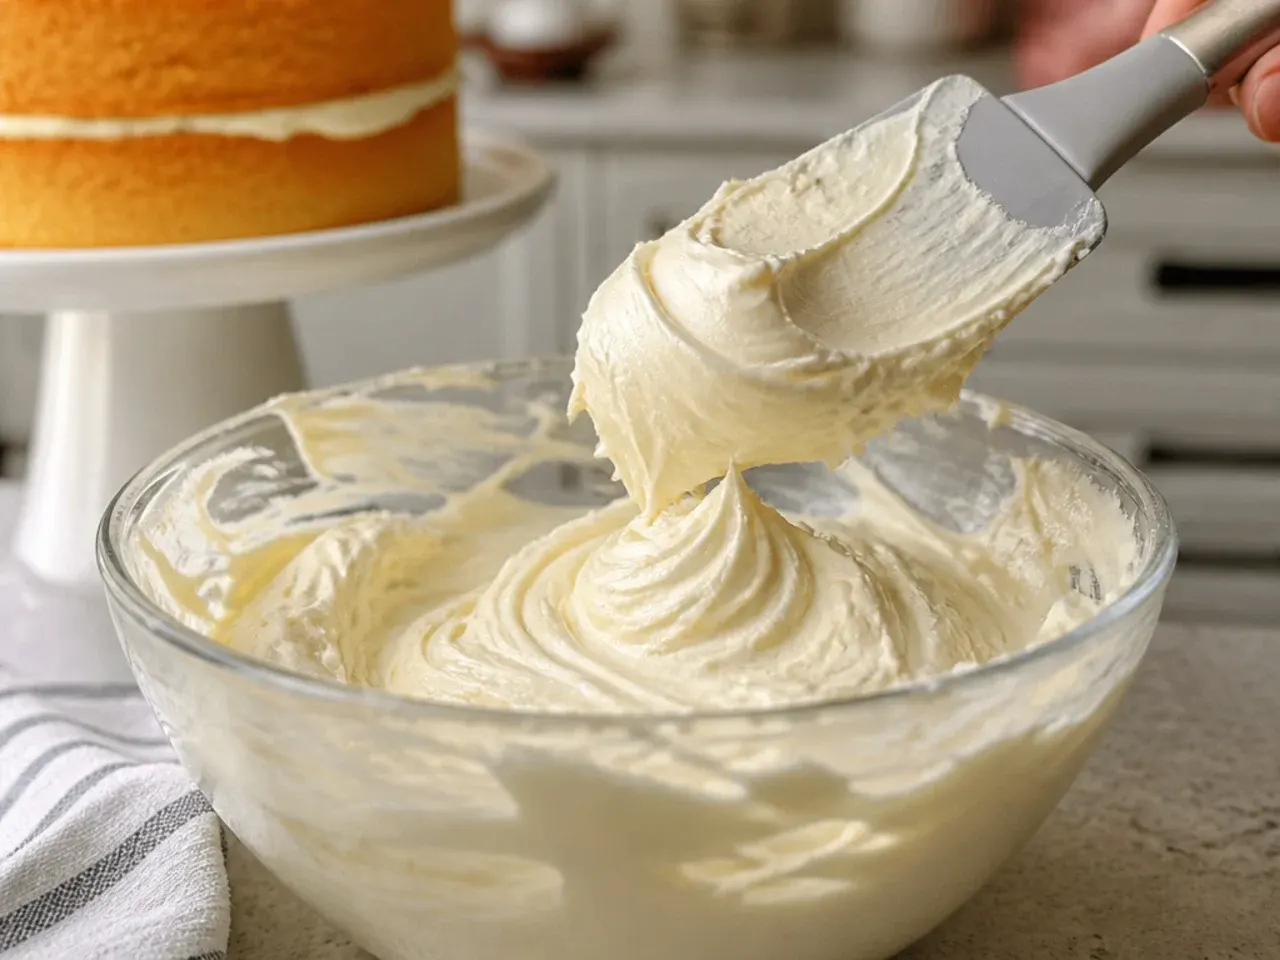
Beat 200 g (7 oz) softened butter until creamy, then gradually add 400 g (14 oz) sifted icing sugar with 3 tbsp milk, beating for 3-4 minutes until light and spreadable. The finished buttercream should hold soft peaks and pipe smoothly without collapsing.
Step 9: Fill and stack the layers
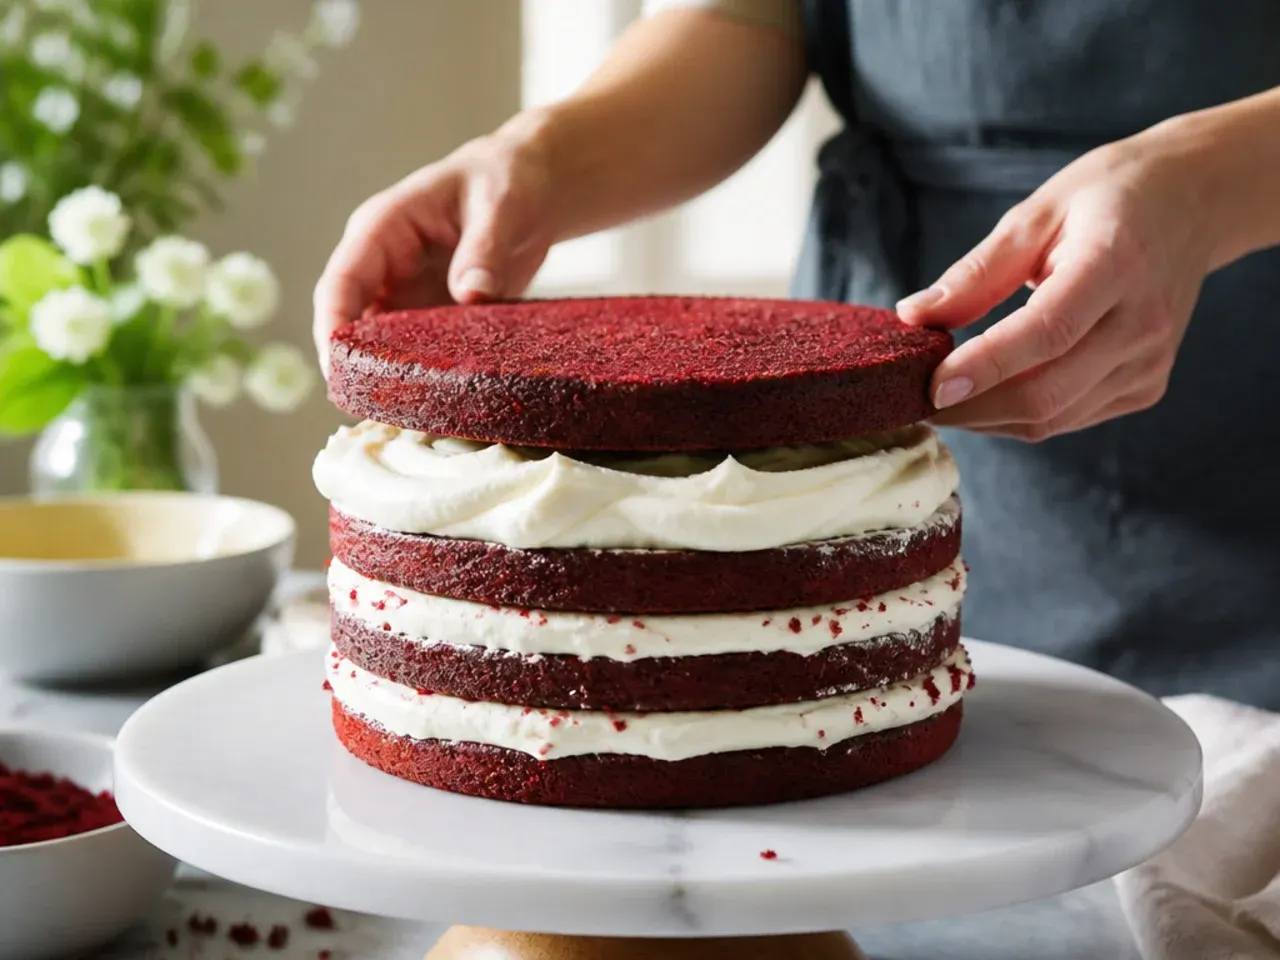
Spread a generous layer of buttercream over the first sponge, then place the second layer on top, cut-side down. Press down lightly so the layers sit level and flush at the edges.
Step 10: Apply the crumb coat
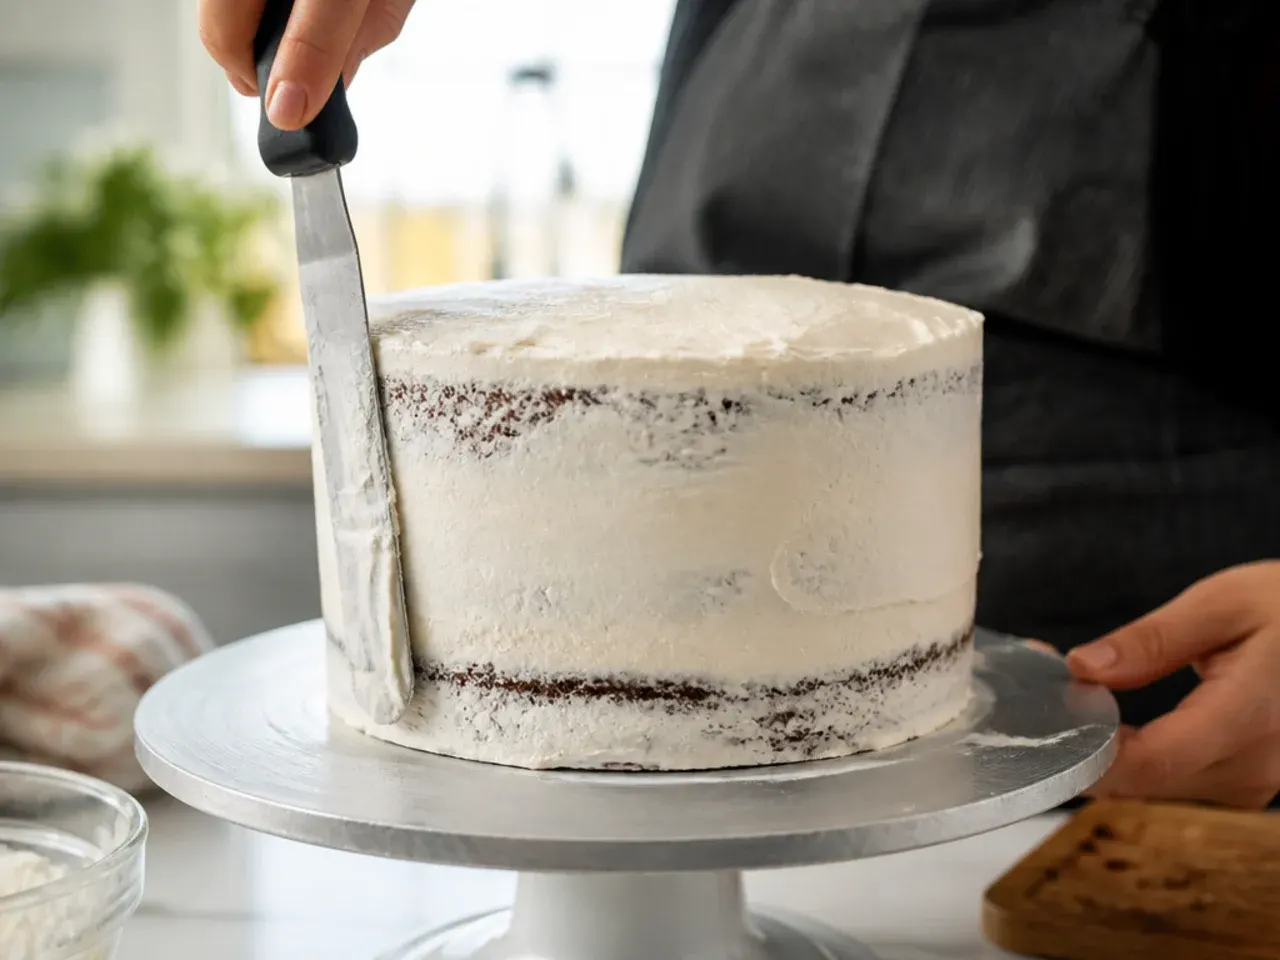
Spread a thin layer of buttercream over the whole cake, sealing in any loose crumbs. Chill for 20 minutes in the fridge until this base coat is firm to the touch.
Step 11: Smooth the final buttercream coat
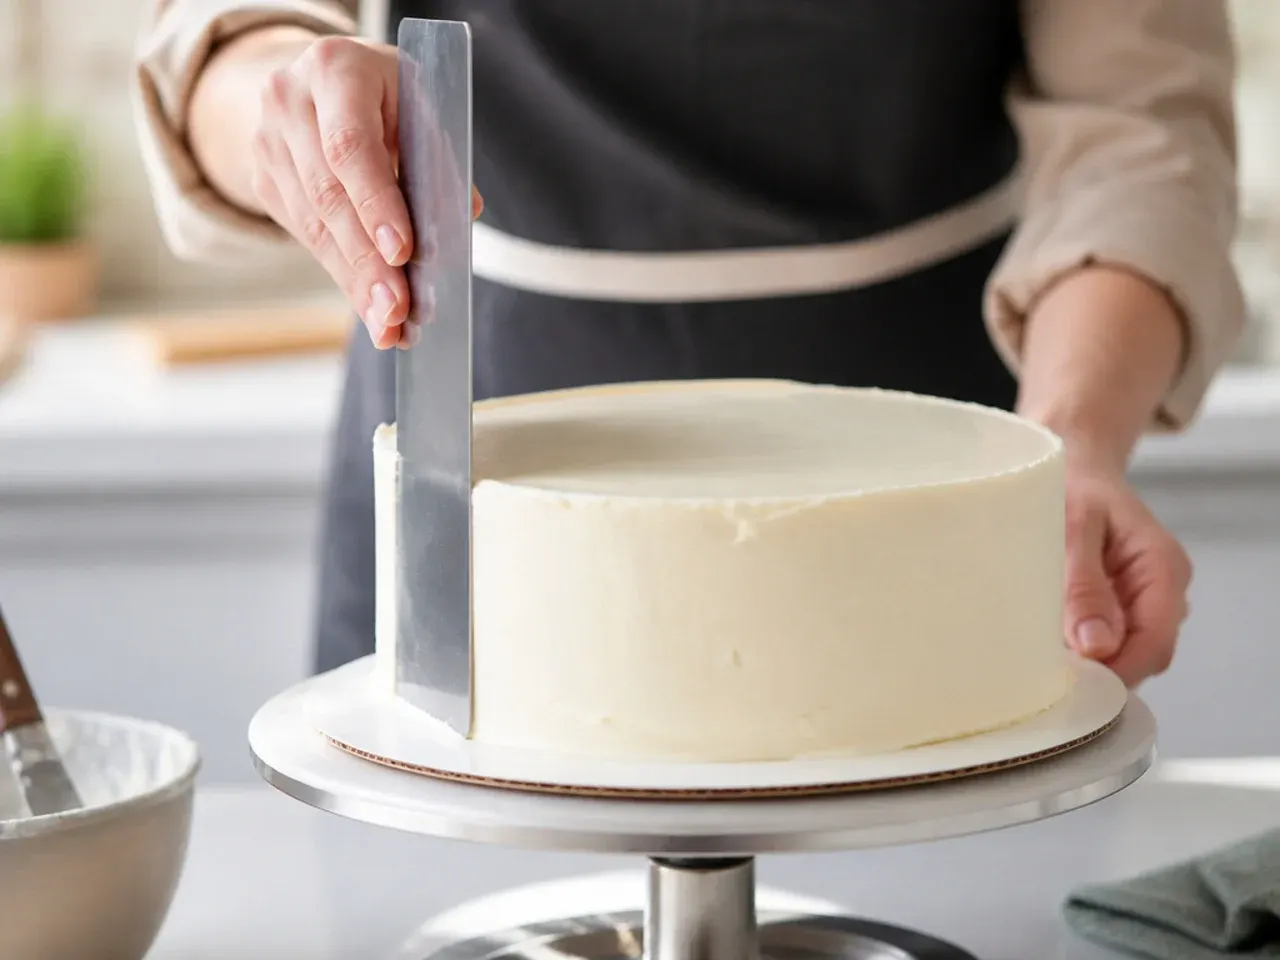
Cover the chilled cake with a thicker, final layer of buttercream and smooth the sides with a bench scraper, dipping it in hot water between passes. Work in one continuous motion around the cake for a clean, even finish before adding any decoration.
Step 12: Idea 1 - Classic gold drip finish
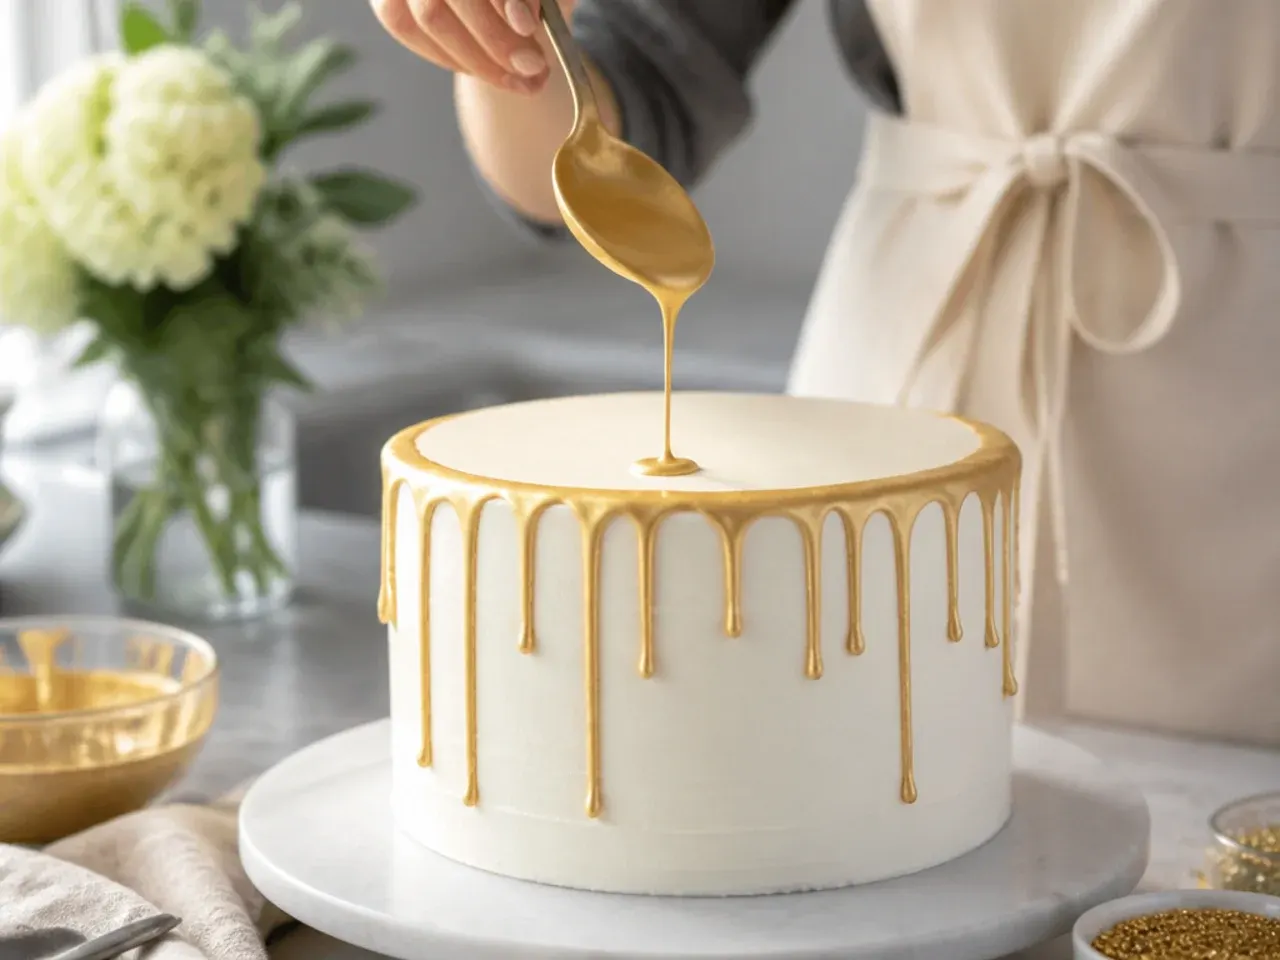
Warm 100 g (3.5 oz) melted chocolate mixed with a little gold lustre dust until it's a thin, pourable consistency. Spoon it around the top edge of the cake so it trails down the sides in slow drips, then let it set for 10 minutes before adding more decoration.
Step 13: Idea 2 - Buttercream graduation cap topper
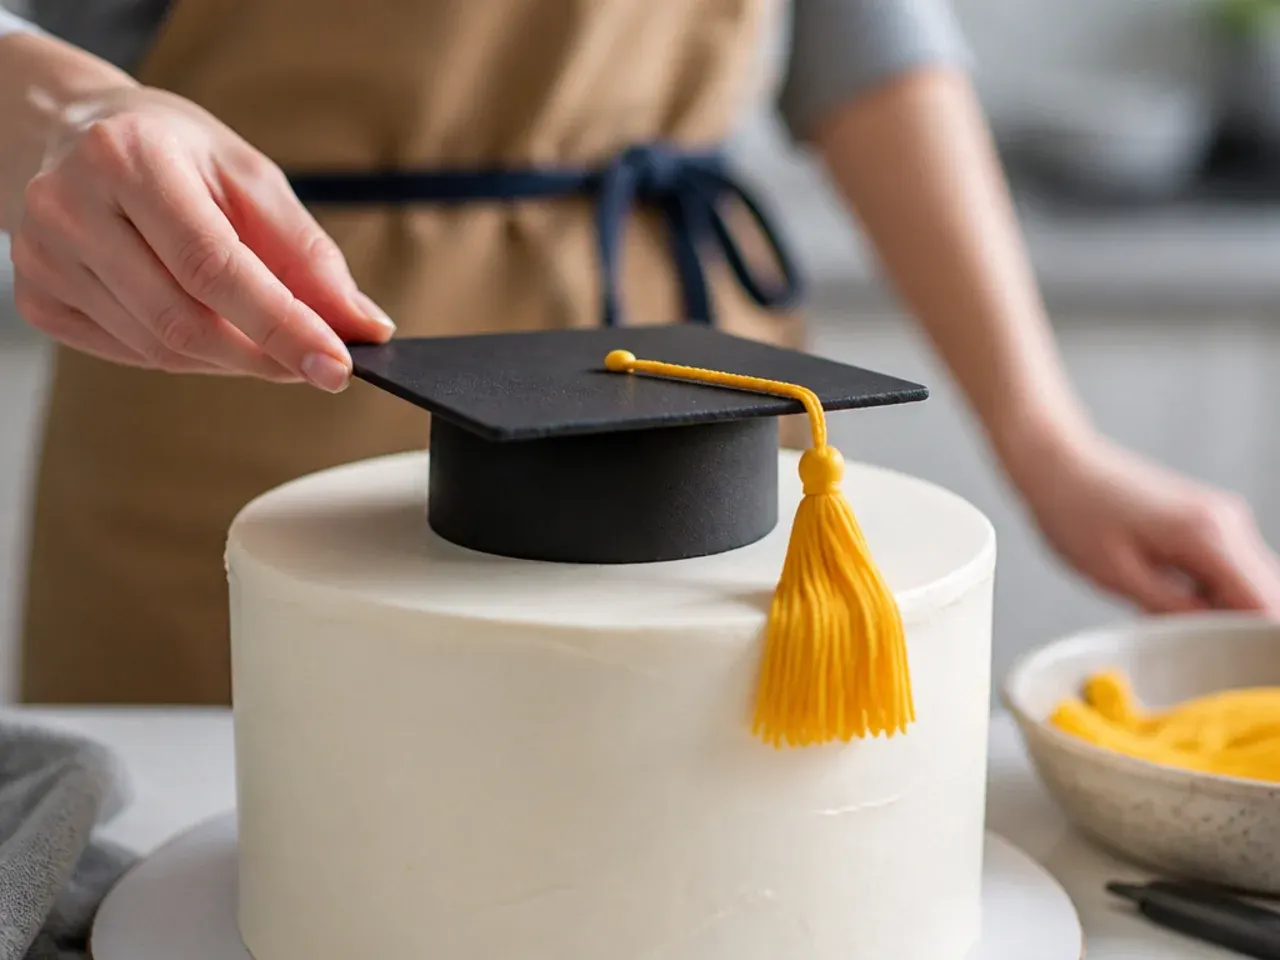
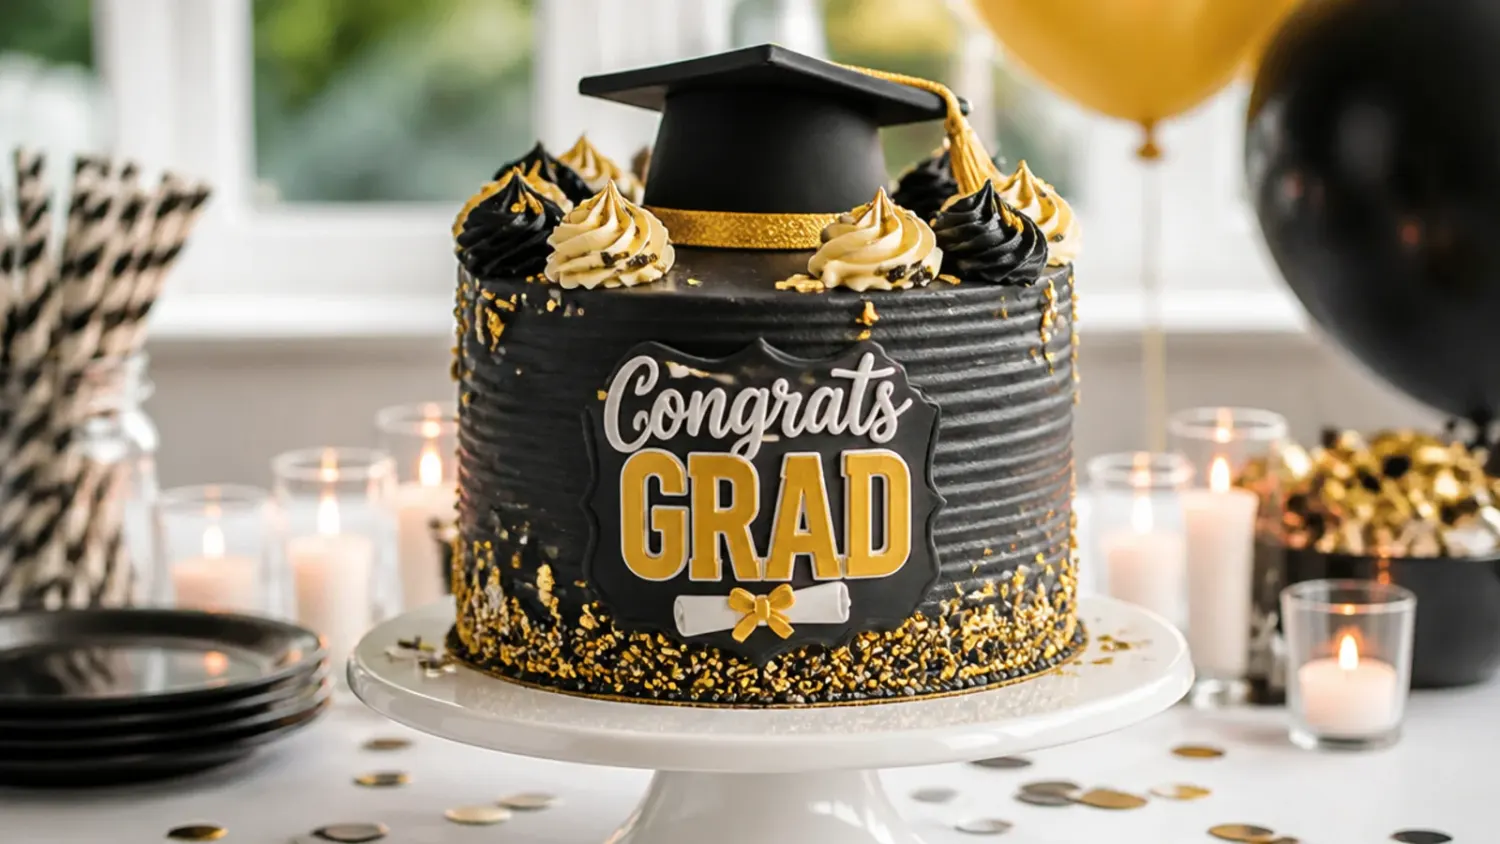
Pipe a flat black buttercream square on a small round base to form the cap's mortarboard, using a piping bag fitted with a flat tip. Rest it slightly off-centre on top of the cake so it looks naturally placed rather than perfectly aligned.
Step 14: Idea 3 - Fondant diploma scroll
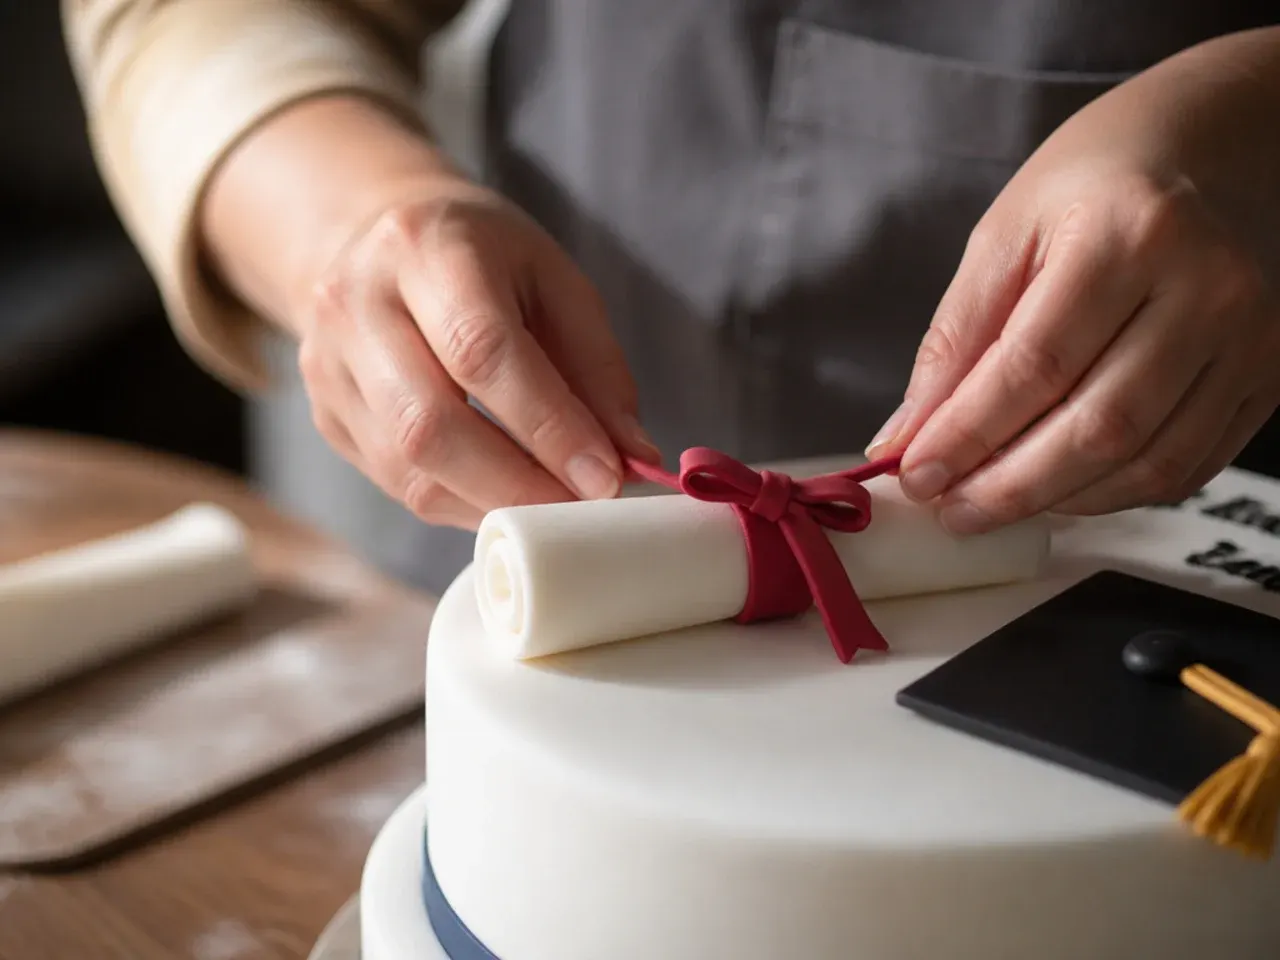
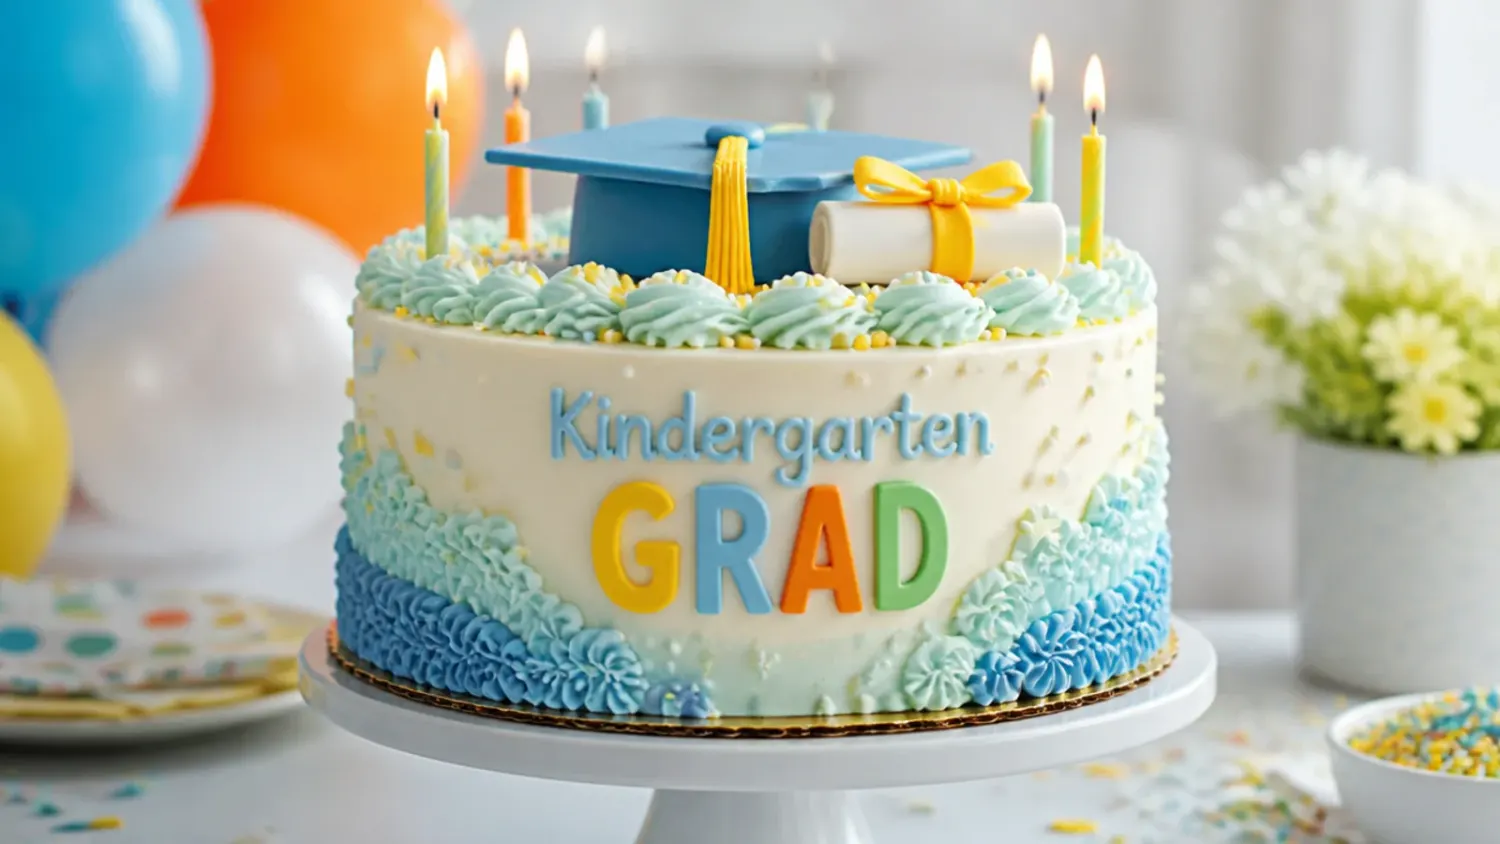
Roll a 10 cm (4 in) strip of white fondant thinly and curl both ends inward like a scroll, securing with a dab of water. Tie a thin ribbon of coloured fondant around the centre and leave it to firm up for 15 minutes before placing on the cake.
Step 15: Idea 4 - Piped tassel detail
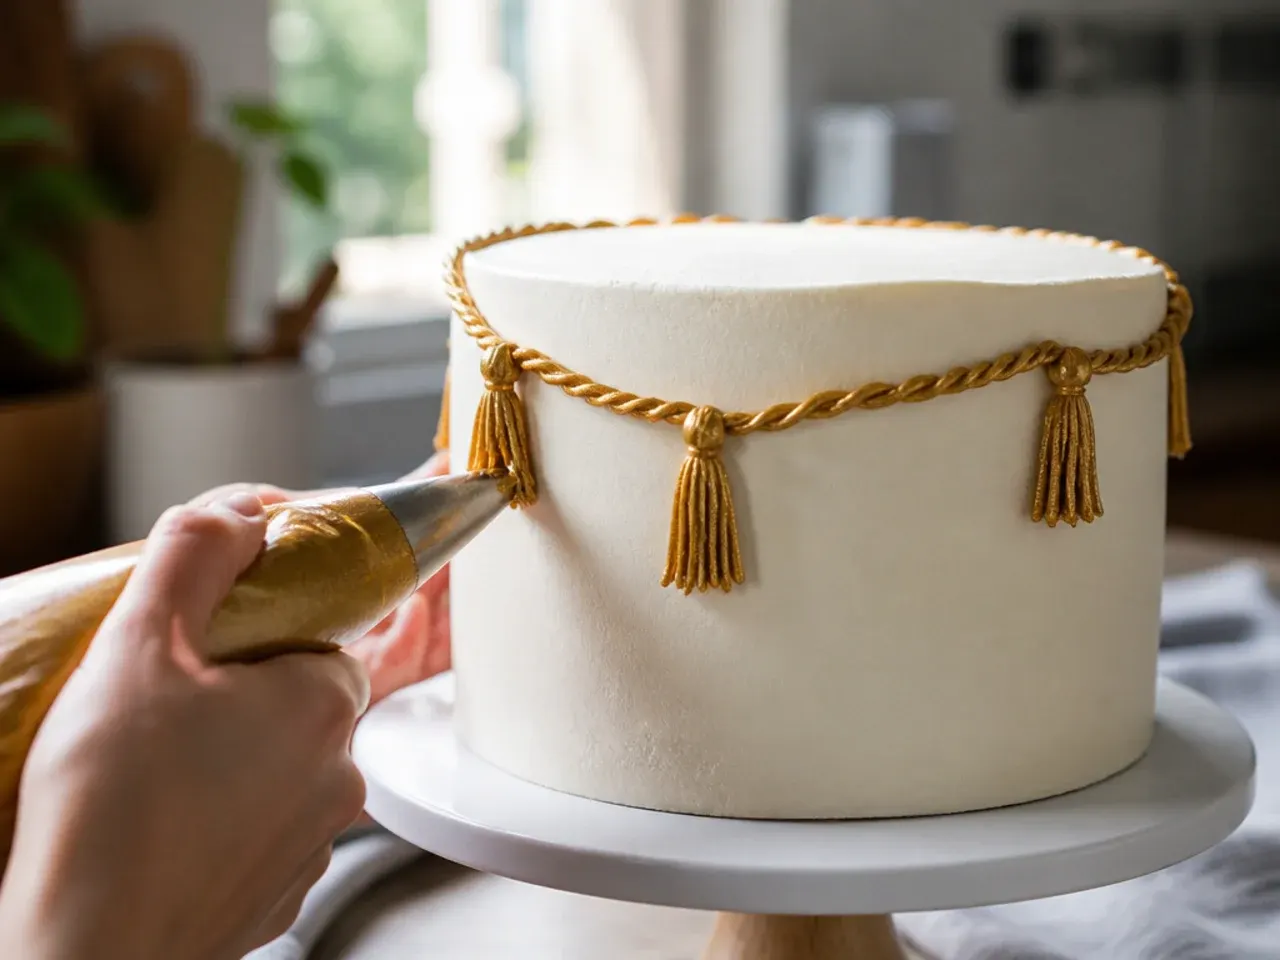
Using a fine round piping tip, pipe a straight line of black or gold buttercream down from the centre of the cap topper, finishing with a small tuft at the end to mimic a graduation tassel. Keep the line slightly wavy for a more realistic, hand-draped look.
Step 16: Idea 5 - Edible gold leaf accents
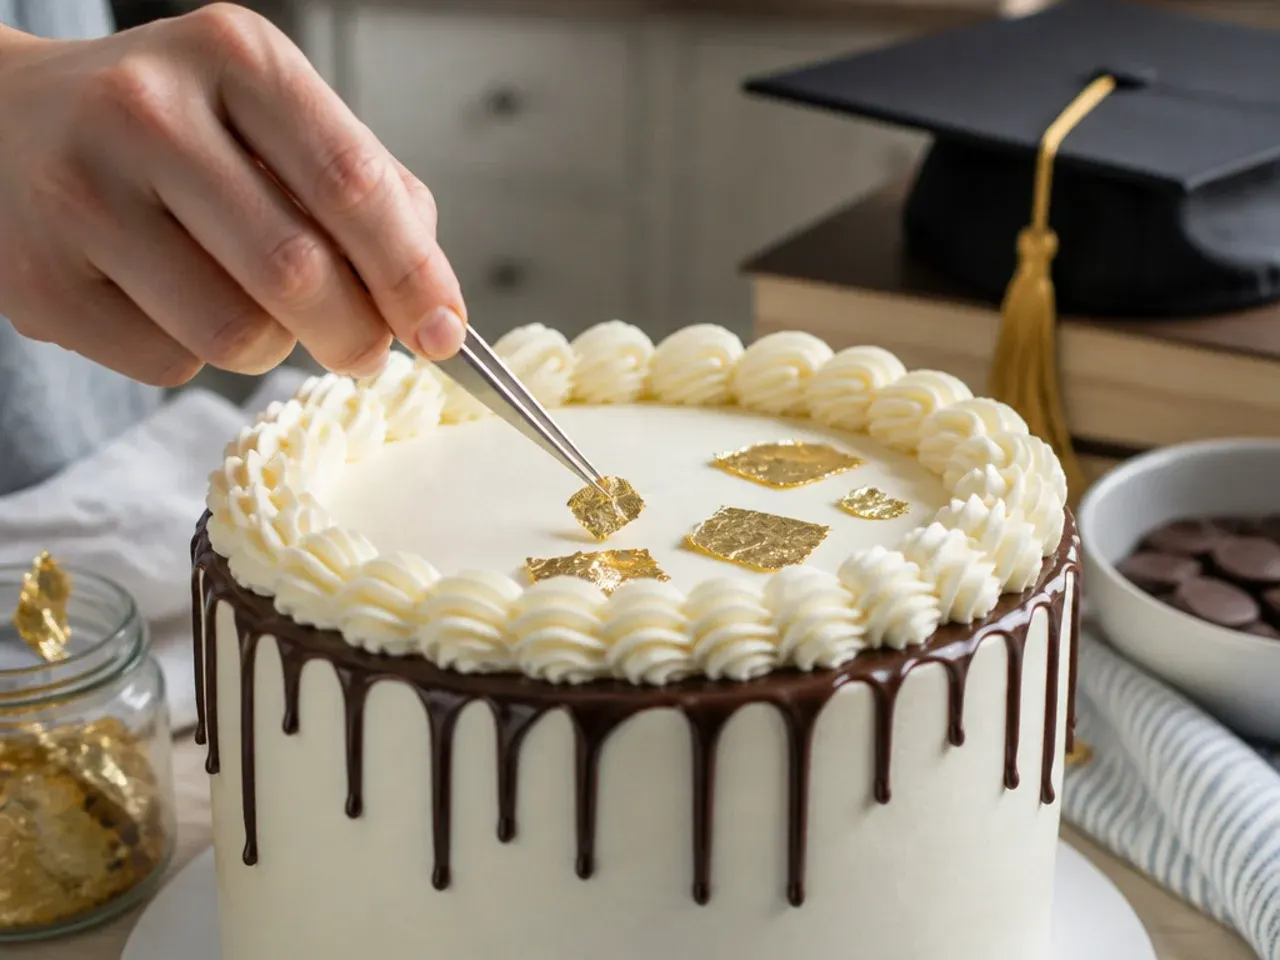
Using tweezers, lift small pieces of edible gold leaf and press them gently onto the cake in a scattered cluster near the base or around the cap. A little goes a long way, so 4-5 small pieces are enough for an elegant, not overpowering, effect.
Step 17: Idea 6 - Ombre buttercream swipe
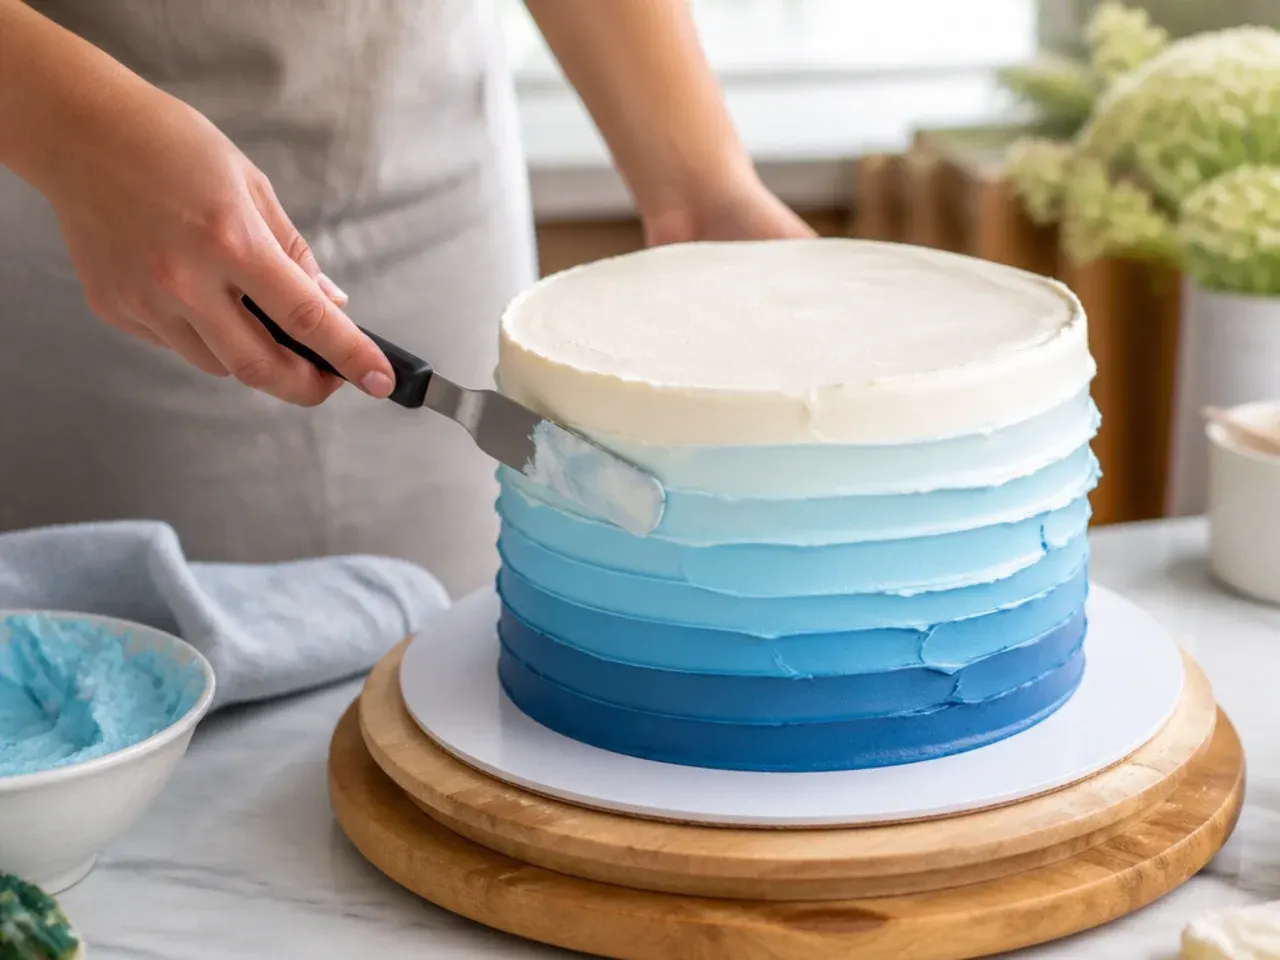
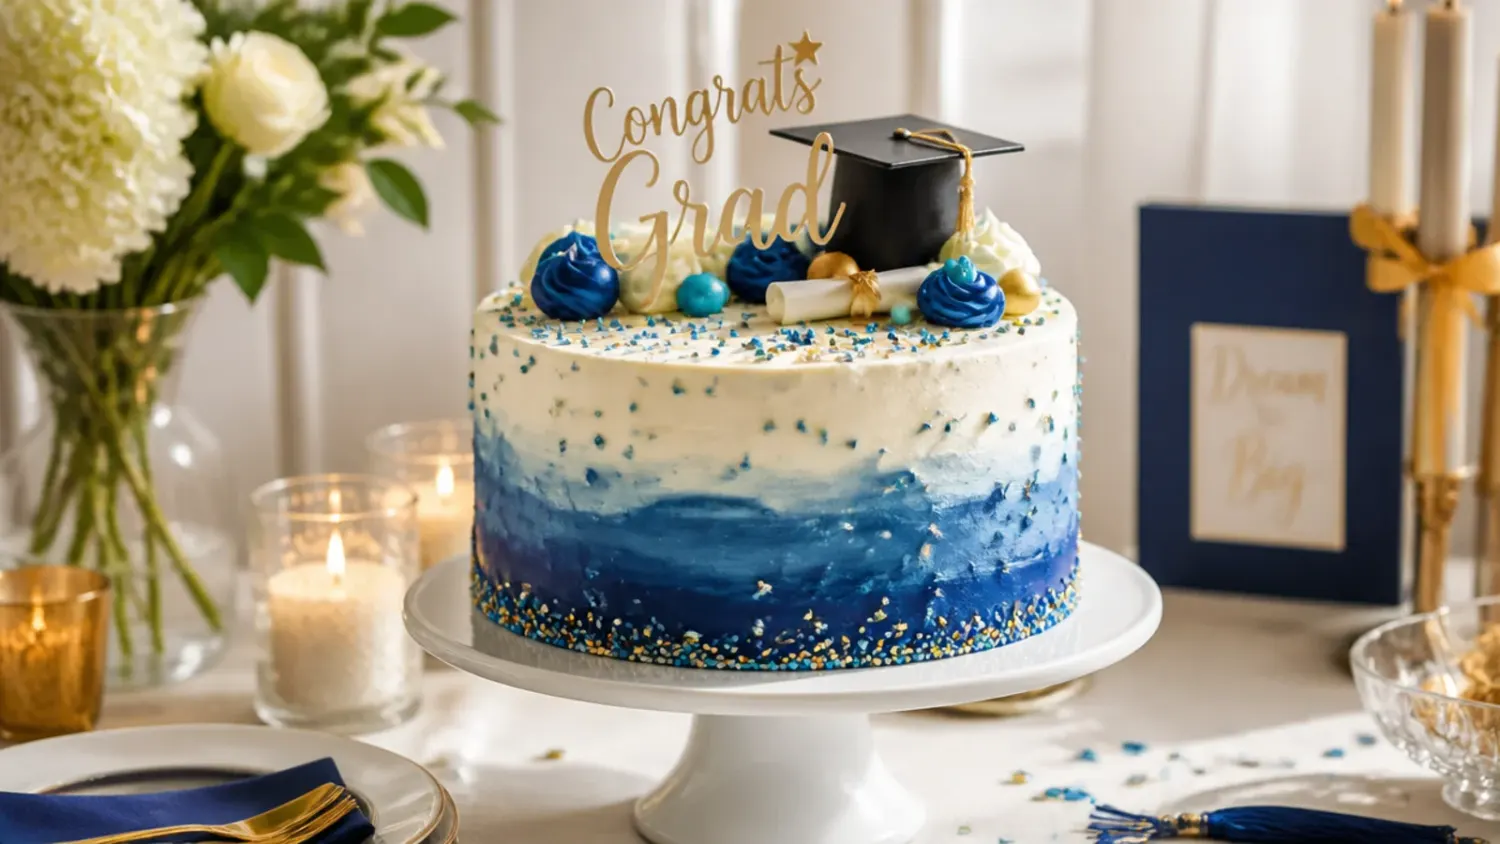
Tint three bowls of buttercream in graduating shades of one colour, then apply them in horizontal bands up the side of the cake before smoothing with a scraper to blend the transitions. This works especially well for school-colour themed graduation cakes.
Step 18: Idea 7 - Rosette border
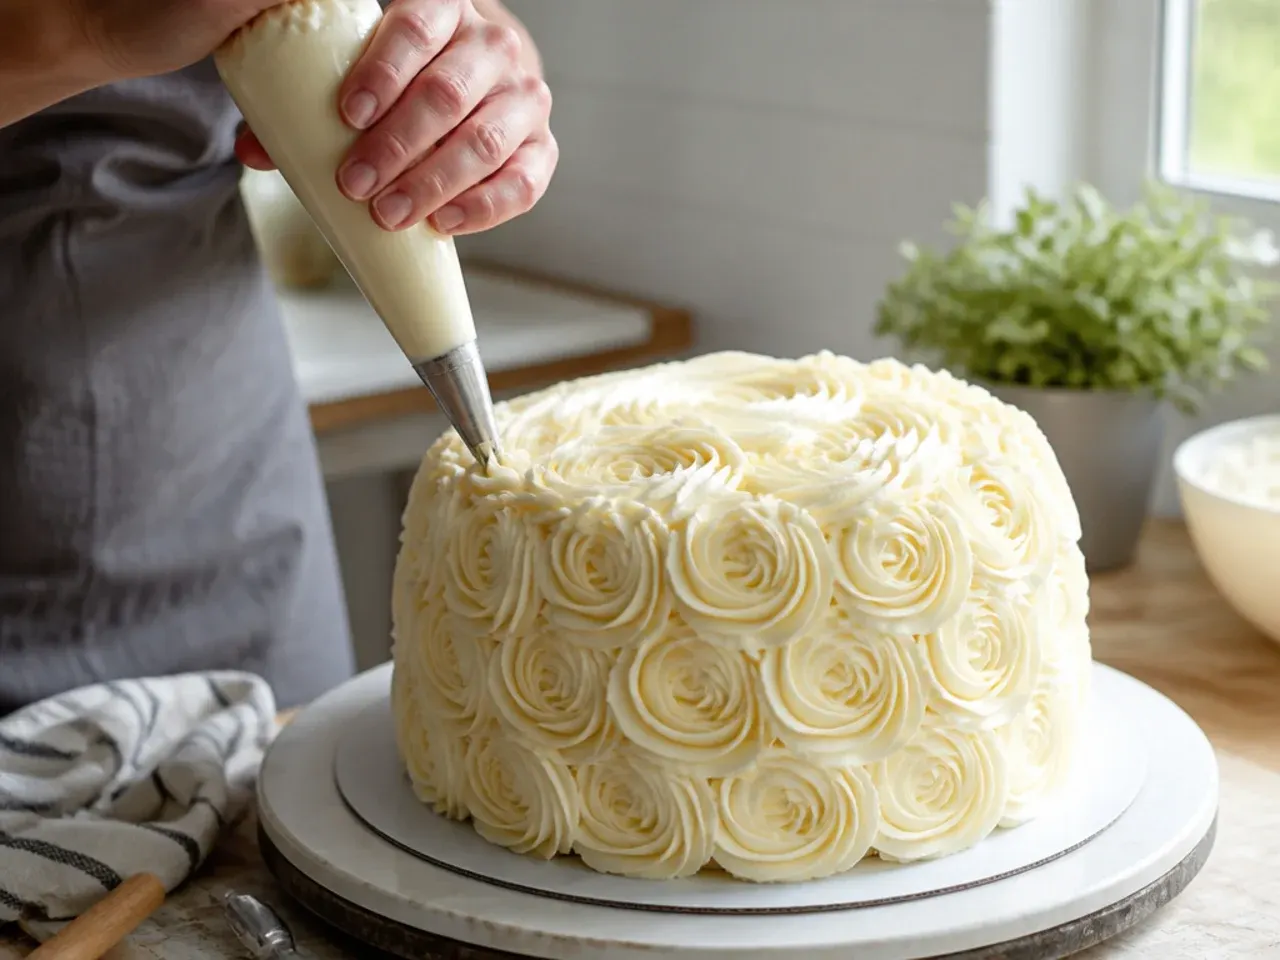
Fit a piping bag with a large star tip and pipe a ring of buttercream rosettes around the base of the cake, working in a continuous swirling motion for each one. This simple border hides any uneven edges at the bottom in seconds.
Step 19: Idea 8 - Edible graduation year topper
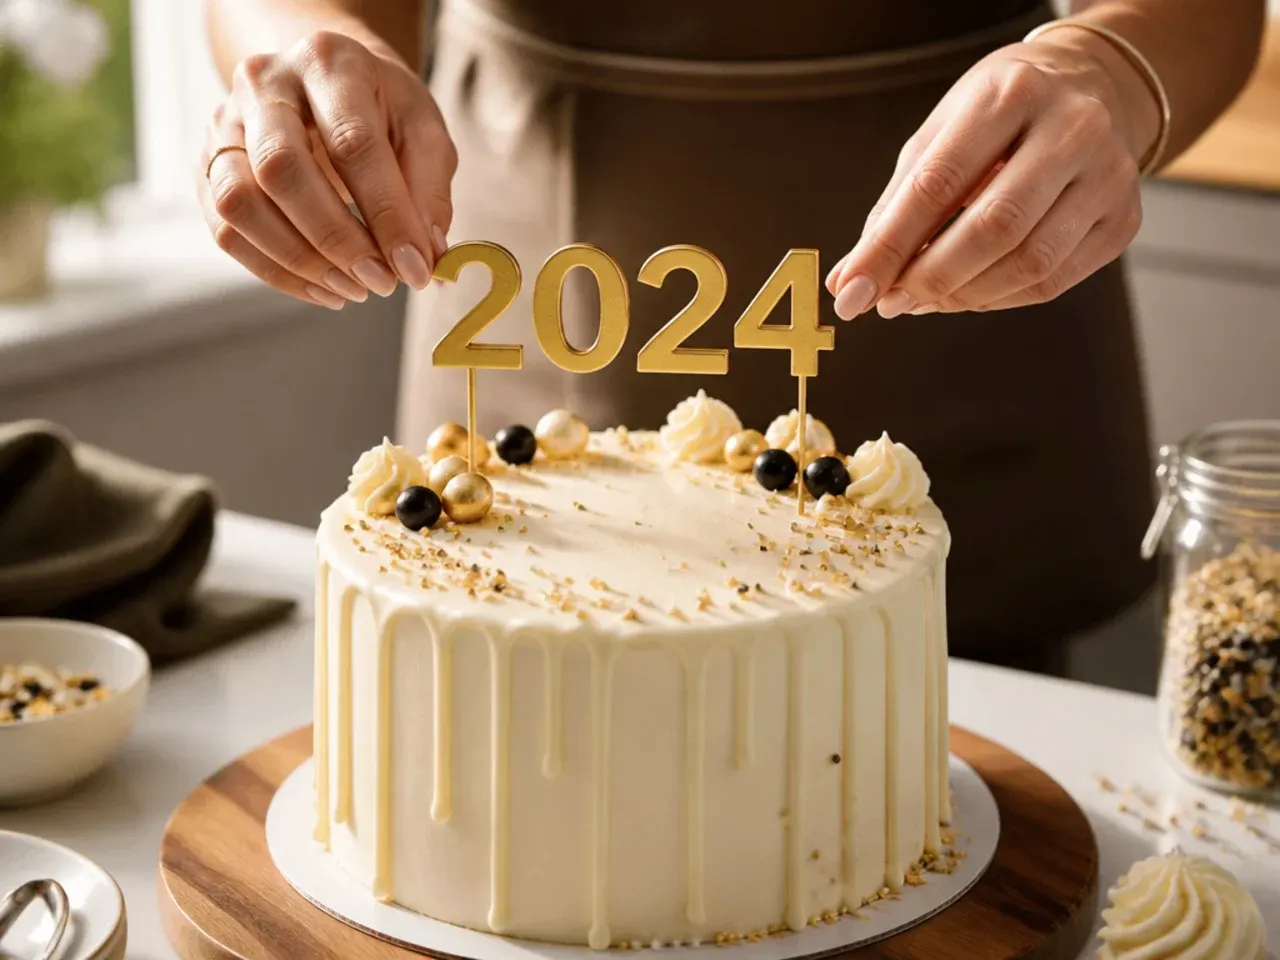
Cut the graduation year from rolled black fondant using small number cutters, then leave the numbers to firm up on a flat tray for at least 1 hour. Insert them into the top of the cake on cocktail sticks once fully hardened.
Step 20: Idea 9 - Chocolate disc graduation caps
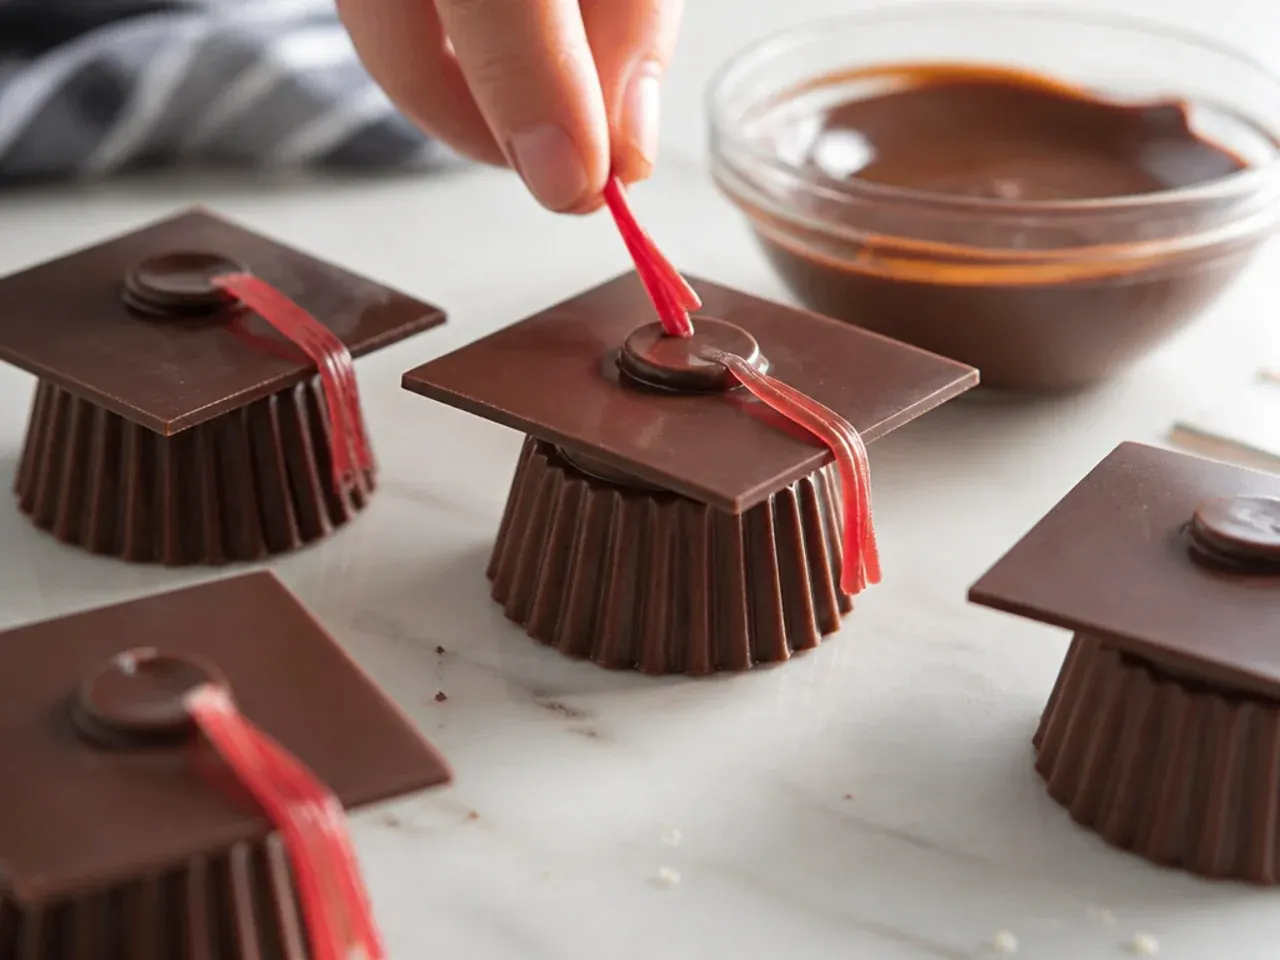
Pipe 4 cm (1.5 in) chocolate squares onto baking paper using the remaining melted chocolate and leave to set for 15 minutes, then attach a small chocolate button underneath as the cap's base. Arrange 3-4 of these mini caps around the main topper for extra detail.
Step 21: Idea 10 - Fondant name plaque
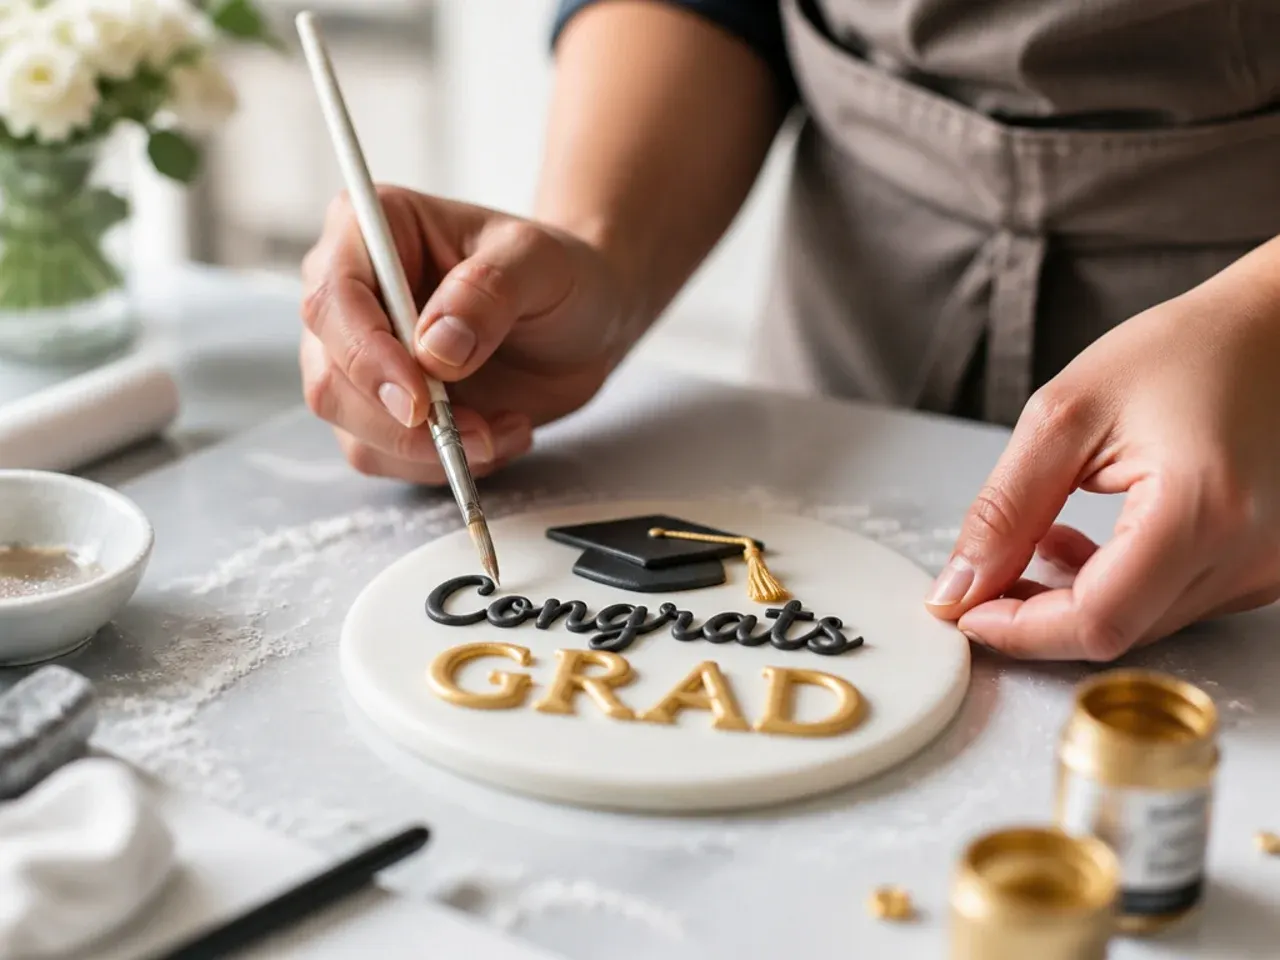
Roll out a small oval of white or coloured fondant and pipe the graduate's name or 'Congrats Grad' across it in a contrasting gel icing colour. Let the writing dry for 20 minutes before leaning the plaque against the base of the cake.
Step 22: Idea 11 - Sprinkle-coated base border
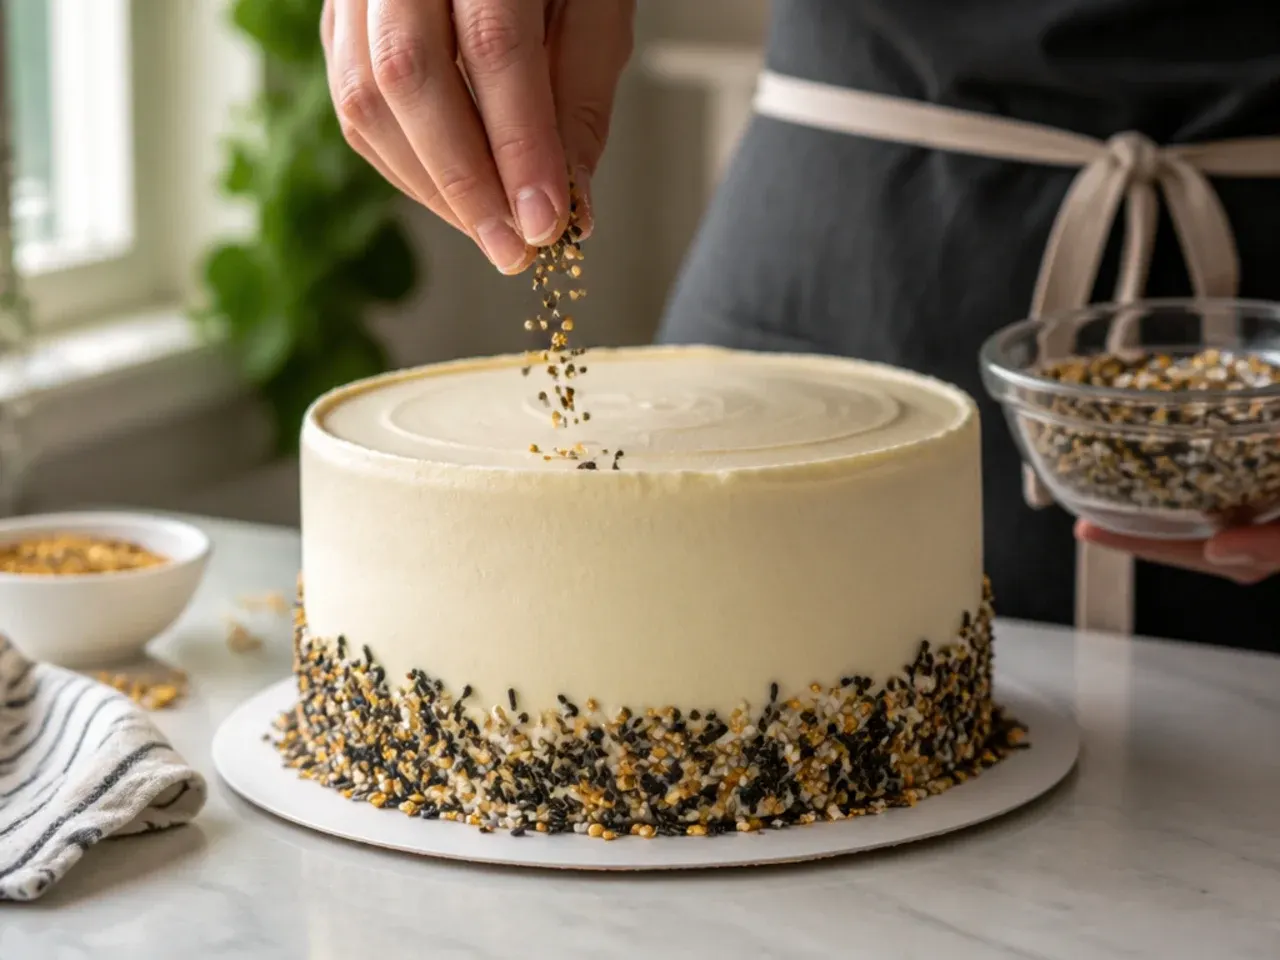
Press a handful of assorted sprinkles and edible pearls gently into the lower 5 cm (2 in) of the cake's side while the buttercream is still slightly soft. Work in sections, catching any loose sprinkles on a plate underneath to reuse.
Step 23: Idea 12 - Mini cupcake cap accents
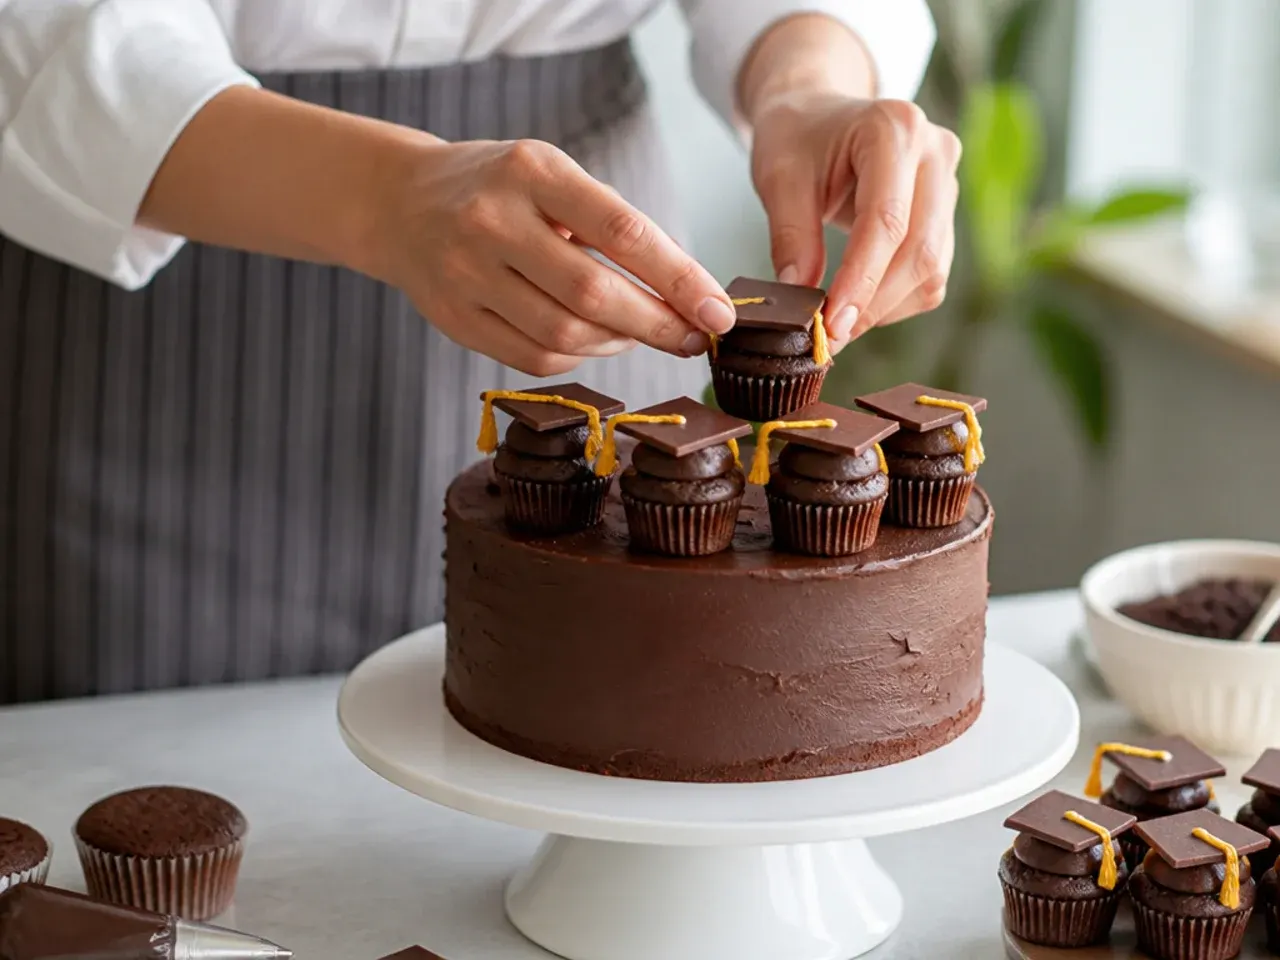
If serving a crowd, bake a batch of matching mini cupcakes and top each with a small buttercream swirl and a mini fondant cap, then arrange them around the base of the main cake. This stretches the graduation theme further without decorating a second full cake.
Step 24: Assemble the final topper arrangement
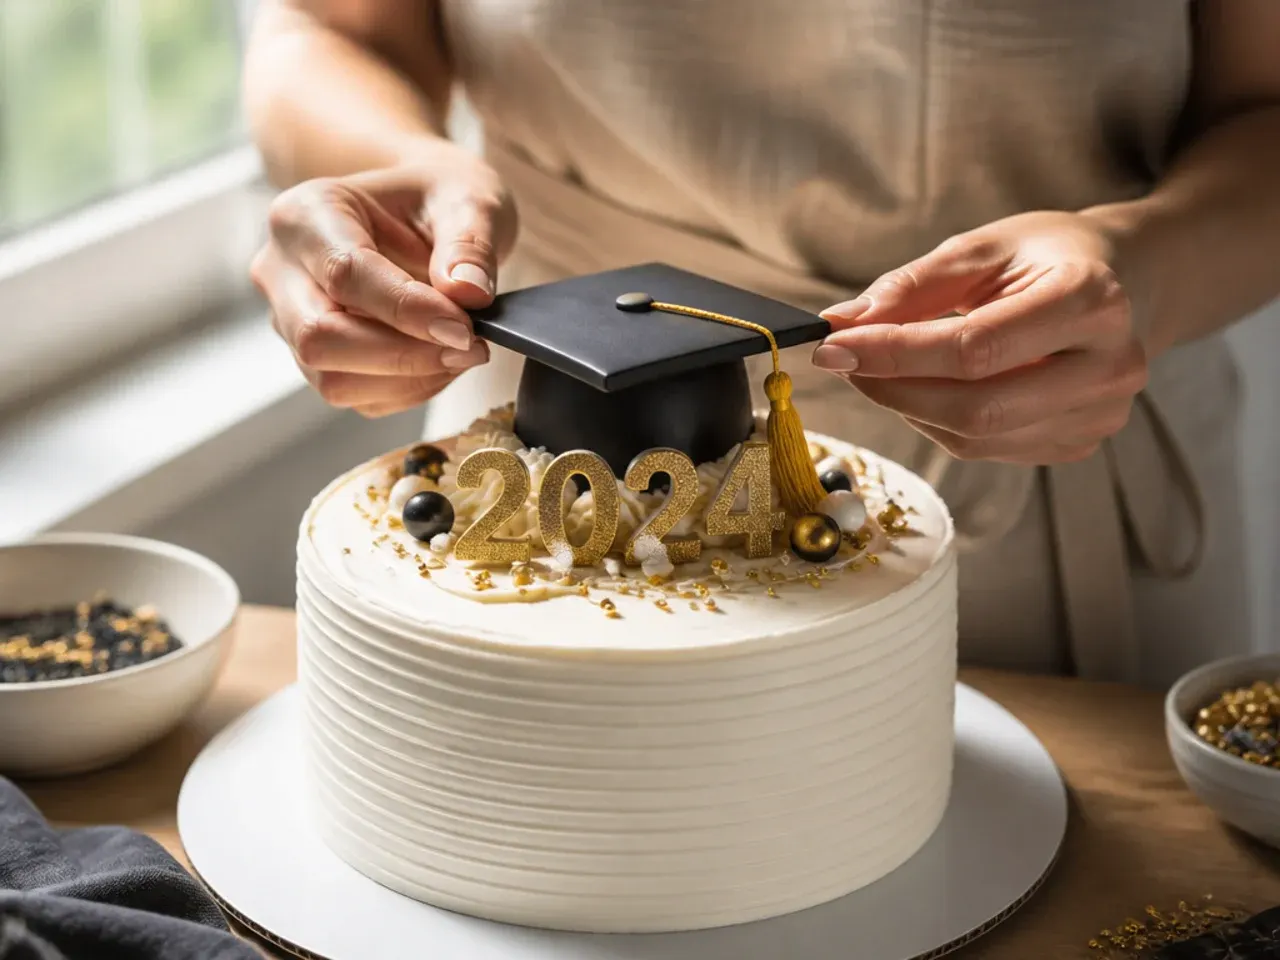
Position the main graduation cap topper, tassel and diploma scroll together just off-centre on top of the cake, then tuck the name plaque against the base at the front. Stand back and check the balance of colours and heights before the buttercream fully sets.
Step 25: Chill briefly, then serve
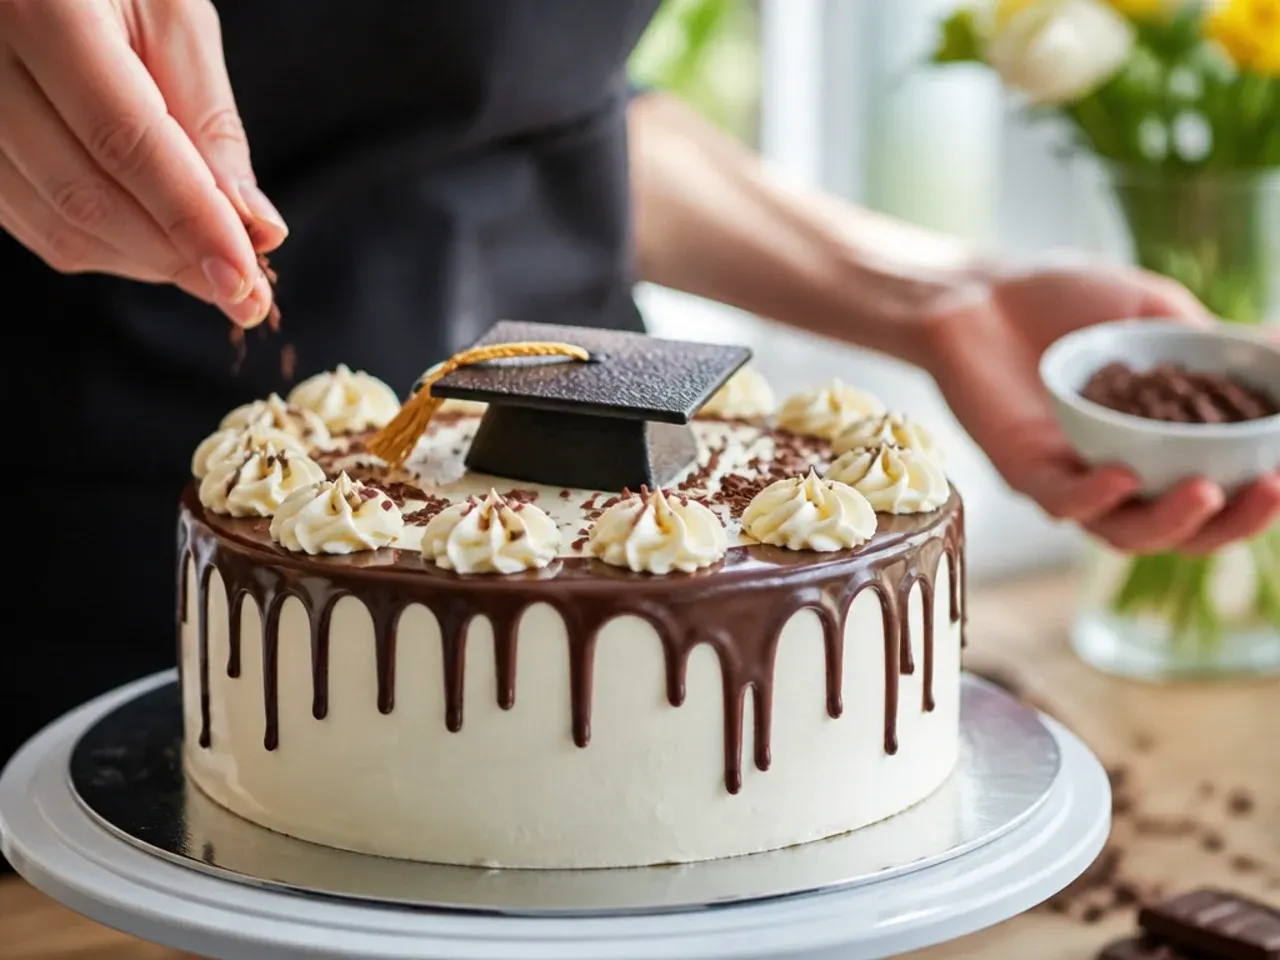
Rest the finished cake in the fridge for 15 minutes to firm up all the decorations, then bring it out 30 minutes before serving so it slices cleanly at room temperature. Use a sharp knife dipped in hot water for the neatest slices through the buttercream layers.
Pro Tips for Flawless Graduation Cake Decorating
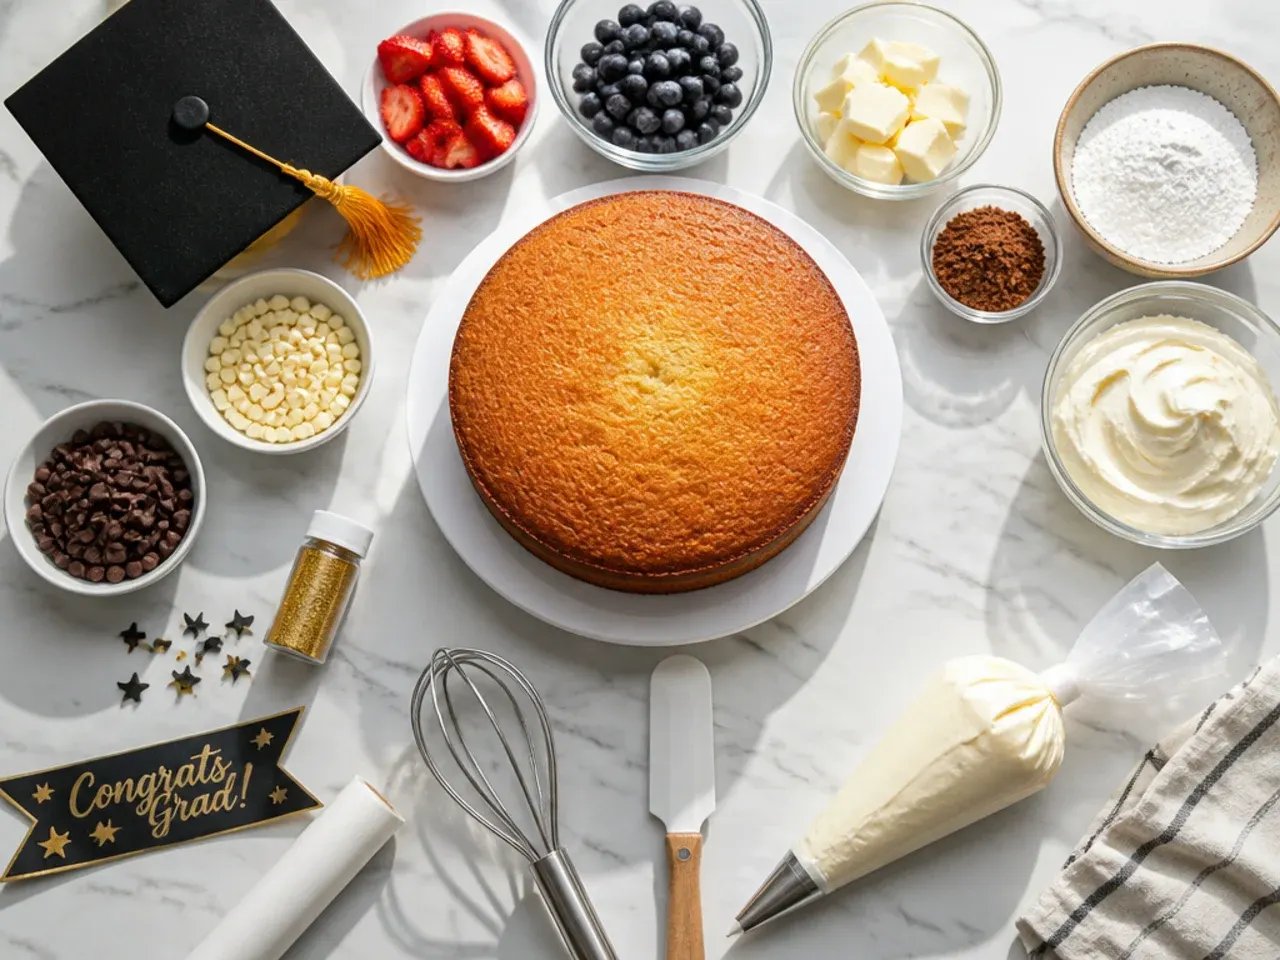
Work with cold cake and slightly soft buttercream; a firm base and a pliable icing are what let piped tassels and fondant plaques hold sharp lines. Weigh your butter and sugar rather than measuring by cup, since even small imbalances make sponge dense or greasy. Keep a jug of hot water nearby to dip your palette knife or bench scraper between passes, as this is the single biggest trick for a smooth, streak-free finish. If a decoration idea isn't working, chill the cake for 10 minutes before trying again rather than fighting warm buttercream.
Storage and Make-Ahead for Graduation Cakes
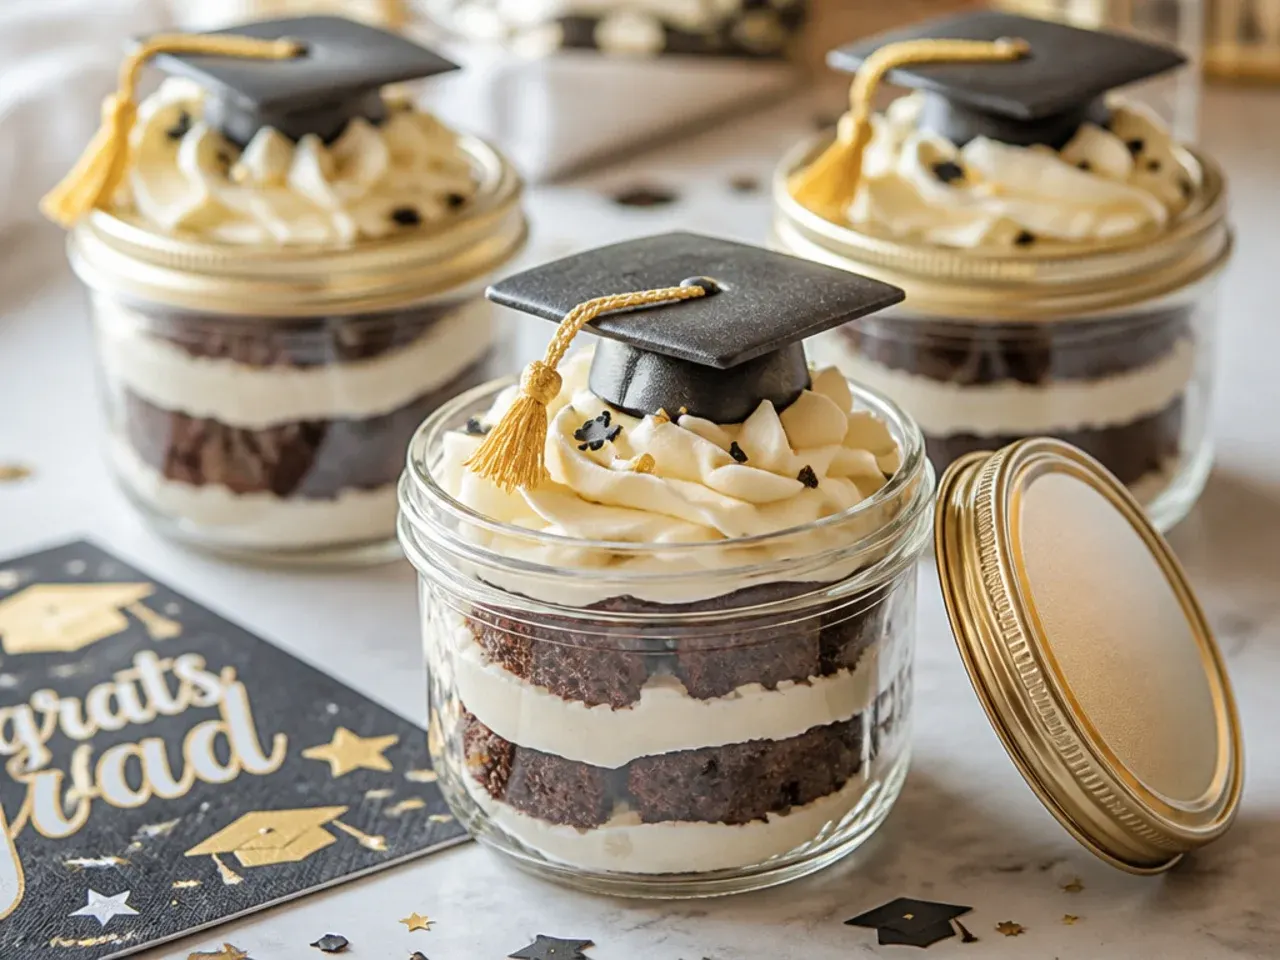
Store the finished cake in an airtight container or under a cake dome at cool room temperature for up to 2 days, away from direct sun which will melt buttercream detail. For longer storage, refrigerate for up to 5 days and bring back to room temperature for 1 hour before serving so the sponge and buttercream soften again. The plain sponge layers can be baked up to 2 months ahead, wrapped tightly in cling film and frozen; thaw overnight in the fridge before filling and decorating. Fondant and chocolate decorations such as the cap toppers and diploma scrolls can be made up to 1 week in advance and kept in an airtight box at room temperature.
These 25 simple graduation cake ideas turn one basic vanilla sponge into an easy, showstopping centrepiece for any graduation cake ideas simple celebration. For more graduation cake ideas inspiration, browse the full Graduation Cake Ideas board — every idea there is written for real home kitchens, not professional bakers.
Frequently Asked Questions
The simplest approach is a smooth buttercream base finished with just one or two focal decorations, such as a piped graduation cap topper and a gold drip, rather than combining many techniques at once. Buttercream is far more forgiving than fondant for beginners because mistakes can be scraped off and redone. Starting with a level, well-chilled cake makes every decorating step that follows easier, so don't skip the crumb coat and chilling stages. A single strong focal point, like the cap and tassel, reads as polished even on a plain background.

Related Recipes
Save this for later 📌
Pin this article to your Pinterest board so the full list is one tap away when you need it.
Save on Pinterest