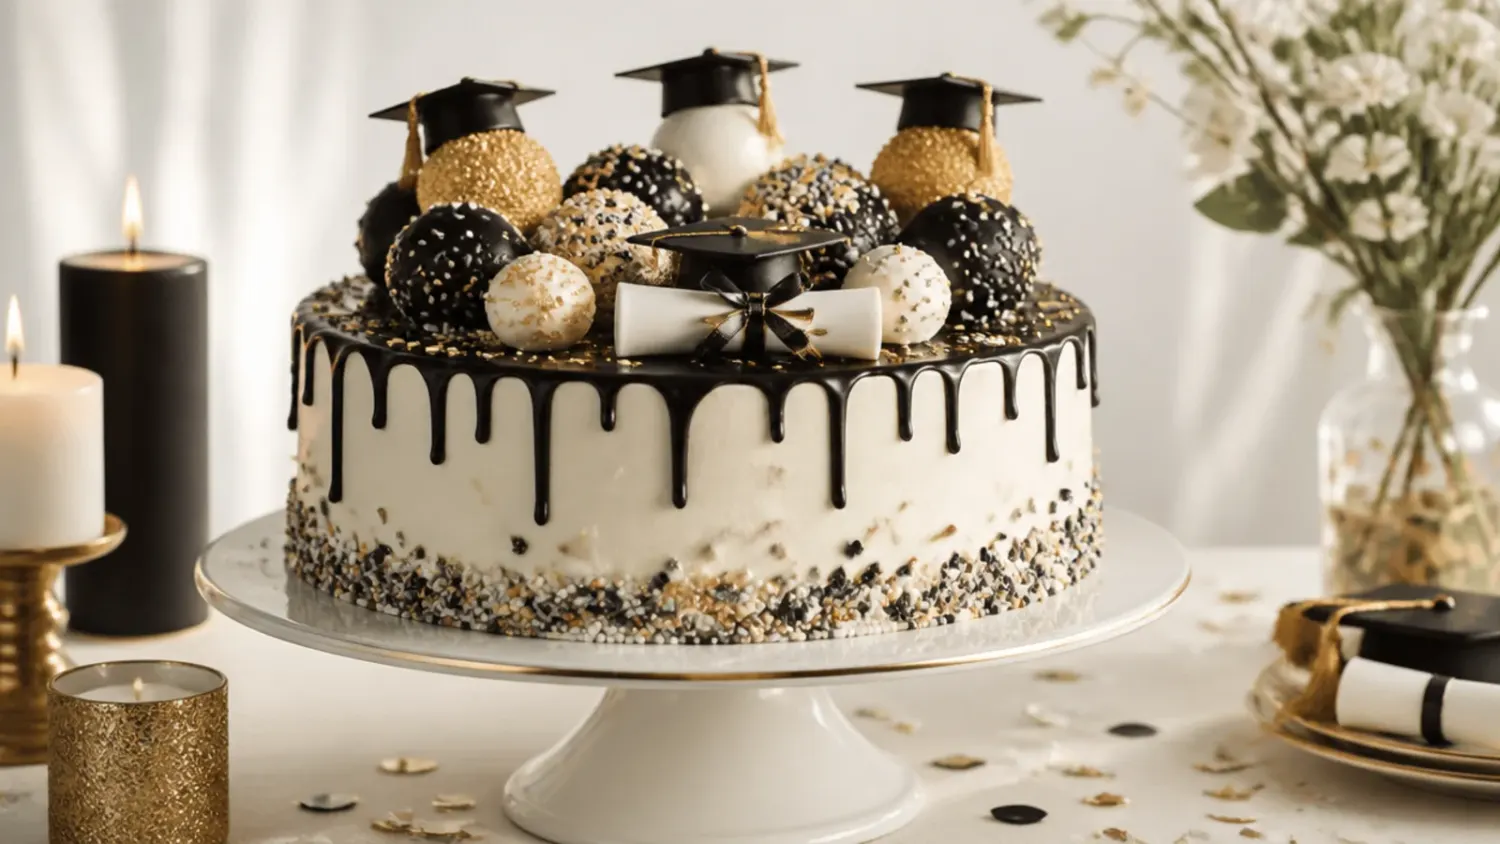
Ingredients 20 Person(s)
Save this for later 📌
Pin this article to your Pinterest board so the full list is one tap away when you need it.
Save on PinterestDirections
Step 1: Bake and Cool the Sponge Cake
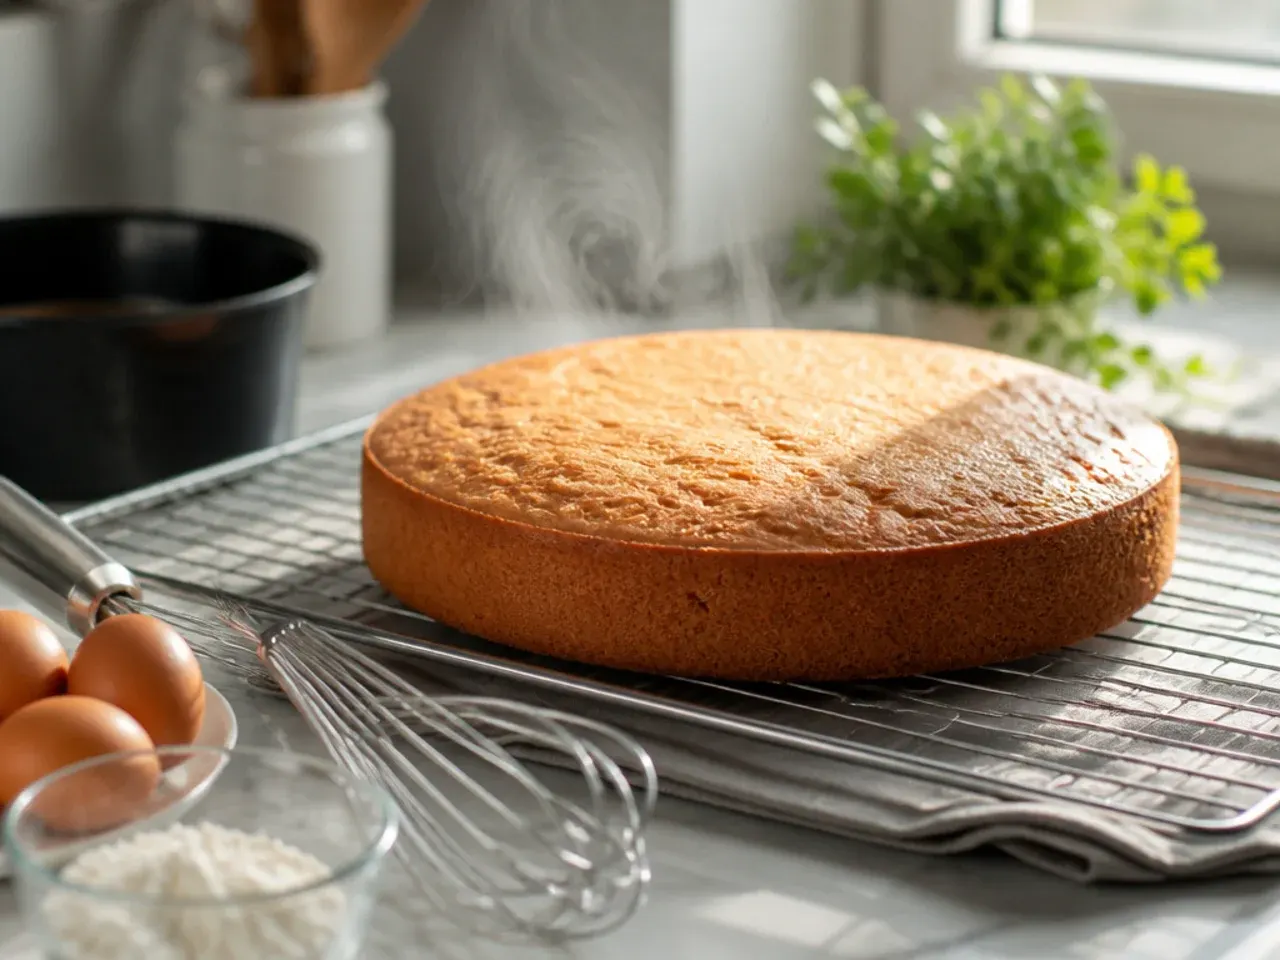
Bake your favourite vanilla sponge in a 20cm (8in) tin at 180°C (350°F) for 25-30 minutes, until a skewer comes out clean. Cool in the tin for 10 minutes, then turn out onto a wire rack for at least 1 hour before crumbling — warm cake turns gluey when mixed with frosting.
Step 2: Crumble the Cake Finely
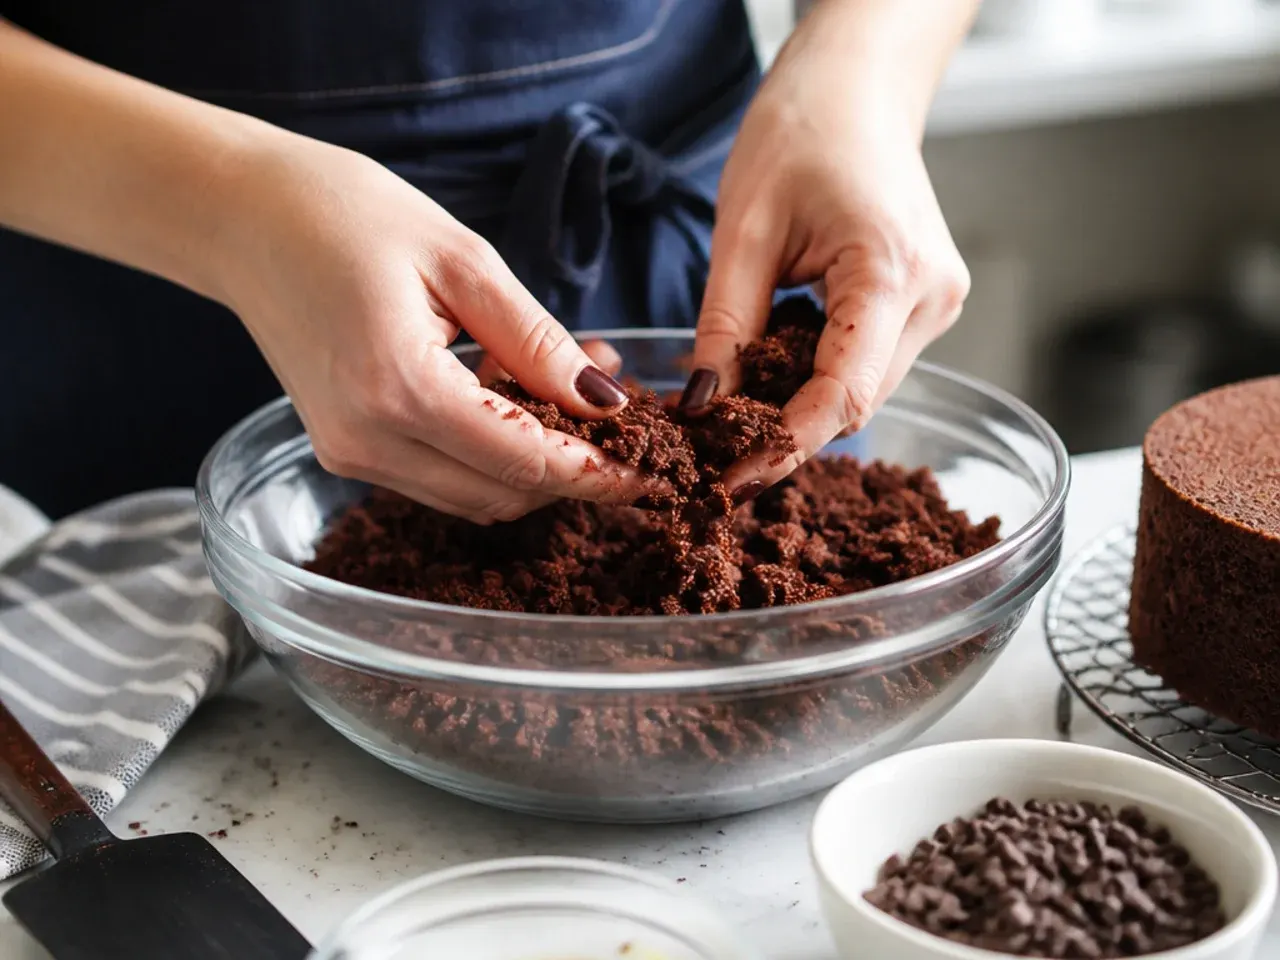
Once fully cooled, break the cake into pieces and pulse in a food processor, or rub between your fingers, until you have fine, even crumbs with no large lumps. Fine crumbs bind more smoothly and stop the finished pops from looking lumpy under their candy coating.
Step 3: Mix in the Frosting
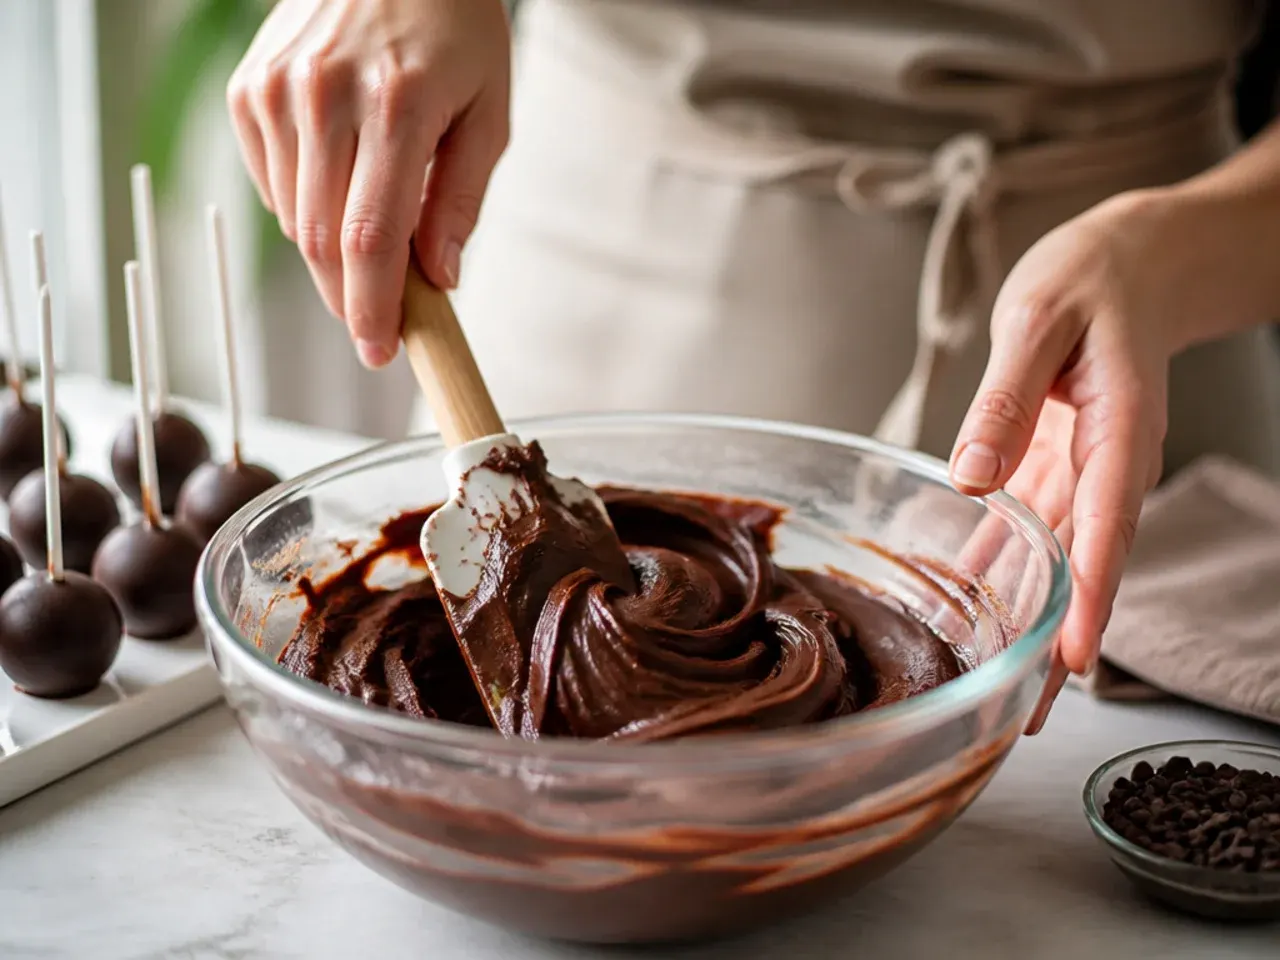
Add the buttercream to the crumbs a tablespoon at a time, mixing with a spatula or your hands after each addition. Stop as soon as the mixture holds together when pressed but isn't sticky or greasy — you may not need the full 120 g (4 oz).
Step 4: Test the Consistency
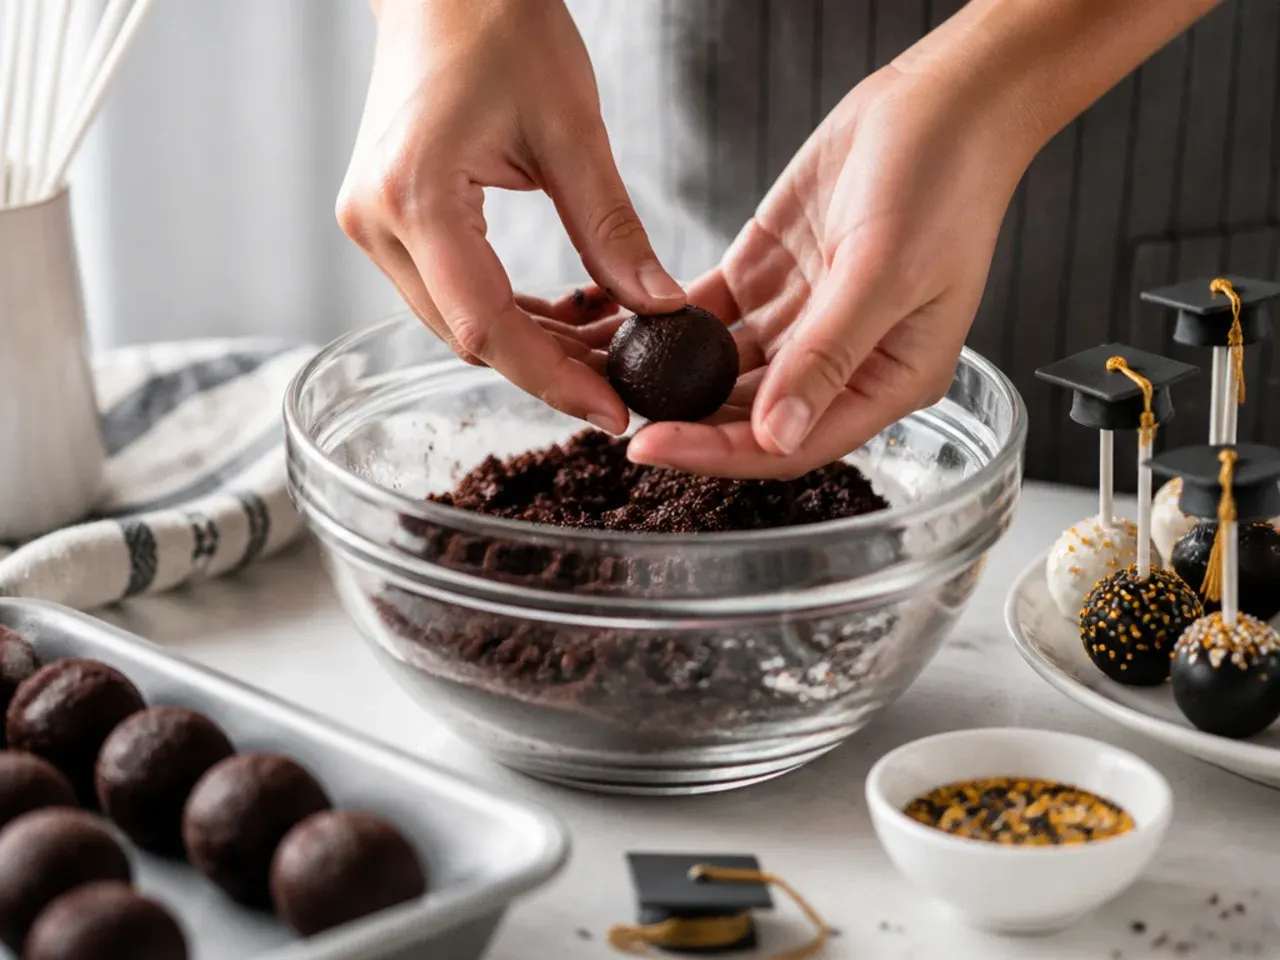
Squeeze a small handful of the mixture into a ball; it should hold its shape without cracking or feeling oily. If it crumbles apart, work in another teaspoon of frosting; if it feels greasy, add a spoonful more plain cake crumbs.
Step 5: Roll into Balls
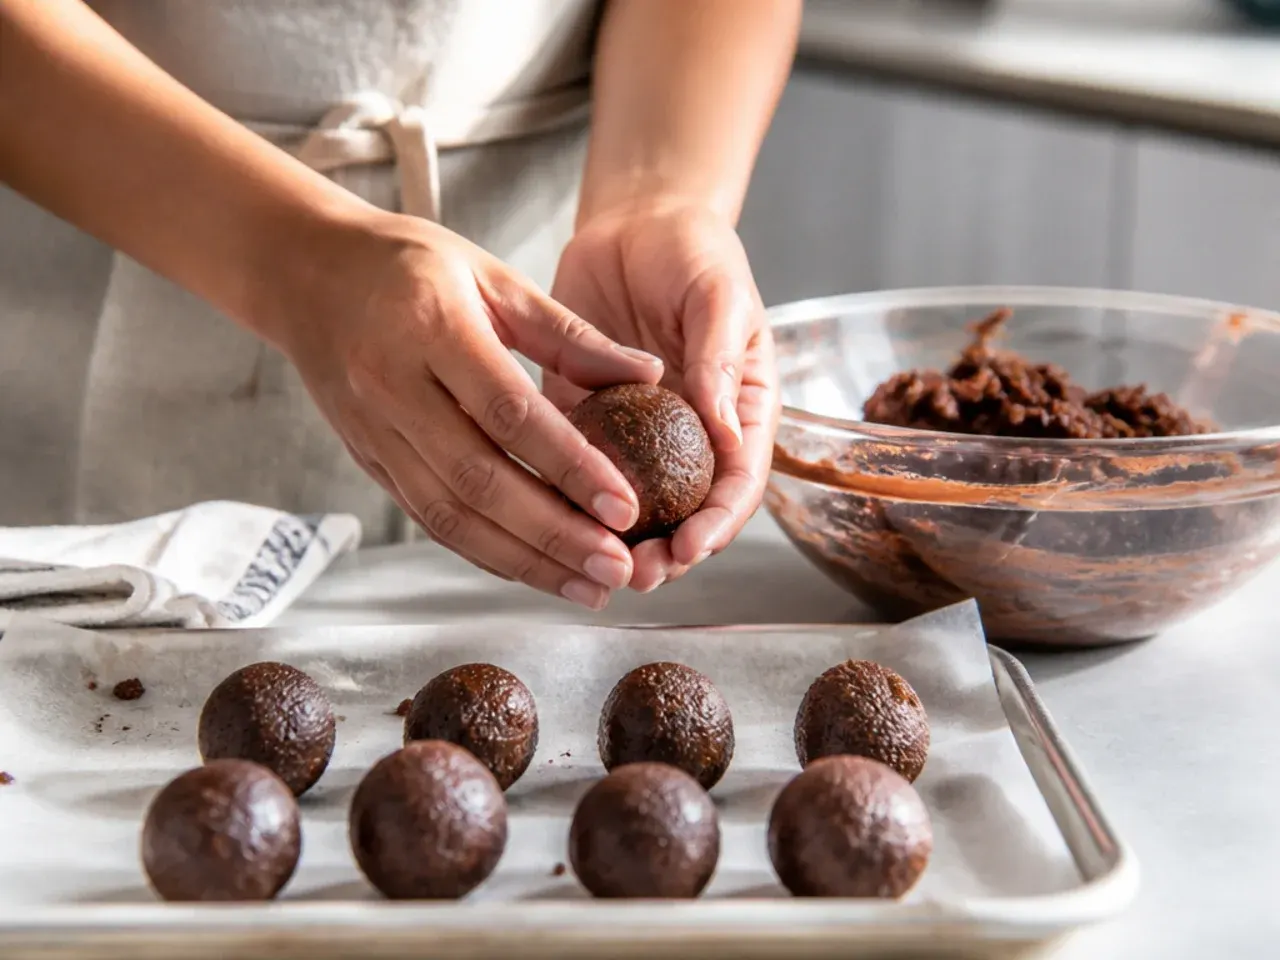
Weigh out 25 g (just under 1 oz) portions and roll each between your palms into a smooth, even ball — this size gives around 20 cake pops. Set each ball on a parchment-lined tray as you go.
Step 6: Chill the Cake Balls
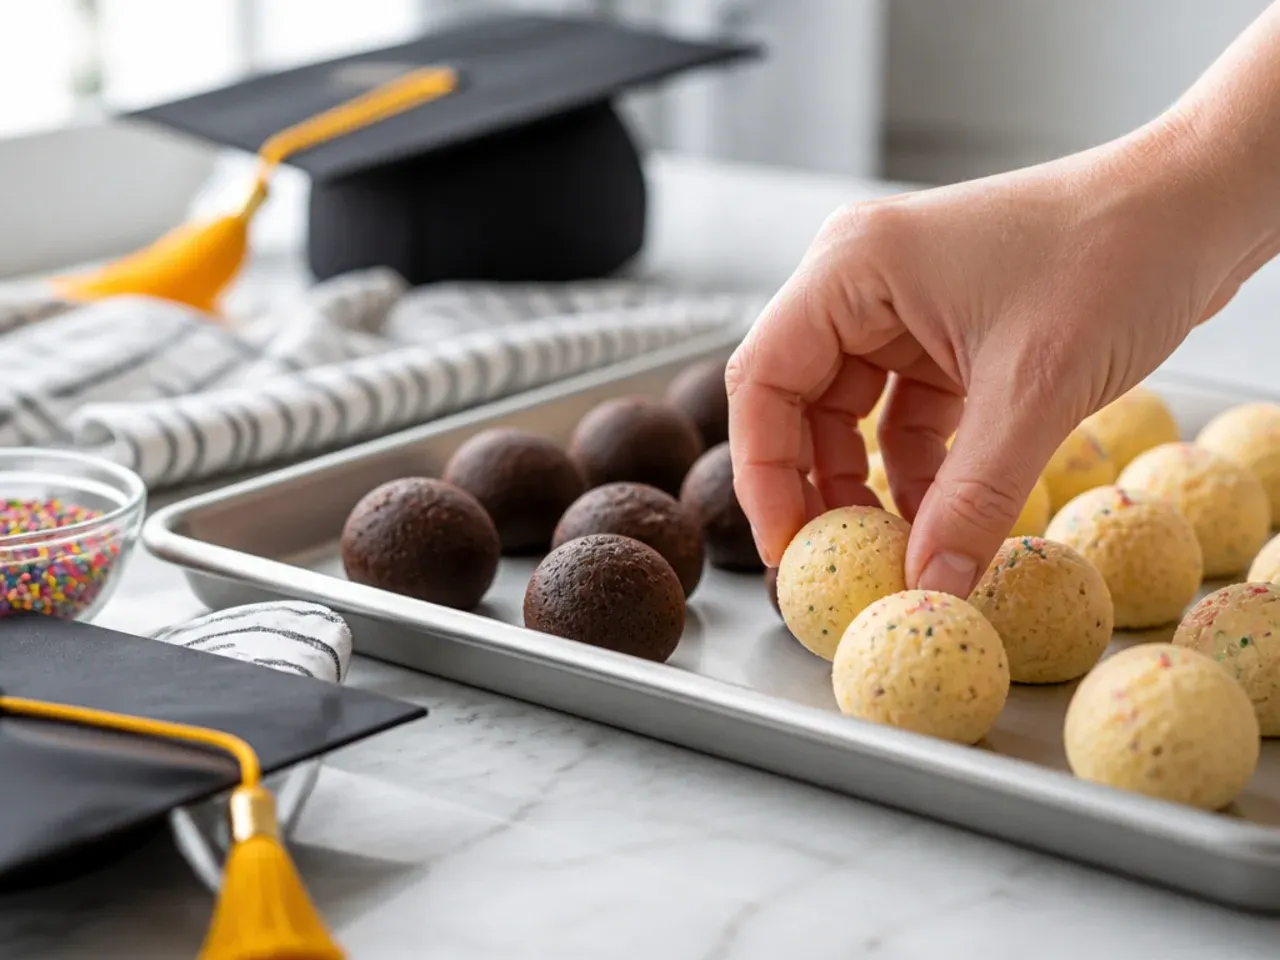
Transfer the tray to the fridge for 30 minutes, or the freezer for 15 minutes, until the balls feel firm to the touch. Firm balls hold the stick securely and dip more evenly than soft ones.
Step 7: Melt the White Coating
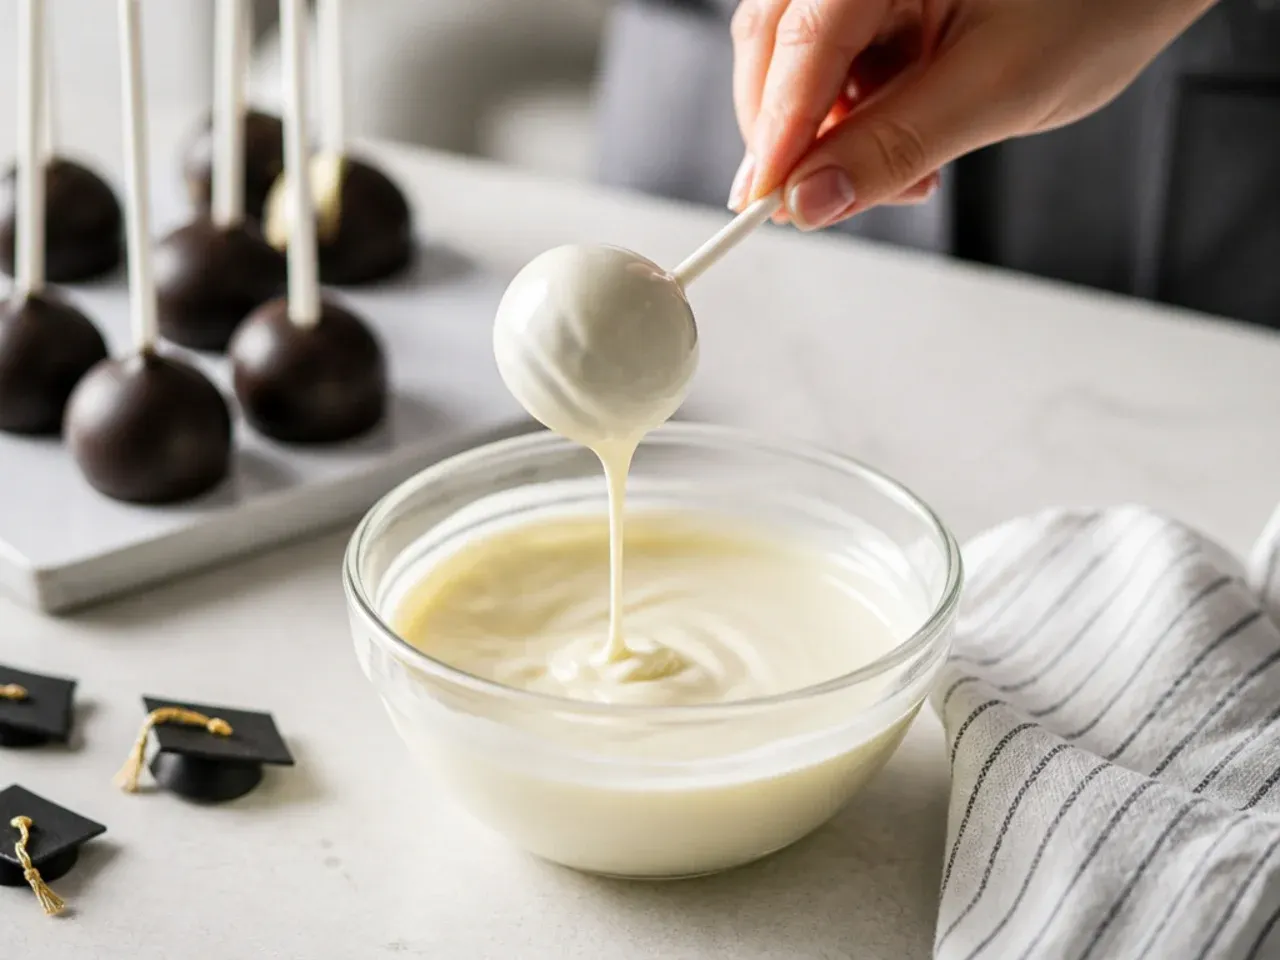
Melt the white candy melts in a microwave-safe bowl in 20-second bursts, stirring between each burst, until smooth and pourable. Stir in the vegetable oil if the melts seem thick — this thins the coating without dulling the finish.
Step 8: Dip and Secure the Sticks
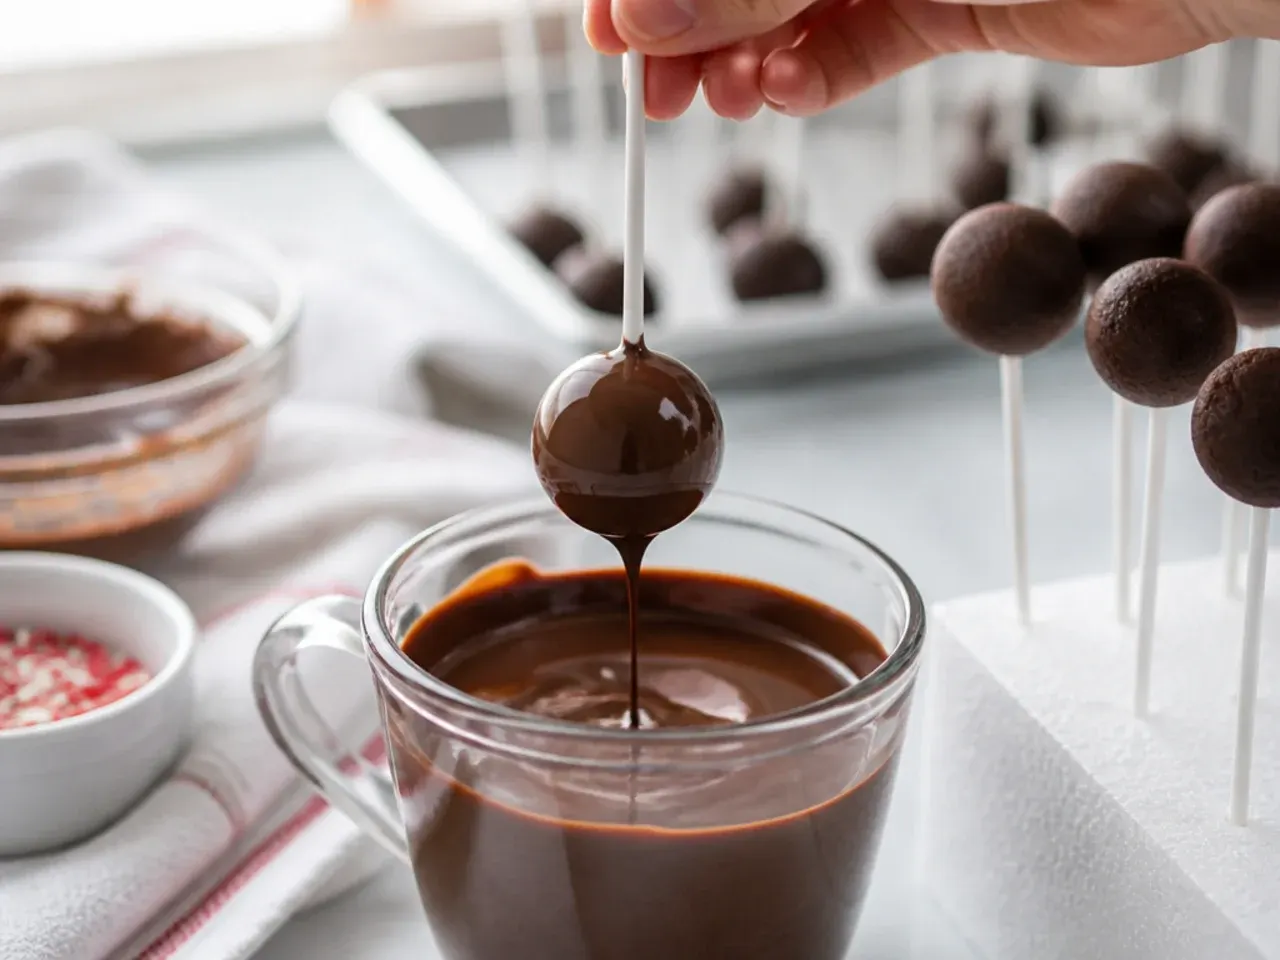
Dip the tip of each lollipop stick about 1cm (½in) into the melted white candy, then push it halfway into a chilled cake ball. This small dab of coating acts as glue, so the ball won't slip off once dipped.
Step 9: Chill Again Before Dipping
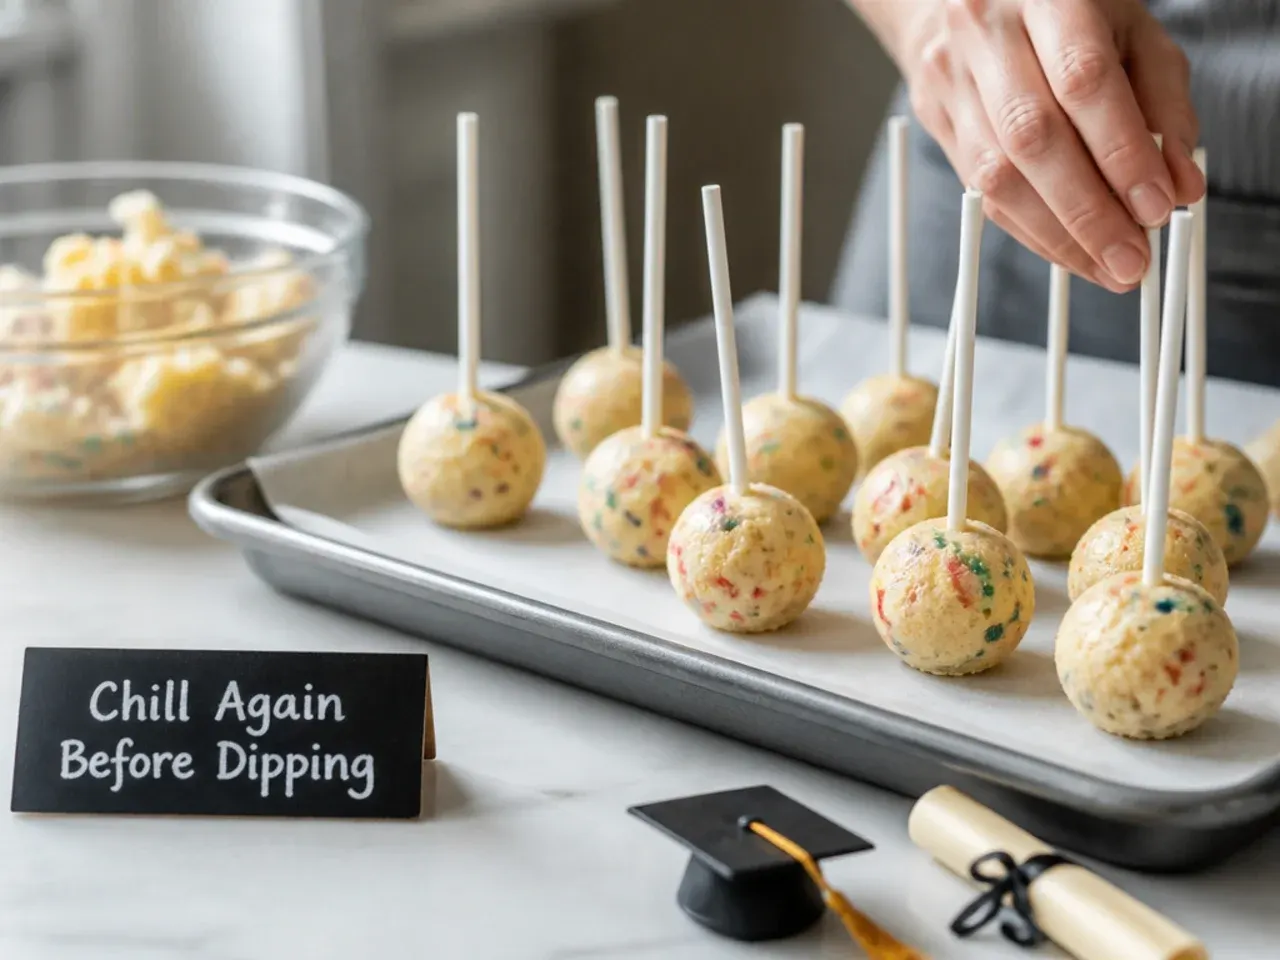
Return the sticked cake pops to the fridge for 10-15 minutes so the glue sets hard. Skipping this step is the main reason cake pops crack or fall off their sticks during dipping.
Step 10: Dip the Cake Pop
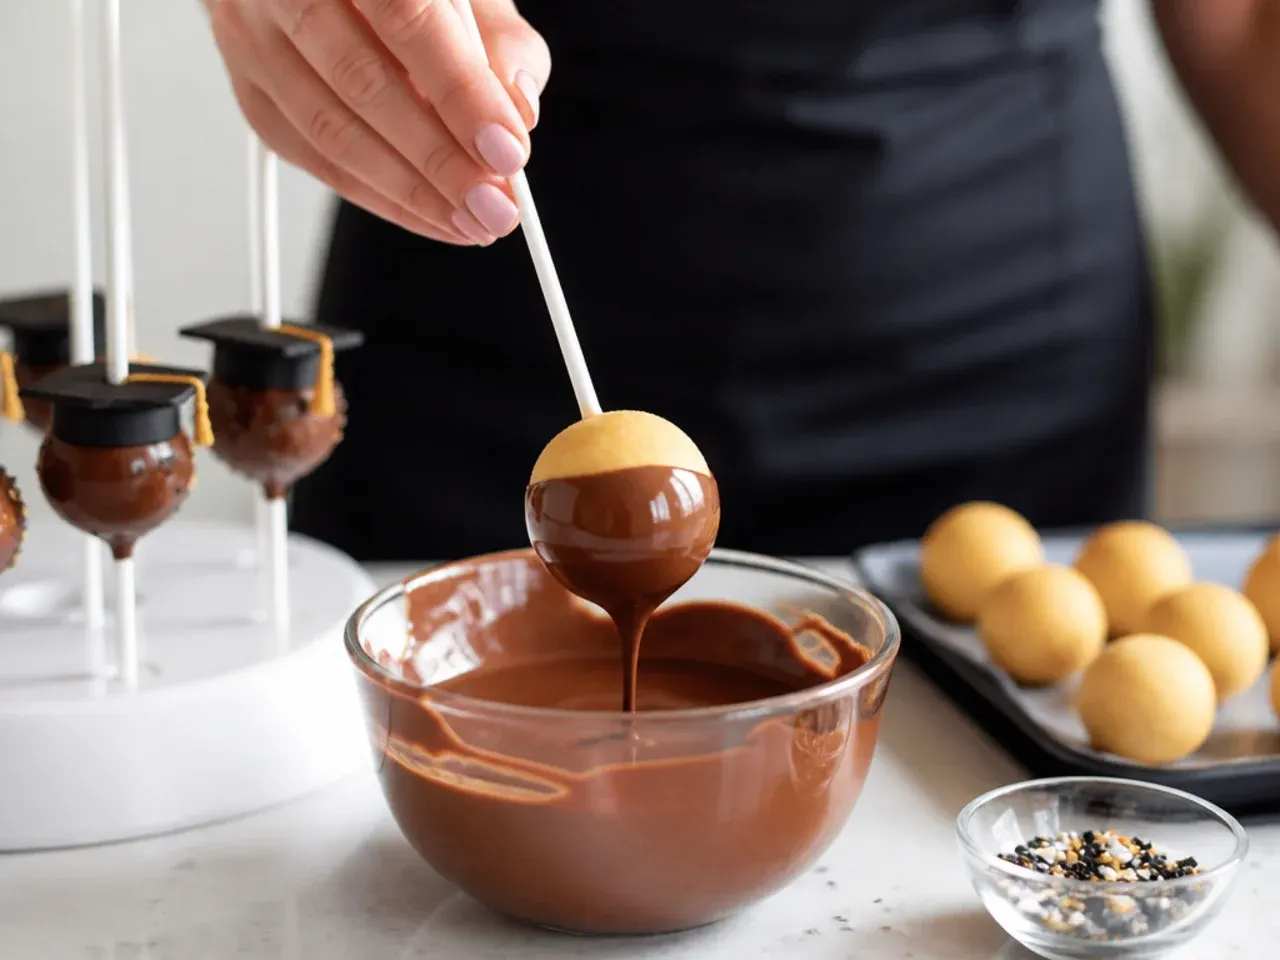
Holding the stick, lower each cake pop straight down into the melted candy until fully submerged, then lift it out in one smooth motion. Gently tap the wrist holding the stick to let excess coating drip off, rotating slowly so it sets in an even layer.
Step 11: Set the Base Coat
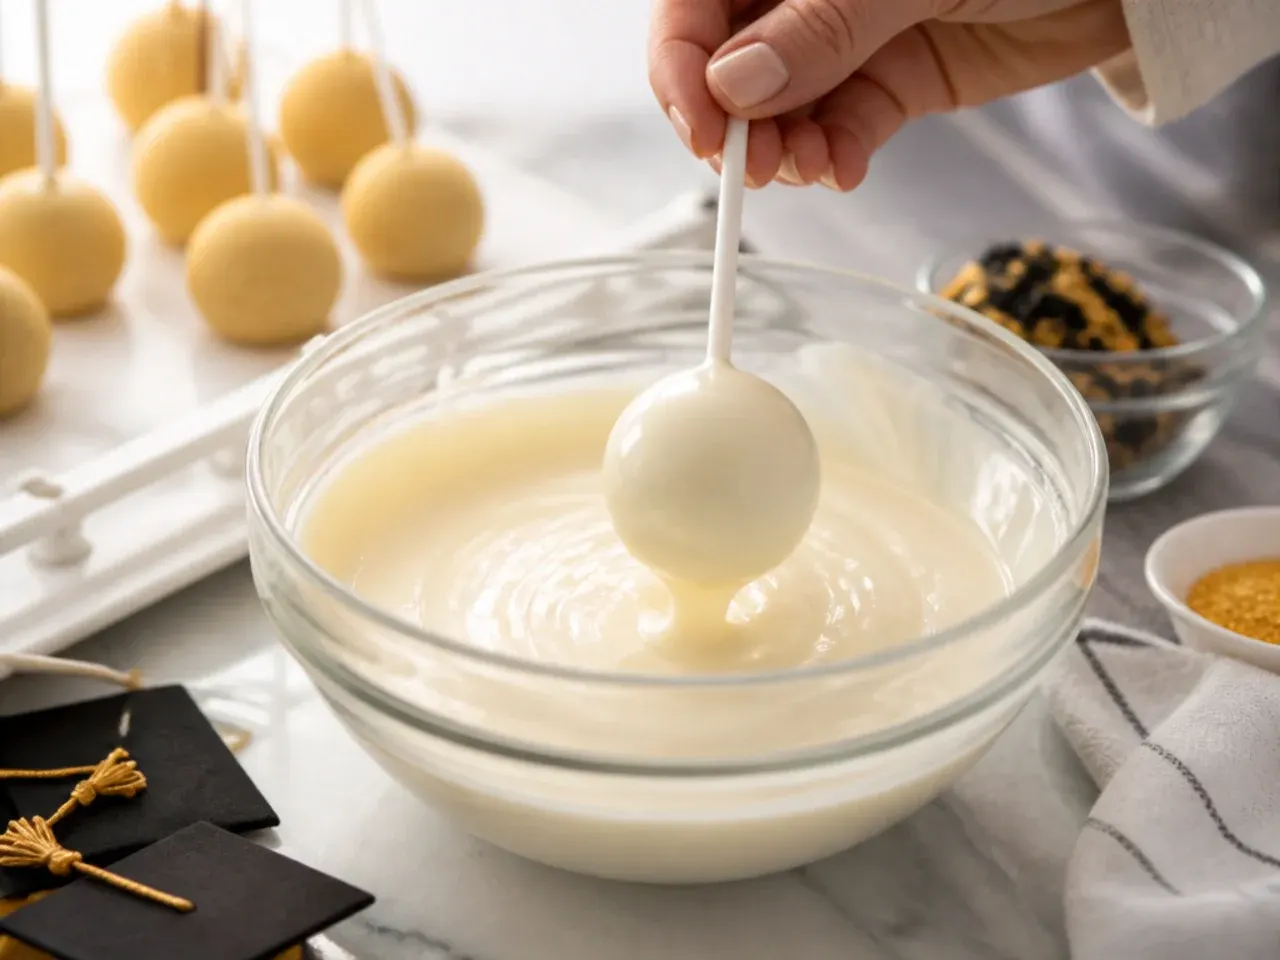
Stand each dipped pop upright in the polystyrene block or cake pop stand and leave at room temperature for 5-10 minutes until fully set and matte. Avoid the fridge at this stage, as condensation can make the surface dull or spotty.
Step 12: Shape the Mortarboard Top
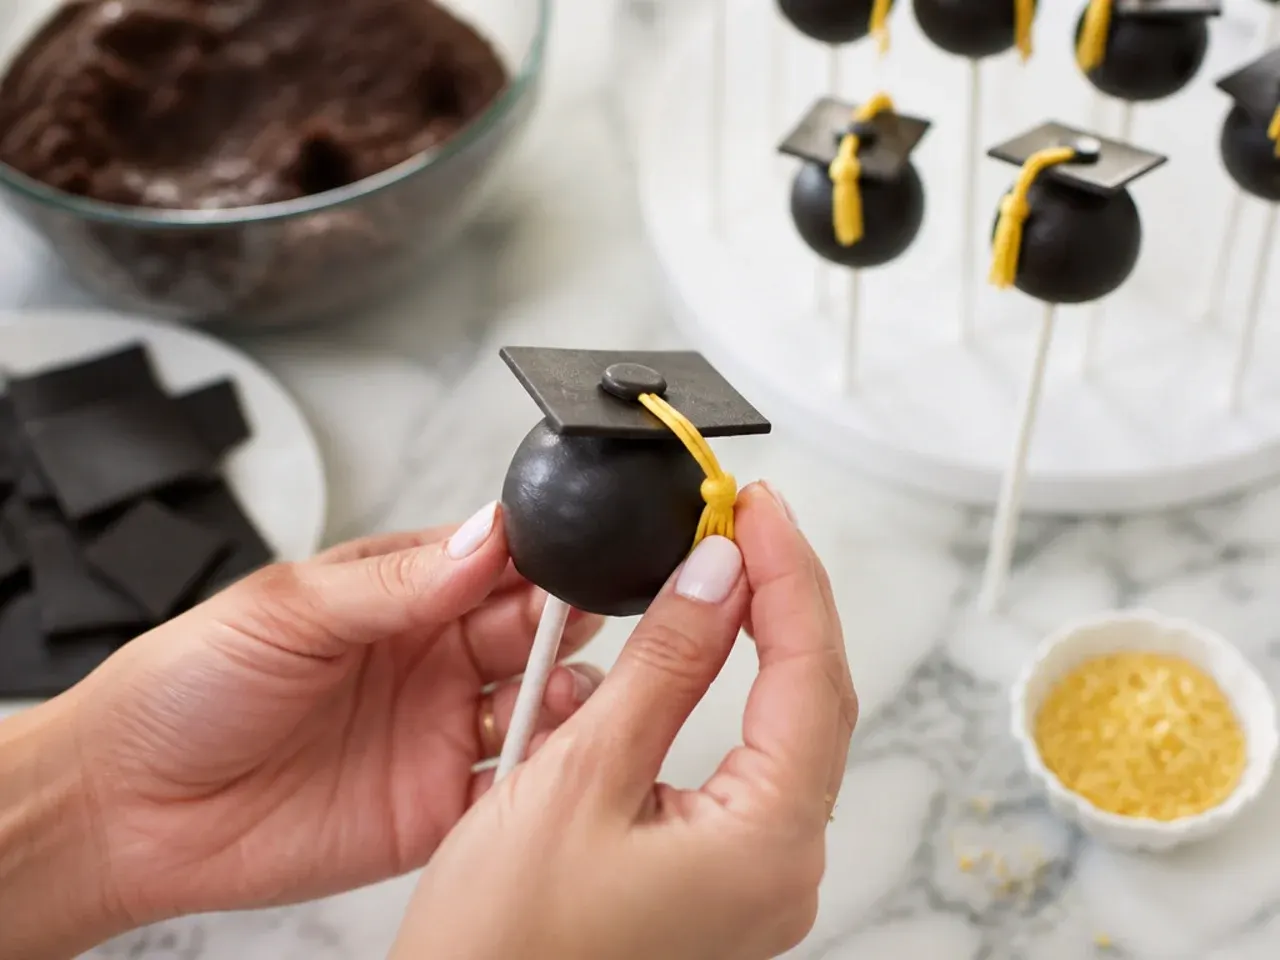
Cut 20 small squares, about 3.5cm (1⅜in) per side, from the black fondant rolled to 3mm (⅛in) thickness. Keep the edges sharp and even, as this square becomes the flat top of the graduation cap.
Step 13: Melt the Black Coating
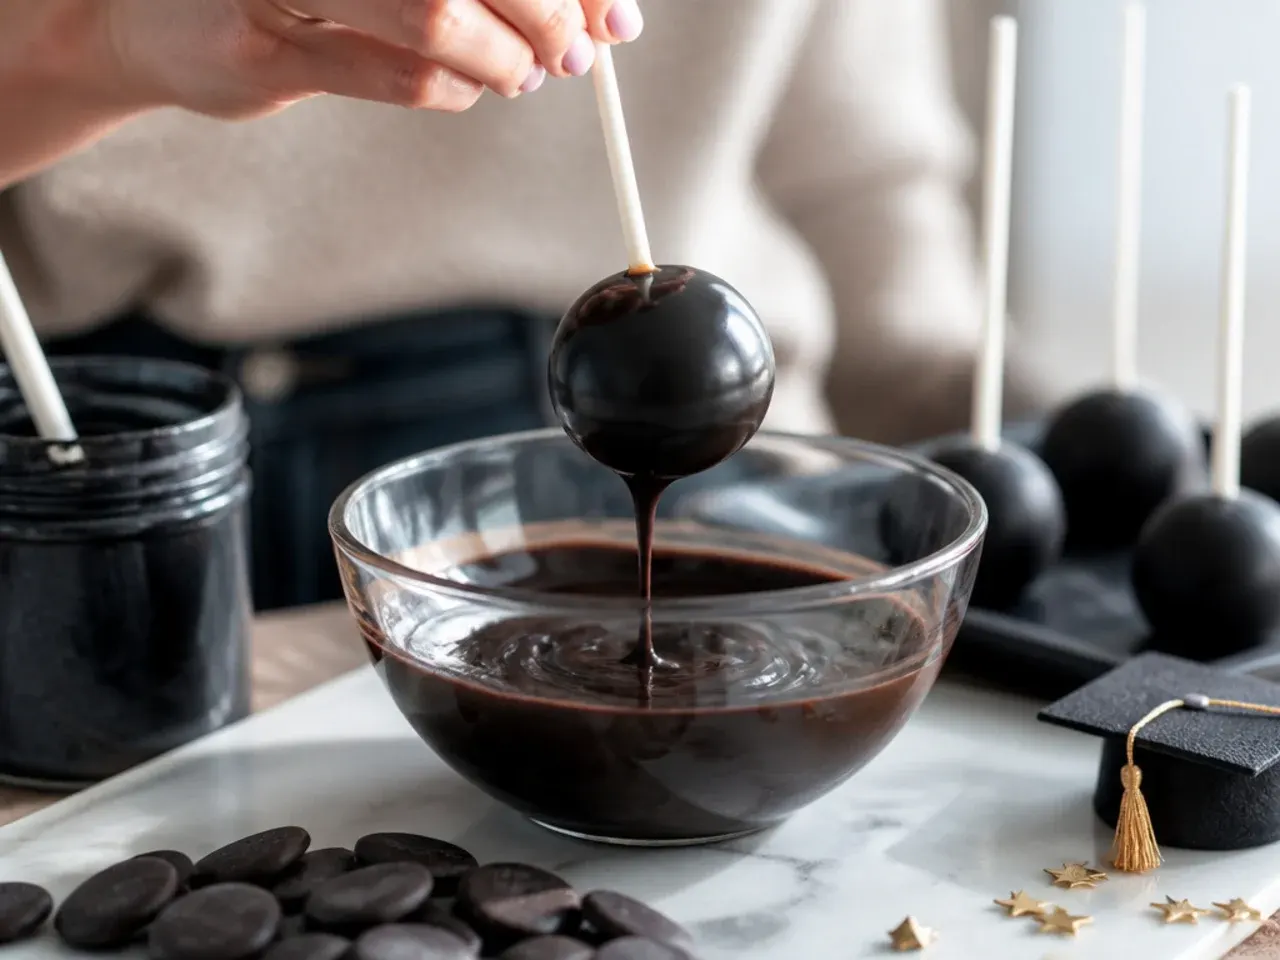
Melt the black candy melts in 20-second microwave bursts, stirring between each, until smooth. Keep it slightly warm and pourable so it stays workable while you attach the fondant squares.
Step 14: Attach the Cap Square
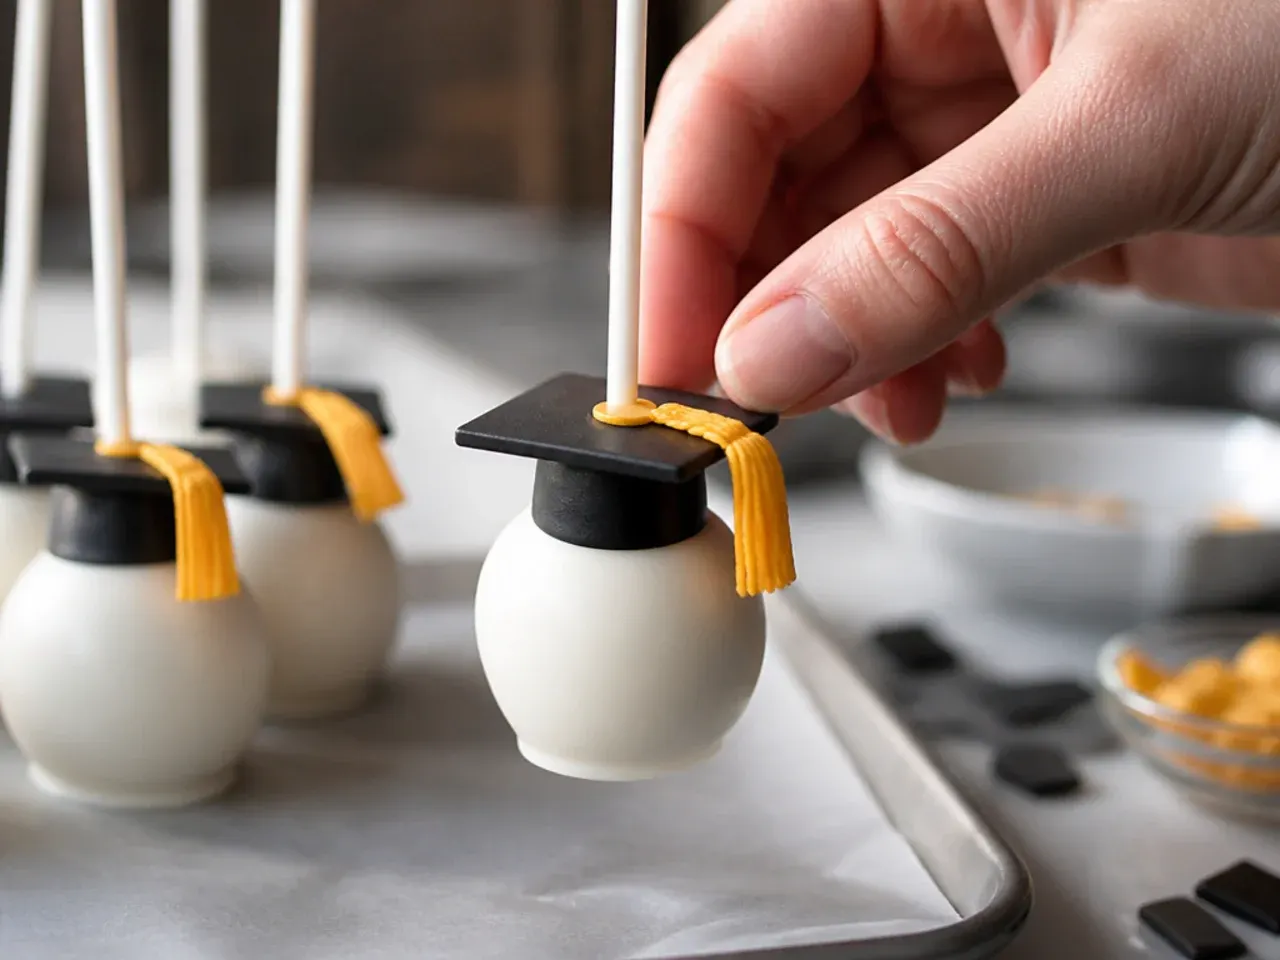
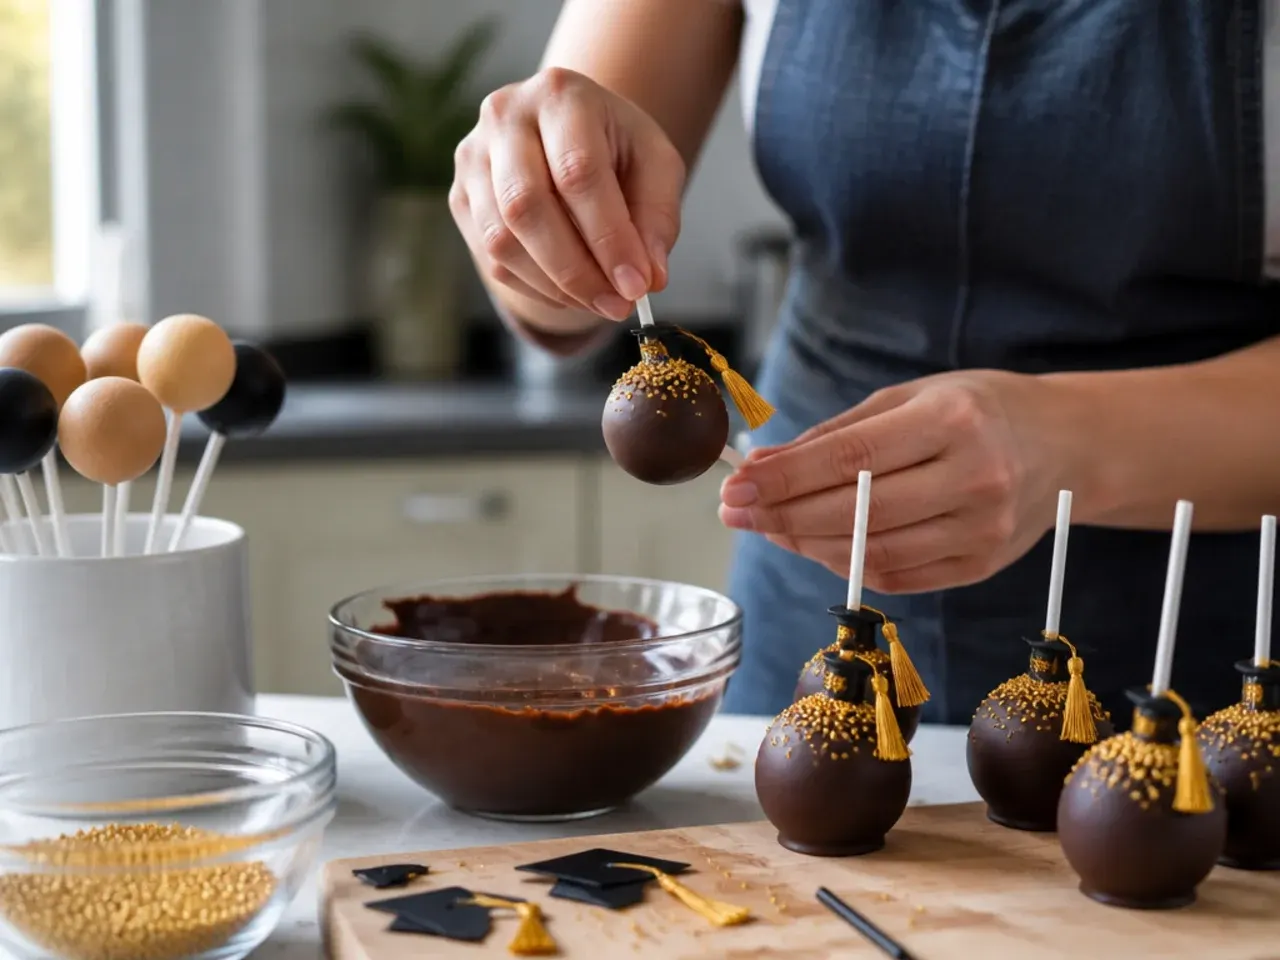
Dip the flat top of a set white cake pop into a little melted black candy and press a fondant square on centrally, holding for a few seconds until it grips. Work on one or two pops at a time so the glue doesn't set before you attach the square.
Step 15: Pipe the Button Centre
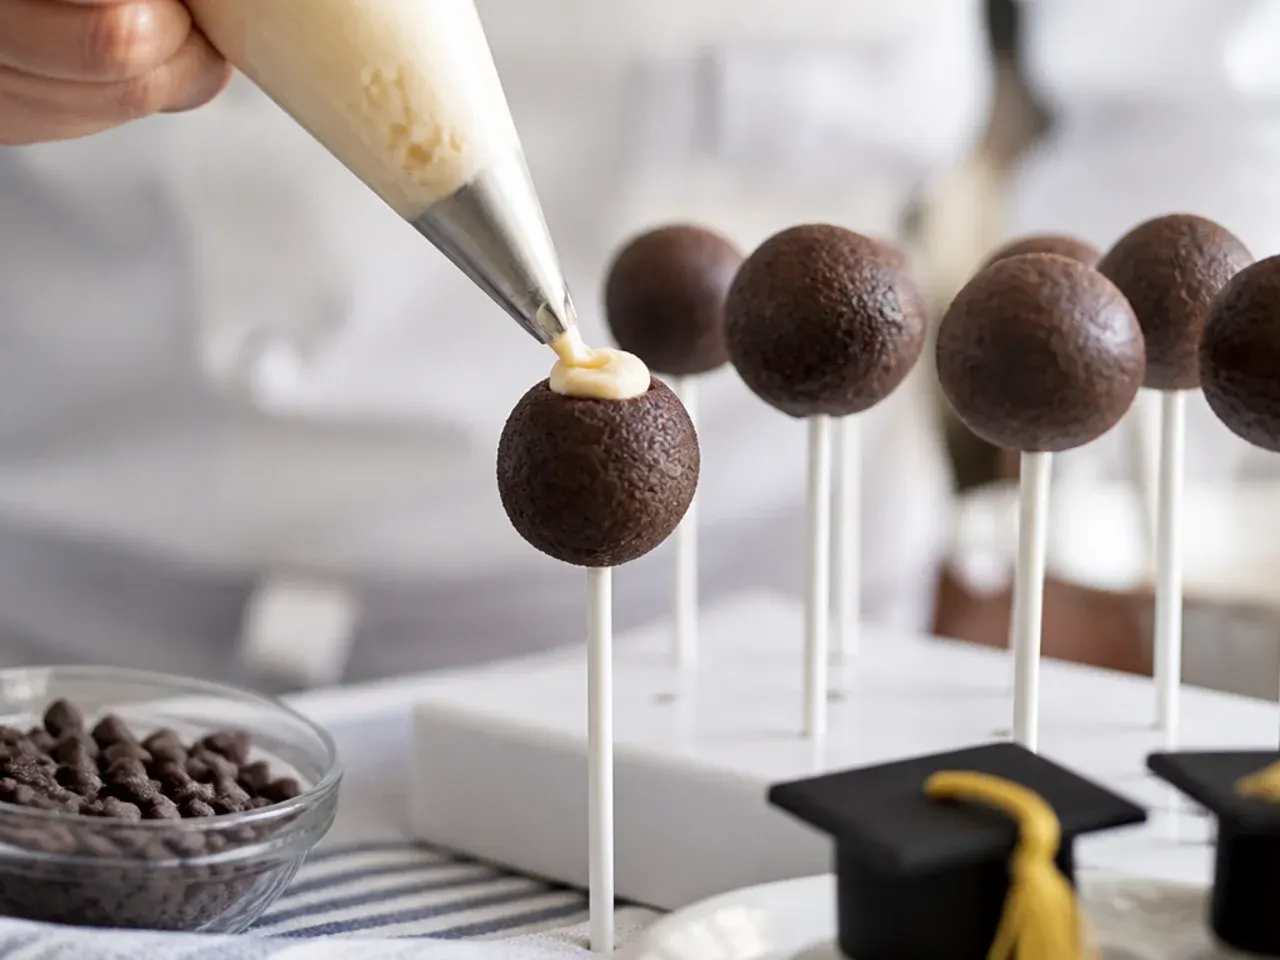
Fill a piping bag fitted with a small round tip with the remaining melted black candy and pipe a small dot in the centre of each mortarboard square. This dot conceals the join and gives the tassel somewhere to anchor.
Step 16: Add the Tassel
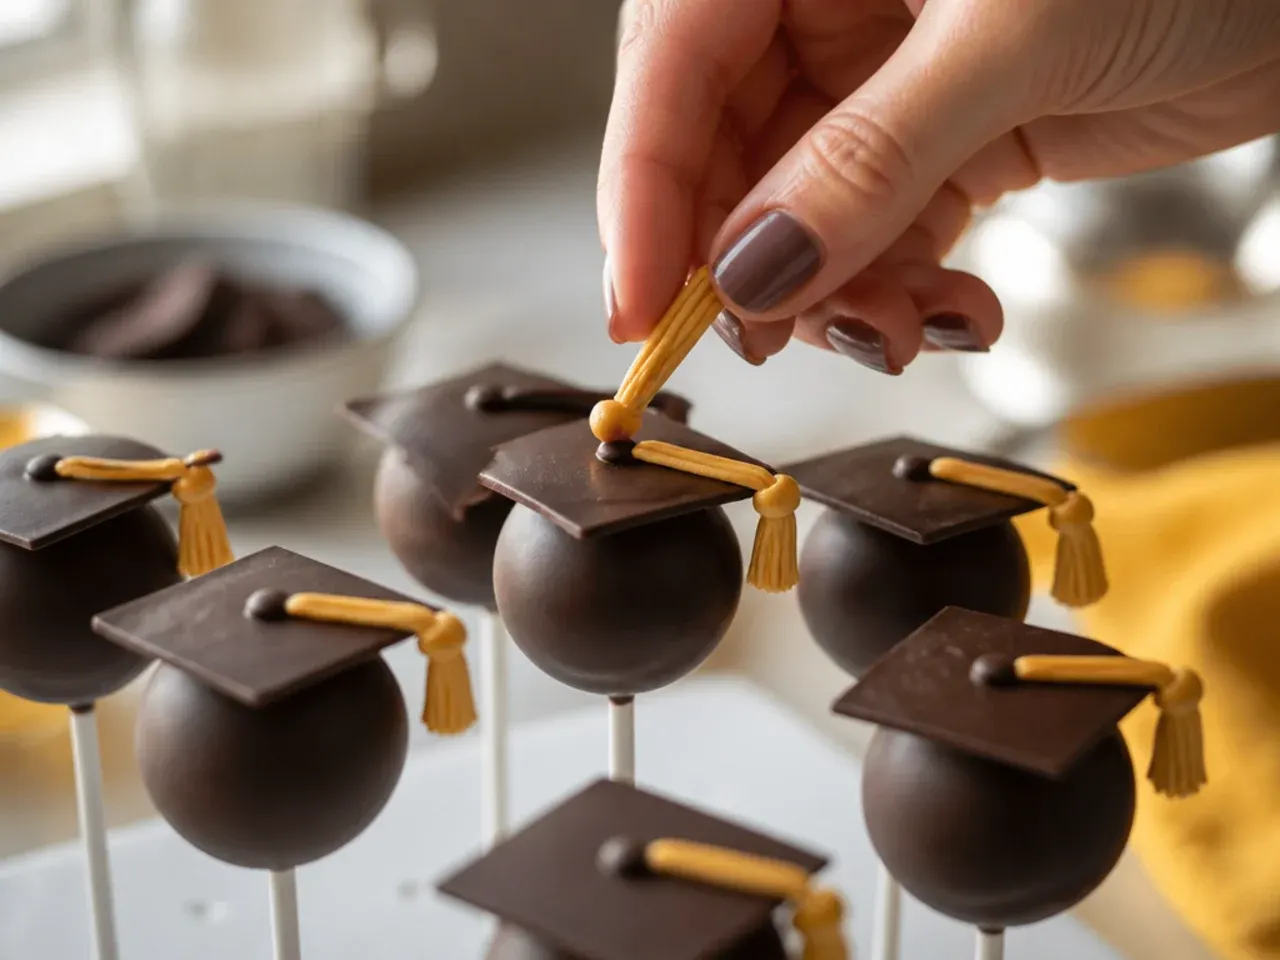
Press one end of a 4cm (1½in) tassel into the piped dot while it's still soft, letting the strand hang over one corner of the square. Hold for a few seconds until the candy firms up enough to keep it in place.
Step 17: Dust with Gold Highlights
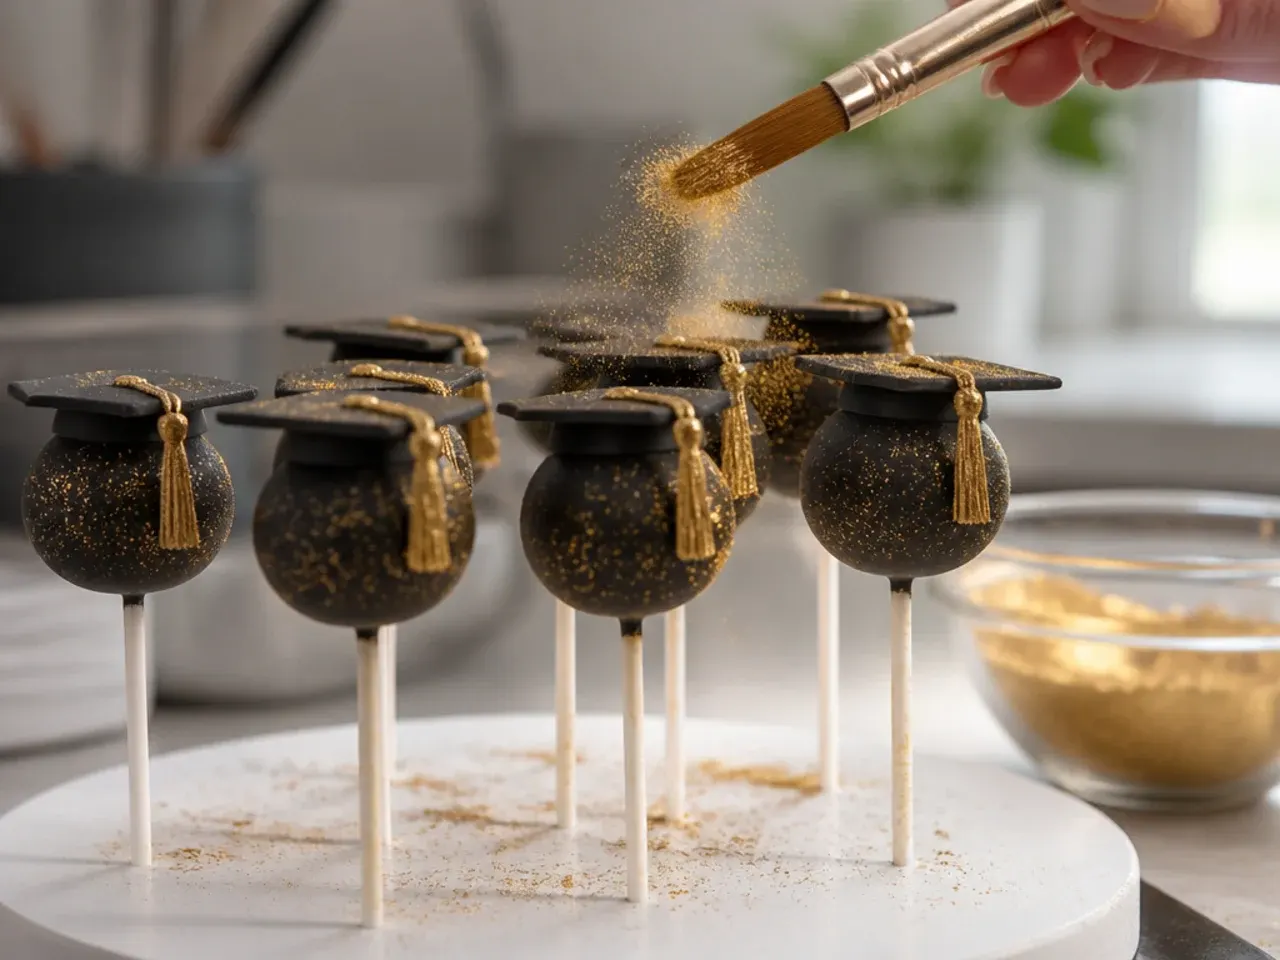
Once fully set, brush the tassel and the button centre lightly with gold edible lustre dust using a small dry brush. This detail catches the light and makes the caps look polished rather than flat.
Step 18: Make a Diploma-Style Variation
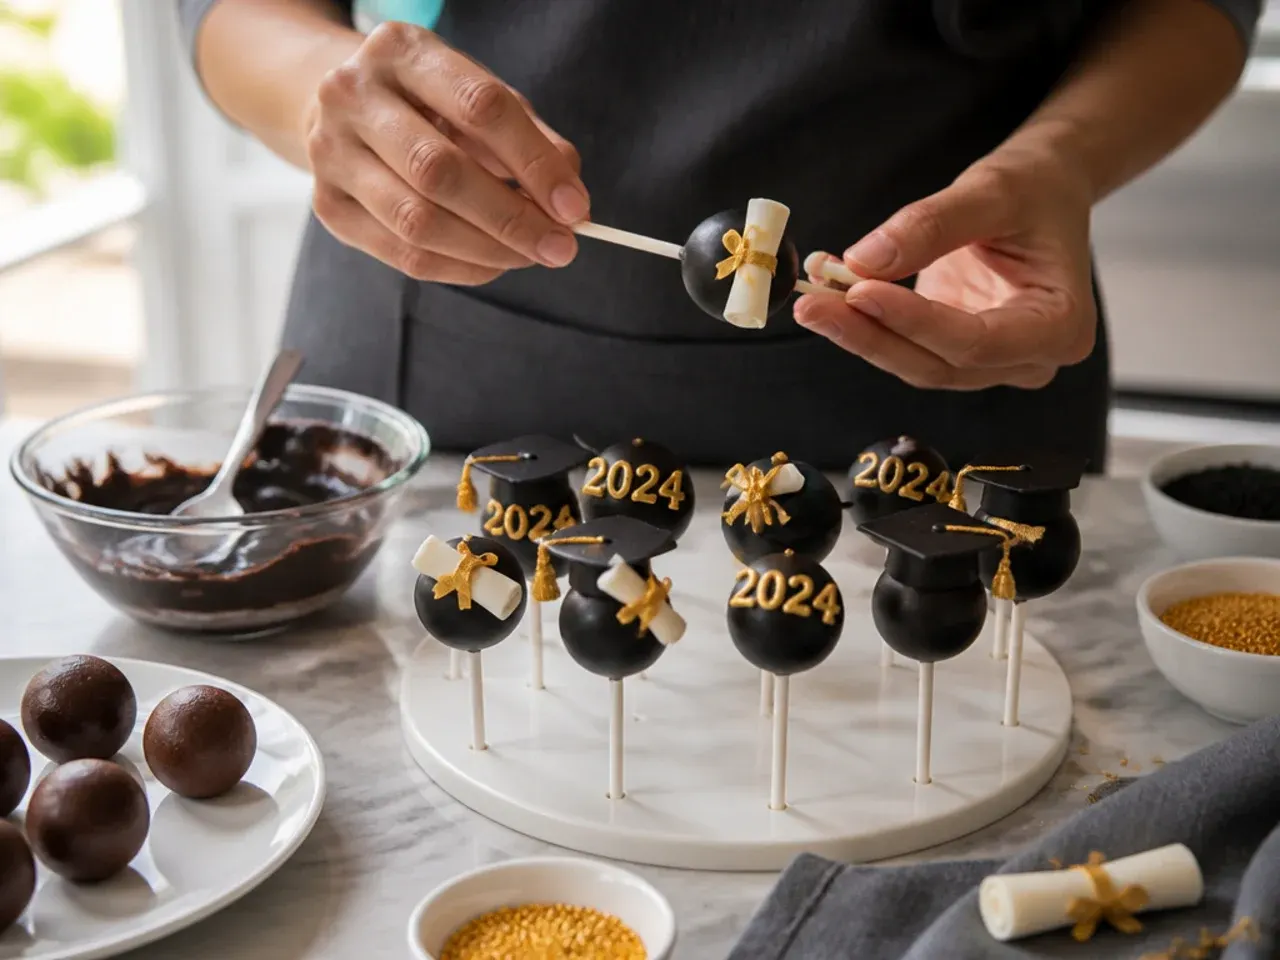
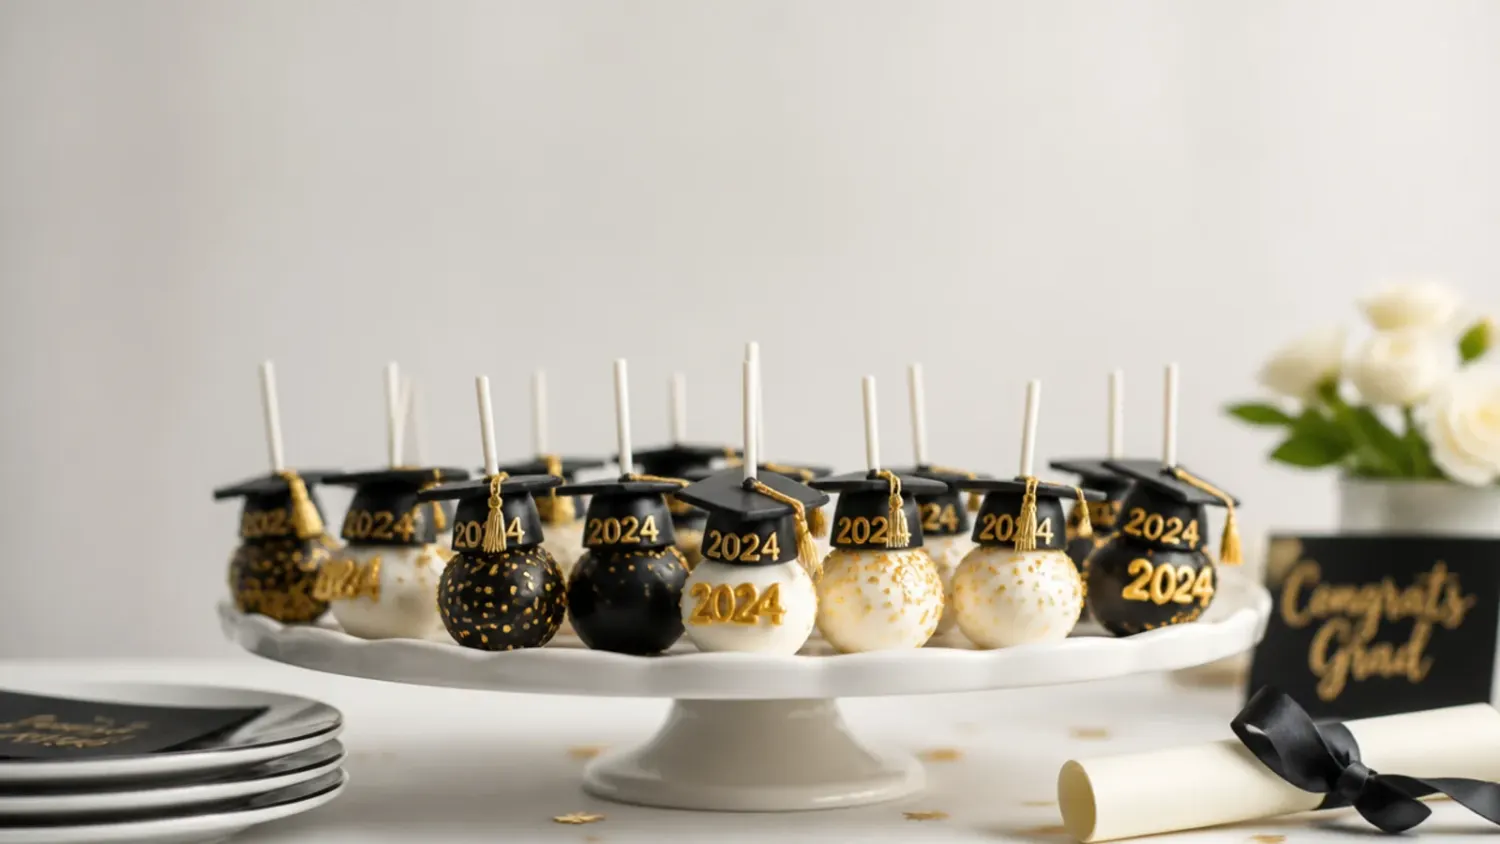
For variety, roll a second batch of cake balls into short cylinders instead of spheres, about 4cm (1½in) long, and chill until firm. Dip in white candy melts as before, then tie a thin strip of ribbon around the middle once set, to mimic a rolled diploma scroll.
Step 19: Add Personalised Details
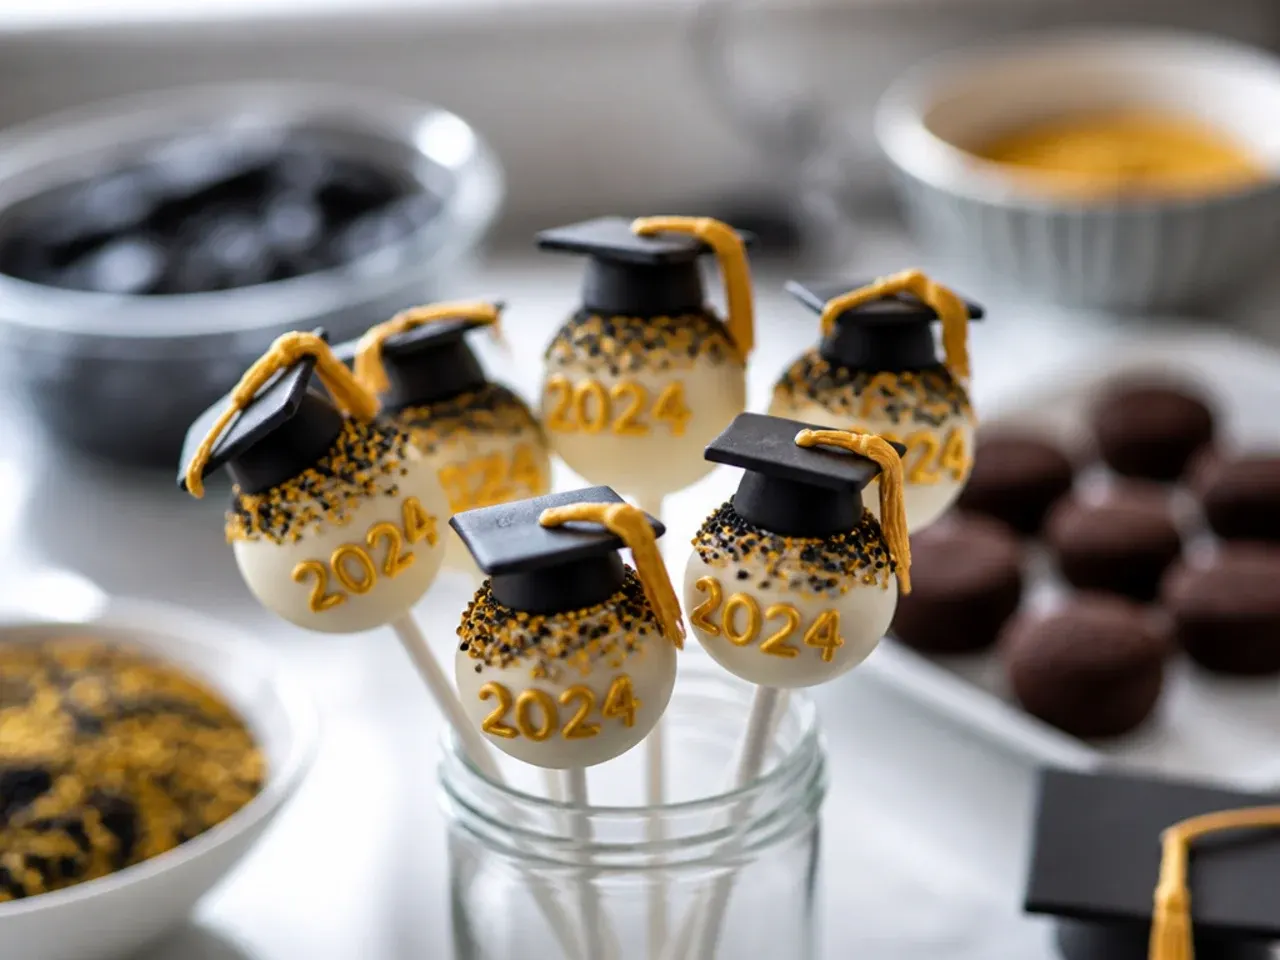
Using a fine edible-ink pen or a tiny dot of coloured candy melt, write a single initial or graduation year on a few of the mortarboard squares. Keep lettering small and centred so it reads clearly once the pop is displayed.
Step 20: Final Set and Display
Leave all finished cake pops upright at room temperature for a final 15-20 minutes so every element is completely firm before moving them. Gently wiggle each stick to check it's secure, group the pops by colour or design, then they're ready to display, gift or box up.
Pro Tips for Perfect Graduation Cake Pops

Weigh your cake crumb and frosting rather than eyeballing them — a kitchen scale keeps every pop the same size, so they dip and set evenly. Chill cake balls twice, once before adding the stick and once after, since skipping either chill is the top cause of cracked coating. Thin stubborn candy melts with a few drops of vegetable oil rather than water, which will seize the chocolate into a grainy paste. Work in small batches of two or three pops at a time when adding fondant details, as candy melts firm up within a minute or two.
Storage and Make-Ahead Tips
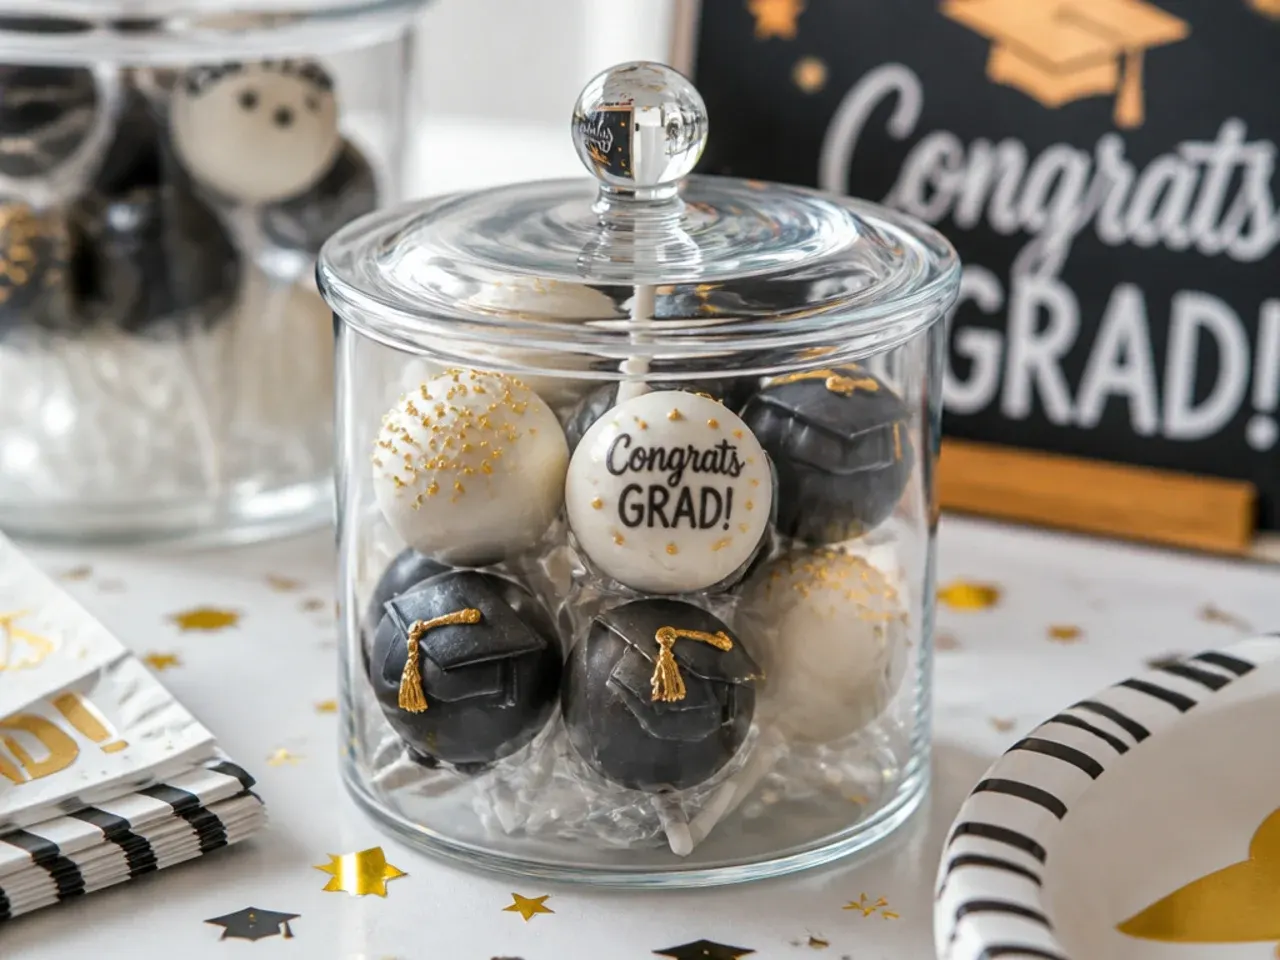
Store finished cake pops upright in an airtight container at room temperature for up to 3 days, away from direct sunlight which can melt the candy coating. For longer storage, refrigerate for up to a week, then let them sit at room temperature for 20 minutes before serving so the coating doesn't sweat. Undipped cake balls freeze well for up to 1 month; thaw in the fridge overnight before dipping and decorating. Avoid microwaving finished cake pops to reheat, as the candy coating will melt off the cake — they're always served at room temperature.
20 graduation cake pops ideas with step-by-step mortarboard and diploma designs, real bake times and a foolproof dipping method. For more graduation cake ideas inspiration, browse the full Graduation Cake Ideas board — every idea there is written for real home kitchens, not professional bakers.
Frequently Asked Questions
You can make cake pops up to 3 days ahead if stored airtight at room temperature, or up to a week in the fridge. For the freshest coating, dip and decorate no more than 2 days before the party, and add delicate details like tassels on the day itself. Undipped cake balls can also be frozen for up to a month, which is handy if you want to spread the work over several sessions.

Related Recipes


Save this for later 📌
Pin this article to your Pinterest board so the full list is one tap away when you need it.
Save on Pinterest