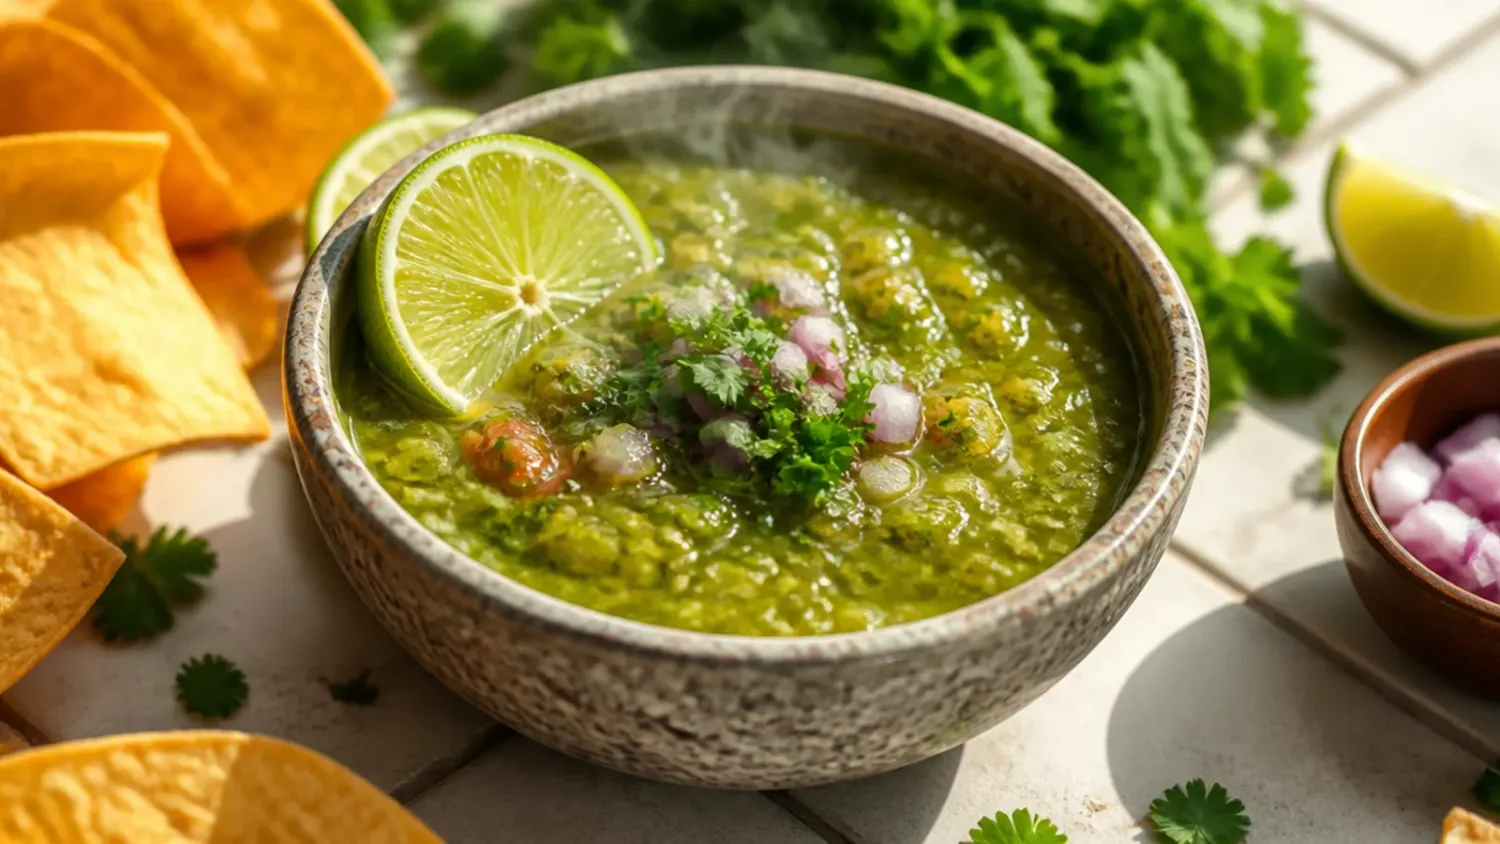
Ingredients 6 Person(s)

Save this for later 📌
Pin this article to your Pinterest board so the full list is one tap away when you need it.
Save on PinterestDirections
Step 1: Husk and rinse the tomatillos
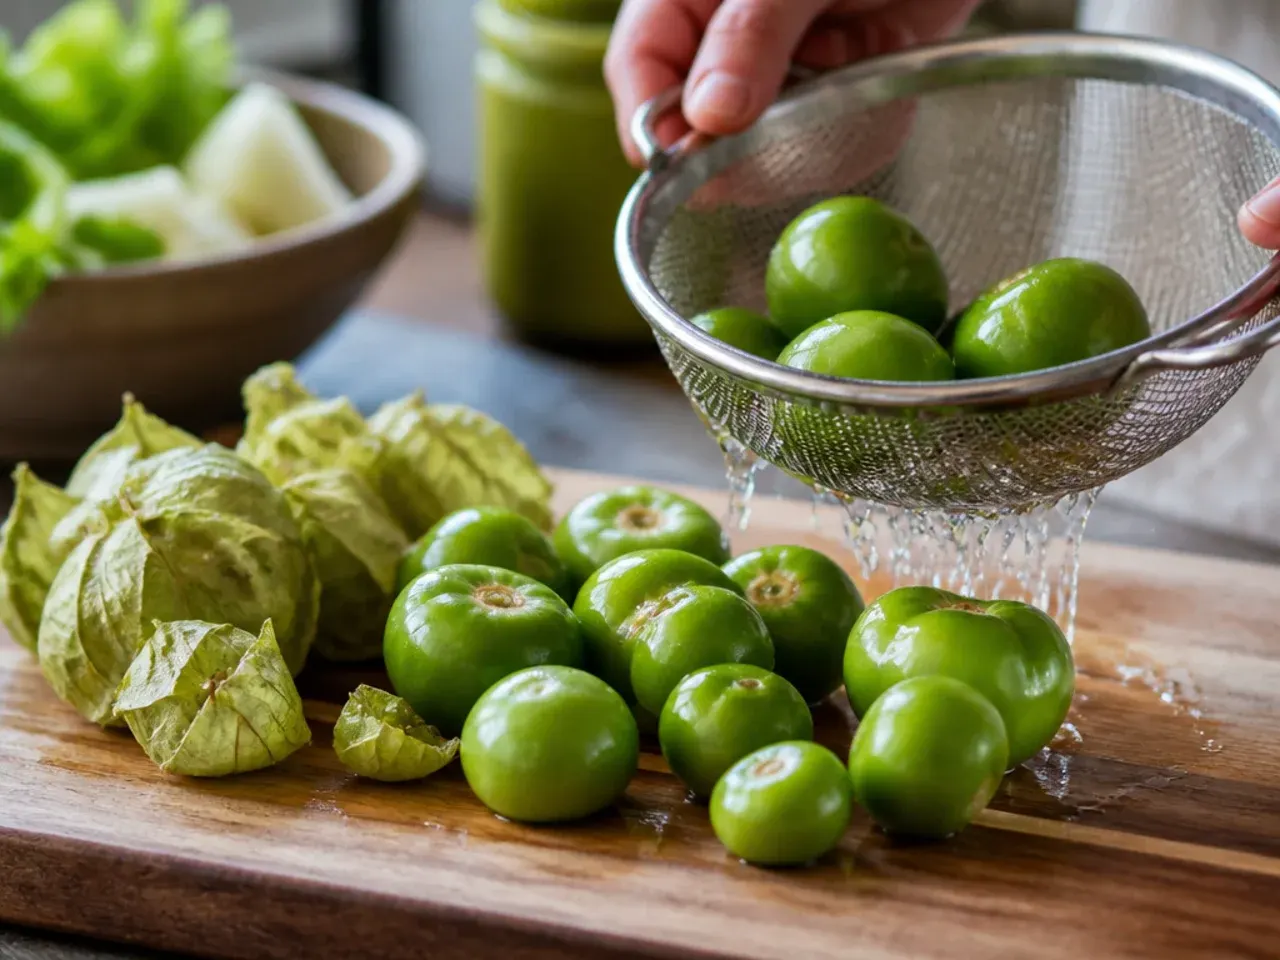
Peel the papery husks off 700g (1½ lb) tomatillos and rinse them under warm running water, rubbing gently to remove the waxy, sticky film underneath - this film turns bitter if it's left on. Pat the tomatillos dry with a tea towel. Discard the husks and stems as you go.
Step 2: Halve any oversized tomatillos
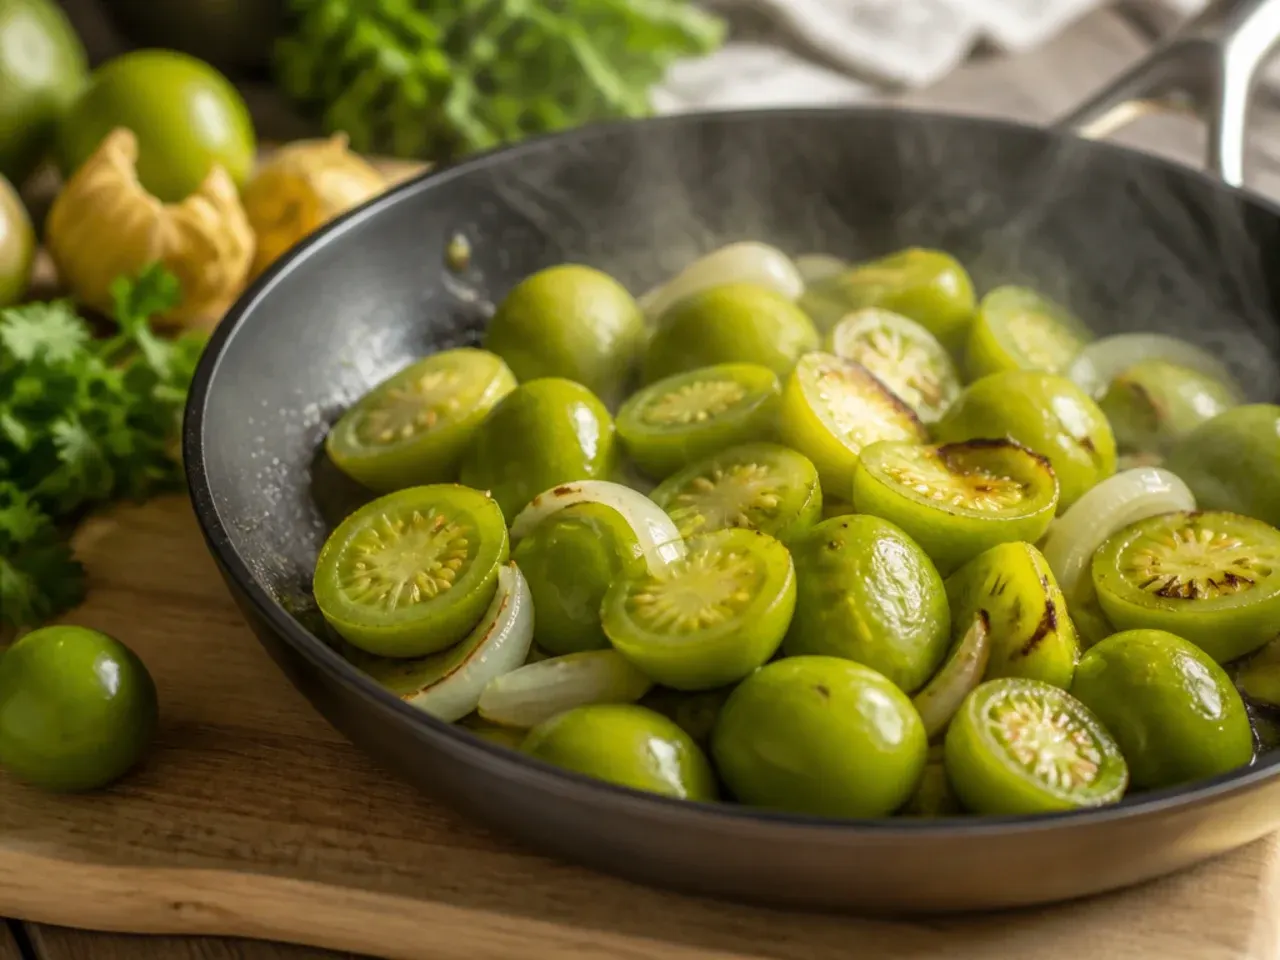
If a few tomatillos are noticeably larger than the rest, slice them in half so every piece is roughly the same 2-3cm thickness. Even sizing means everything chars and softens at the same rate under the grill, so nothing burns while other pieces stay raw.
Step 3: Trim and split the chillies
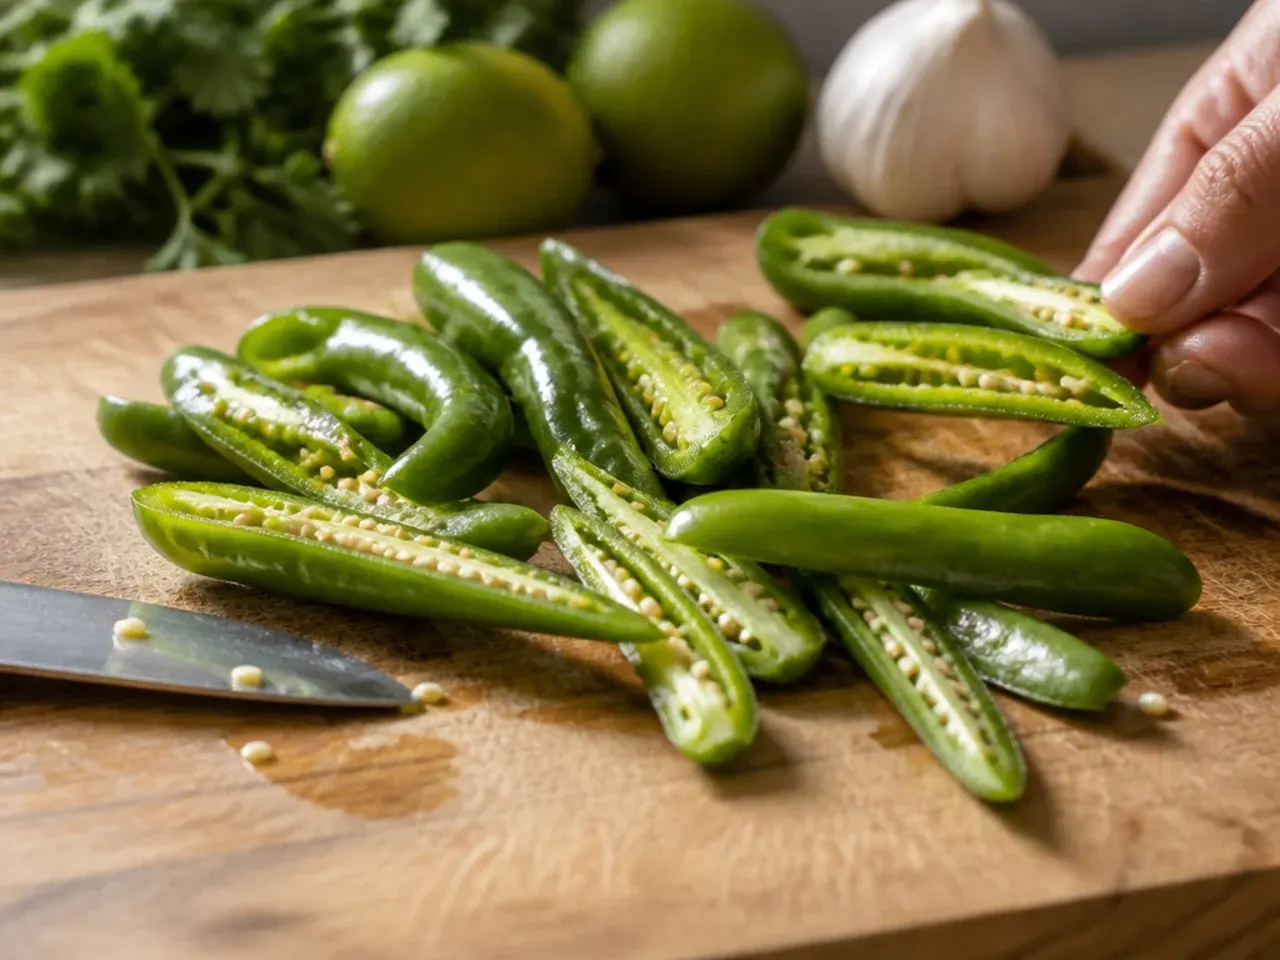
Cut the stems off 3 jalapeño peppers and slice each one in half lengthways. Scrape out the seeds and pale ribs with a teaspoon for a milder salsa, or leave them intact if you want more heat.
Step 4: Leave the garlic unpeeled
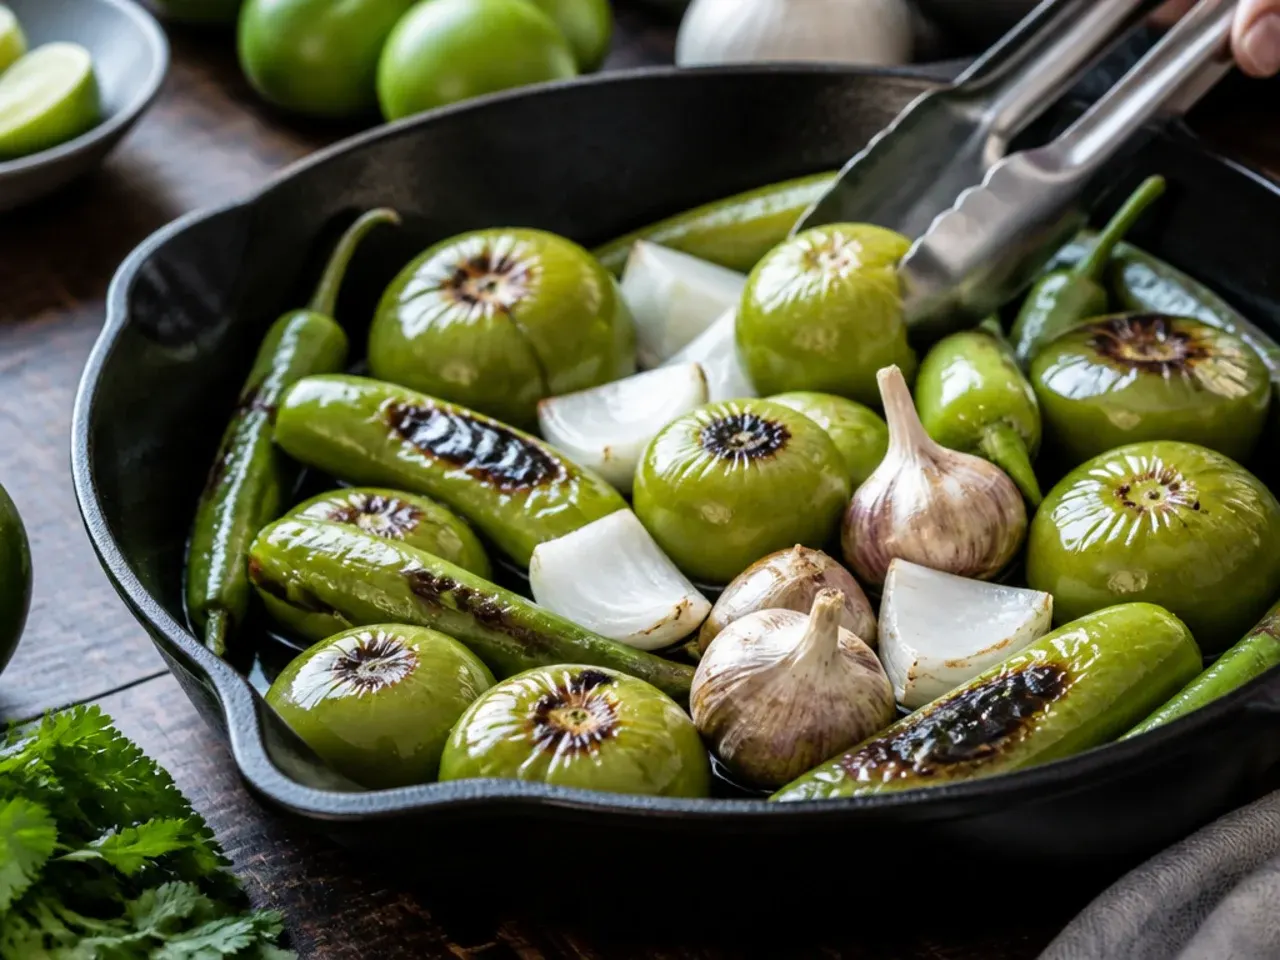
Keep the papery skins on 3 garlic cloves before roasting - the skin shields the flesh from scorching while the inside turns soft, sweet and spreadable. You'll peel them once they've cooled after roasting.
Step 5: Rough-chop the onion
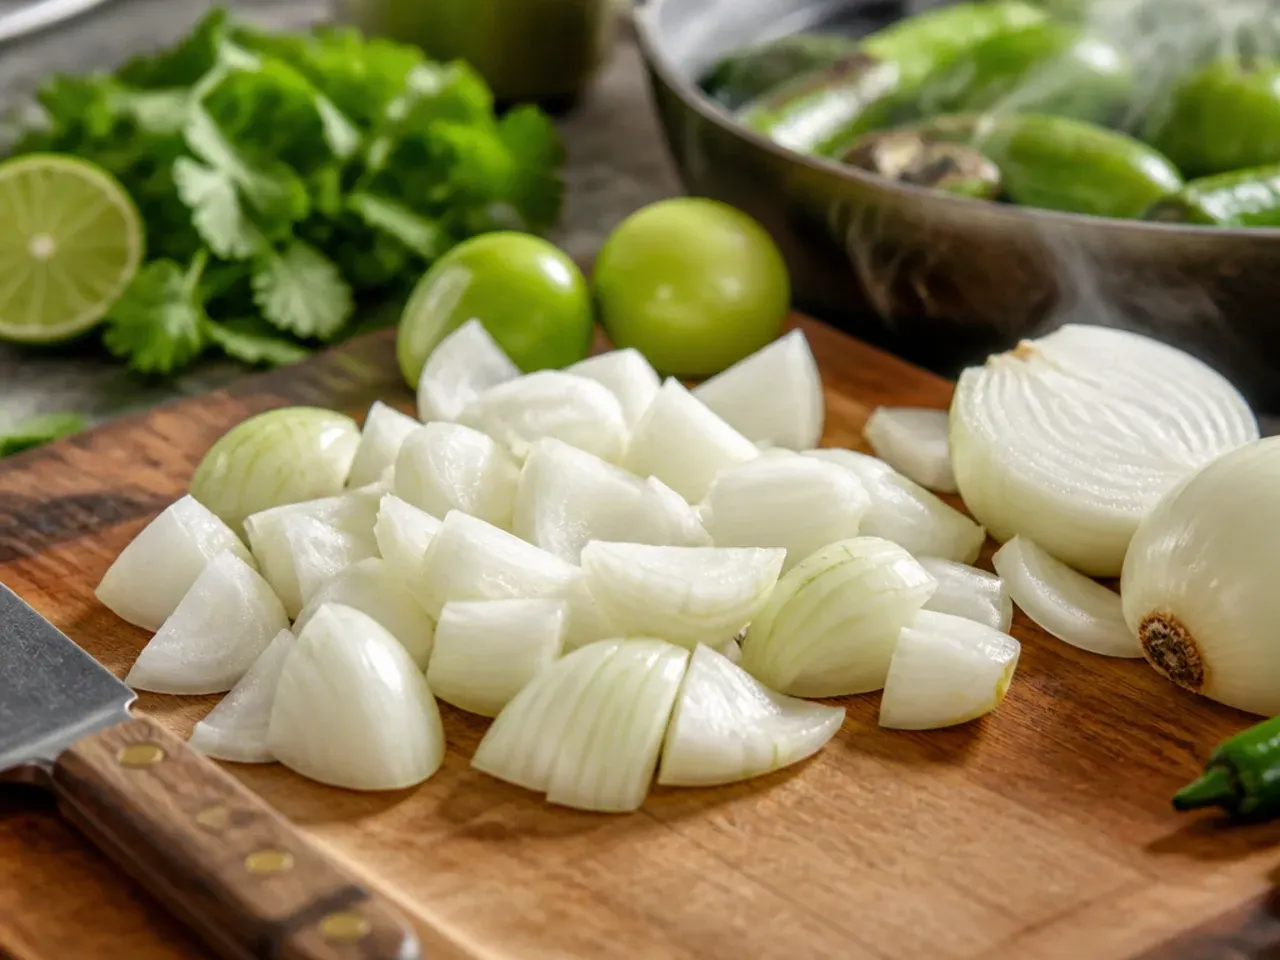
Peel and roughly chop 120g (about 1/2 a medium white onion) into 2cm chunks. Set half aside raw for the blender and keep the rest handy in case you want to balance the heat later.
Step 6: Preheat the grill or oven
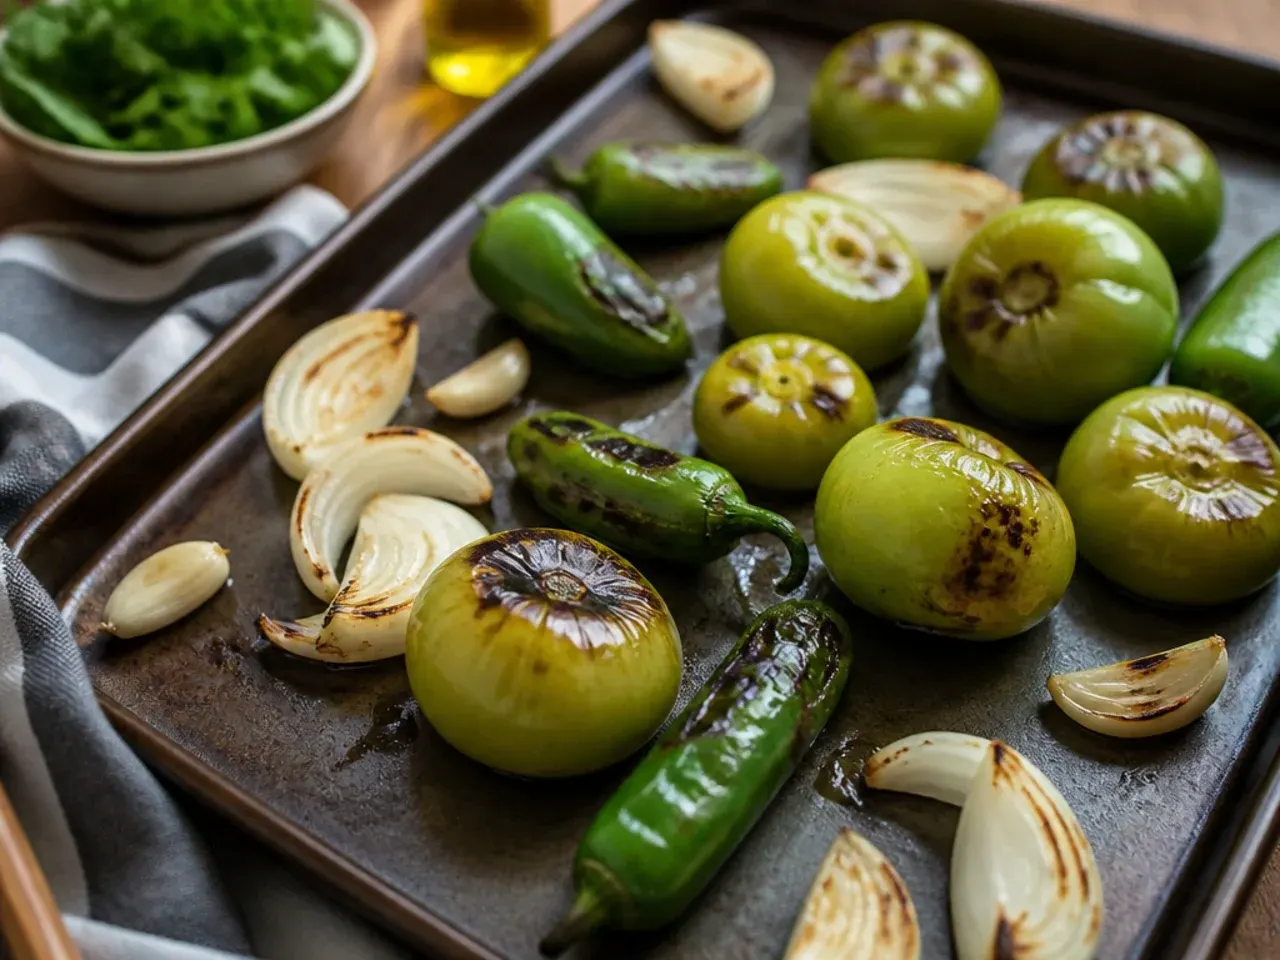
Turn your grill (broiler) to its highest setting, or preheat the oven to 200°C (400°F) if roasting instead. Position a rack about 10cm (4 inches) from the heat source so the vegetables char quickly without drying out.
Step 7: Arrange everything on a tray
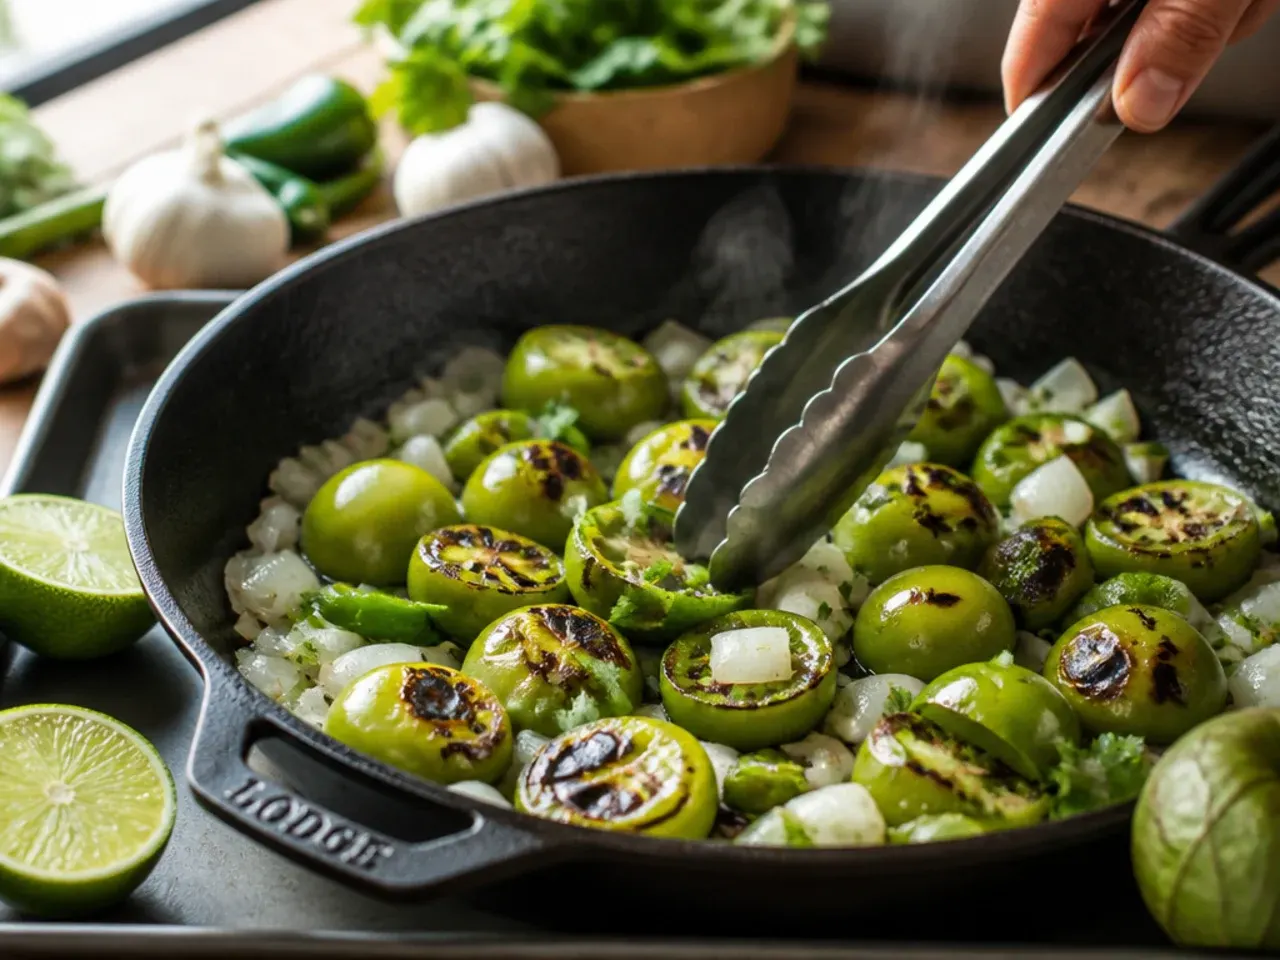
Line a rimmed baking tray with foil for easy cleanup. Lay the tomatillos cut-side down, chilli halves skin-side up, and garlic cloves in a single, uncrowded layer so the heat reaches every piece evenly.
Step 8: Char the first side
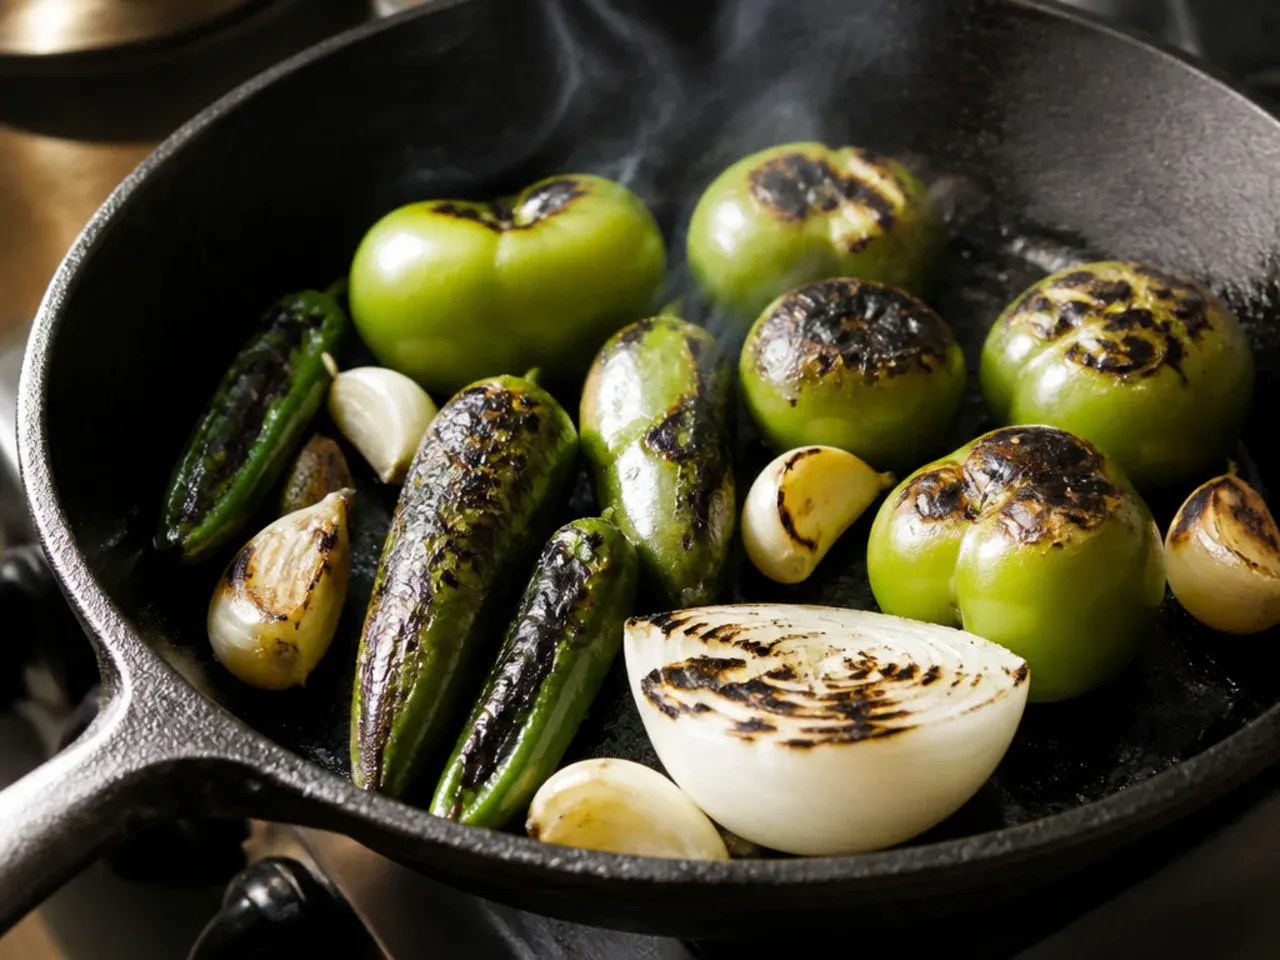
Slide the tray under the grill and cook for 5-6 minutes, watching closely, until the skins facing upward start to blister and turn black in patches.
Step 9: Flip and char the second side
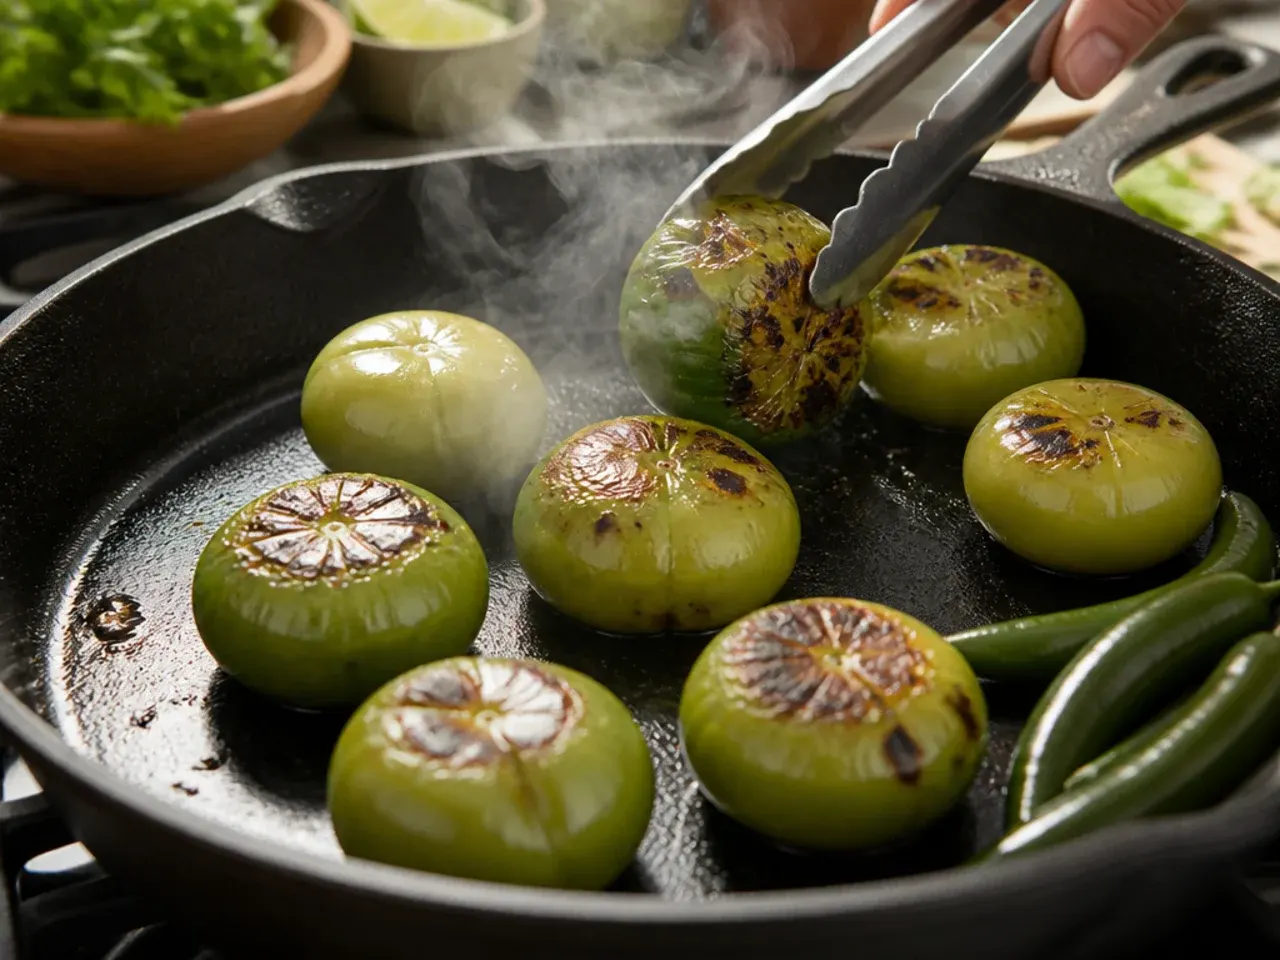
Turn the tomatillos and chillies over with tongs and grill for another 5-7 minutes. Look for both sides showing dark charred spots and the tomatillos turning a dull, army-green colour and visibly softening.
Step 10: Confirm the garlic is done
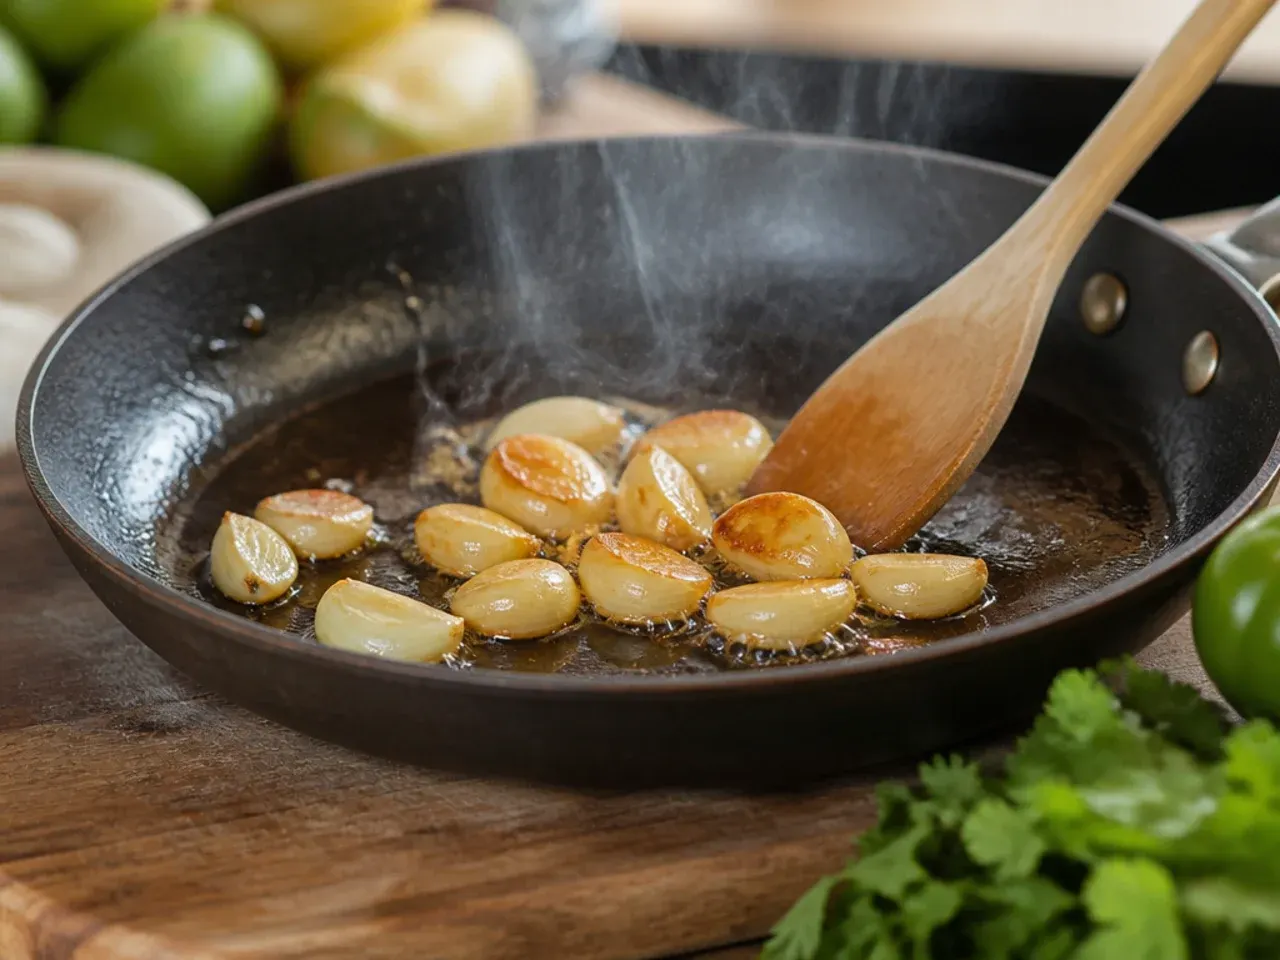
Check the garlic cloves at the same time - they're ready once the papery skin looks lightly toasted and the clove gives easily when you press it with a finger, usually 10-13 minutes total.
Step 11: Rest the roasted vegetables
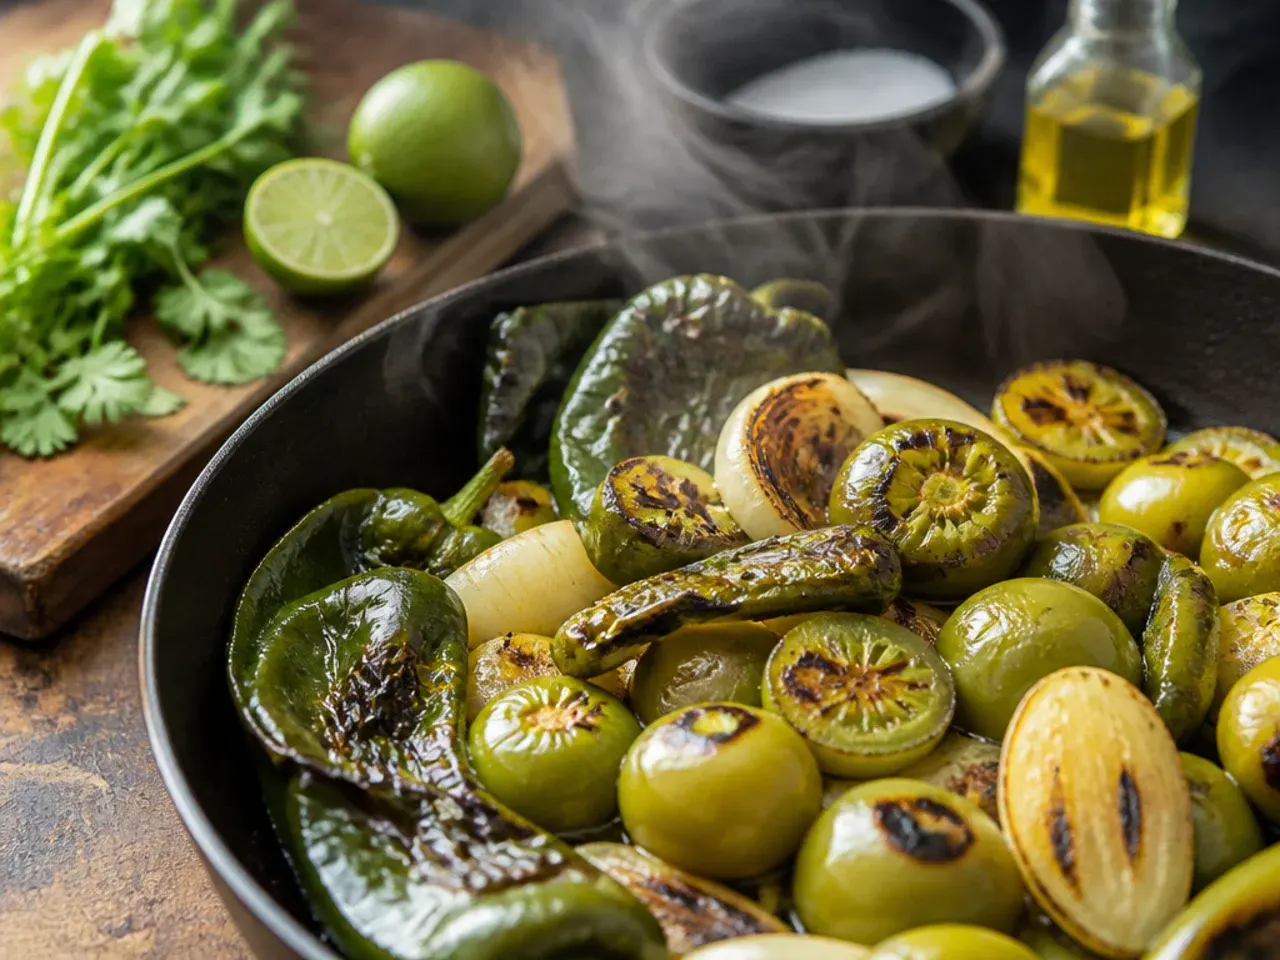
Pull the tray out and let everything sit for 5 minutes. This short rest cools the garlic enough to peel safely and keeps the blender motor from labouring against hot ingredients.
Step 12: Peel the roasted garlic
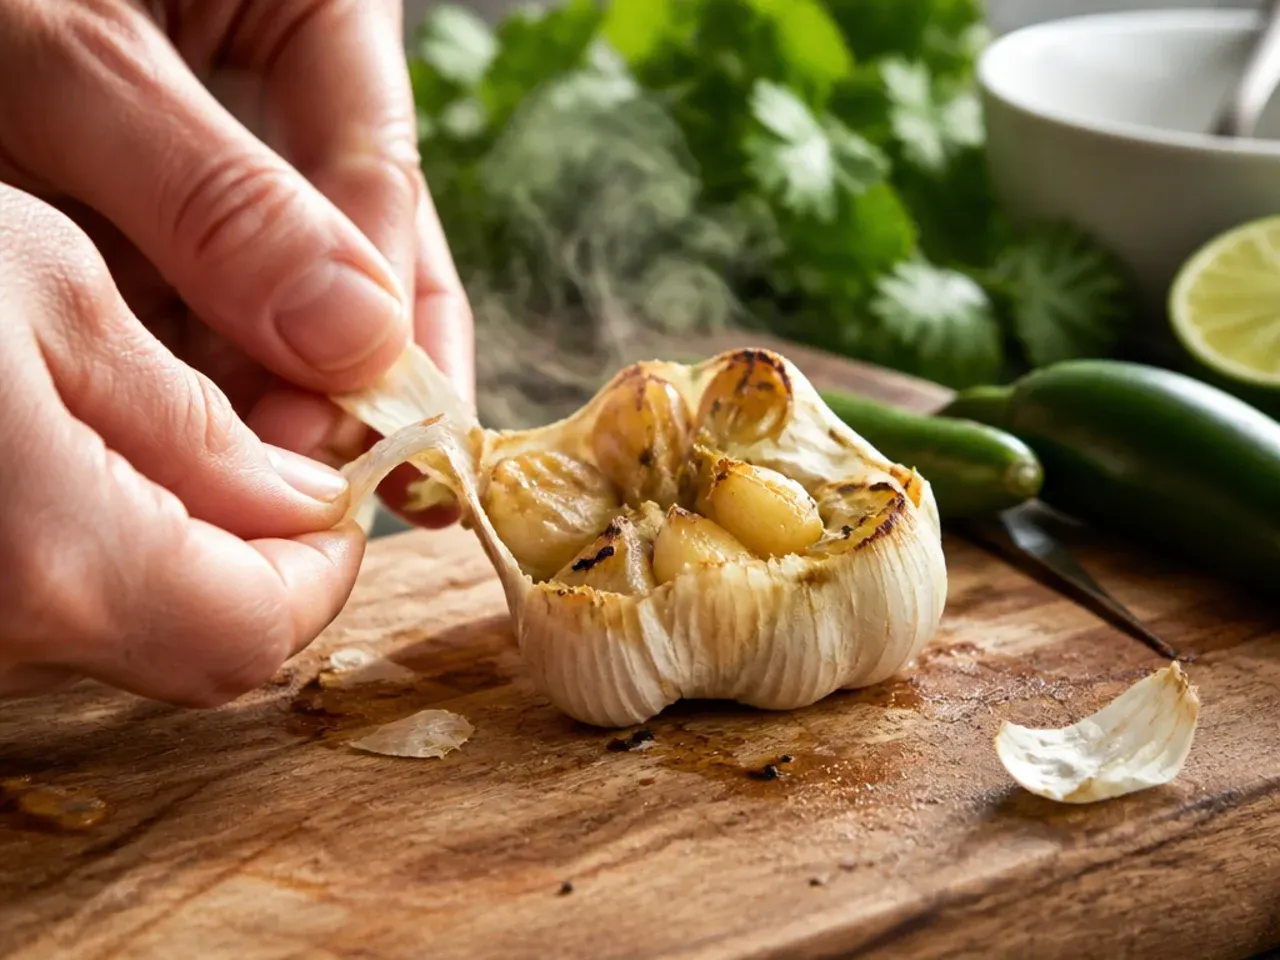
Once cool enough to handle, squeeze each clove between your fingers so the soft, sweet flesh pops free of its skin. Discard the skins and set the garlic aside.
Step 13: Add the tomatillos to the blender
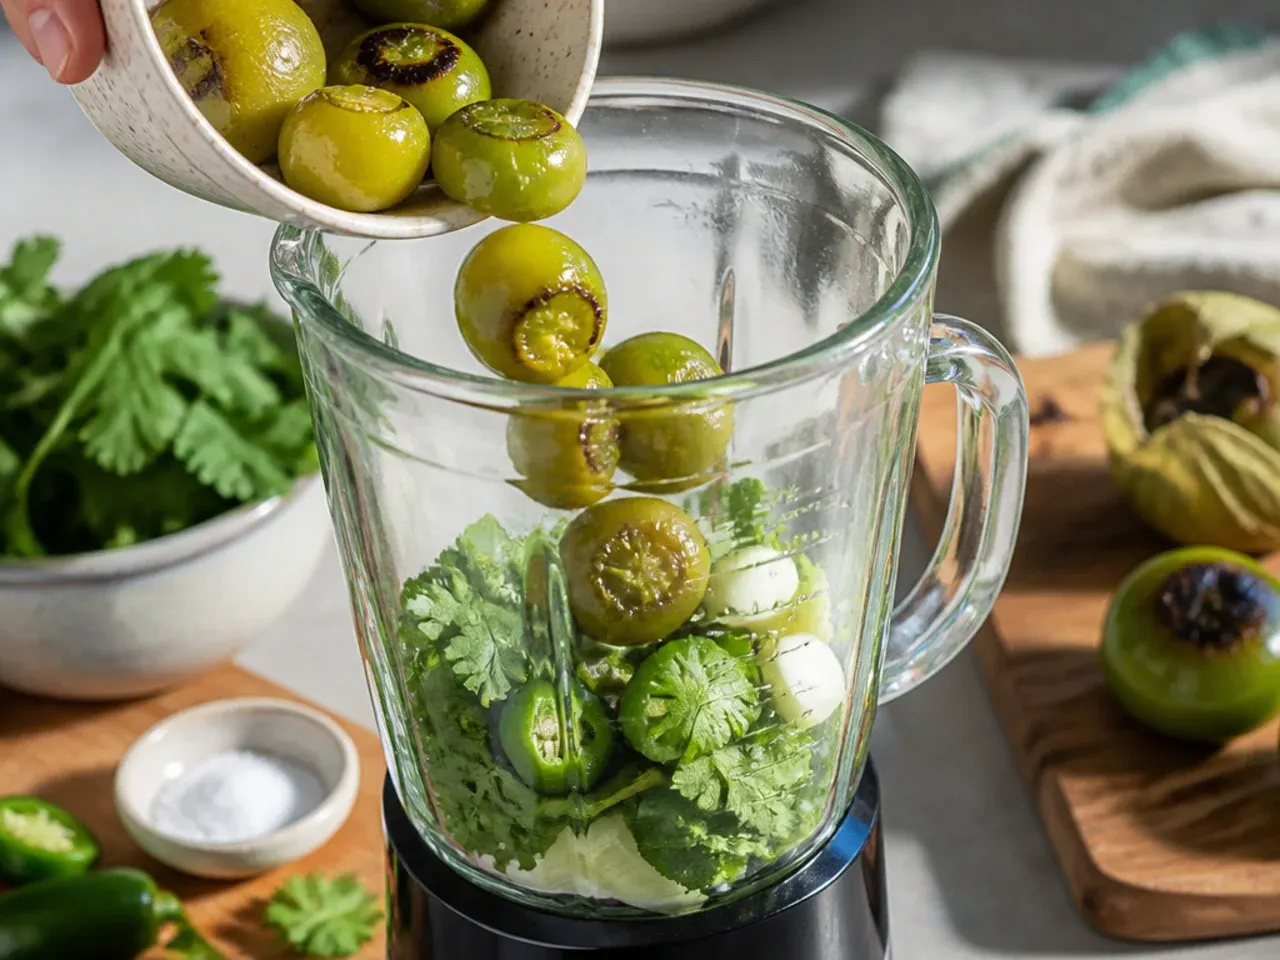
Tip the roasted tomatillos into a blender or food processor jug, scraping in any juices pooled on the tray - that liquid is packed with roasted flavour and shouldn't go to waste.
Step 14: Add the chillies and garlic
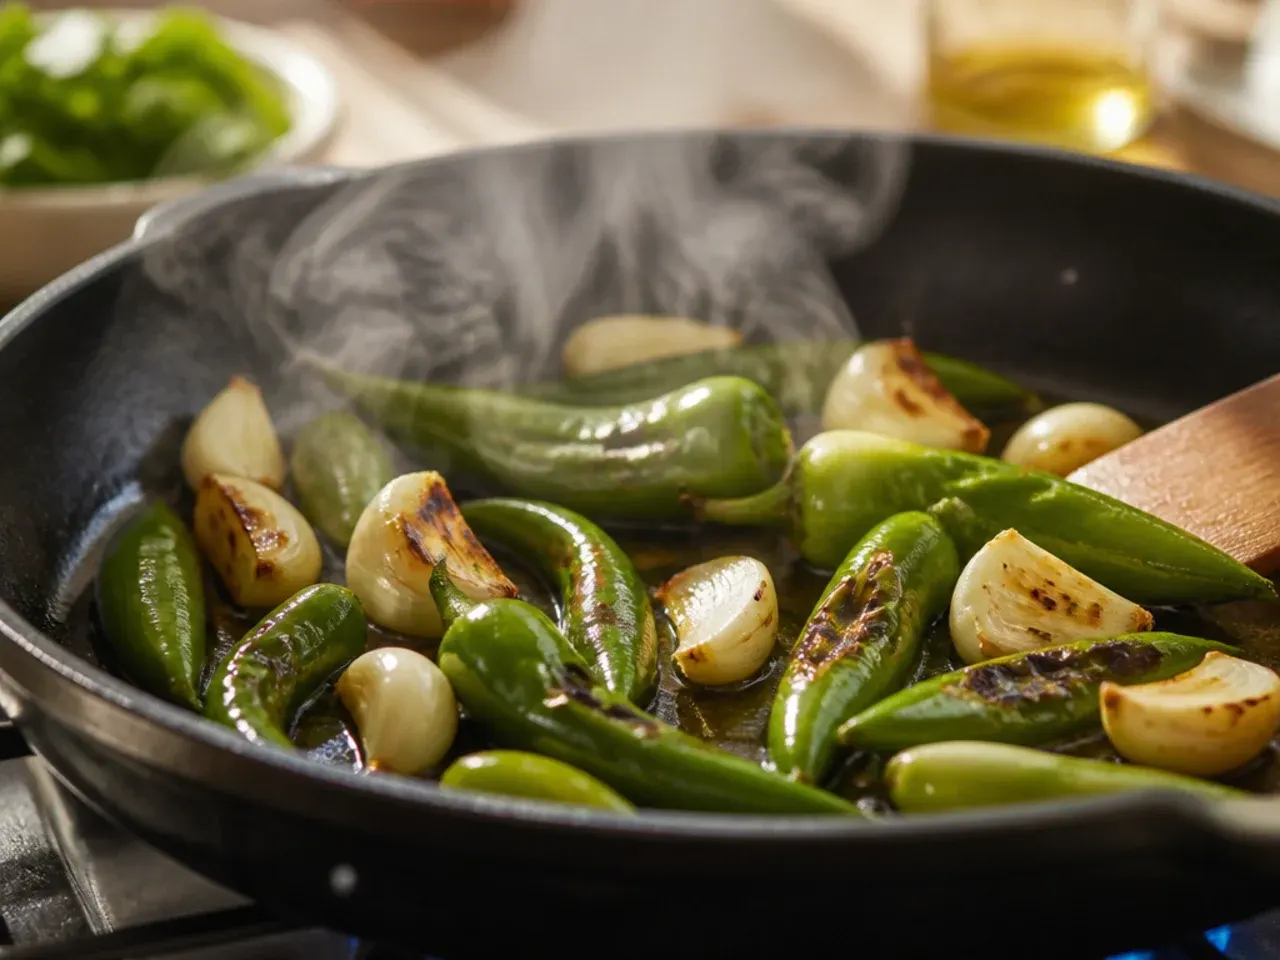
Add the charred chilli halves and the peeled garlic cloves to the jug with the tomatillos.
Step 15: Add the onion and cilantro
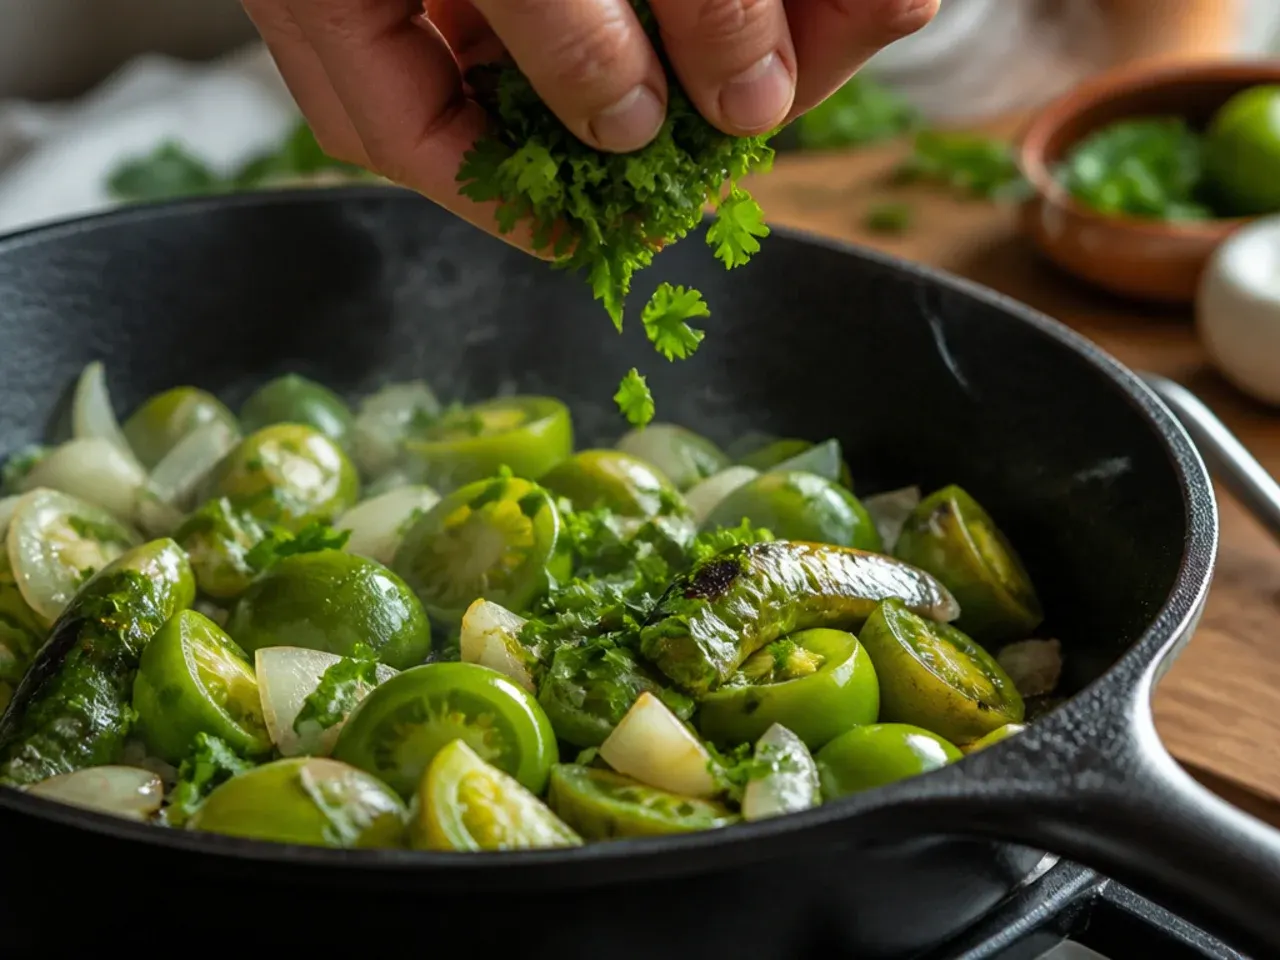
Add the chopped onion and 20g (about 1/2 cup packed) fresh cilantro leaves and tender stems.
Step 16: Season the base
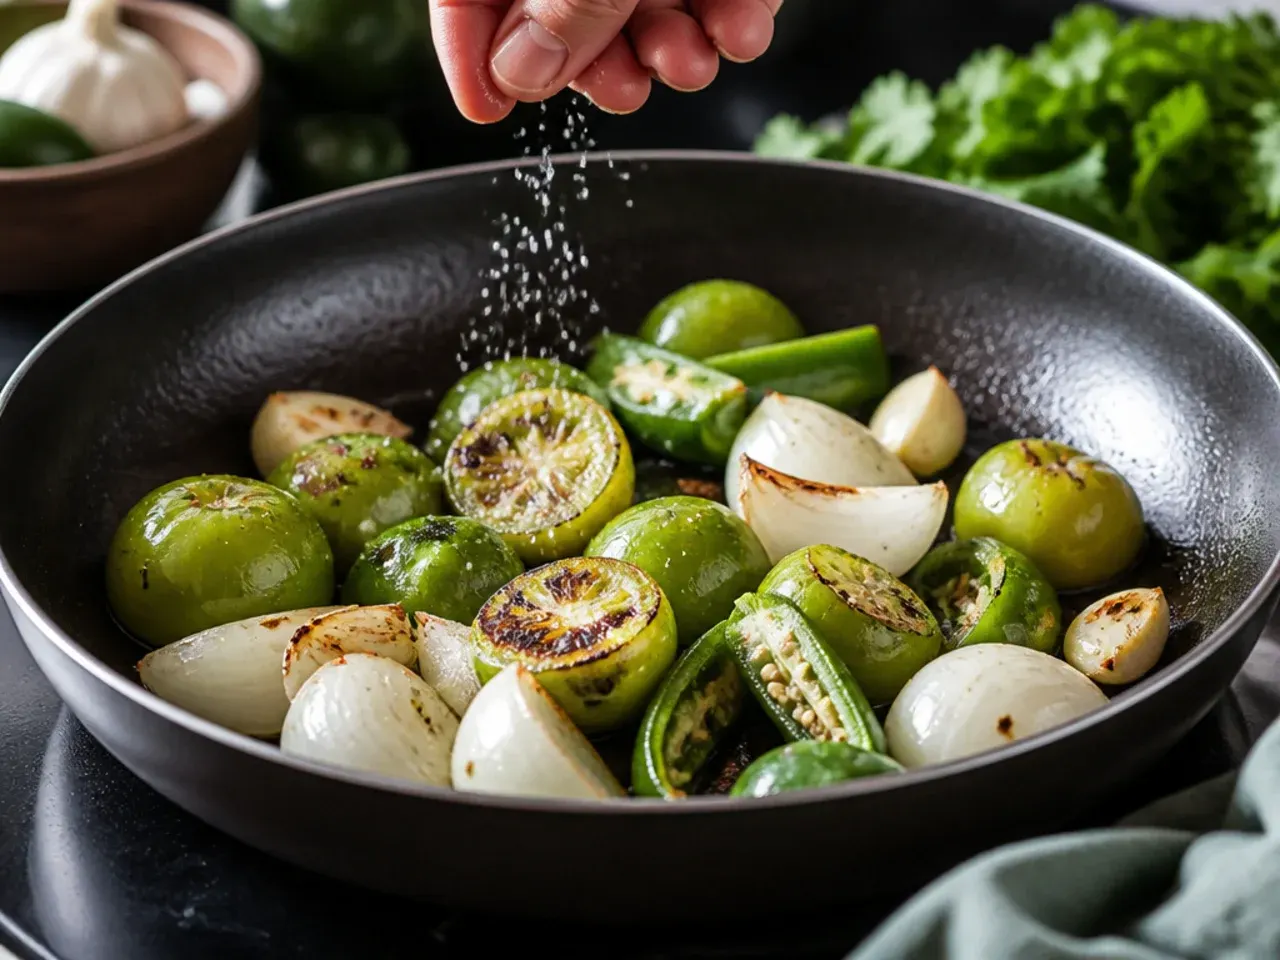
Sprinkle in 10g (2 tsp) fine sea salt to start - you can always add more once you've tasted the finished salsa.
Step 17: Loosen with water
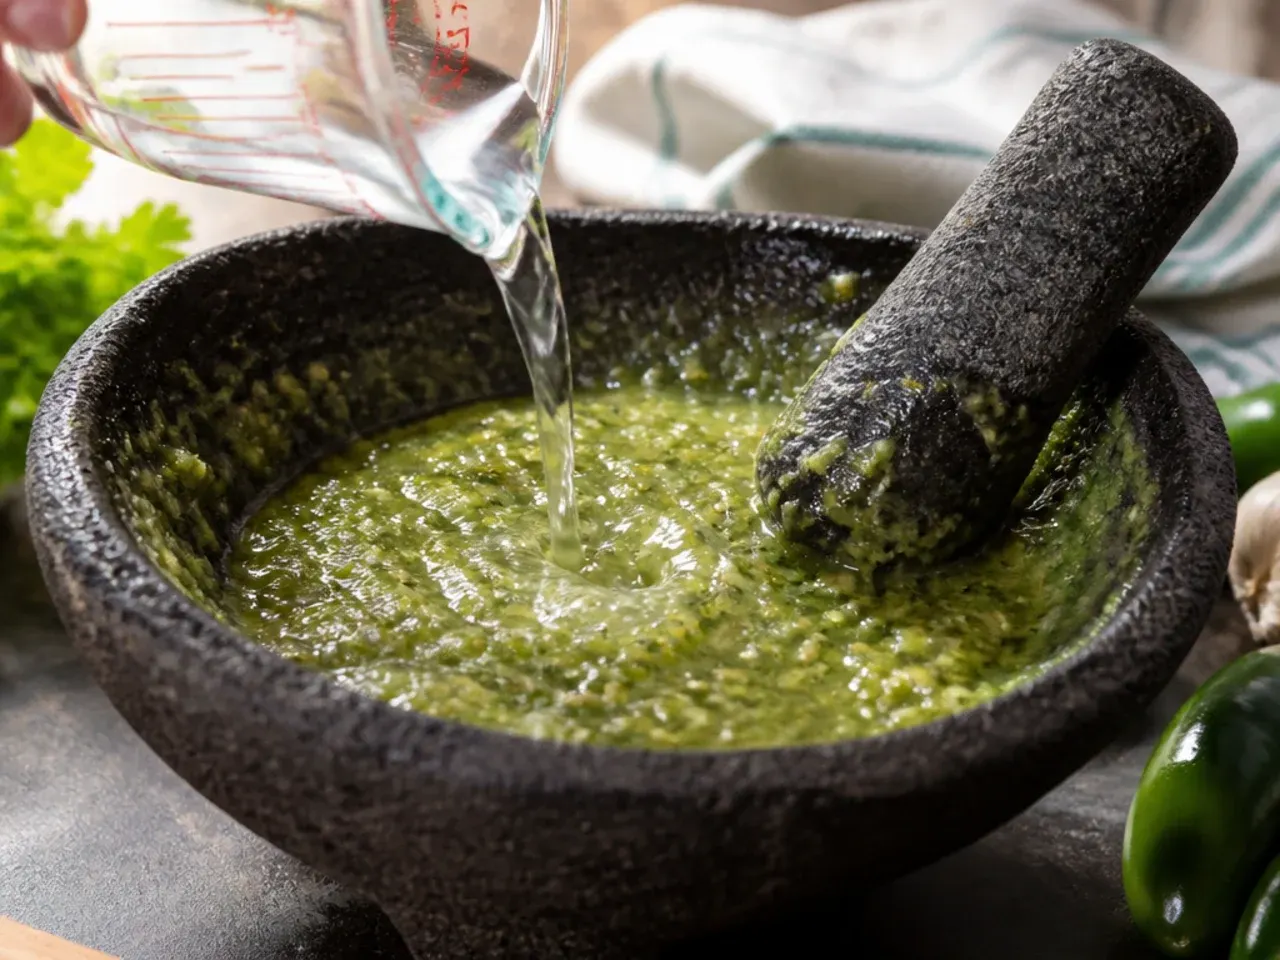
Pour in 60ml (1/4 cup) cold water to help the blades catch and move the mixture freely.
Step 18: Pulse before blending
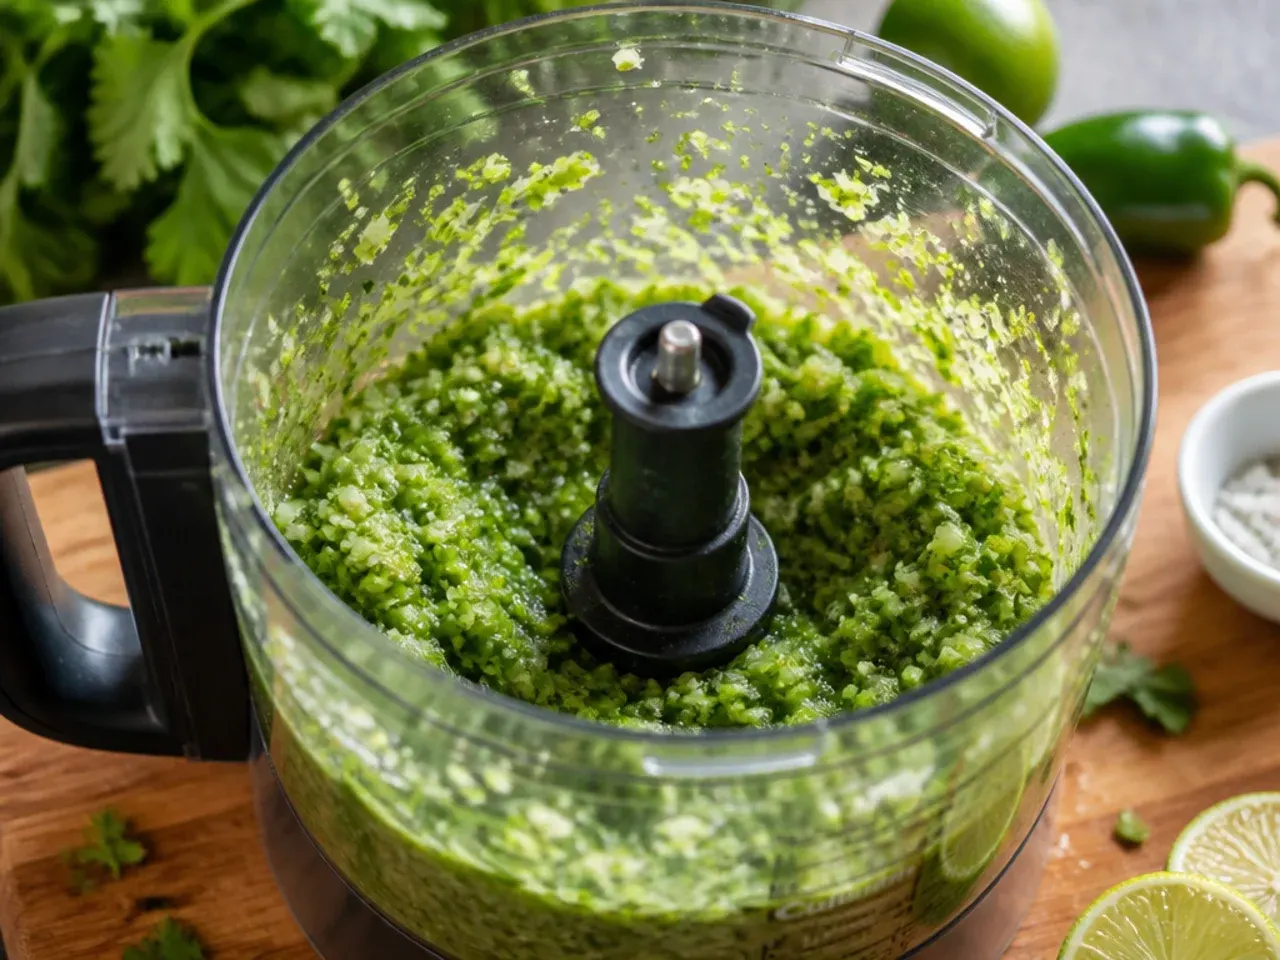
Pulse the blender 4-5 times in short bursts first, rather than running it continuously straight away, so large chunks break down without flying up unblended against the lid.
Step 19: Blend to your preferred texture
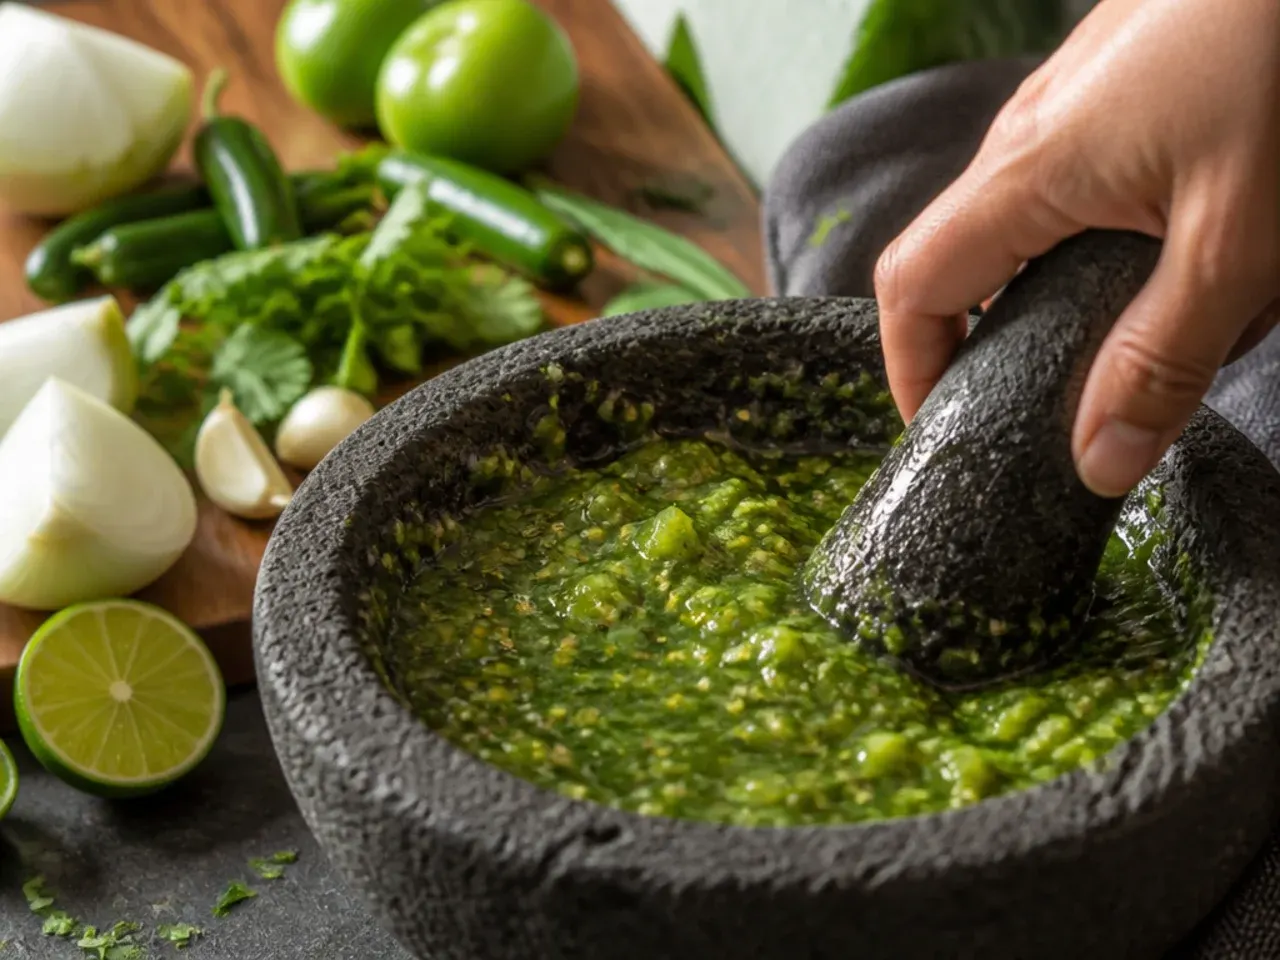
Blend continuously for 20-30 seconds for a rustic, chip-friendly texture, or up to 60 seconds for a completely smooth salsa. Stop once halfway through to scrape down the sides with a spatula.
Step 20: Check the consistency
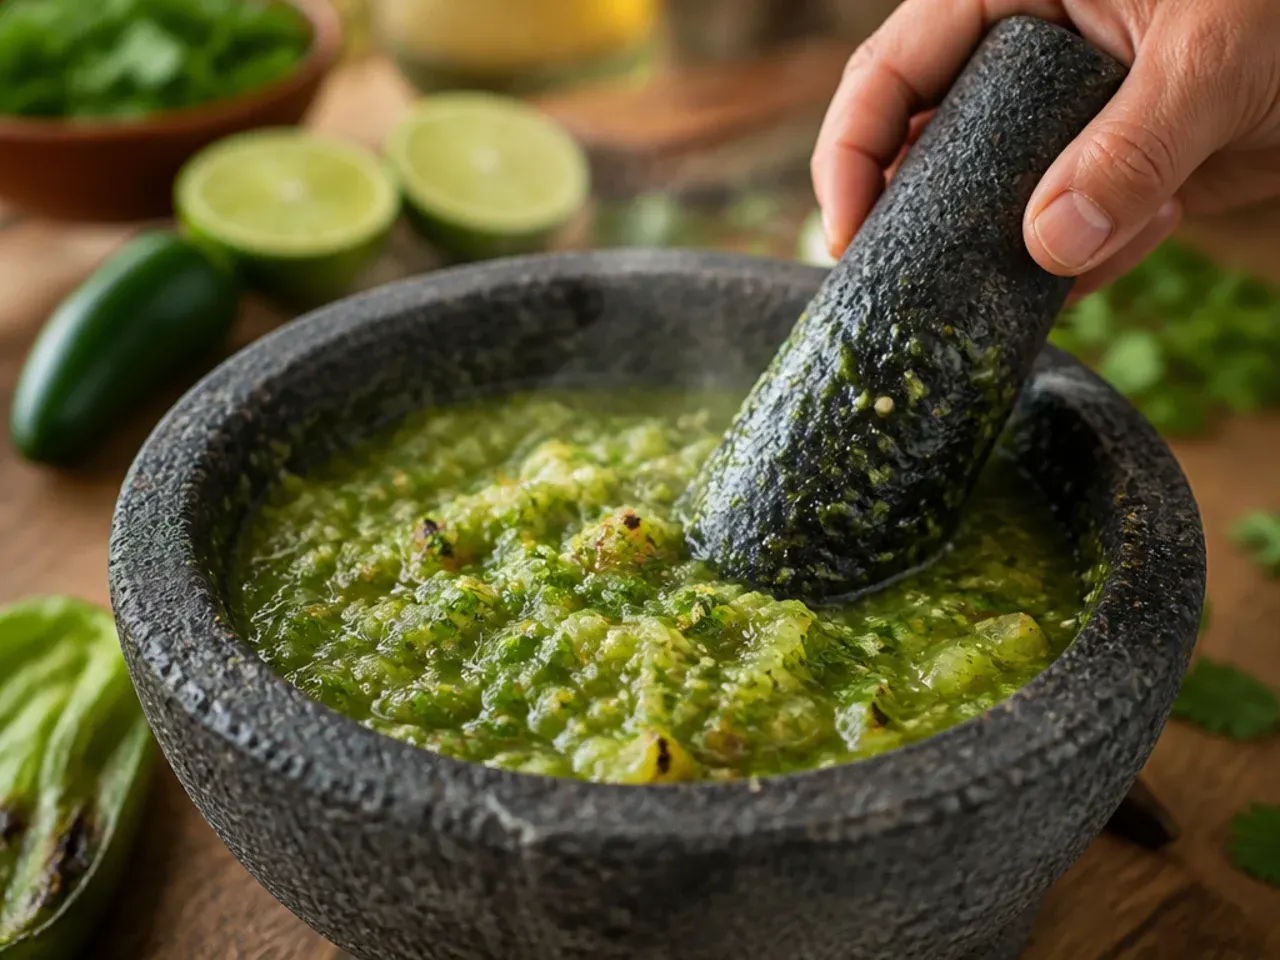
The finished salsa should coat the back of a spoon and drip off slowly rather than pour like water. If it's too thick, add another 30-60ml (2-4 tbsp) water and blend for 10 more seconds.
Step 21: Taste for balance
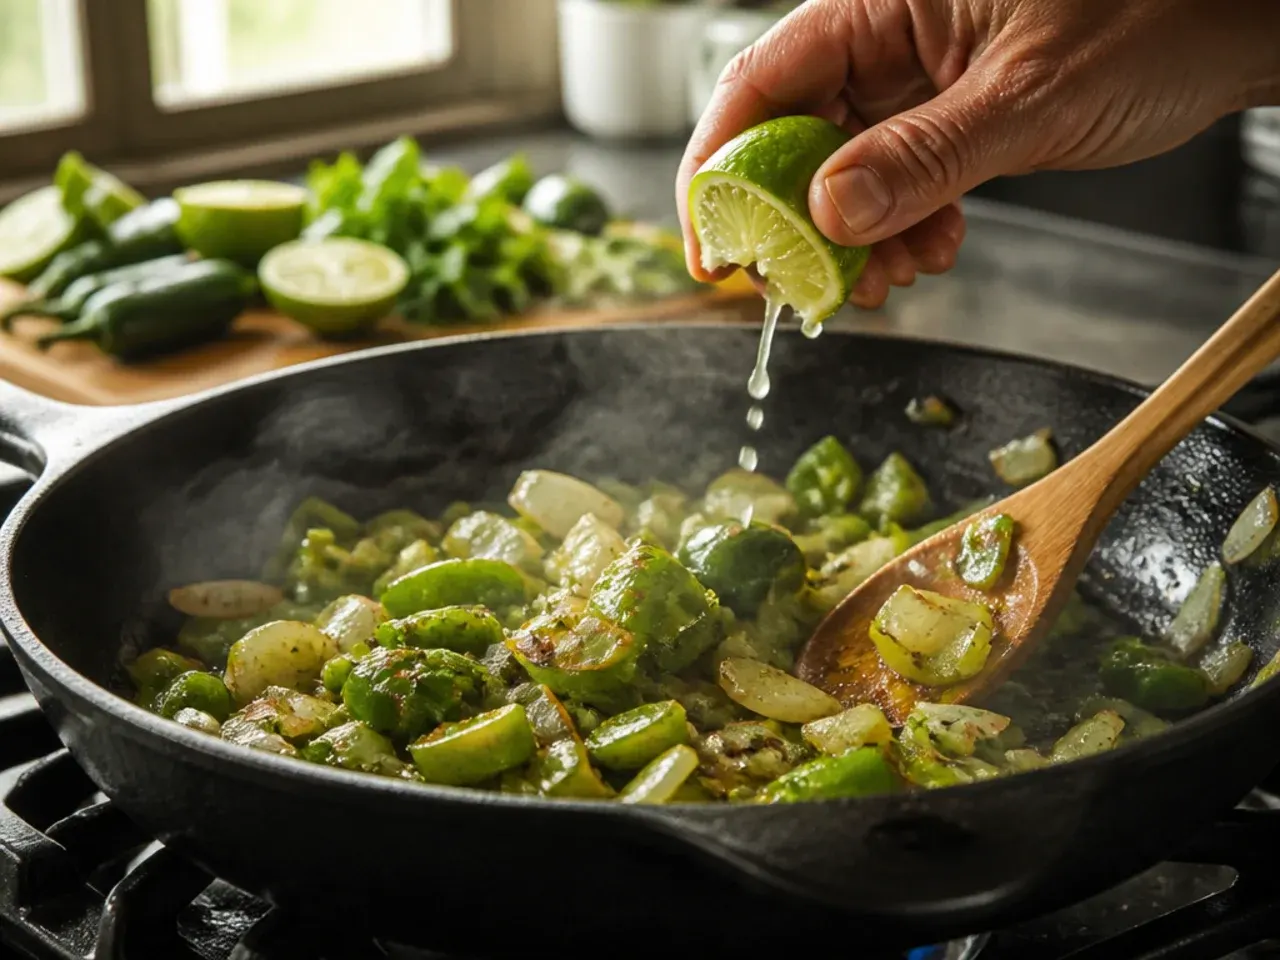
Dip a tortilla chip in and taste for salt, heat and tang - roasted tomatillos should taste bright and tart, never bitter or flat.
Step 22: Brighten with lime
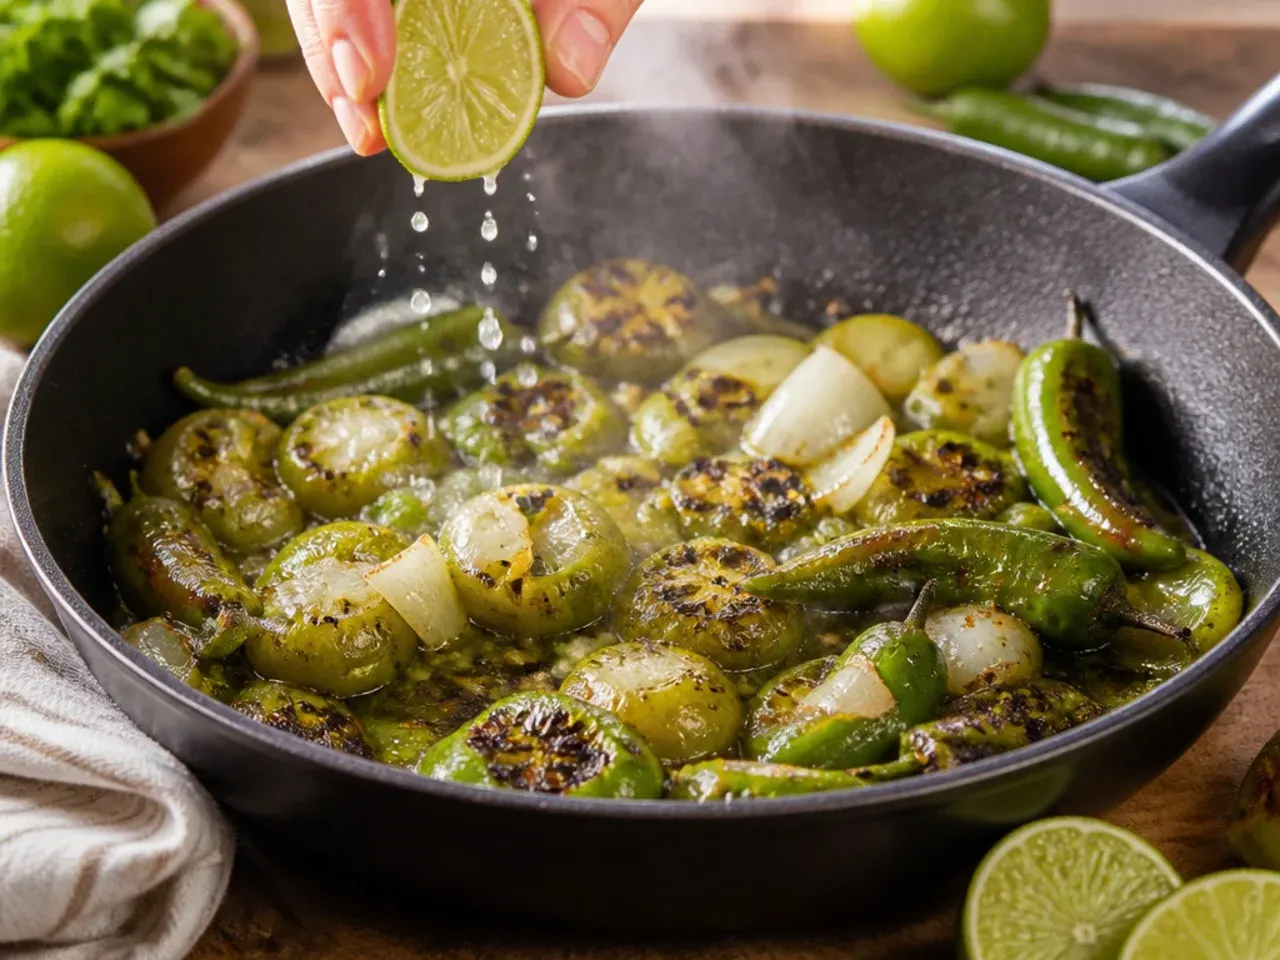
Blend in 15ml (1 tbsp) fresh lime juice if the salsa needs more lift, then pulse briefly to combine. Add a touch more salt, 2-3g at a time, if the flavour still tastes muted.
Step 23: Tame the heat if needed
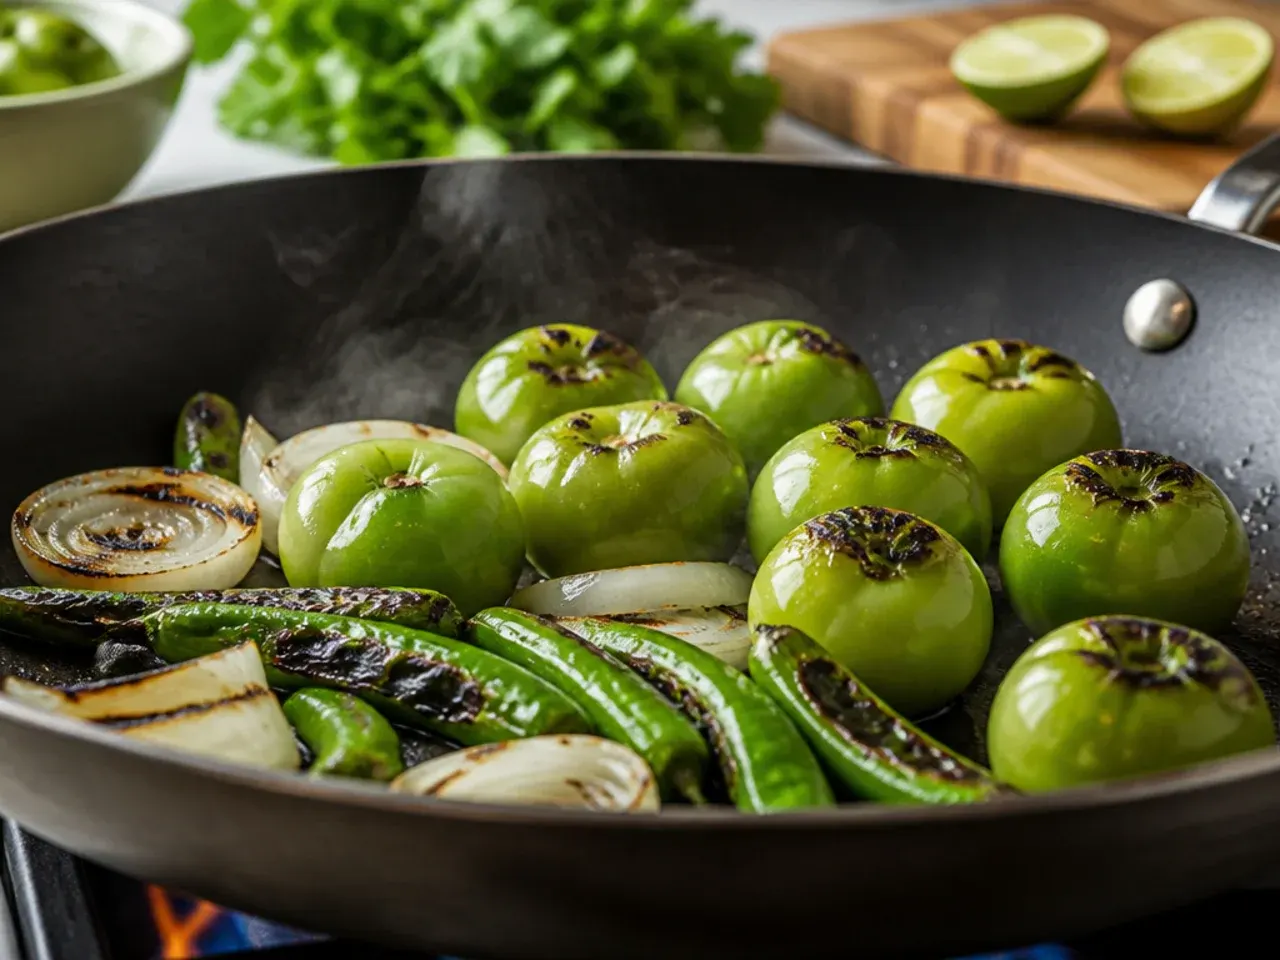
If the salsa is too spicy, stir through some of the reserved raw onion or a small pinch (about 2g/1/2 tsp) of sugar to round out the heat without watering down the flavour.
Step 24: Transfer to a non-reactive bowl
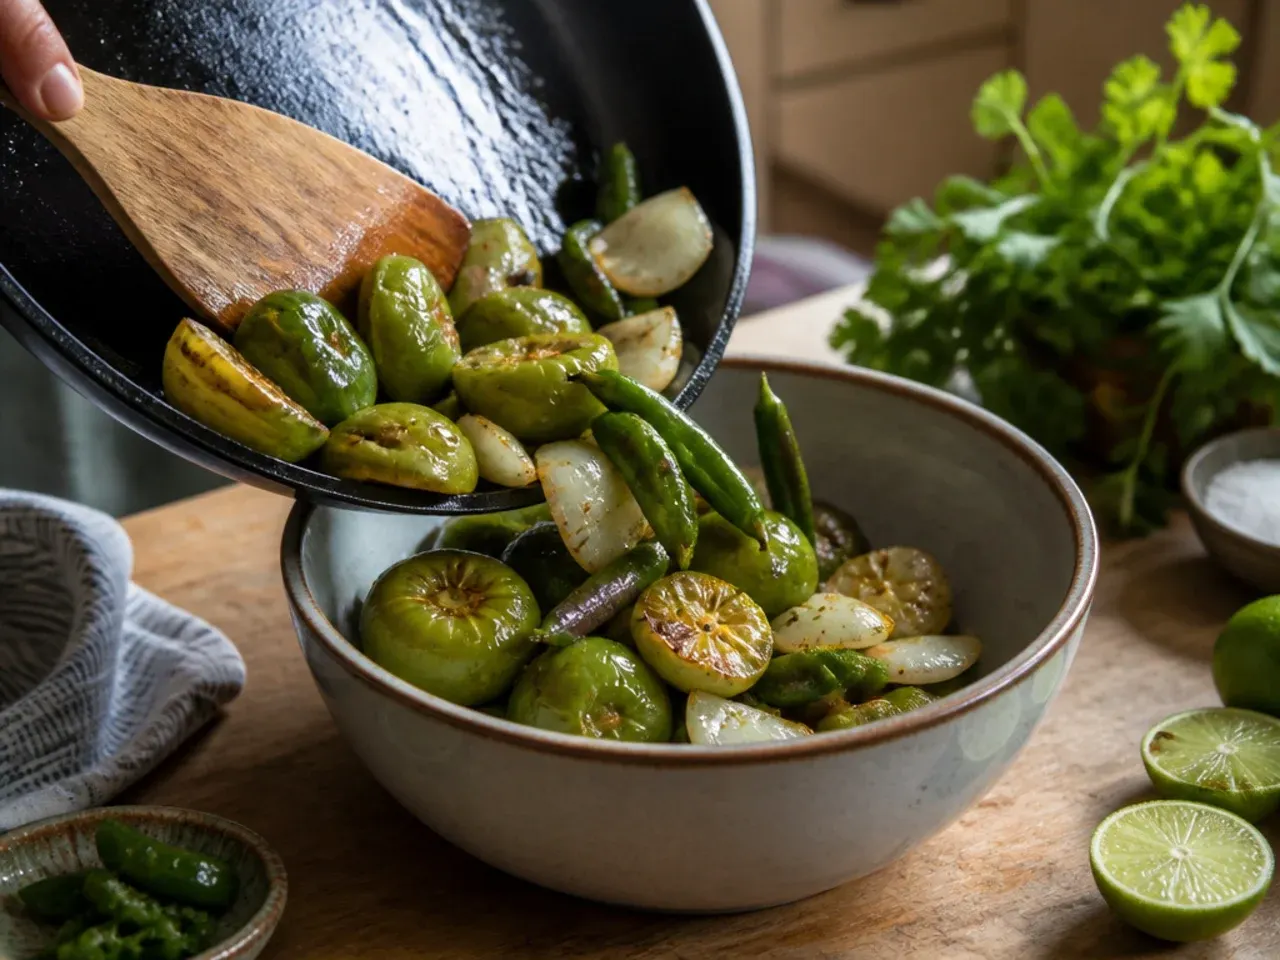
Pour the finished salsa into a glass or ceramic bowl rather than an aluminium one, since the acidity in tomatillos and lime can react with metal and leave a tinny aftertaste.
Step 25: Let it rest
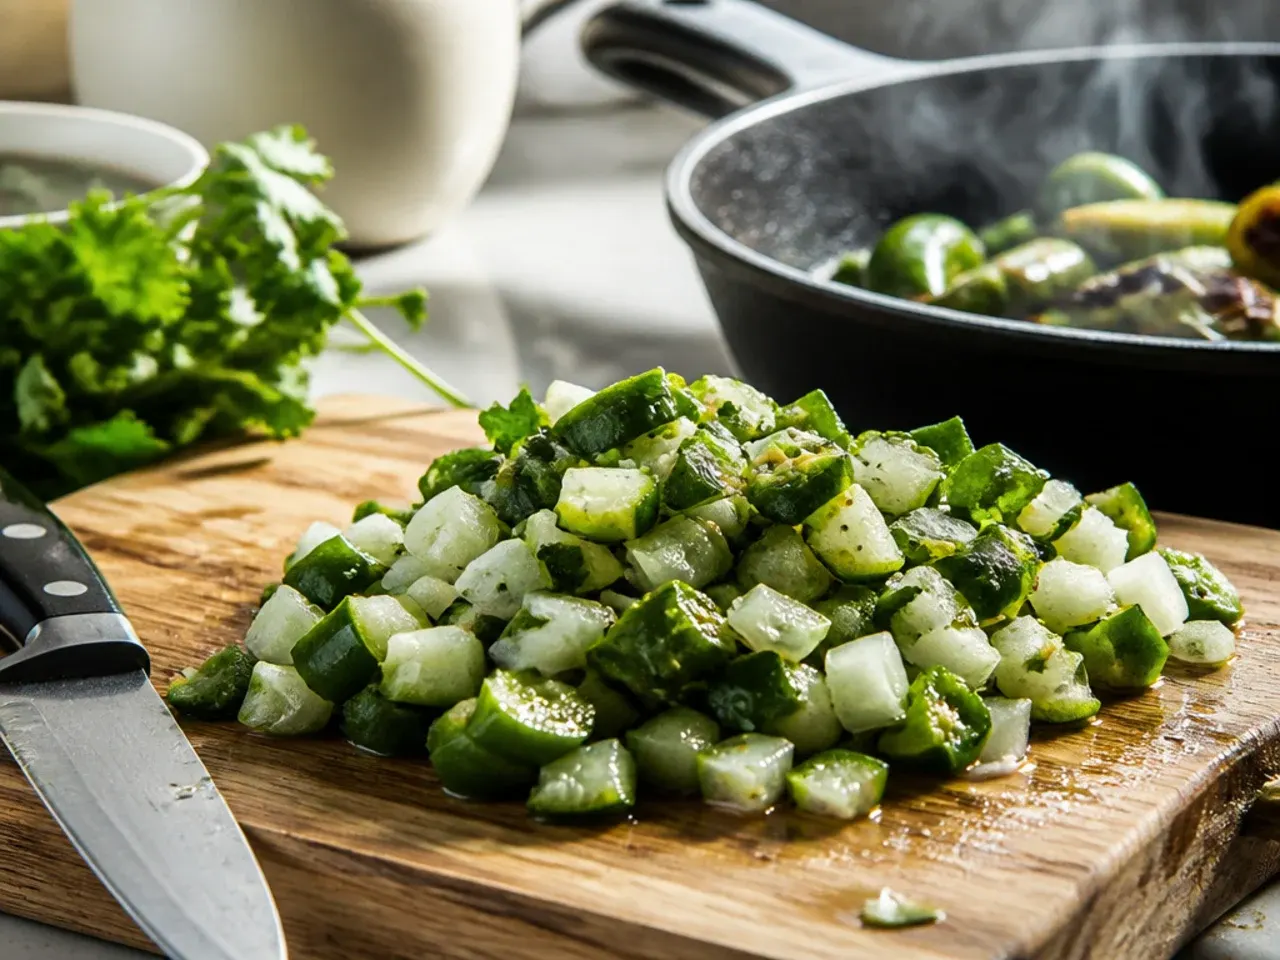
Cover the bowl and leave the salsa at room temperature for 10-15 minutes so the raw onion and cilantro mellow into the roasted tomatillo base.
Step 26: Taste one more time
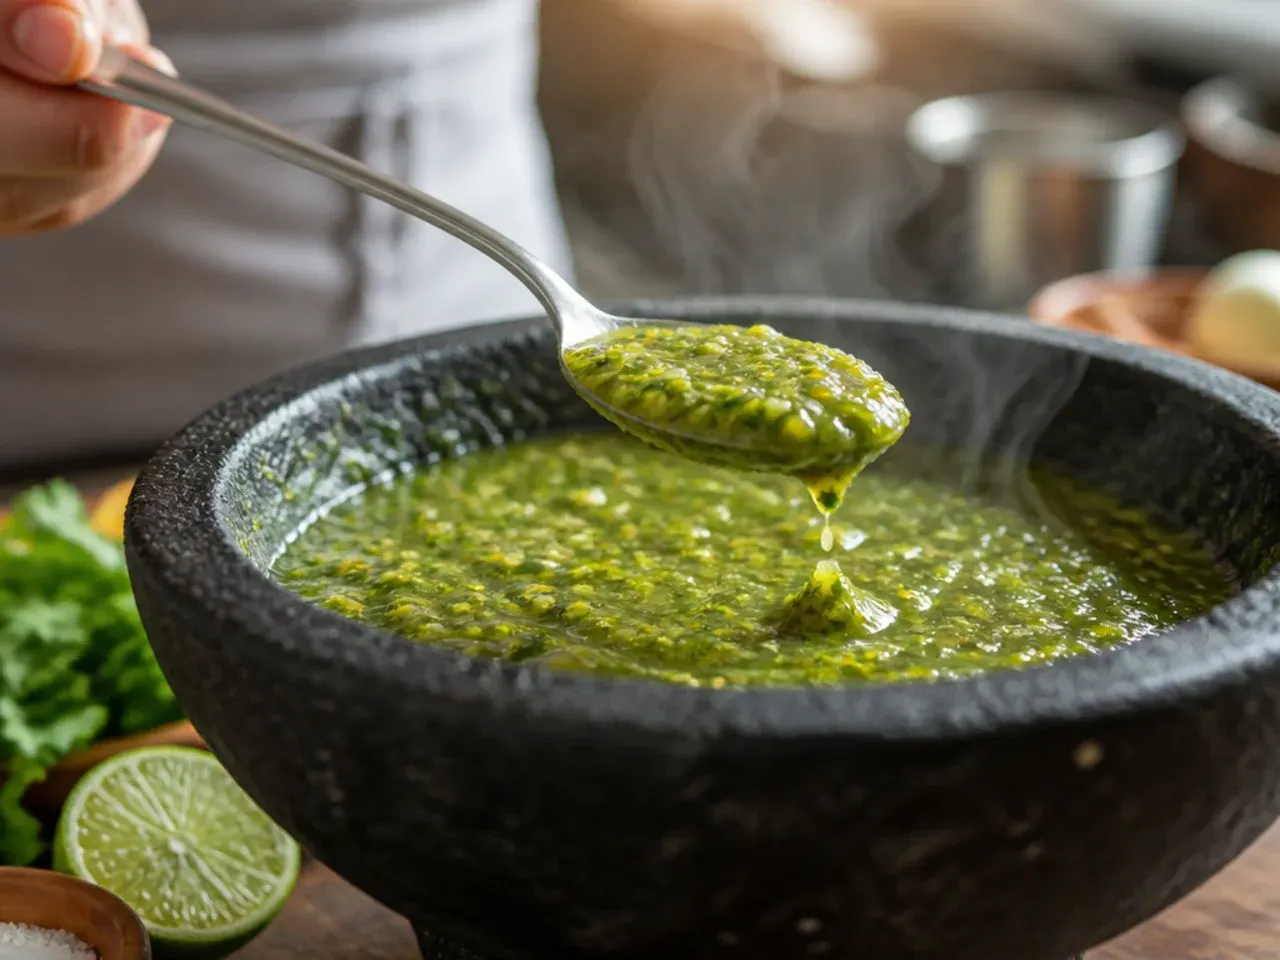
Give the salsa a final taste after resting, since the flavour shifts slightly as it sits - add one last pinch of salt or squeeze of lime if it needs it.
Step 27: Chill if serving cold
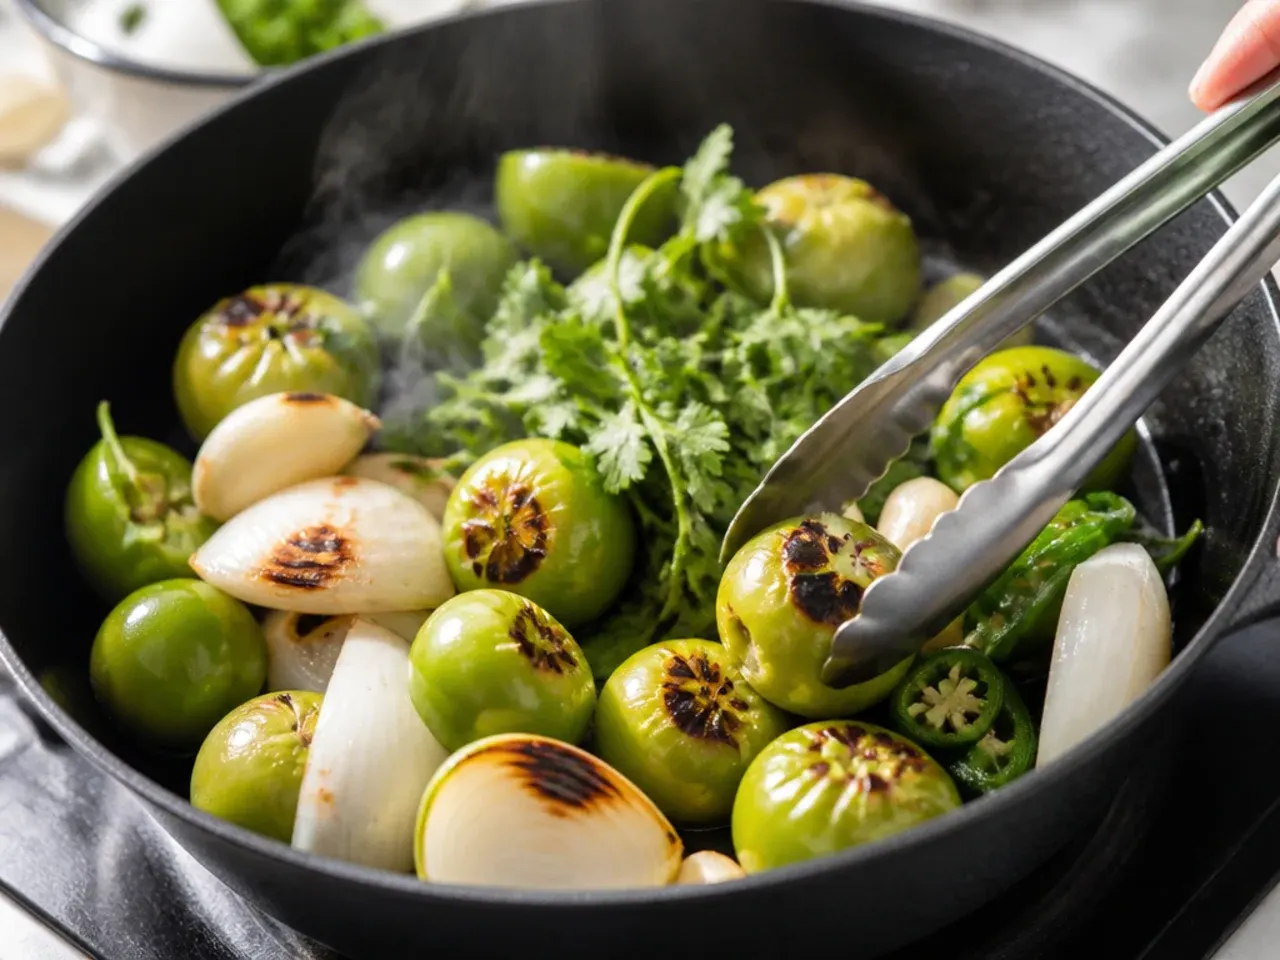
For a cold salsa, refrigerate for at least 30 minutes before serving; the flavour actually rounds out and deepens further as it chills.
Step 28: Garnish just before serving
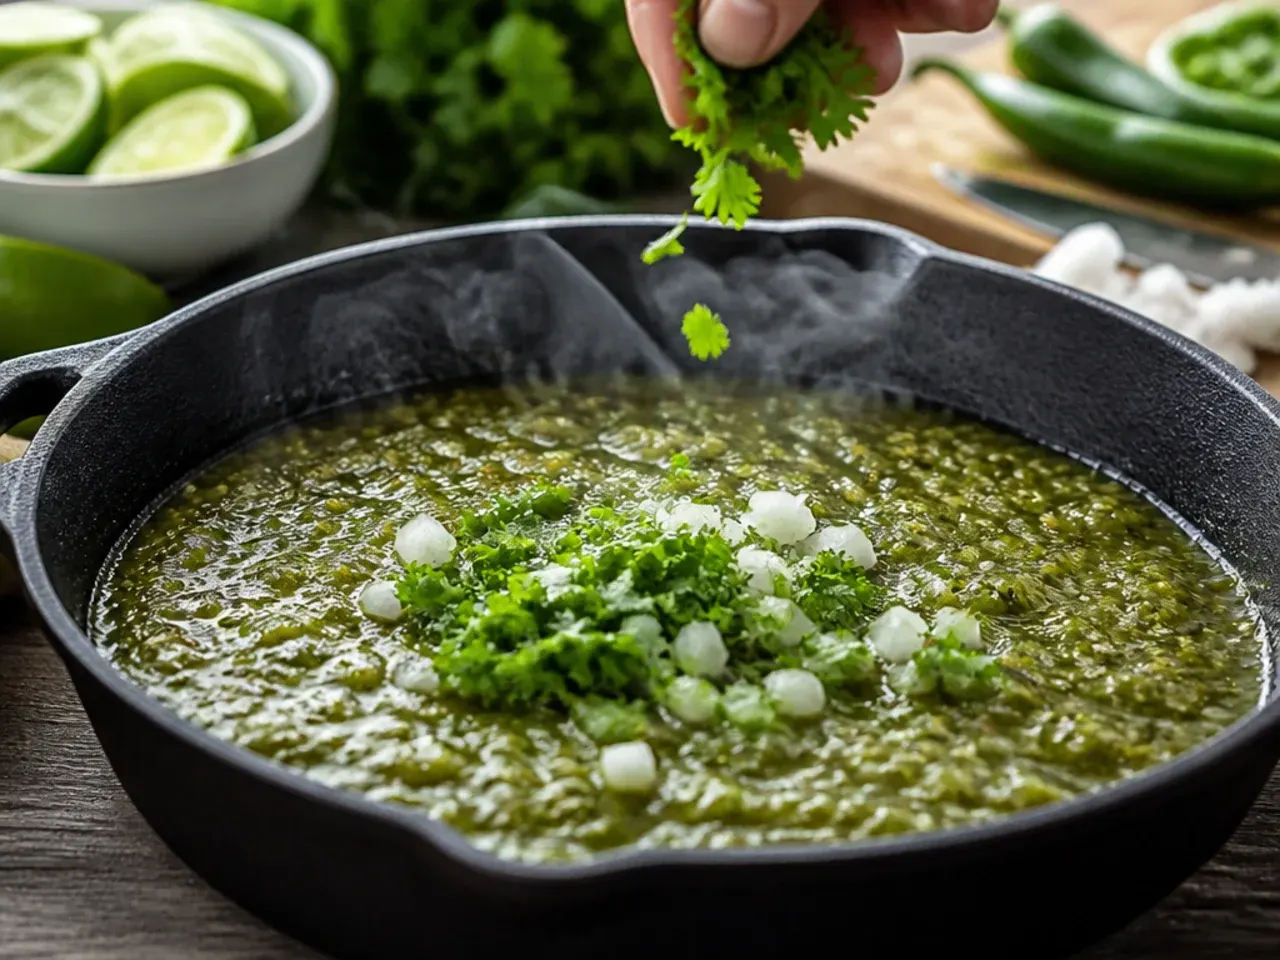
Top the salsa with a few whole cilantro leaves and a thin lime wedge for colour and a fresh finishing aroma.
Step 29: Serve it up
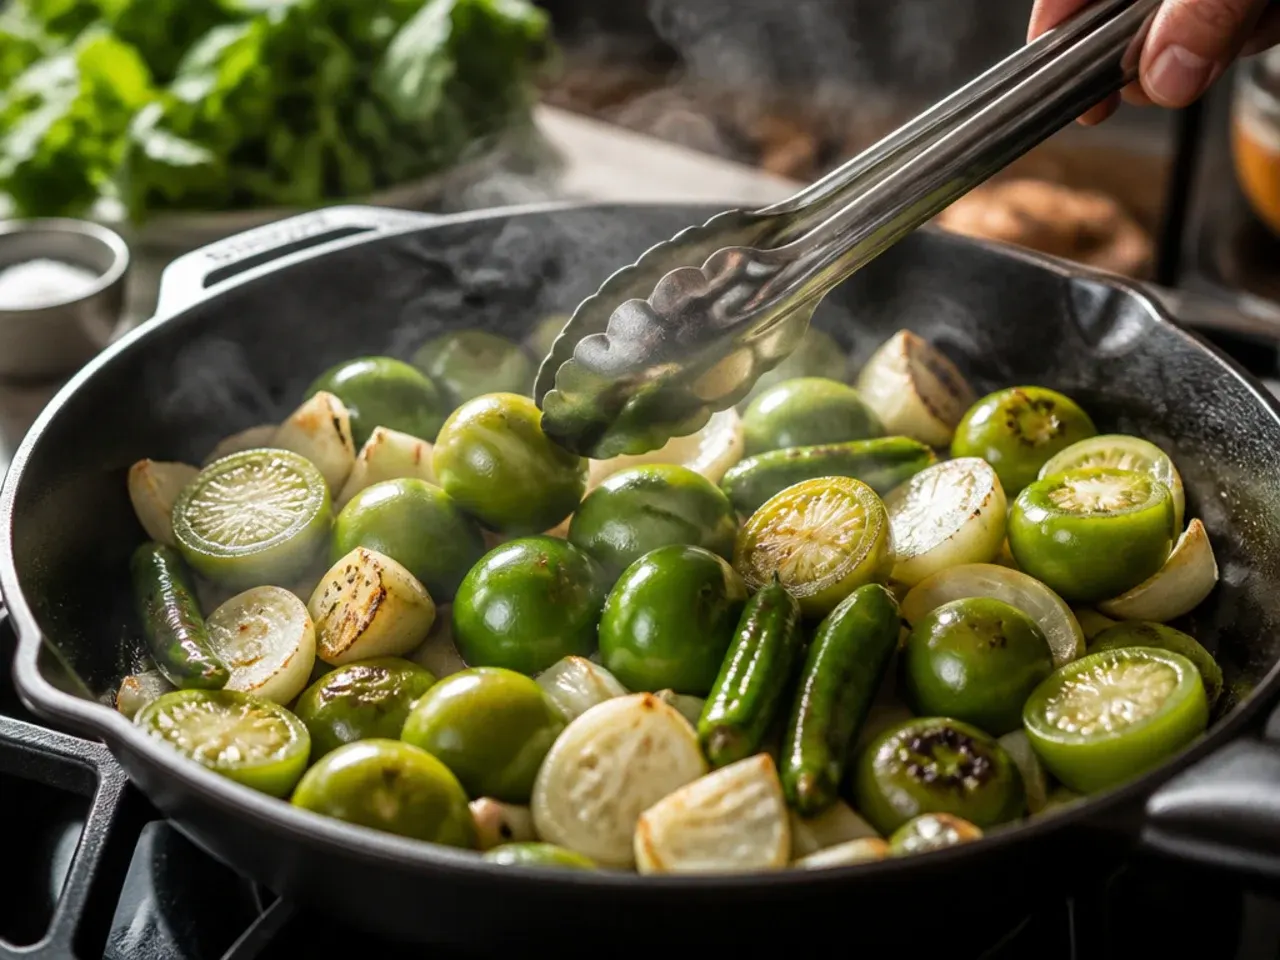
Bring the bowl to the table with warm tortilla chips, or spoon it generously over tacos, grilled chicken, scrambled eggs or enchiladas.
Step 30: Wipe down the blender straight away
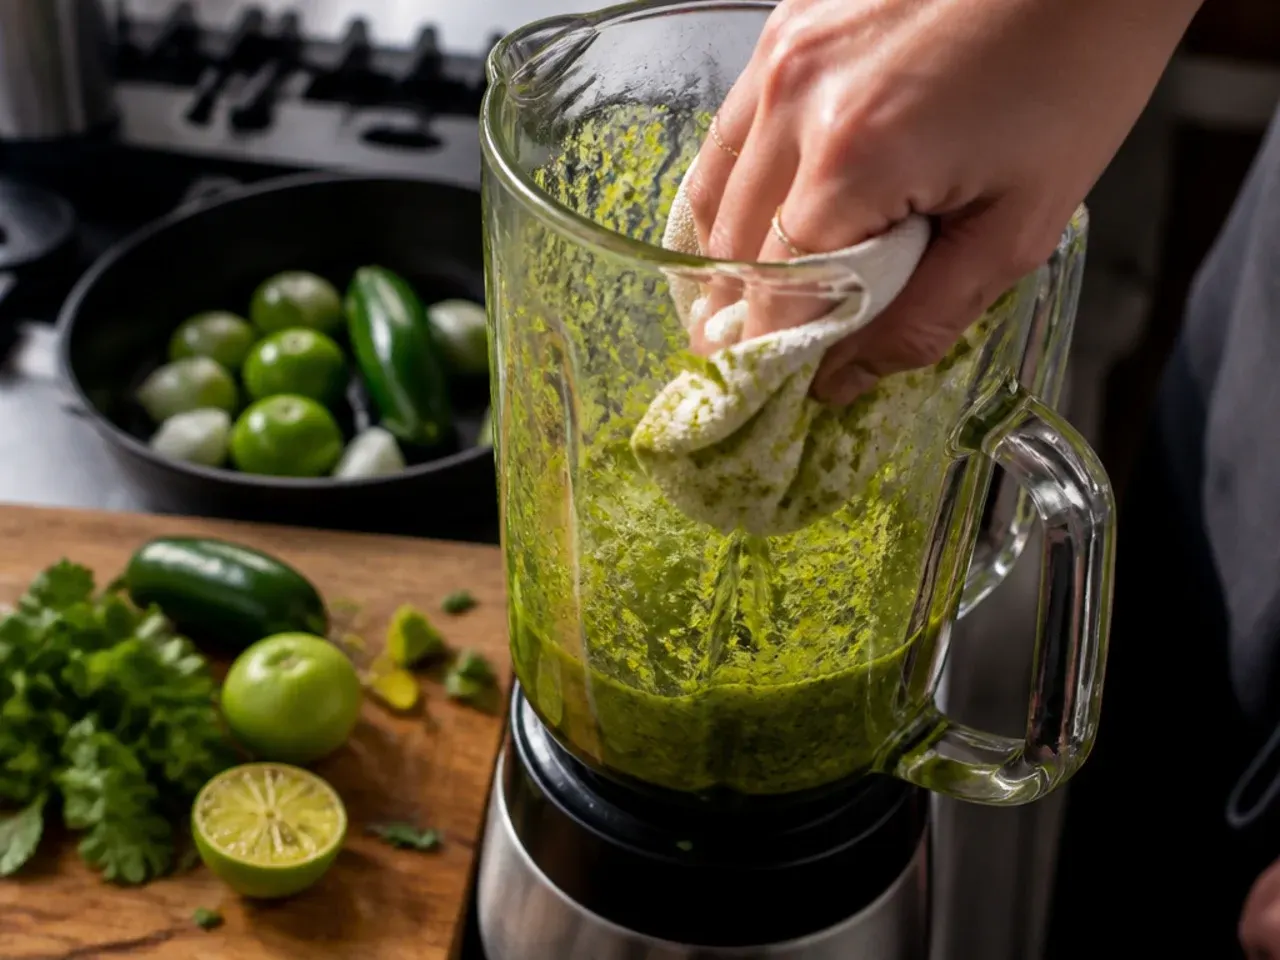
Rinse the blender jug immediately after pouring out the salsa - chilli oils cling to rubber gaskets and seals, and can carry heat and flavour into whatever you blend next.
Pro Tips for the Best Green Salsa Recipe
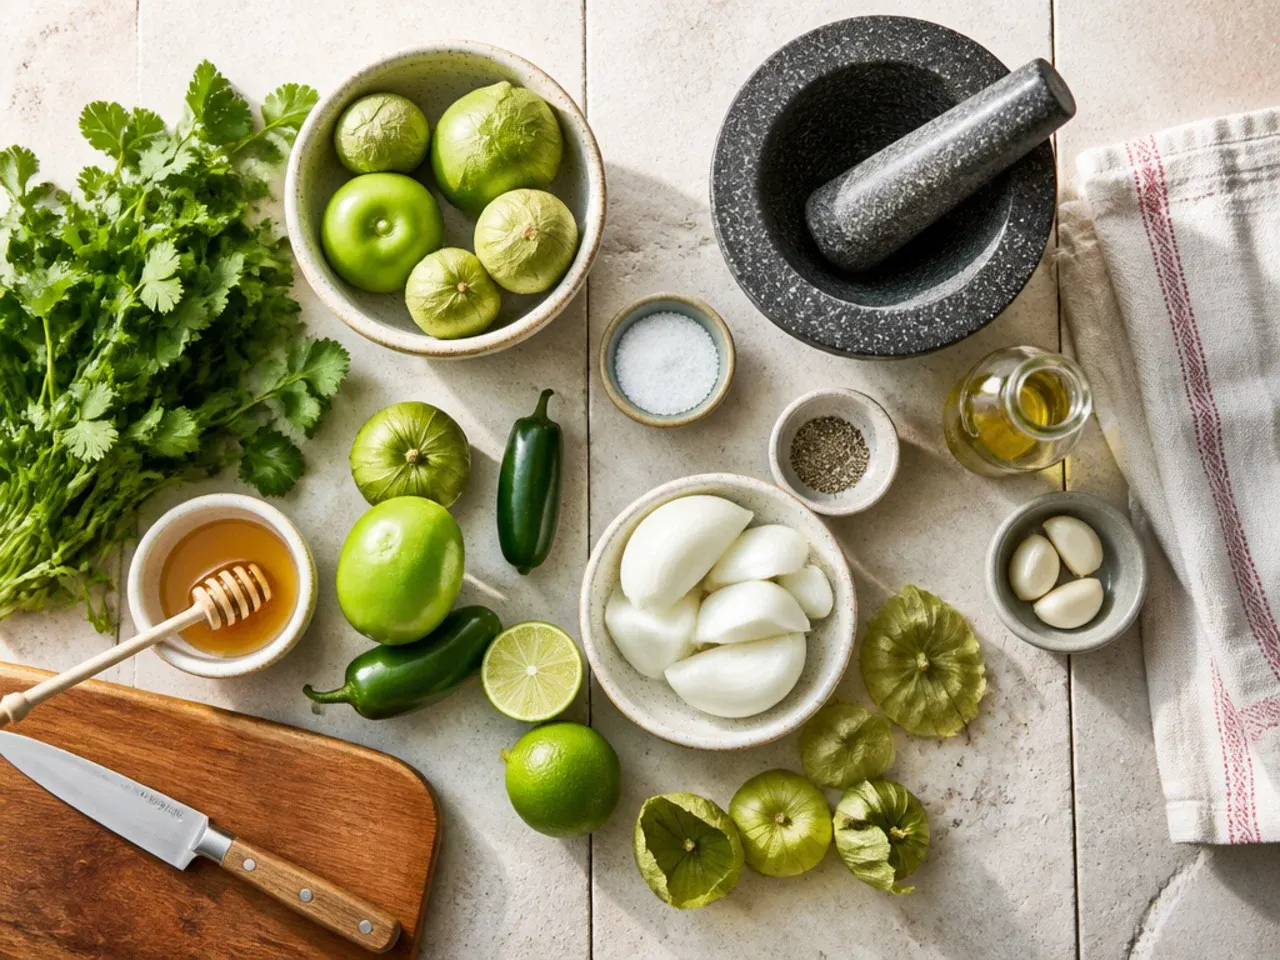
Push the tomatillos a little closer to the grill element than feels comfortable and let the skins blacken by 30-40% rather than just blistering - that extra char is what separates a flat salsa from a genuinely smoky one. Season in stages: start with 10g (2 tsp) salt in the blender, then build up after tasting, since tomatillos vary in tartness depending on how ripe they were when picked. If the blender struggles to reach a smooth consistency, add water 15ml (1 tbsp) at a time instead of all at once, because too much liquid turns the salsa thin and hard to correct. Swap jalapeños for serranos, or vice versa, any time you want to dial the heat up or down without changing anything else in the method.
How to Store and Make Ahead This Green Salsa Recipe
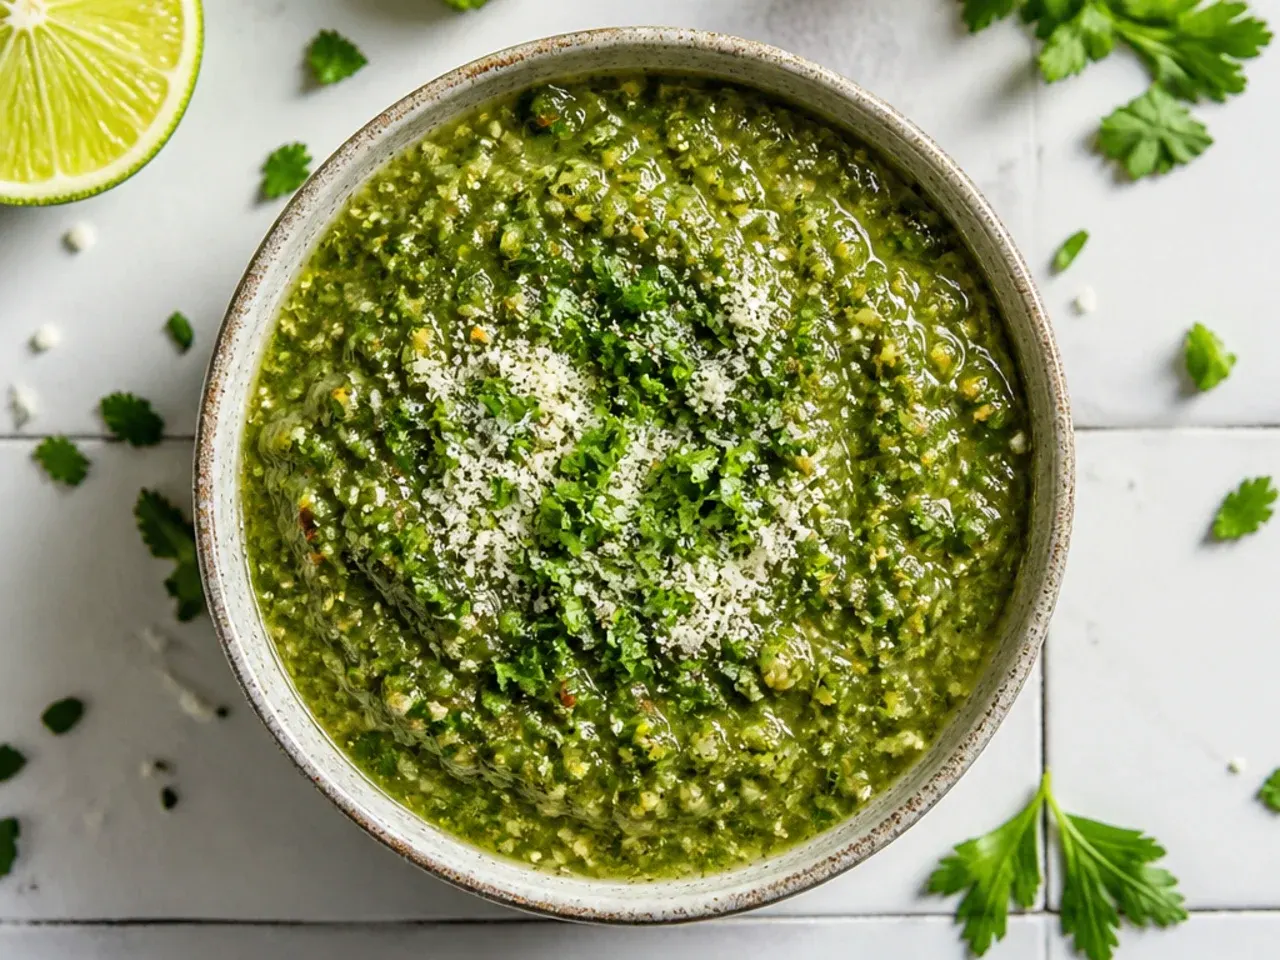
Once cooled, spoon the salsa into an airtight glass jar and keep it in the fridge for up to 7 days - the flavour actually improves after the first 24 hours as the onion and lime settle into the tomatillo base. To make it ahead of a party, roast and blend everything up to 3 days in advance, then store it chilled until you're ready to serve. This salsa also freezes well for up to 3 months in a freezer-safe container; leave about 2cm (¾ inch) of headspace for expansion and thaw it overnight in the fridge before stirring. Taste frozen-and-thawed salsa before serving and add a fresh squeeze of lime, since freezing tends to mute the brightness slightly.
This green salsa recipe blends roasted tomatillos, jalapeños, garlic and lime into a smoky, tangy dip ready to serve in under 40 minutes. For more salsa recipe inspiration, browse the full Salsa Recipes board — every idea there is written for real home kitchens, not professional bakers.
Frequently Asked Questions
Yes - in fact it tastes better made ahead, since resting lets the raw onion and lime mellow into the roasted tomatillo base. Roast and blend the salsa up to 3 days before you need it, then store it covered in the fridge until serving. Give it a stir and a taste before you bring it to the table, and add a little extra salt or lime if the flavour has flattened slightly. Hold off adding a fresh cilantro garnish until just before serving so it stays vibrant.

Related Recipes
Save this for later 📌
Pin this article to your Pinterest board so the full list is one tap away when you need it.
Save on Pinterest