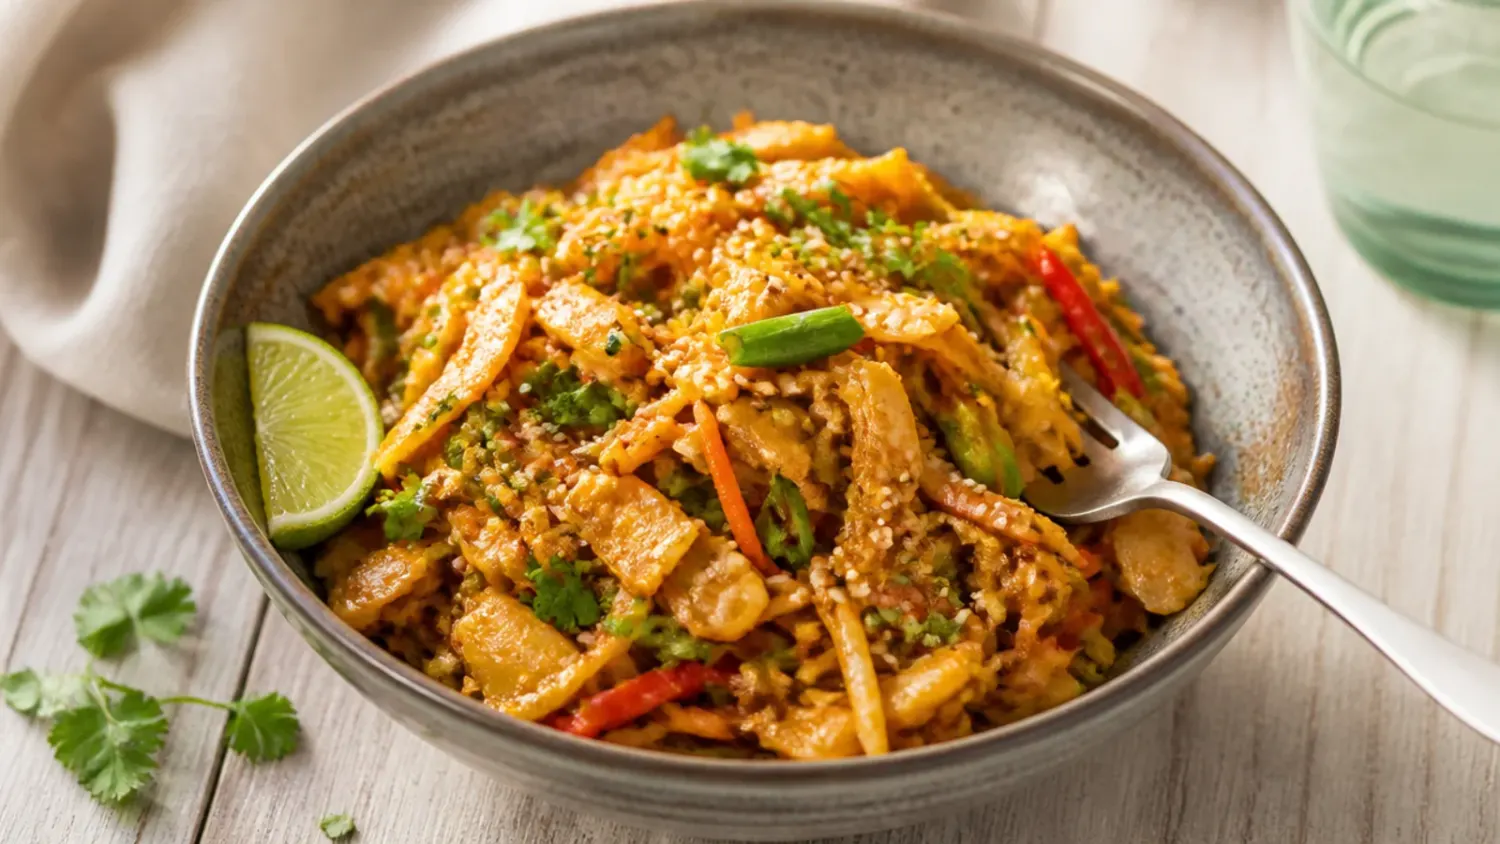
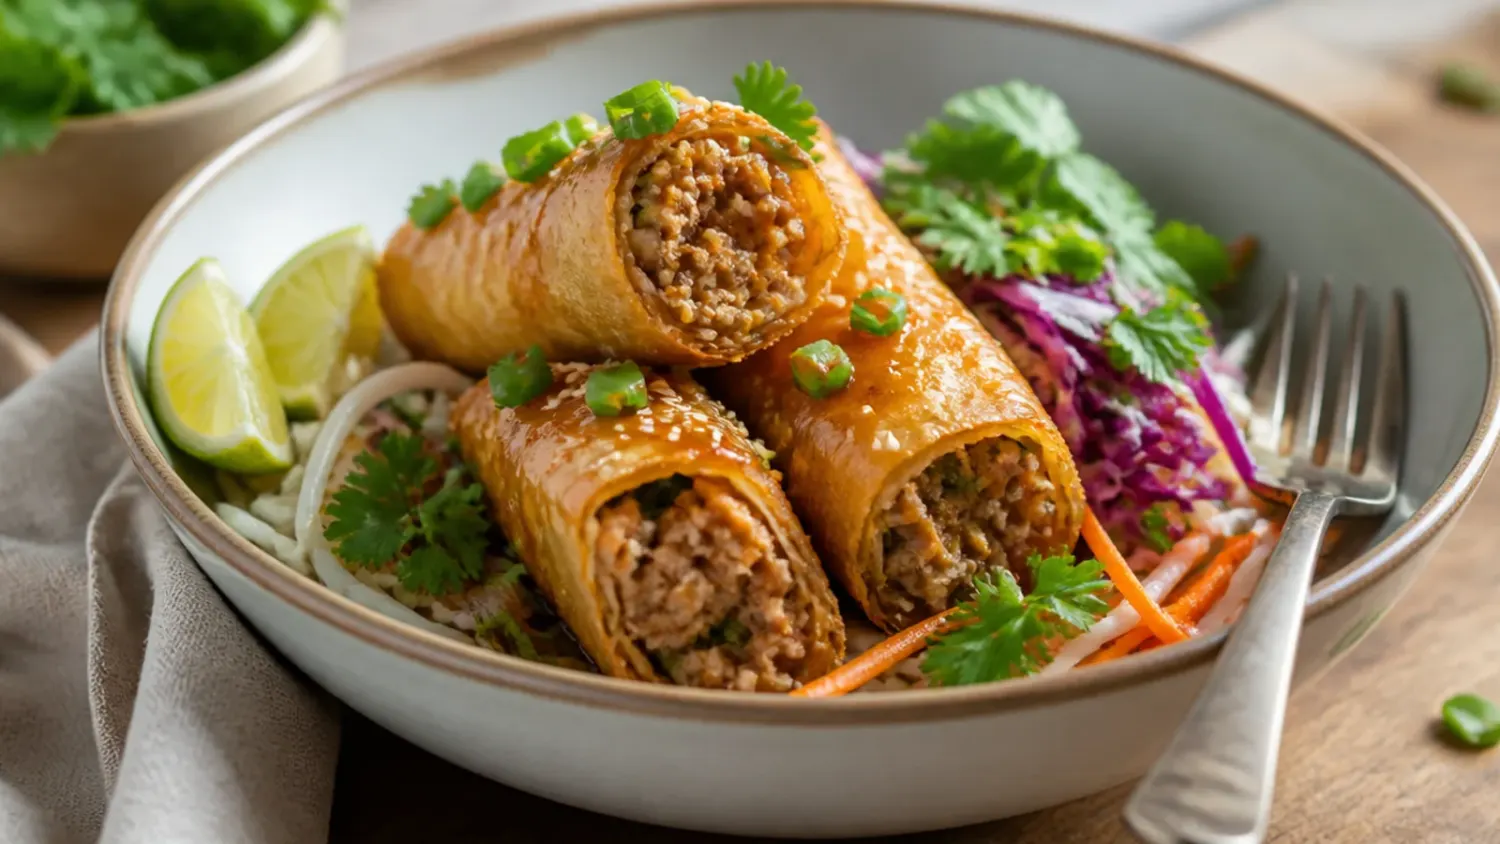
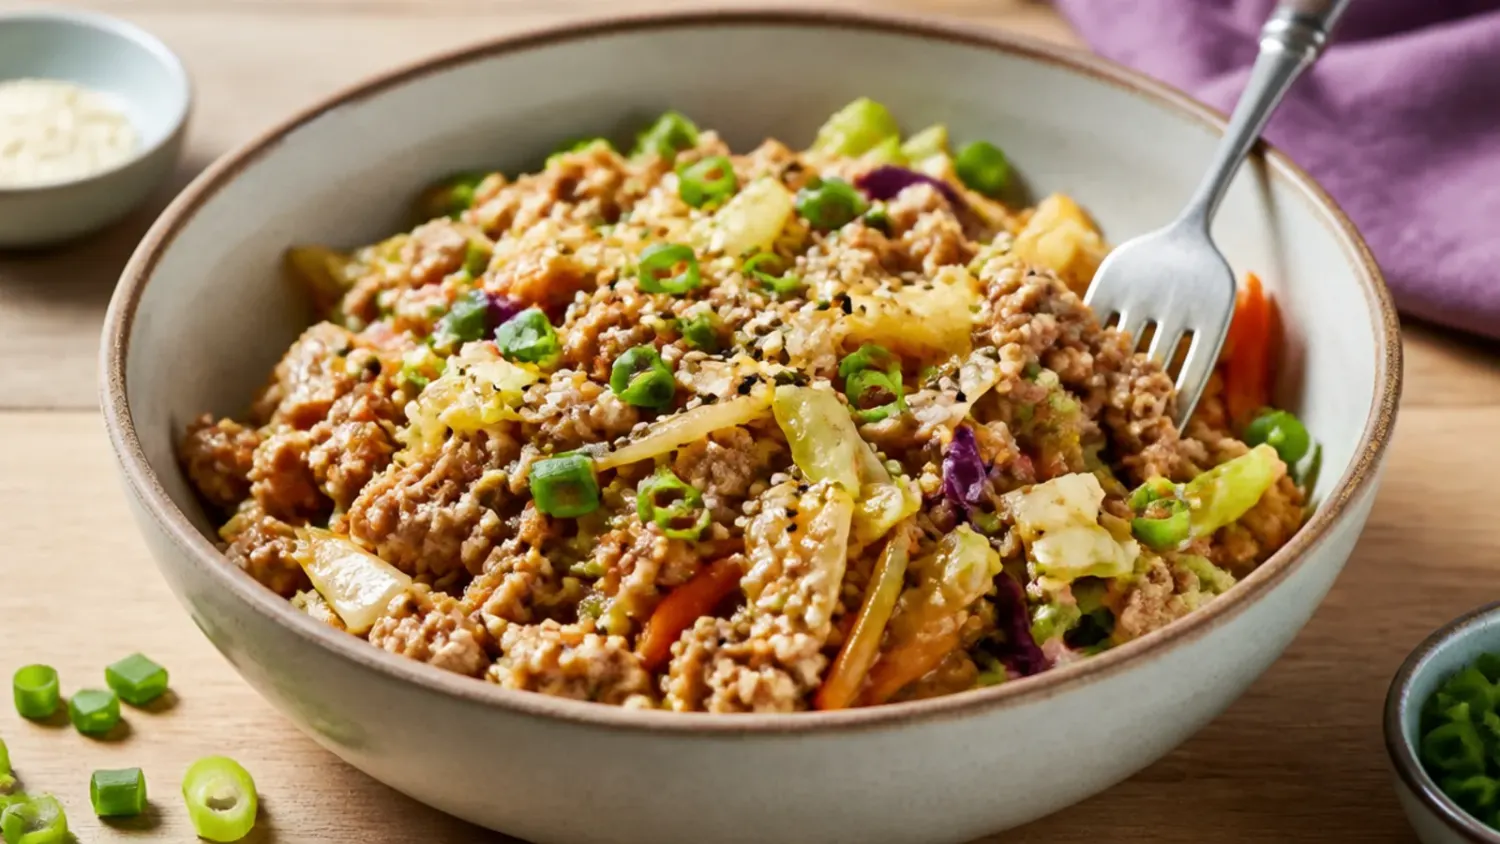
20 Healthy Egg Roll in a Bowl Ideas I Actually Eat
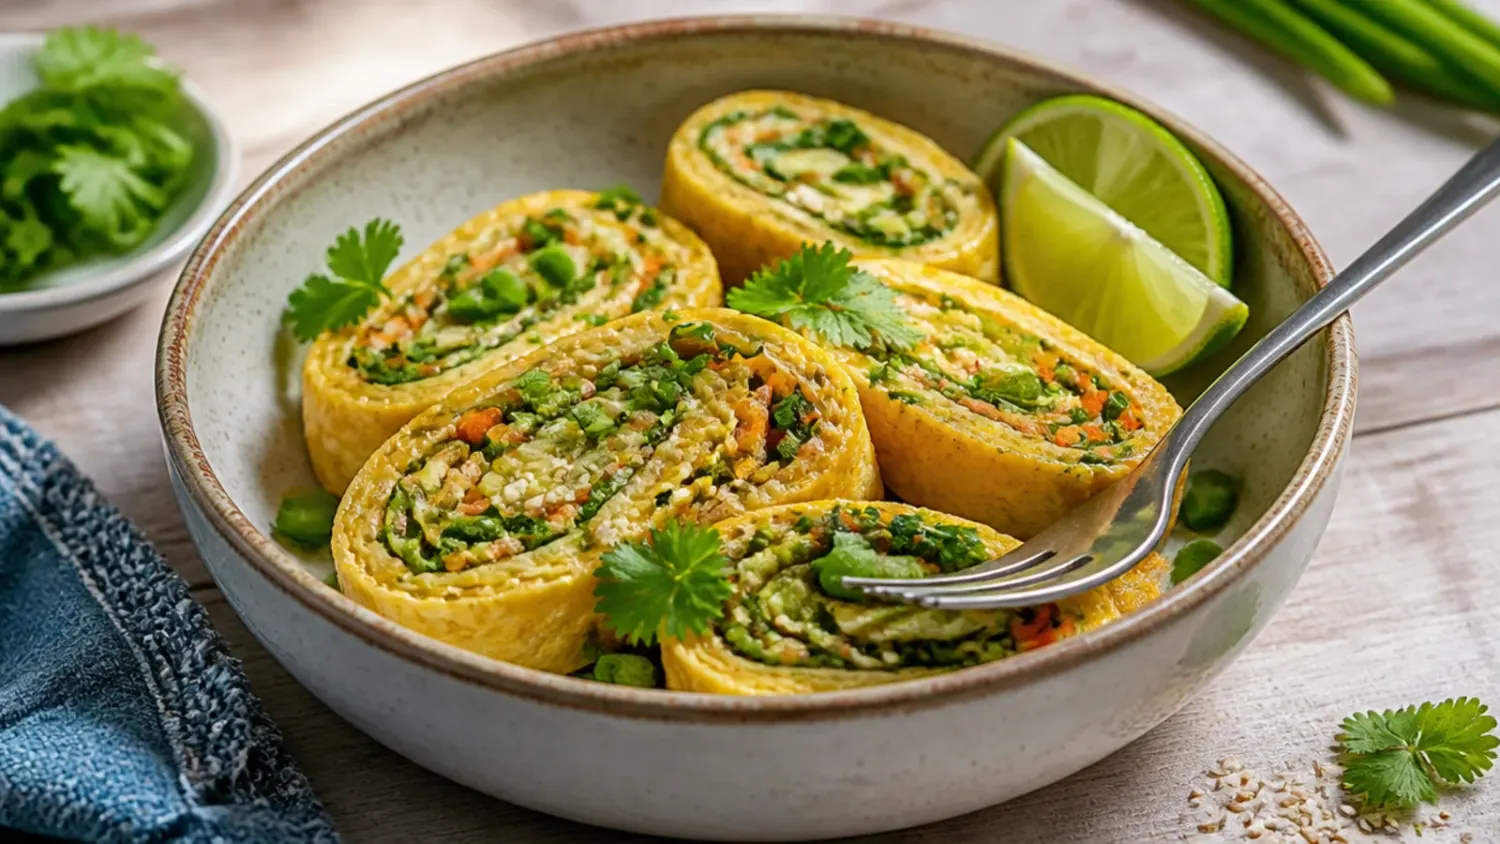
Twenty honest lessons from making healthy egg roll in a bowl on repeat, including the sauce ratio and cabbage trick that finally stopped it going watery. If you love egg roll in a bowl inspiration, start with our Egg Roll in a Bowl collection, then browse the full Dinner Recipes hub for more.

Save this for later 📌
Pin this article to your Pinterest board so the full list is one tap away when you need it.
Save on PinterestDinner Recipes
Beginner
Kitchen Journal
7 steps
Table of Contents
- Lesson 1: Brown the Meat Properly Before Adding Anything Else
- Lesson 2: Buy a Three-Colour Slaw Mix, Not Plain Shredded Cabbage
- Lesson 3: Squeeze or Pat the Cabbage Mix Dry First
- Lesson 4: High Heat and a Wide Pan Beat a Deep Saucepan Every Time
- Lesson 5: Use Low-Sodium Soy Sauce So You Can Actually Taste and Adjust
- Lesson 6: Grate Fresh Ginger Instead of Reaching for the Jar
- Lesson 7: Mix the Sauce Before It Hits the Pan, Not Ingredient by Ingredient
- Lesson 8: Toasted Sesame Oil Goes in at the End, Not the Start
- Lesson 9: Don't Walk Away Once the Cabbage Goes In
- Lesson 10: A Scrambled Egg Folded Through Makes It Genuinely More Filling
- Lesson 11: Ground Turkey and Ground Pork Behave Differently, So Adjust the Fat
- Lesson 12: Cauliflower Rice Underneath Stretches It Further Without Watering It Down
- Lesson 13: Taste Before You Add Sriracha, Not After
- Lesson 14: Batch the Sauce Ahead So Weeknights Are Just Assembly
- Lesson 15: It Doesn't Freeze Well, So Only Make What You'll Eat in Four Days
- Lesson 16: Reheat With a Splash of Water, Not Dry in the Microwave
- Lesson 17: Sliced Mushrooms Add Umami Without Extra Sodium
- Lesson 18: A Wider Pan Is Non-Negotiable When Doubling the Recipe
- Lesson 19: Salt the Meat Separately Before the Soy Sauce Goes In
- Lesson 20: Garnish Isn't Optional, It's Half the Flavour
- What I'd Tell a Friend Trying This
- The Recipe I Used
Lesson 1: Brown the Meat Properly Before Adding Anything Else
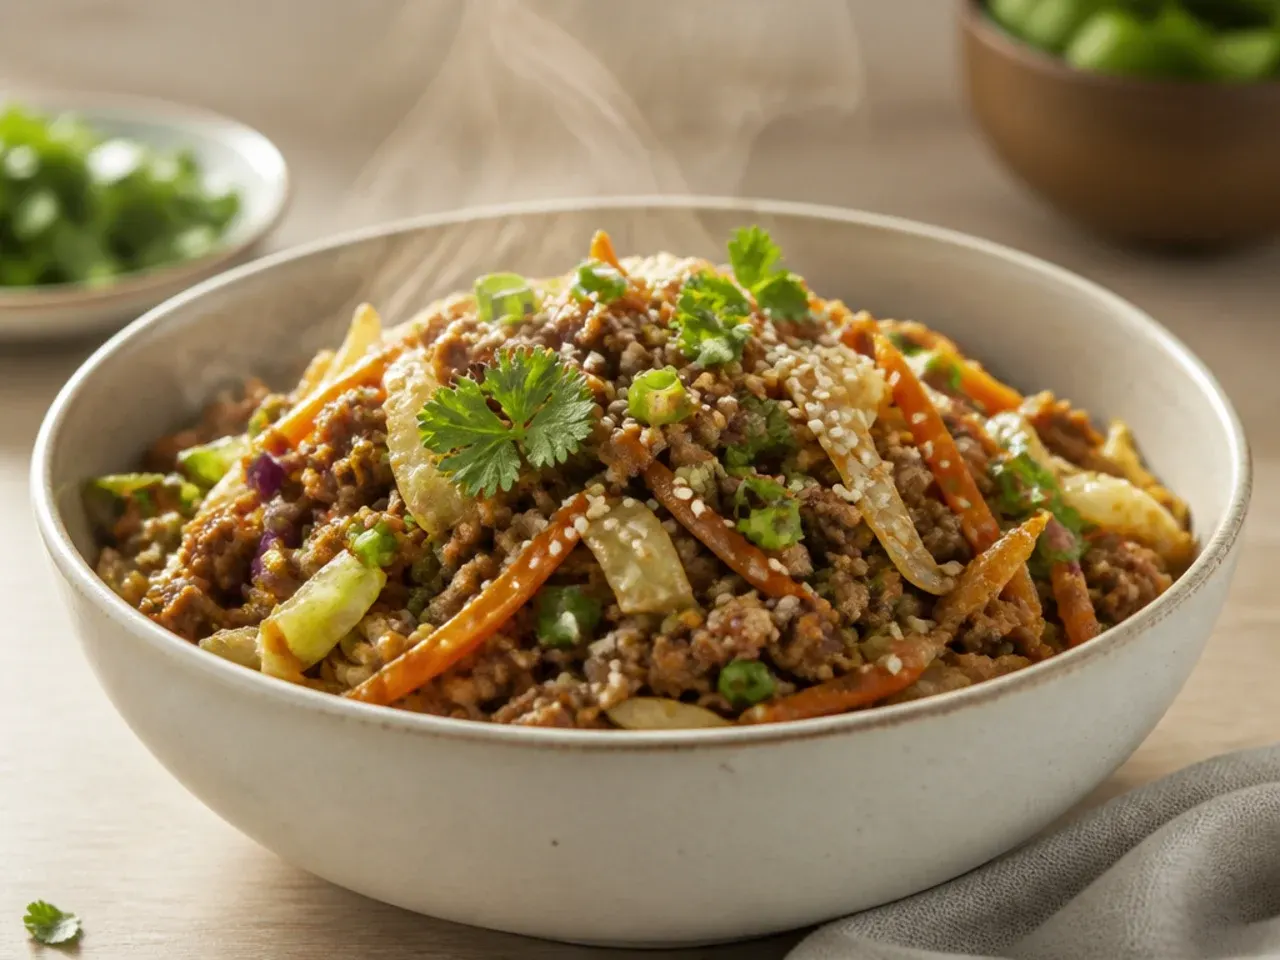
The first few times I made this, I got impatient and tipped the cabbage in while the pork was still pink in patches. It steamed the meat instead of browning it, and I lost all those little crispy bits that give the dish its savoury depth. Now I give the ground meat a full 5-6 minutes undisturbed in a hot pan before I touch anything else. Those browned bits at the bottom of the pan are where most of the flavour actually lives.
Lesson 2: Buy a Three-Colour Slaw Mix, Not Plain Shredded Cabbage
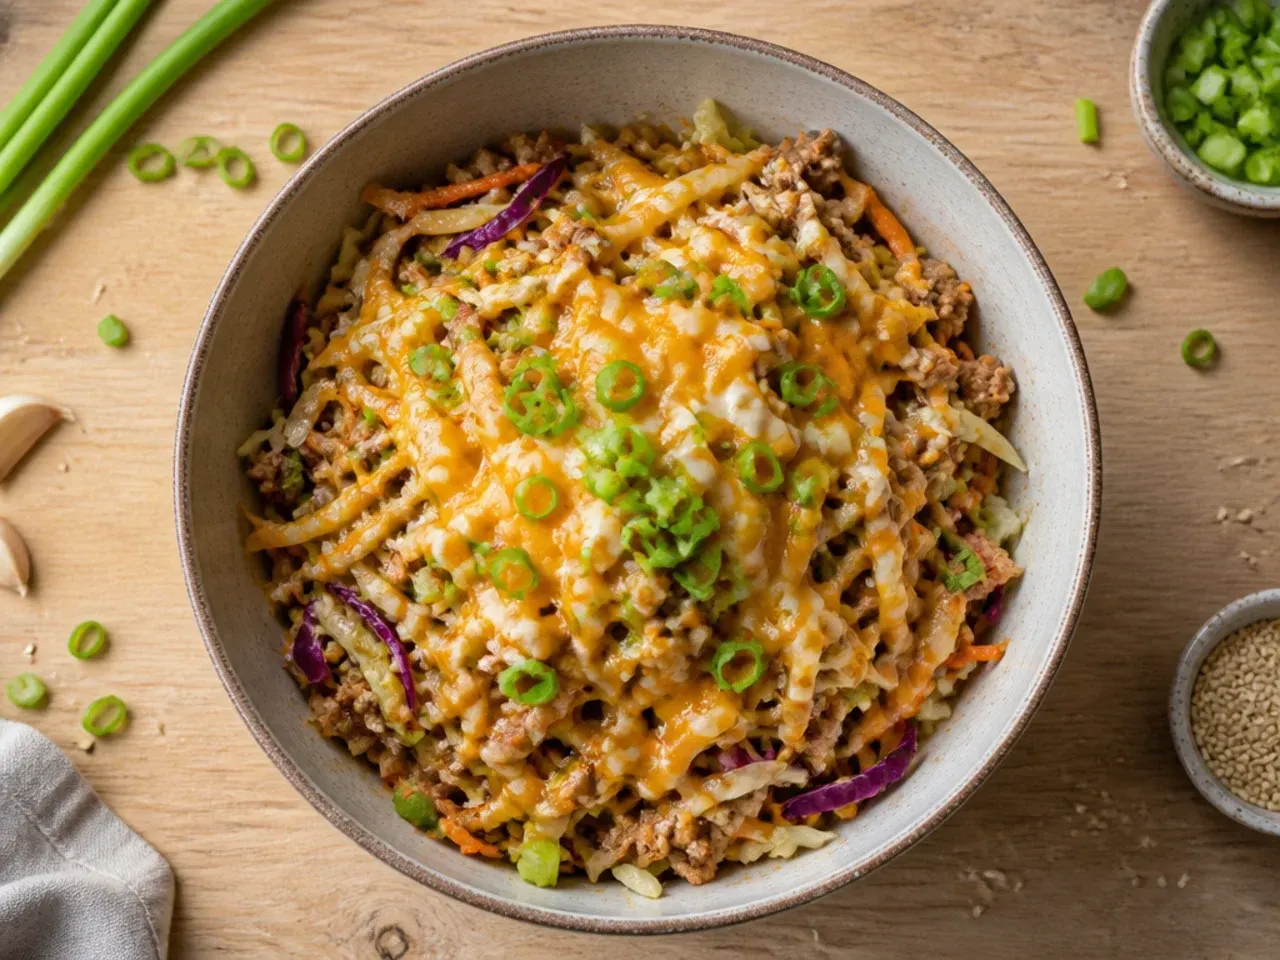
Plain shredded green cabbage on its own cooks down into something a bit flat and one-note. Switching to a bagged coleslaw mix with cabbage, carrot and a little red cabbage gave the bowl more colour and a slightly sweeter edge that balances the salty sauce. It also saves a genuine ten minutes of knife work on a weeknight. I keep two bags in the fridge at all times now.
Lesson 3: Squeeze or Pat the Cabbage Mix Dry First
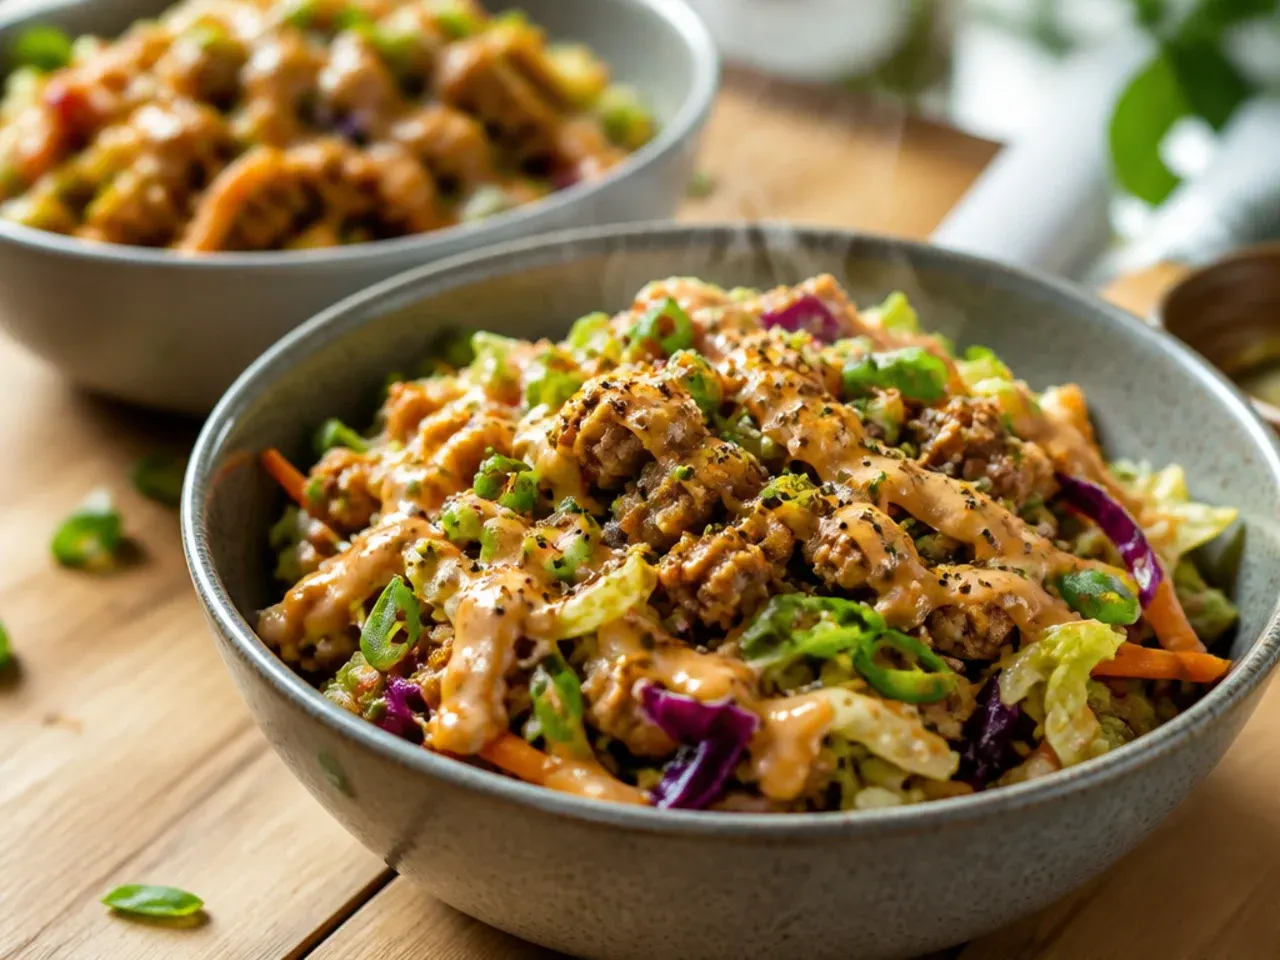
My early attempts kept ending up soupy, and it took me a while to work out why. Pre-shredded coleslaw mix holds a surprising amount of moisture that releases as soon as it hits a hot pan. Patting it dry with a tea towel before cooking, or letting it sit on kitchen paper for five minutes, made a noticeable difference to how the finished bowl held together.
Lesson 4: High Heat and a Wide Pan Beat a Deep Saucepan Every Time
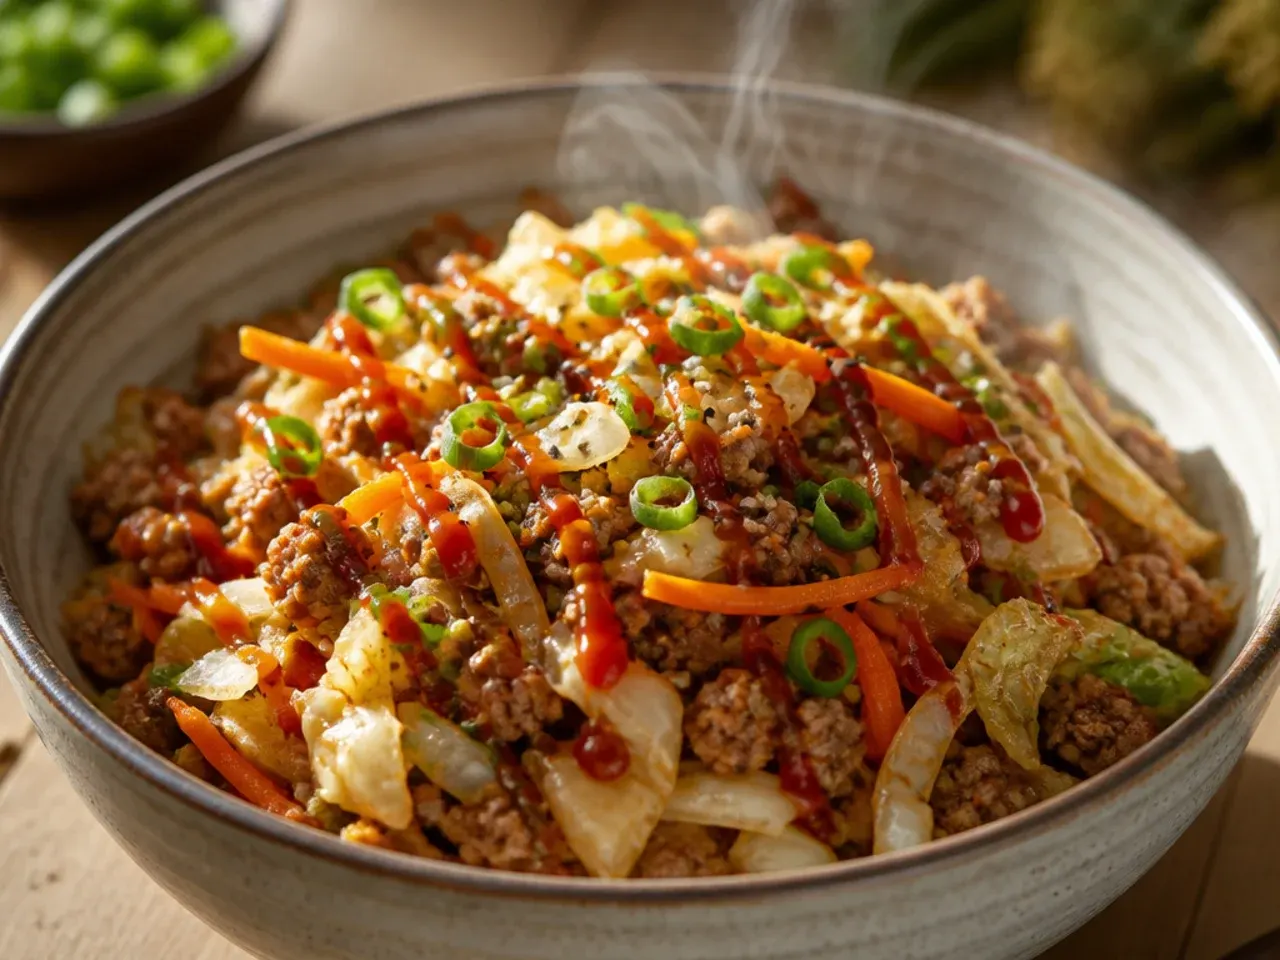
I used to make this in a deep saucepan because it was closest to hand, and the cabbage always ended up steamed rather than stir-fried. Switching to a wide 30 cm (12 in) skillet or a wok let the moisture evaporate instead of pooling around the vegetables. The extra surface area means the cabbage actually gets a little colour instead of just going limp.
Lesson 5: Use Low-Sodium Soy Sauce So You Can Actually Taste and Adjust
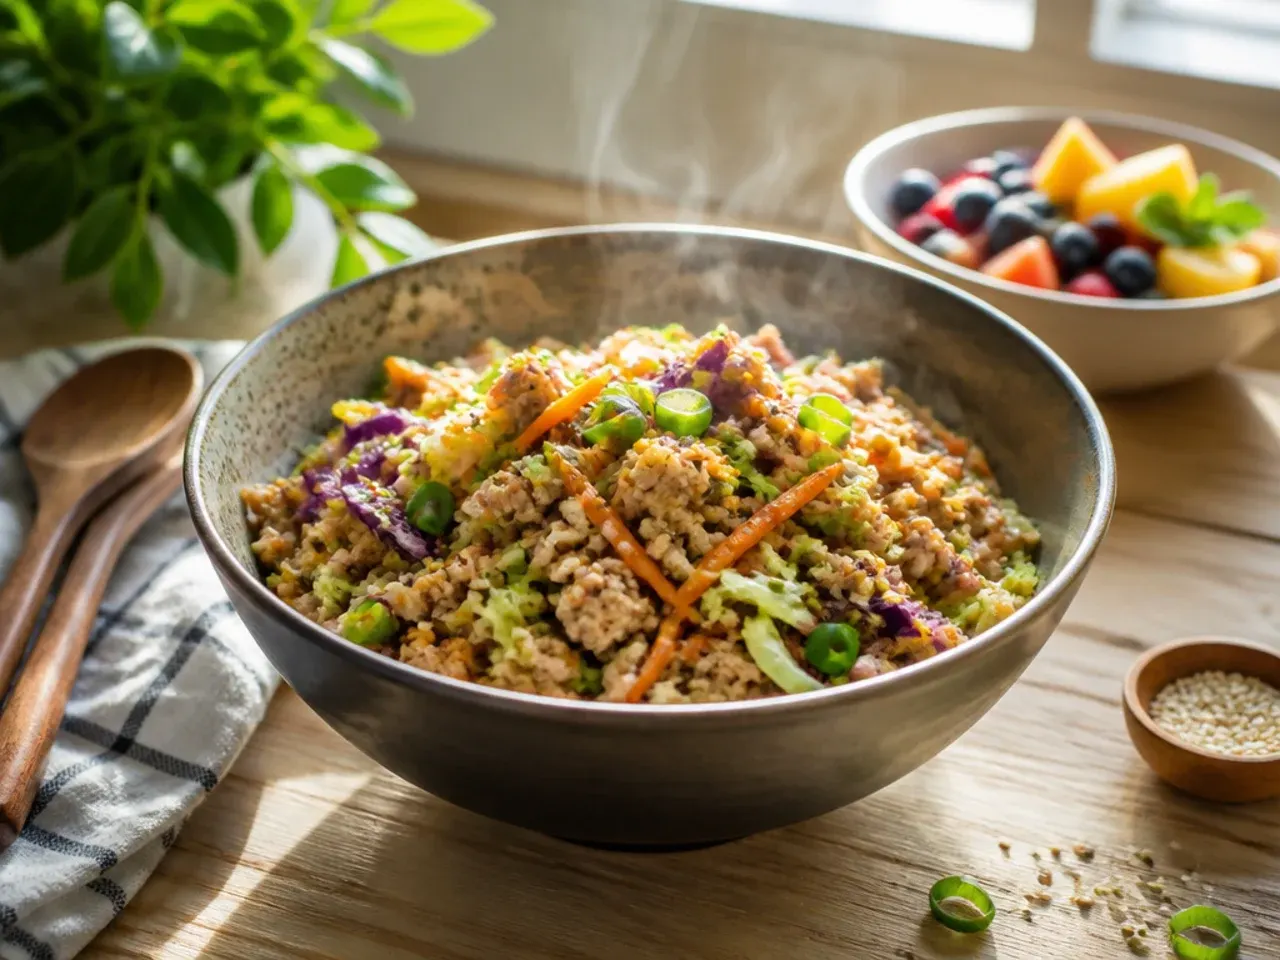
Regular soy sauce made an early batch borderline too salty, especially once it reduced down in the pan. Low-sodium soy sauce gave me room to taste as I went and add a touch more at the end if the bowl needed it. It's a small swap, but it's the difference between a dish I can season properly and one I've already oversalted by the time I notice.
Lesson 6: Grate Fresh Ginger Instead of Reaching for the Jar
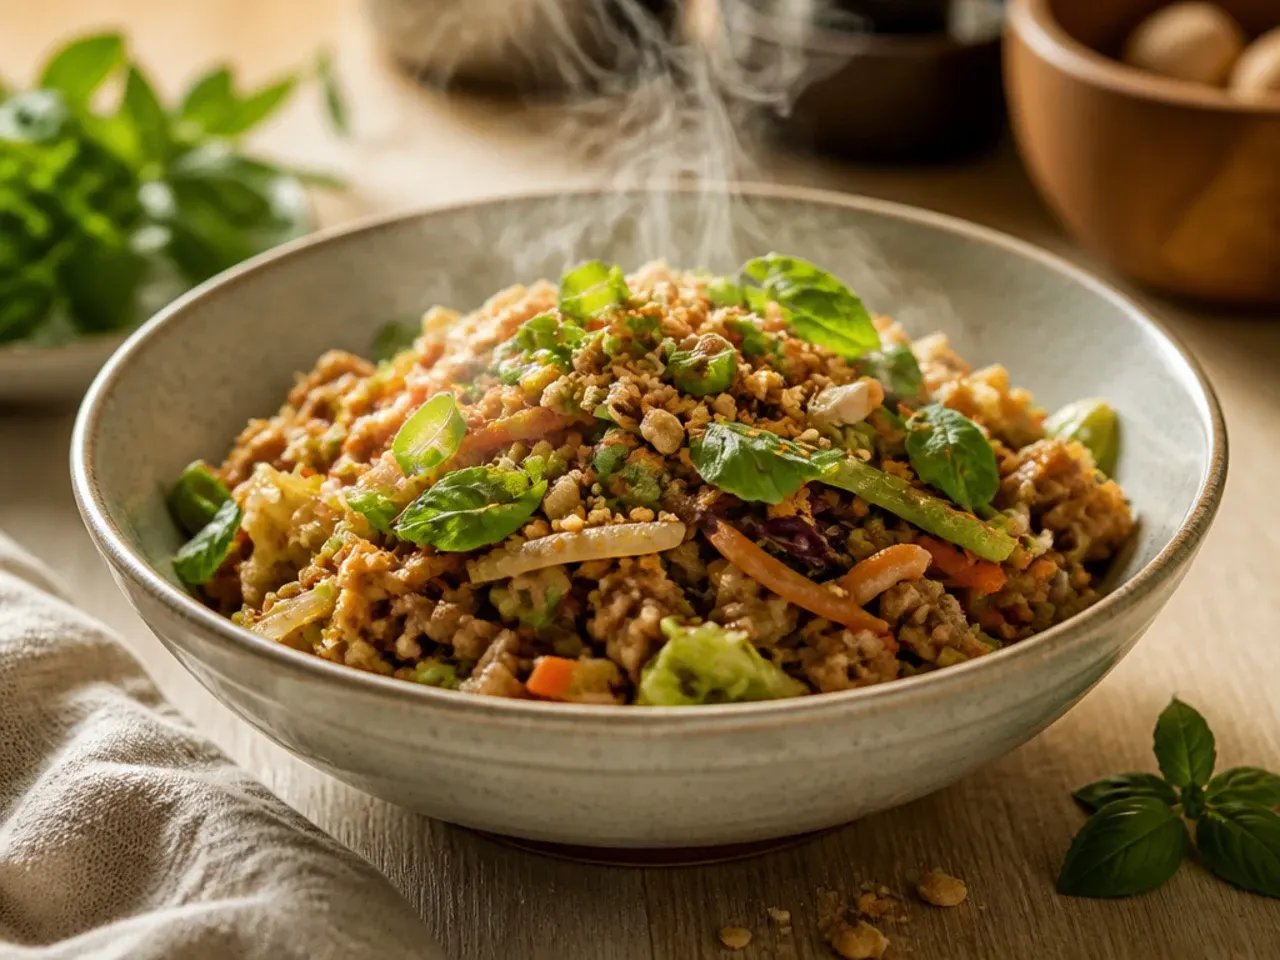
Jarred ginger is fine in a pinch, but it tastes muted next to fresh. A small knob of fresh ginger, grated on a microplane, adds a warmth and slight heat that jarred versions just don't have. I now keep a piece in the freezer specifically for this, since frozen ginger grates even more easily than fresh.
Lesson 7: Mix the Sauce Before It Hits the Pan, Not Ingredient by Ingredient
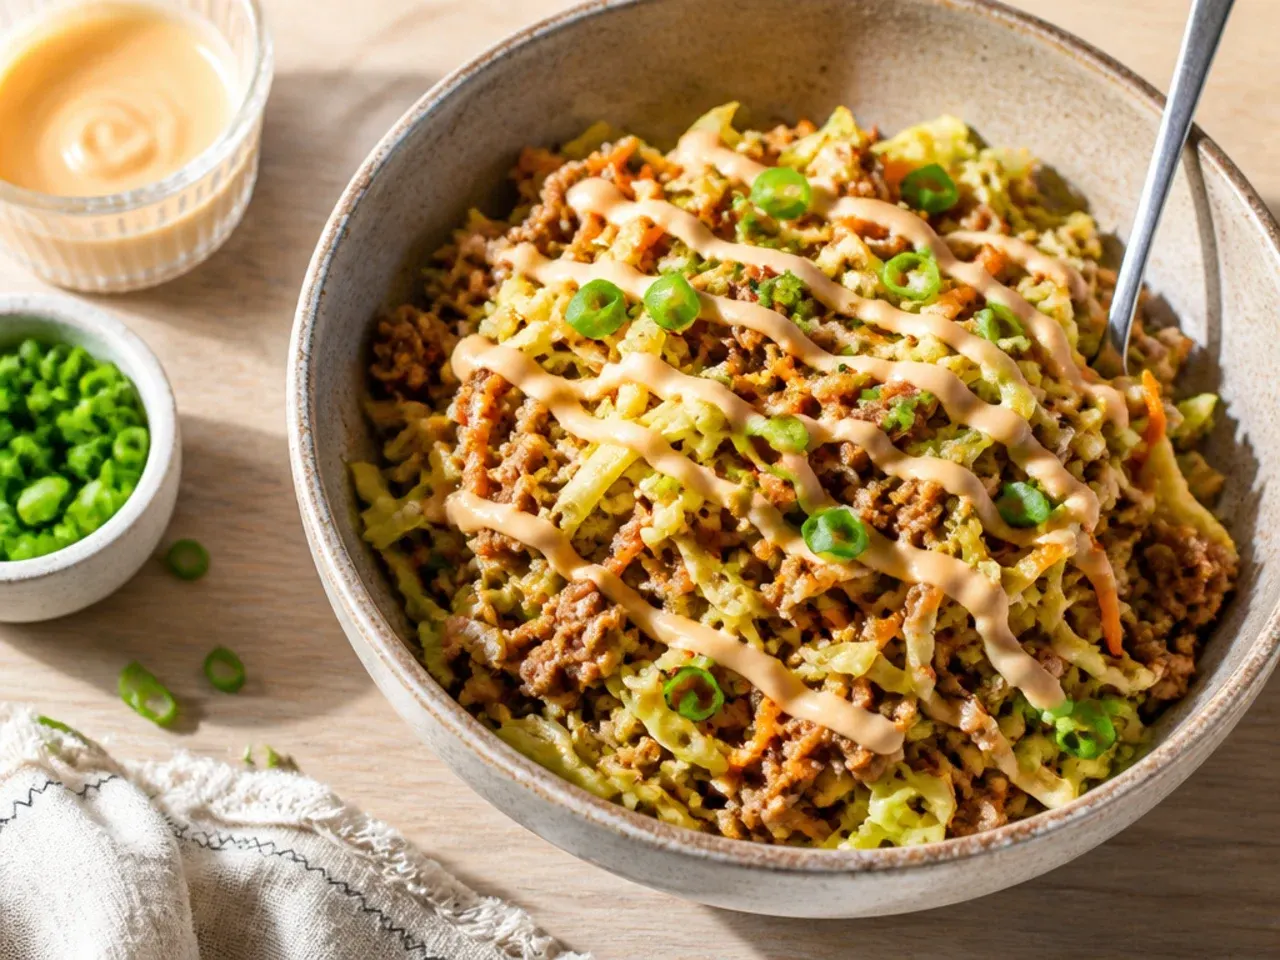
Adding soy sauce, rice vinegar and sesame oil separately into the hot pan meant I was constantly second-guessing the balance. Now I whisk them together in a small jug first, tasting as I go, so I know exactly what's going into the dish. It also means the sauce distributes more evenly once it hits the cabbage instead of pooling in one spot.
Lesson 8: Toasted Sesame Oil Goes in at the End, Not the Start
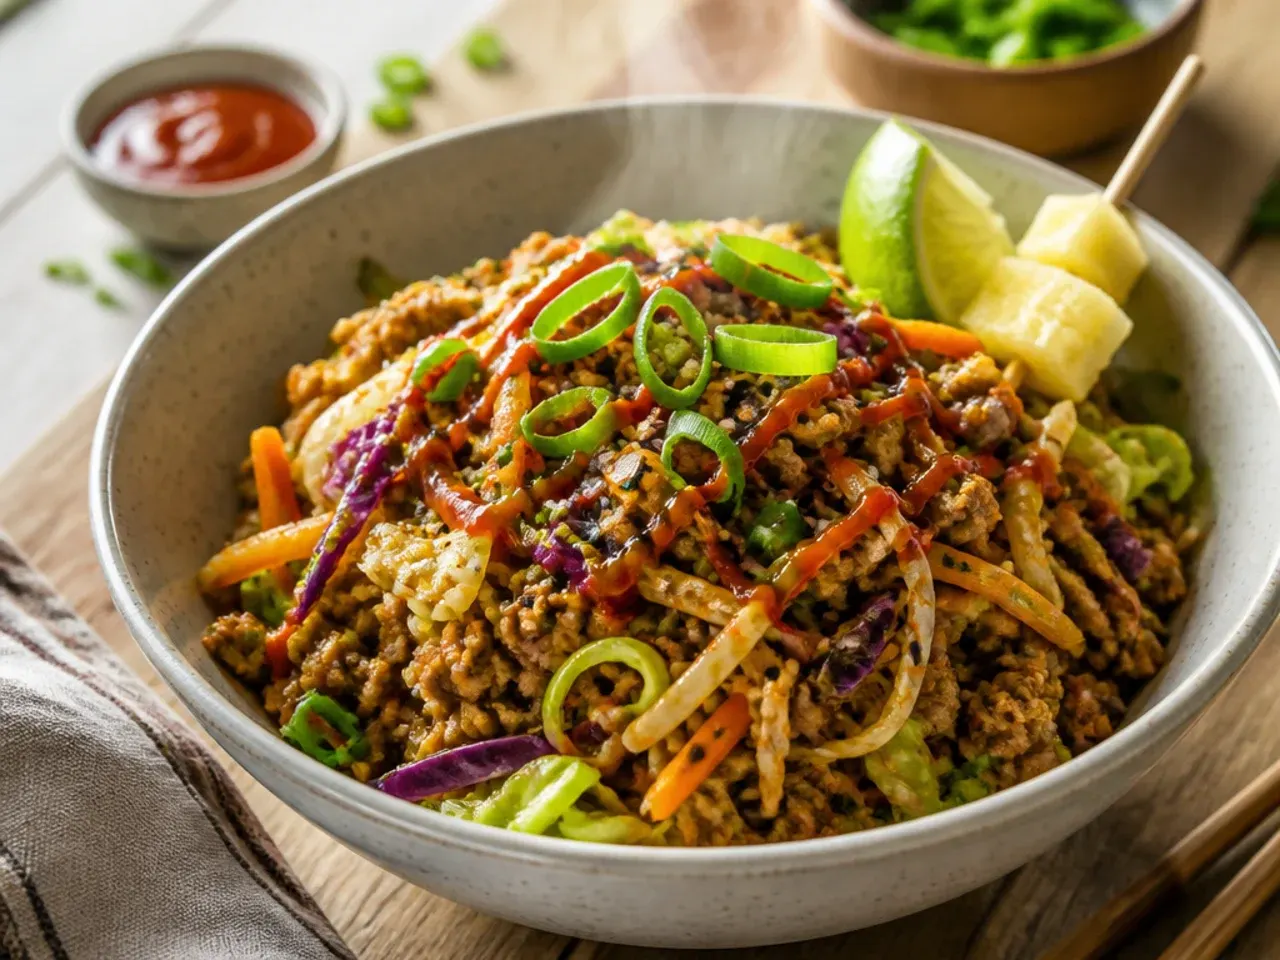
I used to cook the meat in sesame oil from the beginning, and the flavour basically cooked off by the time the dish was done. Toasted sesame oil has a low smoke point and its aroma fades fast under high heat. Now I use a neutral oil for browning the meat and stir the sesame oil through right at the end, off the heat, so its nutty flavour actually survives.
Lesson 9: Don't Walk Away Once the Cabbage Goes In
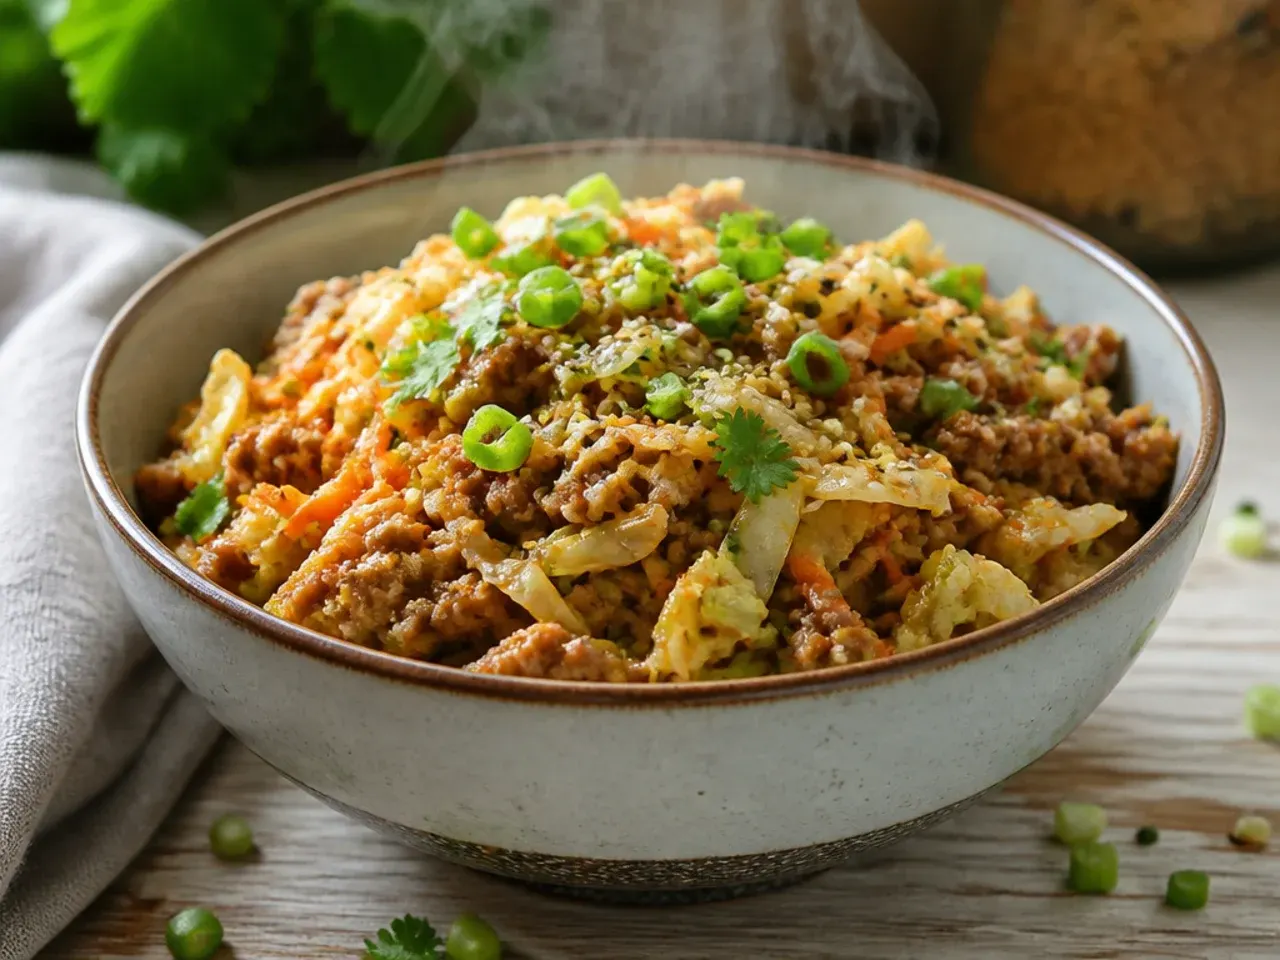
Cabbage goes from crisp-tender to properly soft in about 90 seconds, and I've overcooked plenty of batches by getting distracted. I now set a timer for 3-4 minutes the moment the slaw mix hits the pan and stay at the stove the whole time. Pulling it while there's still a slight bite left is what keeps the texture interesting instead of everything turning to mush.
Lesson 10: A Scrambled Egg Folded Through Makes It Genuinely More Filling
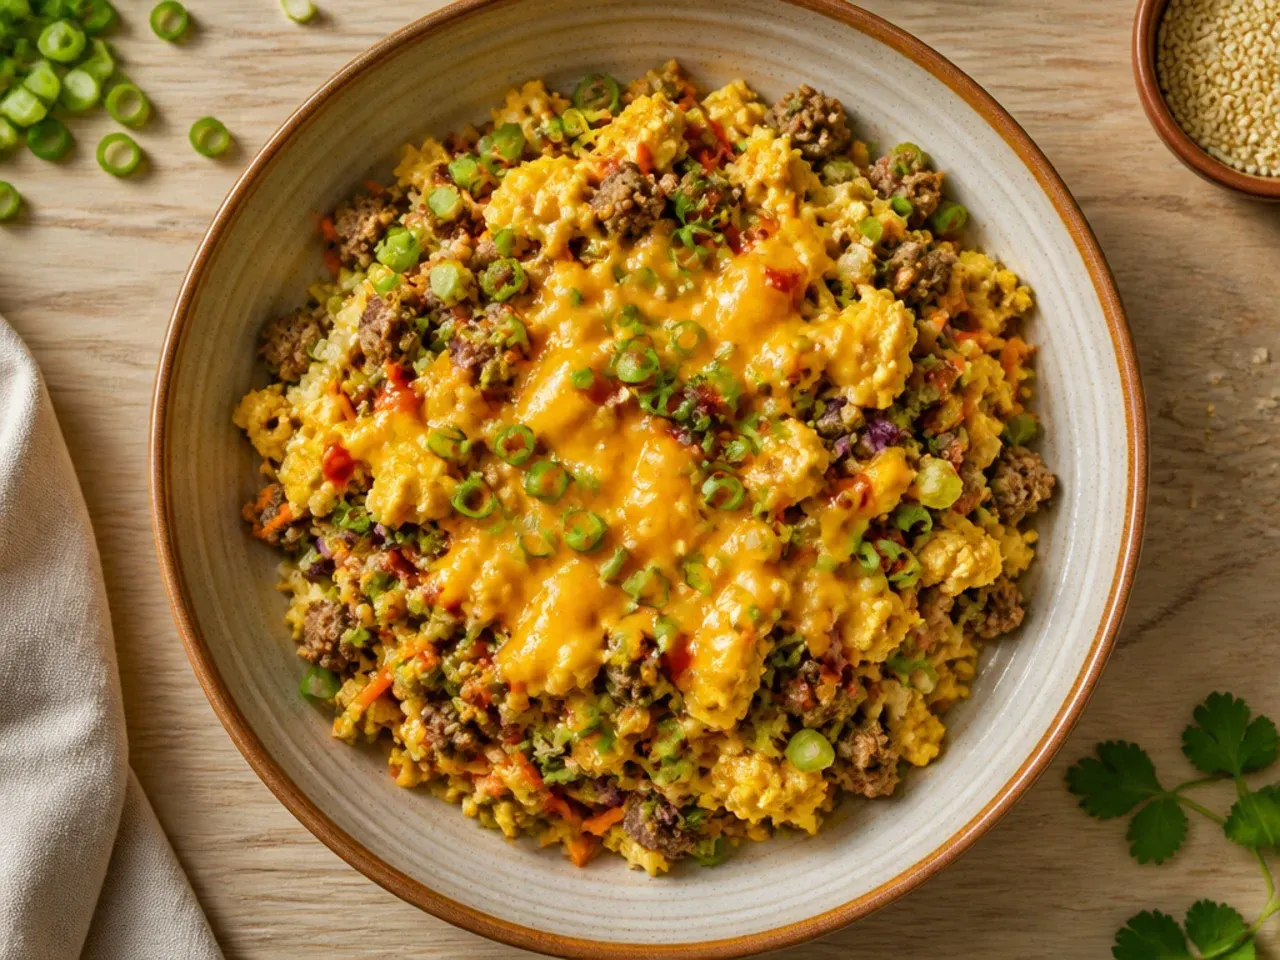
For a long time I skipped the egg because it felt like an extra step, but it's what turns this from a side dish into a proper meal. I push the cooked filling to one side of the pan, crack in two eggs, scramble them loosely, then fold everything together. It adds protein and a softer texture that plays nicely against the crunchy vegetables.
Lesson 11: Ground Turkey and Ground Pork Behave Differently, So Adjust the Fat
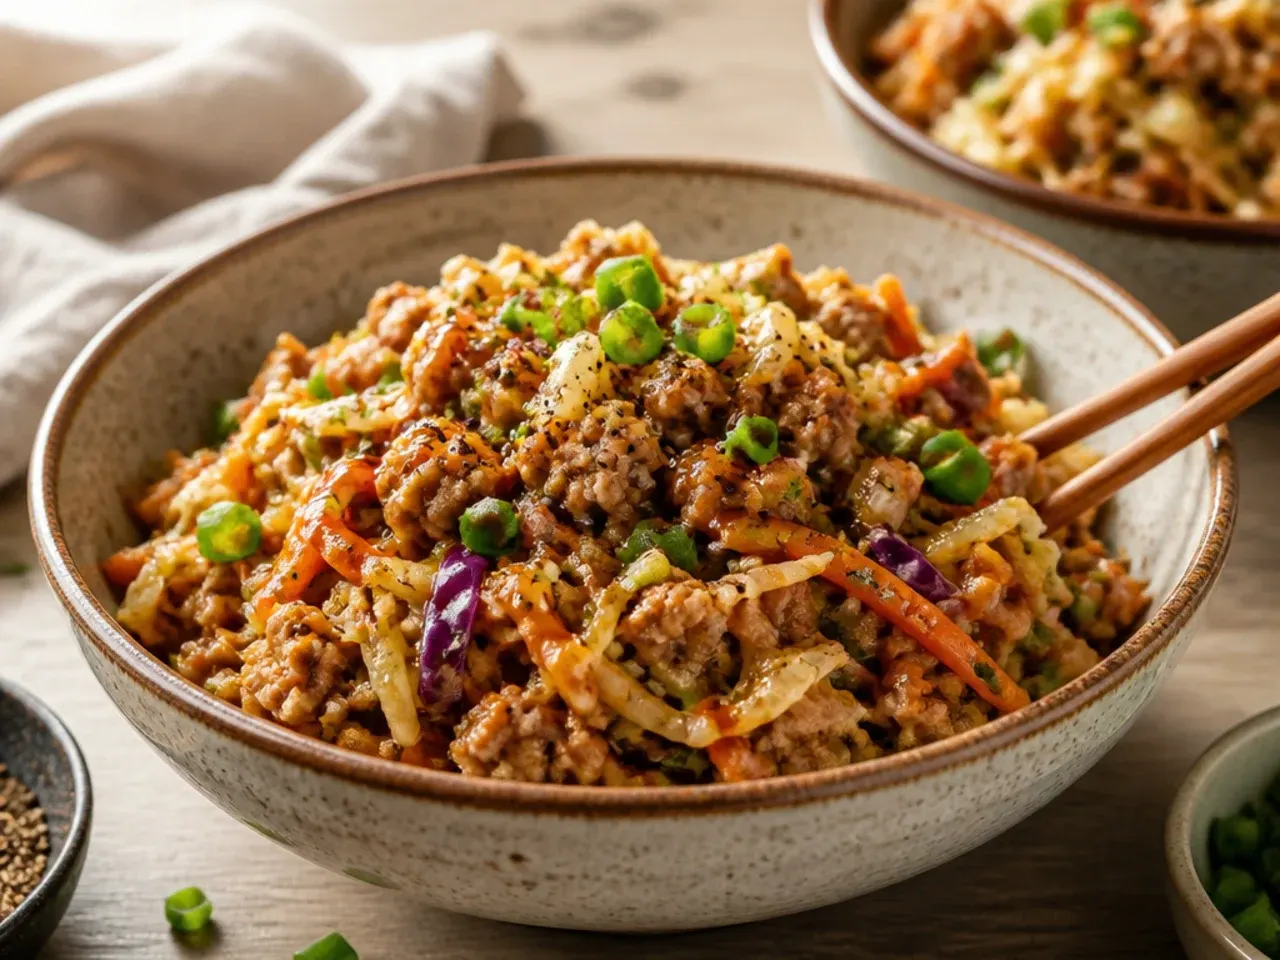
Swapping between ground turkey and ground pork isn't a one-to-one substitution, something I learned after a very dry batch. Turkey breast mince has almost no fat, so I add a teaspoon of oil to the pan to stop it drying out and sticking. Ground pork or turkey thigh mince has enough natural fat that I skip the extra oil entirely and just drain off any excess after browning.
Lesson 12: Cauliflower Rice Underneath Stretches It Further Without Watering It Down
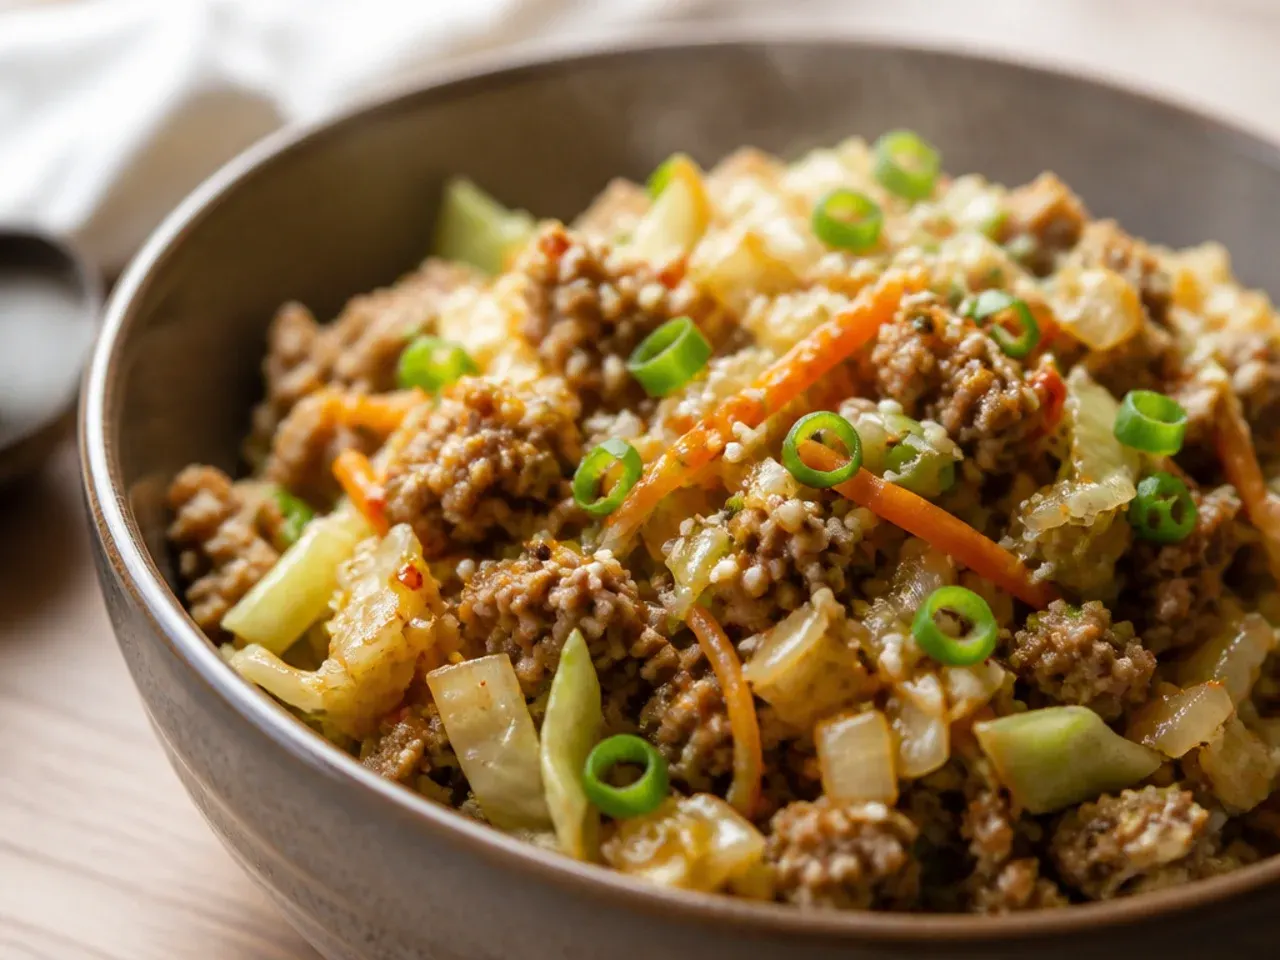
On nights I want a bigger bowl without more meat, I sauté a couple of handfuls of riced cauliflower in the same pan for two minutes before piling the filling on top. It soaks up a little of the sauce and adds bulk without diluting the flavour the way plain rice sometimes does. It's also an easy way to sneak in another vegetable without anyone really noticing.
Lesson 13: Taste Before You Add Sriracha, Not After
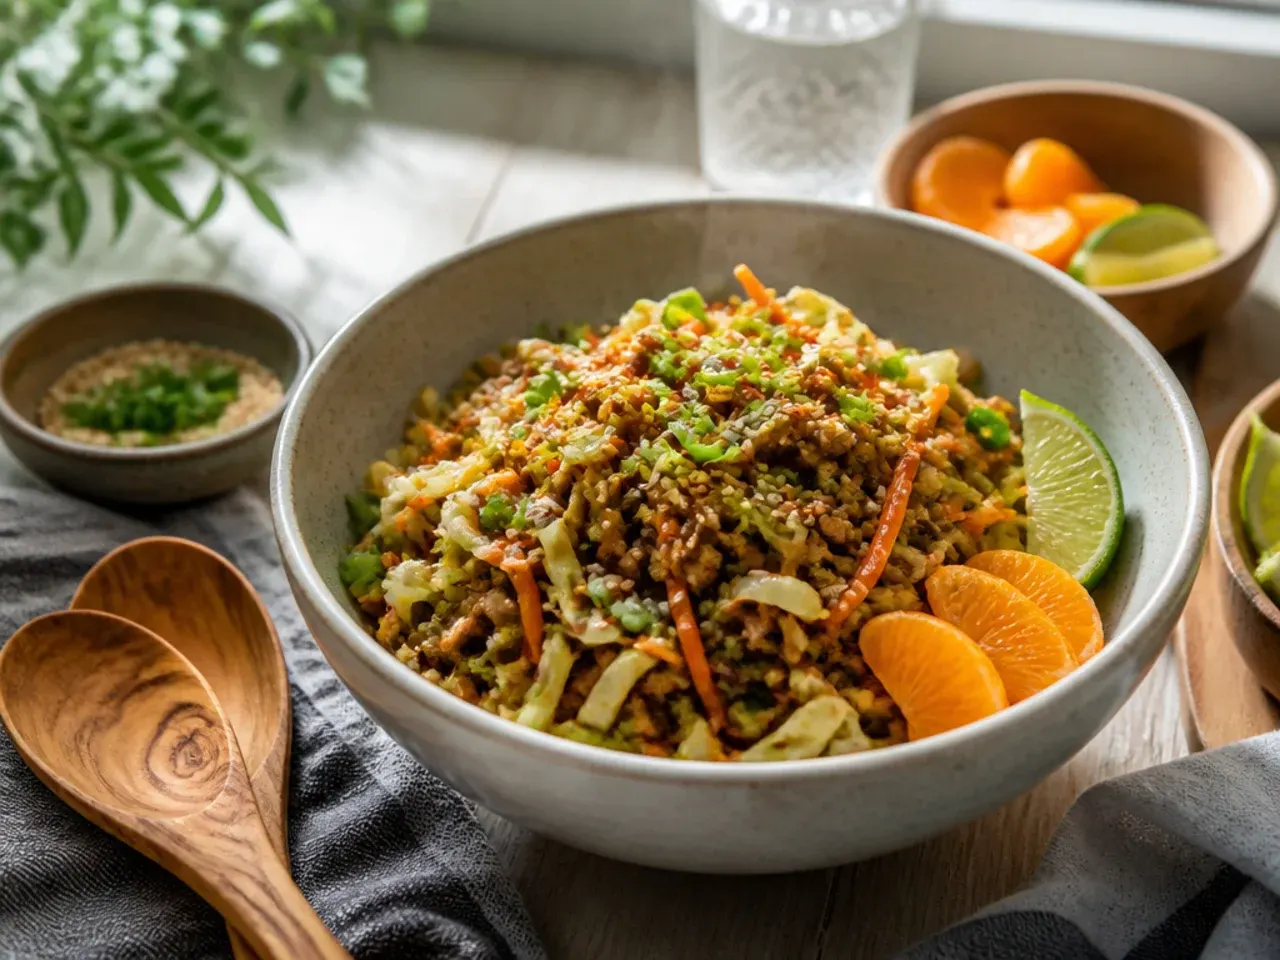
I used to stir chilli sauce into the whole pan and regret it when I was cooking for my mum, who can't handle much heat. Now I keep the base sauce mild and let people add sriracha or chilli flakes to their own bowl at the table. It takes the guesswork out of cooking for mixed spice tolerances and means everyone actually enjoys their portion.
Lesson 14: Batch the Sauce Ahead So Weeknights Are Just Assembly
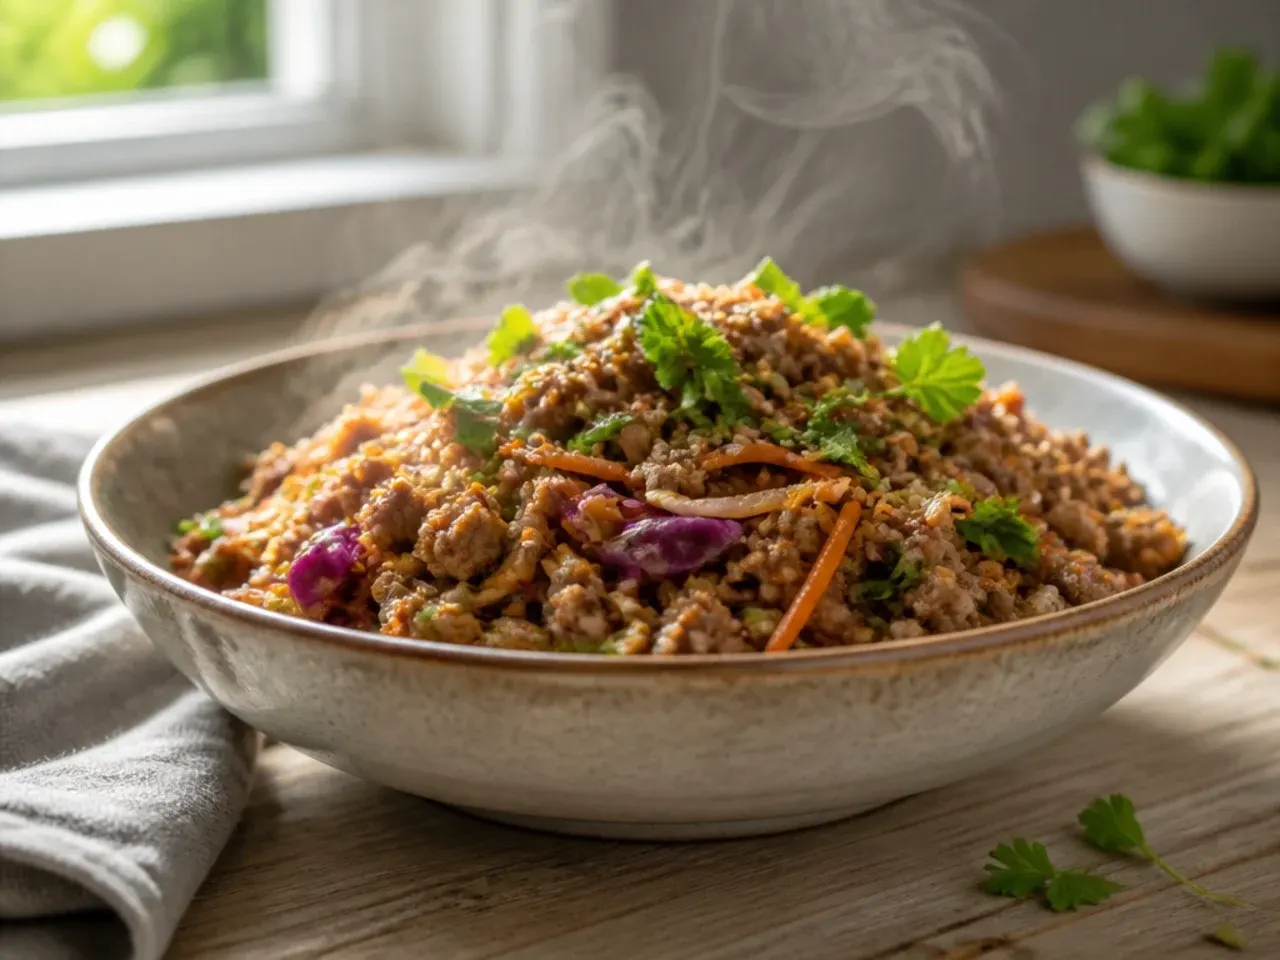
I now mix a jar of the soy sauce, rice vinegar and a little honey combination on Sunday and keep it in the fridge for the week. It keeps well for about five days and means dinner some nights is just browning meat, adding cabbage, and pouring in sauce that's already balanced. It's shaved a solid five minutes off the process on my busiest evenings.
Lesson 15: It Doesn't Freeze Well, So Only Make What You'll Eat in Four Days
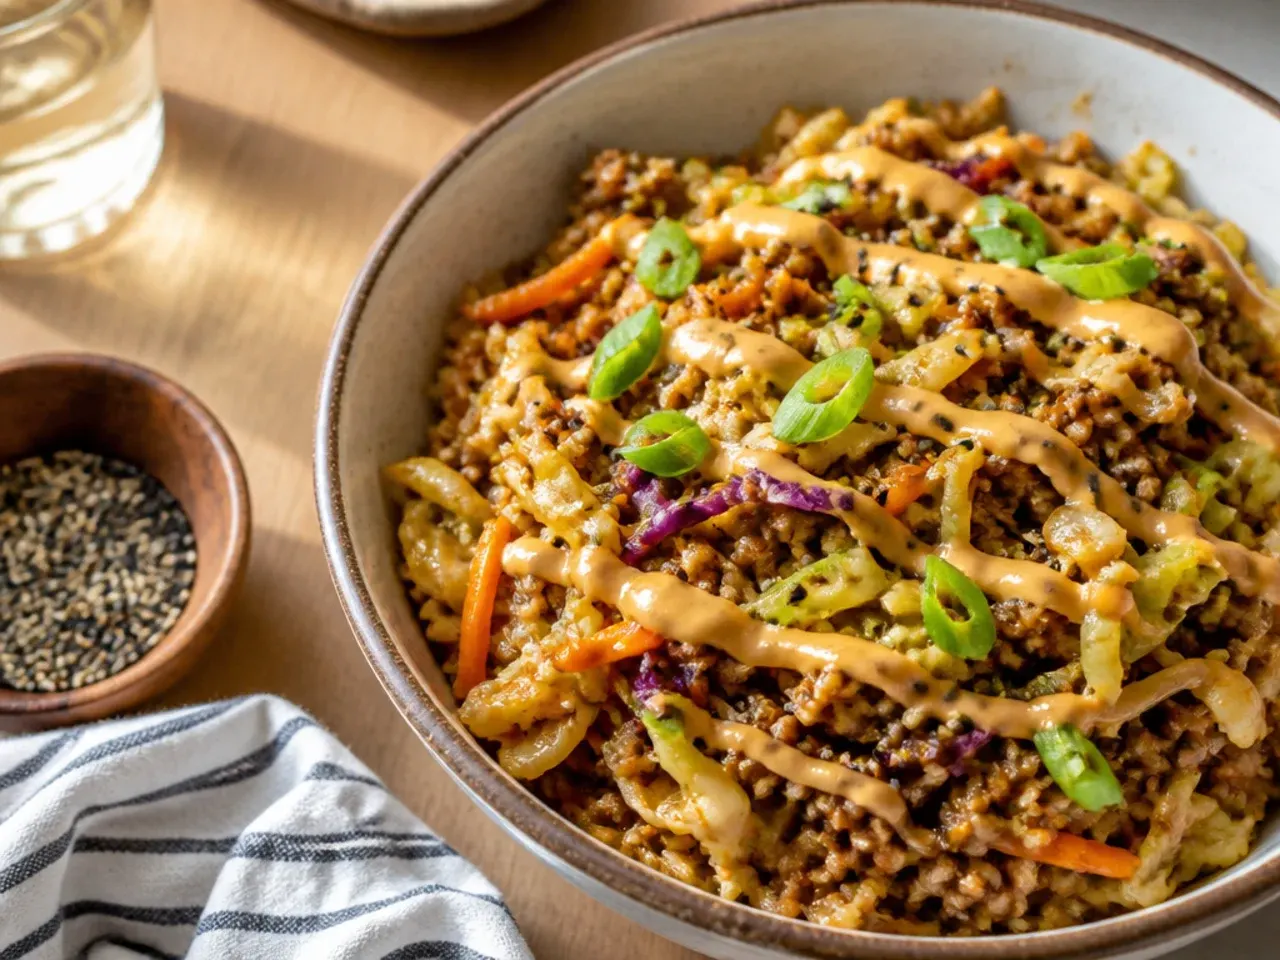
I tried freezing a batch once, thinking it would be a great meal prep shortcut, and the thawed cabbage turned watery and limp. The vegetables simply don't hold their texture after freezing and defrosting. I now only make what I'll realistically eat within four days and store it in the fridge instead, which keeps the texture far closer to fresh.
Lesson 16: Reheat With a Splash of Water, Not Dry in the Microwave
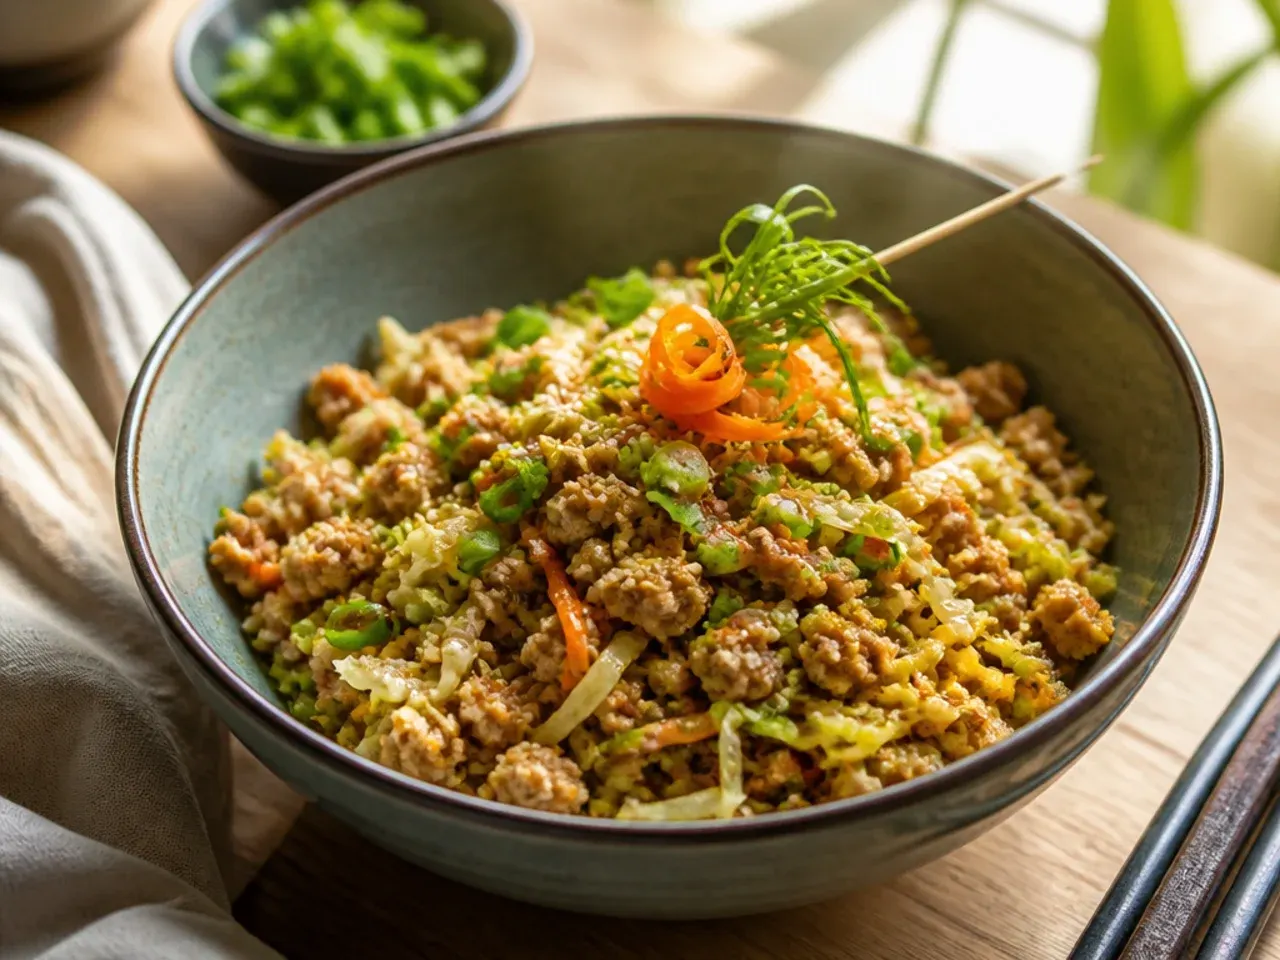
Reheating leftovers dry in the microwave left the meat rubbery and the cabbage dried out at the edges. Adding a tablespoon of water before covering and microwaving in 60-second bursts steams it back to something close to its original texture. On the hob, the same trick works with a splash of water or stock in a covered pan over medium-low heat.
Lesson 17: Sliced Mushrooms Add Umami Without Extra Sodium
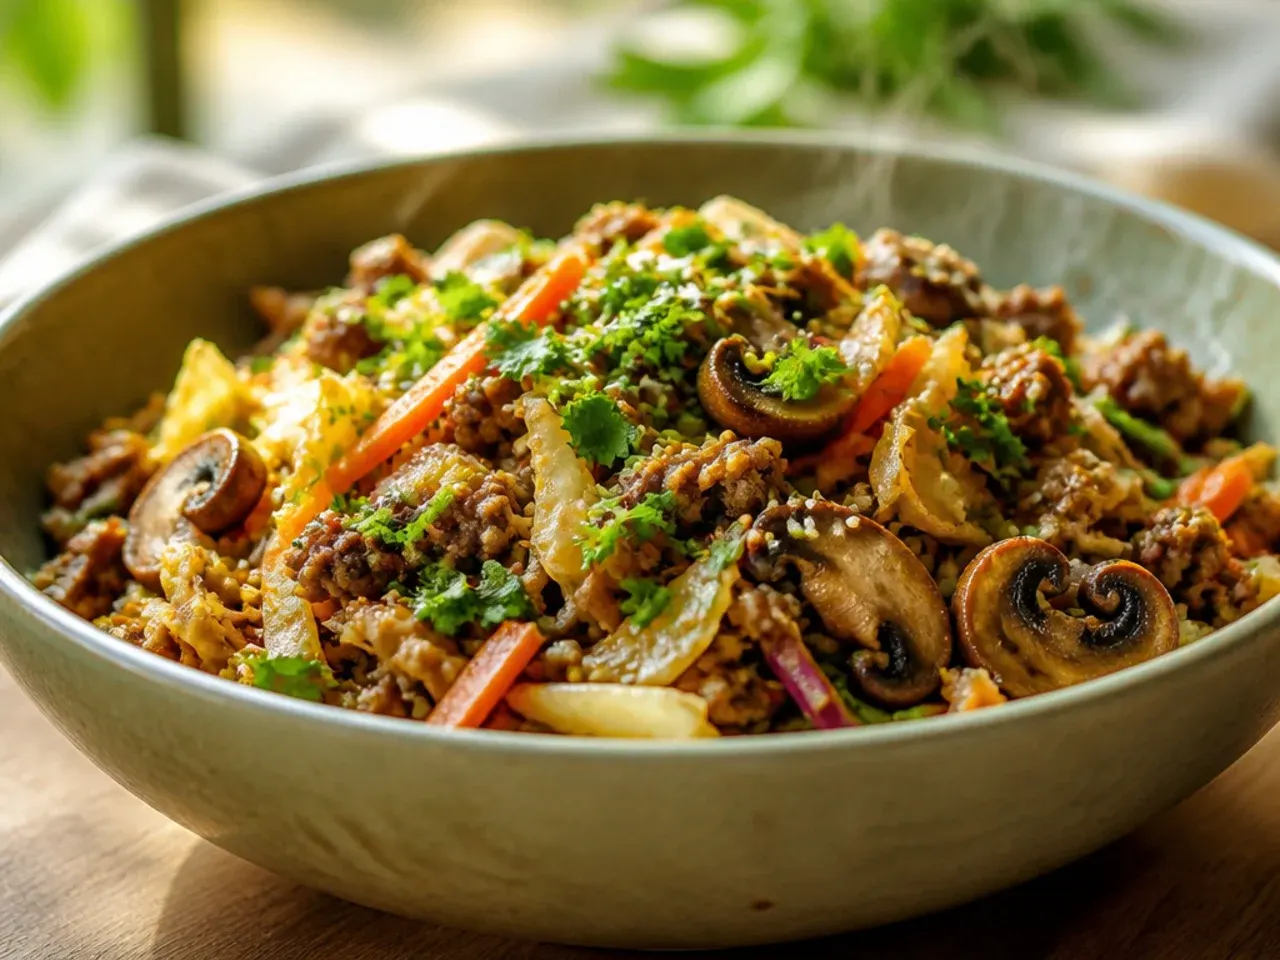
When I wanted more depth of flavour without simply adding more soy sauce, sliced shiitake or chestnut mushrooms turned out to be the answer. I cook them with the meat until they release their liquid and start to brown, which adds a savoury, almost meaty quality to the whole bowl. It's a good trick for stretching the dish further on nights when I'm short on meat.
Lesson 18: A Wider Pan Is Non-Negotiable When Doubling the Recipe
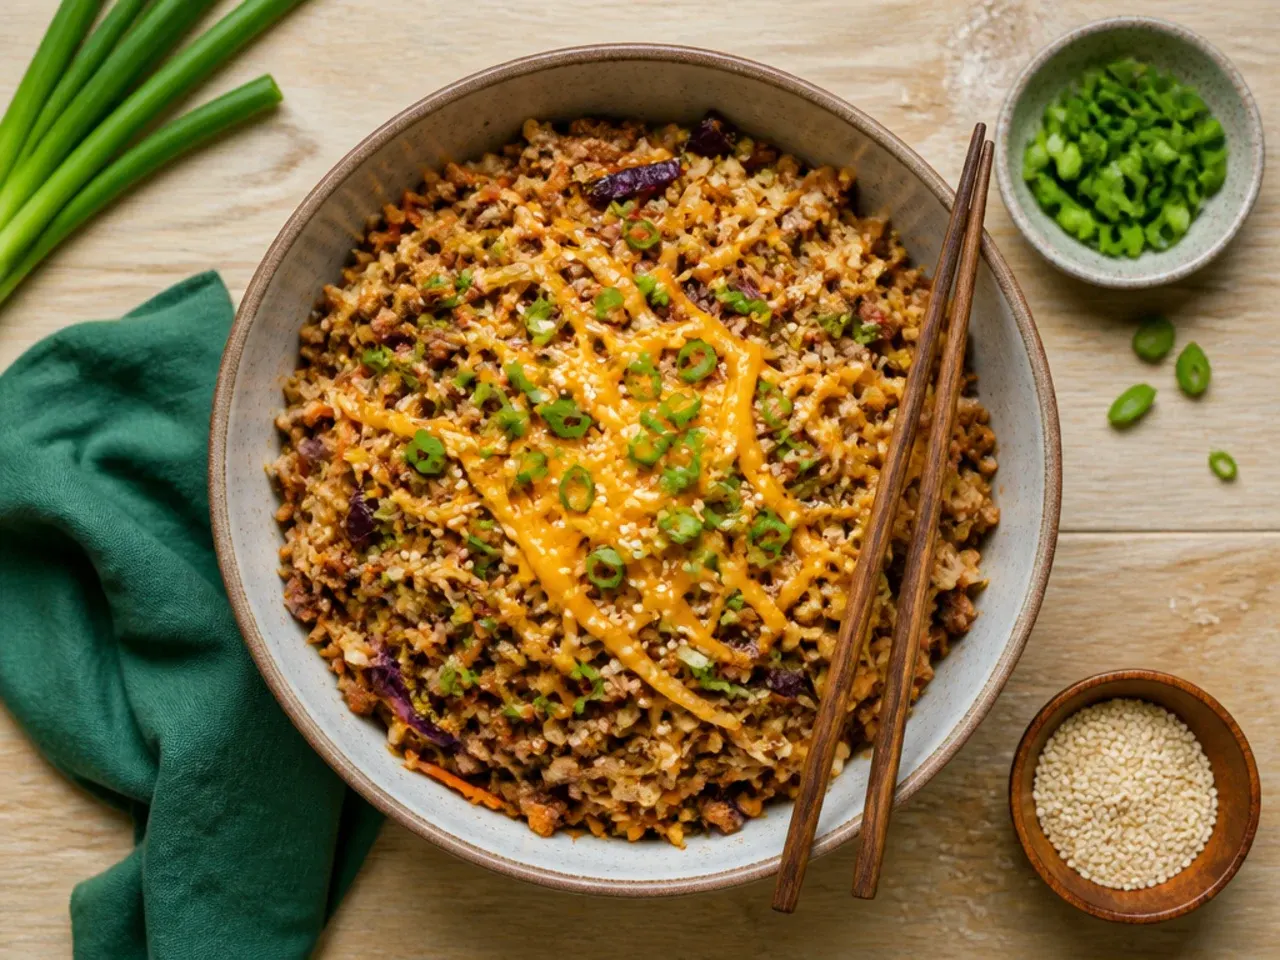
The first time I doubled the batch for meal prep, I used my usual 26 cm skillet and ended up with a pan so overcrowded that everything steamed instead of browned. Doubling the ingredients needs a genuinely larger pan, or better, cooking it in two batches so the meat and cabbage have room to make contact with the hot surface. Crowding the pan is the single fastest way to lose the texture this dish depends on.
Lesson 19: Salt the Meat Separately Before the Soy Sauce Goes In
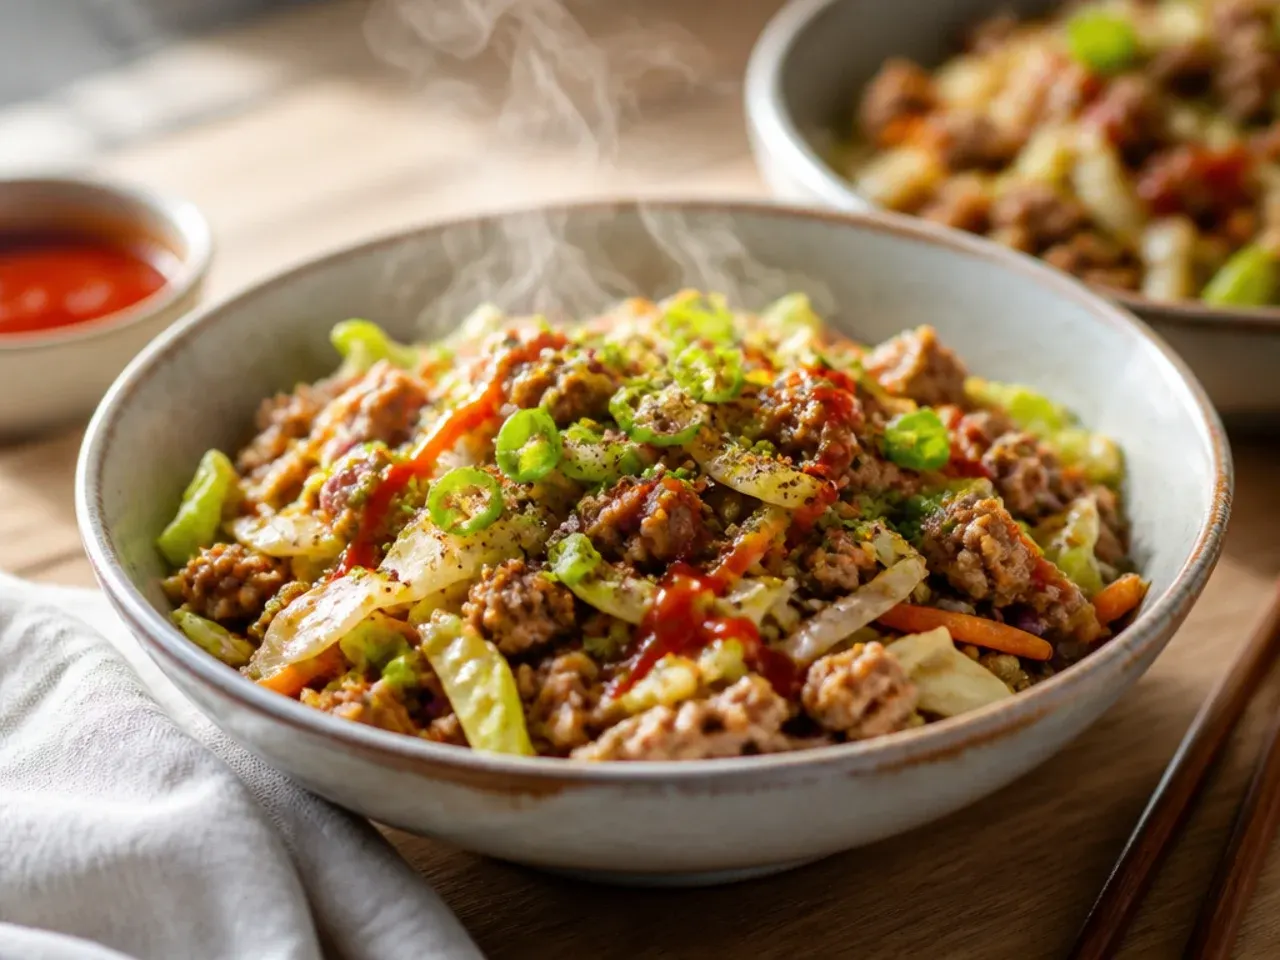
I used to skip seasoning the meat directly, assuming the soy sauce would cover it, and the finished dish always tasted a little flat underneath the sauce. A light pinch of salt and black pepper on the meat as it browns builds a base layer of seasoning that the sauce then sits on top of, rather than trying to carry everything alone. It's a small habit but it noticeably deepens the overall flavour.
Lesson 20: Garnish Isn't Optional, It's Half the Flavour
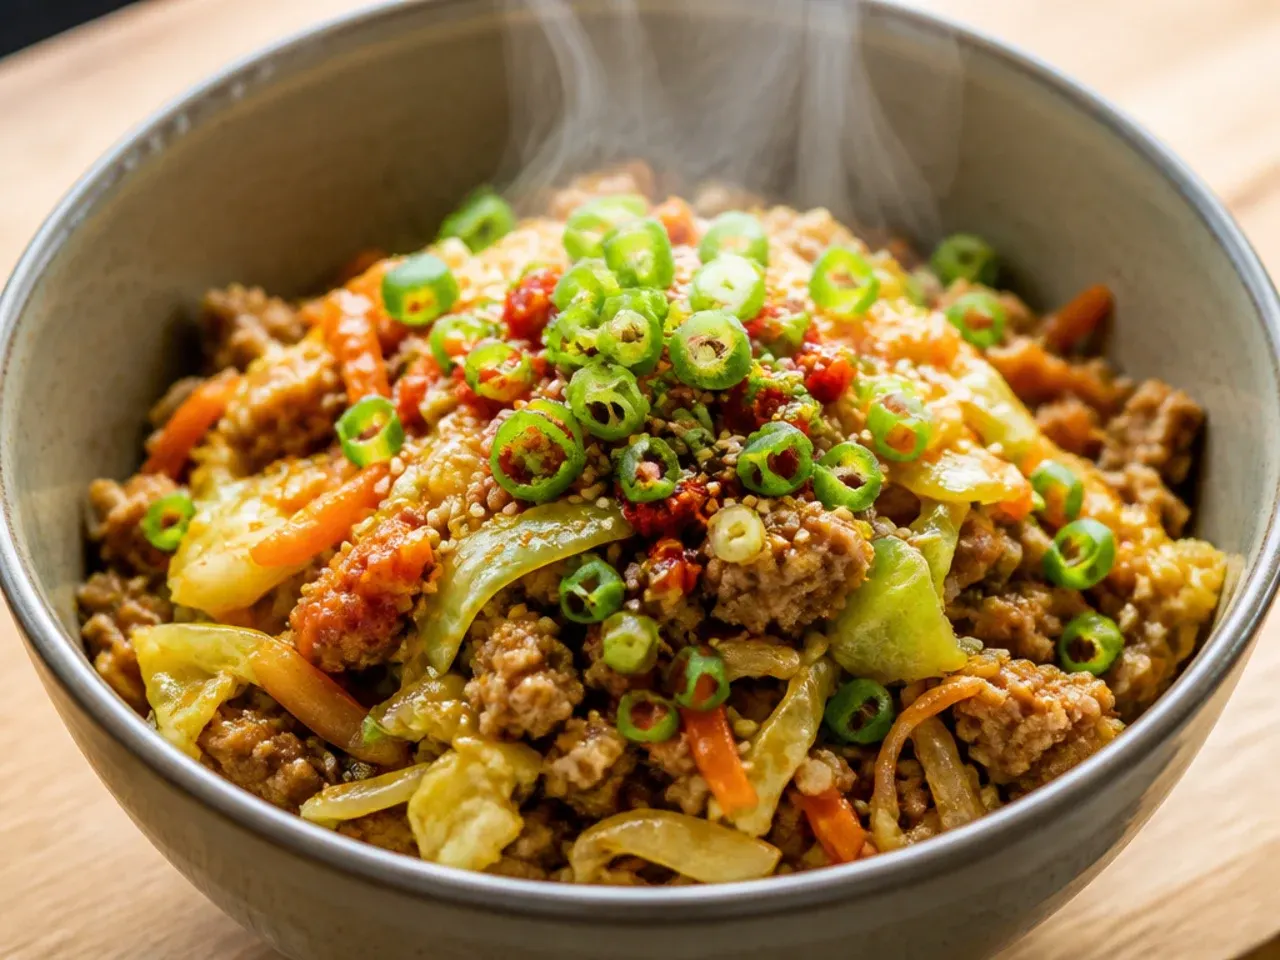
For ages I served this straight from the pan with nothing on top, and it tasted noticeably one-dimensional compared to the versions I'd had at friends' houses. Sliced spring onion, a sprinkle of toasted sesame seeds, and a few drops of sriracha mayo at the end add crunch, freshness and a bit of richness that the base dish is missing on its own. Now I treat the garnish step as part of the recipe, not an optional extra.
What I'd Tell a Friend Trying This
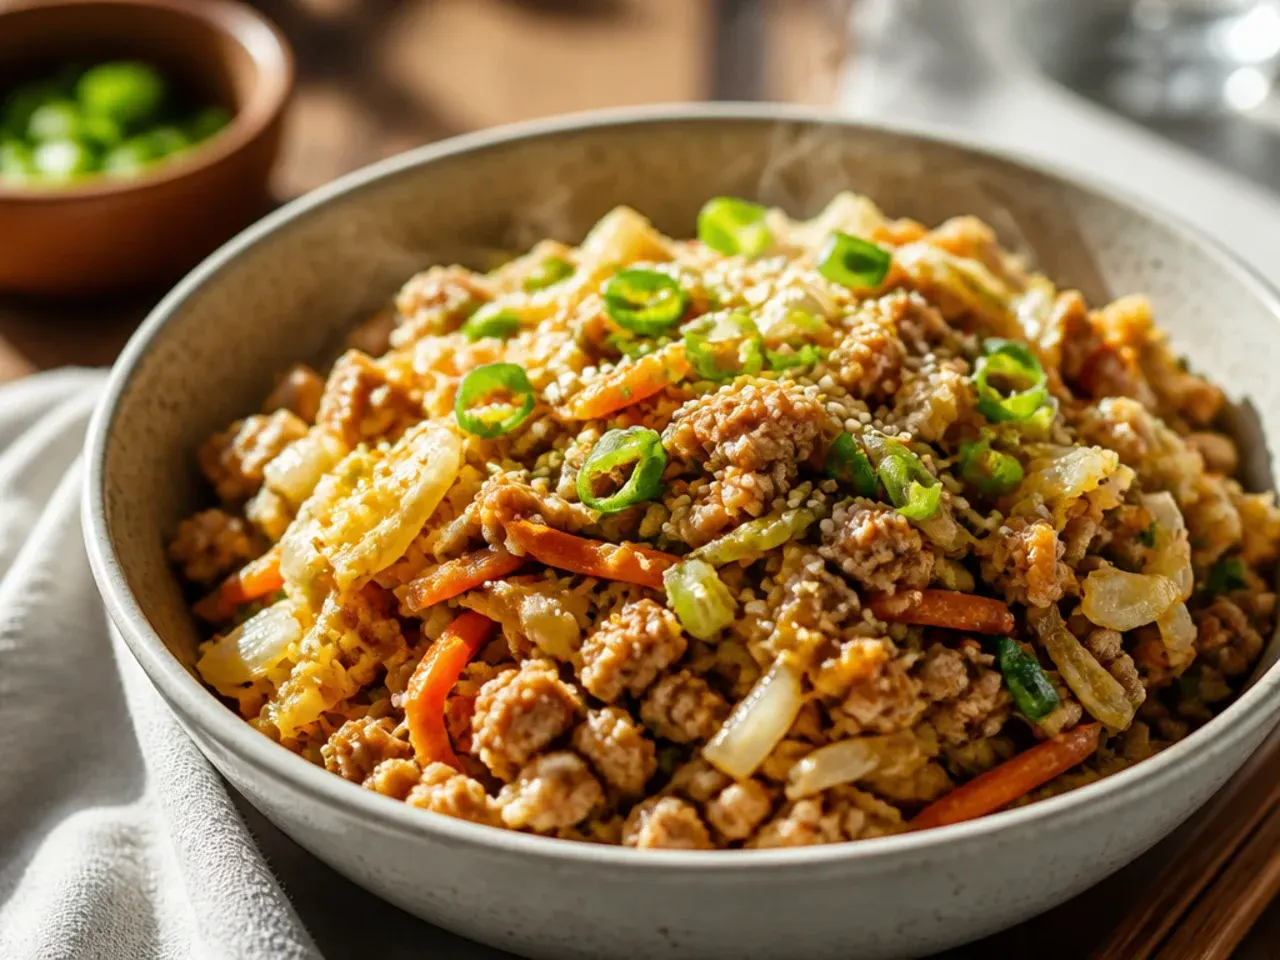
If you're making healthy egg roll in a bowl for the first time, don't overthink it: brown your meat properly, keep the heat high, and pull the cabbage while it still has some bite. Get the sauce ratio right once and write it down, because that's the part that actually makes it taste like takeout. Beyond that, it's a genuinely forgiving recipe that adapts to whatever protein or vegetables you have in the fridge, so don't be afraid to make it your own after the first couple of tries.
The Recipe
The Recipe I Used
10 min
20 min
30 min
4
Beginner
Ingredients 4 Person(s)
Directions
Step 1: Prep the Aromatics and Pat the Cabbage Dry
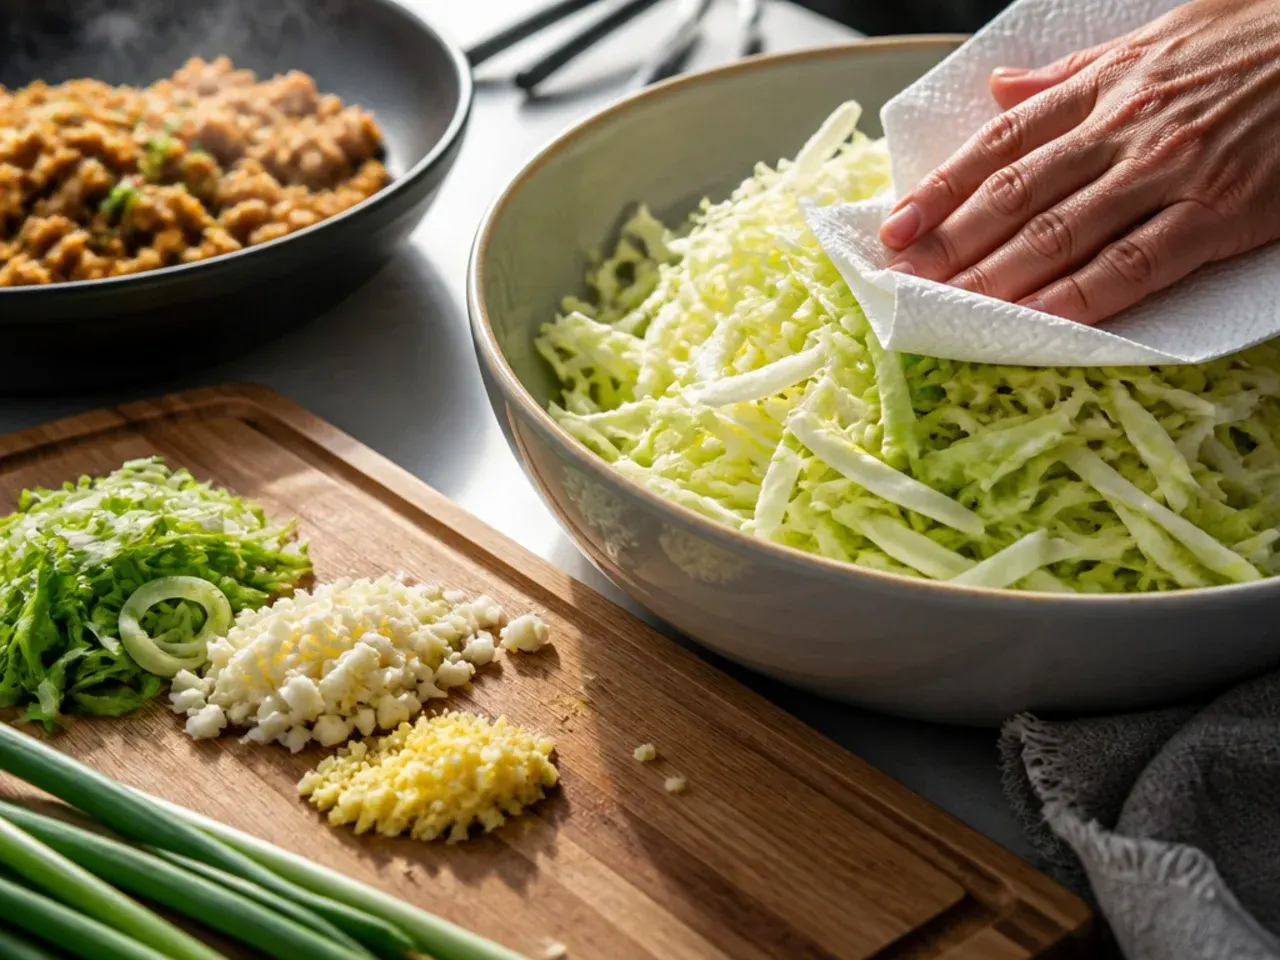
Mince the garlic, grate the ginger, and slice the spring onions so everything is ready to go once the pan is hot. Tip the coleslaw mix onto a clean tea towel or kitchen paper and pat it dry to remove excess moisture, which stops the finished dish turning watery.
Step 2: Brown the Ground Meat
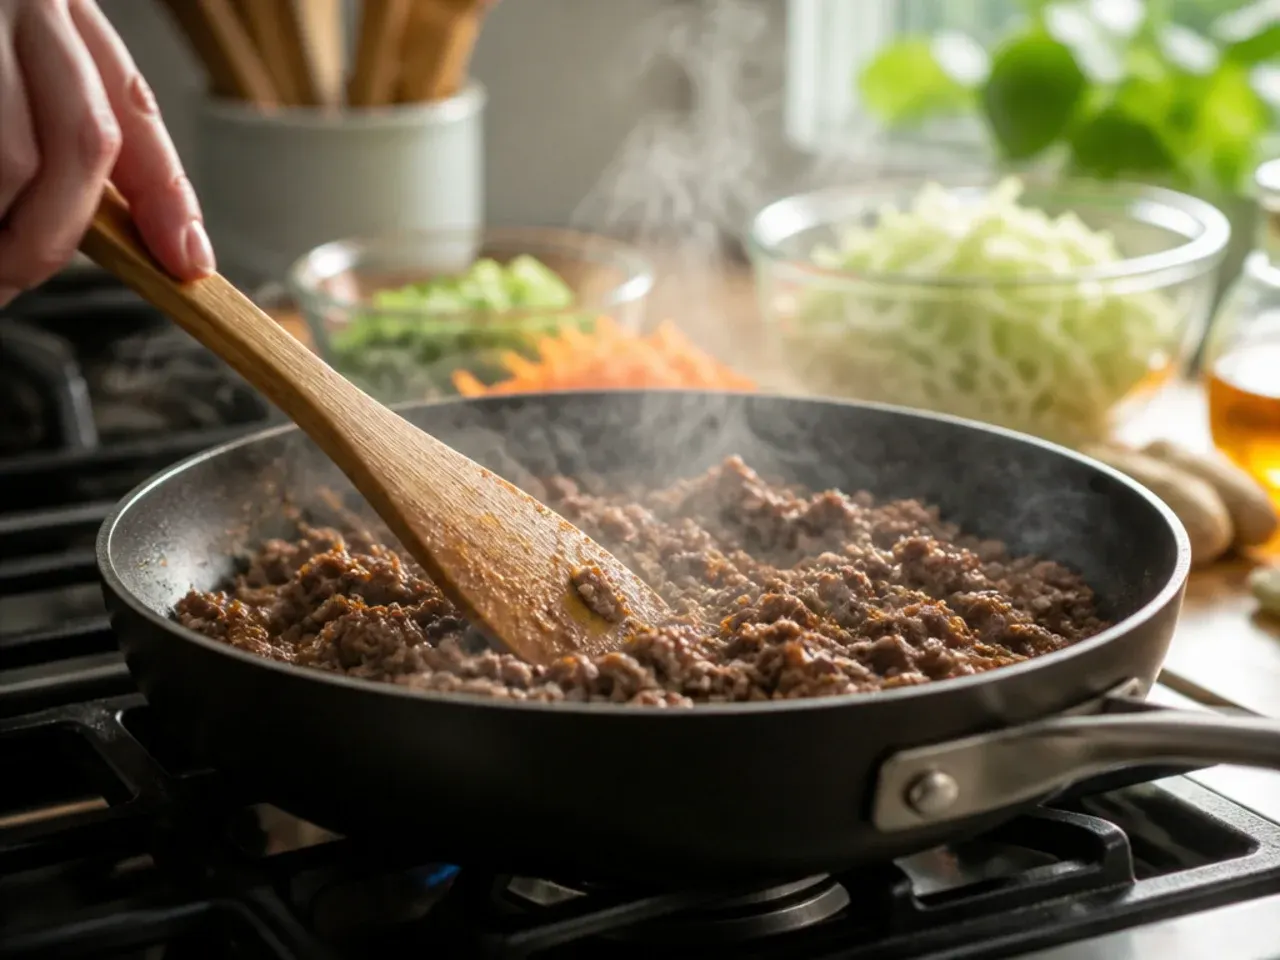
Heat the neutral oil in a large 30 cm (12 in) skillet or wok over medium-high heat. Add the ground pork or turkey with a pinch of salt and pepper, breaking it up with a spatula, and cook undisturbed for 5-6 minutes until well browned and cooked through.
Step 3: Add the Garlic and Ginger
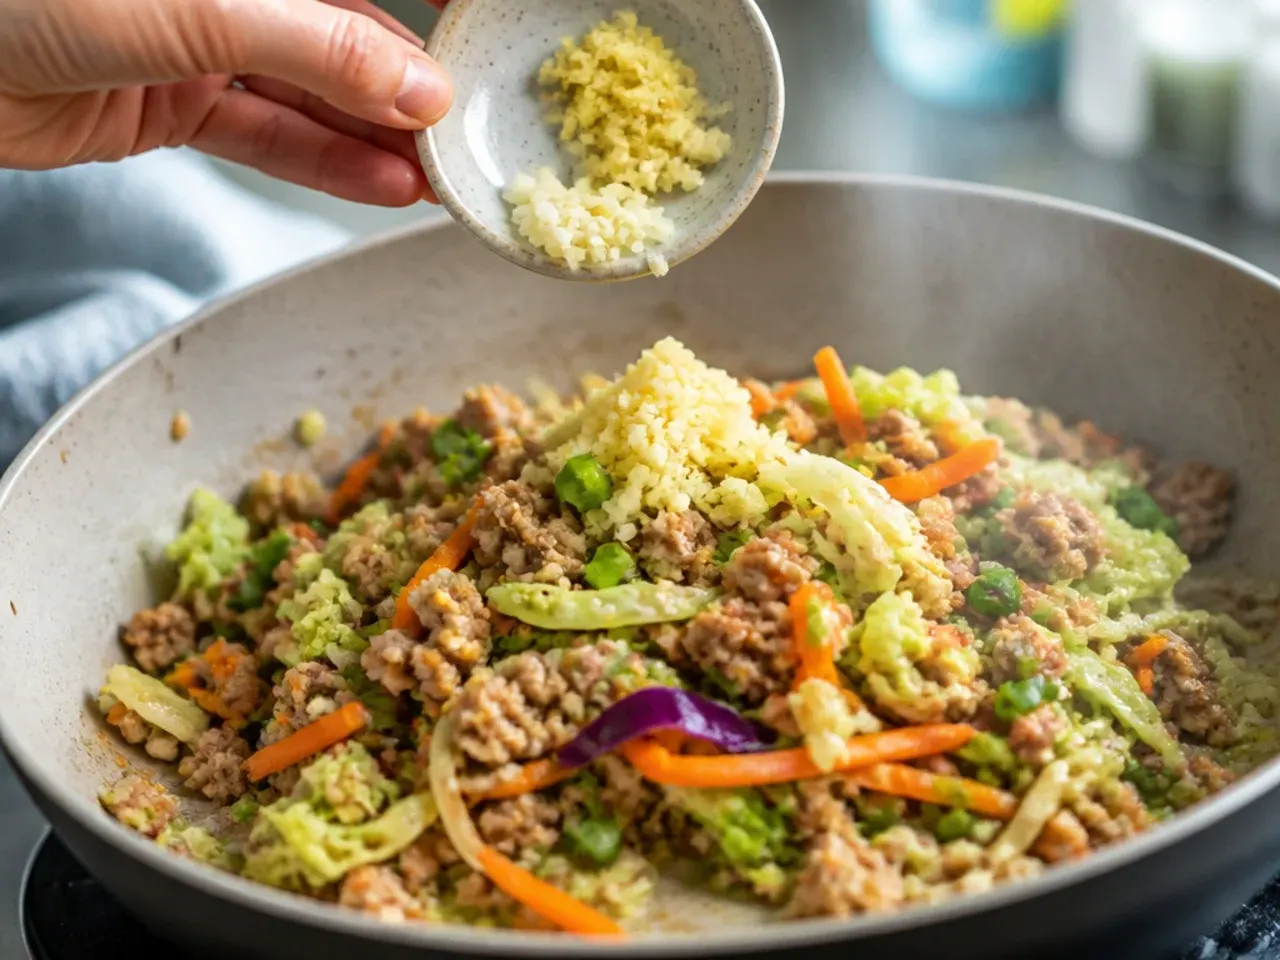
Push the meat to one side of the pan, add the minced garlic and grated ginger to the cleared space, and cook for 30 seconds until fragrant. Stir them through the meat so every bit picks up the aroma before you add the vegetables.
Step 4: Stir in the Cabbage Mix
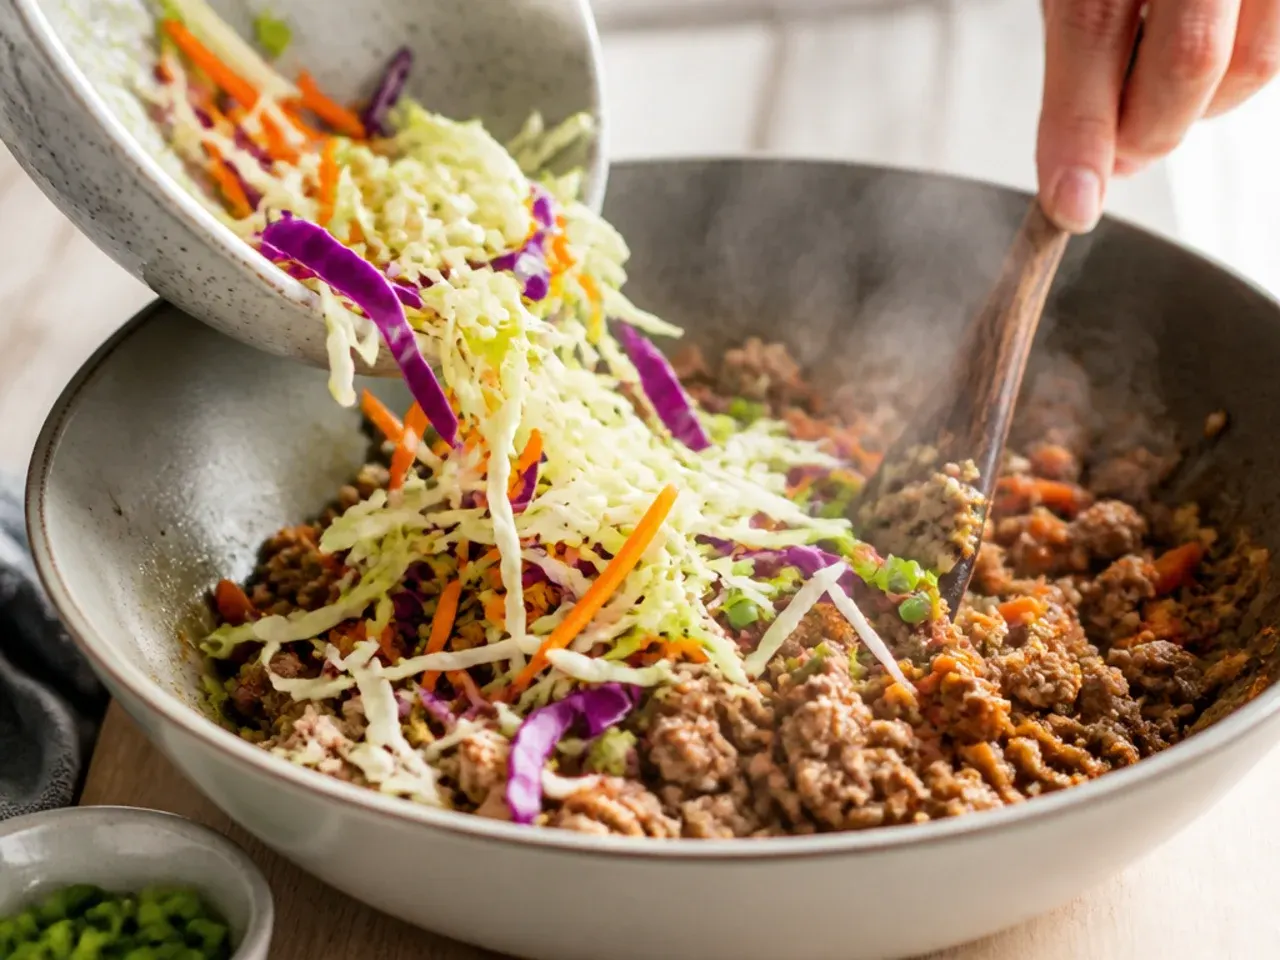
Add the dried coleslaw mix to the pan and stir to combine with the meat. Cook for 3-4 minutes, stirring often, until the cabbage is just wilted but still has a slight crunch.
Step 5: Whisk and Pour in the Sauce
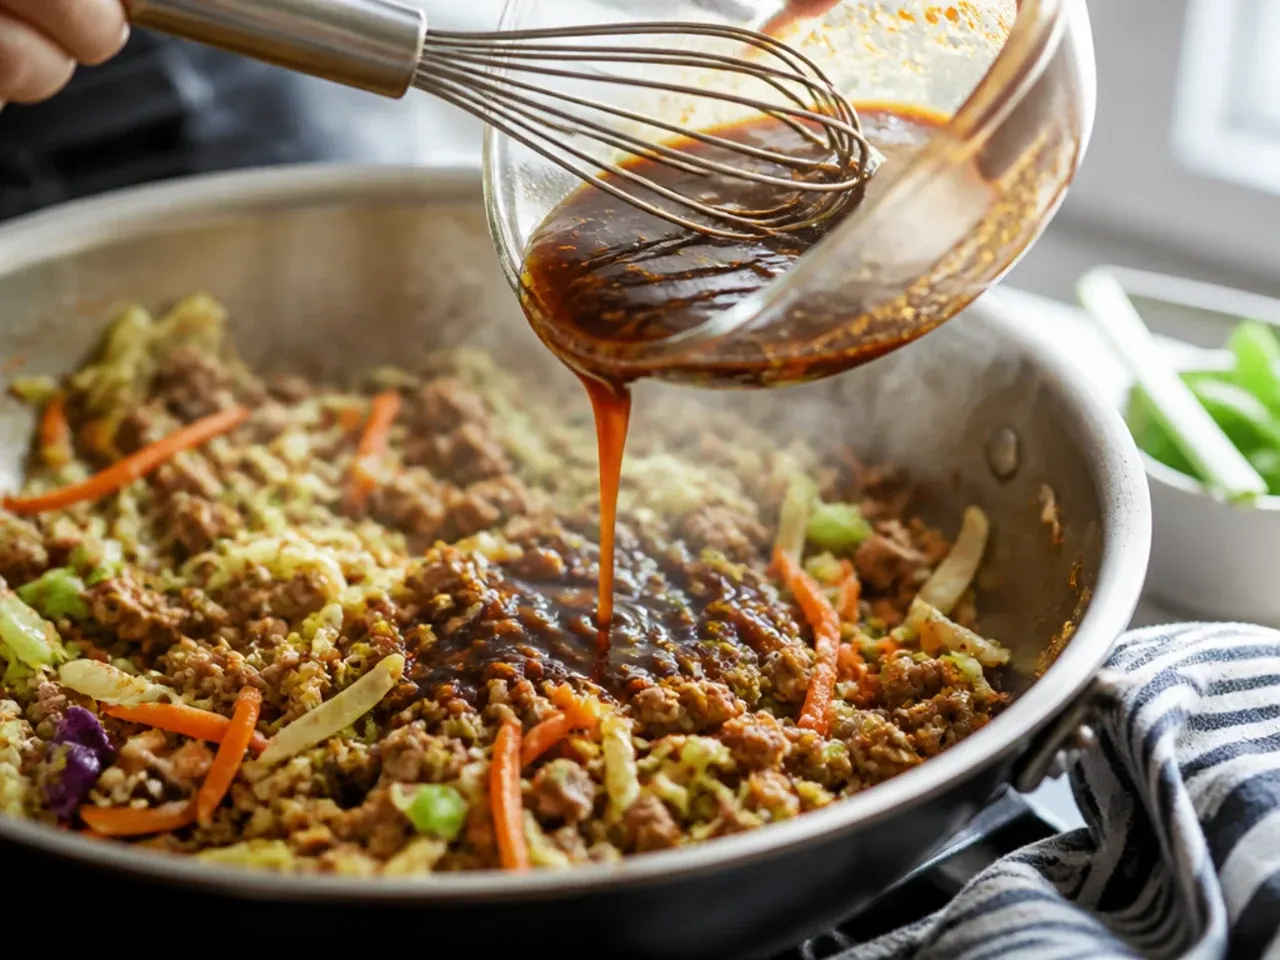
In a small jug, whisk together the low-sodium soy sauce, rice vinegar and honey. Pour the sauce over the meat and cabbage, stirring to coat everything evenly, and cook for 1-2 minutes so the flavours combine.
Step 6: Scramble the Egg Through
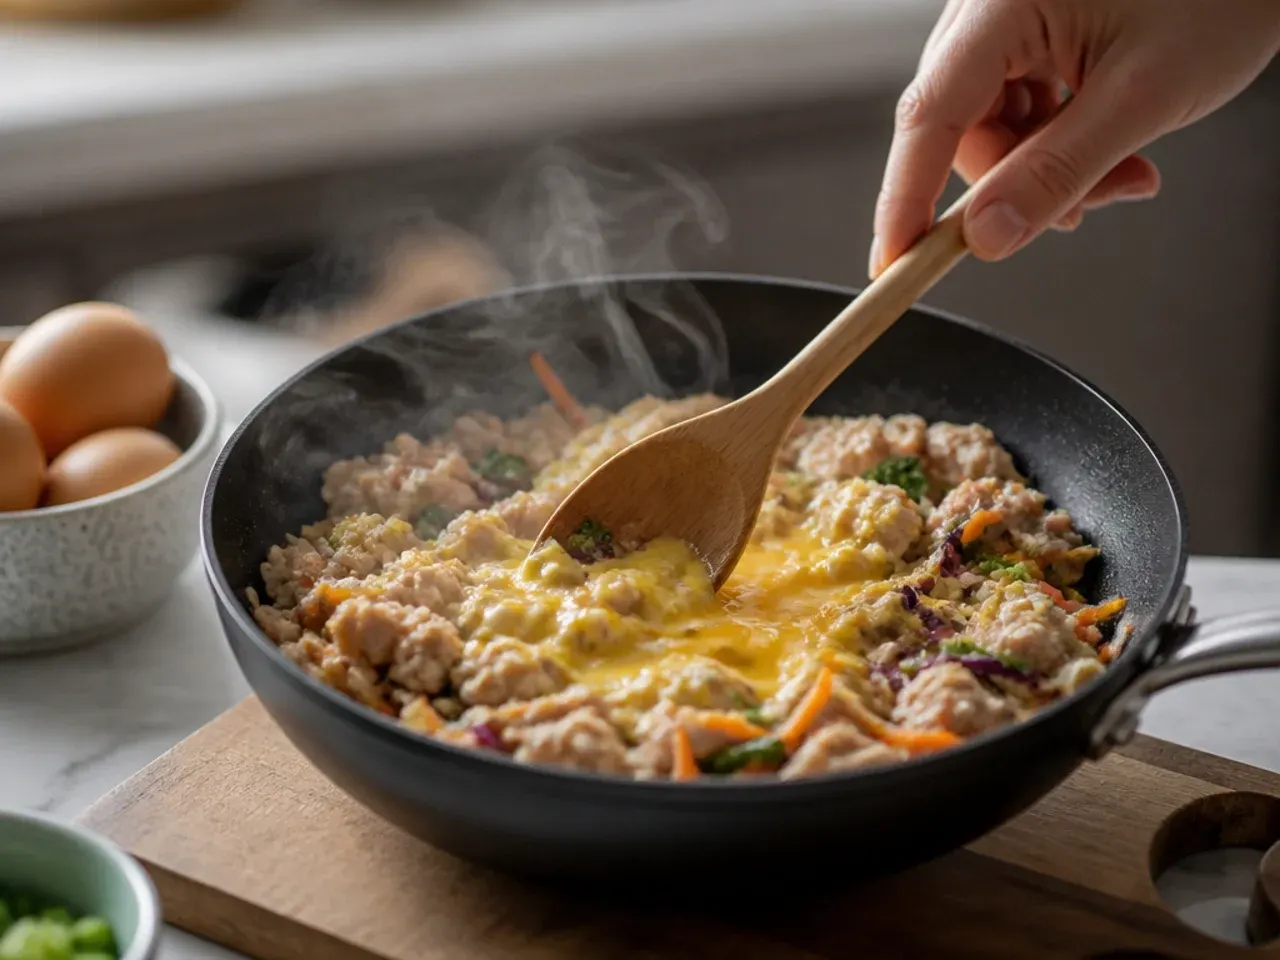
Push the filling to one side of the pan again and crack the eggs into the cleared space. Scramble them loosely with a spatula for about a minute until just set, then fold them through the rest of the filling.
Step 7: Finish and Serve
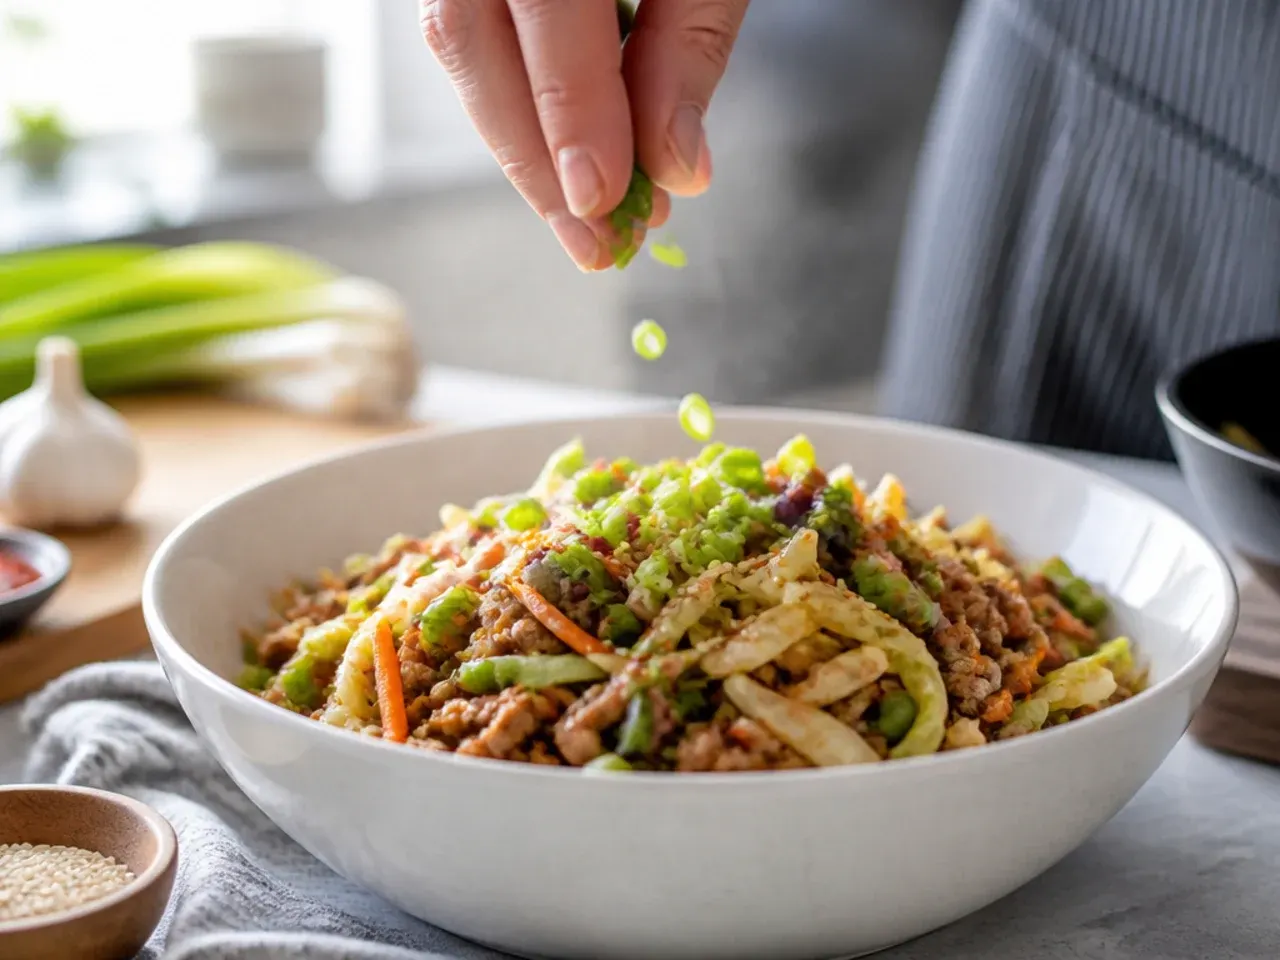
Take the pan off the heat and stir through the toasted sesame oil. Divide between bowls and top with the sliced spring onions, sesame seeds, and extra sriracha or a drizzle of sriracha mayo if you like a bit more heat.
Frequently Asked Questions
Yes, when made with lean ground meat, a light hand with the sauce and plenty of cabbage, it's a genuinely low-carb, high-protein dinner without the deep-fried wrapper of a traditional egg roll. Using low-sodium soy sauce and controlling the added sugar keeps sodium and calories in check compared with the takeout version. It's also naturally gluten-free if you swap in tamari for the soy sauce. A typical serving comes in well under 400 calories while delivering close to 30 g of protein.
Save this for later 📌
Pin this article to your Pinterest board so the full list is one tap away when you need it.
Save on Pinterest