15 Hot Cocoa Bar Sign Ideas That Look Stylish
Get 15 stylish hot cocoa bar sign ideas plus a simple hot chocolate recipe to make your cocoa station the star of the party. If you love hot cocoa bar inspiration, start with our Hot Cocoa Bar Ideas collection, then browse the full Hot Drinks & Cocoa hub for more.
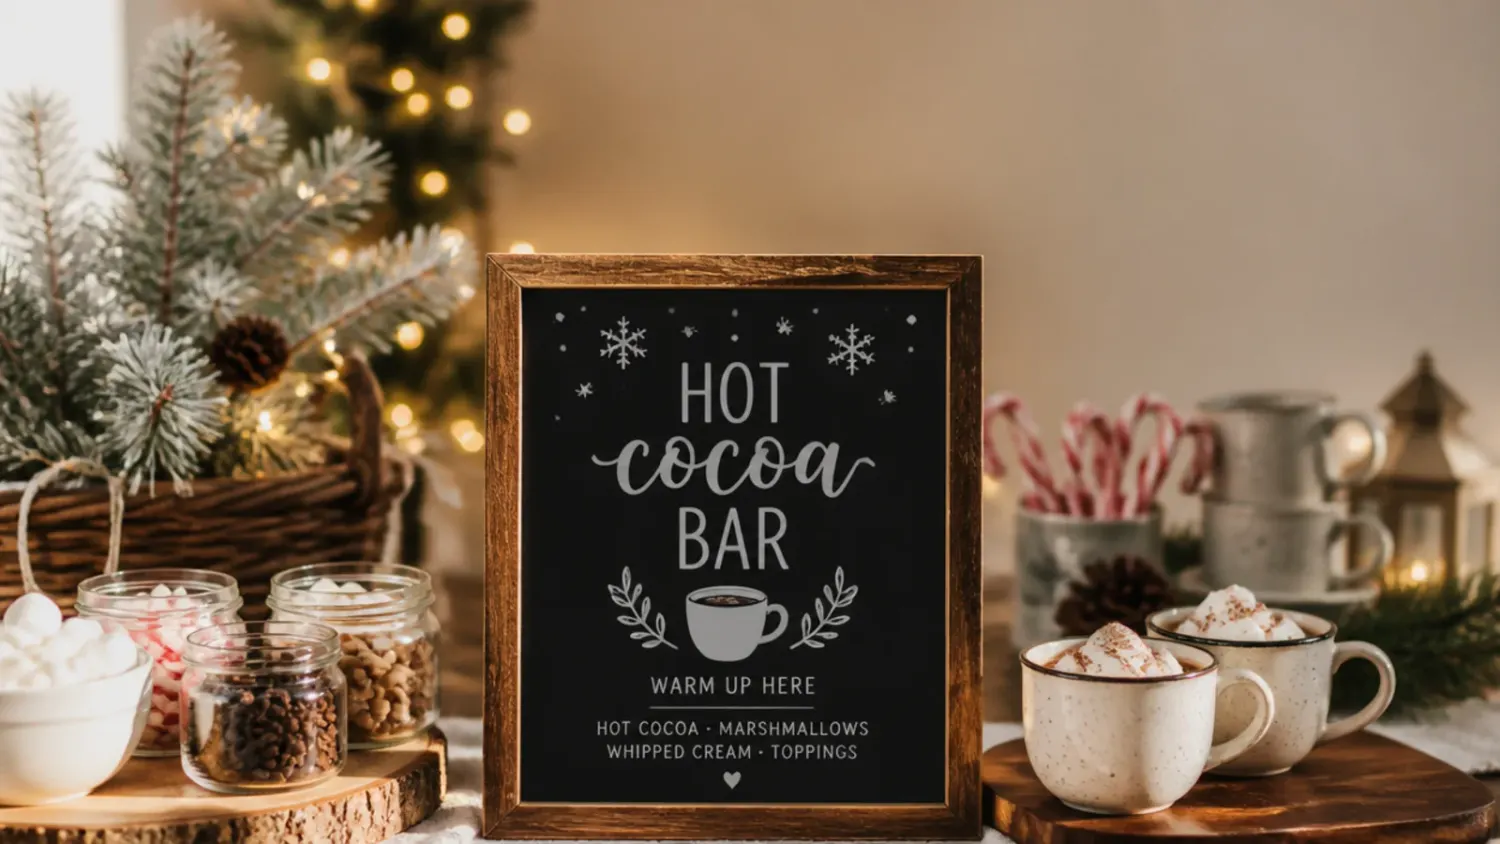
Save this for later 📌
Pin this article to your Pinterest board so the full list is one tap away when you need it.
Save on PinterestHot Drinks & Cocoa
Beginner
Recipes
15 ideas
Table of Contents
- Why You'll Love These
- 1. Classic Chalkboard Cocoa Bar Sign
- 2. Easy Printable Cocoa Bar Sign
- 3. Cozy Rustic Wood Sign
- 4. Simple Tag-Style Labels
- 5. Creamy Script Calligraphy Sign
- 6. Loaded Menu-Board Sign
- 7. Best-Ever Layered Display Sign
- 8. Playful Cheesy-Pun Sign
- 9. Budget Cardstock Sign
- 10. Crowd-Pleasing Large Format Sign
- 11. Make-Ahead Laminated Sign
- 12. Family-Friendly Height Sign
- 13. Festive Seasonal Sign
- 14. Quick No-Fuss Sticker Sign
- 15. Homemade Watercolour Sign
- Pro Tips
- Serving and Garnish Ideas
- Make It Ahead and Batch Tips
- The Master Recipe
Why You'll Love These
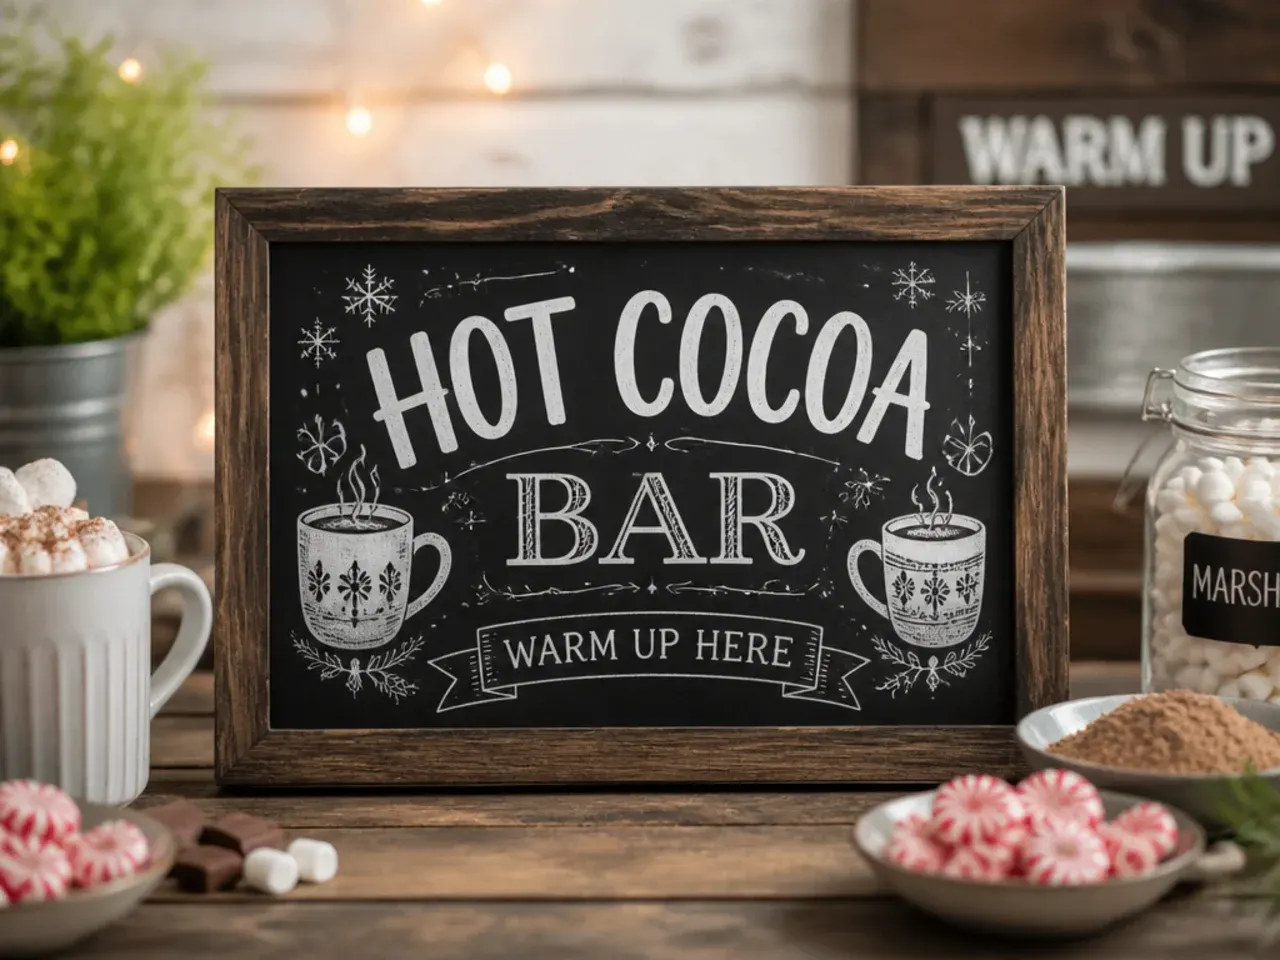
A good hot cocoa bar sign does two jobs at once: it tells guests exactly what to do, and it makes the whole table look intentional rather than thrown together. Each idea below pairs a specific sign style with a serving tip, so you're not just decorating, you're making the bar easier to use. Whether you're planning a birthday, a Christmas open house or a cosy night in, there's a version here that matches your space and your washing-up tolerance. Scroll down for a simple hot chocolate recipe and toppings guide so the sign has something worth pointing at.
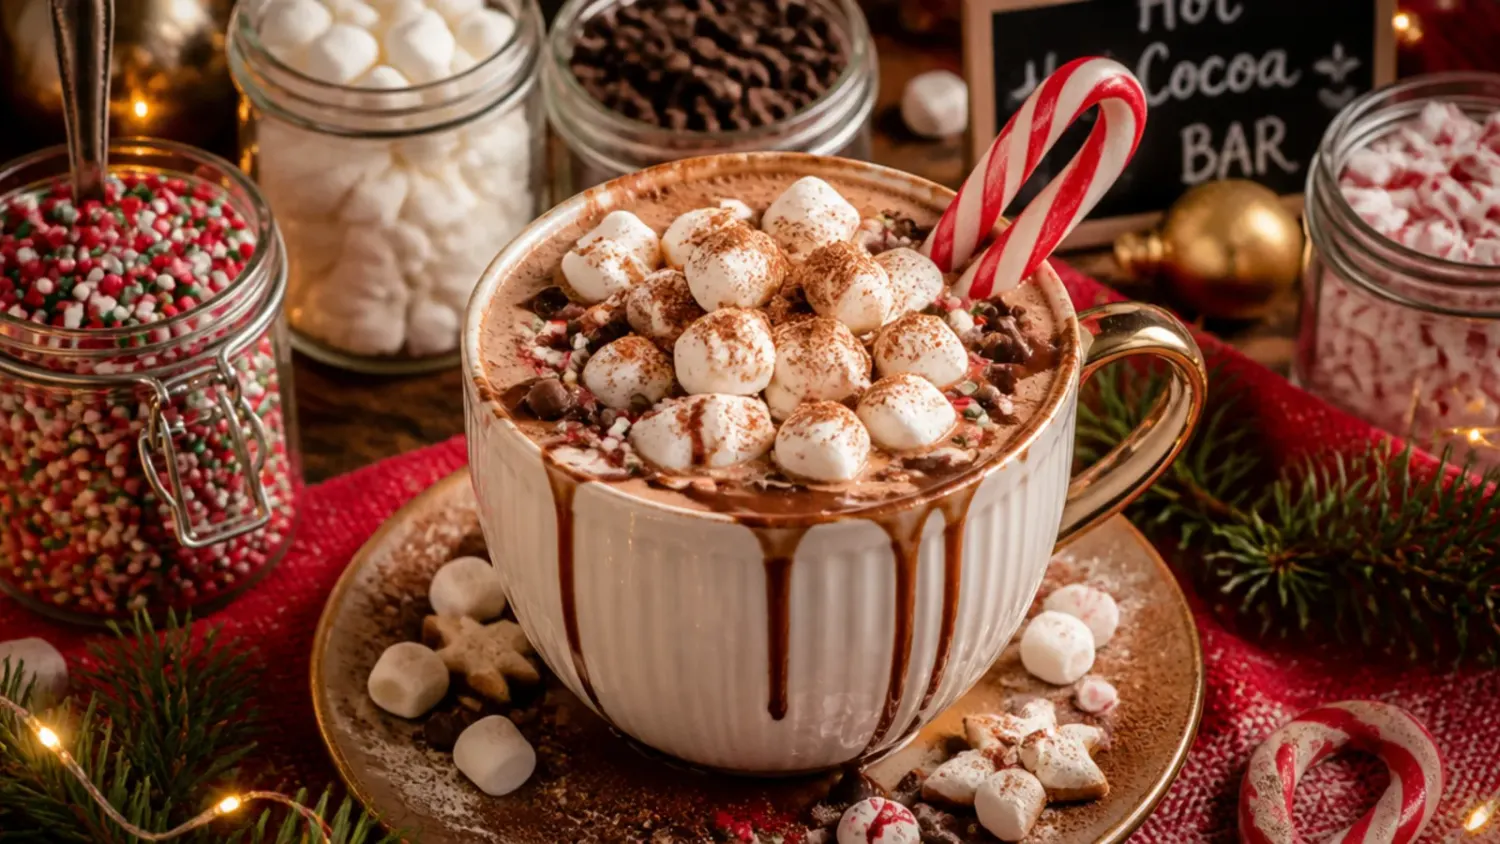
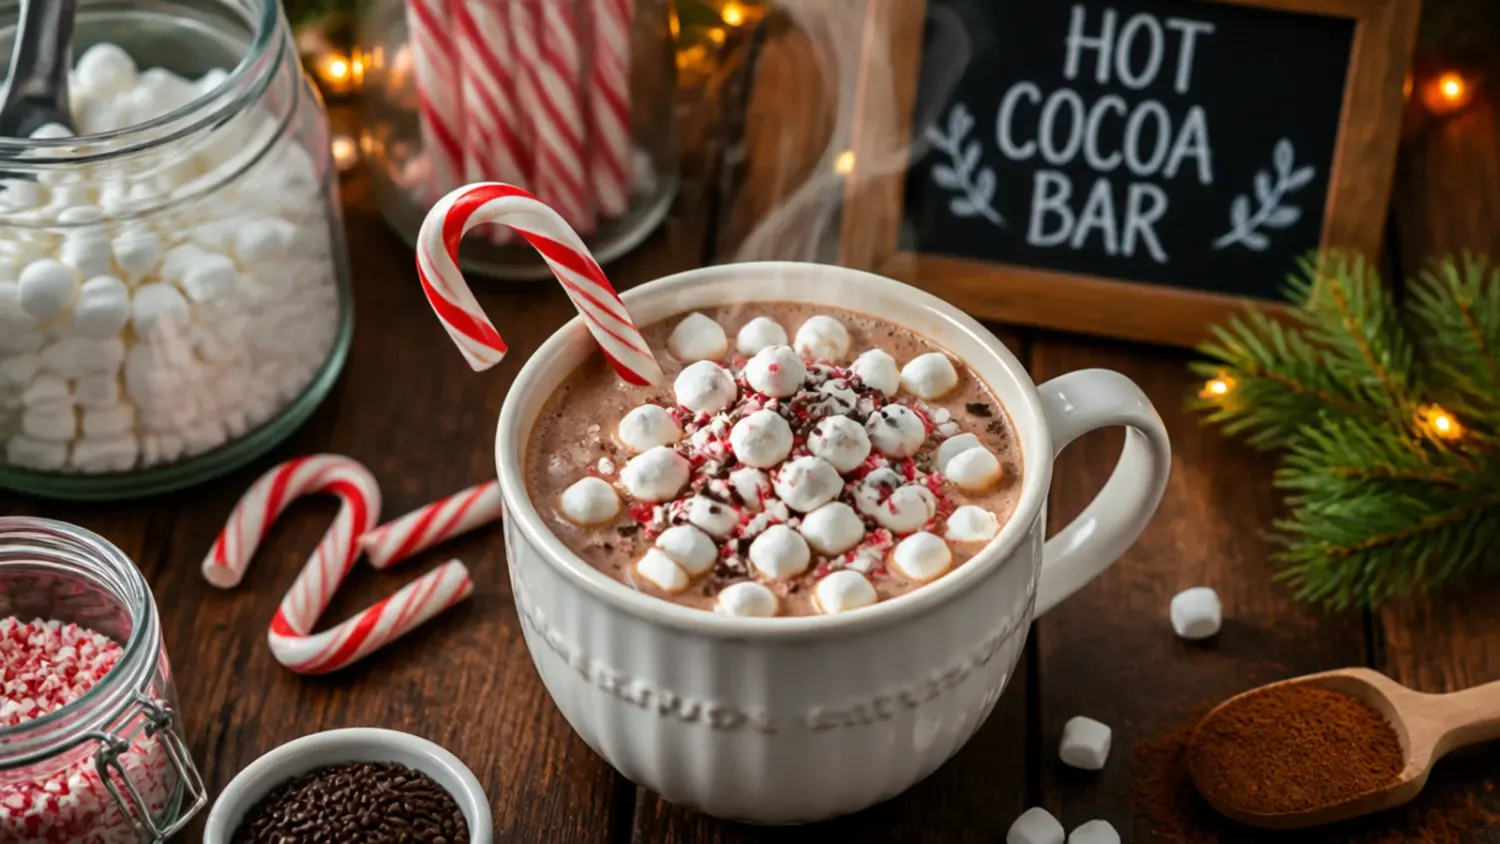
1. Classic Chalkboard Cocoa Bar Sign
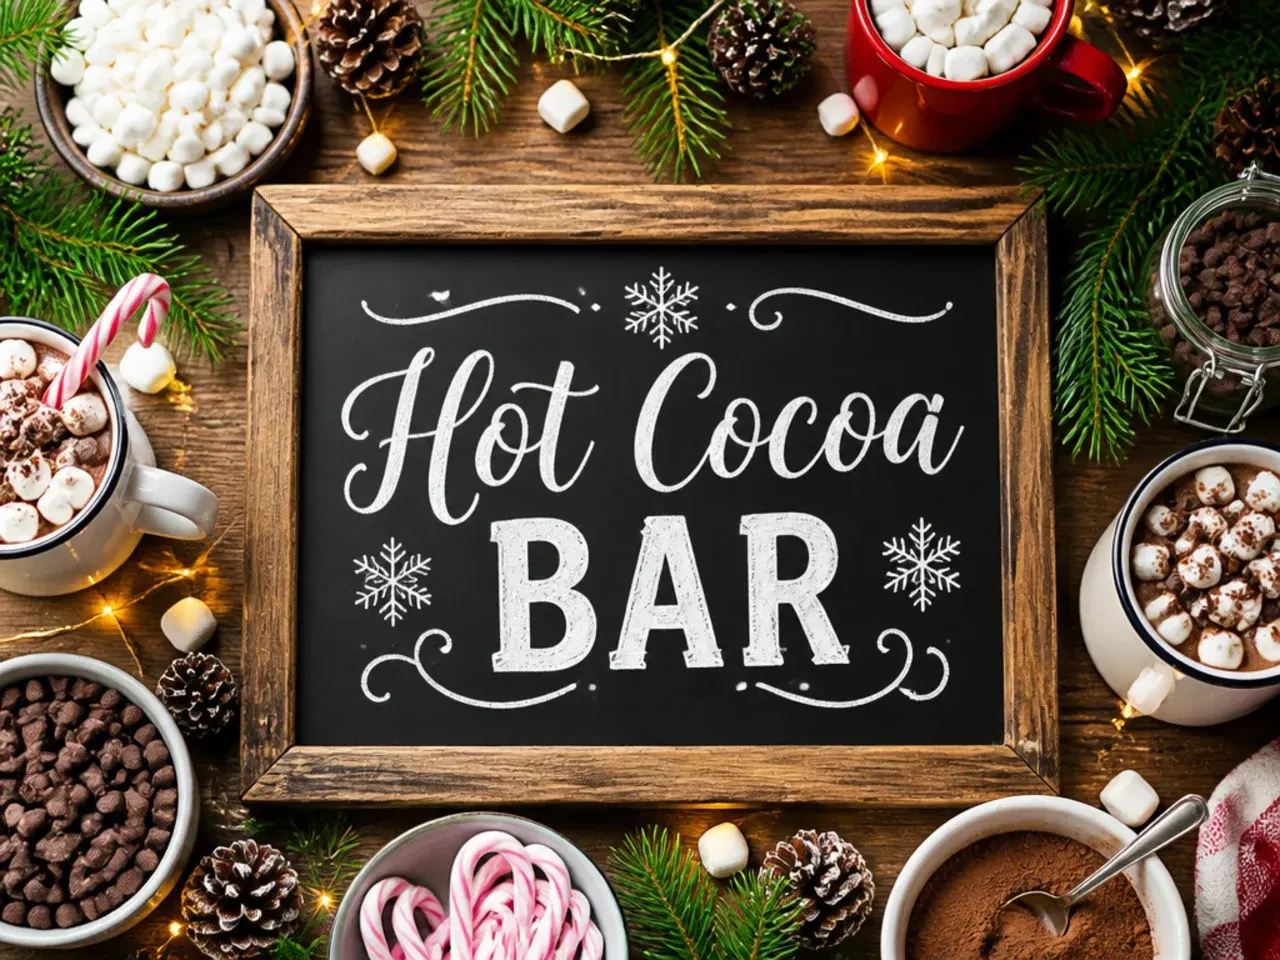
A small chalkboard easel propped behind the mugs is the most forgiving option, since chalk wipes off if you change the topping list or spell 'marshmallows' wrong the first time. Write a short header like 'Hot Cocoa Bar' and list toppings underneath in two columns so guests can scan it in a few seconds. Chalk pens give crisper white lettering than traditional chalk and won't smudge if the table gets bumped. Keep the board under 30cm tall so it doesn't block the view of the toppings behind it.
2. Easy Printable Cocoa Bar Sign
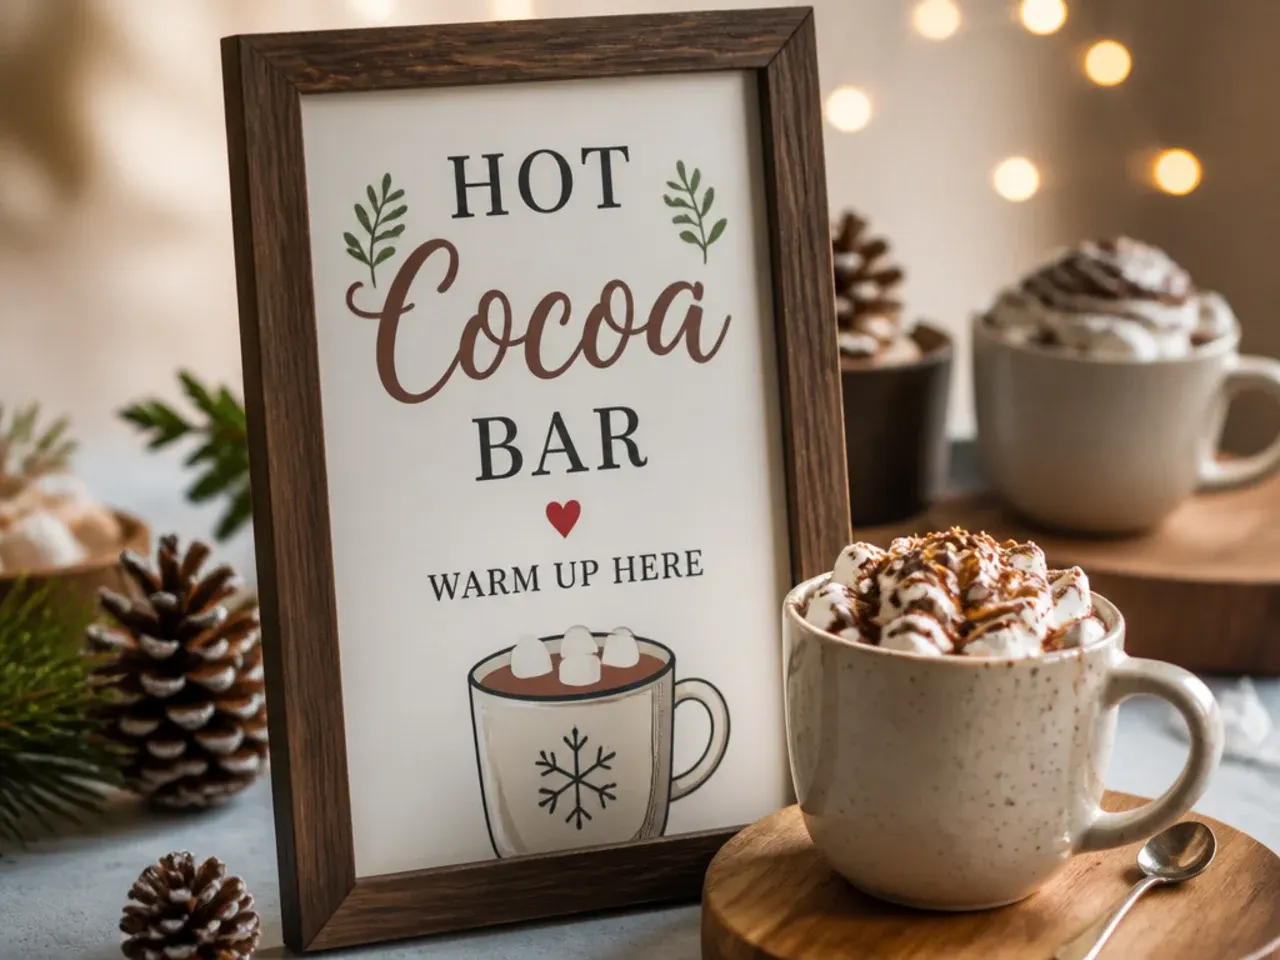
Print a ready-made design on cardstock and slot it into a photo frame - this is the fastest option when you're setting up the night before an event. Choose a frame with a stand rather than one that needs wall mounting, so you can reposition it as the table fills up. A5 size sits well against a tray without dominating it. If you're printing at home, matte paper reads better under warm party lighting than glossy stock.
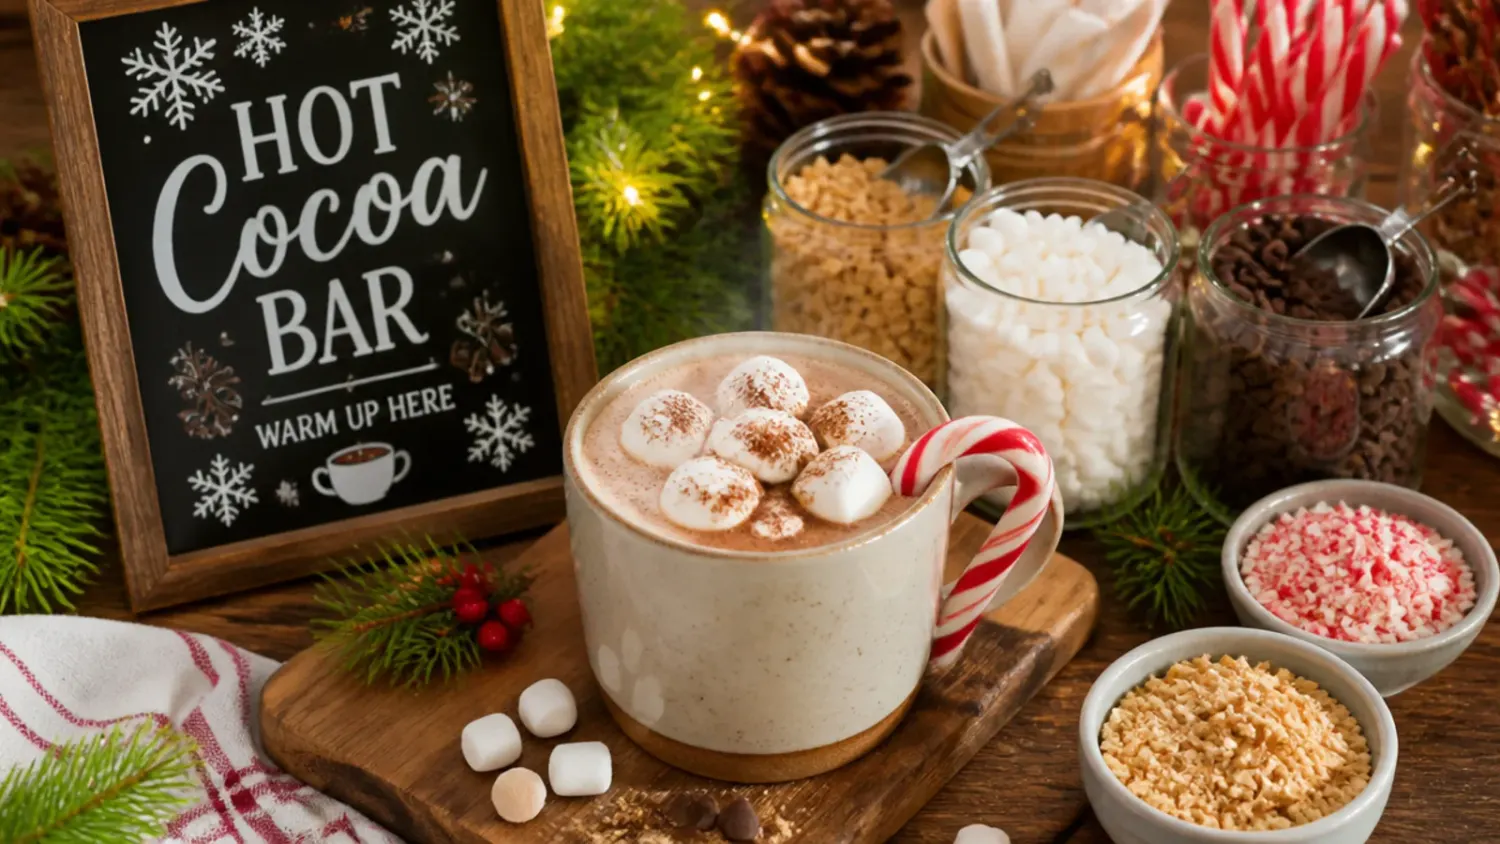
3. Cozy Rustic Wood Sign
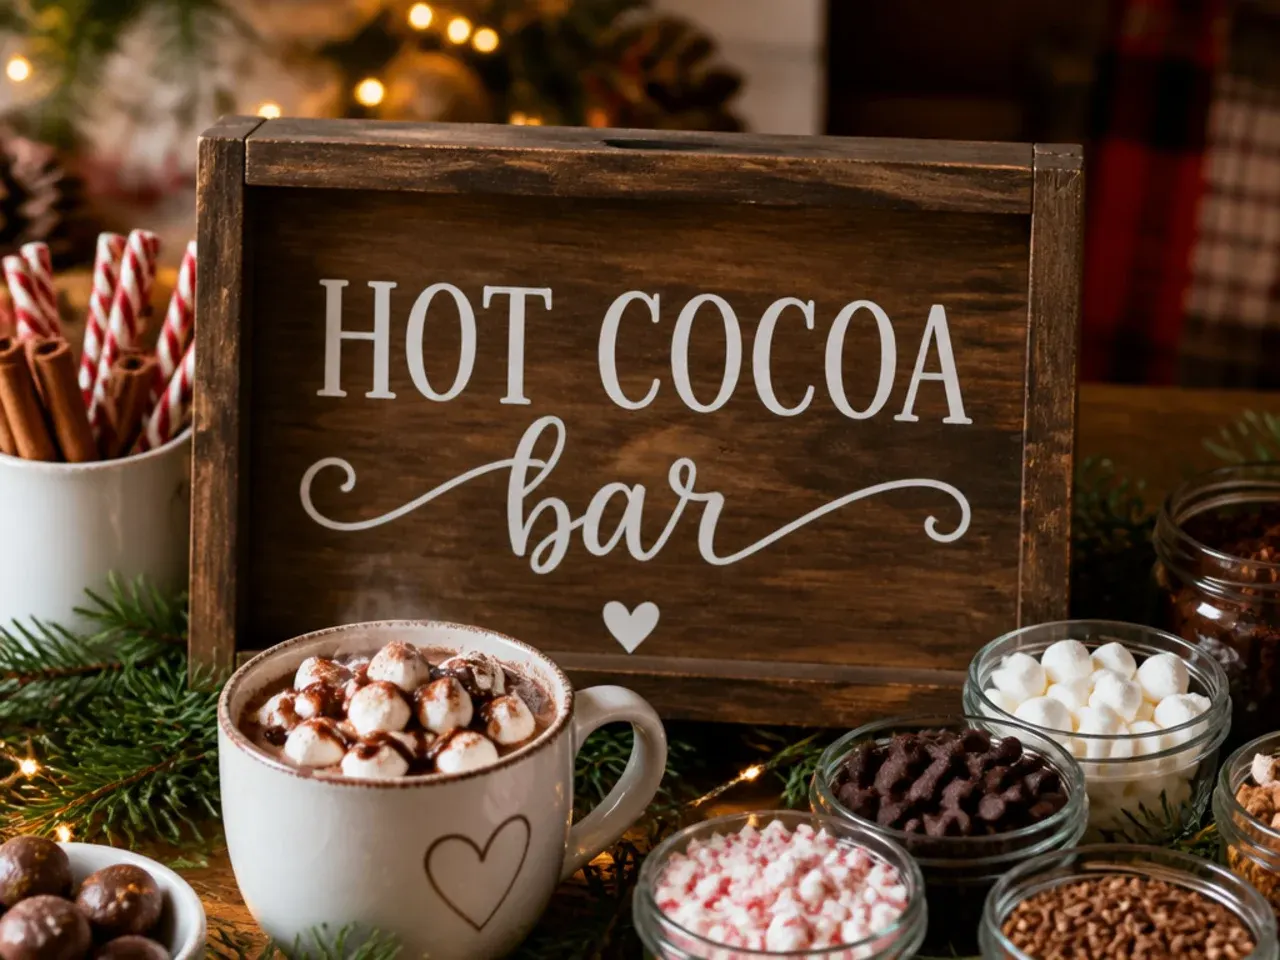
A stained wood plank with the wording burned or painted on suits a farmhouse or cabin-style table and holds up to being reused year after year. Route the design with a wood-burning tool for a permanent look, or stencil it with acrylic paint if you want to change the wording later. Sand the edges lightly so the sign feels finished rather than like a leftover offcut. Lean it against a stack of mugs rather than laying it flat, so it's visible from across the room.
4. Simple Tag-Style Labels
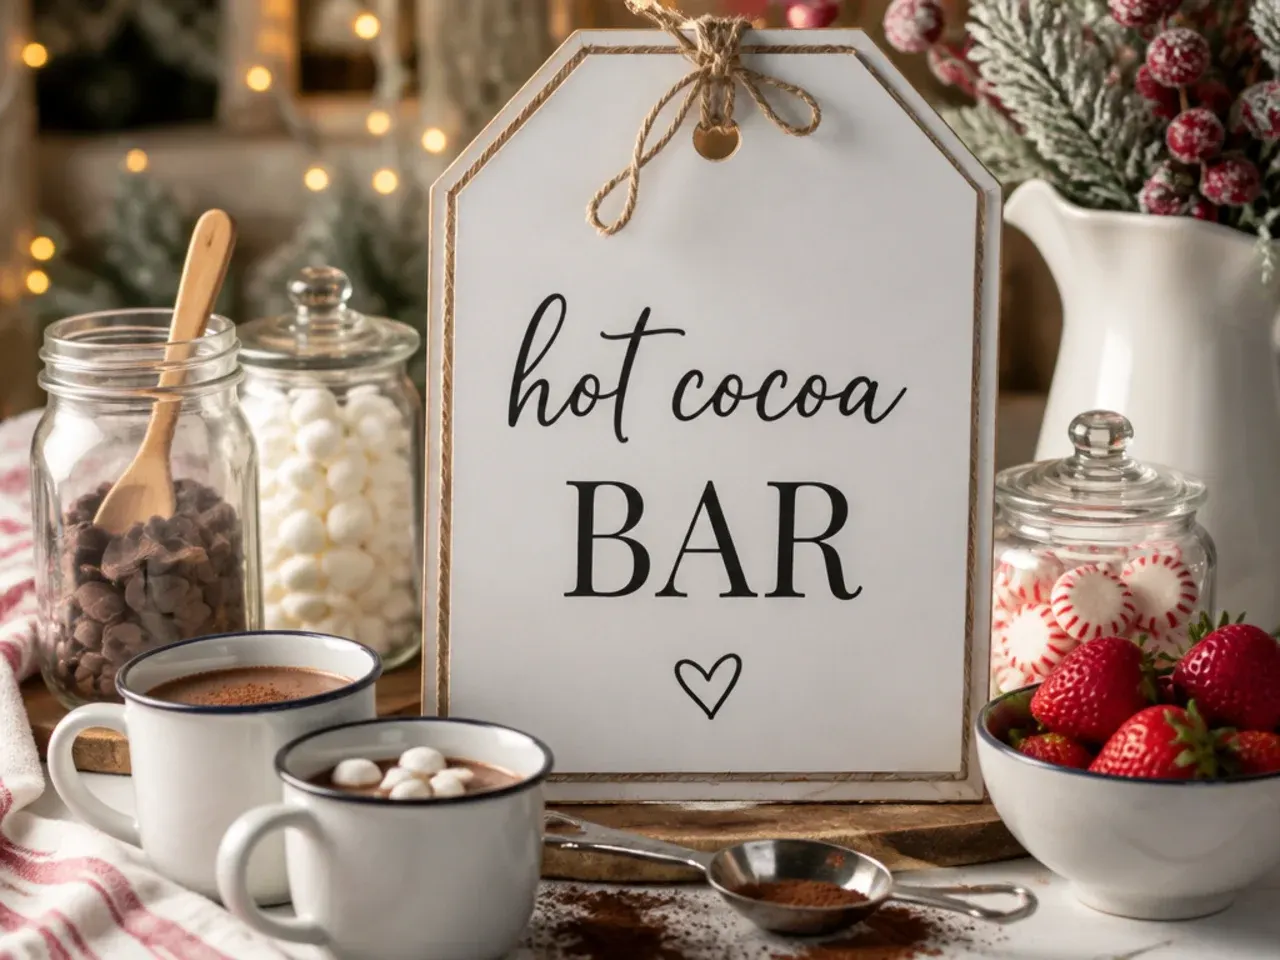
Instead of one big sign, use small kraft paper tags tied to each topping jar with twine - this works best when your toppings sit in individual bowls rather than one shared spread. Write just the topping name on each tag, not a full sentence, so they stay legible at a glance. A single larger sign at the front of the table can still say 'Build Your Own Hot Cocoa' to set the scene. This layout is the easiest to update if you swap a topping last minute.
5. Creamy Script Calligraphy Sign
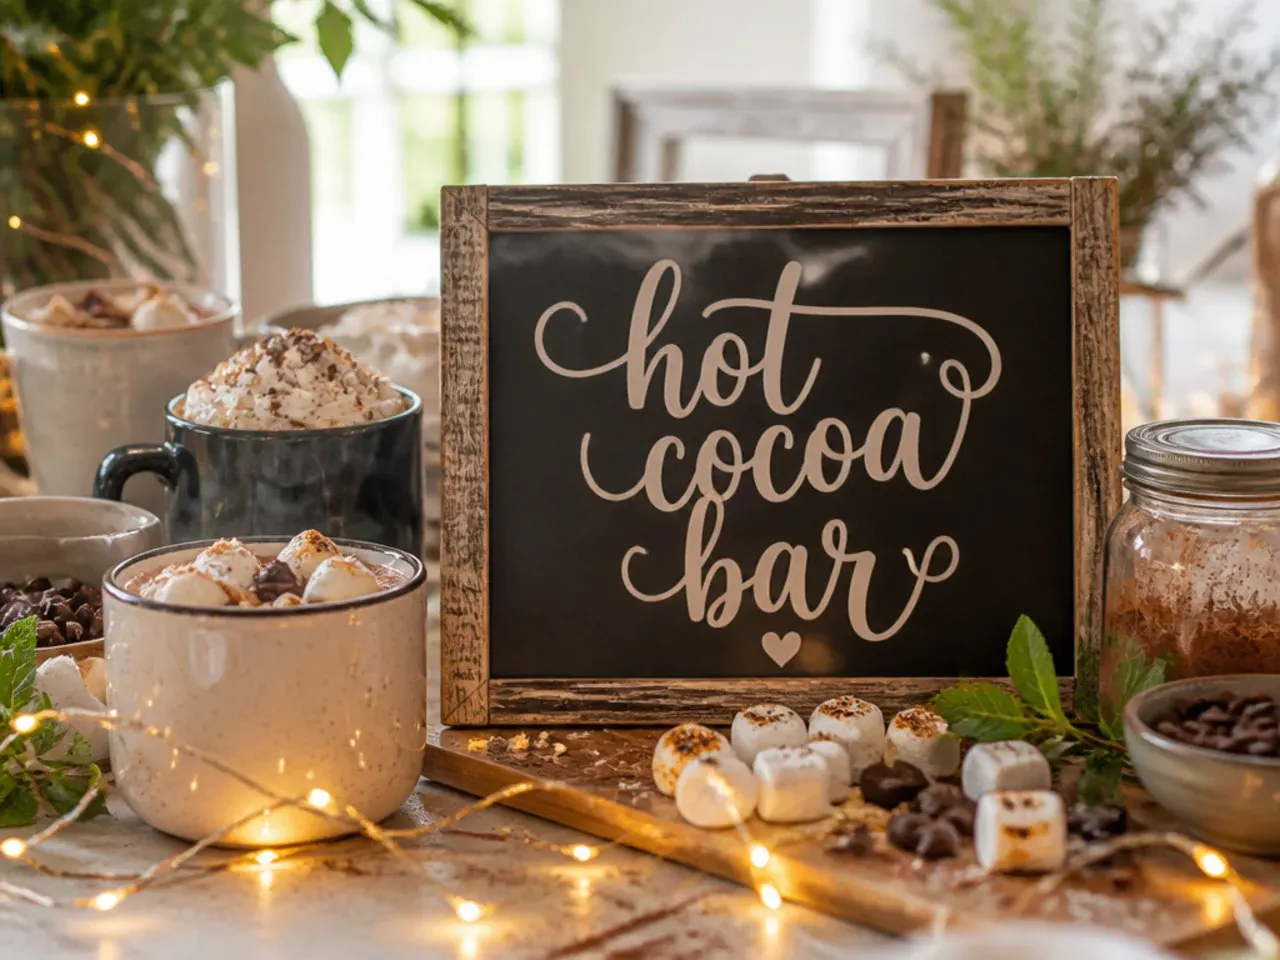
A hand-lettered sign in white or gold ink on black card gives the table a slightly more grown-up, party-ready feel than chalkboard lettering. Practise the wording on scrap paper first, since calligraphy nibs need a light touch and a few tries before the letters look even. Keep the phrase short - 'Hot Cocoa Bar' or 'Cocoa & Cream' both work - so the script stays large enough to read from a few metres away. Seal the ink with a light spray fixative if the sign will sit near steam from a slow cooker.
Save this for later 📌
Pin this article to your Pinterest board so the full list is one tap away when you need it.
Save on Pinterest6. Loaded Menu-Board Sign
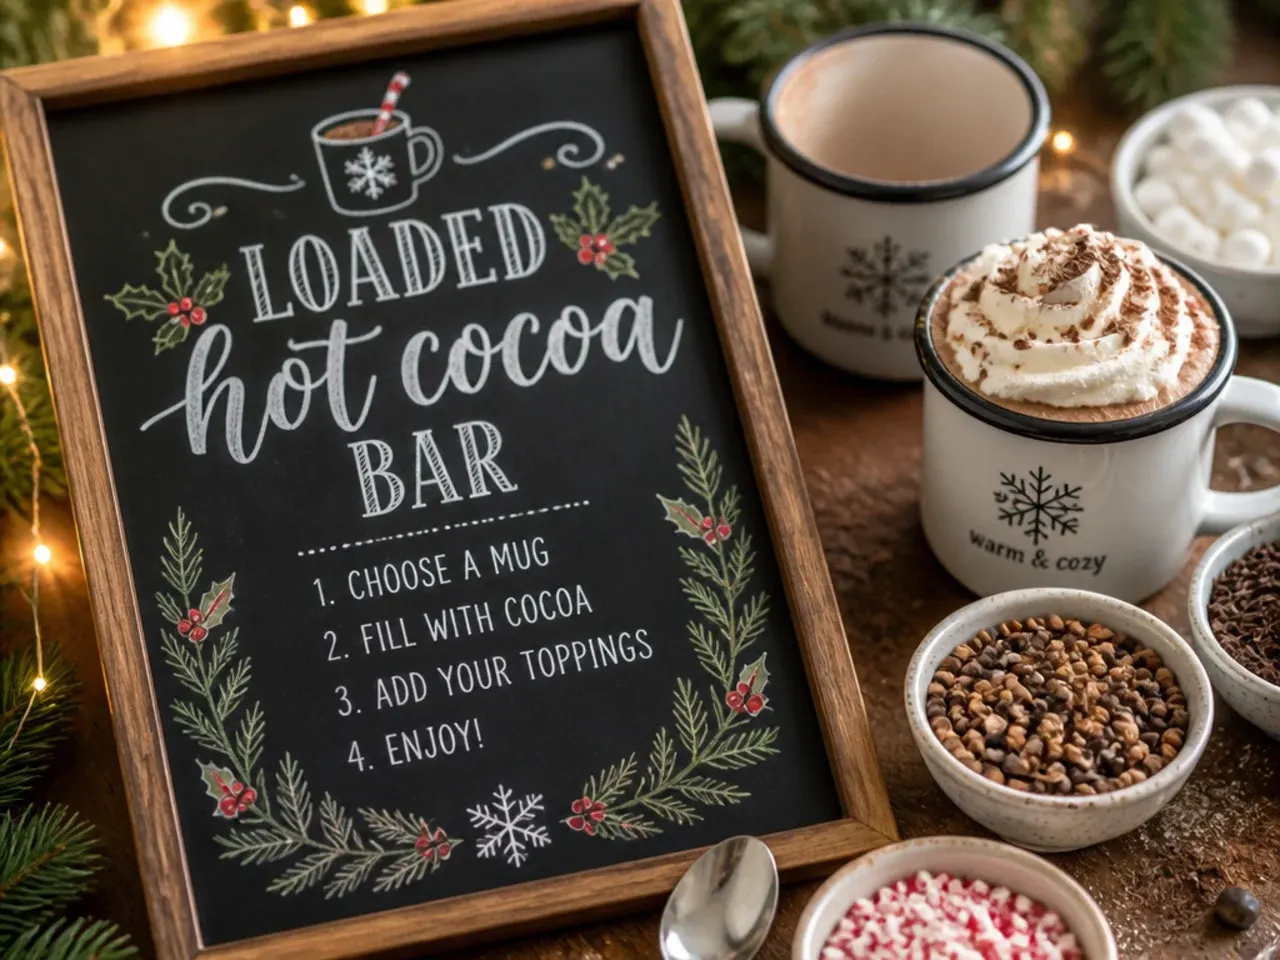
For a bigger spread with several mix-ins, a menu-style sign listing 'flavours' (peppermint, salted caramel, orange) alongside toppings helps guests build a specific drink rather than grabbing at random. Group the sign into two sections - flavours and toppings - with a small divider line between them. This style works well printed on A4 and slipped into a clear acrylic stand, which is sturdier than card in a busy buffet setting. It's the sign to use when you've prepped more than four topping options.
7. Best-Ever Layered Display Sign
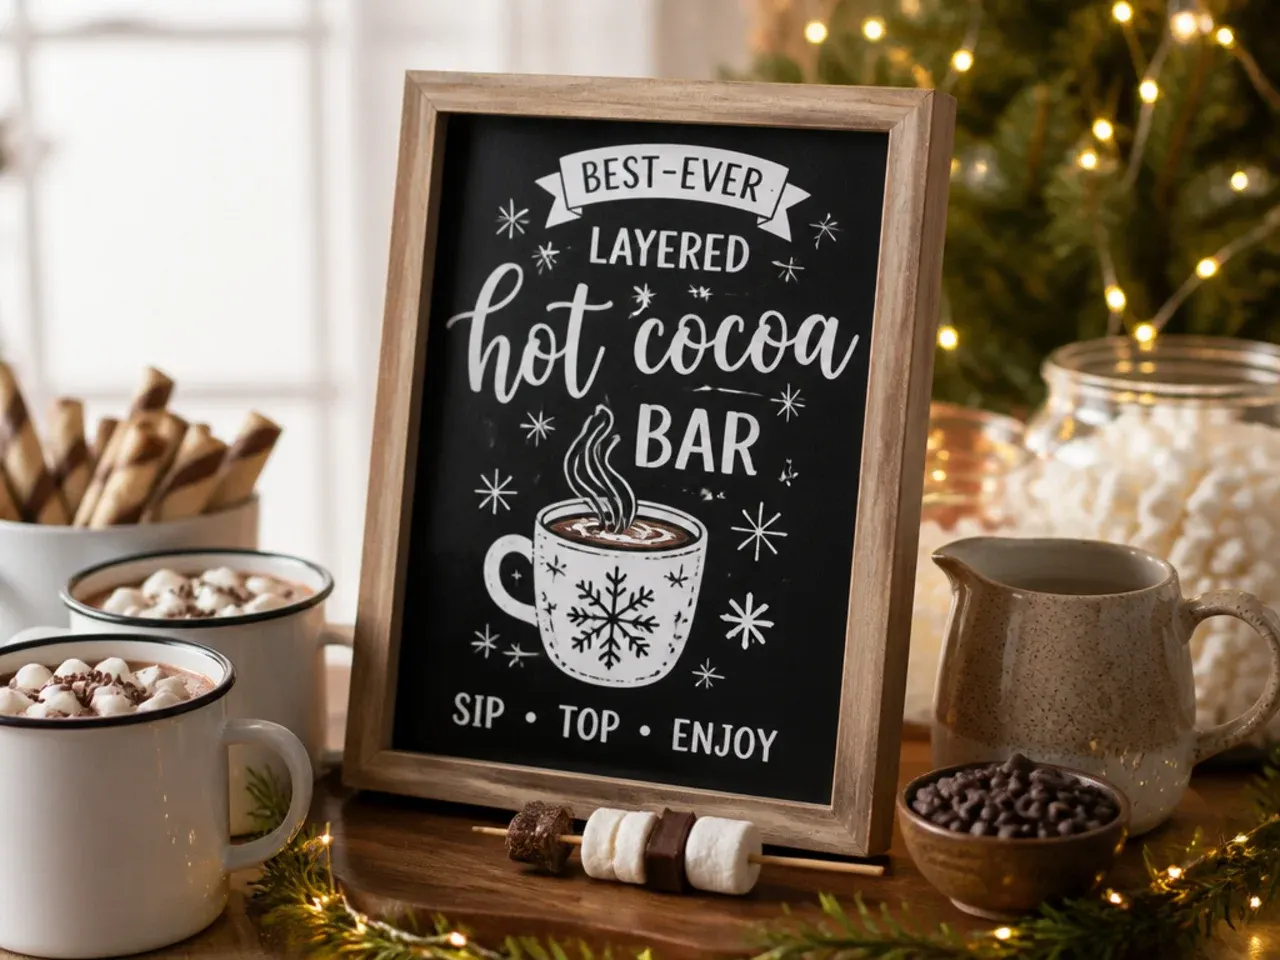
Combine a tall sign at the back of the table with smaller topping labels in front, creating a layered look similar to a proper drinks menu at a cafe. Use a taller frame or stand (around 25-30cm) for the main sign so it's visible over mugs and jars in front of it. This tiered approach is the one most worth the extra setup time for a big gathering, since it guides guests through the whole station without anyone needing to ask what's on offer. Keep the colour palette consistent across all the signs - two colours maximum reads as coordinated rather than cluttered.
8. Playful Cheesy-Pun Sign
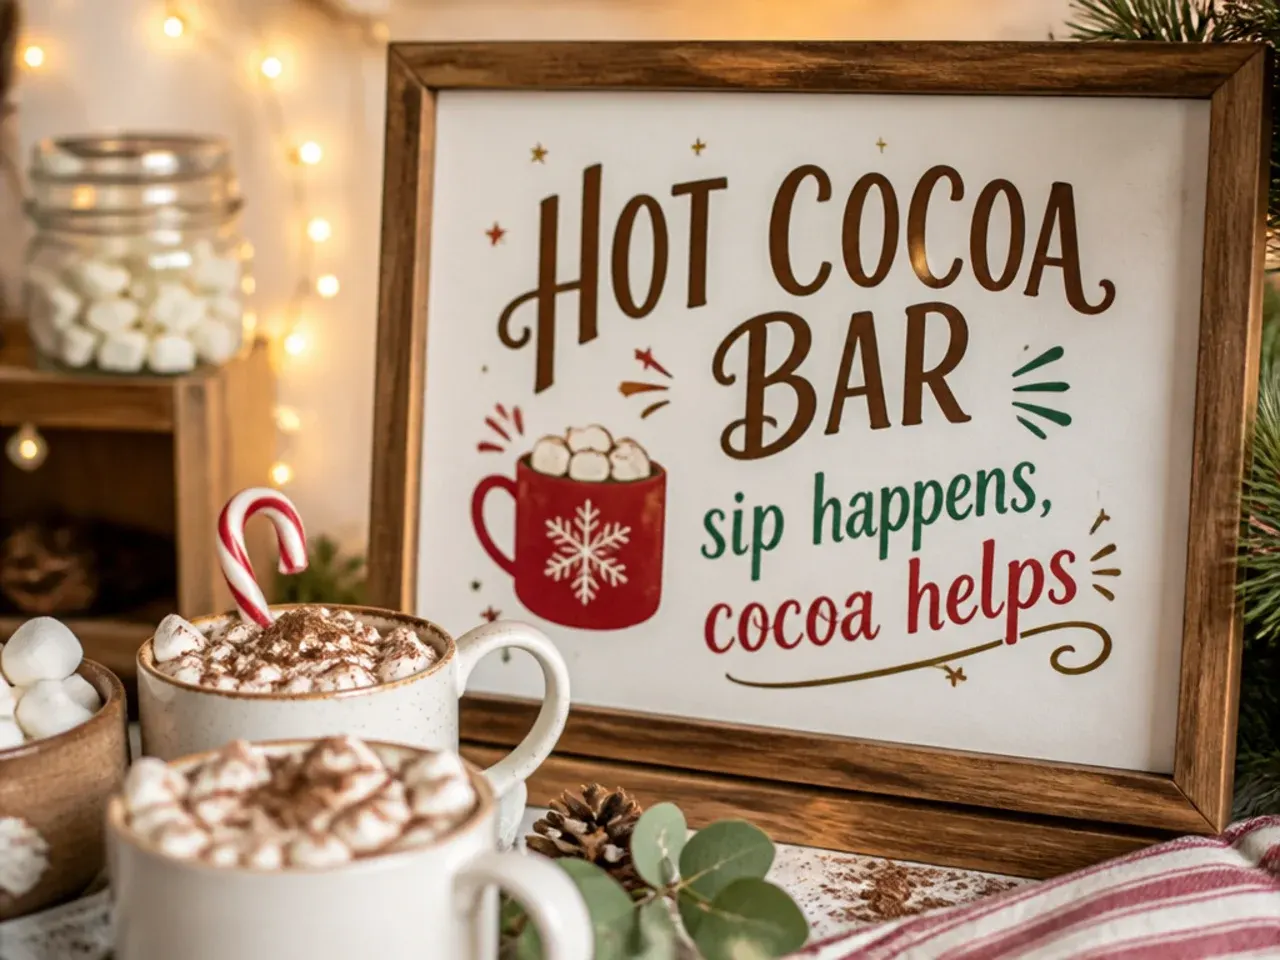
A sign with a light pun - 'Hot Cocoa: Snow Better Feeling' or 'Let It Snow, Let It Pour' - adds personality and works especially well at kids' parties or casual get-togethers. Keep the pun on its own line above the practical wording, so the sign still functions as a label even if the joke doesn't land with everyone. Bright, rounded lettering suits this style better than formal script. This is a good option when the sign is doing double duty as a photo backdrop.
9. Budget Cardstock Sign
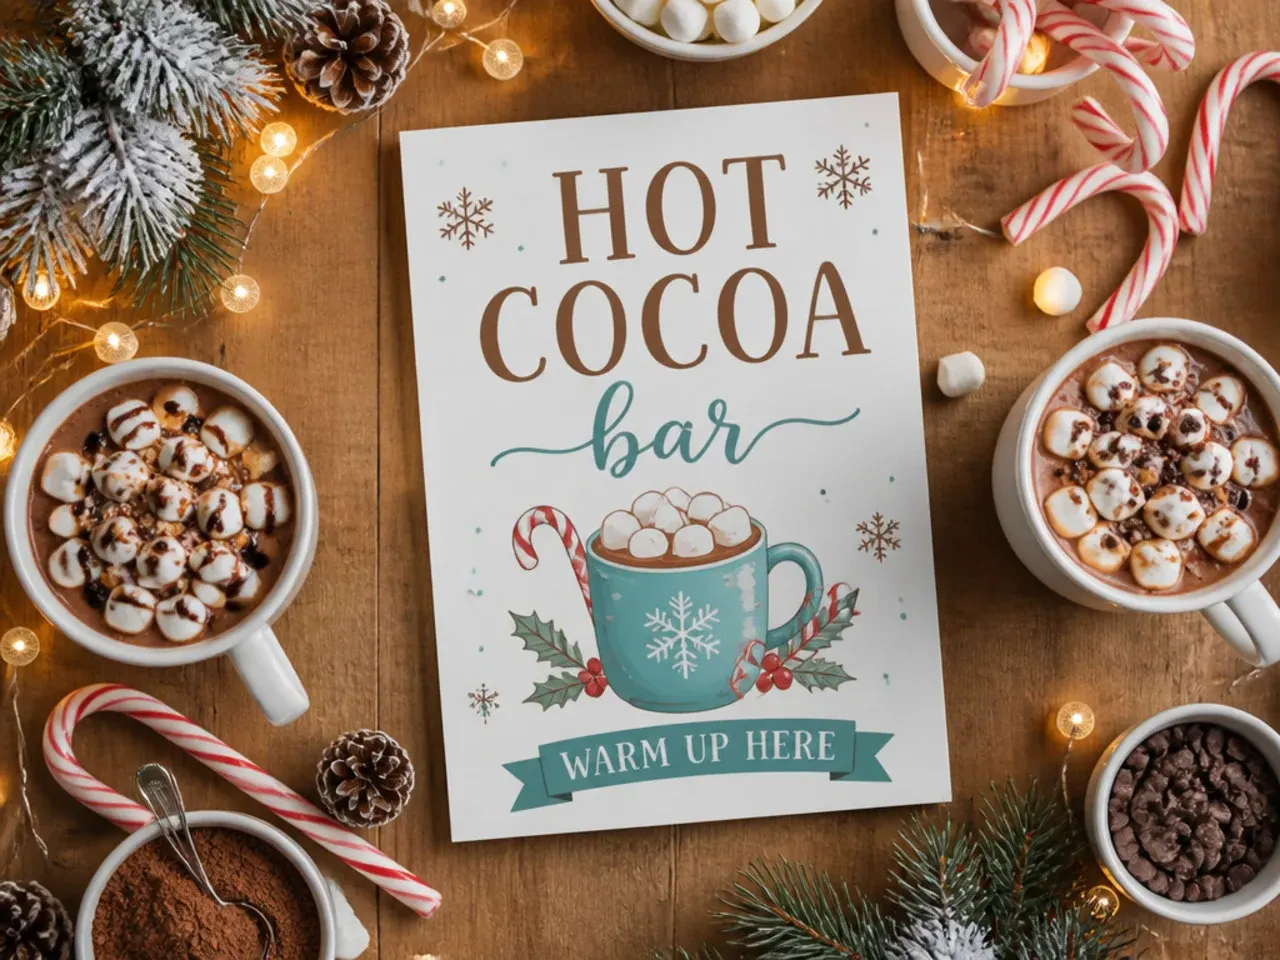
A single sheet of coloured cardstock, hand-written with a paint pen, costs almost nothing and still looks tidy if you keep the lettering straight and evenly spaced. Use a ruler and pencil to mark faint guidelines first, then go over them in pen and rub out the pencil once it's dry. Prop it against a mug or small stack of books rather than buying a stand. This version takes under 10 minutes and suits a last-minute or informal gathering.
10. Crowd-Pleasing Large Format Sign
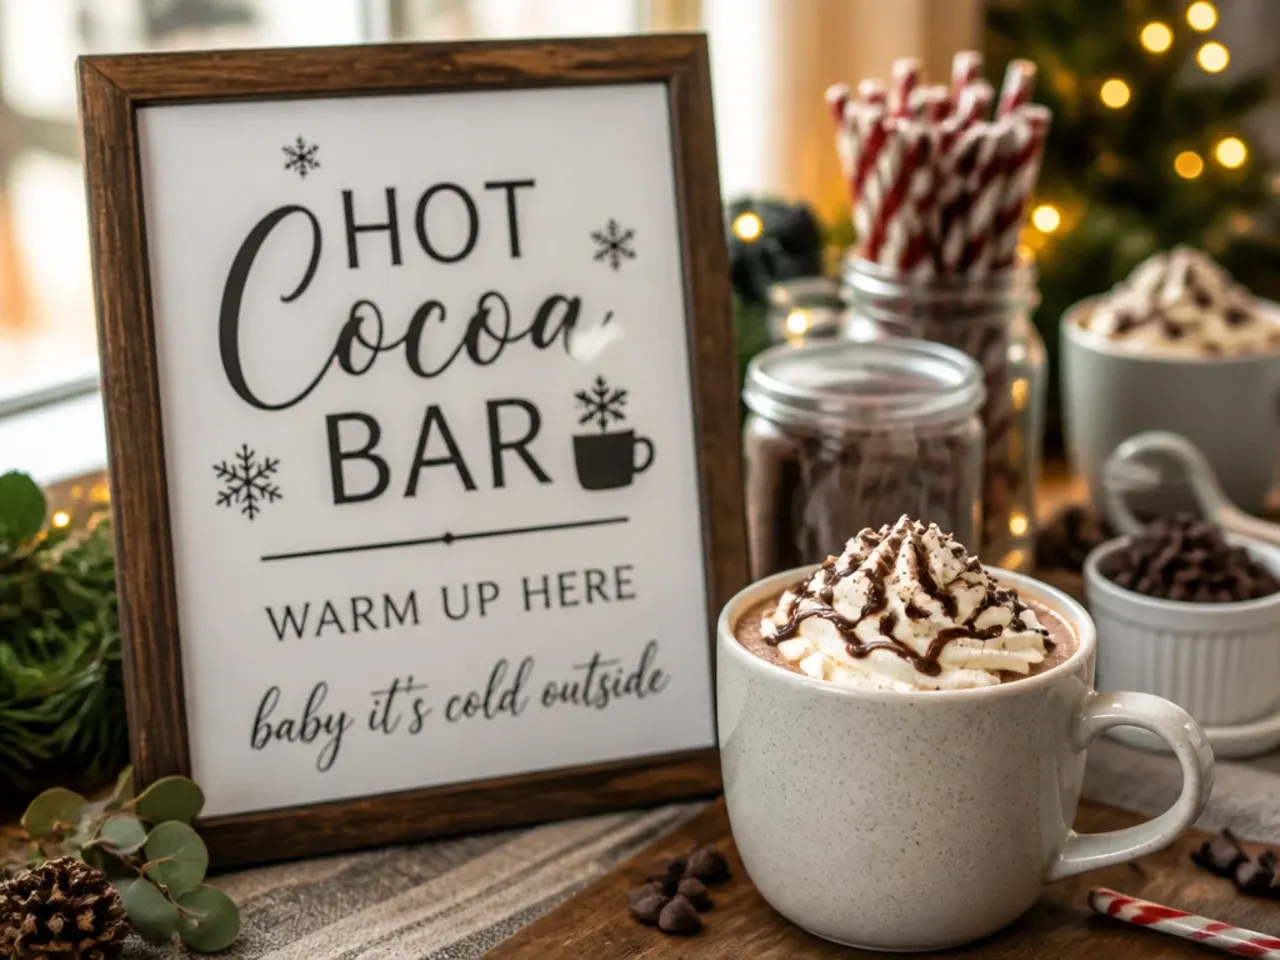
For bigger parties where guests queue at the table, size up to an A3 or poster-sized sign so it can be read from further back in the line. Bold, thick lettering holds up better at this size than thin script, which can look sparse on a large sheet. Mount it on foam board so it stays rigid and doesn't curl in a warm room. This is the sign to reach for when you're serving more than 15-20 people.
Save this for later 📌
Pin this article to your Pinterest board so the full list is one tap away when you need it.
Save on Pinterest11. Make-Ahead Laminated Sign
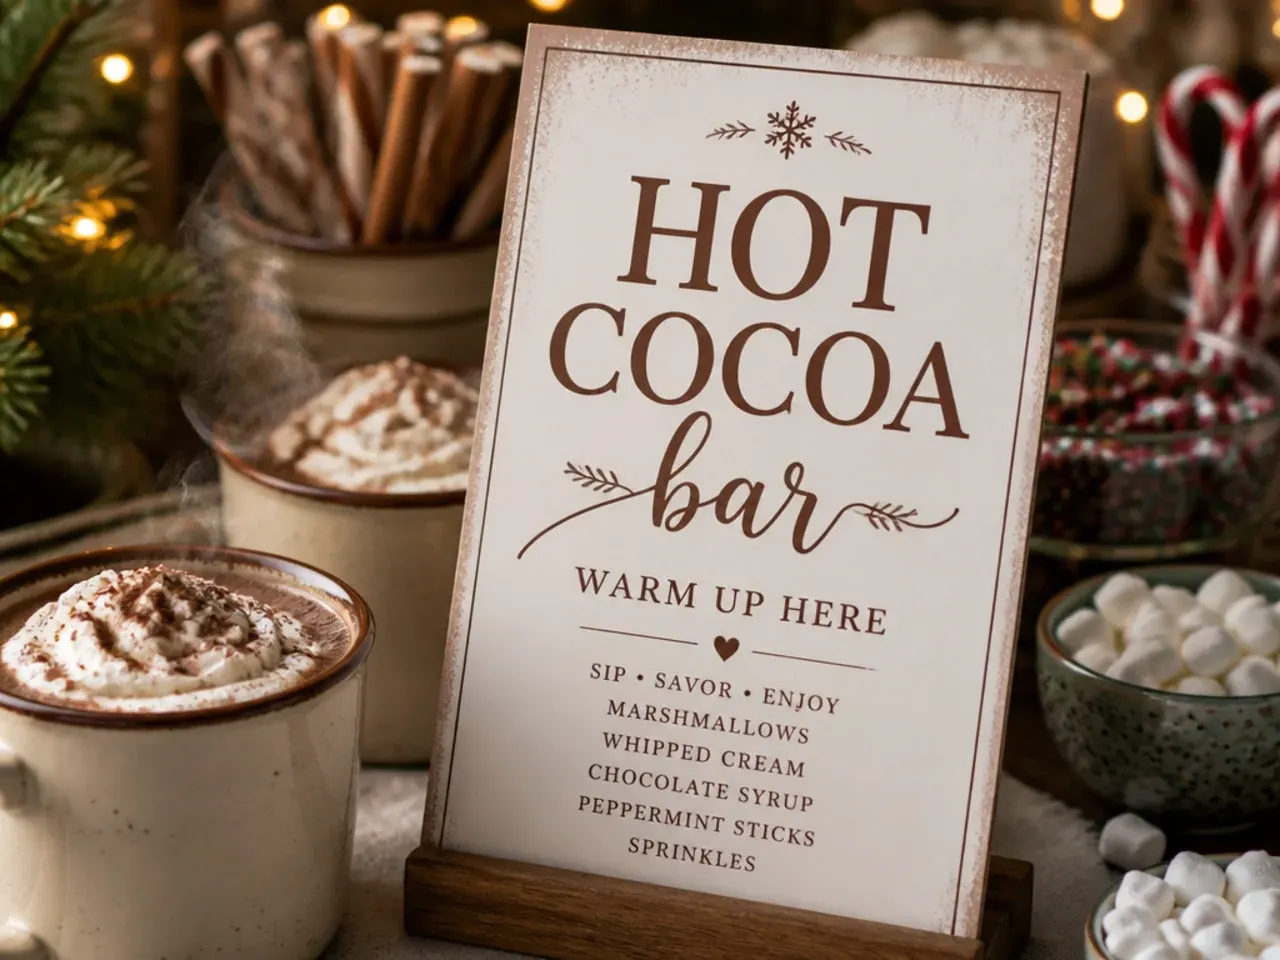
Laminate your sign so it can be wiped clean, stored flat, and reused every winter without the corners softening or the ink fading. This is the most practical choice if you host more than one cocoa bar a season, since you only design and print it once. A basic home laminator or a print shop can do A4-A3 sizes for a few pounds. Store it flat between two sheets of card so it doesn't warp in a drawer.
12. Family-Friendly Height Sign
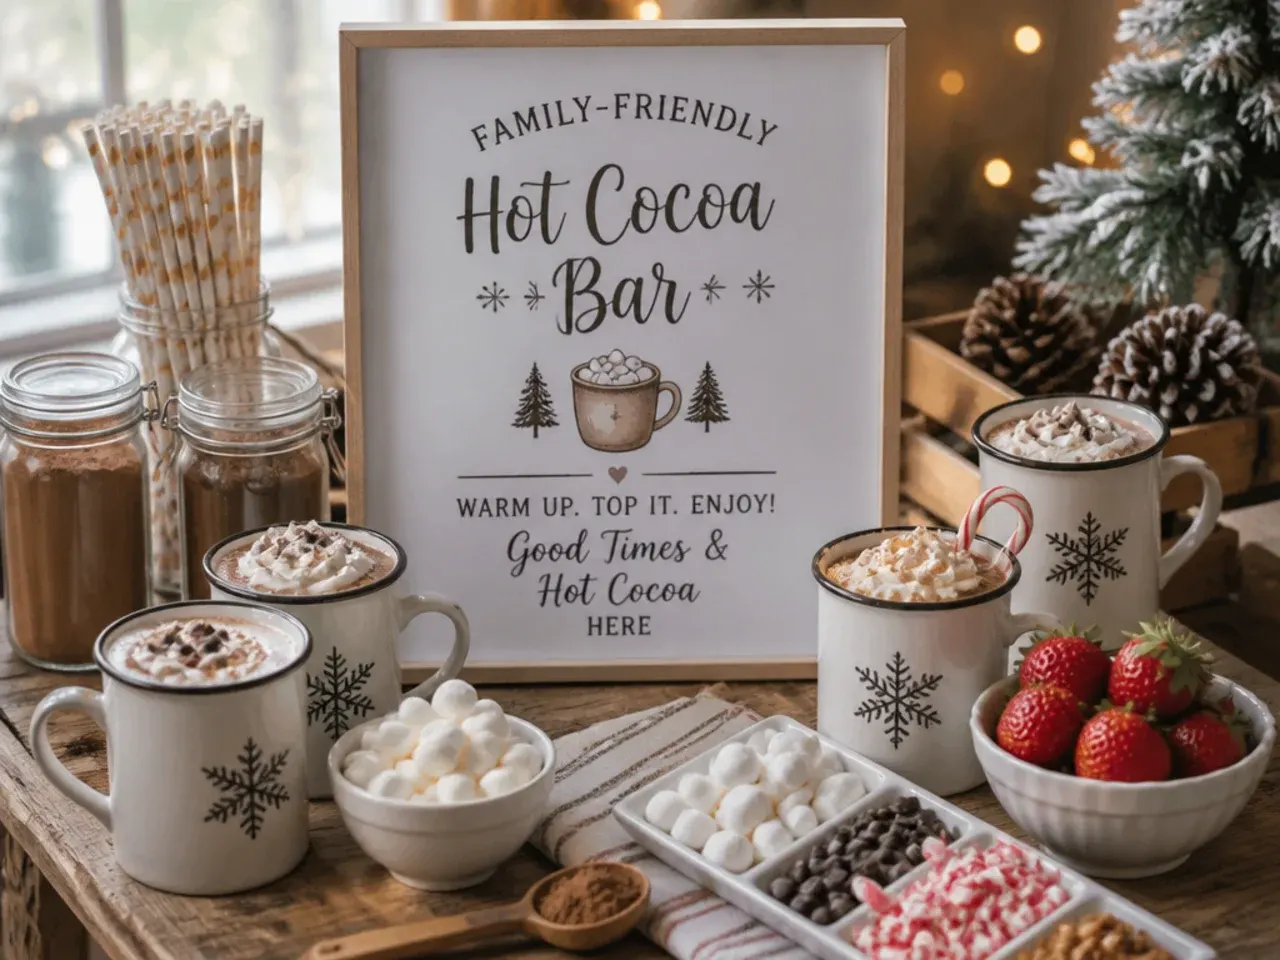
If children will be serving themselves, set a smaller sign at their eye level (around child height on the table edge) with simple icons alongside the words - a marshmallow drawing next to 'marshmallows', for example. This helps younger guests navigate the bar without needing an adult to read every label. Keep wording to single words rather than phrases for this version. A laminated version stands up well to sticky fingers and spills.
13. Festive Seasonal Sign
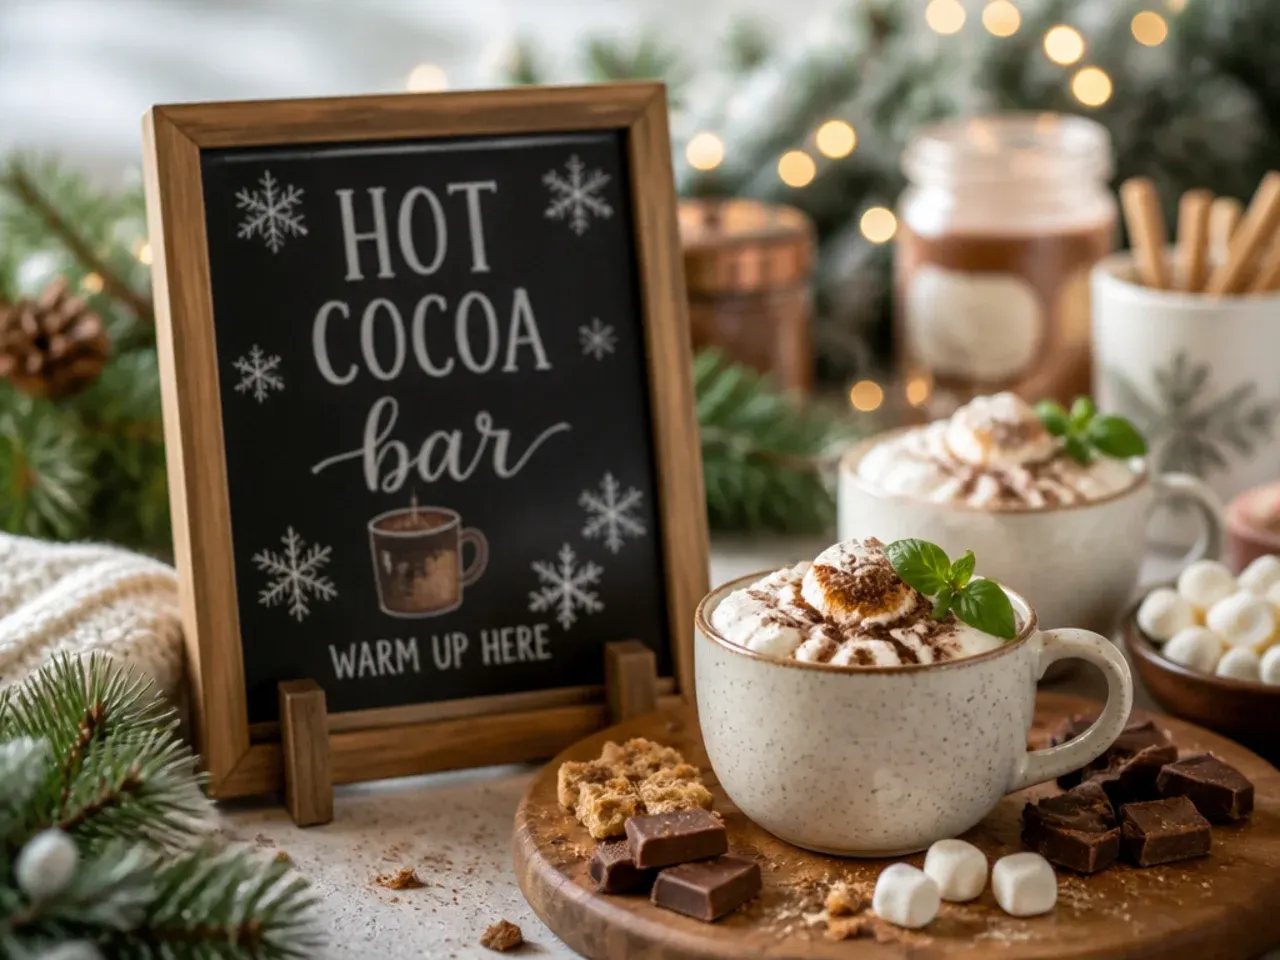
Swap the sign's colour scheme and trim to match the occasion - red and green with a sprig of holly for Christmas, silver and white for a New Year's Eve gathering, or pastel tones for a winter birthday. Small additions like a ribbon border or a dusting of glitter on the edges tie the sign into the rest of the table décor. Keep the core wording the same across versions so you can reuse the template and just restyle the border each time. This is an easy way to get several looks from one basic sign design.
14. Quick No-Fuss Sticker Sign
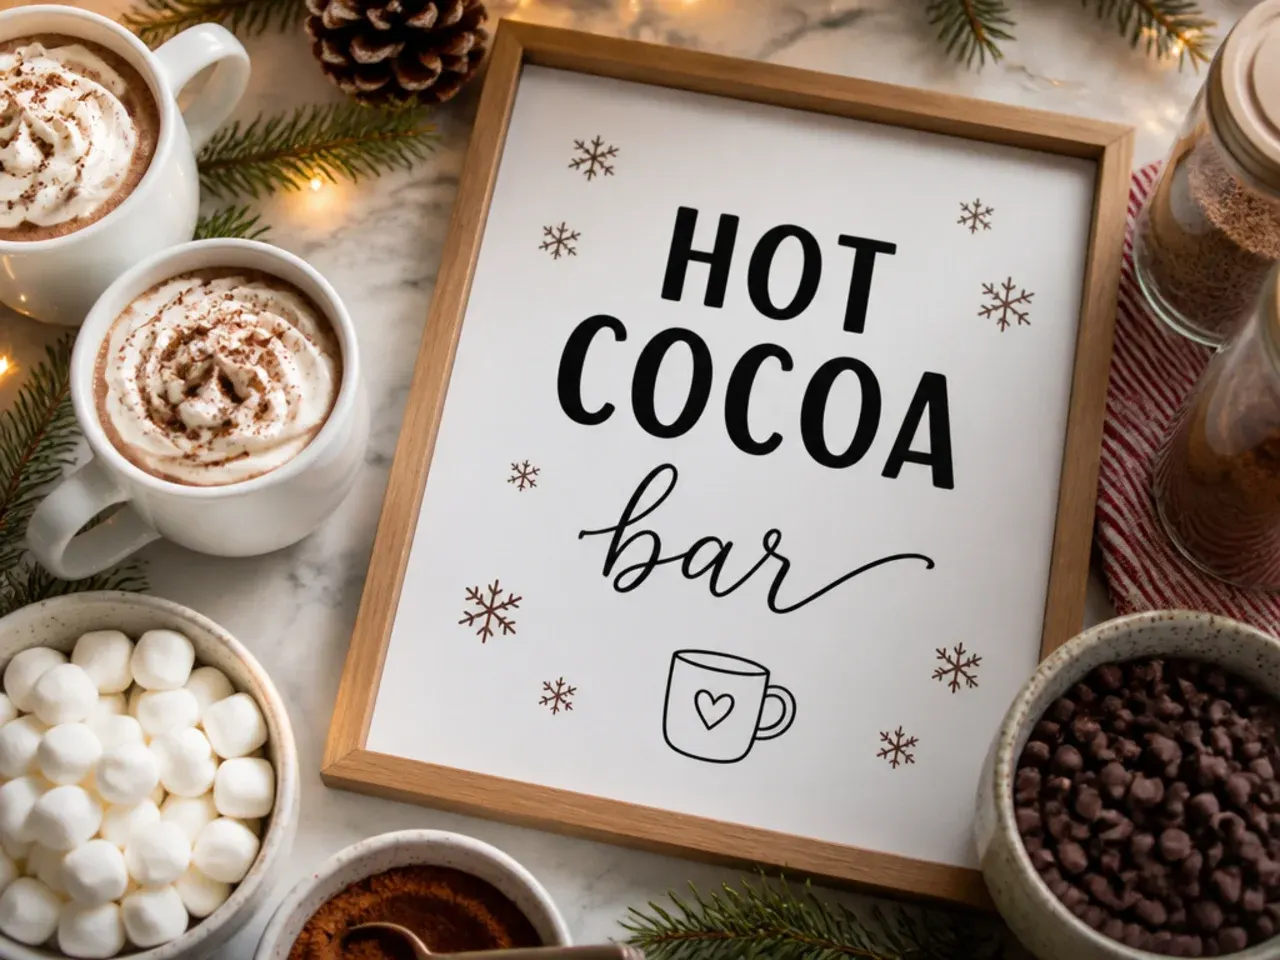
Vinyl letter stickers applied straight to a glass jar, tray or small blackboard give a clean, shop-bought look in a few minutes with no drawing or printing needed. Press stickers on slowly from one end to avoid trapping air bubbles, and smooth them down with a credit card edge. This works especially well on the cocoa mix jar itself, so the label travels with the ingredient rather than sitting separately on the table. It's the fastest option here if you're setting up under time pressure.
15. Homemade Watercolour Sign
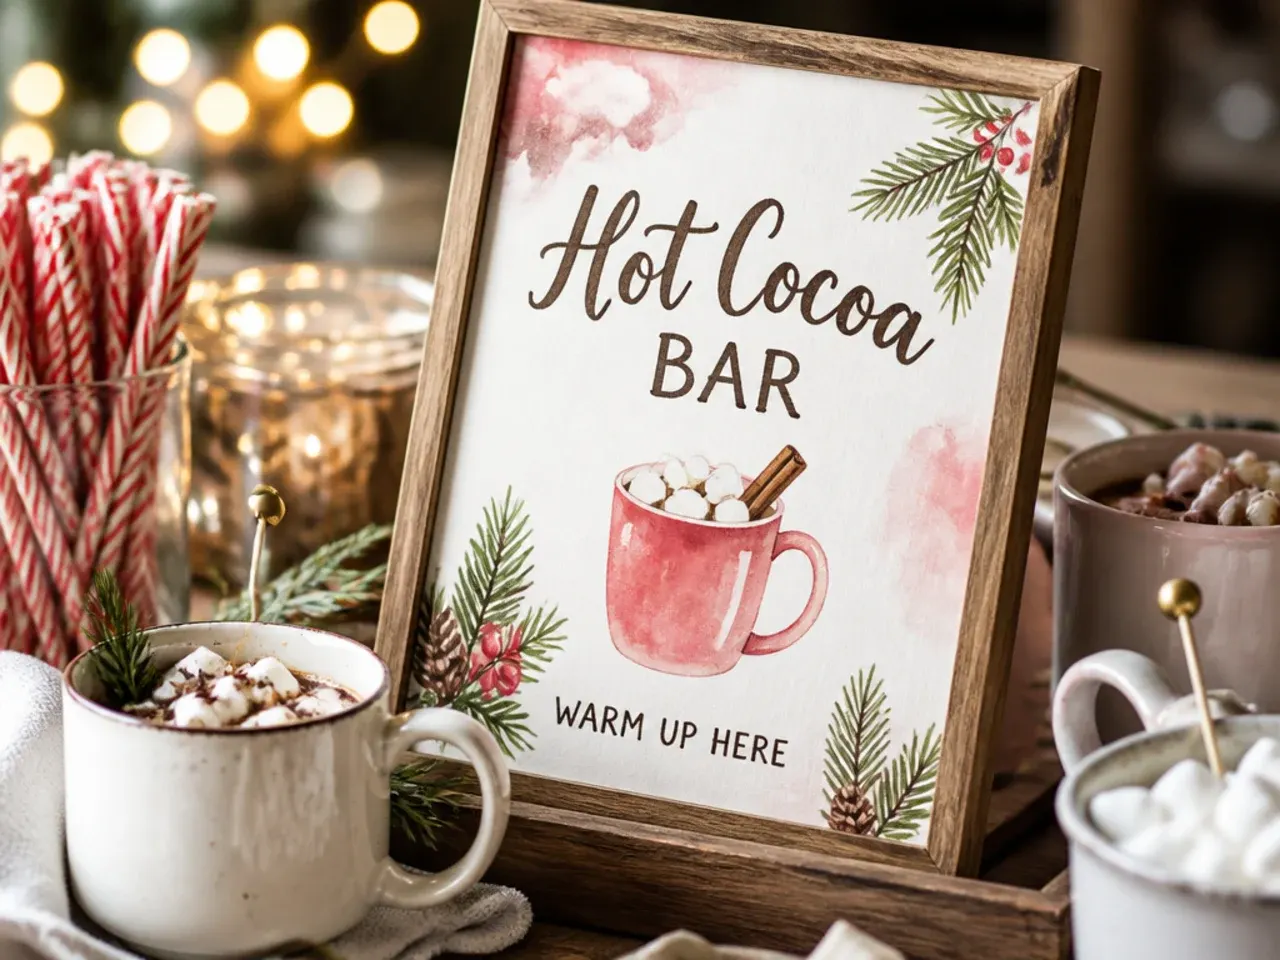
Paint a loose watercolour border - holly leaves, snowflakes or a simple wash of colour - around hand-lettered wording for a softer, more handmade finish than printed designs. Let each colour layer dry fully before adding lettering on top, so the ink doesn't bleed into the wet paint. This style suits a table with other handmade touches, like a knitted table runner or fresh greenery. It takes the longest to make of any option here, so start it a day or two ahead.
Pro Tips
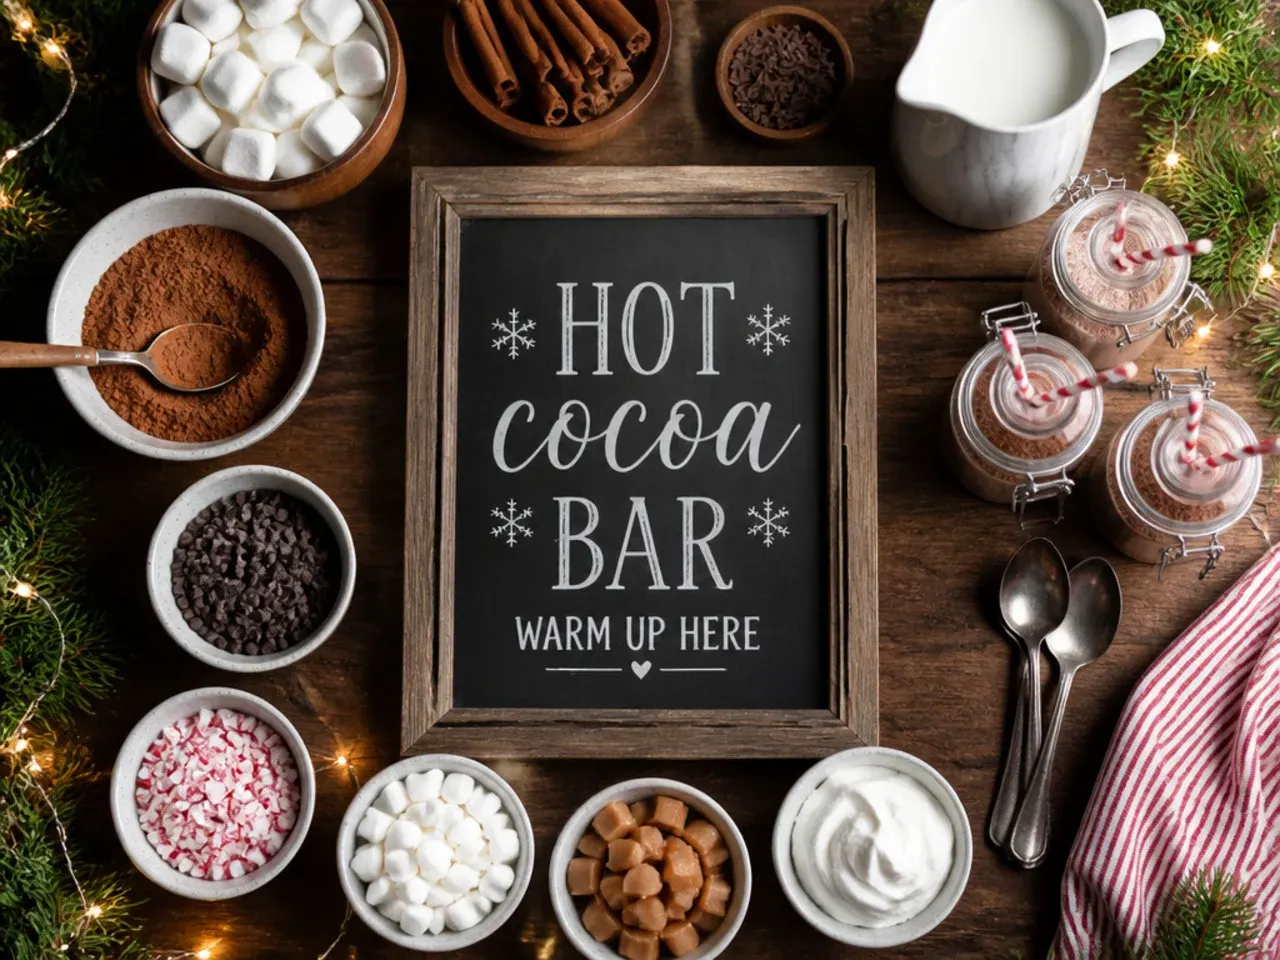
Test your sign's lettering size by standing back about 2 metres - if you can't read it comfortably from there, size it up before the party starts. Keep any sign that will sit near a slow cooker or kettle at least 20cm back from the steam, since damp card curls and ink can run. Write toppings in the order guests should add them (base, mix-in, topping, garnish) rather than alphabetically, which quietly guides people through building their drink well. Always have a spare pen or chalk on hand in case a topping runs out mid-party and the sign needs a quick edit.
Serving and Garnish Ideas
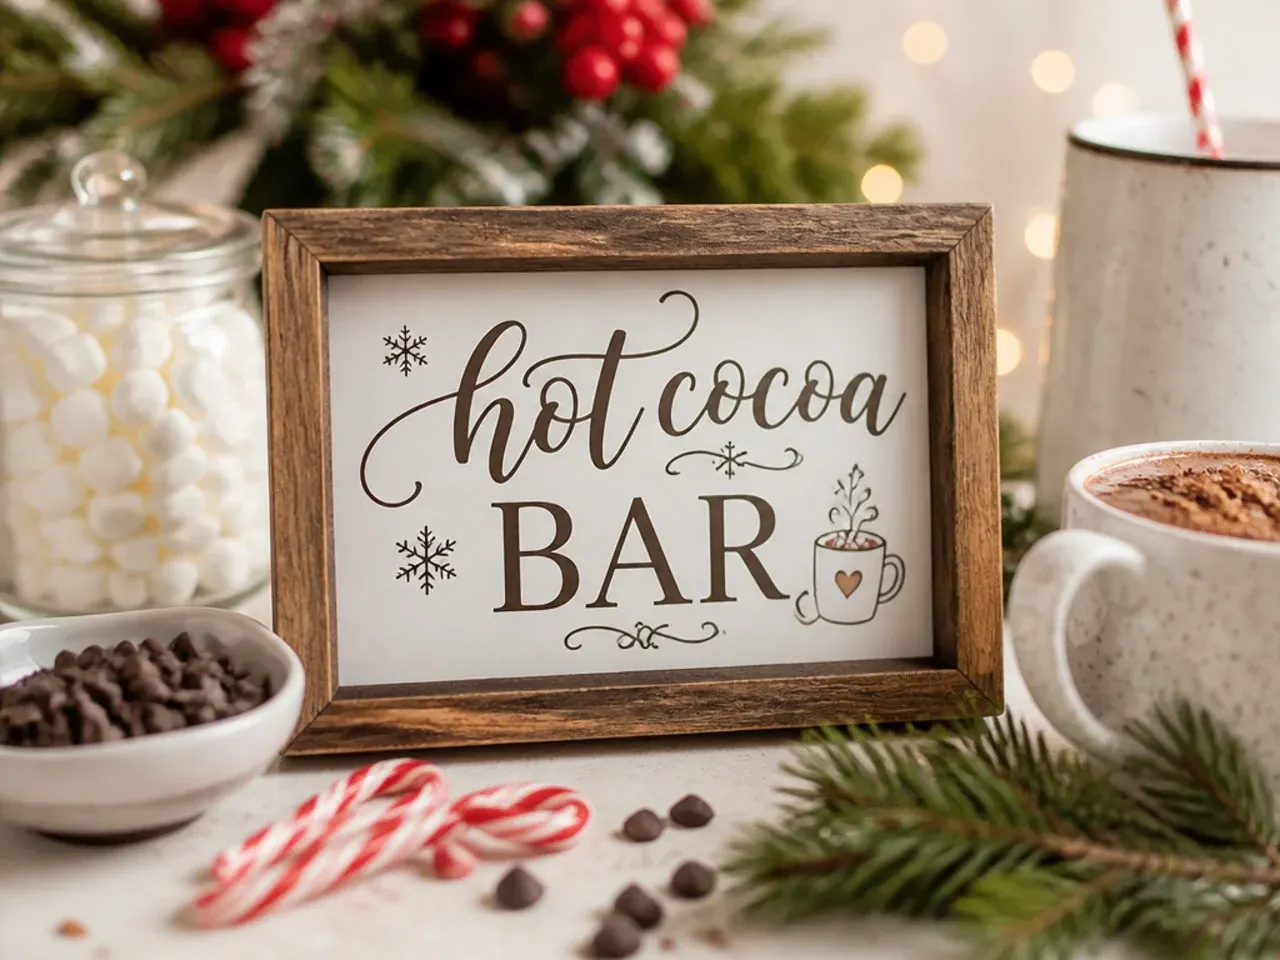
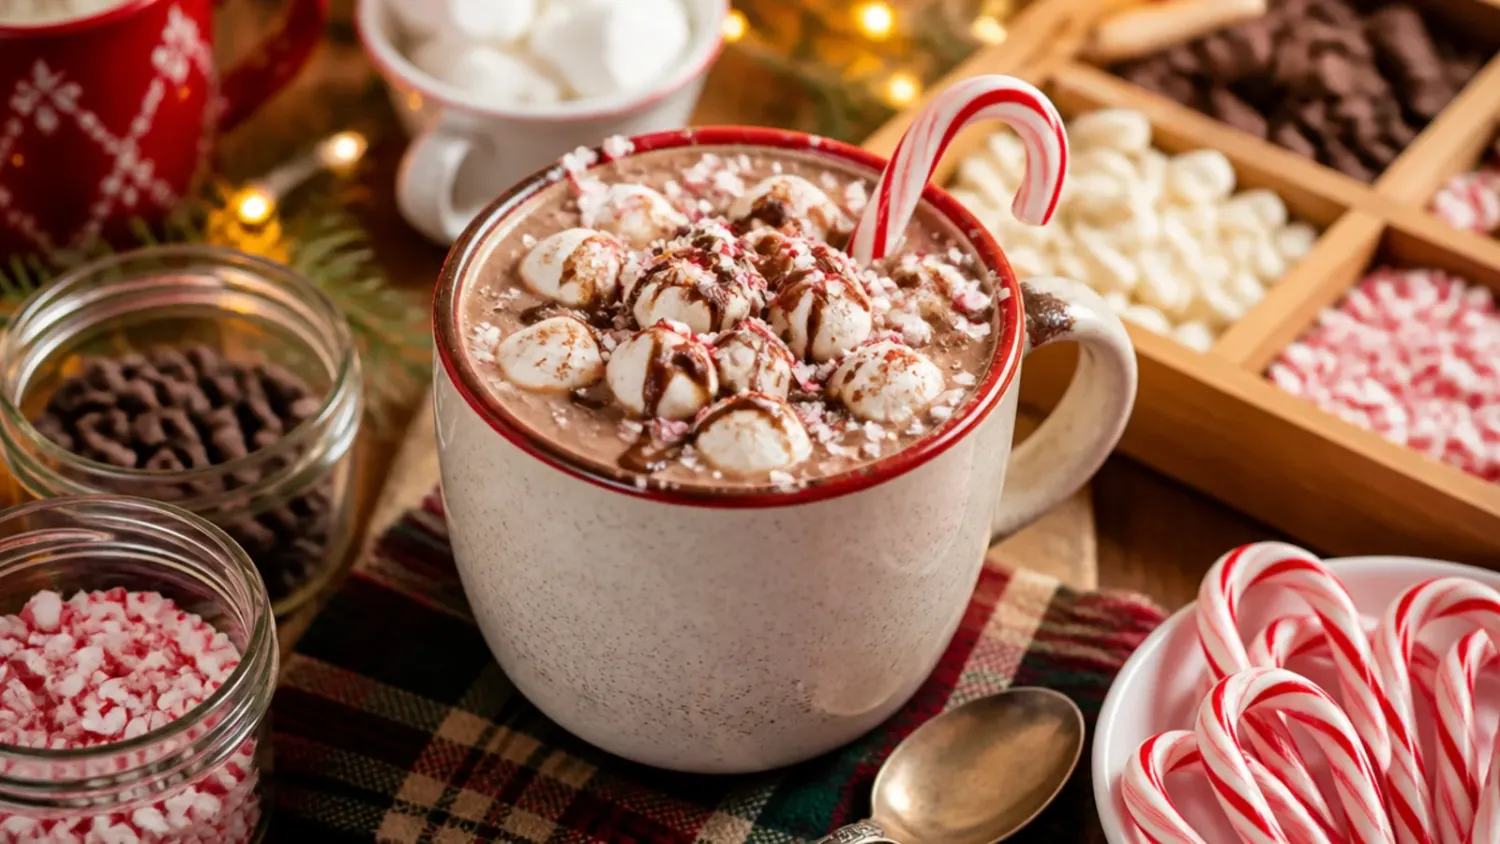
Set out mini and regular marshmallows, crushed candy canes, chocolate shavings and a shaker of cinnamon so guests can layer two or three toppings per mug rather than piling on everything at once. Whipped cream holds its shape best if it's kept chilled in a bowl of ice rather than left out at room temperature for more than 20-30 minutes. A small jug of extra warm milk lets guests adjust strength themselves, which cuts down on you having to remake drinks. For an adult gathering, add a separate small sign flagging the optional spiced rum or Baileys so it's clearly opt-in.
Make It Ahead and Batch Tips
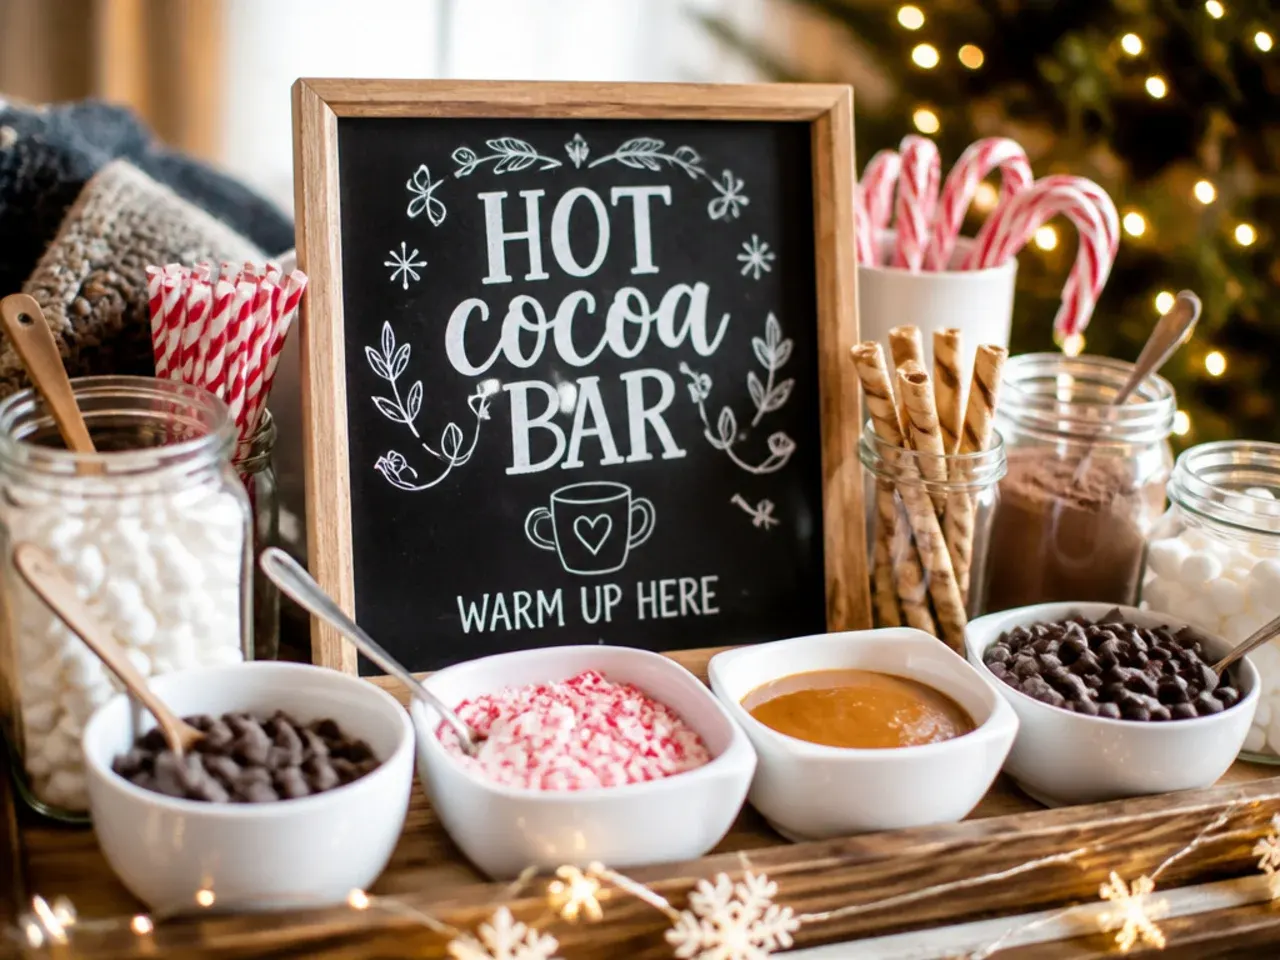
Mix the dry cocoa base (cocoa powder, sugar, a pinch of salt) up to two weeks ahead and store it in an airtight jar so all you need on the day is warm milk. A slow cooker on the low or 'keep warm' setting holds a full batch of hot chocolate at drinking temperature for 2-3 hours, stirred every 30 minutes so it doesn't catch on the bottom. Leftover hot chocolate keeps in the fridge for up to a week in a sealed container and reheats well on the stove or in the microwave. Laminate or store your sign flat with the rest of your seasonal decorations so it's ready to set up again next time without any redesign.
The Recipe
The Master Recipe
10 min
10 min
20 min
6
Beginner
Ingredients 6 Person(s)
Directions
Step 1: Whisk the base
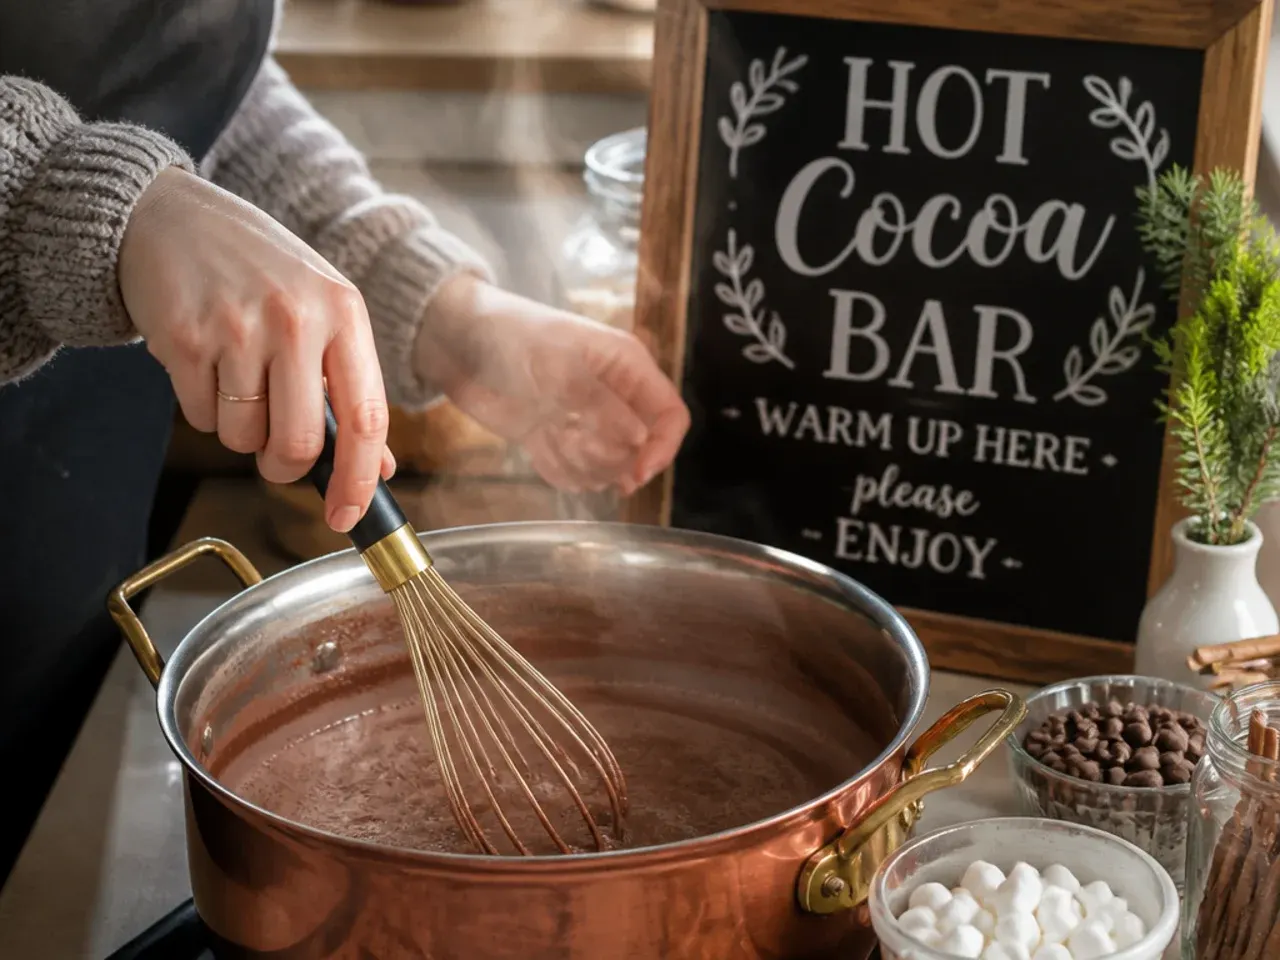
In a medium saucepan, whisk together the milk, cream, cocoa powder, brown sugar and salt until no cocoa lumps remain. Set the pan over medium heat.
Step 2: Warm gently to a simmer
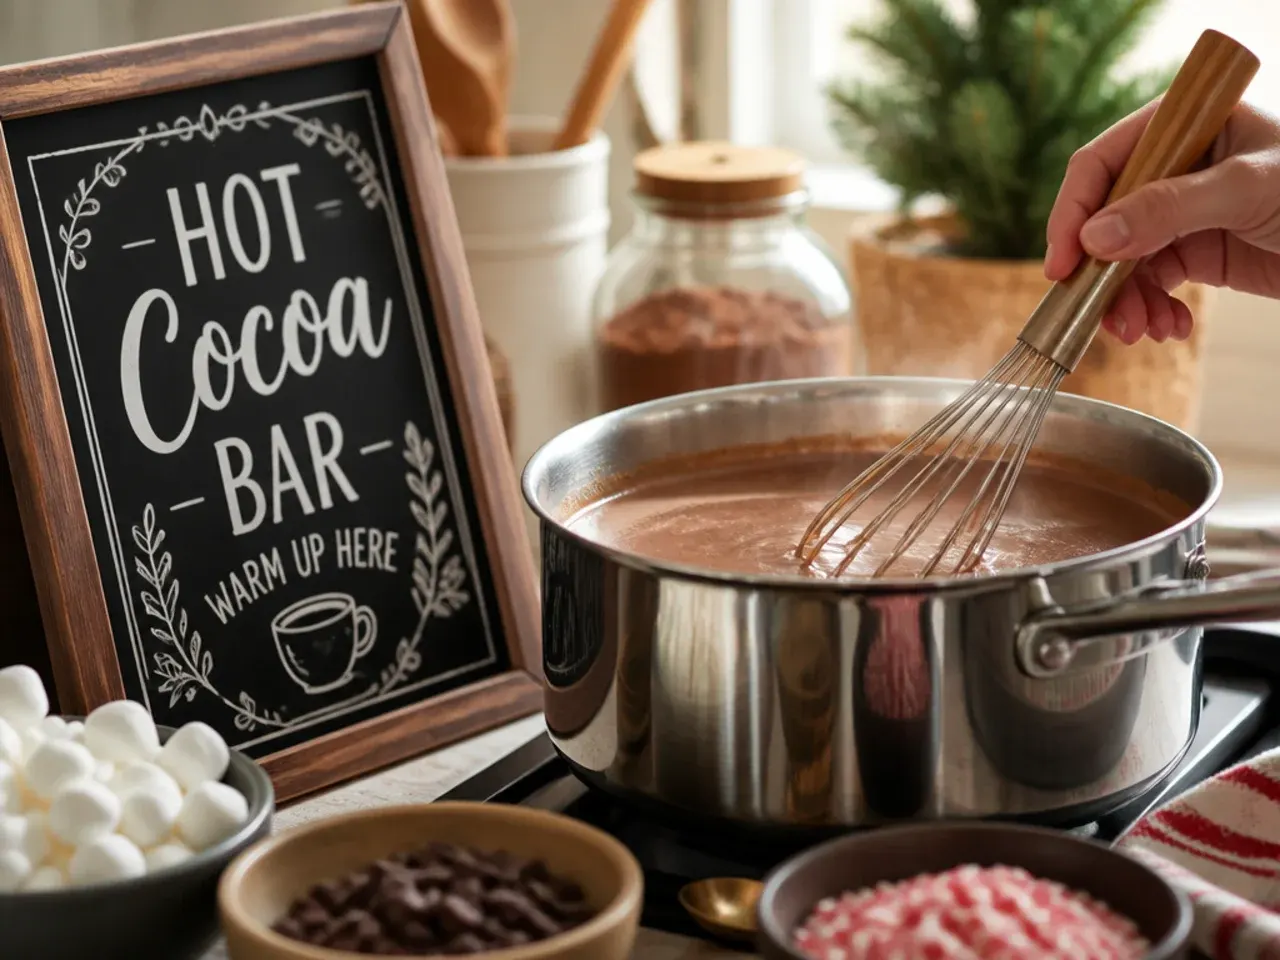
Heat the mixture, whisking often, until small bubbles just start to break the surface around the edges - about 6-8 minutes. Don't let it come to a full rolling boil, or the milk can scorch on the bottom.
Step 3: Melt in the chocolate
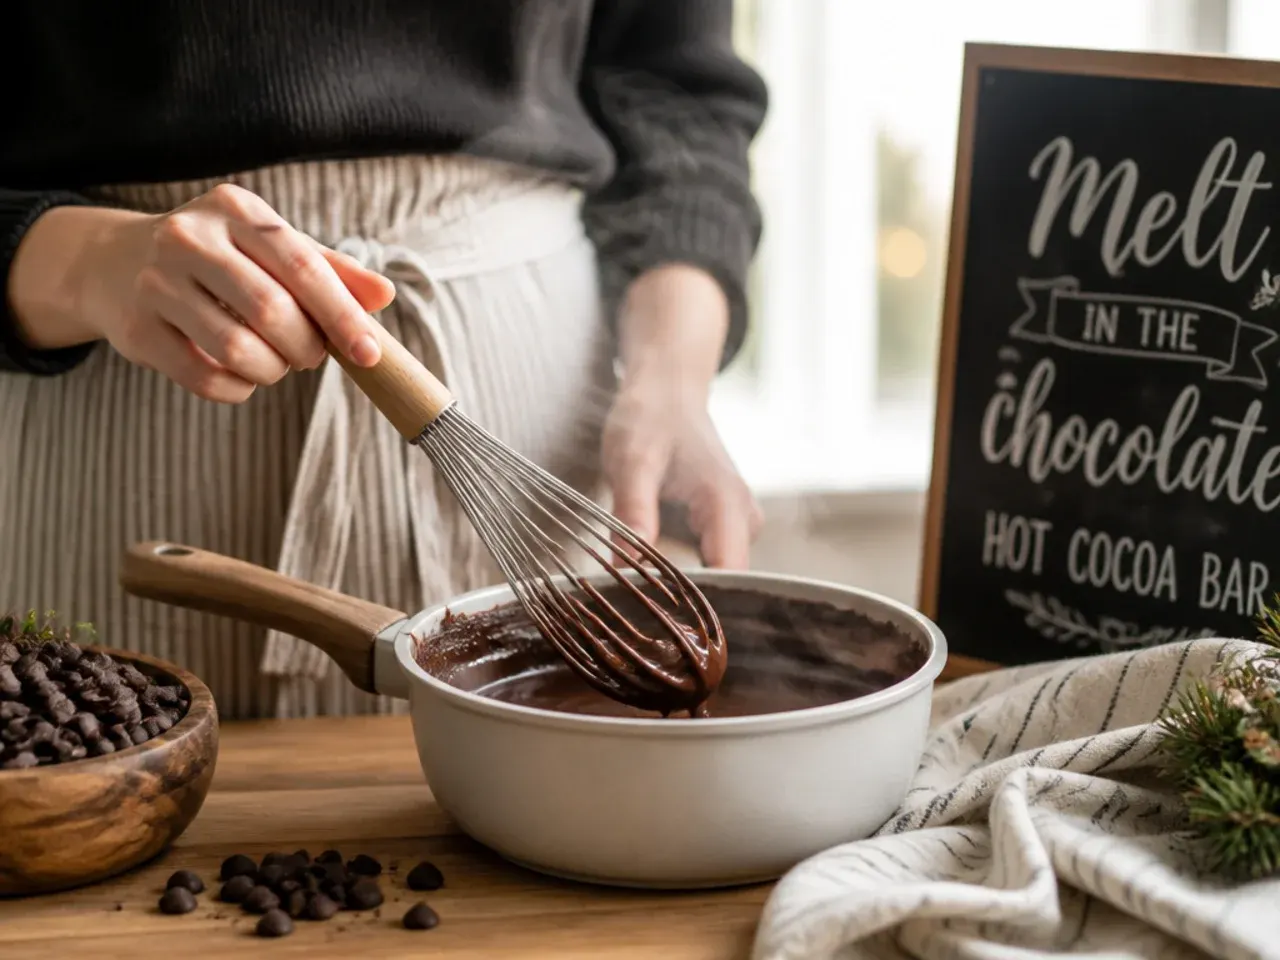
Remove the pan from the heat and add the chopped chocolate. Whisk until fully melted and the mixture looks glossy and smooth, then stir in the vanilla.
Step 4: Taste and adjust
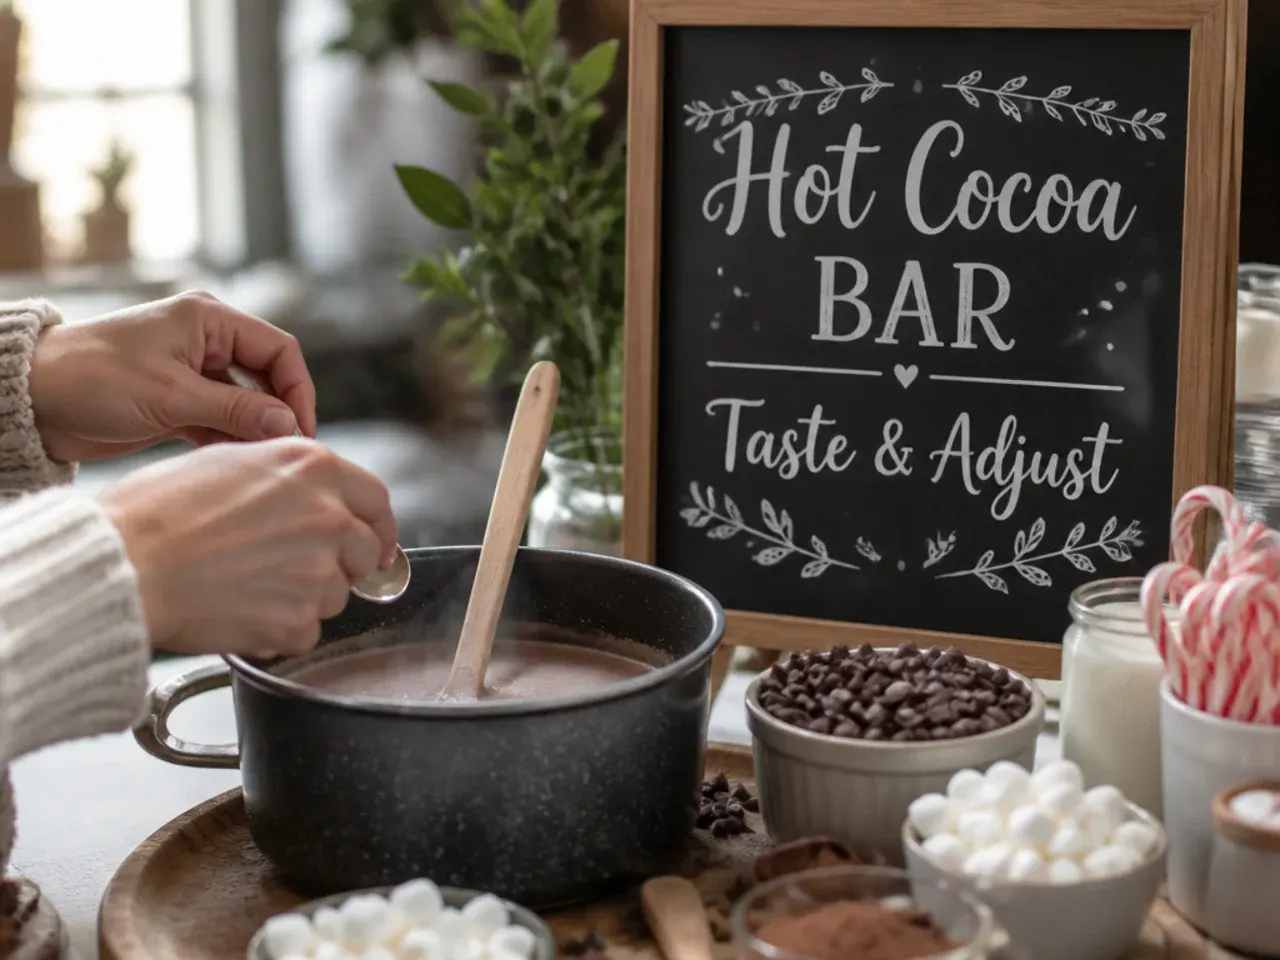
Taste the hot chocolate and add a little more sugar if you'd like it sweeter, whisking it in fully before tasting again. If it's too thick, whisk in a splash more warm milk until it reaches the consistency you like.
Step 5: Set up the bar
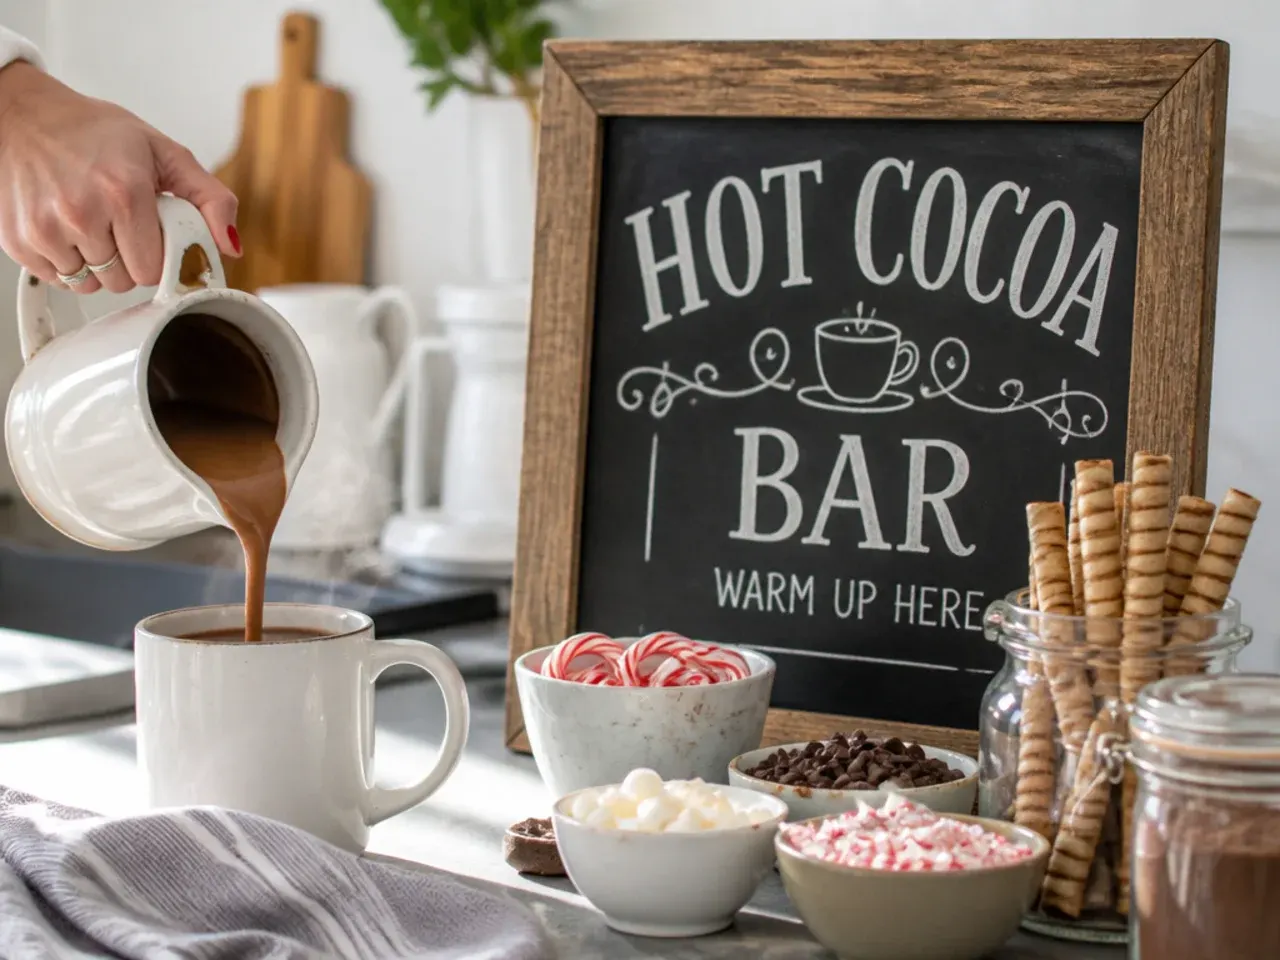
Pour the hot chocolate into a heatproof jug or slow cooker set to low, and place it next to your sign with mugs stacked in front. Arrange toppings in small bowls so guests can build their own drink.
Step 6: Pour and garnish
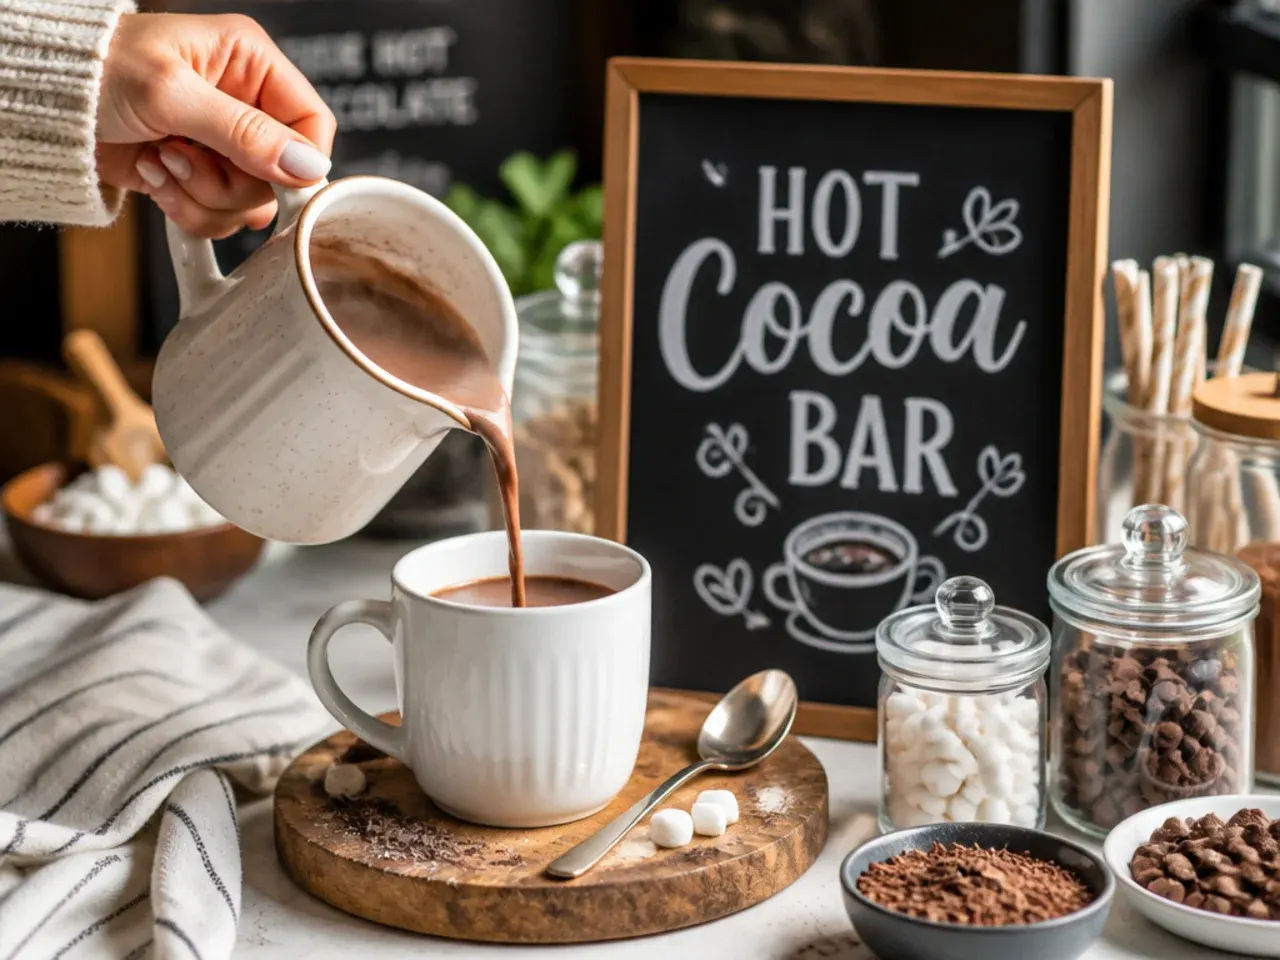
Fill each mug about three-quarters full, leaving room for toppings. Finish with whipped cream, marshmallows and a scatter of crushed candy cane or chocolate shavings, then serve straight away while warm.
Frequently Asked Questions
Keep the main heading short and clear, such as 'Hot Cocoa Bar' or 'Build Your Own Hot Cocoa', so guests understand the setup at a glance. Below that, list toppings in the order you'd like guests to add them - base mix-ins first, then toppings, then garnishes. A short instruction line like 'Fill, stir, top, enjoy' can help if the station is self-serve. Avoid long sentences, since most guests will only glance at the sign for a second or two while queuing.
Save this for later 📌
Pin this article to your Pinterest board so the full list is one tap away when you need it.
Save on Pinterest