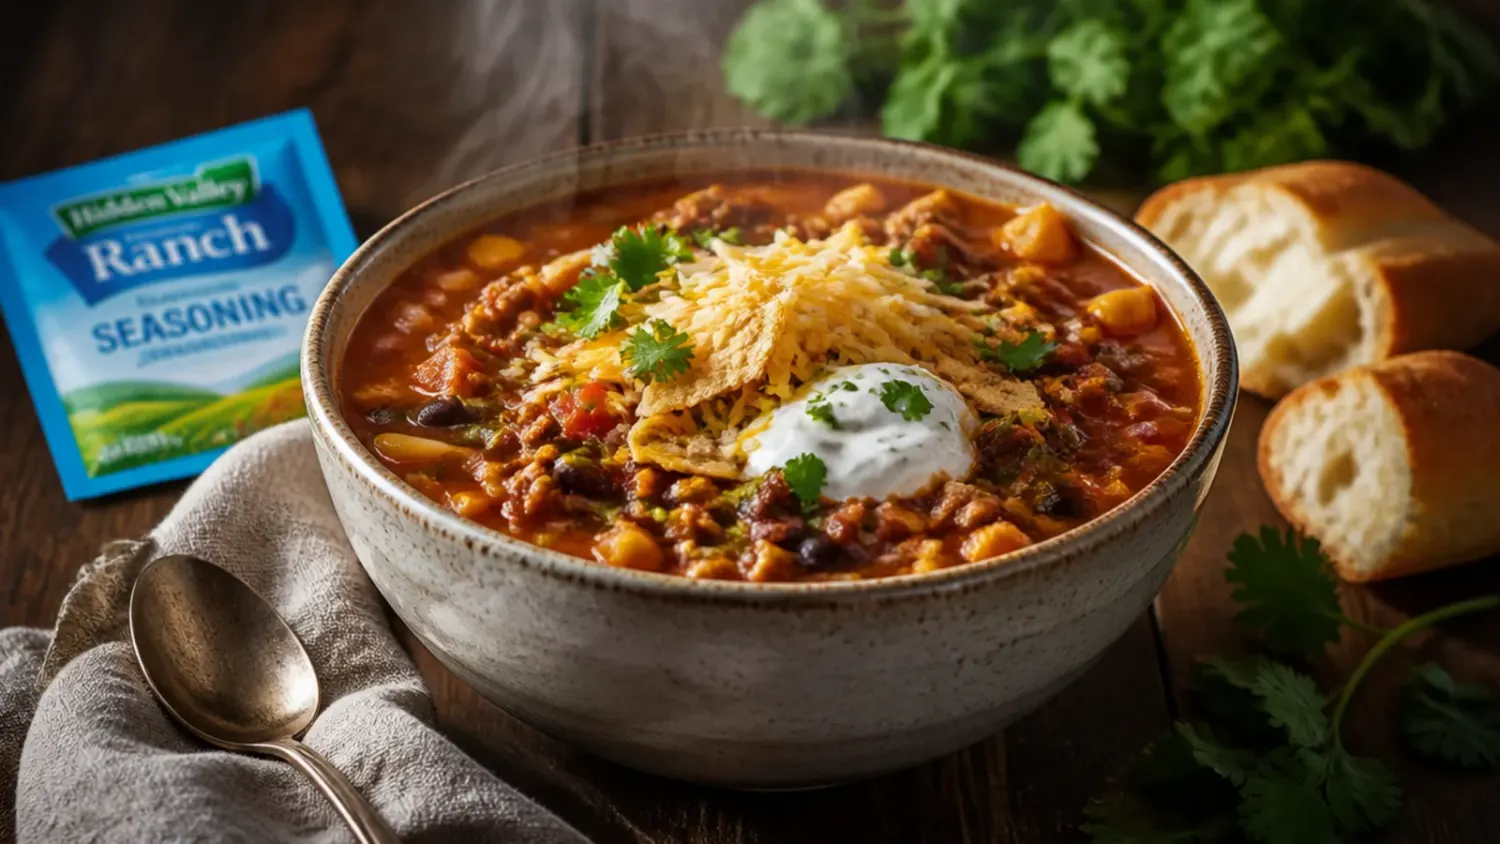
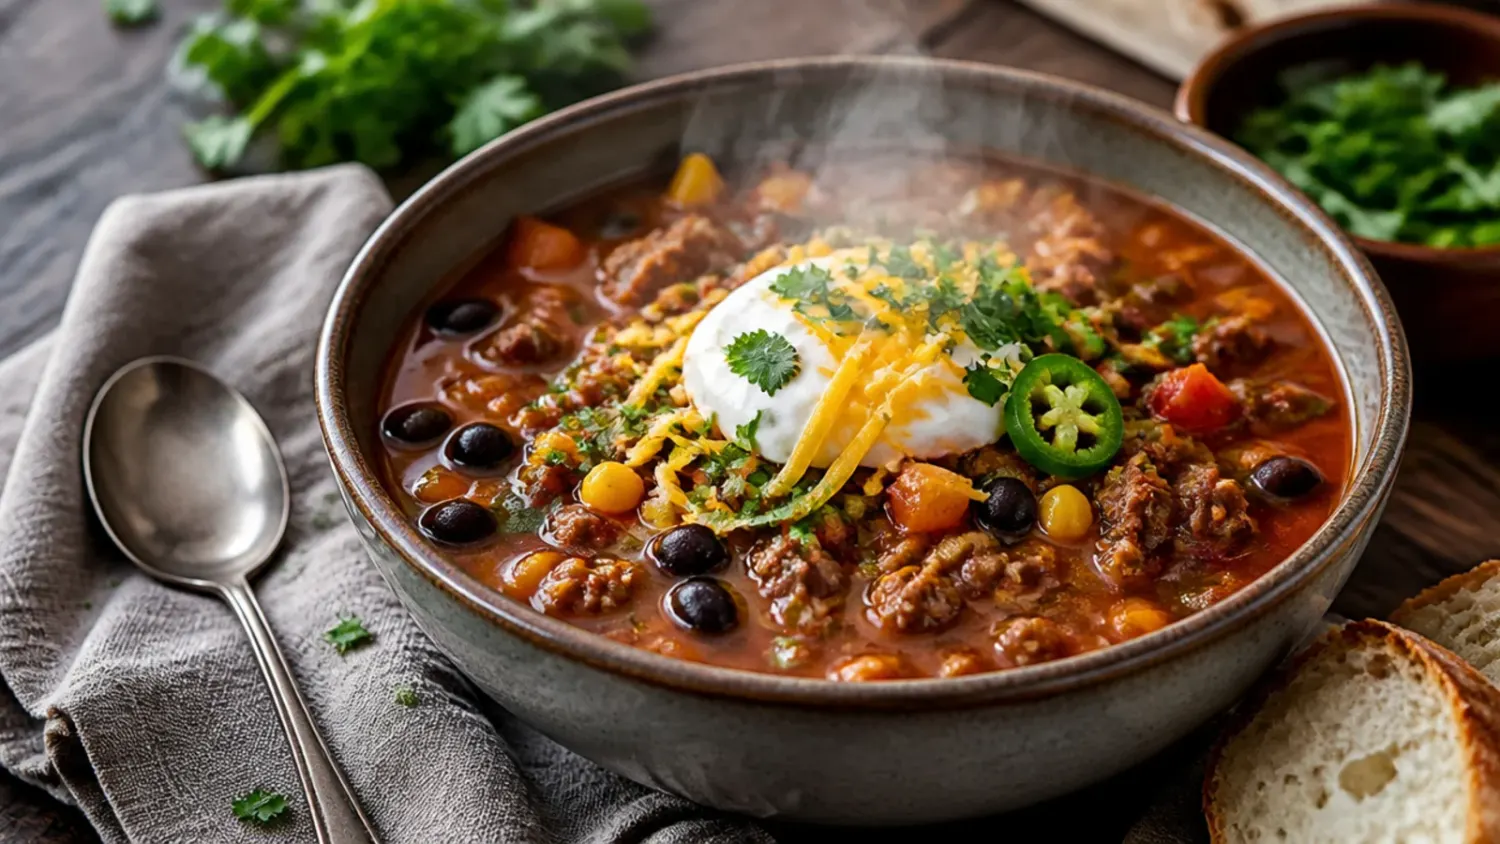
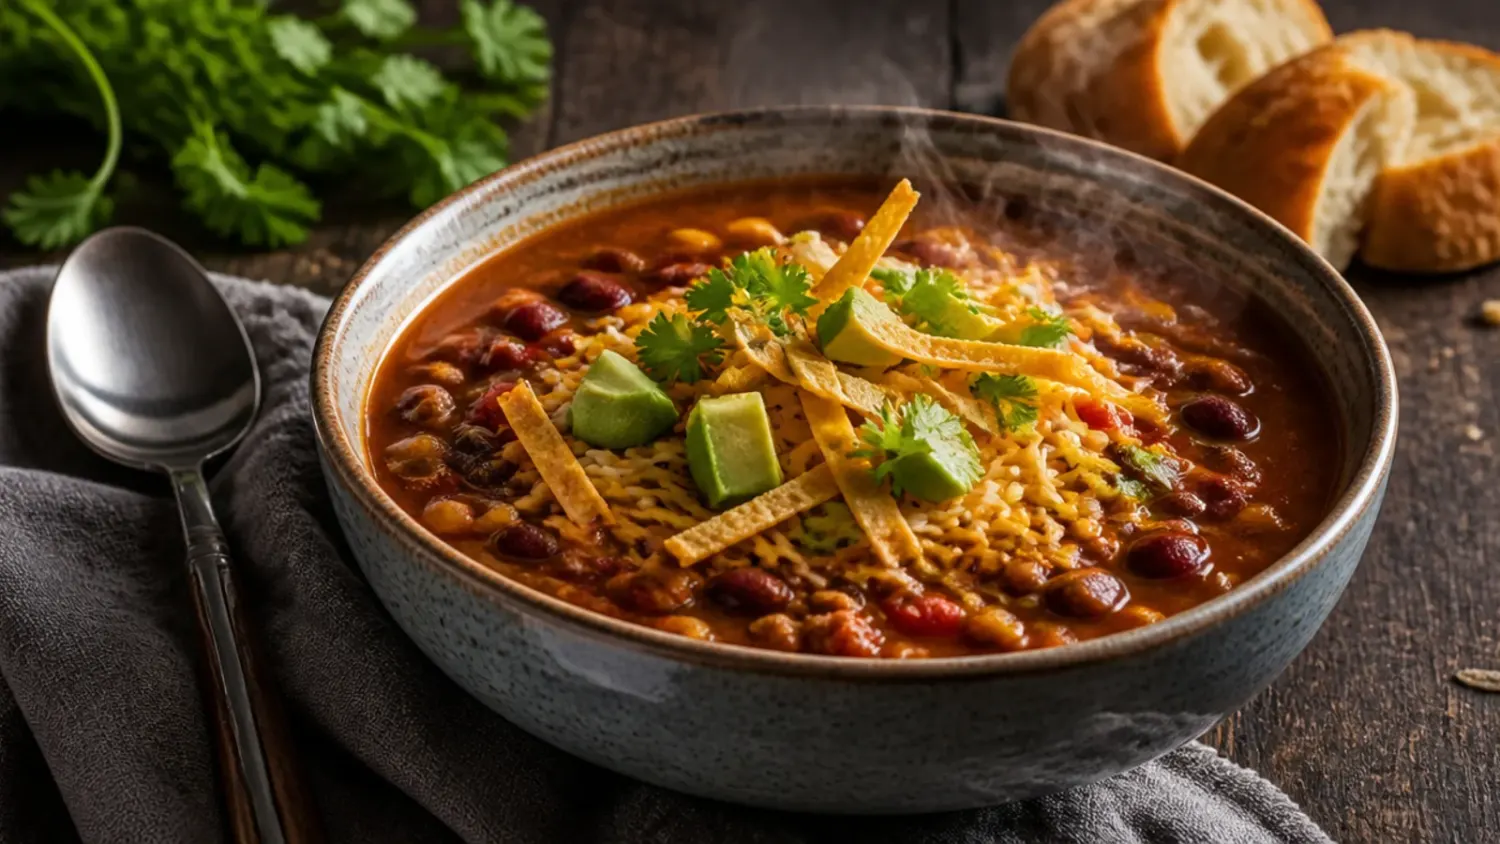
15 Keto Taco Soup Swaps That Actually Worked
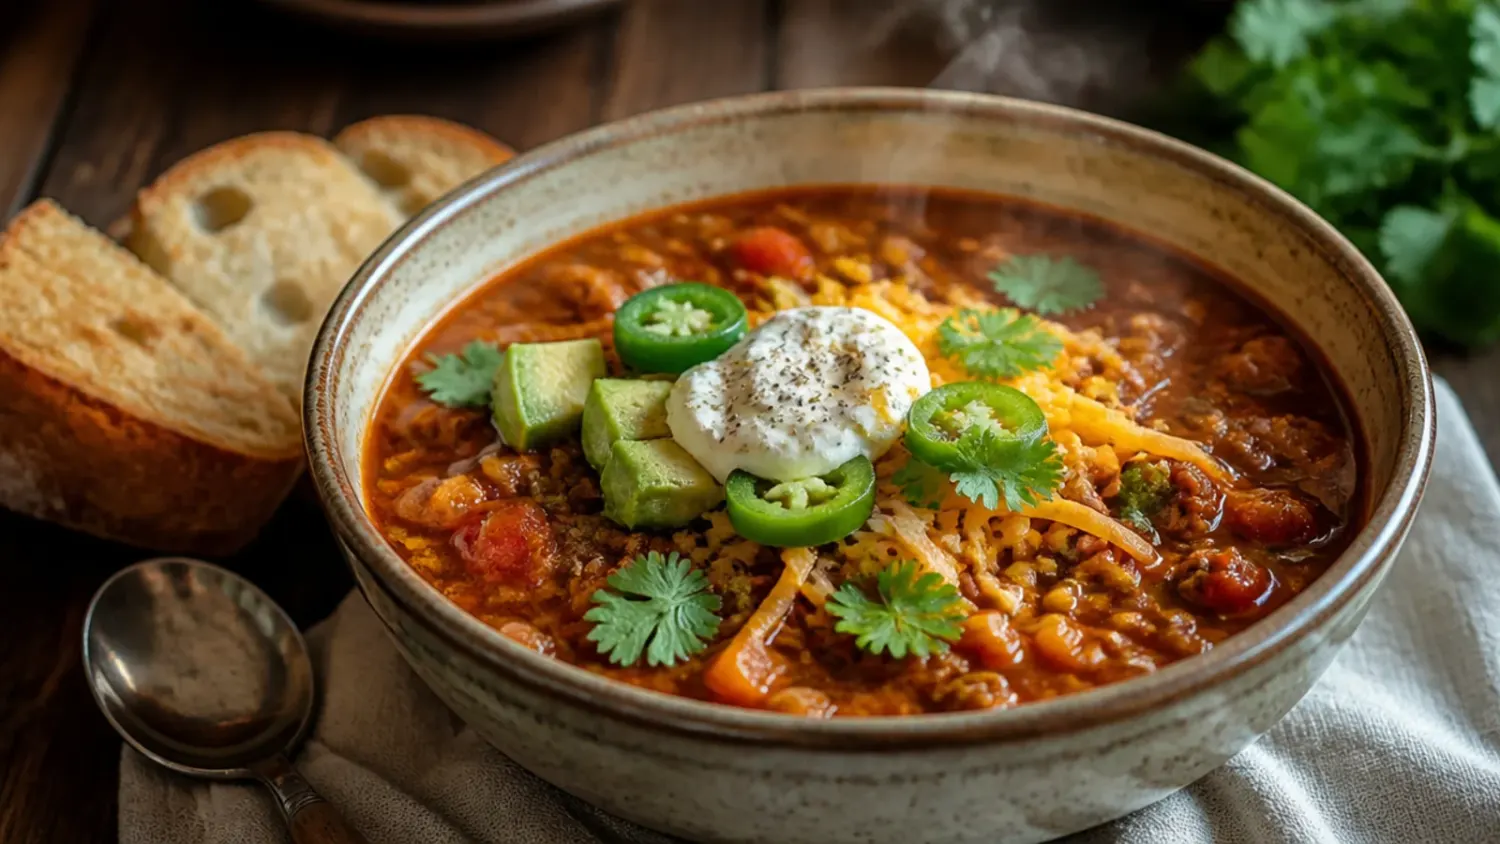
Fifteen real lessons from making keto taco soup again and again — the mistakes, the fixes, and what actually works. If you love taco soup inspiration, start with our Taco Soup collection, then browse the full Cozy Soups & Chili hub for more.
Save this for later 📌
Pin this article to your Pinterest board so the full list is one tap away when you need it.
Save on PinterestCozy Soups & Chili
Beginner
Kitchen Journal
7 steps
Table of Contents
- Lesson 1: Warm the Cream Cheese Before It Goes In
- Lesson 2: Drain the Beef Properly or Regret It
- Lesson 3: Fire-Roasted Tomatoes Beat Plain Every Time
- Lesson 4: Toast the Spices in the Fat Before Adding Liquid
- Lesson 5: Turn the Heat Down Before the Cream Cheese Goes In
- Lesson 6: Skip the Beans and Corn to Keep It Genuinely Keto
- Lesson 7: Mix Your Own Seasoning to Dodge Hidden Sugar
- Lesson 8: Give It a Proper Simmer Before Judging the Flavour
- Lesson 9: Reduce, Don't Dilute, When It's Too Thin
- Lesson 10: Freeze the Base, Not the Finished Soup
- Lesson 11: Shred Your Own Cheese for Stirring In
- Lesson 12: Sauté the Aromatics Before the Seasoning
- Lesson 13: Add Lime Juice Right at the End, Not the Start
- Lesson 14: Taste Before Salting, Broth Is Saltier Than You Think
- Lesson 15: Reheat Low and Slow or the Soup Will Split
- What I'd Tell a Friend Trying This
- The Recipe I Used
Lesson 1: Warm the Cream Cheese Before It Goes In
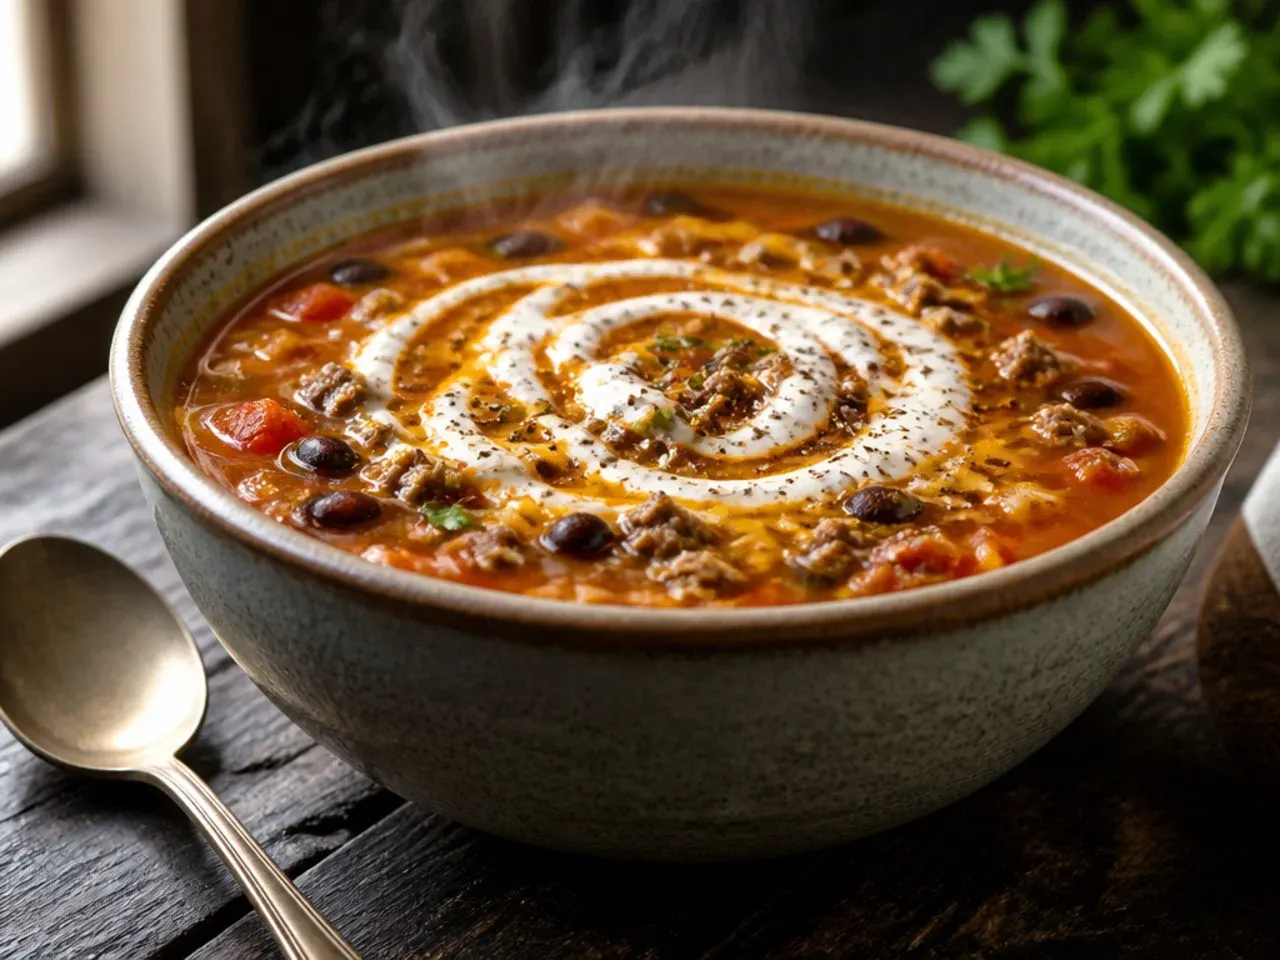
The first three times I made keto taco soup, I dropped the cream cheese in cold straight from the fridge and ended up fishing out rubbery lumps that never fully melted. Now I cube 225 g (8 oz) of cream cheese and let it sit on the counter for 20-30 minutes while the soup simmers, so it's soft enough to stir straight through. If I forget and it's still cold, a few pulses with a stick blender at the end rescues it instantly. That one change turned my soup from patchy to properly silky every single time.
Lesson 2: Drain the Beef Properly or Regret It
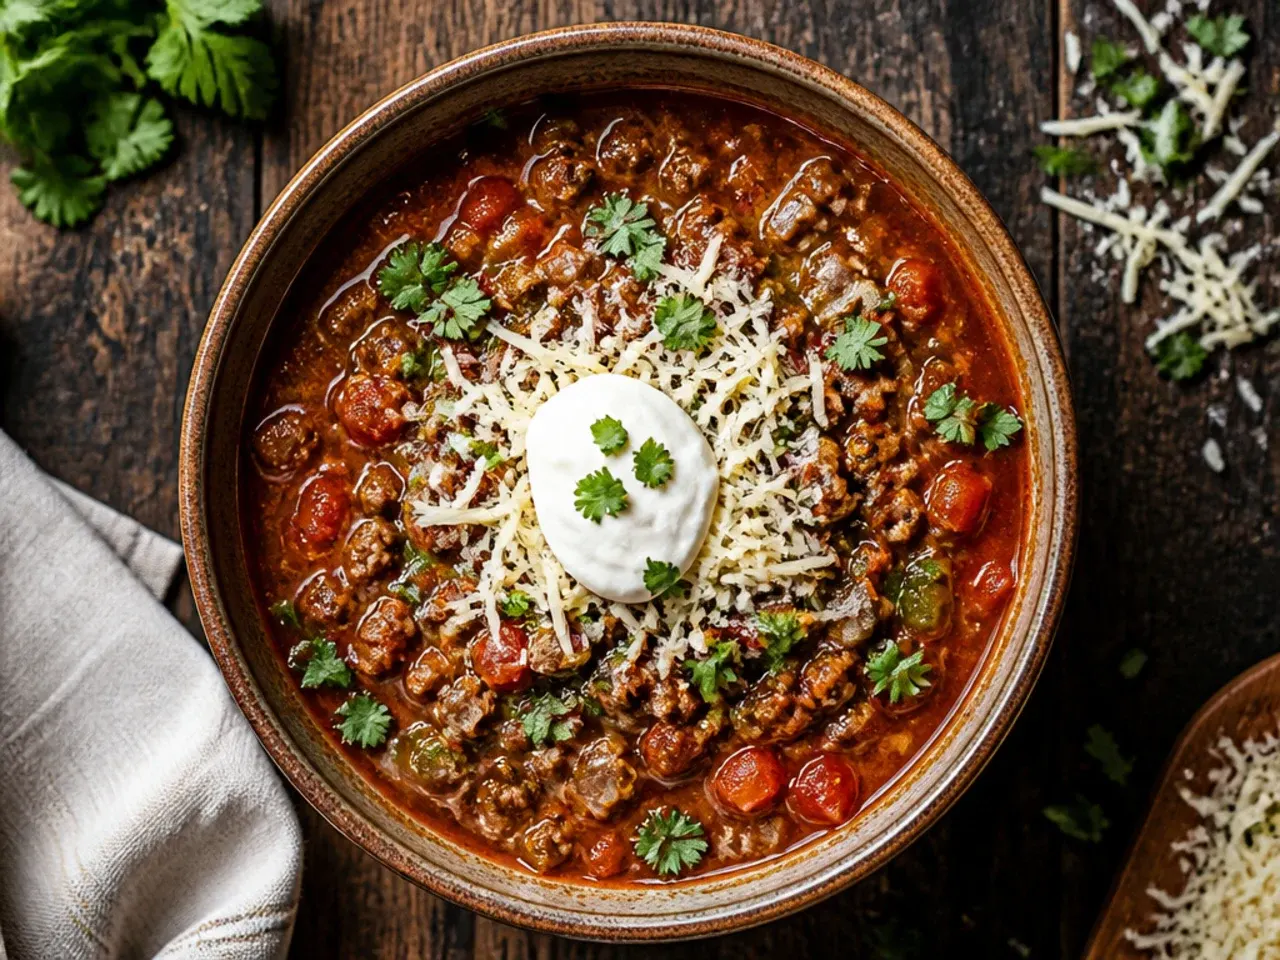
I used to tip the browned mince straight into the pot, fat and all, thinking it would just add flavour, but instead I got an orange slick floating on top of every bowl. Now I tilt the pan, spoon off the excess fat, and blot the mince briefly on a plate lined with kitchen paper before it goes back in. It only costs thirty seconds and the soup tastes cleaner and looks far more appetising. Skipping this step is the single biggest reason my early batches tasted greasy instead of rich.
Lesson 3: Fire-Roasted Tomatoes Beat Plain Every Time
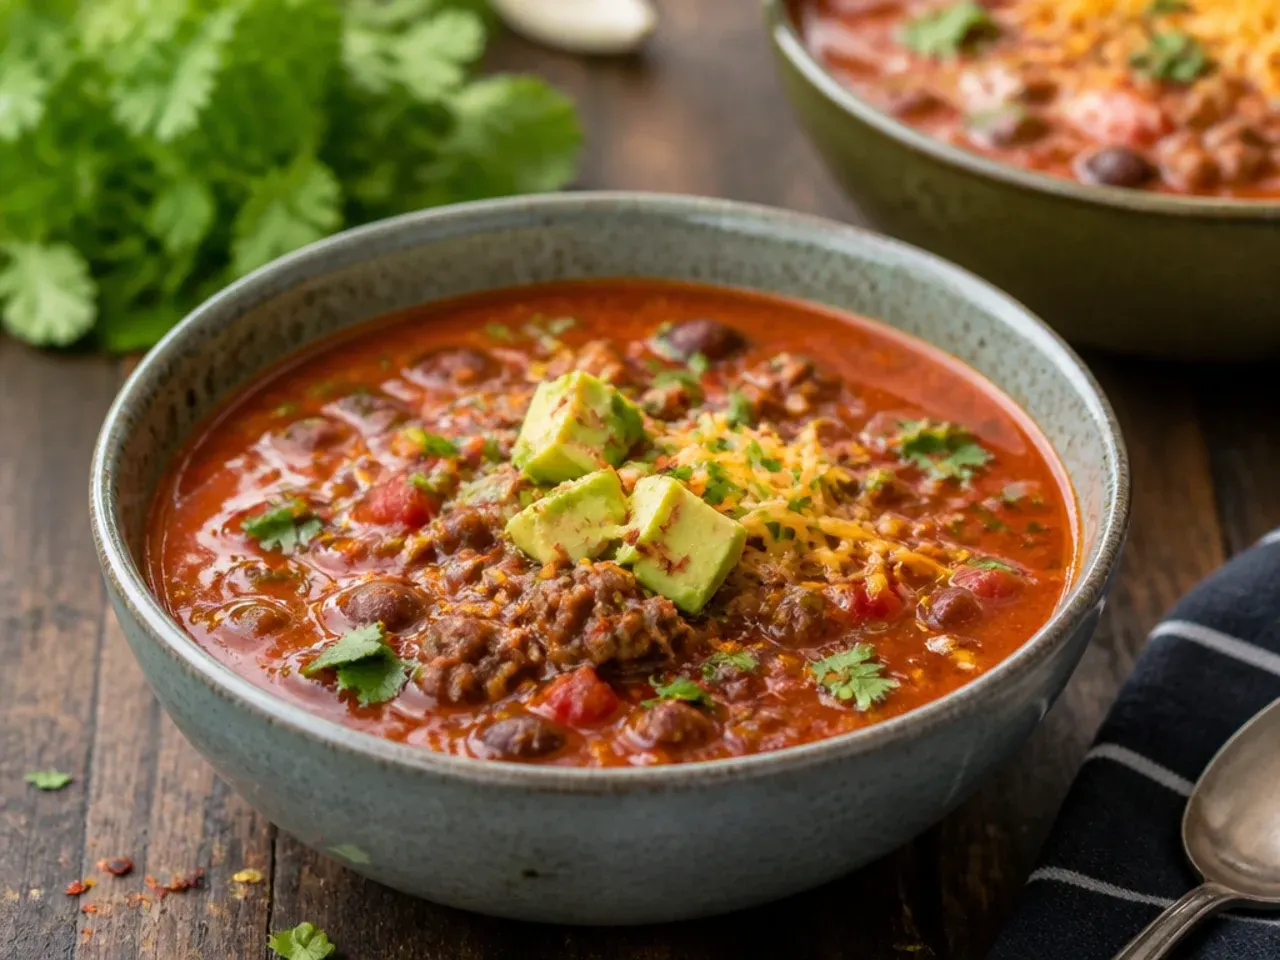
My first attempts used a plain tin of chopped tomatoes and the soup came out flat, missing that smoky, slightly charred taco flavour I was chasing. Switching to a 280 g (10 oz) tin of diced tomatoes with green chillies gave the broth real depth and a gentle background heat without extra chopping. If I can't find one with chillies, I now stir in a diced jalapeño with the onion instead. It's a five-second swap that makes the whole pot taste more like a taqueria and less like tinned soup.
Lesson 4: Toast the Spices in the Fat Before Adding Liquid
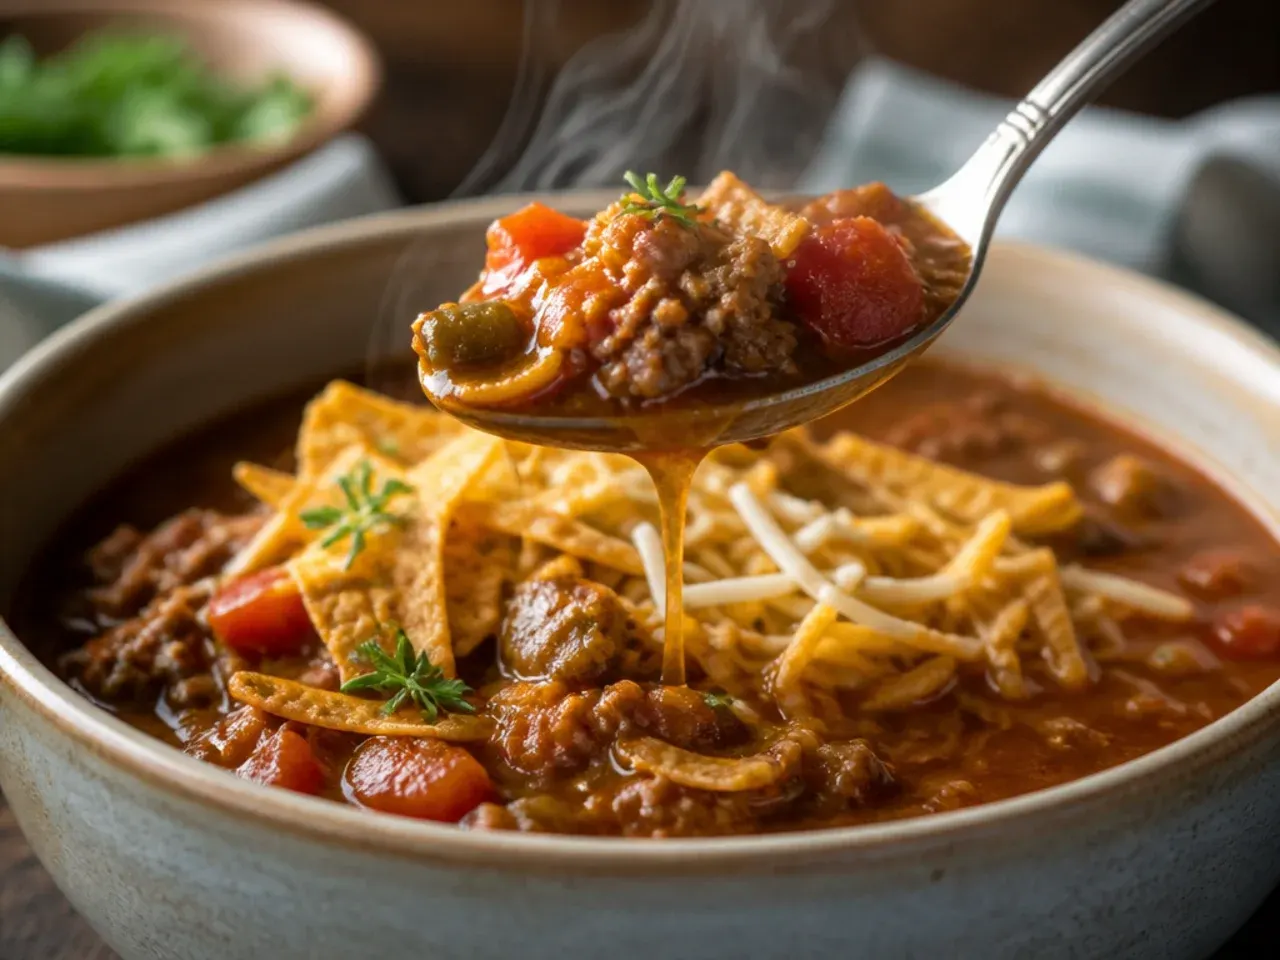
Early on I'd dump the taco seasoning in at the same time as the broth, and the soup always tasted dusty and a bit raw around the edges. Now I add the seasoning straight to the pan once the beef is browned and let it fry in the residual fat for 60 seconds, stirring constantly, before any liquid goes in. Blooming the spices this way wakes up the cumin and chilli powder properly. It's the cheapest flavour upgrade in the whole recipe and takes no extra ingredients.
Lesson 5: Turn the Heat Down Before the Cream Cheese Goes In
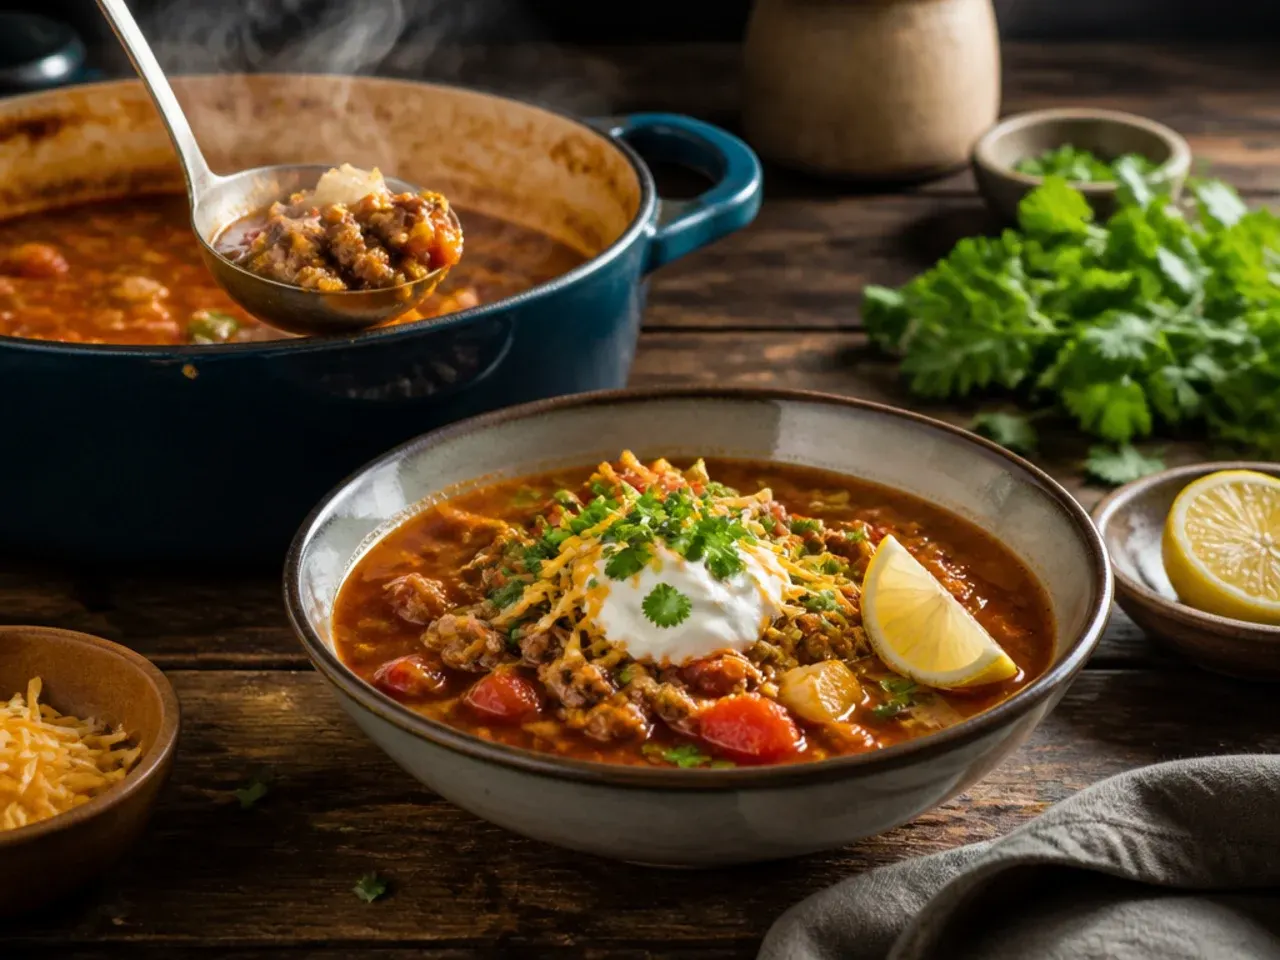
I split a batch once by adding the cream cheese while the soup was still at a rolling simmer, and it seized into greasy little curds instead of blending smoothly. Now I always drop the heat to low first, wait for the bubbles to settle, and add the cream cheese in small cubes while stirring continuously. It takes about 3-4 minutes to fully dissolve at that gentler heat, but the texture comes out glossy instead of broken. Patience at this one stage saves the whole pot.
Lesson 6: Skip the Beans and Corn to Keep It Genuinely Keto
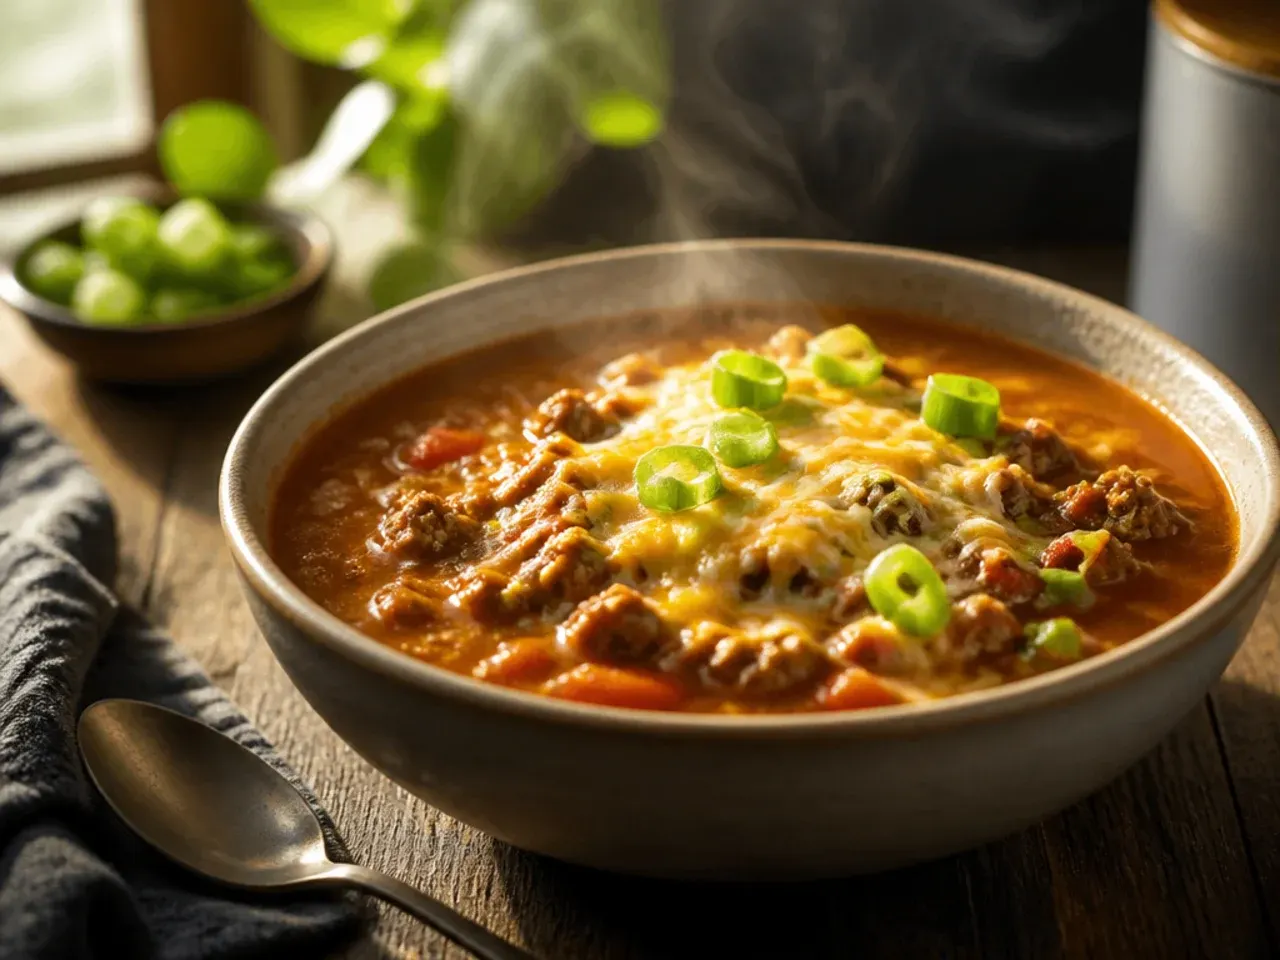
I nearly wrecked the carb count by tossing in a tin of black beans and some sweetcorn because that's what taco soup usually means, forgetting those two ingredients alone add close to 30 g of carbs per serving. Now I just leave them out entirely - the beef, cheese, and spices already carry plenty of body and flavour without any filler. On the odd occasion I want to stretch the pot further, I'll stir in 150 g (about 1 cup) of diced courgette or a handful of cauliflower rice during the last 10 minutes of simmering, but that's a purely optional extra and isn't part of the base recipe below. If you want the recipe to actually stay low carb, cutting the beans and corn is the swap that matters most.
Lesson 8: Give It a Proper Simmer Before Judging the Flavour
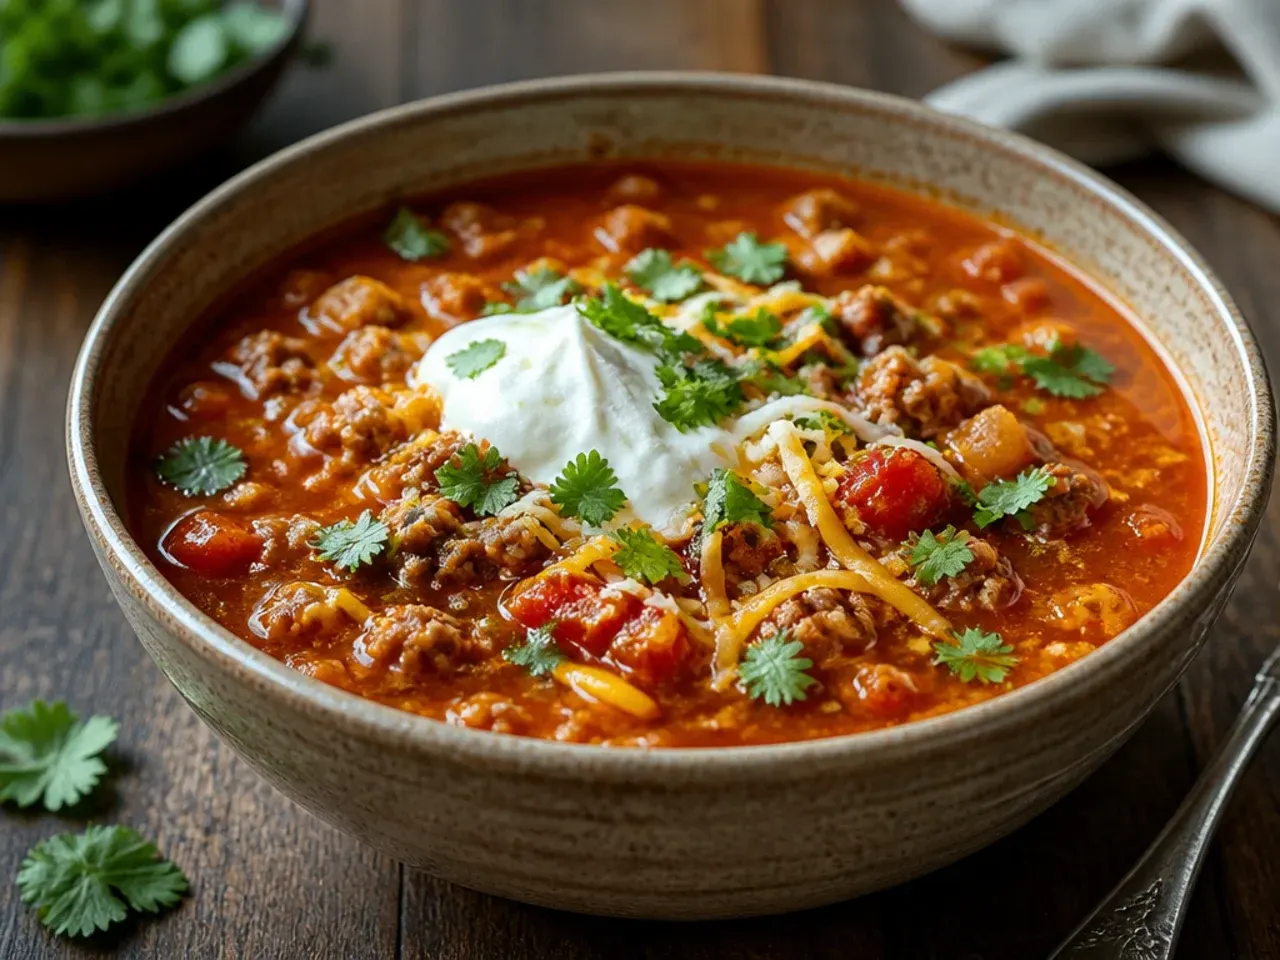
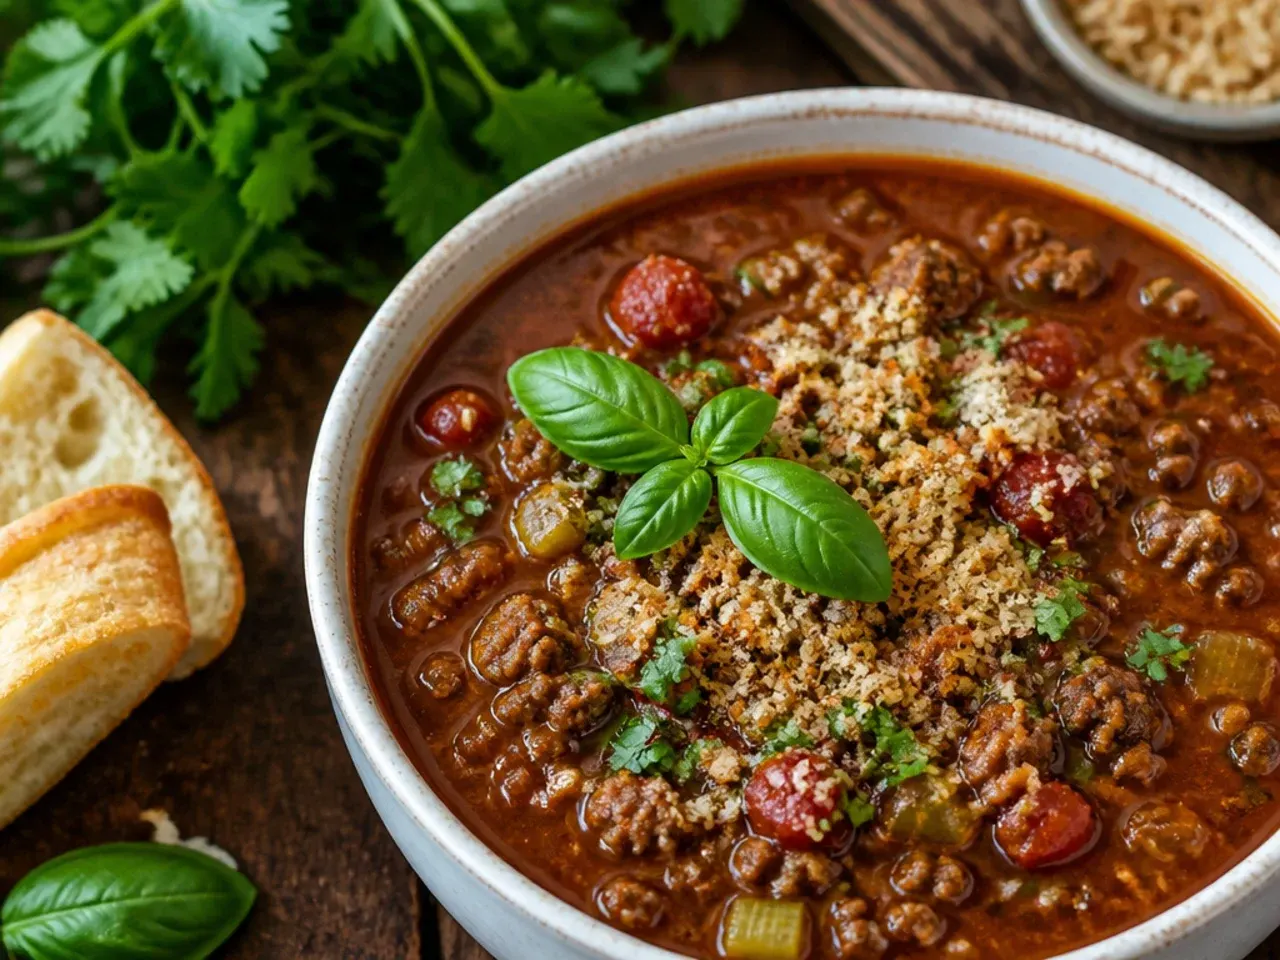
The first time I tasted the soup right after combining the broth and tomatoes, I panicked because it tasted thin and disjointed, like separate ingredients floating in water. I've since learned to let it simmer uncovered for a full 15-20 minutes before adding the dairy, which gives the beef, spices, and tomatoes time to actually become one flavour. Tasting too early is a rookie mistake I made more than once. Now I taste only after that simmer window, and it's always dramatically better.
Lesson 9: Reduce, Don't Dilute, When It's Too Thin
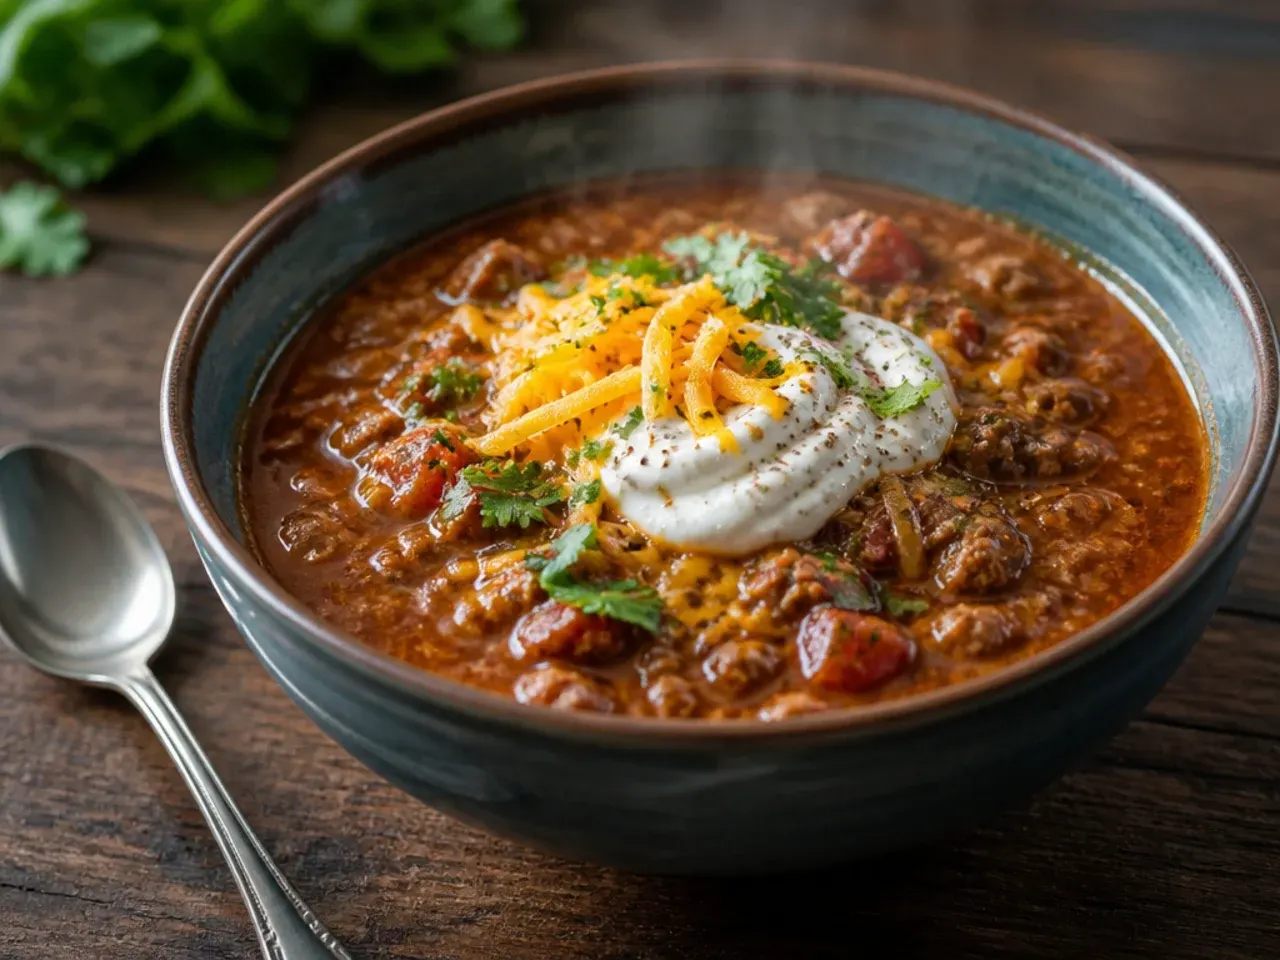
My instinct used to be adding more broth whenever the soup looked too watery, which only made the problem worse. The real fix is simmering it uncovered for another 10 minutes to let liquid evaporate off, or stirring in an extra 55 g (2 oz) of cream cheese to thicken it properly. Water and broth dilute flavour as well as texture, so I only add more of those if the soup has genuinely gone too thick. This lesson took me three separate batches to actually learn.
Lesson 10: Freeze the Base, Not the Finished Soup
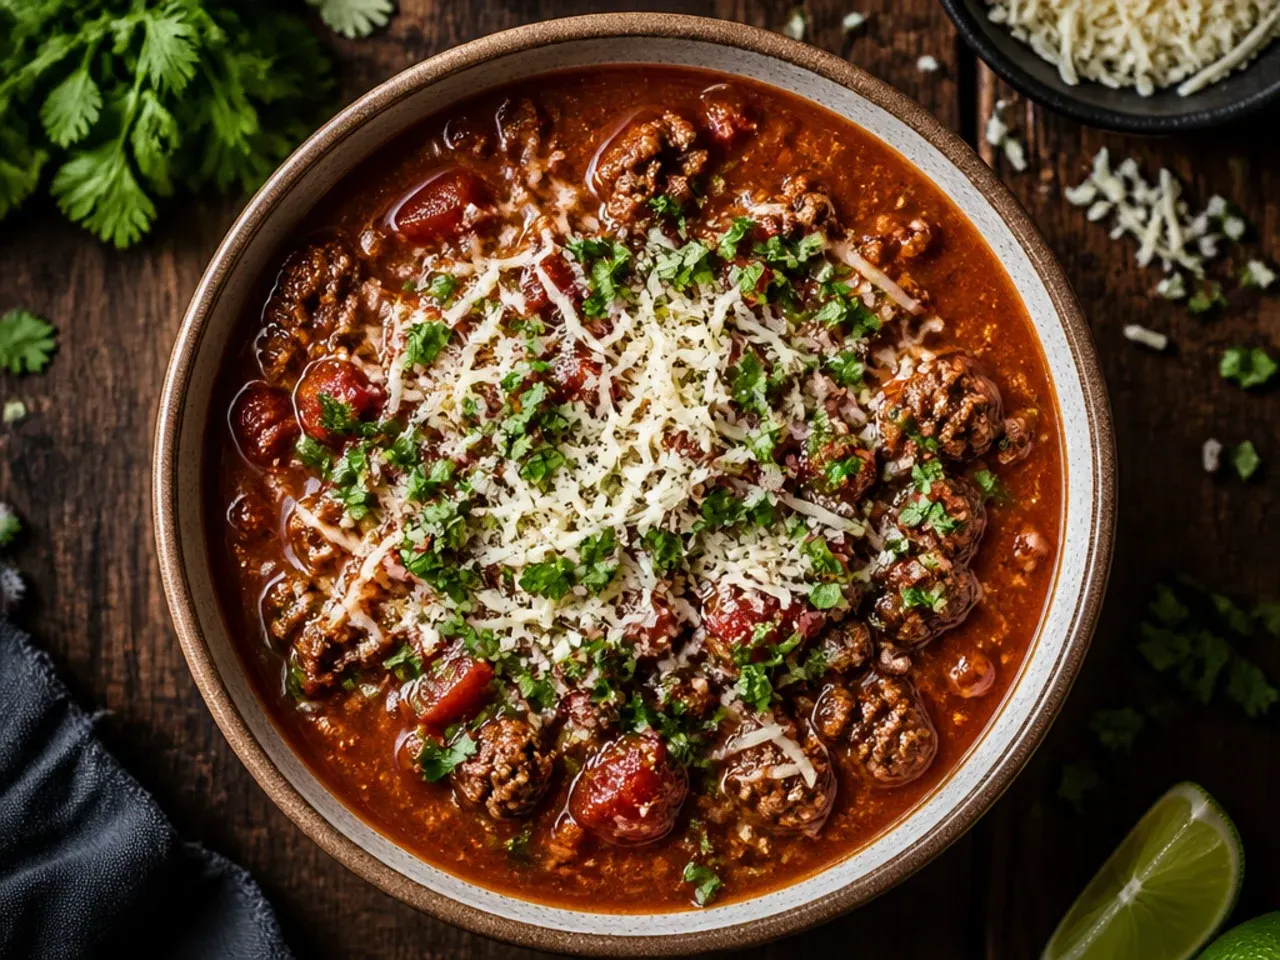
I froze a full batch with the cream cheese already stirred in and it defrosted into a grainy, slightly split mess that no amount of stirring fixed. Now I freeze the soup base of beef, tomatoes, broth, and spices in an airtight container for up to 3 months and only add the cream cheese and cheddar fresh after reheating. It takes an extra five minutes on the day but the texture stays completely smooth. If you meal-prep this soup, this single change is worth remembering.
Lesson 11: Shred Your Own Cheese for Stirring In
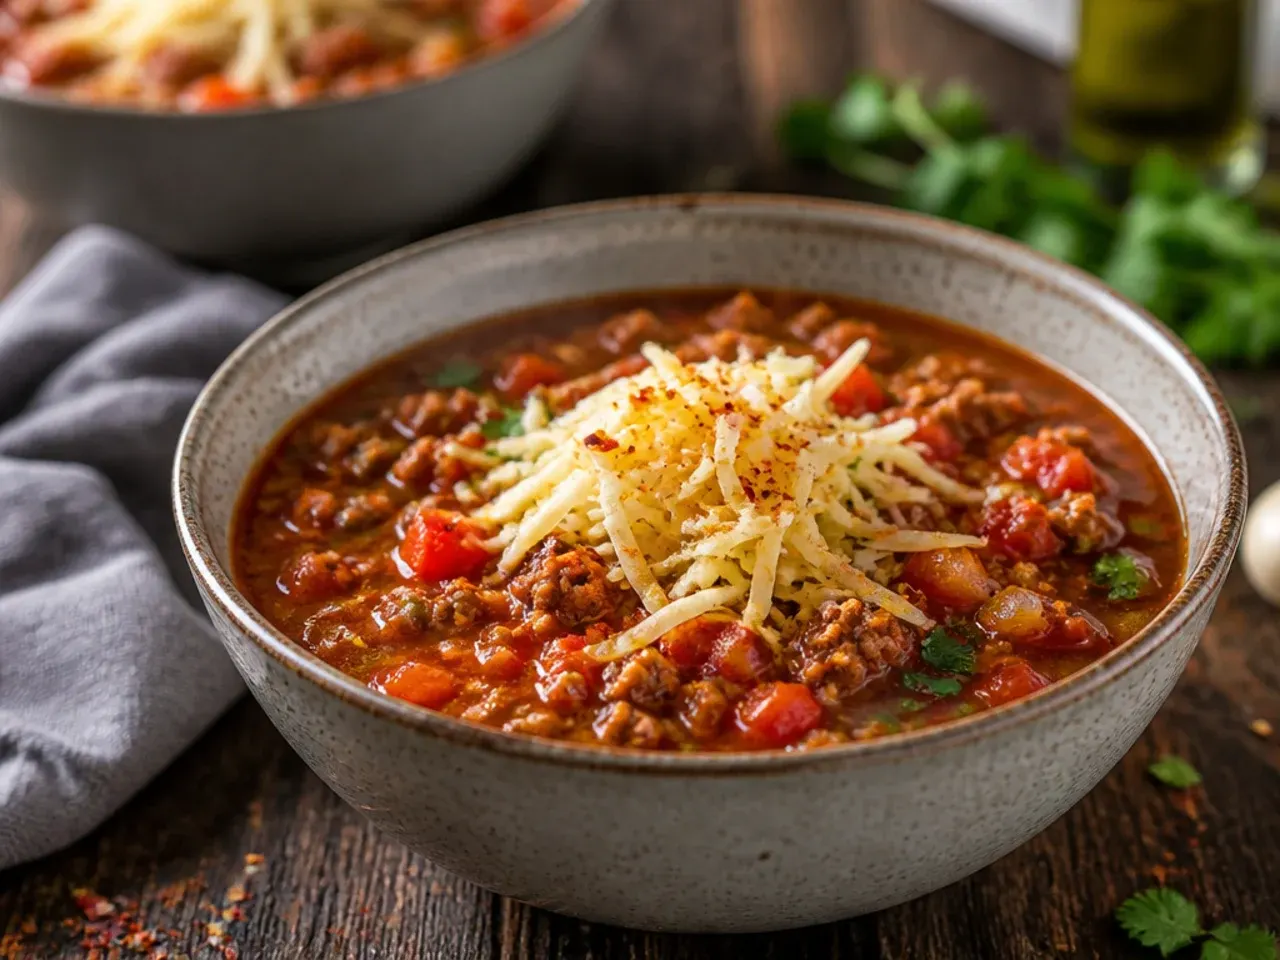
Pre-shredded bagged cheese seemed like the obvious shortcut, but it's coated in anti-caking starch that stops it melting cleanly and leaves gritty flecks through the soup. I now shred 115 g (1 cup) of a block of sharp cheddar myself, which takes about two minutes and melts into the broth without any graininess. Bagged cheese is still fine scattered on top as a topping, where texture matters less. For stirring straight into the pot, block cheese is worth the extra effort every time.
Lesson 12: Sauté the Aromatics Before the Seasoning
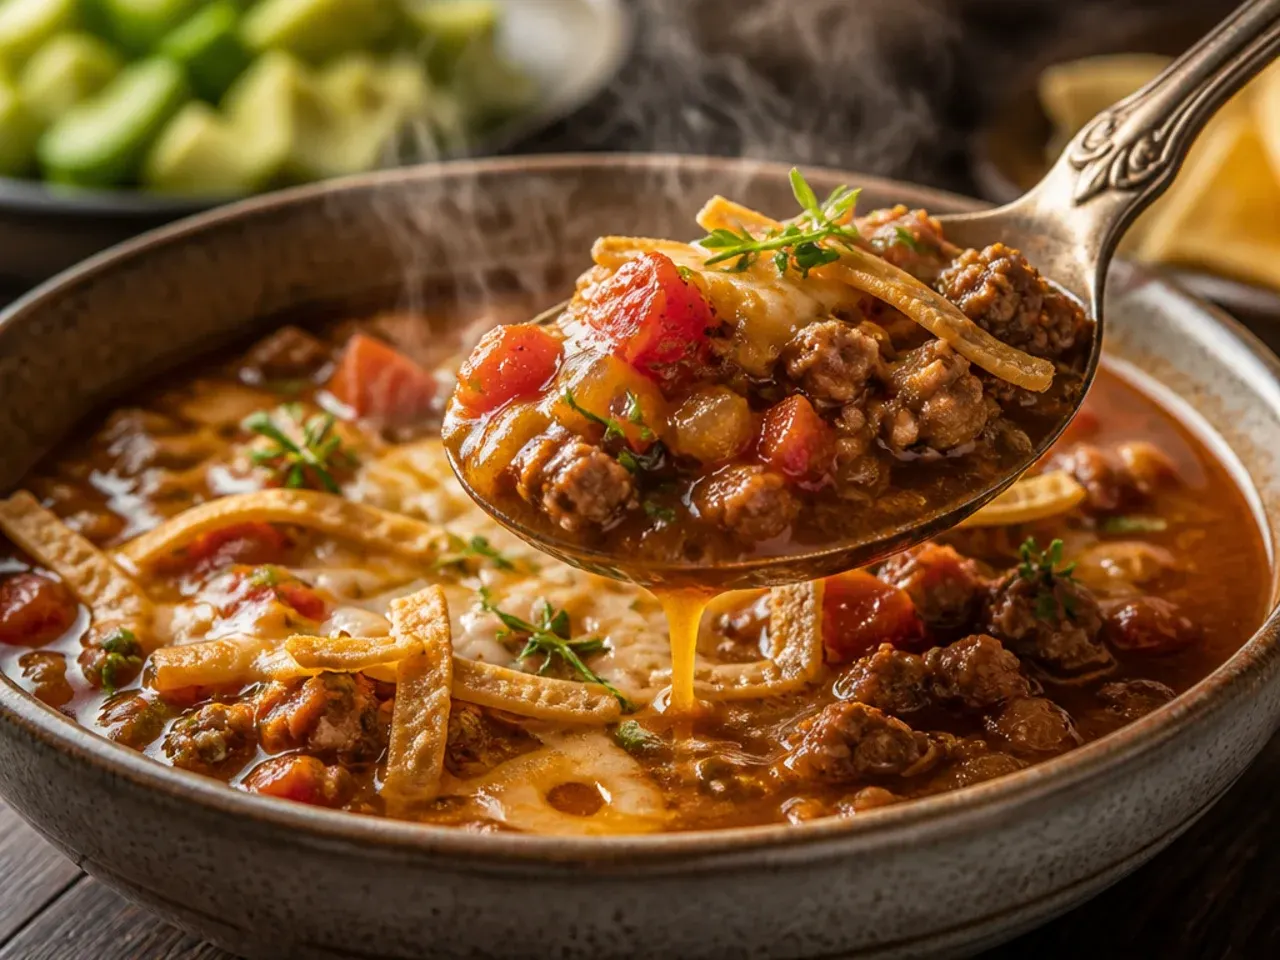
Rushing straight from browning the beef to adding spices meant I was skipping the onion and pepper entirely, and the soup tasted one-dimensional as a result. Now I sauté 150 g (1 medium) diced onion and 150 g (1 medium) diced bell pepper in the beef fat for 4-5 minutes until they've softened and gone slightly golden before the seasoning goes in. That base layer of sweetness balances the chilli heat properly. It's an extra five minutes that changes the whole character of the finished bowl.
Lesson 13: Add Lime Juice Right at the End, Not the Start
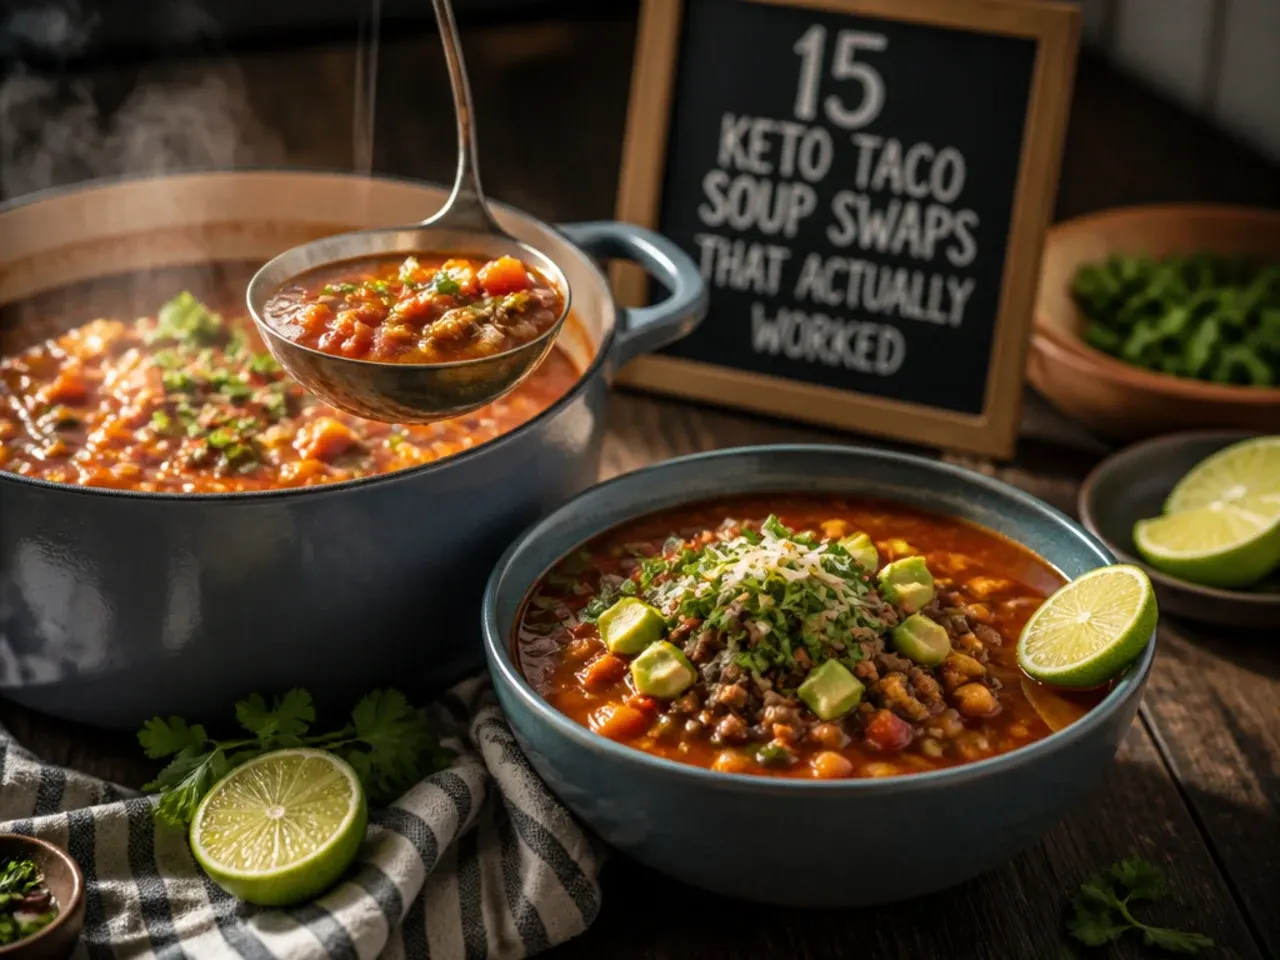
I once squeezed lime juice in early alongside the tomatoes, thinking it would infuse the whole pot, but the acidity faded completely by the time the soup was done and it also made the dairy slightly grainier once the cream cheese went in later. Now I stir in 15 ml (1 tbsp) of fresh lime juice off the heat, right before serving. That late splash of acid cuts through the richness and makes the taco flavours taste sharper and fresher. It's a tiny step but the difference in the final bowl is obvious.
Lesson 14: Taste Before Salting, Broth Is Saltier Than You Think
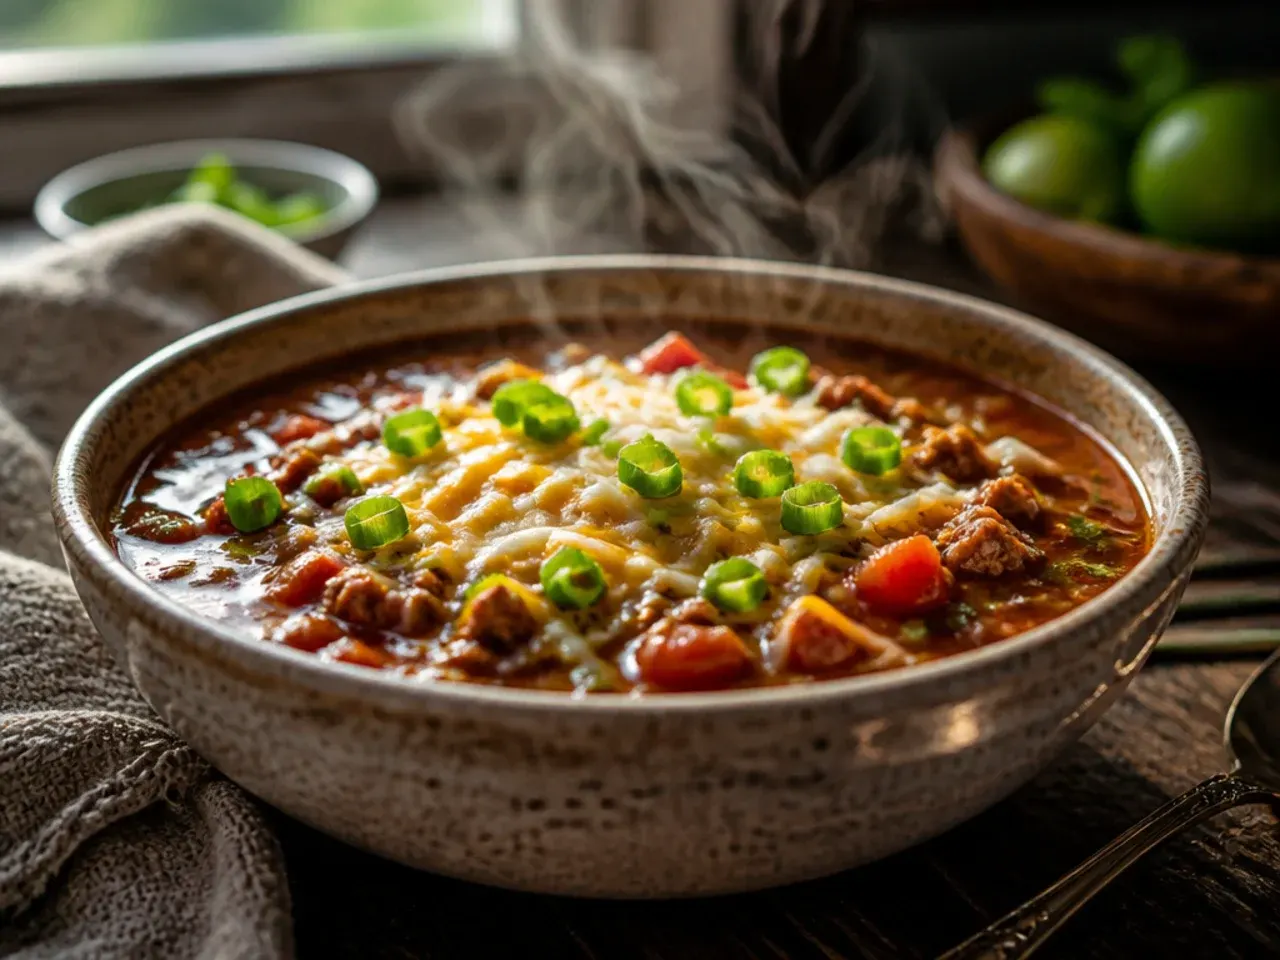
I oversalted an entire pot once by seasoning as if starting from scratch, forgetting that shop-bought beef broth and the taco seasoning both already carry a good amount of salt. Now I hold off on any extra salt until everything, including the cheese, has been stirred in, then taste and adjust right at the end. More often than not it needs little or nothing extra. This one habit has saved me from oversalted soup more times than I can count.
Lesson 15: Reheat Low and Slow or the Soup Will Split
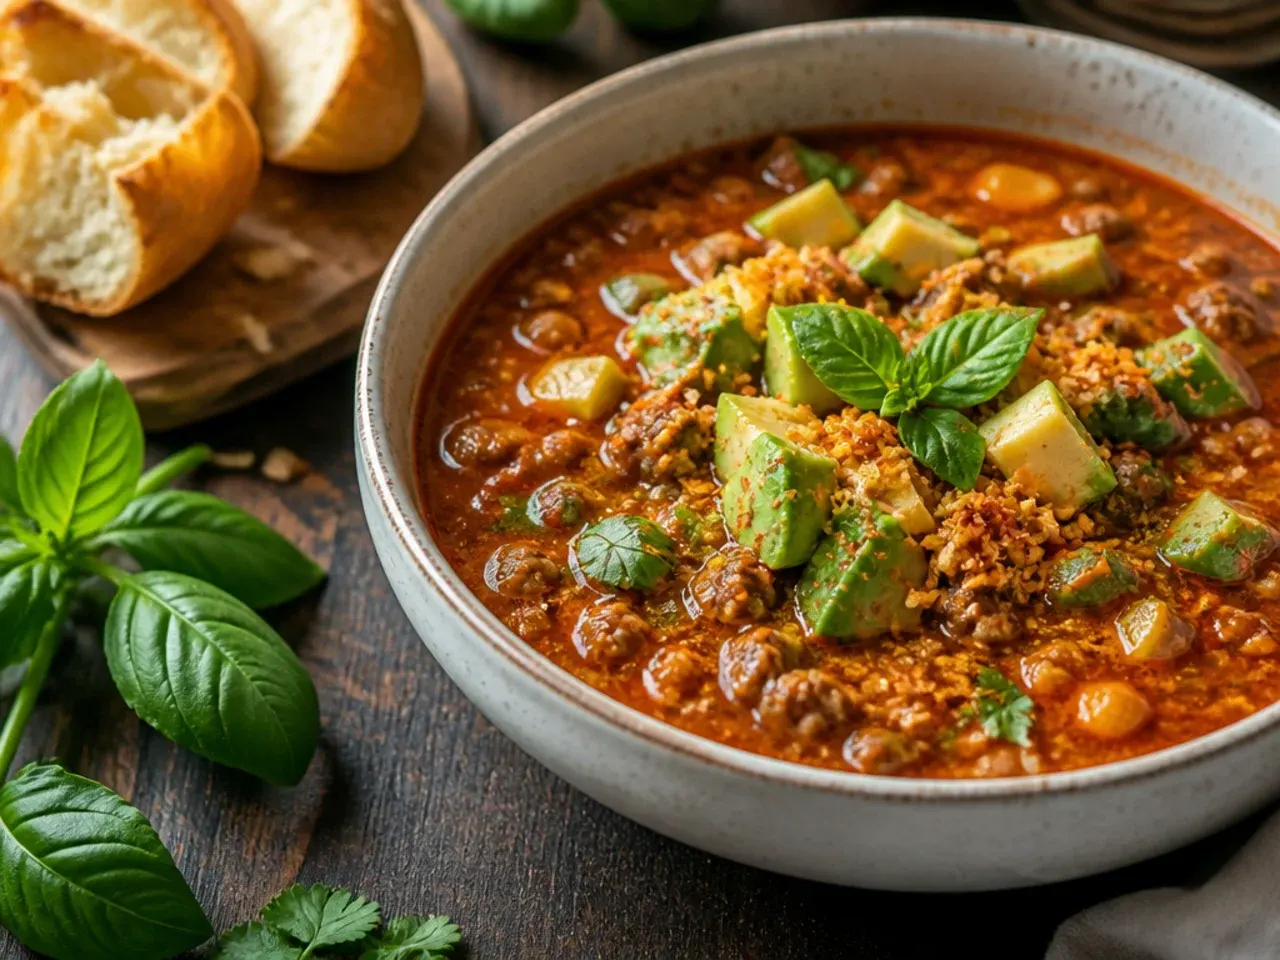
Blasting leftover soup on high heat the next day always broke the cream cheese into an oily, separated mess, even though the soup was perfectly smooth the day before. I now reheat it gently over low-medium heat on the stovetop, stirring often, with a splash of beef broth or cream stirred in to loosen it back to its original consistency. Microwaving works too, but only in 30-second bursts with a stir between each one. Low, slow, and patient is the only way I get it back to day-one texture.
What I'd Tell a Friend Trying This
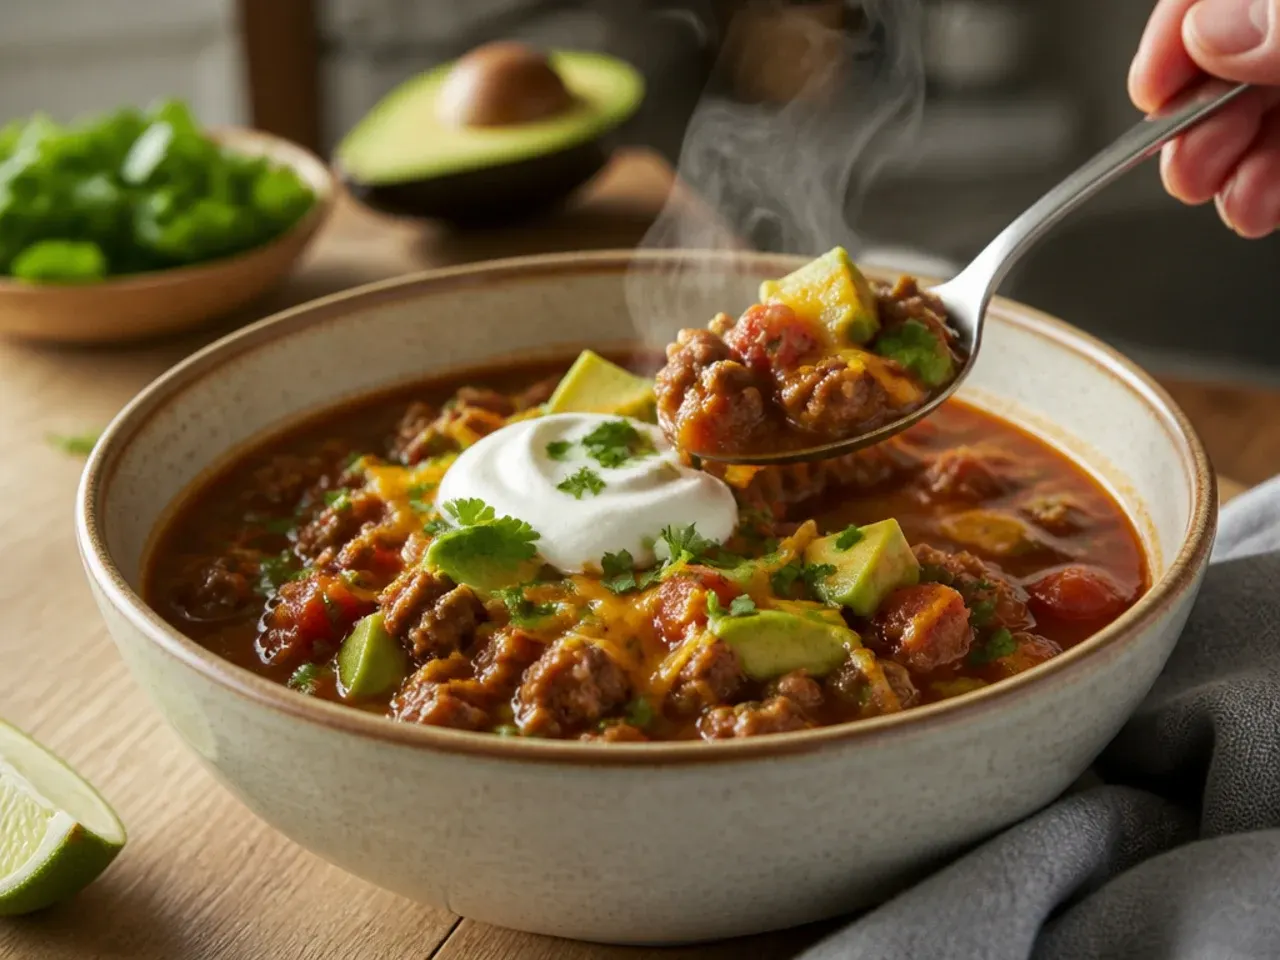
If you're making keto taco soup for the first time, don't skip softening the cream cheese and don't rush the simmer before you taste it, those two habits alone fix most of what goes wrong. Keep the seasoning honest, sauté your aromatics properly, and freeze only the base if you're meal-prepping. Once you've made it two or three times the whole process becomes second nature and takes under an hour, mess included. It's genuinely one of the easiest keto dinners to get right once you know where the common mistakes hide.
The Recipe
The Recipe I Used
15 min
35 min
50 min
6
Beginner
Ingredients 6 Person(s)
Directions
Step 1: Brown the beef and aromatics
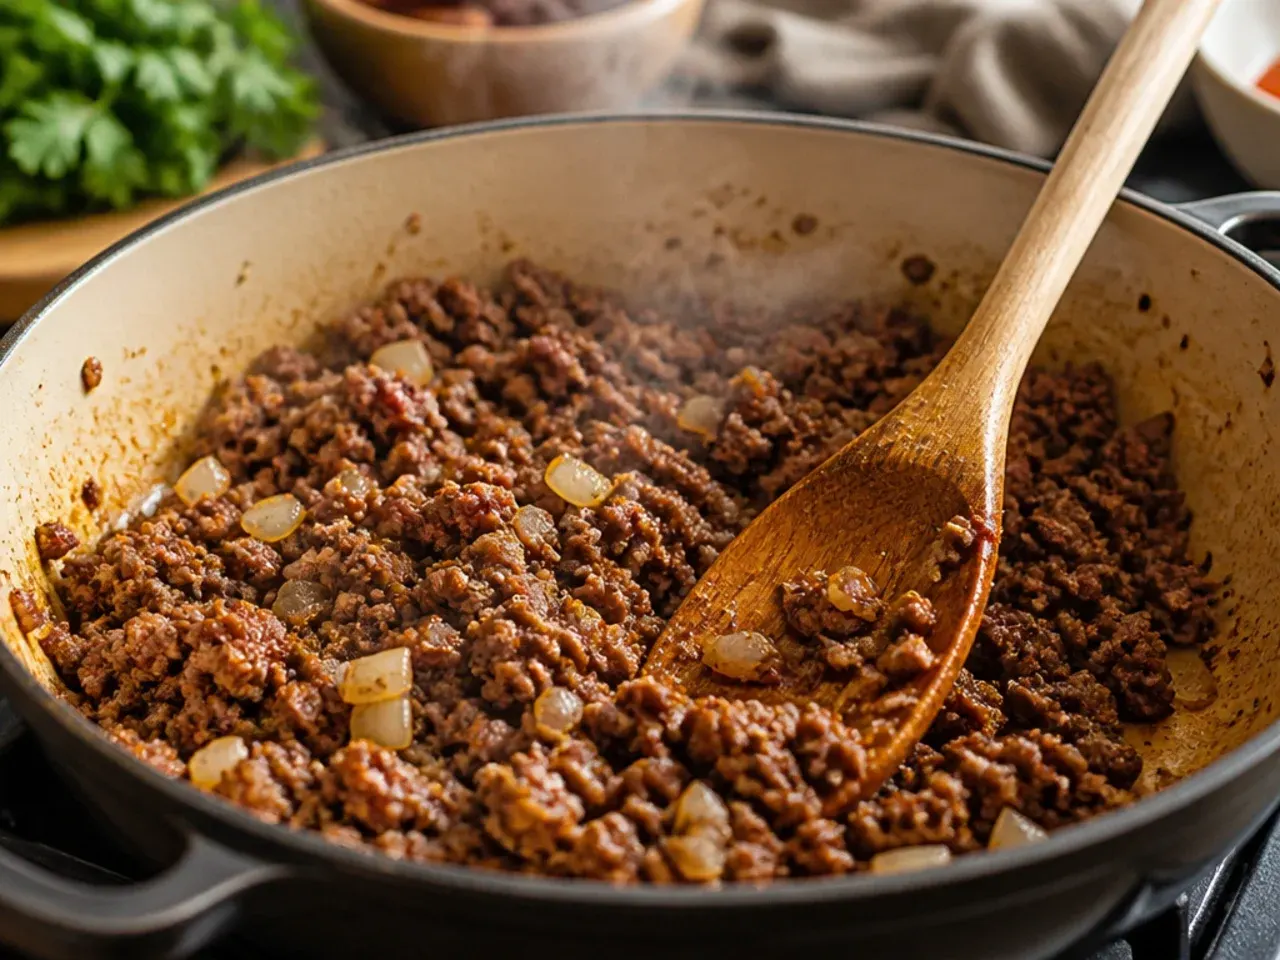
Heat a large pot or Dutch oven over medium-high and add 450 g (1 lb) ground beef, breaking it up with a spoon as it cooks, about 6-7 minutes until no pink remains. Drain off excess fat, leaving about 15 ml (1 tablespoon) in the pan, then add the diced onion and bell pepper. Sauté for 4-5 minutes until the vegetables have softened and turned slightly golden at the edges.
Step 2: Bloom the taco seasoning
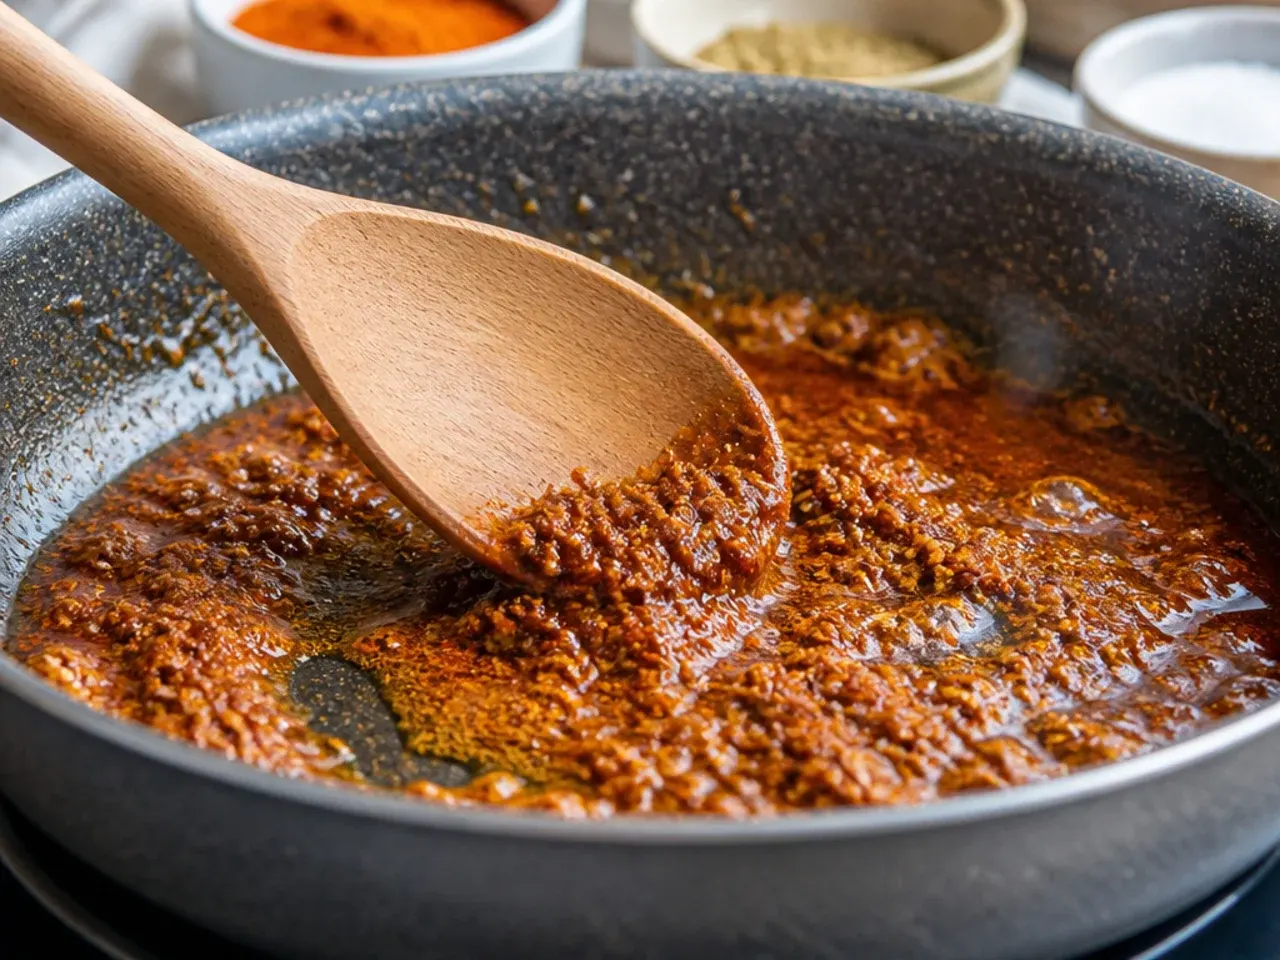
Stir the 30 g (2 tbsp) taco seasoning and minced garlic directly into the beef and vegetables. Cook for 60 seconds, stirring constantly, until the spices smell fragrant and coat everything in a deep red-brown colour. This short toast wakes up the cumin and chilli powder before any liquid is added.
Step 3: Add the tomatoes and broth
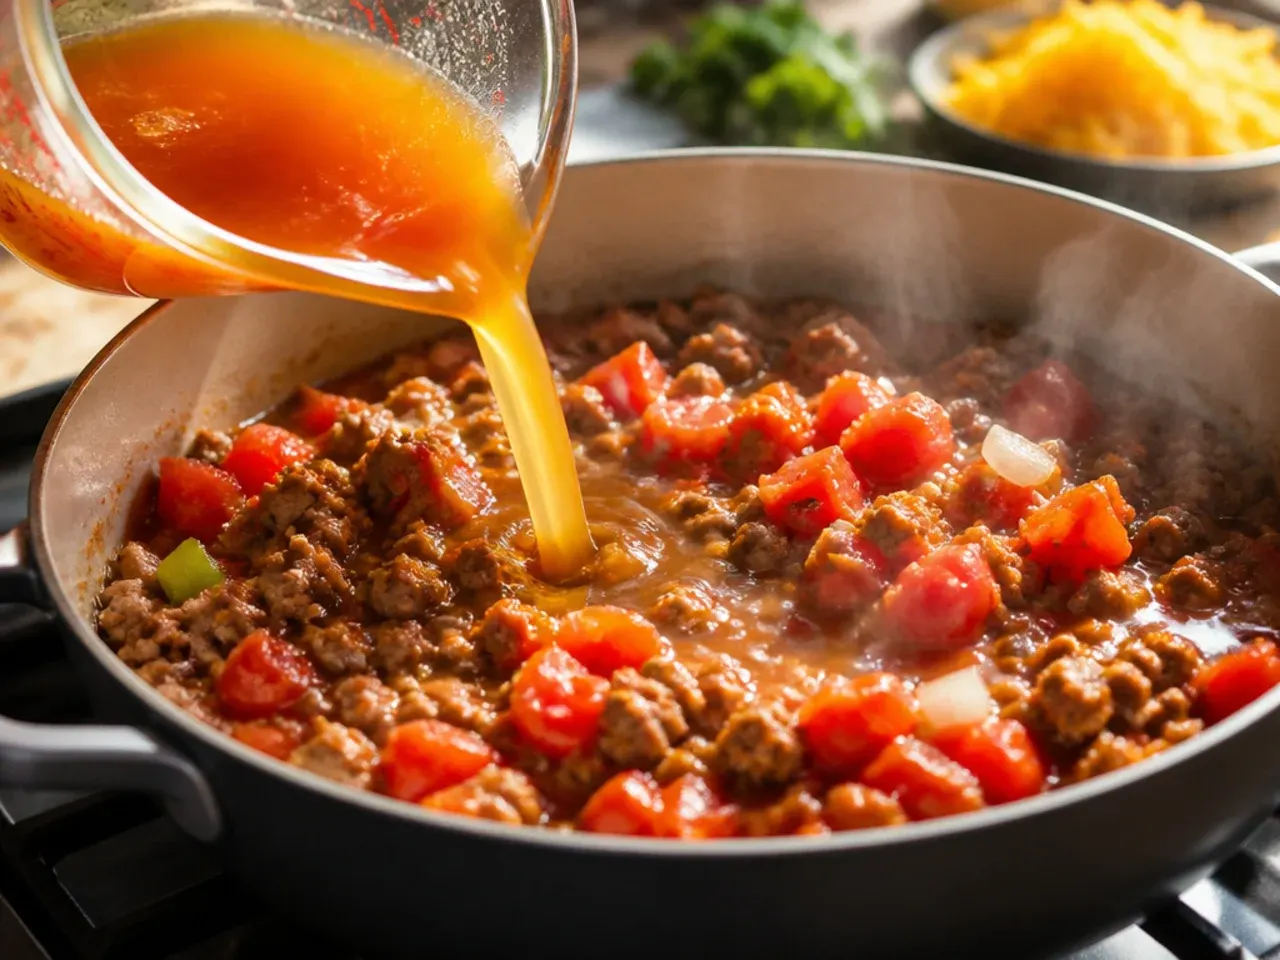
Pour in the 280 g (10 oz) tin of diced tomatoes with green chillies, juices included, followed by 700 ml (3 cups) of beef broth. Stir well to combine, scraping up any browned bits from the bottom of the pot. Bring the mixture up to a gentle boil over medium-high heat.
Step 4: Simmer to build flavour
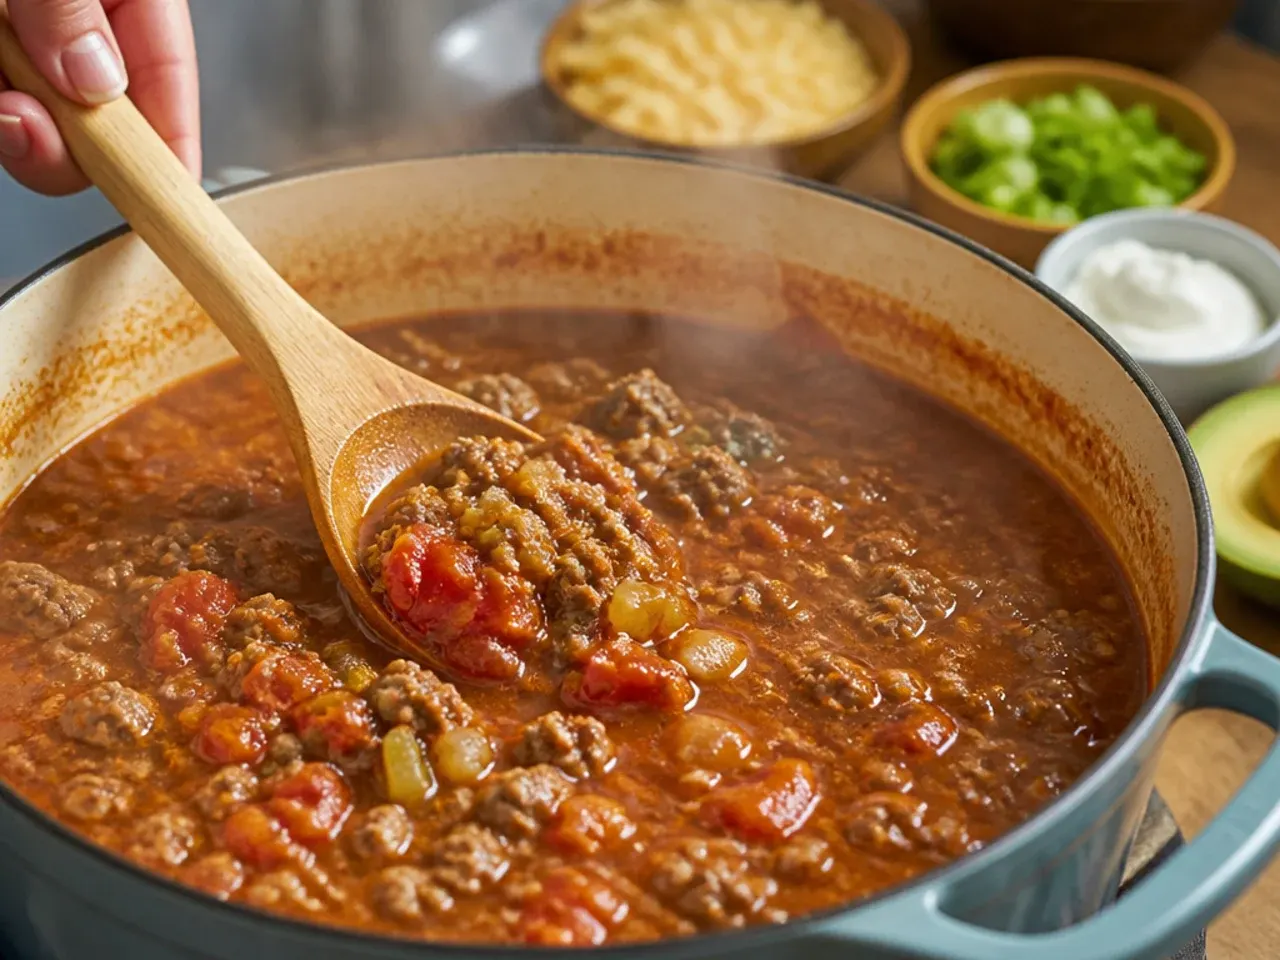
Reduce the heat to medium-low and let the soup simmer uncovered for 15-20 minutes, stirring occasionally. The liquid should reduce slightly and the broth will turn a deeper red as the flavours meld together. Taste at this stage, but hold off on adding any salt yet - the broth and seasoning already carry some, and it's easier to judge once everything, including the cheese, is stirred in.
Step 5: Melt in the cream cheese
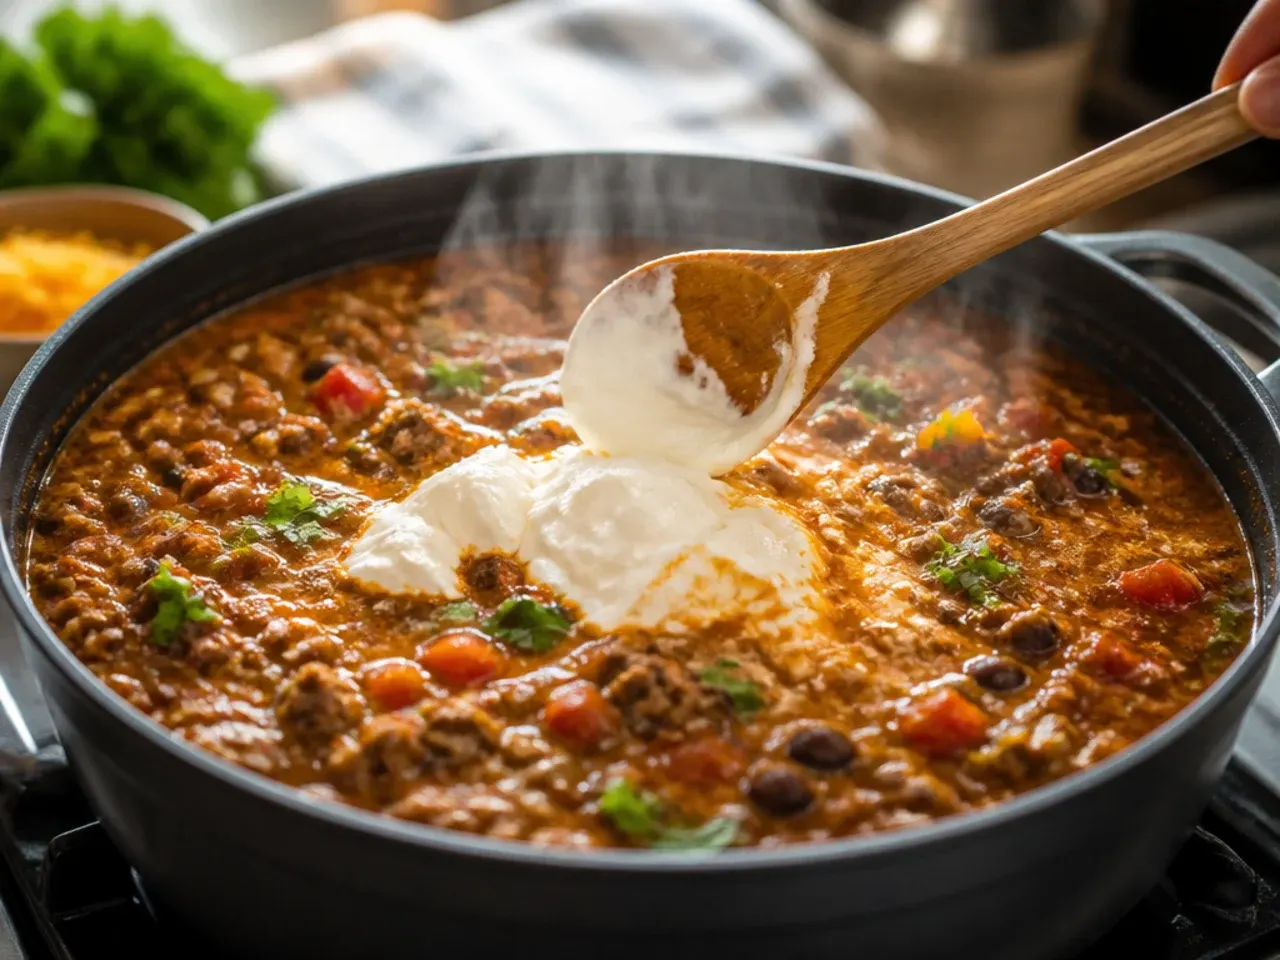
Lower the heat further so the soup is barely simmering, then add the 225 g (8 oz) cubed, softened cream cheese a few pieces at a time. Stir continuously for 3-4 minutes until each addition fully dissolves into the broth before adding more. The soup should turn from thin and red to thick, creamy, and uniformly orange-brown.
Step 6: Stir in the cheddar
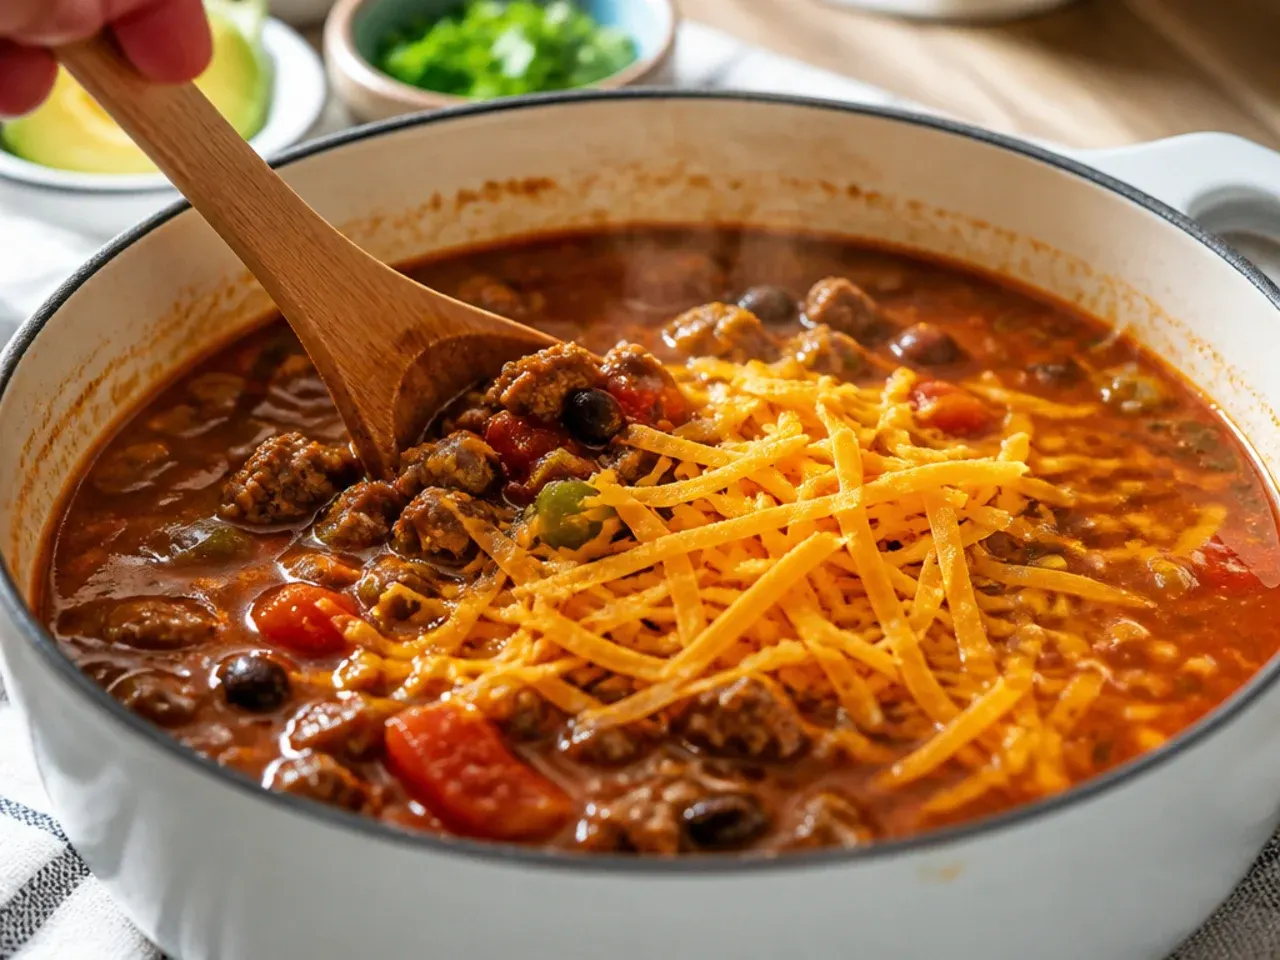
Turn the heat off completely, then sprinkle in the 115 g (1 cup) freshly shredded cheddar in small handfuls, stirring after each addition until melted. Adding it off the heat keeps the cheese silky rather than stringy or greasy. The soup should now coat the back of a spoon thickly.
Step 7: Finish and serve
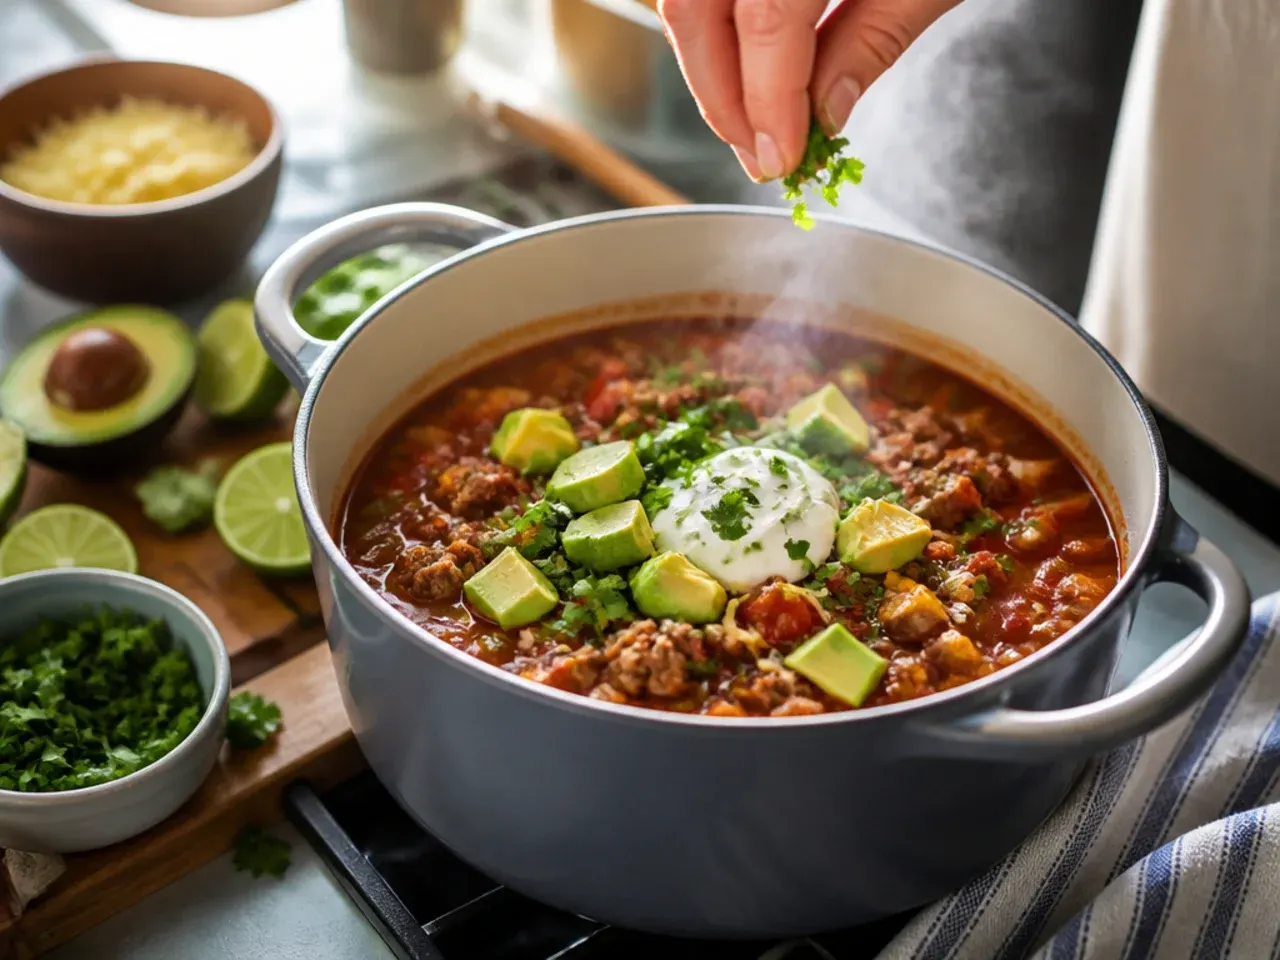
Stir in the 15 ml (1 tbsp) fresh lime juice, then taste and add the 6 g (1 tsp) salt, or less to taste, now that the broth, seasoning, and cheese are all fully stirred in. Ladle into bowls and top with diced avocado, a spoonful of sour cream, and chopped cilantro. Serve immediately while hot, with extra lime wedges on the side for anyone who wants more brightness.
Frequently Asked Questions
Yes — brown the beef, onion, pepper, and garlic in a pan first since a slow cooker won't develop the same colour, then transfer everything except the cream cheese and cheddar to the slow cooker with the tomatoes, broth, and seasoning. Cook on low for 6-7 hours or high for 3-4 hours until the flavours have melded. Stir in the softened cream cheese and shredded cheddar during the last 20-30 minutes so the dairy doesn't overcook. This method is ideal if you want dinner ready without babysitting the stove.
Save this for later 📌
Pin this article to your Pinterest board so the full list is one tap away when you need it.
Save on Pinterest