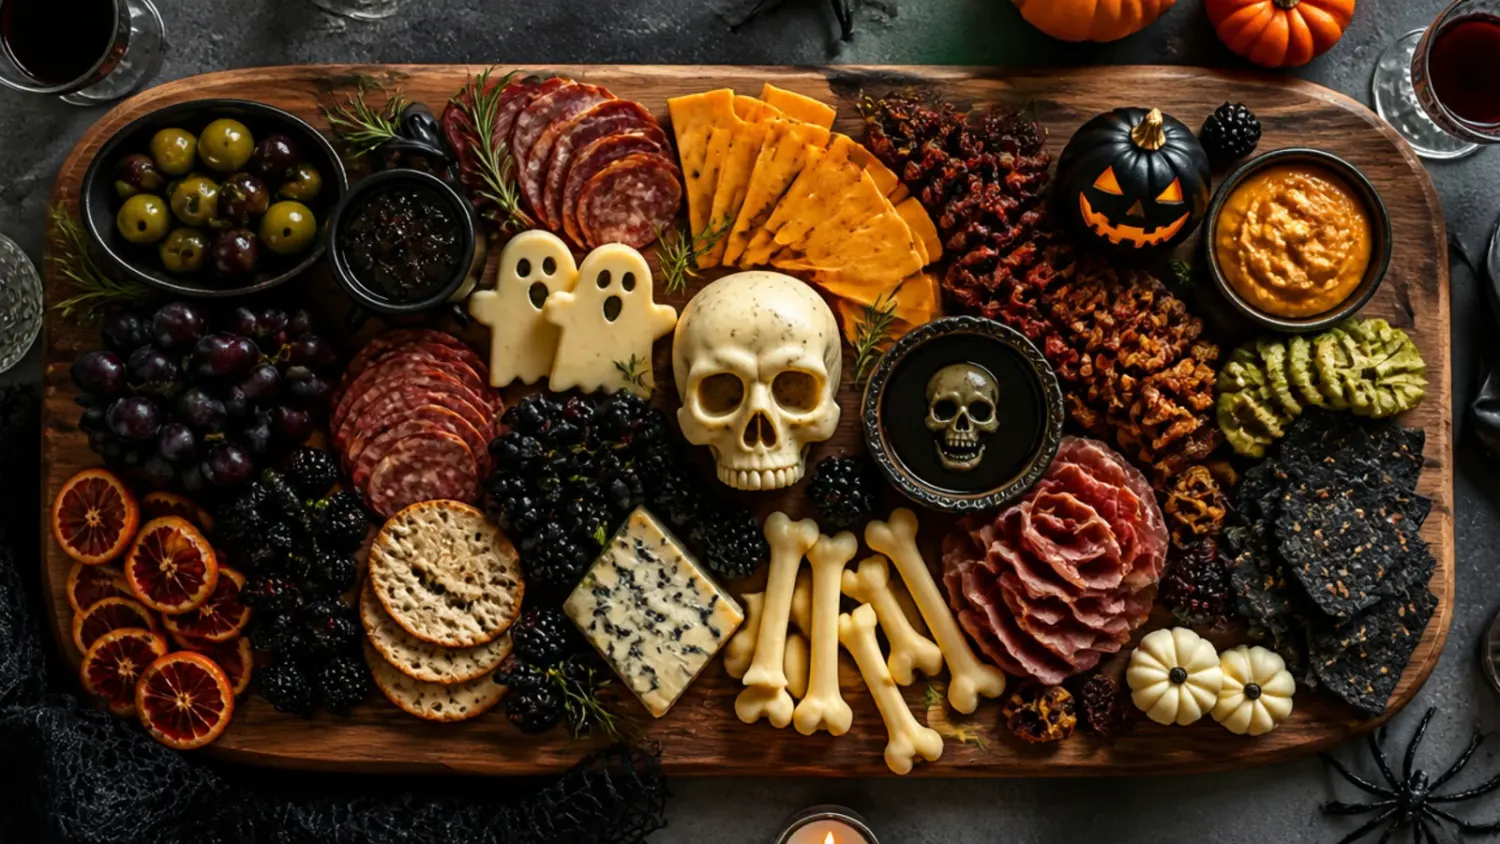
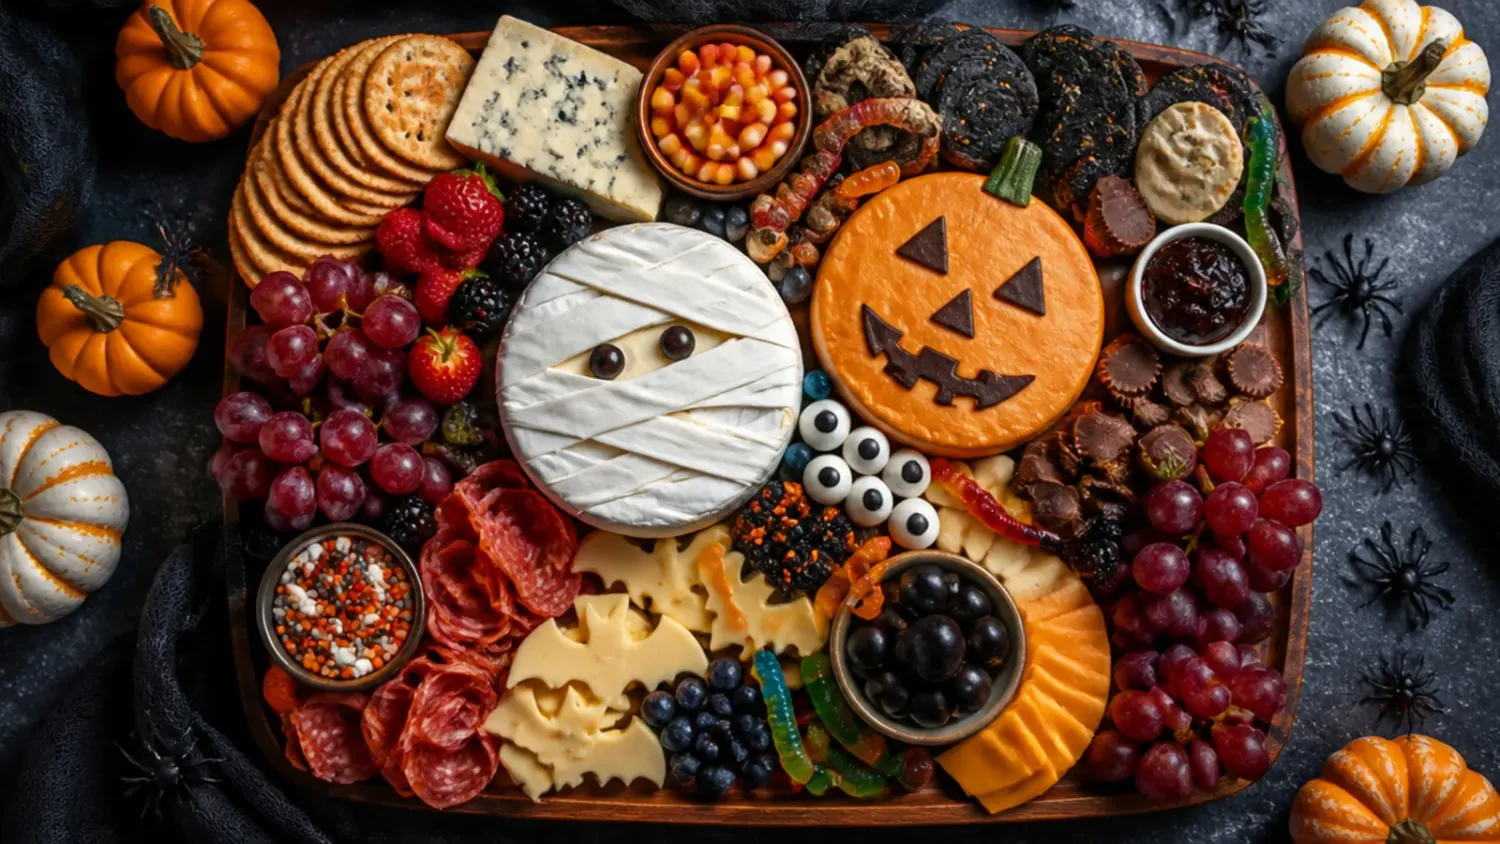
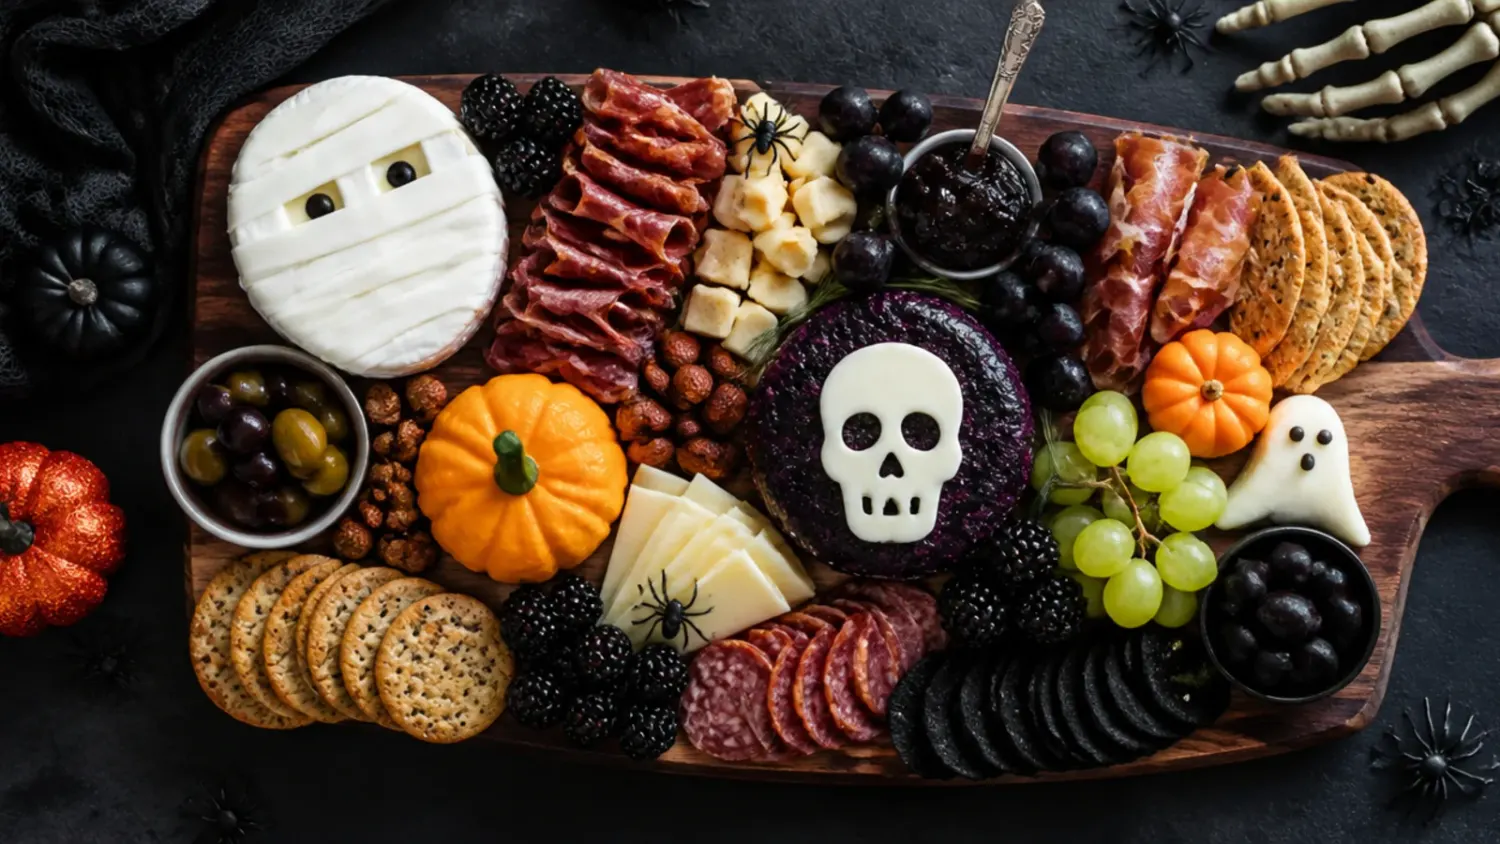
15 Kids Halloween Charcuterie Board Ideas
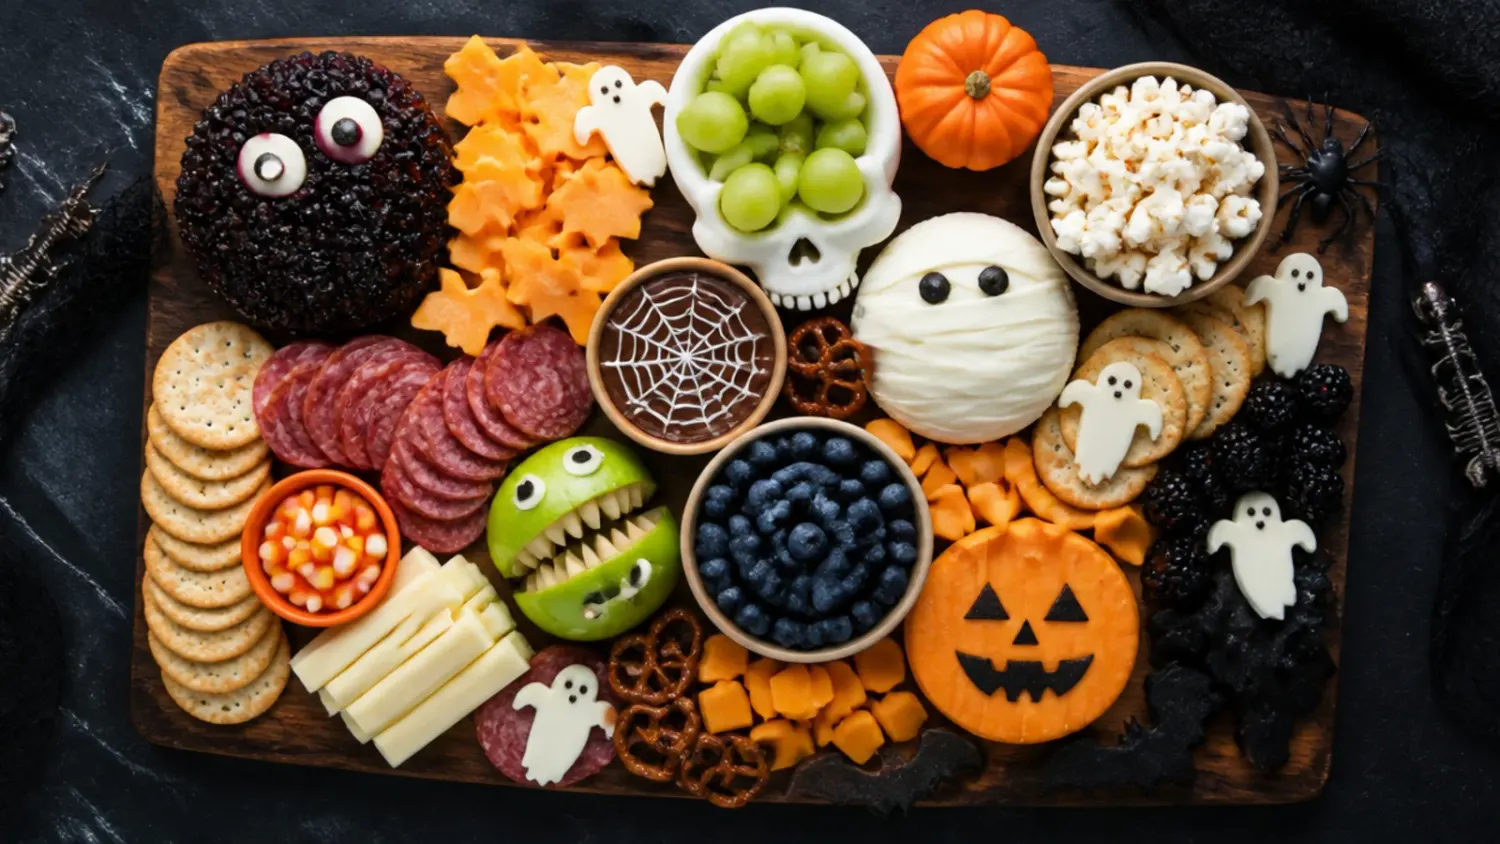
15 kids halloween charcuterie board ideas with cheese, banana ghosts and pumpkin fruit — easy, budget-friendly and ready in under 30 minutes. If you love halloween charcuterie board inspiration, start with our Halloween Charcuterie Board collection, then browse the full Party Food hub for more.
Save this for later 📌
Pin this article to your Pinterest board so the full list is one tap away when you need it.
Save on PinterestParty Food
Beginner
Recipes
15 ideas
Table of Contents
- Why You'll Love These
- 1. Classic Pumpkin Patch Board
- 2. Easy No-Cut Ghost Board
- 3. Cozy Autumn Harvest Board
- 4. Simple Four-Ingredient Board
- 5. Creamy Graveyard Dip Board
- 6. Loaded Trick-or-Treat Feast Board
- 7. Best-Ever Mummy and Ghost Board
- 8. Cheesy Spiderweb Board
- 9. Budget-Friendly Board
- 10. Crowd-Pleasing Party Board
- 11. Make-Ahead Board
- 12. Family Movie Night Board
- 13. Festive Candy Corn Stripe Board
- 14. Quick Spider Board
- 15. Homemade Bat and Broomstick Board
- Pro Tips
- Serving Suggestions
- Storage and Reheating
- The Master Recipe
Why You'll Love These
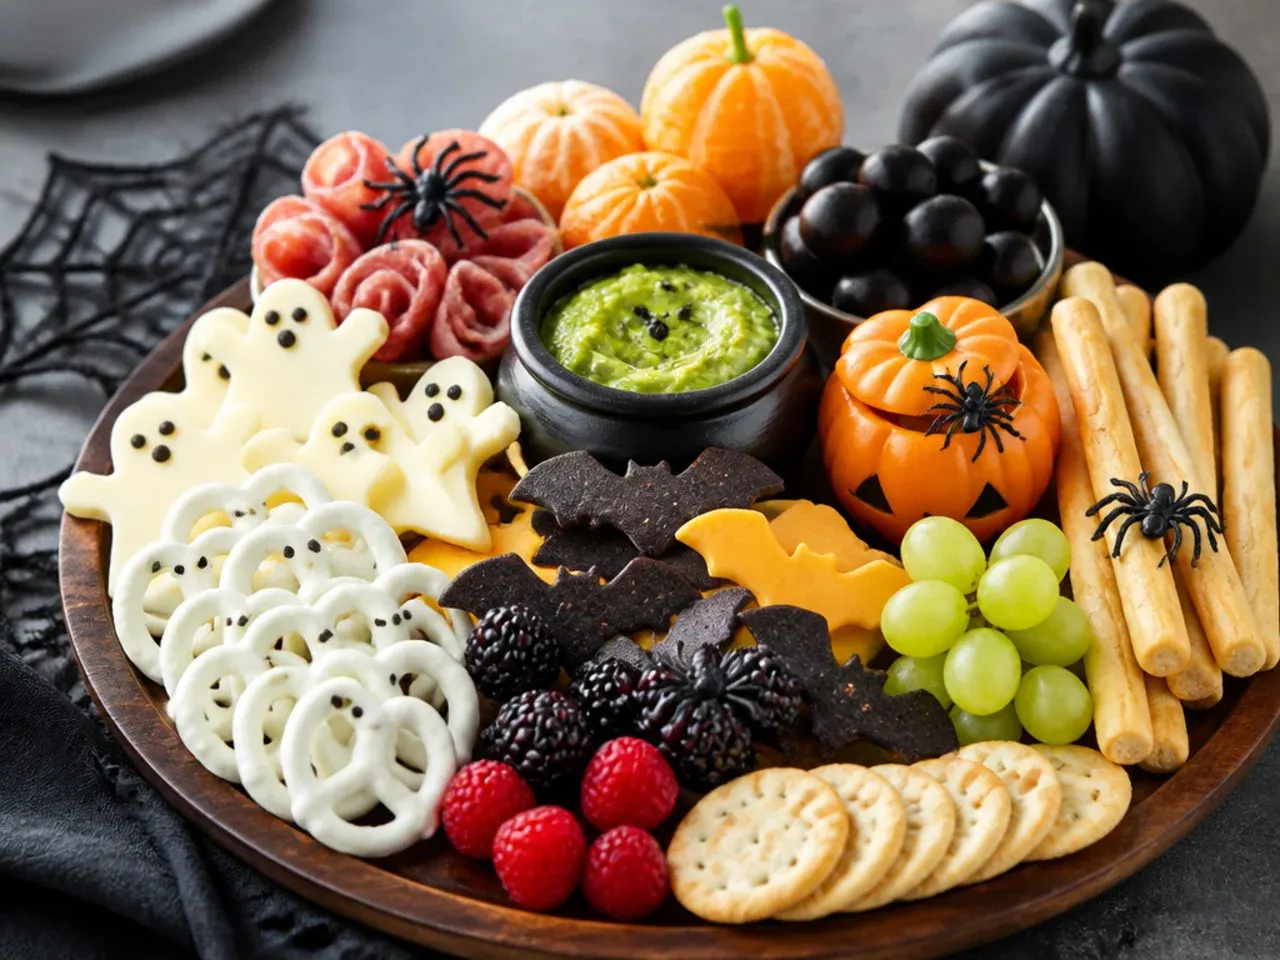
A kids halloween charcuterie board turns a plain snack tray into an activity, letting little hands arrange cheese cubes, banana ghosts and pretzel broomsticks into their own spooky scene. It costs a fraction of pre-packaged party platters and uses ingredients most kitchens already stock, from cheddar and crackers to a bag of grapes. Every idea below skips fiddly cake-decorating skills in favour of simple cuts and press-on chocolate chip eyes, so children can help build it themselves. None of the 15 boards need the oven, which makes this a genuinely low-stress option for a classroom party or a Halloween-night snack before trick-or-treating.
1. Classic Pumpkin Patch Board
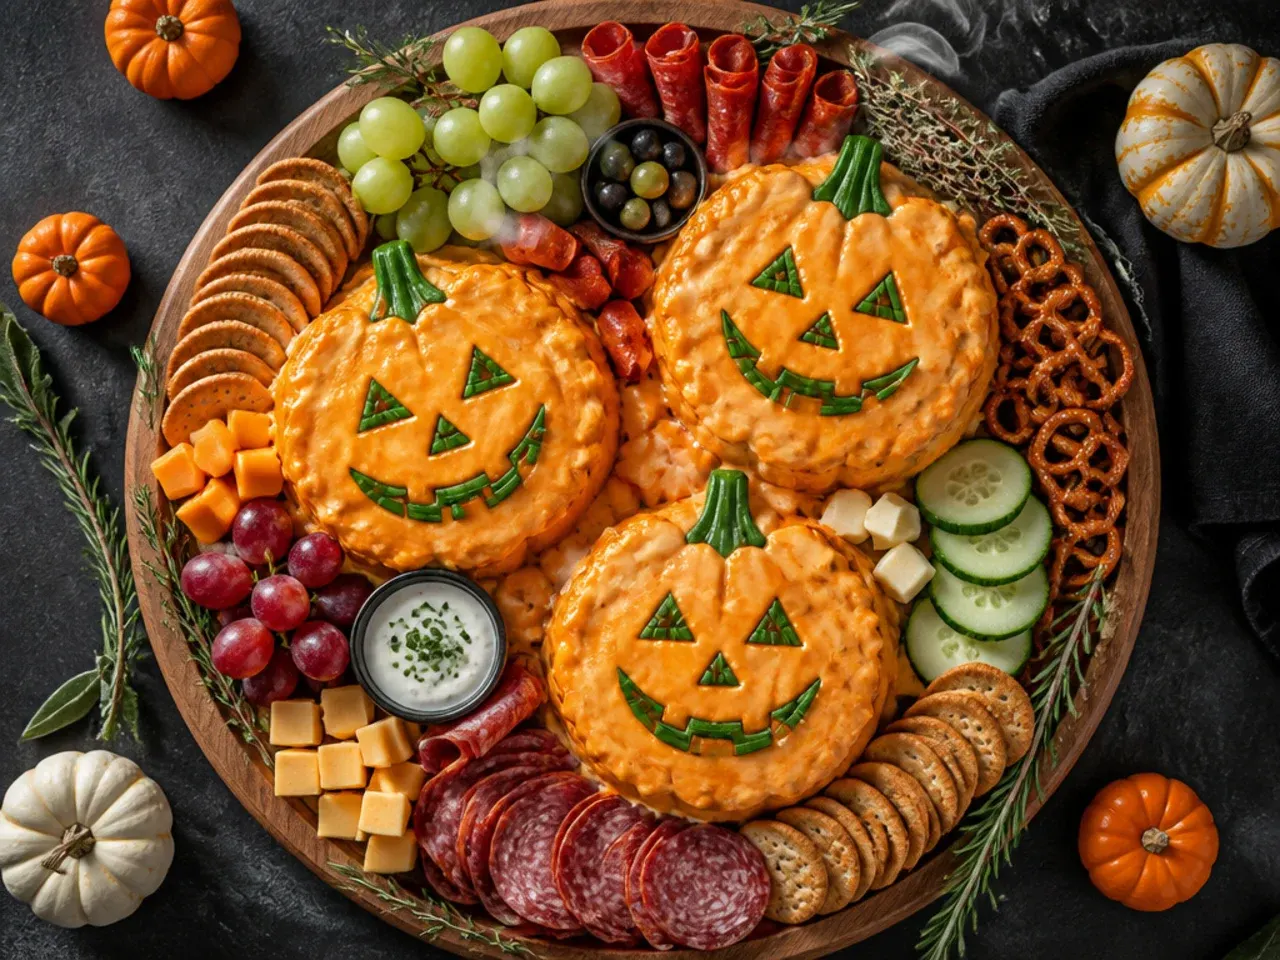
Build the classic version around clementines styled as mini pumpkins, with a short pretzel stick pressed into the top as a stem, alongside cubed mild cheddar, seedless grapes and a fan of round crackers. Keep the layout to four or five food groups so young children can identify everything at a glance rather than facing an overwhelming mix. A small bowl of hummus in the centre gives the board a natural focal point. This is the version to start with if you've never built a themed snack board before.
2. Easy No-Cut Ghost Board
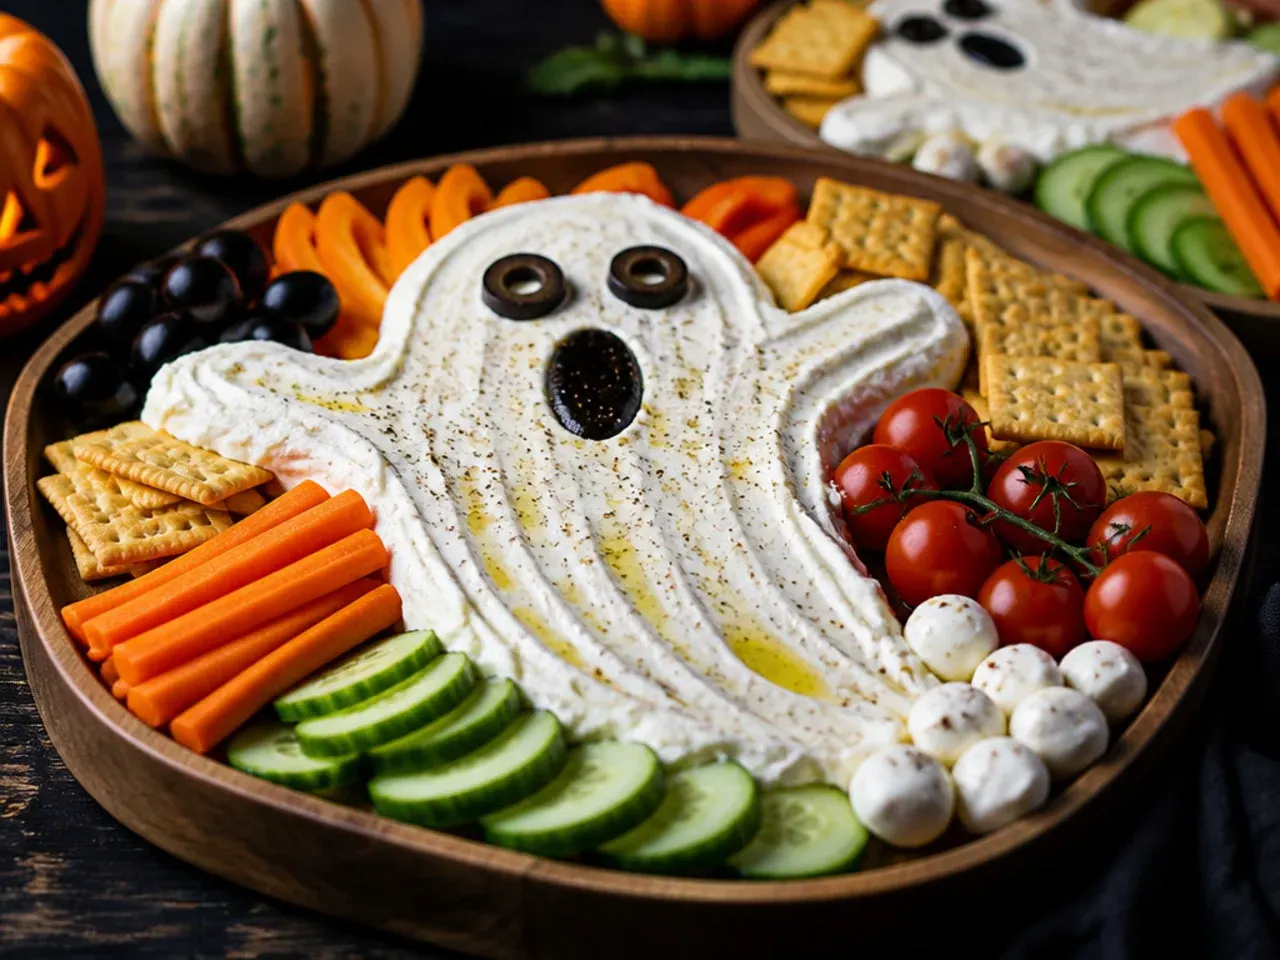
Skip the shaping altogether for a genuinely easy option: pre-cubed cheese, a bag of mini pretzels, seedless grapes and a handful of candy corn tipped straight into small bowls on a tray. The only Halloween touch is a few marshmallow ghosts with two dots of melted white chocolate for eyes, ready in under 10 minutes. This board suits a rushed after-school snack far better than a party centrepiece, since there's no cutting or decorating involved at all.
3. Cozy Autumn Harvest Board
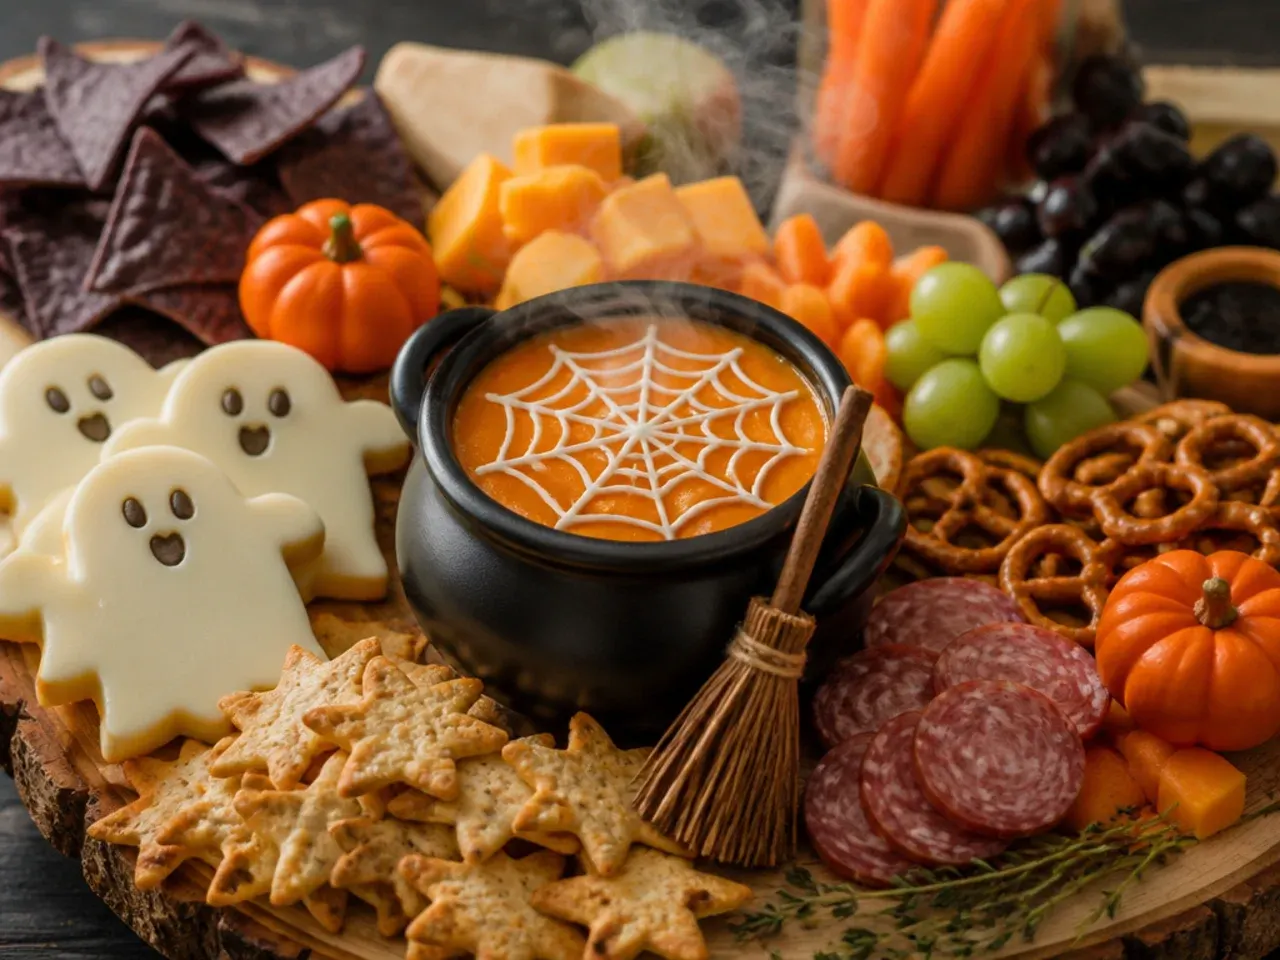
Lean into the season with roasted pumpkin seeds, thin apple slices tossed in lemon juice to stop them browning, dried cranberries and small wedges of soft cheese. A few cinnamon graham crackers and a small pot of warm caramel dip round out the flavours. This board reads as more autumnal than spooky, making it a good fit for a chilly Sunday afternoon rather than a candy-heavy Halloween party.
4. Simple Four-Ingredient Board
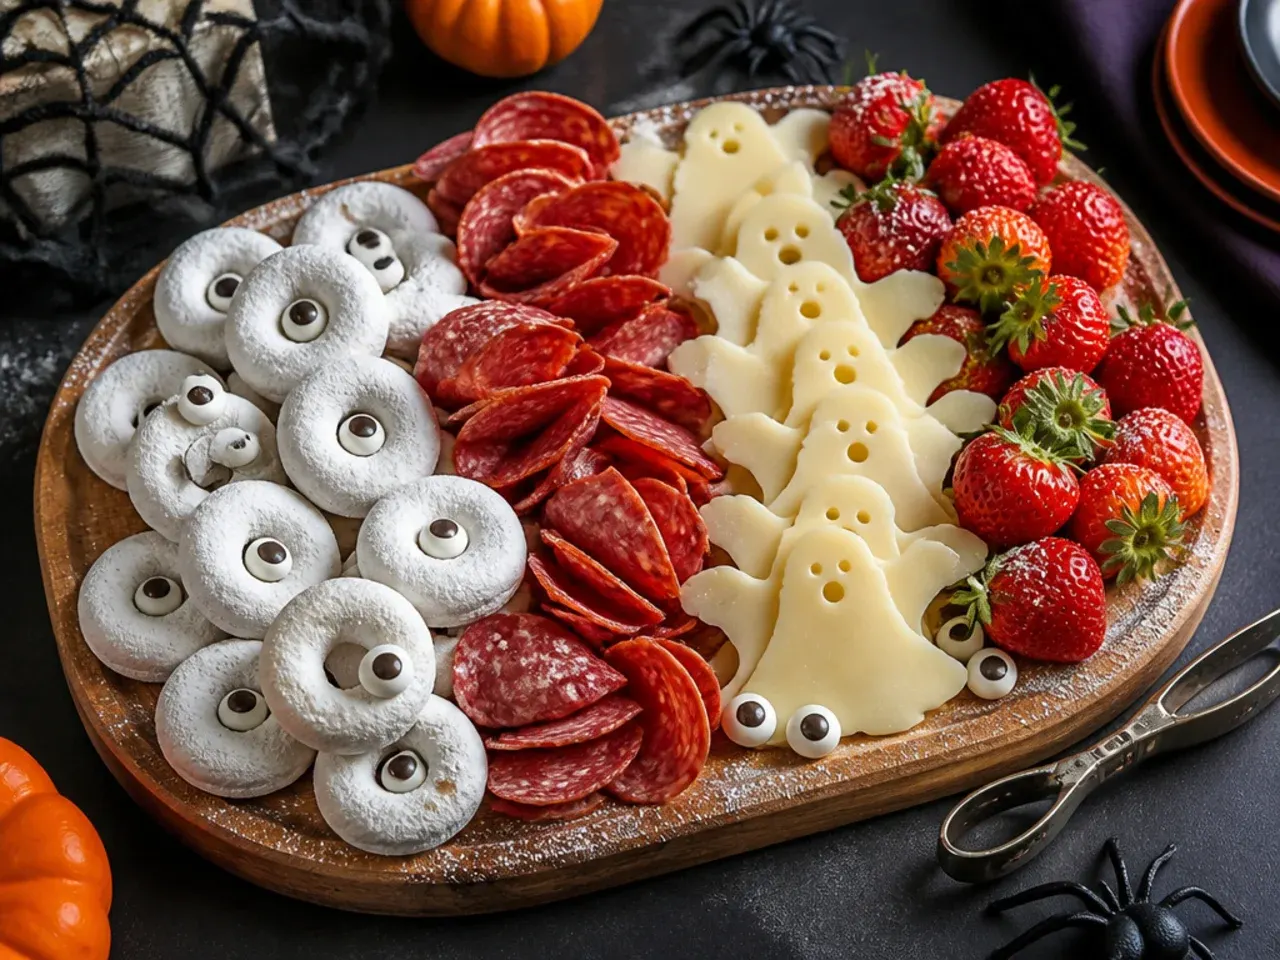
When time is genuinely short, four ingredients is enough: cubed cheese, plain crackers, grapes and pretzel sticks, arranged in four clean rows rather than scattered. Skip any cutting or shaping and let the natural colours of the food do the Halloween styling. It's the fastest board on this list to put together and still looks intentional on the table, especially served on a black platter for contrast.
5. Creamy Graveyard Dip Board
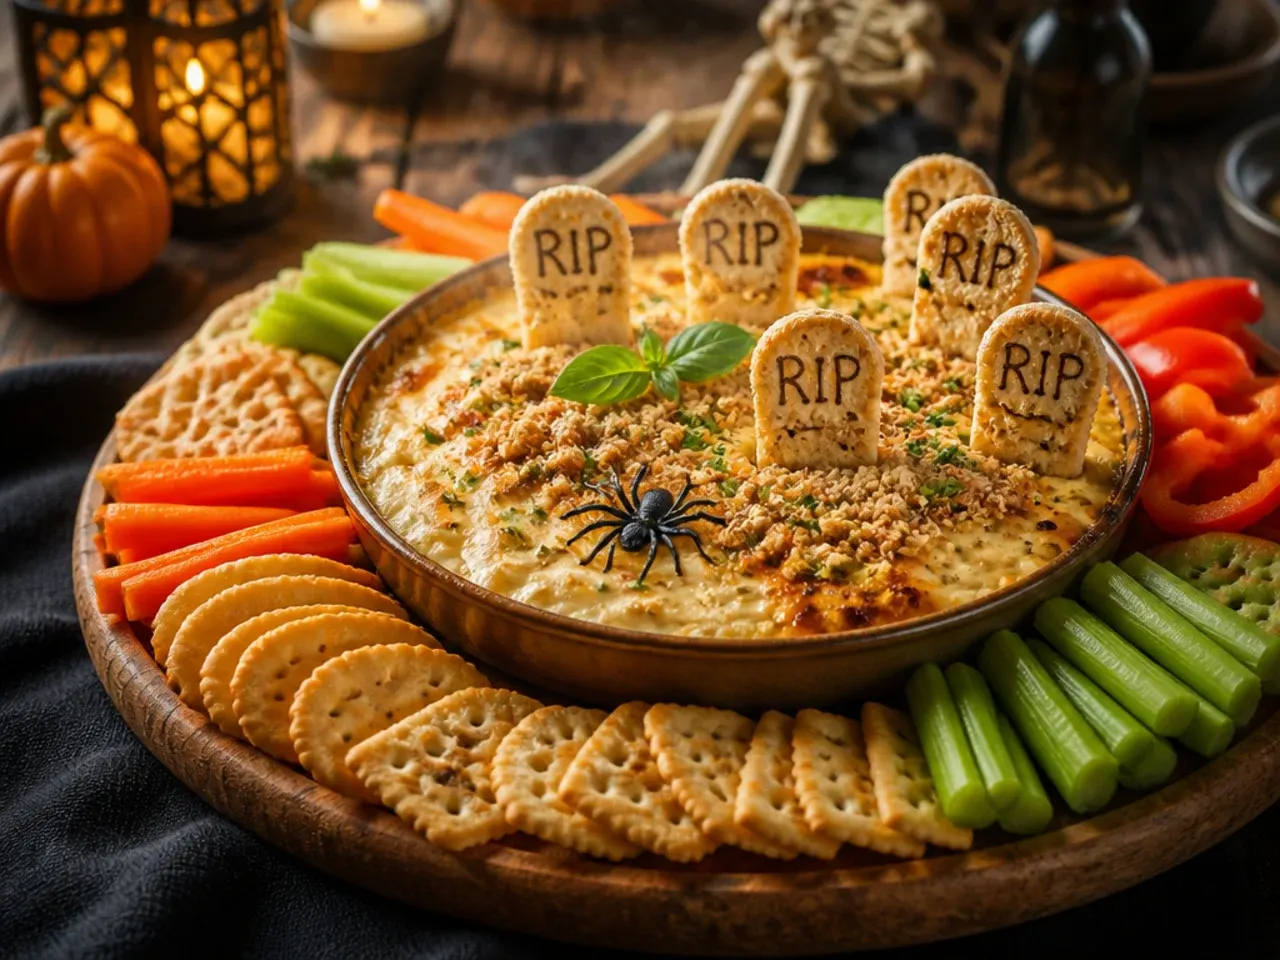
Push a bowl of soured cream or hummus dip into the centre of the board and top it with crushed digestive biscuits so it looks like graveyard dirt, then stand a few thin breadsticks upright as headstones. Surround the dip with carrot sticks, cucumber and pretzel rods for dunking. Children tend to eat more vegetables when there's a dip to go with them, which makes this the board worth reaching for if you're trying to sneak in something green.
Save this for later 📌
Pin this article to your Pinterest board so the full list is one tap away when you need it.
Save on Pinterest6. Loaded Trick-or-Treat Feast Board
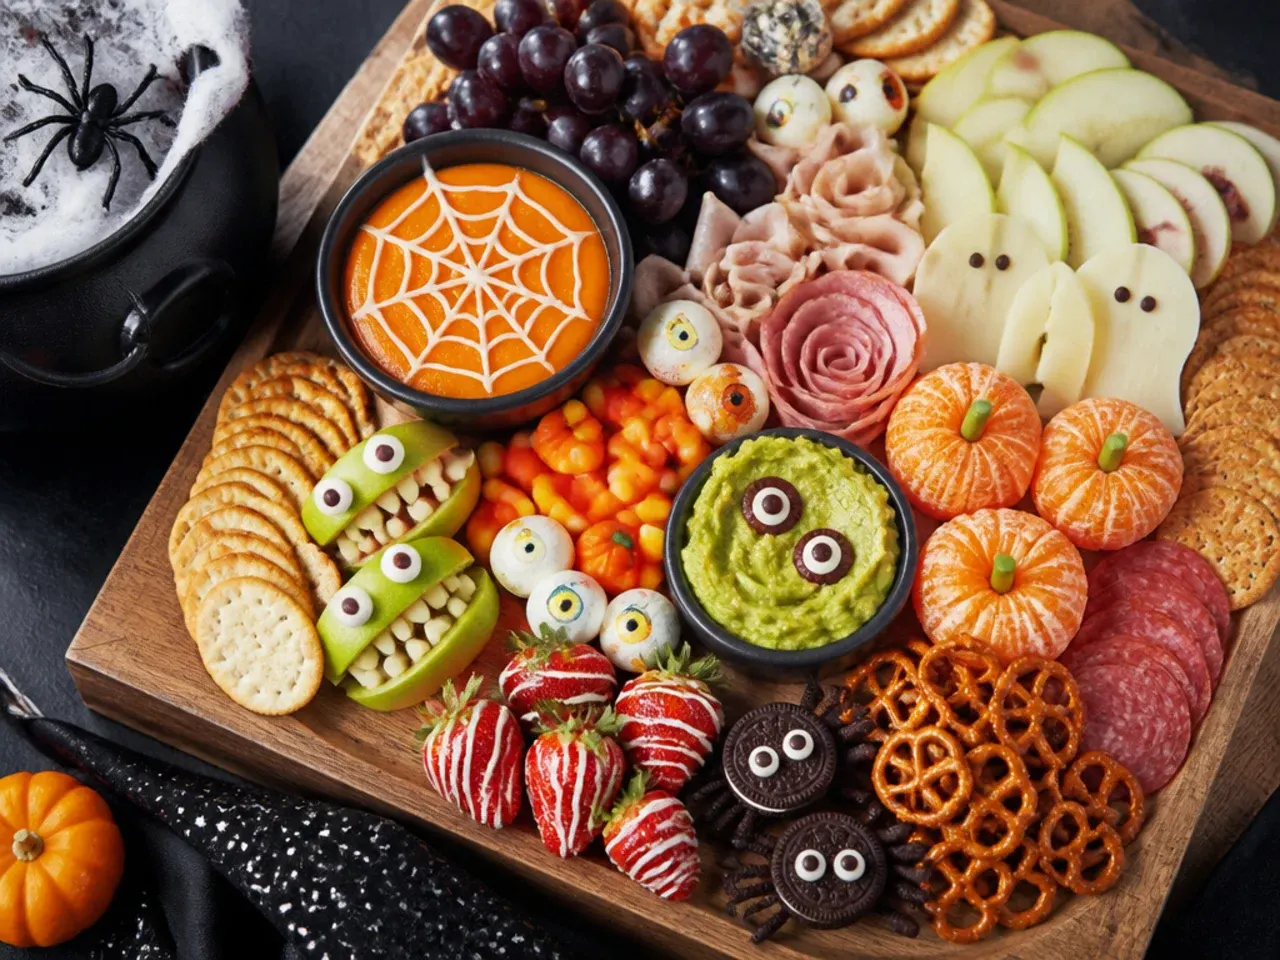
This is the big party version: cheese cubes, two kinds of crackers, grapes, strawberries, pretzels, a savoury dip and a small section of chocolate-orange sweets, arranged around a hollowed-out mini pumpkin used as the dip bowl. Fill every gap so no bare board shows through, which is what makes a loaded board look properly generous in photos. Plan on roughly 100 g (3.5 oz) of food per child across the whole spread.
7. Best-Ever Mummy and Ghost Board
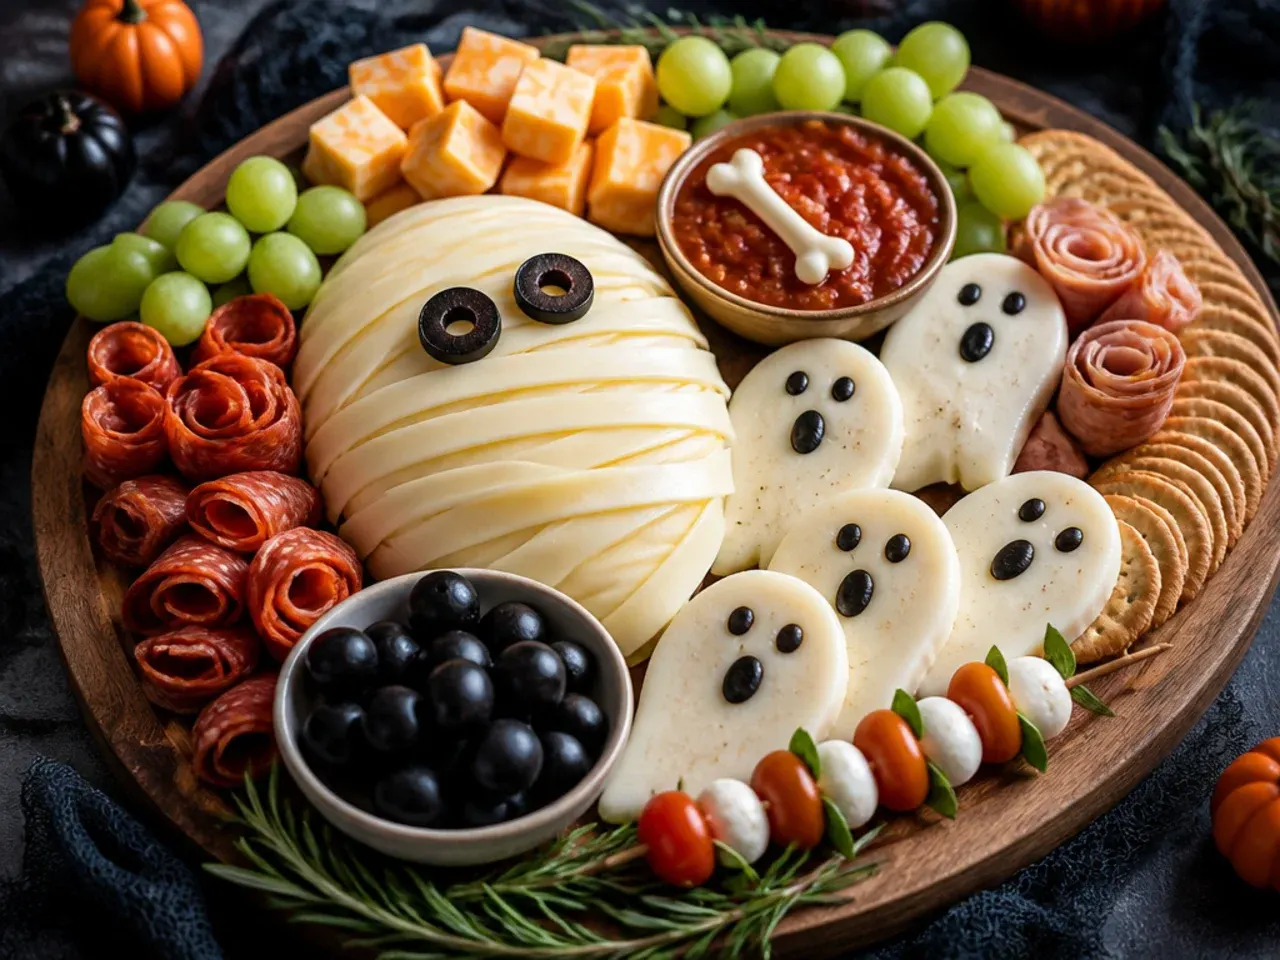
Combine the strongest ideas from every other board here: banana ghosts with chocolate chip faces, mozzarella balls wrapped in thin strips of string cheese to look like mummies, and clementine pumpkins with a pretzel stem. Group similar colours together — white cheese, orange fruit, black olives — since colour-blocking is what makes a board read as styled rather than just tipped out. This is the version worth doubling up for a class party, since it draws from every technique on this list.
8. Cheesy Spiderweb Board
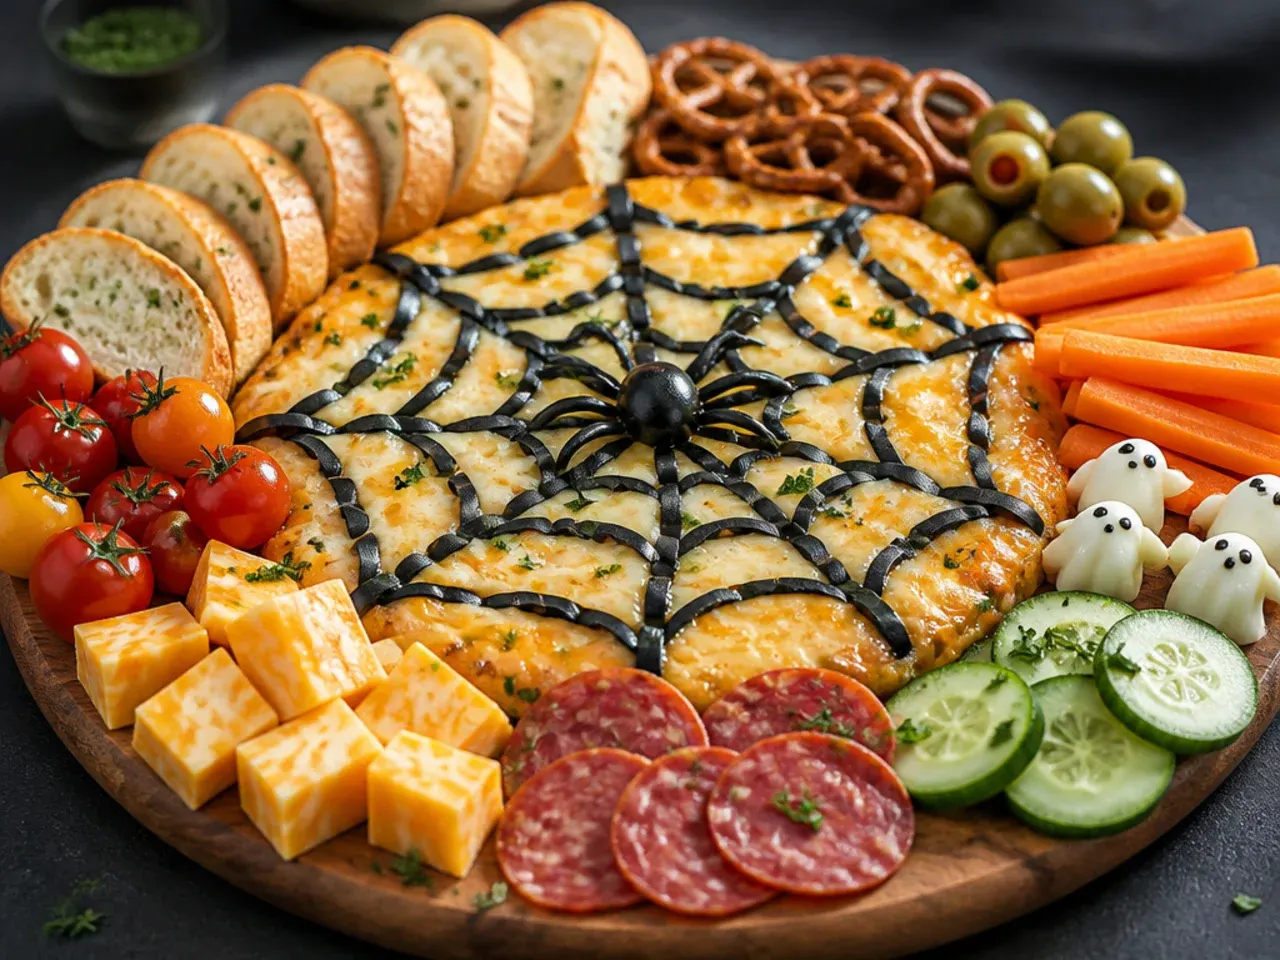
Make this one entirely about cheese: a round of soft cheese with thin lines of ketchup piped in a spiral and dragged with a cocktail stick to form a spiderweb pattern, plus cheese cubes and string cheese cut into skeleton spines with kitchen scissors. Serve with plain crackers so the cheese design stays the centrepiece. It's naturally lower in added sugar than most boards on this list, which makes it a solid choice for a classroom with sugar restrictions.
9. Budget-Friendly Board
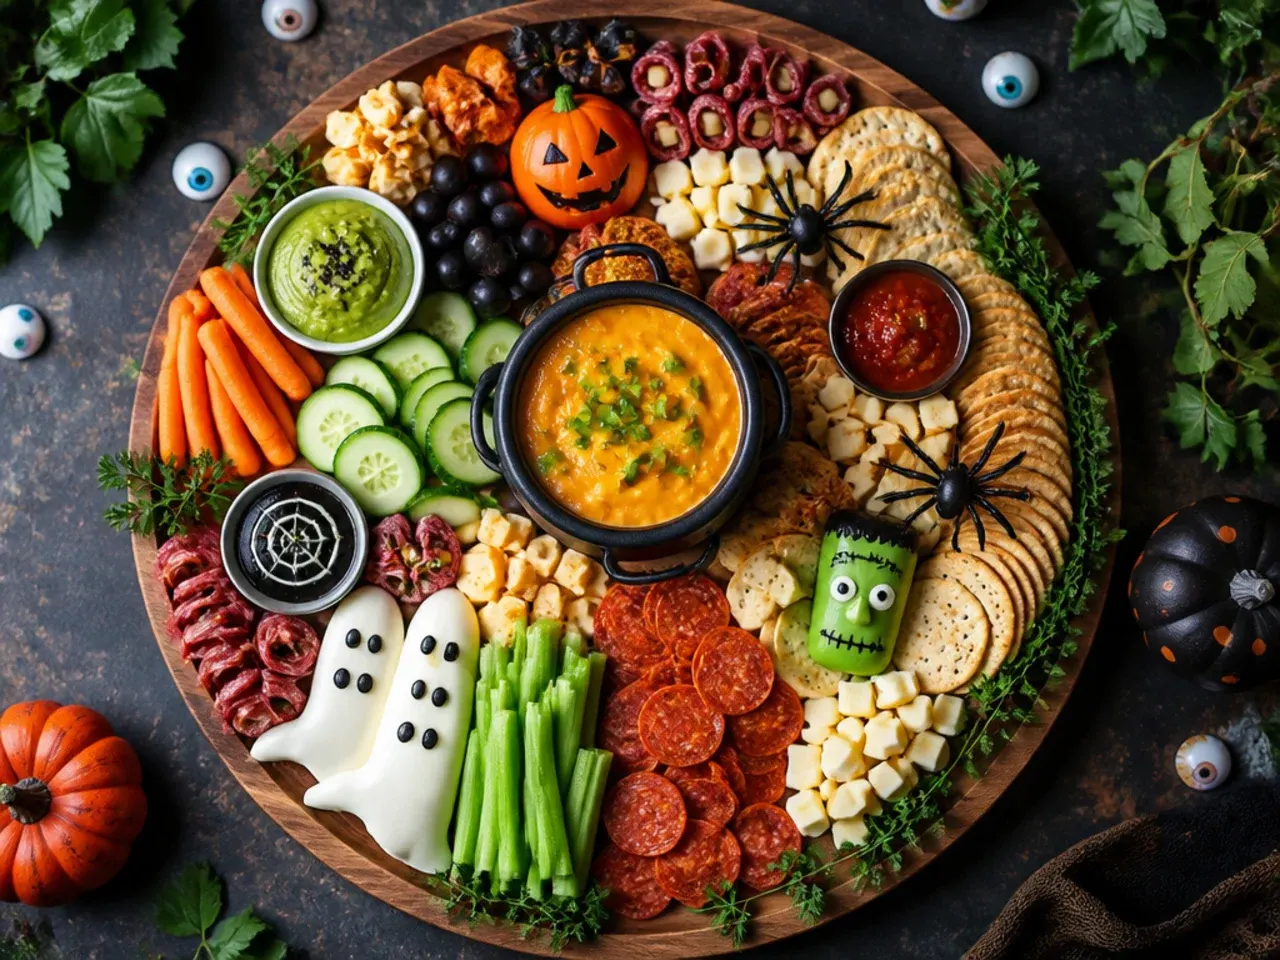
Skip pre-cut novelty shapes and use whatever's cheapest at the supermarket: own-brand cheddar, a bag of grapes, plain crackers and one small bag of orange-and-black sweets scattered through for colour. A single small cookie cutter, around £2, is the only special equipment needed to turn a slab of cheese into pumpkins or ghosts. This version typically costs under £6 (about $8) and feeds six to eight children comfortably.
10. Crowd-Pleasing Party Board
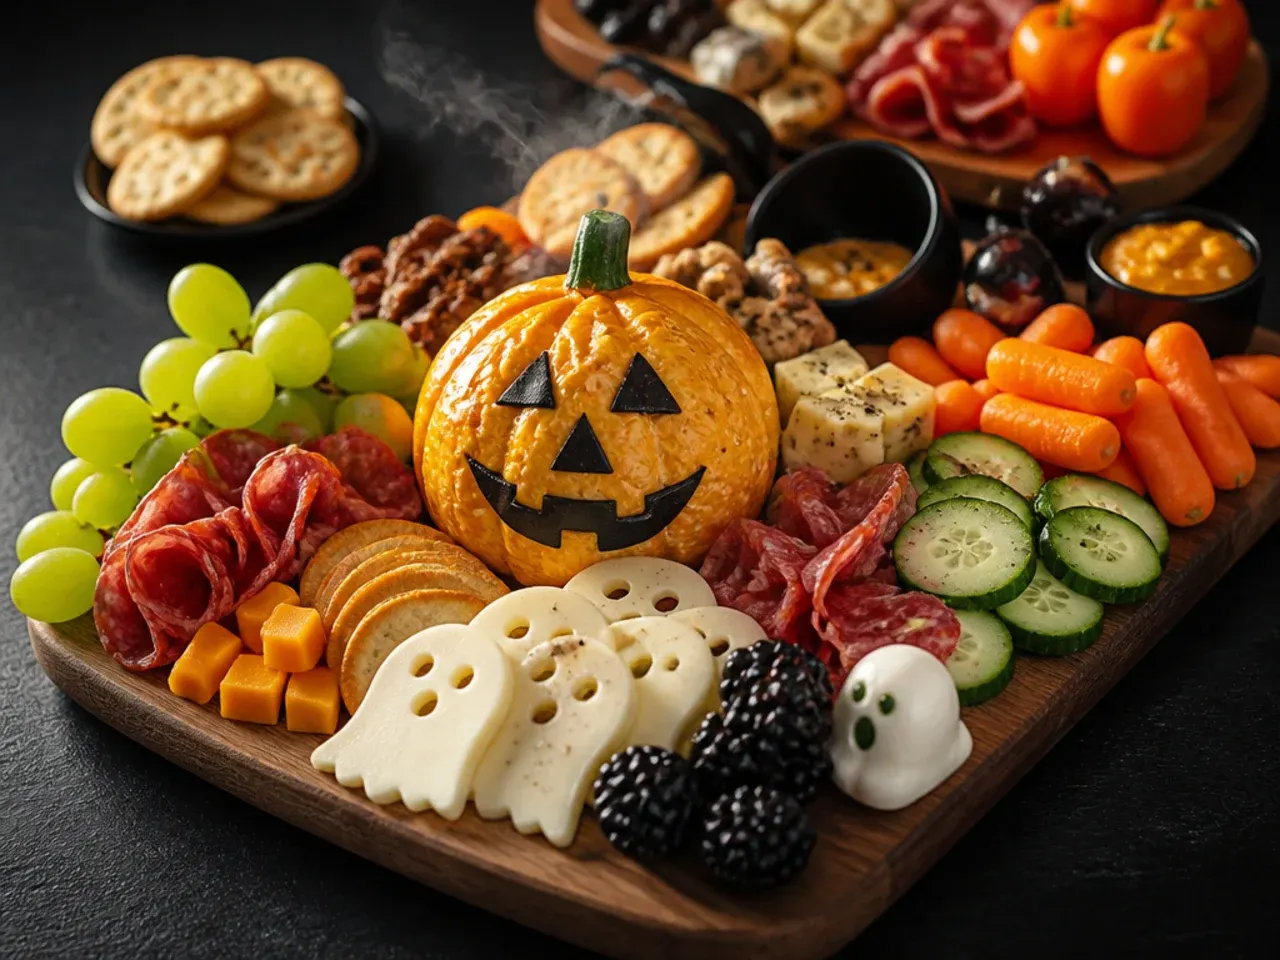
For a mixed group of children and adults, split the board into a savoury half — cheese, thin cured meat, crackers — and a sweet half — fruit, marshmallow ghosts, a small candy section — so everyone finds something without the whole spread skewing sugary. Use one long board or two smaller ones side by side to make serving easier at a crowded table. Leave small tongs or forks next to the dips so the board stays tidy for longer.
Save this for later 📌
Pin this article to your Pinterest board so the full list is one tap away when you need it.
Save on Pinterest11. Make-Ahead Board
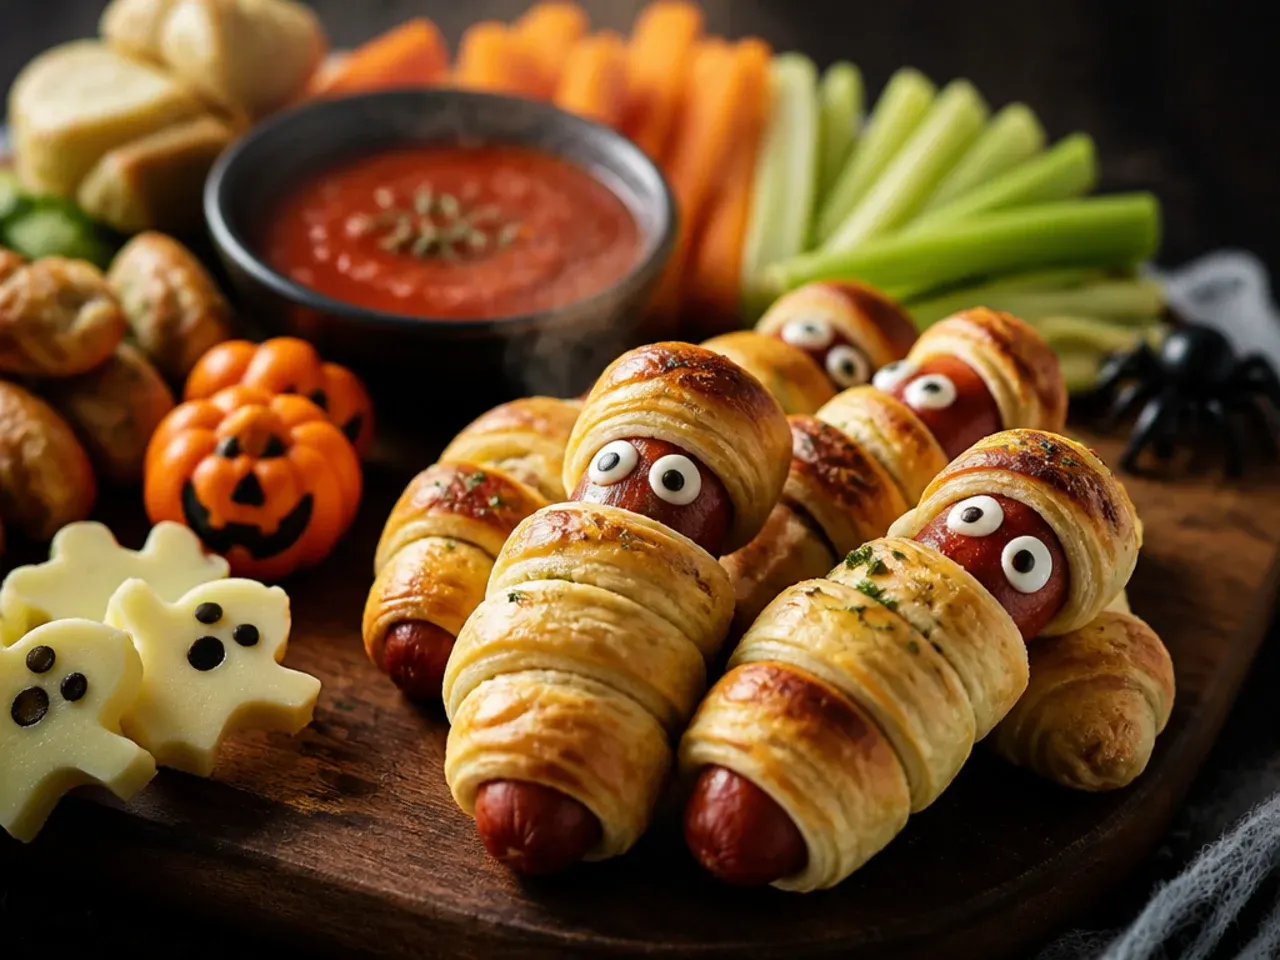
Portion the classic elements — cheese cubes, grapes, pretzels, a few Halloween sweets — into small lidded containers the night before instead of assembling a full board straight away. Keep any dip separate until serving so crackers don't turn soft overnight. Prepped this way, the same ingredients double as grab-and-go lunchbox snacks for the rest of Halloween week, not just a one-off party spread.
12. Family Movie Night Board
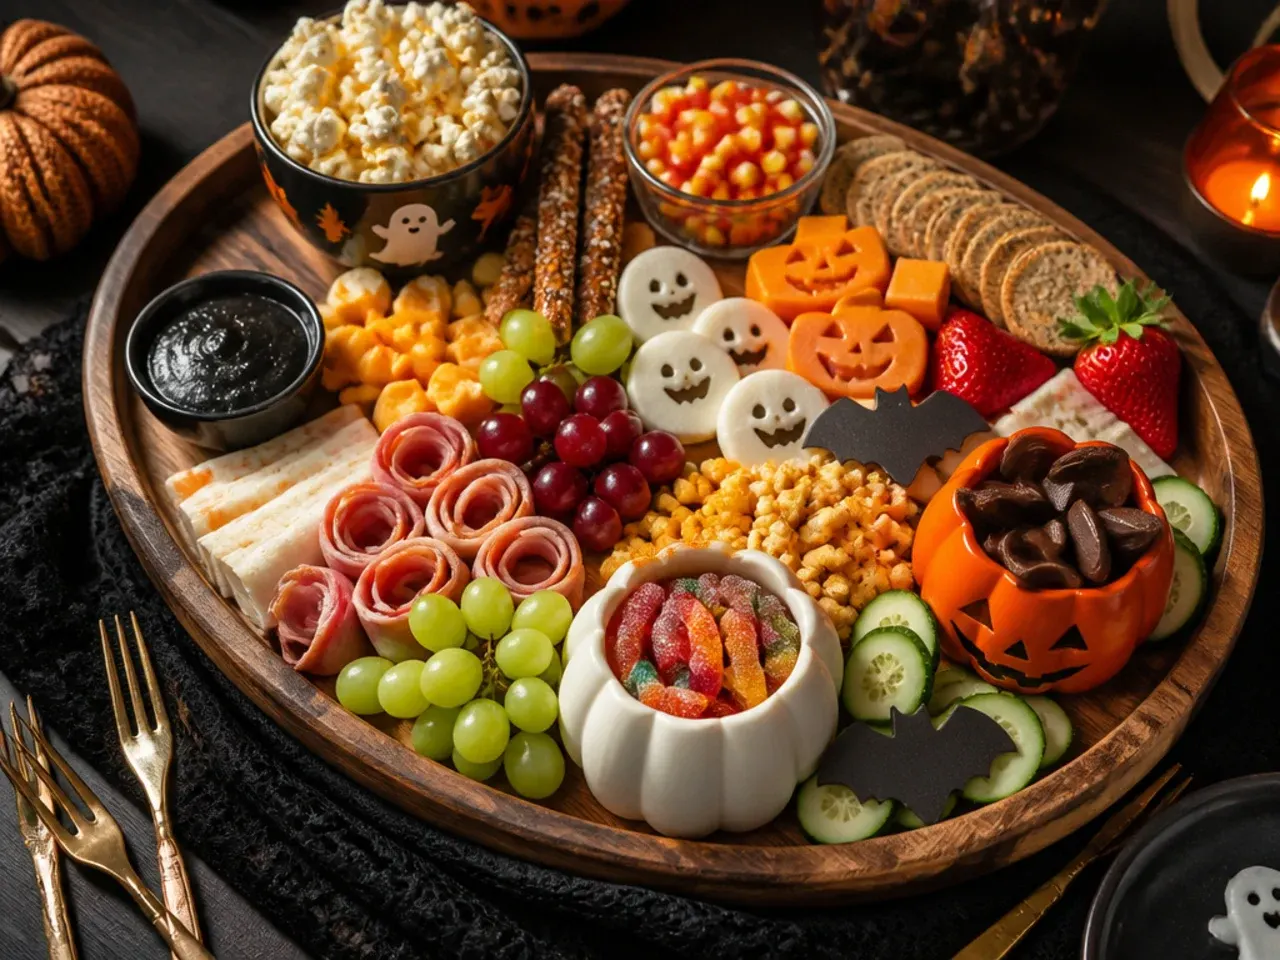
Swap some of the fresh produce for popcorn to suit a Halloween film on the sofa: popcorn tossed with a pinch of orange food-safe colouring for effect, cheese cubes, pretzels and a small bowl of sweets. Use a lap-sized tray rather than a large board so it's easy to share while seated. This version leans more toward treat night than an everyday snack, so smaller portions per bowl work best.
13. Festive Candy Corn Stripe Board
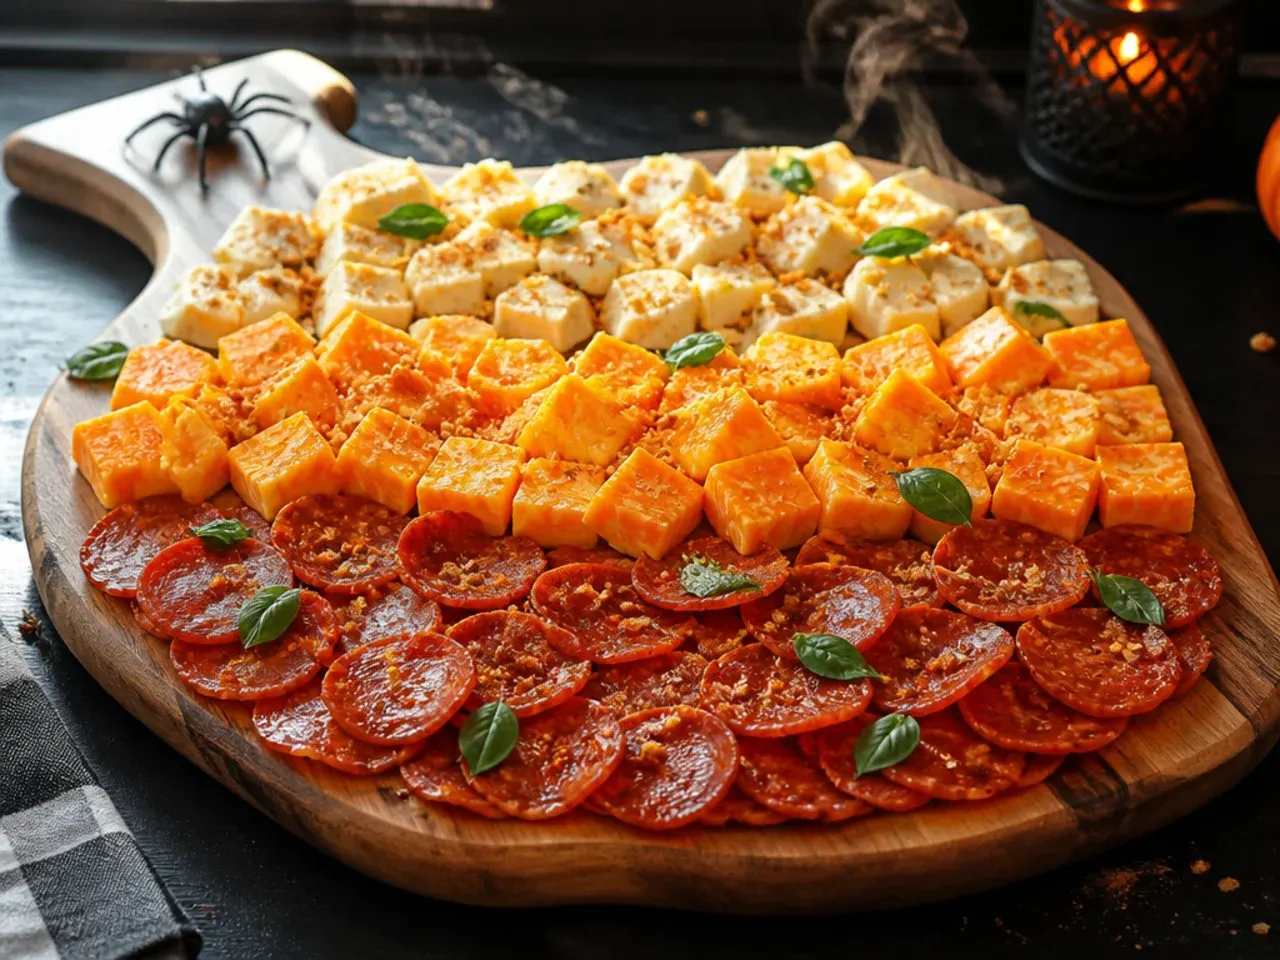
Arrange the board in three clear colour stripes to echo candy corn: a row of orange foods (carrot sticks, clementine segments, cheddar), a row of white (cheese, crackers) and a row of yellow (pineapple chunks or yellow pepper strips). This striped layout is one of the simplest ways to make a board look festive without cutting a single special shape. It also makes portioning easy, since each stripe is roughly one food group.
14. Quick Spider Board
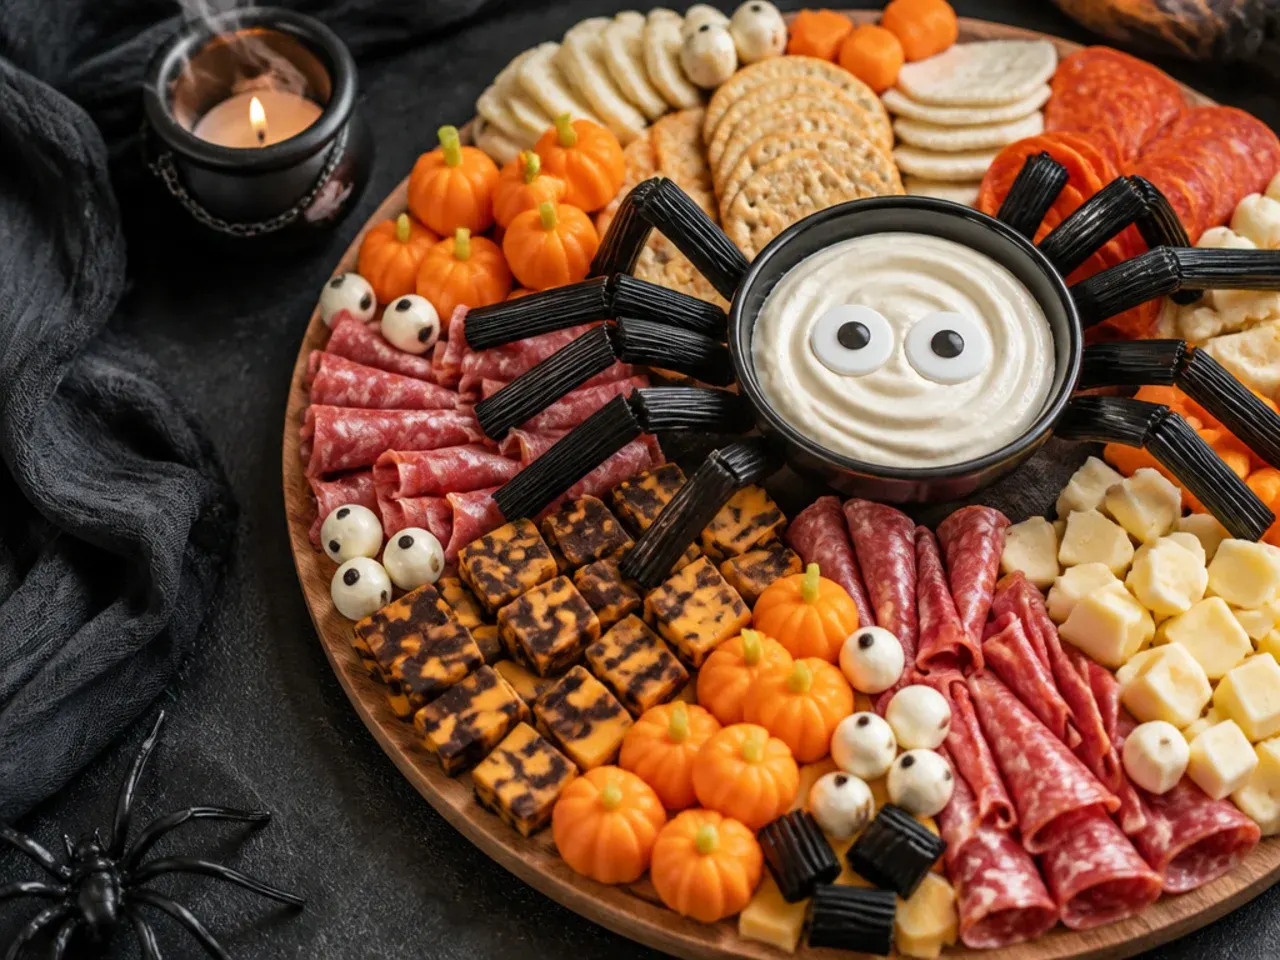
Halve a few black olives and press pretzel stick legs into small mounds of soft cheese for instant spiders, then scatter them across a base of crackers and grapes. This takes under 10 minutes from start to finish and needs no baking or special cutters. It's the board to reach for on a random Halloween-week weeknight rather than saving it for a party.
15. Homemade Bat and Broomstick Board
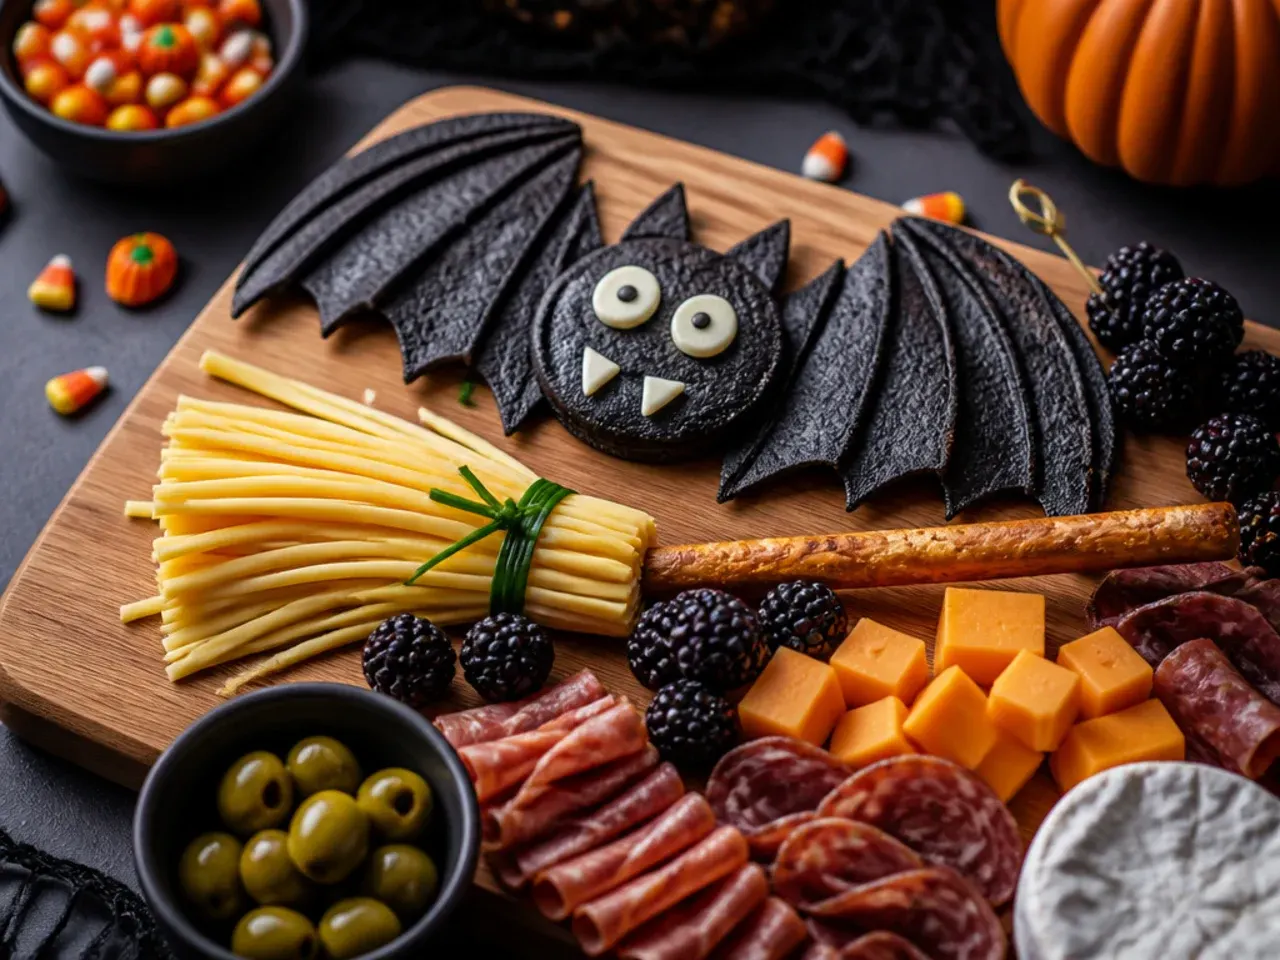
Use a small bat-shaped cookie cutter on sliced cheese and thin cold cuts, then make pretzel-stick broomsticks by tying three or four thin pretzel sticks together at one end with a strip of chive or spring onion. These homemade touches take a little longer than the others on this list but skip shop-bought Halloween decorations entirely. Cut the bats and tie the broomsticks up to a day ahead and store them layered between baking paper in an airtight container.
Pro Tips
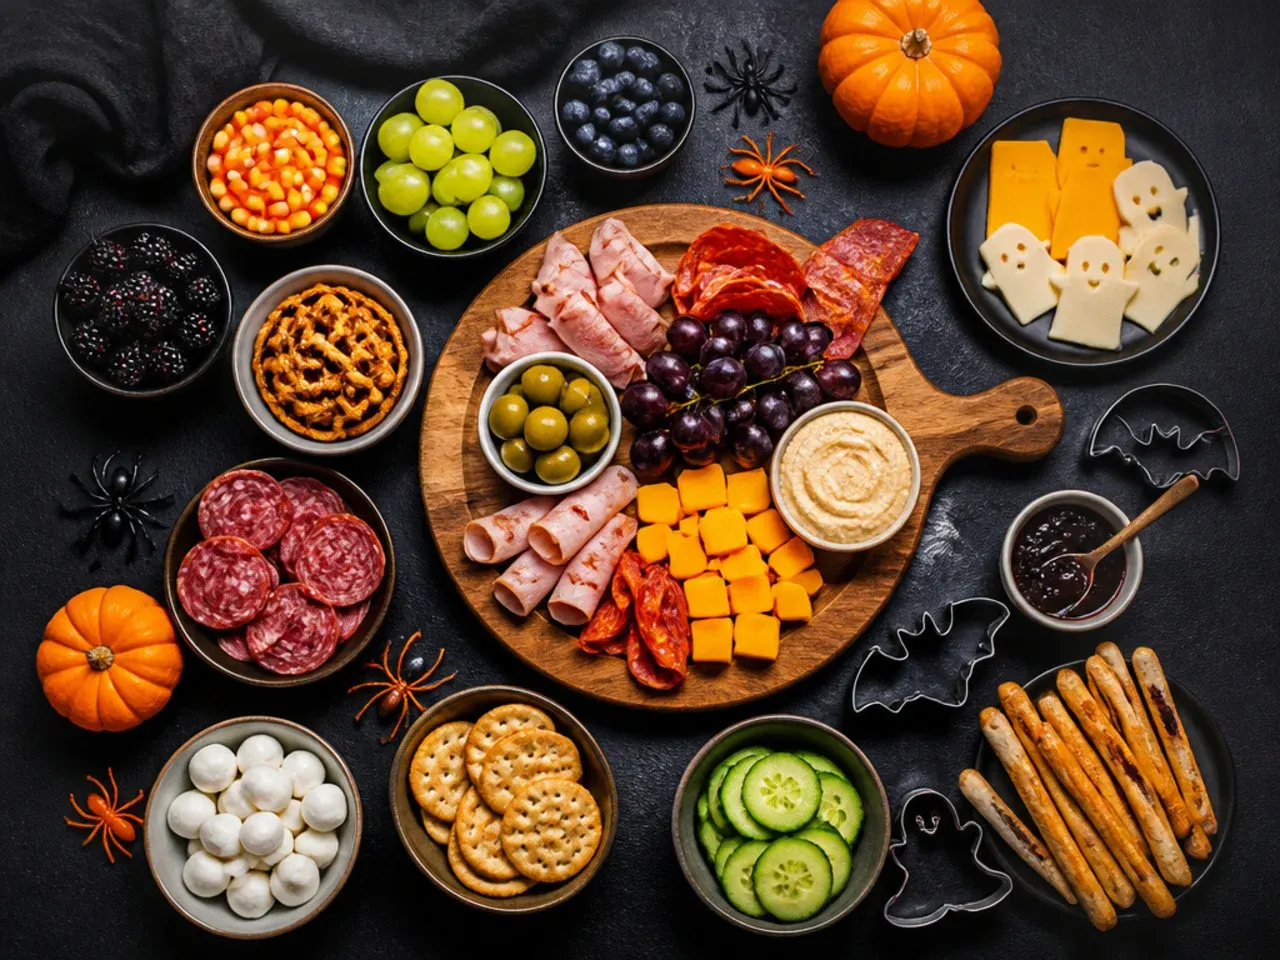
Chill cheese and any cold cuts until just before serving so they hold a clean edge when cut into Halloween shapes with a cookie cutter. Pat washed fruit dry with kitchen paper before it goes on the board, since damp fruit is what makes crackers turn soft fastest. Add the smallest items — pretzels, sweets, olives — last, once the bigger pieces are placed, so there's no bare board showing through in photos.
Serving Suggestions
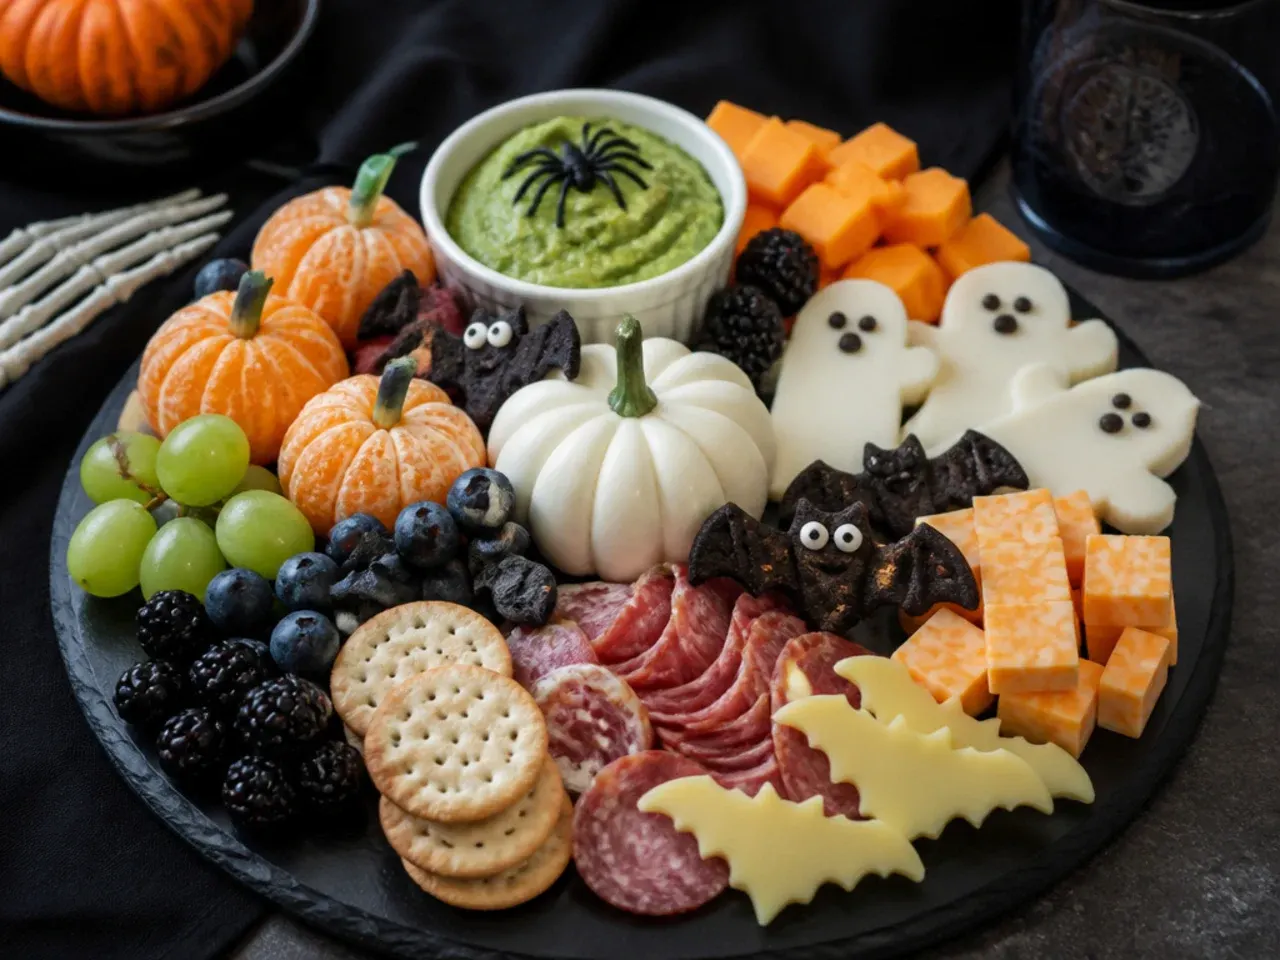
Set the board out with small plates or napkins nearby so children can help themselves without everyone crowding one spot. For a classroom party, portion identical mini versions into muffin tins or small trays instead of one shared board, which sidesteps any hygiene worries about shared serving utensils. A jug of apple juice or a Halloween-themed mocktail alongside the board rounds out the spread without any extra cooking.
Storage and Reheating
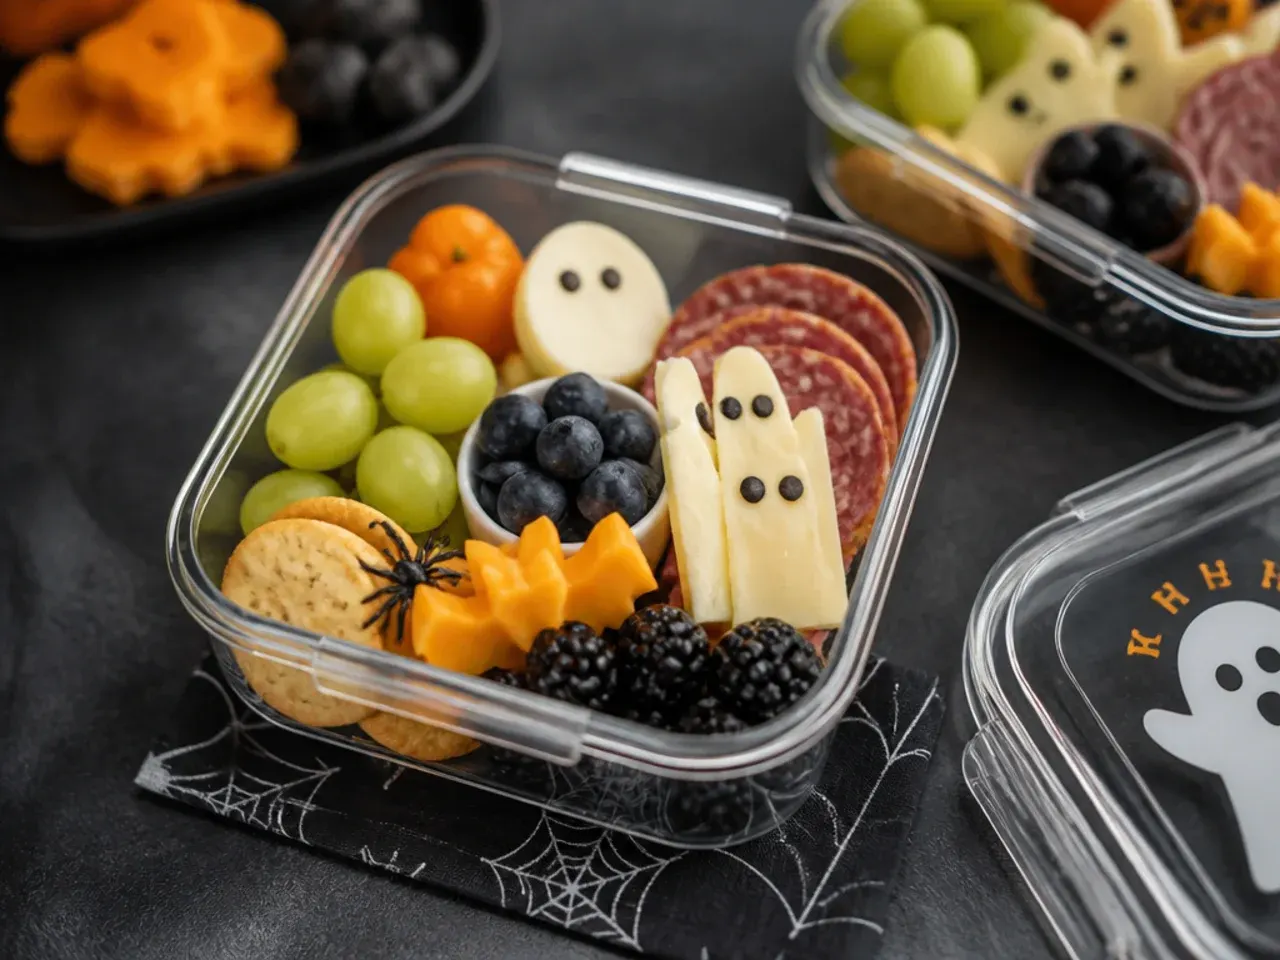
Most boards keep well covered tightly with cling film in the fridge for up to 24 hours if assembled without dips, which should always be added just before serving. Add cut fruit like bananas and apples within an hour of serving to stop it browning or making the board soggy. None of these boards need reheating, but leftover cheese and cold cuts should go into an airtight container and be eaten within three days.
The Recipe
The Master Recipe
25 min
5 min
30 min
8
Beginner
Ingredients 8 Person(s)
Directions
Step 1: Prep and Dry the Fruit
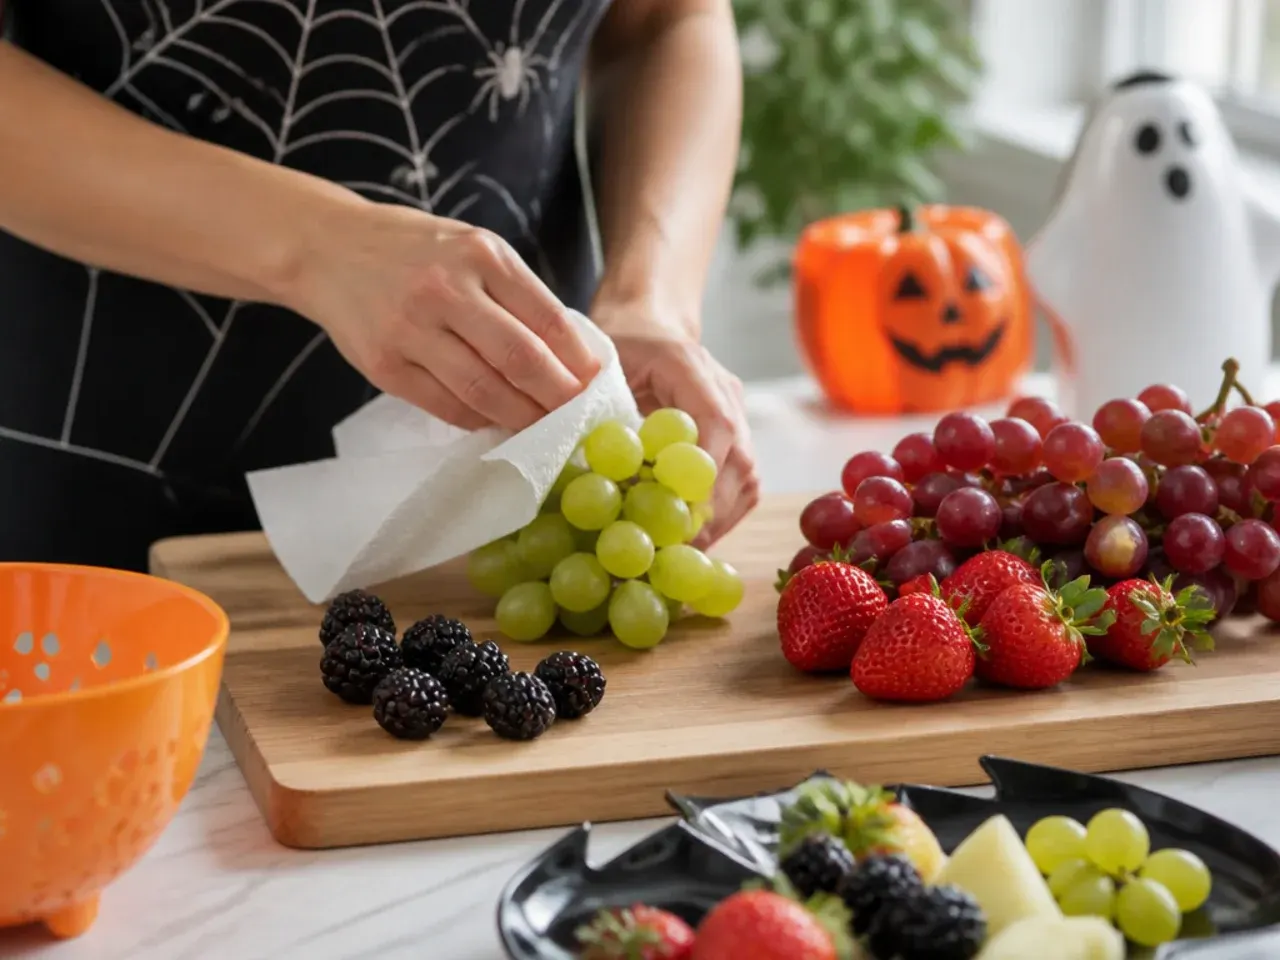
Wash the grapes and apples and pat everything dry with kitchen paper, since damp fruit is what makes crackers turn soft fastest on the board. Halve the bananas lengthways and peel and separate the clementine segments, then set each fruit aside in its own bowl.
Step 2: Make the Banana Ghosts
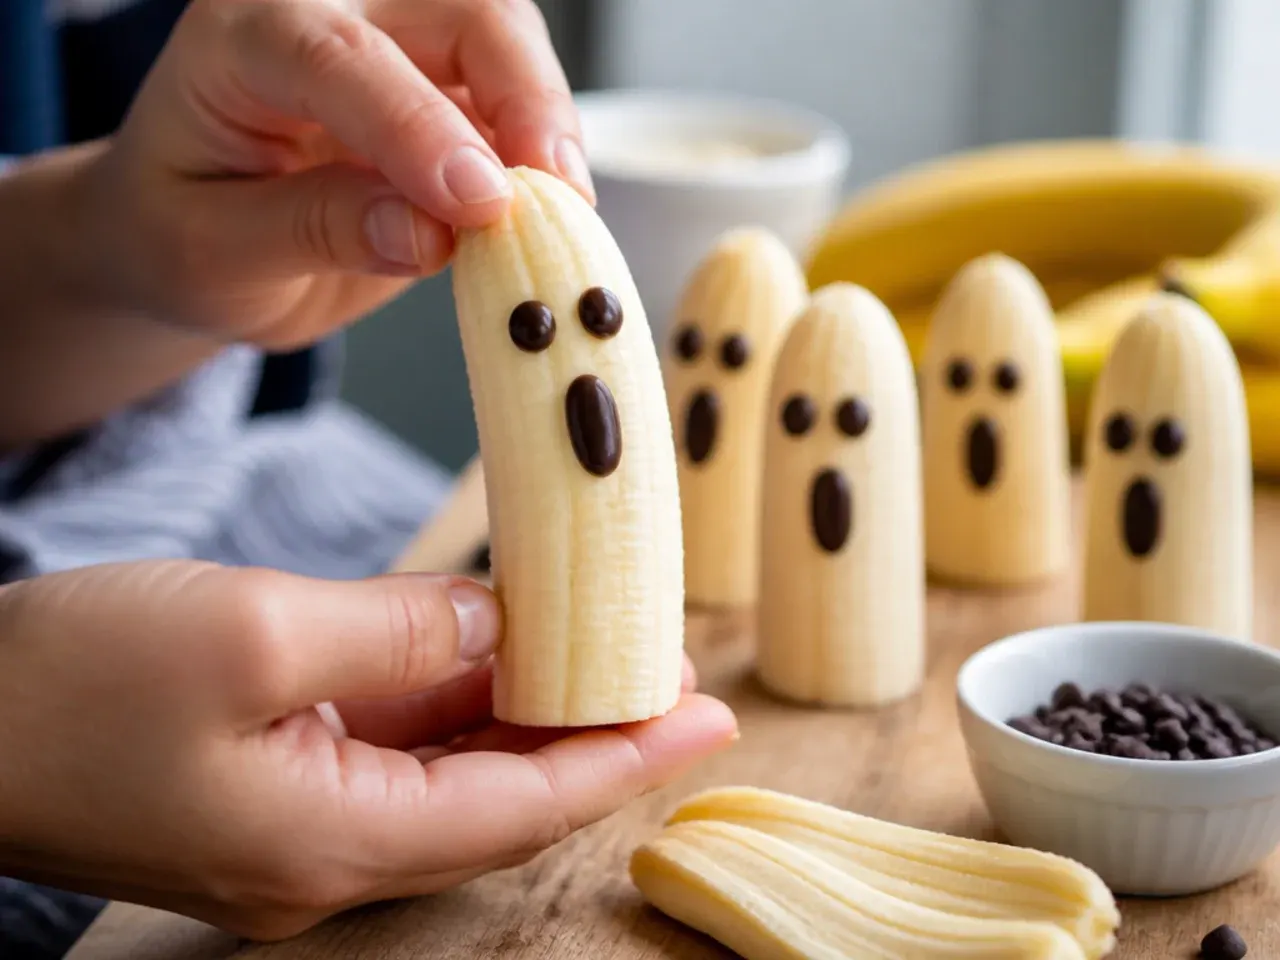
Melt the white chocolate in 20-second bursts in the microwave, stirring between each burst, then use a cocktail stick to dab two small dots on each banana half and press on mini chocolate chips as eyes. Leave the ghosts on baking paper for 5 minutes until the chocolate sets firm.
Step 3: Build the Apple Monster Mouths
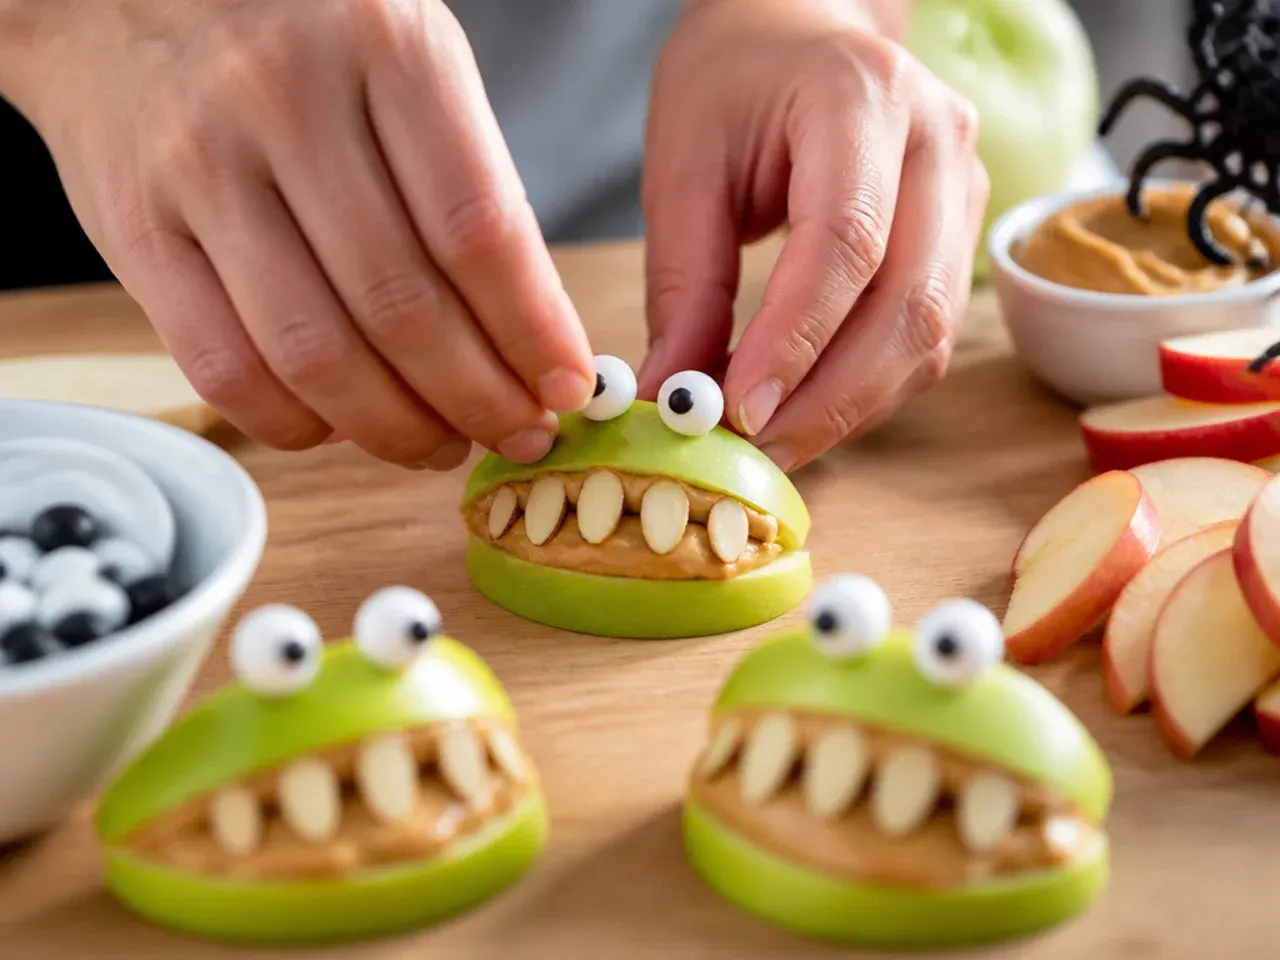
Cut each apple wedge almost in half through the flat side to create a mouth-shaped slit, then press 3-4 mini marshmallows into the gap as crooked teeth. Keep the apple wedges in a bowl of water with a squeeze of lemon juice until you're ready to plate them, so they don't brown.
Step 4: Cut the Cheese and Cheese Shapes
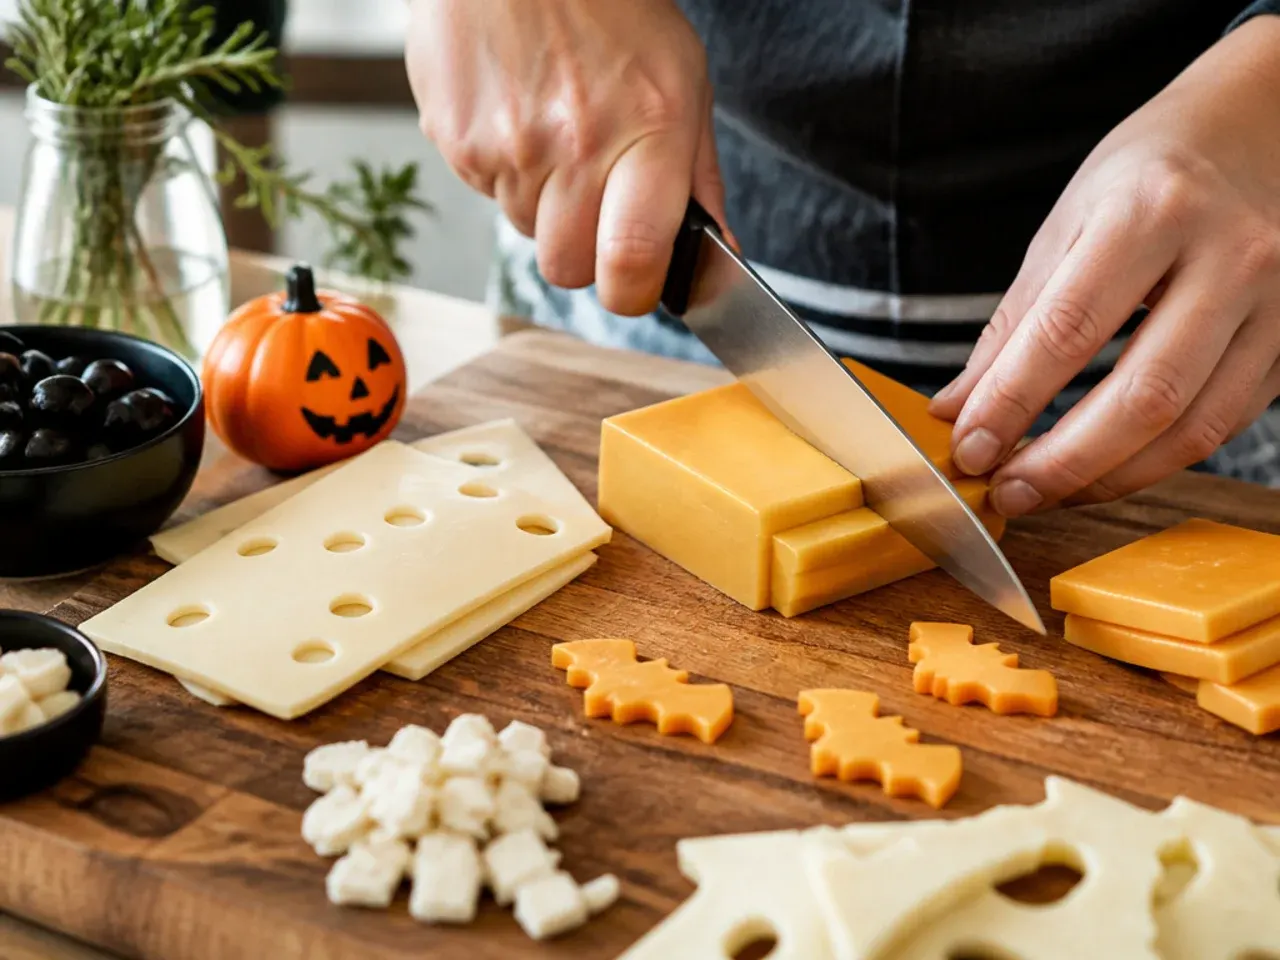
Use a small cookie cutter to press pumpkin or ghost shapes from a few slices of cheddar, keeping the cheese chilled until just before cutting so the shapes hold cleanly. Cube the remaining cheddar and leave the mozzarella pearls whole for the mummy and spider garnishes.
Step 5: Arrange the Dip and Base Layer
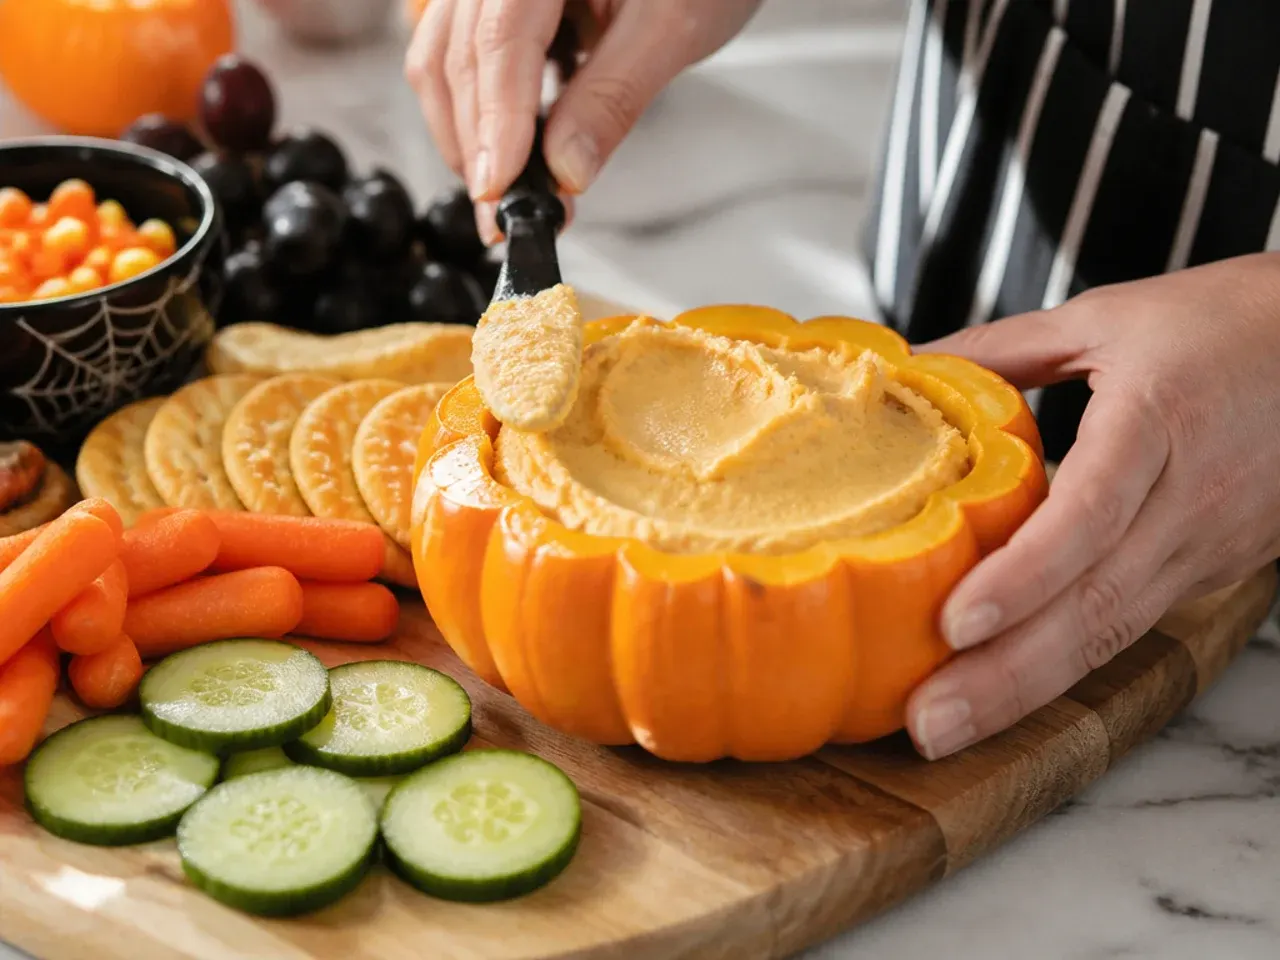
Place the dip bowl slightly off-centre on the board, then fan the crackers in a loose arc around it, since these larger flat items form the base that everything else builds around.
Step 6: Build the Cheese, Fruit and Veg Sections
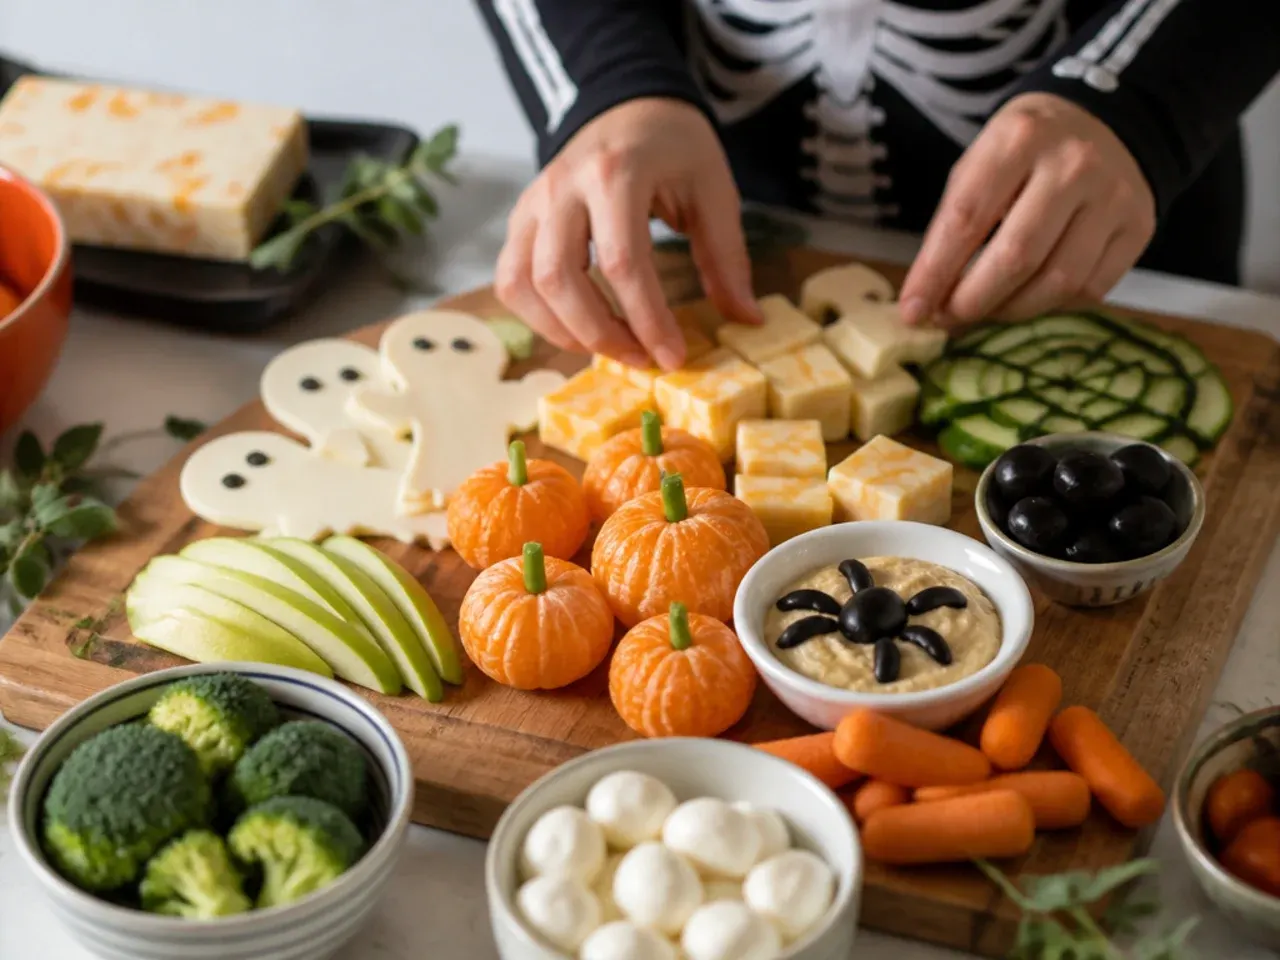
Cluster the cheddar cubes, cheese shapes and mozzarella pearls into their own sections, then fill in the grapes, banana ghosts, clementine segments and apple monster mouths in colour-blocked groups around them. Keeping similar colours and textures together is what makes the board read as neat rather than cluttered.
Step 7: Finish with Garnishes and Serve
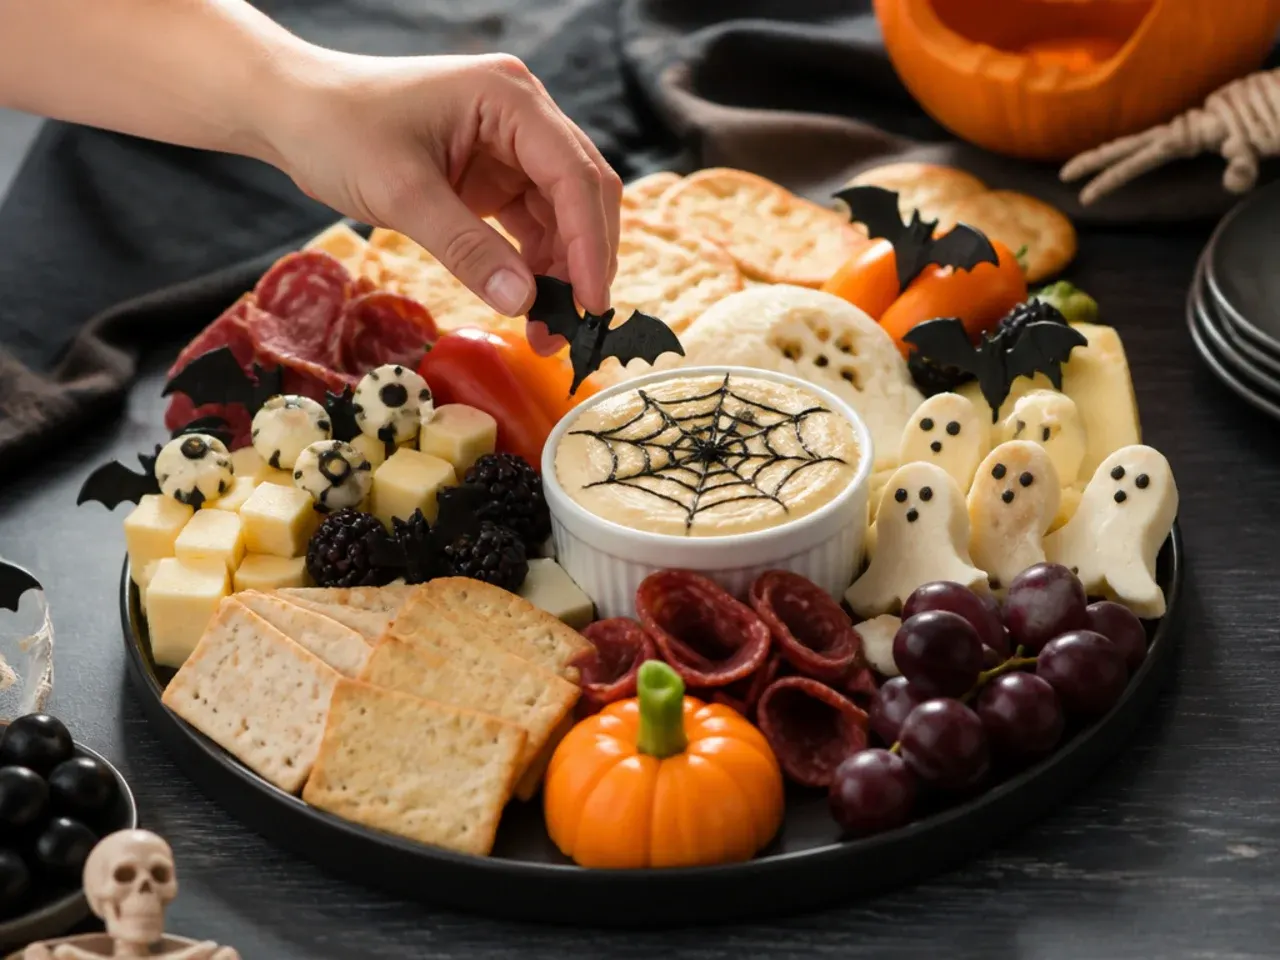
Scatter the pretzel sticks, candy corn and sliced black olives into any remaining gaps, then perch the banana ghosts and cheese shapes on top where they'll be most visible. Serve within 1 hour of assembling for the best texture and appearance.
Frequently Asked Questions
A good starting point is mild cheese cut into fun shapes, plenty of fresh fruit such as grapes, bananas and clementines, crunchy vegetables, crackers or pretzels, and a small measured amount of Halloween-coloured sweets like candy corn. Balancing savoury and sweet sections keeps the board from being too sugary while still feeling festive. A dip such as hummus or soured cream gives children something to interact with, which tends to increase how much they actually eat.
Save this for later 📌
Pin this article to your Pinterest board so the full list is one tap away when you need it.
Save on Pinterest