Ingredients 12 Person(s)

Save this for later 📌
Pin this article to your Pinterest board so the full list is one tap away when you need it.
Save on PinterestDirections
Step 1: Preheat the oven and prep the tin

Preheat the oven to 180°C fan (200°C conventional, 400°F) and line a 12-hole muffin tin with paper cases or grease it well with butter. Getting the oven fully up to temperature before the batter is ready means the muffins start rising the moment they go in, giving a better dome. Set the tin near your workspace so you can fill the cases quickly once the batter comes together.
Step 2: Whisk the wet ingredients
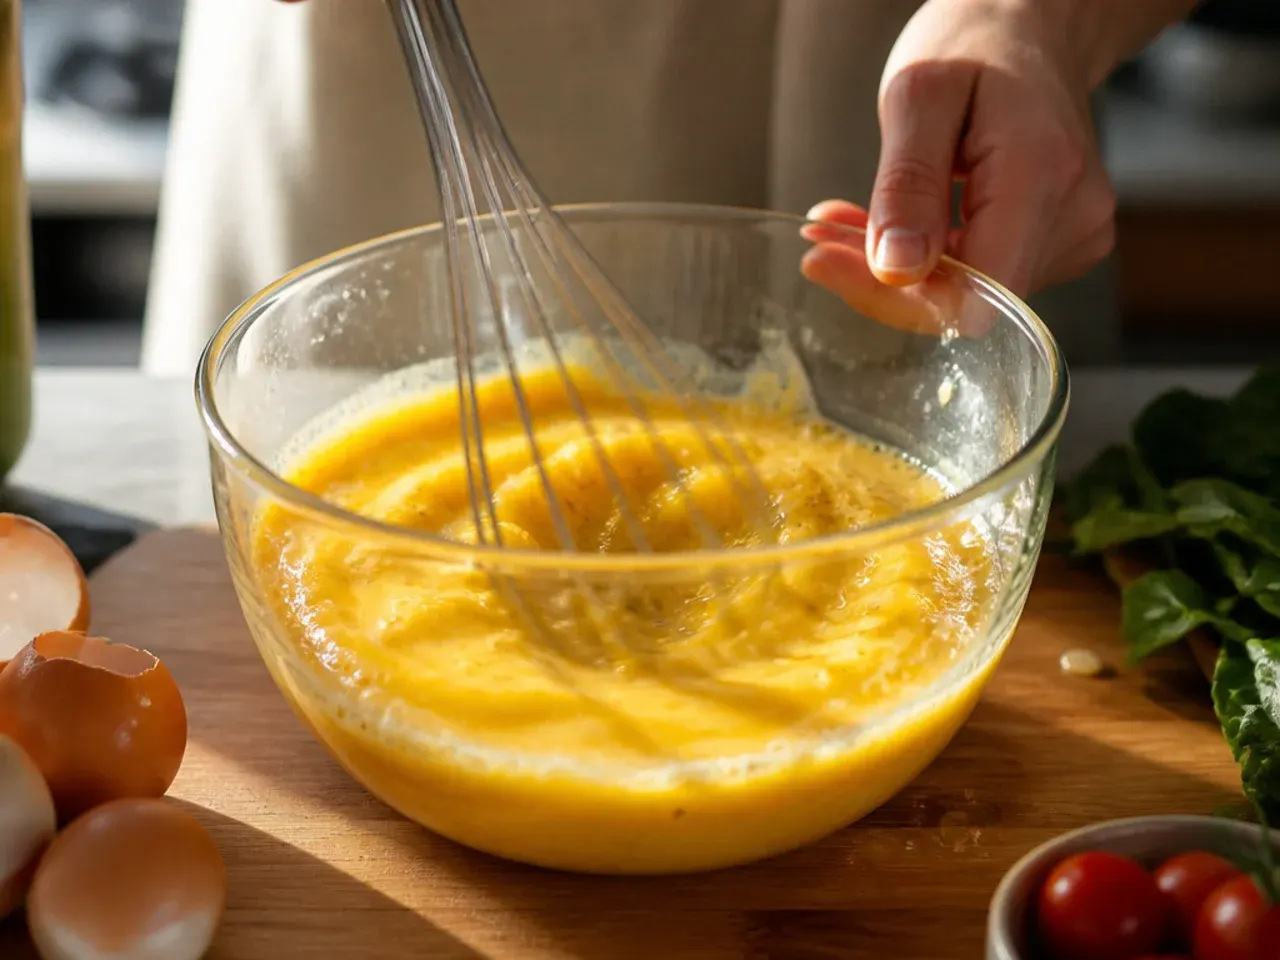
In a large mixing bowl, whisk 2 eggs, 120 ml (1/2 cup) whole milk and 60 ml (1/4 cup) vegetable oil together for about 30 seconds until pale and fully combined. This forms the base the fillings and flour will fold into, so make sure there are no streaks of unbroken egg white left. Use a bowl at least twice the volume of the liquid so there's room to fold in the dry ingredients later without spilling.
Step 3: Grate the carrot and courgette
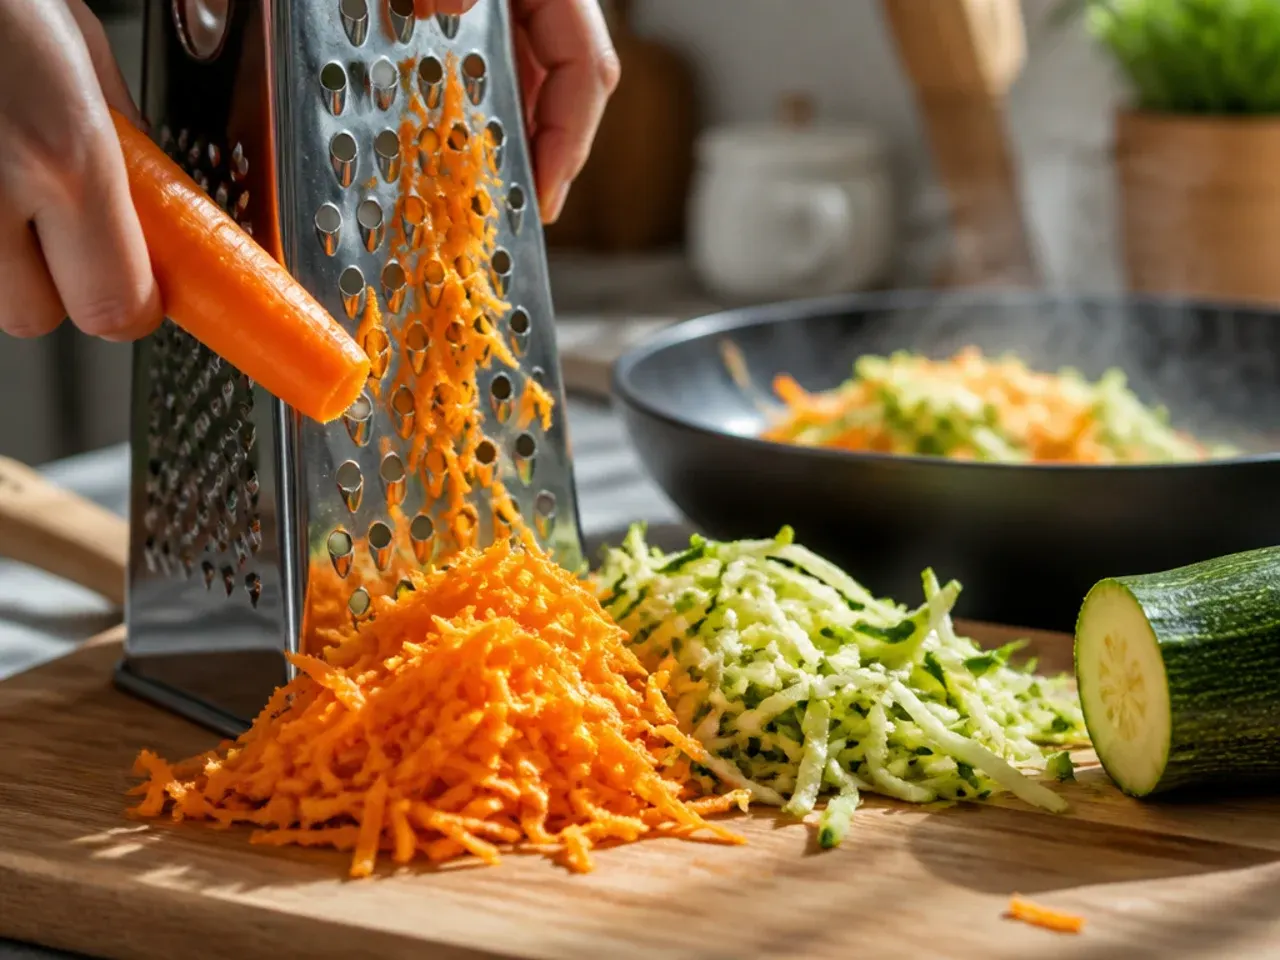
Grate 80 g (3/4 cup) carrot and 60 g (1/2 cup) courgette on the coarse side of a box grater. Wrap the grated courgette in a clean tea towel and squeeze firmly over the sink to remove excess liquid, roughly 2 tablespoons of water will come out. Skipping this step is the main reason lunch box muffins turn soggy in the middle, so don't rush it.
Step 4: Dice the ham

Finely dice 100 g (3.5 oz) cooked ham into roughly 1 cm (1/2 inch) pieces. Smaller pieces distribute more evenly through the batter and are easier and safer for kindergarten-aged children to chew. If using thick-cut deli ham, stack a few slices and cut into strips first to speed up the dicing.
Step 5: Grate the cheddar

Grate 150 g (5 oz) mature cheddar for the batter, plus a separate 30 g (1 oz) for the topping. Mature cheddar has the strongest flavour, so a smaller quantity still tastes properly cheesy once mixed through the batter and vegetables. Keep the topping cheese in its own small bowl so it's ready to sprinkle on just before baking.
Step 6: Fold in the ham, cheese and vegetables

Add the diced ham, the 150 g grated cheddar, grated carrot, squeezed courgette and 1/4 tsp dried oregano to the wet mixture. Stir with a spoon for about 15-20 seconds until everything is evenly coated. This builds the flavour base before the flour goes in, so taste a small piece of the mix now and adjust the seasoning if needed.
Step 7: Sift in the dry ingredients
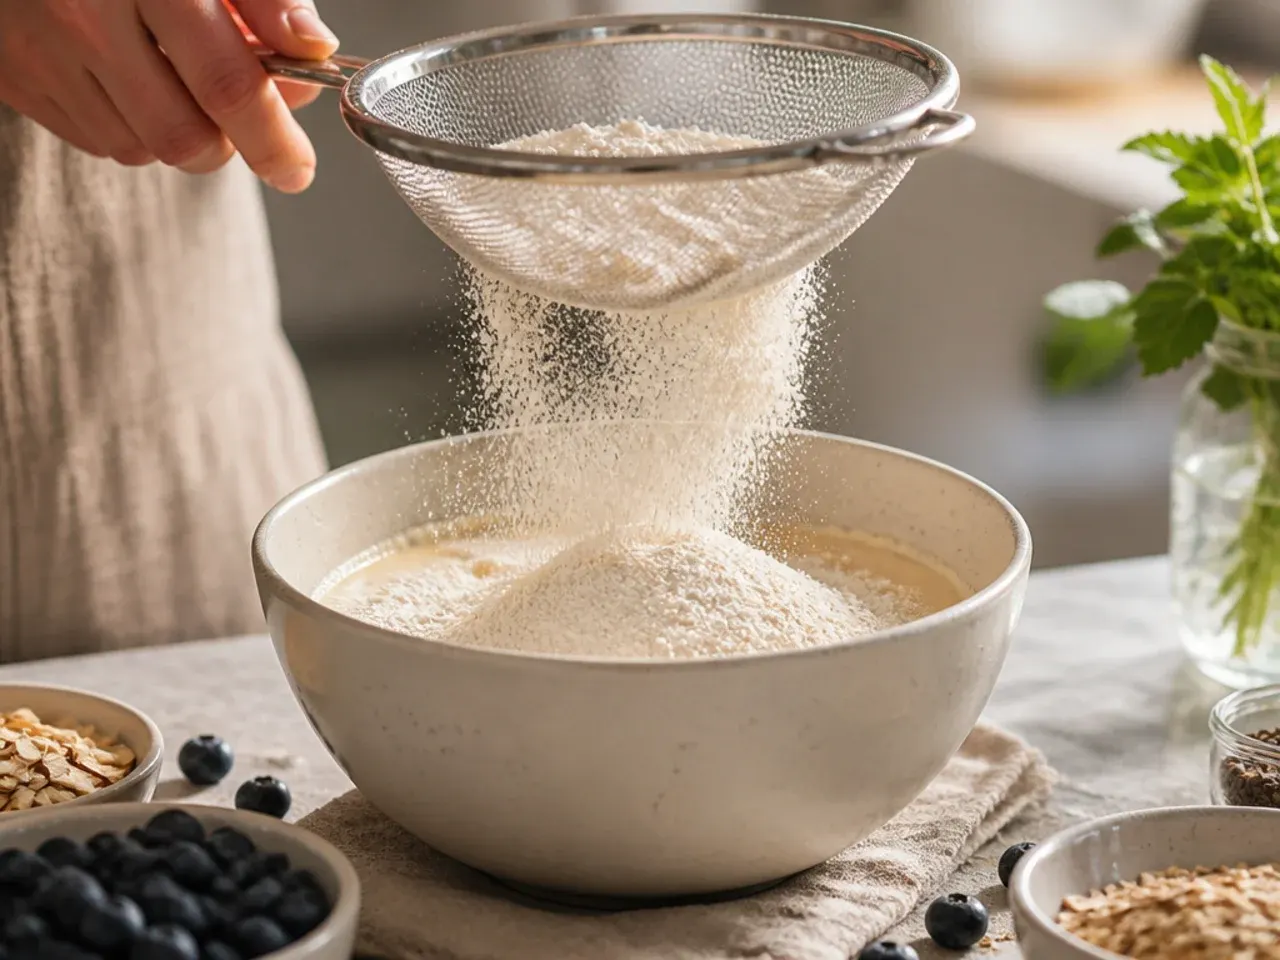
Sift 225 g (8 oz) self-raising flour, 1 tsp baking powder, 1/2 tsp salt and 1/4 tsp black pepper directly over the wet mixture. Sifting breaks up any lumps so the flour and baking powder distribute evenly through the batter rather than clumping in one muffin. Have the cases lined up and ready so the dry ingredients don't sit and clump while you finish up.
Step 8: Fold the batter gently

Using a large metal spoon, fold the dry ingredients into the wet mixture with just 10-12 gentle strokes, stopping as soon as no dry flour streaks remain. The batter should look thick, lumpy and slightly rustic; a smooth batter means it's been overmixed. Overmixing develops the gluten in the flour and bakes up tough, rubbery muffins instead of a light, tender crumb.
Step 9: Rest the batter briefly

Let the batter sit in the bowl for 5 minutes while you line up the muffin cases and preheat check the oven. This short rest gives the raising agent a head start and lets the courgette release any last moisture into the batter rather than into the paper cases. Don't skip straight to baking if you have the extra 5 minutes to spare.
Step 10: Spoon the batter into the cases
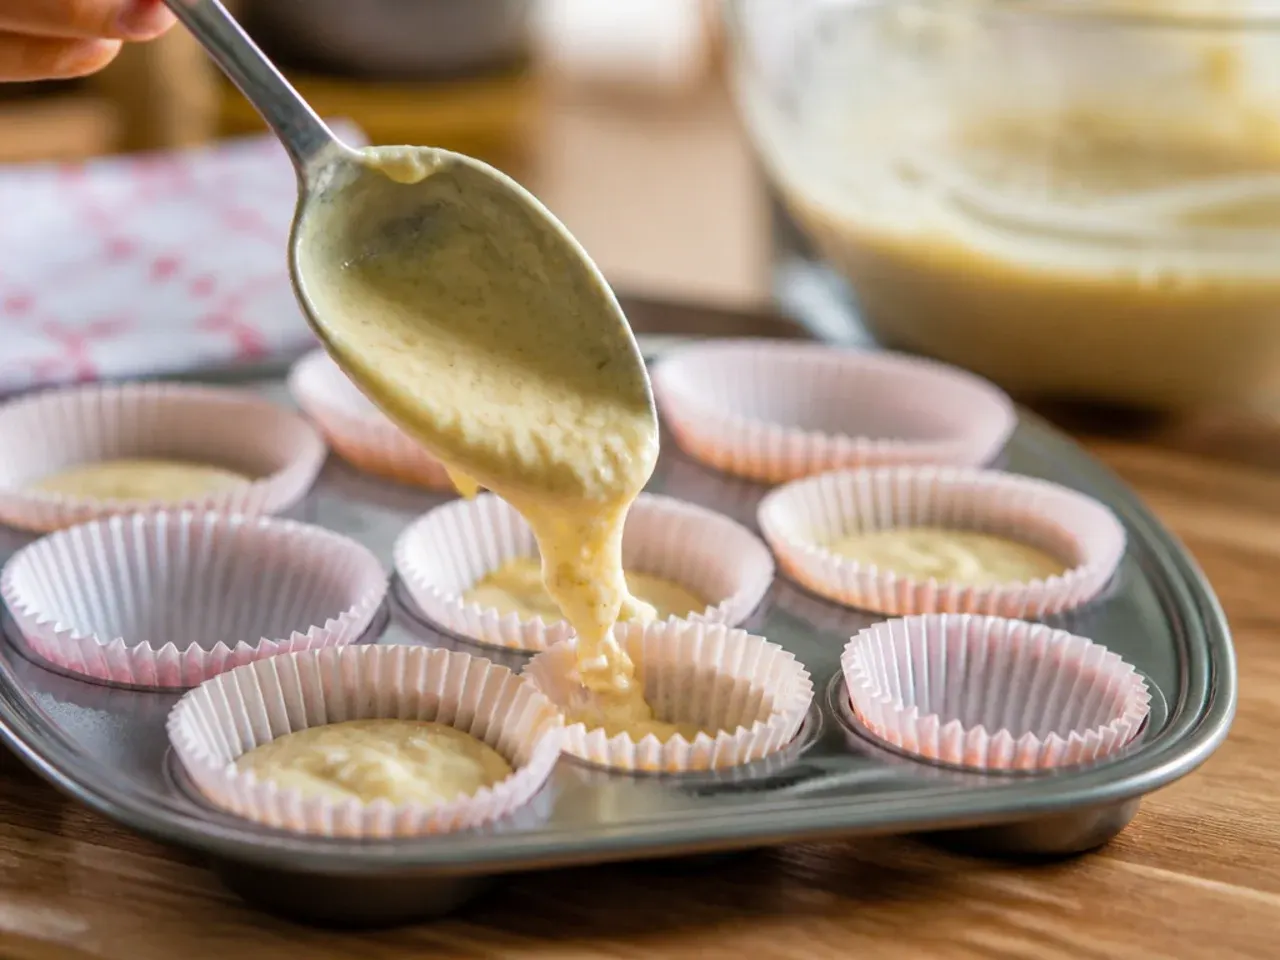
Divide the batter evenly between the 12 muffin cases using two dessert spoons or a 60 ml ice cream scoop, filling each about three-quarters full. Filling them evenly means every muffin bakes in the same time, so nothing comes out underdone or burnt. Tap the tin gently on the counter once to settle the batter and pop any large air bubbles.
Step 11: Top with the reserved cheese

Sprinkle the reserved 30 g (1 oz) grated cheddar evenly over the tops of the muffins, about 1/2 teaspoon per case. This gives each muffin a golden, slightly crisp top once baked, which also makes it easy to spot at a glance which ones are ready. Resist adding more cheese, or the extra fat can make the tops greasy instead of crisp.
Step 12: Bake until golden and risen
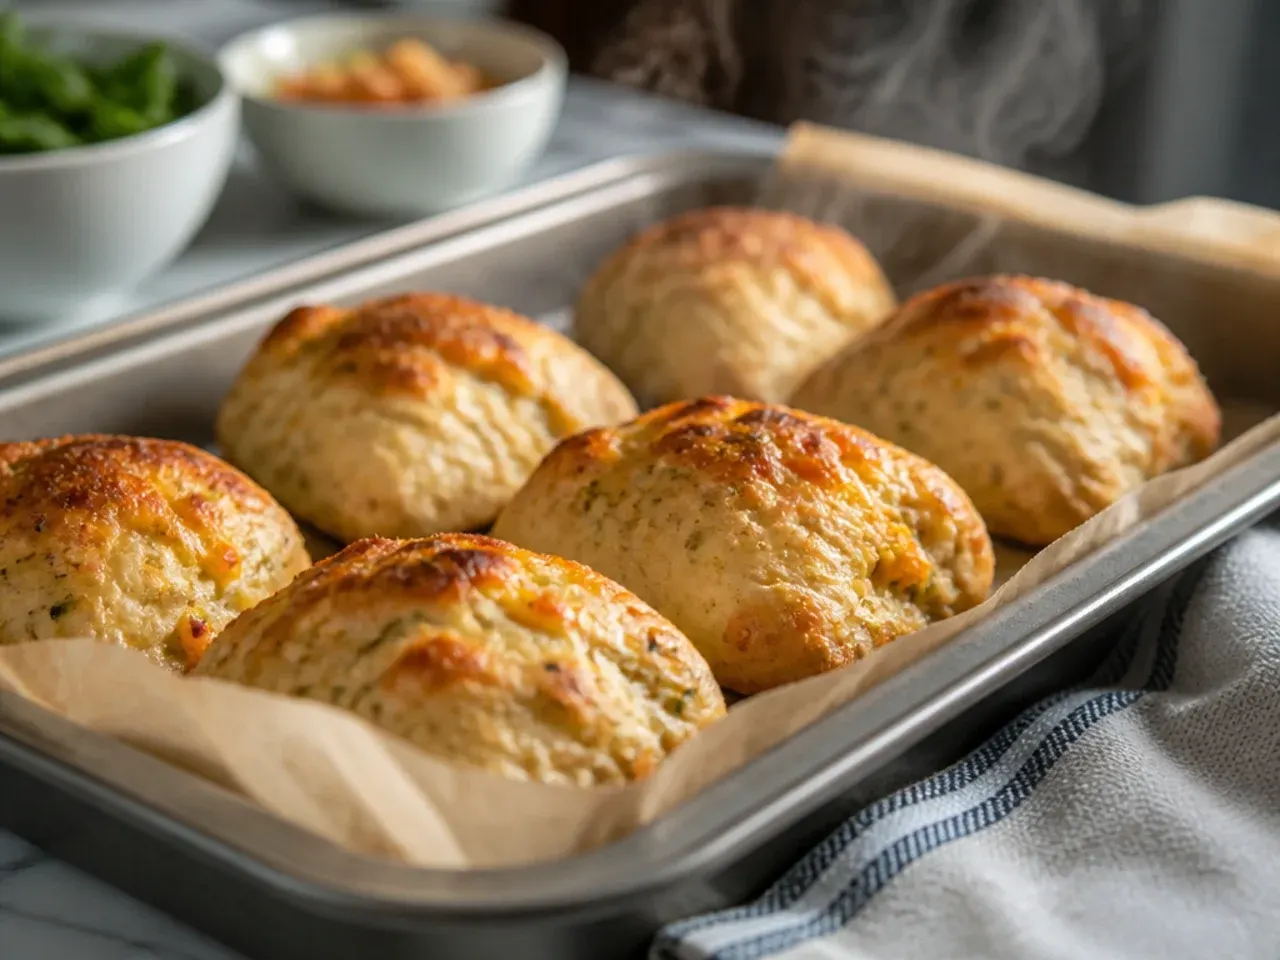
Bake at 180°C fan (200°C conventional, 400°F) for 20-22 minutes, until the tops are golden brown, well risen and spring back when lightly pressed. Avoid opening the oven door before the 18-minute mark, since a rush of cold air can cause the centres to sink. Rotate the tin halfway through baking if your oven has hot spots.
Step 13: Test for doneness

Insert a skewer or cocktail stick into the centre of the largest muffin; it should come out clean or with just a few moist crumbs, never wet batter. If it comes out wet, return the tray to the oven for a further 2-3 minutes and test again. An instant-read thermometer inserted in the centre should read at least 90°C (194°F) once fully baked.
Step 14: Cool before packing

Leave the muffins in the tin for 5 minutes, then transfer them to a wire rack to cool completely for about 15 minutes before packing any into a lunch box. Packing a warm muffin traps steam inside the container, which turns the surrounding fruit or crackers soft and soggy by lunchtime. Cooling fully also makes the muffins firm enough for small hands to hold without crumbling.
Step 15: Assemble the kindergarten lunch box
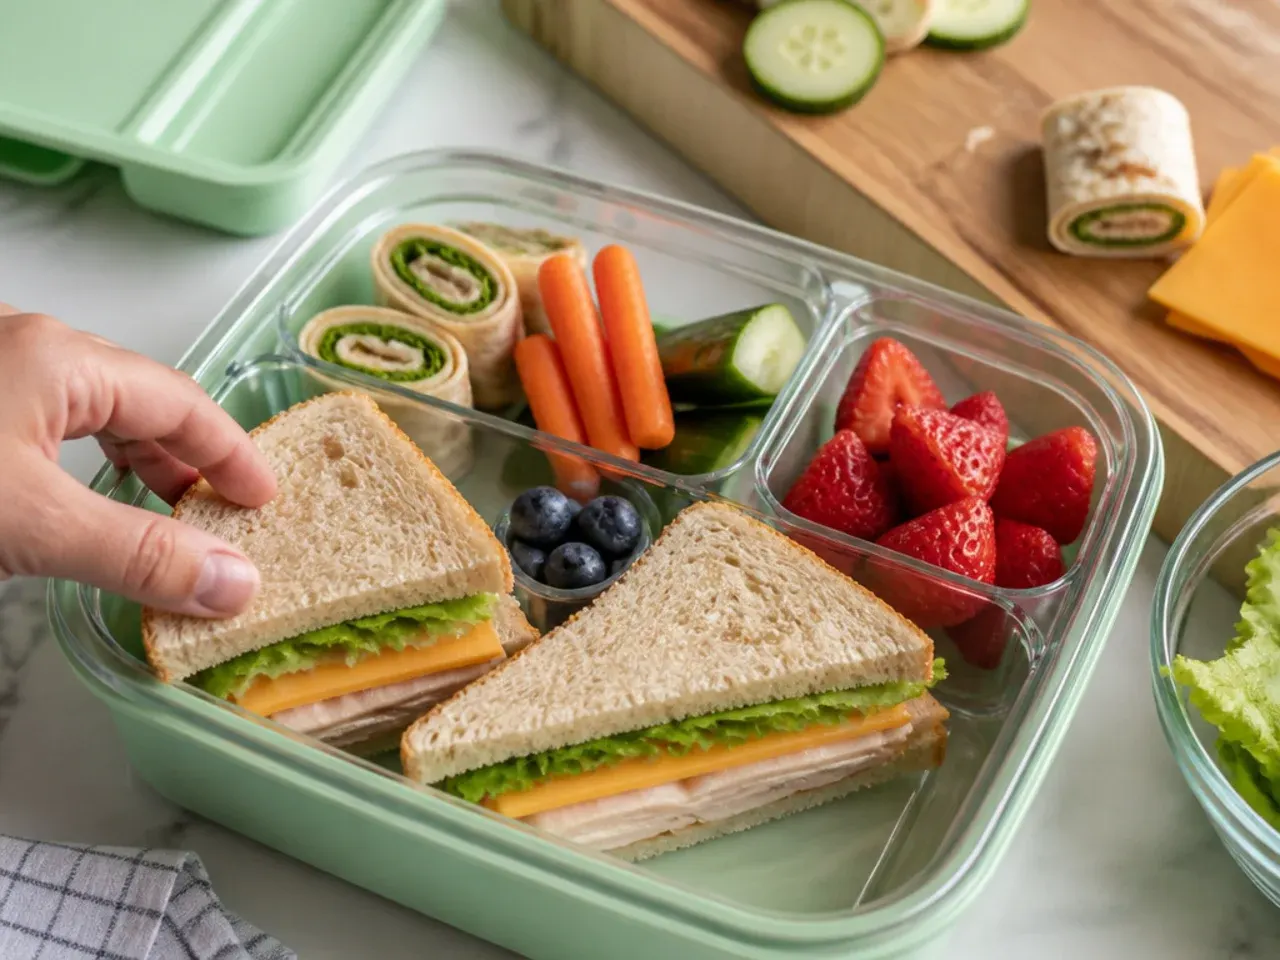
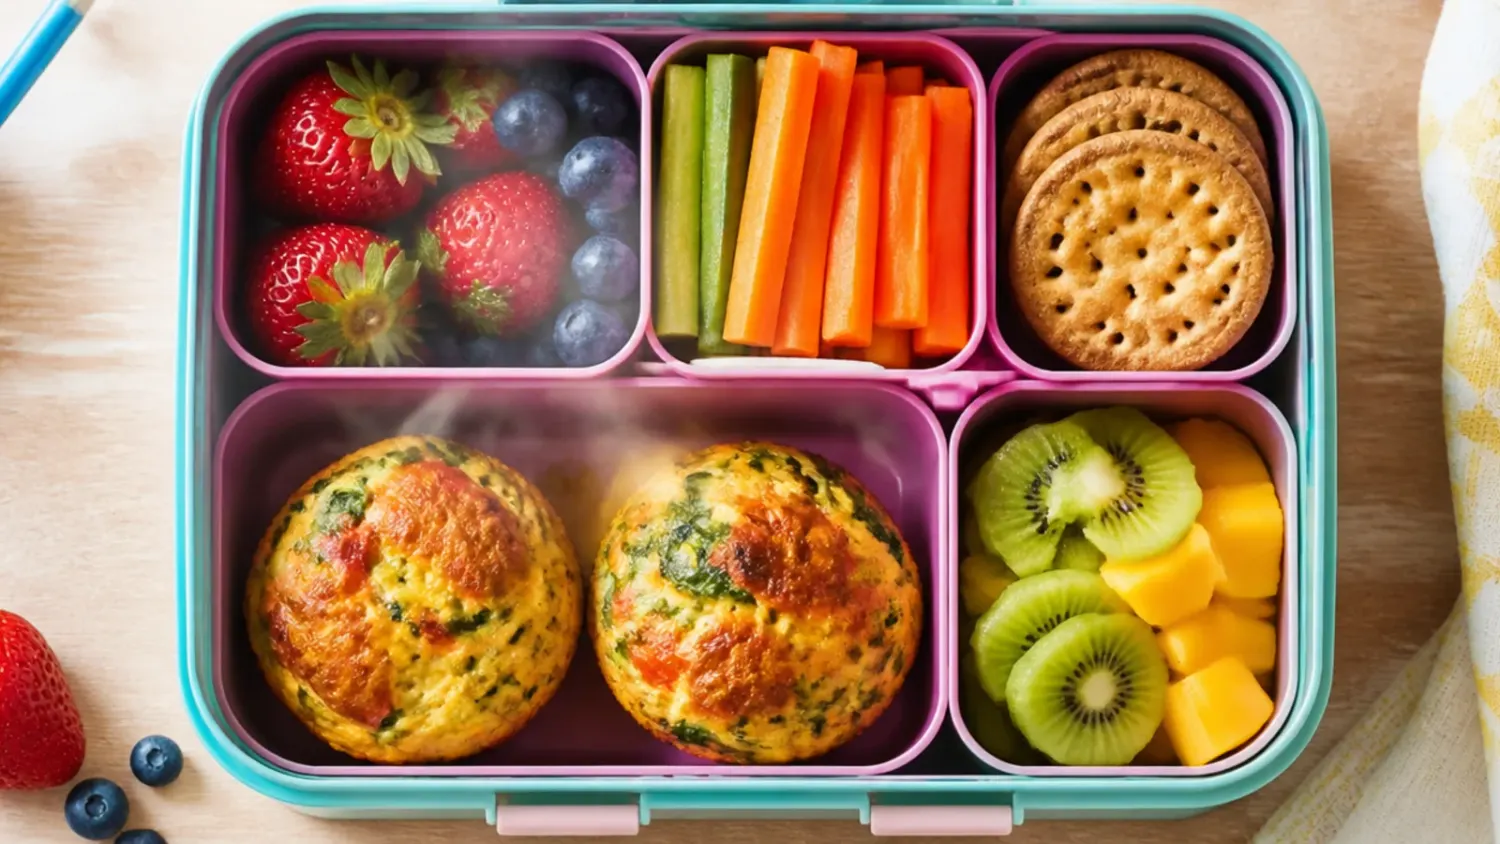
Pack 2 cooled muffins alongside a portion of cut fruit, a handful of raw vegetable sticks and a small dairy item such as yogurt or a cheese stick for a balanced kindergarten lunch box. Add a slim ice pack, or a still-frozen muffin from the freezer stash, to keep everything at a safe temperature until the midday lunch bell. This combination covers protein, whole grains, dairy and produce in one box, ready to go with zero morning stress.
Pro Tips for Kindergarten Lunch Box Ideas That Get Eaten
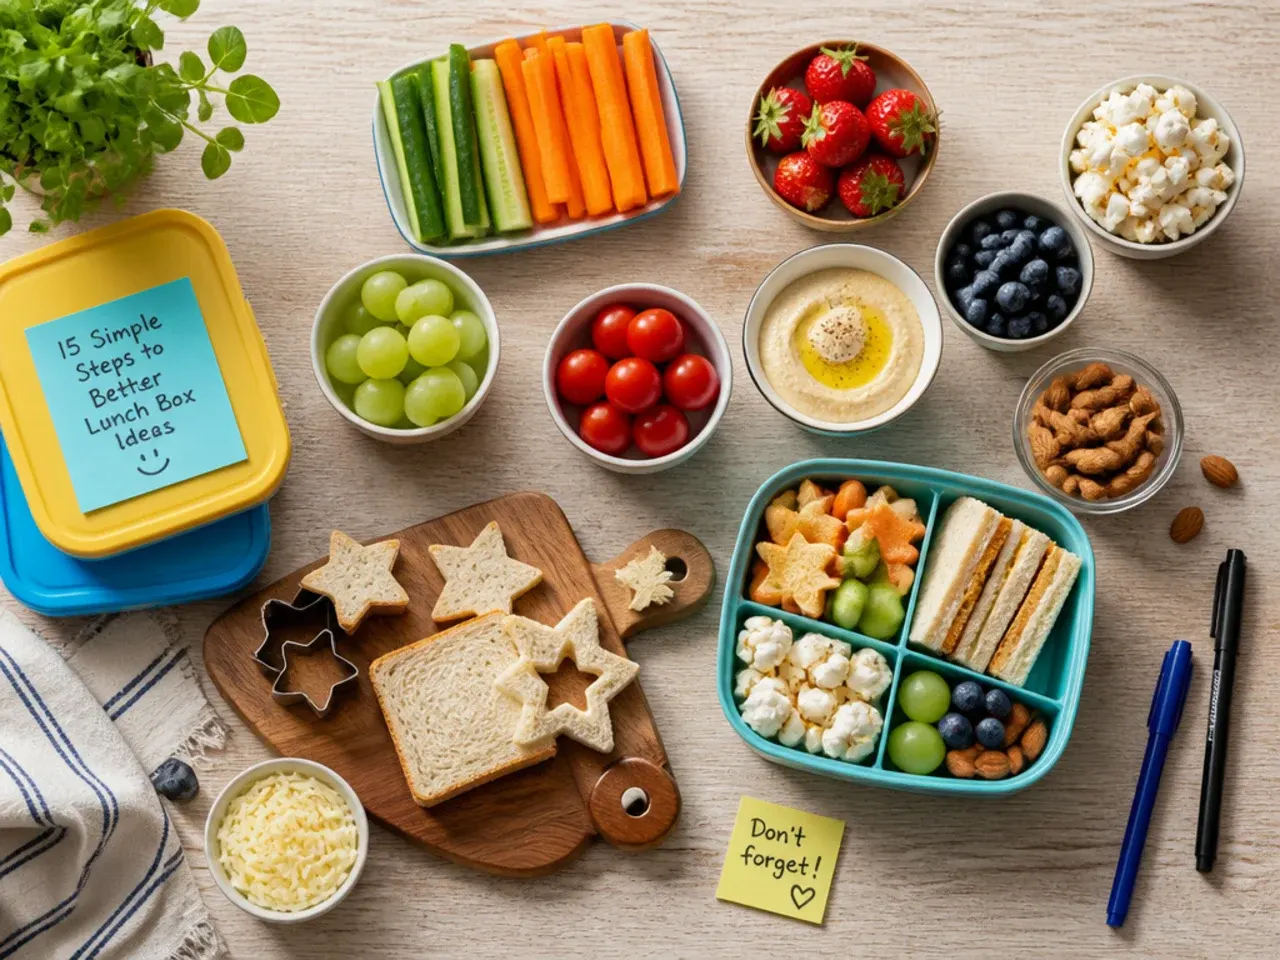
Cut everything into bite-sized pieces no bigger than a large grape, since most kindergarten lunch breaks run just 20-30 minutes and small hands struggle with big bites. Pack a mix of textures and temperatures, such as a just-thawed muffin, something crunchy like carrot sticks, and something soft like yogurt, so at least one item always gets eaten. Let your child choose two or three items from a short weekly list; that small bit of ownership is the biggest factor in a lunch box coming back empty instead of full. Skip whole nuts and uncut grapes altogether, since both are common choking hazards in early years settings.
Make-Ahead and Storage Tips for Lunch Box Muffins
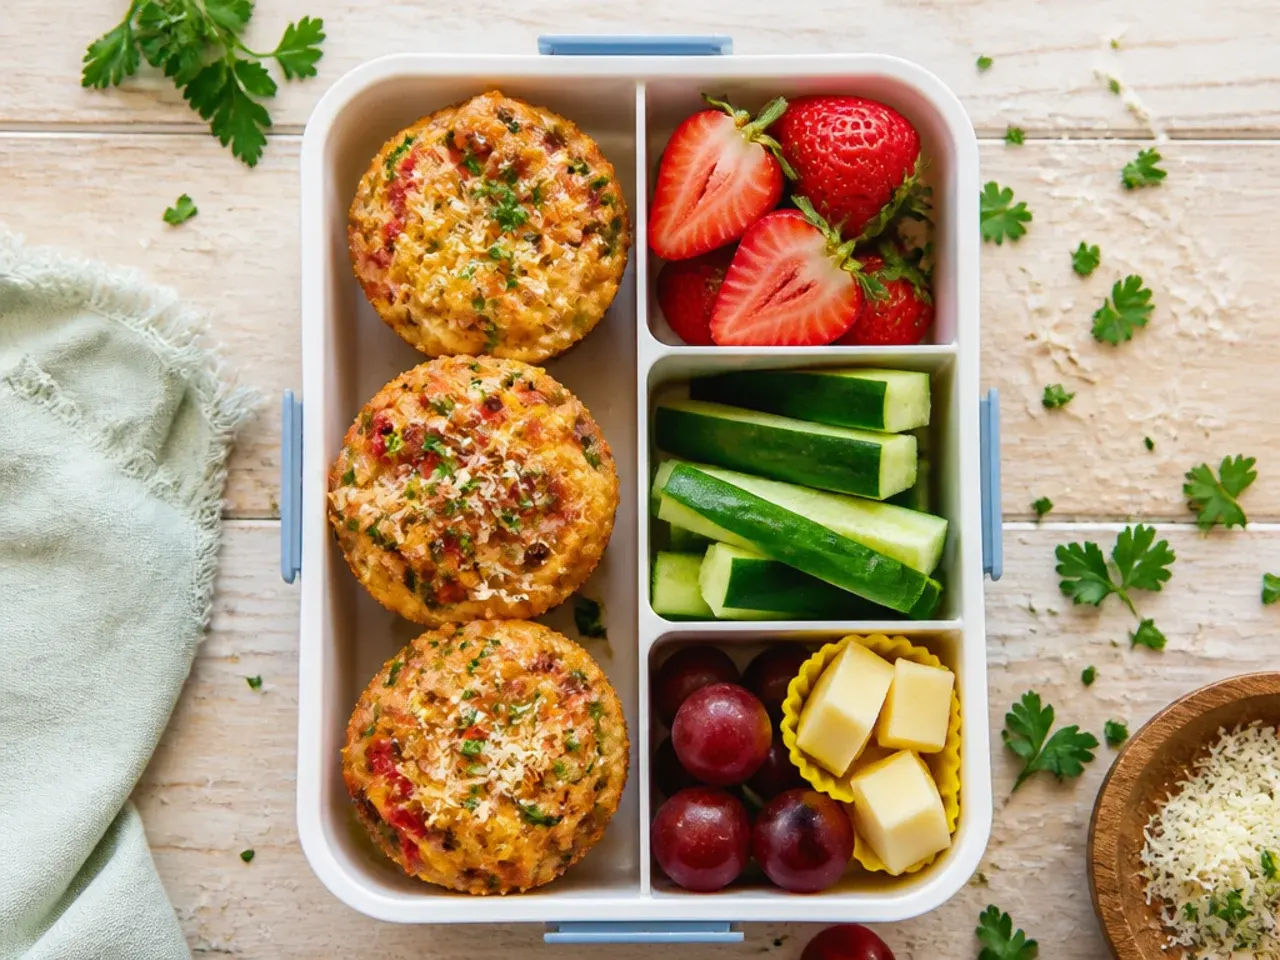
Once fully cooled, store the muffins in an airtight container in the fridge for up to 3 days, or open-freeze them on a tray before bagging so they don't stick together in the freezer. Frozen muffins can go straight into the lunch box in the morning; packed next to an ice pack, they're usually fully thawed and still cool by lunchtime. Reheat from chilled in 15-20 second bursts in the microwave if serving warm at home, but always pack them cold or frozen for kindergarten, since most settings have no reheating facilities. Batch the recipe on a Sunday and one 20-22 minute bake covers about a week of lunch boxes.
Easy kindergarten lunch box ideas: bake a batch of hidden-veg ham and cheese muffins, then build a balanced, no-stress lunch box in 15 simple steps. For more lunch box ideas inspiration, browse the full Lunch Box Ideas board — every idea there is written for real home kitchens, not professional bakers.
Frequently Asked Questions
Yes, that's the whole point of the recipe: bake a batch on the weekend and you'll have lunch box filler ready for the entire week ahead. Cool the muffins completely on a wire rack before storing them, otherwise trapped steam will make them soggy in the container. They keep well in the fridge for up to 3 days or in the freezer for up to 2 months in a labelled bag. Pack one straight from frozen alongside an ice pack and it will be perfectly thawed and still cool by lunchtime.

Related Recipes
Save this for later 📌
Pin this article to your Pinterest board so the full list is one tap away when you need it.
Save on Pinterest