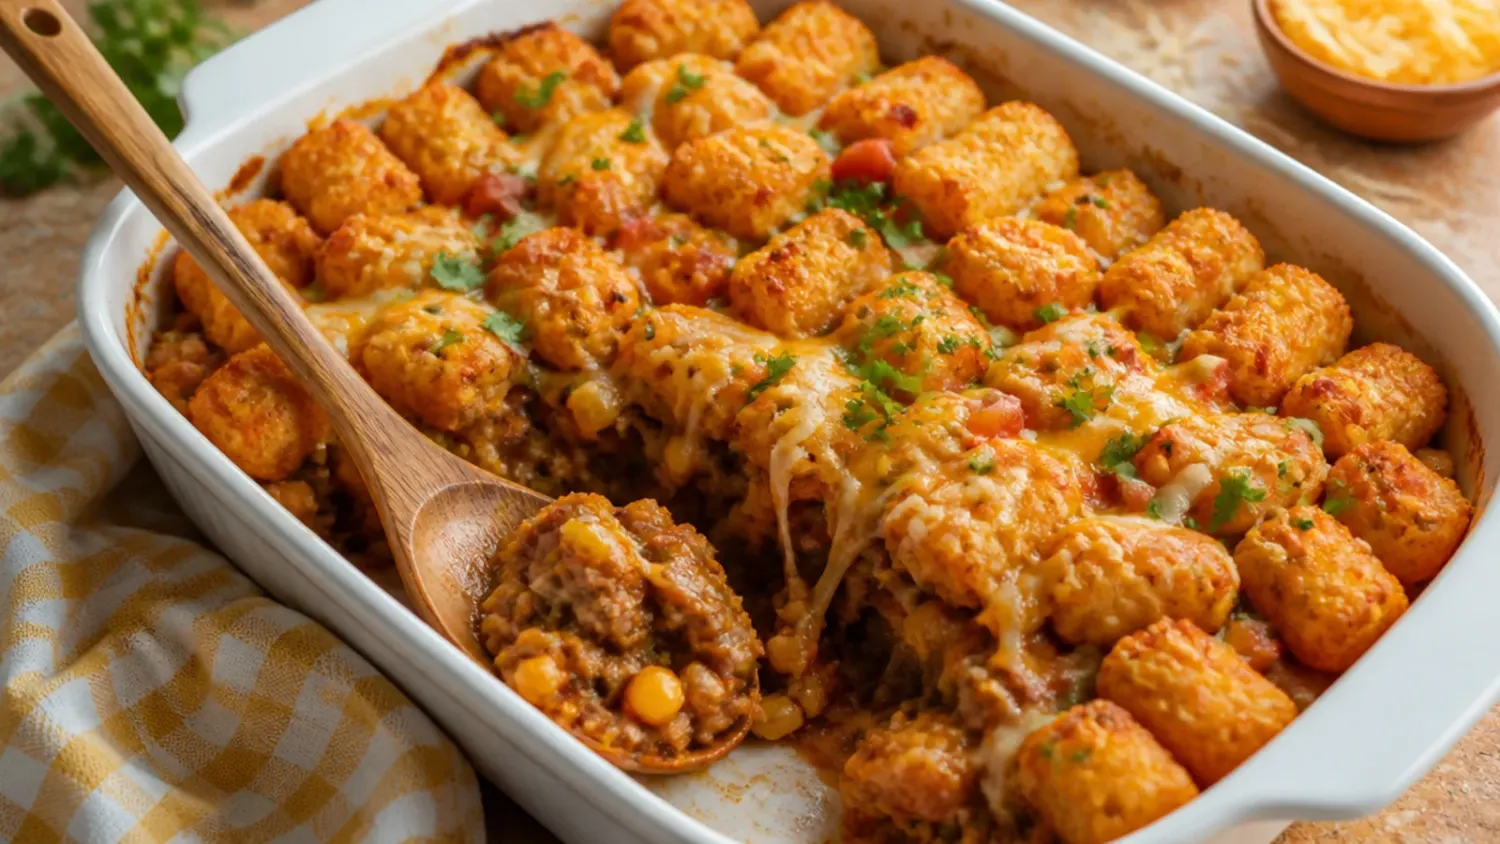
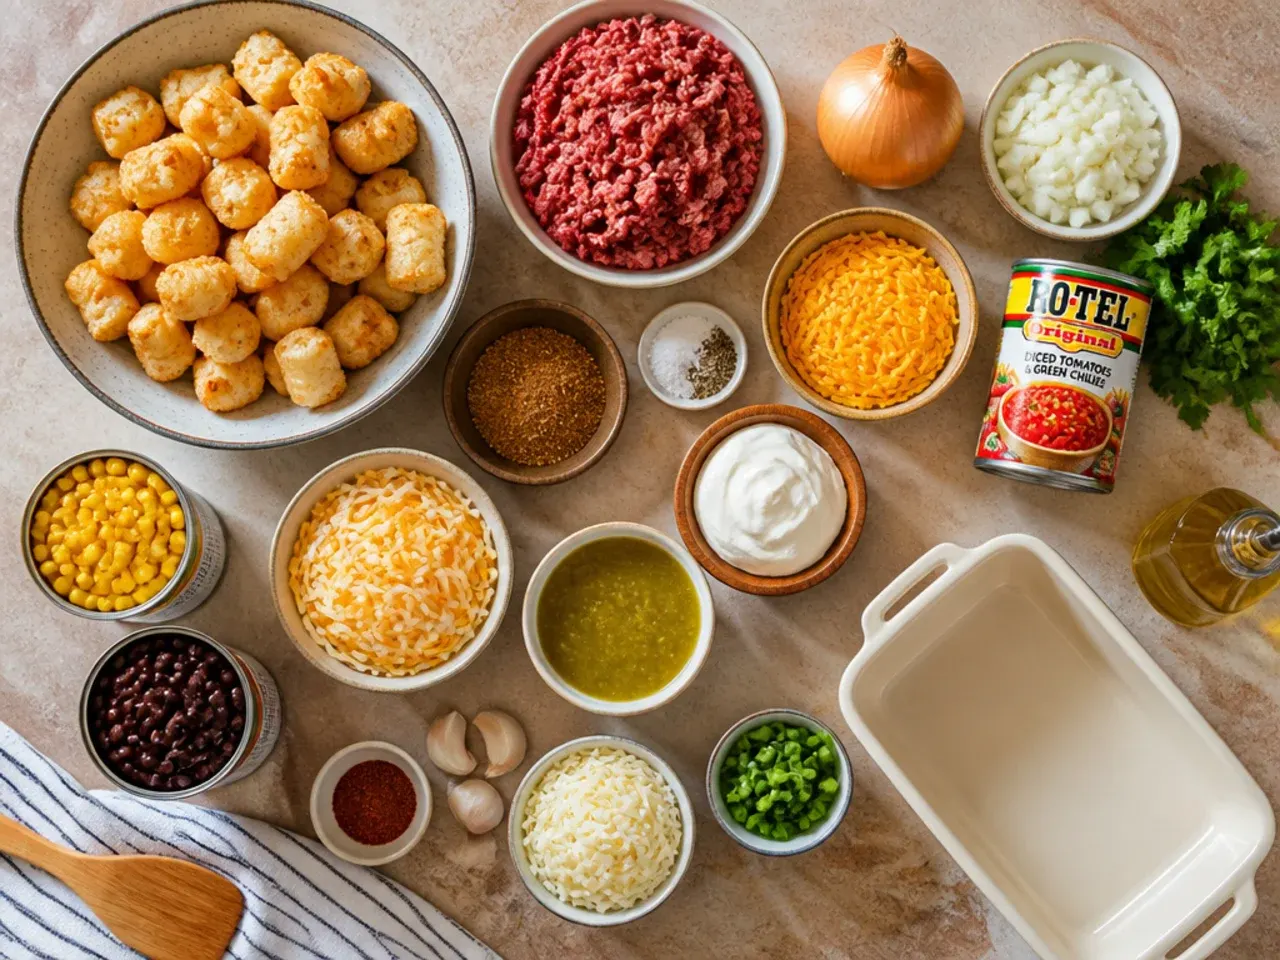
Ingredients 8 Person(s)

Save this for later 📌
Pin this article to your Pinterest board so the full list is one tap away when you need it.
Save on PinterestDirections
Step 1: Preheat the oven and prep your dish
Preheat the oven to 200°C (400°F) and lightly grease a 23 x 33 cm (9 x 13 in) baking dish with a little oil or butter. Getting the oven fully up to temperature before the casserole goes in is what gives the tater tots a crisp, golden shell rather than a soft, steamed top. Keep the 900 g (2 lb) bag of frozen tater tots in the freezer for now; you'll only pull them out right before Step 18, since thawed tots turn mushy instead of crisping up in the oven.
Step 2: Measure out all your ingredients
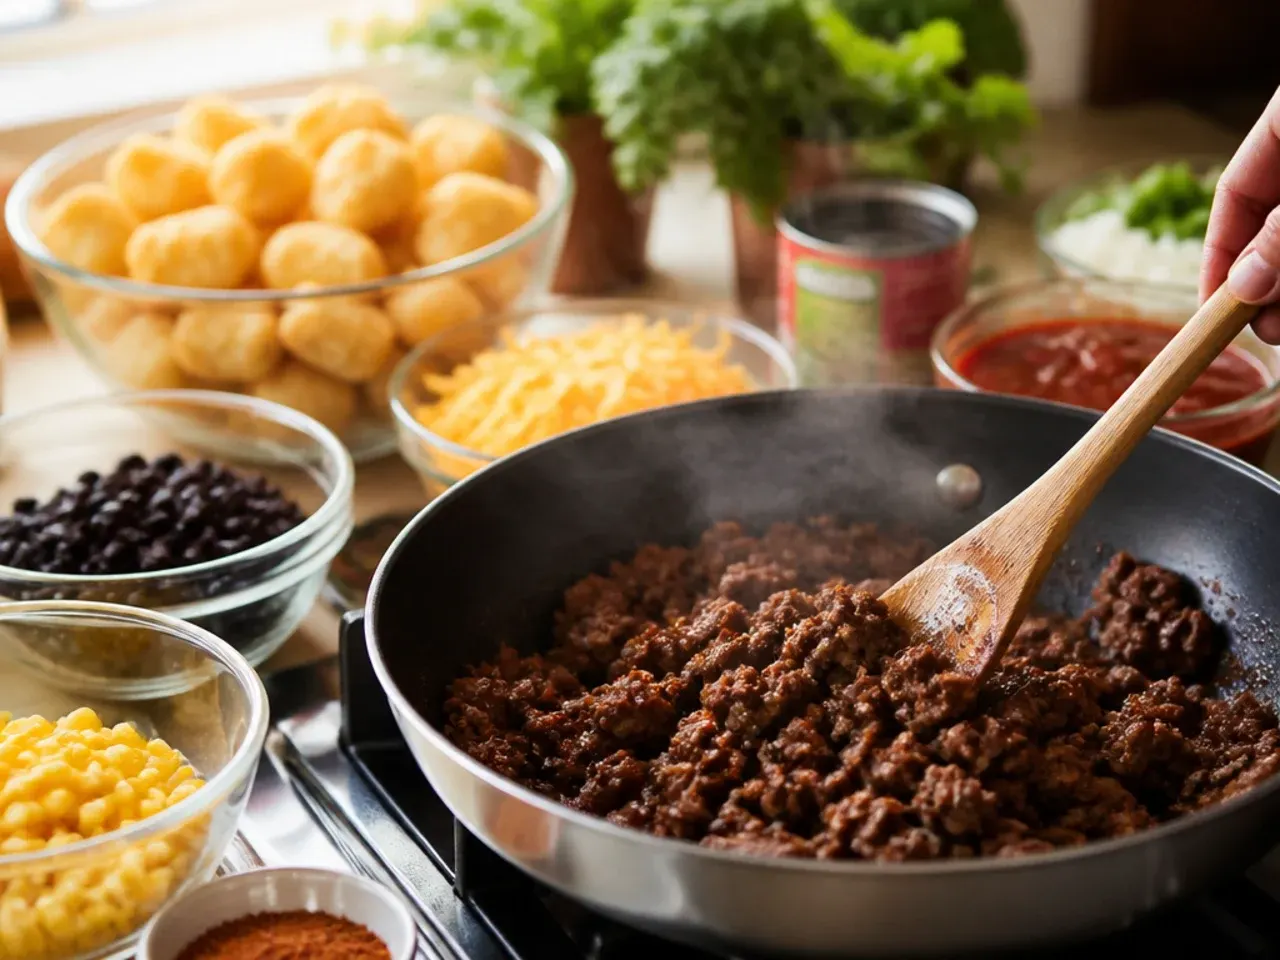
Line up 450 g (1 lb) ground beef, the diced onion, minced garlic, taco seasoning, black beans, corn, green chiles, enchilada sauce and cheese on the counter before you start cooking (the tater tots stay in the freezer until Step 18). Working mise-en-place style like this keeps the filling on track to come together in about 30 minutes without any last-minute scrambling for a can opener.
Step 3: Dice the onion and mince the garlic
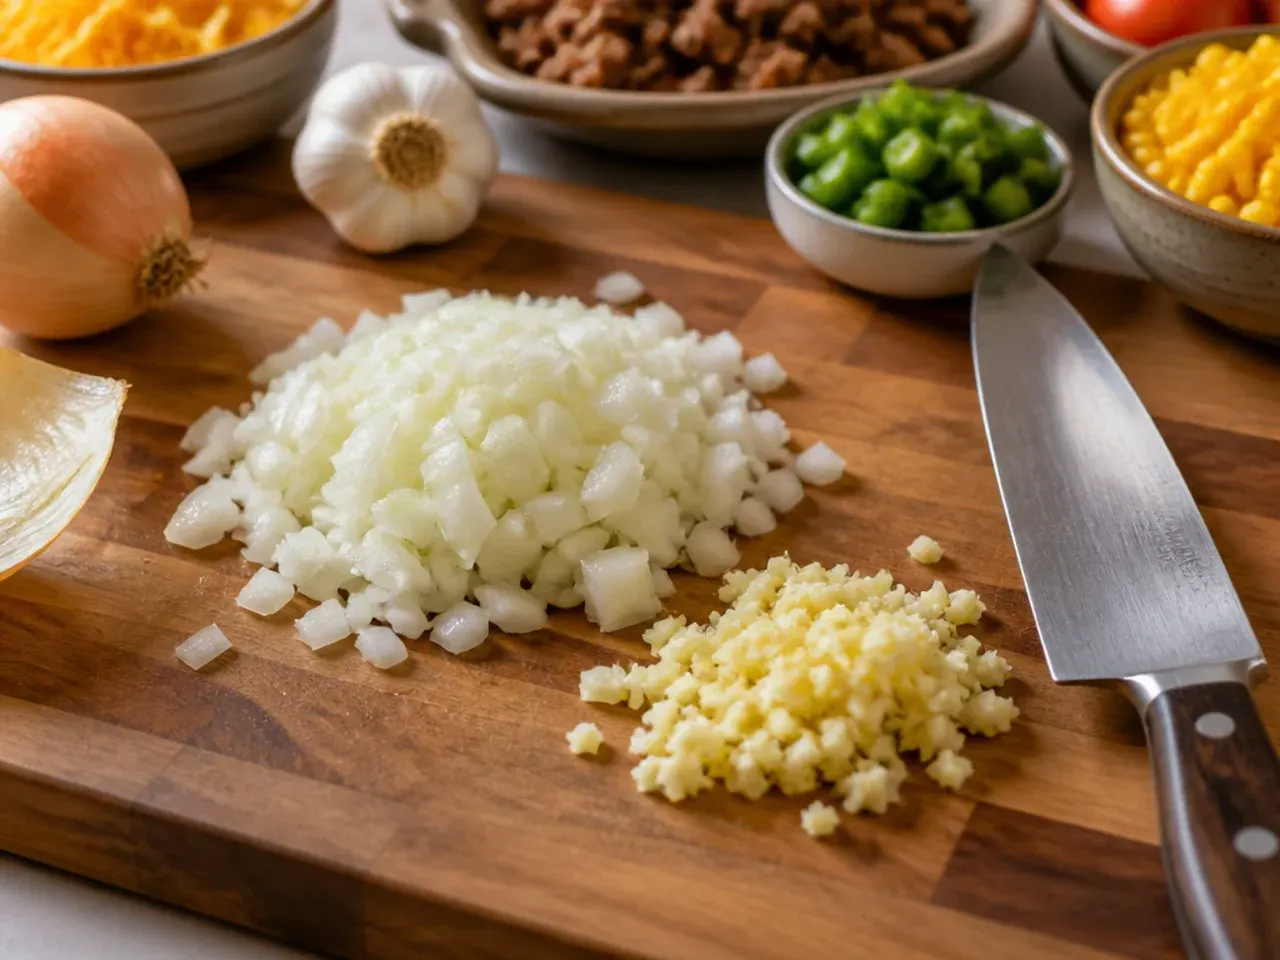
Peel and finely dice 1 medium yellow onion into roughly 1 cm pieces, and mince 3 cloves of garlic. An even, fine dice helps the onion soften fully during the short sauté time instead of leaving crunchy raw bits in the finished bake.
Step 4: Heat the oil in a large skillet
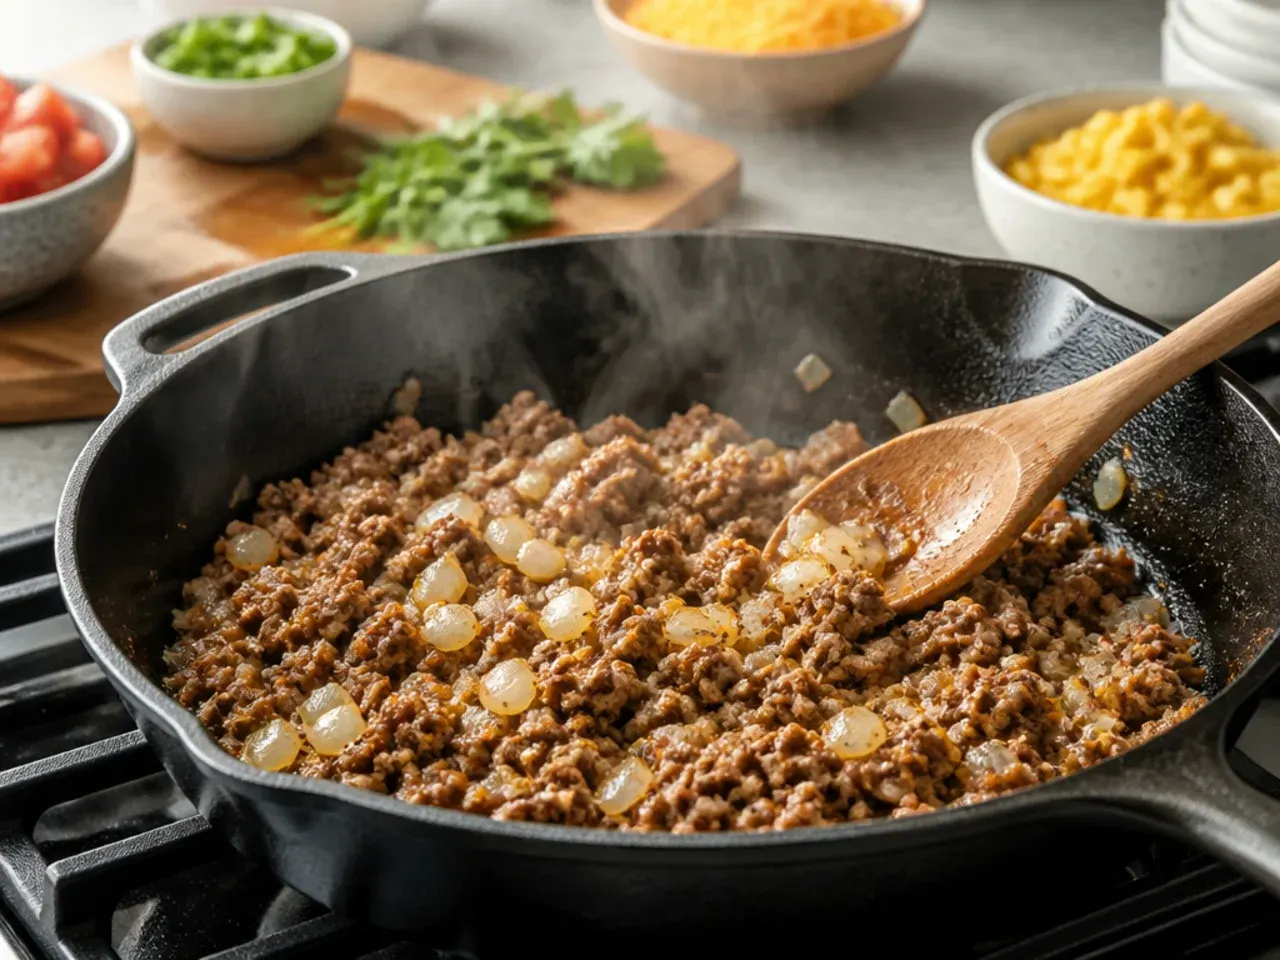
Set a large, deep skillet over medium-high heat and add 15 ml (1 tbsp) neutral oil. Let it heat for about a minute until it shimmers slightly and moves easily around the pan, which signals it's hot enough to brown the beef properly rather than steam it.
Step 5: Brown the ground beef
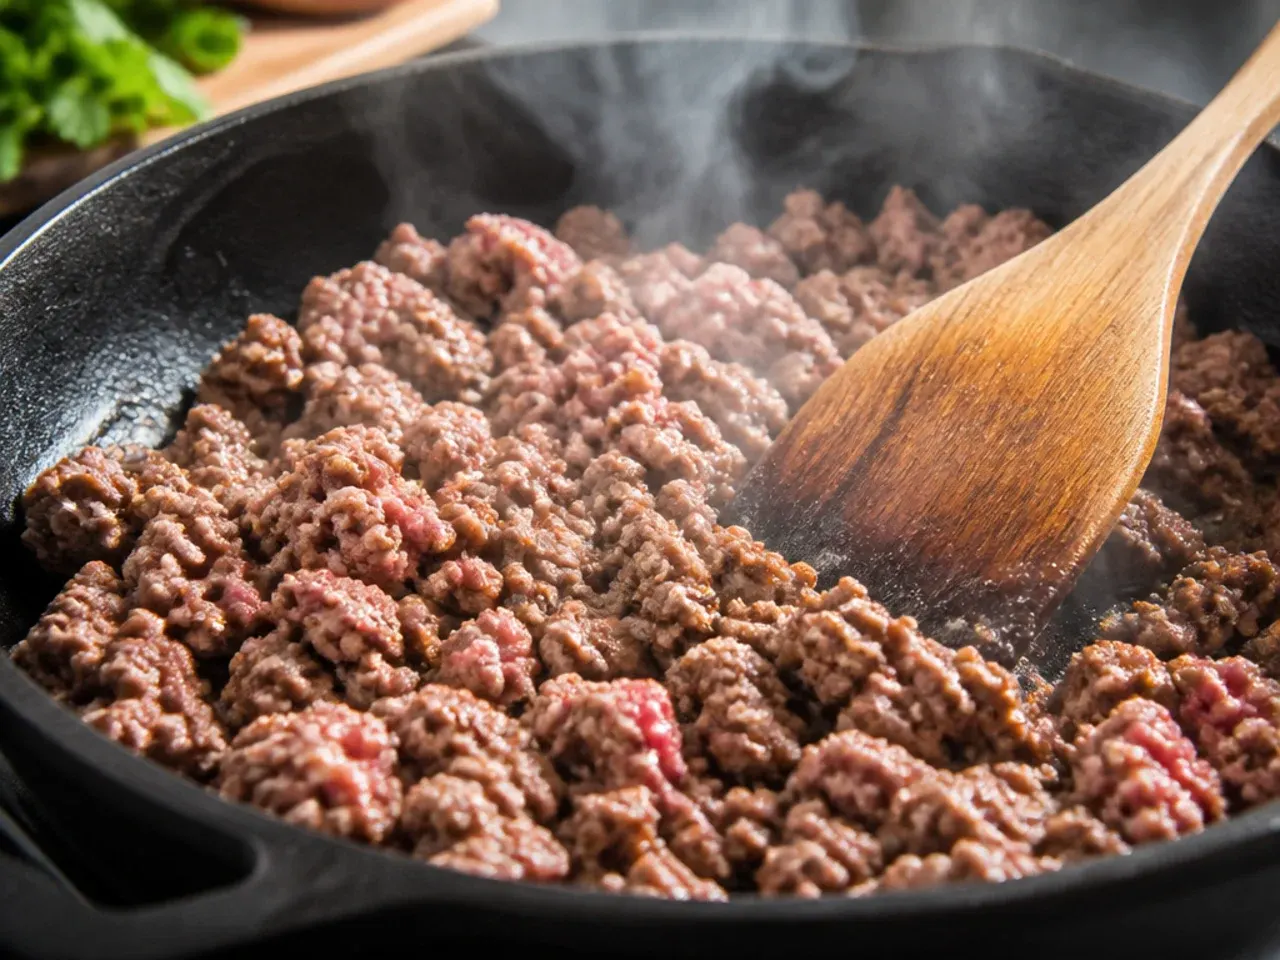
Add the 450 g (1 lb) ground beef to the hot pan, breaking it into small crumbles with a wooden spoon. Cook for 6-7 minutes, stirring occasionally, until no pink remains and the meat is deeply browned with some crispy edges.
Step 6: Drain off the excess fat
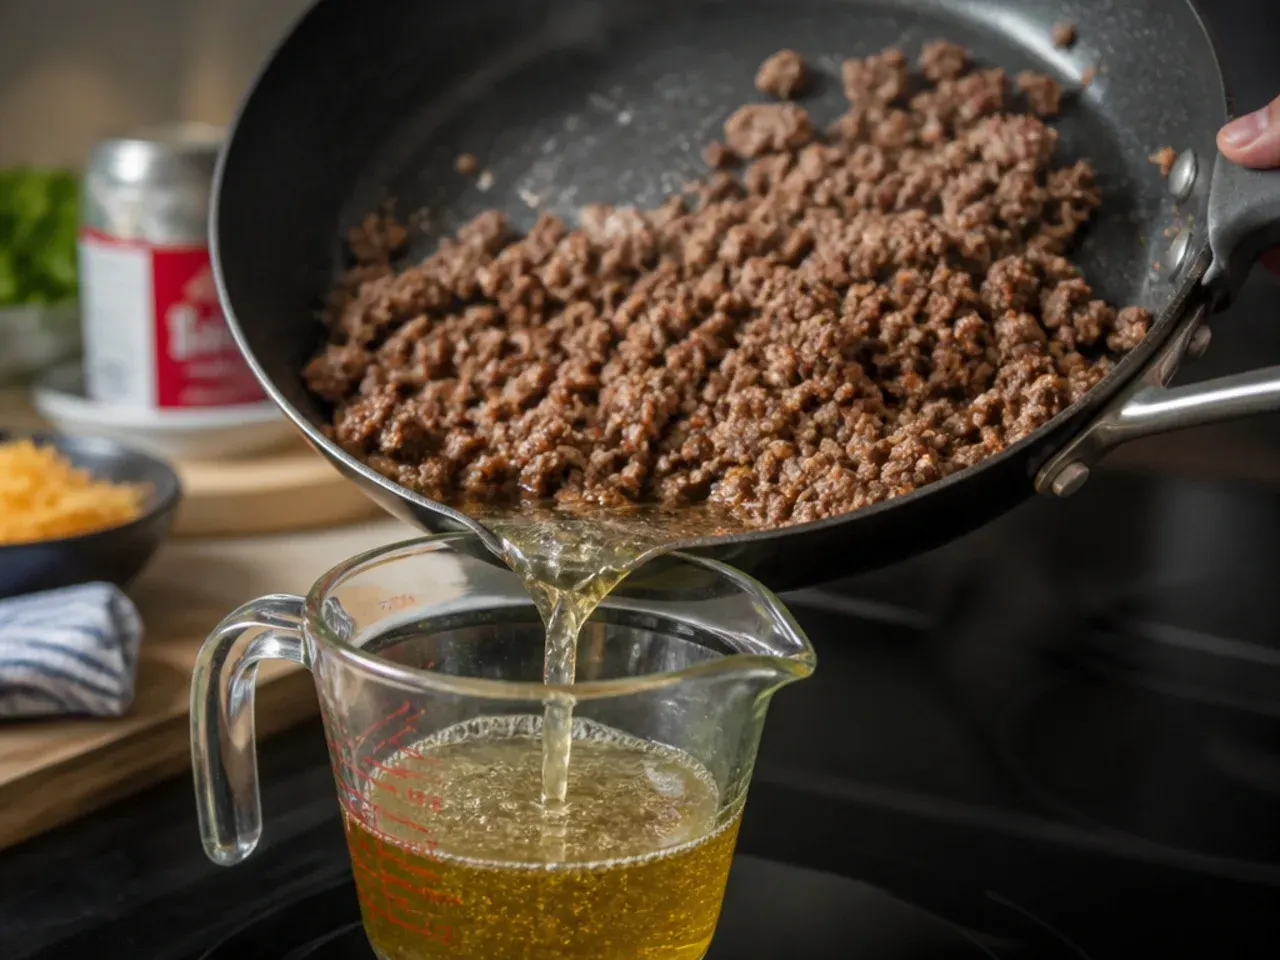
Tilt the pan and spoon or drain away most of the rendered fat, leaving about 15 ml (1 tbsp) behind for flavour. Skipping this step is the single biggest cause of a greasy, soggy casserole base, since that fat has nowhere to go once it's sealed under the tater tots.
Step 7: Soften the onion and garlic
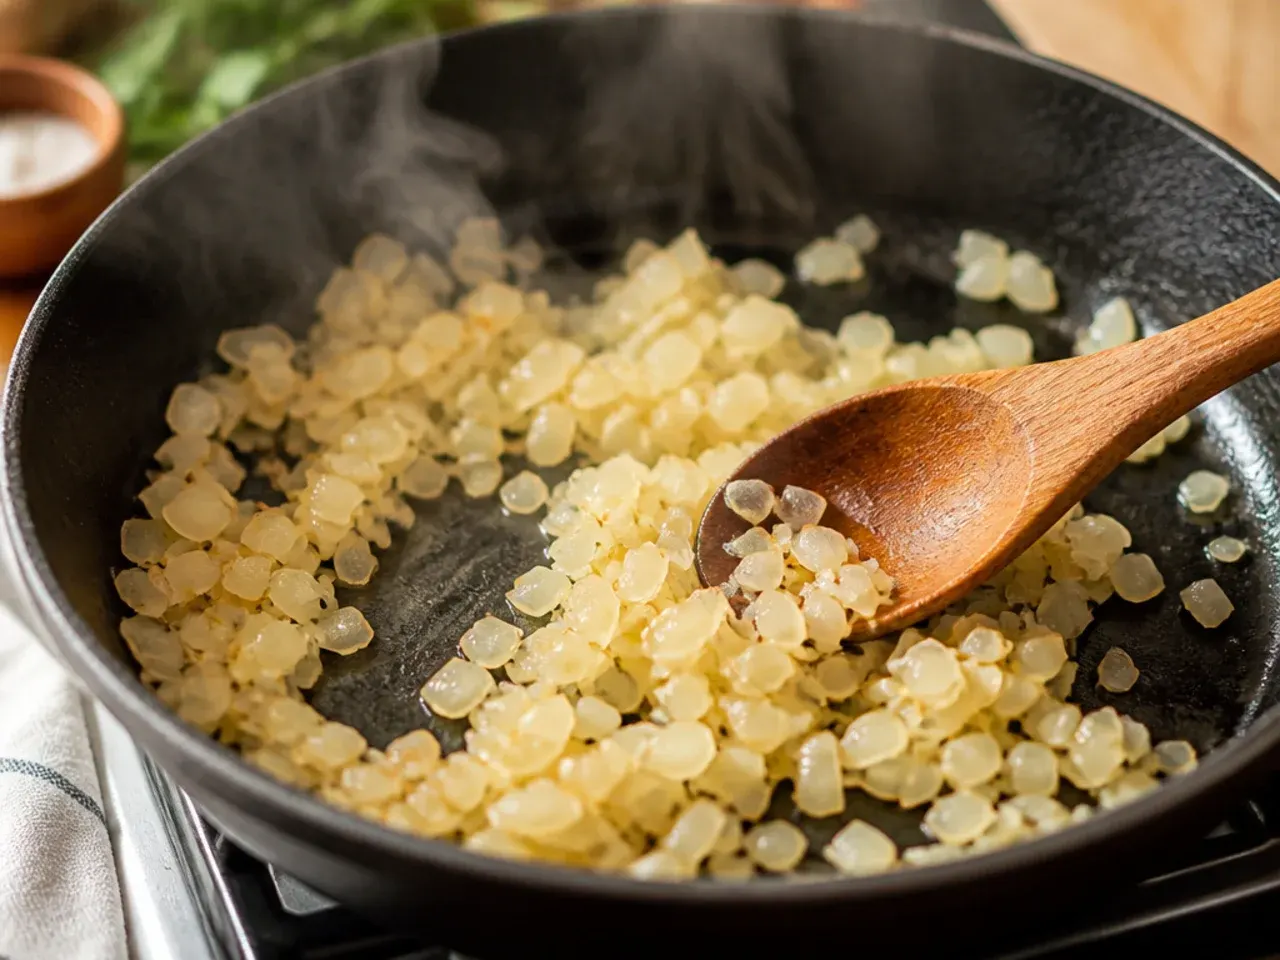
Add the diced onion to the beef and cook for 3-4 minutes until softened and translucent. Stir in the minced garlic for a final 30 seconds, just until fragrant, since garlic added any earlier tends to turn bitter over the higher heat.
Step 8: Season the beef with taco spices
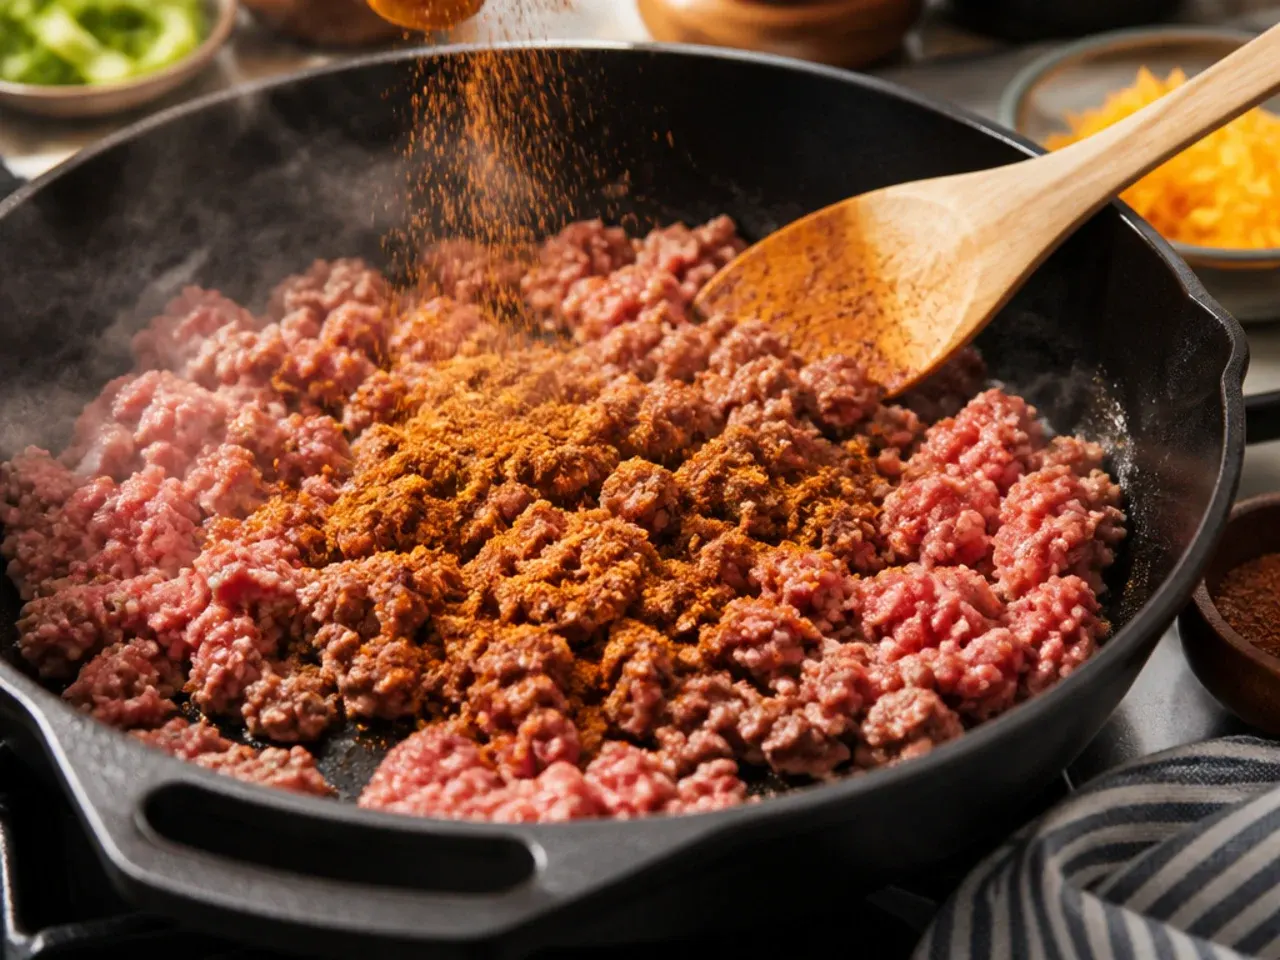
Sprinkle 30 g (2 tbsp) taco seasoning evenly over the beef mixture and pour in 120 ml (1/2 cup) water. Stir well so every piece of meat is coated in spice, scraping up any browned bits stuck to the bottom of the pan as you go.
Step 9: Simmer to thicken the seasoning
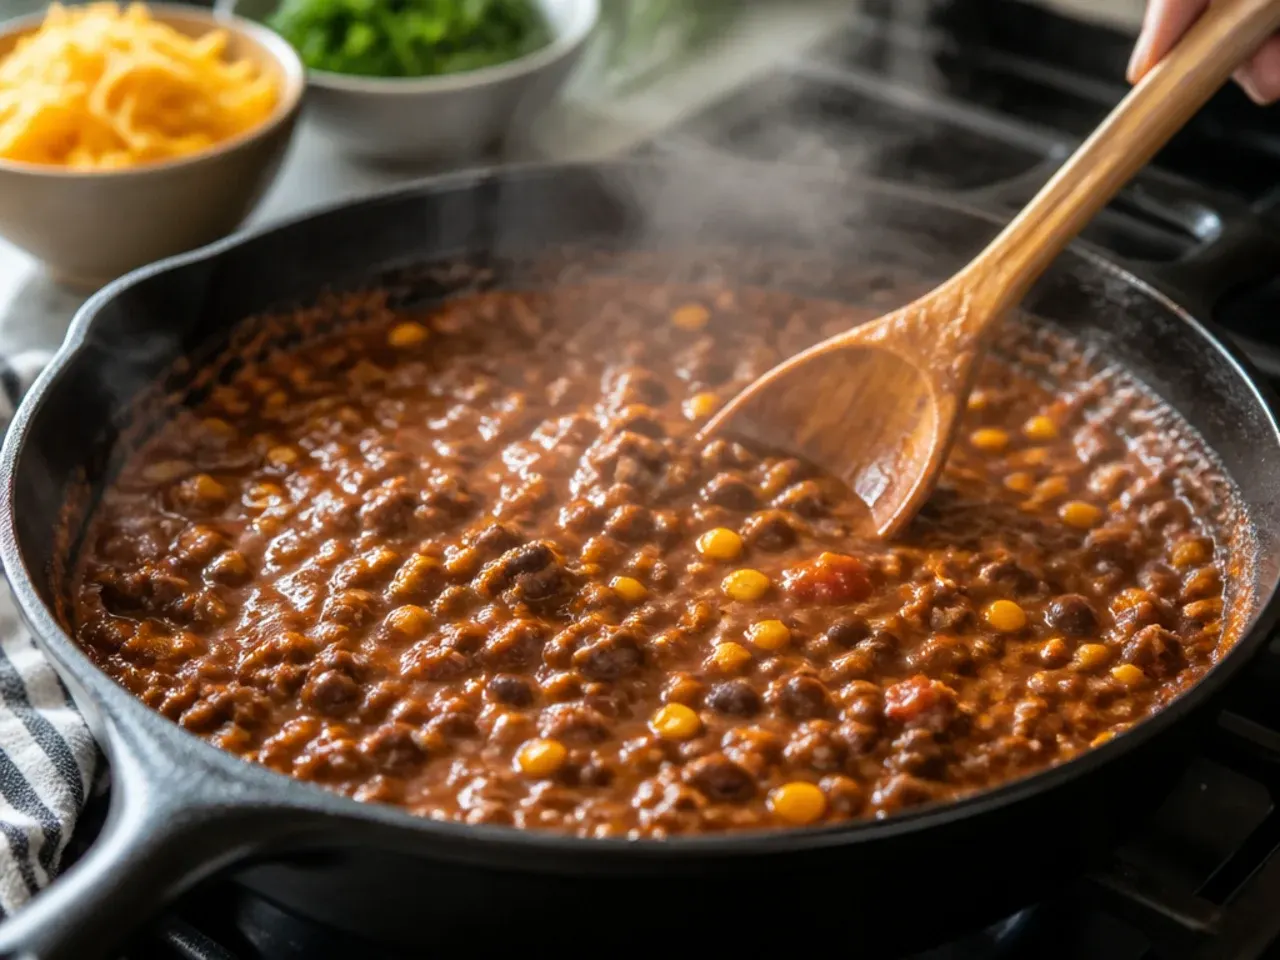
Reduce the heat to medium-low and let the mixture bubble gently for 3-4 minutes, stirring occasionally, until most of the water has absorbed and the beef looks glossy and well-coated rather than watery.
Step 10: Stir in the black beans
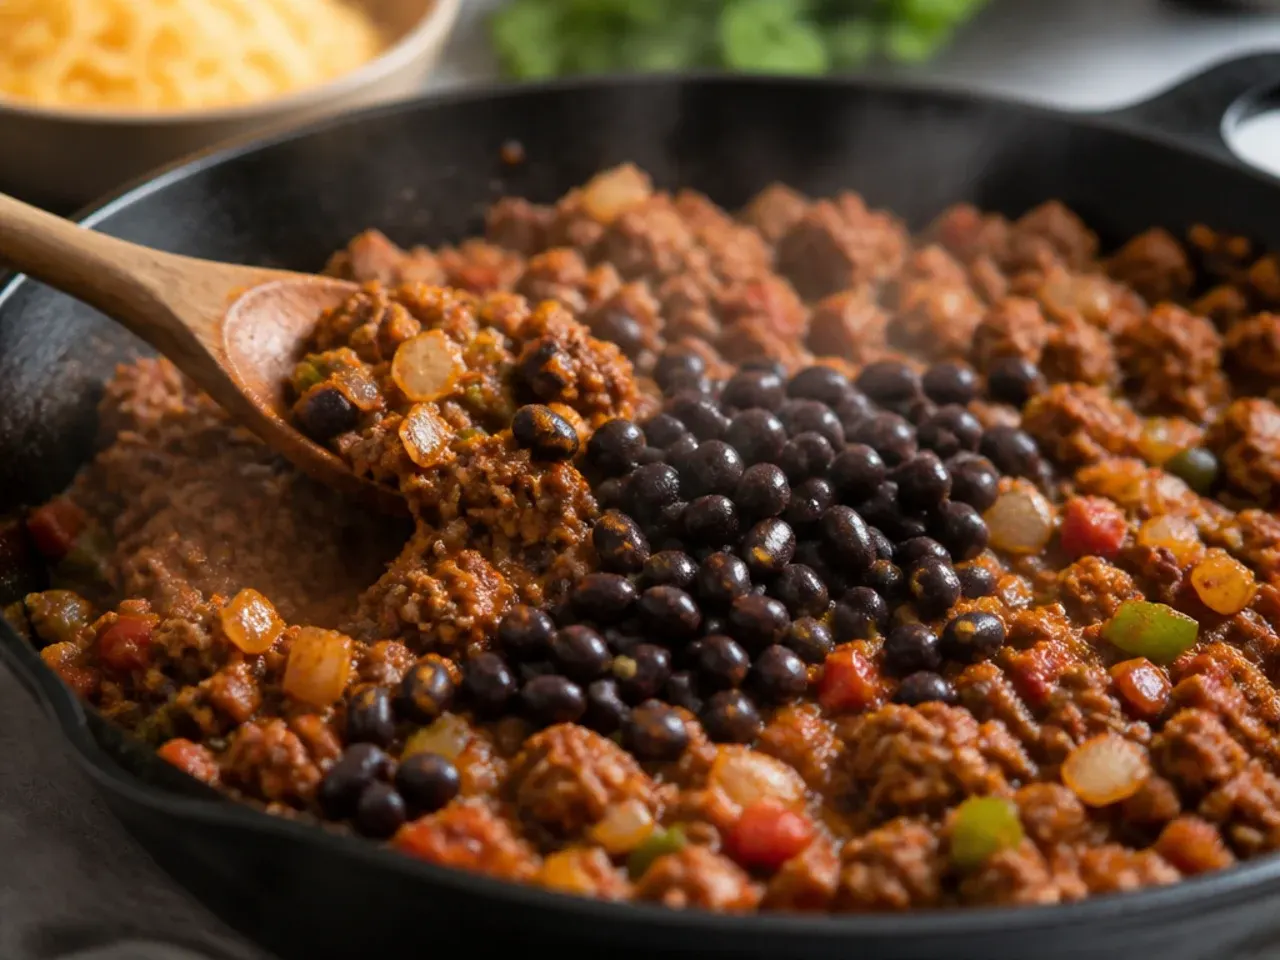
Add the 400 g (14 oz) can of drained and rinsed black beans to the skillet and stir to combine. Rinsing the beans first removes the starchy canning liquid that would otherwise thin out the filling.
Step 11: Stir in the corn

Add 300 g (10 oz) drained corn, ideally fire-roasted for a touch of smoky sweetness, and stir it through the beef and bean mixture until evenly distributed.
Step 12: Add the green chiles

Stir in the 113 g (4 oz) can of diced green chiles, juices and all. These bring a mild, tangy heat that balances the richness of the beef and cheese without overwhelming the dish.
Step 13: Pour in the enchilada sauce
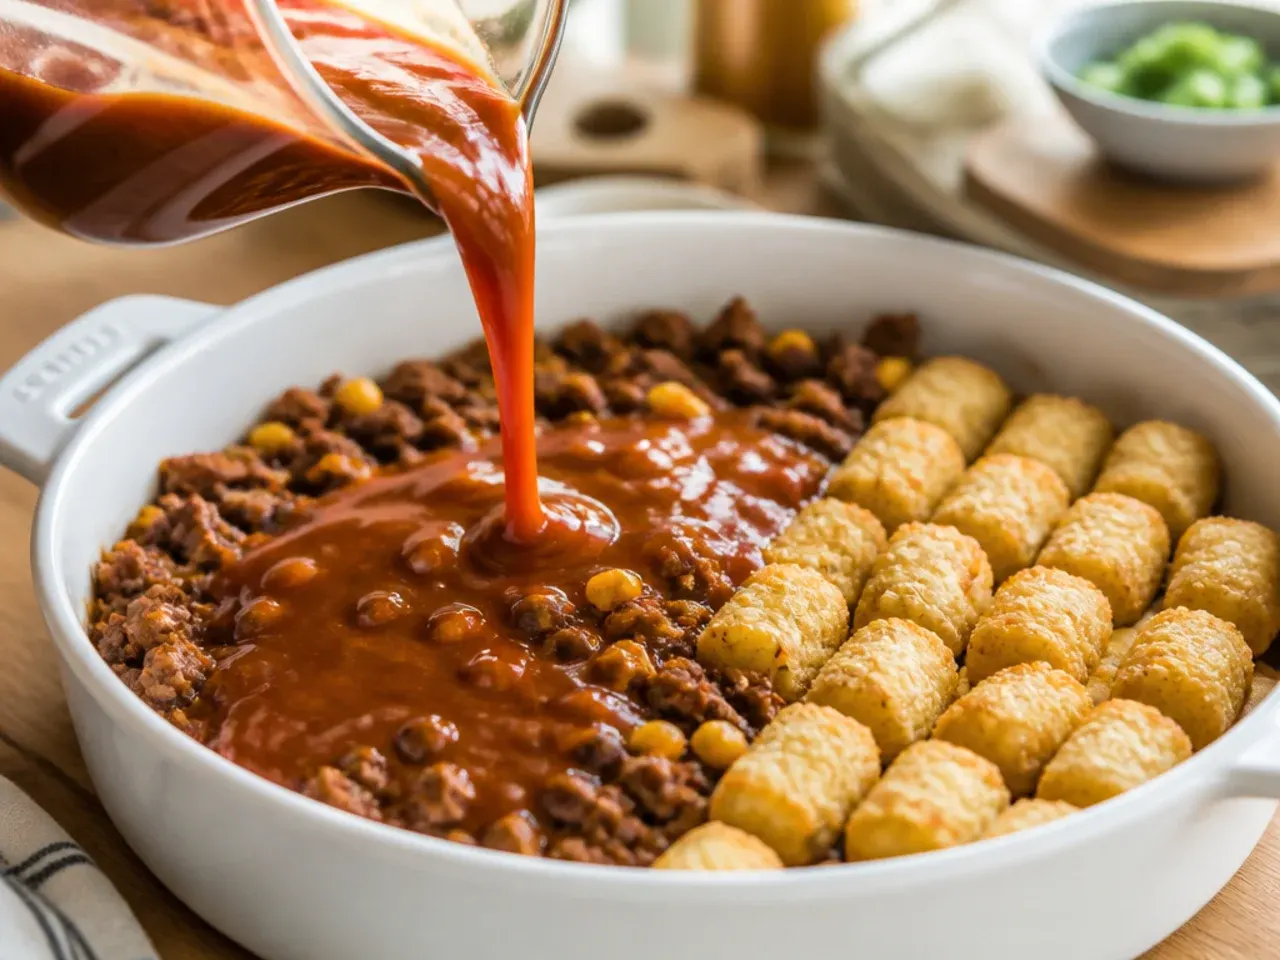
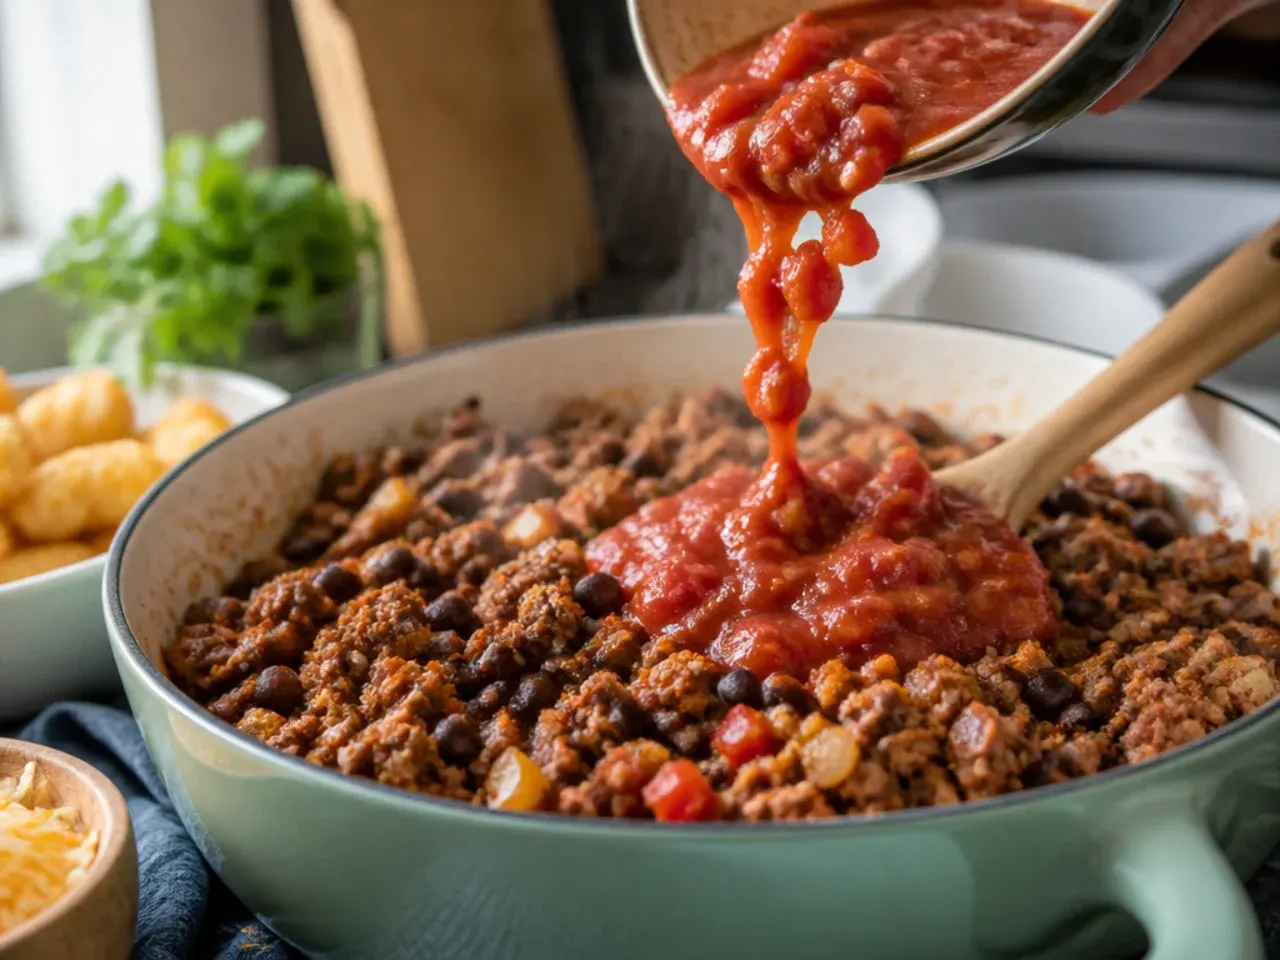
Pour in 280 g (10 oz) red enchilada sauce and stir until every ingredient is coated in a rich, thick red sauce. This sauce is what keeps the finished casserole moist underneath the tater tot topping, so don't be tempted to skip or skimp on it.
Step 14: Simmer the filling
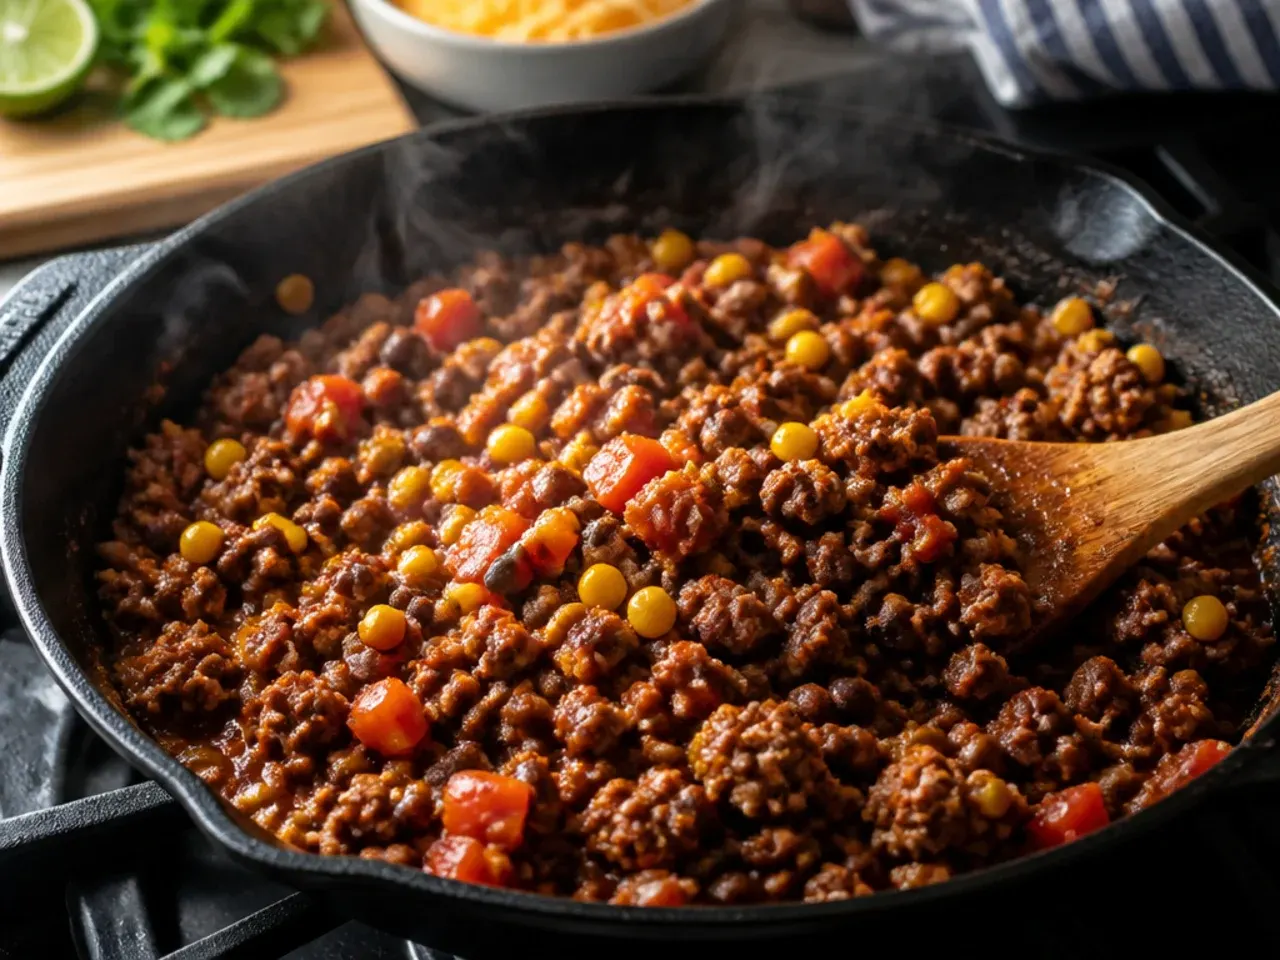
Let the filling simmer gently for 4-5 minutes, stirring now and then, until it has thickened enough to hold its shape when you drag a spoon through the centre of the pan.
Step 15: Taste and adjust the seasoning
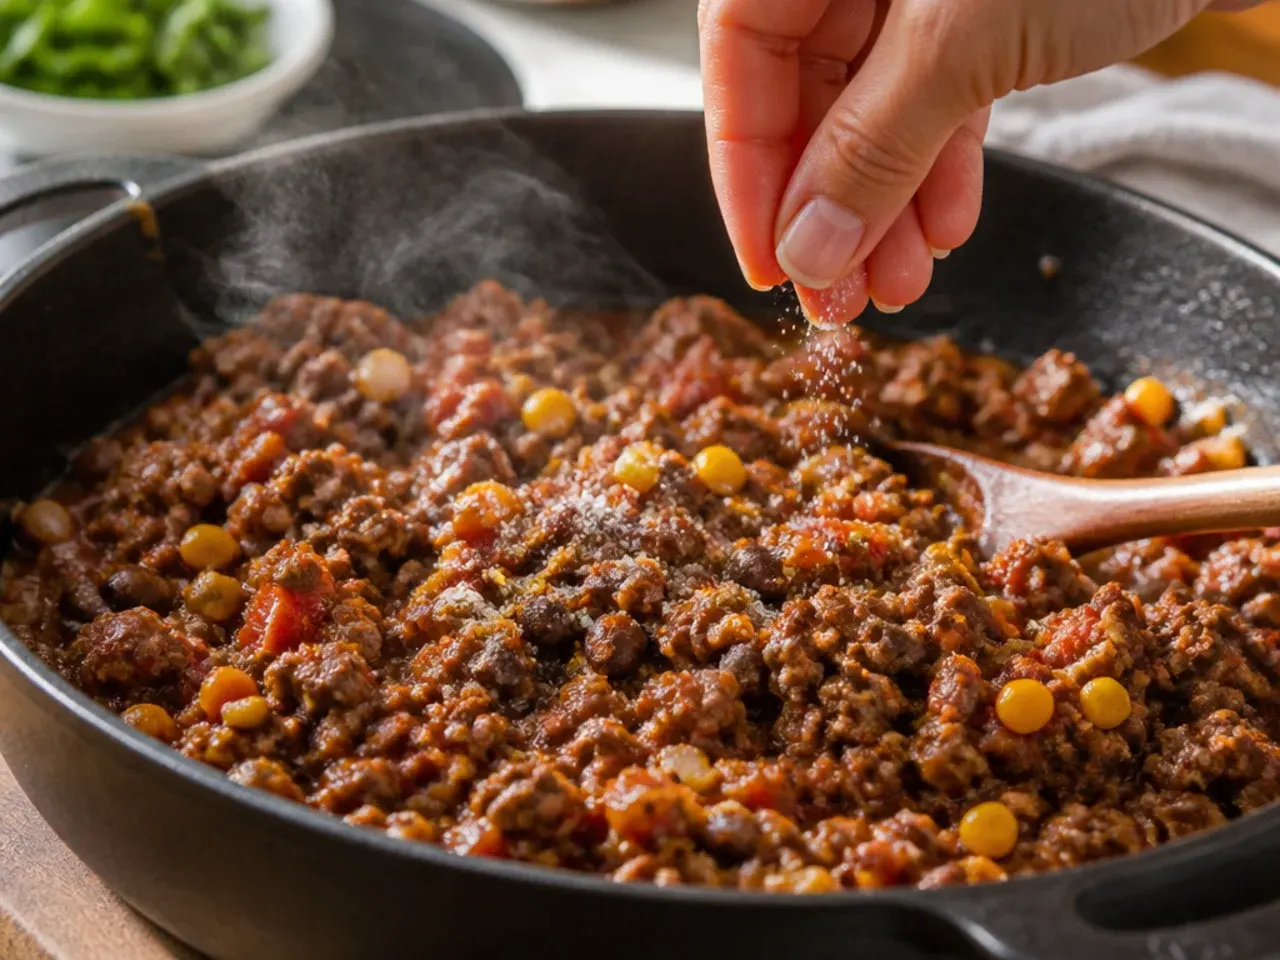
Taste the filling and adjust as needed, adding a little extra salt, a pinch more chilli powder, or a squeeze of lime if it needs brightening. It's much easier to correct the seasoning now than once the casserole is assembled and baked.
Step 16: Transfer the filling to the dish
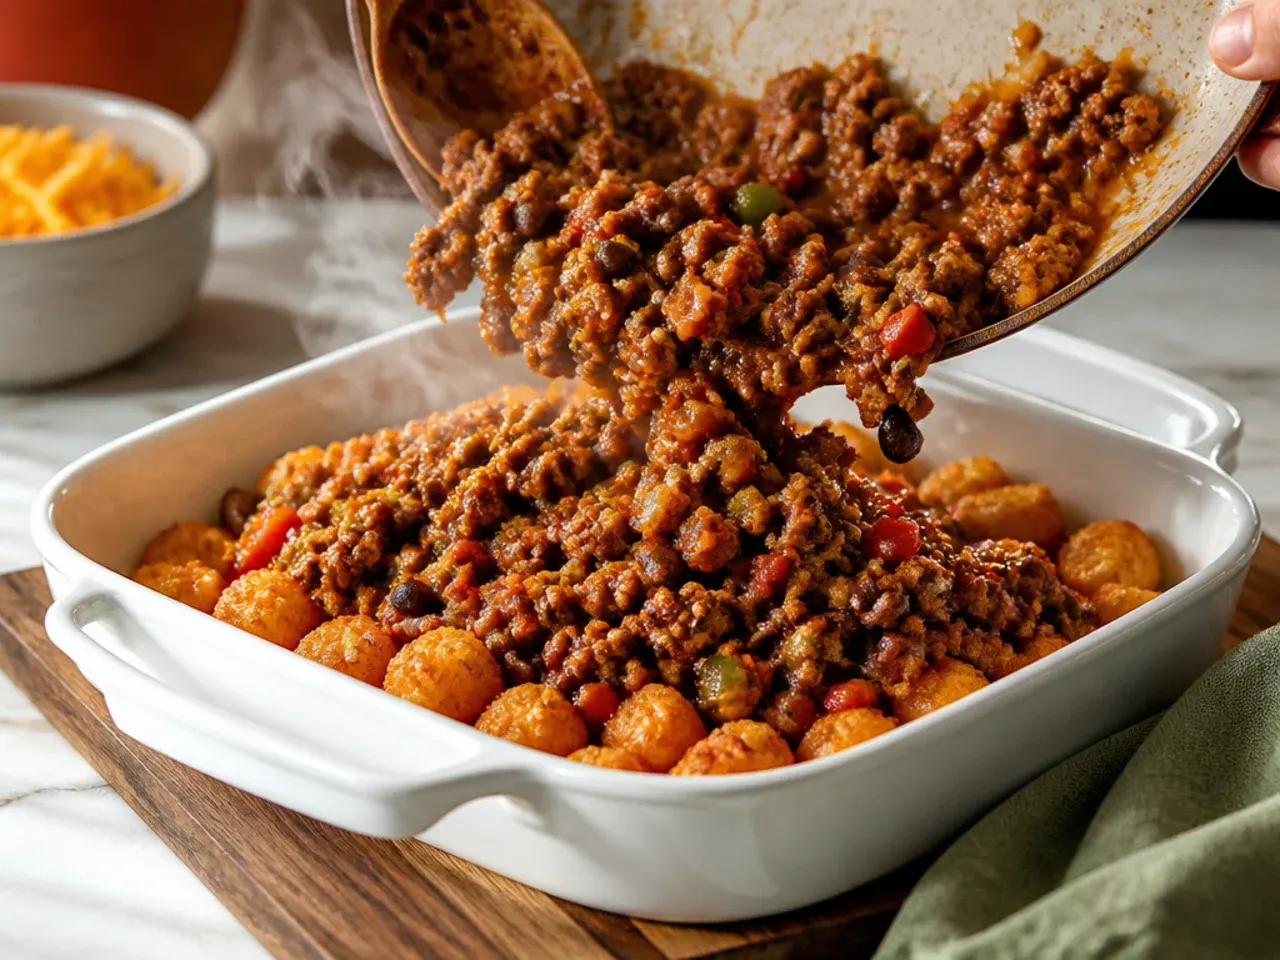
Spoon the hot beef and bean mixture into the greased 23 x 33 cm (9 x 13 in) baking dish, spreading it into an even layer with a spatula so it reaches every corner.
Step 17: Sprinkle over half the cheese
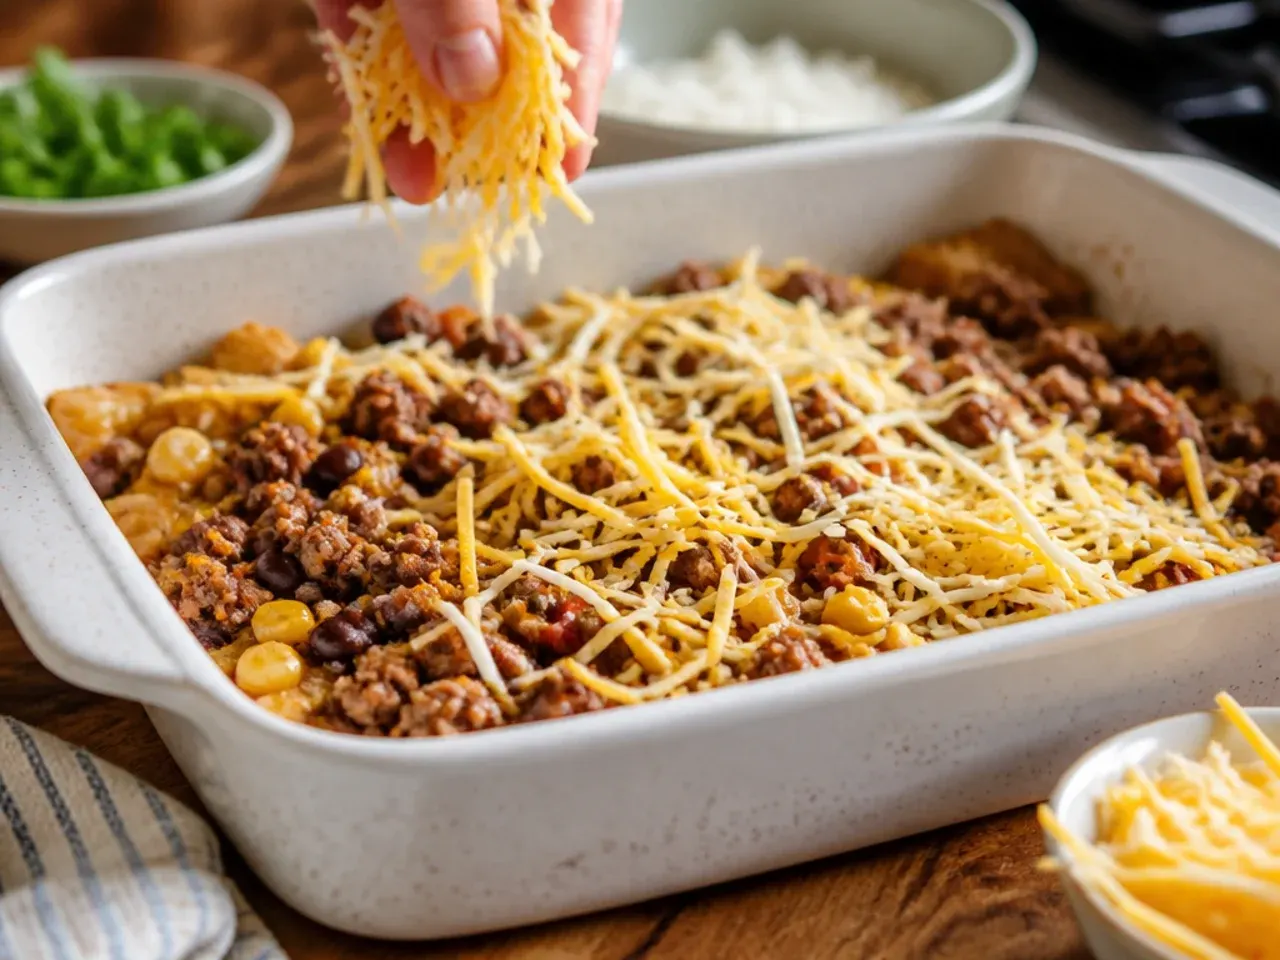
Scatter half of the 300 g (3 cups) shredded cheese evenly over the filling. This first cheese layer melts into the sauce as it bakes, helping bind the filling together under the tots.
Step 18: Arrange the tater tots

Take the 900 g (2 lb) bag of frozen tater tots straight from the freezer now and arrange them in a single, snug layer over the cheese, packing them close together edge to edge so there are no large gaps for the filling to bubble up through and burn.
Step 19: Cover the tots with the remaining cheese
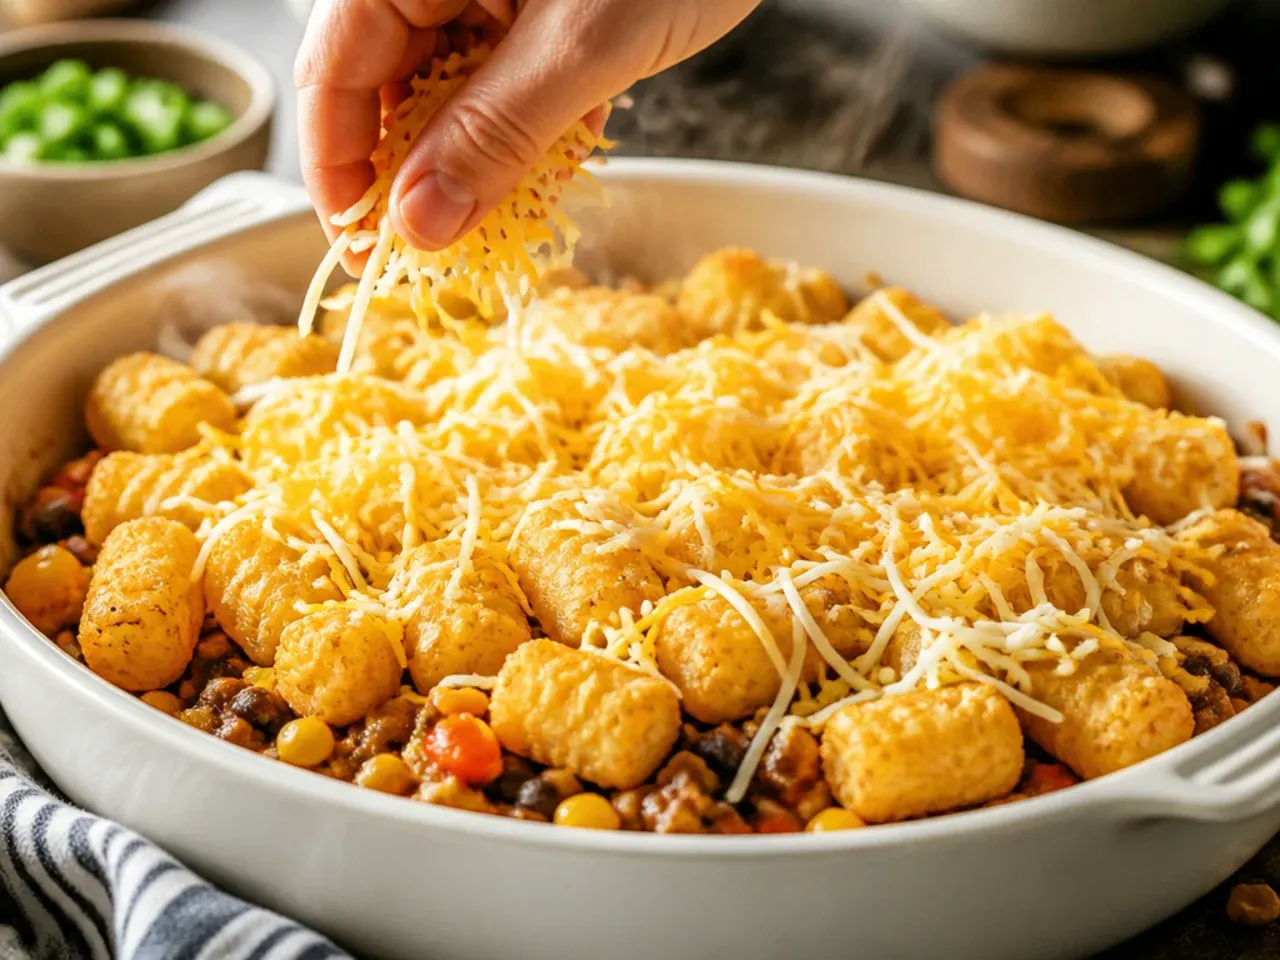
Sprinkle the second half of the shredded cheese over the top of the tater tots, aiming for an even, thin dusting rather than a thick blanket so the tots can still crisp underneath it.
Step 20: Cover the dish with foil
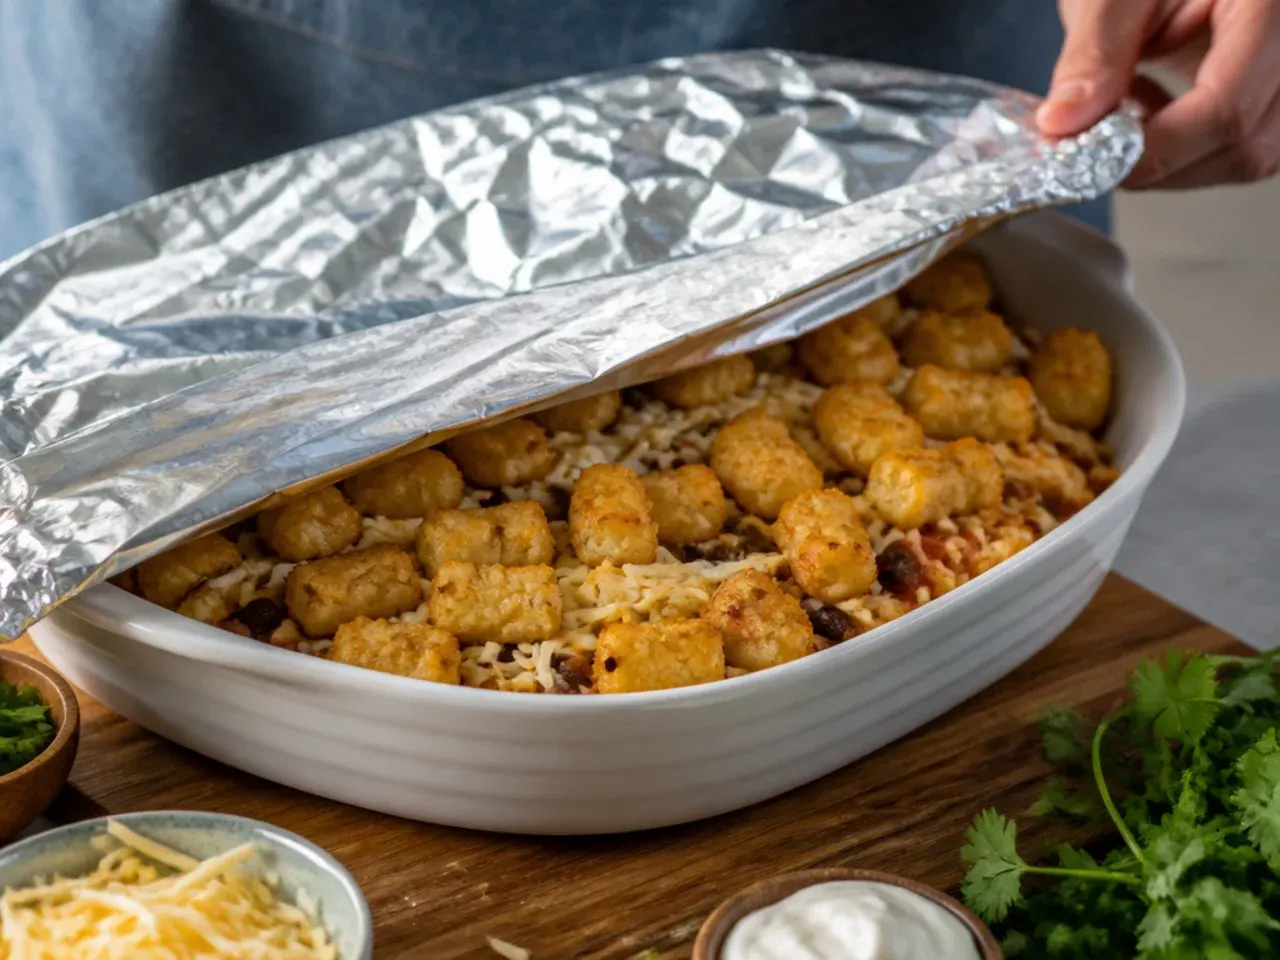
Cover the dish tightly with aluminium foil, tenting it slightly so it doesn't touch the cheese. This traps steam in the early bake, which heats the frozen tots through evenly before they start to crisp.
Step 21: Bake covered
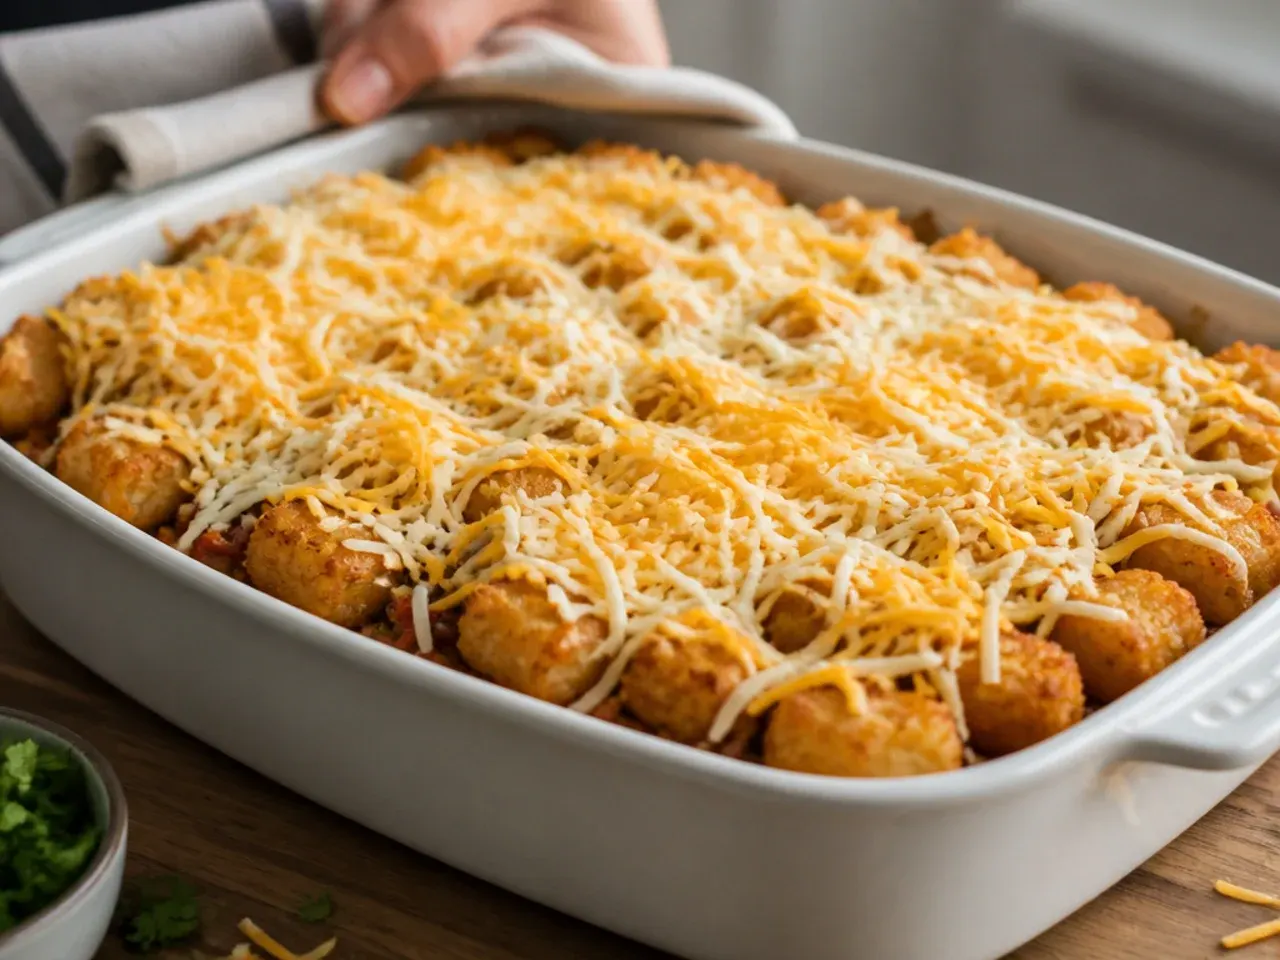
Place the dish on the middle oven rack and bake covered for 20 minutes. This gently thaws and heats the tater tots and melts the first layer of cheese without drying anything out.
Step 22: Uncover and continue baking
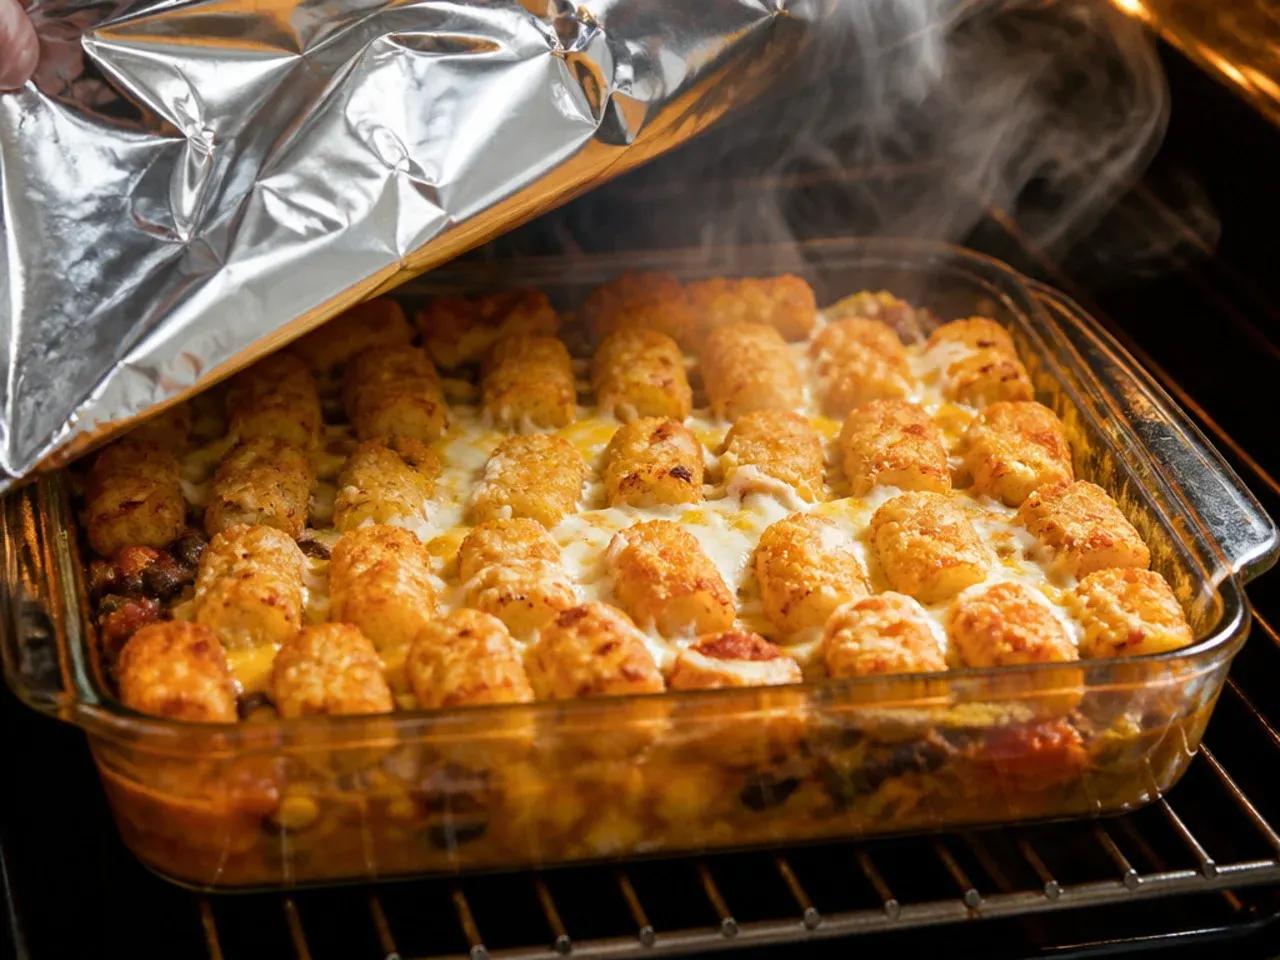
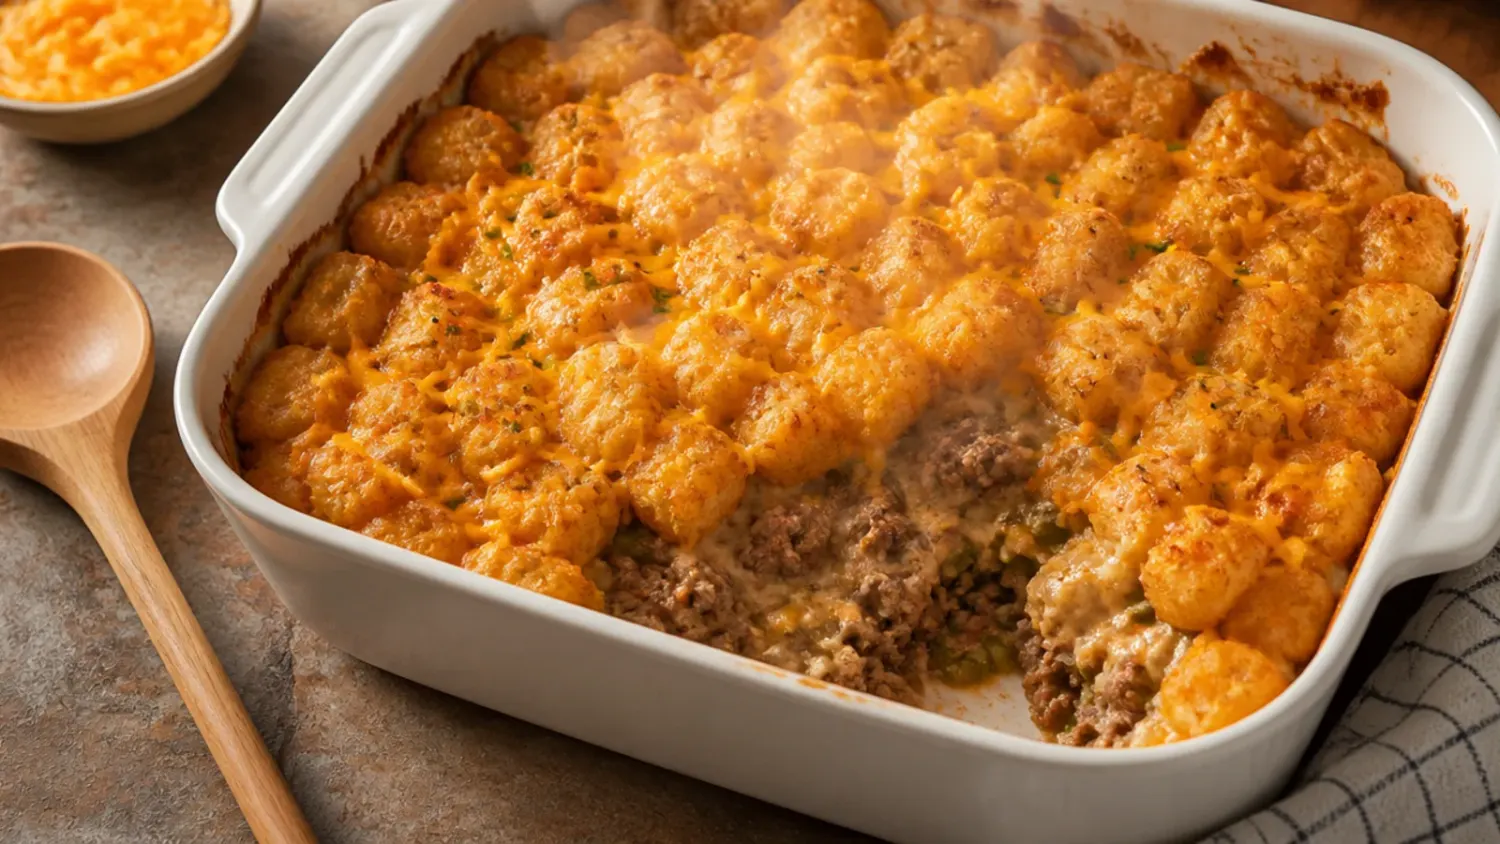
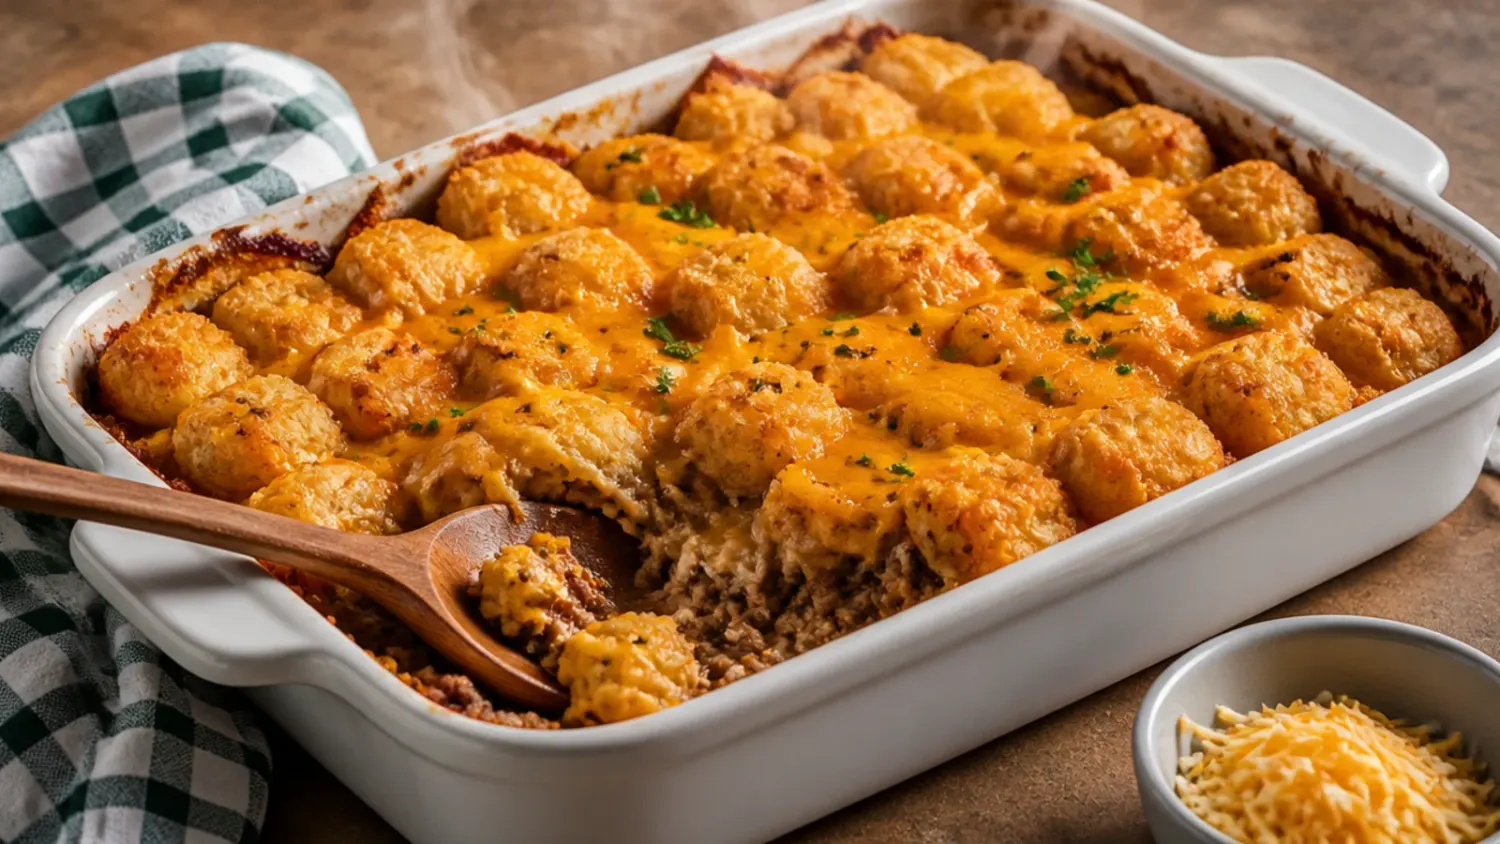
Carefully remove the foil and return the casserole to the oven, uncovered, for a further 15-18 minutes. This is the stage where the tater tots begin to turn golden and the cheese on top starts to bubble and brown at the edges.
Step 23: Check for doneness

The casserole is ready when the filling is visibly bubbling at the edges of the dish and the tater tots are golden brown and firm to the touch, not pale or soft. If the centre still looks pale after 18 minutes, give it another 5 minutes uncovered.
Step 24: Broil for extra crisp tots
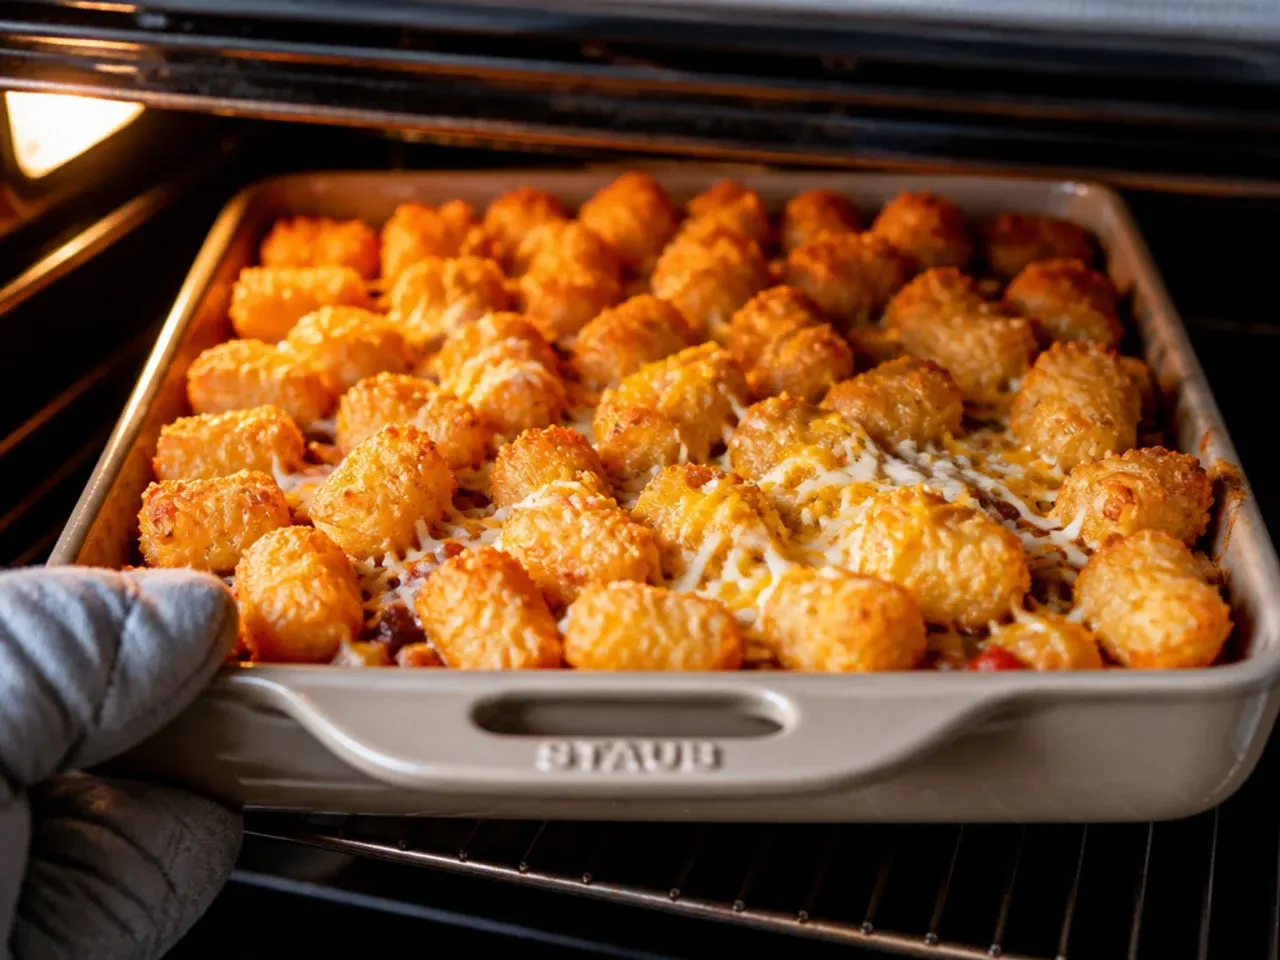
Switch the oven to broil (grill) on high and cook for 2-3 minutes, watching closely the entire time. This final blast is what pushes the tots from golden to deeply browned and crunchy without overcooking the filling below.
Step 25: Rest the casserole

Remove the casserole from the oven and let it rest, uncovered, for 8-10 minutes before cutting into it. Resting allows the sauce to settle so the squares hold together neatly instead of sliding apart on the plate.
Step 26: Prep the fresh toppings
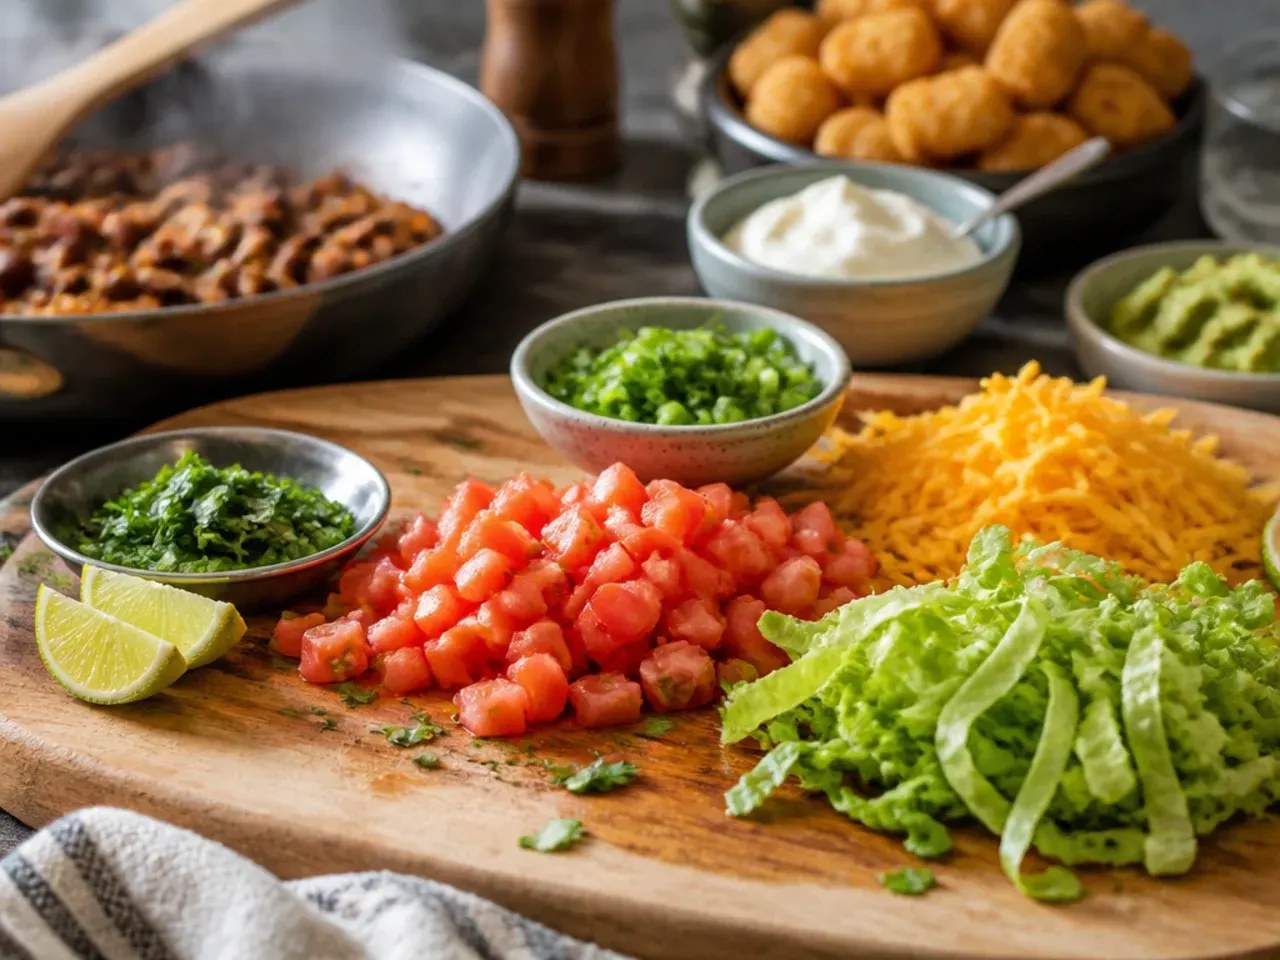
While the casserole rests, roughly chop a small bunch of fresh coriander and thinly slice 2-3 spring onions. Having these ready means you can garnish and serve the moment the resting time is up.
Step 27: Add a dollop of sour cream
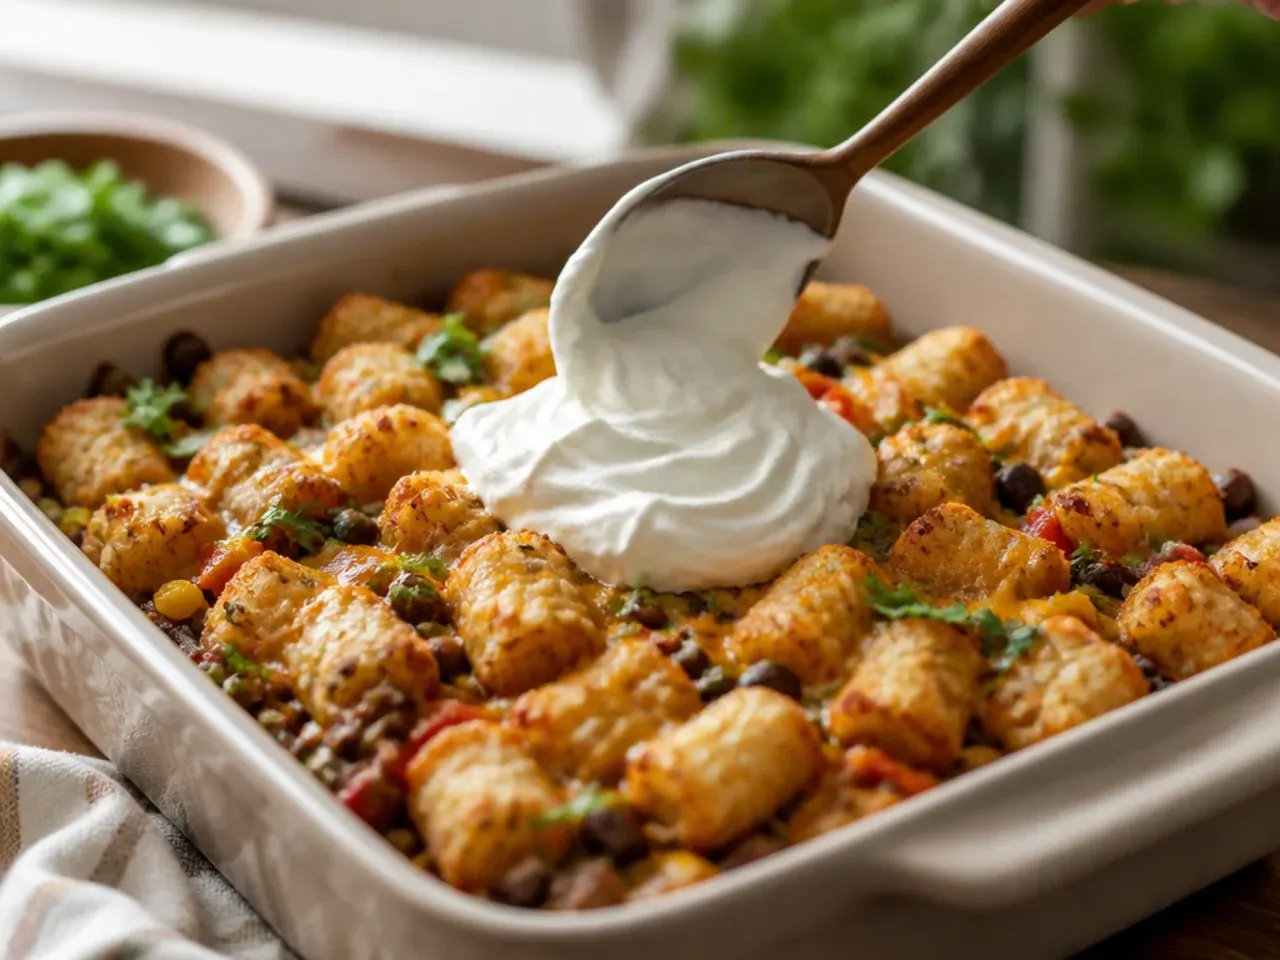
Spoon 120 ml (1/2 cup) sour cream over the top of the casserole in small dollops, or serve it on the side in a bowl so everyone can add as much as they like.
Step 28: Garnish the casserole
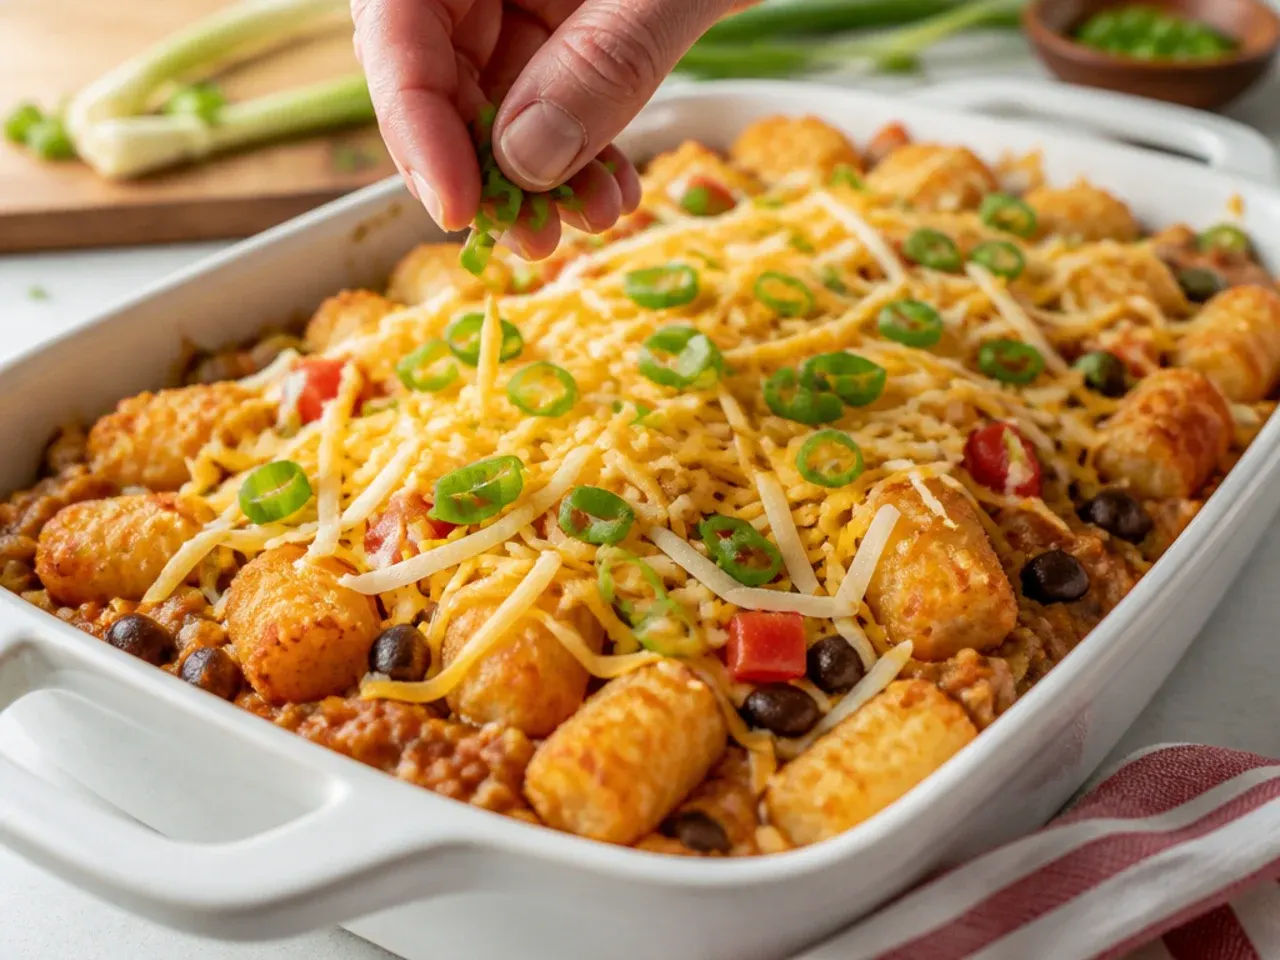
Scatter the chopped coriander and sliced spring onions over the top, along with any extra toppings you like, such as diced tomato, avocado or a squeeze of lime. These fresh elements cut through the richness of the cheese and beef.
Step 29: Slice into portions

Using a sharp knife or the edge of a spatula, cut the casserole into 8 even squares directly in the dish, wiping the blade between cuts to keep the tater tot topping intact on each piece.
Step 30: Serve while hot
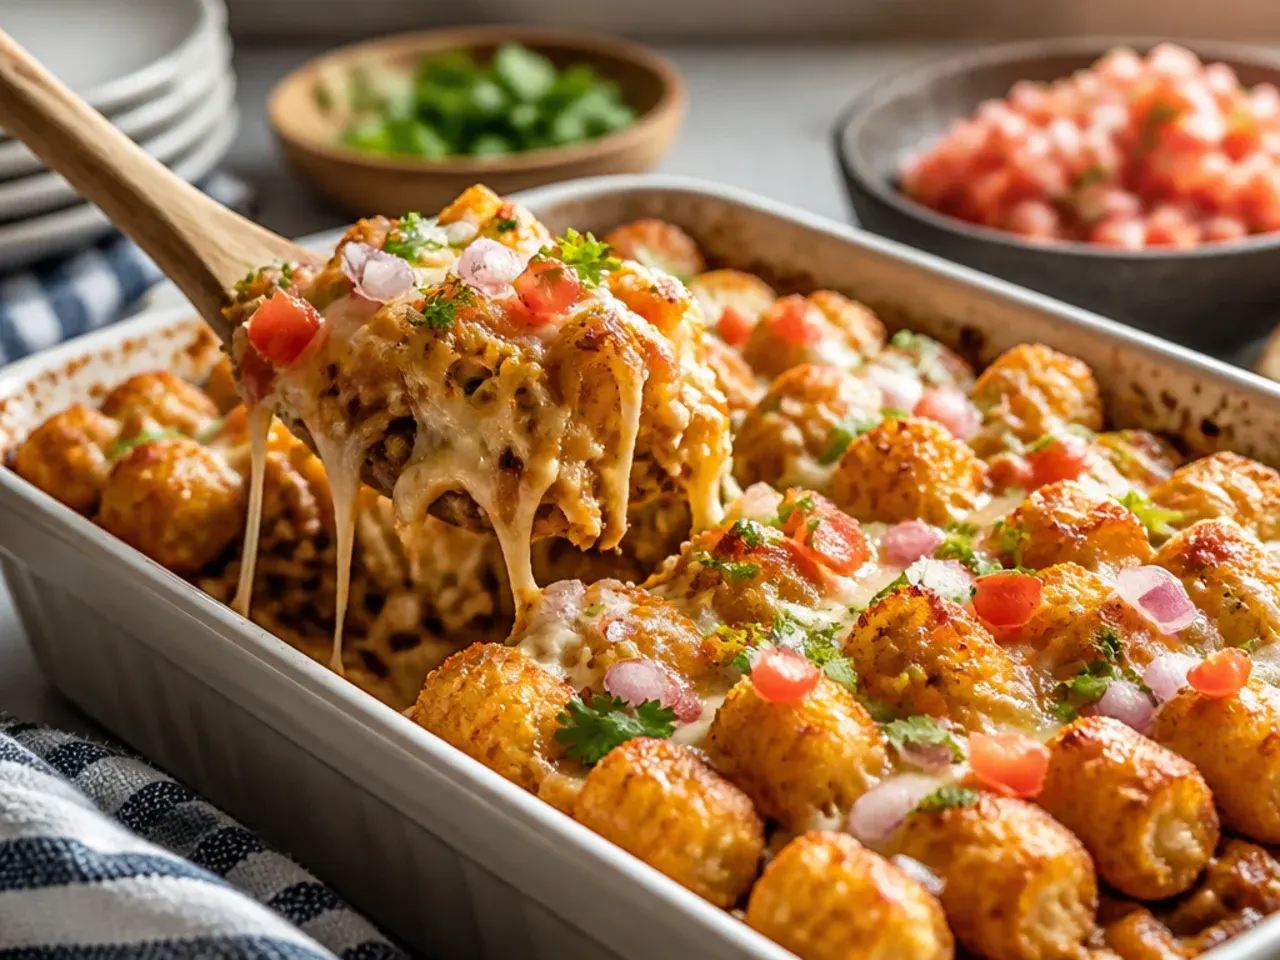
Lift each square out with a wide spatula and serve immediately while the cheese is still melted and the tater tots are at their crispiest. This casserole is filling enough to stand alone, or pairs well with a simple green salad on the side.
Pro Tips for the Best Mexican Tater Tot Casserole
Always drain the beef and use drained corn and beans; excess liquid is the number one reason this casserole turns watery instead of holding together in neat squares. Keep the tater tots frozen until the moment you arrange them, since thawed tots go mushy and lose their crisp exterior in the oven. For extra-crunchy tops, try this as an alternate method instead of the standard bake in Steps 20-24: spread the tots on a separate tray and bake them for 10 minutes on their own before layering them over the cheese in Step 18, then finish the assembled casserole with the same covered-then-uncovered bake. This pre-bake adds about 10 minutes to your total cook time, so budget roughly 50 minutes for baking instead of 40. A short blast under the broiler in the last 2-3 minutes is what gives the tots that deep golden colour without drying out the filling underneath.
Storage and Make-Ahead Tips
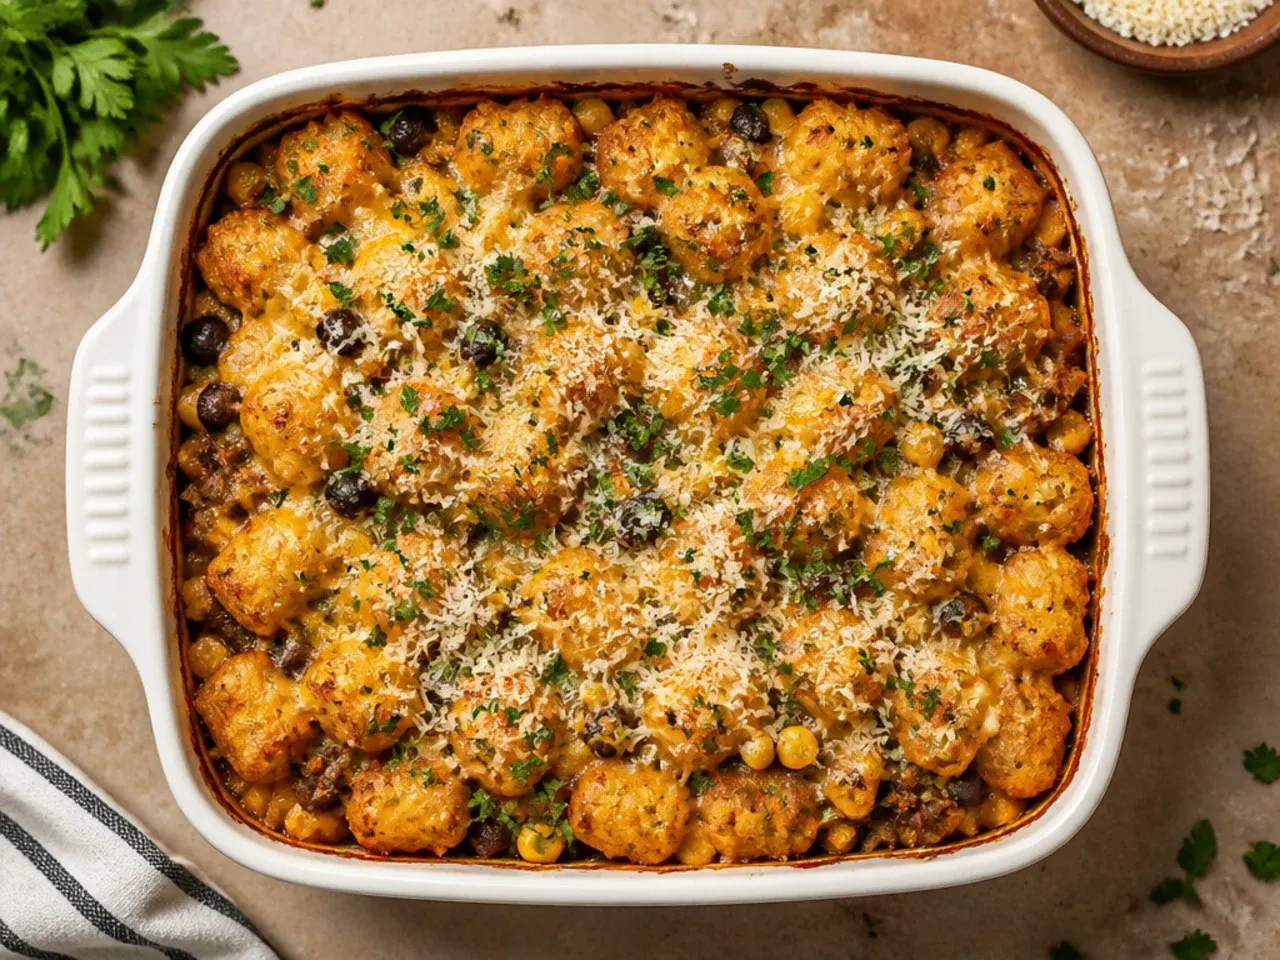
To make this ahead, prepare the beef and bean filling up to a day in advance and store it covered in the fridge, but hold off adding the tater tots until right before baking so they don't turn soggy sitting in the sauce. Leftovers keep in an airtight container in the fridge for up to 4 days; reheat individual portions in a 175°C (350°F) oven for about 15 minutes, uncovered, until the tots crisp back up. Freezing the fully baked casserole is possible for up to 2 months, though the tater tot topping softens noticeably on thawing, so it's best frozen unbaked and only assembled with tots just before it goes in the oven. Thaw overnight in the fridge before baking, and add roughly 10 extra minutes to the covered bake time if it's still cold in the centre.
This mexican tater tot casserole layers spiced beef, black beans and melted cheese under crispy golden tots for an easy, crowd-pleasing weeknight bake. For more tater tot casserole inspiration, browse the full Tater Tot Casserole board — every idea there is written for real home kitchens, not professional bakers.
Frequently Asked Questions
Yes, you can prepare the beef and bean filling up to a day ahead and store it covered in the fridge, which actually lets the flavours deepen overnight. Hold off on adding the tater tots until you're ready to bake, since frozen tots sitting in sauce for hours will thaw and turn mushy before they even reach the oven. When you're ready, spread the cold filling in the dish, layer on the cheese and frozen tots straight from the freezer, and add about 5-10 extra minutes to the covered bake time to account for the chilled filling.

Related Recipes
Save this for later 📌
Pin this article to your Pinterest board so the full list is one tap away when you need it.
Save on Pinterest