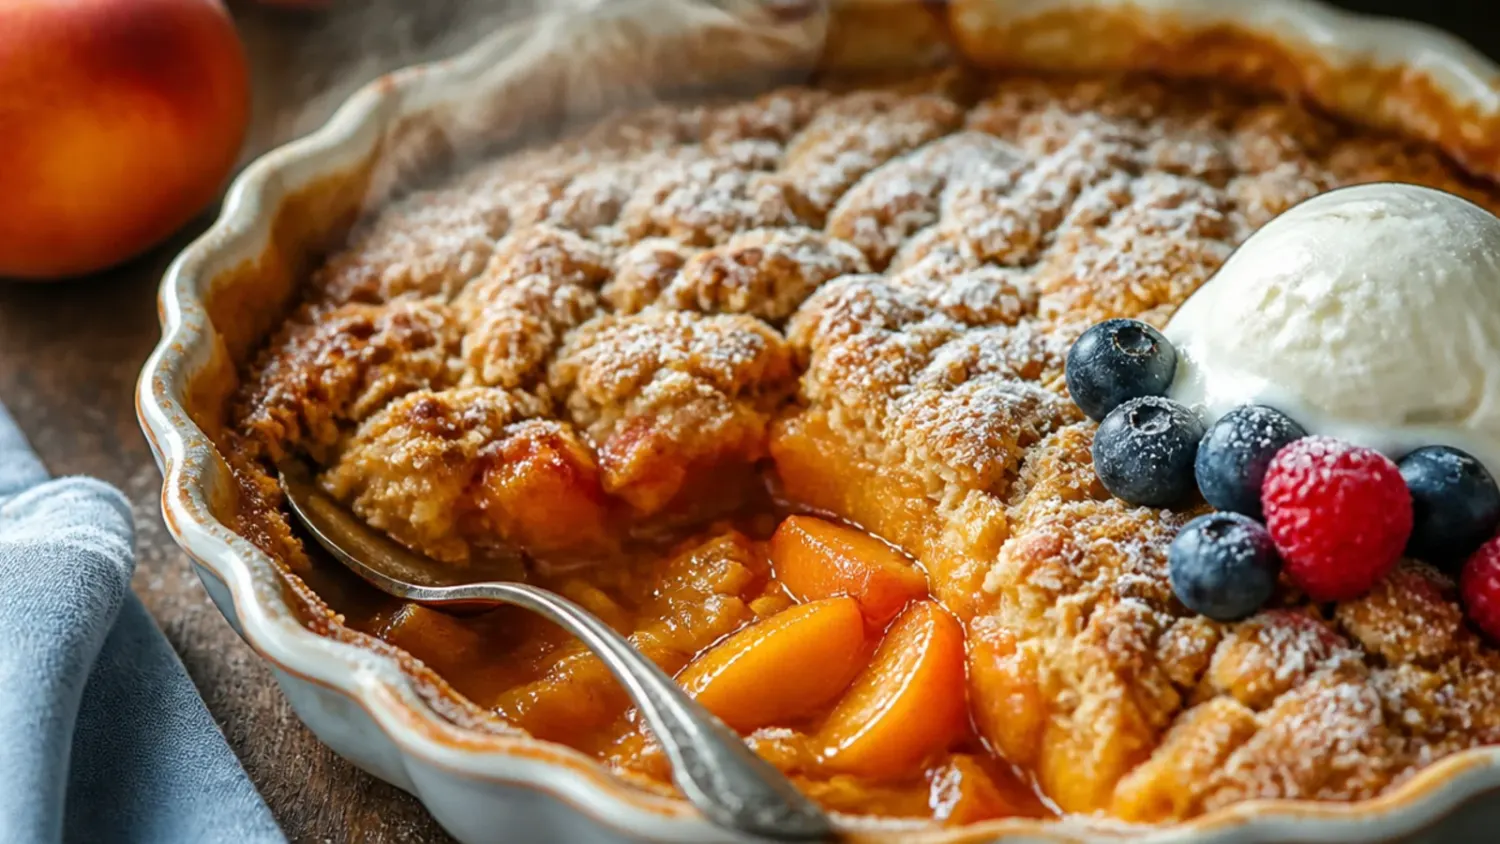
Ingredients 8 Person(s)
Save this for later 📌
Pin this article to your Pinterest board so the full list is one tap away when you need it.
Save on PinterestDirections
Step 1: Preheat the oven and prep your dish
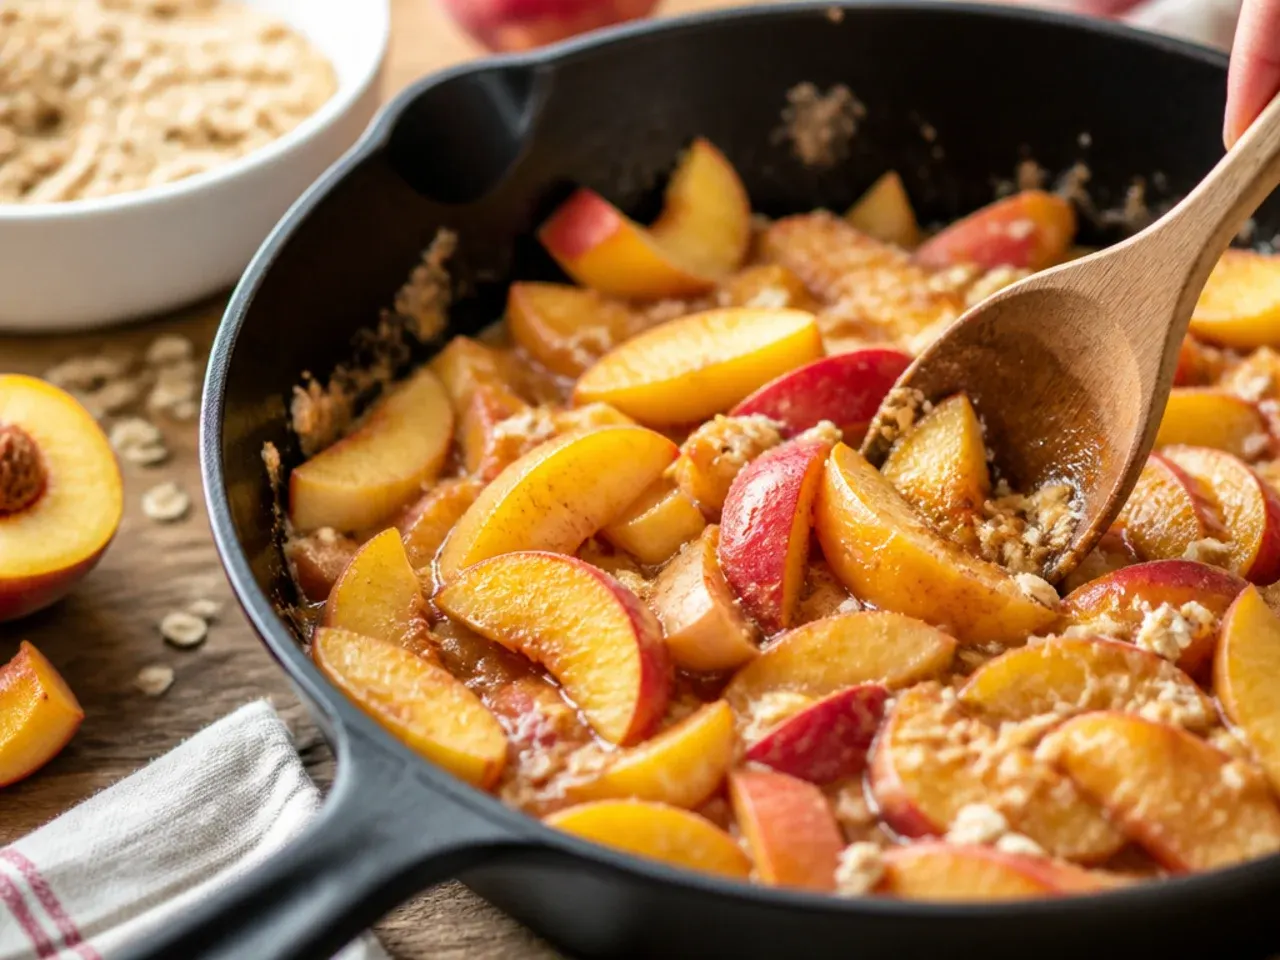
Preheat the oven to 190°C (375°F) and lightly butter a 23 x 33 cm (9 x 13 in) baking dish, or a 2.5-litre (2.5-quart) round dish. Getting the oven properly hot before you start prevents an underbaked, soggy crisp, since the fruit needs steady heat from the moment it goes in.
Step 2: Peel and slice the peaches
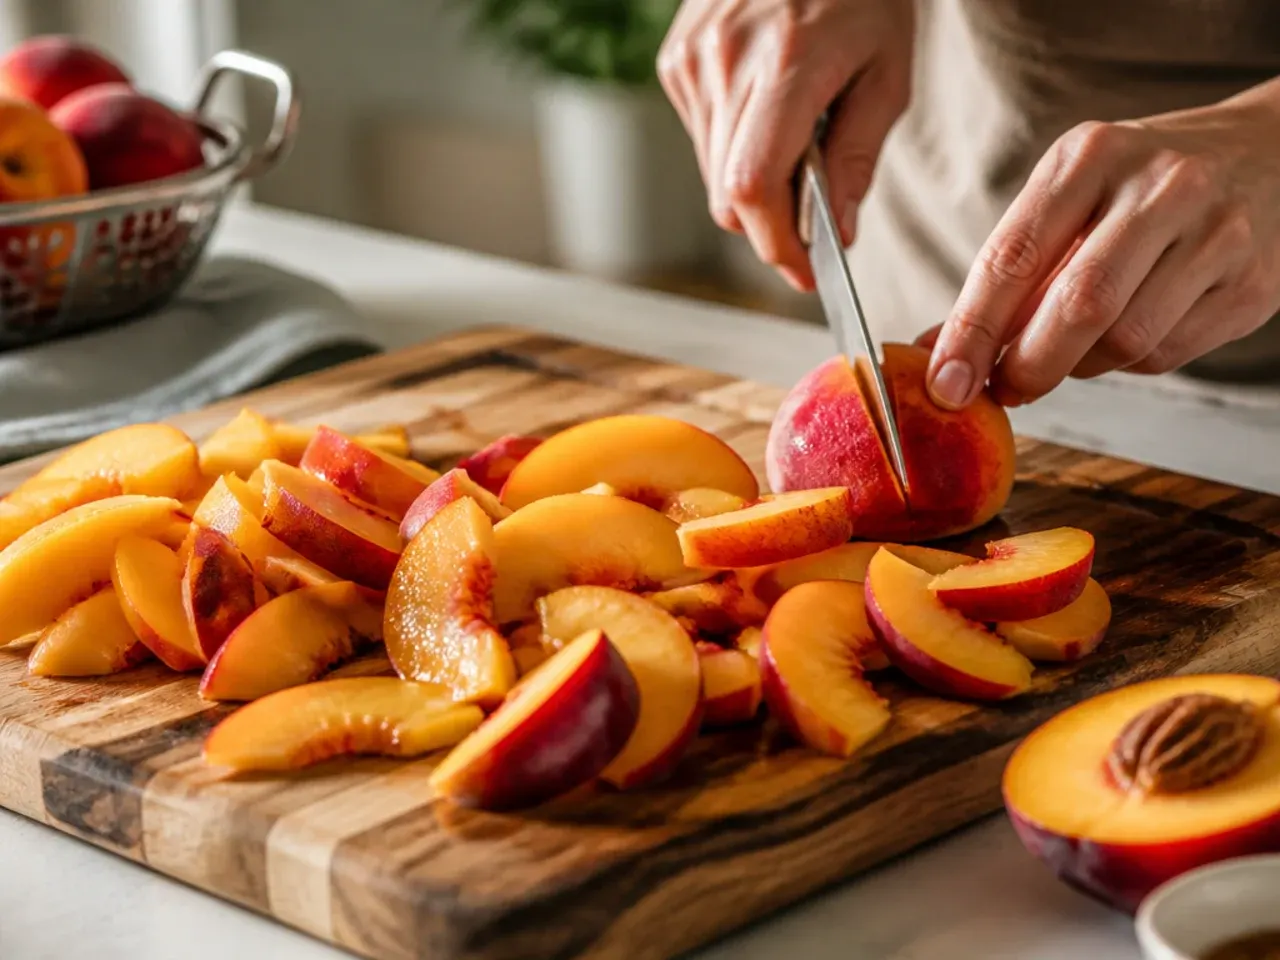
Peel 900 g (2 lb) ripe peaches — about 6-7 medium — with a paring knife, or blanch them in boiling water for 30 seconds first if the skins won't budge. Slice each peach into 1 cm (1/2 in) wedges, discarding the stone, so the pieces cook through evenly and hold their shape.
Step 3: Macerate the peaches
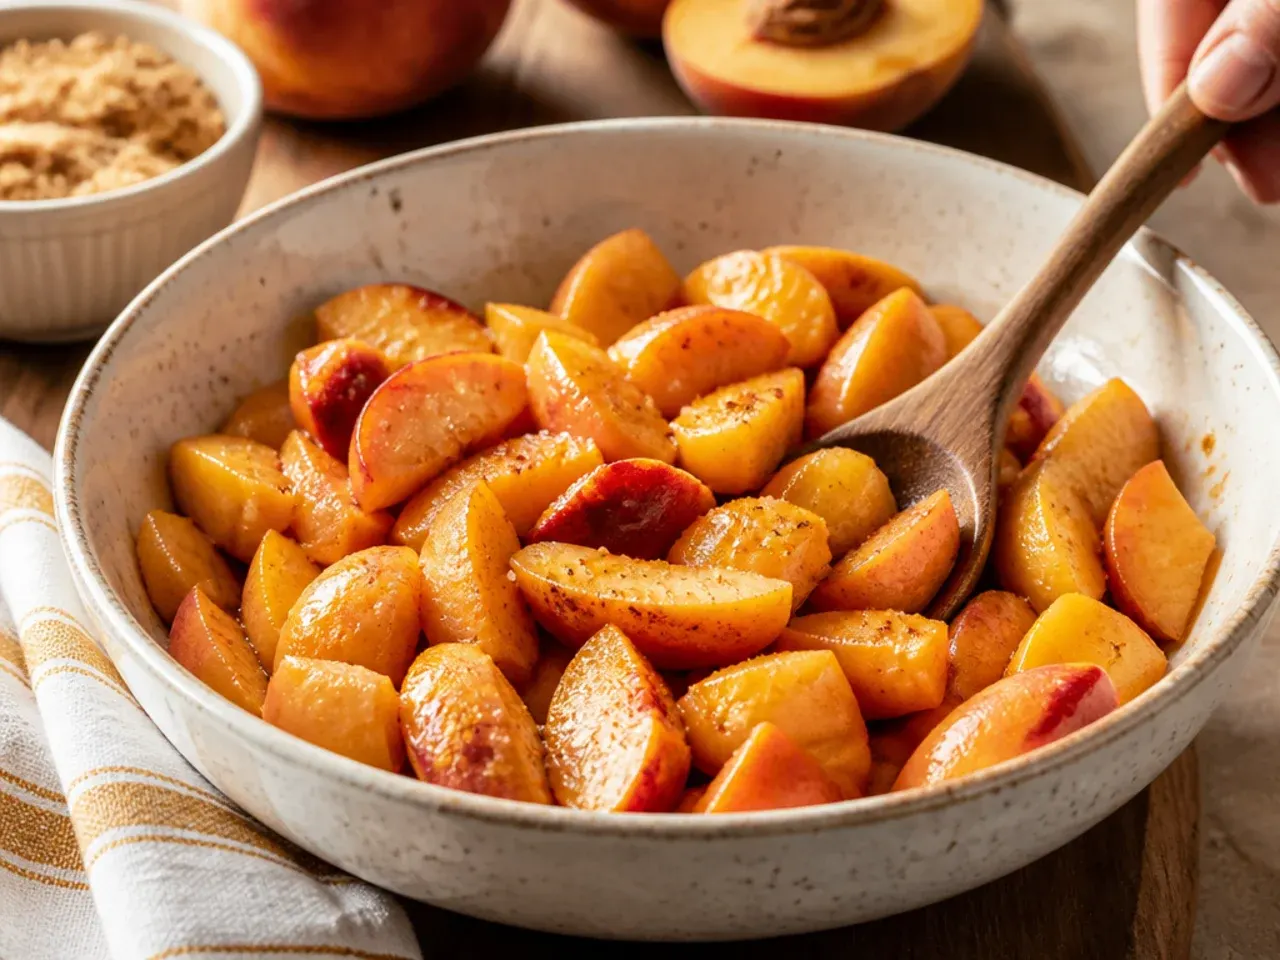
Place the sliced peaches in a large bowl with 65 g (1/3 cup) brown sugar and 15 ml (1 tbsp) lemon juice. Toss gently and let them sit for 10 minutes; this draws out the natural juices and balances the sweetness with a touch of acidity.
Step 4: Thicken and season the filling
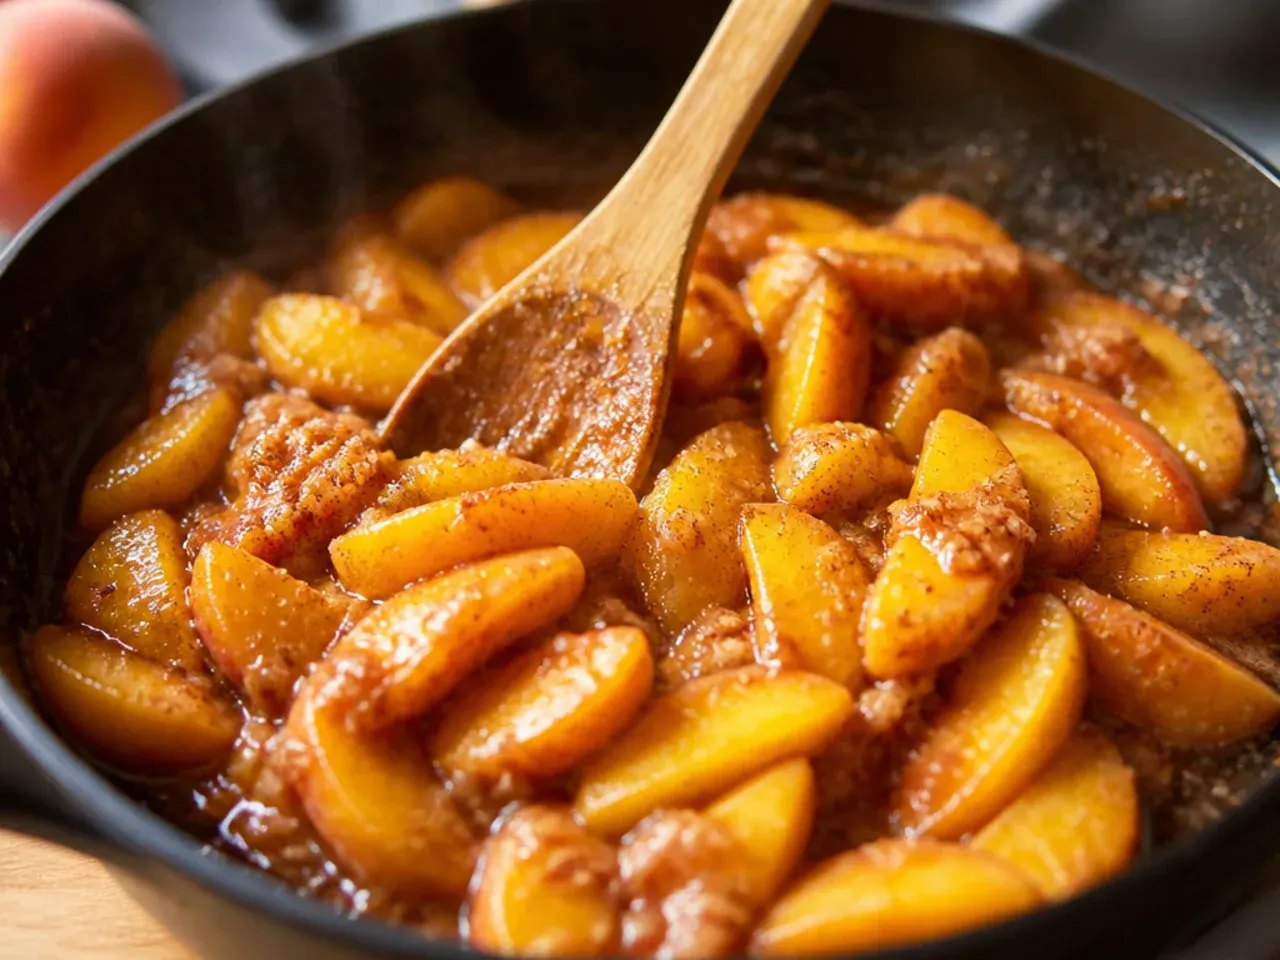
Sprinkle 15 g (2 tbsp) cornflour, 1/4 tsp of the cinnamon and the pinch of nutmeg over the macerated peaches. Toss again until every slice is coated and no dry cornflour is visible — this is what turns the juices into a glossy, spoonable sauce instead of a watery pool.
Step 5: Transfer the filling to the dish
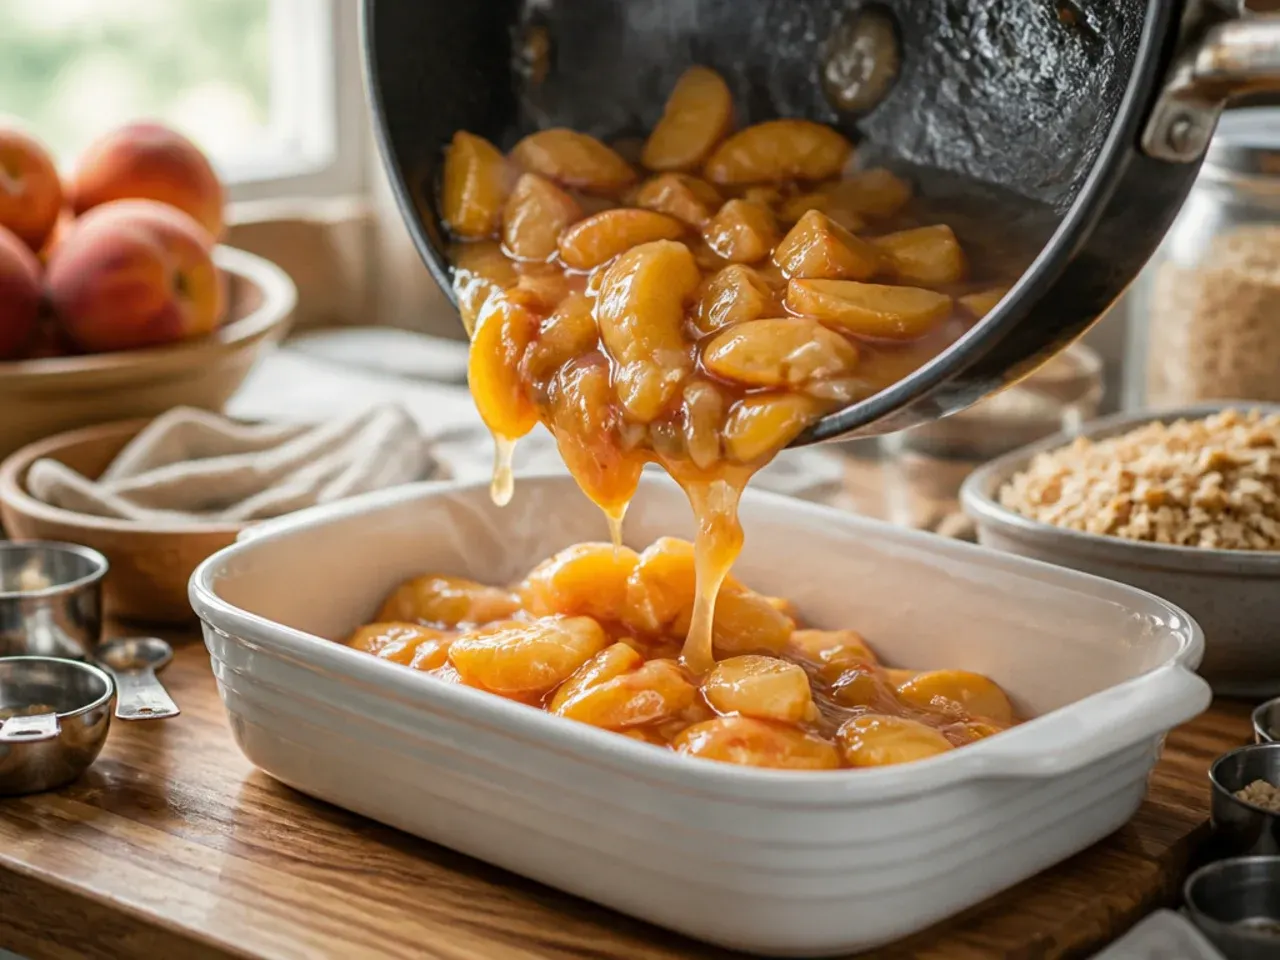
Tip the coated peaches and all their juice into the prepared baking dish, spreading them into an even layer. Press down gently so there are no large air gaps, which helps the topping bake evenly across the whole surface.
Step 6: Combine the dry topping ingredients
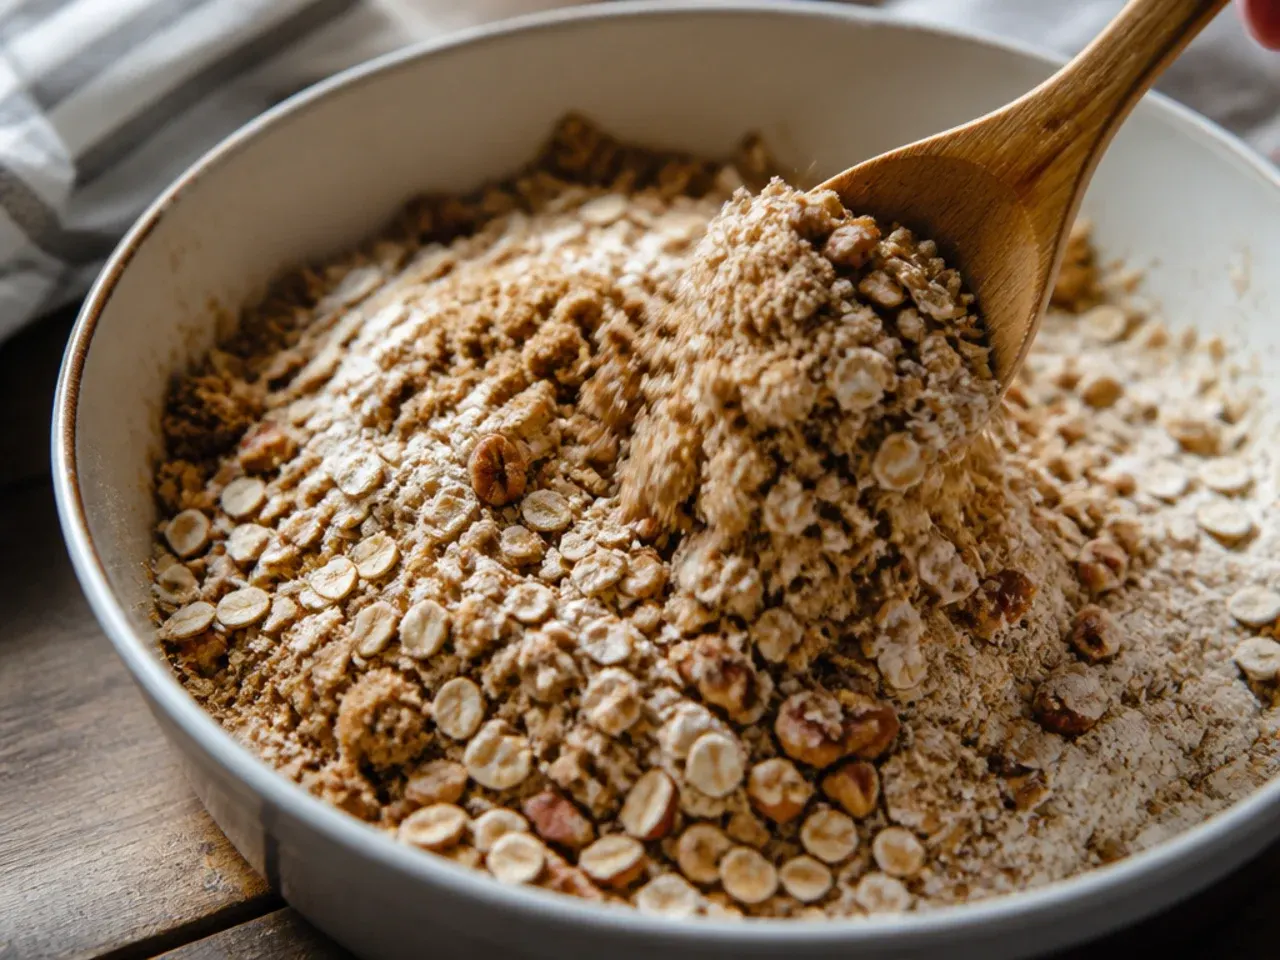
In a separate bowl, whisk together 90 g (1 cup) rolled oats, 95 g (3/4 cup) plain flour, 100 g (1/2 cup) brown sugar, the remaining 1/4 tsp cinnamon and the pinch of salt. Mixing the dry ingredients first ensures the sugar and spice are evenly distributed before the butter goes in.
Step 7: Cut in the cold butter
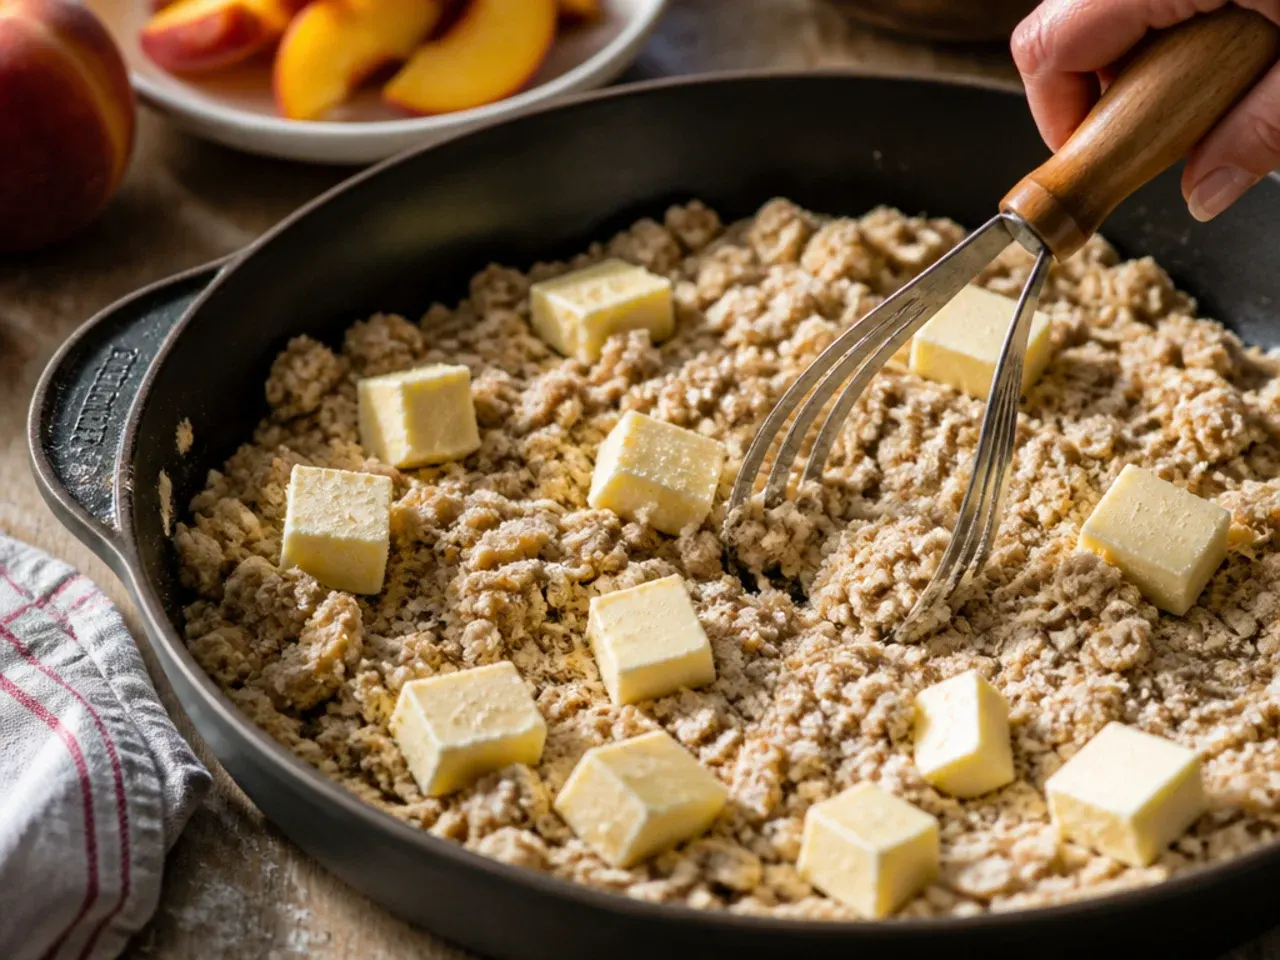
Add 115 g (1/2 cup) cold, cubed butter to the dry mixture. Work it in with your fingertips or a pastry cutter until it looks like coarse, pea-sized crumbs — cold butter is essential, as it melts slowly in the oven to create distinct crisp clusters rather than a flat, greasy layer.
Step 8: Check the crumb texture
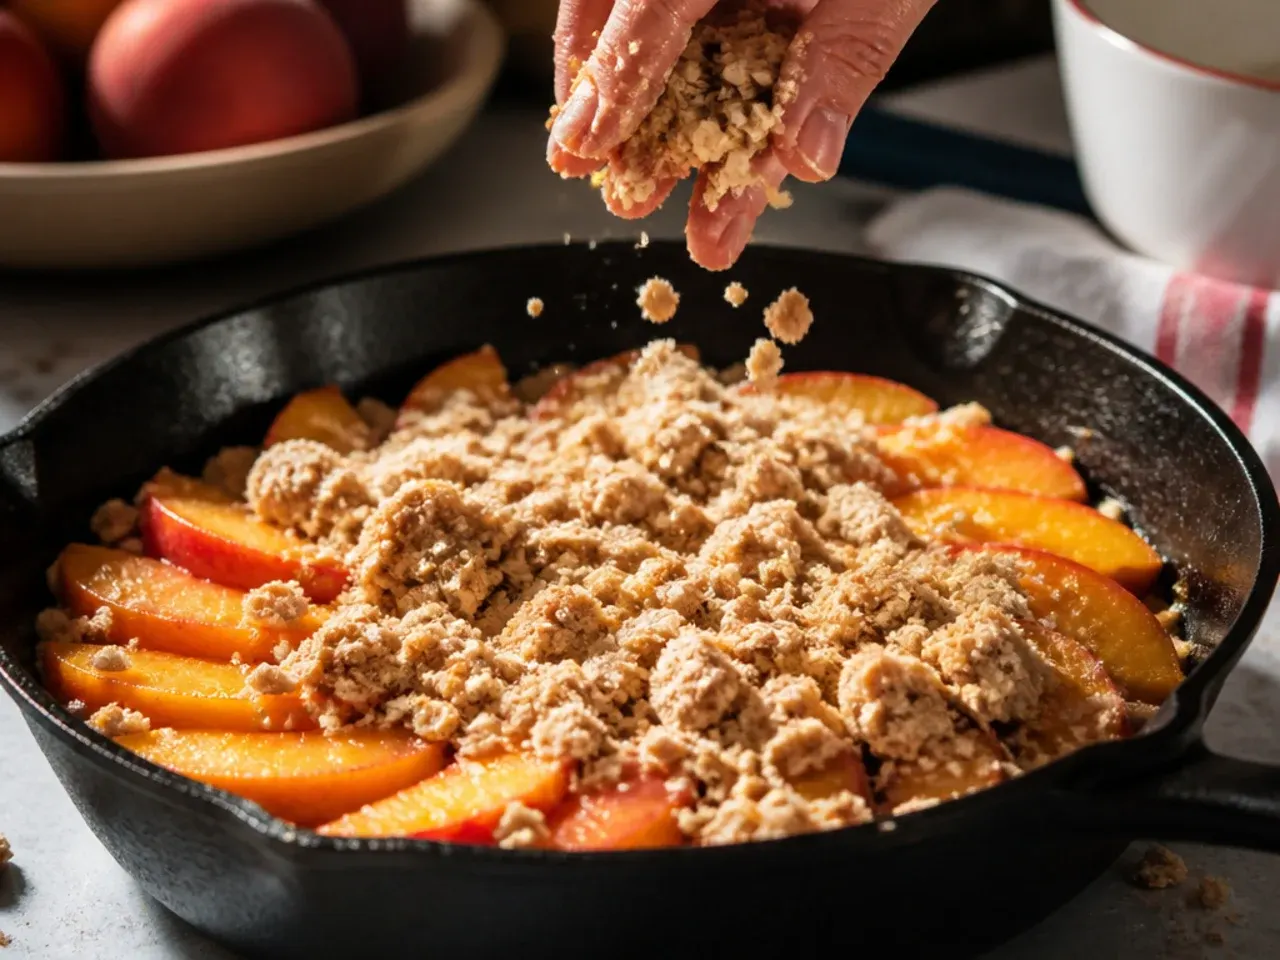
Squeeze a small handful of the topping in your palm; it should hold together briefly, then break into rough clumps when you tap it. If it feels dry and sandy and won't clump at all, work in another 15 g (1 tbsp) softened butter.
Step 9: Scatter the topping over the peaches
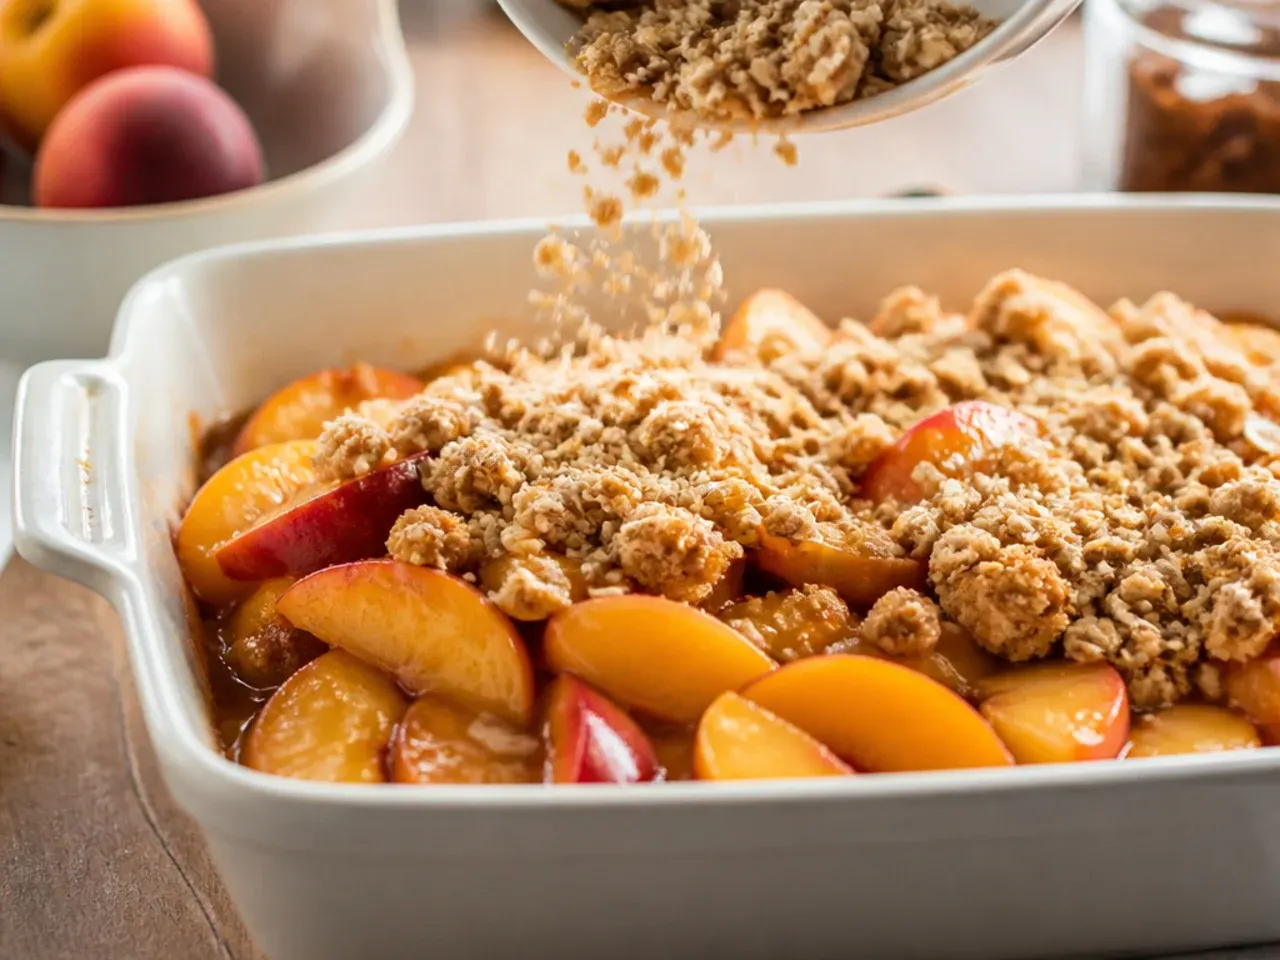
Sprinkle the crumb topping evenly over the peach filling, covering the fruit completely right to the edges of the dish. Leave it loose and clumpy rather than pressing it flat, so steam can escape and the surface crisps up properly as it bakes.
Step 10: Set the dish on a baking tray
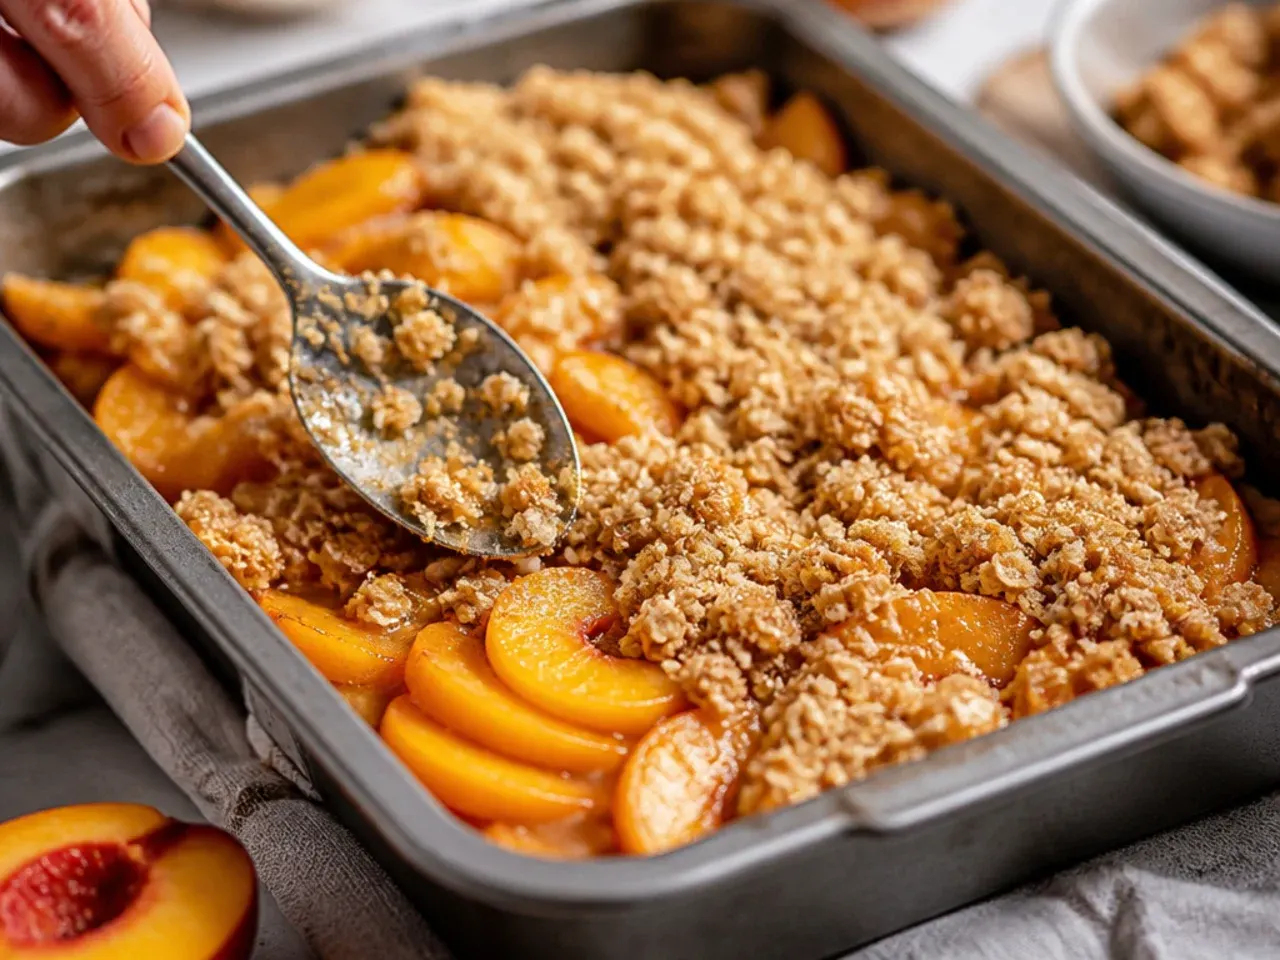
Place the filled baking dish on a rimmed baking sheet before it goes into the oven. Peach filling often bubbles over the sides during baking, and the tray catches any drips so you aren't left scrubbing burnt sugar off the oven floor.
Step 11: Bake the first stage
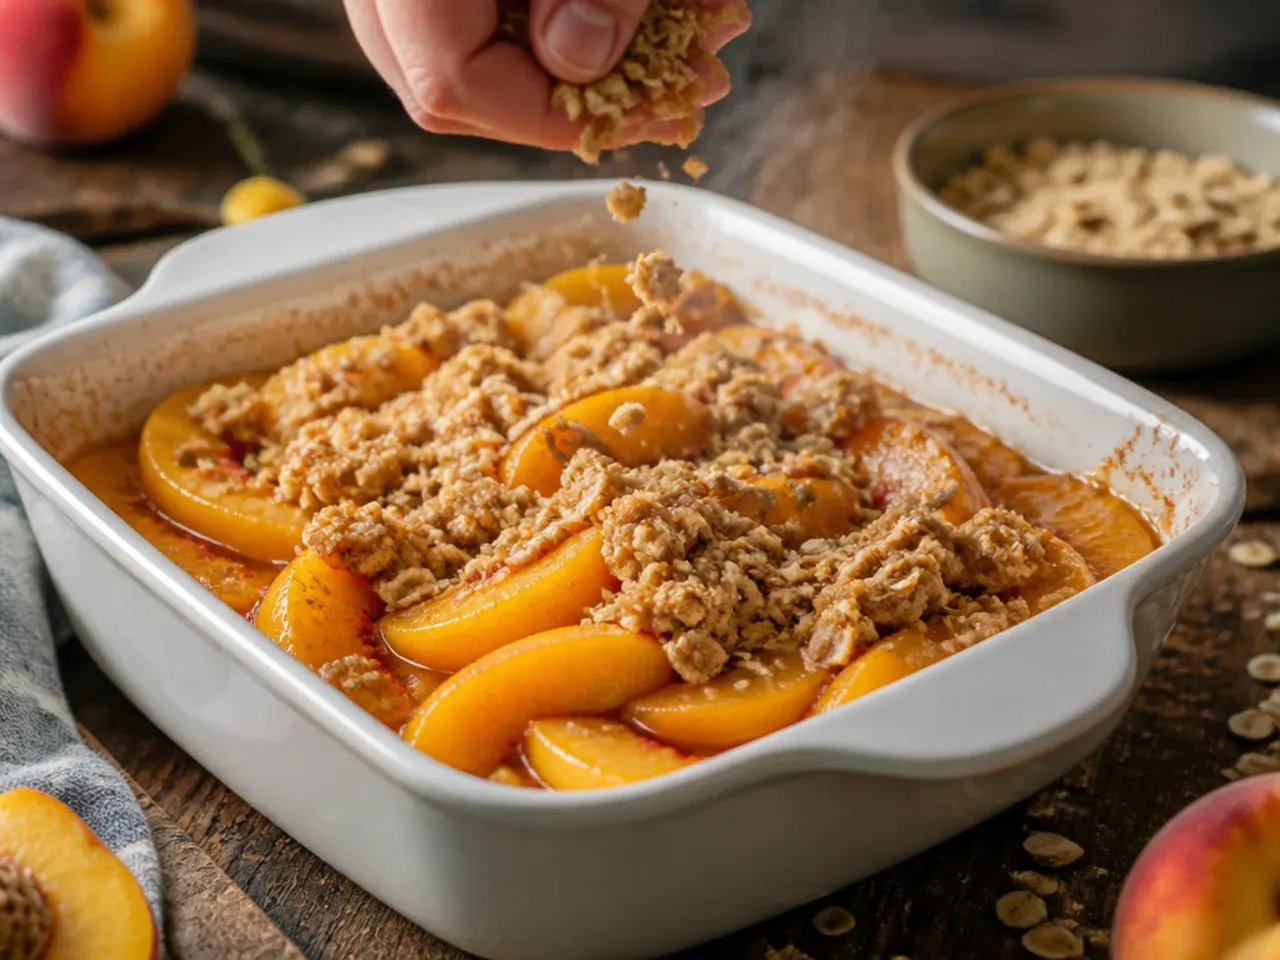
Bake in the preheated oven for 20-25 minutes, uncovered. At this point the topping should look pale gold and the peaches will just be starting to release visible juice around the edges.
Step 12: Check for over-browning
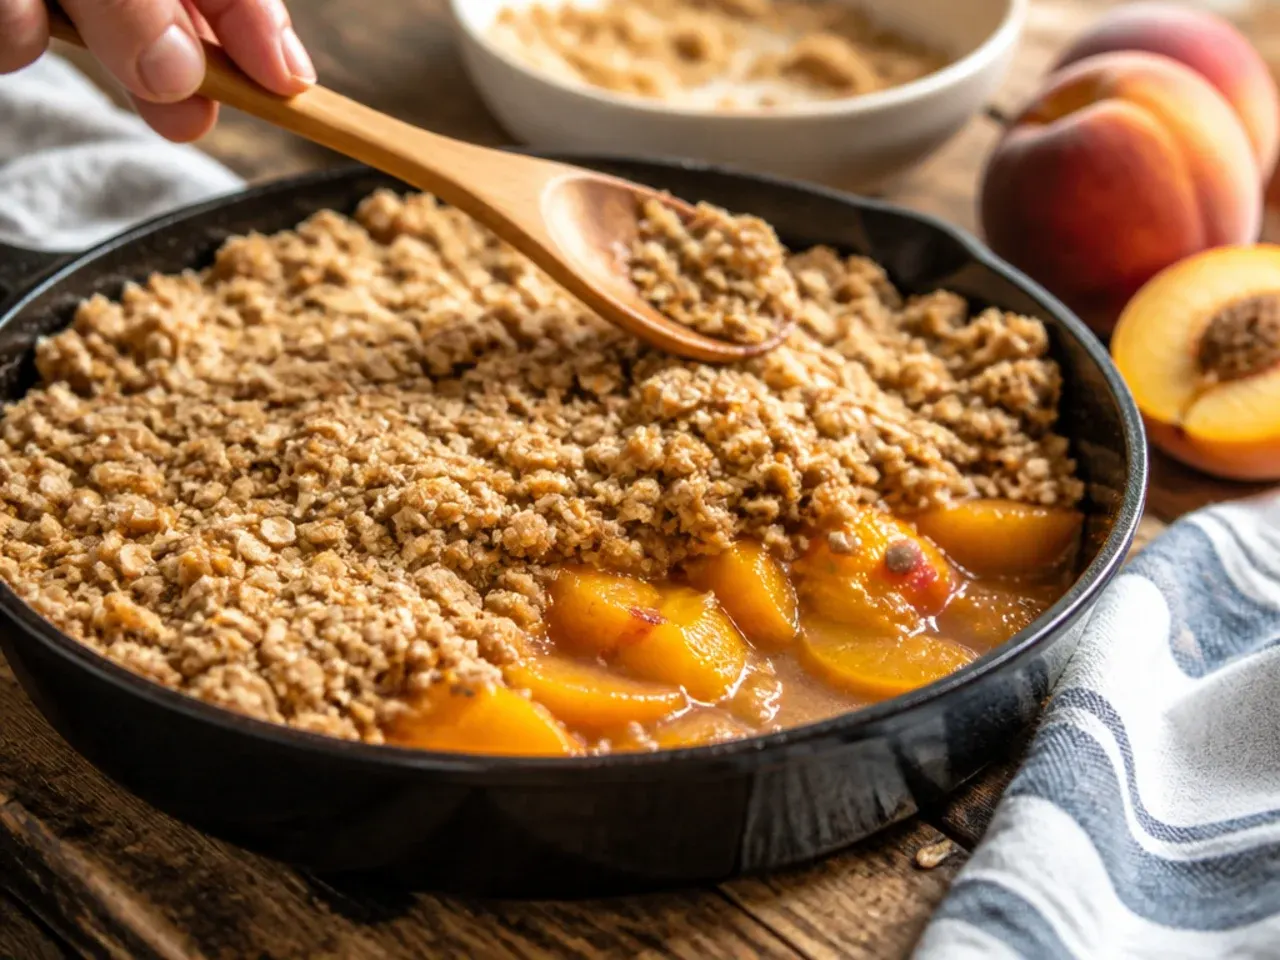
If the topping is already deep brown well before the 25-minute mark, loosely lay a sheet of foil over the dish without sealing the edges. This shields the crumb from direct heat while the fruit underneath keeps cooking through.
Step 13: Continue baking to finish
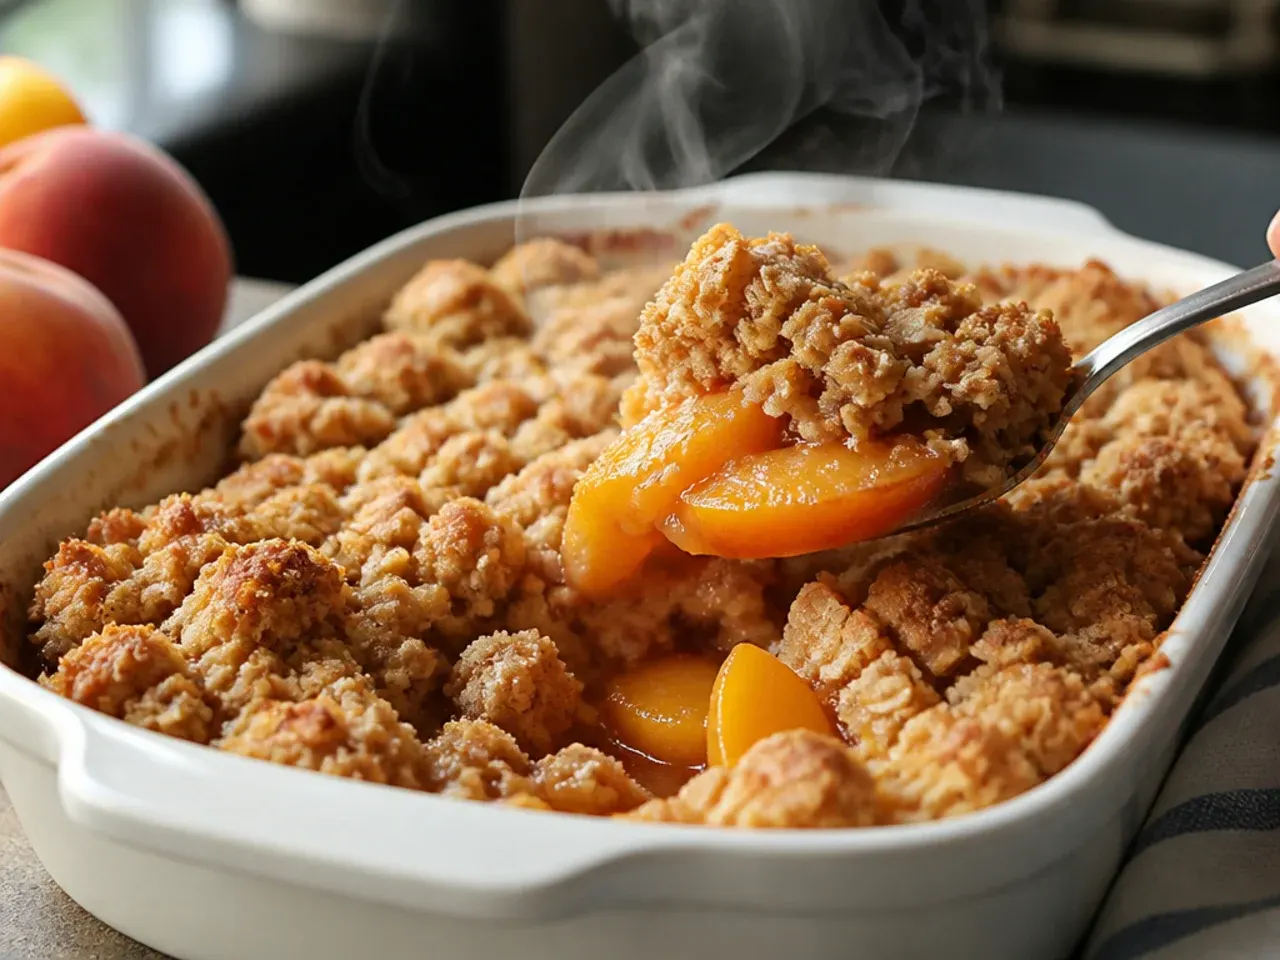
Return the crisp to the oven and bake for a further 15-20 minutes, for a total of 35-45 minutes. You're looking for a deep golden-brown topping and thick, glossy juices bubbling steadily around the edges of the dish.
Step 14: Test the peaches for doneness
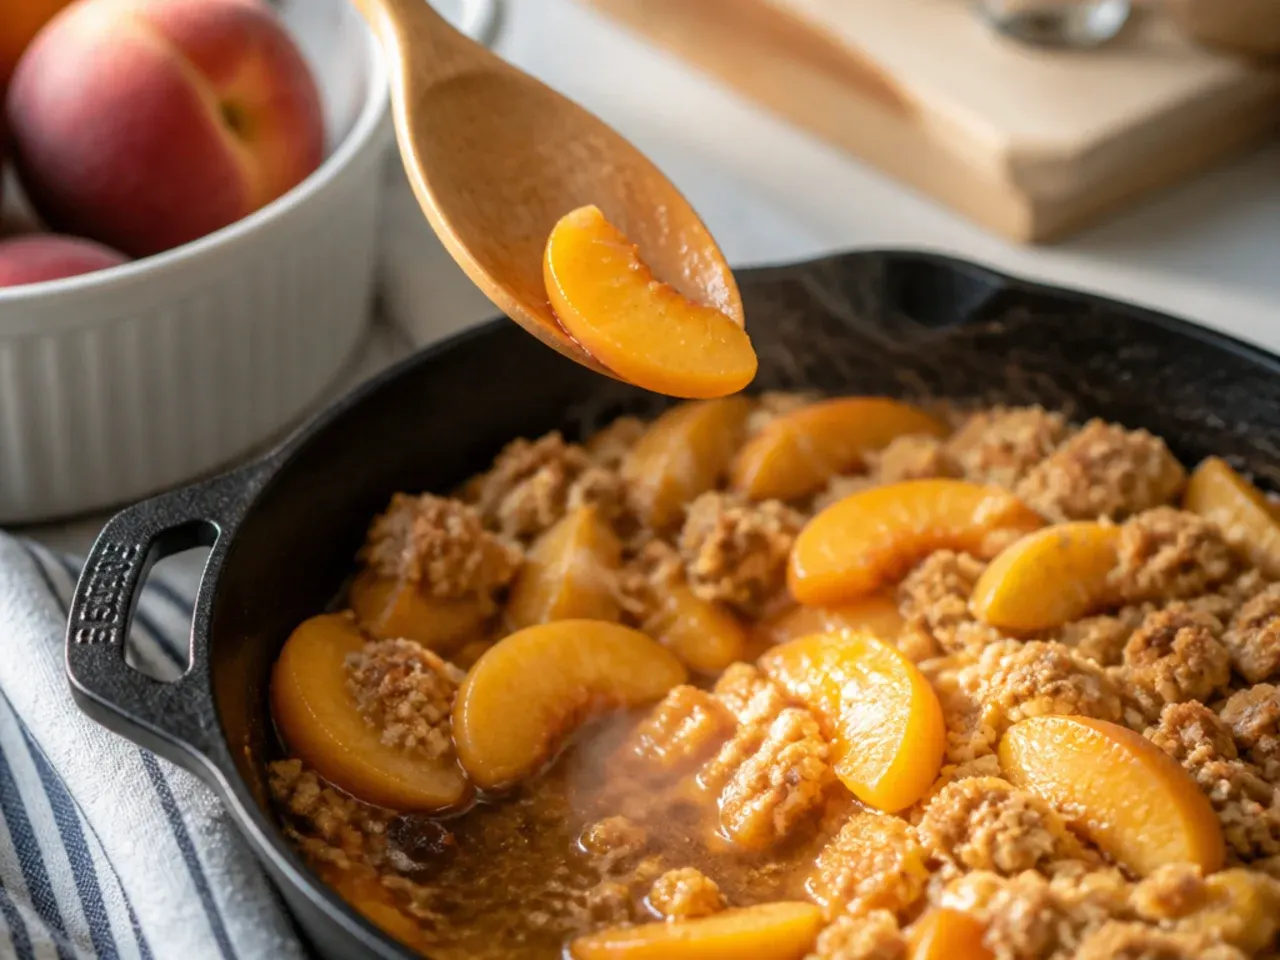
Insert a small knife or skewer through the topping into the centre of the fruit; it should slide in with almost no resistance. If the peaches still feel firm, give the crisp another 5 minutes in the oven and check again.
Step 15: Confirm the filling has thickened
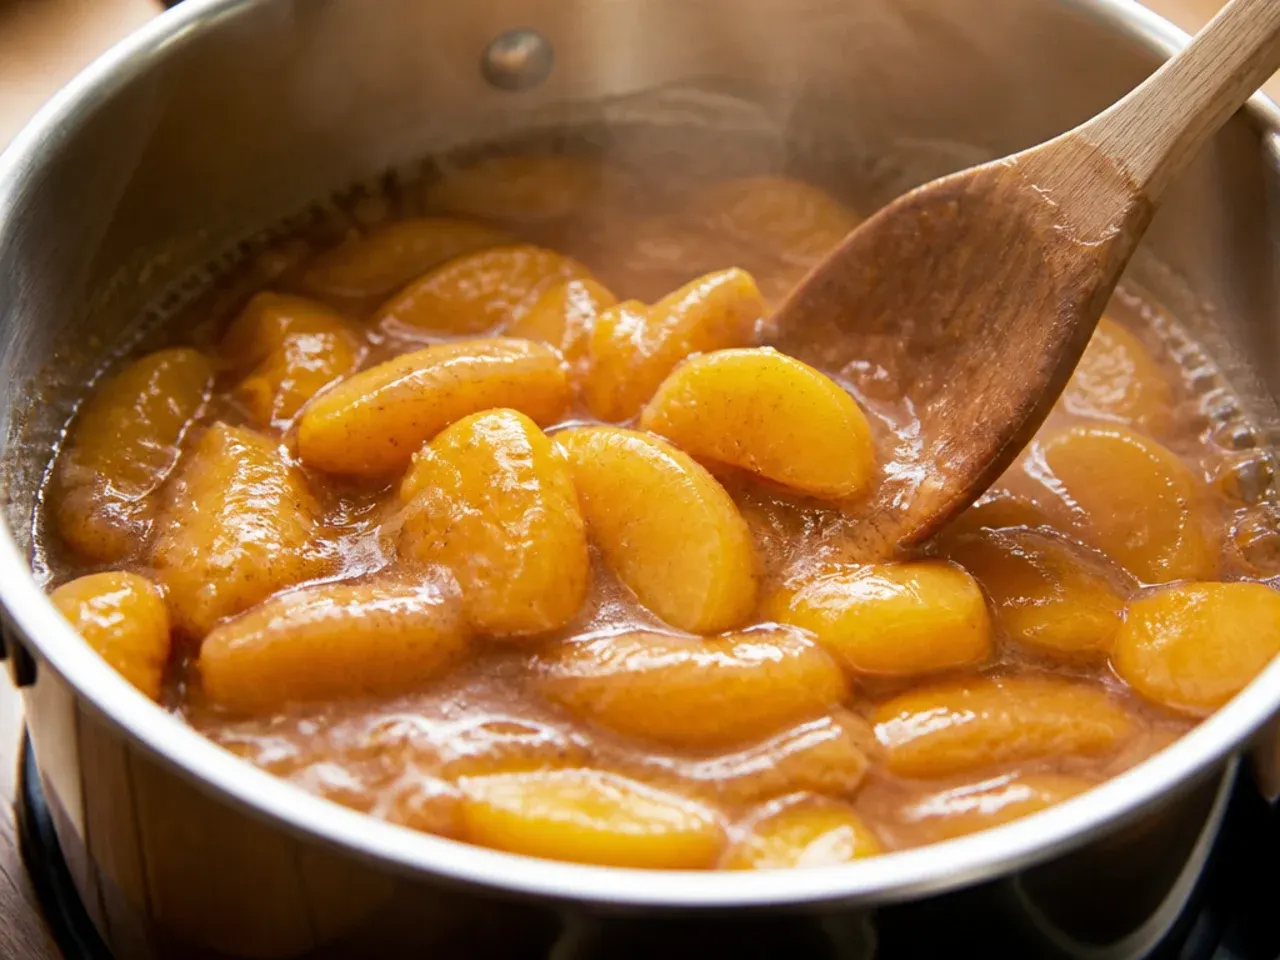
Watch the bubbling at the edges of the dish closely — the juices should look thick and syrupy rather than thin and watery. Thin, fast bubbling usually means the crisp needs a few more minutes for the cornflour to fully activate.
Step 16: Remove from the oven
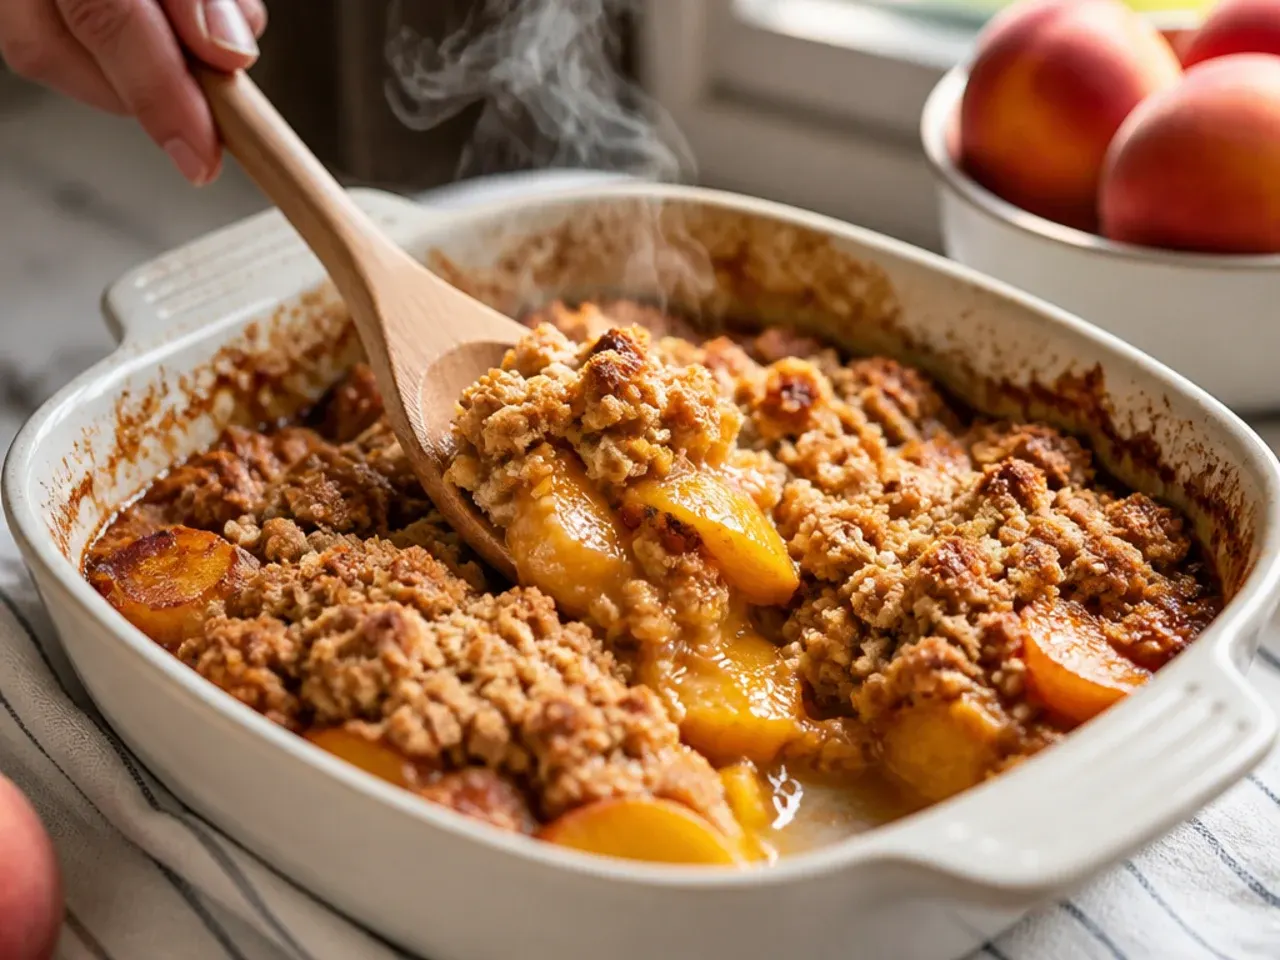
Take the crisp out once the topping is deeply golden and the filling is bubbling thickly across the whole surface, not just around the rim. Set the dish on a wire rack or trivet so the base stops cooking straight away.
Step 17: Rest before serving
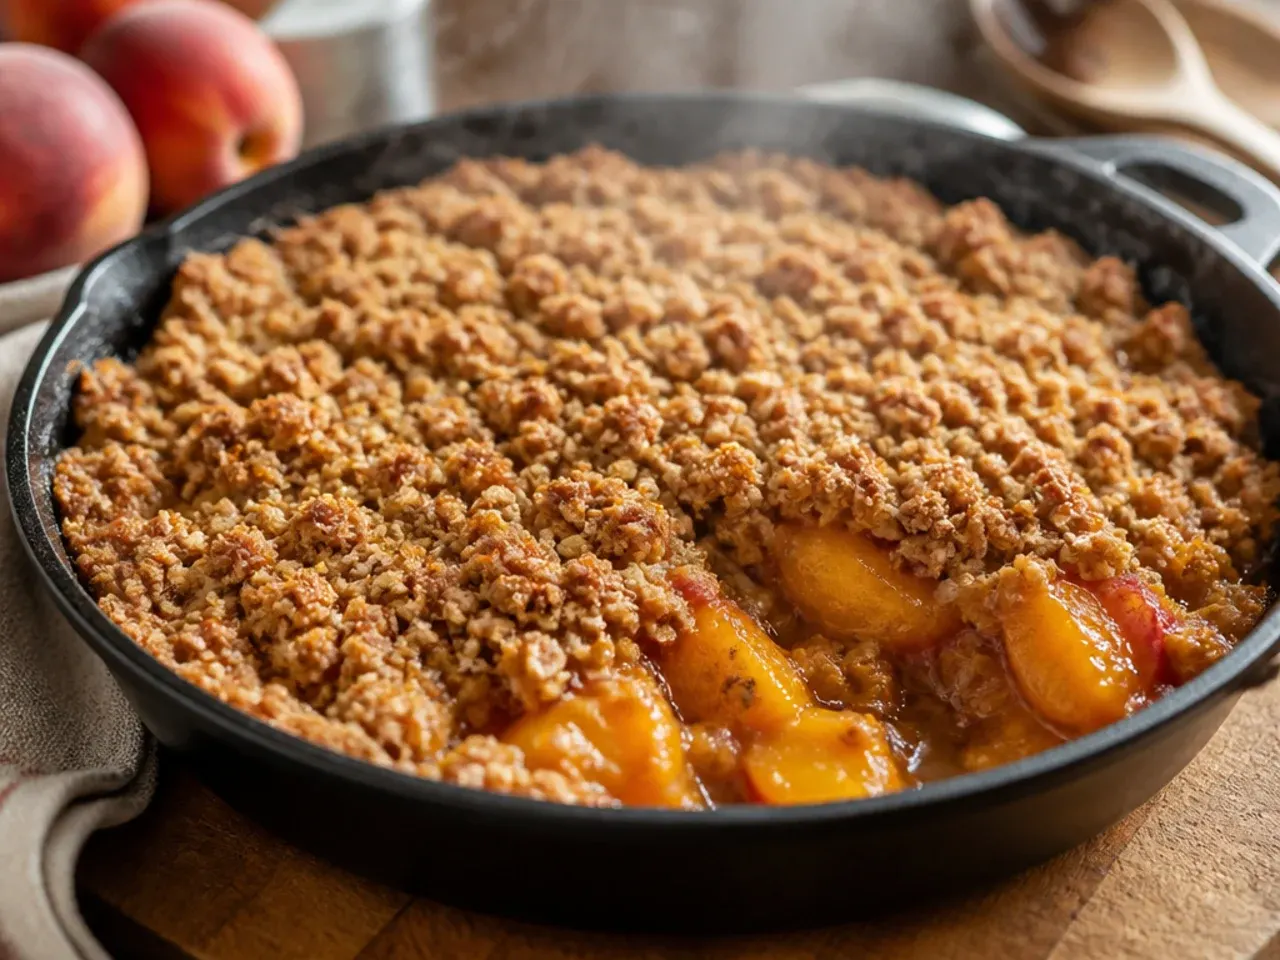
Let the crisp cool and rest for 15-20 minutes before serving. This resting time allows the thickened peach juices to set slightly, so each portion holds its shape on the plate instead of running everywhere.
Step 18: Portion it out
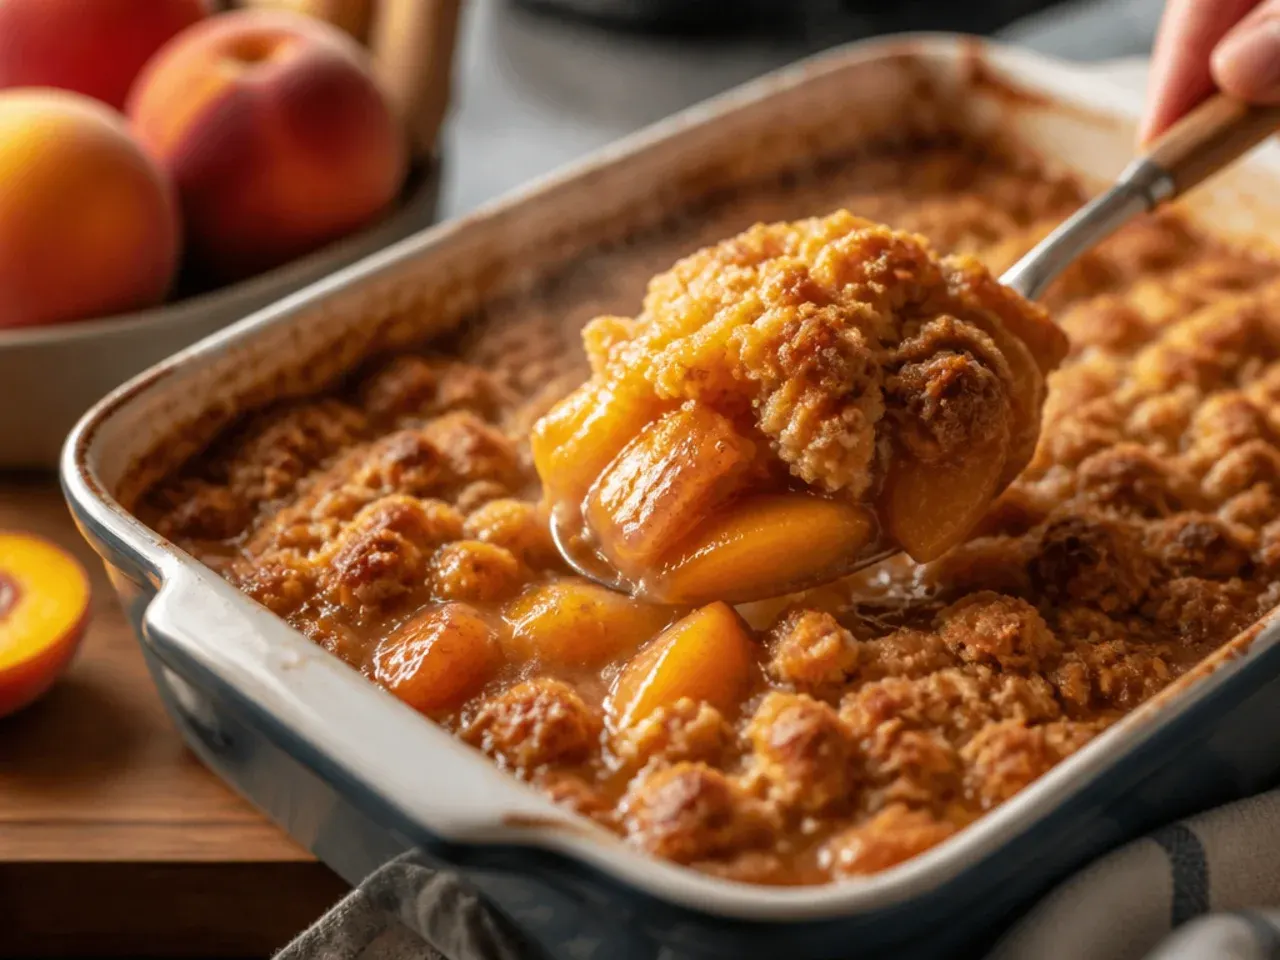
Use a large spoon to serve, scooping down to the base of the dish so each portion gets a mix of soft peaches, thick sauce and crisp topping. A 23 x 33 cm dish gives roughly 8 generous servings.
Step 19: Serve warm with a topping
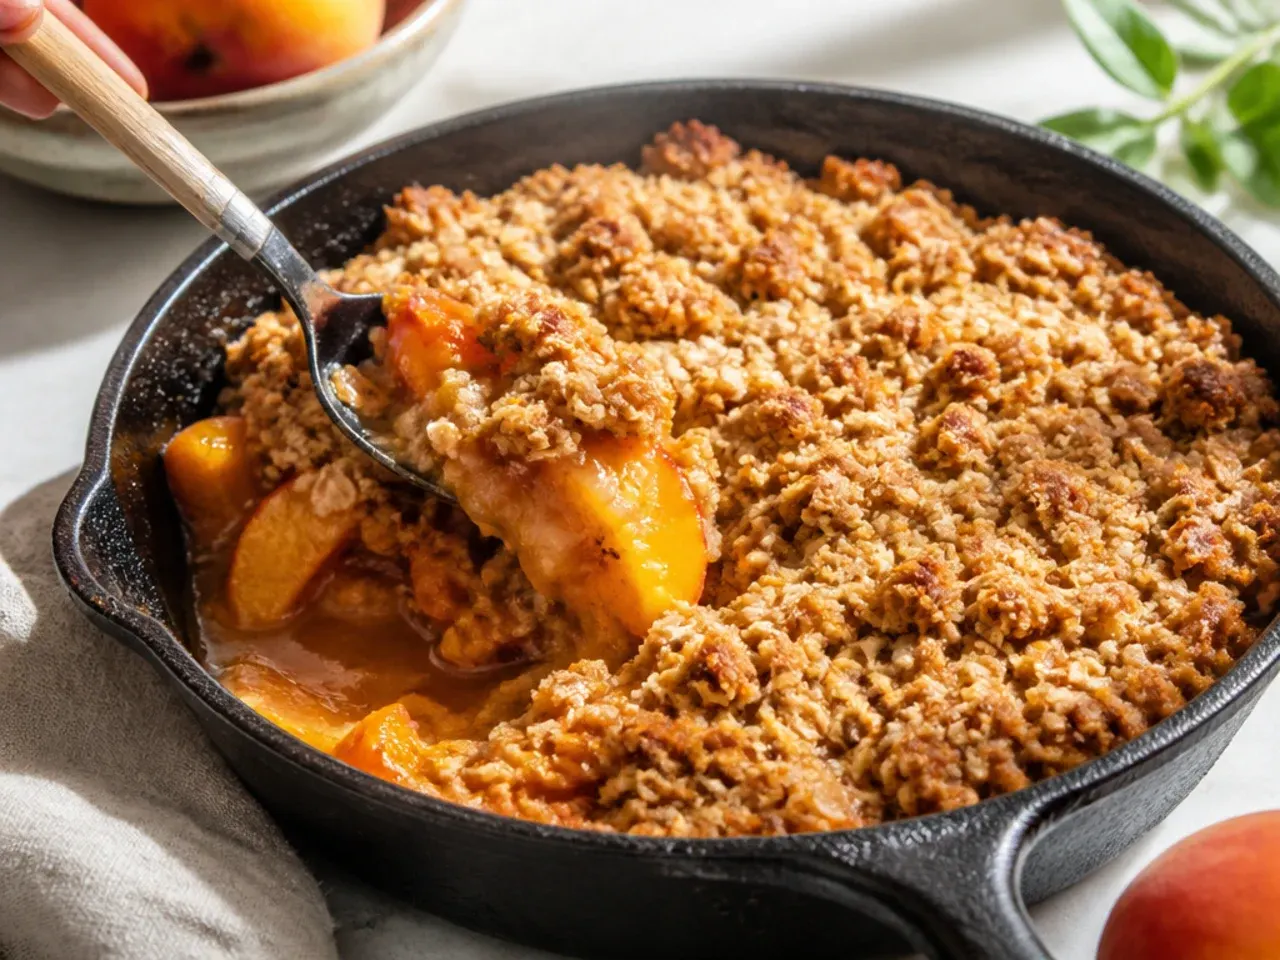
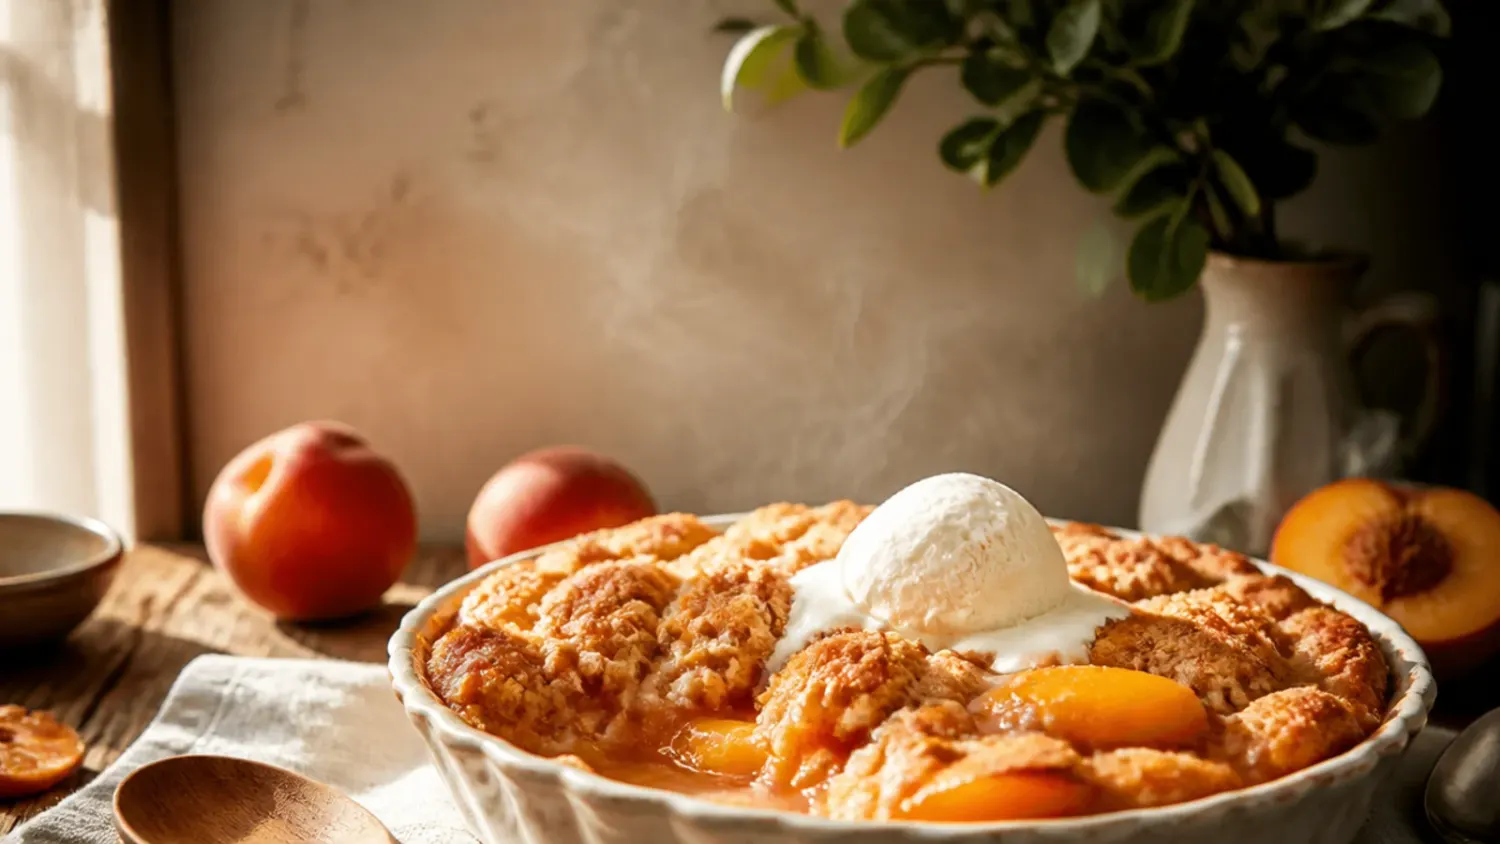
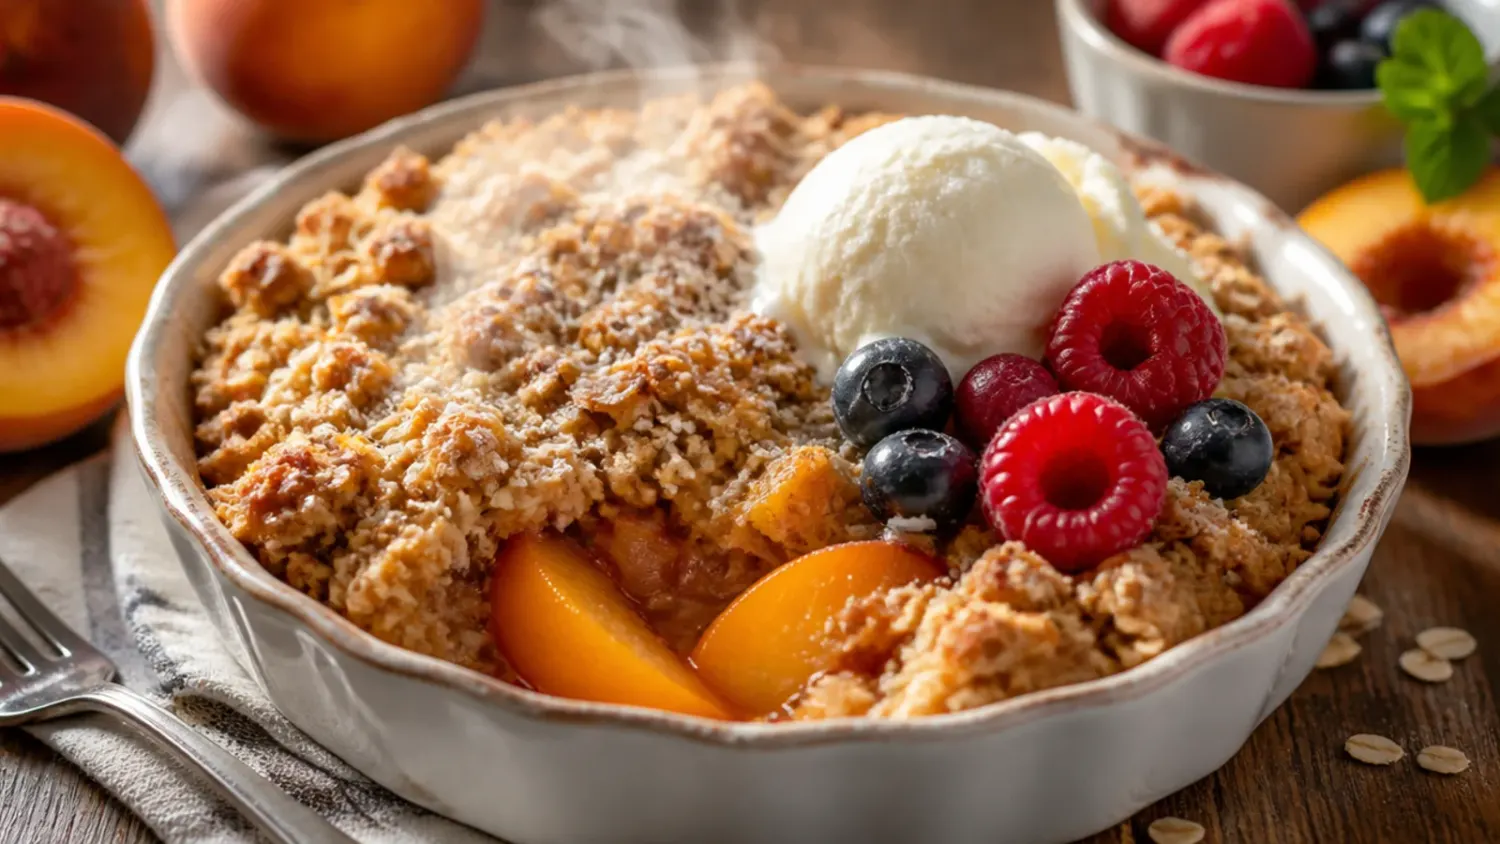
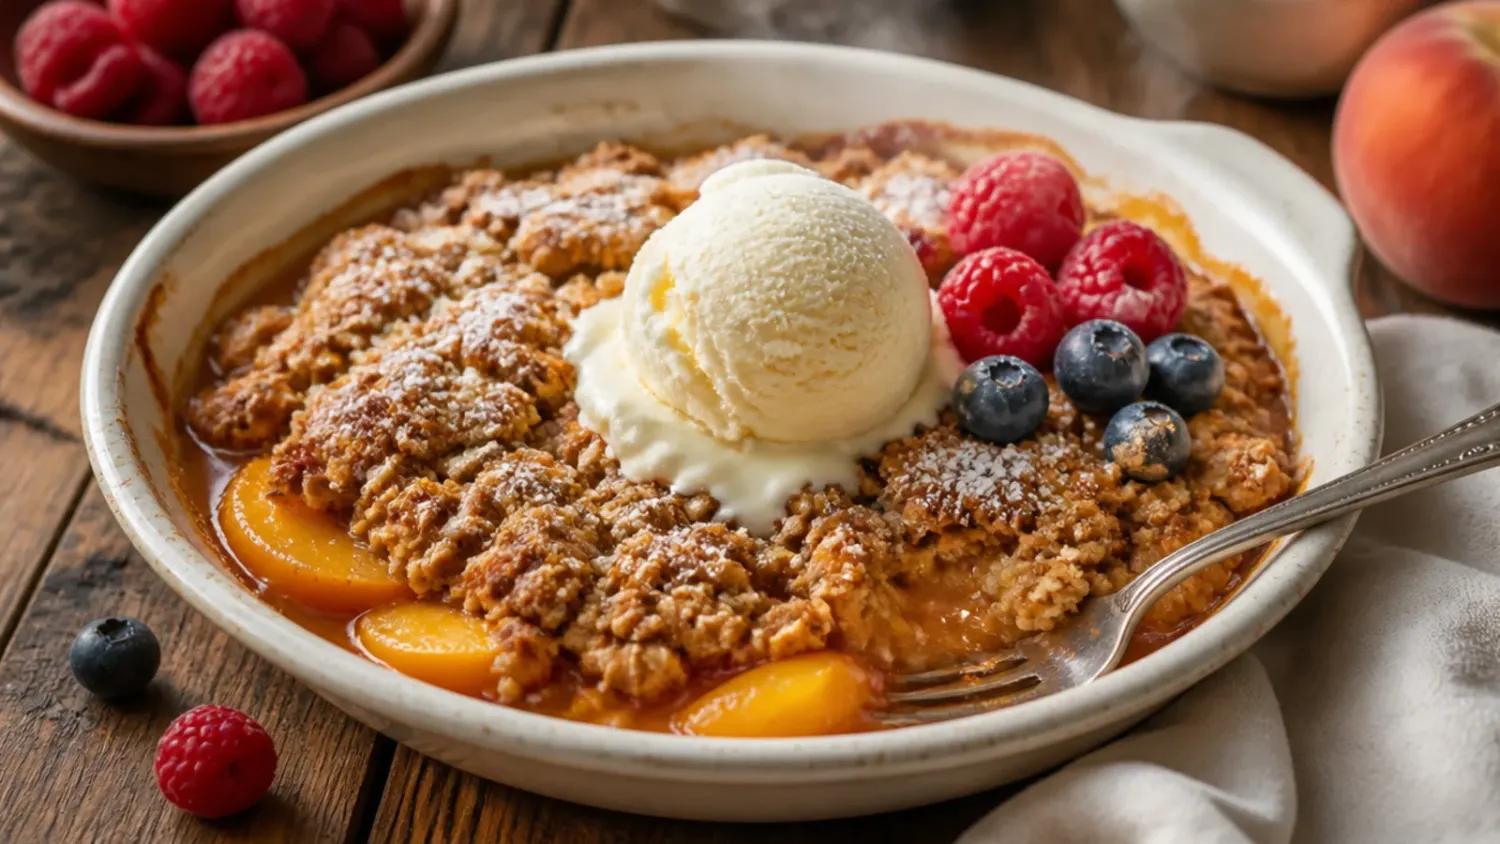
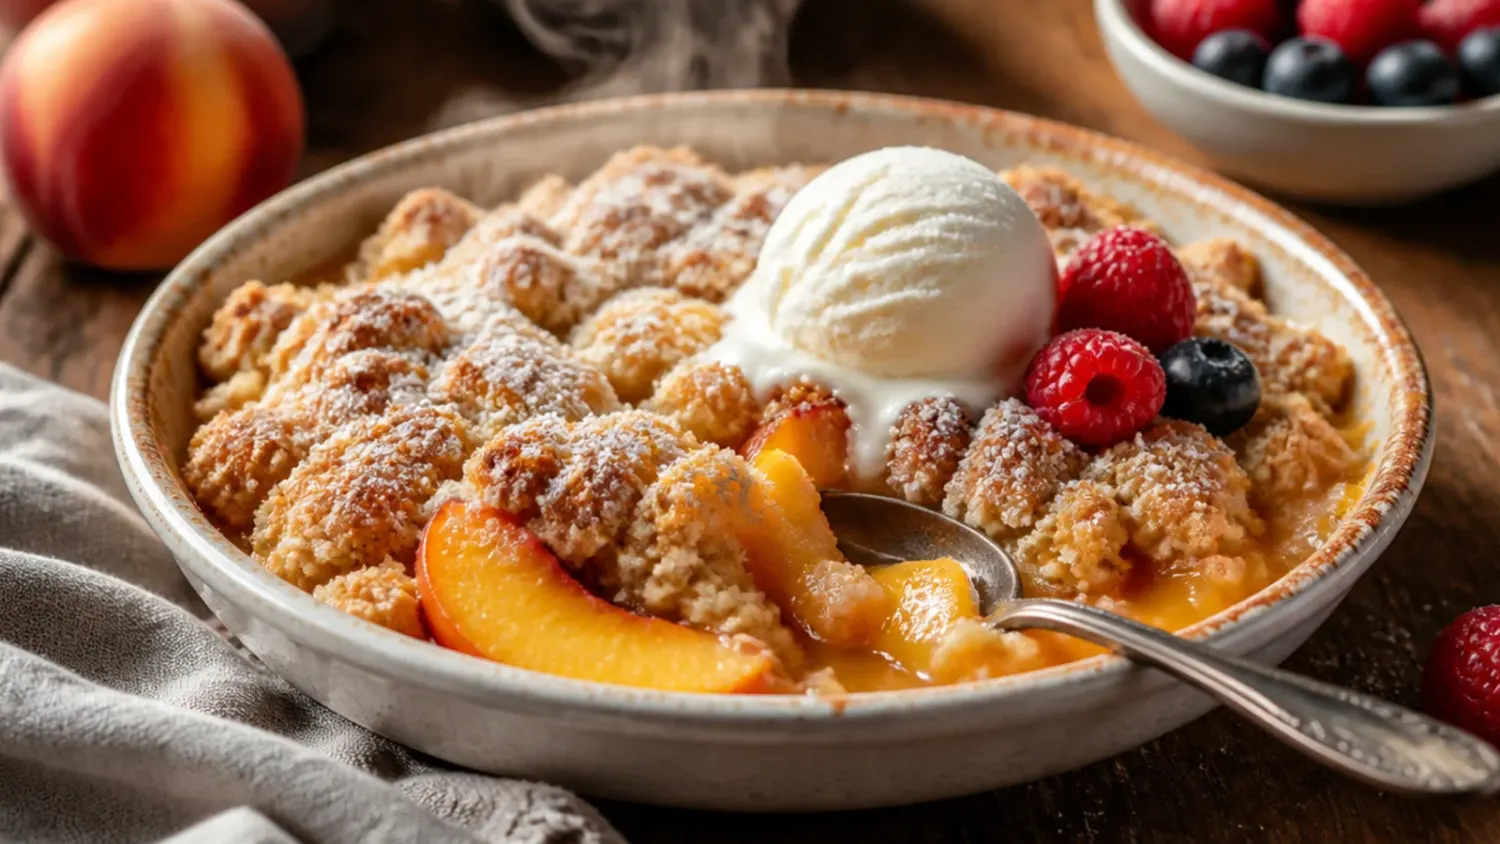
Serve the crisp warm with a scoop of vanilla ice cream or a spoonful of cold pouring cream. The contrast between the warm fruit and the cold cream is what makes a peach crisp feel like a proper dessert rather than just baked fruit.
Step 20: Cool leftovers before storing
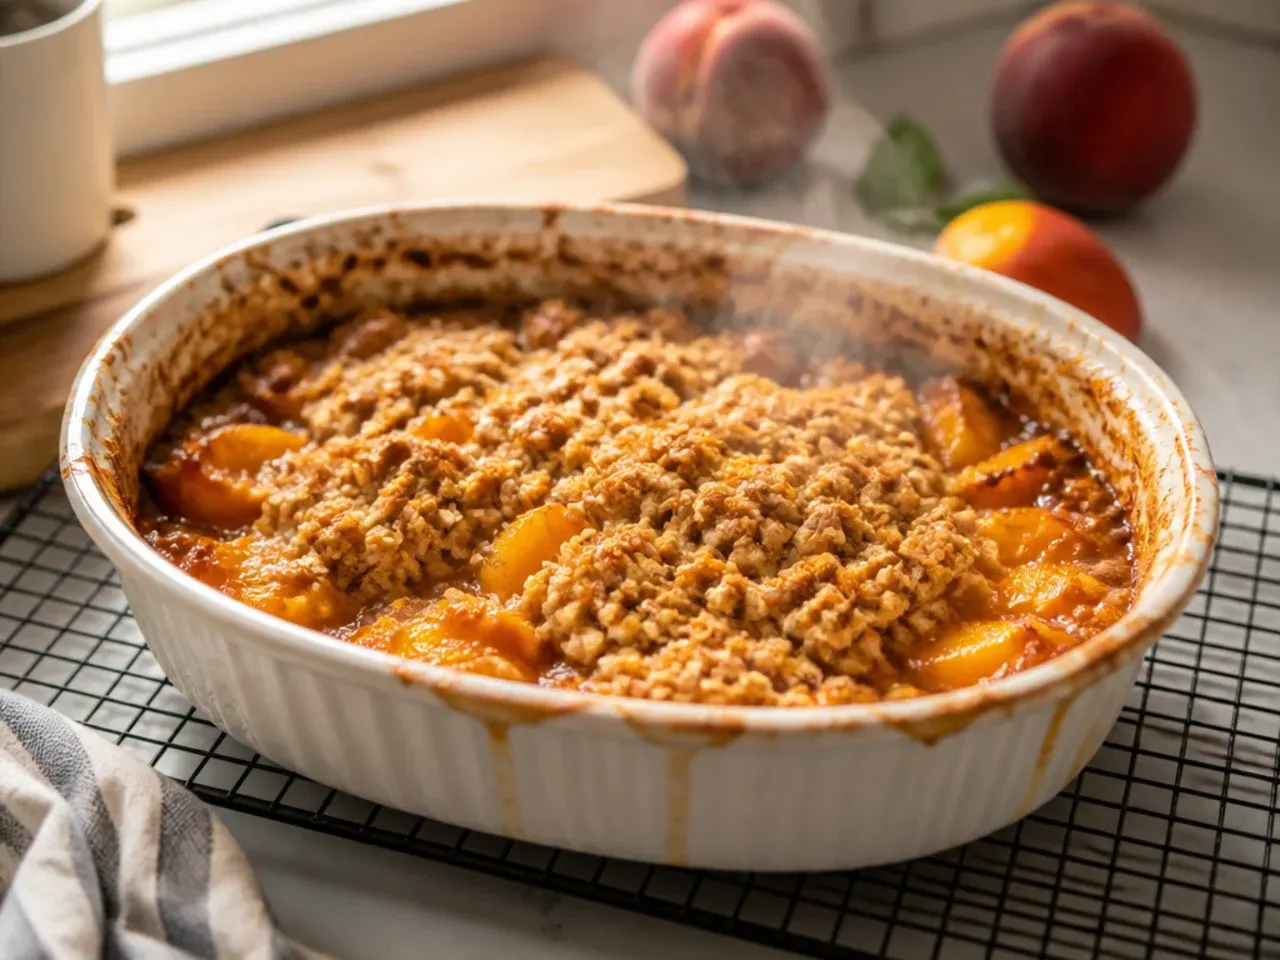
Let any leftovers cool fully to room temperature, uncovered, before wrapping or covering the dish. Covering it while still warm traps steam and turns the crisp topping soft and soggy within a few hours.
Pro Tips for the Best Peach Cobbler Crisp
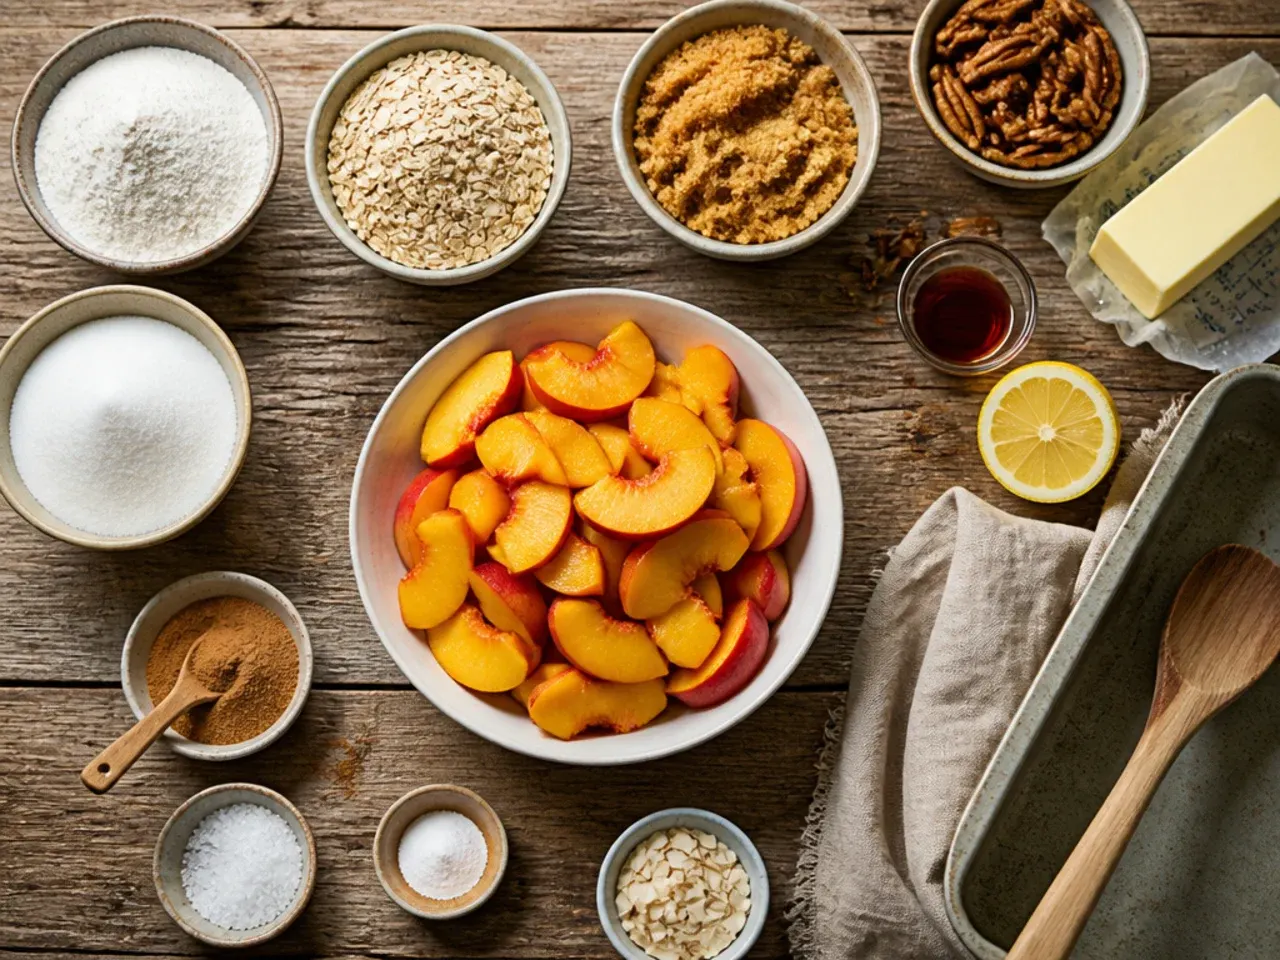
Always taste a peach slice before adding sugar, since ripe peaches vary hugely in sweetness and you may need less or more than the recipe states. Use cold butter straight from the fridge for the topping and work it in quickly, as this is what creates distinct, crunchy crumbs instead of a greasy paste. If your peaches look especially juicy once sliced, stir an extra 5 g (1 tsp) cornflour into the filling so the sauce still sets properly. For added crunch, mix 30 g (1/4 cup) chopped pecans or almonds into the oat topping before scattering it over the fruit.
Storage and Make-Ahead Tips
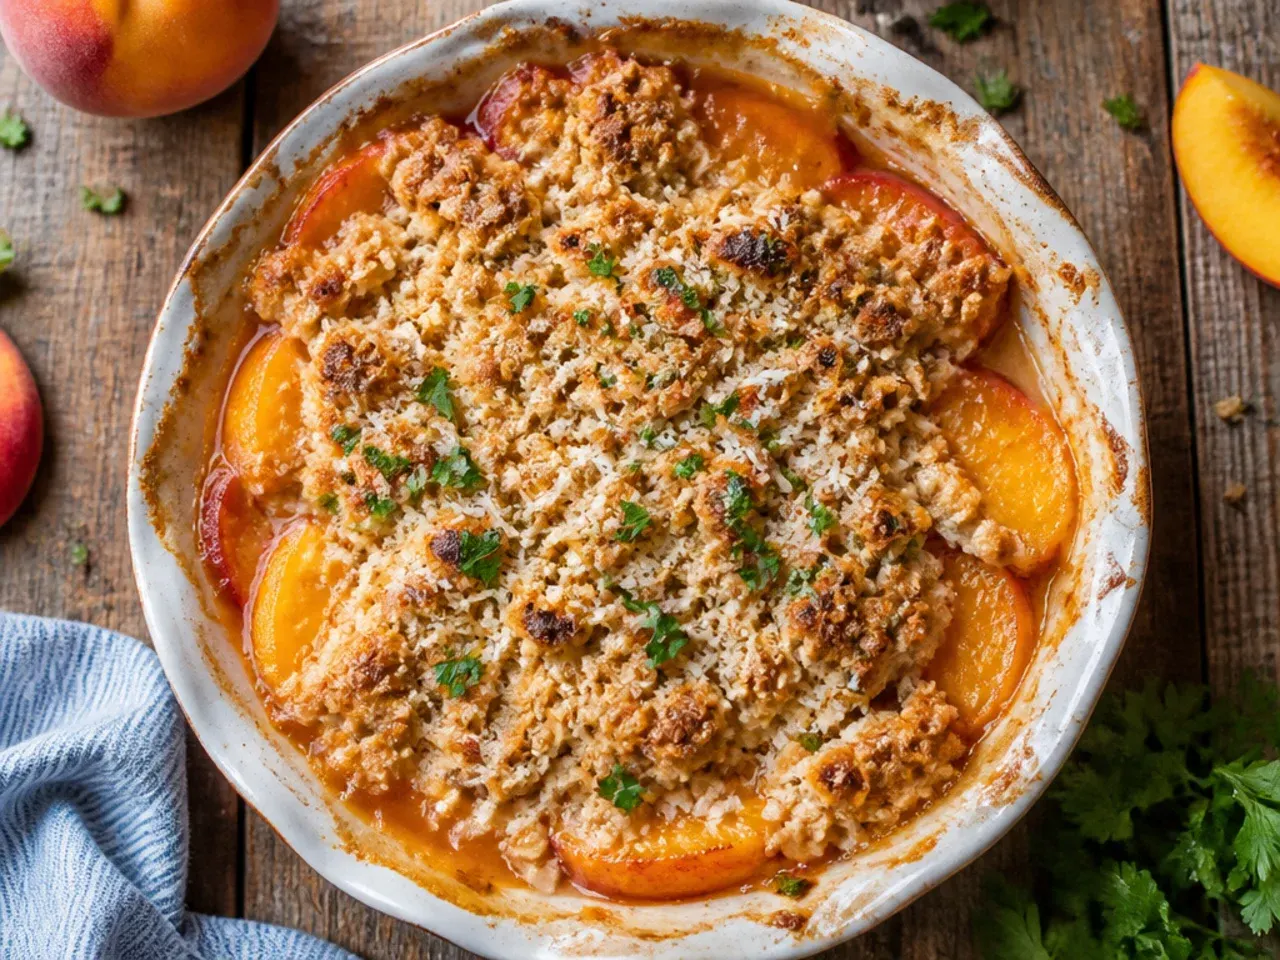
Store leftover peach cobbler crisp covered in the fridge for up to 3 days, and reheat individual portions in a 160°C (325°F) oven for about 10 minutes to re-crisp the topping, since microwaving leaves it soft. To make it ahead, prepare the peach filling and the crumb topping separately, refrigerate both covered for up to 24 hours, then assemble and bake just before serving so the topping stays crumbly rather than turning mushy. The fully assembled, unbaked crisp also freezes well for up to 2 months; bake it straight from frozen, adding 10-15 minutes to the first baking stage, tenting with foil if the top browns before the centre is hot. Avoid freezing a crisp that has already been baked, as the oat topping loses its crunch once thawed.
This peach cobbler crisp layers juicy spiced peaches under a buttery oat crumb for a warm, golden dessert that's easier than pie and ready to serve in about 1 hour 20 minutes. For more peach crisp inspiration, browse the full Peach Crisp Recipes board — every idea there is written for real home kitchens, not professional bakers.
Frequently Asked Questions
Yes — prepare the peach filling and the oat topping separately, cover each, and refrigerate for up to 24 hours before combining. Keeping them apart stops the topping from absorbing moisture and turning soggy while it waits. When you're ready to bake, assemble the dish straight from the fridge and add about 5 minutes to the first baking stage, since the filling will start out cold. This is the most reliable way to prep ahead for a dinner party without sacrificing the crisp texture.

Related Recipes
Save this for later 📌
Pin this article to your Pinterest board so the full list is one tap away when you need it.
Save on Pinterest