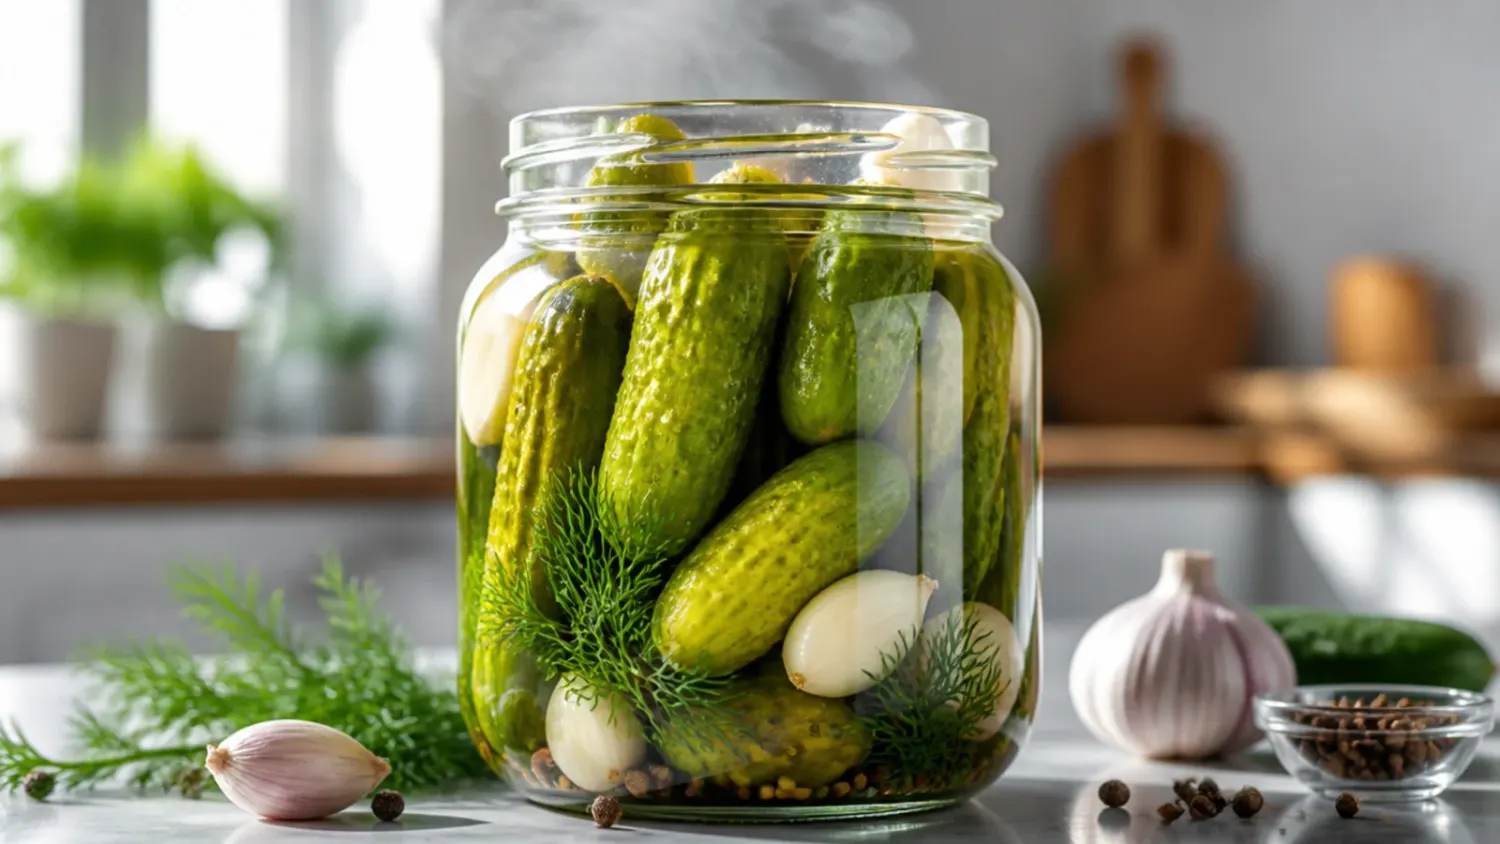
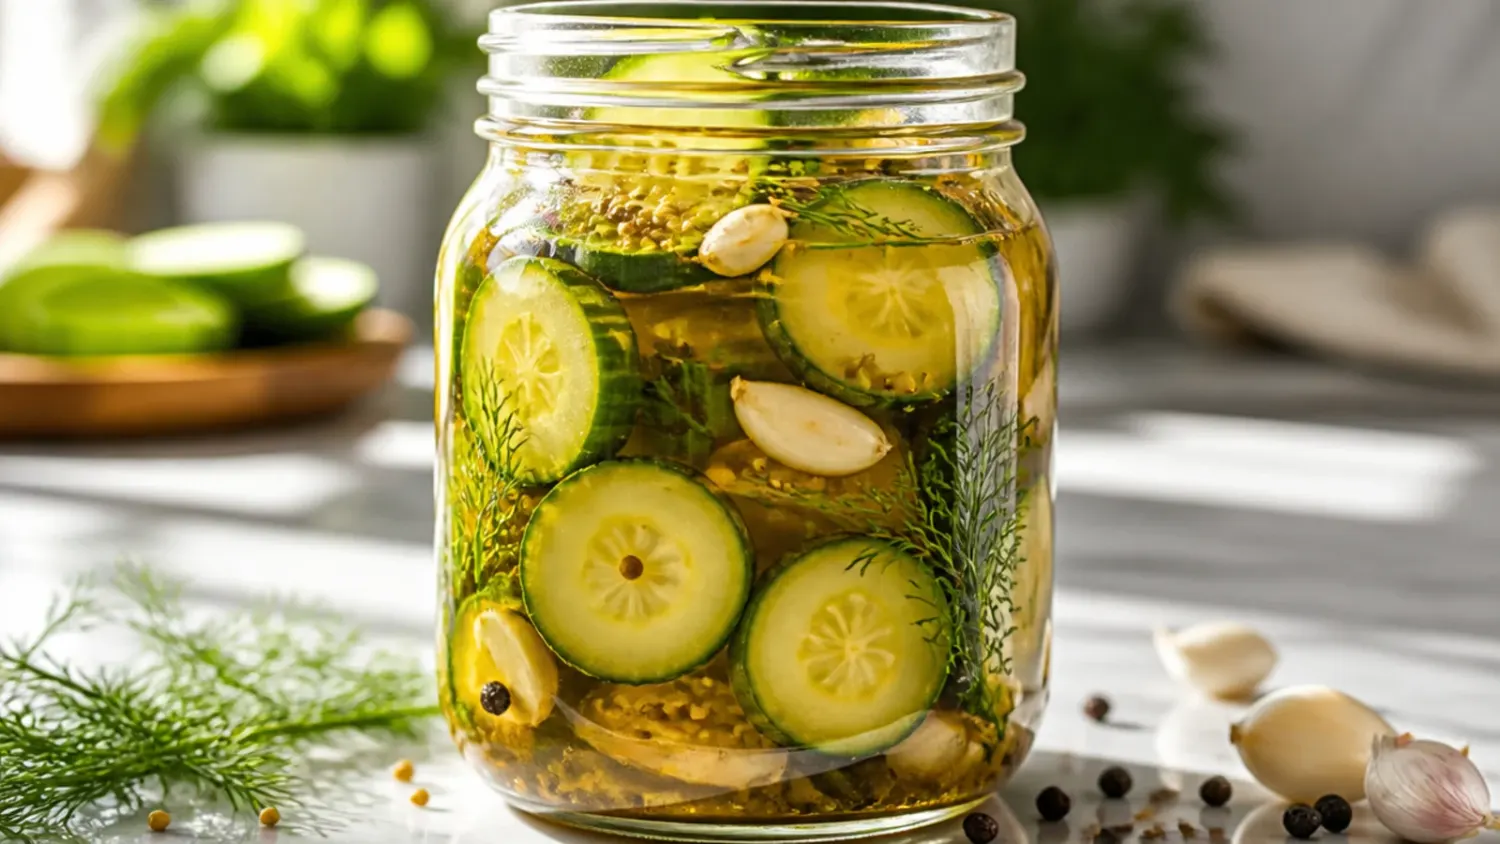
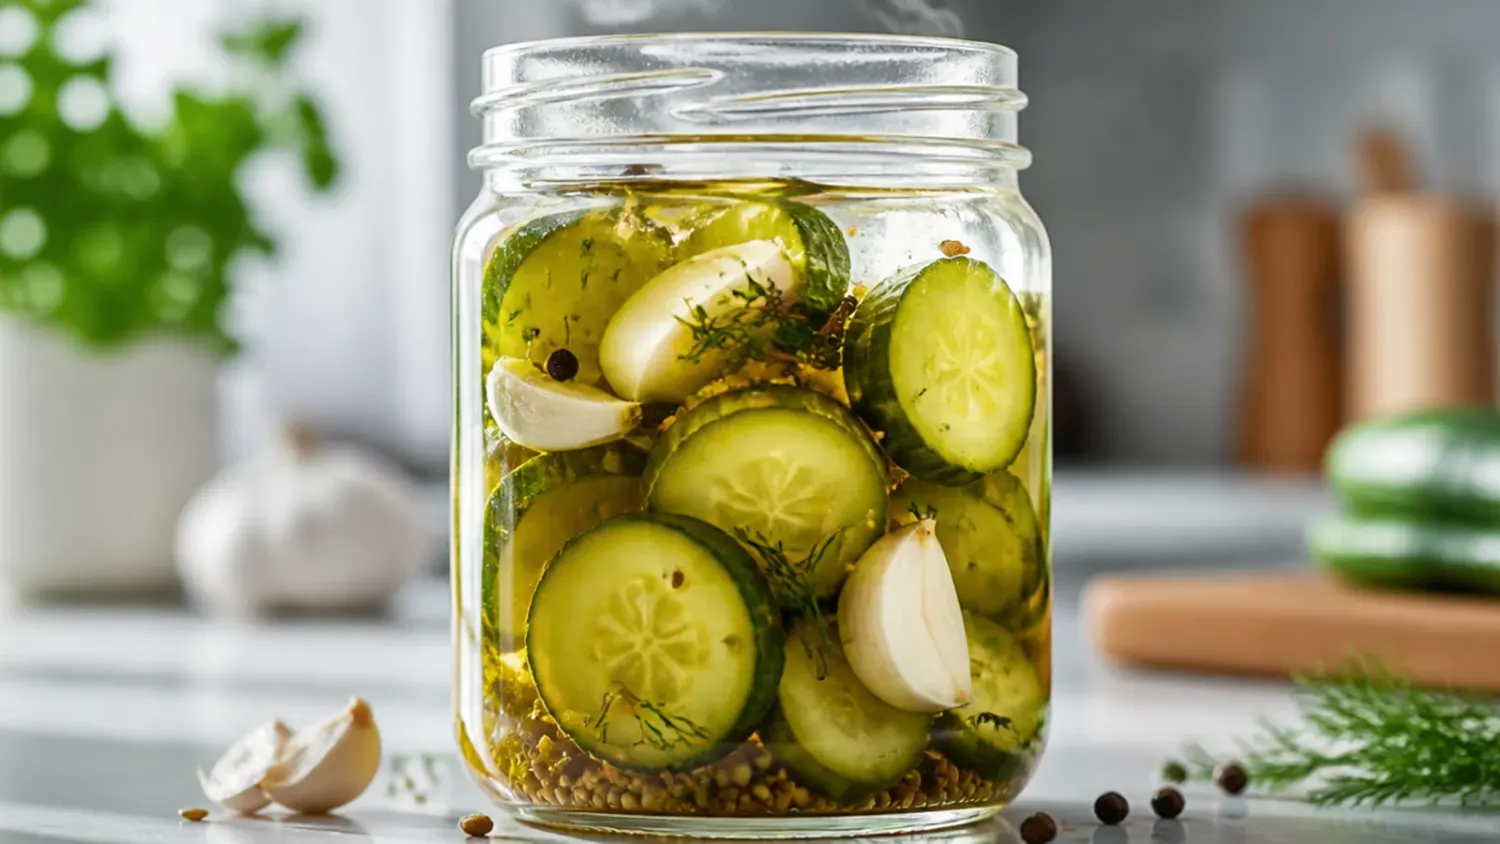
20 Refrigerator Pickles I Wish I Tried Sooner
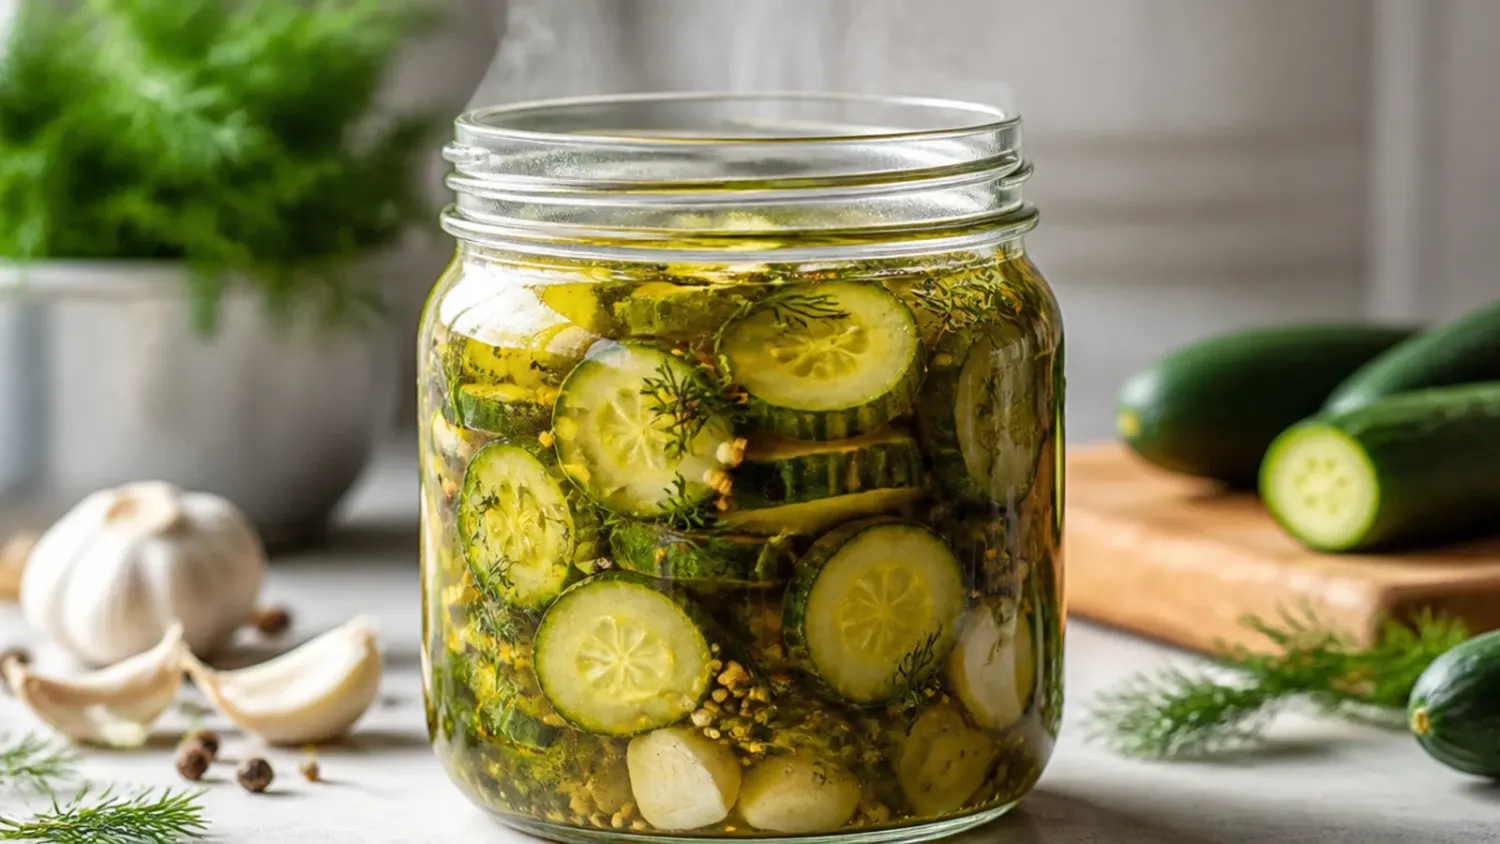
20 ways to make refrigerator bread and butter pickles, from the classic sweet-tangy jar to garlic, jalapeño and low-sugar spins with no canning kettle required. If you love refrigerator pickles inspiration, start with our Refrigerator Pickles collection, then browse the full Fresh & Garden hub for more.
Save this for later 📌
Pin this article to your Pinterest board so the full list is one tap away when you need it.
Save on PinterestFresh & Garden
Beginner
Recipes
20 ideas
Table of Contents
- Why You'll Love These
- 1. Classic Refrigerator Bread and Butter Pickles
- 2. Easy No-Wait Bread and Butter Pickles
- 3. Fresh Garden Cucumber and Sweet Onion Pickles
- 4. Cozy Autumn-Spiced Pickles
- 5. Creamy Ranch-Style Bread and Butter Pickles
- 6. Simple 5-Ingredient Pickles
- 7. Zesty Jalapeño-Lime Bread and Butter Pickles
- 8. Wholesome Honey and Cider Vinegar Pickles
- 9. Budget Big-Batch Pantry Pickles
- 10. Weeknight 20-Minute Speed Pickles
- 11. Rustic Garlic and Dill Bread and Butter Pickles
- 12. Loaded Curry-Spiced Pickles
- 13. Family-Size Mason Jar Pickles
- 14. Best-Ever Extra-Crunchy Pickles
- 15. Quick 1-Hour Icebox Pickles
- 16. Old-Fashioned Amish-Style Pickles
- 17. Sweet Bourbon-Brined Pickles
- 18. Fresh Zucchini and Squash Pickles
- 19. Spiced Golden Beet and Onion Pickles
- 20. Low-Sugar Bread and Butter Pickles
- Pro Tips
- Serving Suggestions
- Storage and Reheating
Why You'll Love These
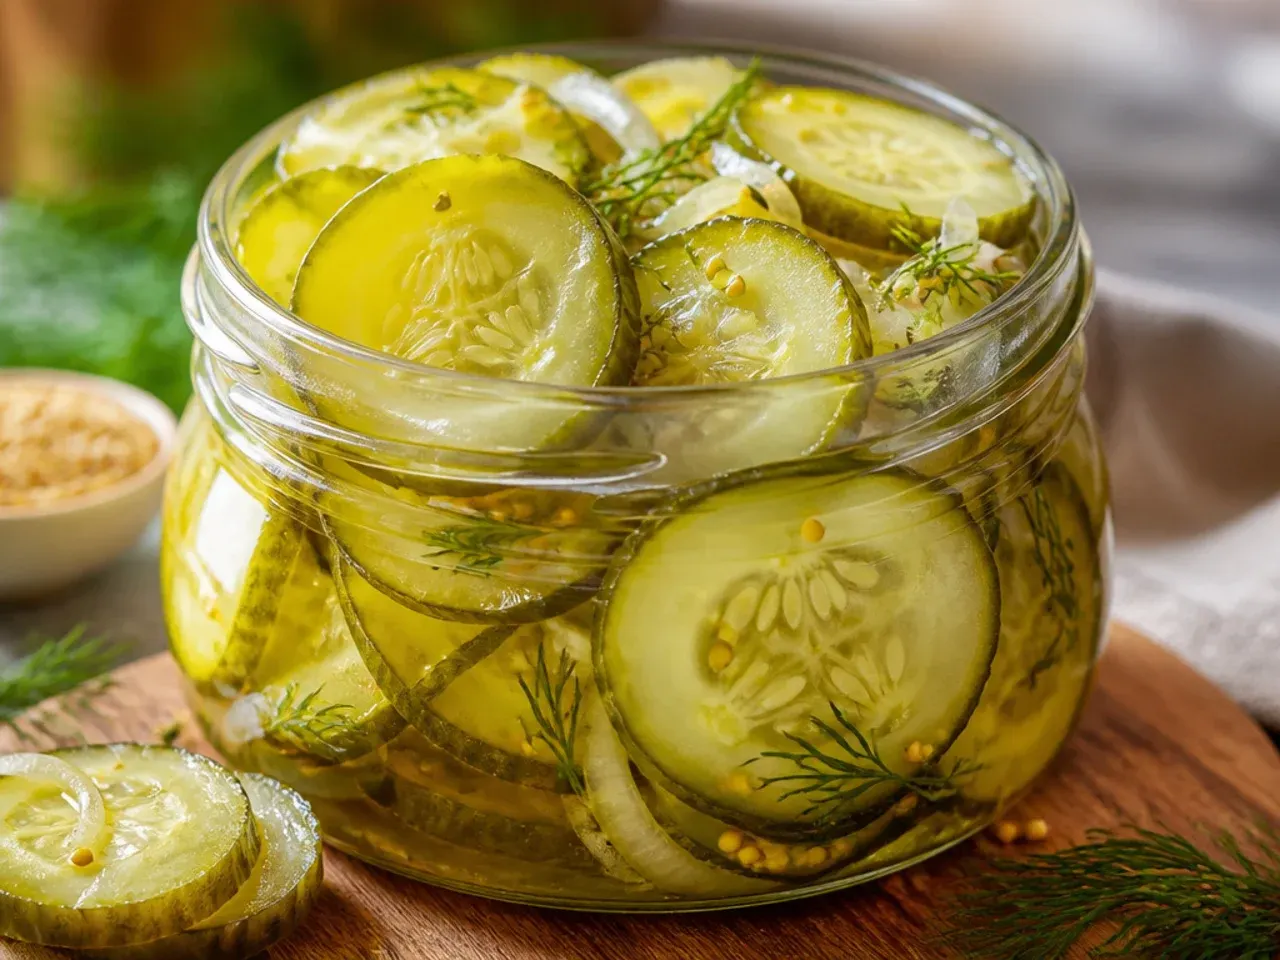
Refrigerator bread and butter pickles give you that sweet, tangy, turmeric-gold crunch of the jarred deli classic without a boiling-water canner in sight. A short salt-and-chill on the cucumbers pulls out excess water so the slices stay crisp once the hot vinegar brine hits them, and the whole batch is ready to eat within a day. Because everything lives in the fridge rather than a sealed jar, you can taste and tweak the sugar or spice level each time you make a batch. The 20 versions below cover the classic ratio plus faster, spicier, lower-sugar and veg-swapped takes on the same easy method.
1. Classic Refrigerator Bread and Butter Pickles
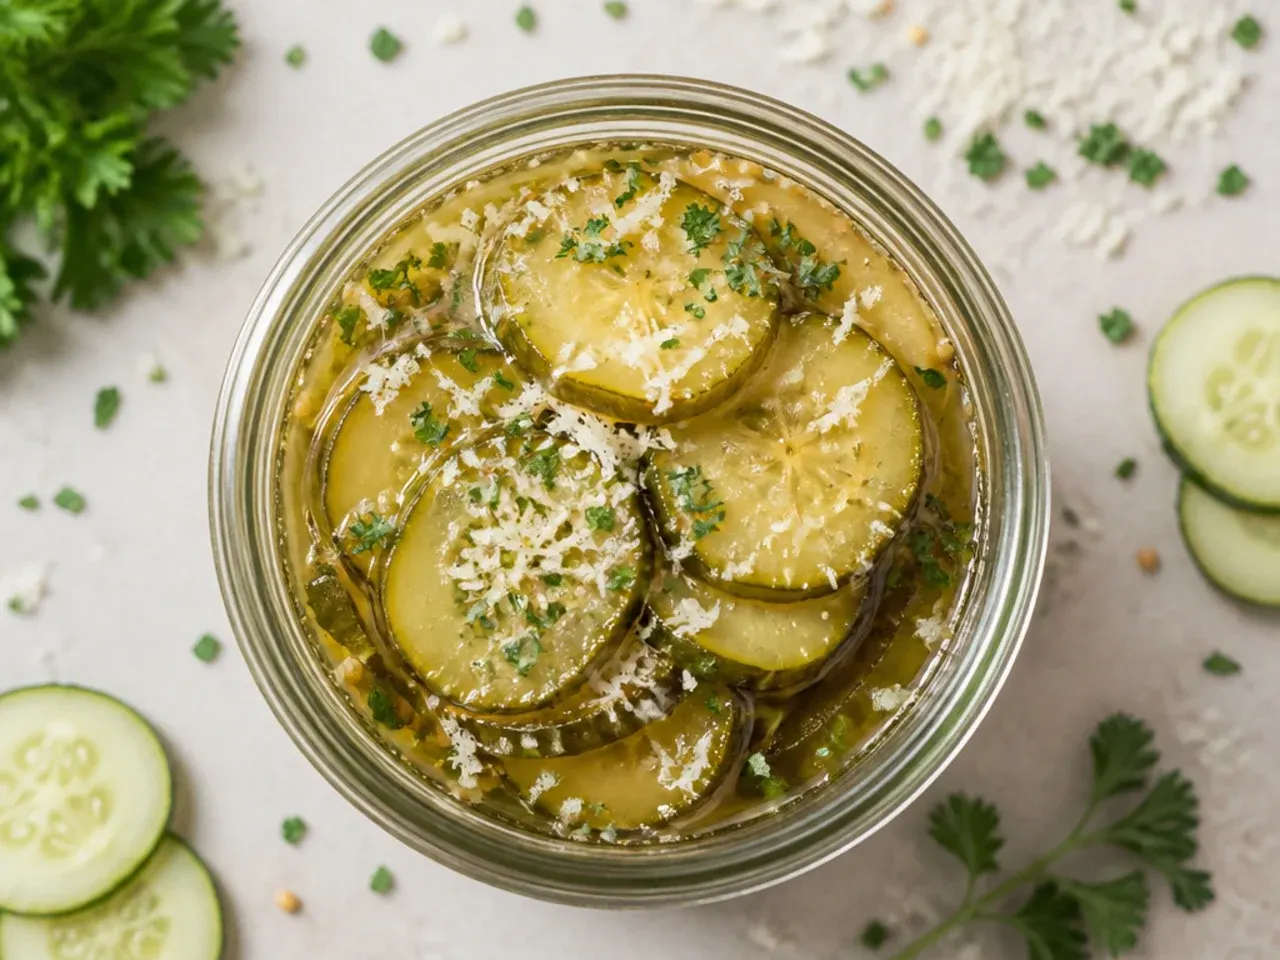
This is the benchmark jar: thinly sliced pickling cucumbers and onion salted briefly, then covered in a brine of equal parts white and cider vinegar, sugar, mustard seed, celery seed and turmeric. The turmeric is what gives bread and butter pickles their signature golden colour, and a short simmer of just the brine (never the vegetables) keeps the slices from turning soft. Pack the salted, rinsed cucumbers into jars, pour the hot brine over to cover completely, then chill for at least 24 hours before tasting. This master ratio is the one every other variation below builds on.
2. Easy No-Wait Bread and Butter Pickles
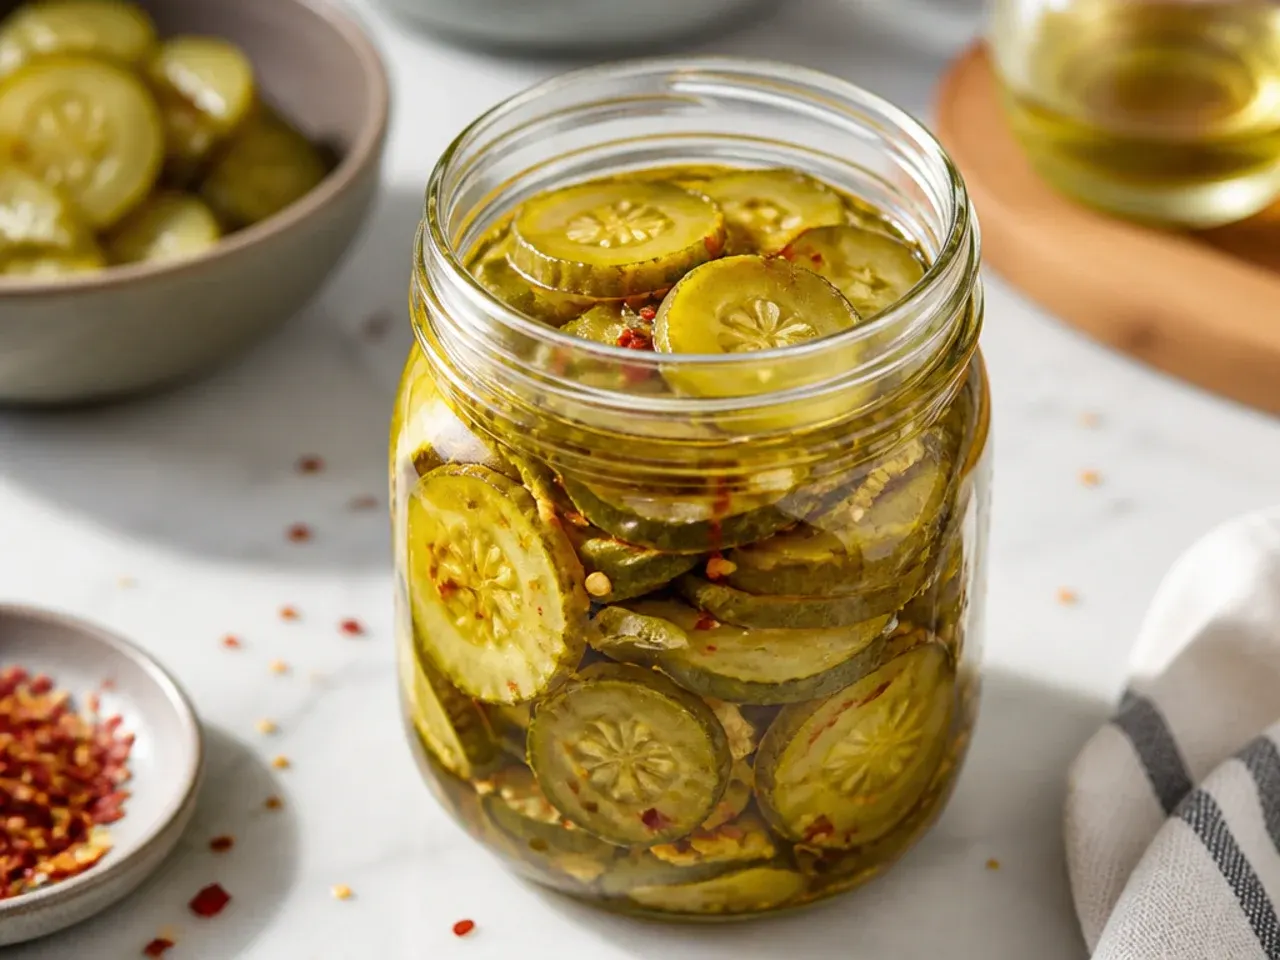
Skip the multi-hour salting step by tossing the cucumber and onion slices with salt directly in the jar rather than in a bowl of ice, then pouring the warm brine straight over the top. You lose a little of the extra-crisp snap the ice bath gives you, but the pickles are edible in about 4 hours instead of overnight and still taste properly tangy-sweet. This version suits anyone who decided at 4pm they want pickles on tonight's burgers. Use it as your go-to when the classic method feels like too much forward planning.
3. Fresh Garden Cucumber and Sweet Onion Pickles
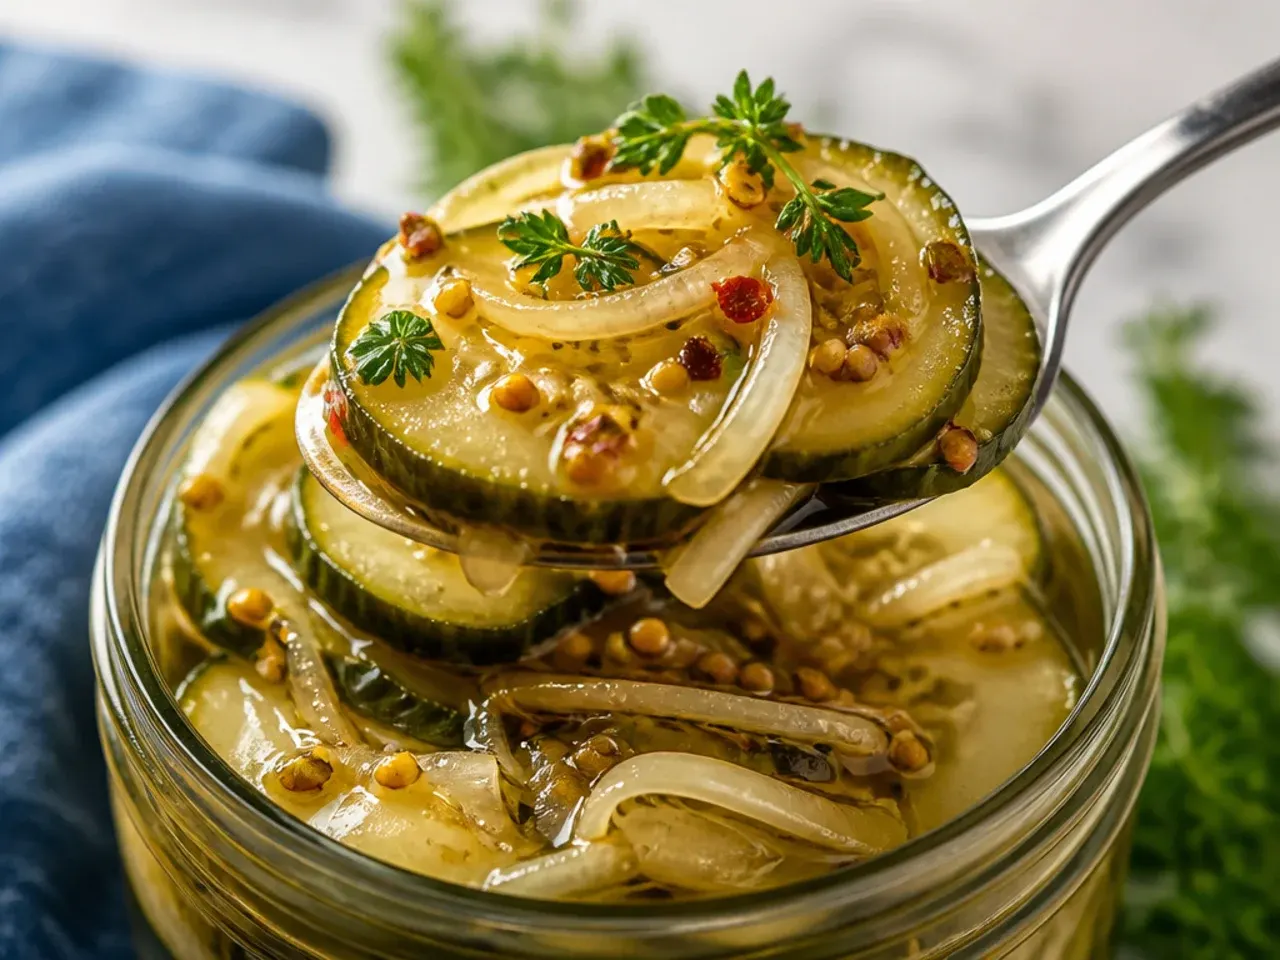
Built for peak-season produce, this variation leans on just-picked pickling or Persian cucumbers and a mild sweet onion such as Vidalia in place of a sharper yellow onion. The spice blend stays deliberately light — just mustard seed and a pinch of turmeric — so the fresh, grassy cucumber flavour stays front and centre instead of being masked by strong seasoning. Slice everything no thicker than 3 mm (1/8 inch) on a mandoline for the evenest bite. This is the jar to make the same week you buy the cucumbers, not months down the line.
4. Cozy Autumn-Spiced Pickles
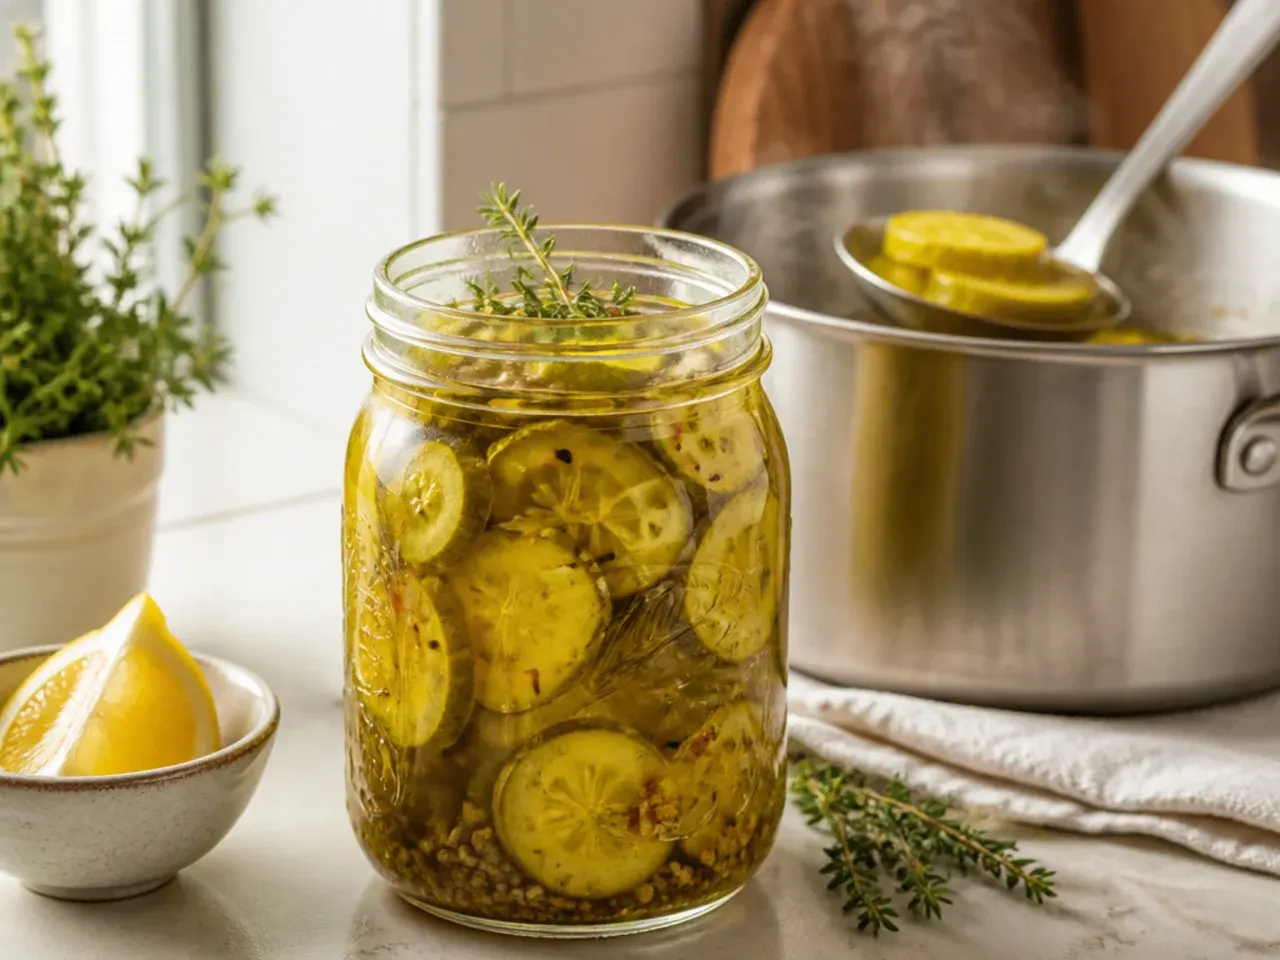
Swap half the granulated sugar for soft brown sugar and add a cinnamon stick, four whole cloves and a few allspice berries to the simmering brine for a warmer, dessert-spice edge that pairs surprisingly well with roast pork or a cheese board in cooler months. Apple cider vinegar rather than white vinegar reinforces the autumnal note. Strain the whole spices out before pouring the brine over the jars so nobody bites into a clove. Let this one sit a full 48 hours before serving so the spice has time to mellow into the brine.
5. Creamy Ranch-Style Bread and Butter Pickles
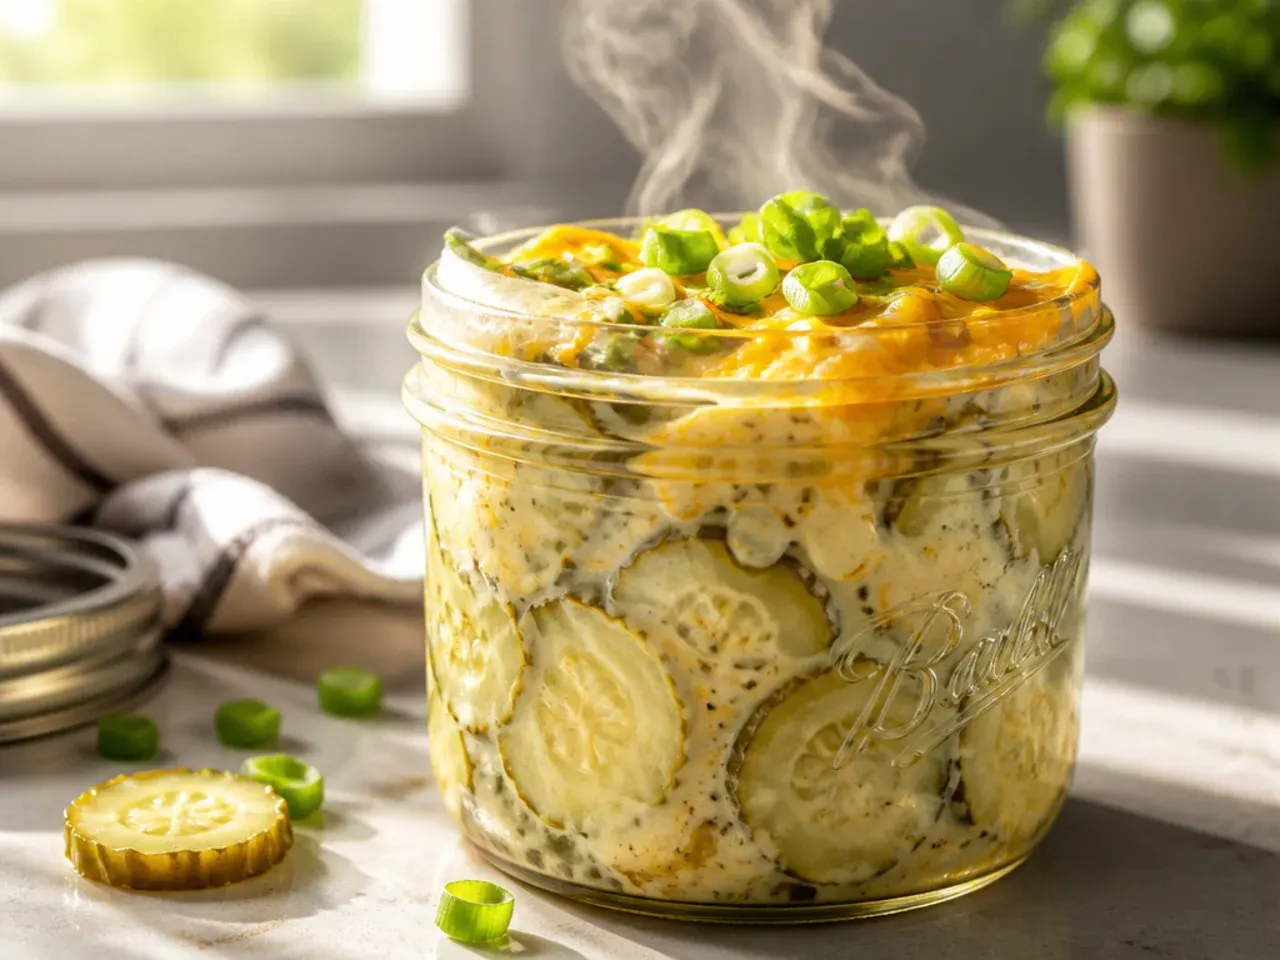
Stir a tablespoon of dried ranch seasoning (dill, garlic, onion, buttermilk powder) into the brine along with the usual mustard and celery seed for a tangy, herby, almost creamy-tasting pickle without adding any actual dairy to the jar. The dried buttermilk powder in most ranch mixes rounds out the vinegar's sharpness, giving a flavour that's brilliant piled onto a burger alongside mayo. Whisk the seasoning packet into the hot brine until fully dissolved so you don't get gritty pockets in the finished jar. These are best eaten within three weeks, as the herbs fade faster than the plain classic brine.
Save this for later 📌
Pin this article to your Pinterest board so the full list is one tap away when you need it.
Save on Pinterest6. Simple 5-Ingredient Pickles
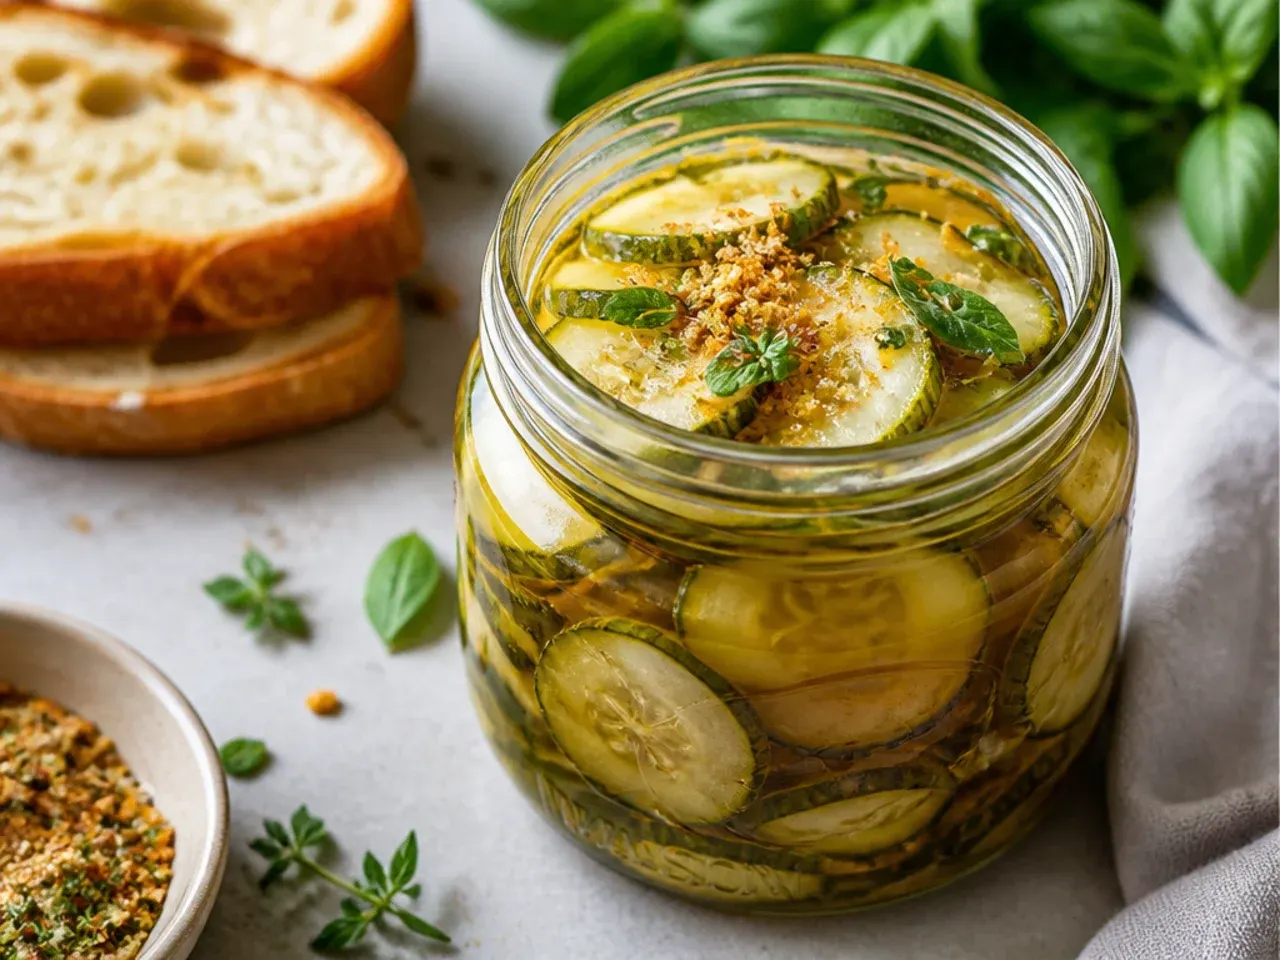
Strip the recipe back to cucumber, onion, vinegar, sugar and salt only, with no mustard seed, celery seed or turmeric at all. What you lose in that classic golden colour and warm spice note, you gain in speed and pantry simplicity — useful if you're out of pickling spices but still craving that sweet-tart crunch. The brine ratio stays the same as the classic version: roughly equal parts vinegar and sugar by volume. This is the fallback recipe for a Tuesday-night craving with only four things in the cupboard.
7. Zesty Jalapeño-Lime Bread and Butter Pickles
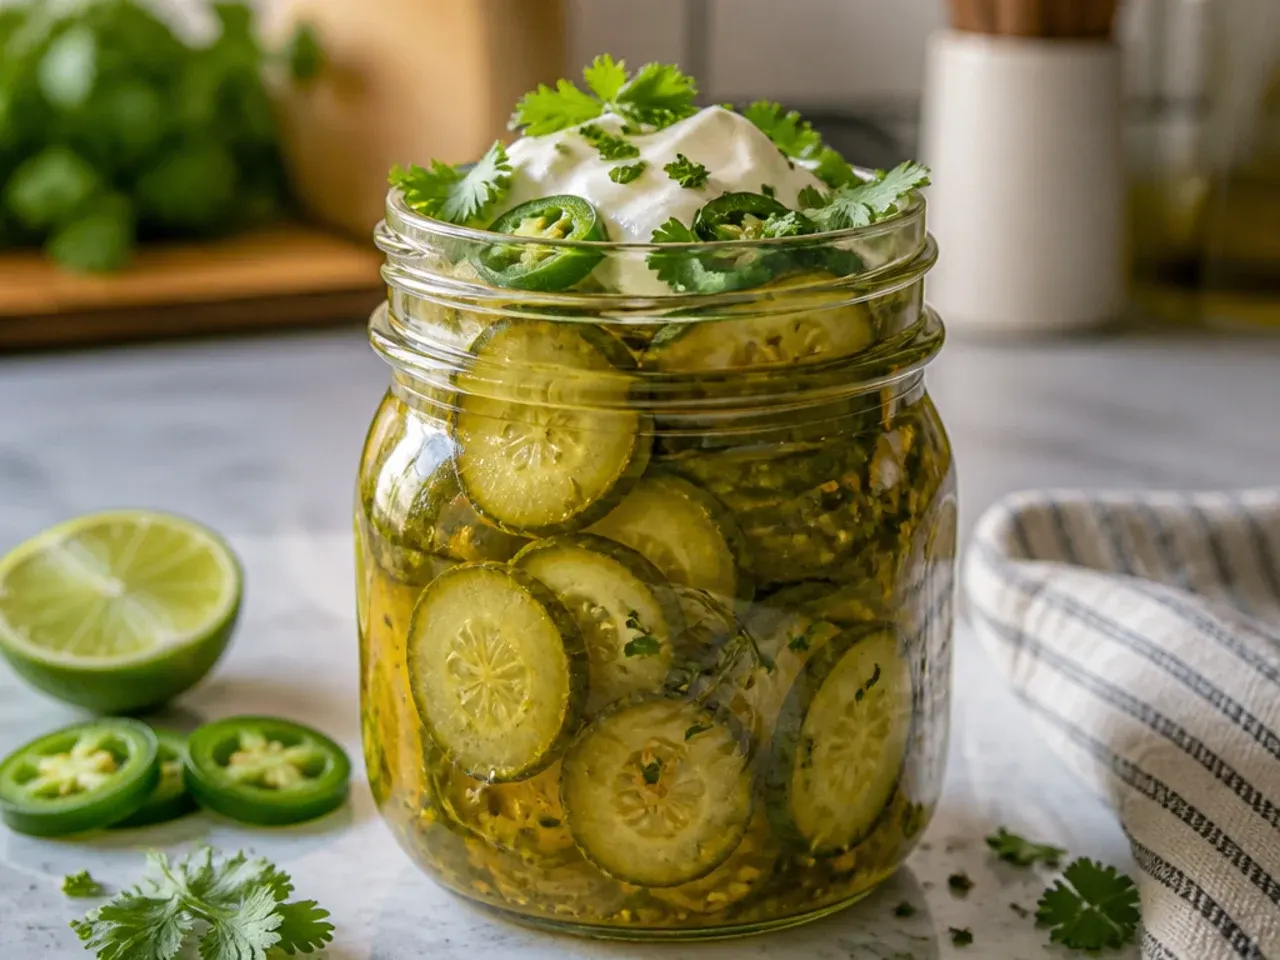
Add two thinly sliced jalapeños (seeds in for real heat, seeds out for a milder warmth) and the zest of one lime to the classic brine for a sweet-hot-citrus jar that's brilliant on tacos and pulled pork sandwiches. The sugar in the base brine tempers the chilli heat rather than fighting it, so the pickles read as sweet-with-a-kick rather than aggressively spicy. Taste the brine before pouring and add a second jalapeño if you want more punch, since heat mellows slightly once chilled. These are ready to eat after 24 hours but genuinely improve by day three.
8. Wholesome Honey and Cider Vinegar Pickles
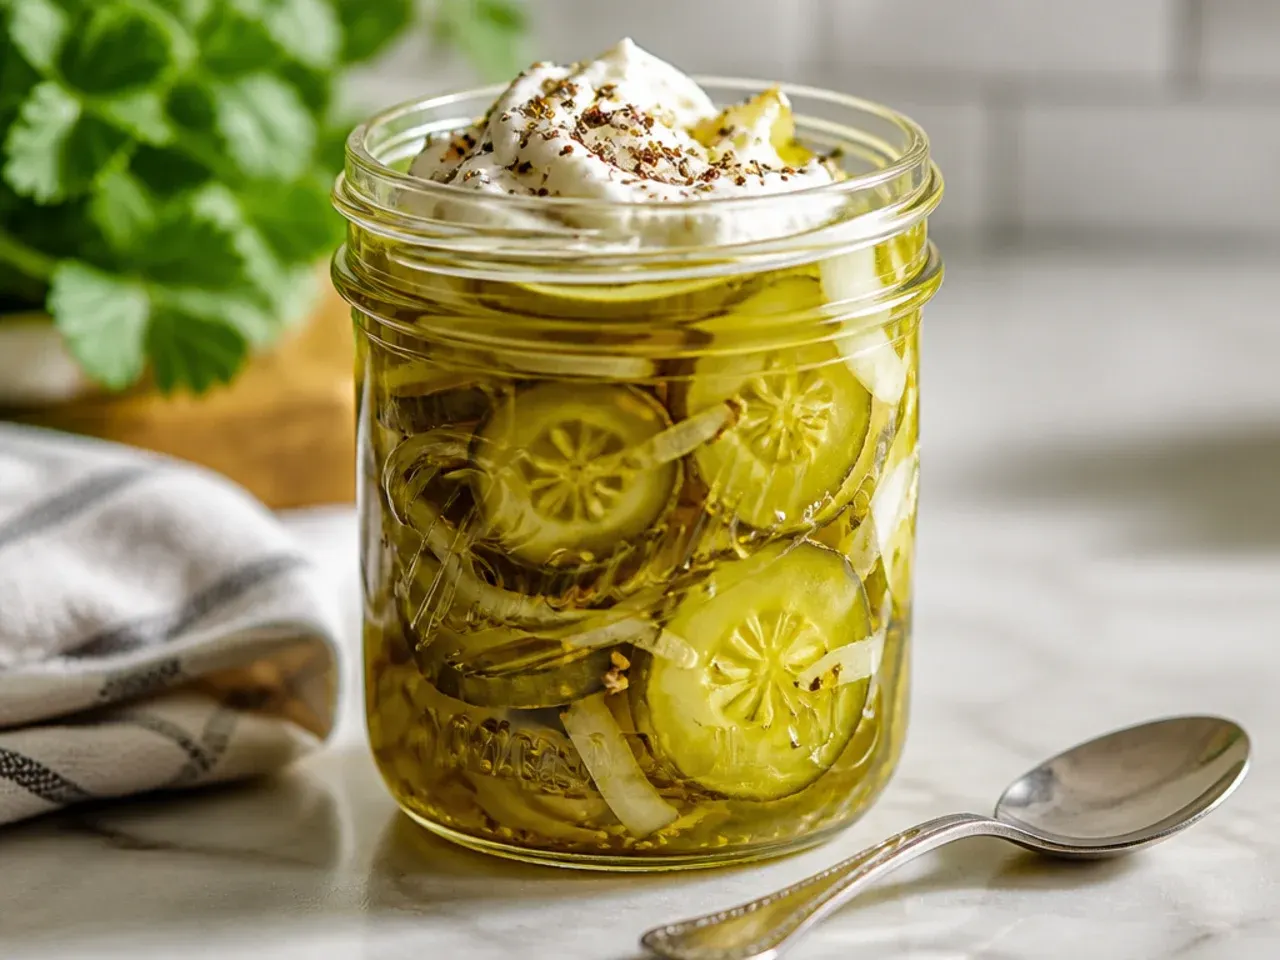
Replace the granulated sugar with raw honey and use only apple cider vinegar for a less-refined, slightly more complex sweetness that still delivers the classic tang. Because honey is sweeter by volume than sugar, start with about 20% less than the sugar quantity the classic recipe calls for and adjust to taste once the brine has cooled slightly. Warm the honey into the vinegar gently rather than boiling hard, since high heat can flatten its floral notes. This version appeals to anyone trying to trim refined sugar without losing the bread and butter pickle flavour they know.
9. Budget Big-Batch Pantry Pickles
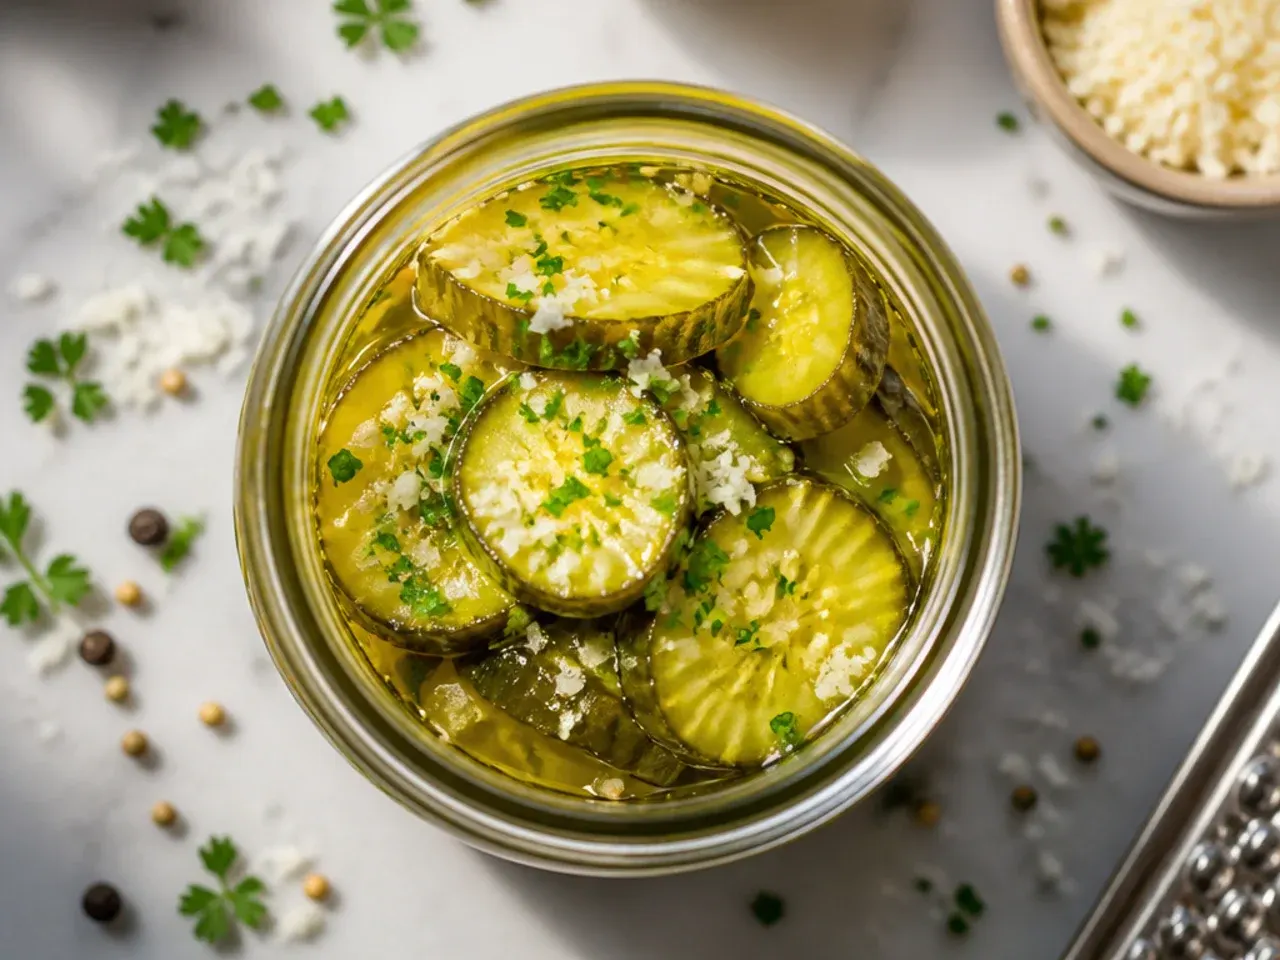
Stretch a bag of standard supermarket cucumbers and one large onion into four full jars using only white vinegar, granulated sugar, table salt and a shake of pre-mixed pickling spice, keeping the cost per jar well under what a store-bought jar would run. Buying cucumbers loose rather than as pre-packaged 'pickling' varieties and slicing them slightly thicker, at about 4-5 mm (3/16 inch), stretches the batch further without sacrificing crunch. This is the version to make before a barbecue when you need volume more than fine-tuned flavour. Double the brine rather than the vegetables if you want extra to top up jars as they empty.
10. Weeknight 20-Minute Speed Pickles
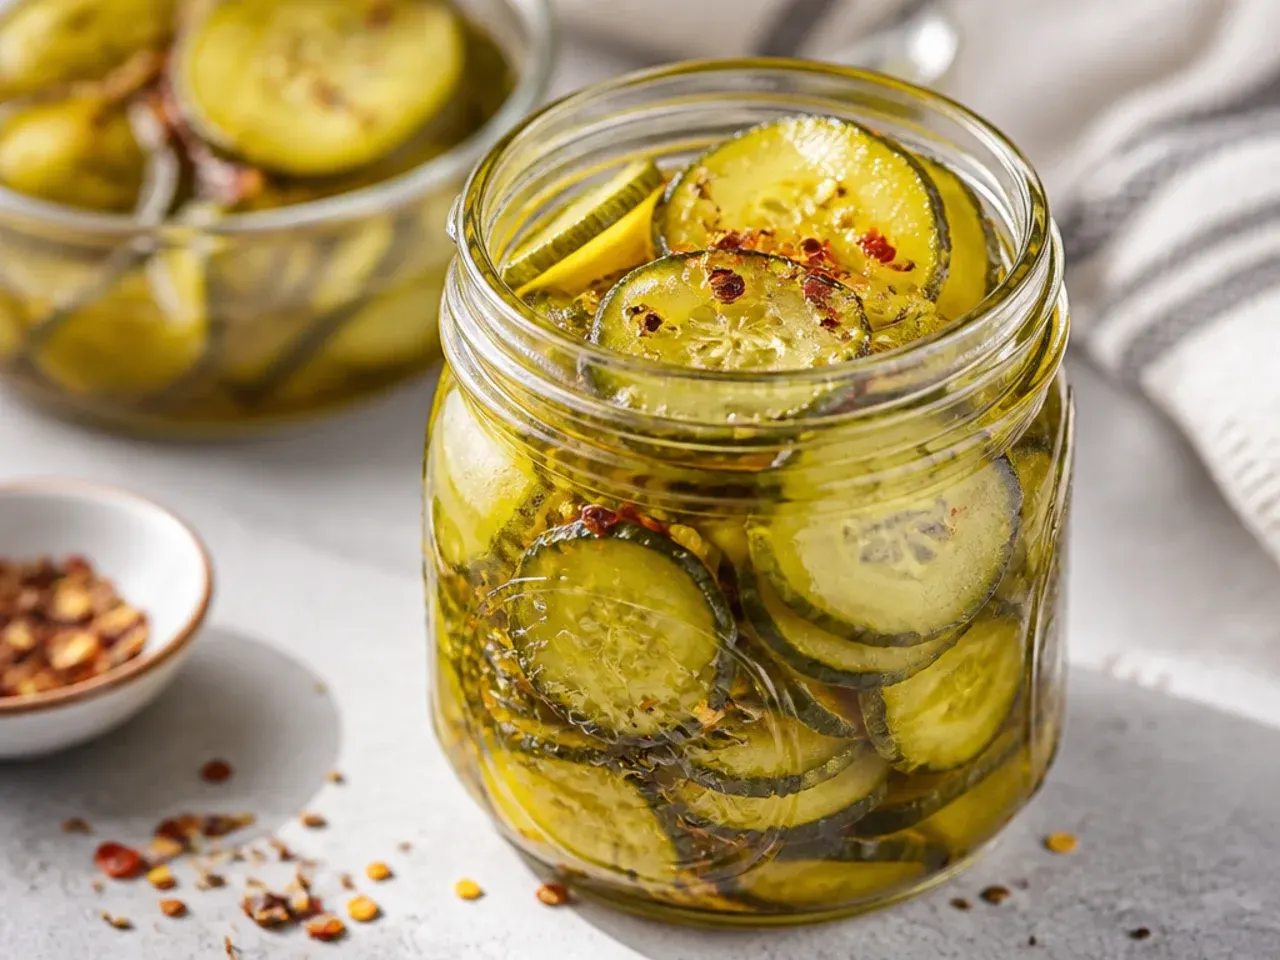
For nights when dinner is already on the table and you want pickles now, skip the ice-bath salting entirely: toss thin cucumber and onion slices with salt and let them sit just 10 minutes while you heat the brine, then combine straight away. The pickles won't have quite the multi-hour crunch of the classic method, but they're genuinely tasty and ready to eat once cooled to room temperature, about 20 minutes total active time. Keep the slices thin, no more than 3 mm (1/8 inch), since thinner cuts absorb flavour fastest. Chill any leftovers and they'll actually improve by the next day.
Save this for later 📌
Pin this article to your Pinterest board so the full list is one tap away when you need it.
Save on Pinterest11. Rustic Garlic and Dill Bread and Butter Pickles
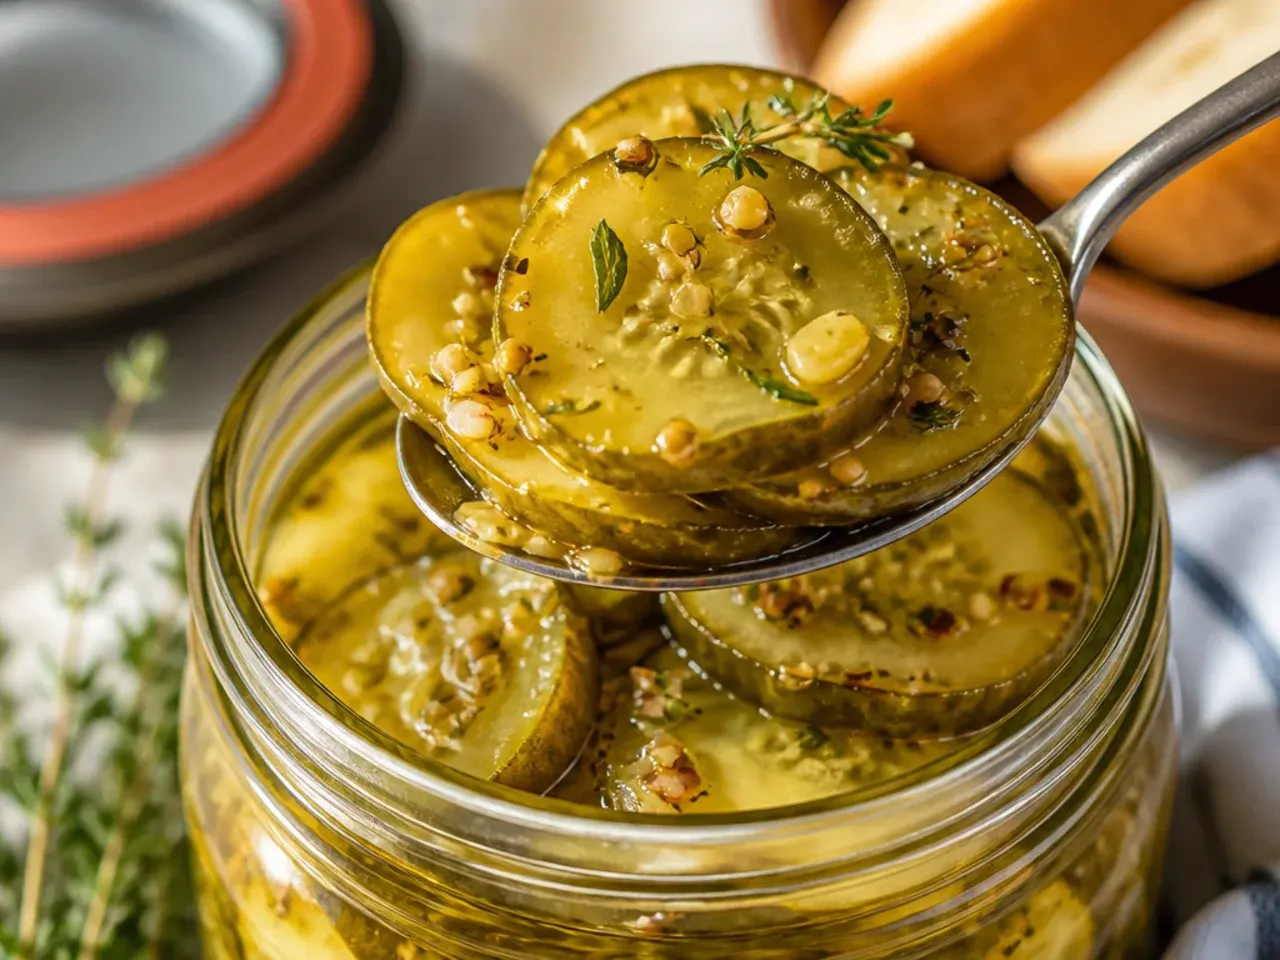
Tuck two smashed garlic cloves and a few fresh dill fronds into each jar alongside the classic mustard seed and turmeric brine, bridging the gap between a sweet bread and butter pickle and a savoury dill pickle. The garlic mellows and turns slightly sweet as it sits in the warm brine, while the dill adds a herby freshness that cuts the sugar nicely. Bruise the dill lightly with the back of a knife before adding it to release more of its oils into the jar. These pair especially well with sharp cheddar or a charcuterie board rather than the usual burger.
12. Loaded Curry-Spiced Pickles
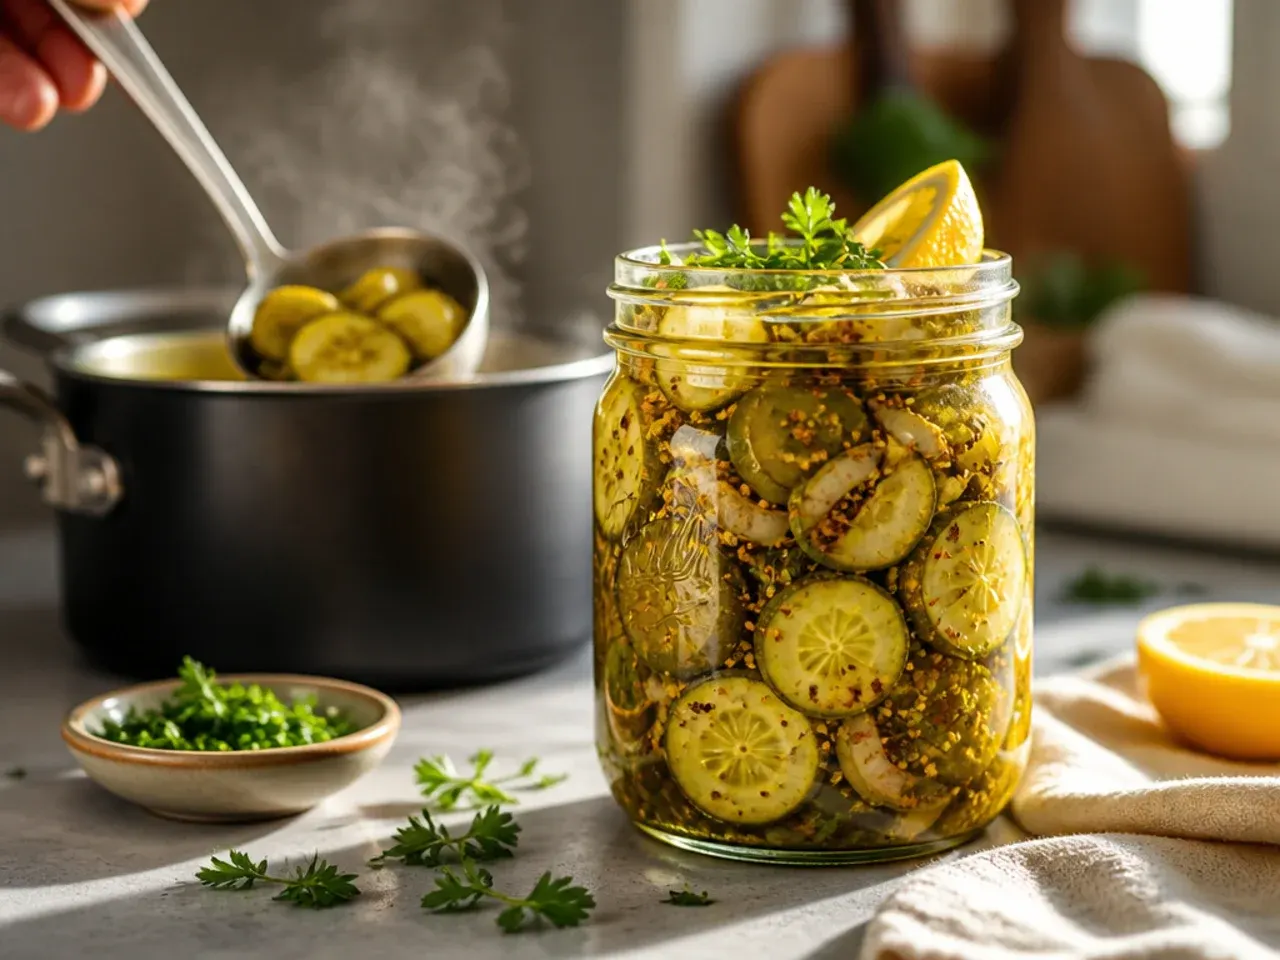
Stir a full tablespoon of curry powder into the classic brine along with a knob of grated fresh ginger for a warmly spiced, deeply golden jar that's a genuine departure from the usual mild mustard-seed flavour. The curry powder's blend of turmeric, cumin and coriander amplifies the natural gold colour bread and butter pickles are known for, so these come out almost marigold-bright. Fresh ginger adds a little heat and zing that plain ground ginger can't match, so grate it fine rather than using powder. These are excellent alongside grilled chicken or folded into a curried egg or chicken salad.
13. Family-Size Mason Jar Pickles
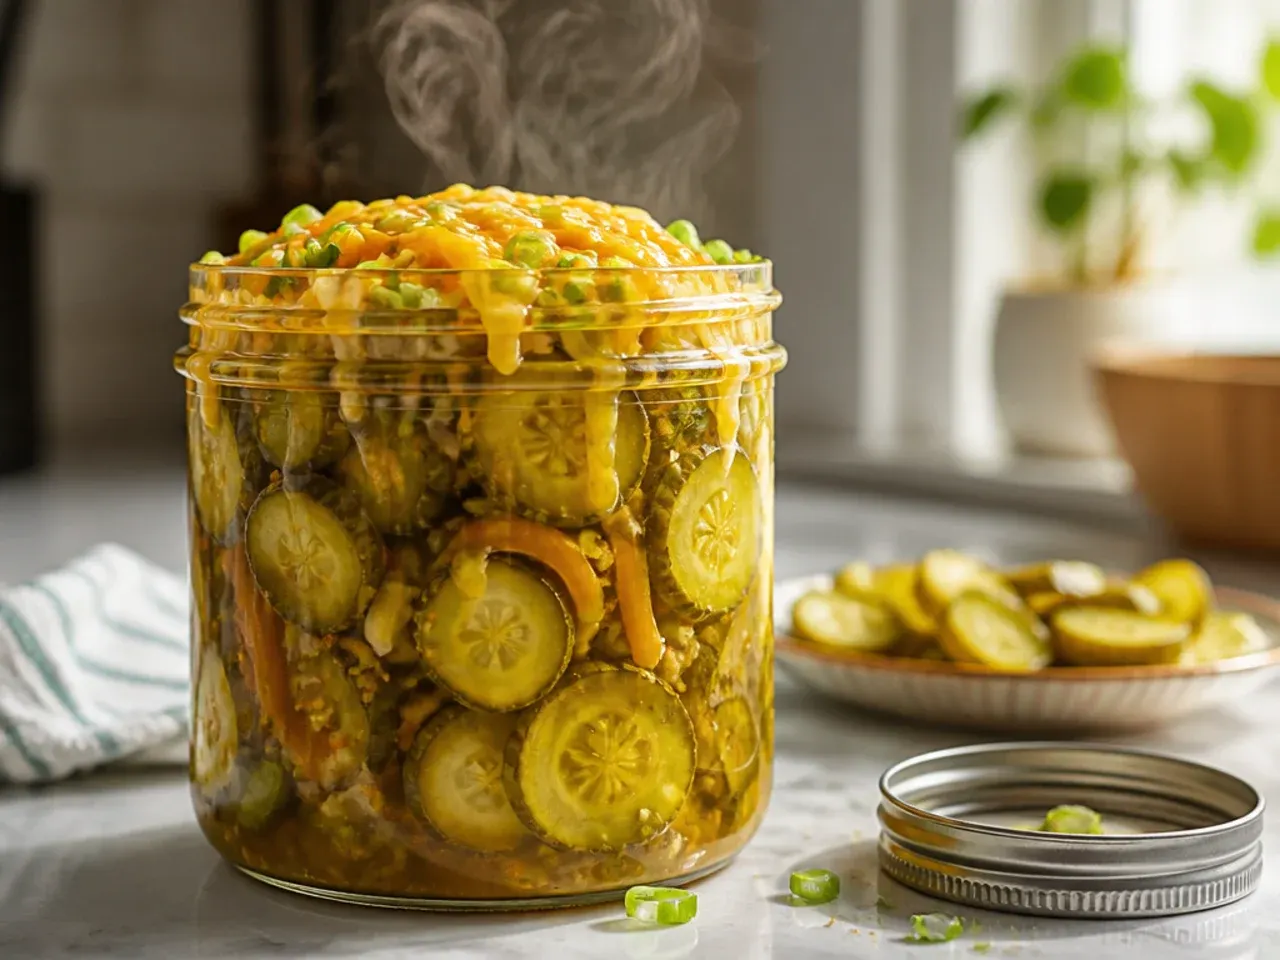
Scale the classic recipe up to 1.8 kg (4 lb) of cucumbers and double the brine, dividing everything across six to eight 500 ml jars so there's enough for school lunches, packed sandwiches and snacking all in one go. Keep the salt-to-cucumber ratio exactly the same as the classic version when you scale up, since under-salting a bigger batch is the most common reason large batches turn out limp. Label jars with the date, since a big batch tends to get forgotten at the back of the fridge otherwise. This is the version worth making right before a busy week rather than a single dinner.
14. Best-Ever Extra-Crunchy Pickles
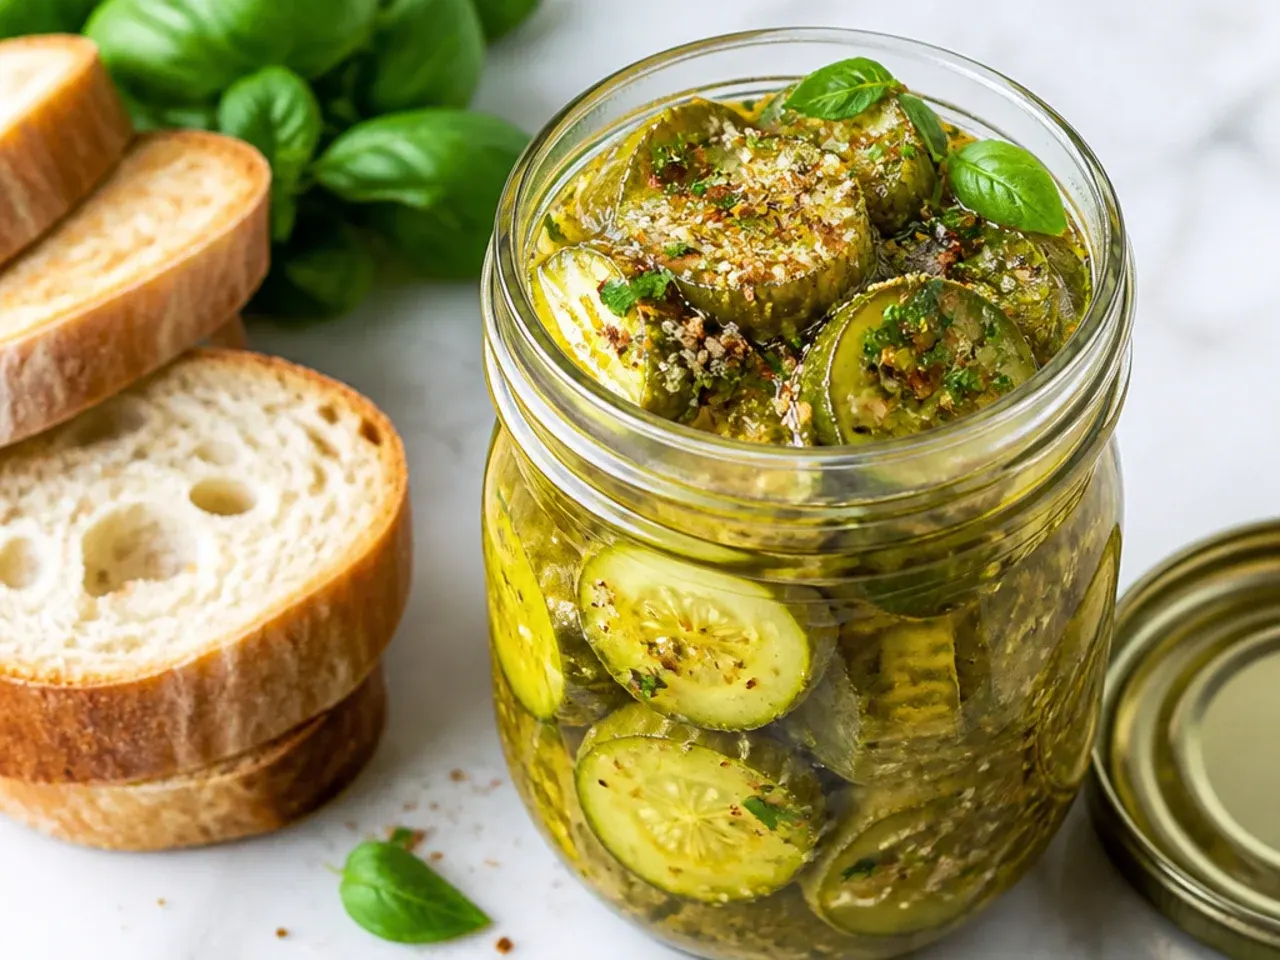
For the crispest possible bite, salt the cucumber and onion slices directly on a bed of ice rather than just with dry salt, letting them sit in the fridge for a full 2-3 hours so the ice slowly melts and draws out water as it chills. A small pinch of pickle crisp (calcium chloride) added to the jar before the brine goes in reinforces the cell walls further, giving a genuinely audible snap days later. Always pat the cucumbers fully dry after rinsing off the salt, since leftover water dilutes the brine and softens the final texture. This method takes the longest of all 20 versions but produces the crunchiest jar by a clear margin.
15. Quick 1-Hour Icebox Pickles
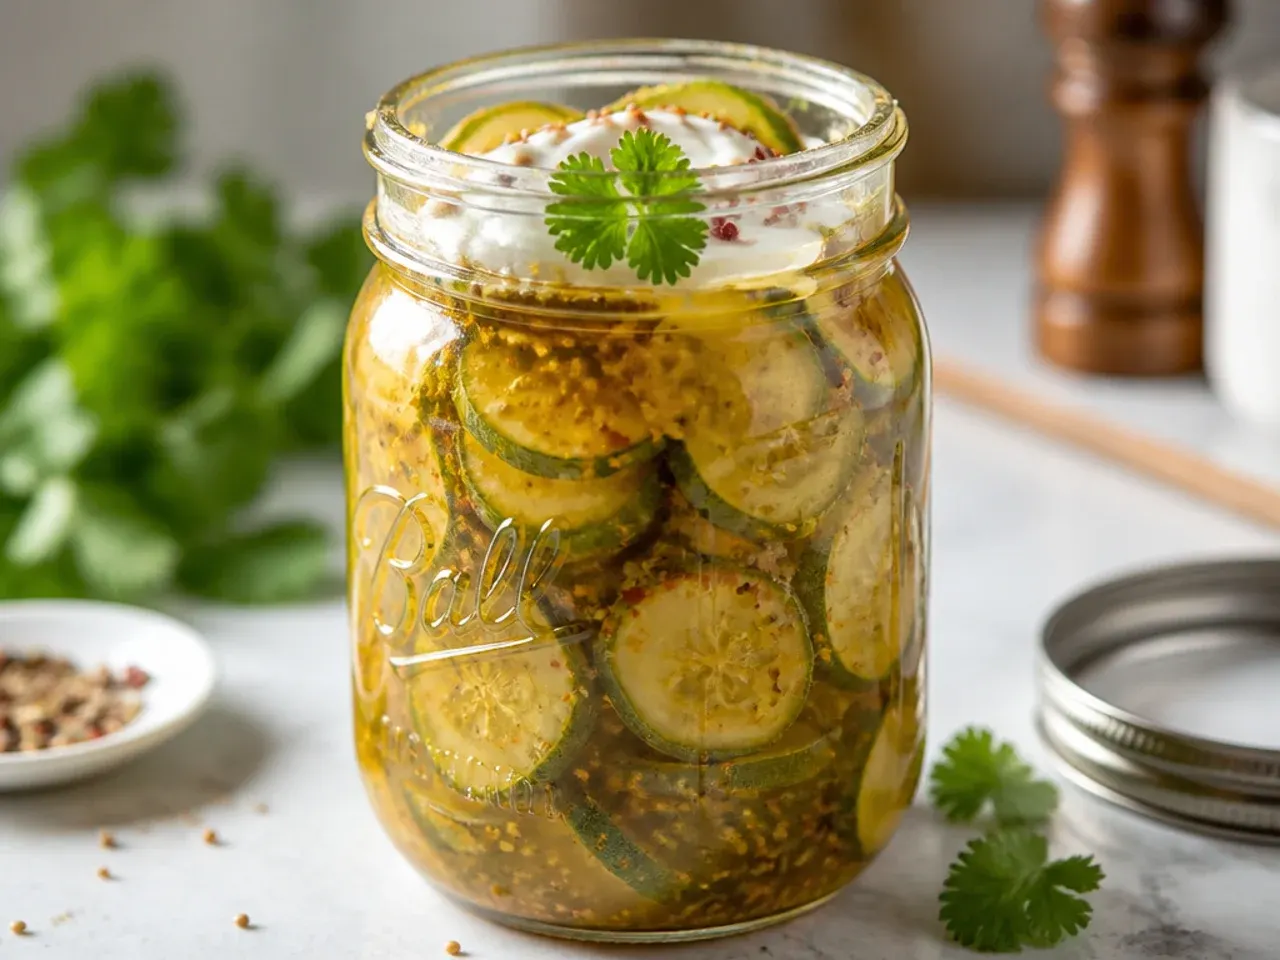
A middle ground between the ultra-quick and the full ice-bath method: salt the cucumber and onion with ice for just 1 hour, enough to firm the slices without demanding half a day of patience. Rinse and pat dry thoroughly before pouring over the hot brine, then chill for a minimum of 2 hours before the first taste. This is the timing most people land on for a genuinely good jar without an overnight wait. It's the version to reach for when you want real crunch but dinner's only an hour away.
Save this for later 📌
Pin this article to your Pinterest board so the full list is one tap away when you need it.
Save on Pinterest16. Old-Fashioned Amish-Style Pickles
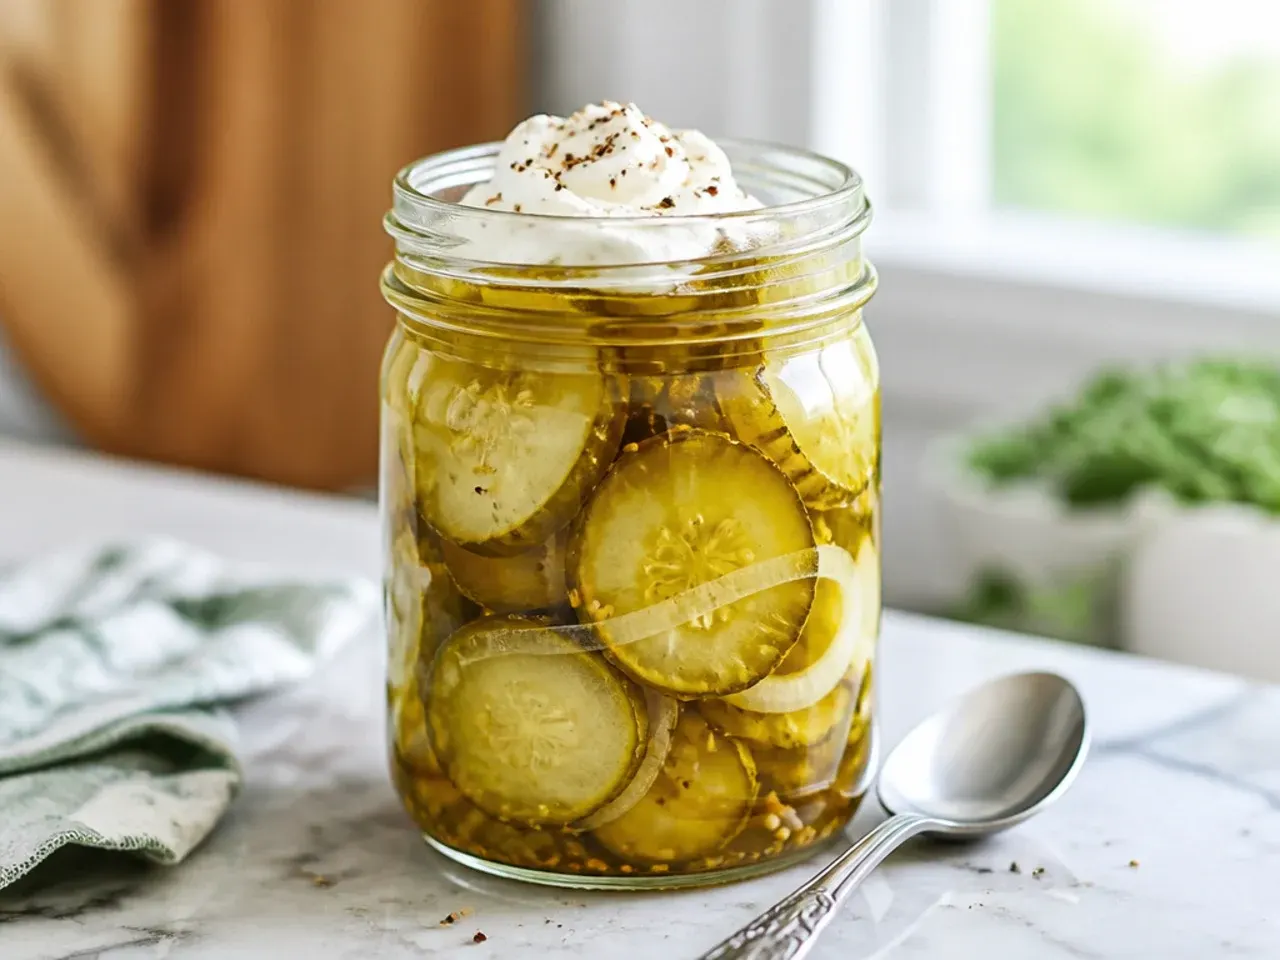
This traditional Pennsylvania Dutch-style version leans on brown sugar rather than white, whole allspice berries, and a longer overnight salt on the cucumbers using a full layer of pickling salt rather than kosher salt. The brine is simmered a touch longer, about 5 minutes, to fully dissolve the brown sugar and let the spices infuse before it's poured hot over the jars. Cider vinegar is traditional here rather than white vinegar, giving a deeper, less sharp tang. These keep their old-fashioned character best in smaller jars eaten within a month.
17. Sweet Bourbon-Brined Pickles
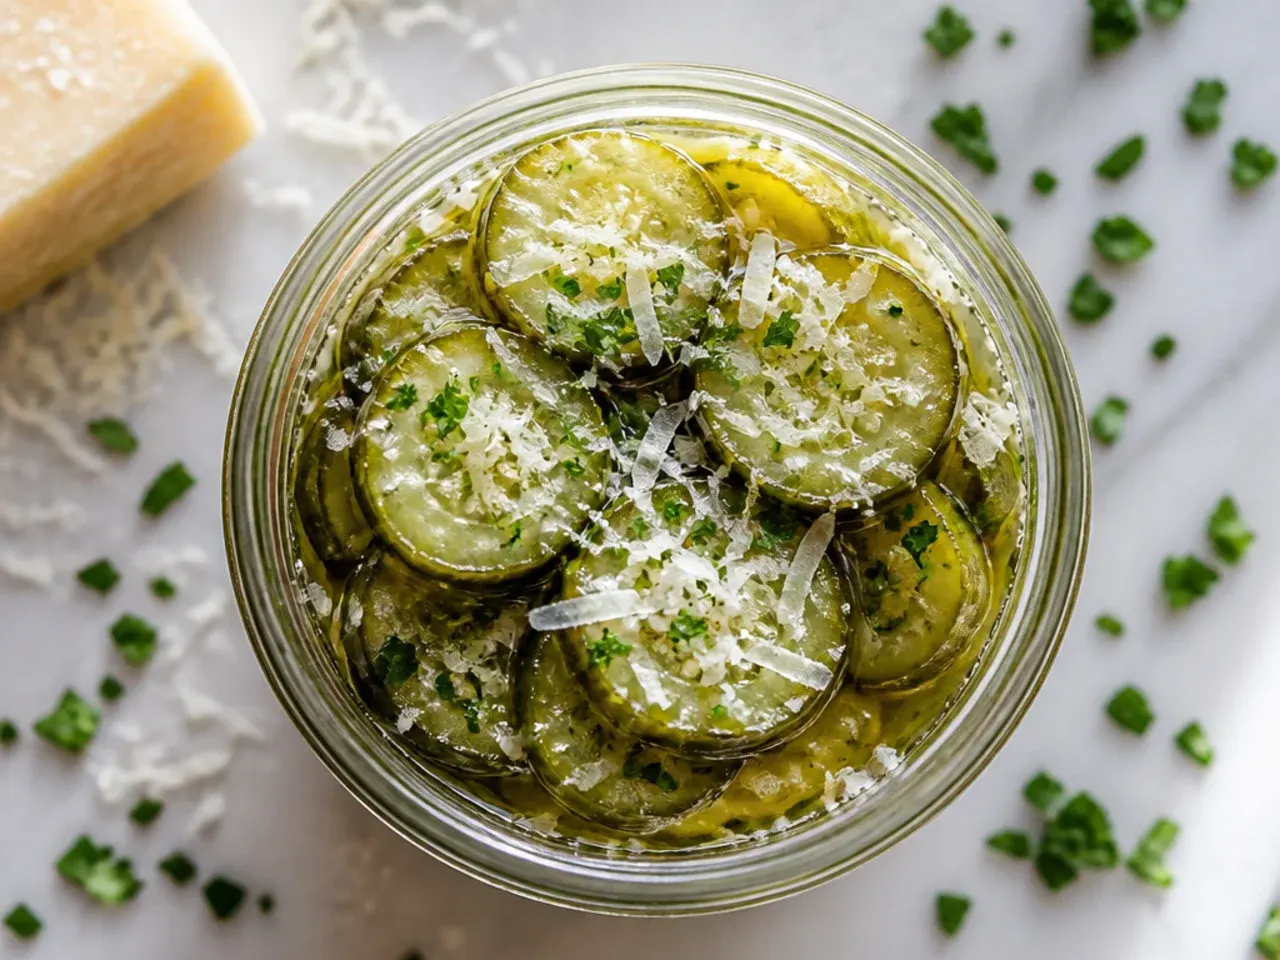
Add 30 ml (2 tbsp) of bourbon to the brine after it comes off the heat, along with a swap to dark brown sugar for a smoky, slightly boozy depth that's unmistakably grown-up. Adding the bourbon off-heat rather than during the simmer keeps its flavour from cooking off completely. These make an excellent garnish for a bourbon cocktail or a burger topper at a summer cookout. Let the jar sit a full 3 days before serving, since the bourbon note needs time to fold into the brine rather than sitting on top of it.
18. Fresh Zucchini and Squash Pickles
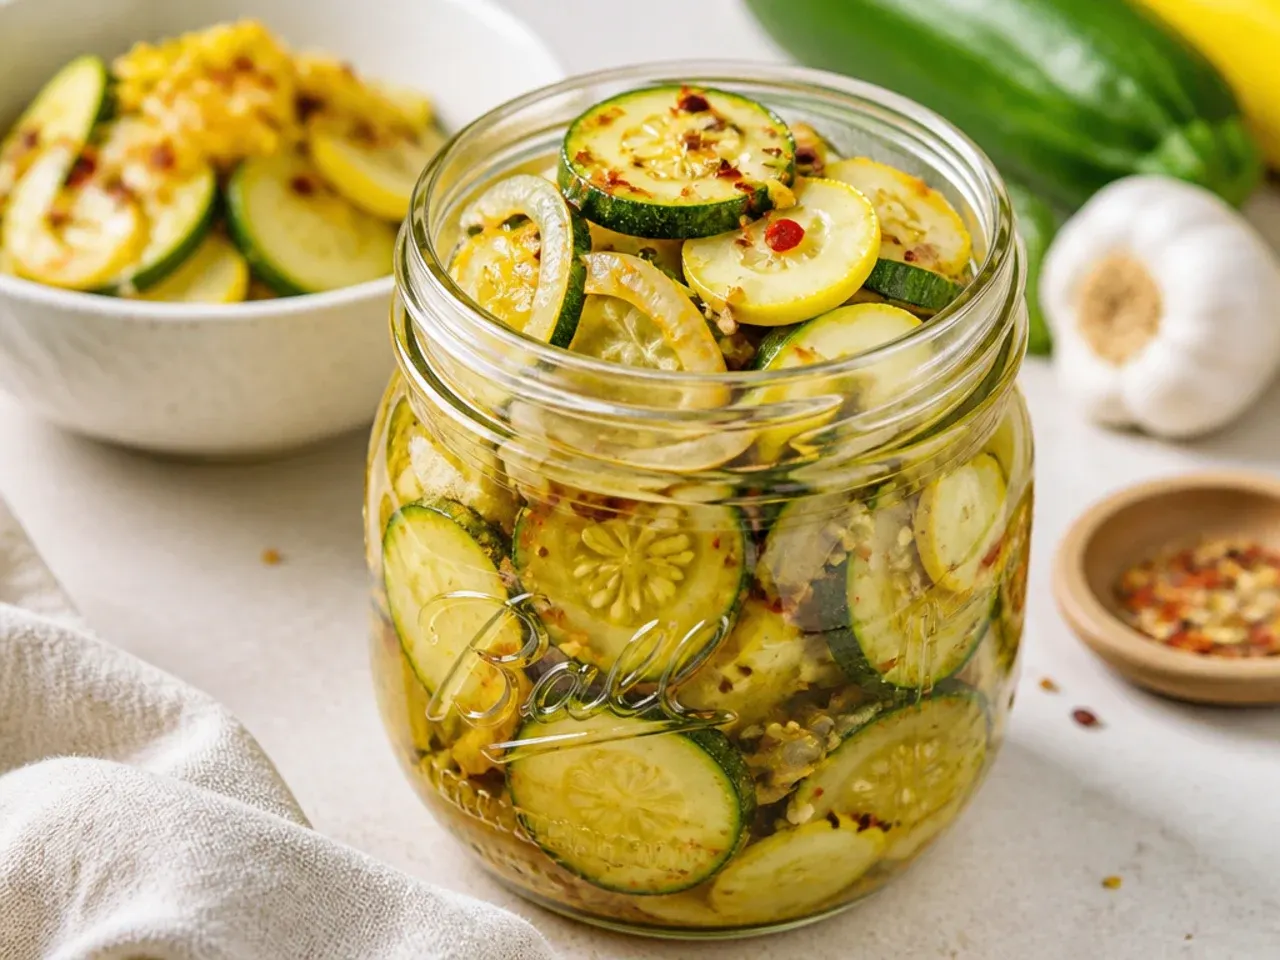
Swap the cucumbers entirely for firm young zucchini or yellow summer squash, sliced into the same thin rounds, for a variation that uses up a glut of garden squash the same way you'd use cucumbers. Zucchini holds slightly less water than cucumber, so the salting step can be shortened to about 45 minutes without losing crunch. The classic mustard seed and turmeric brine works without any adjustment, since the vegetable swap doesn't change the flavour balance. This is the jar to make in late summer when zucchini is more abundant in the garden than cucumbers.
19. Spiced Golden Beet and Onion Pickles
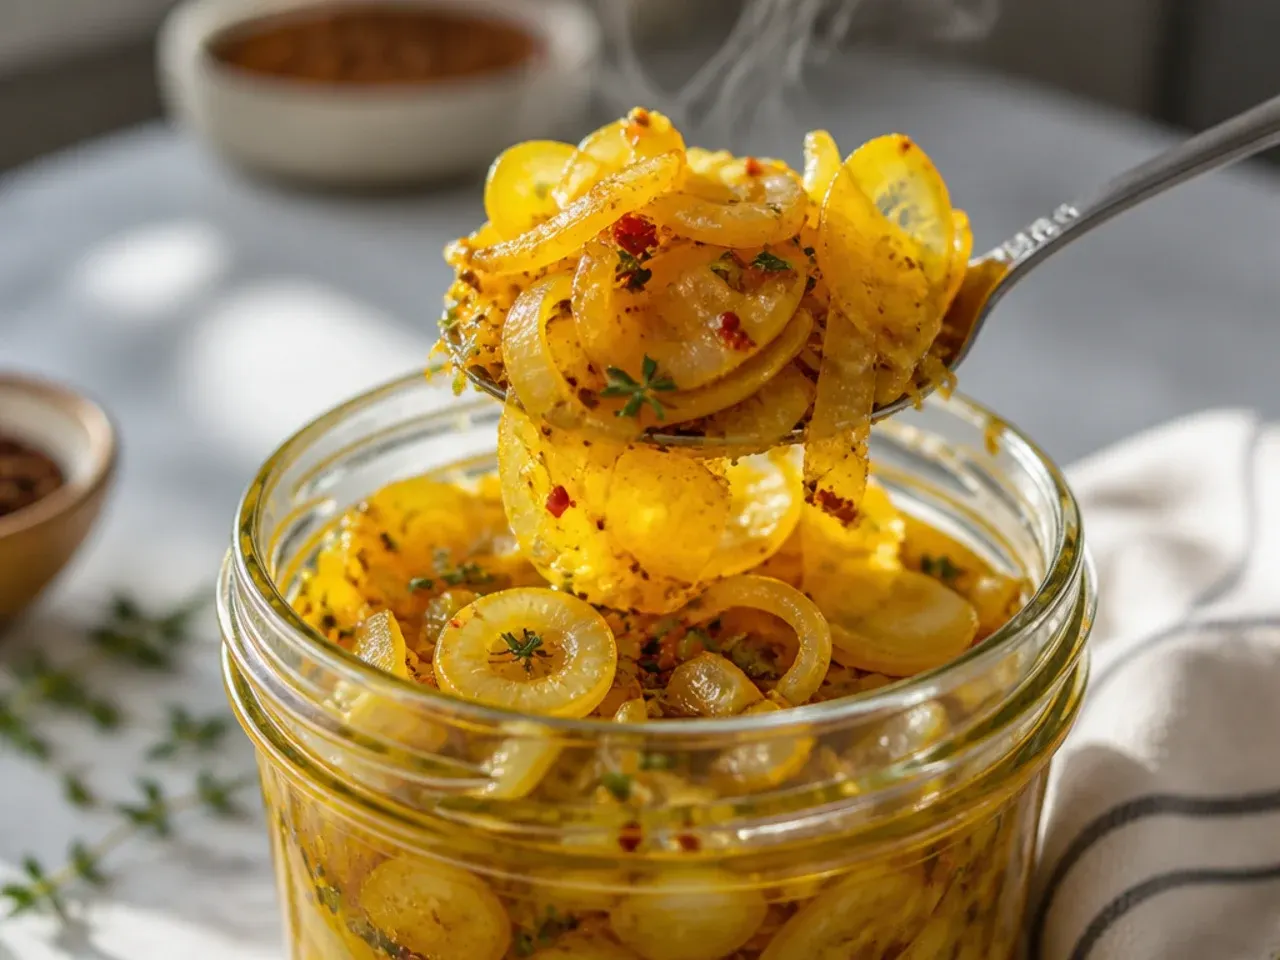
Trade the cucumber for thinly sliced, pre-cooked golden beets, keeping the onion and the full turmeric-mustard-celery seed brine intact for a jewel-toned jar with an earthy sweetness cucumbers don't have. Beets need a quick simmer in the brine itself, about 3-4 minutes, rather than a raw salt-and-rinse, since they're firmer and need a touch of cooking to soften just slightly. The golden colour of both the beet and the turmeric brine make these strikingly bright on a cheese board. These keep particularly well, holding good texture for up to 6 weeks refrigerated.
20. Low-Sugar Bread and Butter Pickles
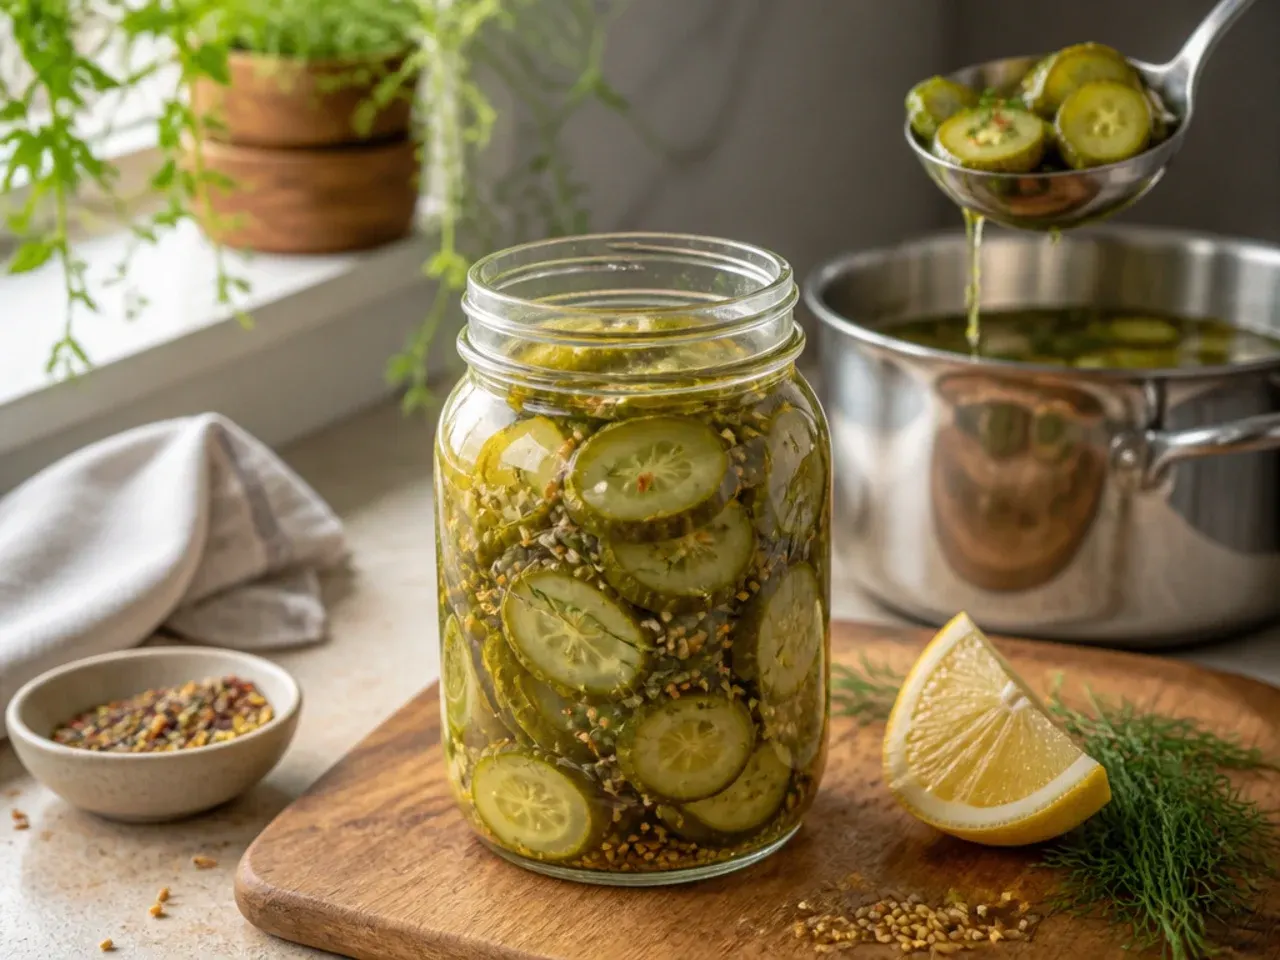
Cut the sugar by roughly half compared with the classic brine and make up the balance with a touch more vinegar and a pinch of a sugar substitute like monk fruit or stevia blend, giving a tangier, less syrupy pickle that suits lower-sugar diets. Because sugar also acts as a preservative in the brine, keep these in the coldest part of the fridge and eat them within about 3 weeks rather than the full 2-3 months a full-sugar batch can manage. Taste and adjust the substitute carefully, since sweeteners vary widely in intensity compared with real sugar. This version still delivers the mustard-seed crunch and turmeric colour that make bread and butter pickles recognisable, just with a sharper edge.
Pro Tips
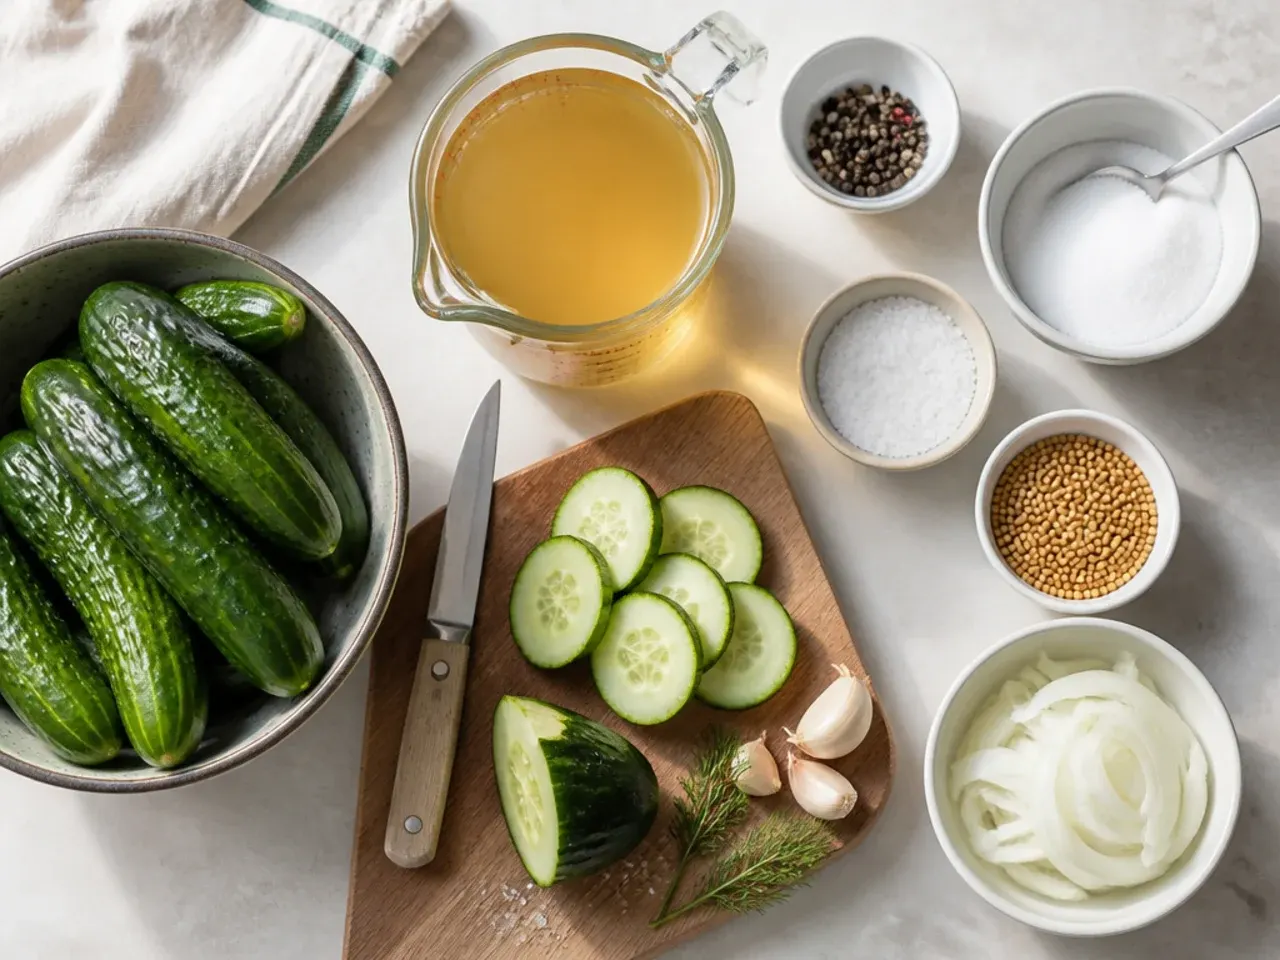
Always use pickling cucumbers such as Kirby rather than waxed salad cucumbers, since the thinner skin and firmer flesh of pickling varieties absorb brine better and stay crunchier. Slice with a mandoline for uniform 3 mm (1/8 inch) rounds so every piece pickles at the same rate. Never pour cold brine over the vegetables — heat it just until the sugar and salt fully dissolve, since a properly hot brine is part of what keeps the texture crisp rather than mushy. Sterilise jars in the dishwasher or with boiling water before filling, since any residual bacteria will shorten the fridge life of the finished pickles considerably.
Serving Suggestions
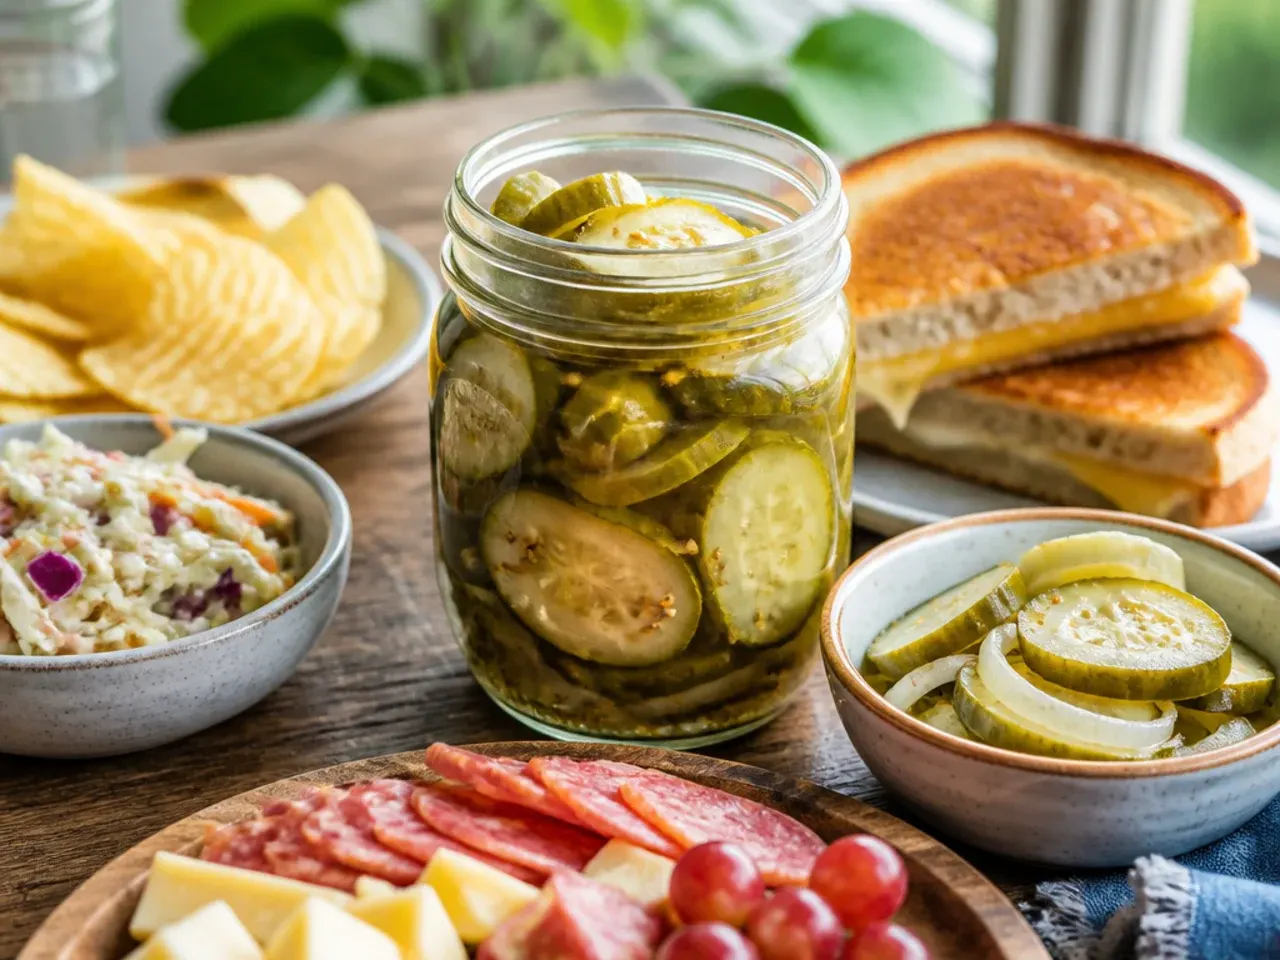
Pile bread and butter pickles straight onto burgers, hot dogs and pulled pork sandwiches, where the sweet-tangy crunch cuts through rich, fatty meat. They're just as good chopped into a quick tuna, chicken or egg salad in place of sweet relish, or laid out whole on a cheese and charcuterie board next to sharp cheddar and cured meats. A few slices tucked into a grilled cheese sandwich right before it closes add a welcome contrast of temperature and tang. Save a little of the leftover brine, too — it's excellent whisked into a vinaigrette or a batch of deviled egg filling.
Storage and Reheating
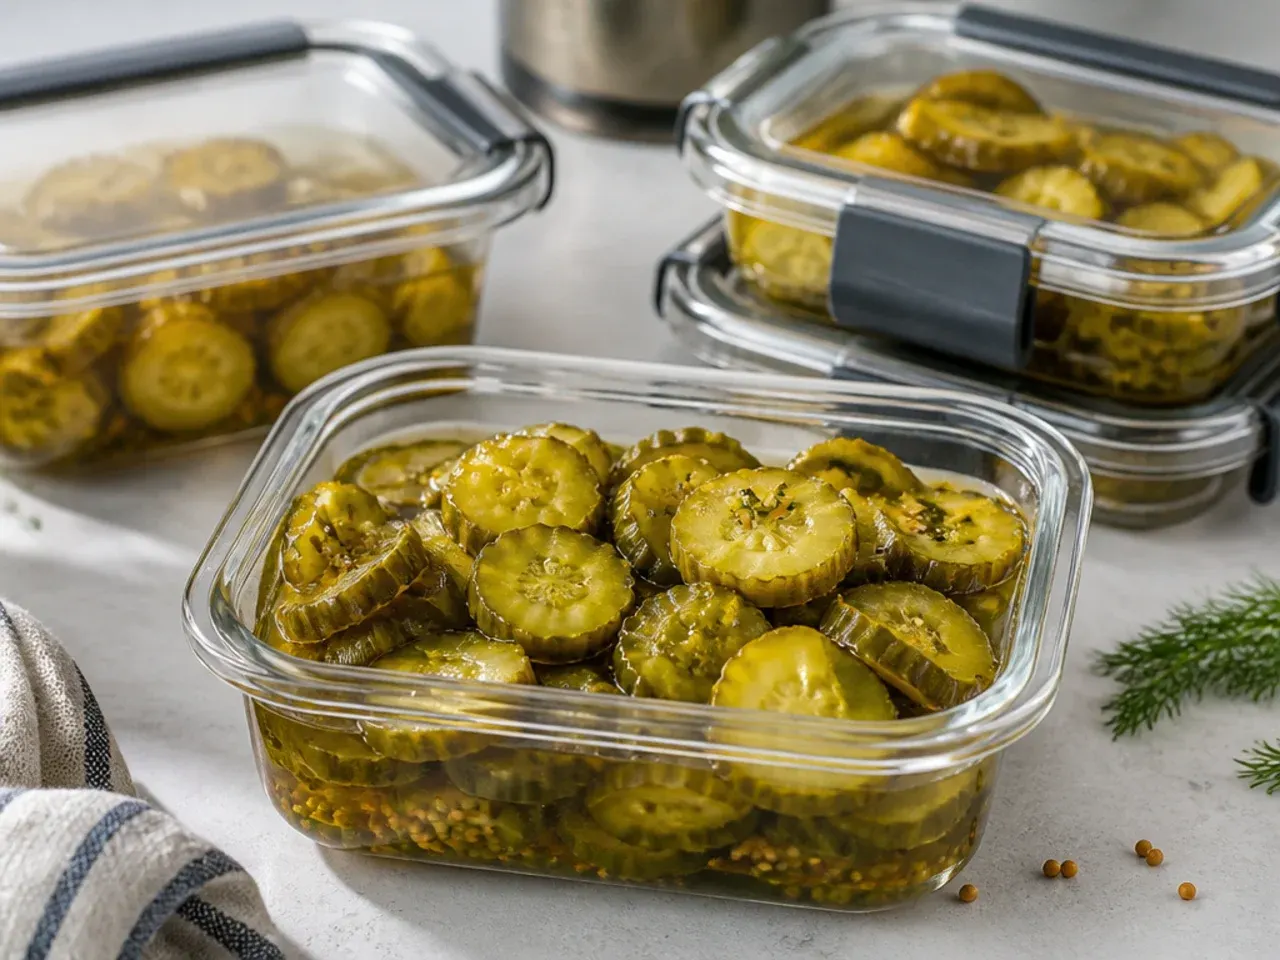
Keep refrigerator bread and butter pickles fully submerged in their brine in a sealed jar in the coldest part of the fridge, where the classic full-sugar version will hold good texture and flavour for 2-3 months. Lower-sugar or fresh-herb variations are best eaten within 3-4 weeks, since less sugar and salt means less natural preservation. These pickles are never reheated — they're a cold, crisp condiment by design — so simply lift slices out with a clean fork each time to avoid introducing bacteria that shortens the jar's life. If the brine turns cloudy or slices lose their snap and turn soft, it's time to toss the jar rather than risk it.
The Recipe
The Master Recipe
25 min
5 min
24 hr 30 min (up to 48 hr for best flavor)
10
Beginner
Ingredients 10 Person(s)
Directions
Step 1: Slice the cucumbers and onion
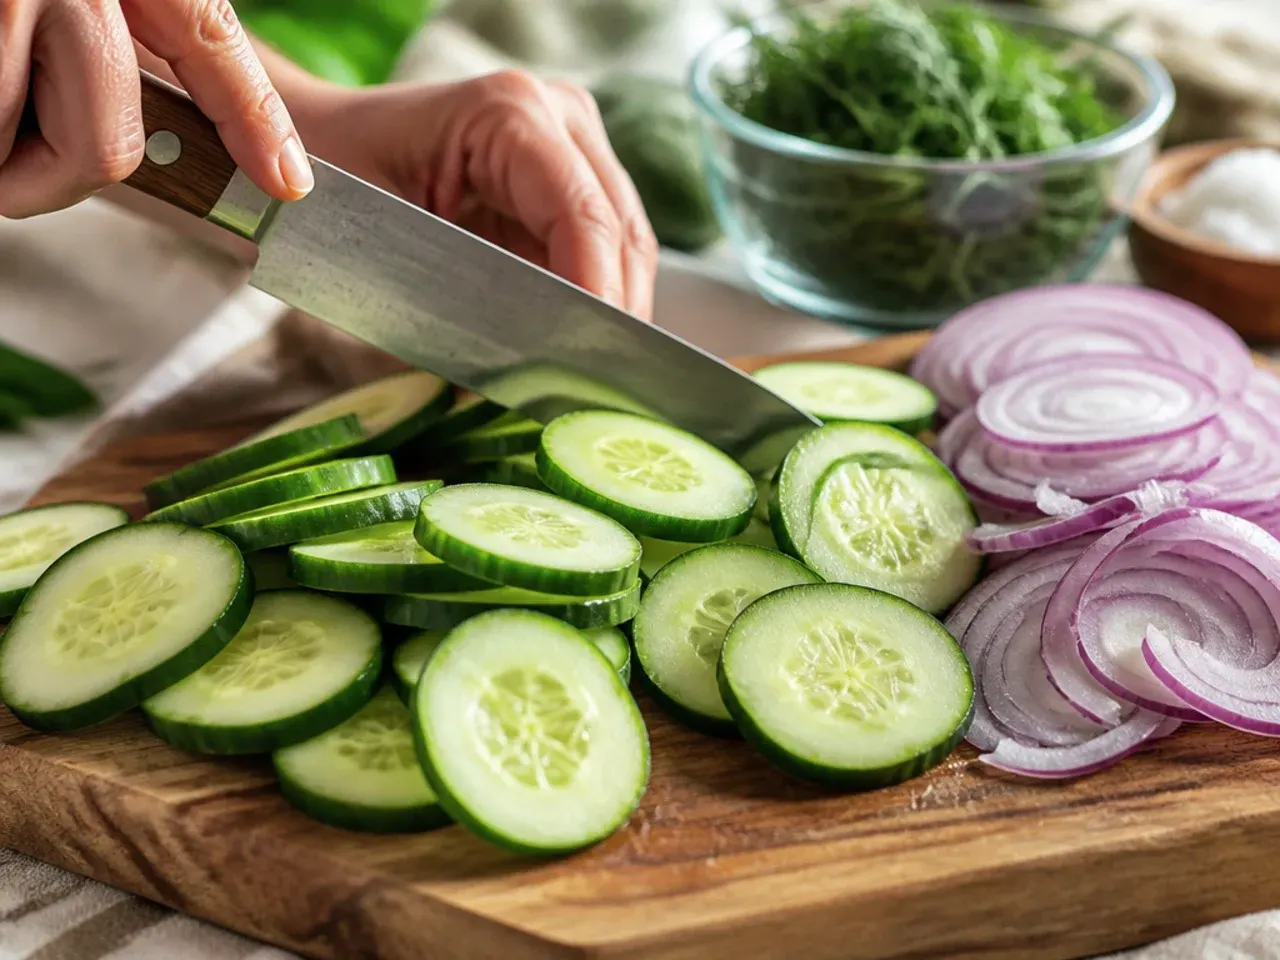
Wash the cucumbers well and trim the ends. Using a mandoline or sharp knife, slice the cucumbers and the onion into rounds about 3 mm (1/8 inch) thick, keeping the thickness as even as possible so every piece pickles at the same rate.
Step 2: Salt and chill to draw out moisture
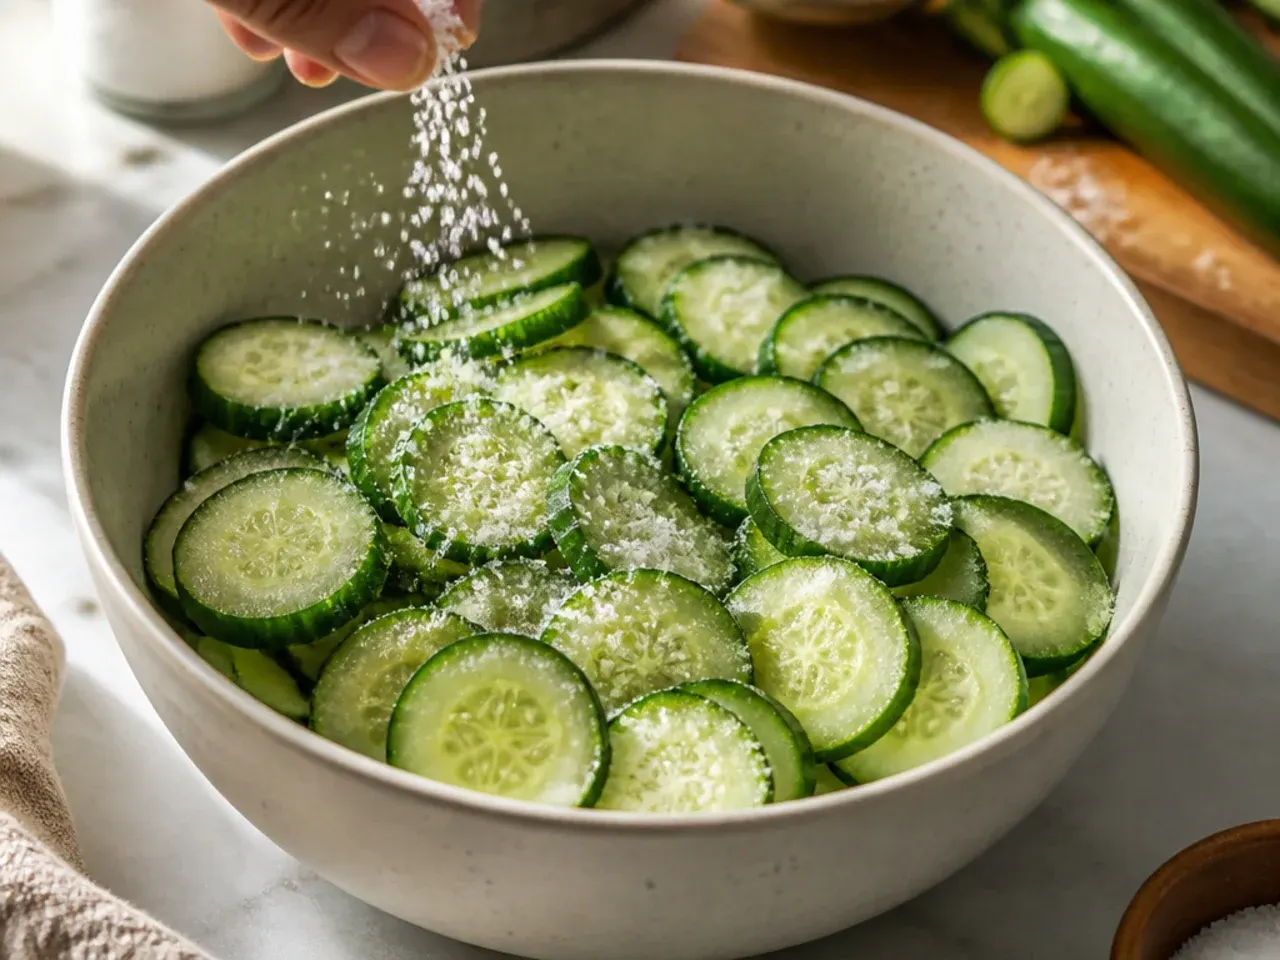
Layer the cucumber and onion slices in a large bowl with 30 g (2 tbsp) kosher salt and the ice cubes, tossing to coat evenly. Cover and refrigerate for 1-3 hours, until the ice has mostly melted and the slices feel firm and slightly translucent at the edges.
Step 3: Rinse and drain thoroughly

Drain off the salty ice water completely, then rinse the cucumber and onion slices under cold running water to remove excess salt. Pat them very dry with a clean tea towel or kitchen paper, since leftover water will dilute the brine and soften the finished pickles.
Step 4: Make the brine
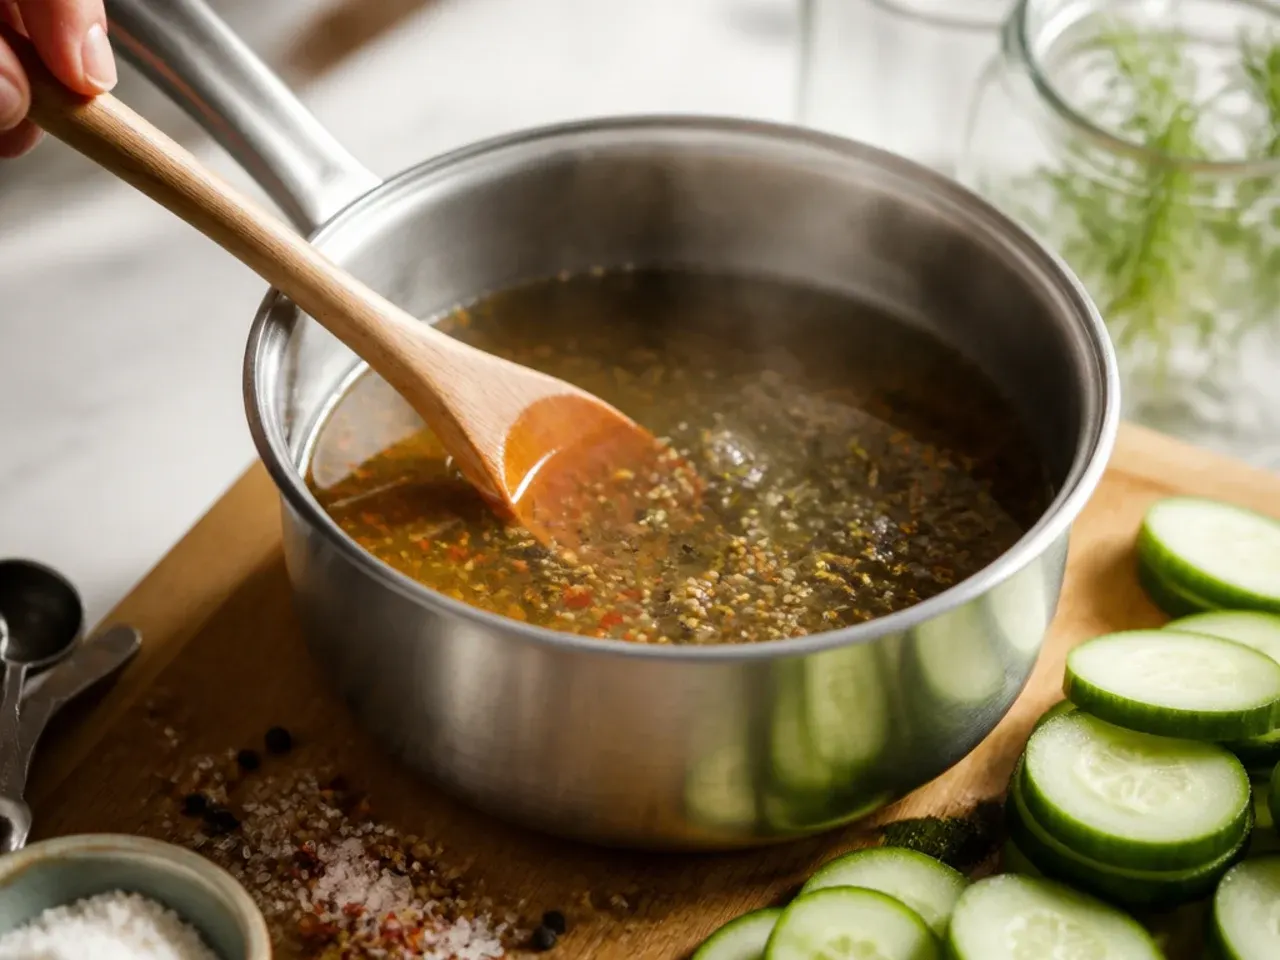
In a medium saucepan, combine the white vinegar, apple cider vinegar, sugar, mustard seeds, celery seeds, turmeric and garlic. Bring to a gentle boil over medium-high heat, stirring occasionally, until the sugar has fully dissolved, about 3-4 minutes; do not add the cucumbers to the pan.
Step 5: Pack the jars
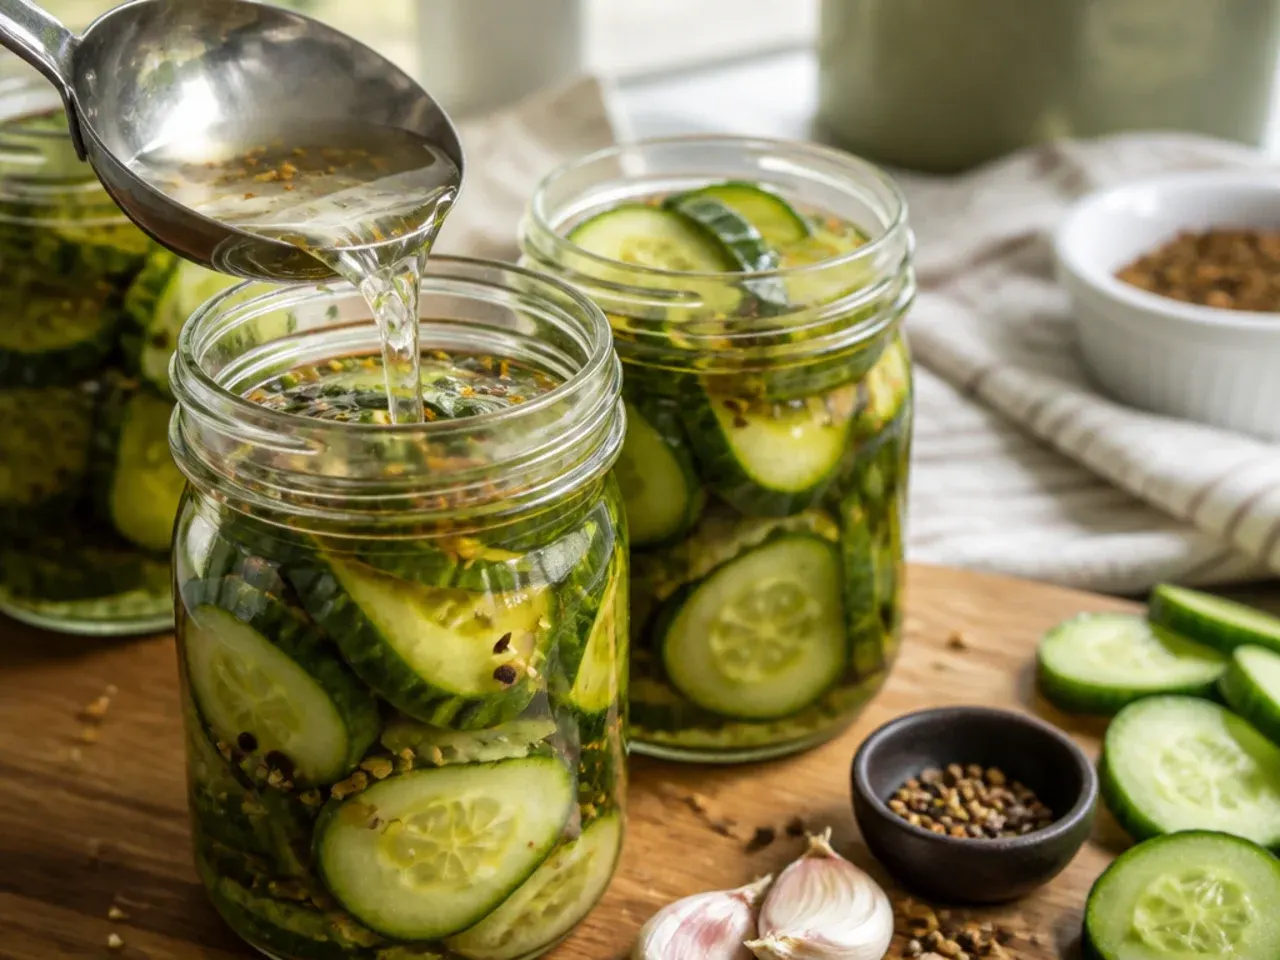
Divide the drained cucumber and onion slices evenly among two clean 500 ml (1 pint) jars, pressing them down gently so they're snug but not crushed. Leave about 1 cm (1/2 inch) of headspace at the top of each jar.
Step 6: Pour over the hot brine
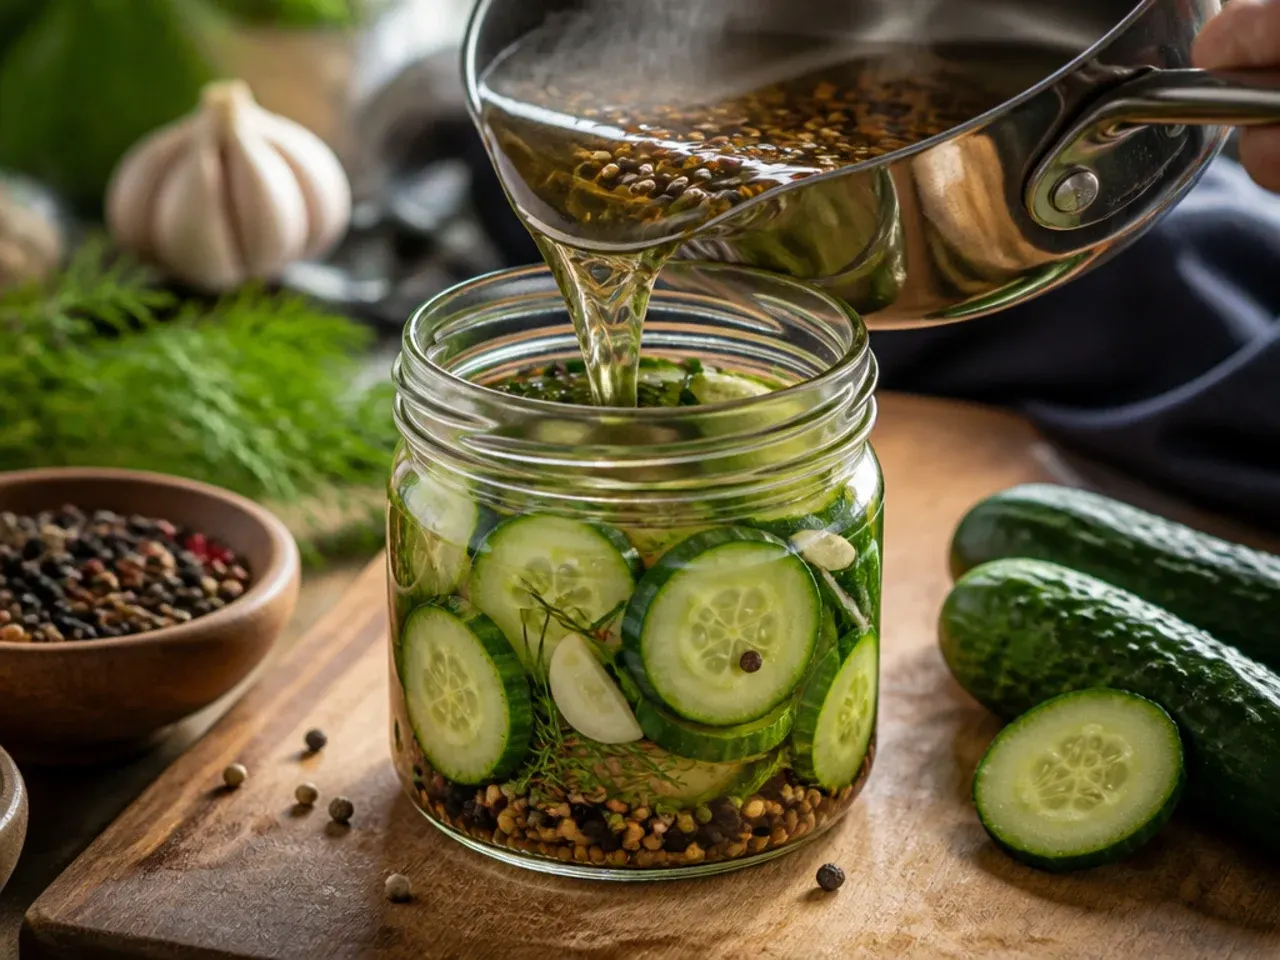
Carefully pour the hot brine over the packed cucumbers and onions in each jar, making sure the liquid fully covers the vegetables and distributing the mustard and celery seeds evenly between jars. Tap the jars gently on the counter to release any trapped air bubbles.
Step 7: Cool, seal and let the flavour develop
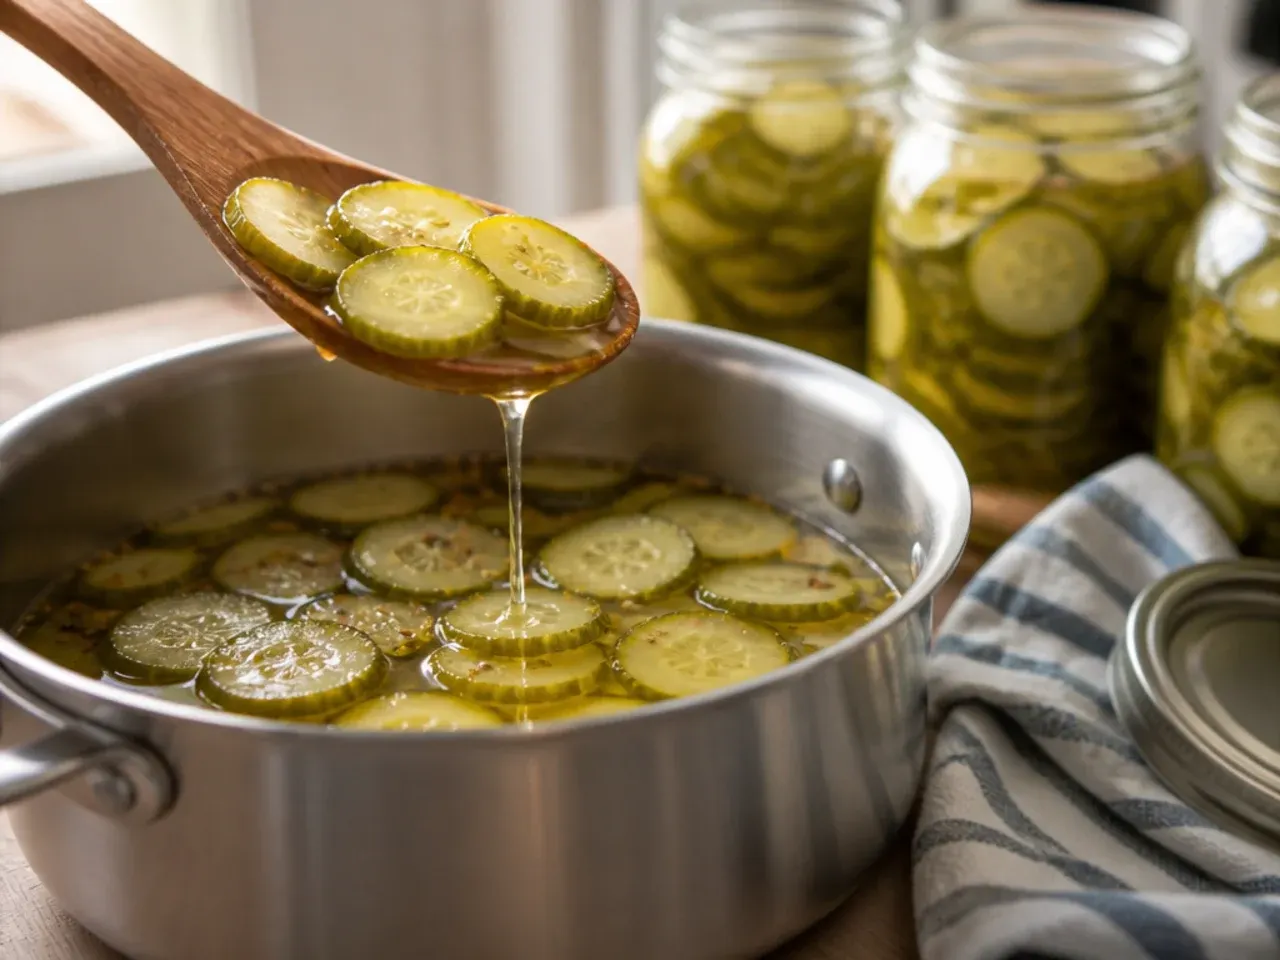
Let the jars cool uncovered on the counter for about 20 minutes, then seal with lids and refrigerate. Chill for at least 24 hours, and ideally 48 hours, before tasting, as the pickles are noticeably better once the brine has had time to fully penetrate the slices; they'll keep well for up to 2-3 months refrigerated.
Frequently Asked Questions
Yes, though the texture will be slightly less crisp. Salting the cucumbers with ice draws out excess water so the slices stay crunchy once the hot brine hits them, but if you're short on time you can salt for as little as 20-30 minutes or skip straight to pouring over the brine. The trade-off is a softer, slightly wetter pickle rather than the classic crisp snap. If crunch matters most to you, plan ahead and give the salting step at least an hour.
Save this for later 📌
Pin this article to your Pinterest board so the full list is one tap away when you need it.
Save on Pinterest