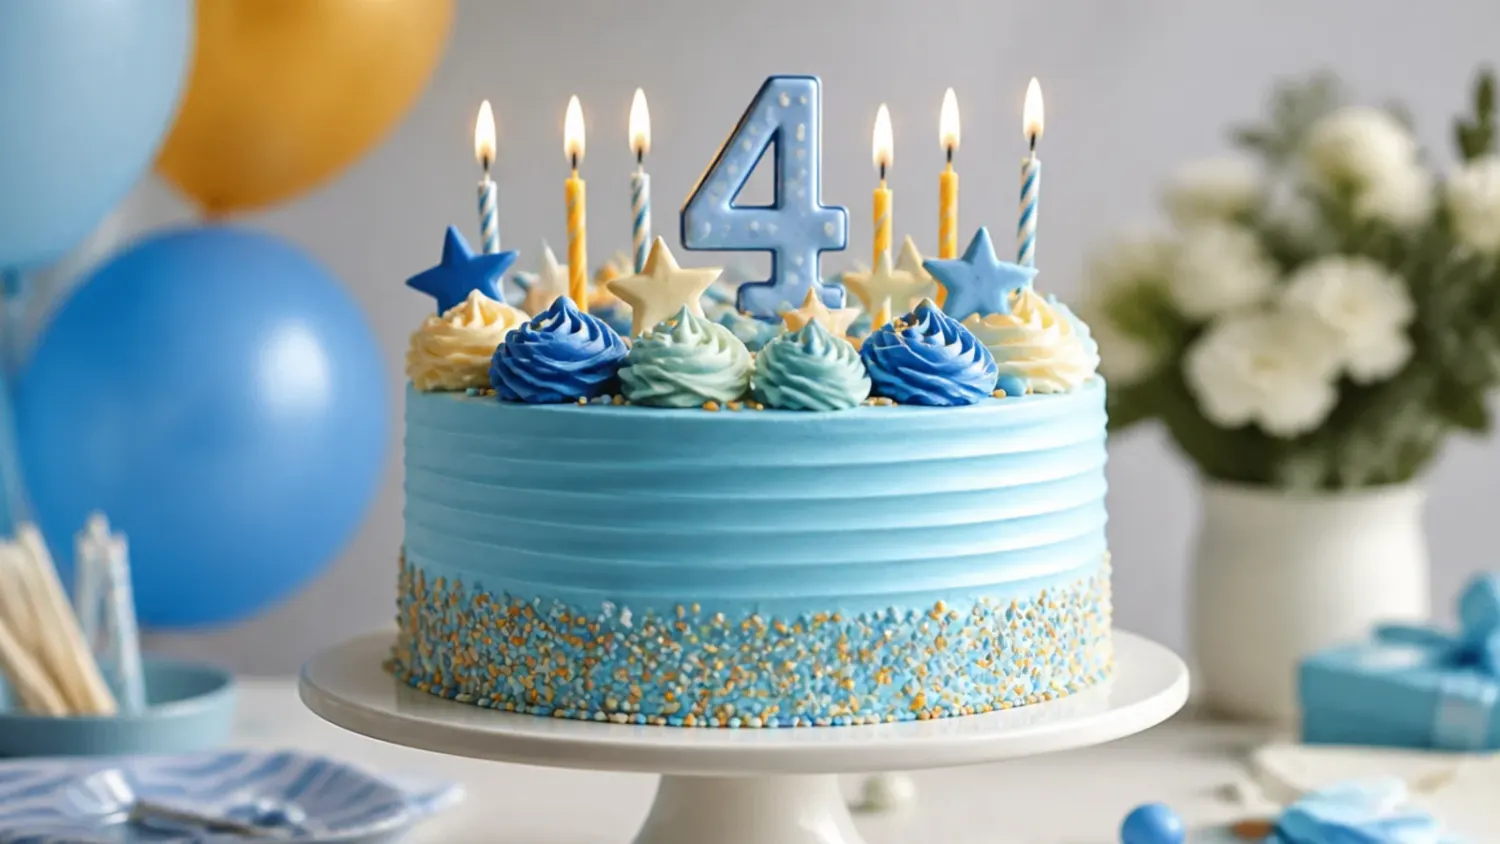
Ingredients 12 Person(s)

Save this for later 📌
Pin this article to your Pinterest board so the full list is one tap away when you need it.
Save on PinterestDirections
Step 1: Prep Your Tins and Oven
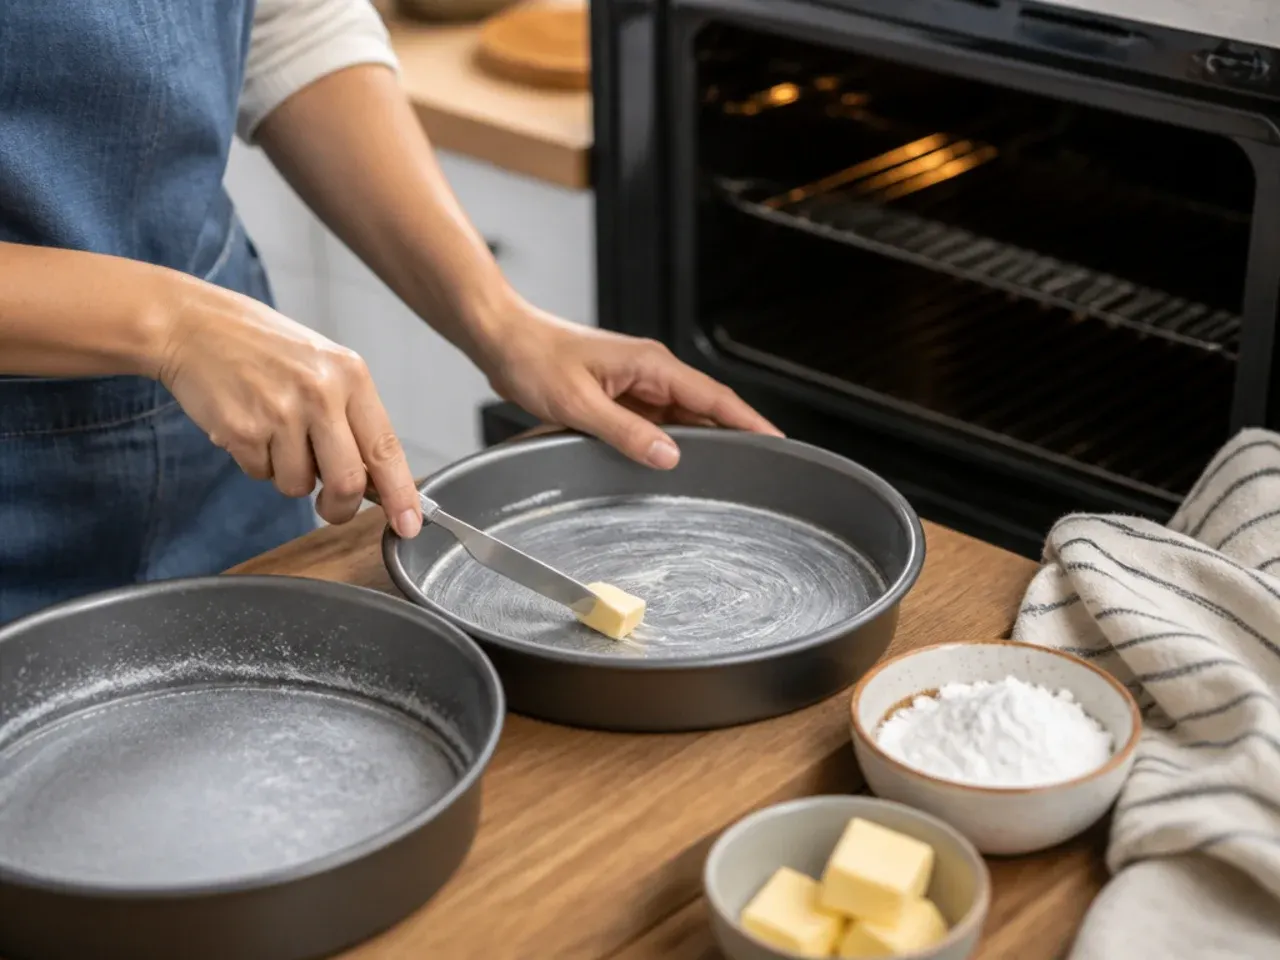
Preheat the oven to 180°C (350°F) and grease two 20 cm (8 in) round cake tins, lining the bases with baking paper. Working with two tins the same size keeps your layers level, which makes stacking and icing the finished cake much easier later on.
Step 2: Cream the Butter and Sugar
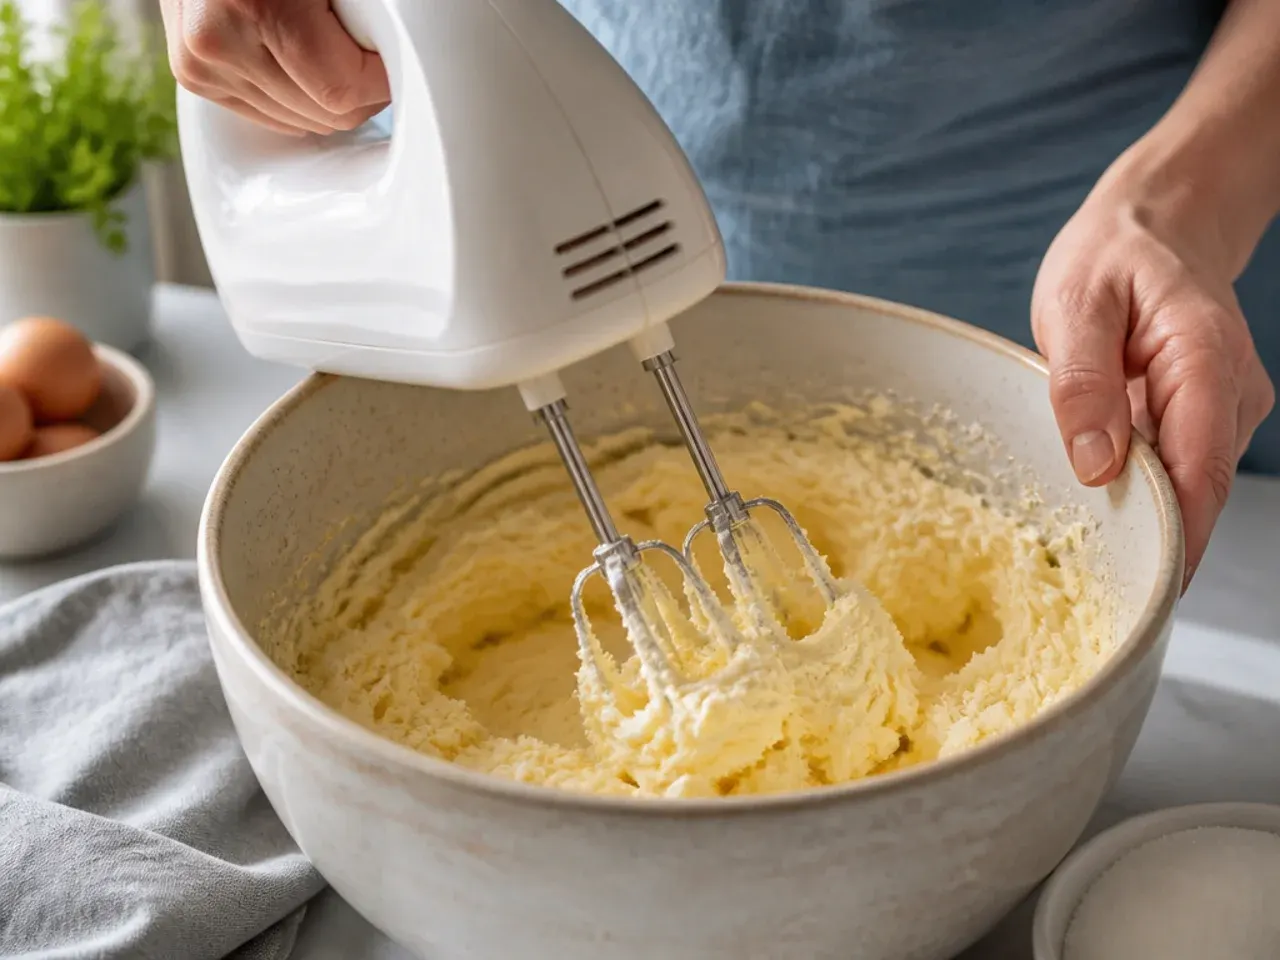
Beat 225 g (8 oz) softened butter with 225 g (8 oz) caster sugar for 4-5 minutes on medium-high speed until pale, light and noticeably fluffy. Scrape down the bowl halfway through so nothing sticks unmixed to the sides.
Step 3: Beat in the Eggs
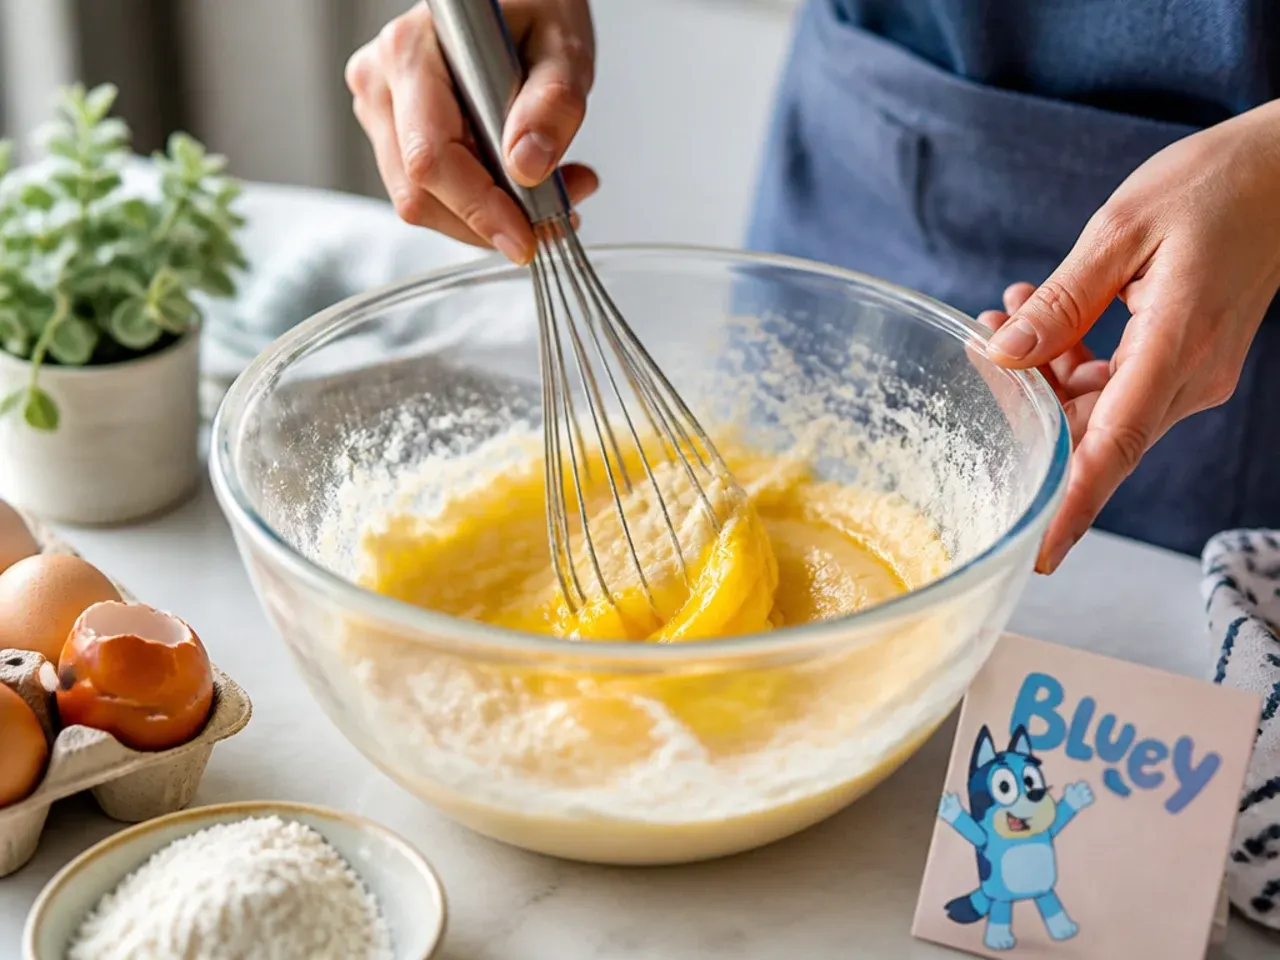
Add 4 large eggs one at a time, beating well after each addition until fully combined. If the mixture looks like it's splitting, add a spoonful of the flour to bring it back together.
Step 4: Fold in the Dry Ingredients
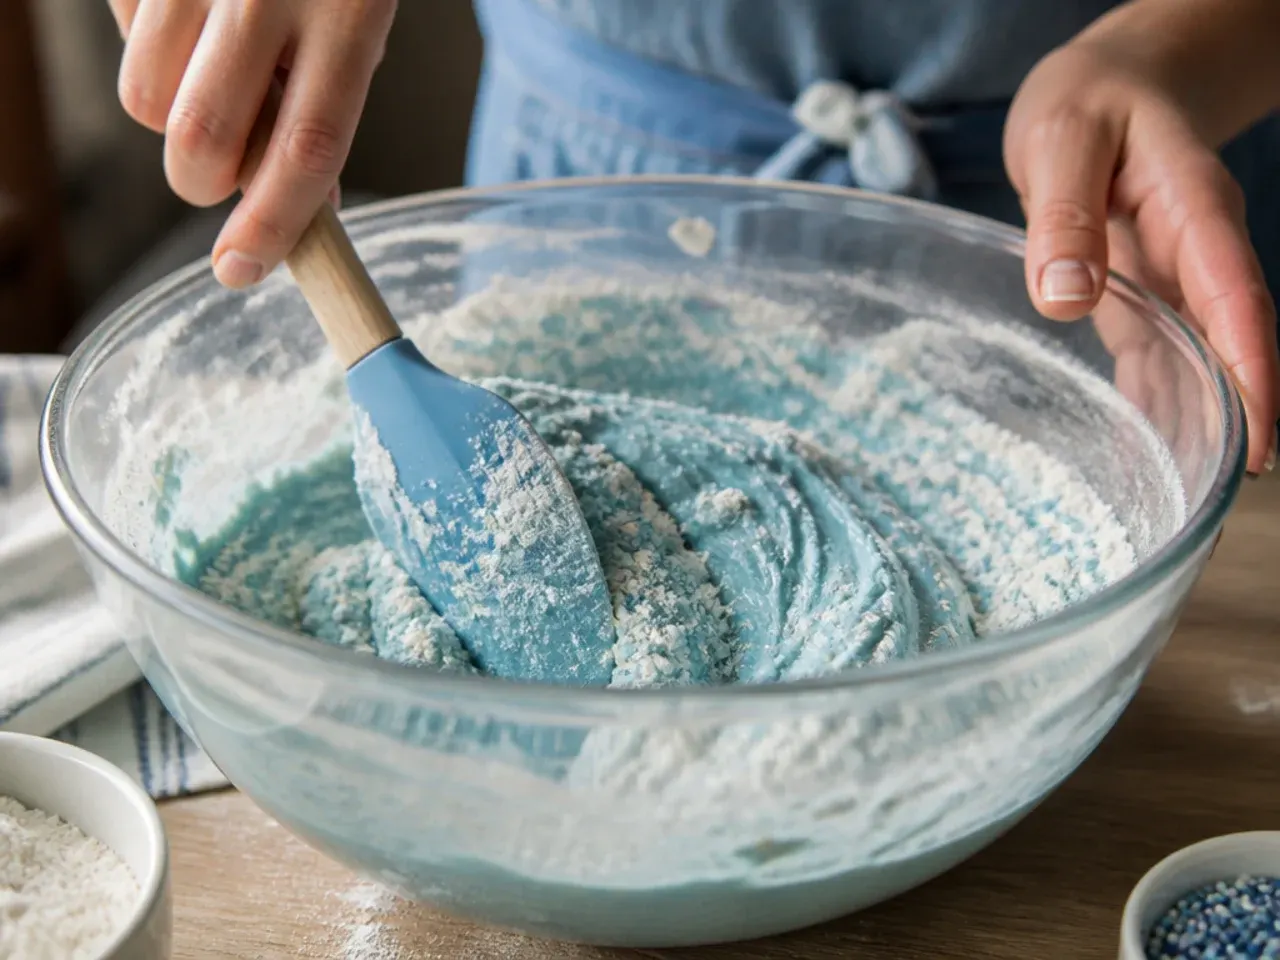
Sift 350 g (12 oz) self-raising flour and 1.5 tsp baking powder over the batter and fold in gently with a spatula. Stop as soon as no dry flour is visible — overmixing at this stage makes the sponge tough instead of soft.
Step 5: Loosen the Batter and Add Sprinkles
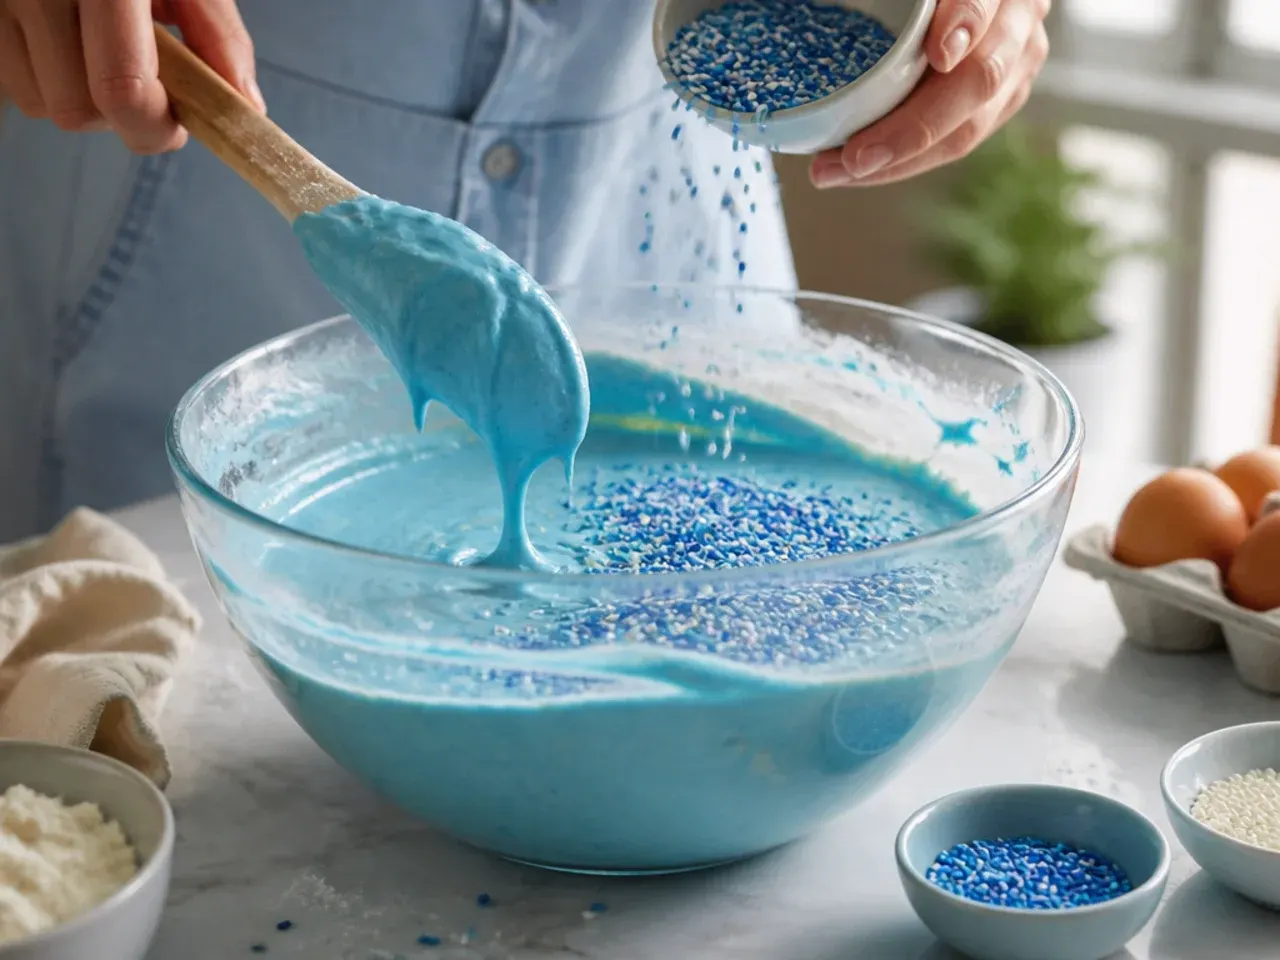
Stir in 100 ml (1/3 cup + 1 tbsp) whole milk and 2 tsp vanilla extract until the batter falls easily off a spoon. Fold through 50 g (1/3 cup) rainbow sprinkles if you want a colourful funfetti crumb inside the finished cake.
Step 6: Divide and Bake the Sponges
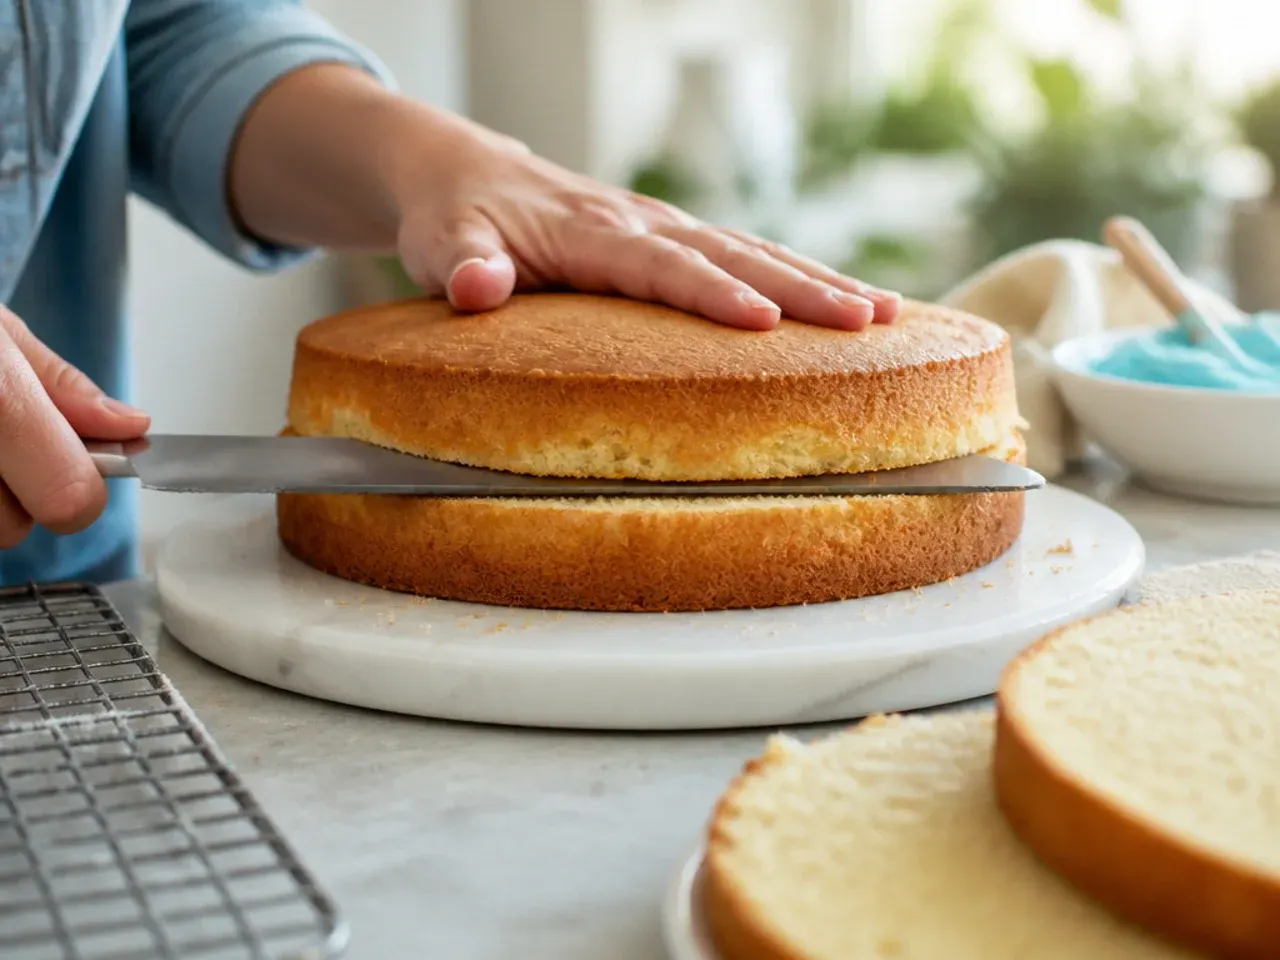
Split the batter evenly between the two prepared tins and smooth the tops with the back of a spoon. Bake at 180°C (350°F) for 25-30 minutes, until golden and a skewer inserted into the centre comes out clean.
Step 7: Cool the Cakes Completely
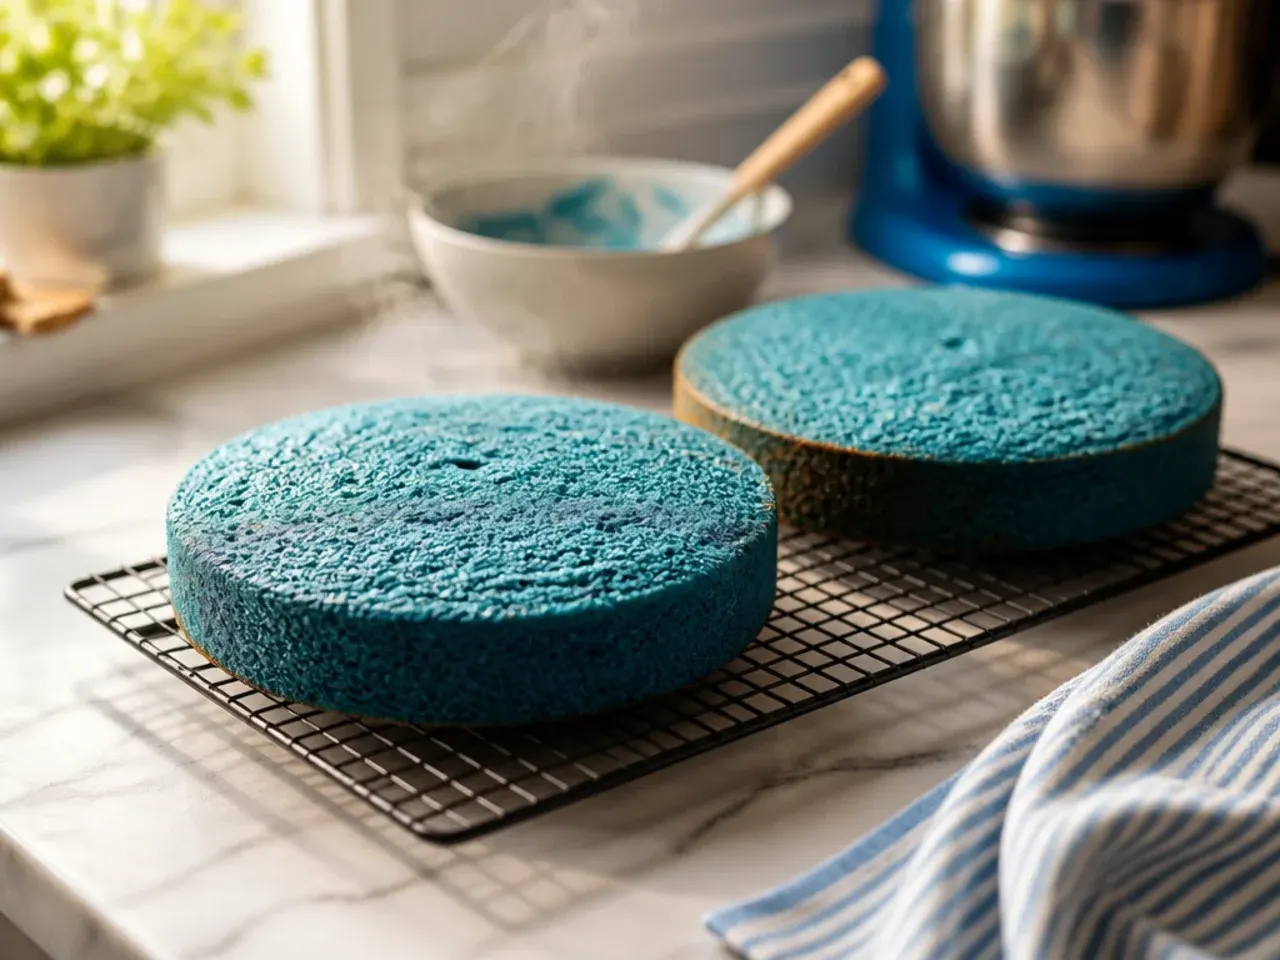
Leave the sponges in their tins for 10 minutes, then turn out onto a wire rack to cool fully, about 1 hour. Icing warm cake melts the buttercream and causes sliding layers, so don't rush this step.
Step 8: Make the Buttercream Base
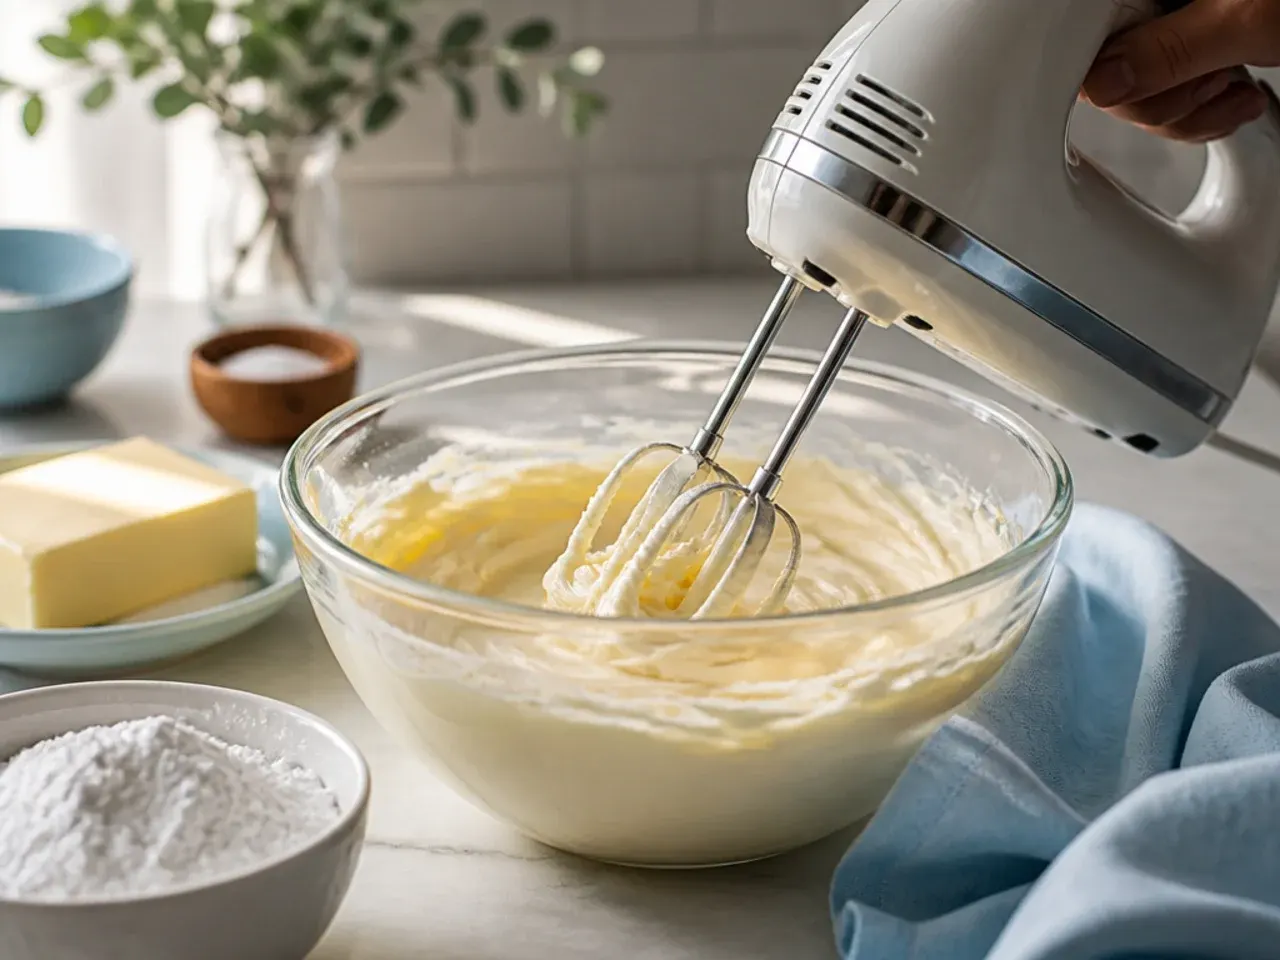
Beat 300 g (10.5 oz) softened butter on its own for 2 minutes until creamy, then gradually add 600 g (21 oz) sifted icing sugar with 3 tbsp milk. Beat for a further 3-4 minutes until light, smooth and spreadable.
Step 9: Colour the Buttercream
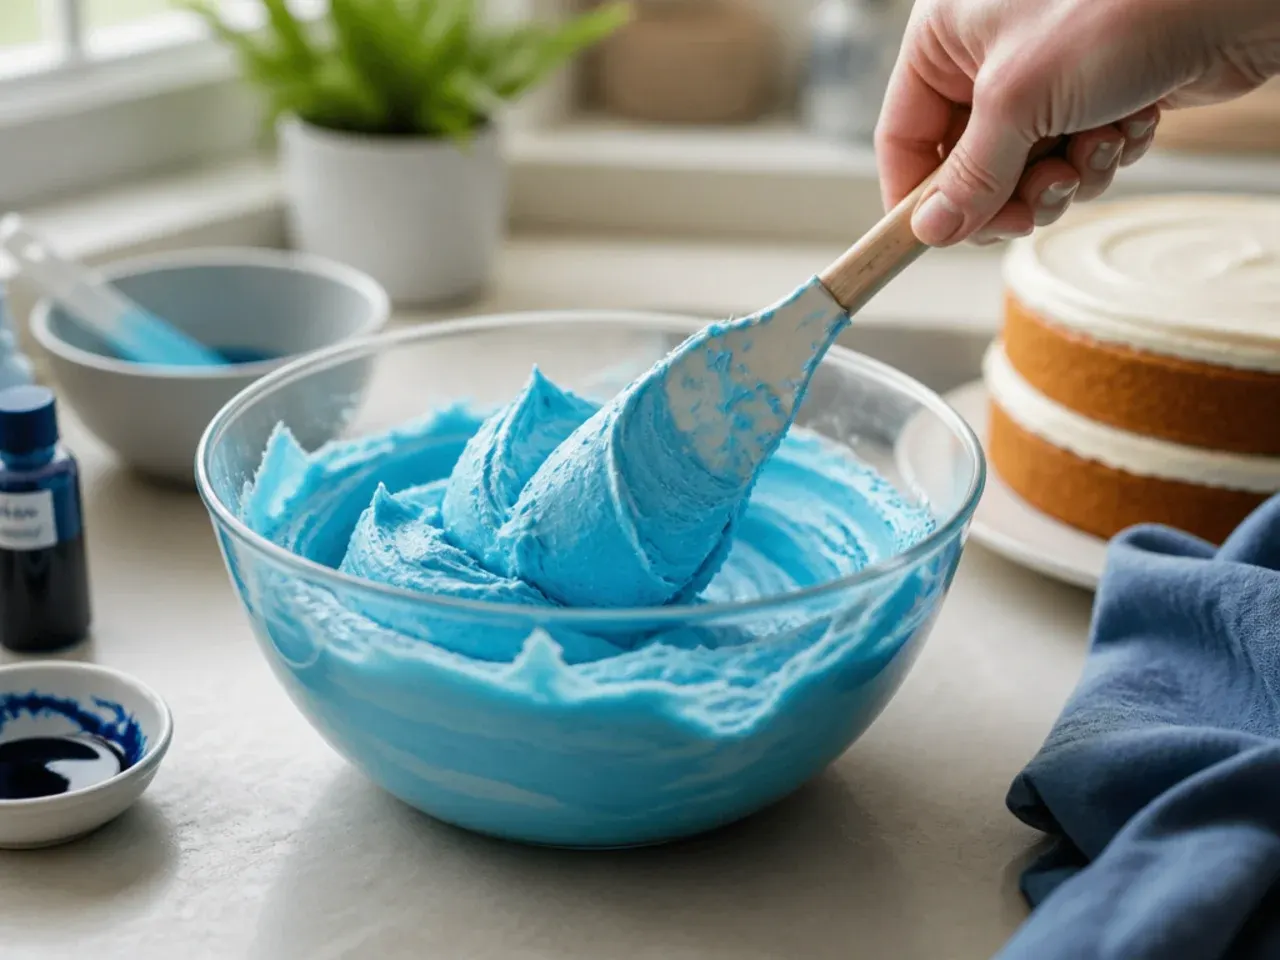
Divide the buttercream into four bowls: a large batch tinted sky blue, a smaller batch tinted navy, one left white or tinted ivory, and a small batch tinted orange. Add gel colouring a little at a time, mixing well, until each shade looks bright and even with no streaks.
Step 10: Level and Stack the Sponges
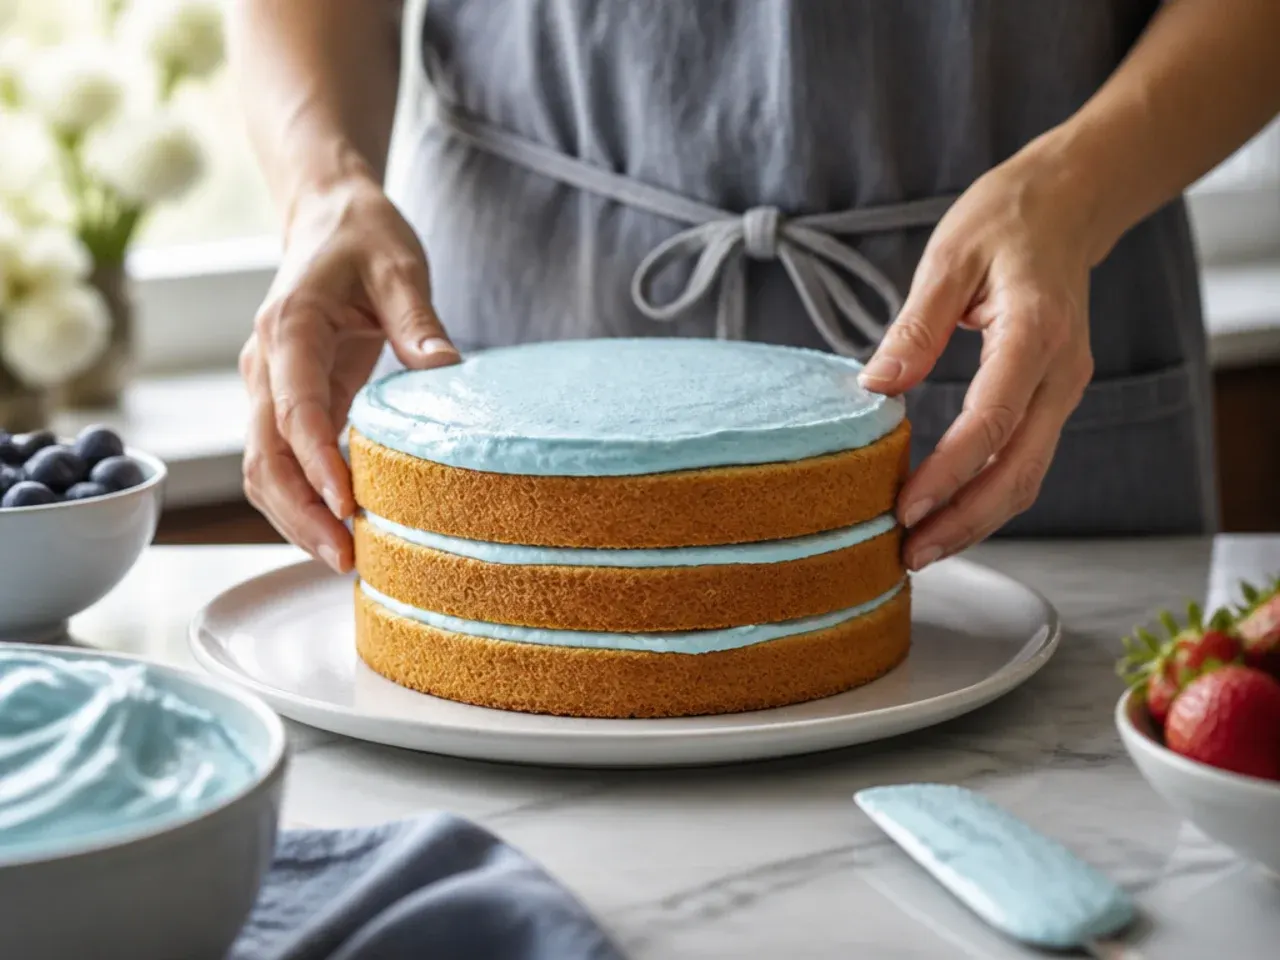
Trim any domed tops off the cooled cakes with a serrated knife so they sit flat. Place one layer on a cake board or plate, spread with a thin layer of sky blue buttercream or jam, then top with the second sponge.
Step 11: Apply the Crumb Coat
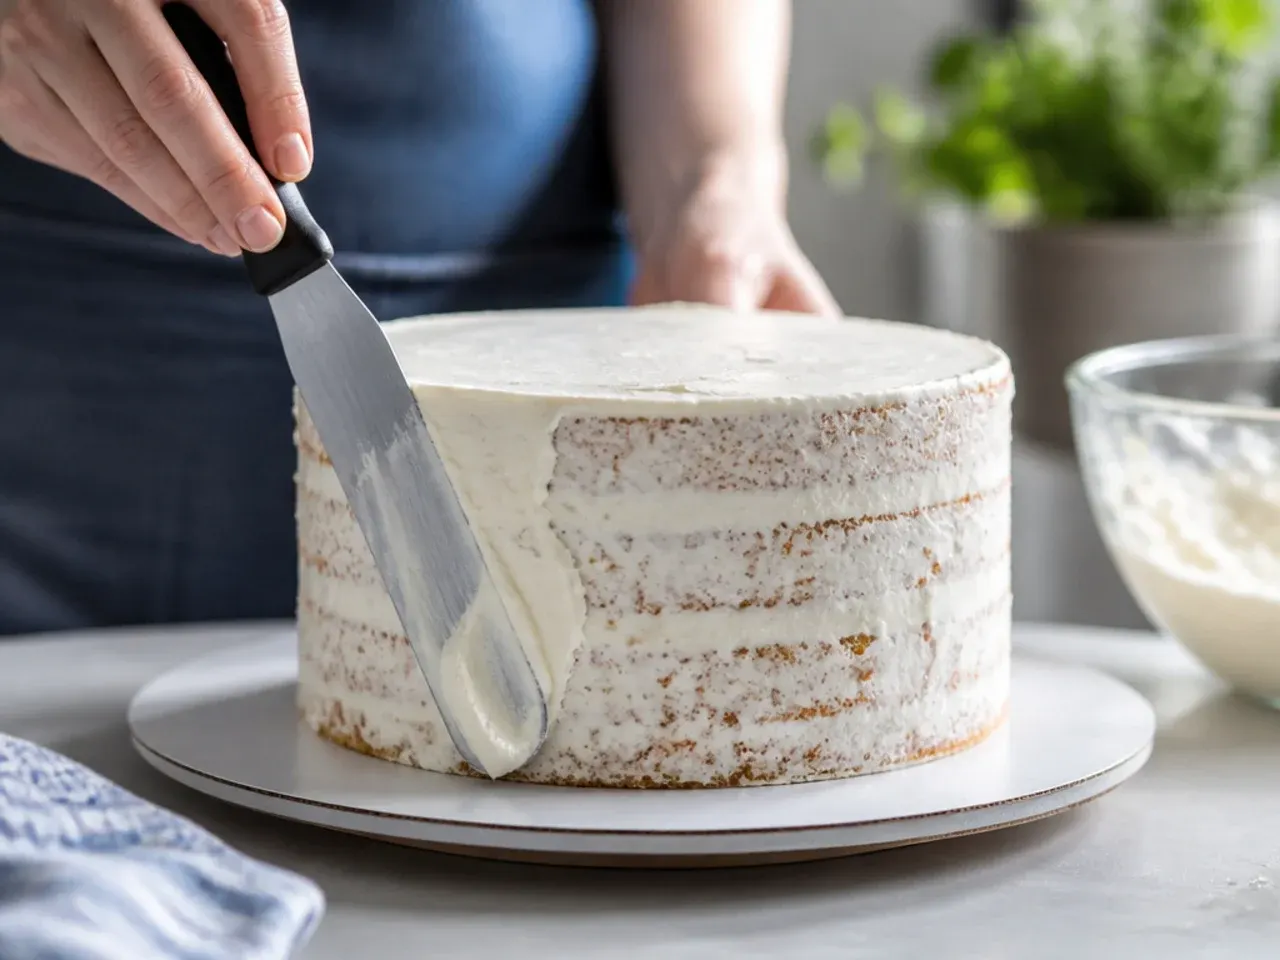
Cover the whole cake in a thin layer of sky blue buttercream, smoothing it with a palette knife to trap any loose crumbs underneath. Chill the cake in the fridge for 15 minutes so this base layer firms up before you add the final coat.
Step 12: Smooth the Final Blue Coat
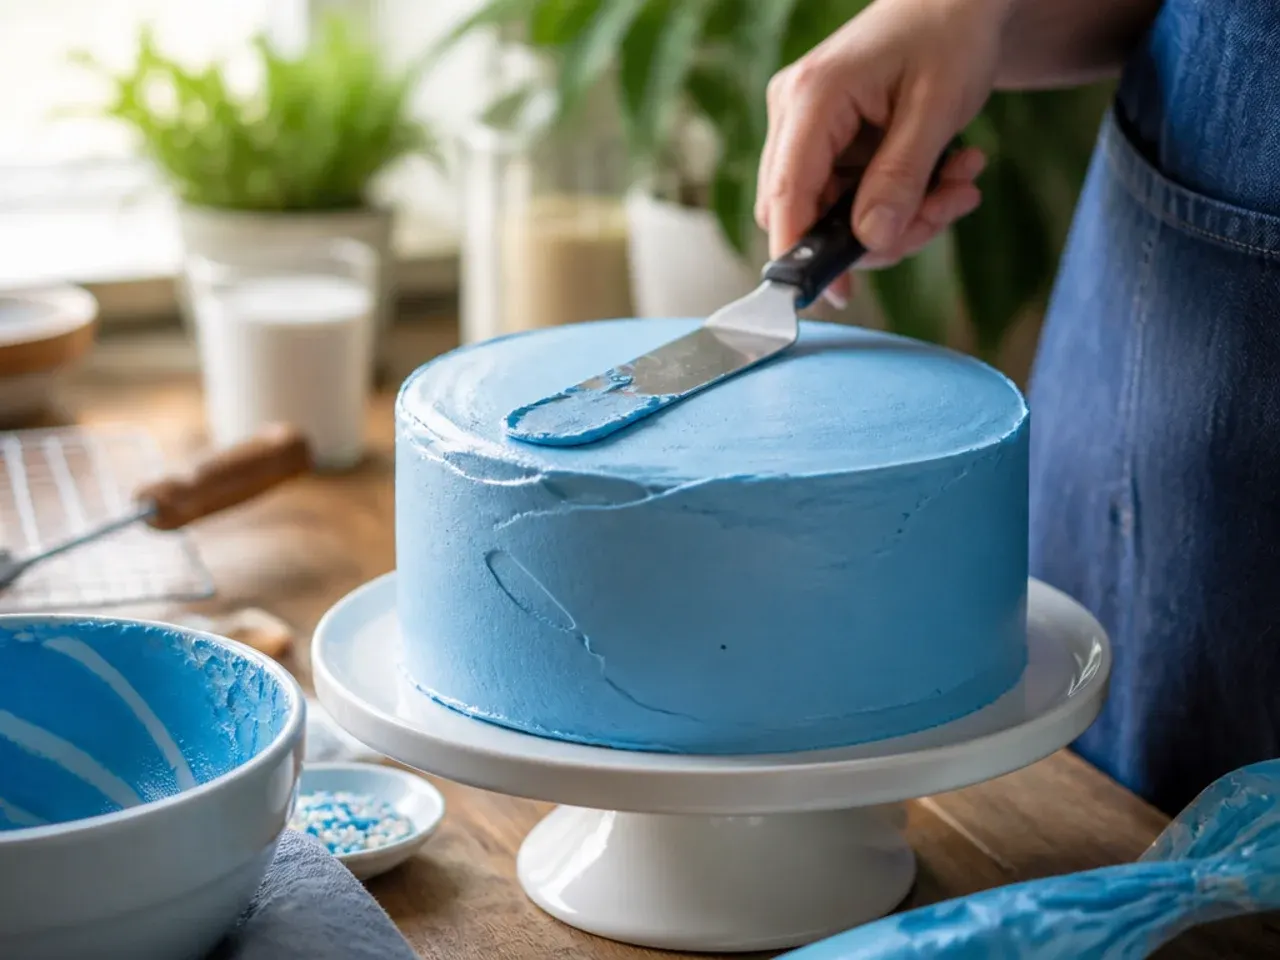
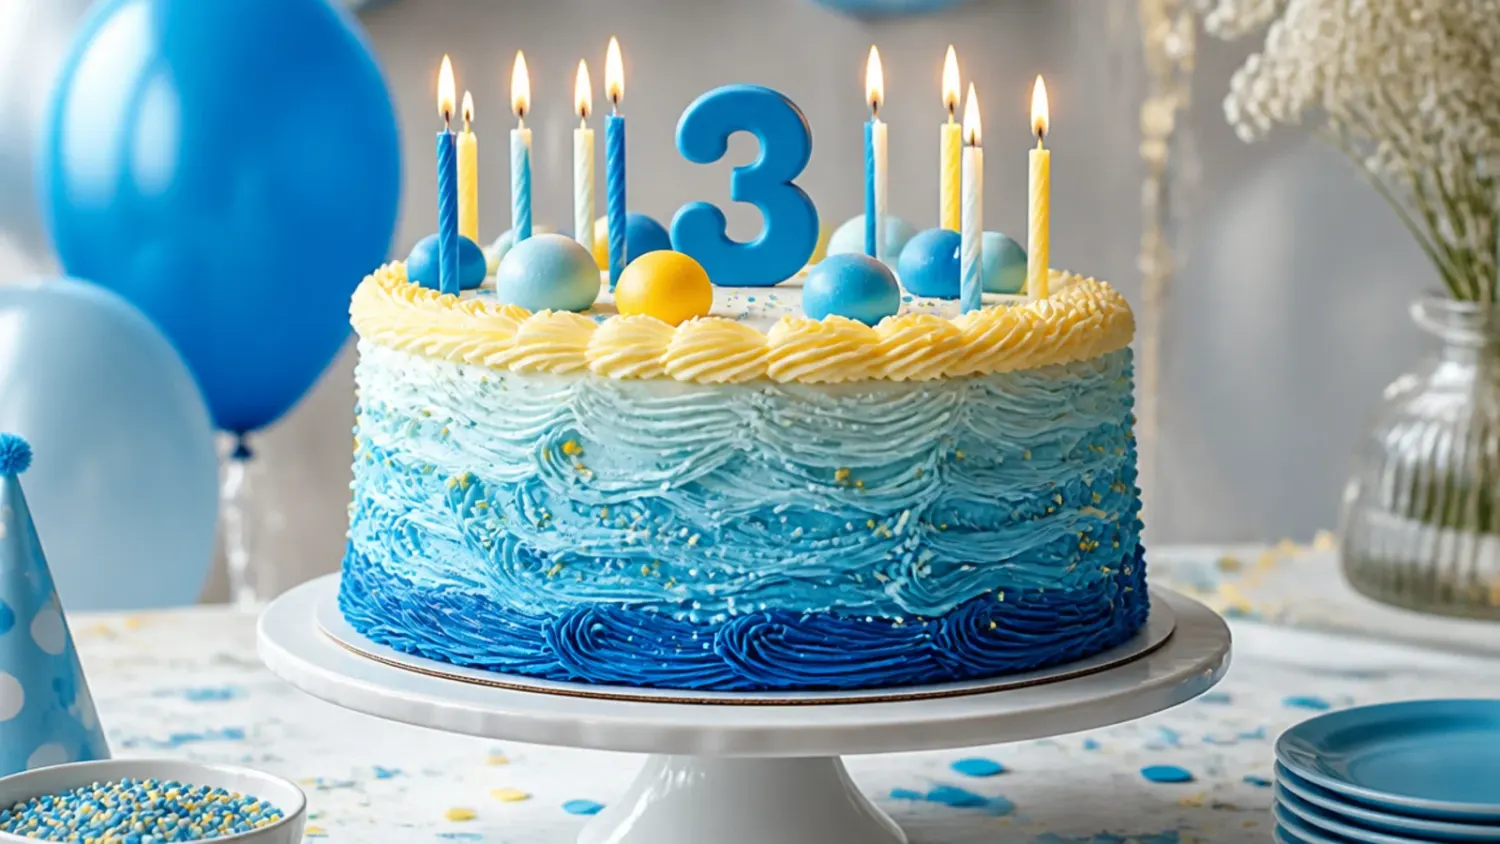
Apply a thicker, even layer of sky blue buttercream over the chilled crumb coat, using a bench scraper held upright against the side while you turn the cake for a smooth finish. Clean the scraper between passes so the surface stays free of streaks.
Step 13: Pipe Ear and Collar Shapes
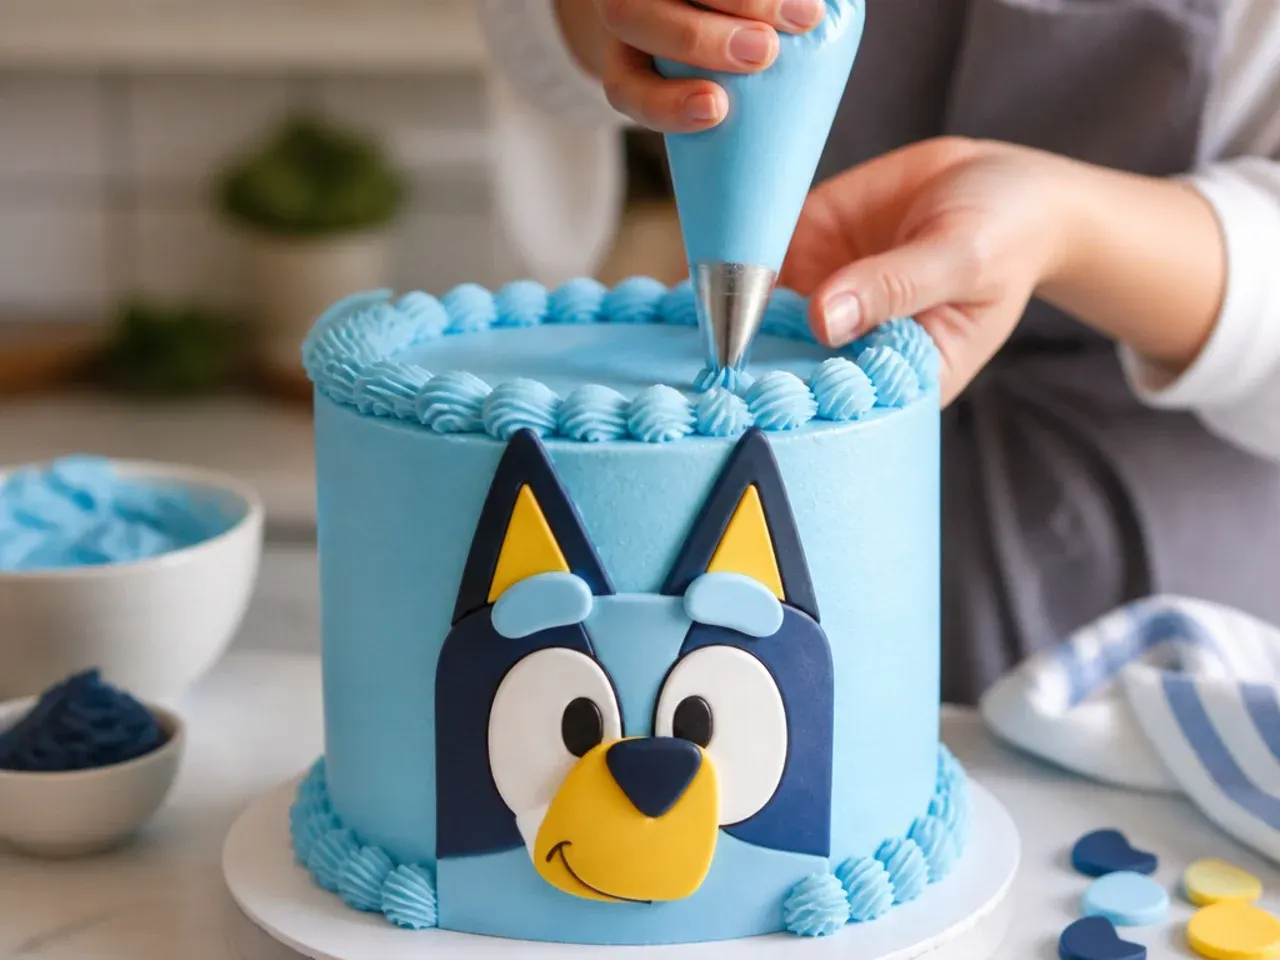
Using a round piping tip filled with navy buttercream, pipe two rounded floppy-ear shapes near the top edge of the cake to nod to a playful dog character without copying any printed artwork. Pipe a simple orange band or a row of dots around the base to suggest a collar.
Step 14: Add Paw Print Details
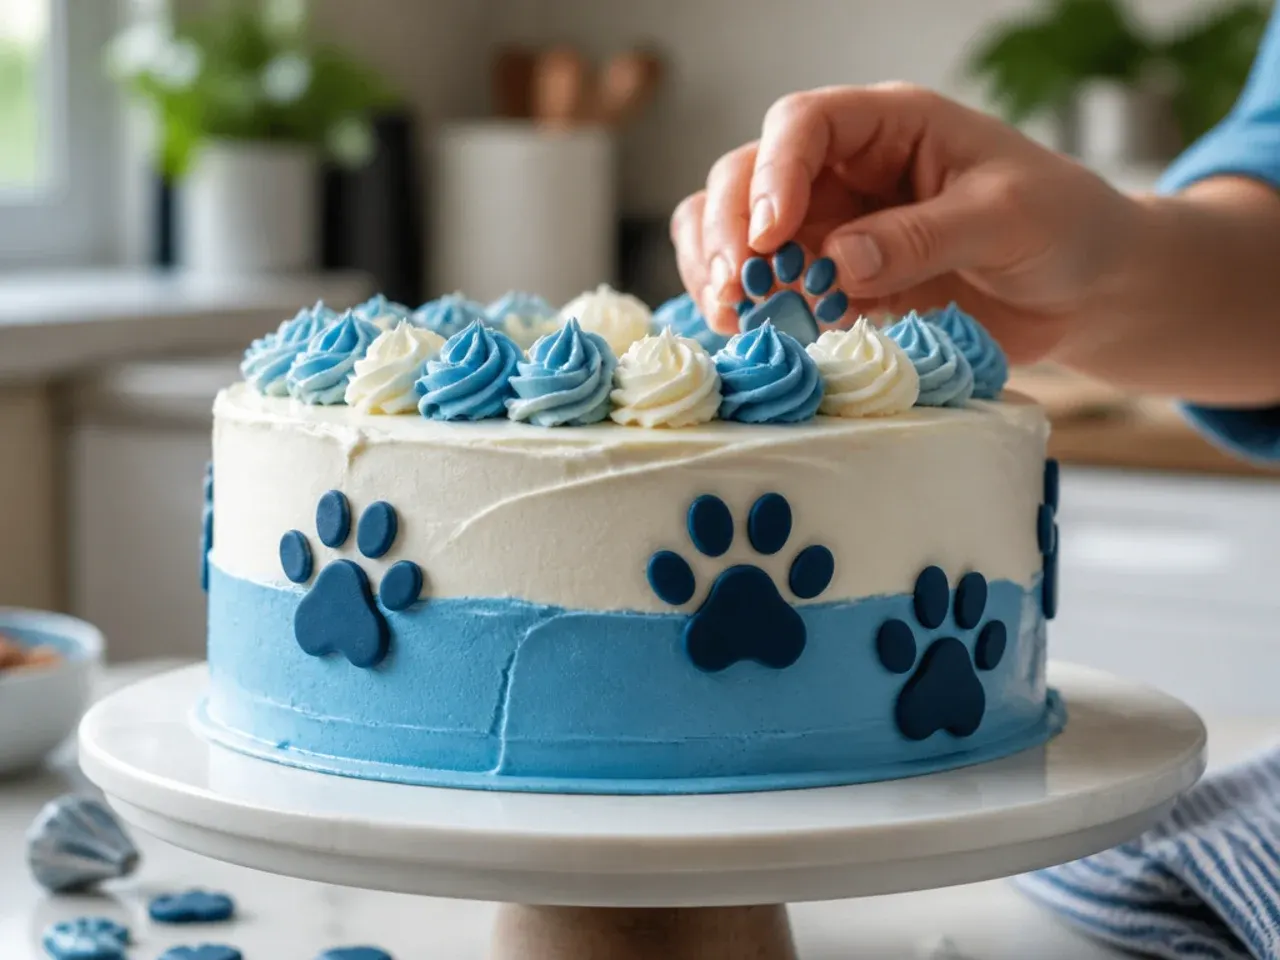
Switch to a small round piping tip with navy or white buttercream and pipe a ring of simple paw prints — one rounded pad shape with four small dots above it — around the base of the cake. Space them evenly, about 4 cm (1.5 in) apart, for a tidy, repeated pattern.
Step 15: Finish with a Topper
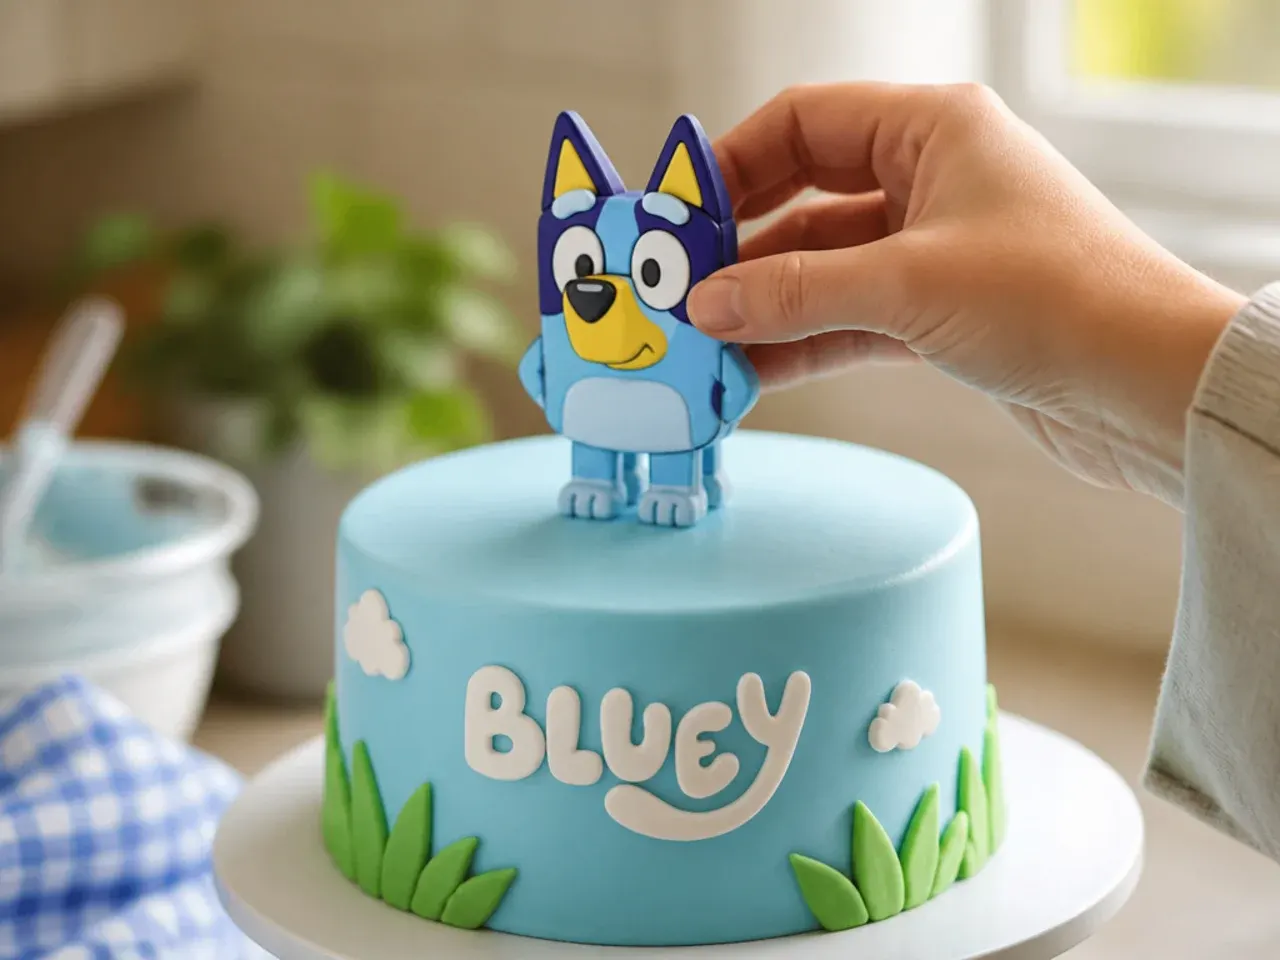
Add a fondant or plastic dog-bone shape, a number candle, or a small handmade paw-print topper to the centre of the cake as the finishing touch. Chill the finished cake for 10 minutes to set the piping before slicing and serving.
Pro Tips for a Foolproof Bluey-Inspired Cake
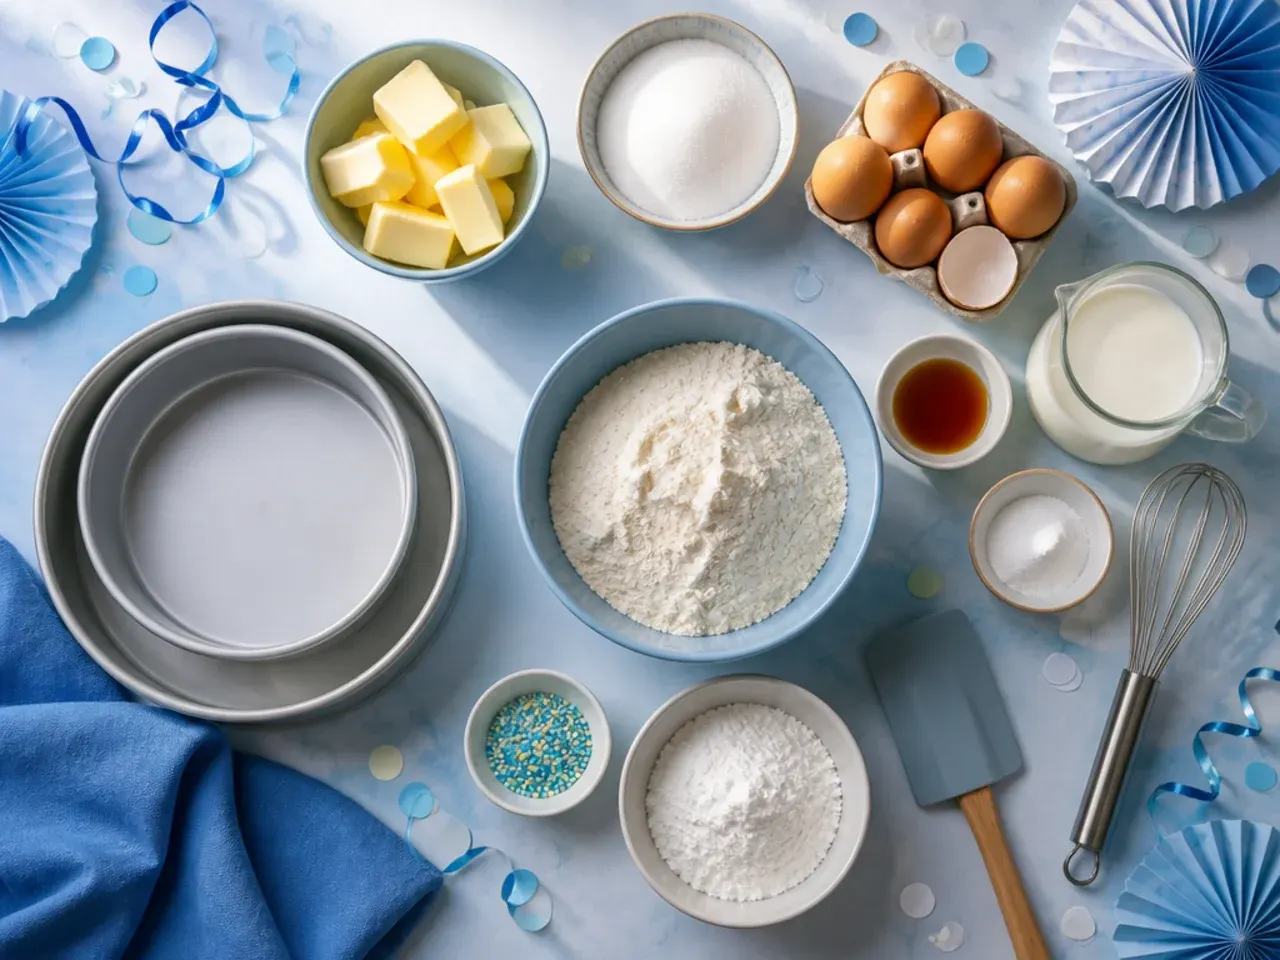
Use gel food colouring rather than liquid drops for the sky blue, navy and orange shades — it gives punchy colour without thinning the buttercream. Always chill the crumb coat for a full 15 minutes before the final layer; a cold base stops crumbs lifting and gives a much smoother finish. If your kitchen is warm, pop the piping bag of buttercream in the fridge for 5 minutes if it starts to soften, as slack buttercream blurs paw print details. Keep the palette to just three or four colours (sky blue, navy, white and orange) so the cake reads as a cohesive dog-themed design rather than a patchwork of shades.
Storage and Reheating
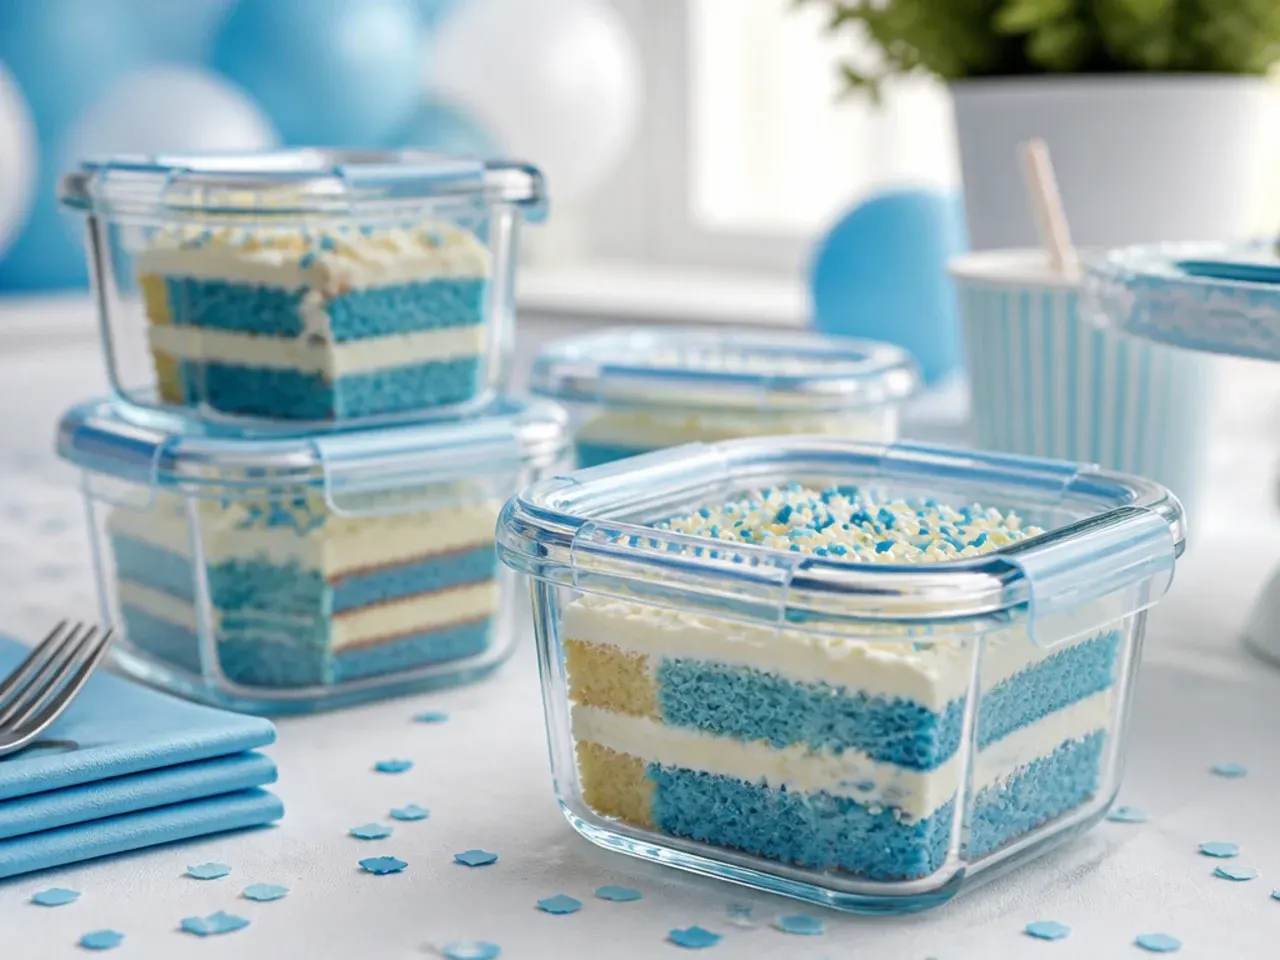
Once decorated, keep the cake loosely covered in the fridge for up to 3 days; buttercream firms up in the cold, so let each slice sit at room temperature for 20-30 minutes before serving so the sponge softens back up. Undecorated sponge layers freeze well for up to 2 months — wrap them tightly in cling film once fully cooled, then thaw overnight in the fridge before filling and icing. Leftover buttercream can be stored in an airtight container in the fridge for a week; bring it back to room temperature and re-whip for a minute before piping again. This cake doesn't need reheating, but if the sponge feels dry after chilling, a light brush of milk before serving brings back moisture.
These simple bluey cake ideas use an easy vanilla sponge, sky-blue buttercream and playful paw-print piping any home baker can manage. For more bluey cake ideas inspiration, browse the full Bluey Cake Ideas board — every idea there is written for real home kitchens, not professional bakers.
Frequently Asked Questions
A sky blue and navy combination is the easiest way to nod to a Bluey-inspired look without copying any printed character art. Add a small amount of orange for a collar or accent detail and keep white or ivory in reserve for eyes, paws or highlights. Gel food colouring gives the most reliable, vivid results, since liquid colouring can thin out the buttercream and make it harder to pipe cleanly. Sticking to just these three or four shades keeps the design cohesive and easy for a beginner to manage.

Related Recipes
Save this for later 📌
Pin this article to your Pinterest board so the full list is one tap away when you need it.
Save on Pinterest