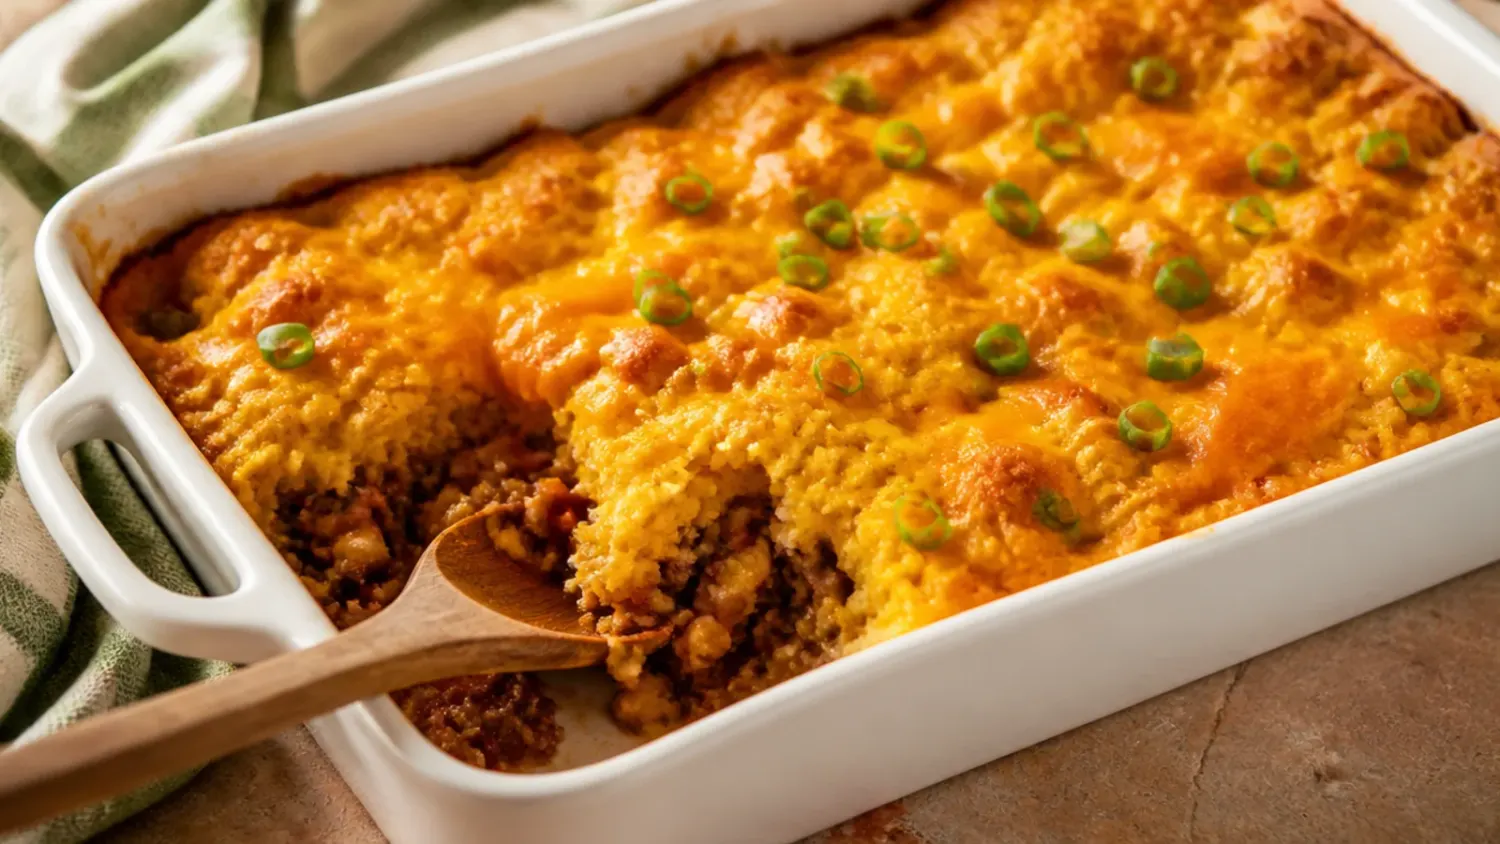
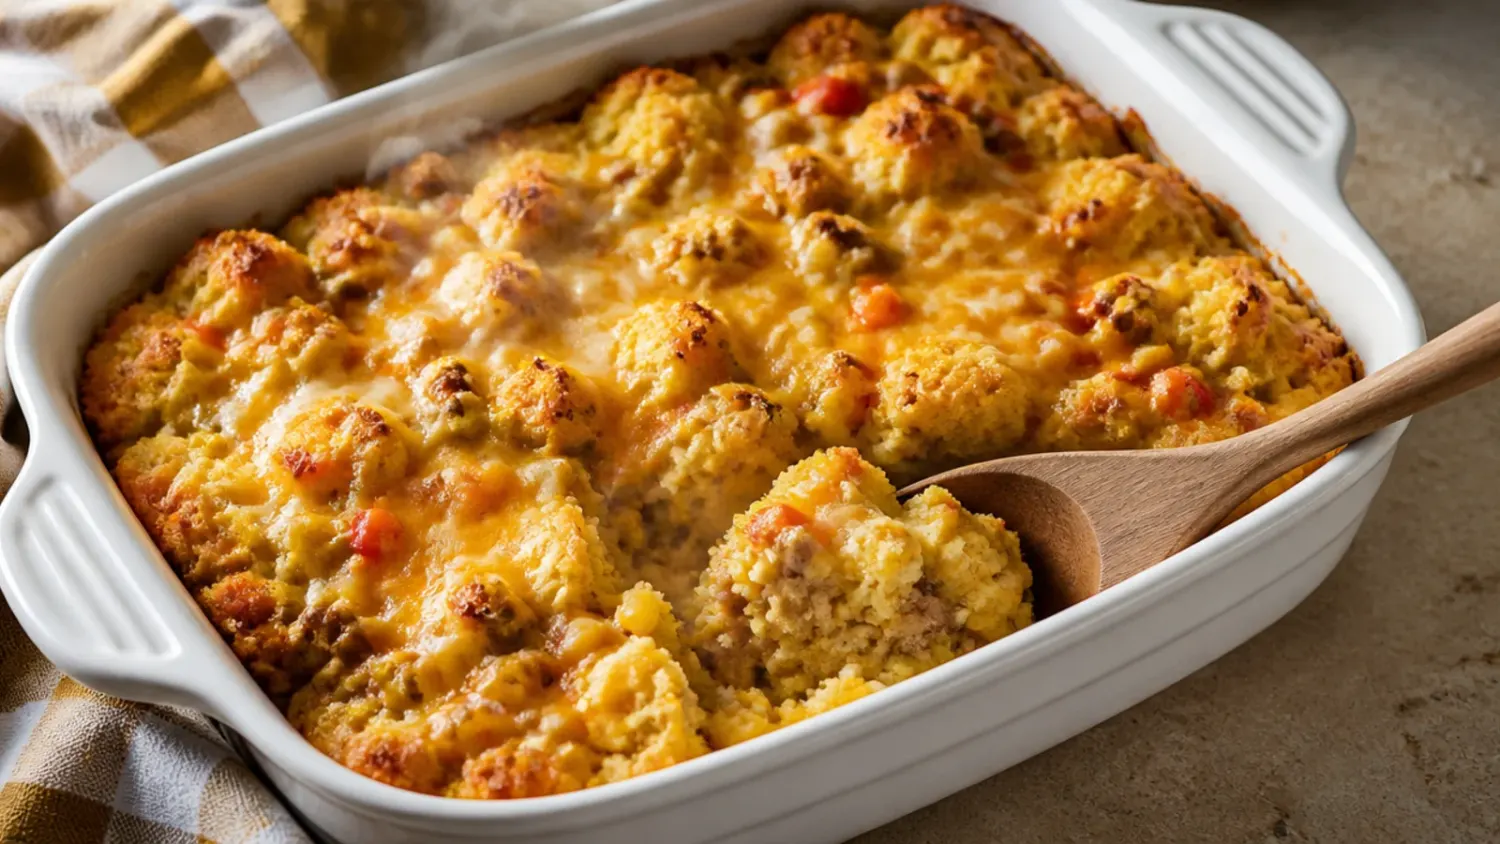
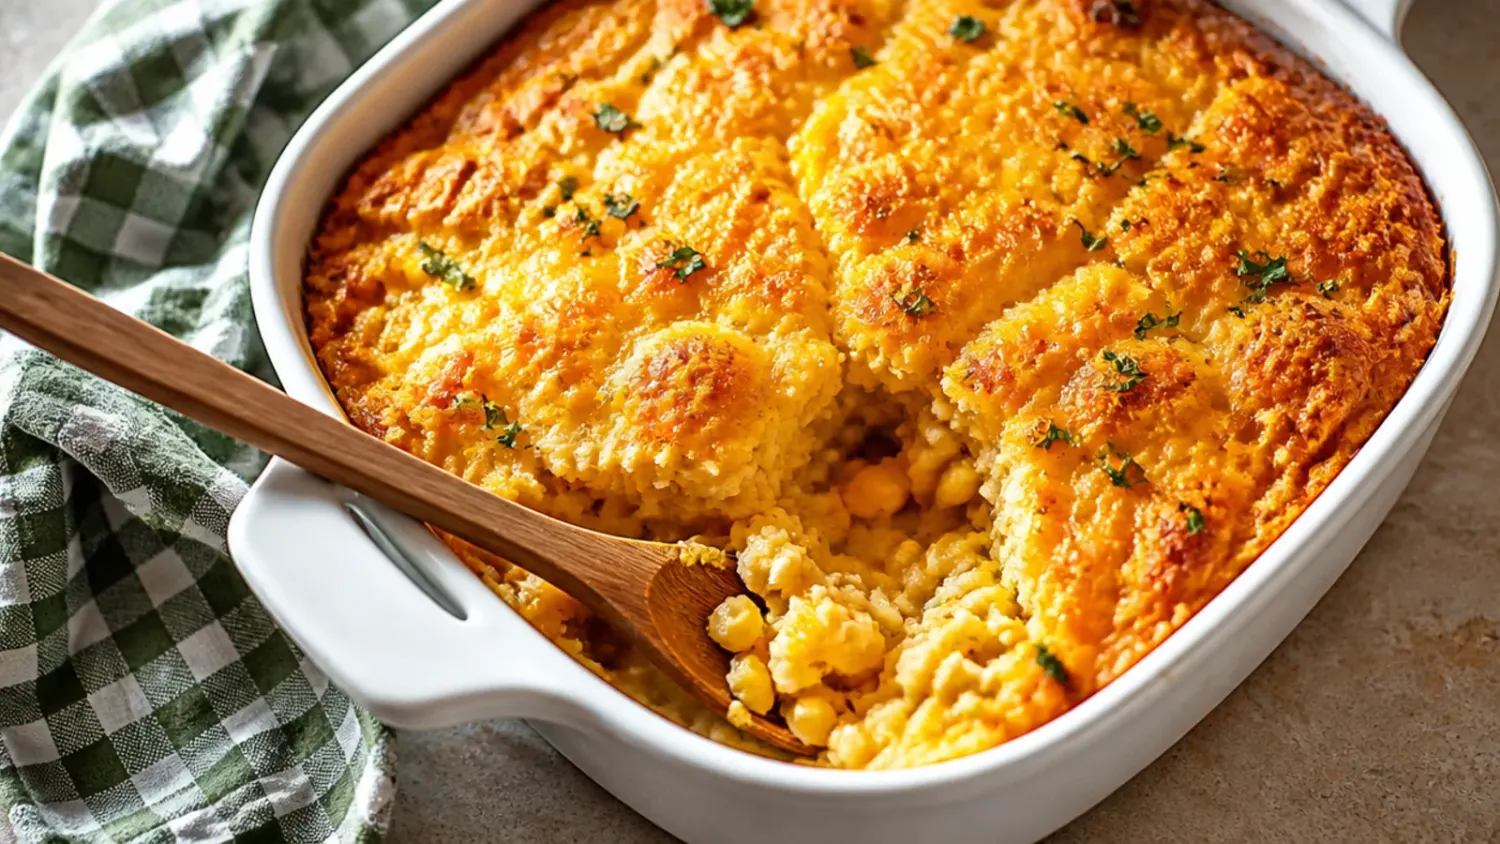
15 Sloppy Joe Cornbread Casseroles I Make Weekly
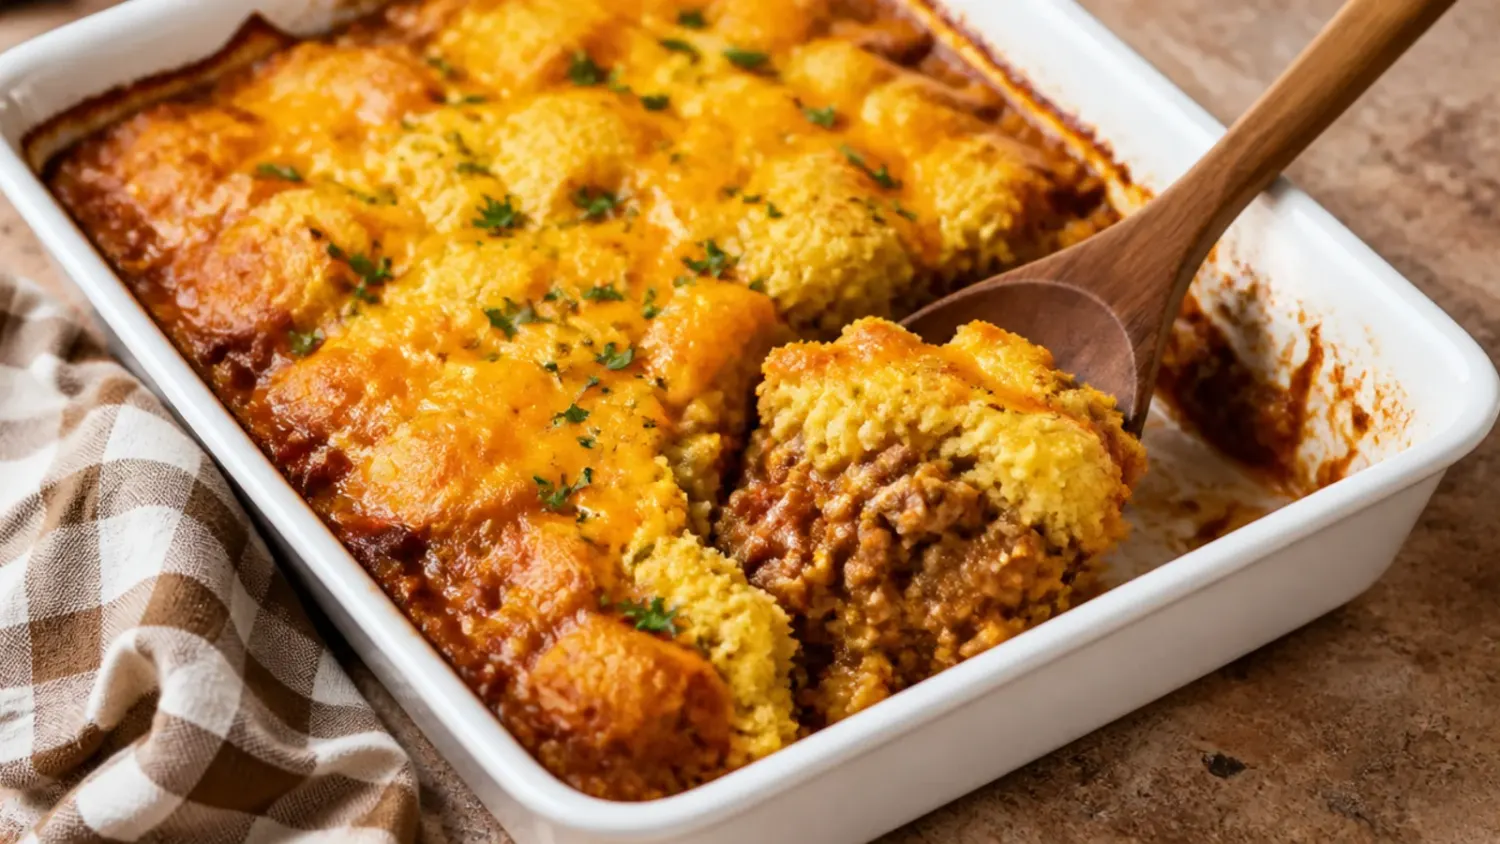
After making sloppy joe cornbread casserole almost weekly, here are the real fixes that stop soggy bottoms and gummy middles. If you love cornbread casserole inspiration, start with our Cornbread Casserole collection, then browse the full Comfort Dinners hub for more.

Save this for later 📌
Pin this article to your Pinterest board so the full list is one tap away when you need it.
Save on PinterestComfort Dinners
Beginner
Kitchen Journal
7 steps
Table of Contents
- Lesson 1: Drain the Beef Properly or the Bottom Turns Soggy
- Lesson 2: The Filling Has to Be Properly Hot, Not Just Warm
- Lesson 3: A Wide, Shallow Dish Beats a Deep One
- Lesson 4: Don't Overmix the Cornbread Batter
- Lesson 5: Spread the Batter Gently or It Sinks Into the Filling
- Lesson 6: Always Toothpick Test, Don't Trust Colour Alone
- Lesson 7: Cheese Under and Over Makes a Real Difference
- Lesson 8: Tent With Foil if the Top Browns Too Fast
- Lesson 9: Let It Rest Before You Cut Into It
- Lesson 10: Freshly Grated Cheese Melts Better Than Bagged
- Lesson 11: Season the Beef Itself, Not Just the Sauce
- Lesson 12: Watch the Sweetness Balance
- Lesson 13: Doubling the Recipe Needs a Bigger Dish, Not a Deeper One
- Lesson 14: Freeze It Before Baking, Not After
- Lesson 15: Lower and Slower Beats Hot and Fast
- What I'd Tell a Friend Trying This
- The Recipe I Used
Lesson 1: Drain the Beef Properly or the Bottom Turns Soggy
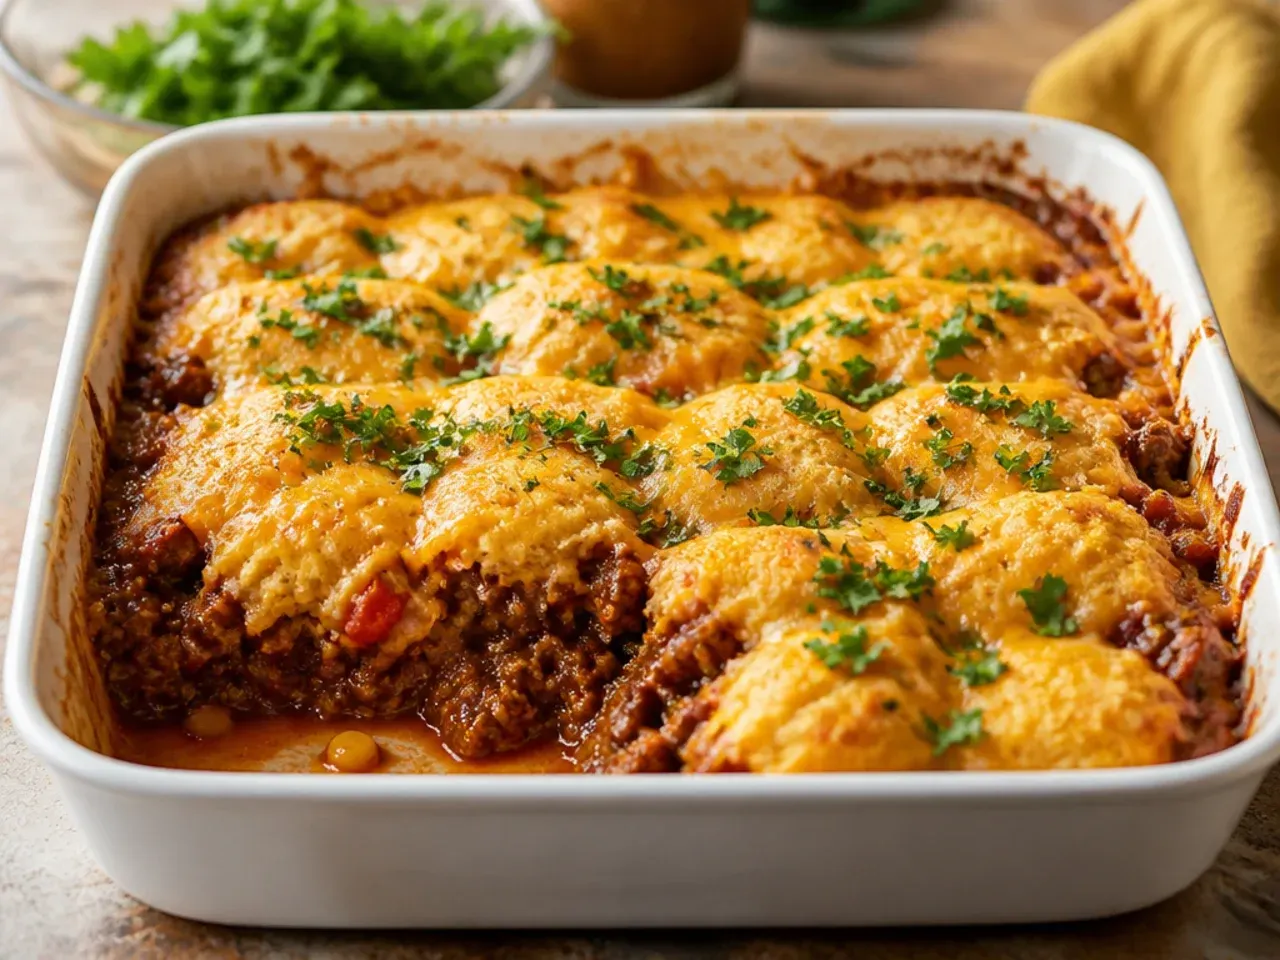
The first few times I made this, I tipped the beef straight from the pan into the dish without draining it well, and the cornbread on the bottom edge never fully set. Now I tilt the pan and spoon off every bit of visible fat, then blot the mince with a paper towel if it still looks greasy. It takes an extra minute but it is the single biggest reason my cornbread cooks through evenly now.
Lesson 2: The Filling Has to Be Properly Hot, Not Just Warm
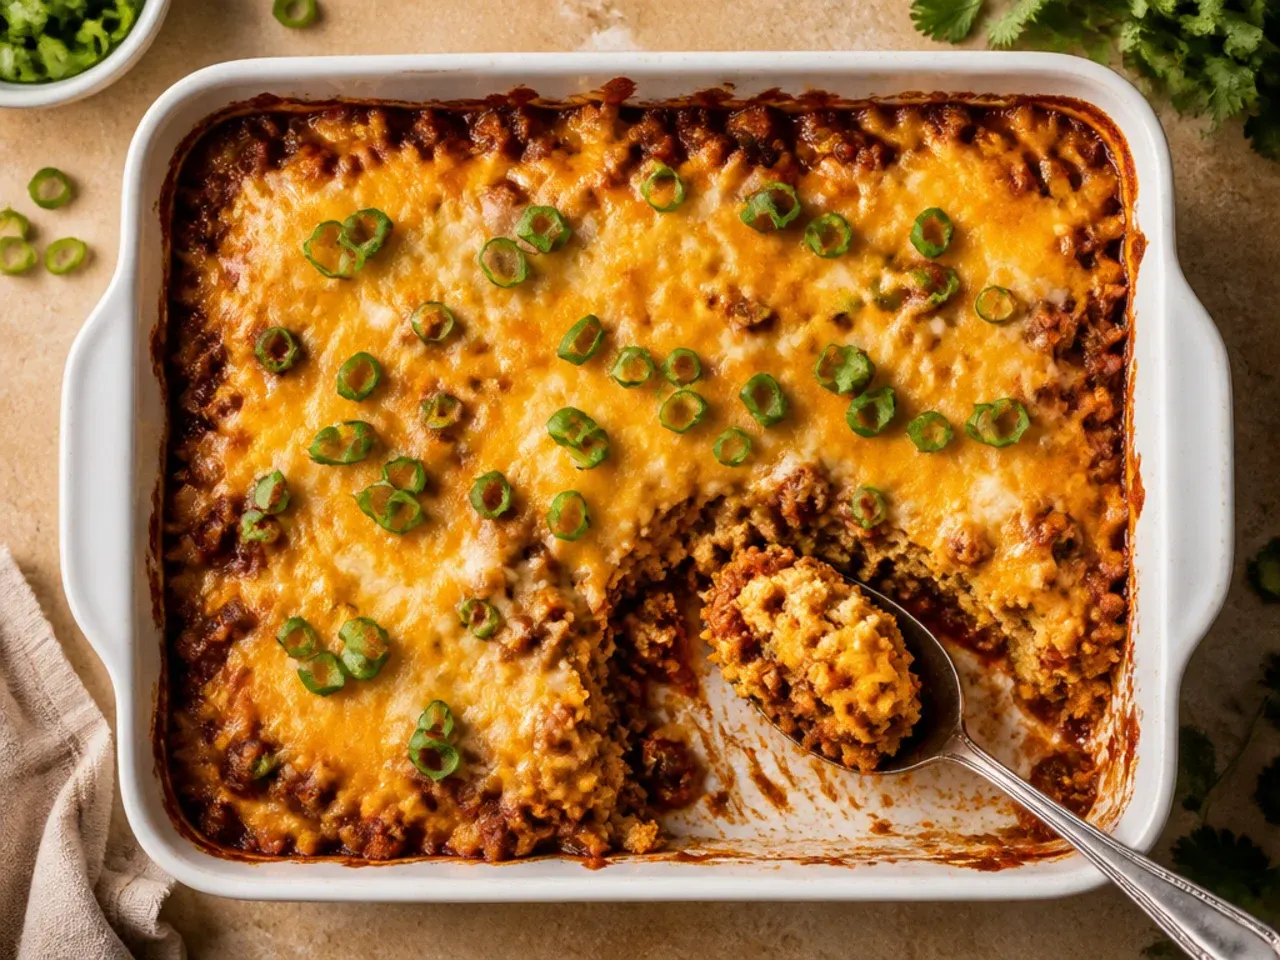
I used to spoon the beef mixture into the dish while it was only lukewarm from being off the heat too long, and the cornbread batter sat on top and never fully cooked through in the middle. Now I keep the filling gently bubbling on the stove until the moment I pour it into the dish, so the batter starts cooking from underneath as soon as it goes into the oven. That head start is what stops a gummy grey band right where the two layers meet.
Lesson 3: A Wide, Shallow Dish Beats a Deep One
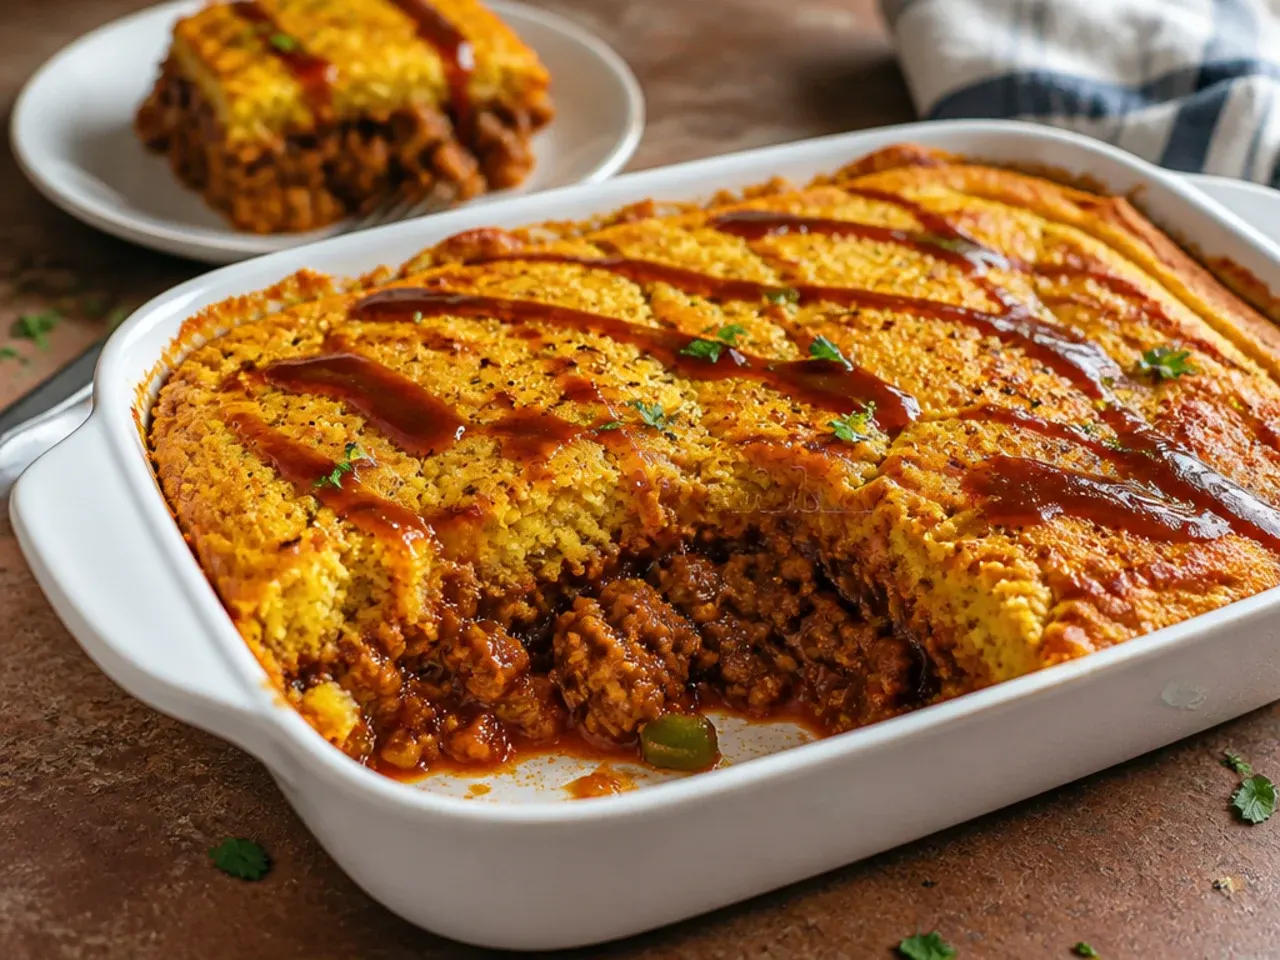
My first attempt was in a deep 20 cm square dish and the cornbread on top set long before the filling underneath had a chance to heat all the way through. Switching to a similarly sized but shallower dish, or spreading the same amount of filling into a slightly larger one, fixed it completely. The cornbread layer needs to be thin enough to cook at roughly the same rate as the filling warms.
Lesson 4: Don't Overmix the Cornbread Batter
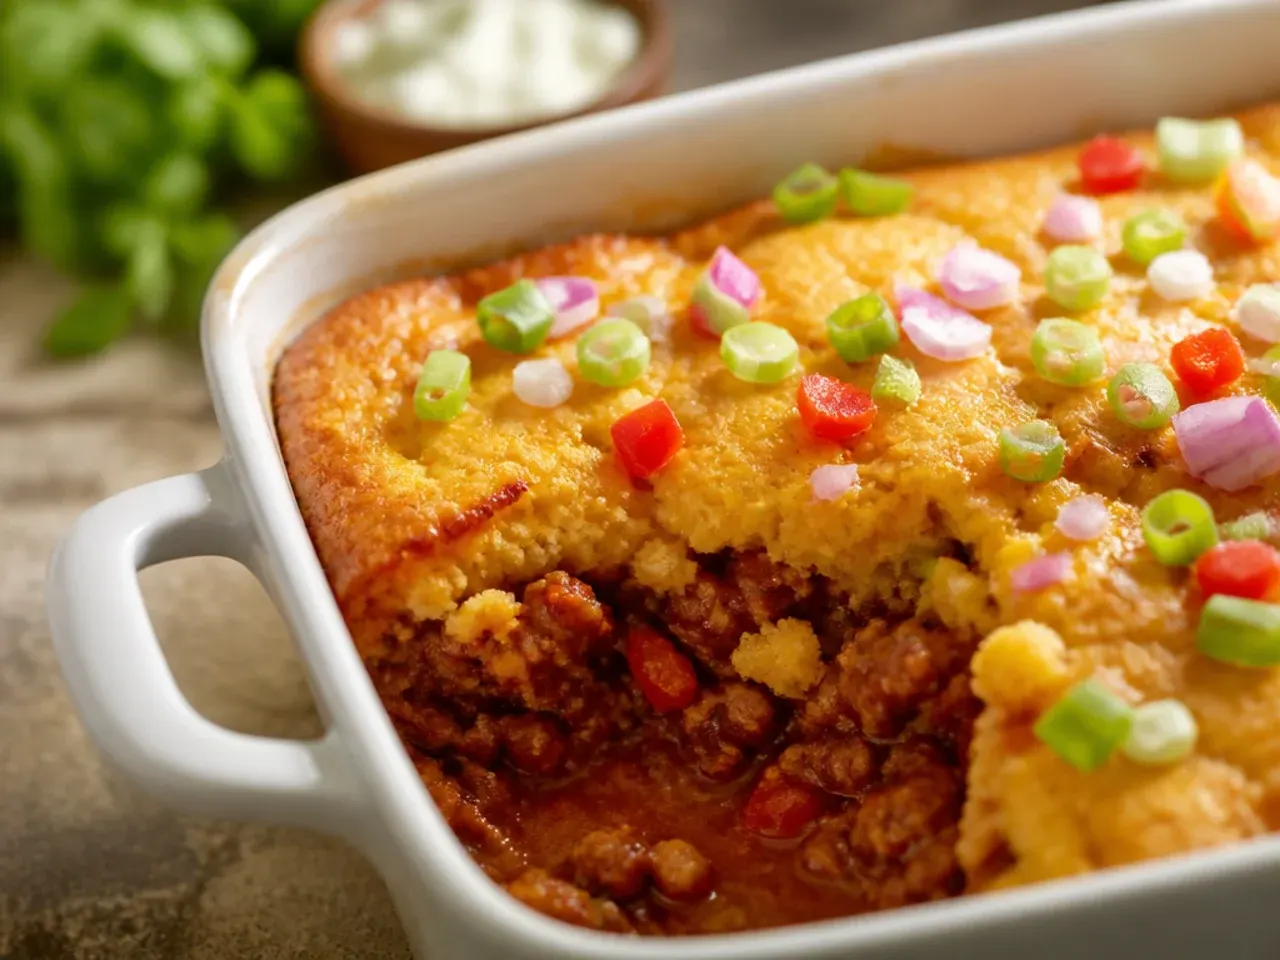
I used to whisk the cornbread batter until it was completely smooth, thinking that meant it was properly combined, but it baked up dense and a bit rubbery. Now I stir just until the dry streaks disappear, leaving it slightly lumpy, the same way you would for pancake batter. The topping comes out noticeably lighter and more tender when I stop stirring a good ten seconds earlier than feels natural.
Lesson 5: Spread the Batter Gently or It Sinks Into the Filling
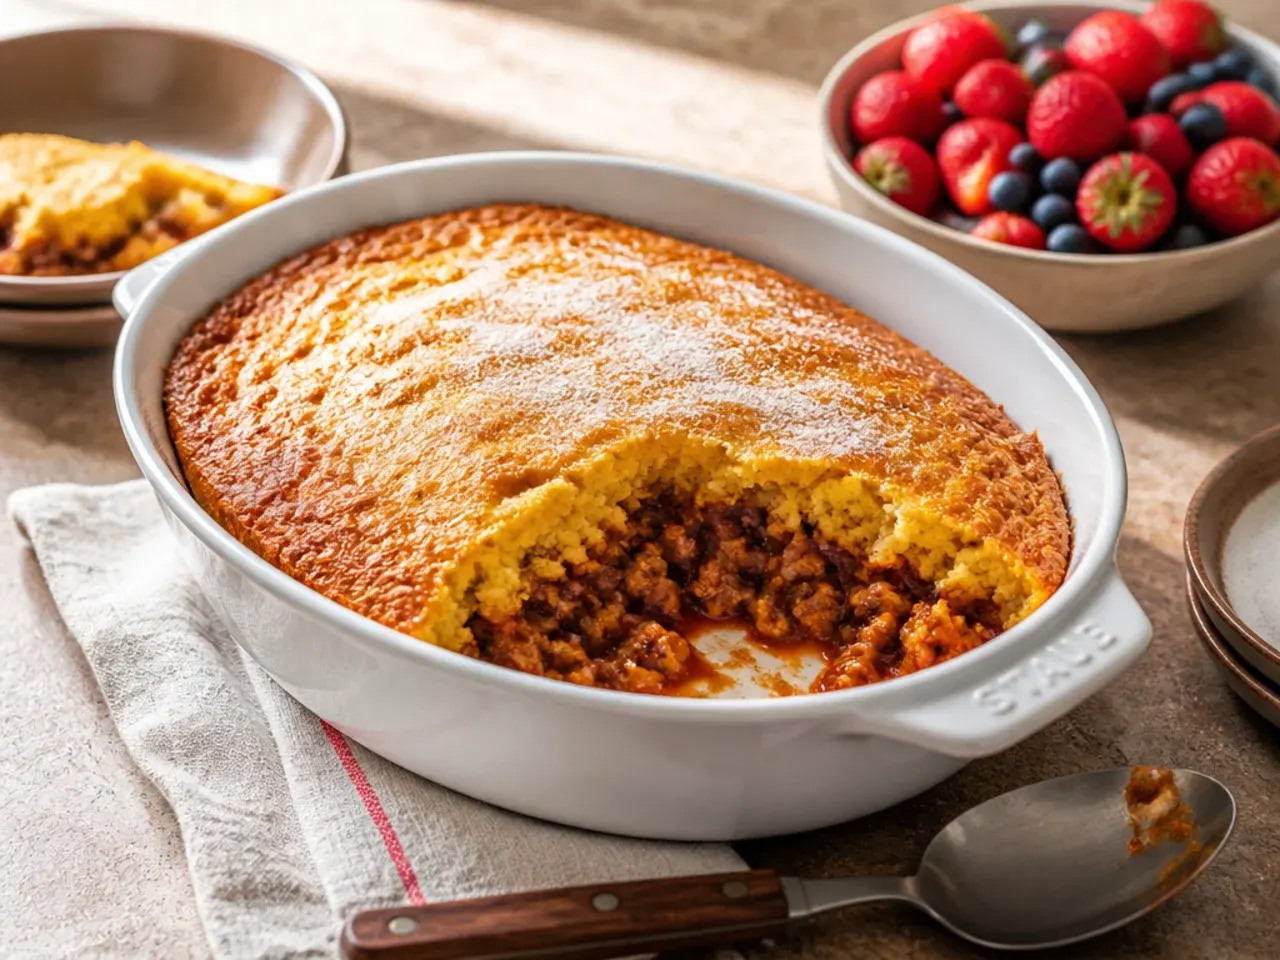
Pouring the batter into the centre and letting it spread on its own meant it pushed straight down into the meat in places, leaving bald patches of exposed filling once baked. I now dollop spoonfuls evenly across the surface first, then use the back of a spoon dipped in milk to smooth them together without pressing down. That one change gave me an even cornbread crust from edge to edge instead of a patchy one.
Lesson 6: Always Toothpick Test, Don't Trust Colour Alone
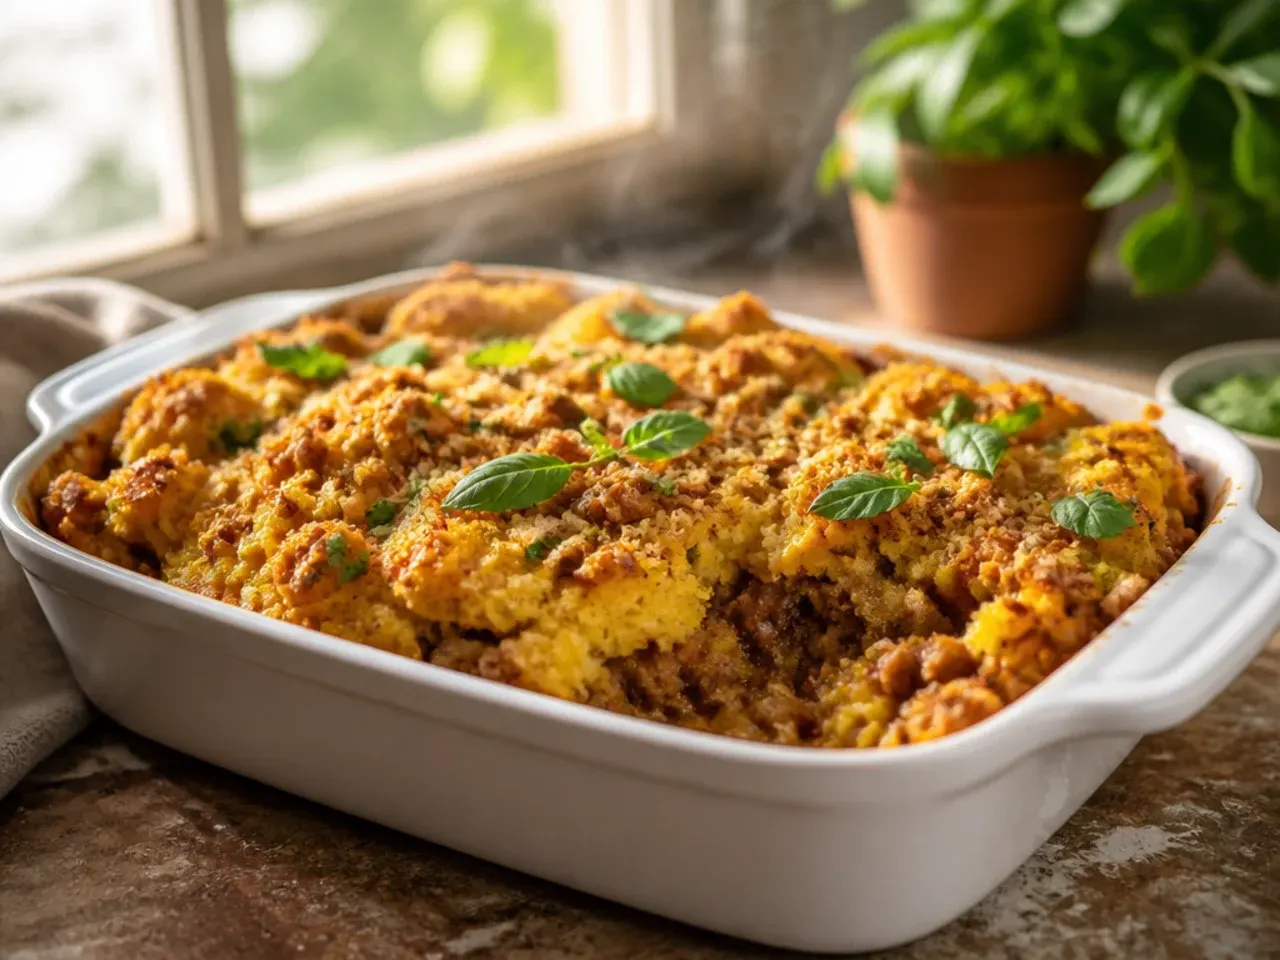
Because the filling underneath is dark, the cornbread on top can look golden and done well before the centre has actually finished cooking. I learned to push a toothpick or thin skewer straight down into the middle of the cornbread, not near the edge, and check that it comes out clean or with just a few dry crumbs. Relying on colour alone gave me a raw, wet centre more than once.
Lesson 7: Cheese Under and Over Makes a Real Difference
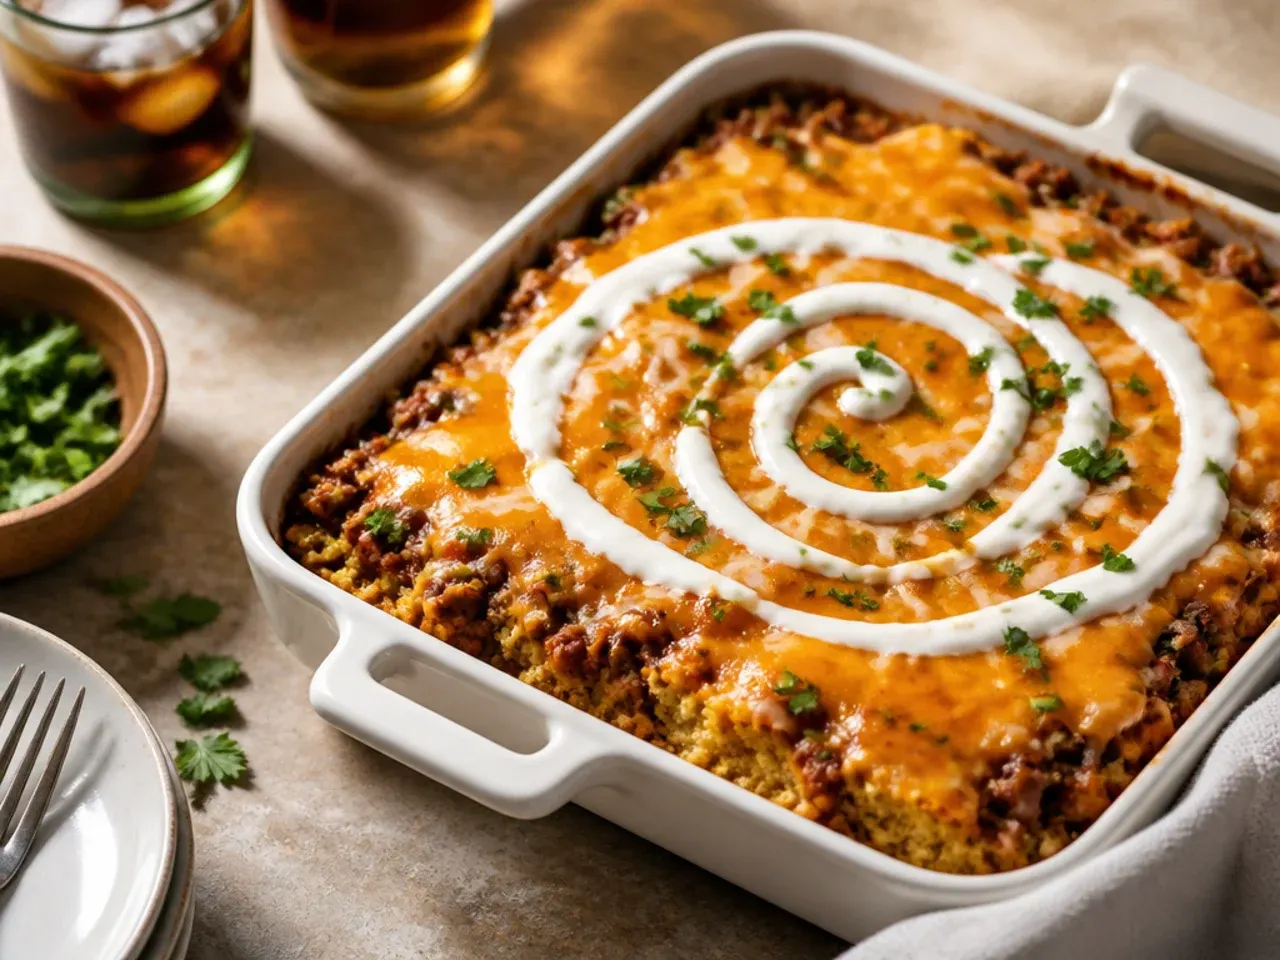
I originally only sprinkled cheese on top for looks, but adding a layer of grated cheddar directly onto the hot filling before the batter goes on melts into the meat and adds far more flavour throughout. The second sprinkle on top of the batter, added in the last five minutes of baking, gives that molten, slightly crisp edge everyone reaches for first. Splitting the cheese this way rather than dumping it all on top was a small change with a big payoff.
Lesson 8: Tent With Foil if the Top Browns Too Fast
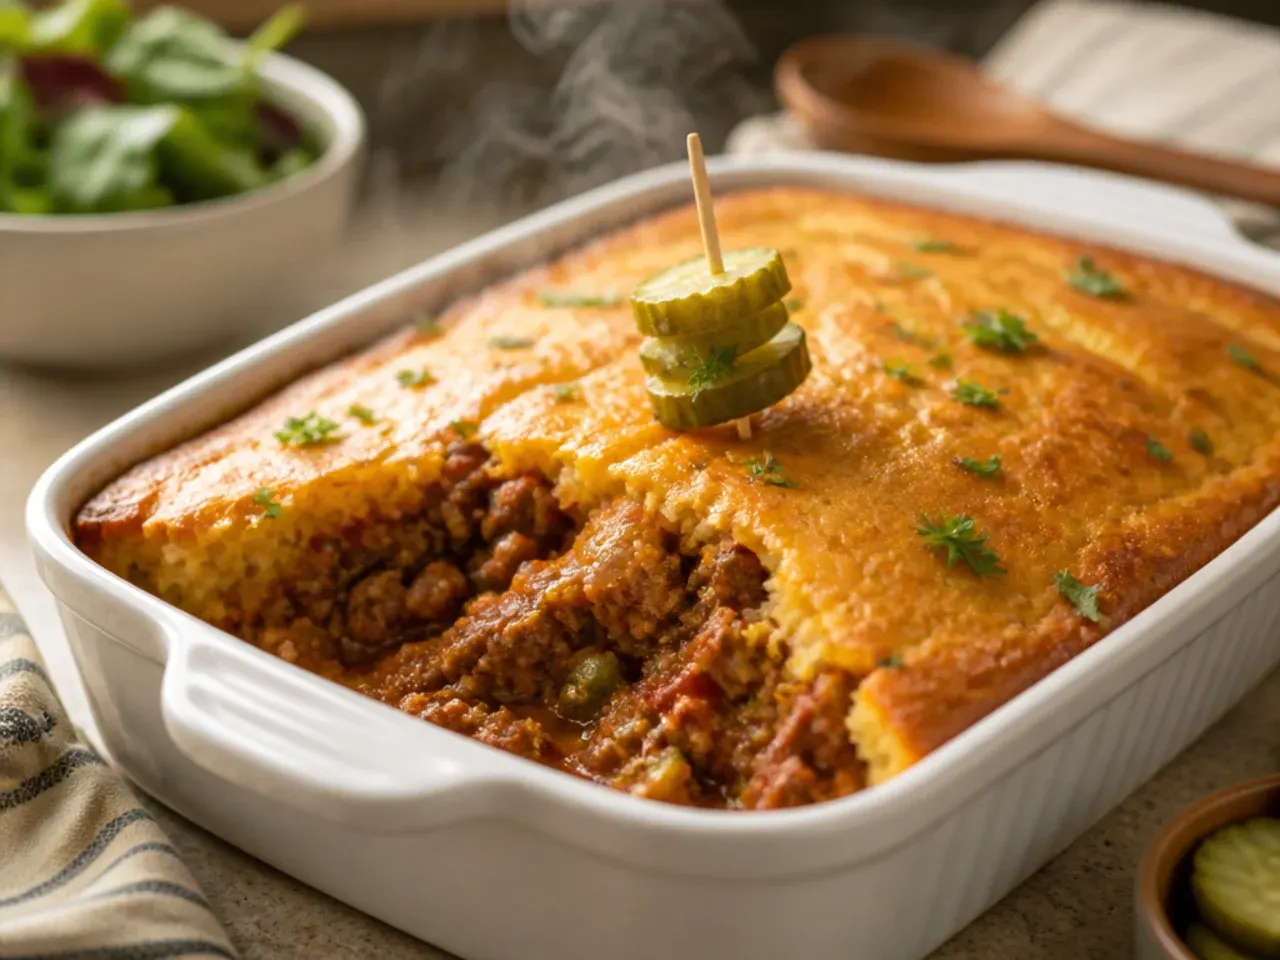
In my oven, the cornbread edges were turning dark brown while the centre still needed another eight minutes, which meant a slightly bitter crust more than once. Now if the top looks close to done at the halfway point, I loosely tent a sheet of foil over the dish and keep baking until the centre passes the toothpick test. It protects the surface without stopping the middle from finishing properly.
Lesson 9: Let It Rest Before You Cut Into It
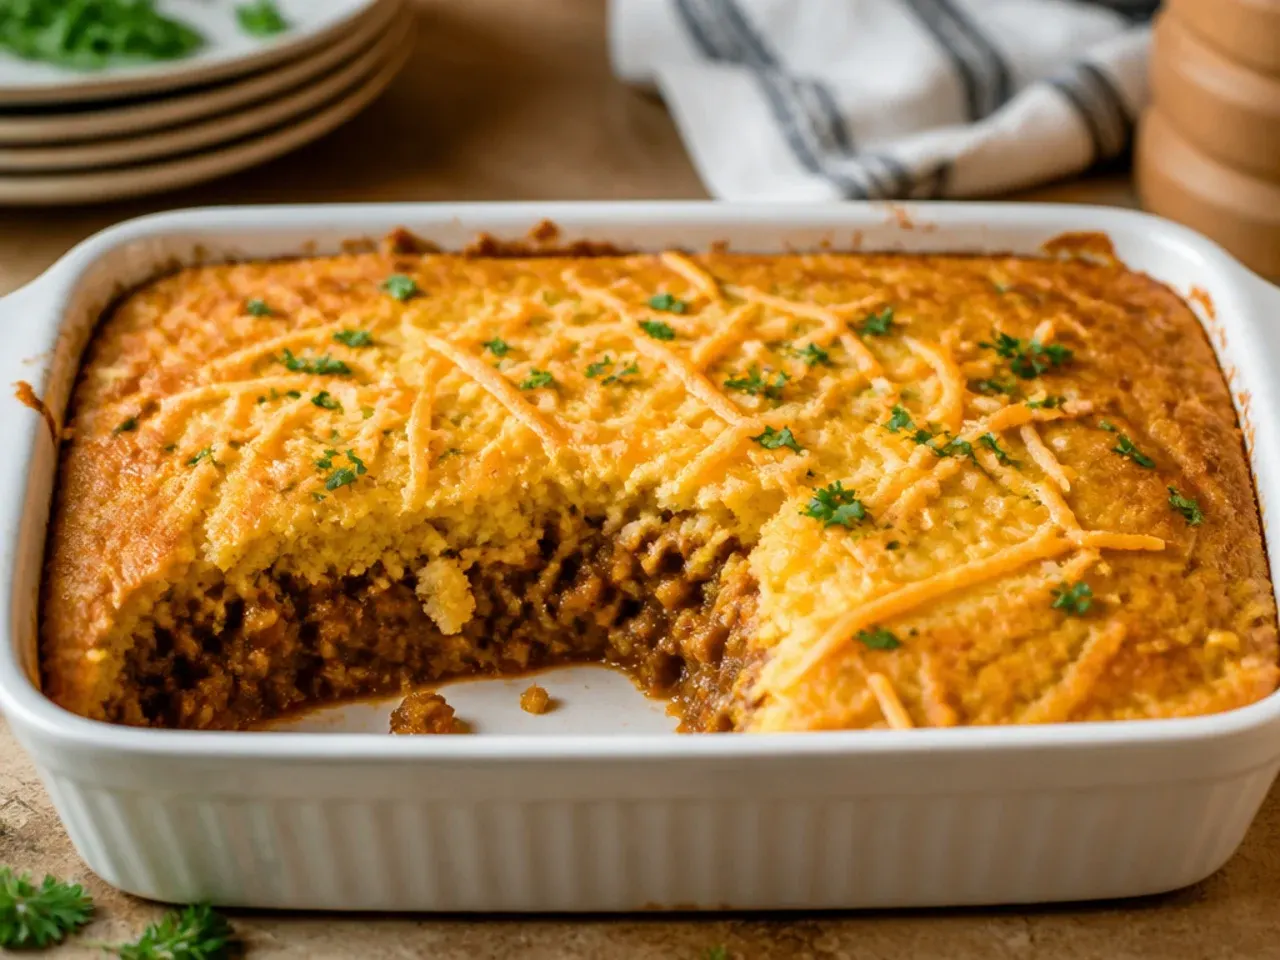
Cutting straight out of the oven meant the first slice always slid apart, with filling running everywhere and the cornbread breaking up. Now I let the whole dish sit for a full 10 minutes on the counter before serving, which gives the filling time to thicken slightly and the cornbread time to firm up. It sounds like wasted time but the difference in how neatly it serves is obvious.
Lesson 10: Freshly Grated Cheese Melts Better Than Bagged
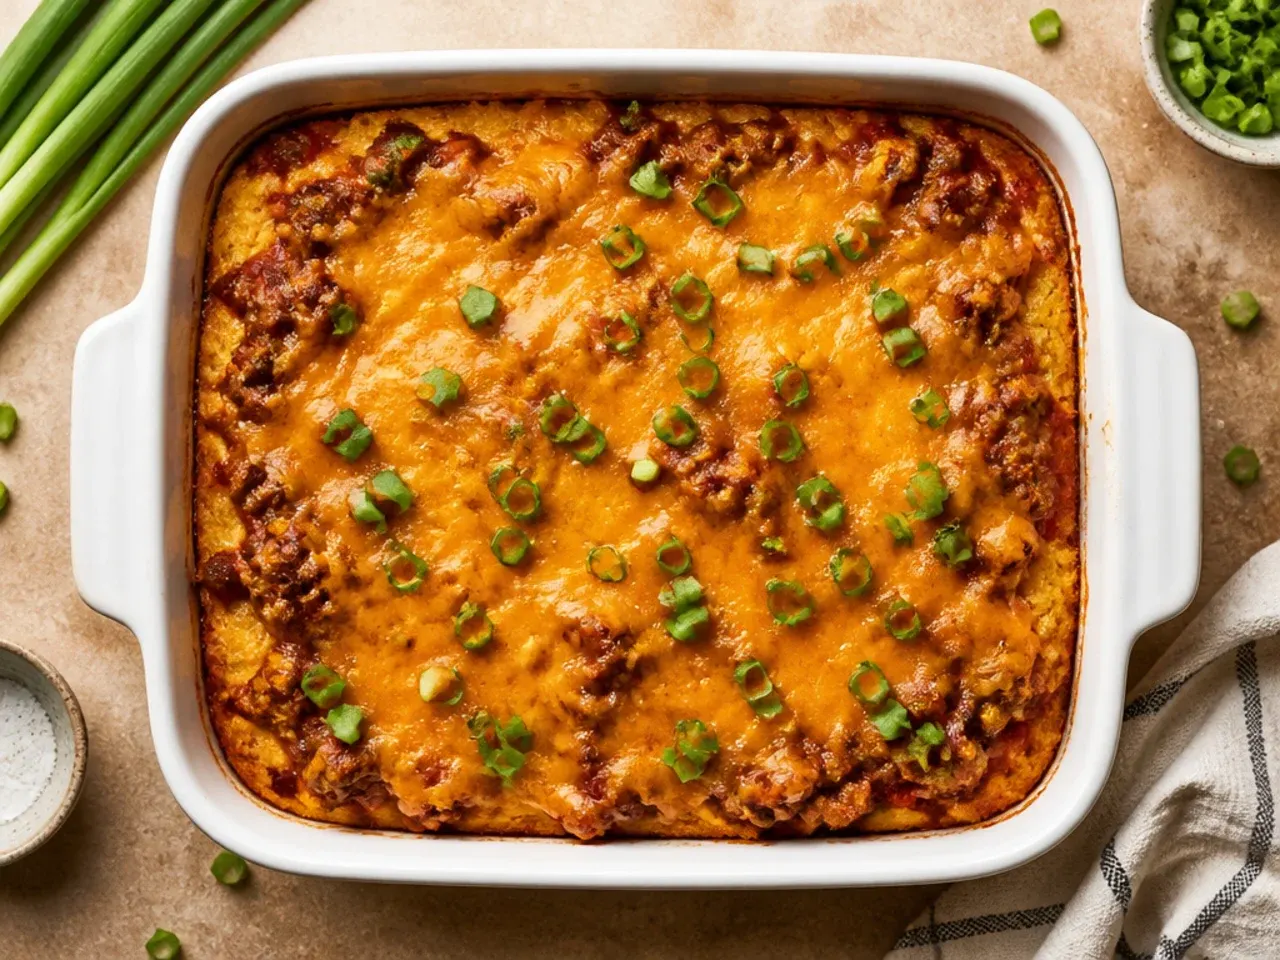
Pre-shredded bagged cheese has an anti-caking coating that stops it melting as smoothly, and I noticed my early bakes had slightly grainy, oily patches instead of a silky melt. Grating a block of mature cheddar myself takes maybe two extra minutes but melts into the filling and over the top far more evenly. It is a small habit change that made the whole dish look and taste more polished.
Lesson 11: Season the Beef Itself, Not Just the Sauce
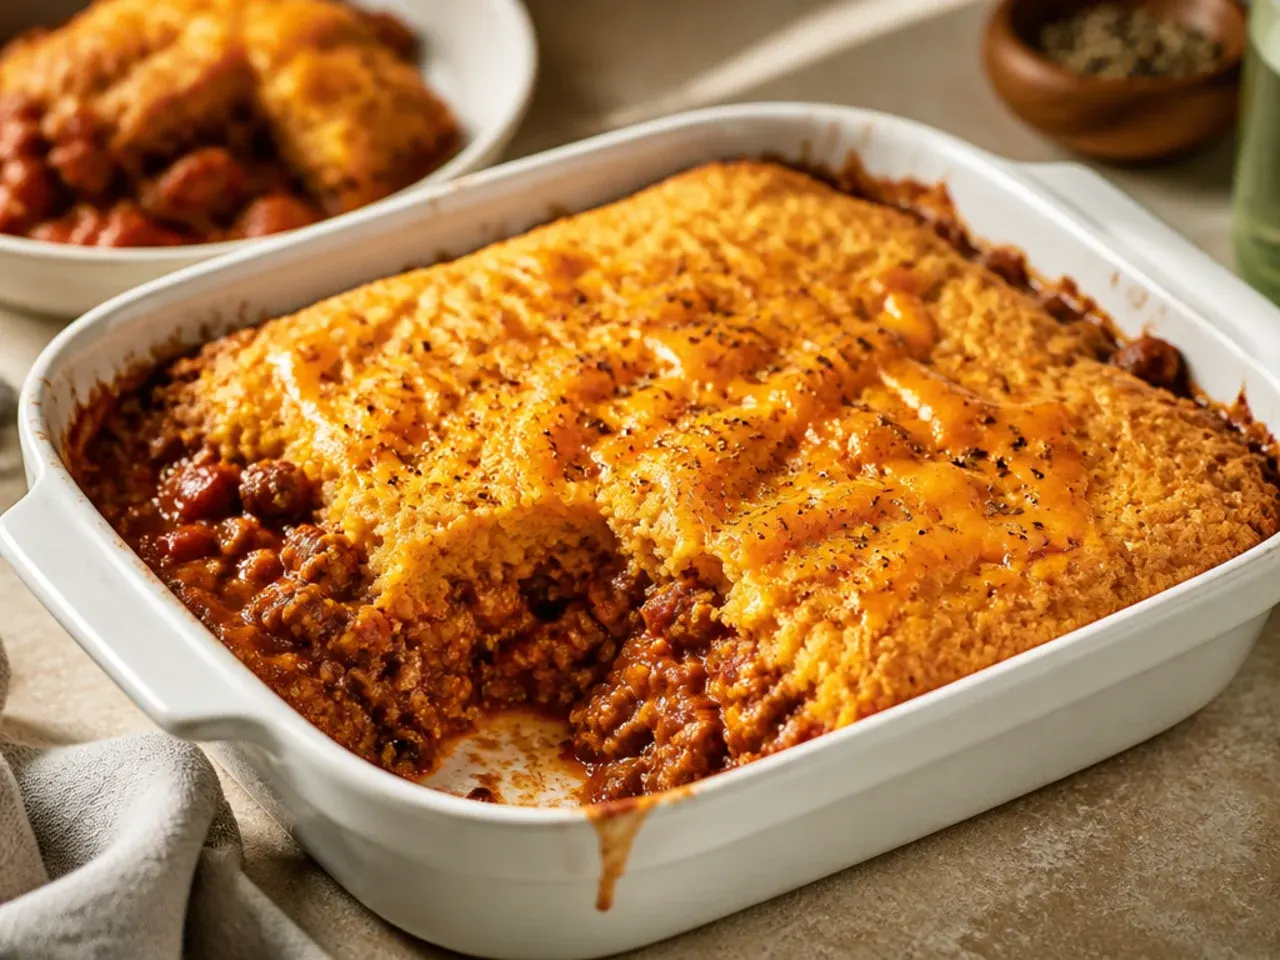
I used to rely entirely on the tinned sauce for flavour and the filling still tasted flat once it was diluted by the cornbread on top. Now I season the beef with salt, black pepper and a little extra garlic while it browns, before any sauce goes in at all. Building flavour in layers like this means the filling still tastes seasoned even under a thick layer of cornbread.
Lesson 12: Watch the Sweetness Balance
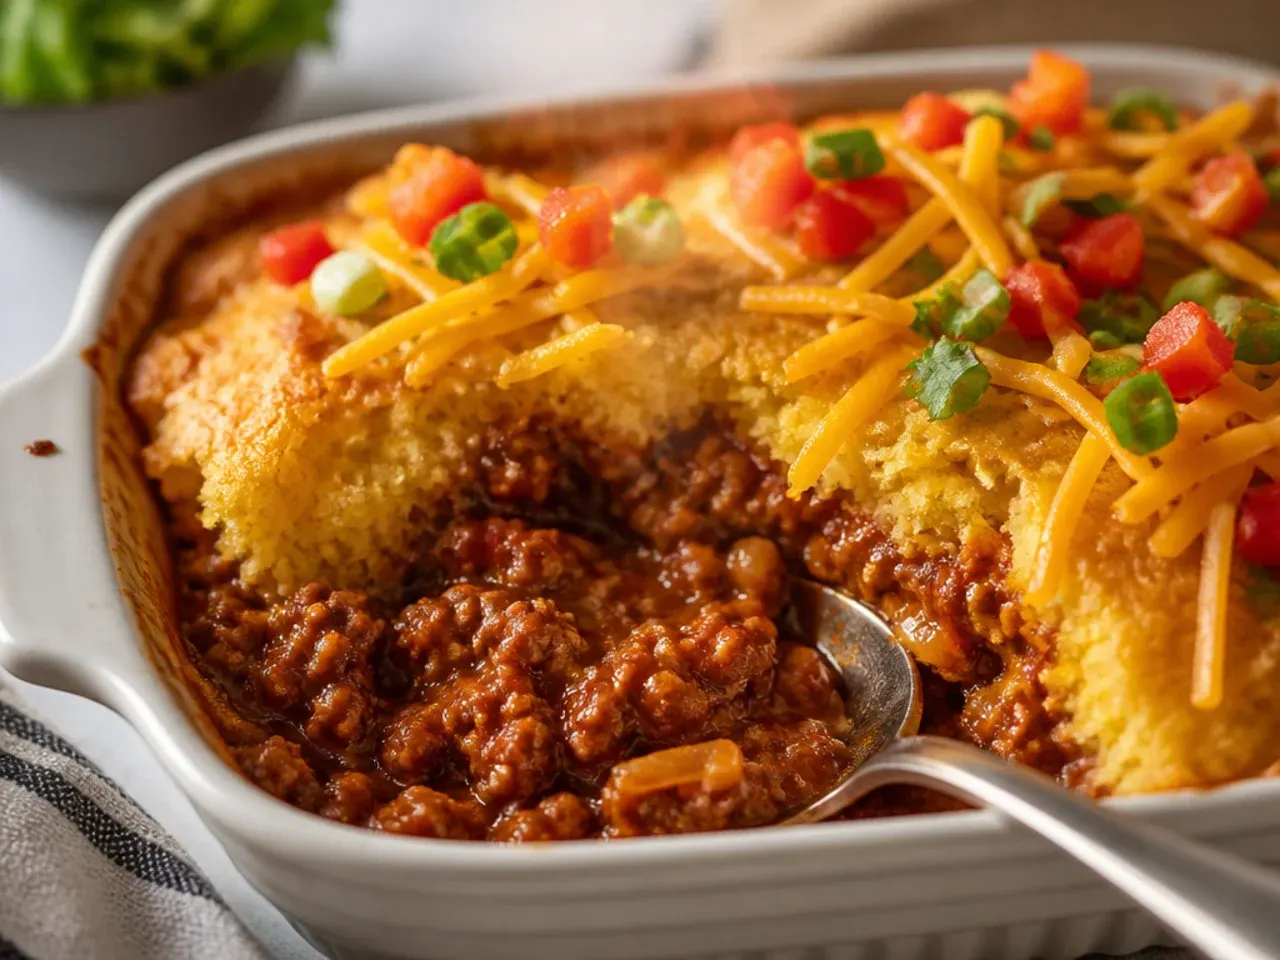
Between the brown sugar and ketchup in the filling and the naturally sweet cornbread on top, my first version tipped over into tasting more like dessert than dinner. I now cut the brown sugar back by about a third and add a touch more Worcestershire sauce and black pepper to keep the filling savoury. The cornbread stays sweet on its own, so the filling underneath doesn't need to match it.
Lesson 13: Doubling the Recipe Needs a Bigger Dish, Not a Deeper One
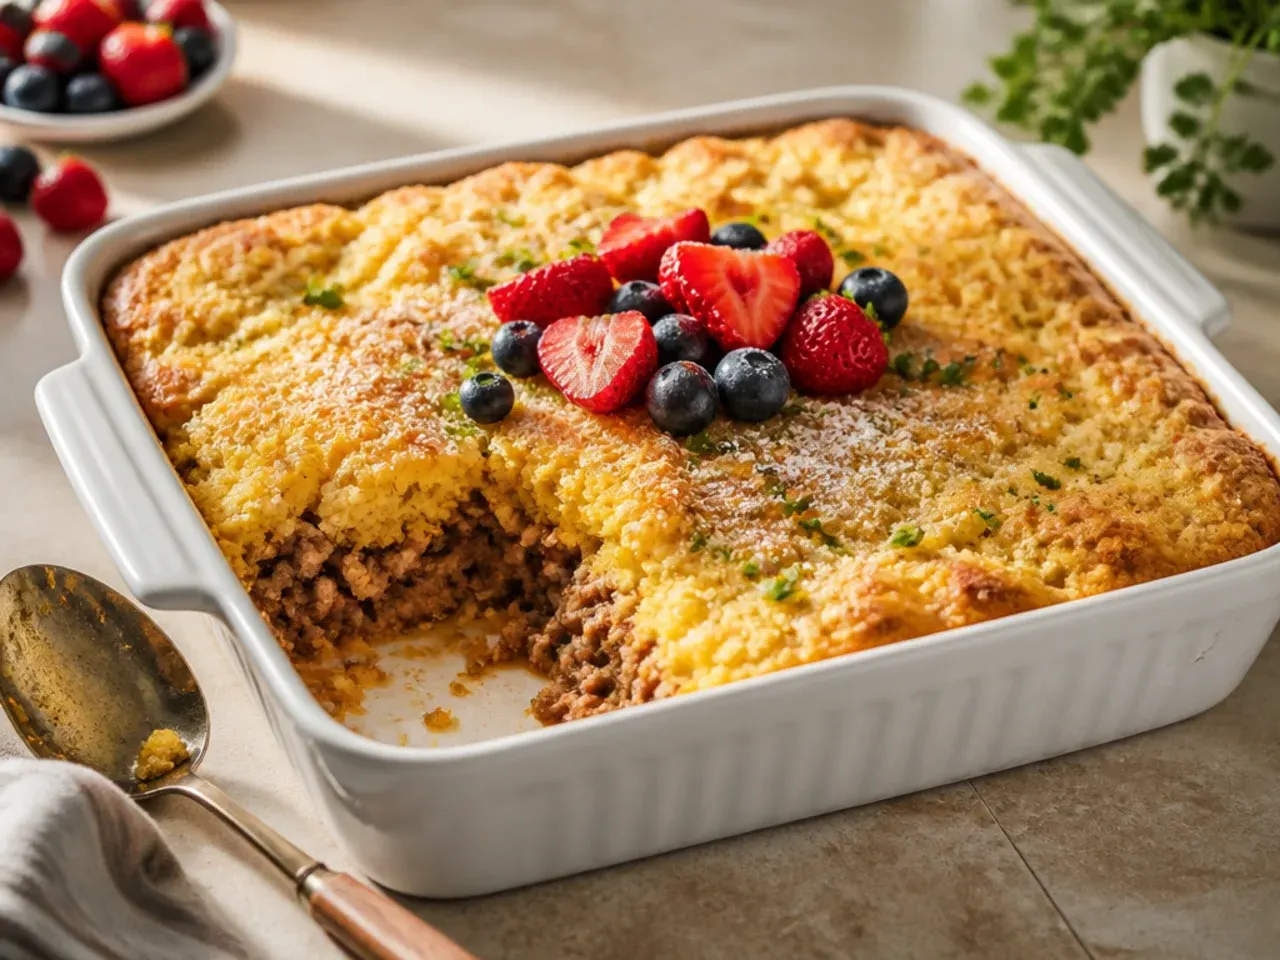
The first time I doubled this for a family dinner, I used the same size dish and the cornbread centre was still raw a full 15 minutes past when it should have been done. Doubling the ingredients now always means moving up to a proper 23 x 33 cm dish and adding roughly 10 extra minutes of baking time, checked with a toothpick as always. Keeping the layer thickness roughly the same as the single batch is what actually matters, not just scaling the ingredients.
Lesson 14: Freeze It Before Baking, Not After
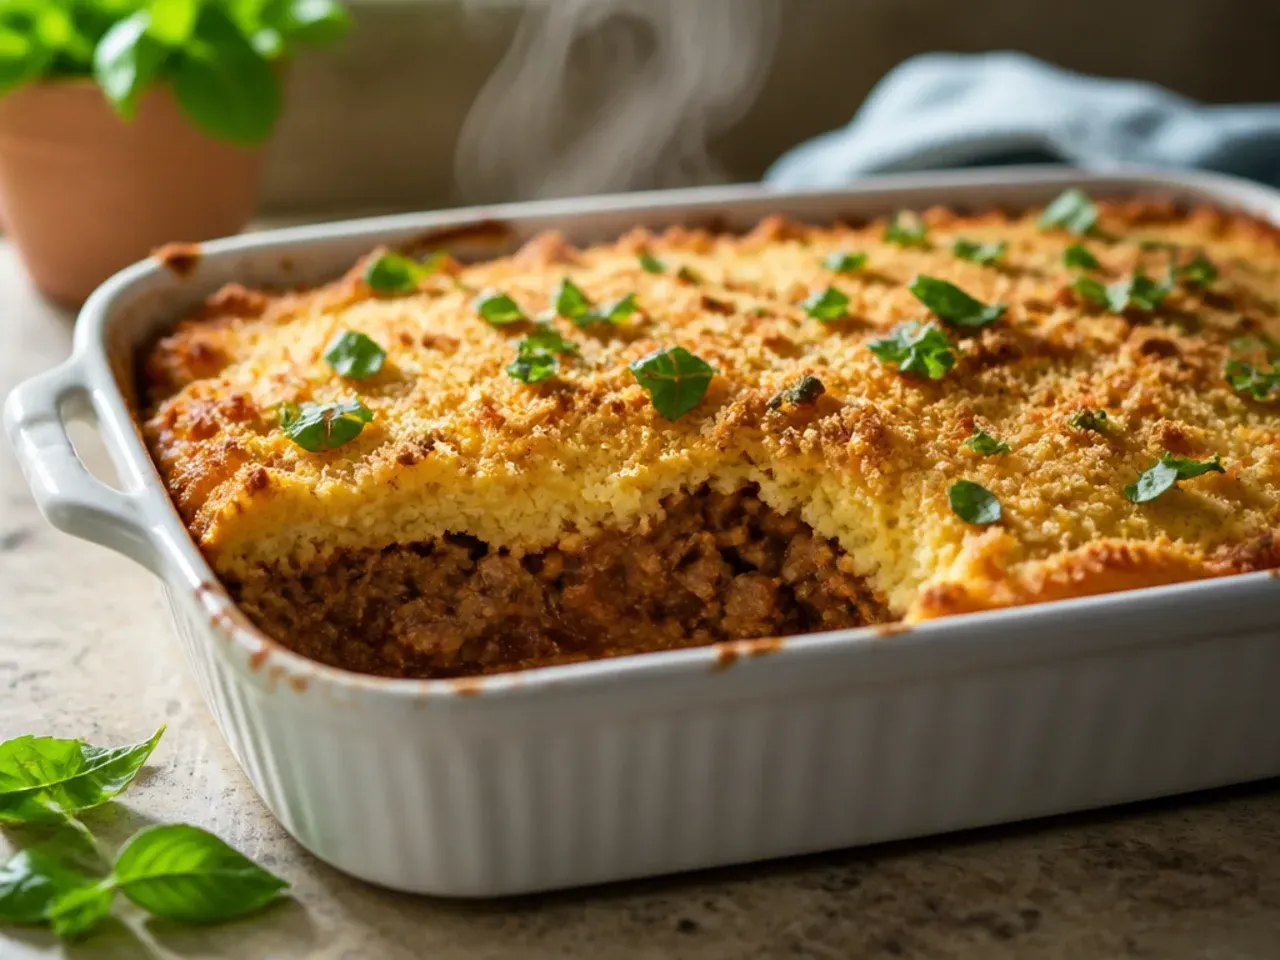
I once froze leftover baked casserole and the reheated cornbread came out noticeably drier and slightly spongy compared to fresh. Now when I want to make one ahead for the freezer, I assemble the whole dish with the cheese on top, wrap it well and freeze it unbaked instead. Baked from frozen with about 15 extra minutes covered in foil, the texture is much closer to a freshly made one.
Lesson 15: Lower and Slower Beats Hot and Fast
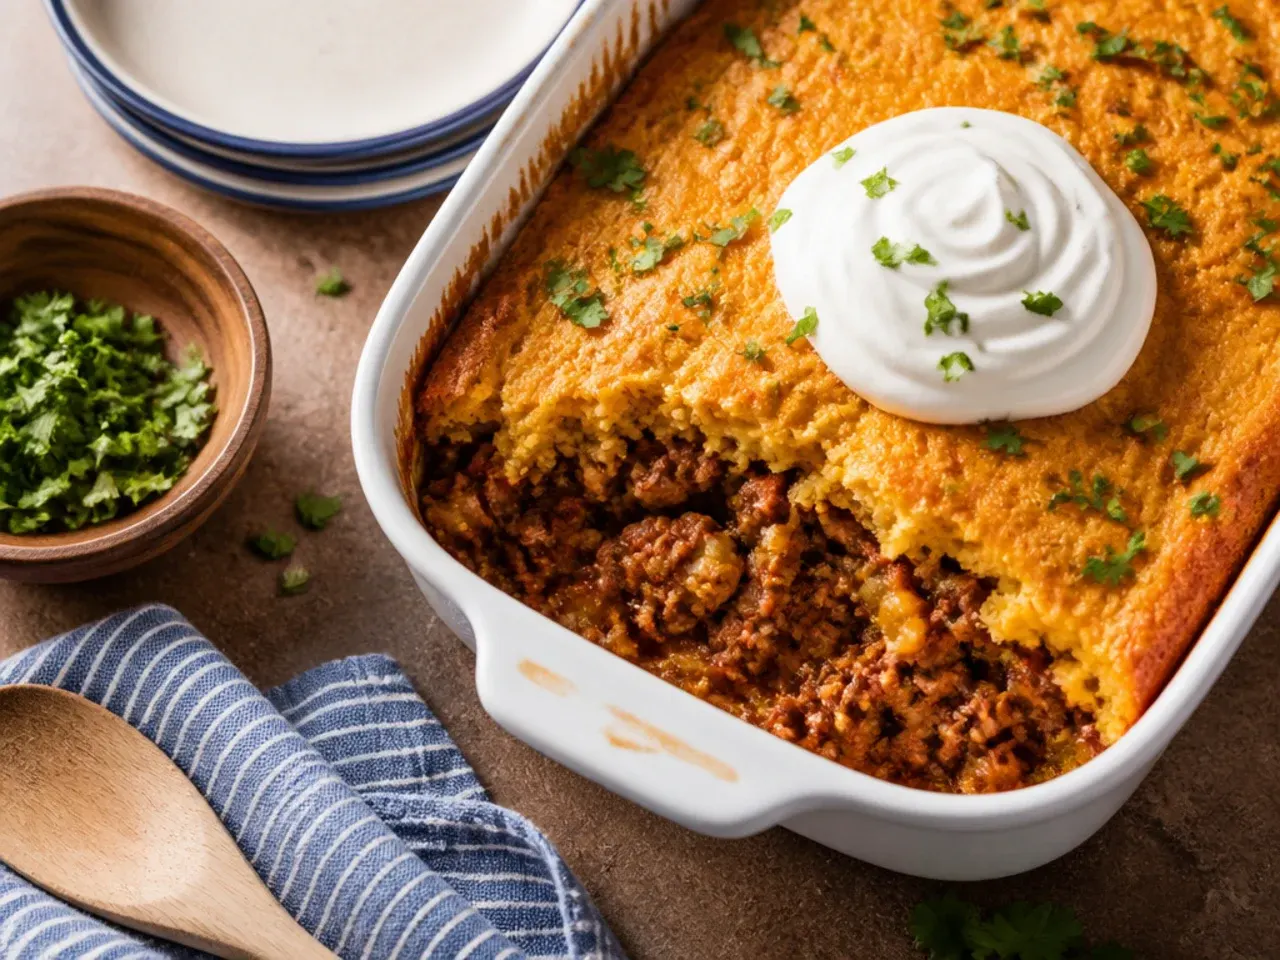
Baking at a higher temperature to save time meant the cornbread edges caught colour well before the centre was cooked through, especially in a fuller dish. Dropping the oven down to 200°C (400°F) rather than pushing it to 220°C (425°F), and giving it a few extra minutes, lets the whole casserole cook through more evenly. It is a small adjustment but it is the difference between an evenly golden top and one with dark, slightly bitter edges.
What I'd Tell a Friend Trying This
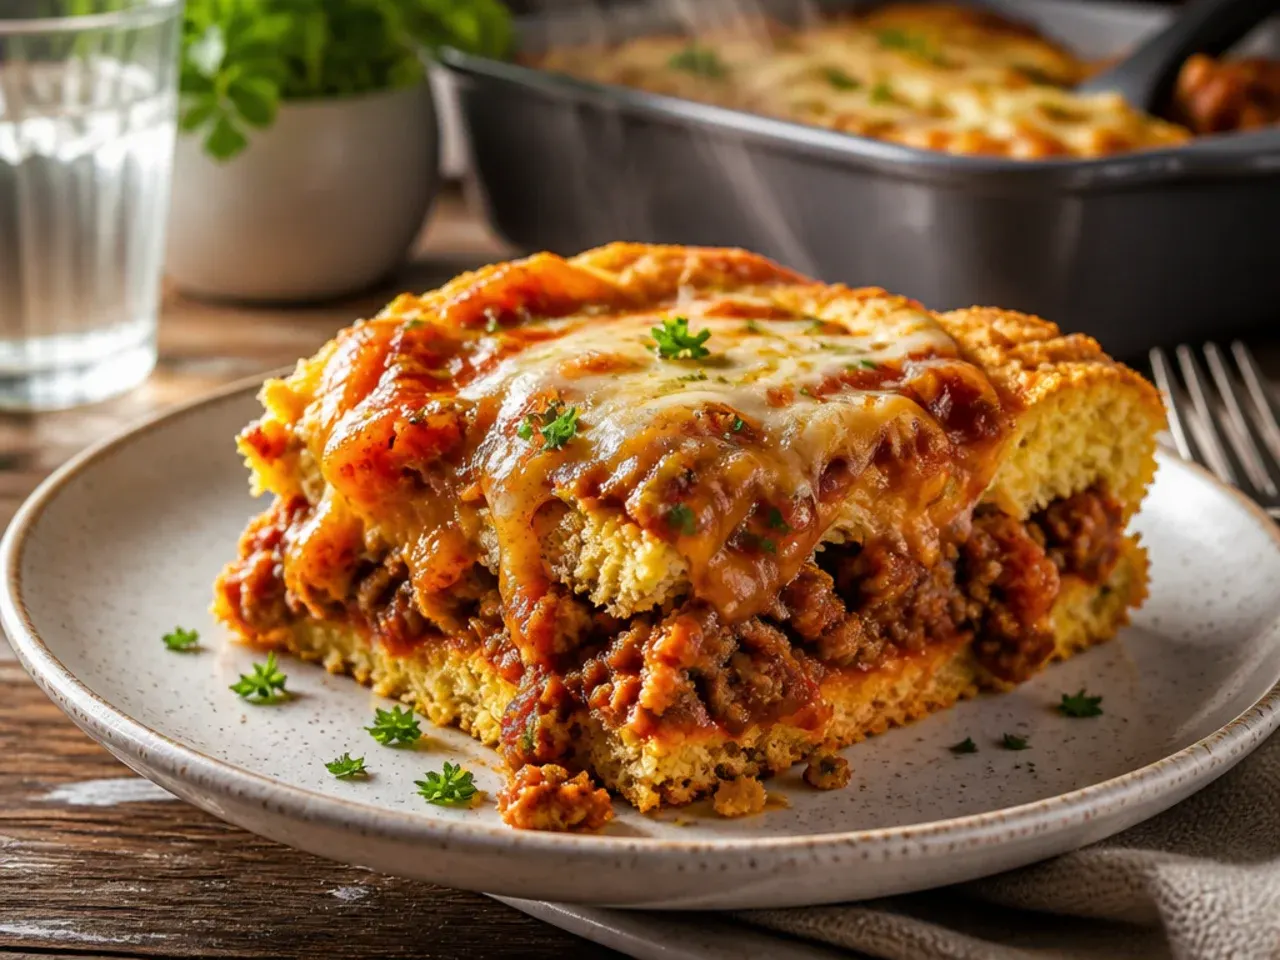
Keep the filling properly hot when it goes into the dish, spread the cornbread batter gently, and always check the centre with a toothpick rather than trusting how golden the top looks. Season the beef itself so the flavour holds up under the cornbread, and don't be afraid to drop the oven temperature slightly if your edges brown before the middle sets. Once you've made it two or three times with these small adjustments, sloppy joe cornbread casserole becomes one of those dinners you can put together on autopilot.
The Recipe
The Recipe I Used
15 min
35 min
50 min
6
Beginner
Ingredients 6 Person(s)
Directions
Step 1: Brown the beef and vegetables
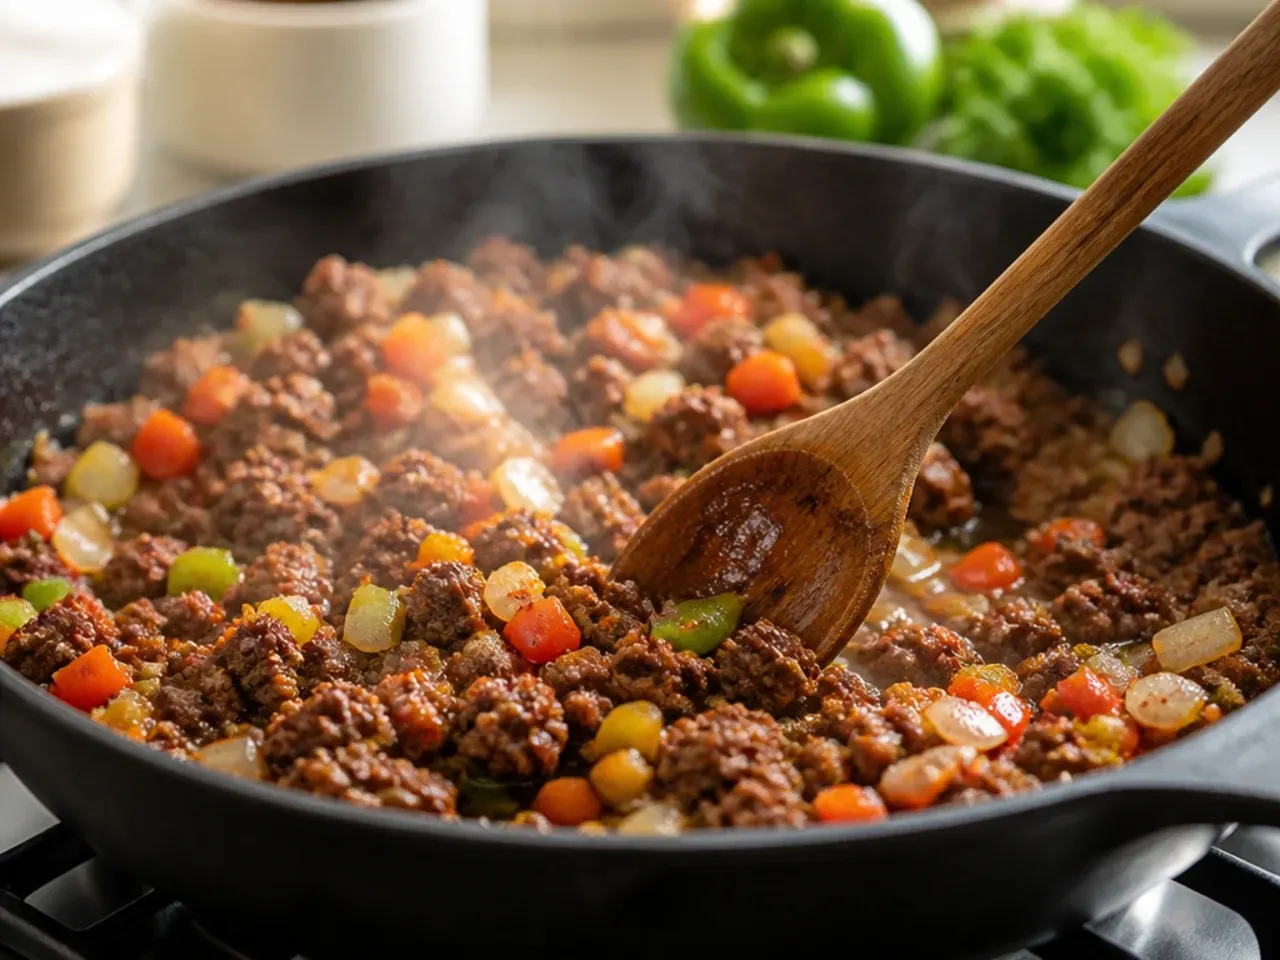
Heat a large skillet over medium-high heat and cook the beef mince, diced onion and pepper together for 7-8 minutes, breaking up the meat as it browns, until no pink remains. Drain off any excess fat thoroughly. Stir in the garlic and cook for 30 seconds until fragrant.
Step 2: Build the sloppy joe sauce
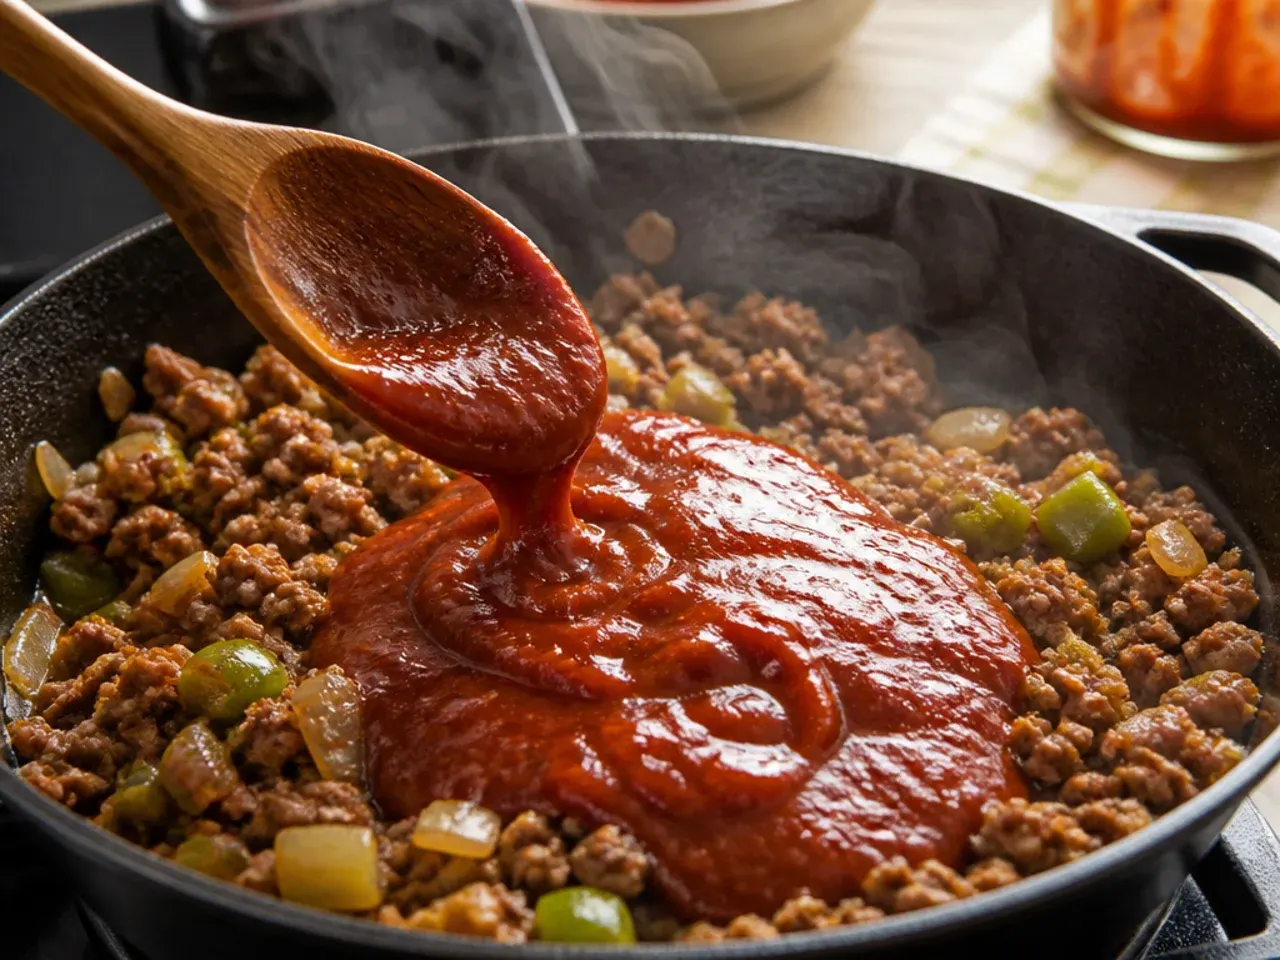
Season the beef mixture with salt and black pepper, then stir in the sloppy joe sauce, ketchup, brown sugar and Worcestershire sauce. Mix until evenly combined over the heat.
Step 3: Simmer until thick and hot
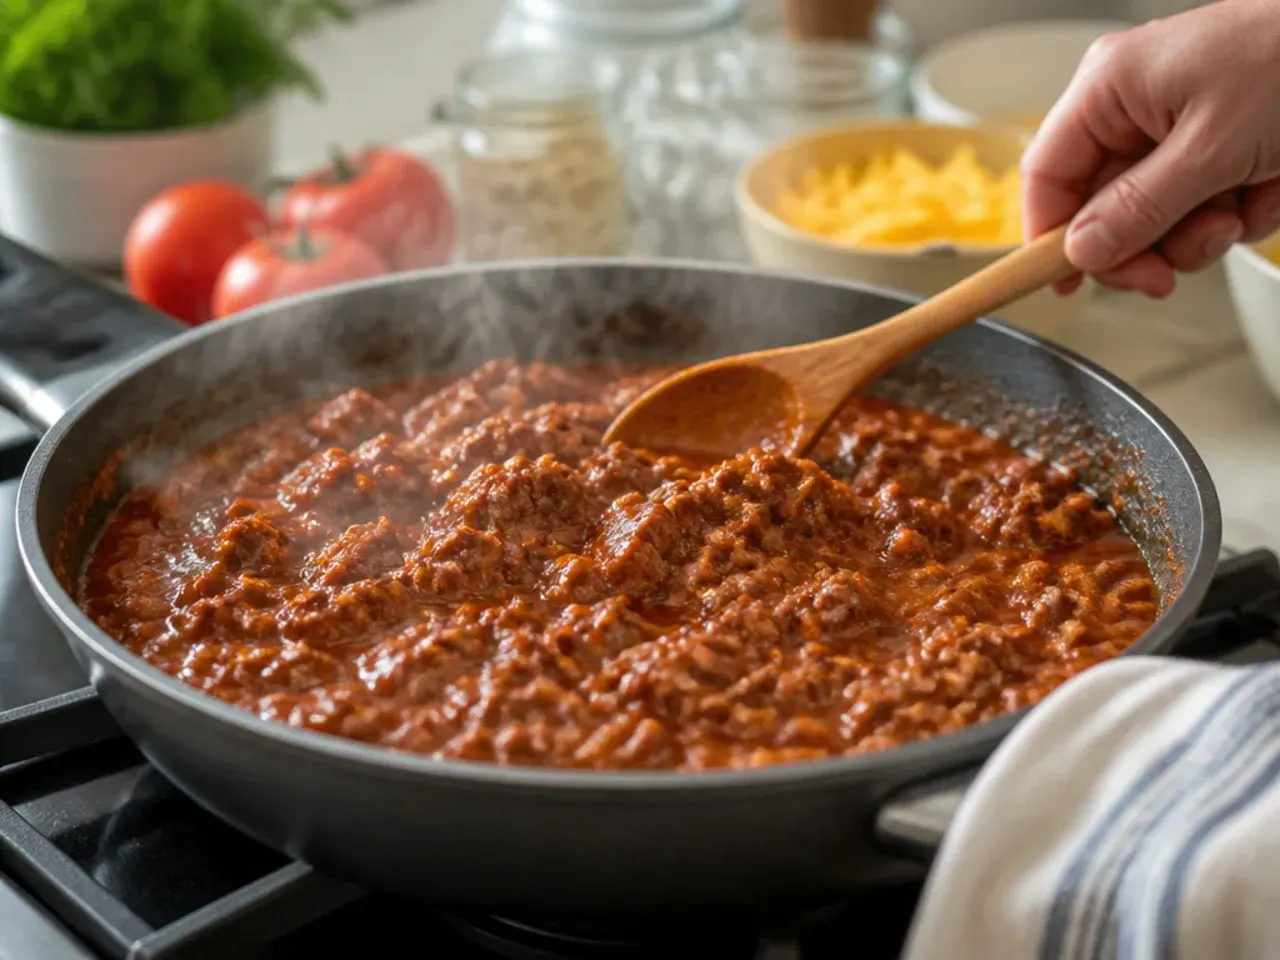
Reduce the heat to low and let the mixture simmer for 4-5 minutes, stirring occasionally, until it is thick, bubbling and glossy. It should still be properly hot when you move on to the next step.
Step 4: Transfer to the dish and layer cheese
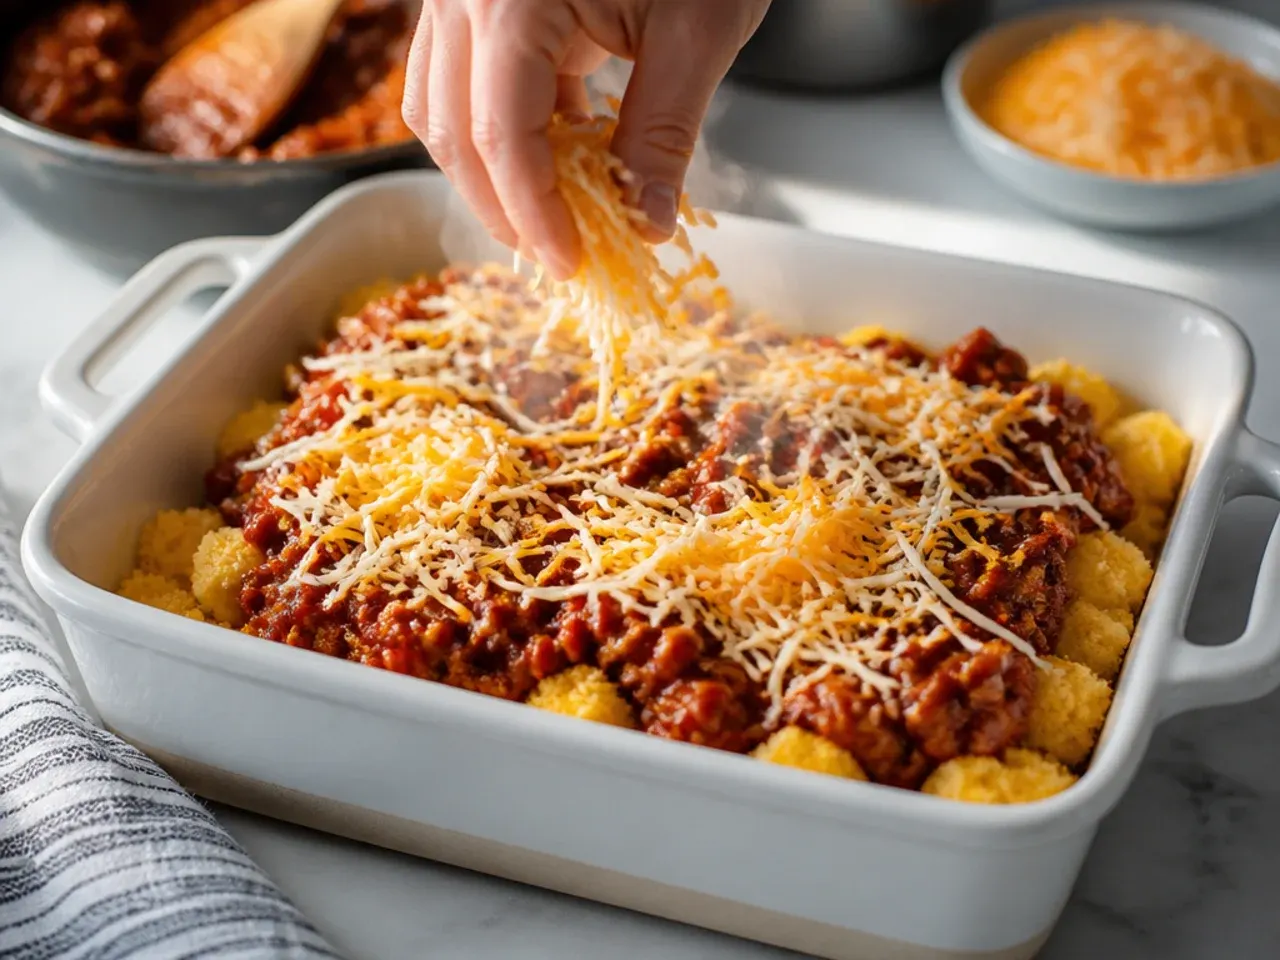
Preheat the oven to 200°C (400°F) and lightly grease a shallow 20 cm (8-inch) square baking dish (or a slightly larger 23 x 23 cm dish if that's what you have) — avoid a deep dish, which stops the filling underneath from heating through before the top is done. Spread the hot filling evenly in the dish, then scatter half of the grated cheddar directly over the top.
Step 5: Mix the cornbread batter
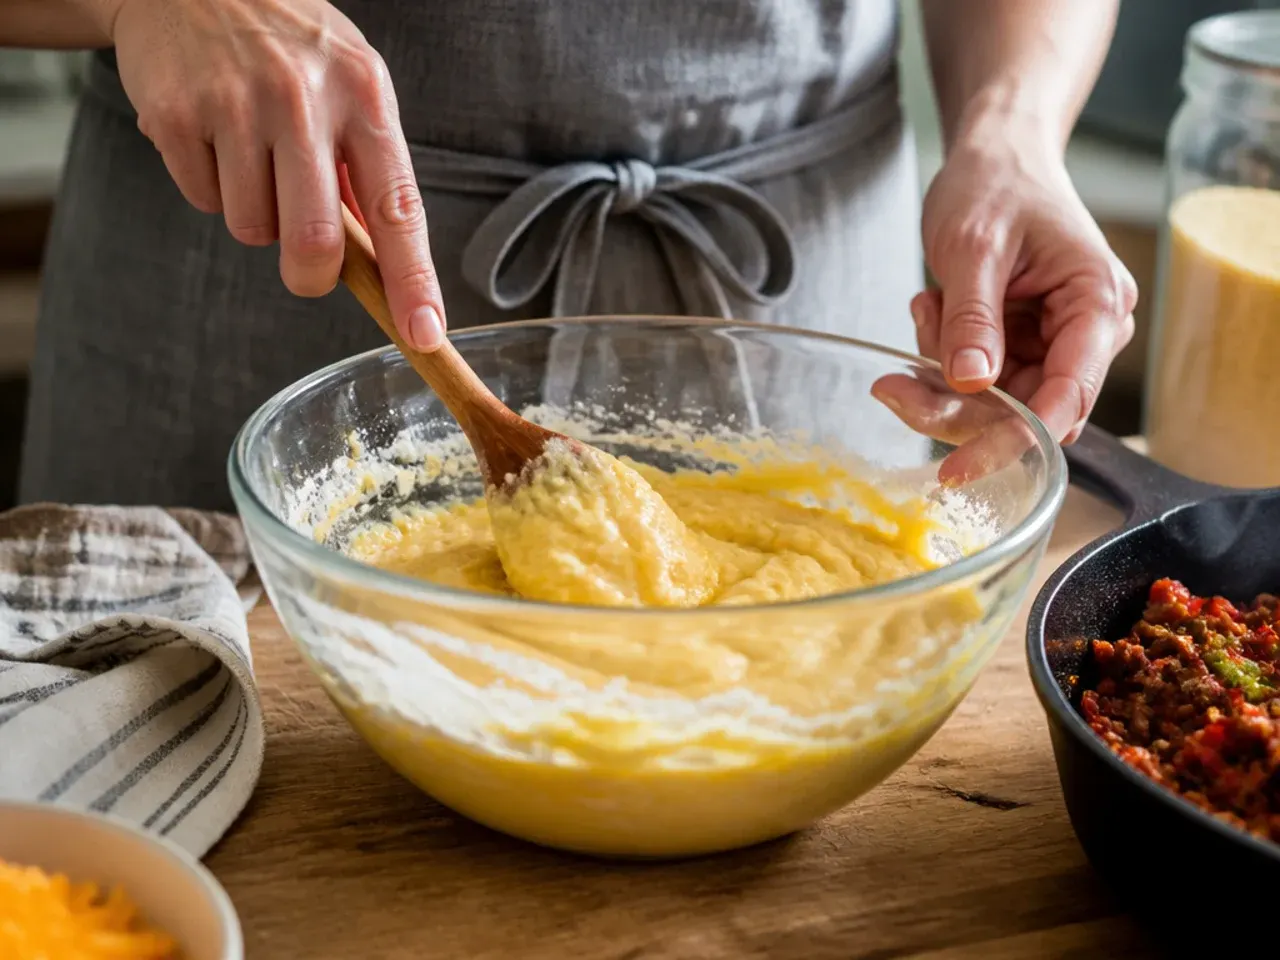
In a medium bowl, whisk the cornbread mix, egg and milk together just until the dry streaks disappear; a few small lumps are fine and keep the topping tender.
Step 6: Spread and bake
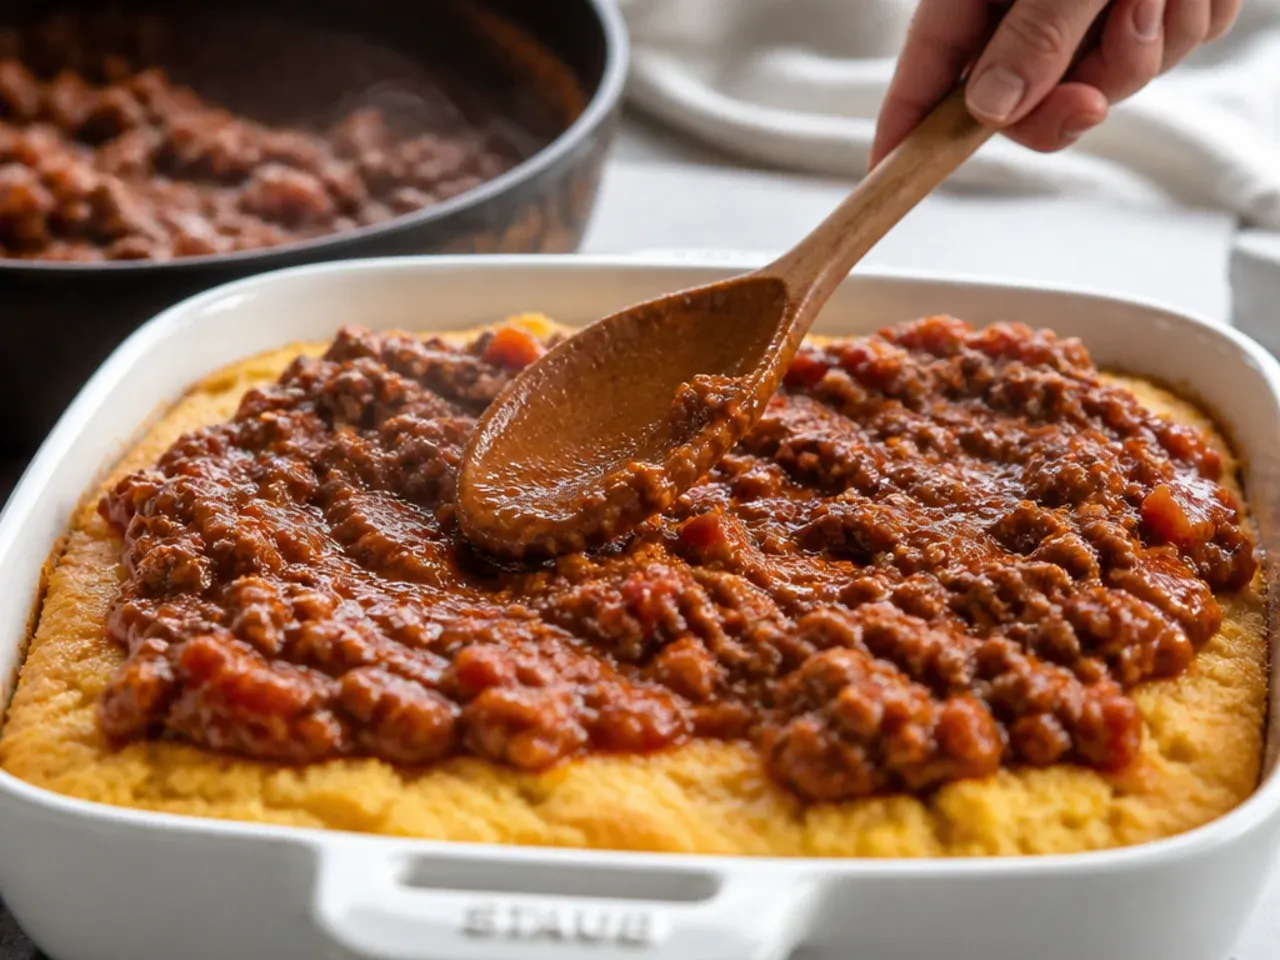
Dollop the batter evenly over the cheese-topped filling and gently smooth it to the edges with the back of a spoon dipped in milk. Bake for 25-30 minutes, tenting loosely with foil if the top browns too quickly, until a toothpick inserted in the centre comes out clean. Scatter the remaining cheese over the top for the final 5 minutes of baking.
Step 7: Rest and serve
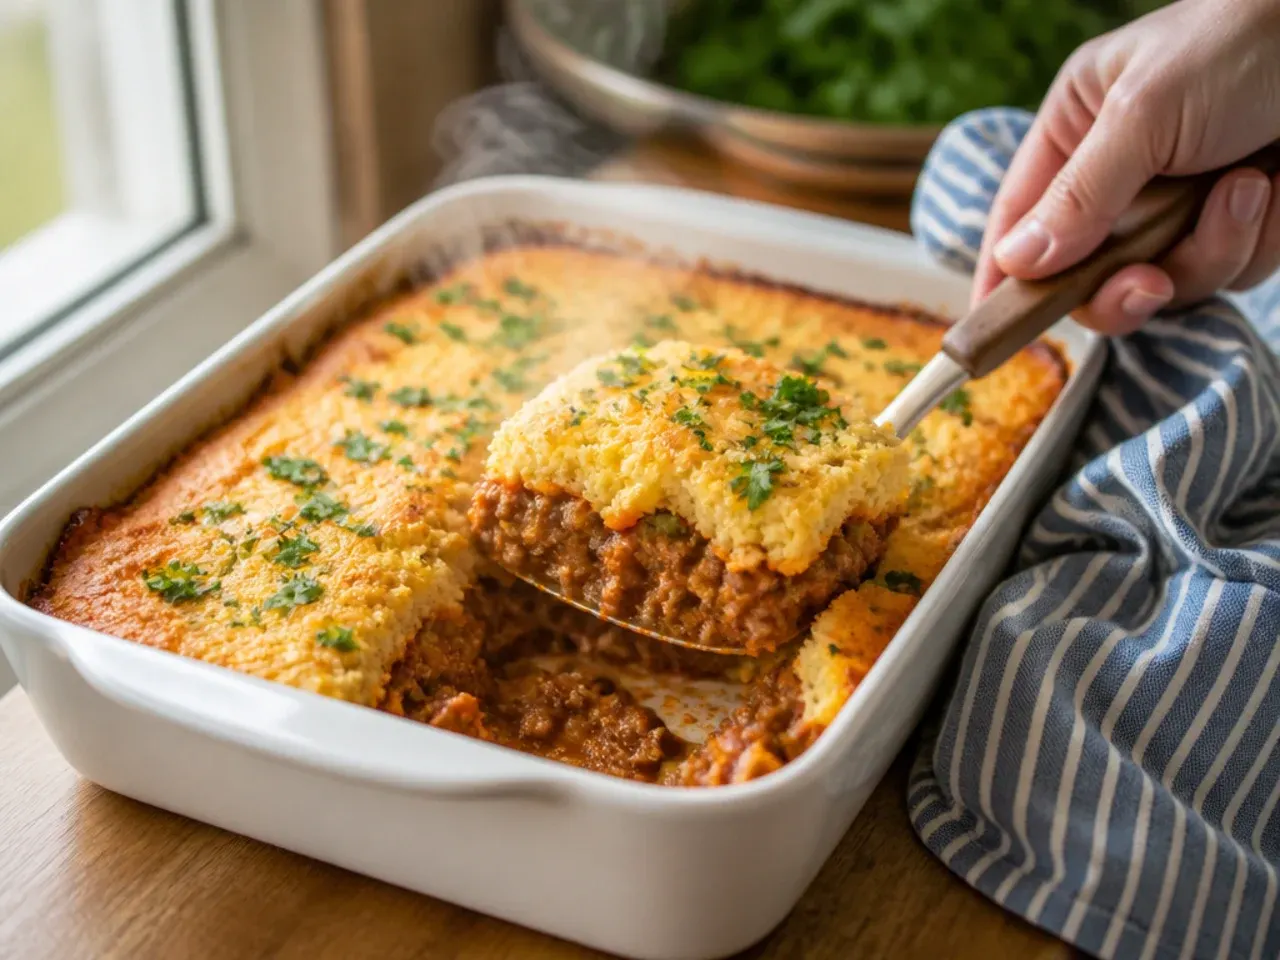
Remove the casserole from the oven and let it stand for 10 minutes before cutting; this lets the filling settle and the cornbread firm up so each slice holds together. Serve warm, with a dollop of sour cream if you like.
Frequently Asked Questions
This almost always happens when the filling underneath has cooled down before the batter goes on top, so the cornbread has to cook from a cold start. Make sure the filling is still gently bubbling when you spread it into the dish, and always check doneness with a toothpick pushed into the very centre rather than judging by colour. A dish that is too deep for its size can also trap heat unevenly, so a wider, shallower dish helps too.
Save this for later 📌
Pin this article to your Pinterest board so the full list is one tap away when you need it.
Save on Pinterest