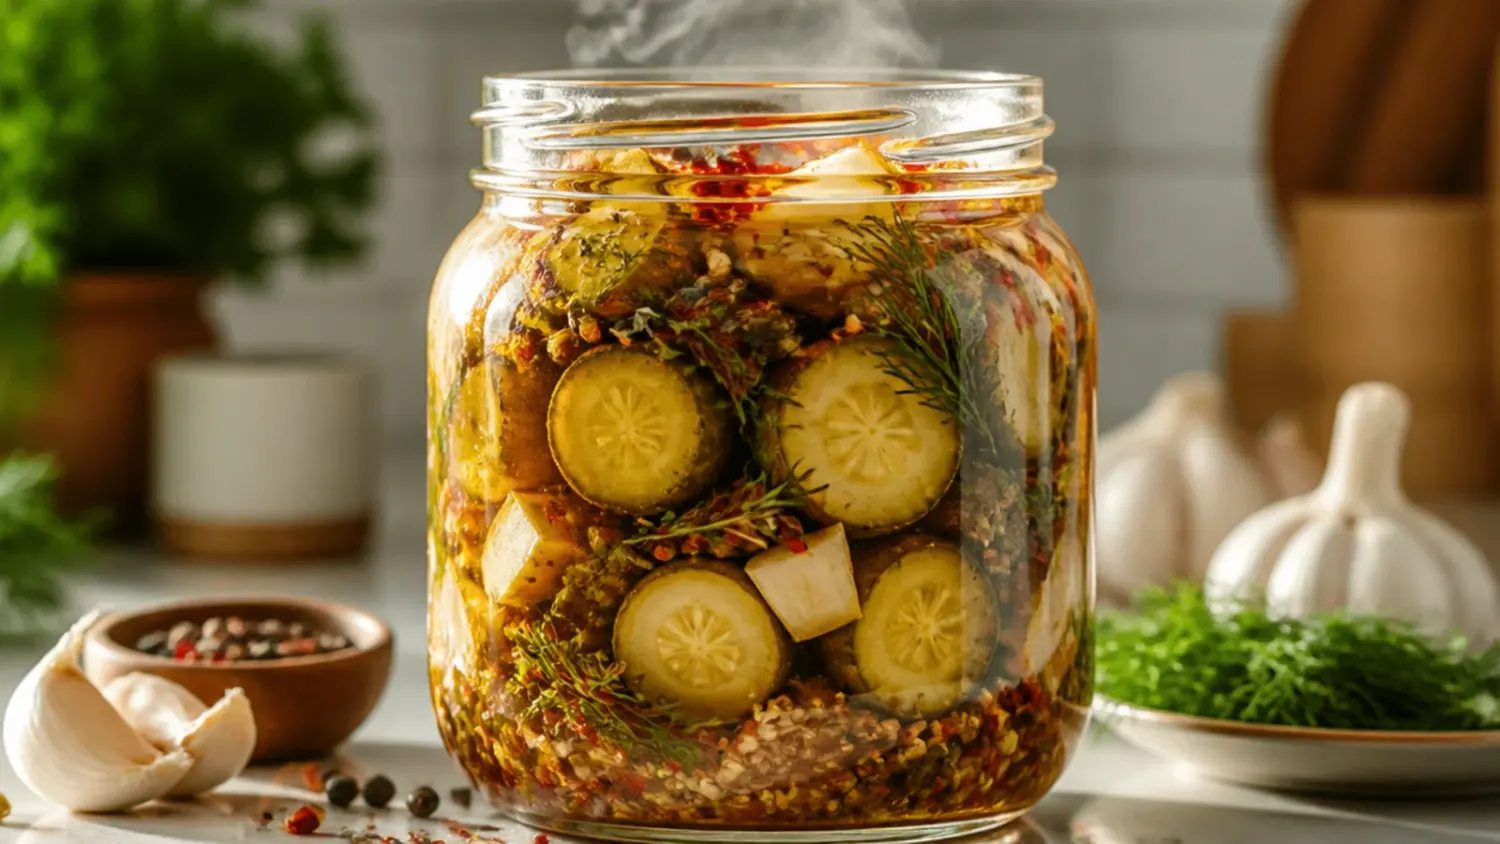
Ingredients 8 Person(s)

Save this for later 📌
Pin this article to your Pinterest board so the full list is one tap away when you need it.
Save on PinterestDirections
Step 1: Select your cucumbers
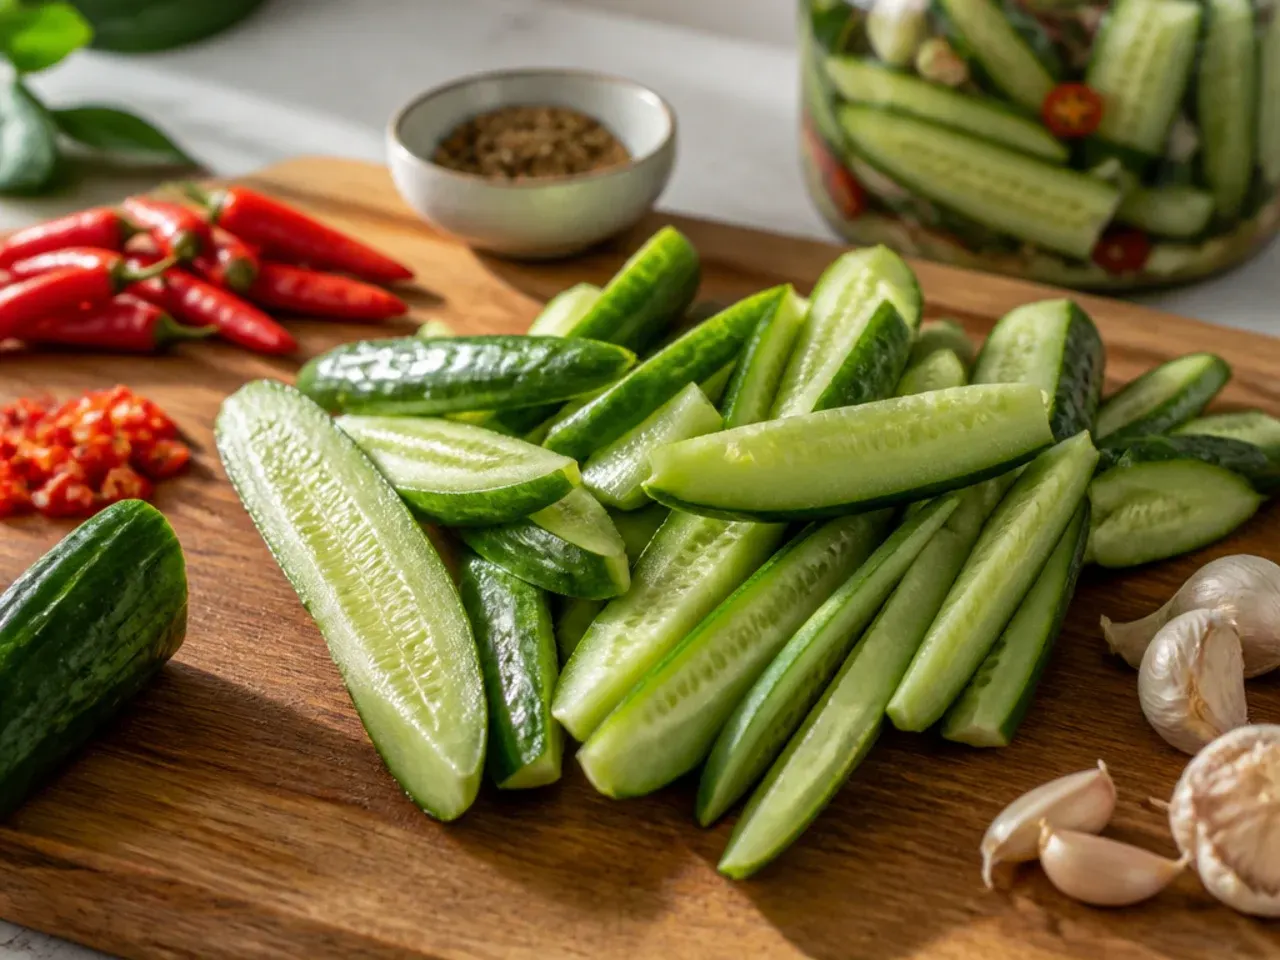
Choose 900 g (2 lbs) of small, firm pickling cucumbers such as Persian, Kirby or baby cucumbers rather than waxed salad cucumbers, since thinner-skinned varieties soak up the spicy brine far better. Look for cucumbers that are uniformly firm from end to end with no soft or yellowing spots, roughly 10-13 cm (4-5 in) long. Buy them as close to harvest as possible, since cucumbers that have sat around for days turn soft no matter how careful the brine is.
Step 2: Wash and dry the cucumbers
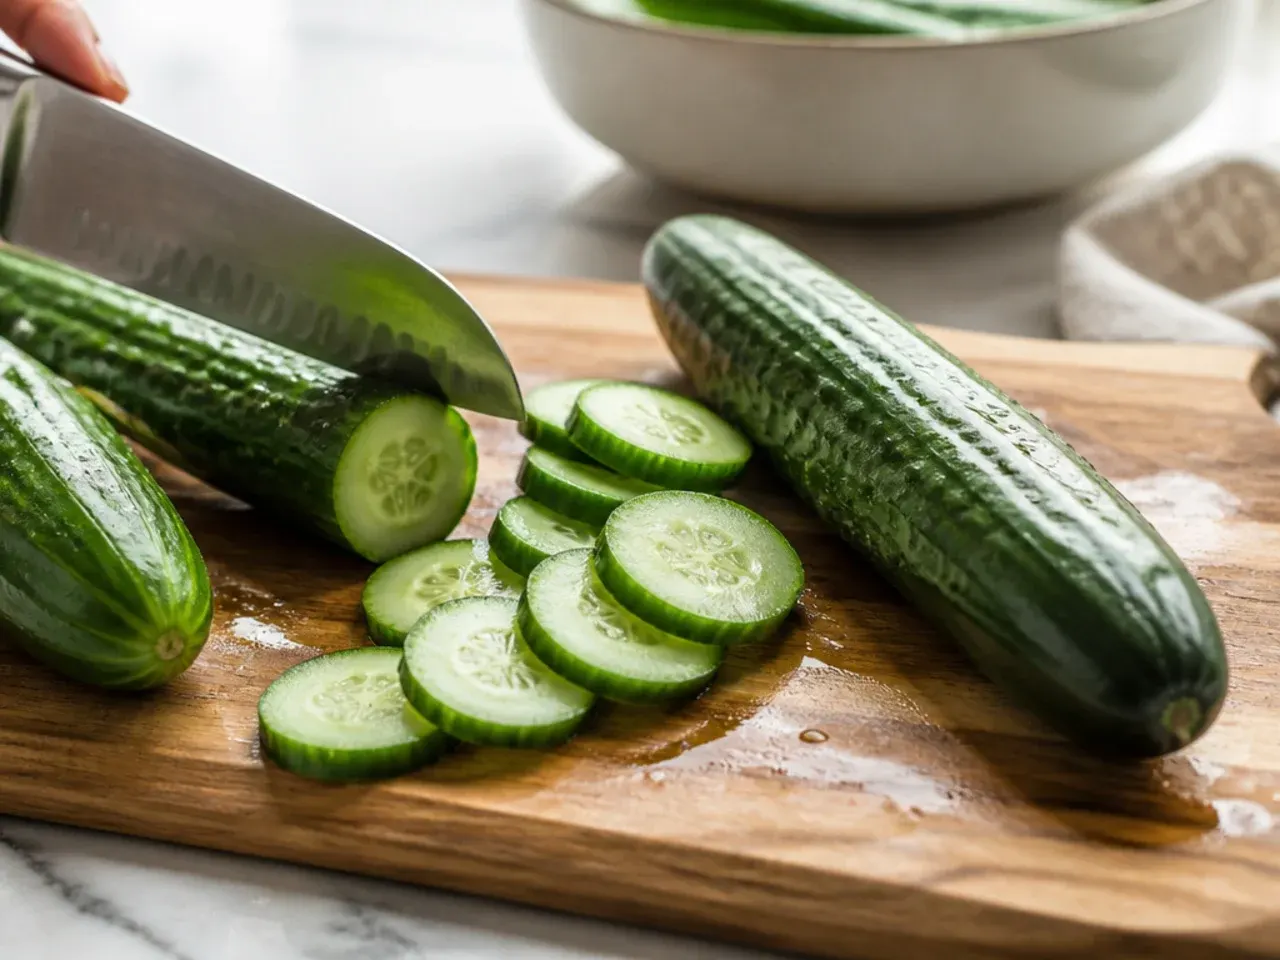
Rinse the cucumbers under cold running water, scrubbing gently with your hands or a soft brush to remove dirt or waxy residue. Pat them completely dry with a clean tea towel, since excess surface water dilutes the brine once the cucumbers go into the jar. Discard any cucumber that feels squishy or shows bruising, as one soft piece can affect the texture of the whole batch.
Step 3: Trim the blossom ends
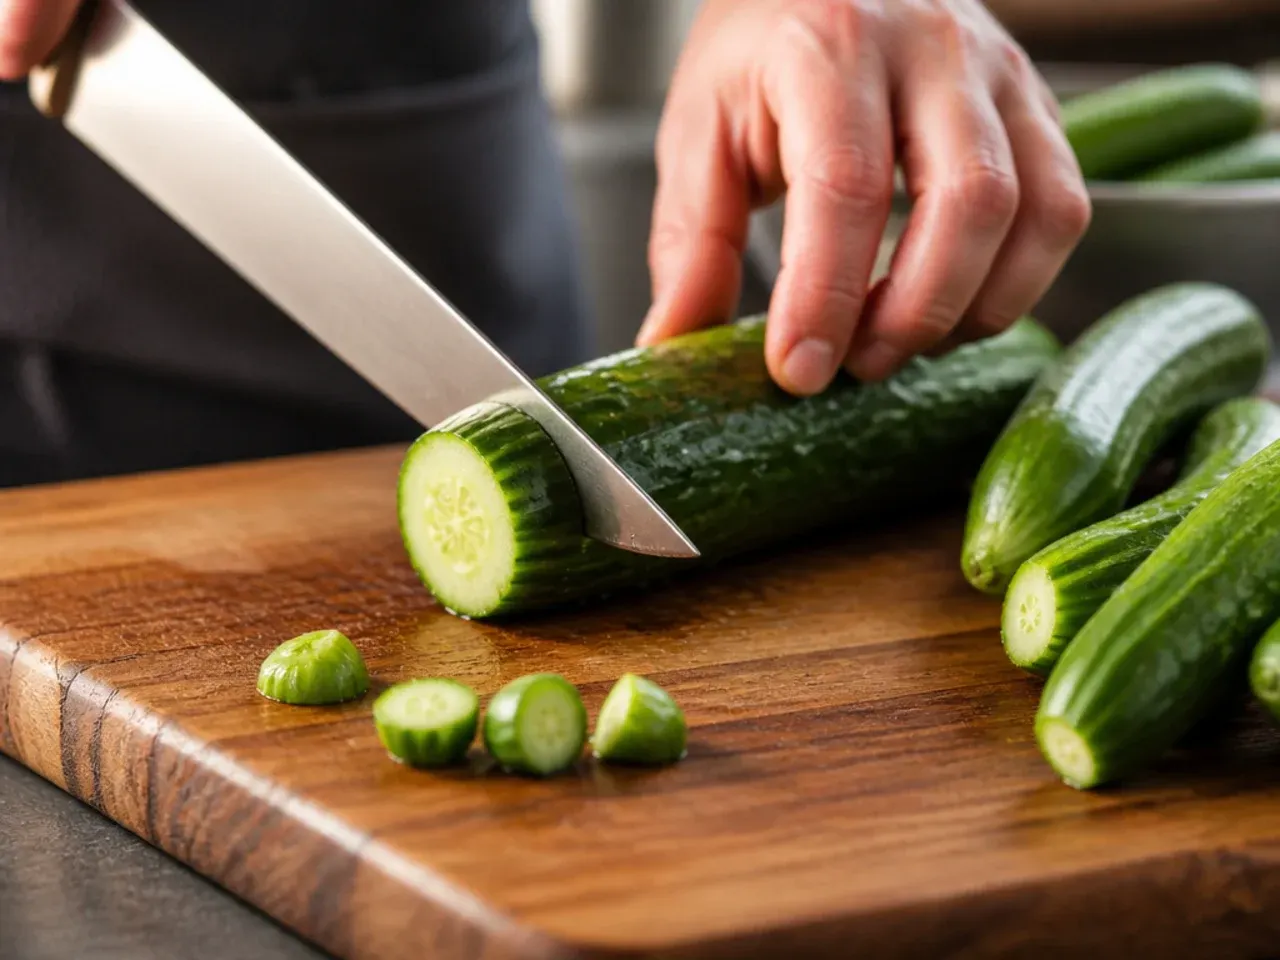
Slice off a thin 3 mm (1/8 in) disc from the blossom end of each cucumber, the end opposite the stem, because it carries enzymes that soften pickles if left on. Leave the stem end intact for now; you'll trim it when you cut the cucumbers into spears or rounds. This one small step is often the difference between crisp pickles and mushy ones a few weeks in.
Step 4: Give the cucumbers an ice bath
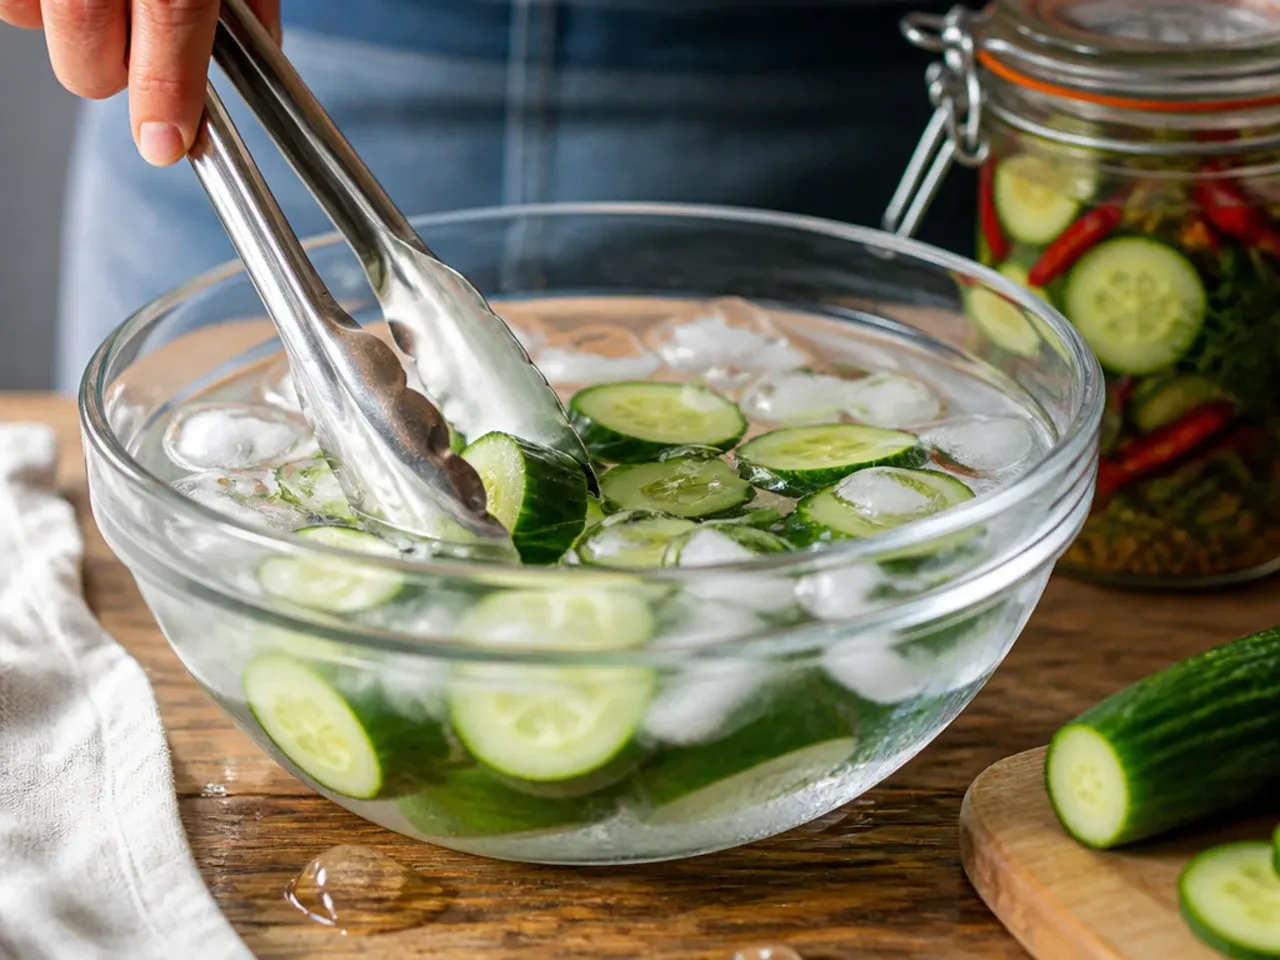
Fill a large bowl with cold water and 2 trays of ice cubes, then submerge the trimmed cucumbers for 20-30 minutes. This firms up the flesh before it ever meets the brine, giving you a noticeably crunchier finished pickle. Drain and pat the cucumbers dry again once the soak is done.
Step 5: Slice the cucumbers
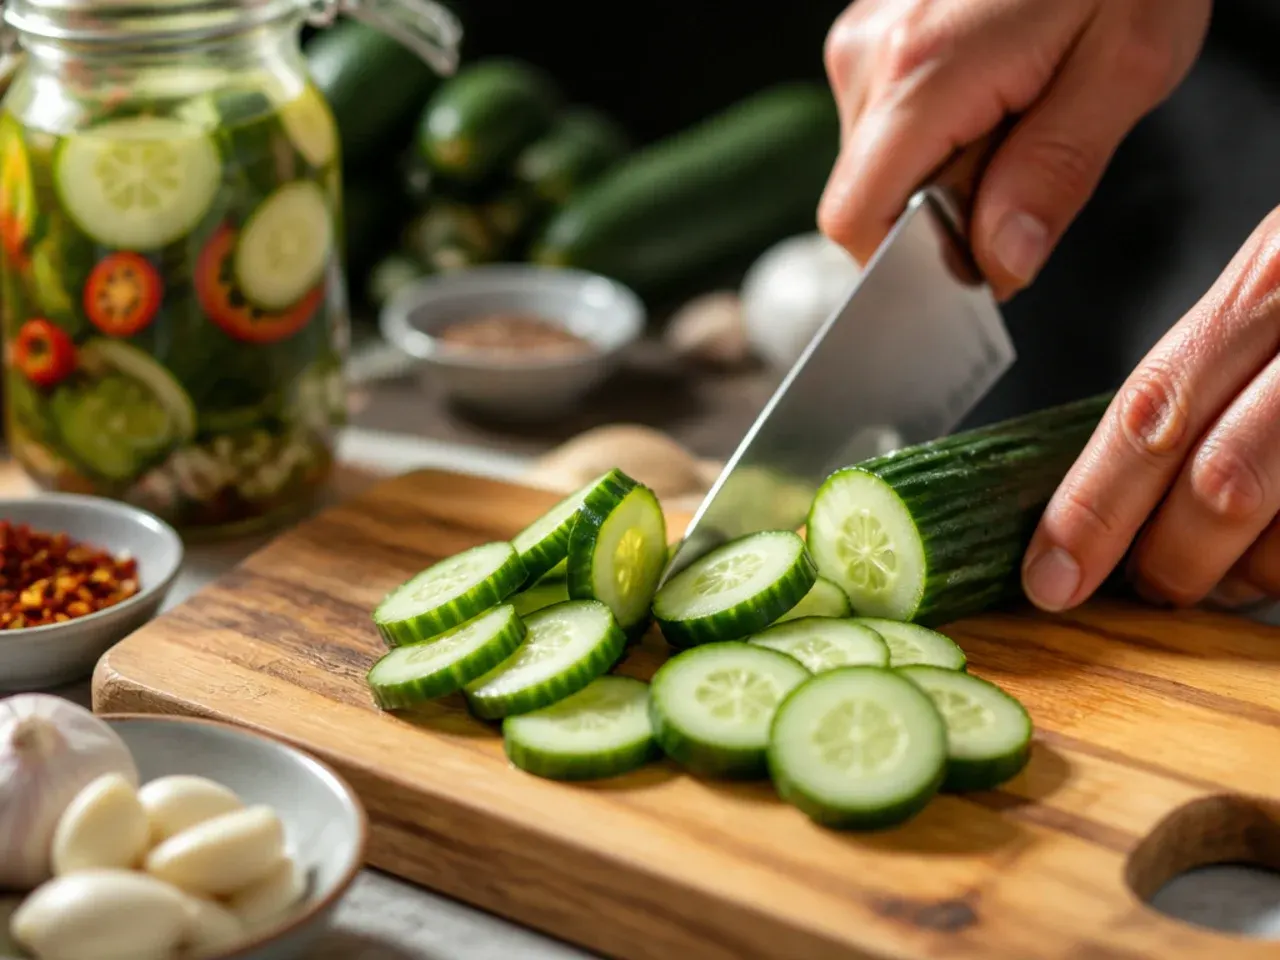
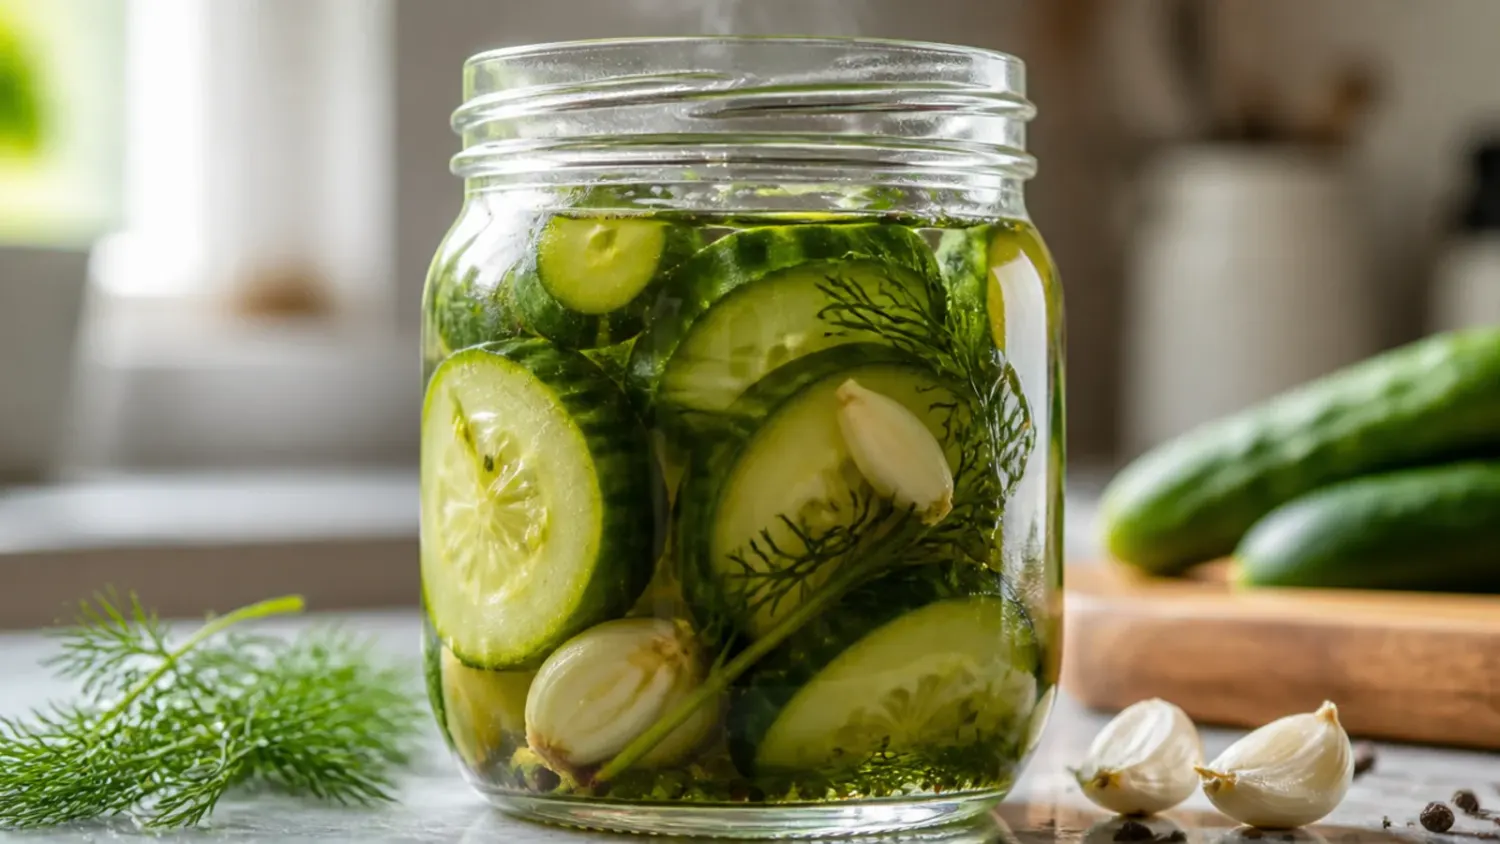
Cut the cucumbers into 1 cm (3/8 in) thick rounds, or slice lengthways into quarters to make spears, depending on how you plan to use the pickles. Keep the cuts even so every piece pickles at the same rate and looks tidy once jarred. If making spears, expect roughly 6-8 spears per medium cucumber.
Step 6: Sterilise the jars
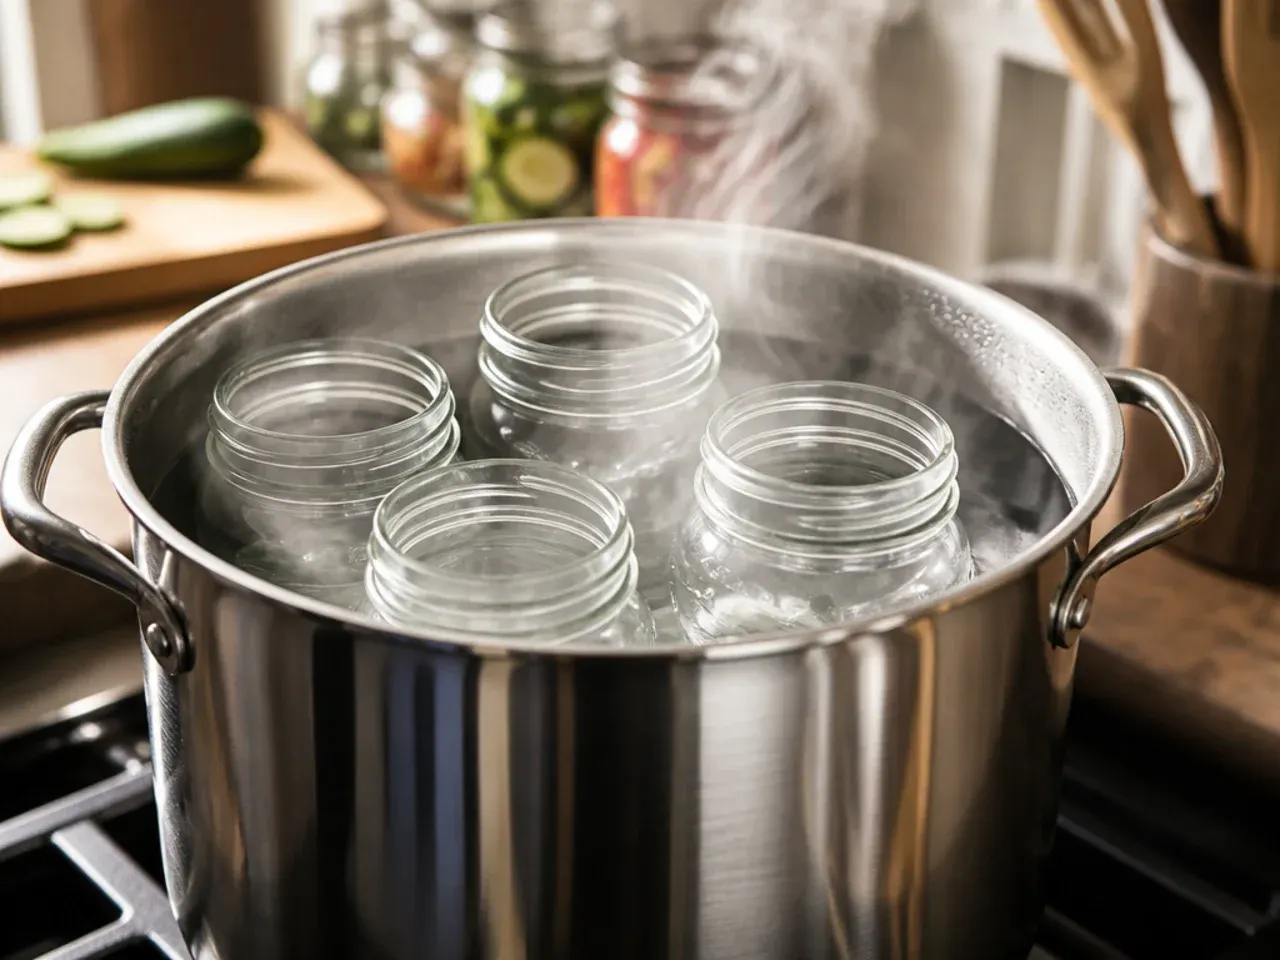
Wash two wide-mouth 500 ml (1 pint) glass jars with lids in hot soapy water, then rinse well and run them through a dishwasher cycle, or pour boiling water over them and let them air-dry upside down on a clean towel. Sterile, bone-dry jars prevent unwanted bacteria from clouding the brine or shortening the pickles' fridge life. Check lids and rings for rust or dents and swap out any that look worn.
Step 7: Prepare the garlic
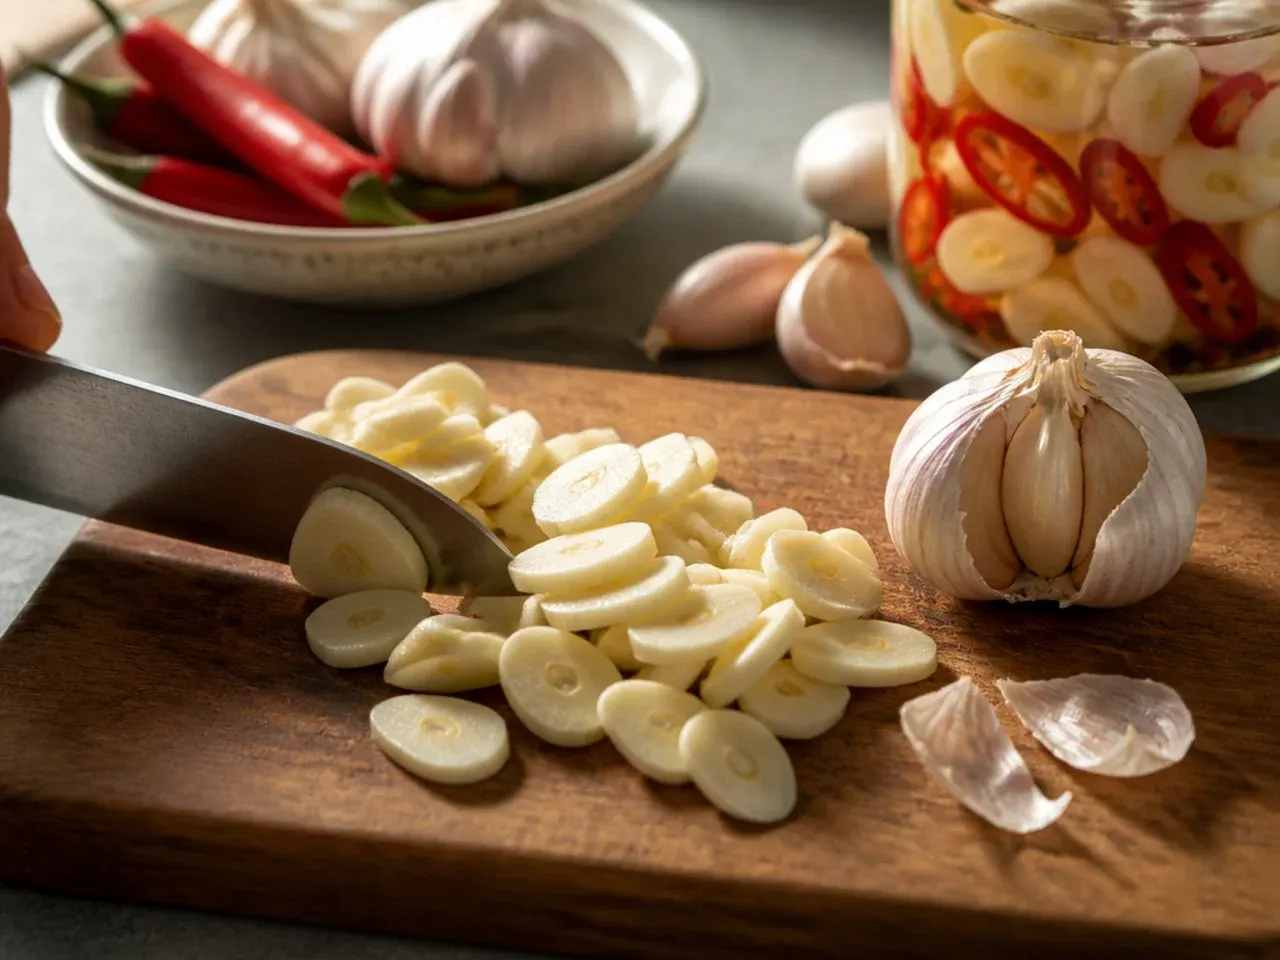
Peel 6 cloves of garlic and lightly smash each one with the flat side of a knife just enough to crack the skin and bruise the flesh, without turning it to mush. Smashed garlic releases far more flavour into the brine than cloves left whole. Divide the cloves evenly, 3 per jar.
Step 8: Prepare the chillies
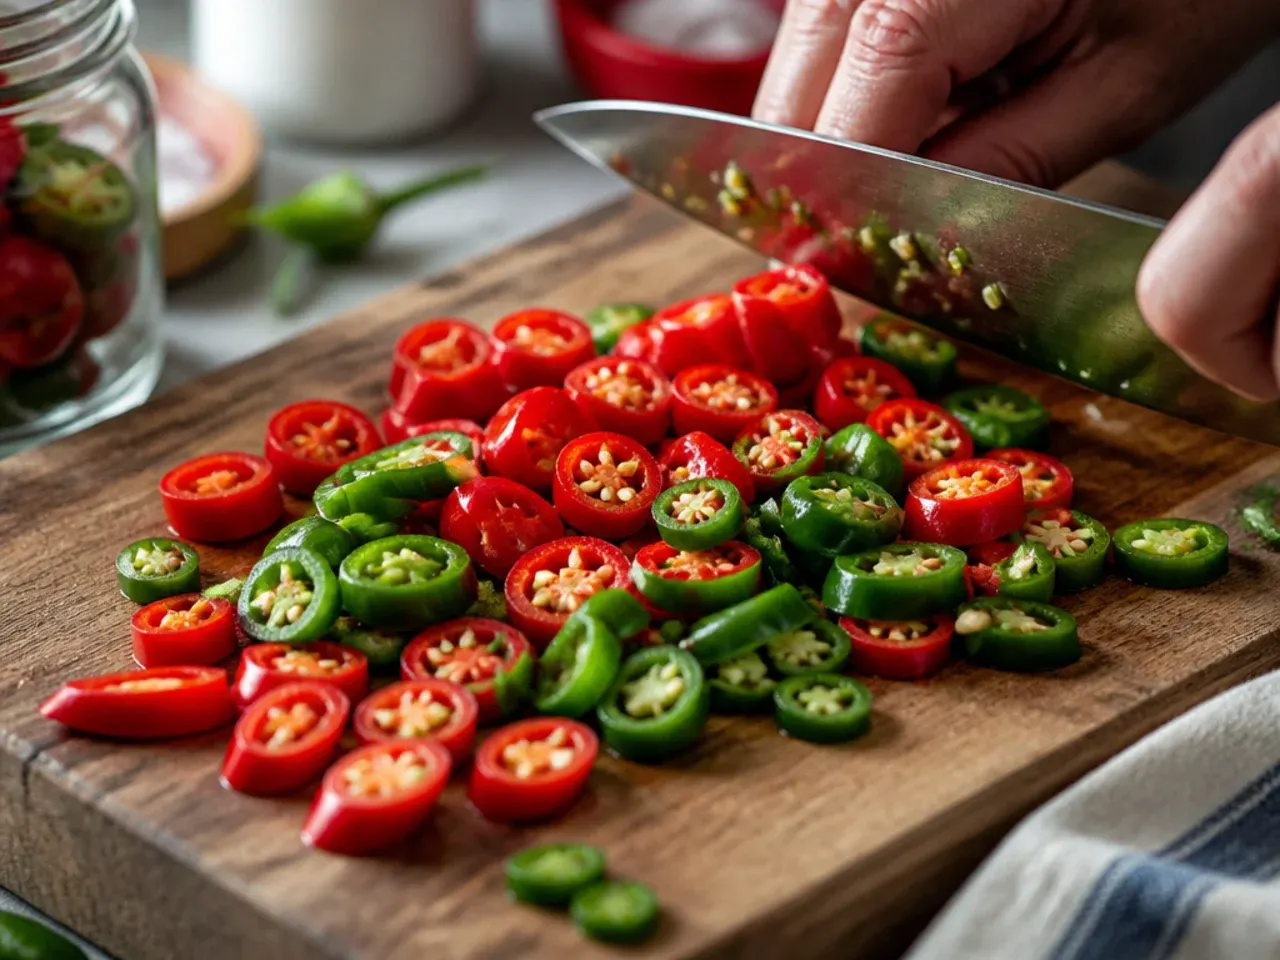
Slice 3 fresh jalapeño or serrano peppers into 5 mm (1/4 in) rounds, wearing gloves if your skin is sensitive to capsaicin. Leave the seeds and white pith in for maximum heat, or scrape them out with a teaspoon for a milder pickle. Split the chilli slices evenly between the two jars.
Step 9: Measure the whole spices
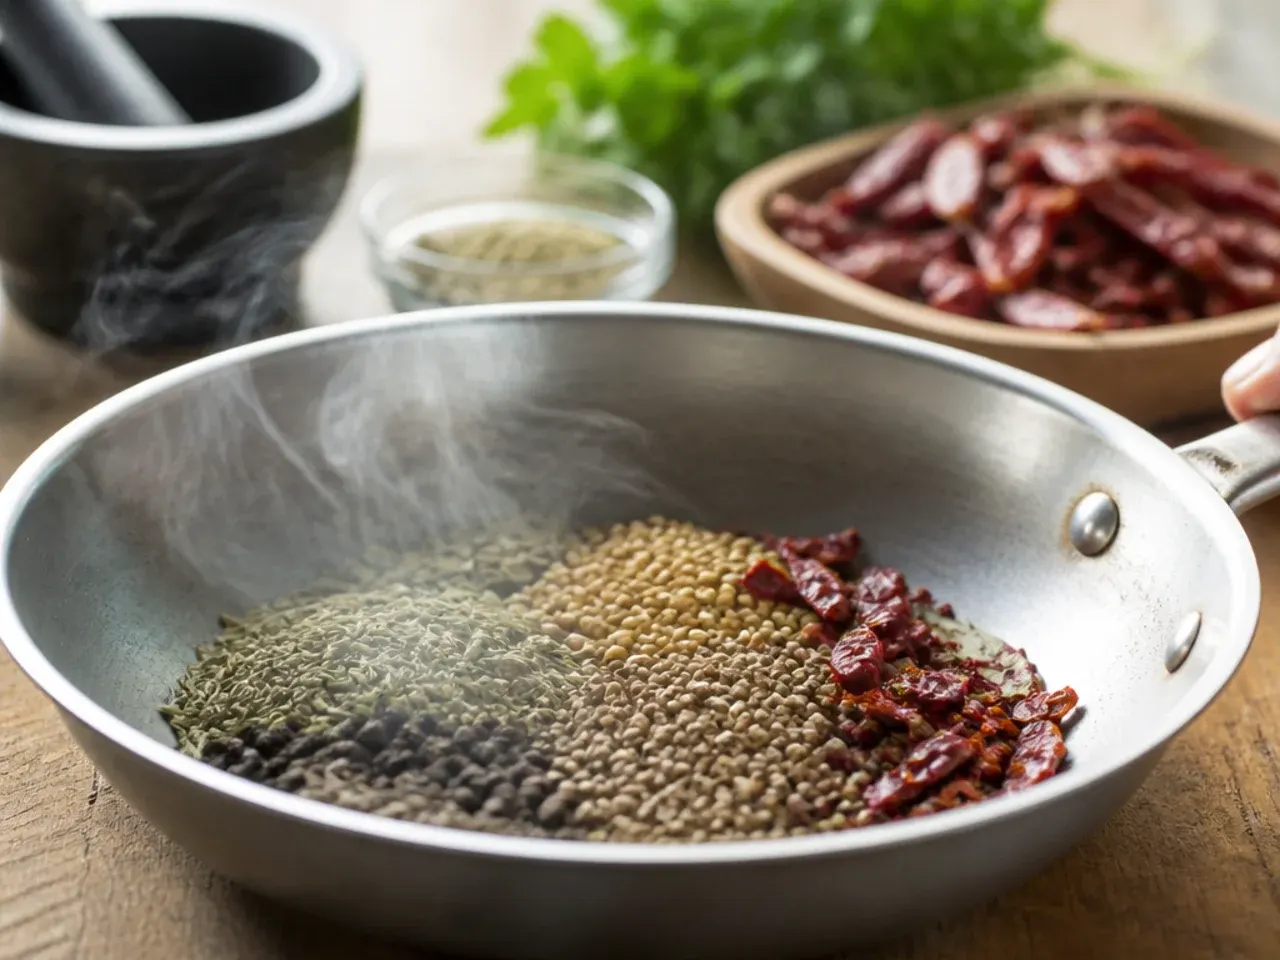
Measure out 4 g (1.5 tsp) crushed red pepper flakes, 10 g (1 tbsp) yellow mustard seeds and 10 g (1 tbsp) black peppercorns into a small bowl so everything is ready to go. Having the spices pre-measured means you can pack the jars quickly, before the cucumbers lose their chill from the ice bath.
Step 10: Layer the aromatics in the jars
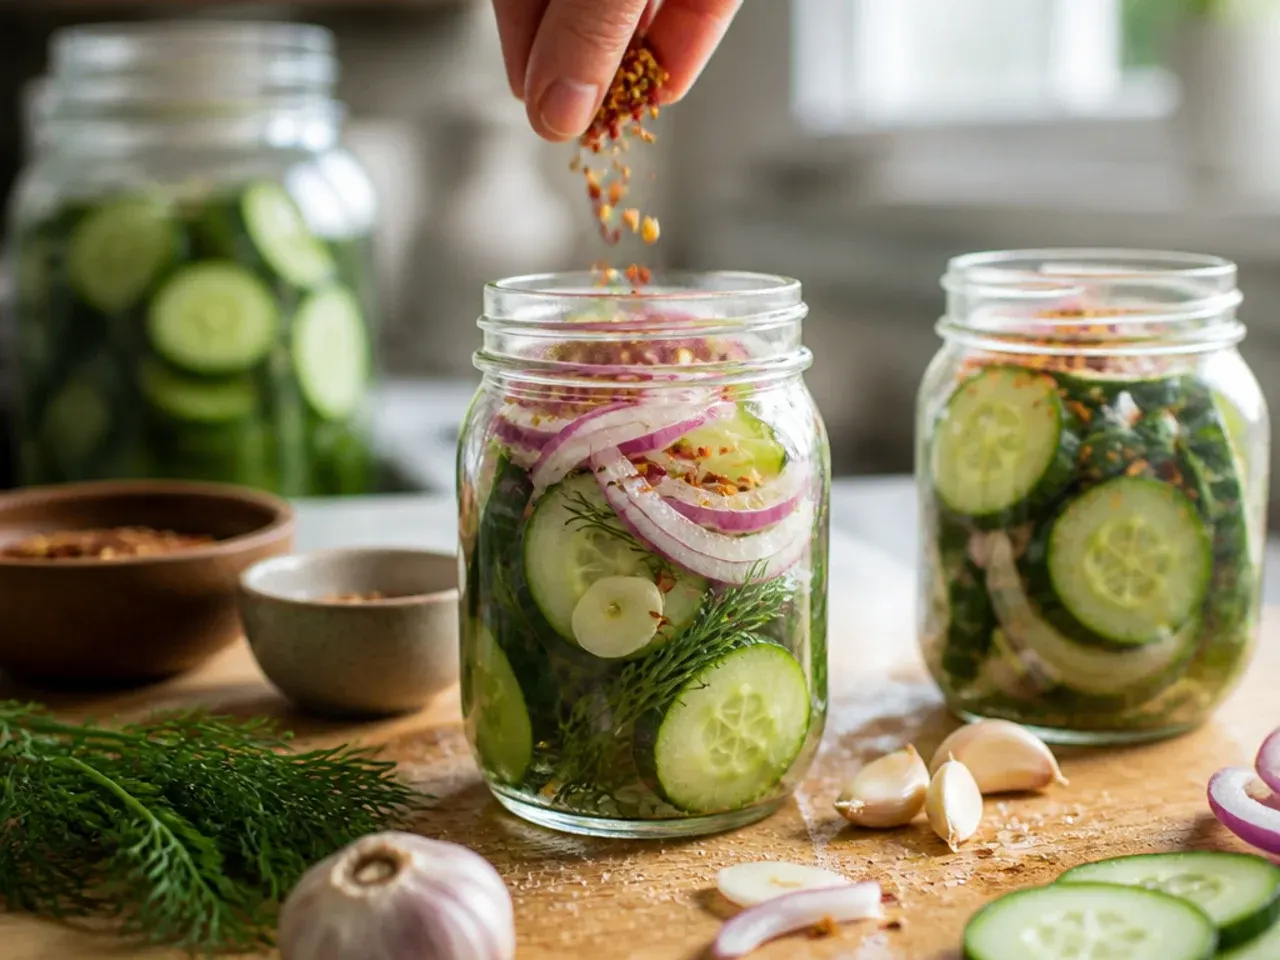
Drop half the smashed garlic, sliced chilli, mustard seeds, peppercorns, red pepper flakes and 4 sprigs of fresh dill (plus 1 bay leaf, if using) into the bottom of each of the two jars. Building the aromatic base first means every layer of cucumber above it gets seasoned as the brine settles down through the jar. Use up all the measured spices between the two jars.
Step 11: Pack the cucumbers tightly
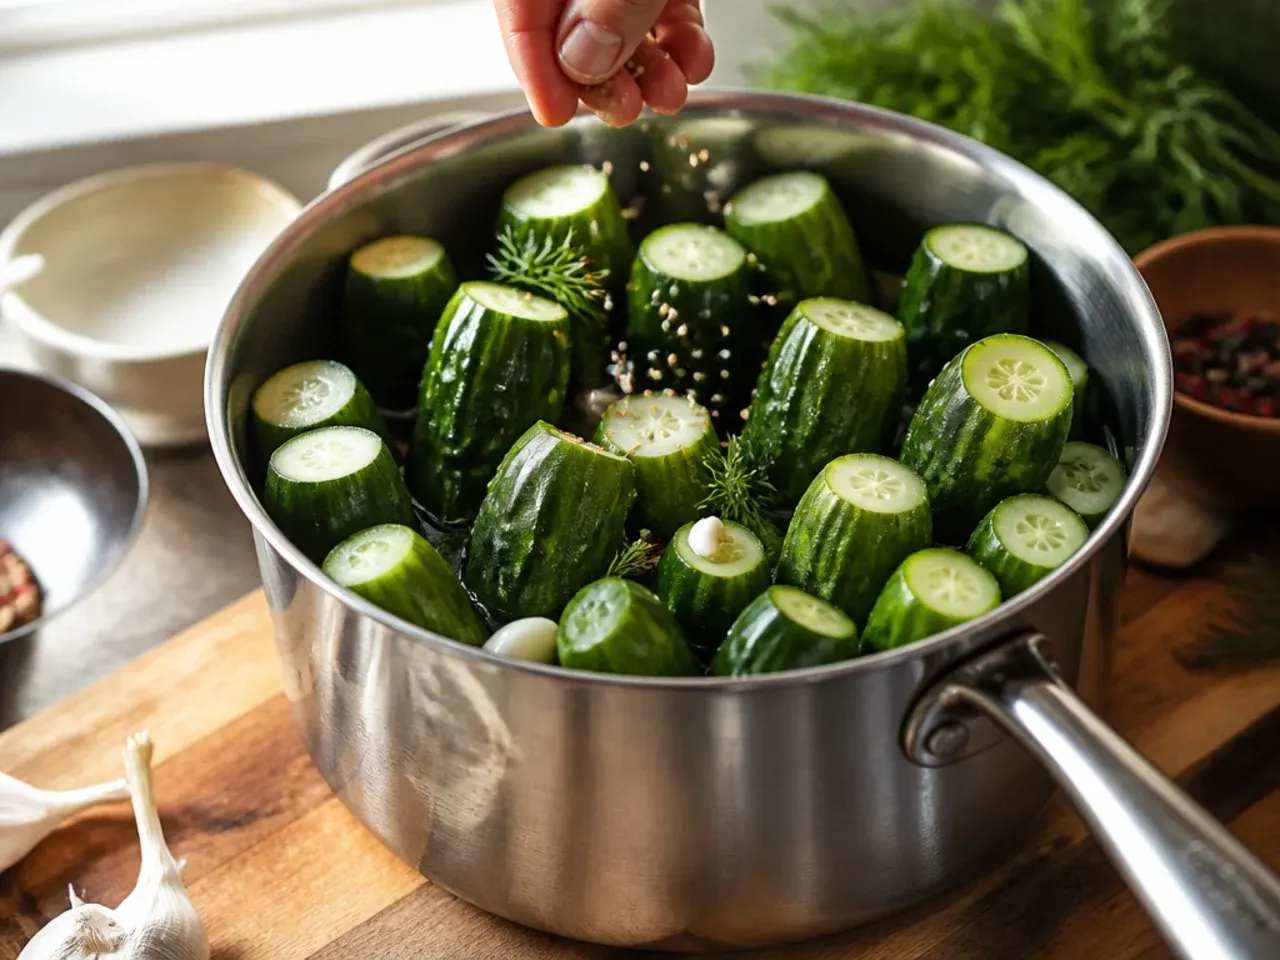
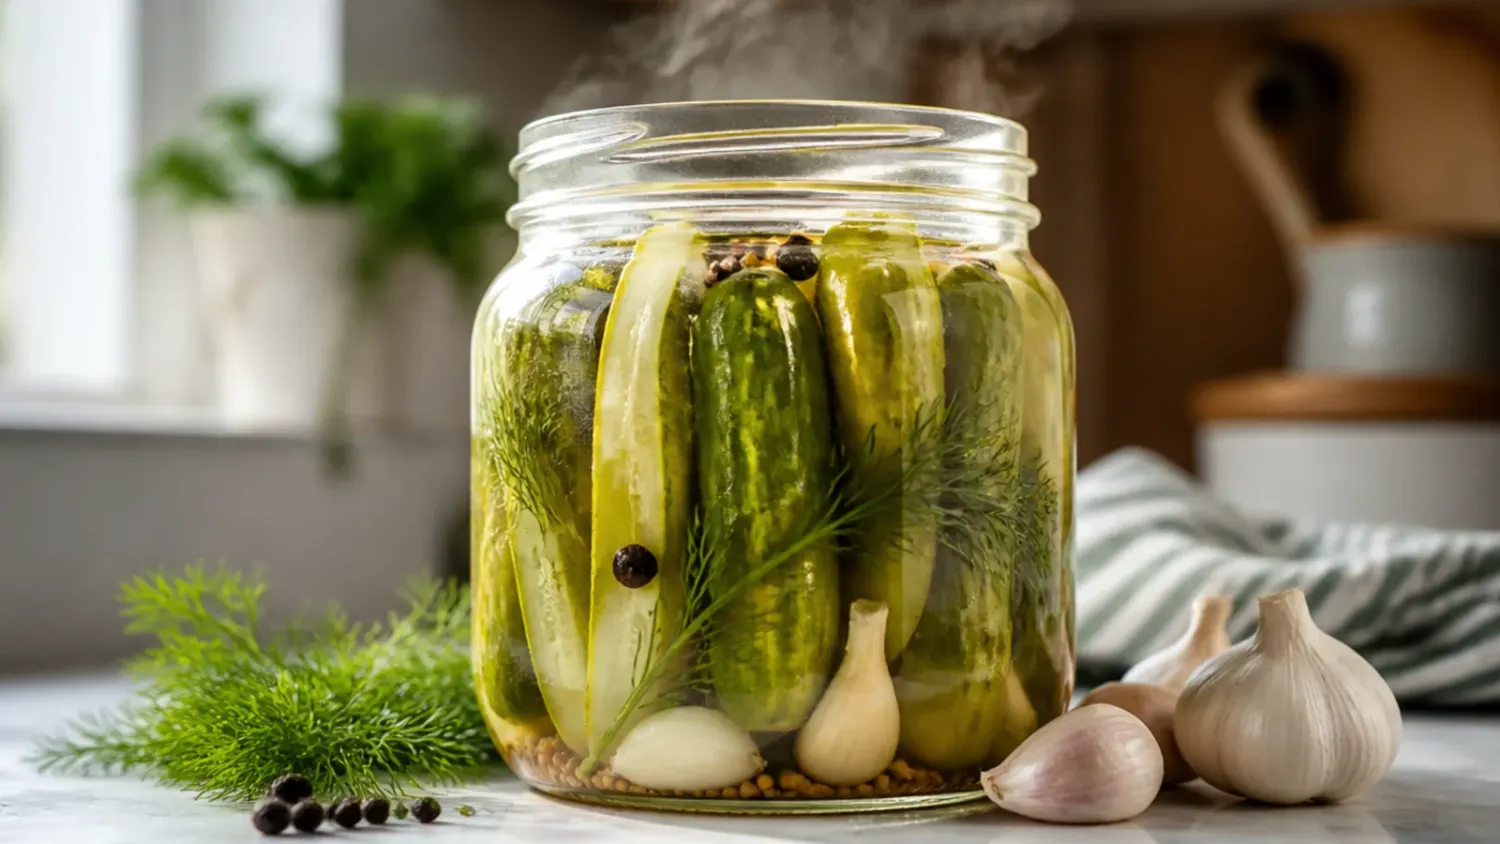
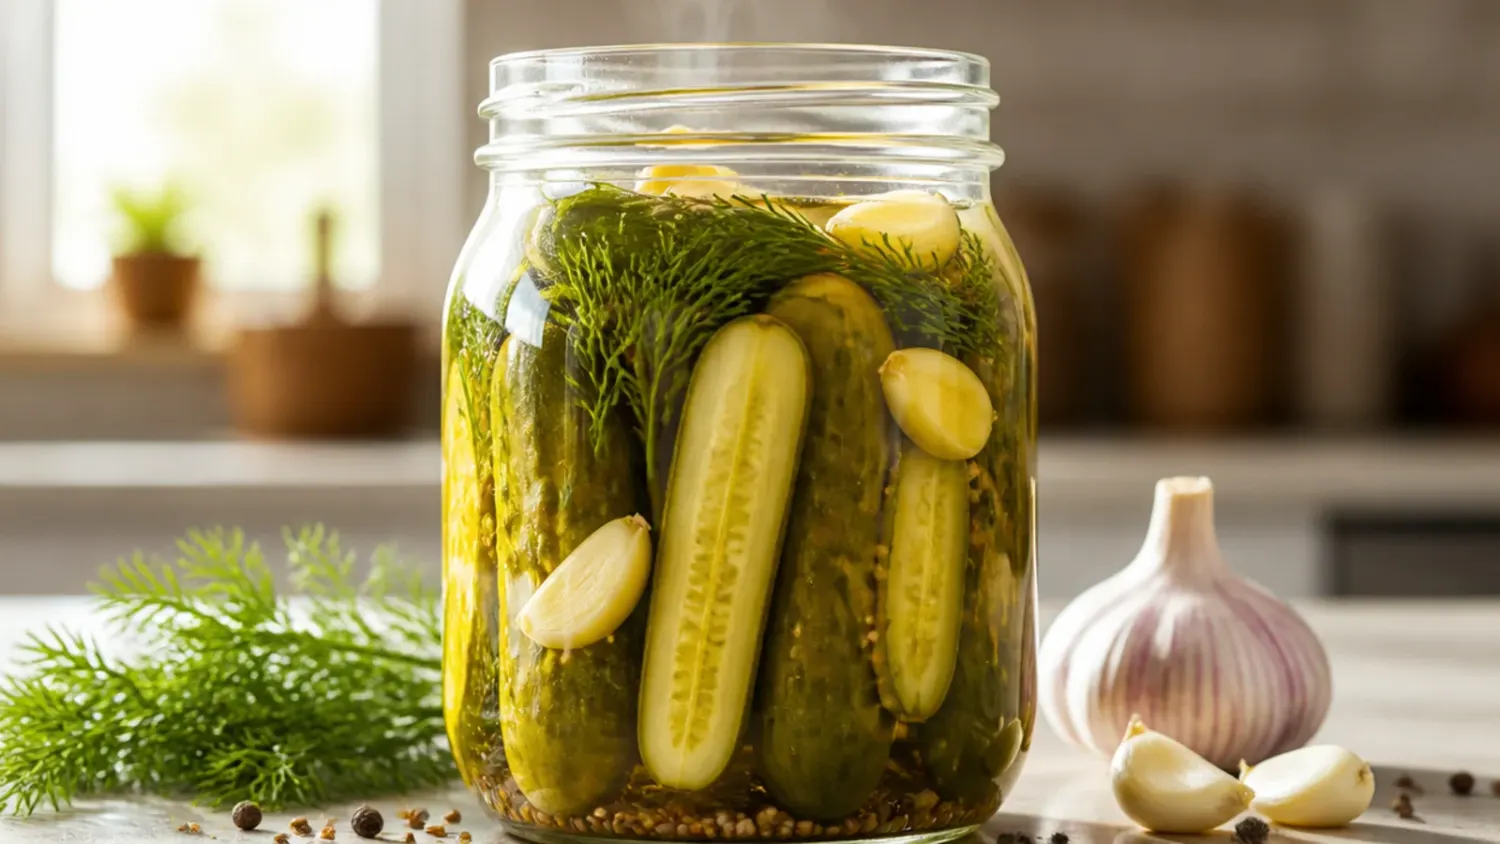
Stand the cucumber spears upright around the inside edge of each jar, or stack the rounds in tight, even layers, pressing gently to fit in as many as possible without crushing them. Tightly packed cucumbers stay more fully submerged once the brine goes in, which keeps them crunchier and less prone to discolouring. You should fit roughly 450 g (1 lb) of cucumber pieces per jar.
Step 12: Leave headspace
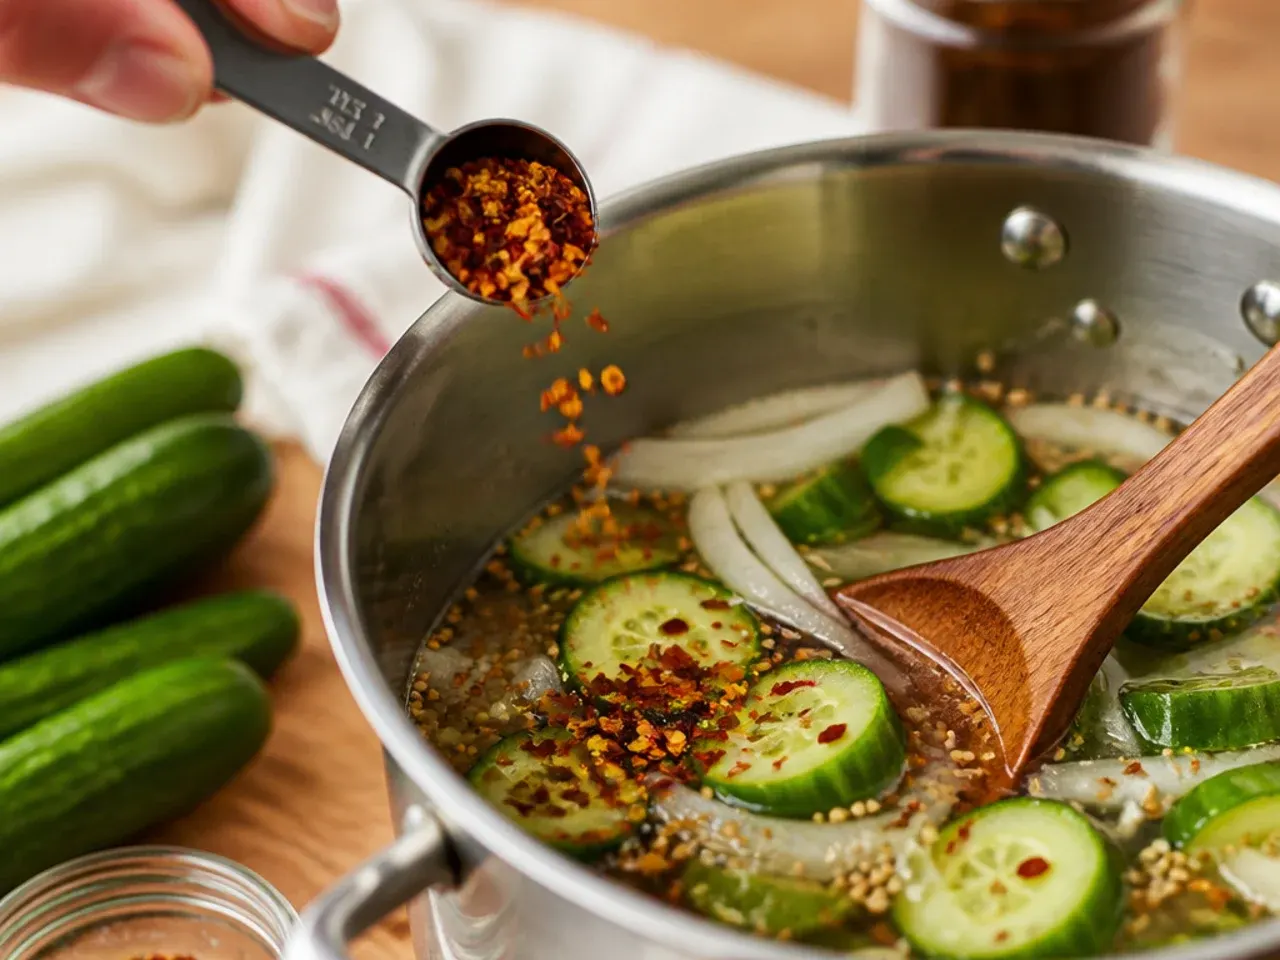
Stop packing once the cucumbers sit about 1.5 cm (1/2 in) below the rim of the jar. This headspace gives you room to fully submerge the cucumbers in brine without it overflowing when you seal the lid.
Step 13: Combine vinegar and water
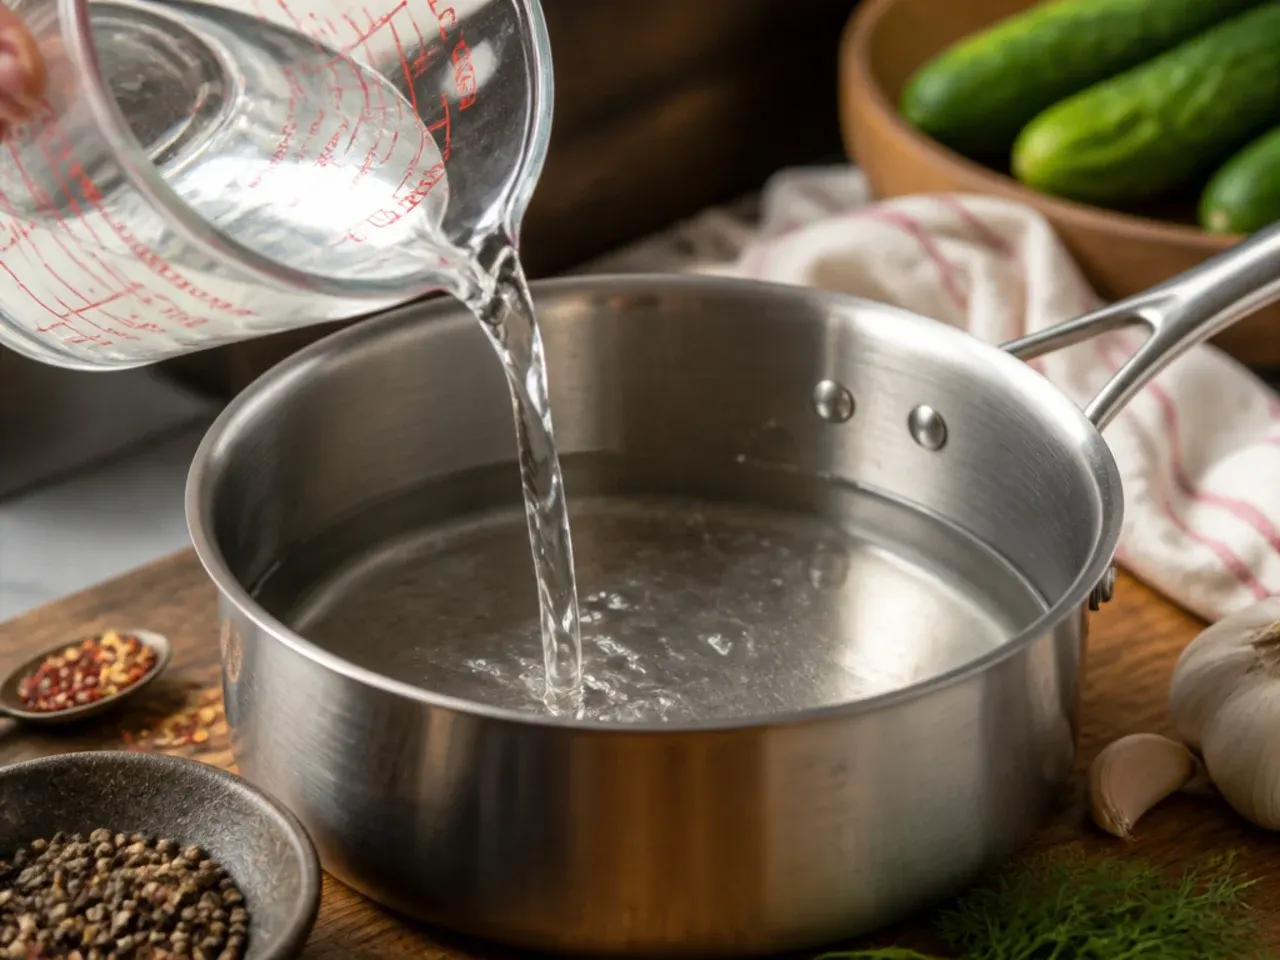
Pour 480 ml (2 cups) distilled white vinegar and 480 ml (2 cups) cold water into a medium non-reactive saucepan (stainless steel or enamelled, never bare aluminium, which reacts with the acid). This 1:1 ratio gives a brine that's tangy and preserving without tasting harshly sour.
Step 14: Add the salt and sugar
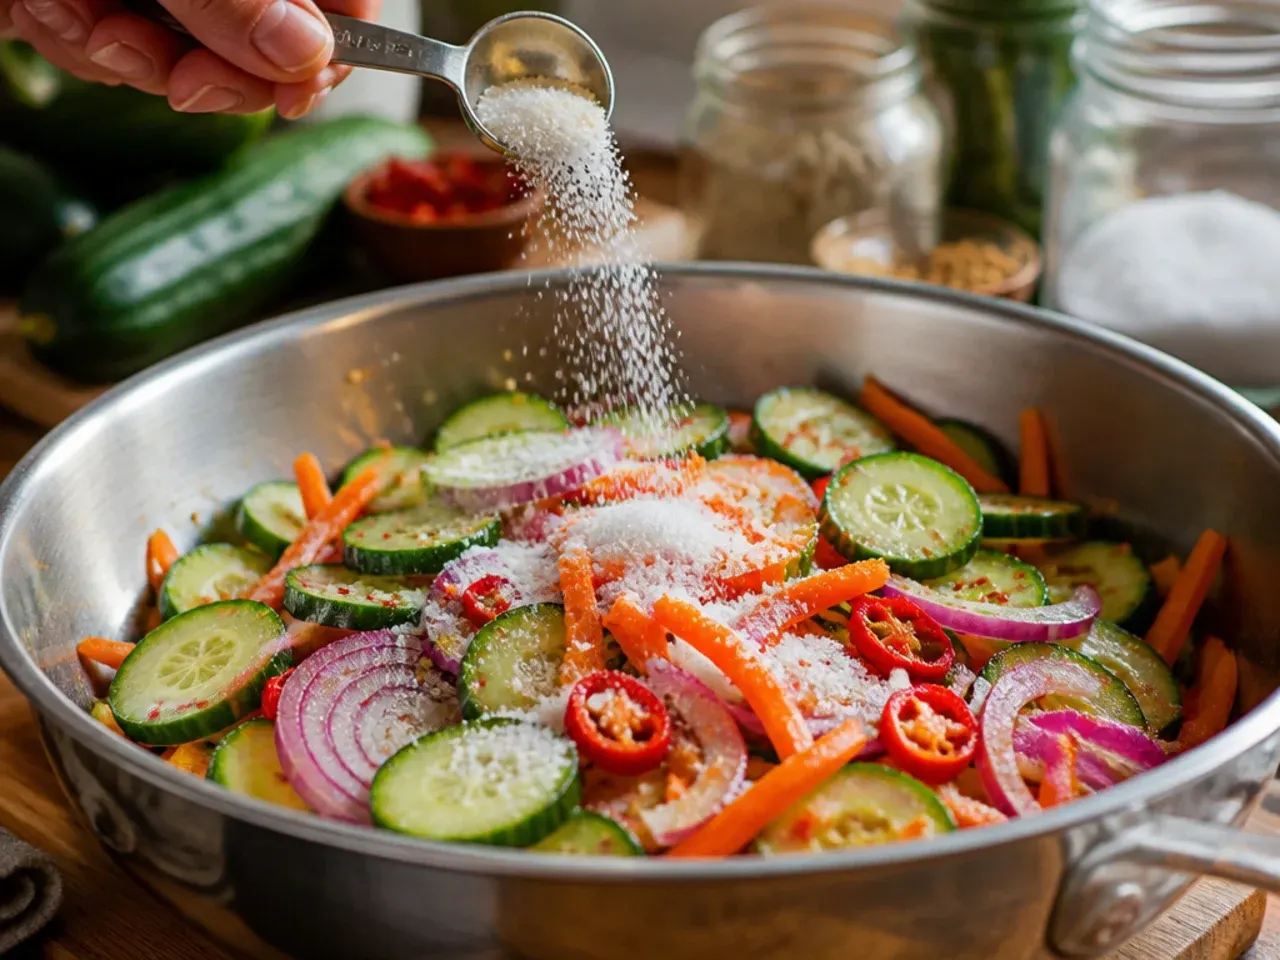
Stir 45 g (3 tbsp) pickling or kosher salt and 25 g (2 tbsp) granulated sugar into the vinegar and water. Use pickling or kosher salt rather than iodised table salt, which can turn the brine cloudy and leave a faintly metallic aftertaste.
Step 15: Bring the brine to a boil
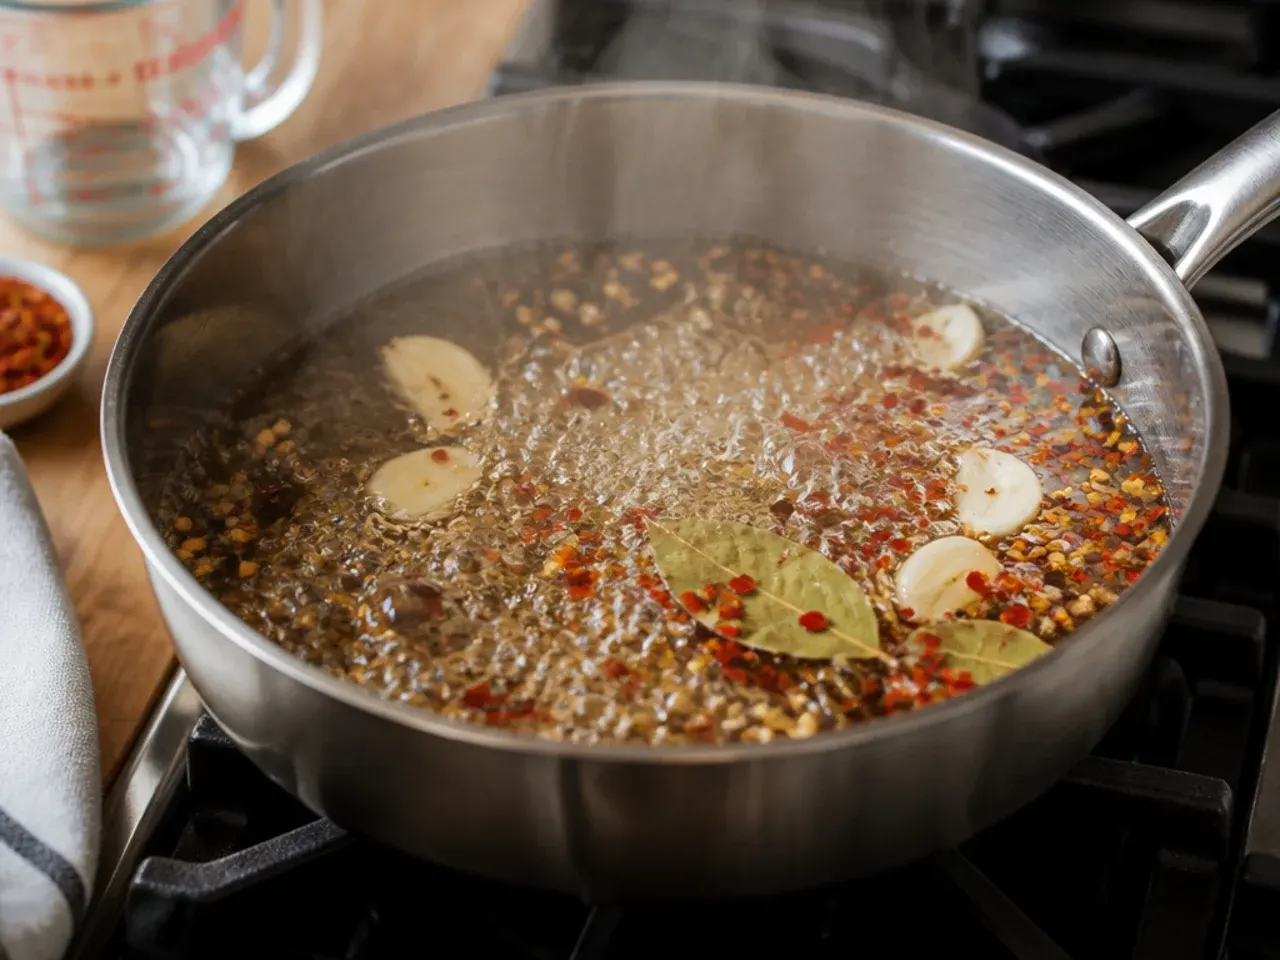
Set the saucepan over medium-high heat and bring the mixture to a rolling boil, stirring occasionally, which takes about 4-5 minutes. Keep stirring until you can no longer feel any grains of salt or sugar on the bottom of the pan.
Step 16: Simmer to bloom the spices
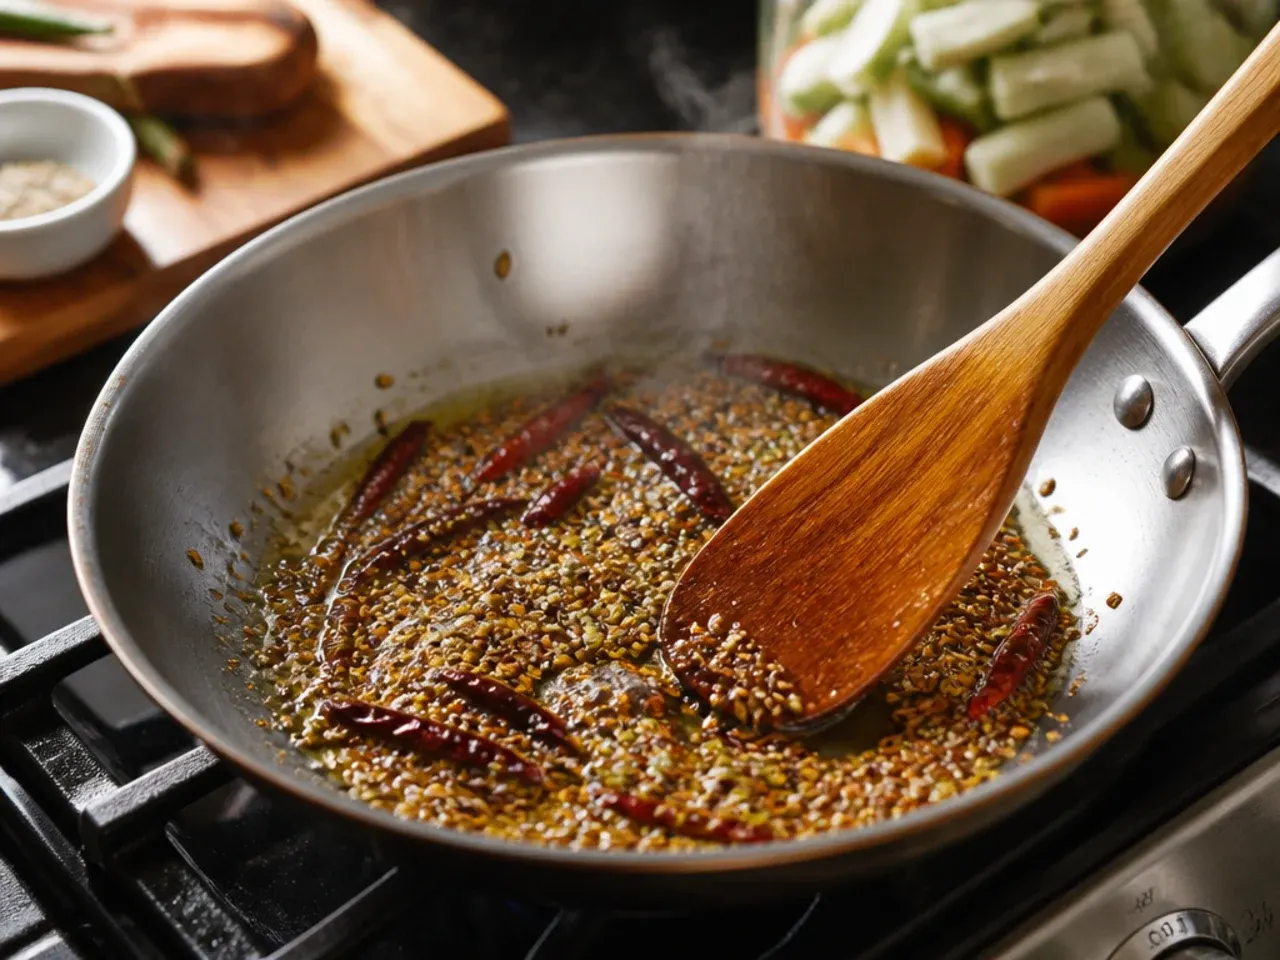
Once boiling, reduce the heat and let the brine simmer gently for 1-2 minutes so any spice aromas that touched the liquid can open up. You'll notice the kitchen fill with a sharp, tangy, faintly sweet smell, which is your cue it's ready.
Step 17: Cool the brine slightly
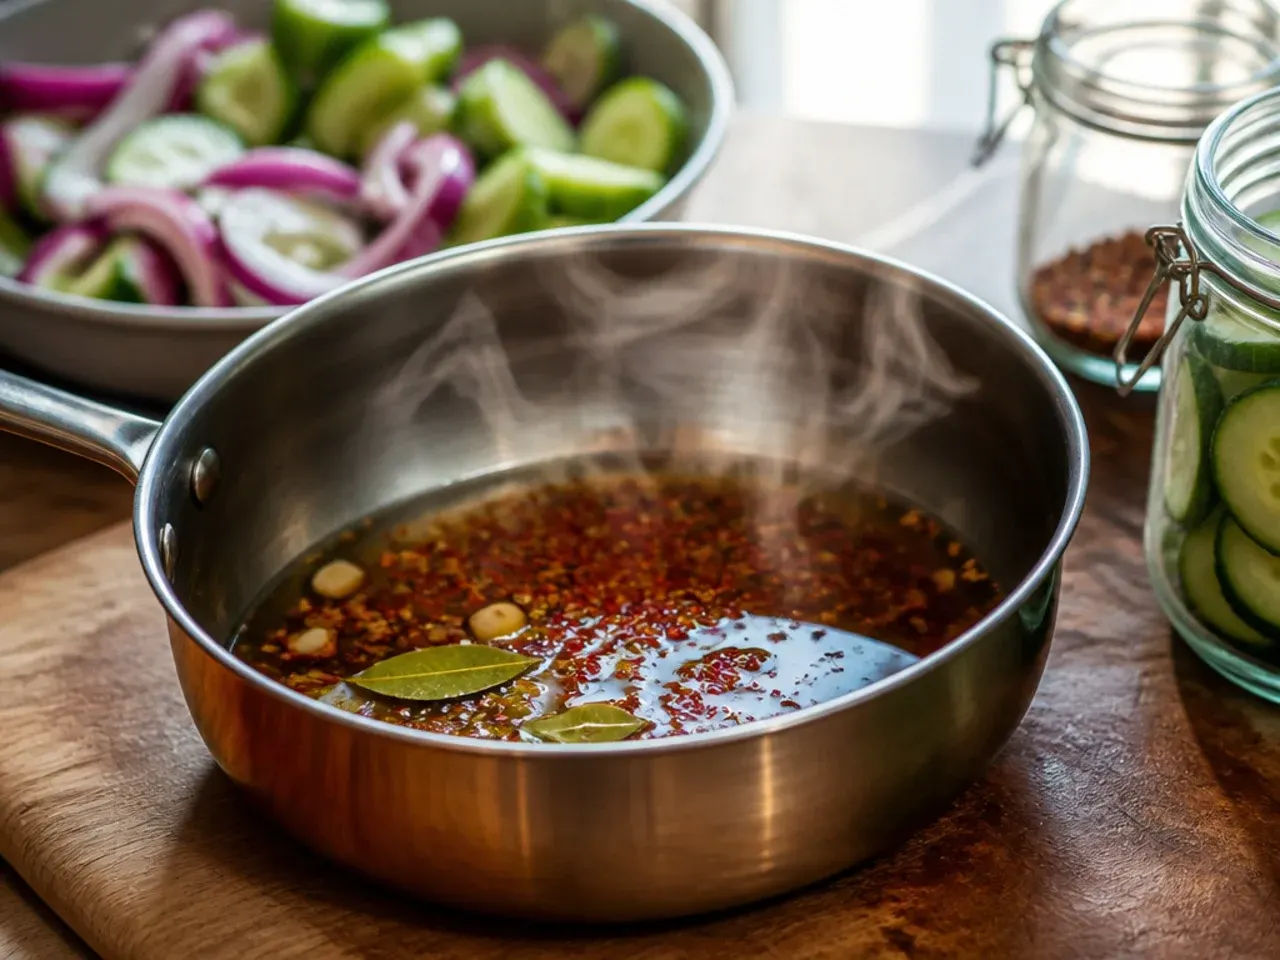
Remove the saucepan from the heat and let the brine rest for 5 minutes so it drops from a rolling boil to just steaming. Pouring brine that's slightly cooled rather than violently boiling helps the cucumbers keep more of their crunch.
Step 18: Pour the brine over the cucumbers
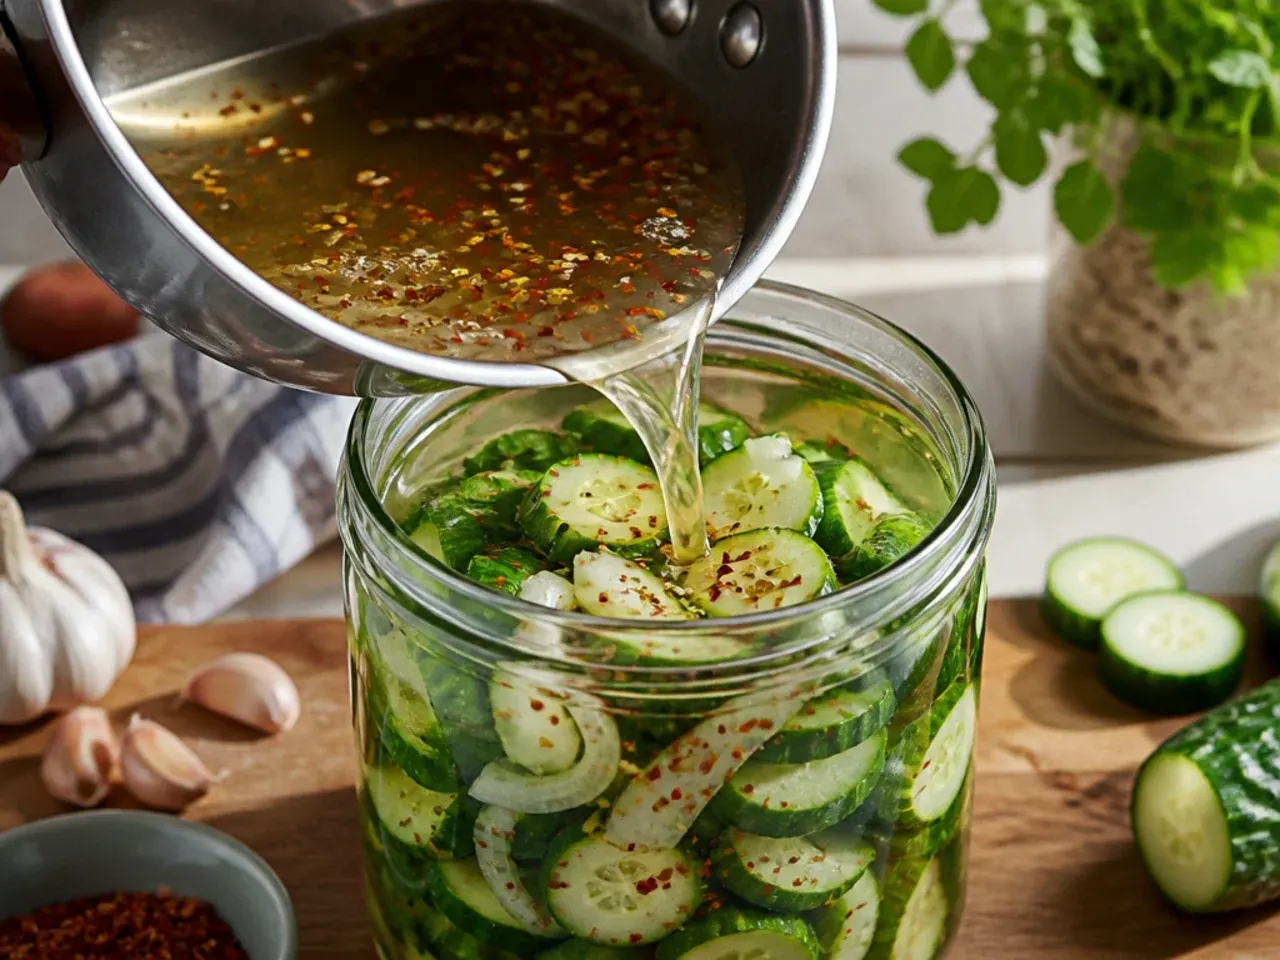
Carefully ladle the hot brine into each jar, pouring it evenly over the packed cucumbers until the liquid reaches the same 1.5 cm (1/2 in) headspace mark you left earlier. Pour slowly down the inside edge of the jar rather than straight onto the vegetables, so you don't dislodge the spice layer at the bottom.
Step 19: Fully submerge the cucumbers
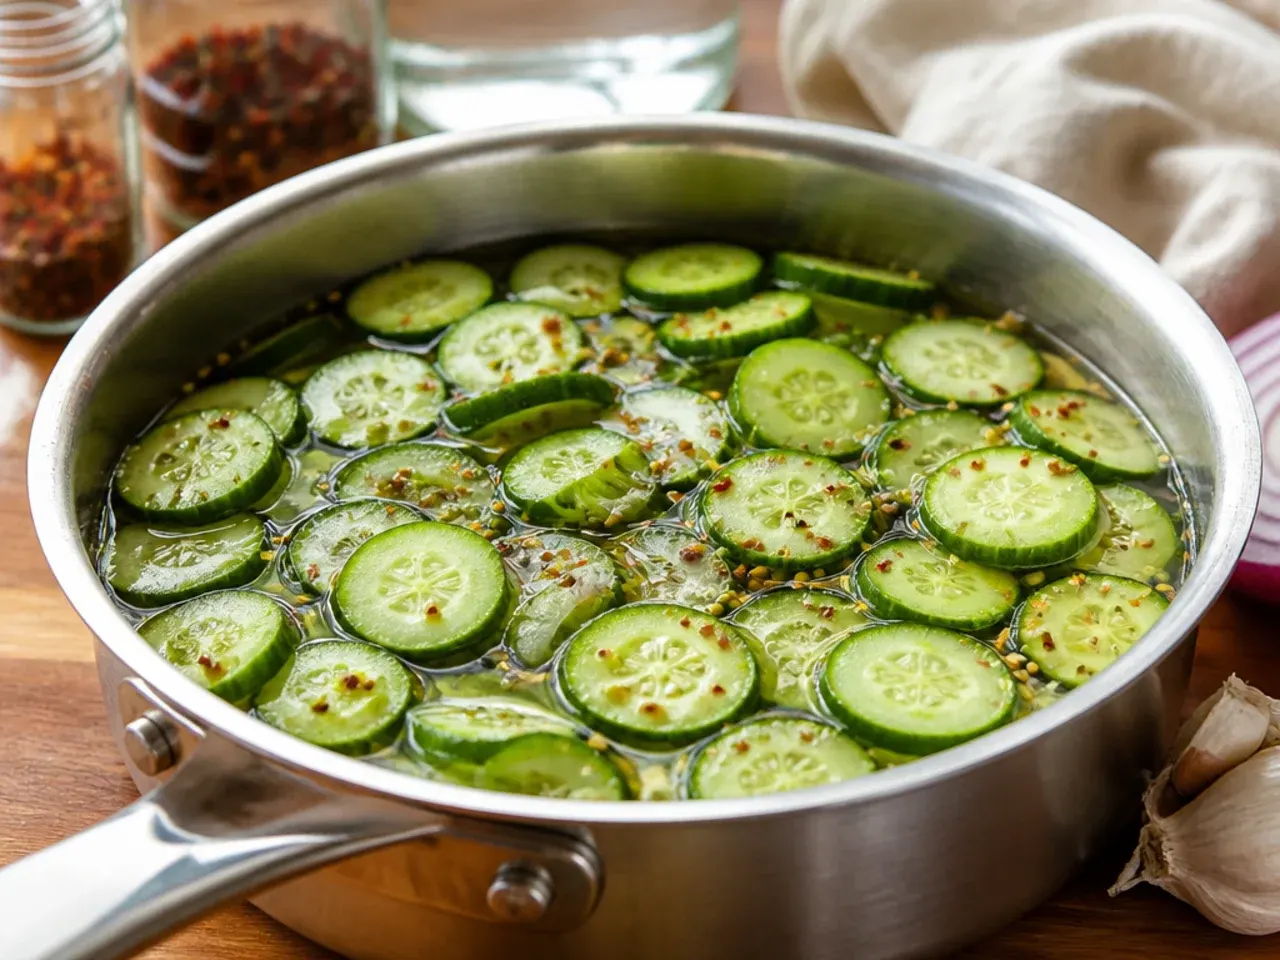
Press down gently on the top layer of cucumbers with the back of a spoon to make sure every piece is covered by brine. Any cucumber left poking above the liquid line will discolour and soften faster than the rest of the batch.
Step 20: Release trapped air bubbles
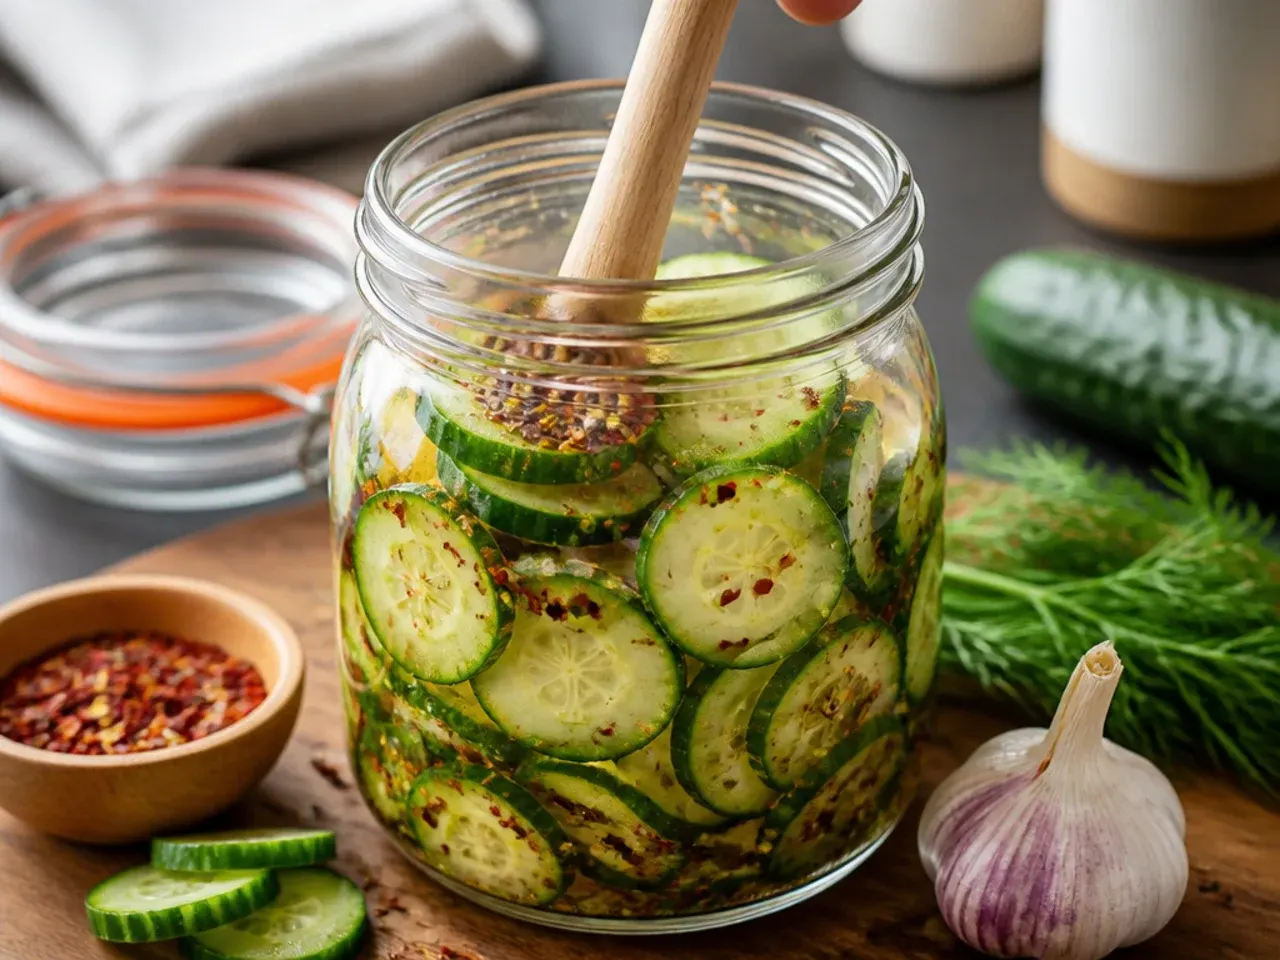
Slide a clean chopstick or the handle of a butter knife down the inside of the jar in 2-3 spots to let trapped air bubbles escape. You should see a few small bubbles rise and pop at the surface, which prevents pockets of air from causing uneven pickling.
Step 21: Top up the brine if needed
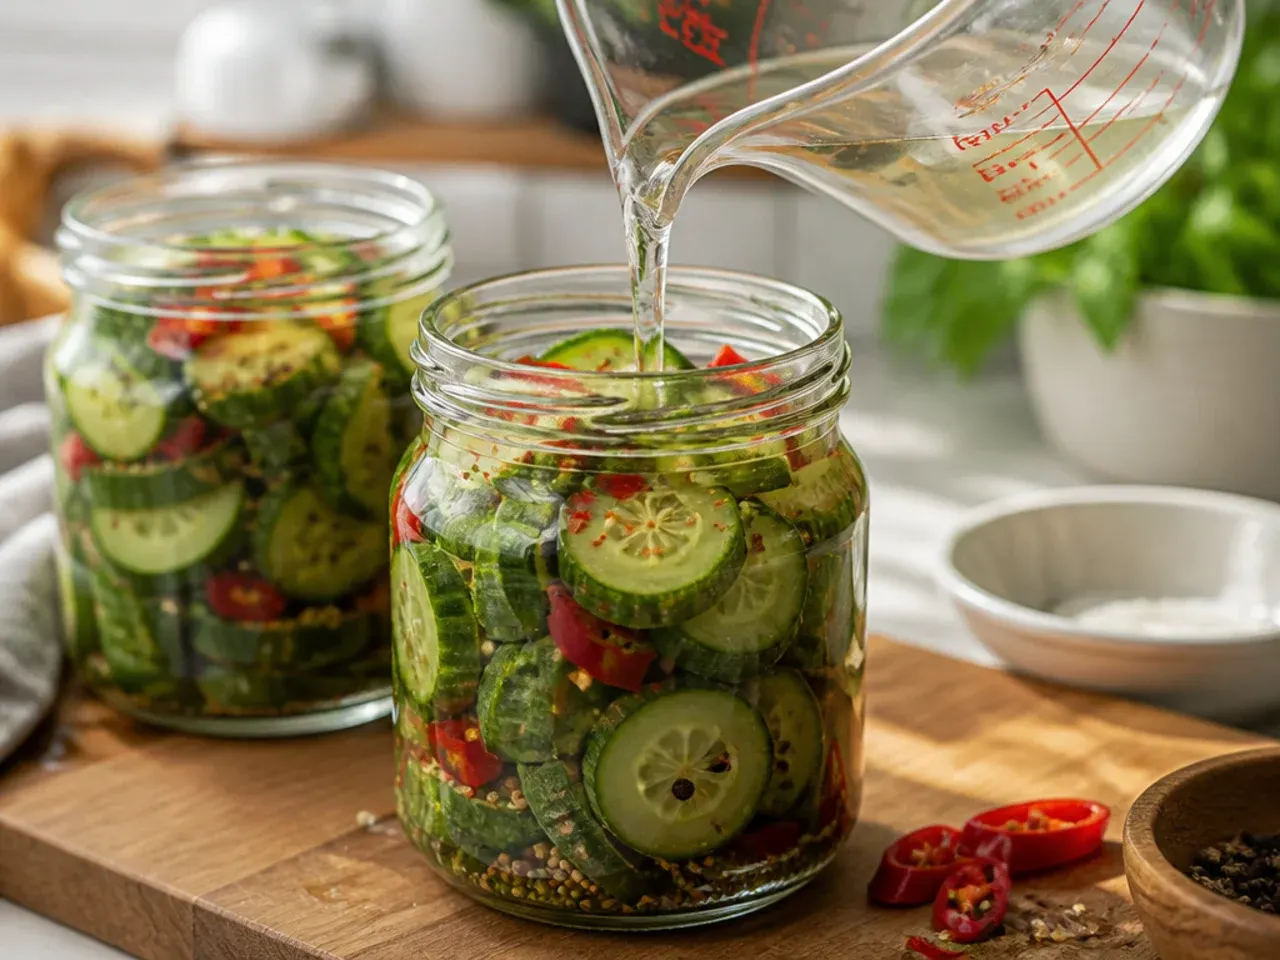
If the level has dropped after releasing the air bubbles, top the jar up with a little extra brine (or plain water in a pinch) so the cucumbers stay fully submerged. It's fine if you have 60-120 ml (1/4-1/2 cup) of brine left over; keep it refrigerated in case you need to top up again over the next day or two.
Step 22: Wipe the rims and seal
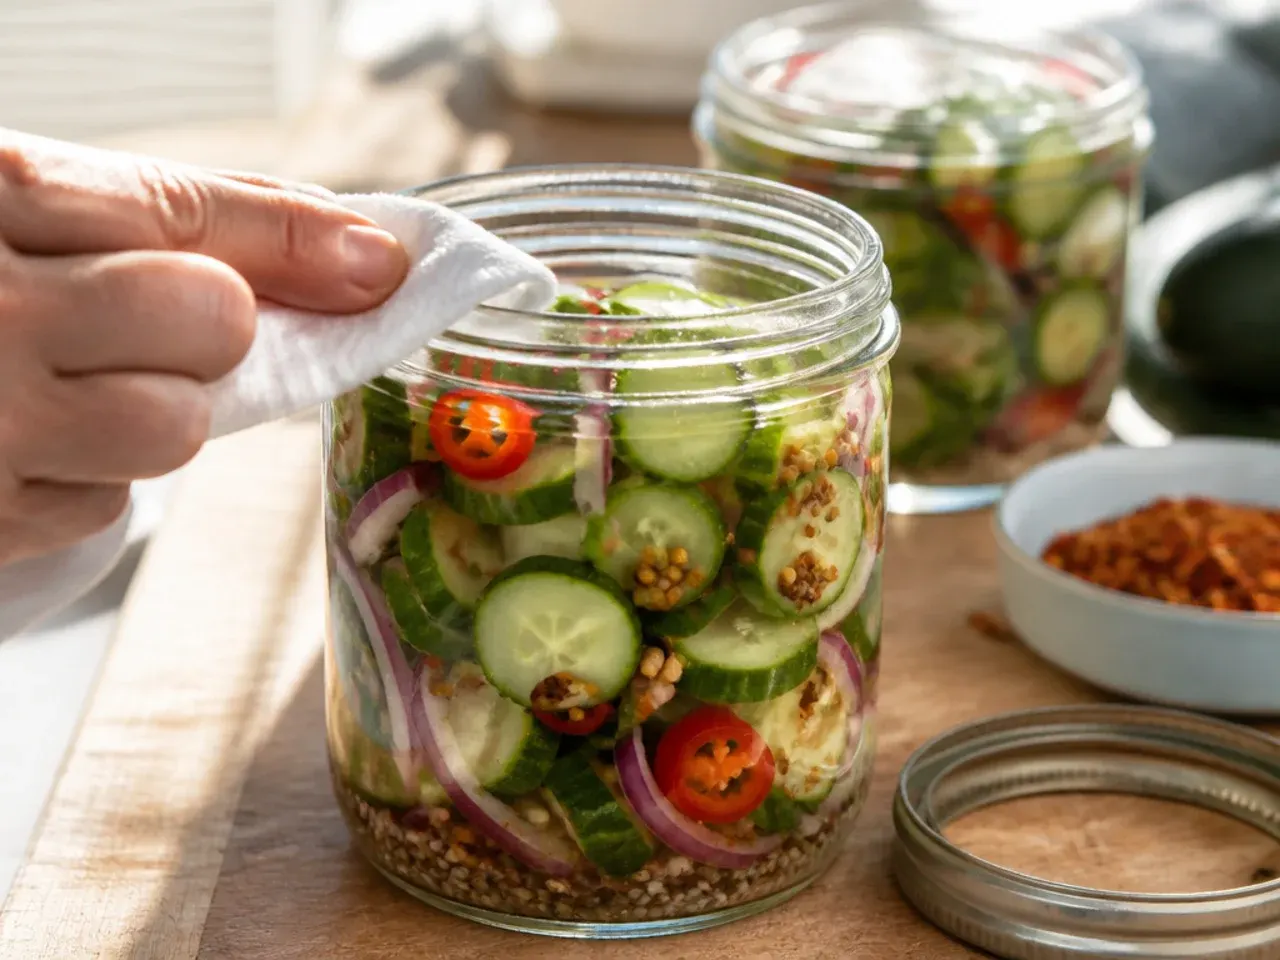
Wipe the rim of each jar clean with a damp paper towel so no cucumber, seeds or brine residue is trapped under the lid. Screw the lids on firmly, just past finger-tight, so they seal well without needing tools to reopen later.
Step 23: Cool to room temperature
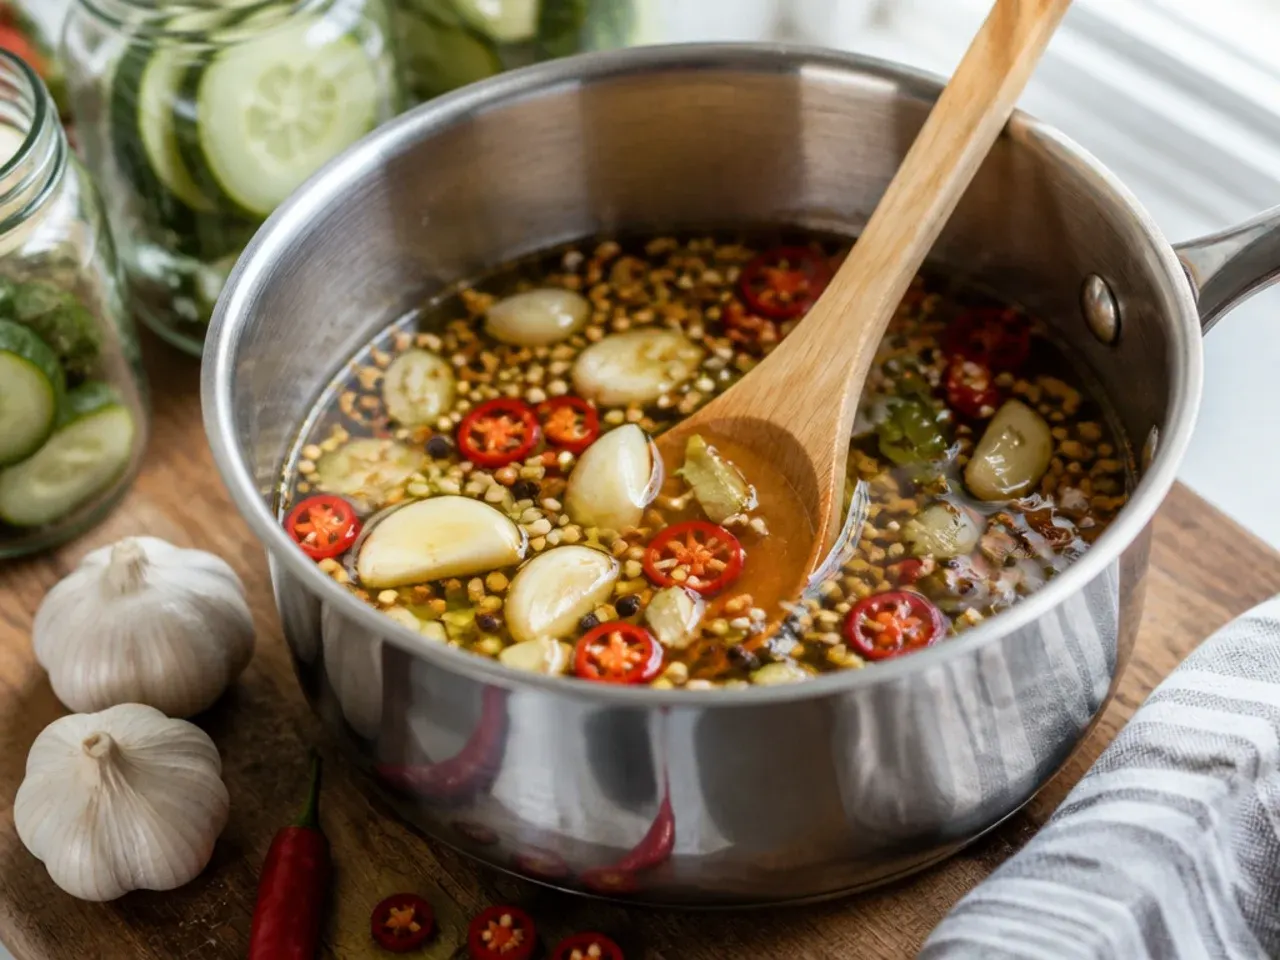
Let the sealed jars sit on the counter for 30-45 minutes until they're no longer warm to the touch. Never put a hot, freshly filled jar straight into the fridge, as the sudden temperature swing can crack cold glass.
Step 24: Label and date the jars
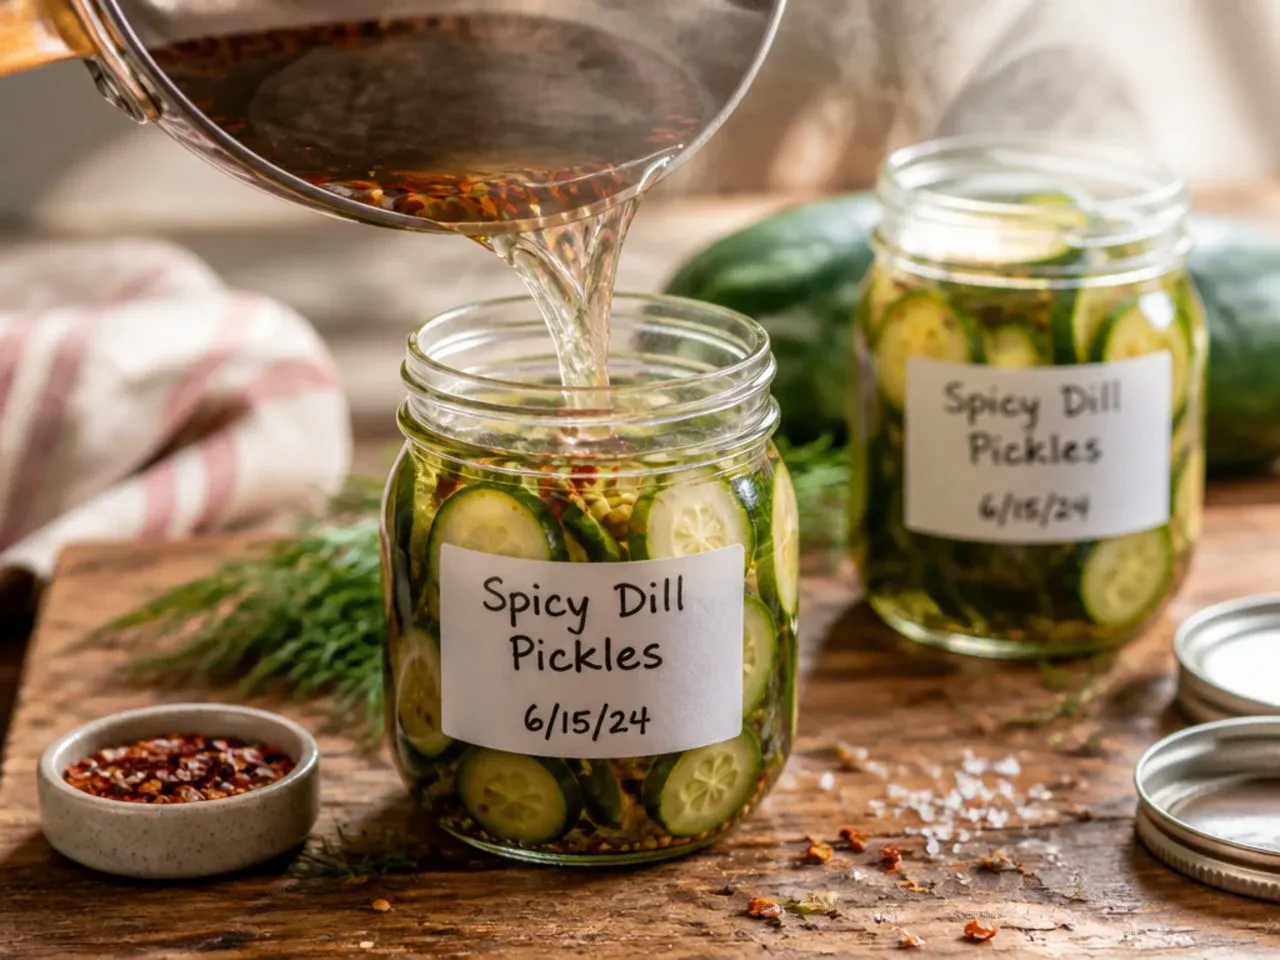
Write the date on a piece of masking tape or a label and stick it to the lid of each jar. This one habit saves you from ever wondering how long a jar has been sitting at the back of the fridge.
Step 25: Refrigerate for at least 24 hours
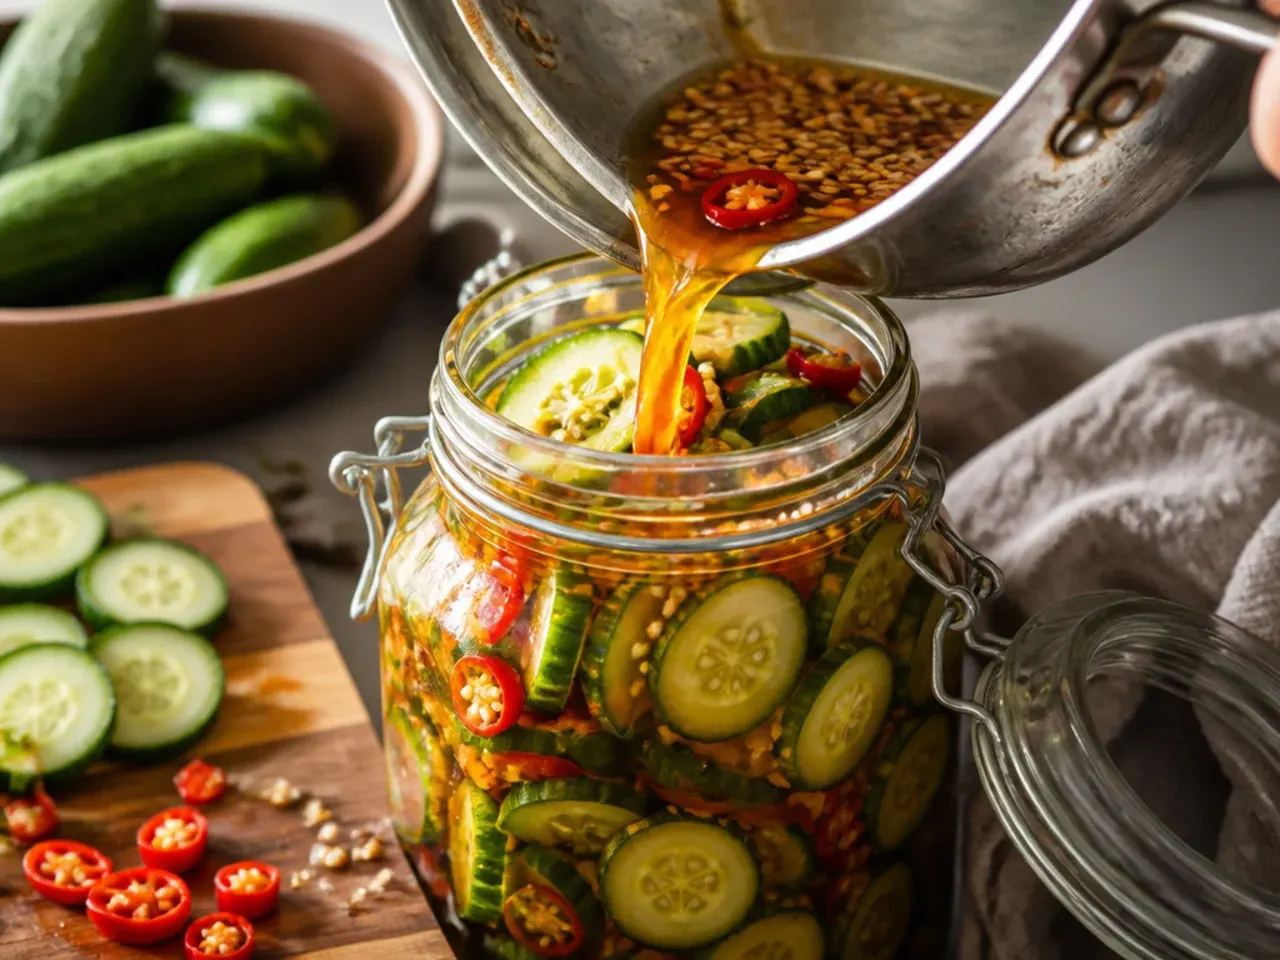
Place the jars in the fridge and leave them undisturbed for a minimum of 24 hours before tasting; this is the shortest time the brine needs to properly penetrate the cucumbers. For the best balance of crunch, tang and heat, wait 3-5 days before digging in.
Step 26: Shake the jars daily
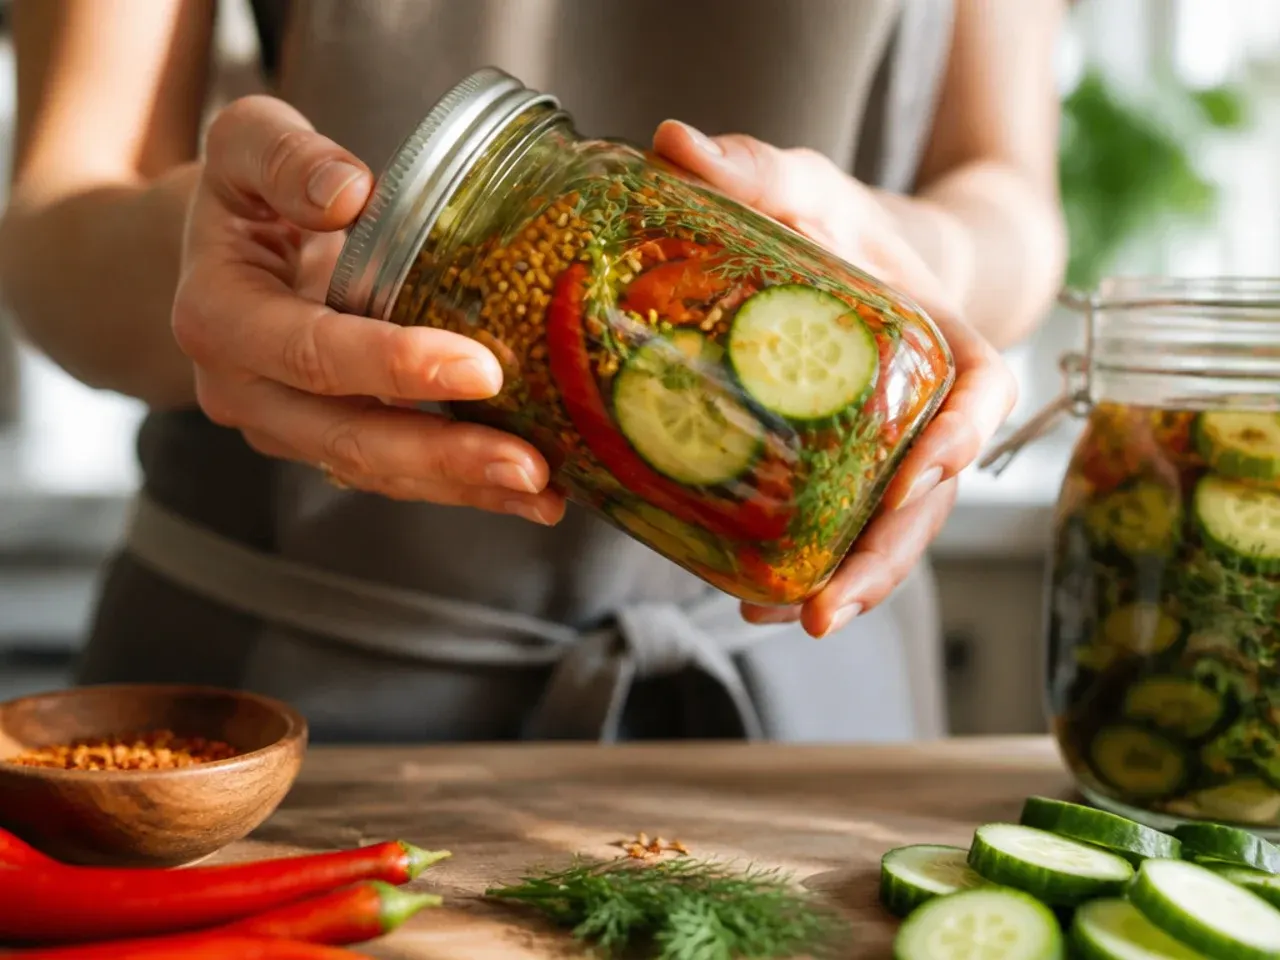
For the first 2-3 days, give each jar a gentle shake or turn it upside down and back once a day. This redistributes the spices and chilli through the brine so every cucumber picks up an even amount of heat.
Step 27: Taste-test the pickles
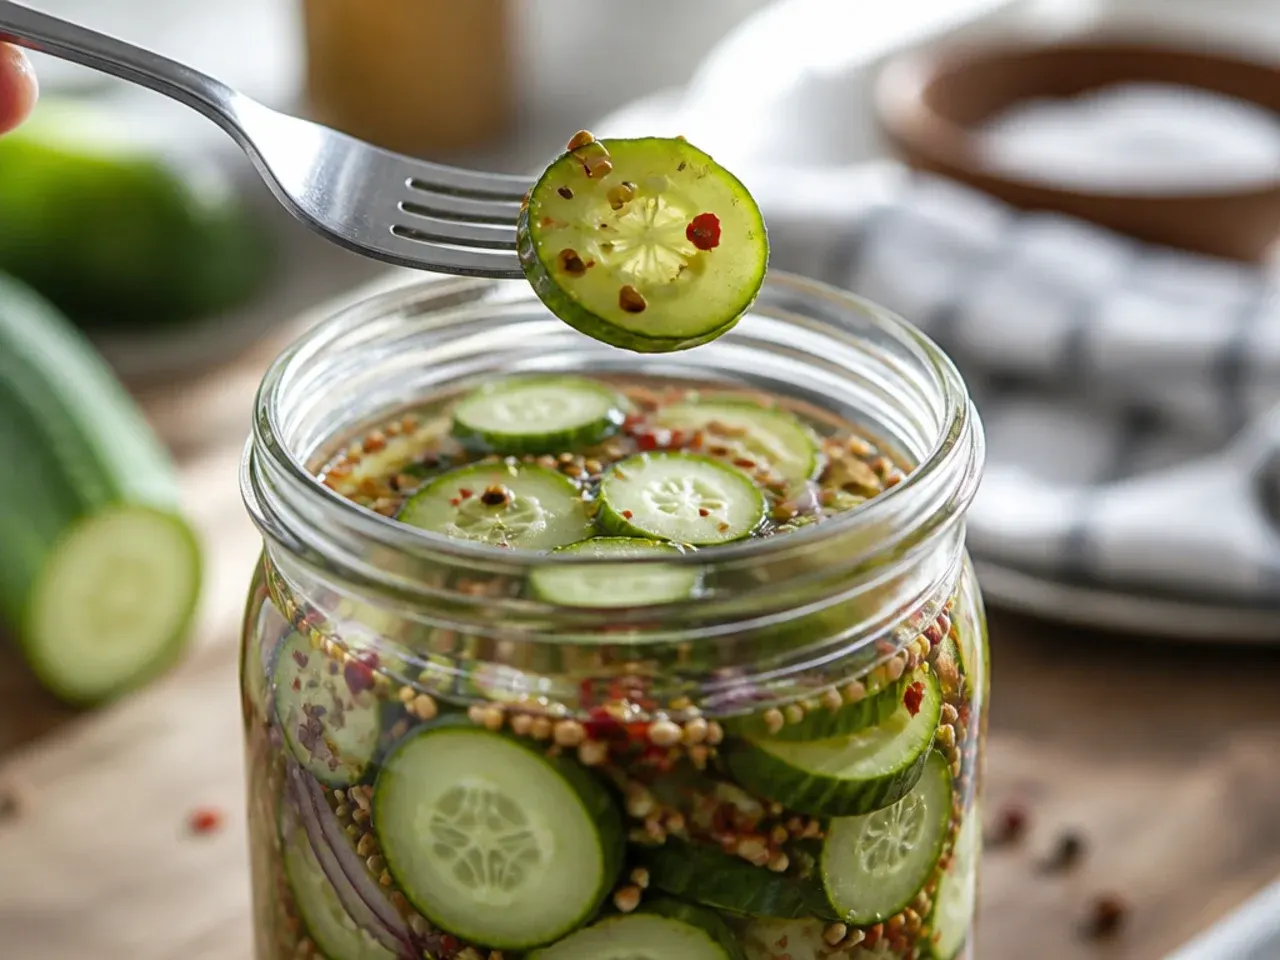
After 48 hours, fish out a slice with a clean fork and taste it. It should taste bright and tangy up front, with a building heat from the chilli and pepper flakes that lingers pleasantly rather than burning.
Step 28: Adjust the heat level
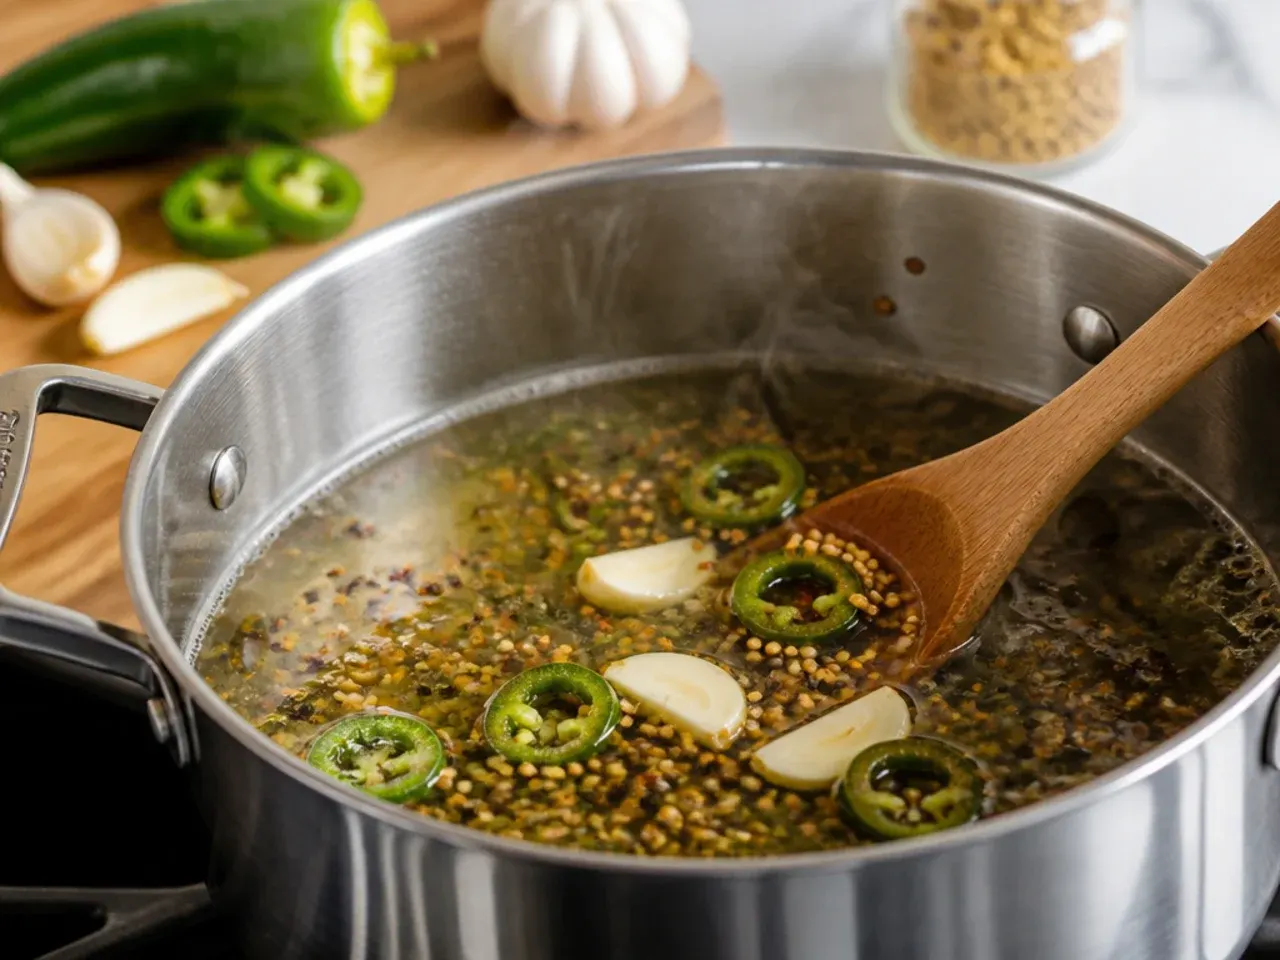
If the pickles aren't spicy enough after tasting, tuck a few extra slices of fresh chilli or an extra 1/2 tsp of red pepper flakes into the jar and give it another day in the fridge. If they're too hot, remove a couple of chilli slices and add a splash of fresh 1:1 vinegar-and-water brine to dilute things slightly.
Step 29: Check the pickles are ready
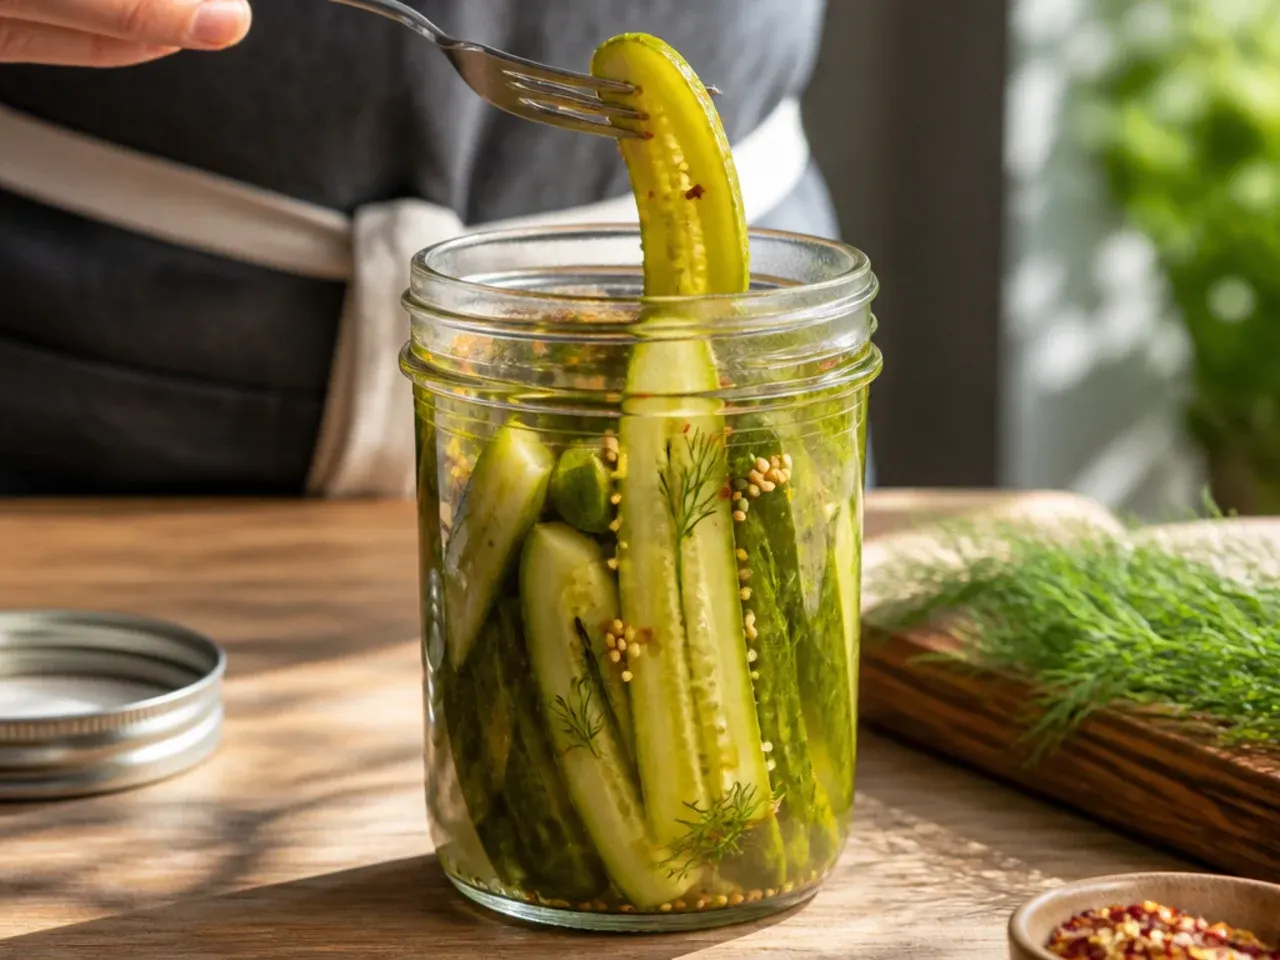
Look for cucumbers that are a slightly deeper, more translucent green than when you started, with a firm snap when you bite into one; that's the visual cue the brine has fully worked its way through. If any pieces look dull grey or feel mushy, discard just those pieces rather than the whole jar.
Step 30: Serve your spicy refrigerator pickles
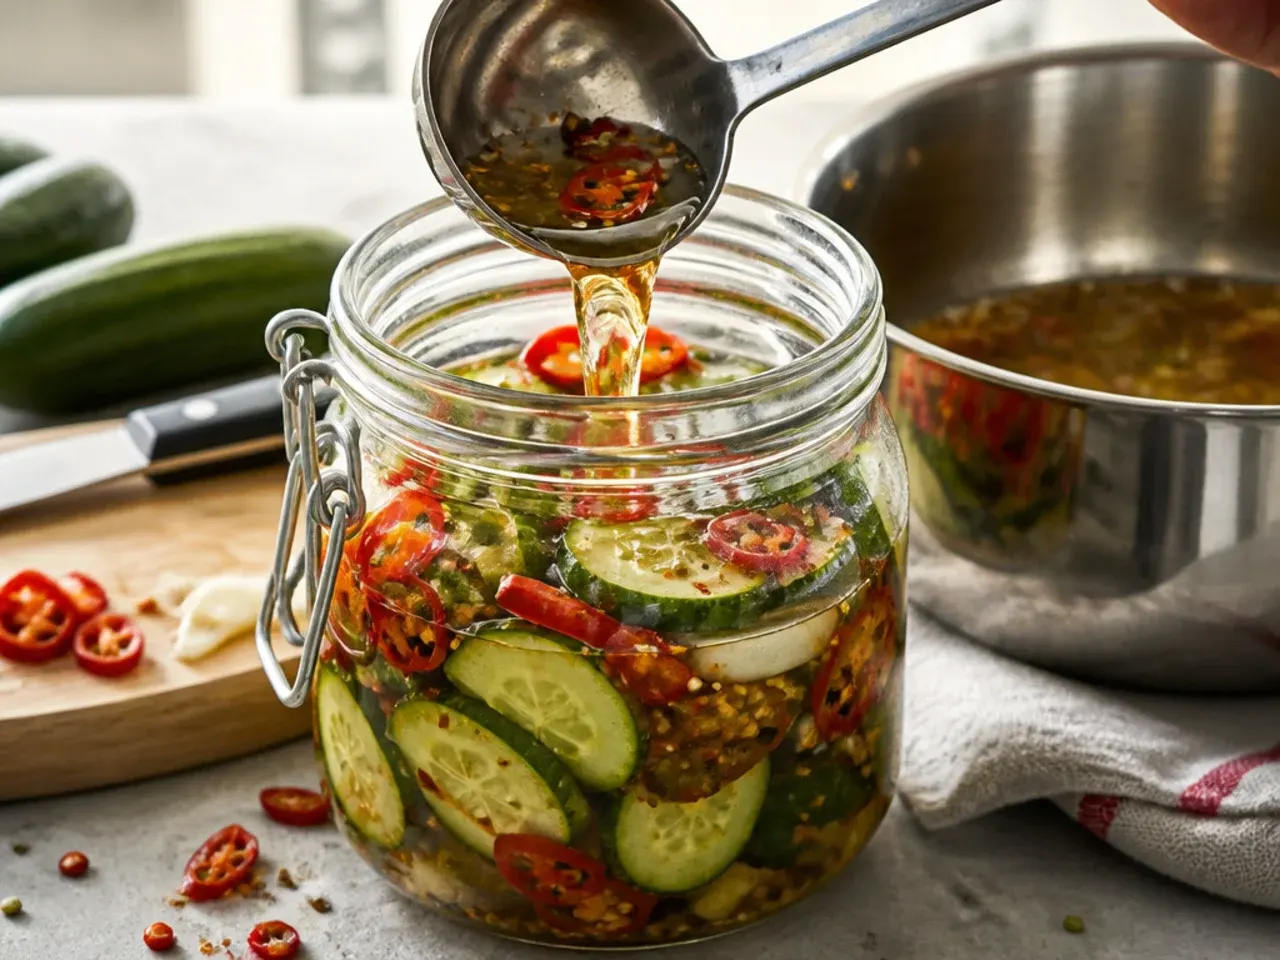
Pile the spicy pickles onto burgers, tuck them into sandwiches, or serve them straight from the jar alongside cured meats and cheese on a snack board. Keep the jars chilled and use clean tongs each time you serve, so the remaining pickles stay crisp and last as long as possible.
Pro Tips for Perfectly Crisp, Spicy Pickles
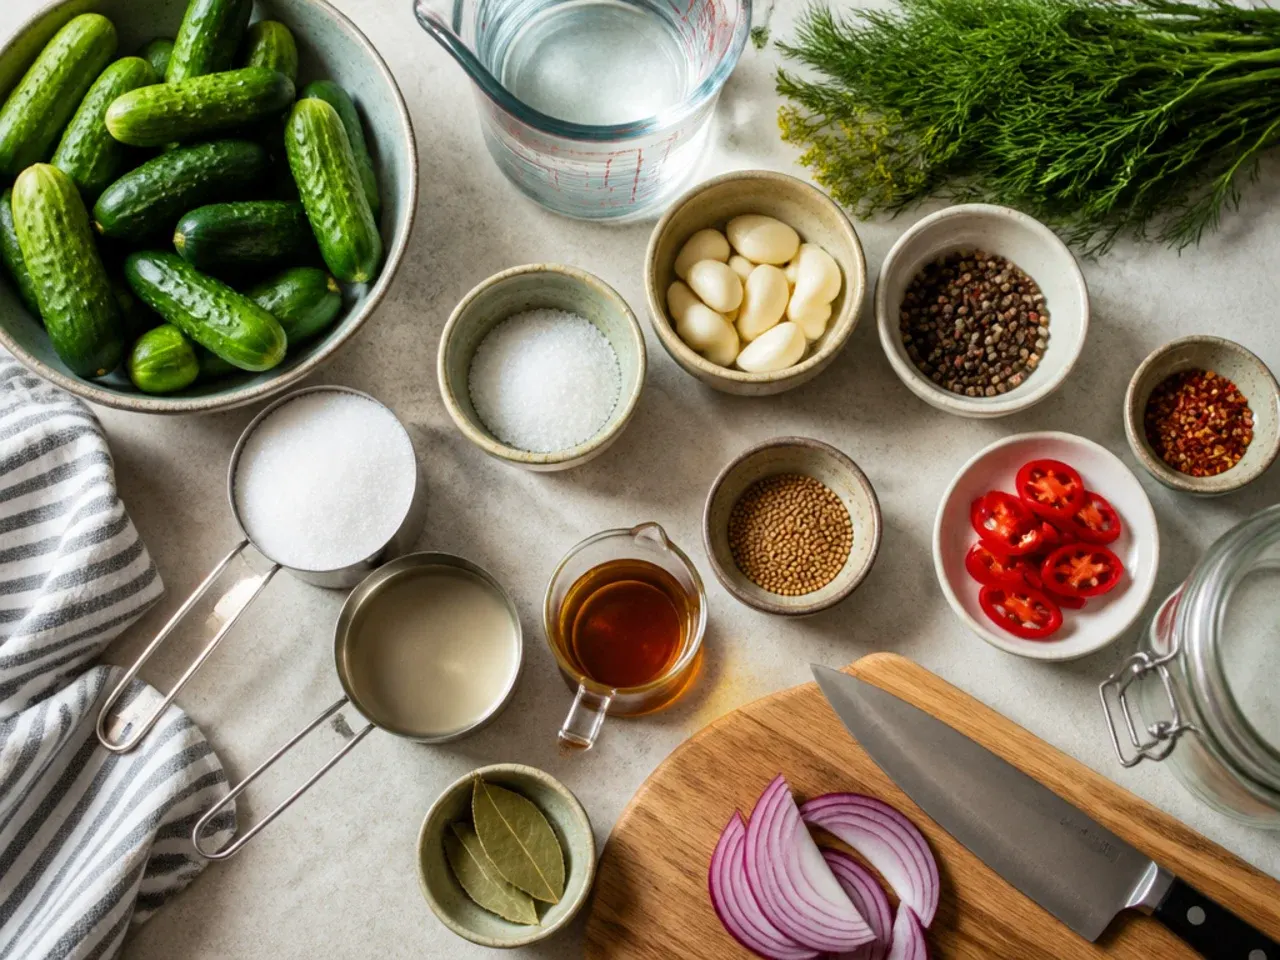
Use the freshest, firmest cucumbers you can find and always trim a thin slice from the blossom end, since it holds enzymes that soften pickles over time. Keep the brine close to a 1:1 vinegar-to-water ratio so the result tastes tangy rather than harsh, and stir until every grain of salt and sugar has fully dissolved before it goes anywhere near the jar. For extra heat, leave the jalapeño seeds and pith in or add a few thin habanero slices alongside the crushed red pepper flakes. Pour the brine while it's still warm rather than boiling hot, which helps the cucumbers hold onto more of their crunch.
Storage and Make-Ahead Notes
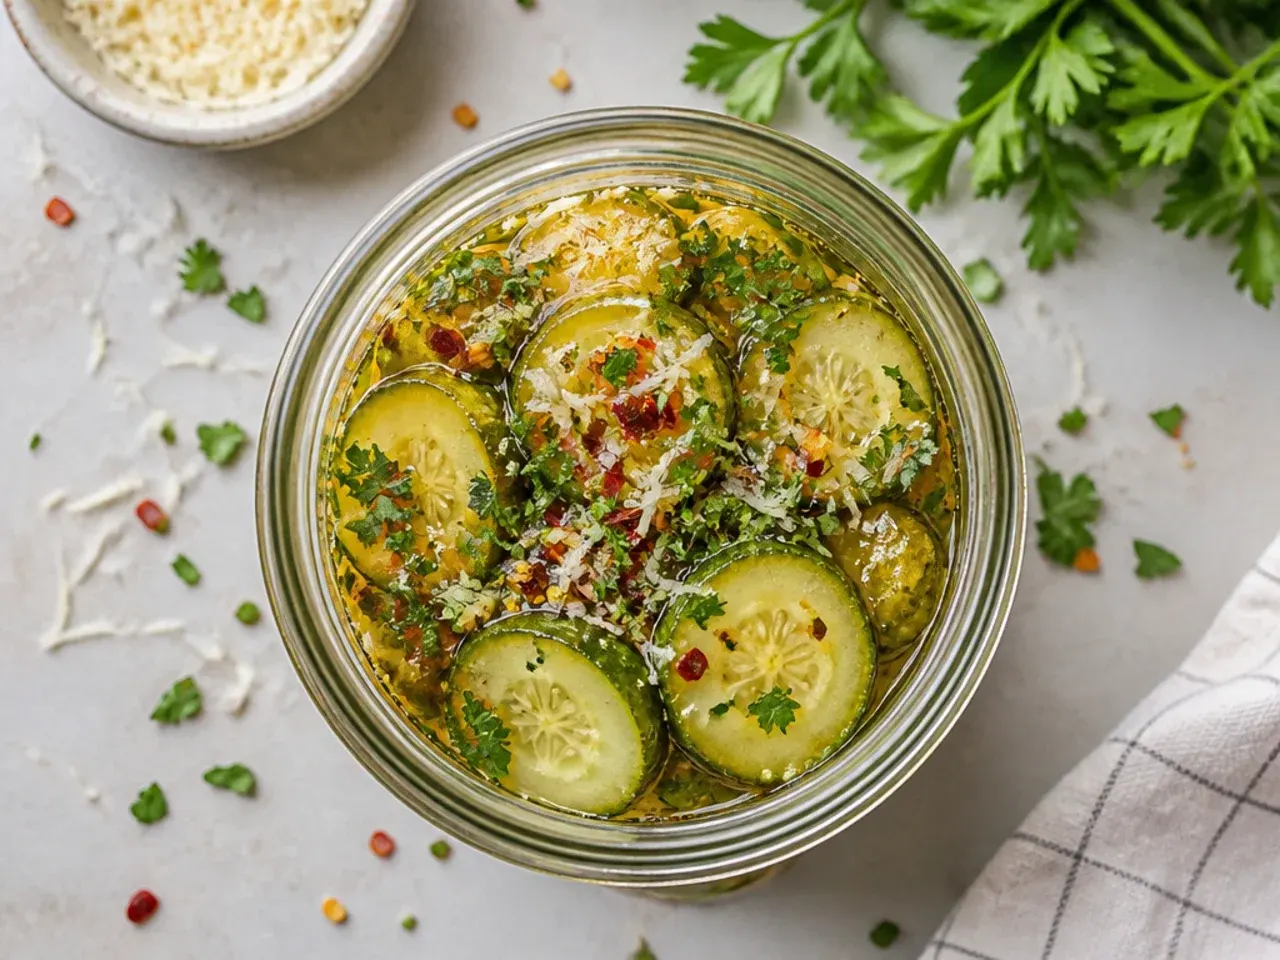
Store the sealed jars in the fridge for up to 4-6 weeks; the flavour actually keeps improving for the first week as the brine fully penetrates the cucumbers. Always remove pickles with a clean fork or tongs, since dirty utensils introduce bacteria that can cloud the brine and shorten its shelf life. These pickles are ideal for making ahead — prepare a double batch on a Sunday and you'll have crunchy, spicy pickles ready for burgers, sandwiches and snack boards all week. This recipe is formulated purely as a fridge pickle, so don't attempt to water-bath can or store the jars at room temperature.
Make crunchy spicy refrigerator pickles in 30 easy steps using a simple vinegar brine, fresh garlic and chillies — no canning equipment needed. For more refrigerator pickles inspiration, browse the full Refrigerator Pickles board — every idea there is written for real home kitchens, not professional bakers.
Frequently Asked Questions
Yes, that's actually the whole point of a refrigerator pickle. The cucumbers need a minimum of 24 hours in the brine before they're safe and tasty to eat, but the flavour keeps developing for 3-5 days as the vinegar, garlic and chilli fully penetrate the flesh. Making a batch on the weekend means you'll have crunchy, spicy pickles ready to go for burgers and sandwiches all week. Just remember they're a fridge-only recipe, so plan to eat them within 4-6 weeks rather than storing them at room temperature.

Related Recipes
Save this for later 📌
Pin this article to your Pinterest board so the full list is one tap away when you need it.
Save on Pinterest