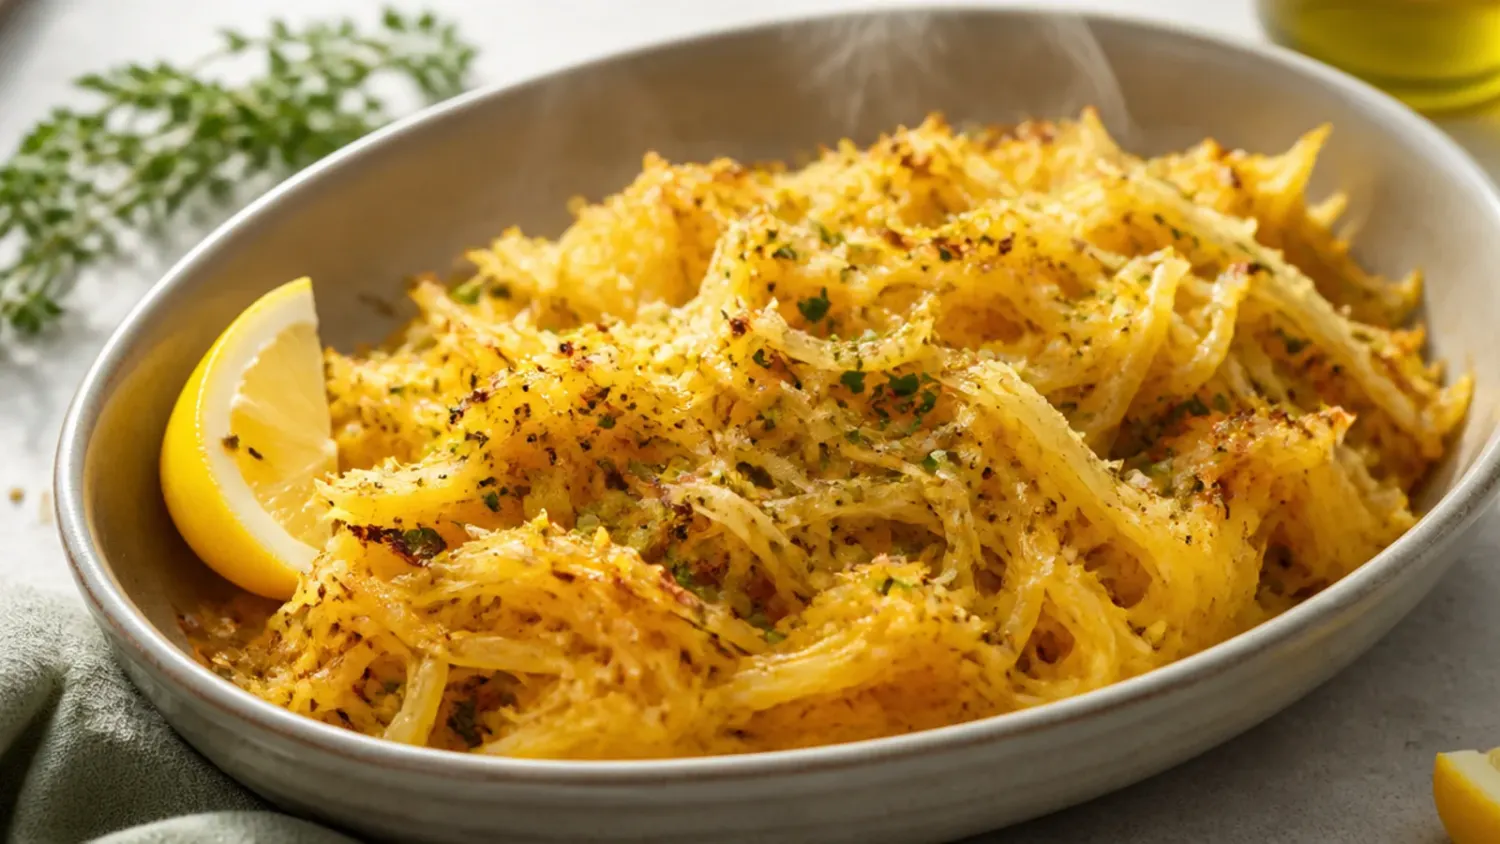
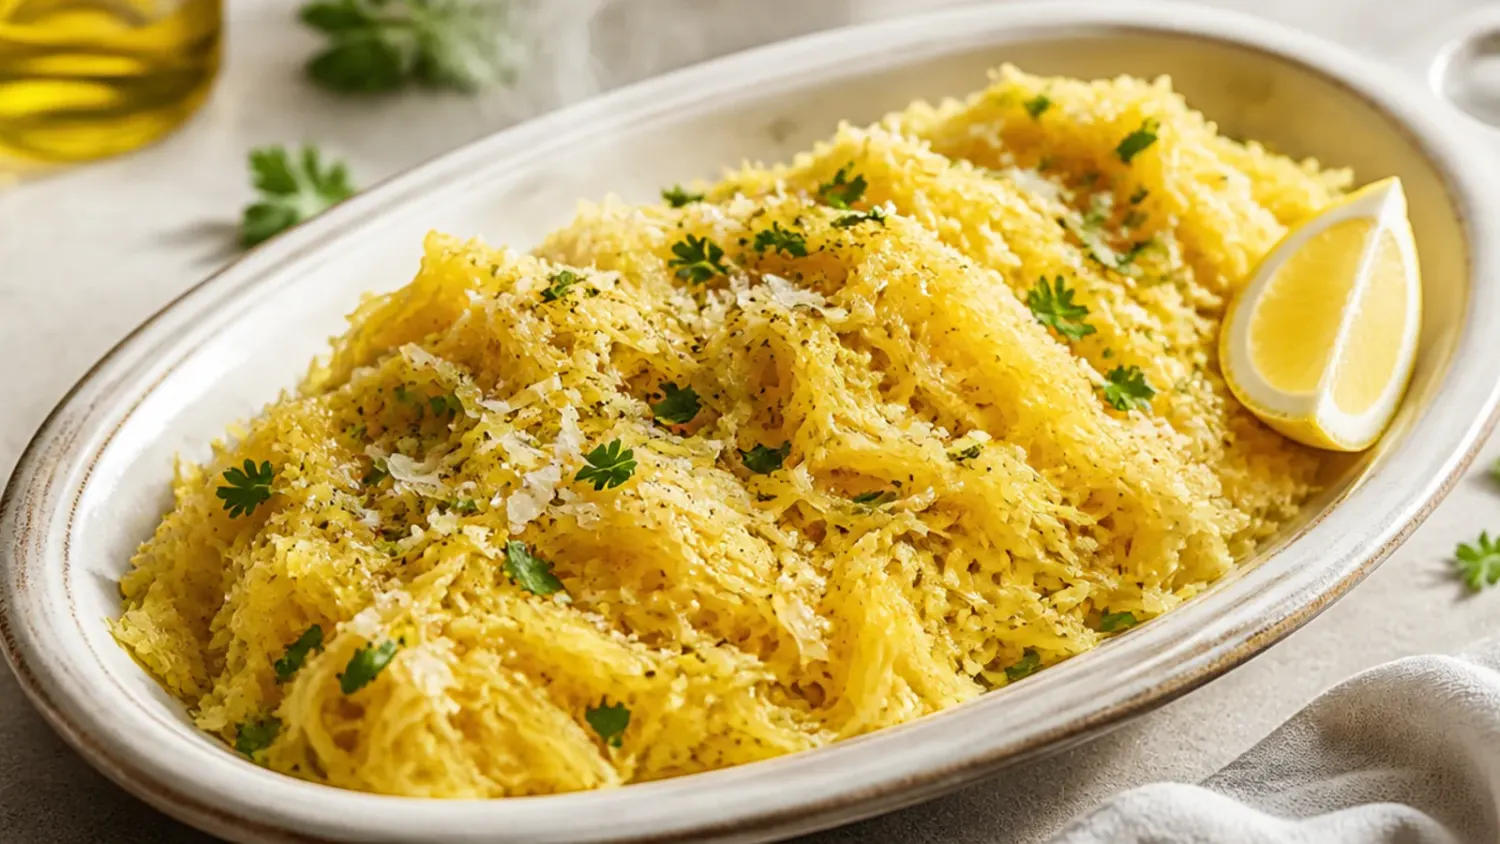
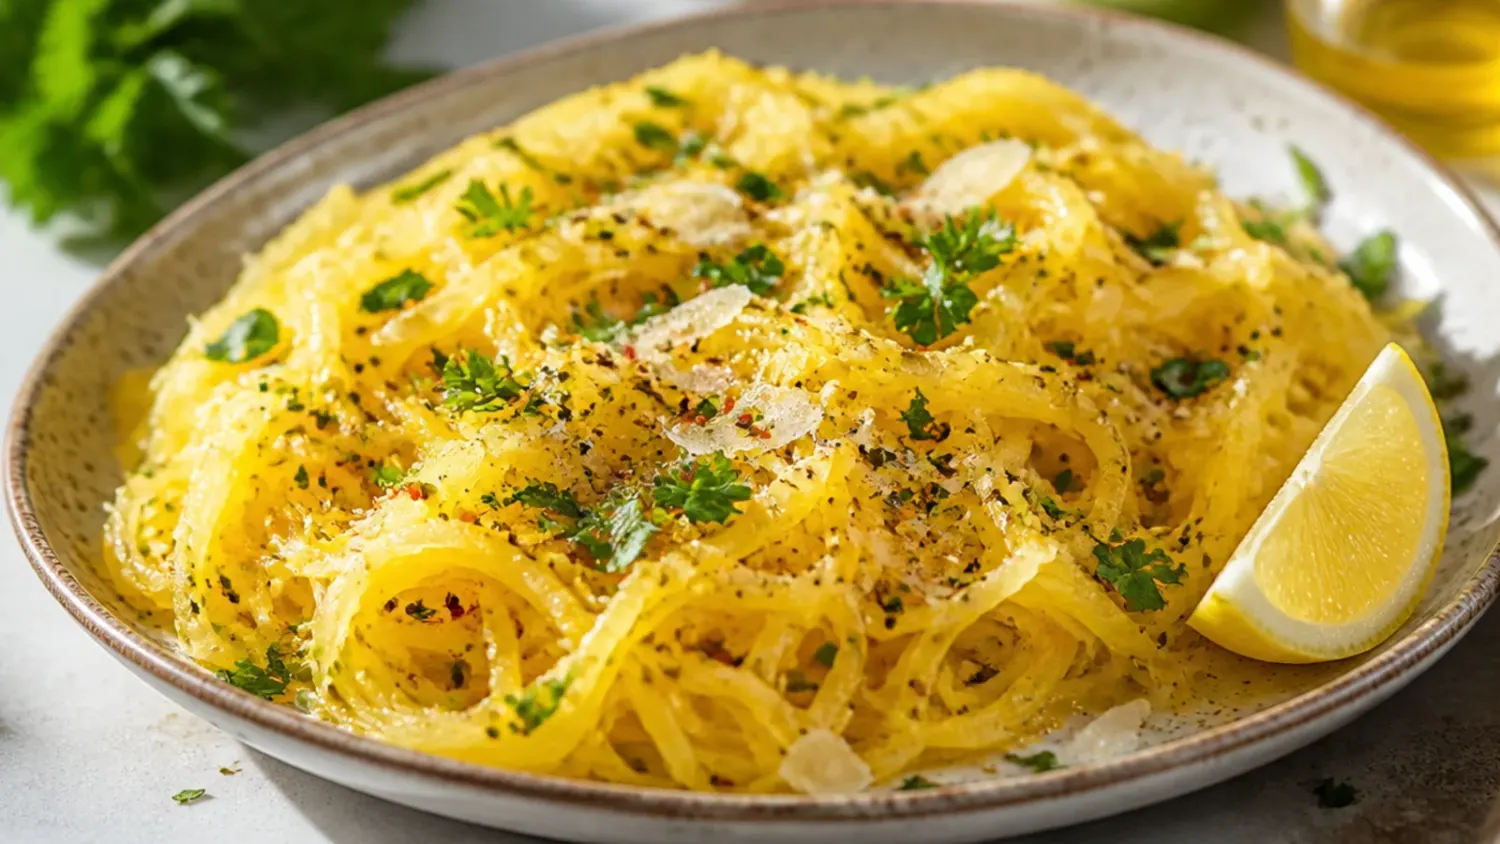
20 Stuffed Spaghetti Squash Recipes Tips I Wish I Knew Sooner
20 honest, hard-won lessons from making stuffed spaghetti squash recipes over and over, so yours turns out golden, not watery. If you love spaghetti squash recipes inspiration, start with our Spaghetti Squash Recipes collection, then browse the full Comfort Dinners hub for more.

Save this for later 📌
Pin this article to your Pinterest board so the full list is one tap away when you need it.
Save on PinterestComfort Dinners
Intermediate
Kitchen Journal
7 steps
Table of Contents
- Lesson 1: Draining the Strands Isn't Optional
- Lesson 2: Roast Cut-Side Down First
- Lesson 3: Season the Squash, Not Just the Filling
- Lesson 4: Pull It at 35 Minutes and Check
- Lesson 5: Shred Your Own Mozzarella
- Lesson 6: Give the Squash a Rest Before Shredding
- Lesson 7: Drain the Sausage Fat
- Lesson 8: Cut Lengthwise for Long Strands
- Lesson 9: Don't Buy the Biggest Squash on the Shelf
- Lesson 10: Taste the Filling Before It Goes in the Oven
- Lesson 11: Reinforce Flimsy Shells
- Lesson 12: Mound, Don't Overflow
- Lesson 13: Freeze the Filling, Not the Whole Boat
- Lesson 14: Buy Sausage You'd Actually Season Yourself
- Lesson 15: Line the Tray Before You Roast
- Lesson 16: Add Spinach at the Very End
- Lesson 17: Watch the Cheese Like a Hawk at the End
- Lesson 18: Reheat Gently, With a Splash of Something Wet
- Lesson 19: One Half Is a Real Serving, Plan Accordingly
- Lesson 20: Keep a Note of What Worked
- What I'd Tell a Friend Trying This
- The Recipe I Used
Lesson 1: Draining the Strands Isn't Optional
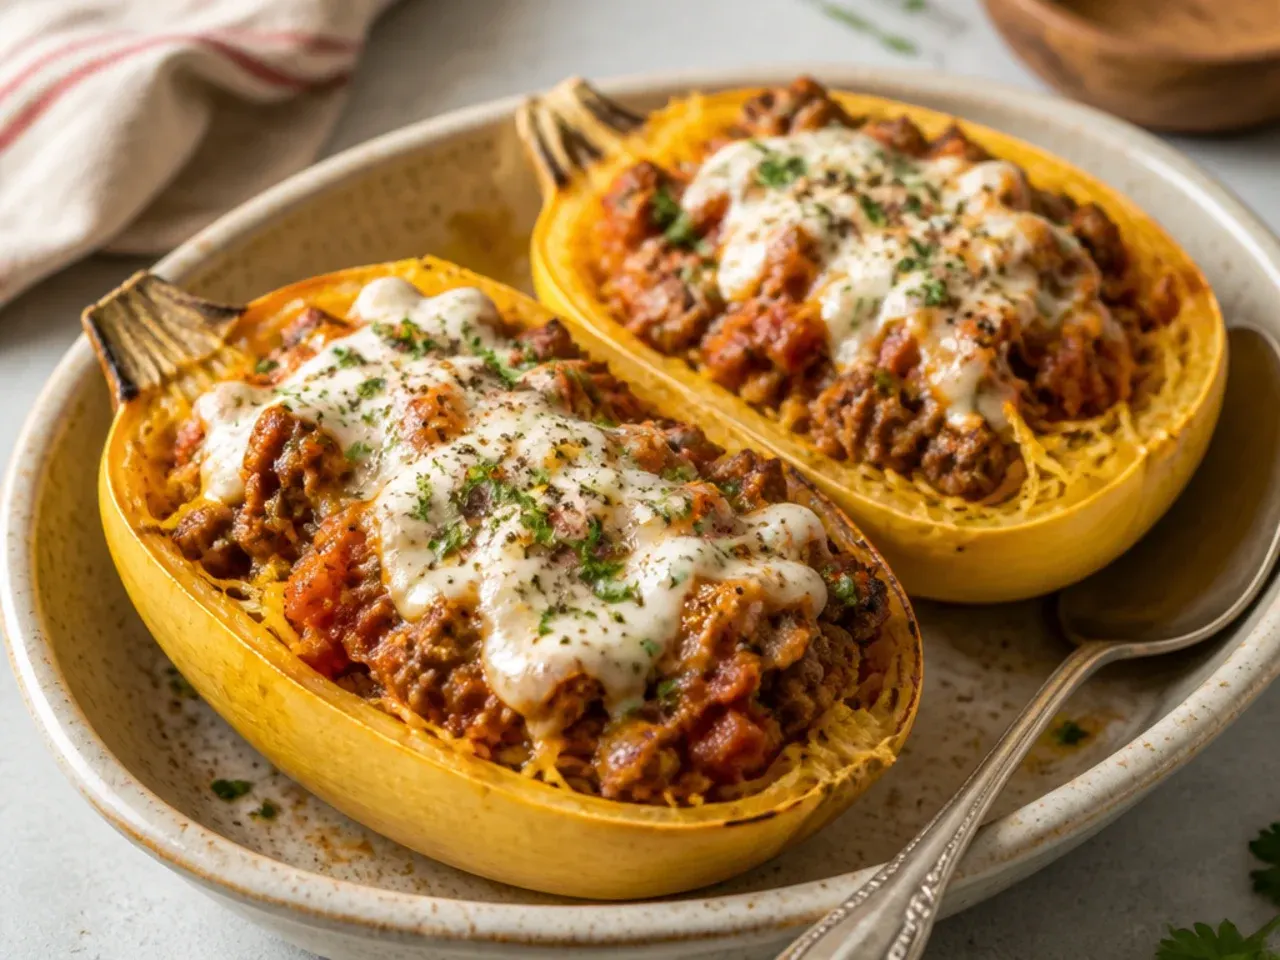
The first time I made this, I went straight from fork to bowl and ended up with a soupy, sad-looking dinner that never held its shape. Spaghetti squash is mostly water, and if you don't press the strands dry after roasting, that water weeps straight into your filling and dilutes it. Now I tip the shredded strands into a colander for five minutes and squeeze them with a clean tea towel before they go anywhere near the sausage mixture. It sounds fussy, but it's the single biggest fix for watery boats.
Lesson 2: Roast Cut-Side Down First
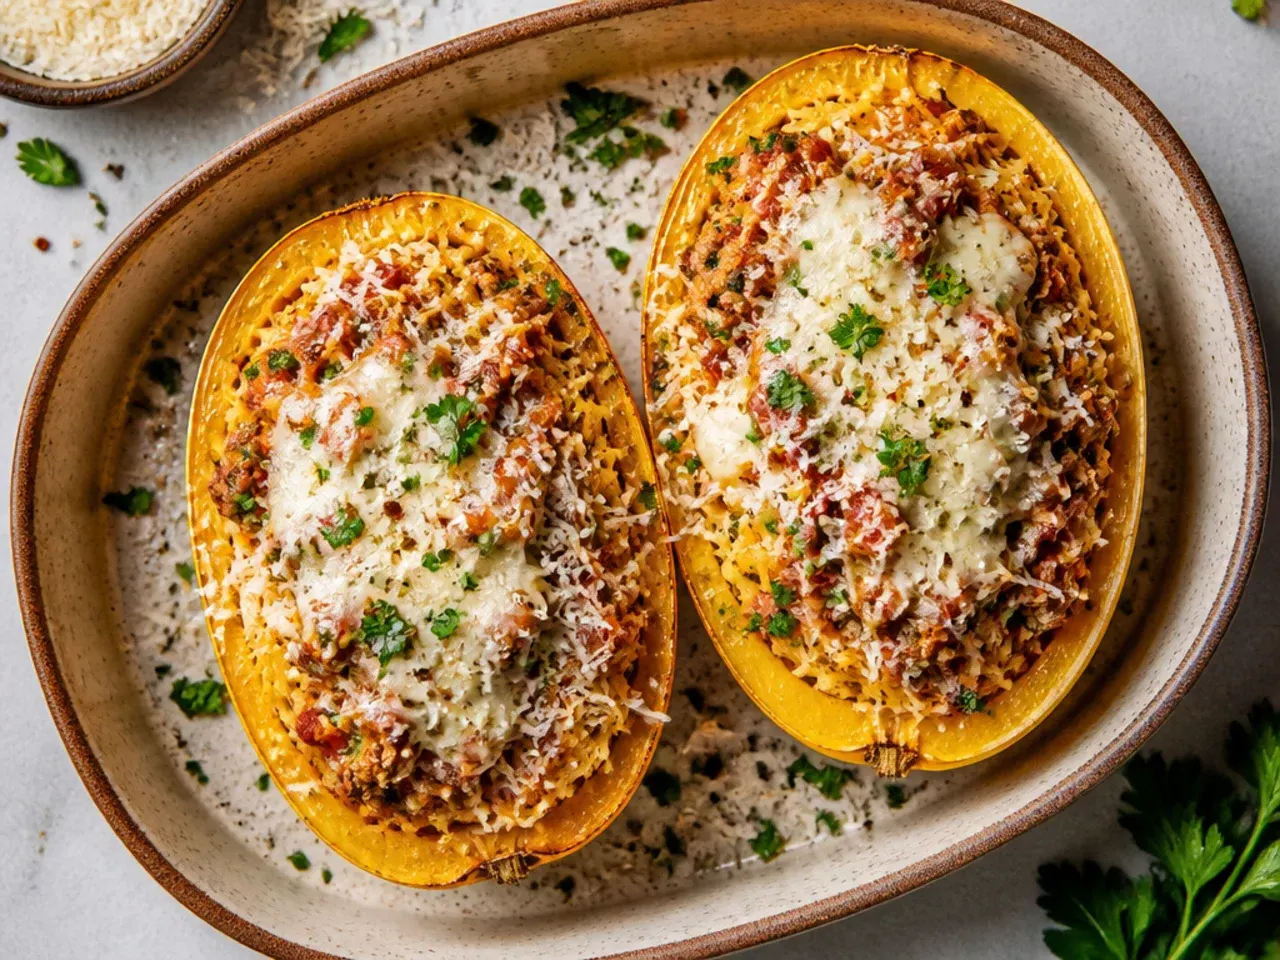
I used to roast my squash halves cut-side up the whole way through, assuming it would cook more evenly, and I kept getting flesh that was mushy in the middle and tough at the edges. Flipping the halves cut-side down onto the tray for the first 35-40 minutes at 200°C (400°F) lets steam escape into the pan instead of pooling against the flesh. I only turn the halves cut-side up right at the end, once they're fork-tender, to cool slightly before shredding. The strands come out noticeably drier and more separate this way.
Lesson 3: Season the Squash, Not Just the Filling
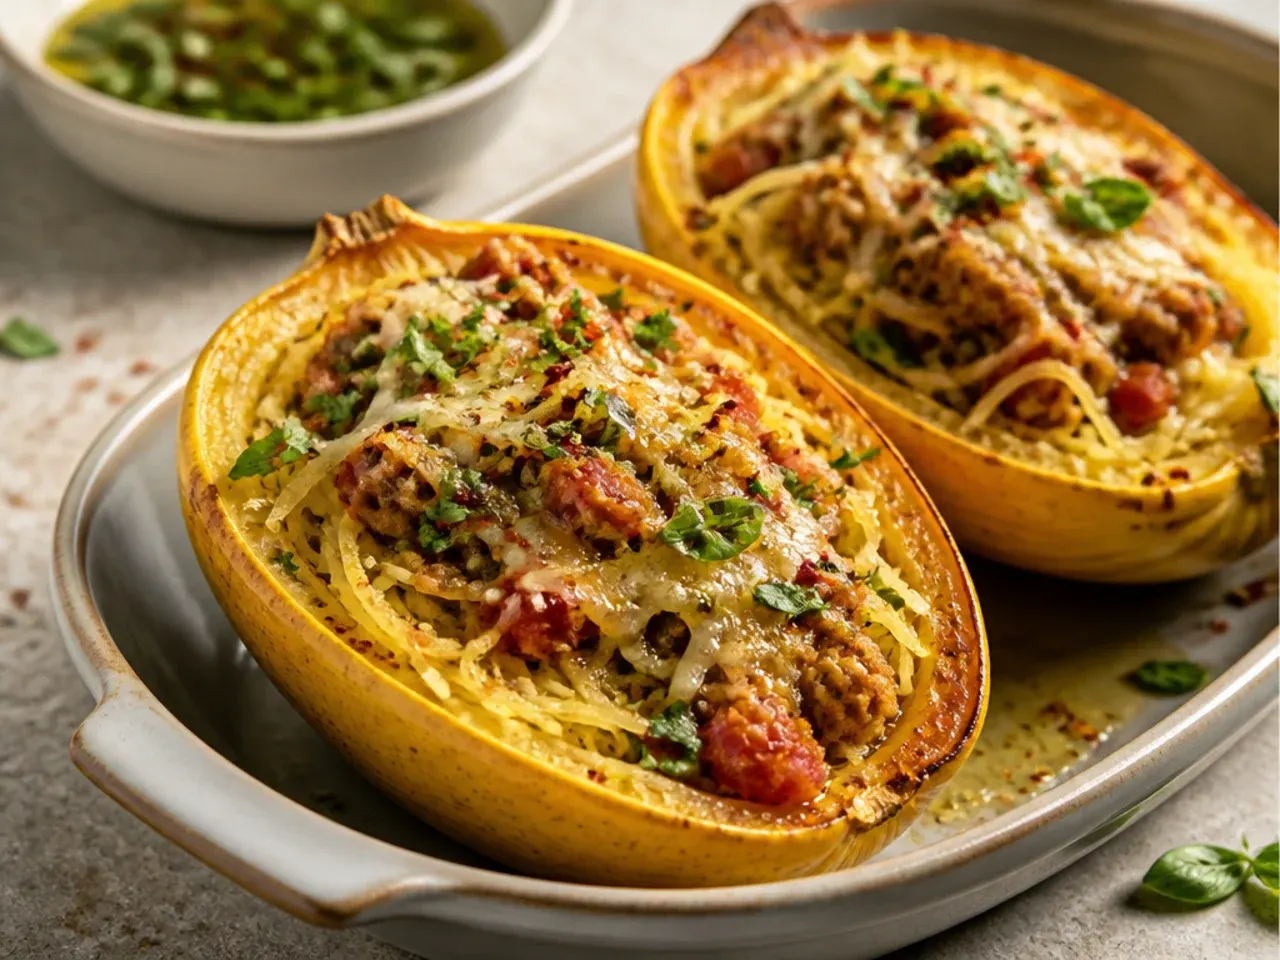
For ages I left the squash halves completely bare going into the oven, assuming the sausage and cheese would carry all the flavour. Spaghetti squash is genuinely mild raw, and roasting it unsalted just locks in that blandness before the filling ever touches it. I brush the cut sides with olive oil and a proper pinch of sea salt before roasting now, and the difference in the finished dish is obvious. It seasons the strands from the inside out, not just the surface.
Lesson 4: Pull It at 35 Minutes and Check
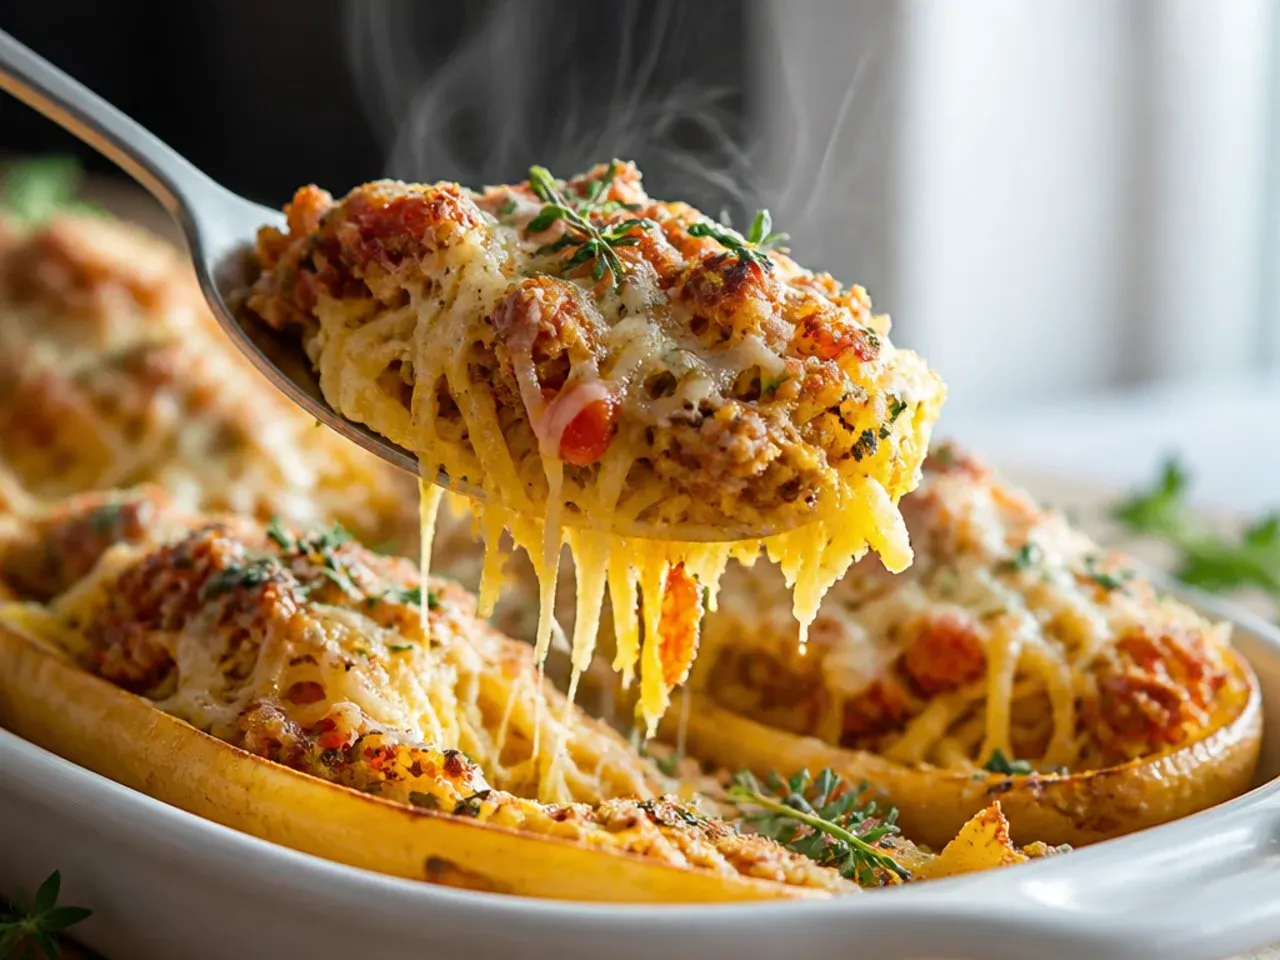
I once left a squash in for the full 40 minutes because a recipe said "35-40 minutes" and I wanted to be safe, and it turned to mush the second I ran a fork through it. Now I start checking at 35 minutes at 200°C (400°F): if a fork slides in with almost no resistance and the strands separate into firm ribbons rather than collapsing into paste, it's done. Every oven and every squash runs slightly differently, so I treat the time as a guide, not a rule. Overcooked squash can't be un-cooked, but undercooked squash just needs five more minutes back in the oven.
Lesson 5: Shred Your Own Mozzarella
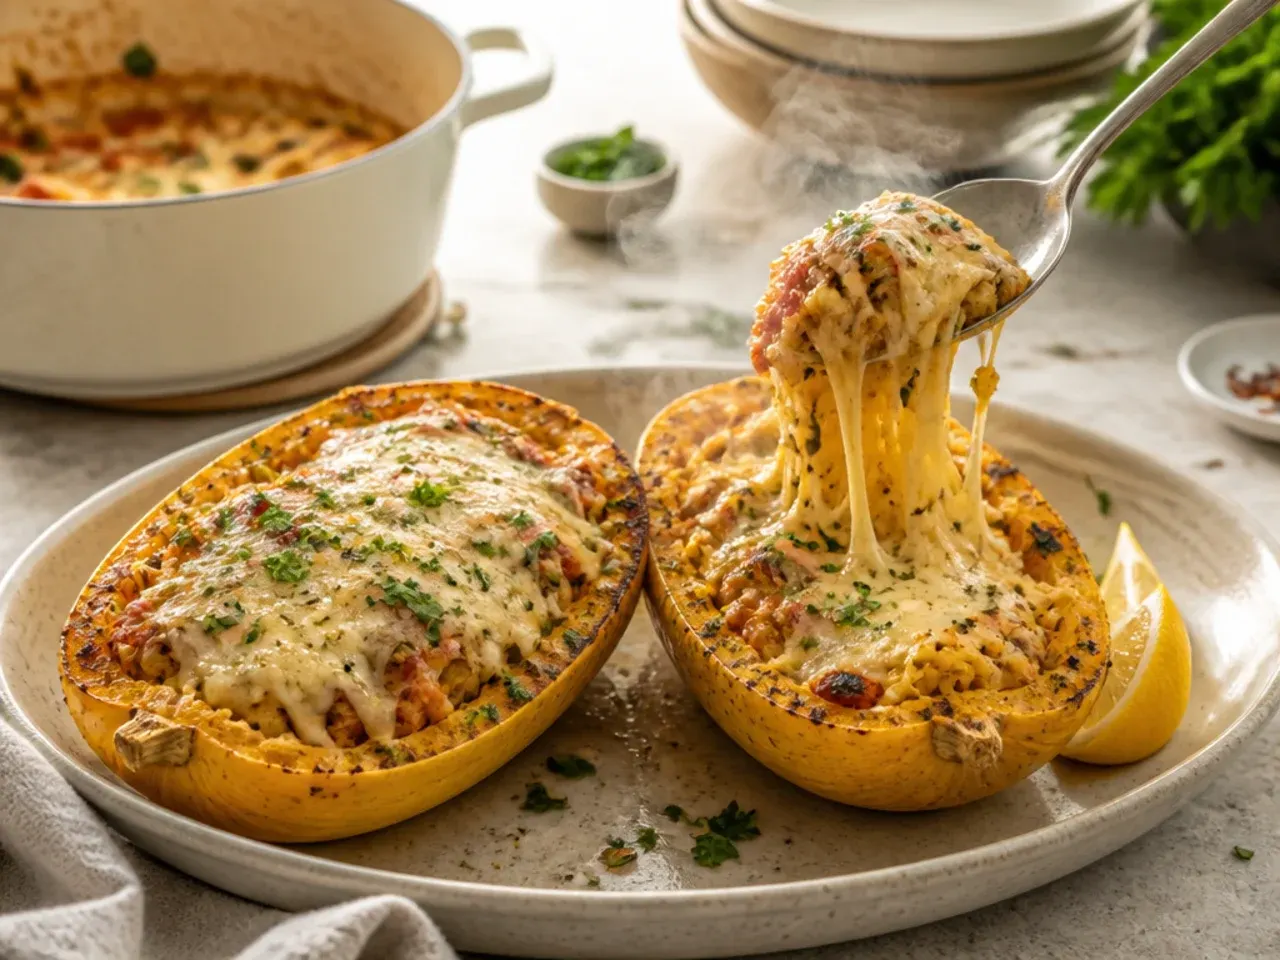
Pre-shredded mozzarella was my shortcut for years until I noticed my cheese topping never quite melted into that glossy, stretchy layer, just a slightly grainy, matte crust. Bagged shredded cheese is coated in starch to stop it clumping, and that coating stops it melting smoothly on top of a dish like this. I buy a block now and shred it myself with a box grater right before topping the squash. It takes two extra minutes and the payoff is real, bubbling, golden cheese.
Lesson 6: Give the Squash a Rest Before Shredding
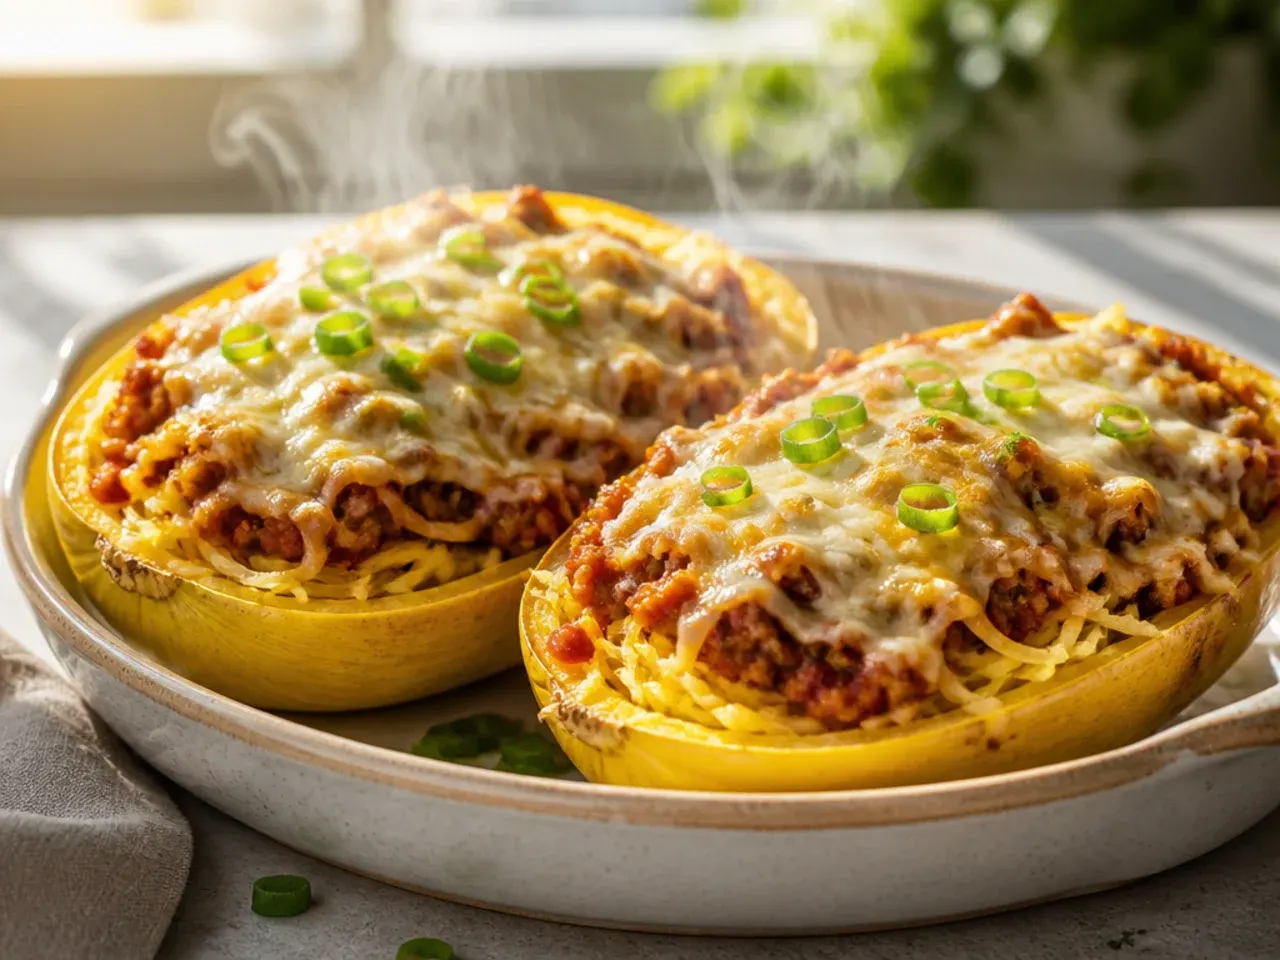
Straight out of the oven, I used to shred the squash immediately because I was impatient and hungry, and the strands always felt wetter than expected. Letting the halves sit cut-side up for five to ten minutes after roasting gives residual steam a chance to escape instead of re-absorbing back into the flesh as it cools. That short rest is now a non-negotiable step between "out of the oven" and "onto the fork." It costs nothing but a few minutes and noticeably firms up the texture.
Lesson 7: Drain the Sausage Fat

The first few times I made this, I tipped the browned sausage straight into the sauce, fat and all, and ended up with a greasy layer floating on top of the filling. Good Italian sausage, especially anything close to 80/20 fat, renders out a fair amount as it browns, and none of it needs to end up in the boats. I now tilt the pan and spoon off the excess before adding the onion and garlic. The filling holds together far better and doesn't taste heavy the way it used to.
Lesson 8: Cut Lengthwise for Long Strands

I once cut my squash across the middle like a pumpkin lantern because it seemed easier to scoop, and I ended up with short, choppy strands that didn't feel like "spaghetti" at all. Cutting from stem to tip, lengthwise, follows the natural direction of the fibres inside, so the strands pull free in long, satisfying ribbons. It's a small change in the knife work but it changes the entire texture of the finished dish. I always reach for a sturdy chef's knife and go stem-to-tip now, no exceptions.
Lesson 9: Don't Buy the Biggest Squash on the Shelf
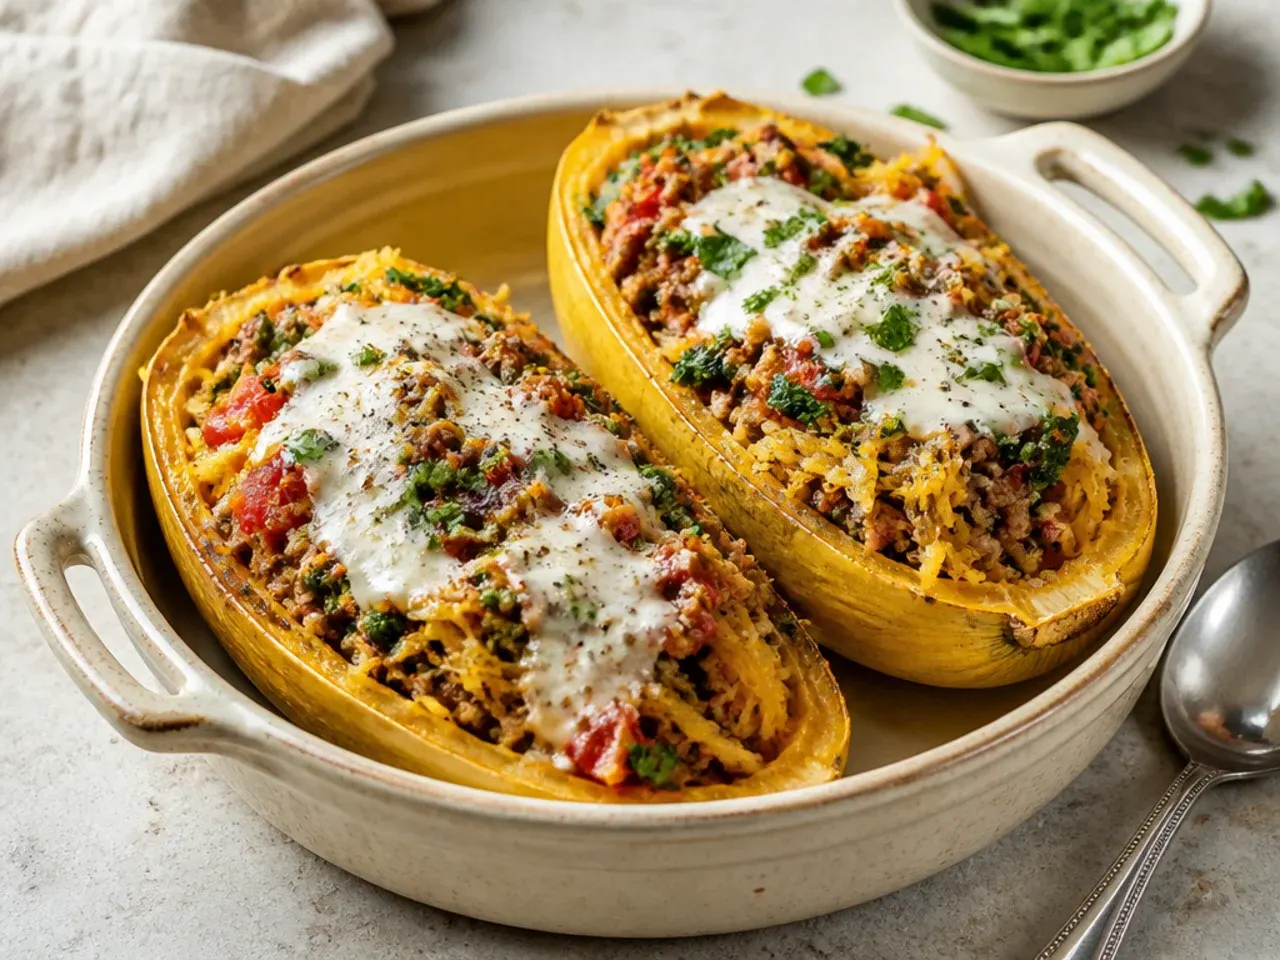
I once grabbed the largest spaghetti squash in the shop thinking bigger meant more dinner, and it took nearly an hour to roast through while the edges dried out. A whole squash around 900 g to 1 kg (2 lb) total, which halves into two sturdy shells, gives you a cook time that stays predictable. Anything much bigger cooks unevenly, with a soft centre and a leathery rim, and anything much smaller barely holds two servings' worth of filling. Now I judge size by the width of two cupped hands before it even reaches the till.
Lesson 10: Taste the Filling Before It Goes in the Oven
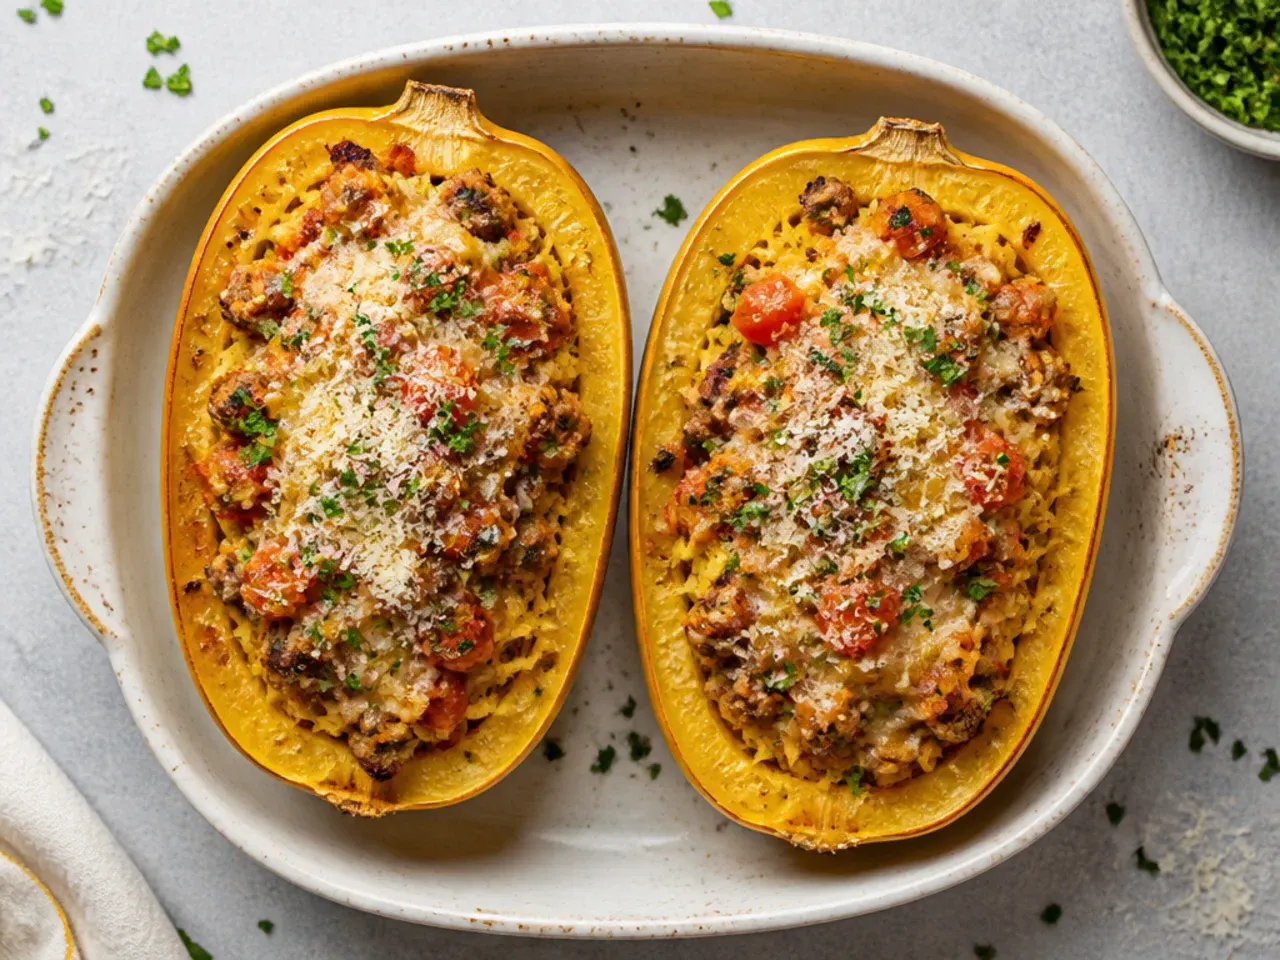
I used to assemble everything on instinct and only really taste the dish once it came out fully baked, which meant I had no way to fix an underseasoned filling. Ricotta and squash strands are both mild, so the mixture needs a genuinely confident hit of salt, pepper, and a pinch of chilli flakes before it goes anywhere near the oven. Now I taste the sausage and ricotta mixture with a spoon while it's still in the bowl and adjust right there. Baking never fixes bland filling, it just bakes the blandness in.
Lesson 11: Reinforce Flimsy Shells
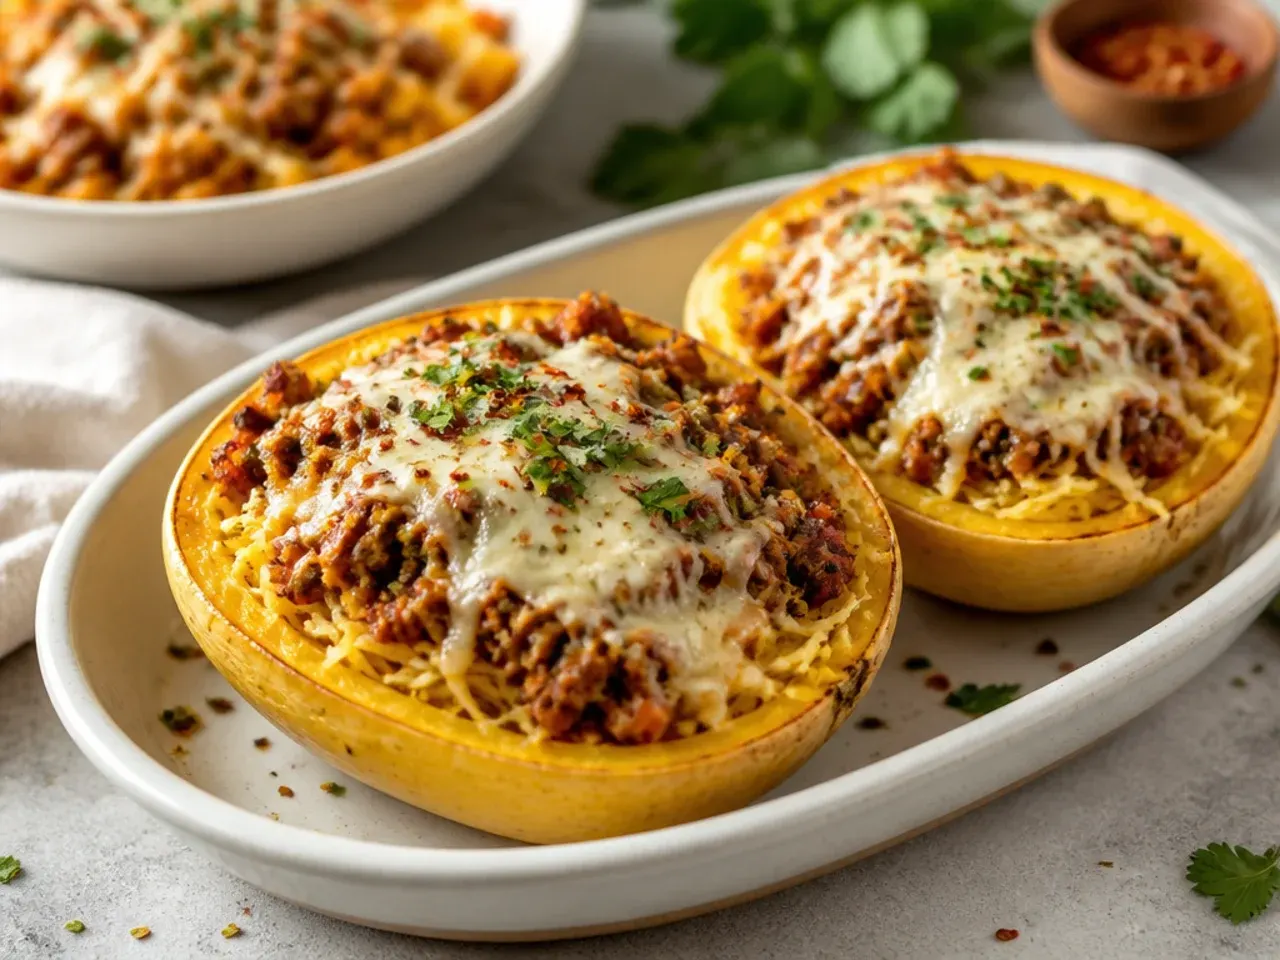
A couple of my early squashes had thin, slightly soft shells that buckled the moment I tried to lift them off the tray, and I lost half a boat's worth of filling onto the baking sheet. Now, if a shell feels thin when I press it, I nestle the stuffed halves into a small baking dish instead of leaving them loose on a flat tray, so the sides have support. It also stops the filling from sliding sideways as it bakes. A little extra structure saves a lot of mess later.
Lesson 12: Mound, Don't Overflow
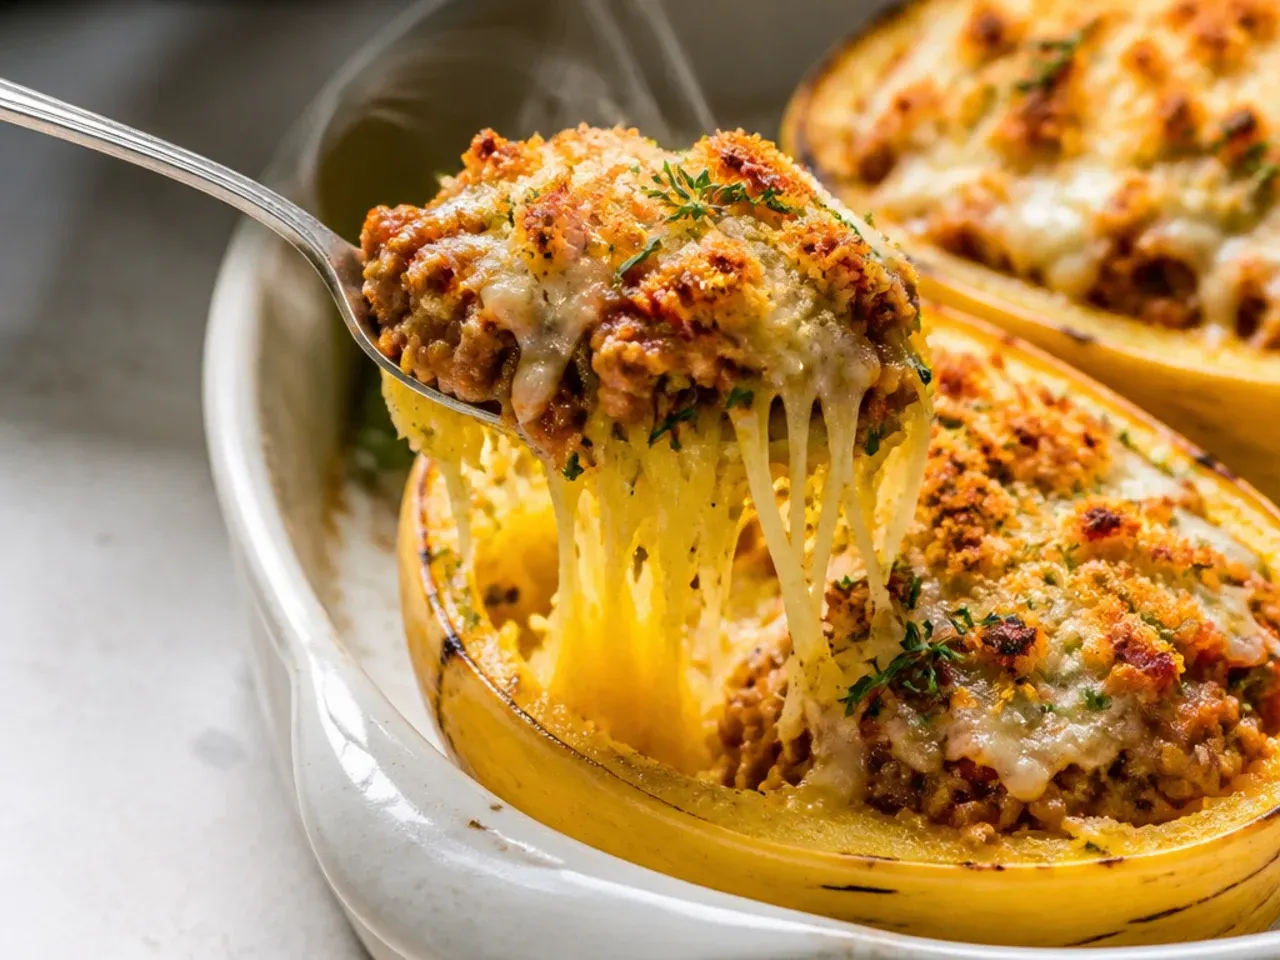
I once packed the filling in as high as it would physically go, convinced more filling meant a better dinner, and it spilled over the edges and burned onto the tray before the middle was even hot. Now I fill each shell generously but stop just above the rim, leaving room for the cheese to melt and puddle without sliding off. What overflows in the oven never makes it back into your bowl anyway. A slightly more modest mound actually bakes more evenly all the way through.
Lesson 13: Freeze the Filling, Not the Whole Boat
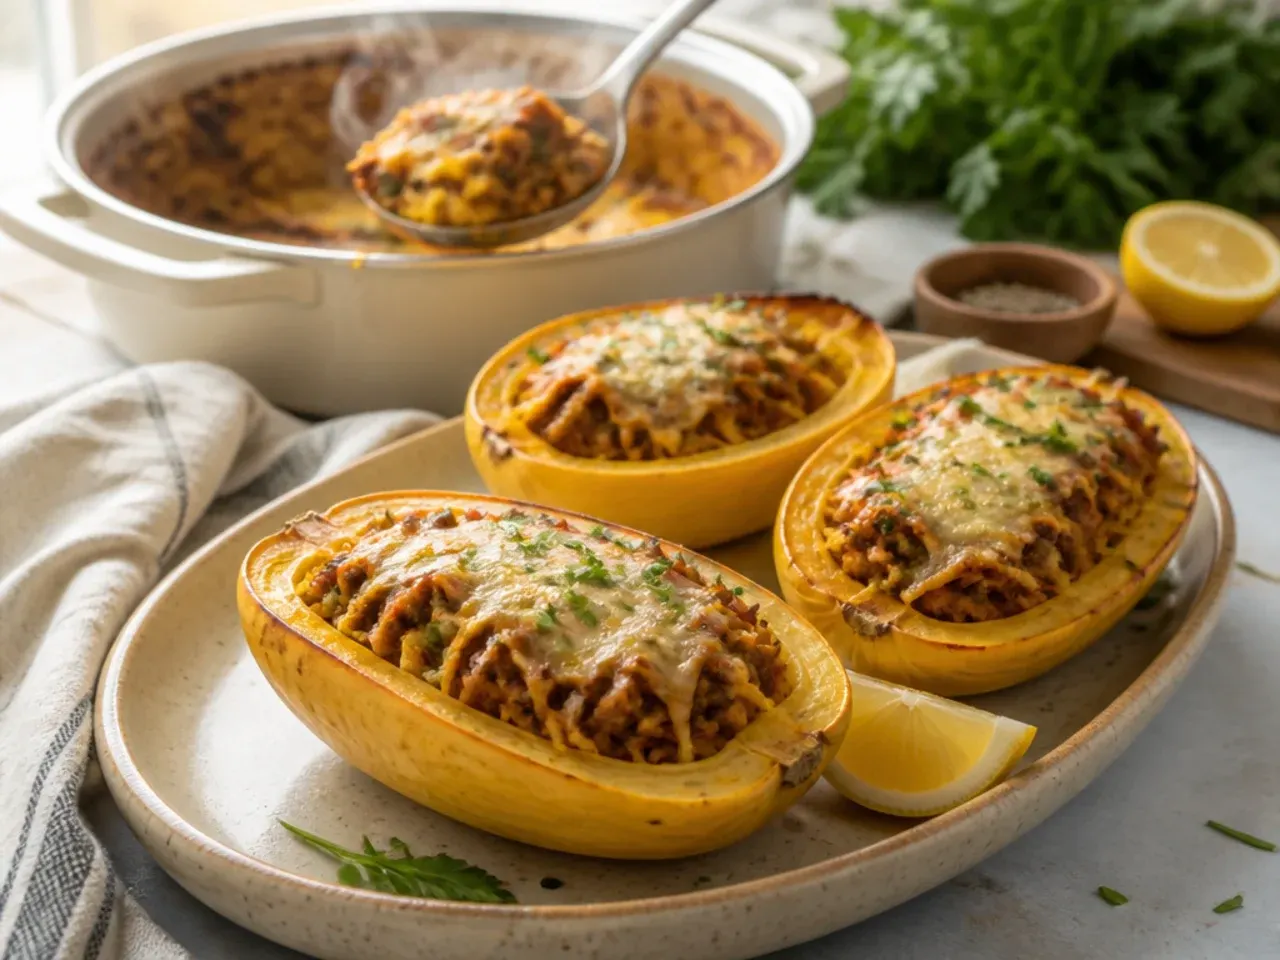
The first time I froze leftover stuffed squash shell and all, it thawed into a watery, structureless mess that barely resembled the original dish. Now, if I know I'm freezing portions, I scoop the sausage, squash, and cheese filling out of the shell and pack it into a freezer-safe container on its own, where it keeps for up to three months. The empty shells don't freeze well at all, so I either use them fresh within a few days or skip them entirely for frozen batches. Reheated filling spooned over fresh strands works just as well as the original shell.
Lesson 14: Buy Sausage You'd Actually Season Yourself
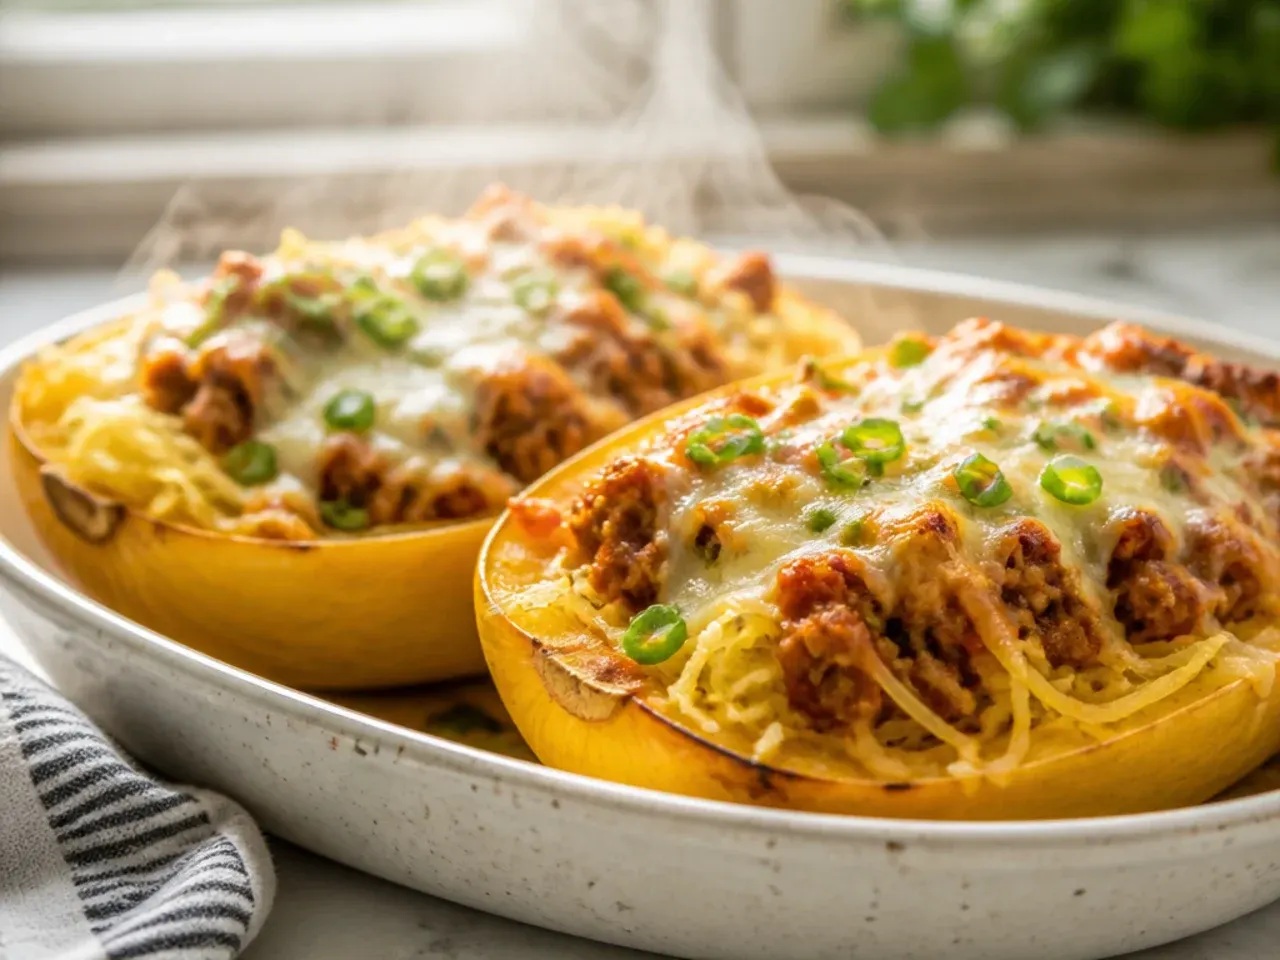
I tried this with a bland, mass-market breakfast sausage once, thinking sausage is sausage, and the whole dish tasted flat no matter how much salt I added afterwards. A well-seasoned Italian sausage, whether mild or hot, brings fennel, garlic, and chilli into the mix that plain sausage simply doesn't have. Now I check the ingredient list and pick one that already tastes good on its own, straight out of the casing. The filling's entire base flavour depends on that first choice.
Lesson 15: Line the Tray Before You Roast

My first squash stuck so firmly to a bare baking sheet that I tore the skin trying to lift it, and lost a fair bit of the caramelised flesh along with it. Spaghetti squash releases natural sugars as it roasts, and those sugars caramelise and glue themselves to bare metal if you let them. Now I always line the sheet with parchment paper or a light brush of oil first. The halves lift off cleanly every time, skin intact.
Lesson 16: Add Spinach at the Very End

I used to throw the spinach in with the sausage right at the start, and by the time everything else was cooked it had stewed down into a grey, watery mush. Baby spinach only needs a minute or two in a hot pan to wilt, so I now stir it in last, right after the tomatoes have simmered and thickened slightly. It keeps its colour and doesn't add extra liquid to a filling that's already fighting to stay dry. Timing that one ingredient correctly changed the texture of the whole dish.
Lesson 17: Watch the Cheese Like a Hawk at the End
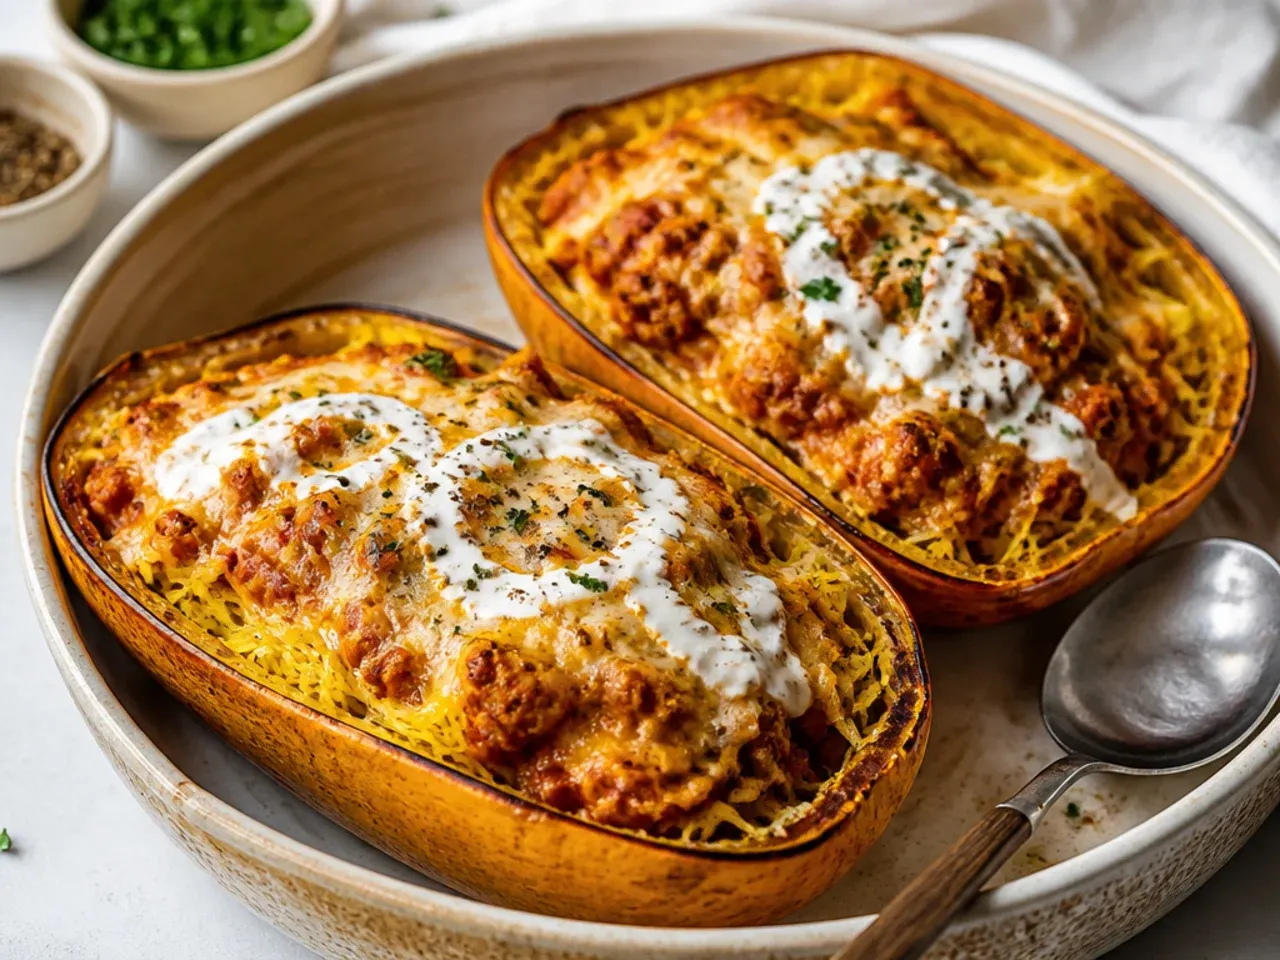
I stepped away for what I thought was "just a minute" near the end of baking once and came back to scorched, bitter cheese on top of an otherwise perfect dish. Mozzarella and parmesan go from melted to burnt surprisingly fast once the filling underneath is already hot, usually within a couple of minutes past done. Now I stay by the oven for the final stretch of baking and pull the tray the moment the cheese is bubbling and just turning golden at the edges. A few unattended minutes is all it takes to ruin an otherwise good dinner.
Lesson 18: Reheat Gently, With a Splash of Something Wet

Microwaving leftover squash boats on high used to leave me with dry, rubbery edges and a filling that had separated and gone chalky. Now I cover the portion loosely with foil, add a small spoonful of extra tomato sauce or a splash of stock over the top, and reheat in a 180°C (350°F) oven for about 15 minutes instead. It brings back moisture the microwave strips away and lets the cheese re-melt properly instead of turning tough. A few extra minutes makes leftovers taste freshly made again.
Lesson 19: One Half Is a Real Serving, Plan Accordingly
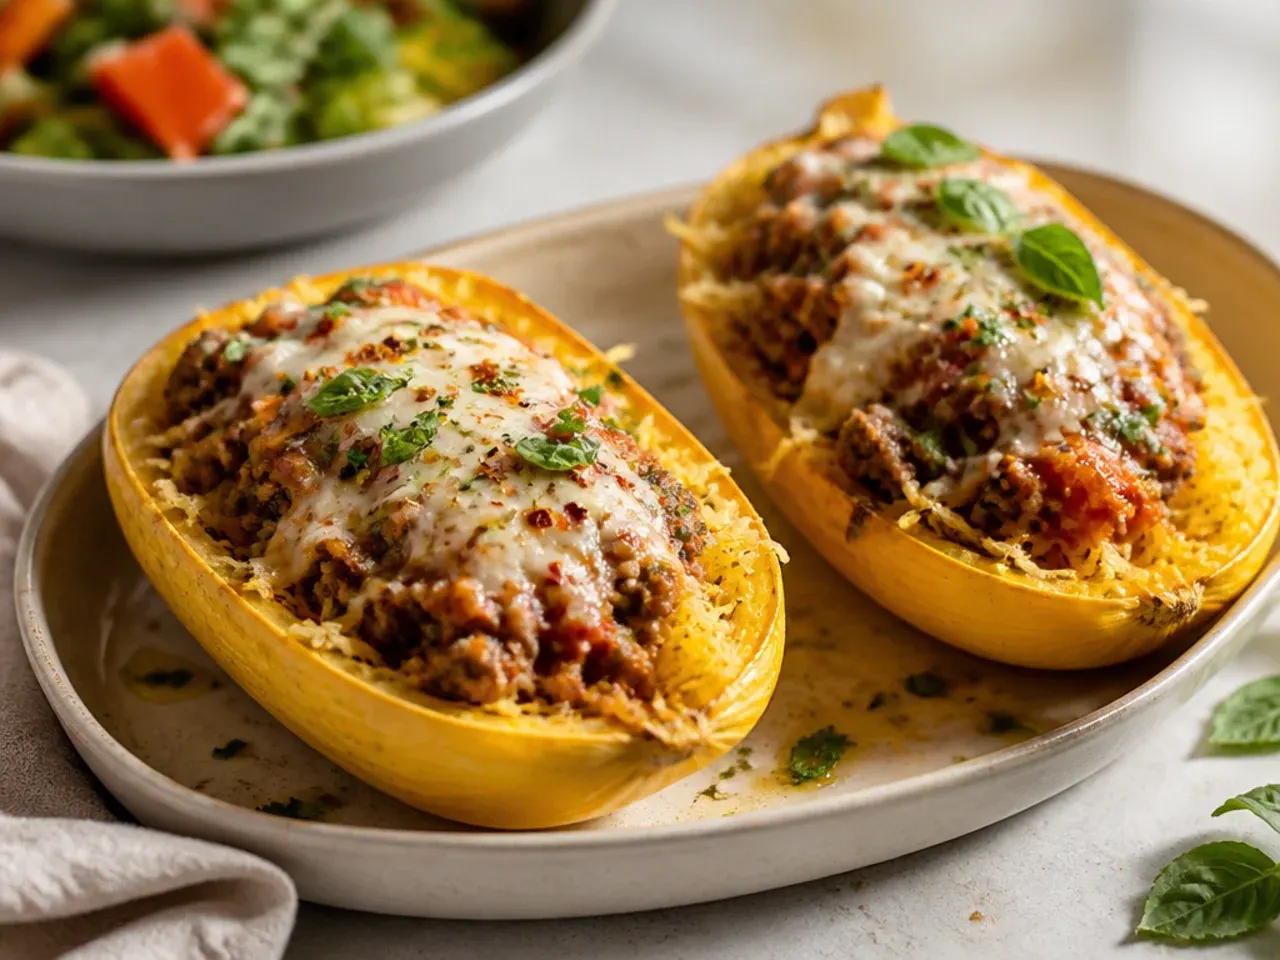
I badly misjudged portions the first time I served this, treating a whole stuffed half as a starter-sized plate and running short once everyone wanted a second helping. A well-filled spaghetti squash half, loaded with sausage, ricotta, and cheese, is a genuinely hearty main course serving on its own. Now I count on one half per person for a filling dinner, and only stretch it to sharing portions if I'm serving a big side salad or bread alongside. Knowing that upfront saves a last-minute scramble for extra sausage.
Lesson 20: Keep a Note of What Worked
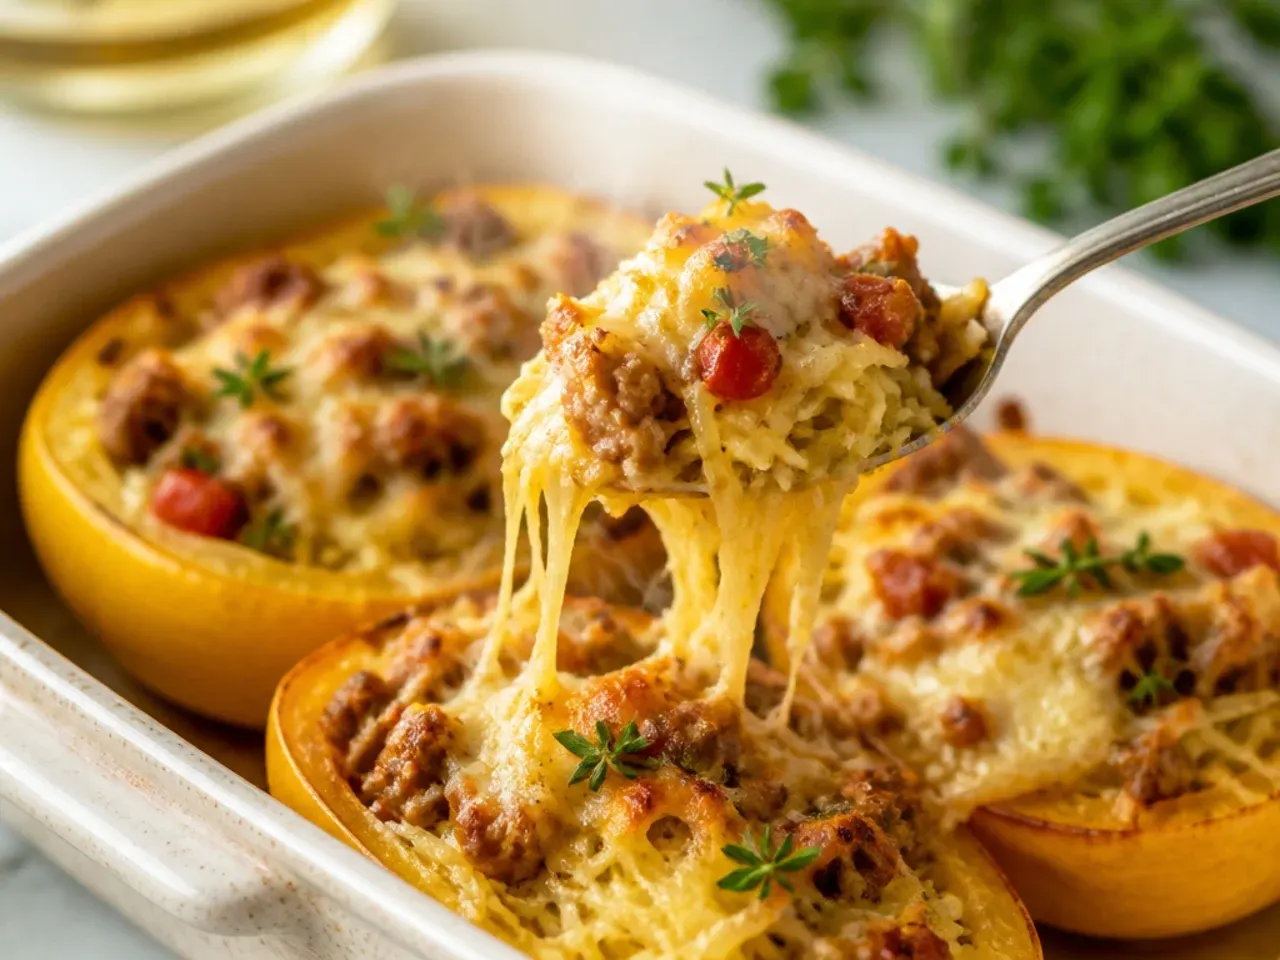
For the first year of making this regularly, I never wrote anything down, and I kept relearning the same lessons about timing and seasoning every few months. Now I jot a quick note on my phone straight after each attempt: the squash size I used, the exact roasting time, and anything I'd change next time. It takes thirty seconds and it's saved me from repeating mistakes I'd already solved once. A dish this forgiving to tweak deserves a proper record of what actually worked.
What I'd Tell a Friend Trying This

Don't let the list above put you off, stuffed spaghetti squash is genuinely one of the most forgiving dinners you can make once you know the two things that matter most: drain the strands properly, and don't overcook the squash. Everything else here is a small refinement, not a dealbreaker, and you'll pick most of it up naturally after your second or third attempt. Start with a mid-sized squash, good sausage, and real block cheese, and you're already most of the way to a dinner worth repeating. Give yourself permission for the first one to be slightly imperfect, that's exactly how I learned everything above.
The Recipe
The Recipe I Used
20 min
55 min
1 hr 15 min
4
Intermediate
Ingredients 4 Person(s)
Directions
Step 1: Roast the squash halves
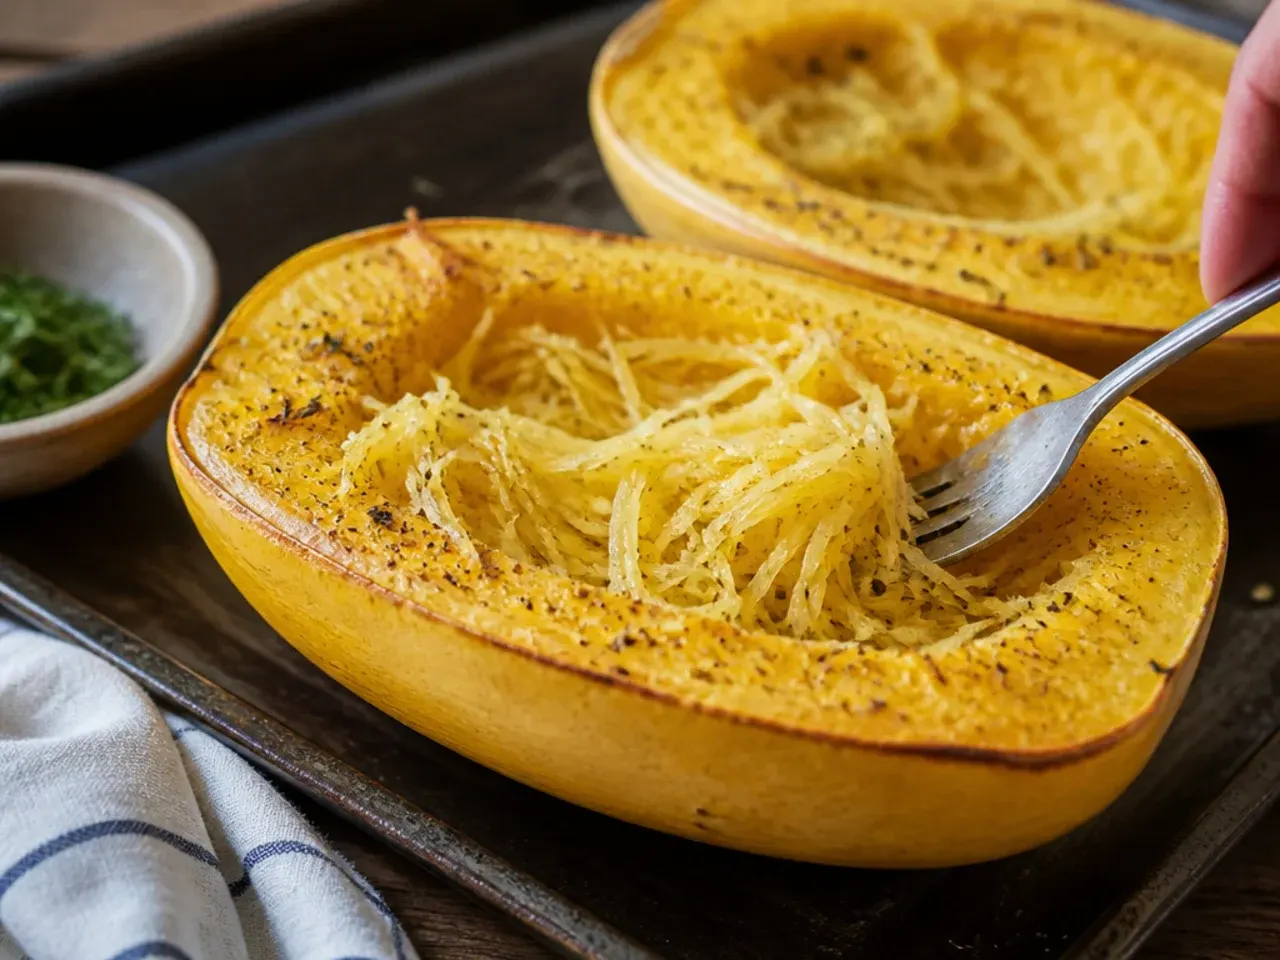
Heat the oven to 200°C (400°F) and line a large baking sheet with parchment. Halve 2 spaghetti squash lengthwise, scoop out the seeds, brush the cut sides with 30 ml (2 tbsp) olive oil, and sprinkle with half the salt. Arrange the halves cut-side down on the tray and roast for 35-40 minutes, until a fork slides through the flesh with almost no resistance.
Step 2: Rest, drain, and shred
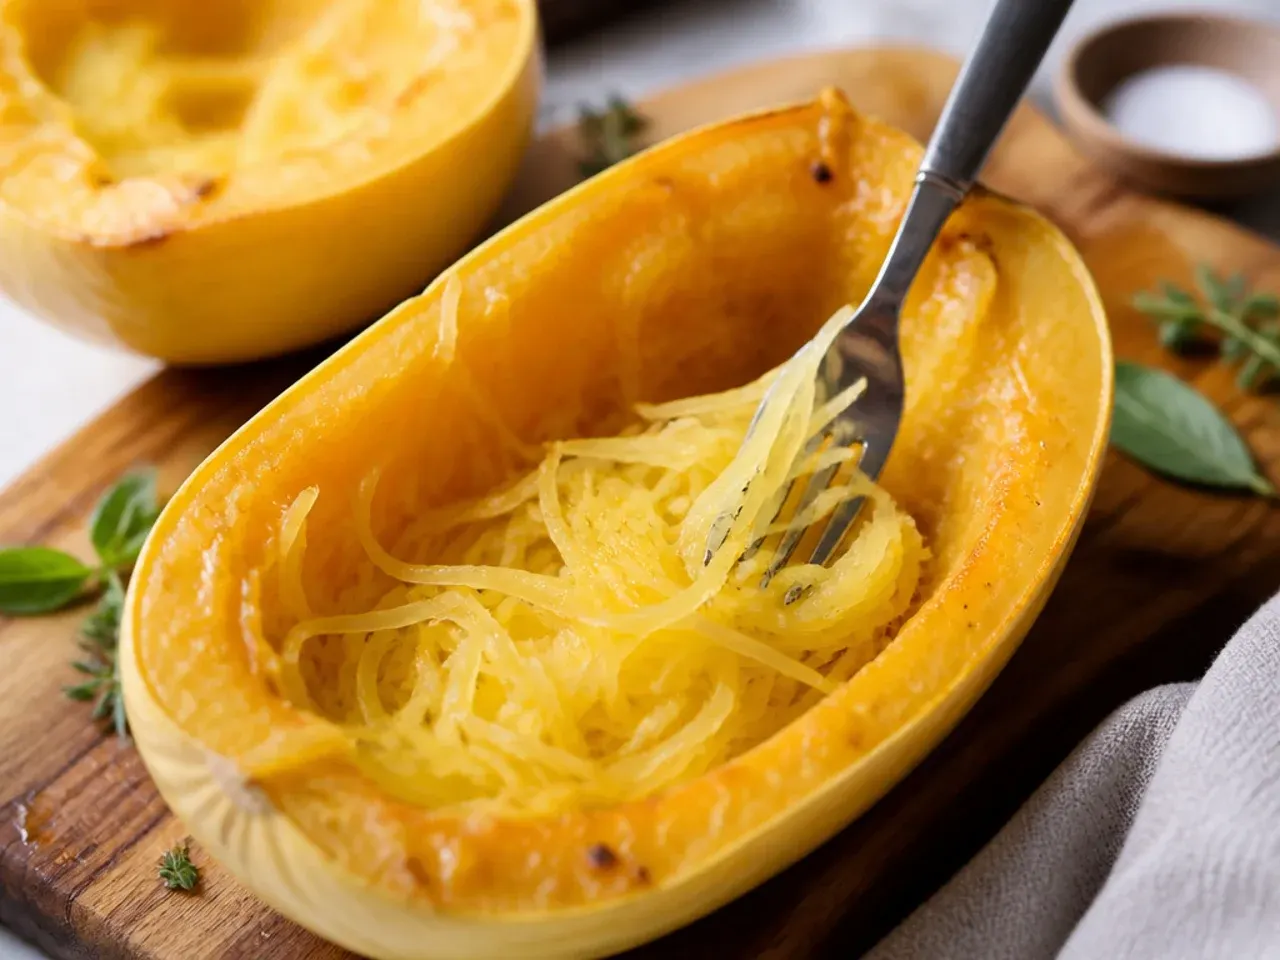
Flip the halves cut-side up and let them rest for 5-10 minutes so trapped steam can escape rather than soak back into the flesh. Run a fork lengthwise through each half to separate the strands into ribbons, then tip the strands into a colander and press gently with a clean tea towel to squeeze out excess liquid. Set the empty shells aside on the tray for stuffing later.
Step 3: Brown the sausage and aromatics
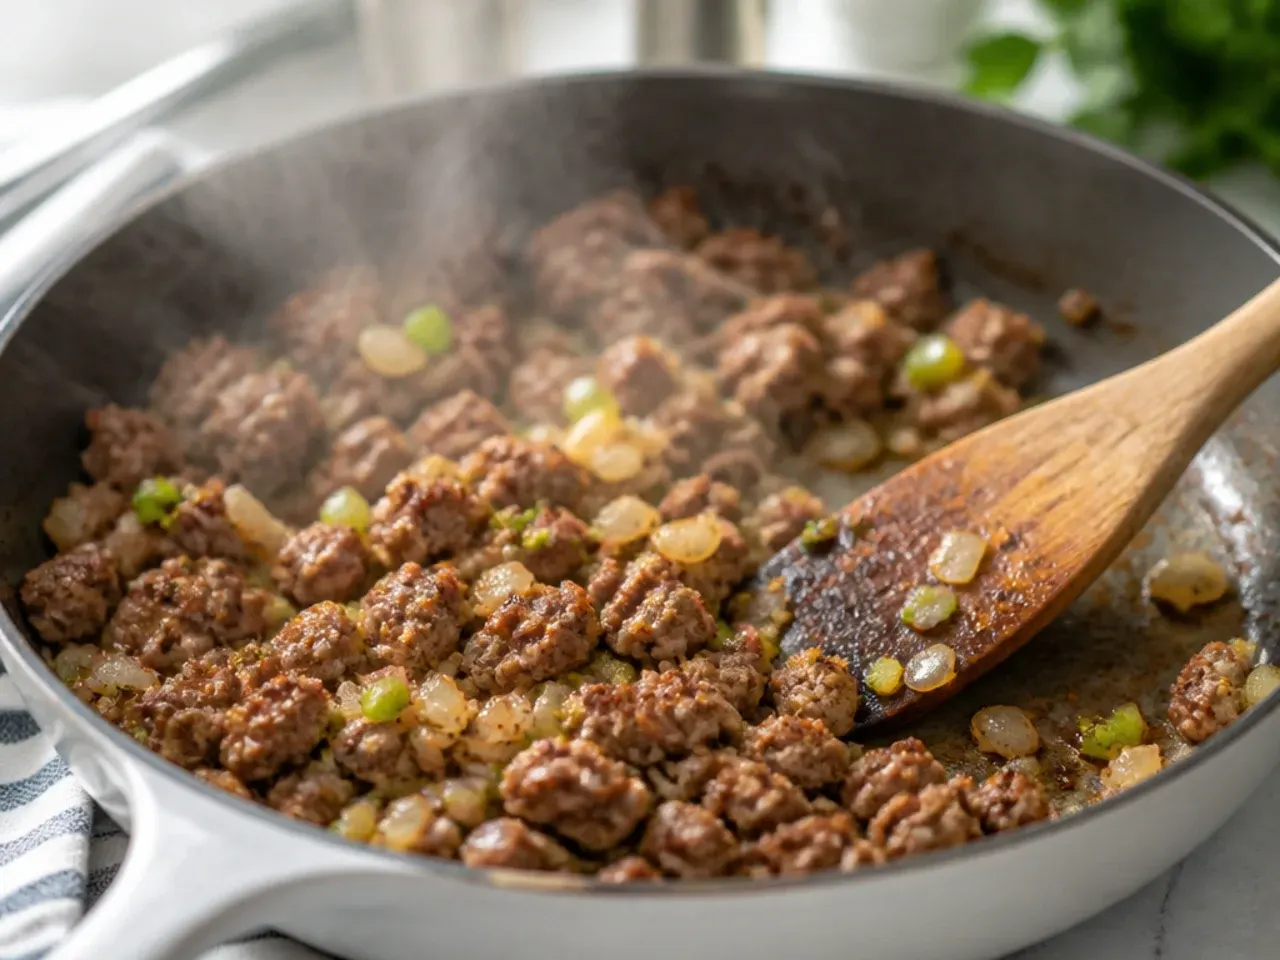
While the squash roasts, heat a large skillet over medium-high heat and crumble in 450 g (1 lb) Italian sausage, breaking it up as it browns for 6-8 minutes until no pink remains and it reaches a safe internal temperature of 74°C (165°F) on an instant-read thermometer. Add the diced onion and cook for 3-4 minutes until soft, then stir in the garlic for 30 seconds until fragrant. Tilt the pan and spoon off any excess fat before continuing.
Step 4: Simmer the sauce and wilt the spinach
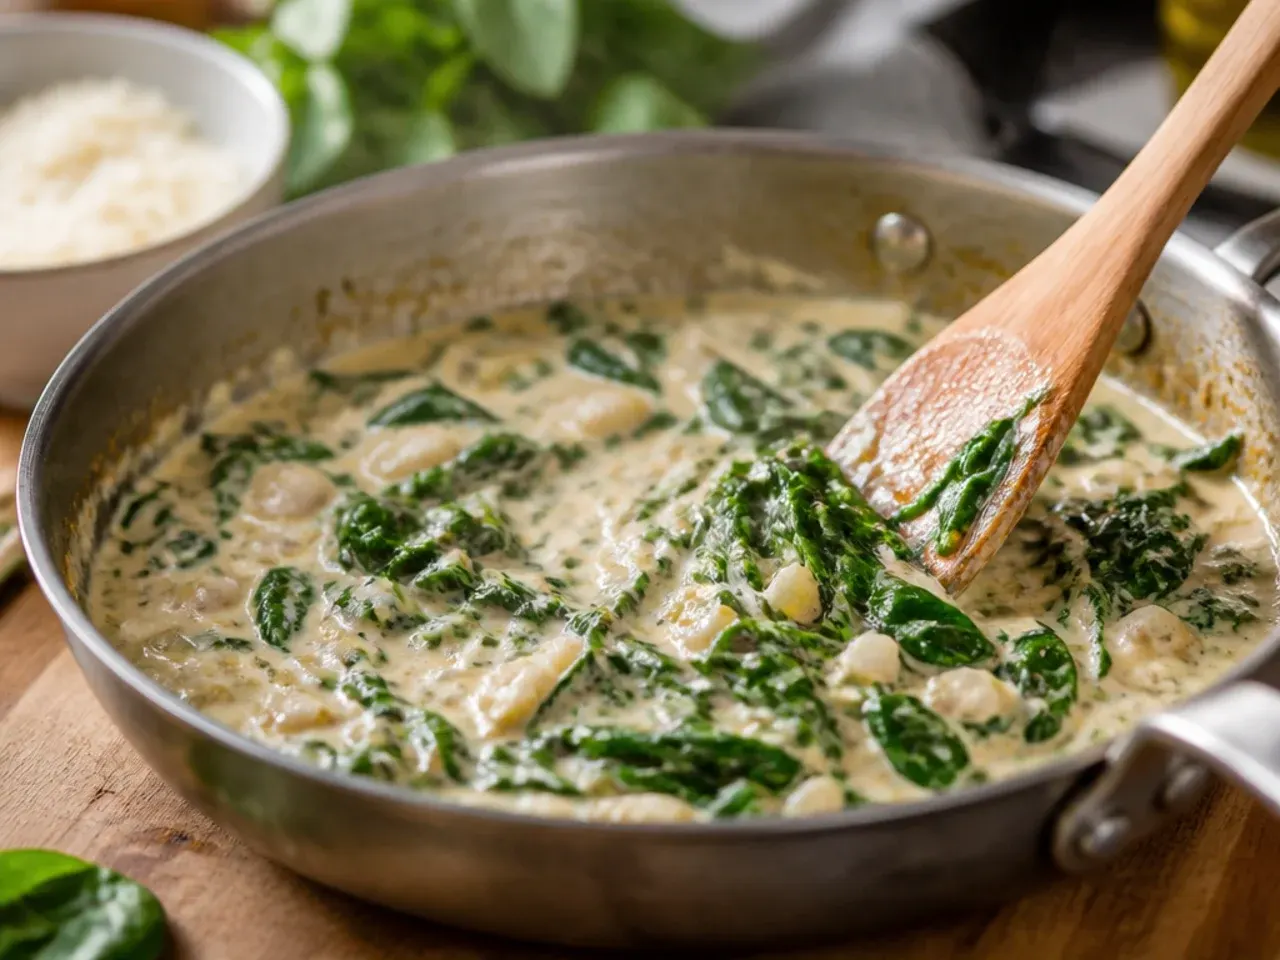
Stir 240 ml (1 cup) crushed tomatoes, the remaining salt, and the black pepper into the sausage and simmer uncovered for 5 minutes until slightly thickened. Add the spinach a handful at a time and cook for 1-2 minutes, just until wilted and bright green. Remove the pan from the heat.
Step 5: Fold in the squash and cheese
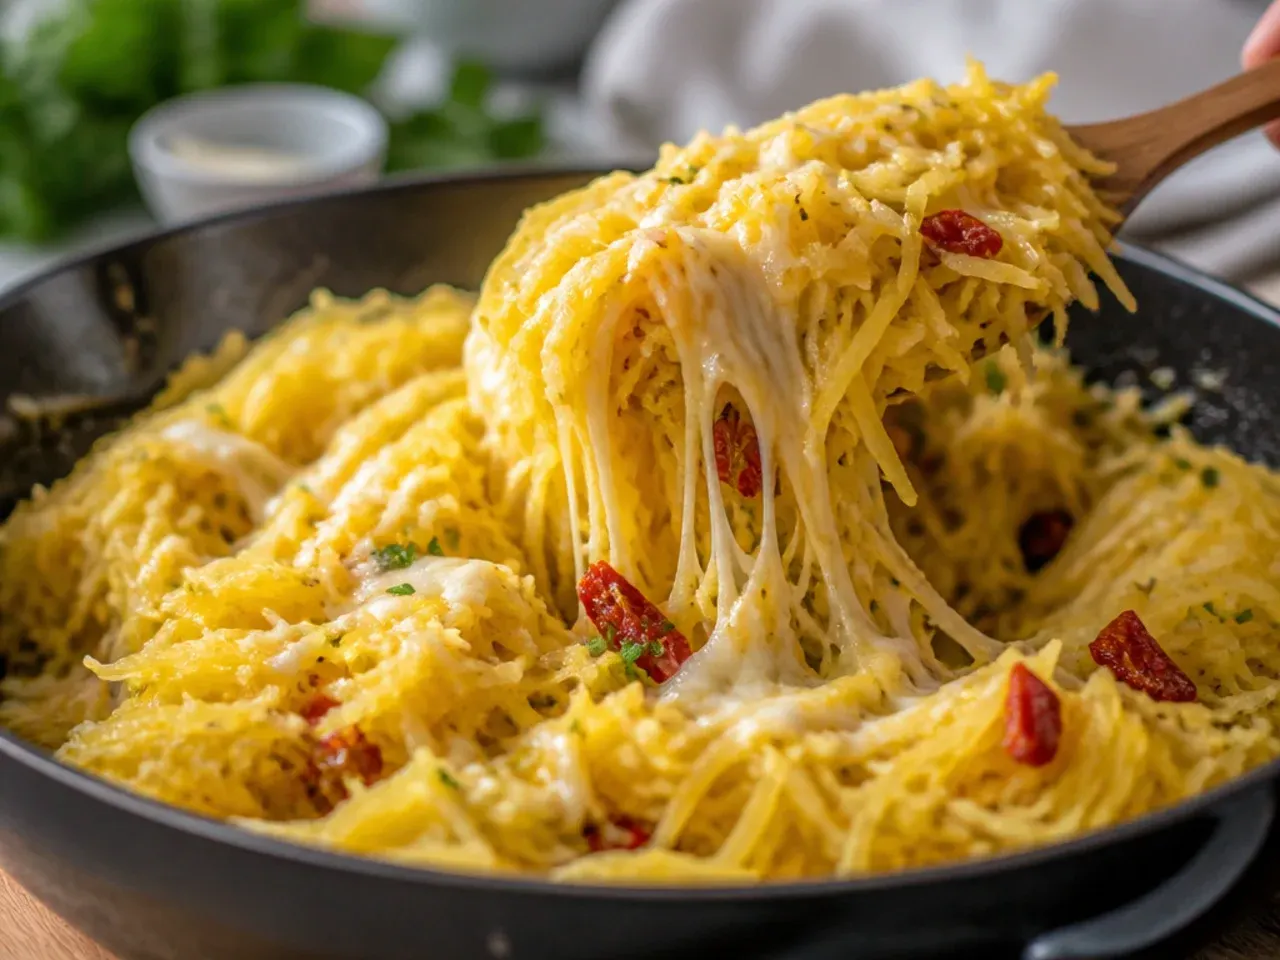
Stir the drained squash strands into the sausage mixture along with the ricotta and parmesan until evenly combined. Taste and adjust the seasoning now, since baking won't fix a bland filling. The mixture should look thick and cohesive, not loose or soupy.
Step 6: Stuff the shells
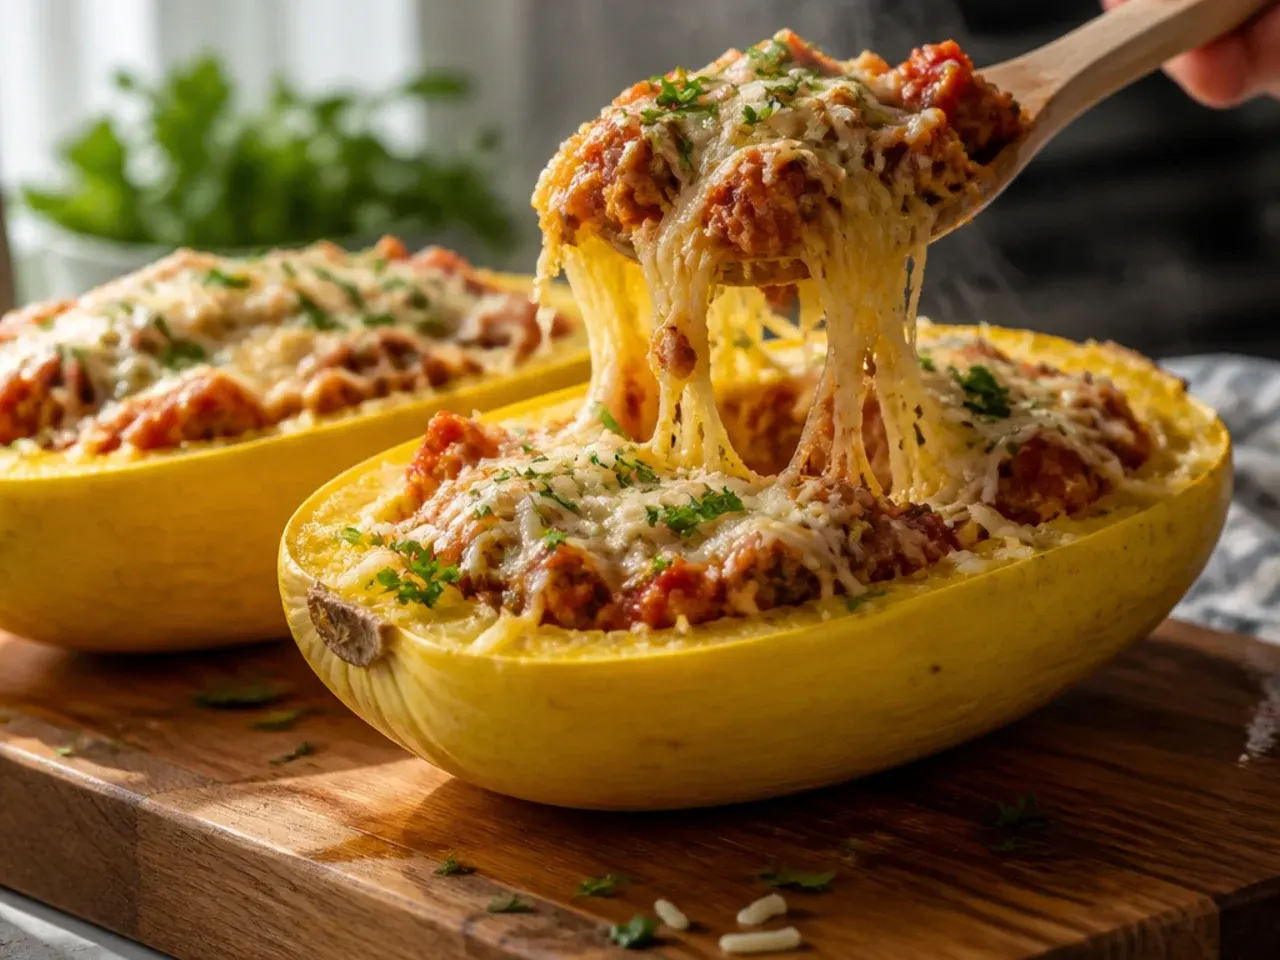
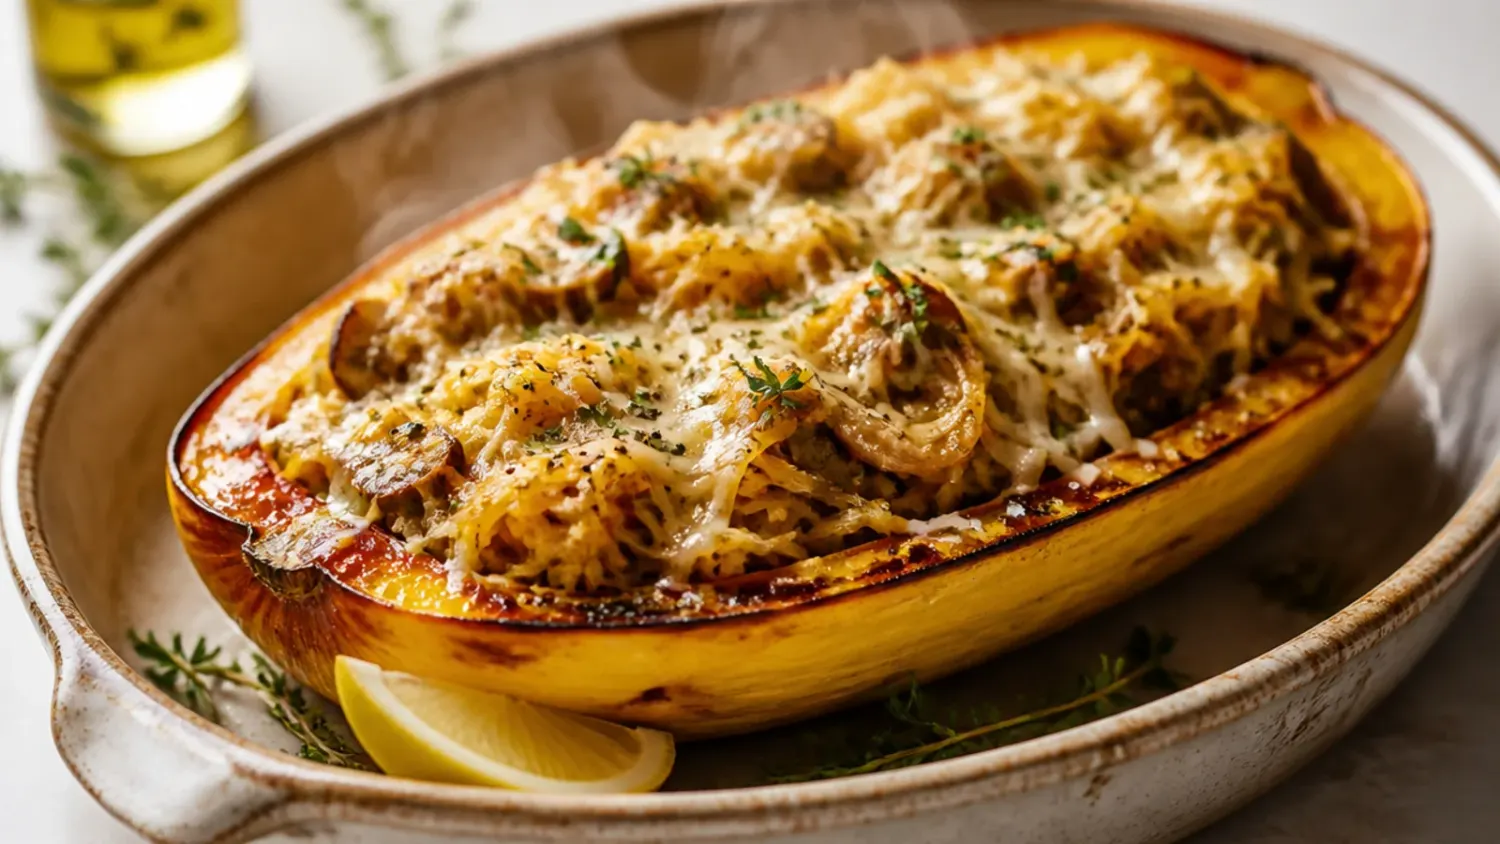
Divide the filling between the 4 reserved squash shells, mounding it just to the rim rather than overflowing. Scatter the mozzarella evenly over the top of each half.
Step 7: Bake until golden and bubbling
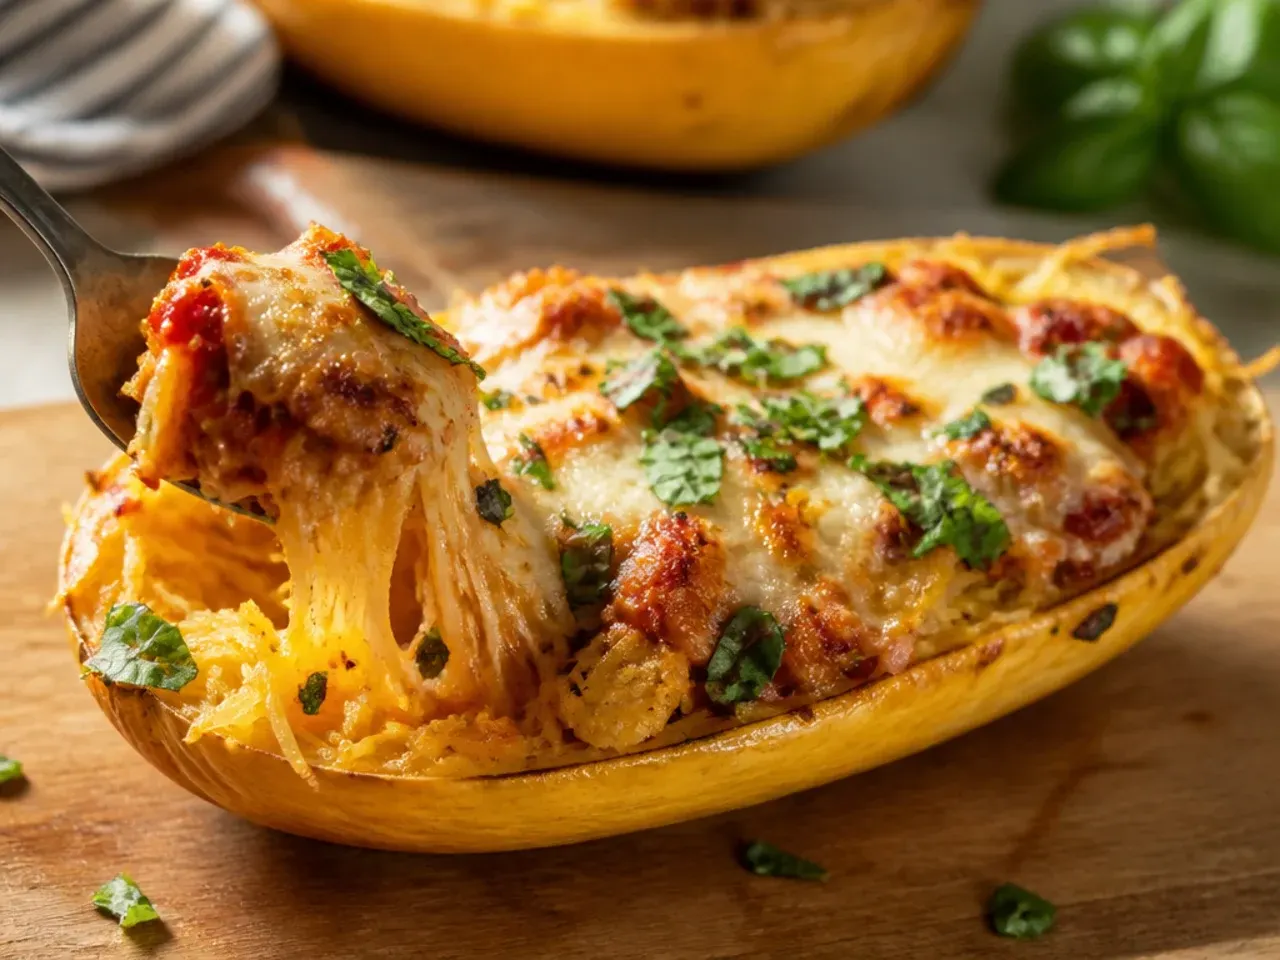
Return the stuffed halves to the 200°C (400°F) oven and bake for 12-15 minutes, watching closely near the end, until the cheese is melted, bubbling, and turning golden at the edges. Let rest for 5 minutes before serving so the filling sets enough to hold together when sliced.
Frequently Asked Questions
Yes, and it's one of the best make-ahead dinners for exactly that reason. Roast and shred the squash up to 2 days ahead, then cook the sausage and ricotta filling separately, storing both covered in the fridge until you're ready to assemble. Once fully baked, leftovers keep well covered in the fridge for 3-4 days, so it's worth making a full batch even if you're cooking for one or two. To finish a cold, pre-made batch, stuff the shells and bake at 200°C (400°F) for about 15-18 minutes, slightly longer than usual since everything starts cold.
Save this for later 📌
Pin this article to your Pinterest board so the full list is one tap away when you need it.
Save on Pinterest