15 Taco Phyllo Cup Appetizers for Party Trays
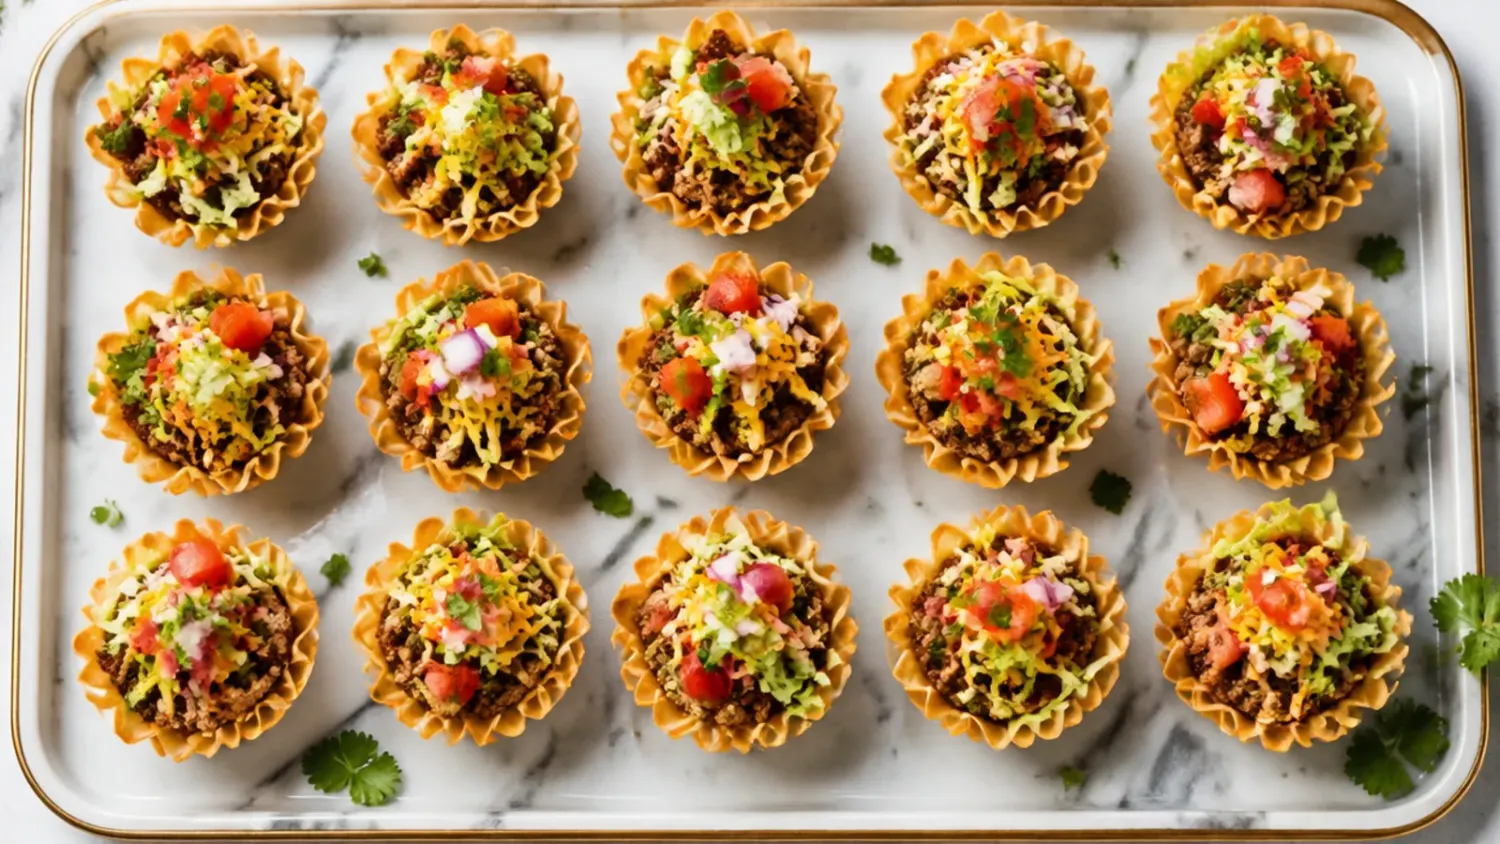
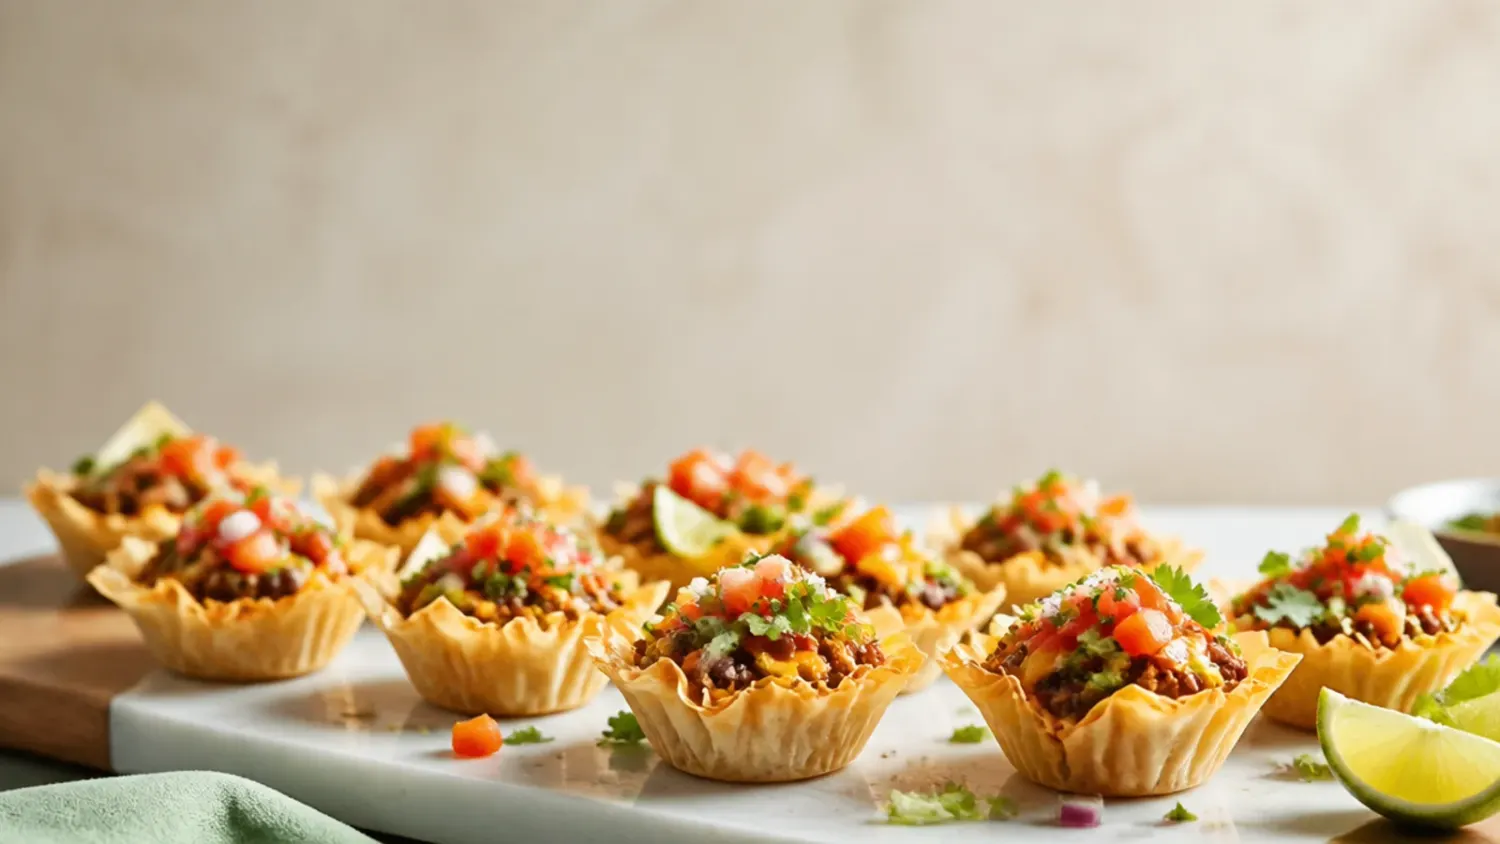
These taco phyllo cup appetizers turn crisp mini pastry shells into five-minute party bites loaded with spiced beef, melted cheese and fresh toppings. If you love phyllo cup appetizers inspiration, start with our Phyllo Cup Appetizers collection, then browse the full Sides, Dips & Snacks hub for more.
Save this for later 📌
Pin this article to your Pinterest board so the full list is one tap away when you need it.
Save on PinterestSides, Dips & Snacks
Beginner
Recipes
15 ideas
Table of Contents
- Why You'll Love These
- 1. Classic Beef Taco Phyllo Cups
- 2. Easy 3-Ingredient Taco Phyllo Cups
- 3. Cozy Slow-Cooker Shredded Beef Taco Cups
- 4. Simple One-Pan Taco Phyllo Cups
- 5. Creamy Taco Ranch Phyllo Cups
- 6. Loaded Taco Phyllo Cups
- 7. Best-Ever Smoky Chipotle Taco Phyllo Cups
- 8. Cheesy Double-Cheddar Taco Phyllo Cups
- 9. Budget Black Bean Taco Phyllo Cups
- 10. Crowd-Pleasing Chicken Taco Phyllo Cups
- 11. Make-Ahead Freezer Taco Phyllo Cups
- 12. Family-Friendly Mild Turkey Taco Phyllo Cups
- 13. Festive Fiesta Taco Phyllo Cups
- 14. Quick 15-Minute Taco Phyllo Cups
- 15. Homemade Phyllo Cup Taco Bites
- Pro Tips
- Serving Suggestions
- Storage and Reheating
- The Master Recipe
Why You'll Love These
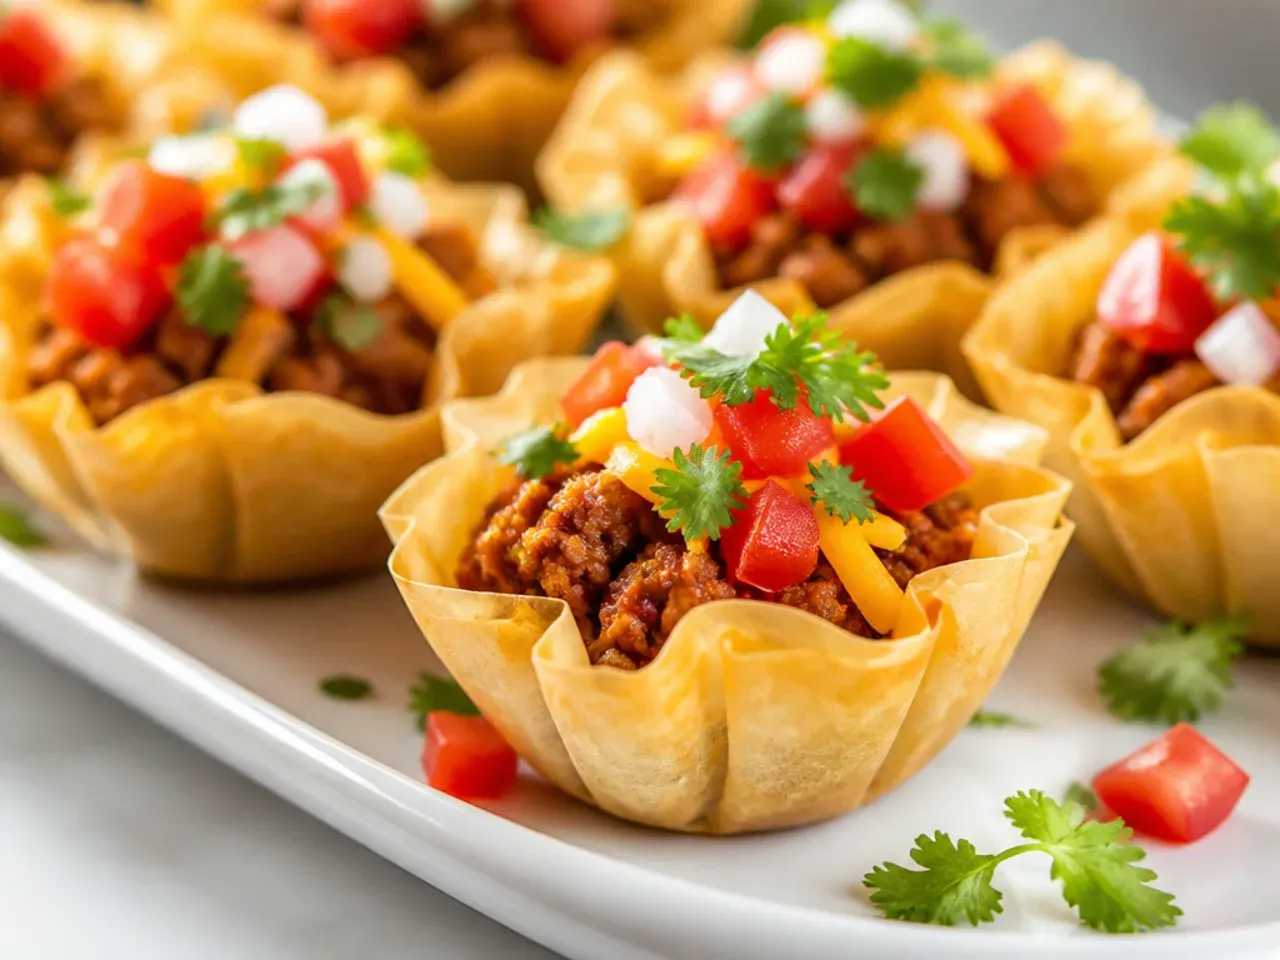
Taco phyllo cup appetizers solve the classic party problem of wanting big flavour with zero cutlery and no soggy shells. Each crisp mini pastry cup holds spiced beef, melted cheese and cool toppings in two neat bites, so trays clear fast and clean-up stays minimal. Because the shells come pre-baked and frozen, you can go from empty box to full tray in under 20 minutes. They also scale effortlessly from a family snack to 60 pieces for a full party spread.
1. Classic Beef Taco Phyllo Cups
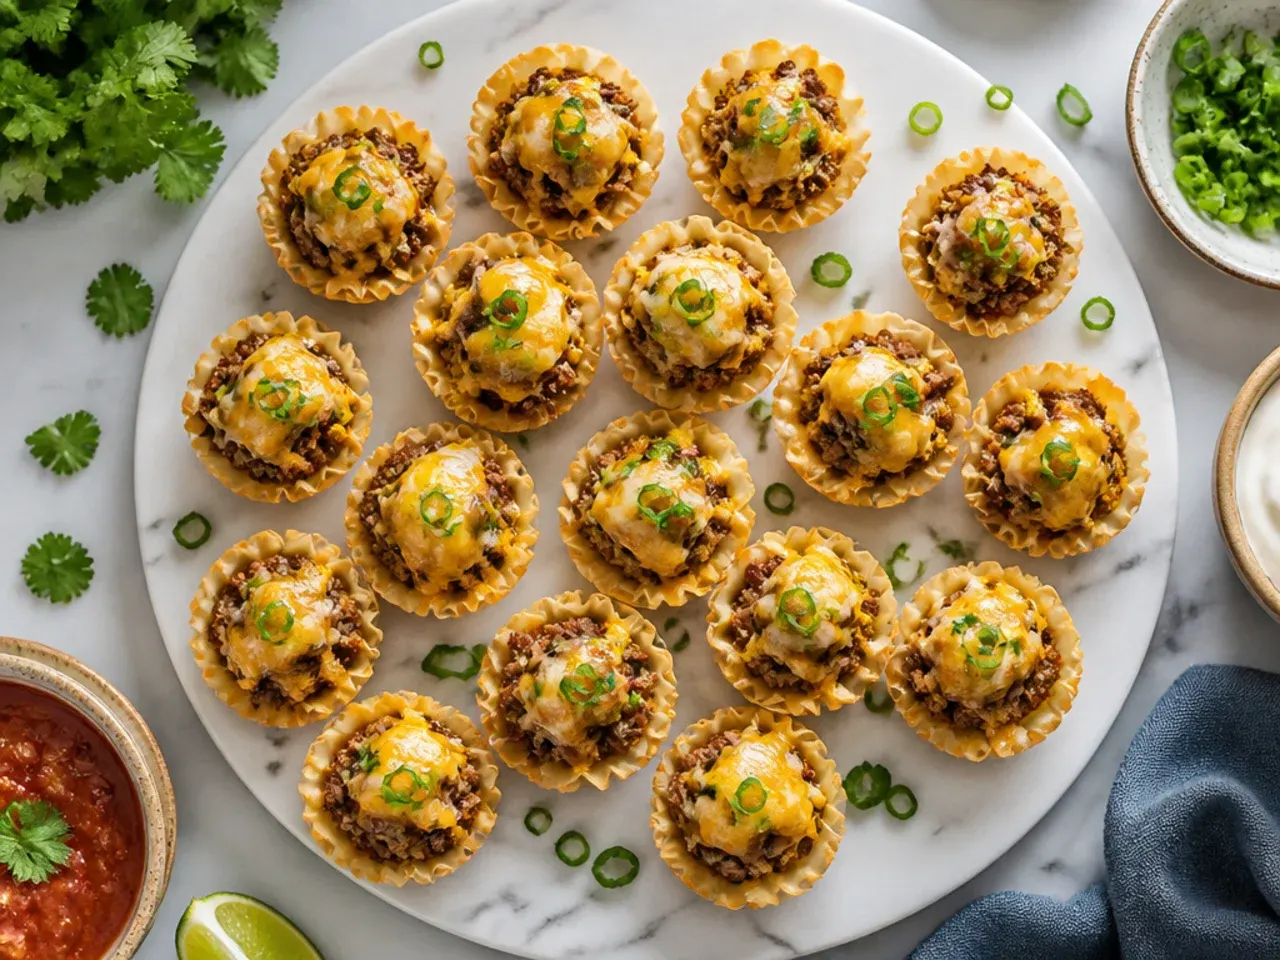
This is the version most recipes build everything else from: lean minced beef browned hard, drained well, then simmered with taco seasoning, tomato paste and a splash of water until it clings to the meat rather than pooling. Spoon about a teaspoon into each shell, top with a pinch of cheddar and bake at 200°C (400°F) for 8-10 minutes until the cheese bubbles. Draining the fat properly is the one non-negotiable step here, since any excess liquid turns the delicate phyllo soggy within minutes. Finish with a small dollop of sour cream just before serving, not before baking, so it stays cool against the hot filling.
2. Easy 3-Ingredient Taco Phyllo Cups
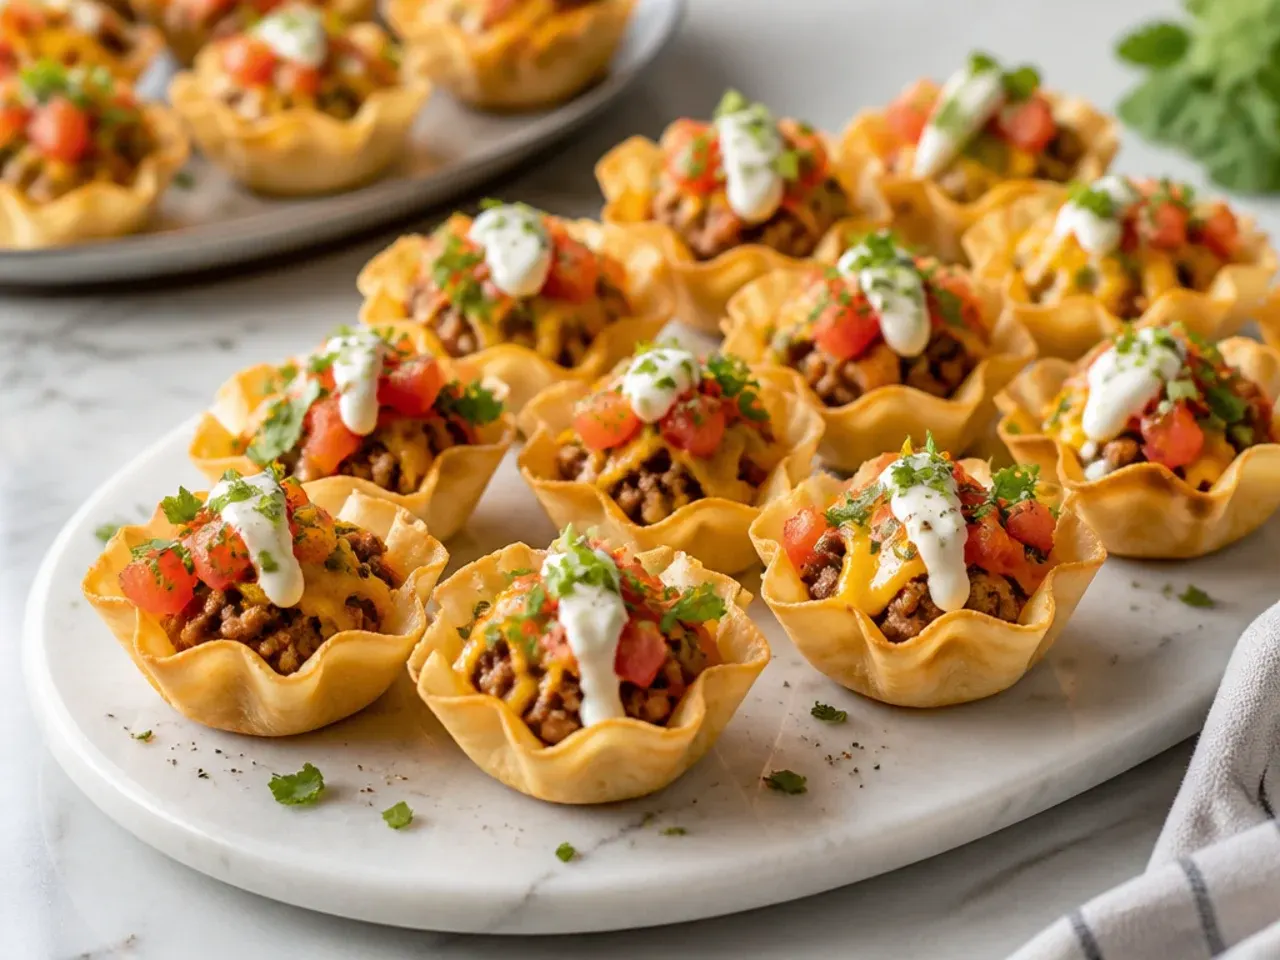
For the fastest possible tray, skip the simmering step and stir shop-bought taco sauce straight through cooked, seasoned mince along with a handful of shredded cheese. Three ingredients - mince, taco sauce and cheese - is genuinely all you need, and the whole filling comes together in one pan in under 10 minutes. Fill the shells straight from the pan while the mixture is warm so the cheese starts to soften before it even reaches the oven. This variation is the one to reach for on a weeknight or when time is tighter than the guest list.
3. Cozy Slow-Cooker Shredded Beef Taco Cups
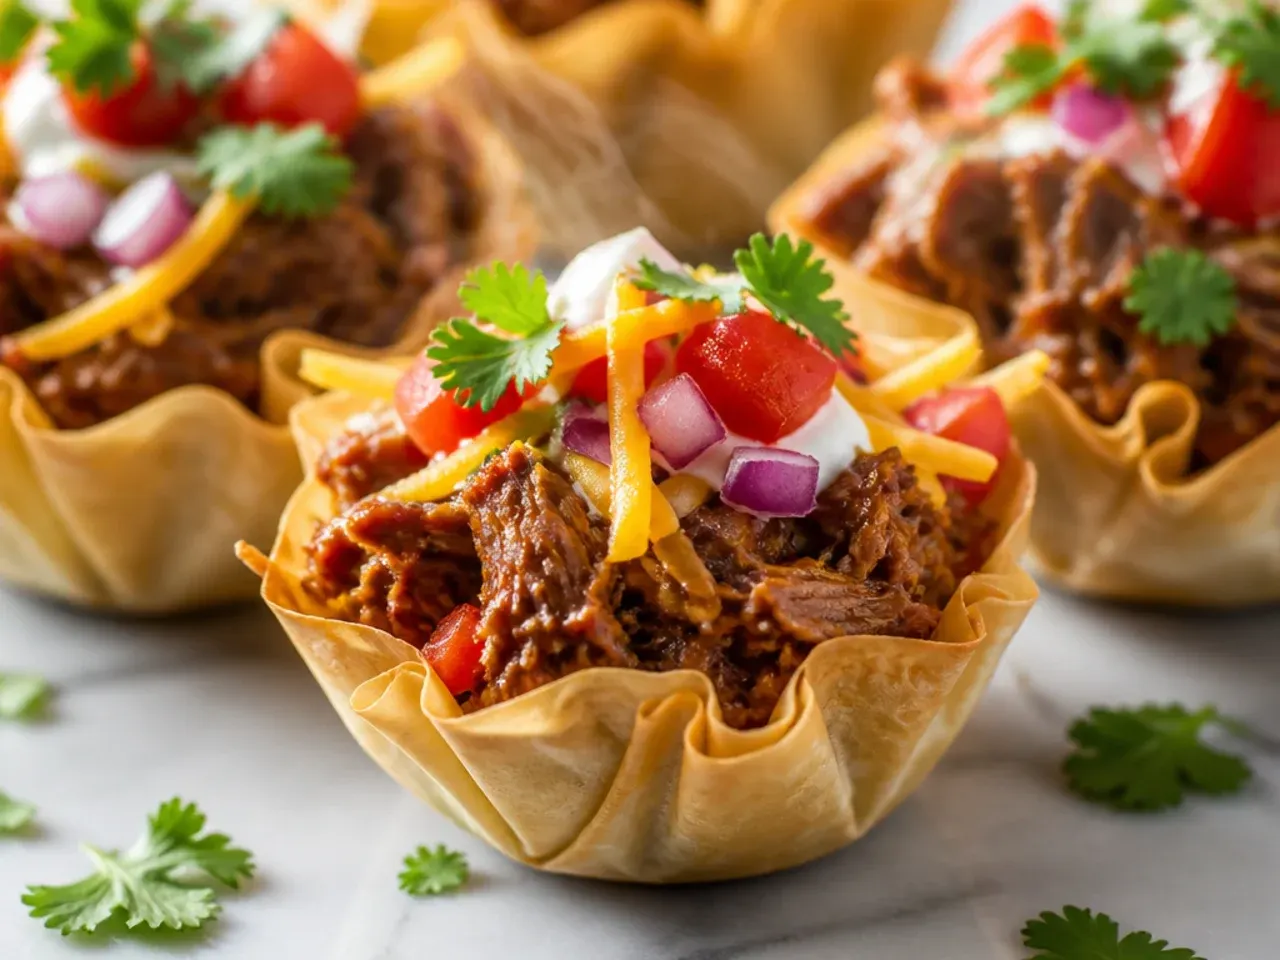
Swap the mince for a 900 g (2 lb) chuck roast cooked low and slow in the slow cooker with taco seasoning, a splash of beef stock and a diced onion for 6-7 hours until it shreds with two forks. The long cook breaks the beef down into deeply savoury, fork-tender strands that taste richer than any pan-fried version. Drain any excess cooking liquid before filling the cups, then reheat portions in the microwave for 20 seconds so the beef is hot going into the shells. This one is worth doing when you have the time, since the beef alone can carry the whole appetiser without much extra seasoning.
4. Simple One-Pan Taco Phyllo Cups
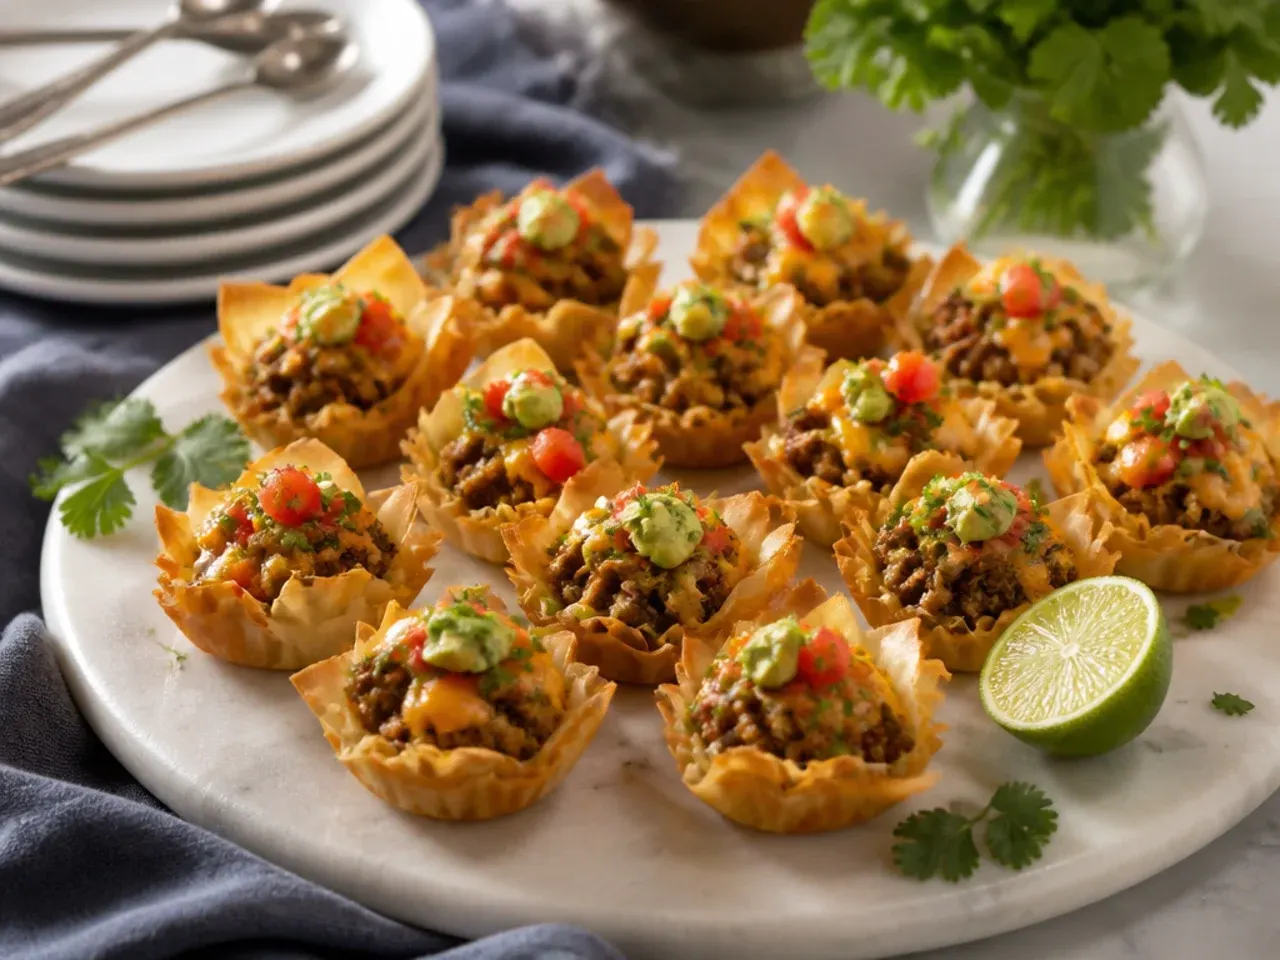
Everything for the filling - mince, onion, taco seasoning and canned tomatoes - goes into a single frying pan and cooks down together in about 12 minutes, which means one pan to wash and no separate sauce step. Break the beef up finely as it browns so every phyllo cup gets an even mix rather than one big chunk. Let the filling rest for a minute off the heat before spooning it in, as it thickens slightly as it cools and holds together better in the shell. It's the easiest weeknight route into taco phyllo cup appetizers without sacrificing flavour.
5. Creamy Taco Ranch Phyllo Cups
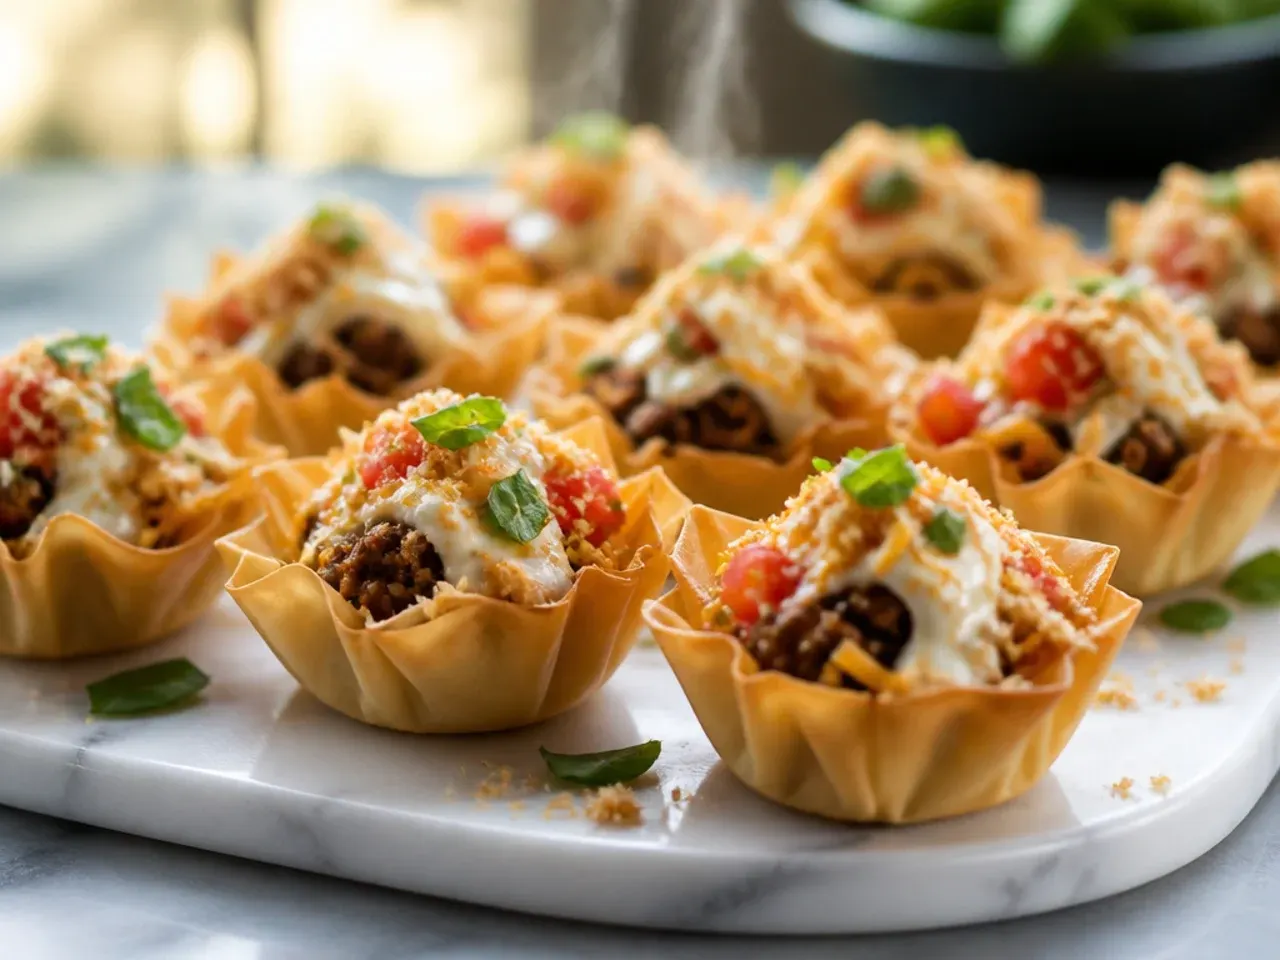
Stir 60 ml (1/4 cup) of ranch dressing and 60 g (2 oz) of softened cream cheese through the cooked taco beef before filling the shells, which gives the filling a cooler, tangier backbone under the spice. The dairy also helps bind loose mince together, so the filling scoops more neatly and stays put in the cup. Top with a little extra shredded cheddar and bake as normal; the ranch flavour comes through best once the cups have cooled for a minute or two. This is the crowd-favourite variation for guests who find straight taco seasoning a touch sharp.
Save this for later 📌
Pin this article to your Pinterest board so the full list is one tap away when you need it.
Save on Pinterest6. Loaded Taco Phyllo Cups
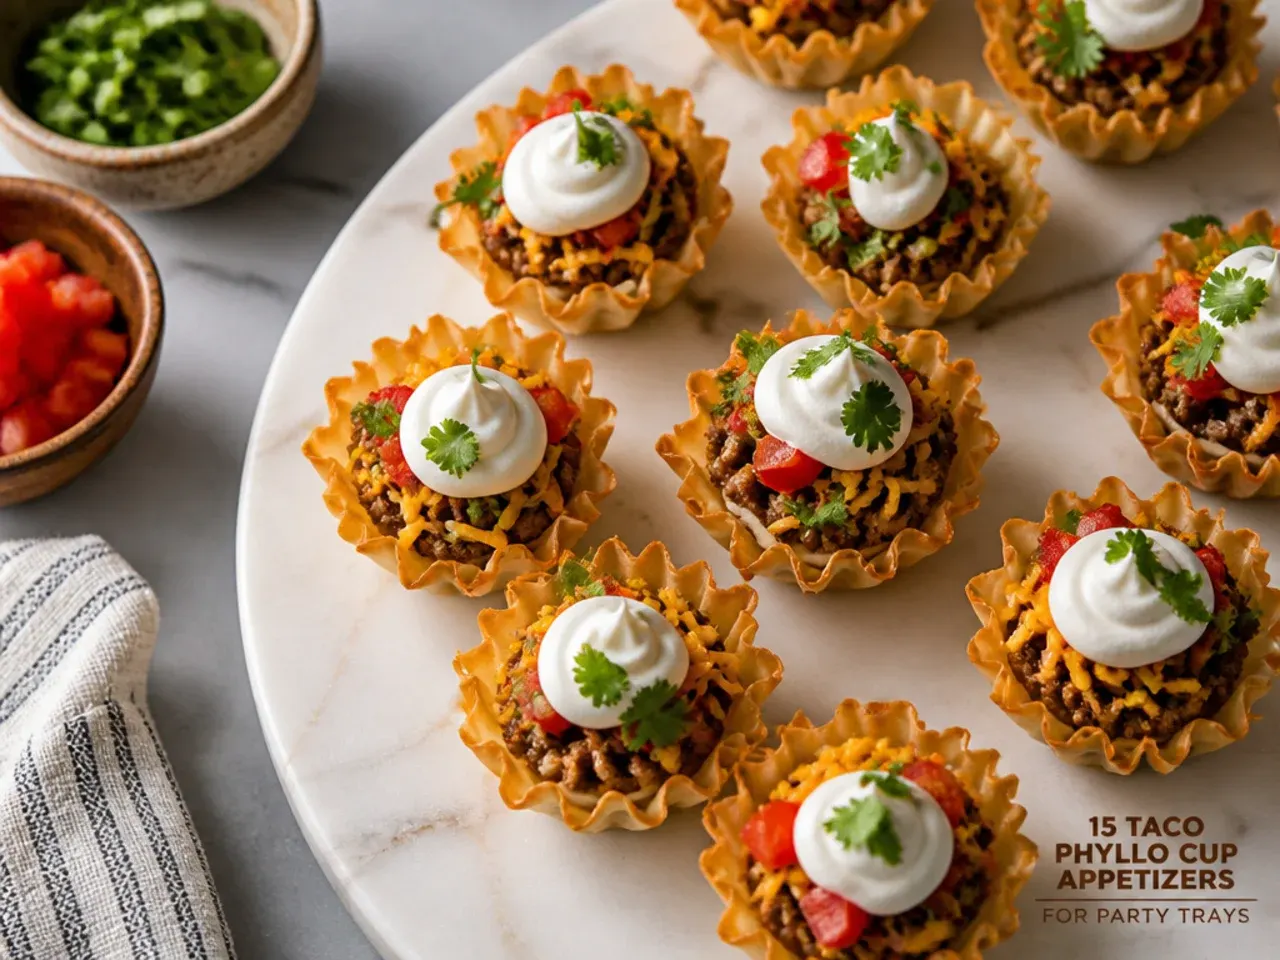
Build these in layers rather than one mixed filling: seasoned beef first, then a scant teaspoon of refried beans, a pinch of cheese, and after baking, diced tomato, shredded lettuce and a sliver of avocado on top. Keep the fresh toppings off until after the cups come out of the oven, since lettuce and avocado wilt and discolour under heat. This is the version to serve as the centrepiece of a taco bar tray, because it visually reads as loaded the moment guests see it. Expect to use slightly less beef per cup here, since the beans and toppings add their own volume.
7. Best-Ever Smoky Chipotle Taco Phyllo Cups
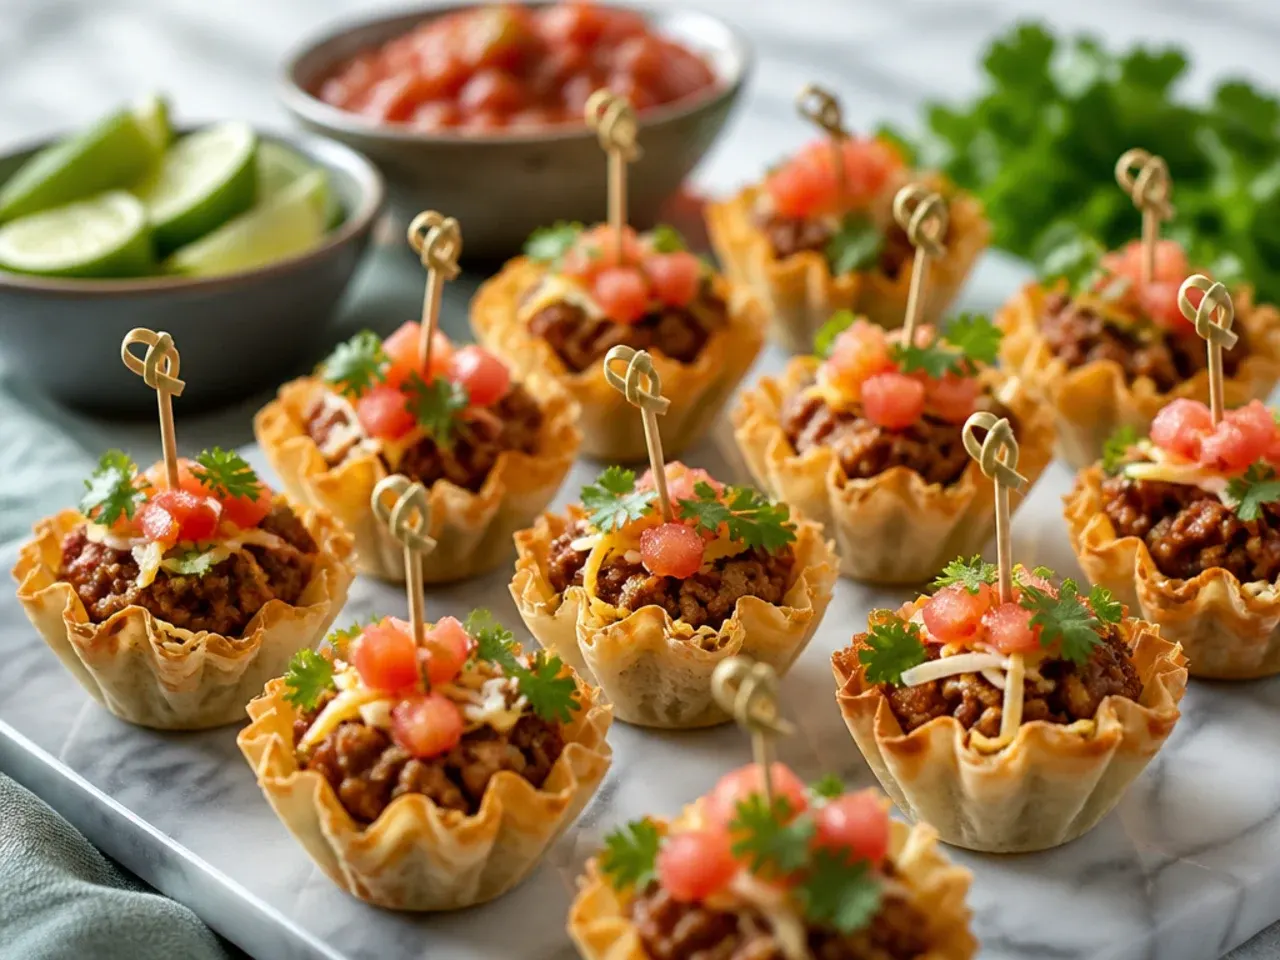
Stir half a teaspoon of chipotle powder or a finely minced chipotle in adobo into the beef along with the regular taco seasoning for a smoky heat that plain taco spice mix doesn't give you. Balance the extra heat with a cooling topping - a small spoon of soured cream or a squeeze of lime does the job well. Taste the filling before it goes anywhere near the shells, since chipotle intensity varies a lot between brands and it's easy to overshoot. Readers consistently name this the best-ever variation because the smokiness gives an otherwise familiar bite something genuinely different.
8. Cheesy Double-Cheddar Taco Phyllo Cups
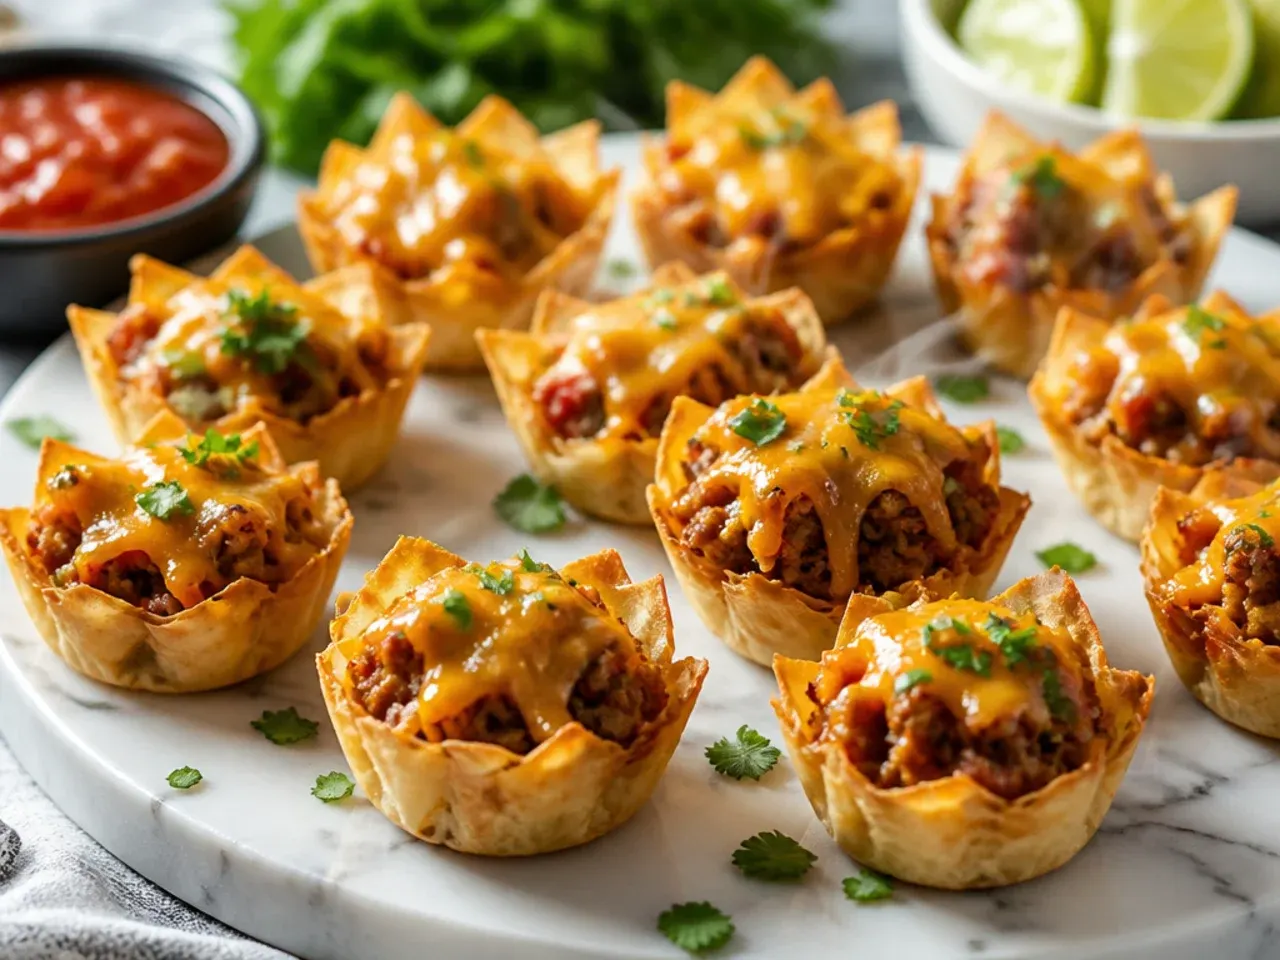
Mix a little cheese directly into the warm beef filling, then top each cup with more cheese before baking, so you get melted cheese both inside and on top rather than just a cap. A sharp, mature cheddar holds its flavour better than mild once baked, and grating it yourself melts more smoothly than pre-shredded bags, which are coated in anti-caking starch. Watch the tray closely in the last two minutes, since phyllo shells scorch quickly once the cheese starts to brown at the edges. This is the version to make for cheese-lovers, but keep portions per cup modest or the shells can't hold the weight.
9. Budget Black Bean Taco Phyllo Cups
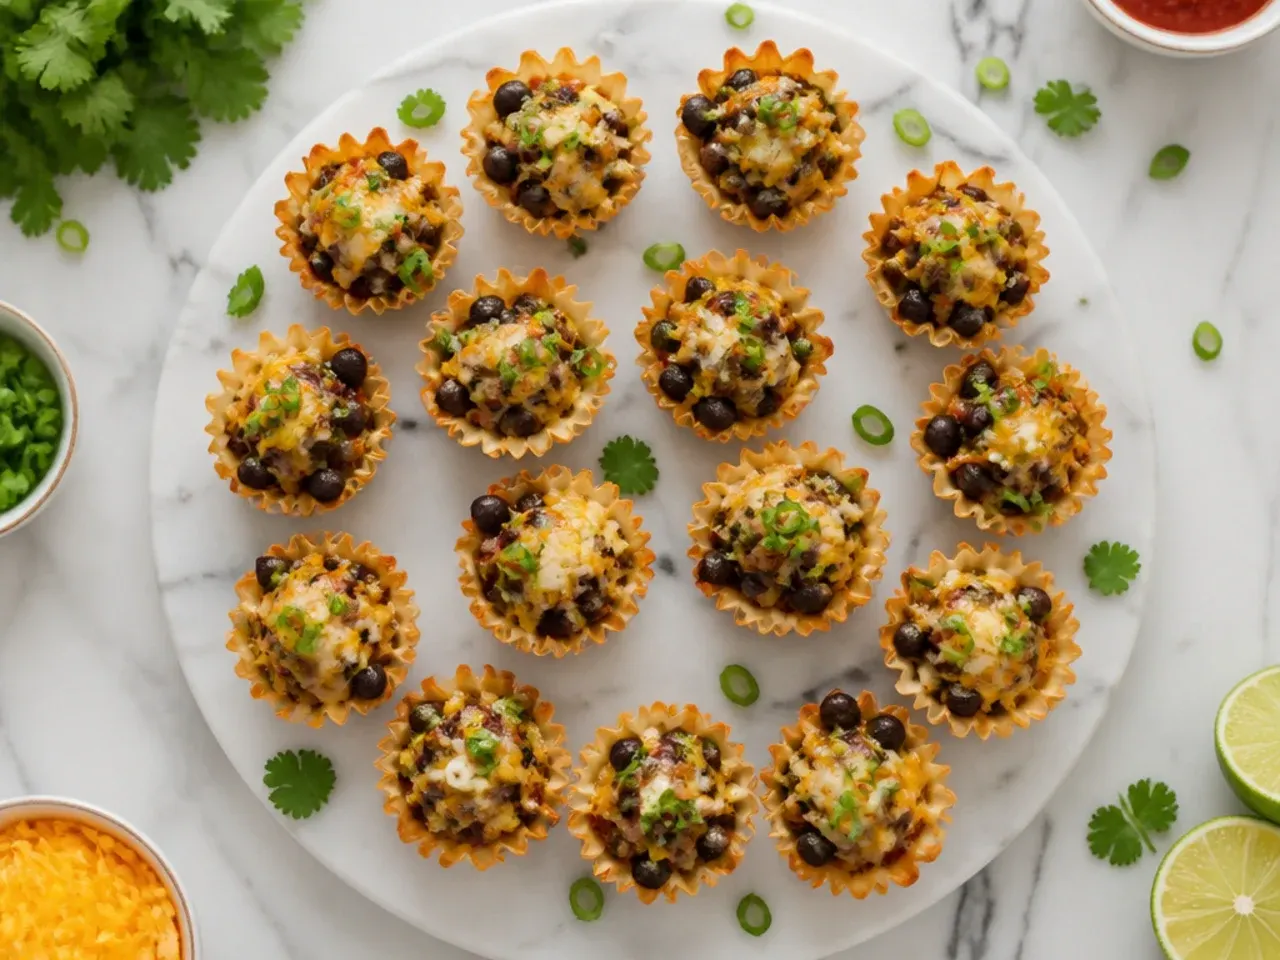
Replace half the mince with a drained 400 g (14 oz) tin of black beans, roughly mashed, to stretch a smaller amount of meat across a full batch of shells without anyone noticing the swap. This cuts the meat cost of a big tray substantially while adding fibre and a slightly earthier flavour that works well with the taco seasoning. Mash the beans only partway so some texture remains, rather than pureeing them smooth. It's a genuinely useful trick when you're catering a large party tray on a tight budget.
10. Crowd-Pleasing Chicken Taco Phyllo Cups
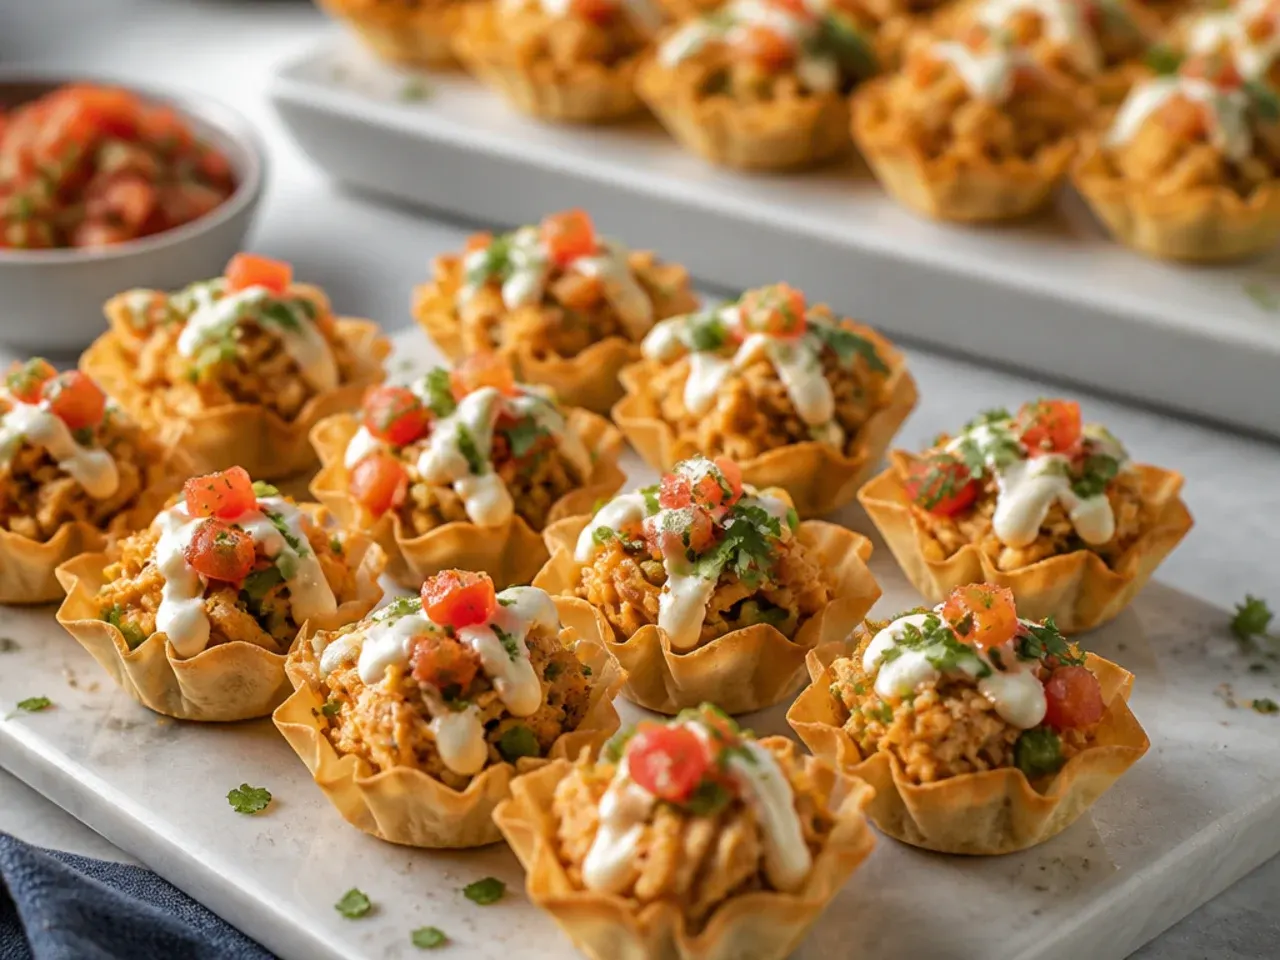
Shredded rotisserie or slow-cooker salsa chicken swaps in cleanly for beef and tends to please a wider range of guests, since it's lighter and less rich across a whole tray of appetisers. Toss the shredded chicken with taco seasoning and two tablespoons of salsa before filling, so the meat isn't dry once baked. Top with cheese and a scatter of chopped coriander, and bake for just 6-8 minutes since the chicken only needs warming through, not cooking. This is the safest bet when you're not sure of your guest list's preferences.
Save this for later 📌
Pin this article to your Pinterest board so the full list is one tap away when you need it.
Save on Pinterest11. Make-Ahead Freezer Taco Phyllo Cups
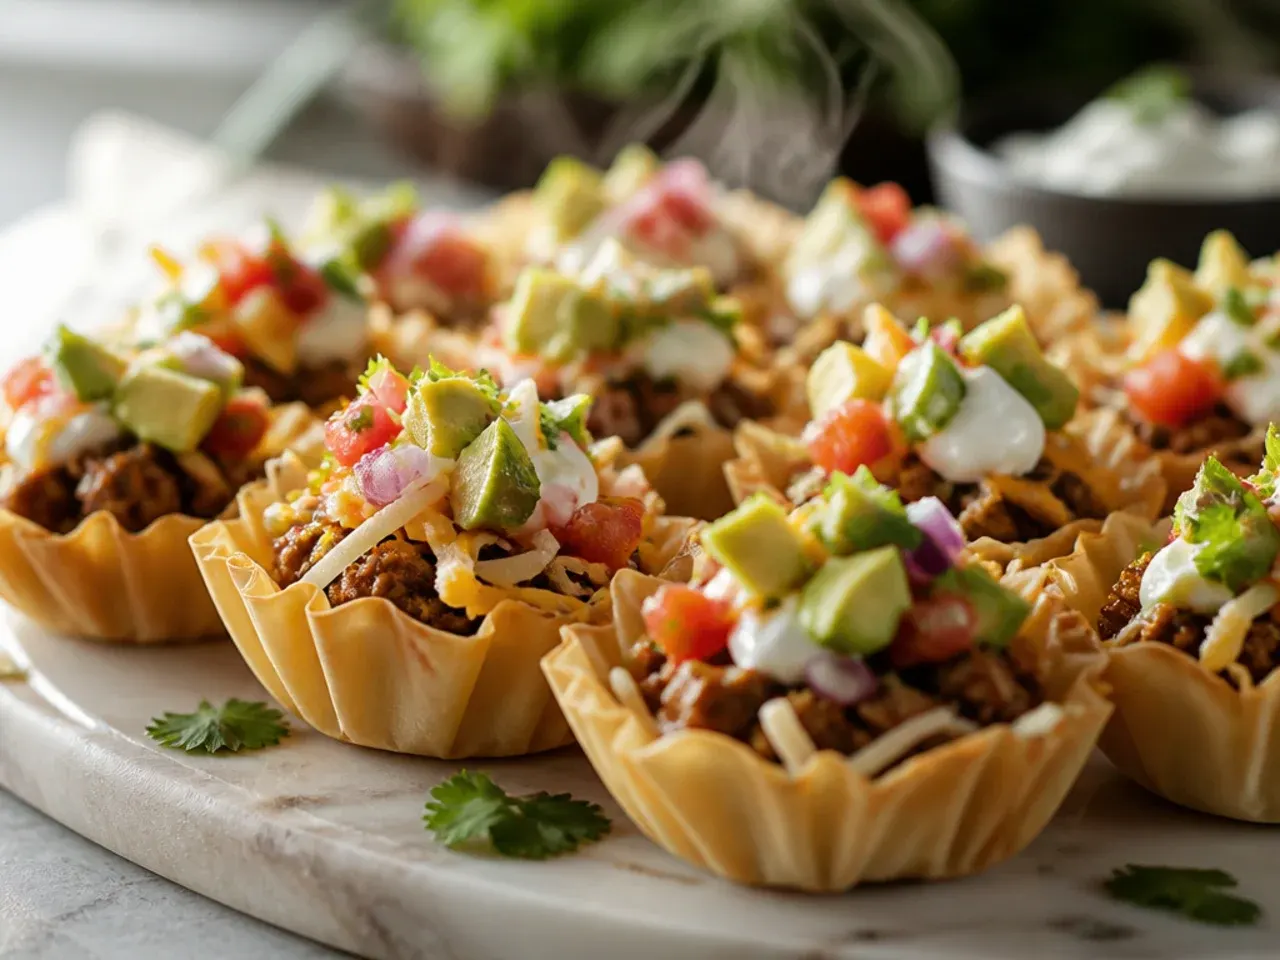
Cook and season the beef filling up to 3 days ahead and keep it in an airtight container in the fridge, or freeze it for up to 2 months in a freezer bag with the air pressed out. Do not fill the phyllo shells themselves ahead of time, as the moisture from the filling softens them within an hour or two even in the fridge. Thaw frozen filling overnight in the fridge, reheat it gently in a pan, then fill and bake the shells fresh so they stay crisp. This is the step that actually saves time on the day, since assembly and baking together take under 15 minutes.
12. Family-Friendly Mild Turkey Taco Phyllo Cups
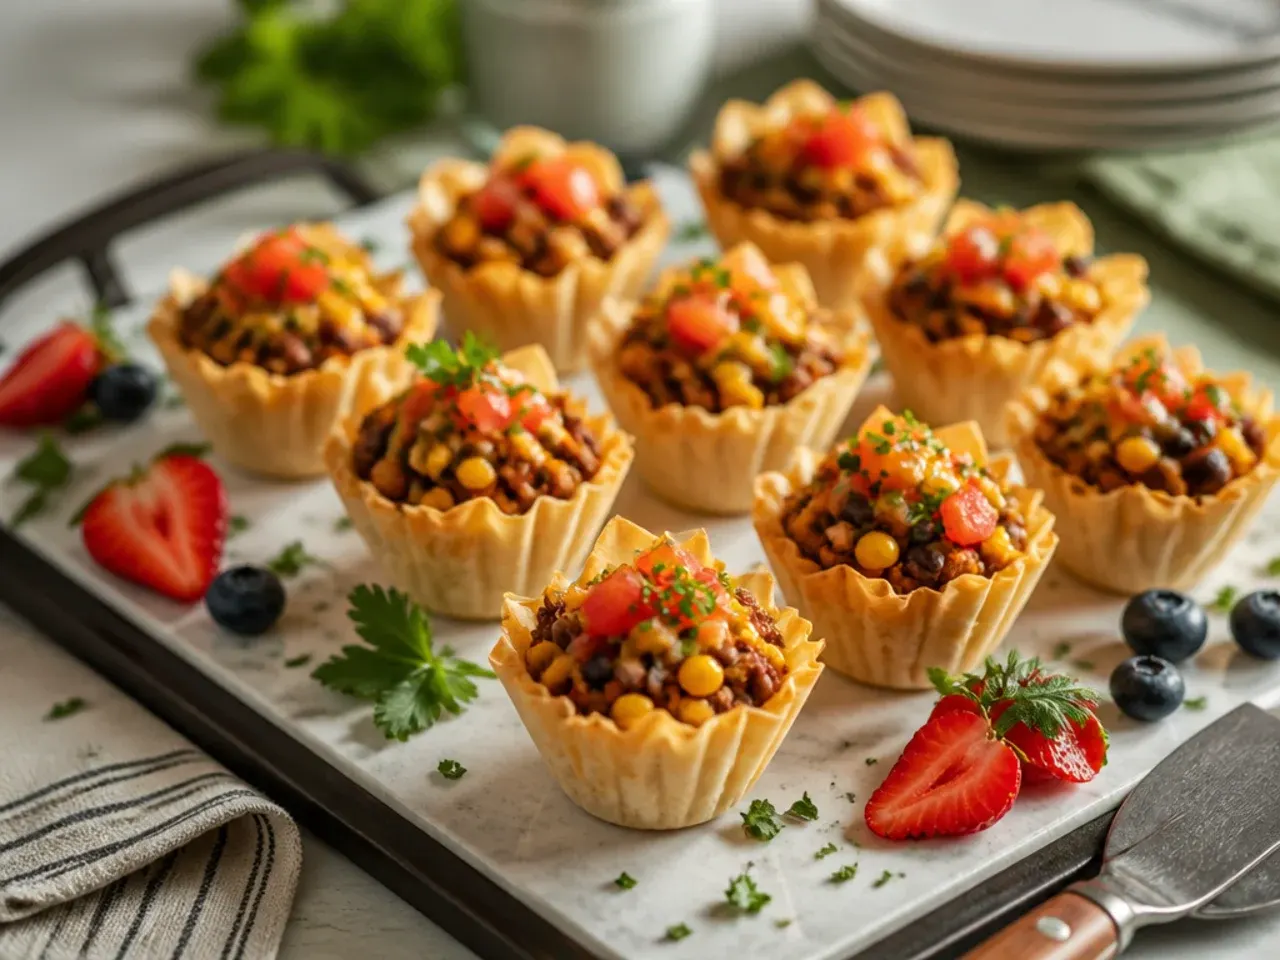
Swap the beef for lean minced turkey and use a mild or no-heat taco seasoning blend, which keeps the flavour familiar for kids without any of the usual kick. Turkey mince releases less fat than beef, so you can skip most of the draining step, though it's worth checking the pan hasn't gone dry, since turkey can catch and stick more easily. A little extra tomato paste helps keep the filling moist given turkey's leaner profile. This is the variation to make when younger guests or spice-sensitive family are on the tray list.
13. Festive Fiesta Taco Phyllo Cups
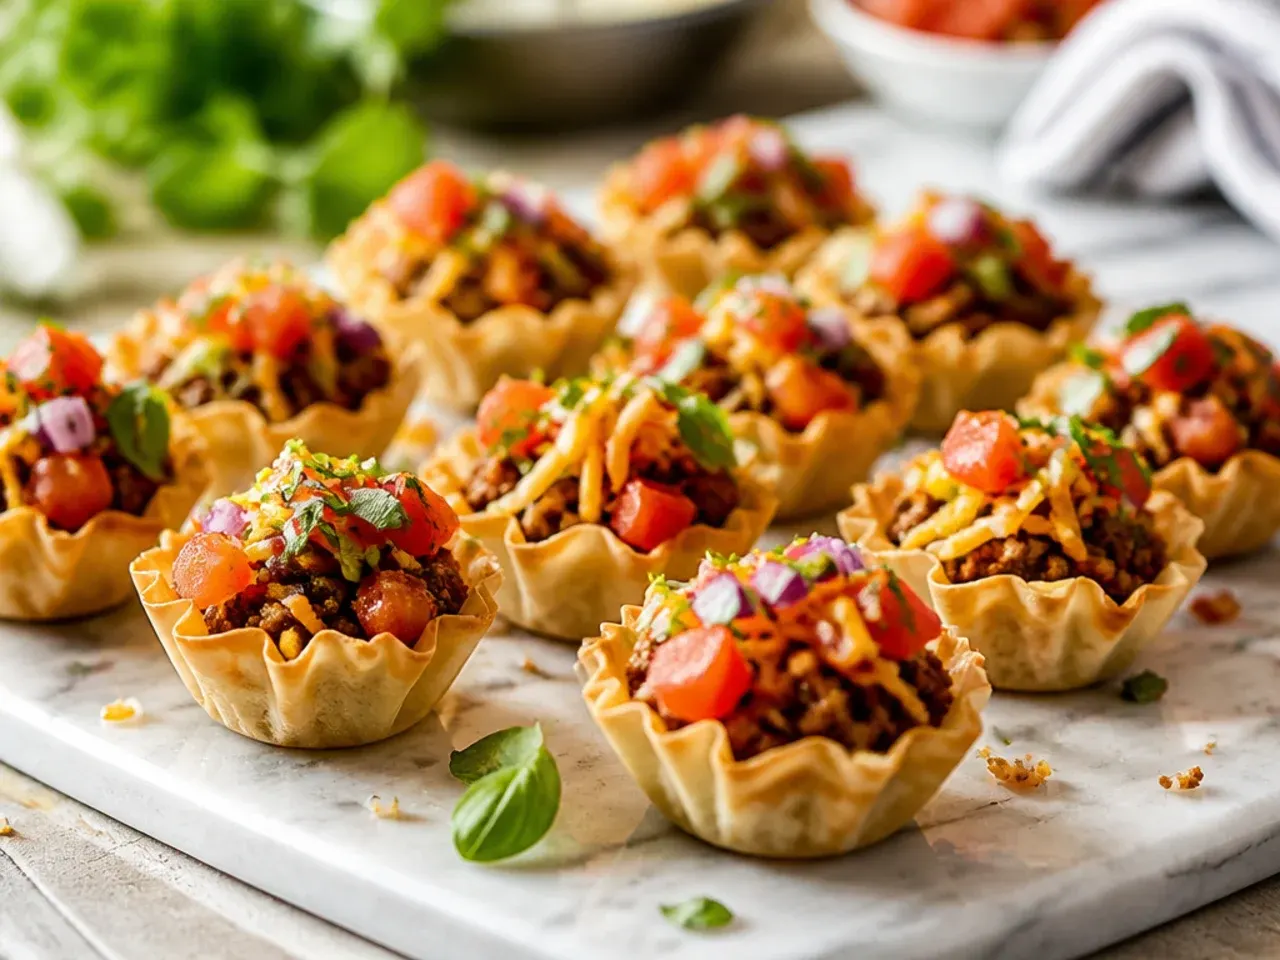
For a party or holiday tray, colour is doing a lot of the work: alternate cups topped with diced red pepper, sweetcorn kernels and chopped coriander so the tray reads bright and festive rather than uniformly beige. Arrange the finished cups on a large platter in rows or a wreath shape with a small bowl of extra salsa in the centre for dipping. This variation uses the same base filling as the classic recipe, so it's really a styling and topping change rather than a different filling. It's the one worth choosing whenever the appetiser needs to double as part of the table decoration.
14. Quick 15-Minute Taco Phyllo Cups
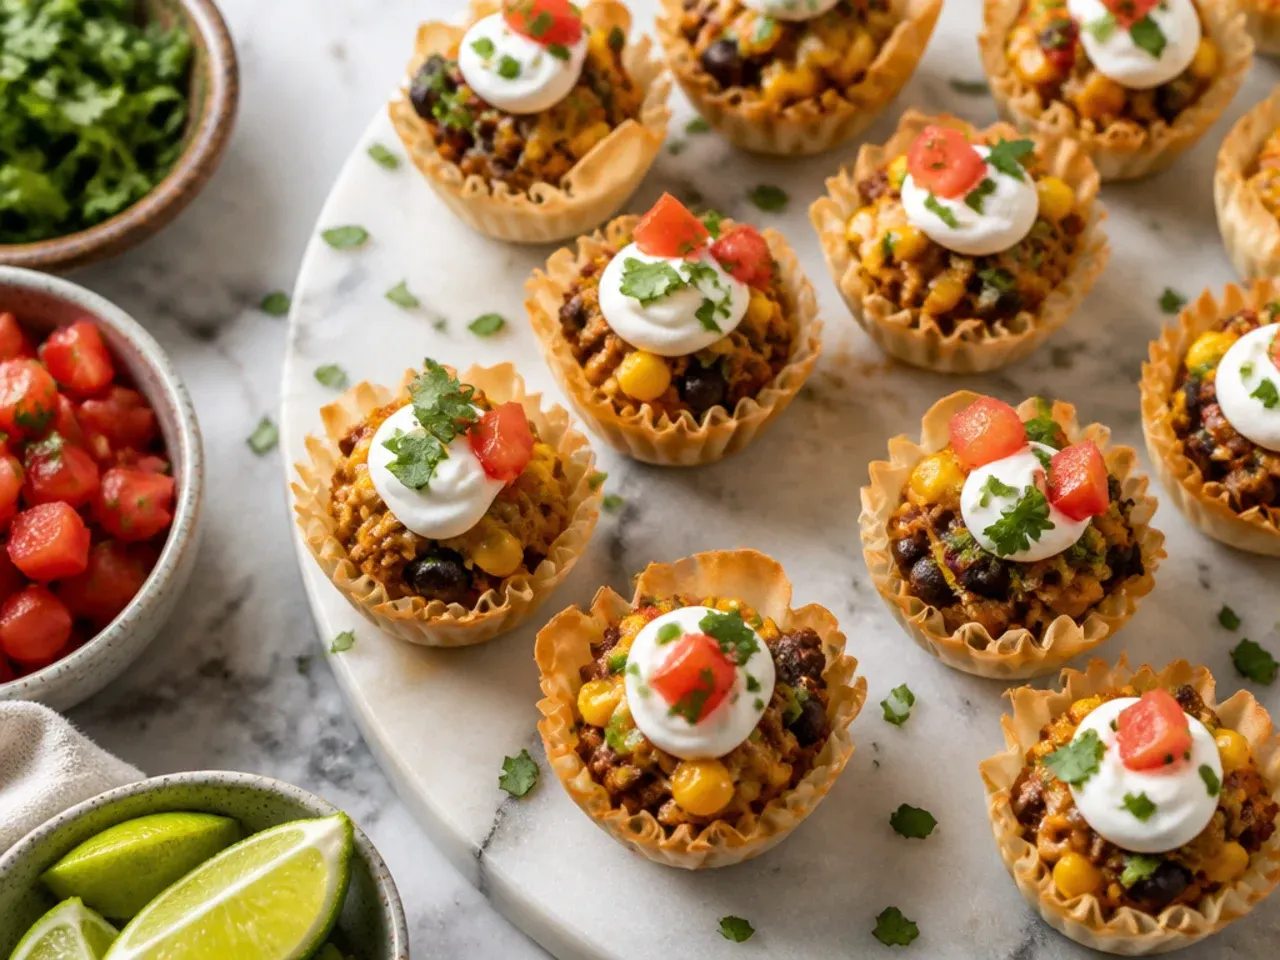
Use pre-cooked taco meat, whether leftover from another meal or a shop-bought pouch, and these come together in barely 15 minutes start to finish. Warm the meat through in a pan for two minutes, spoon it straight into the pre-baked shells, top with cheese, and bake for just 5 minutes to melt. Because the meat is already fully cooked, the oven time here is only about warming and melting, not cooking through, so don't be tempted to leave them in longer. This is the version to keep in your back pocket for unexpected guests.
15. Homemade Phyllo Cup Taco Bites
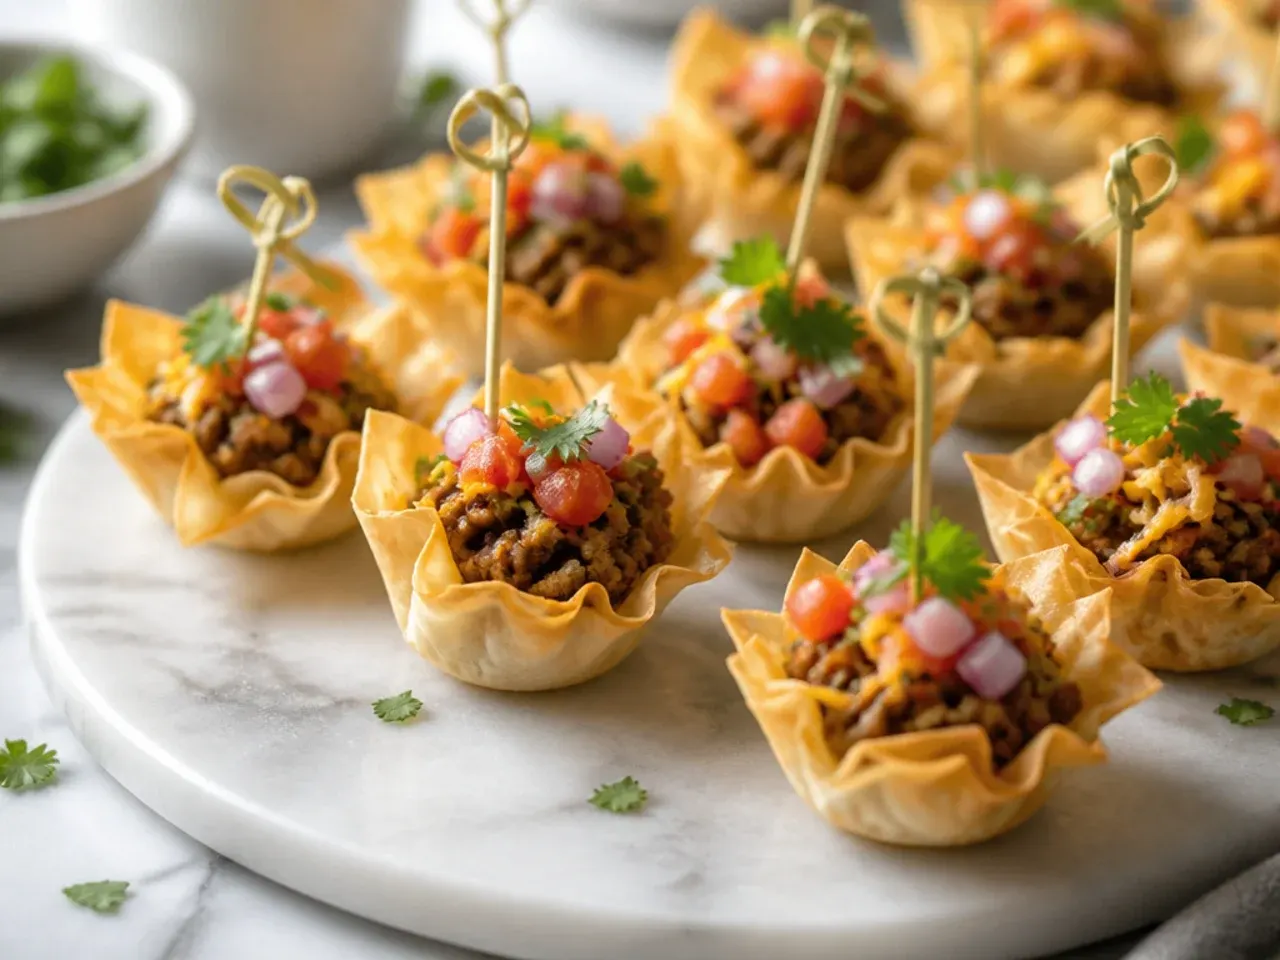
If you'd rather skip the pre-made frozen shells, press small squares of buttered phyllo pastry into a mini muffin tin, three layers deep, and blind-bake at 190°C (375°F) for 8 minutes until golden before filling. Brushing each layer lightly with melted butter, rather than soaking it, keeps the finished cup crisp instead of greasy. Homemade shells are noticeably more fragile once filled, so serve these within 20 minutes of baking rather than letting the tray sit out. It's more work than shop-bought shells, but the shatter-crisp texture is worth it for a special occasion.
Pro Tips
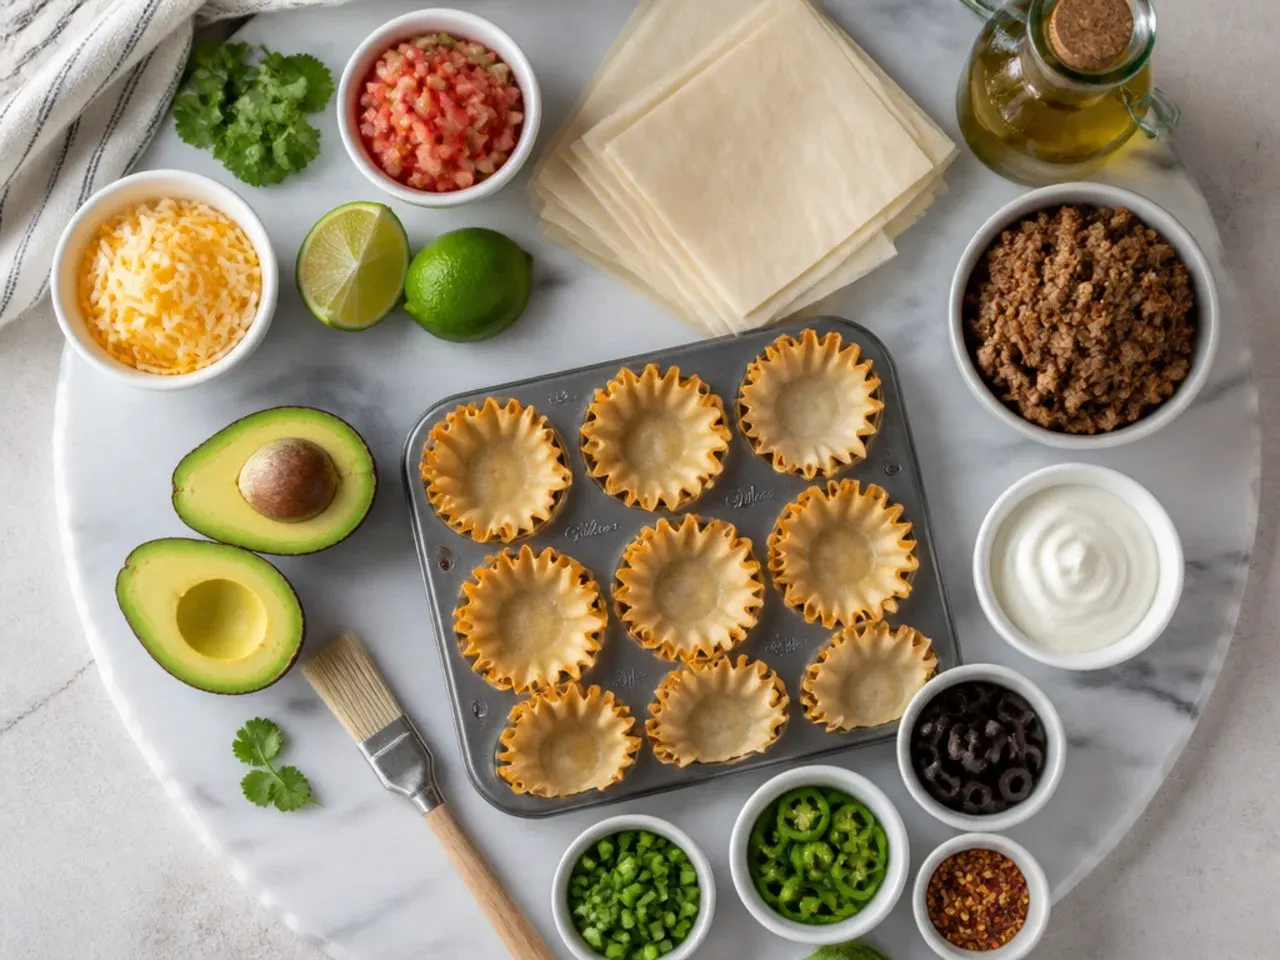
Always drain browned beef thoroughly, then blot it briefly on kitchen paper, since leftover fat is the single biggest cause of soggy phyllo cups. Fill shells only just before baking, never more than 15 minutes ahead, as the filling's moisture starts softening the pastry almost immediately on contact. Keep portions to a level teaspoon per cup; overfilling causes spillage in the oven and cups that collapse when picked up. Bake shells empty for 3-5 minutes first if they've been sitting frozen, which crisps them back up before the filling goes anywhere near them.
Serving Suggestions
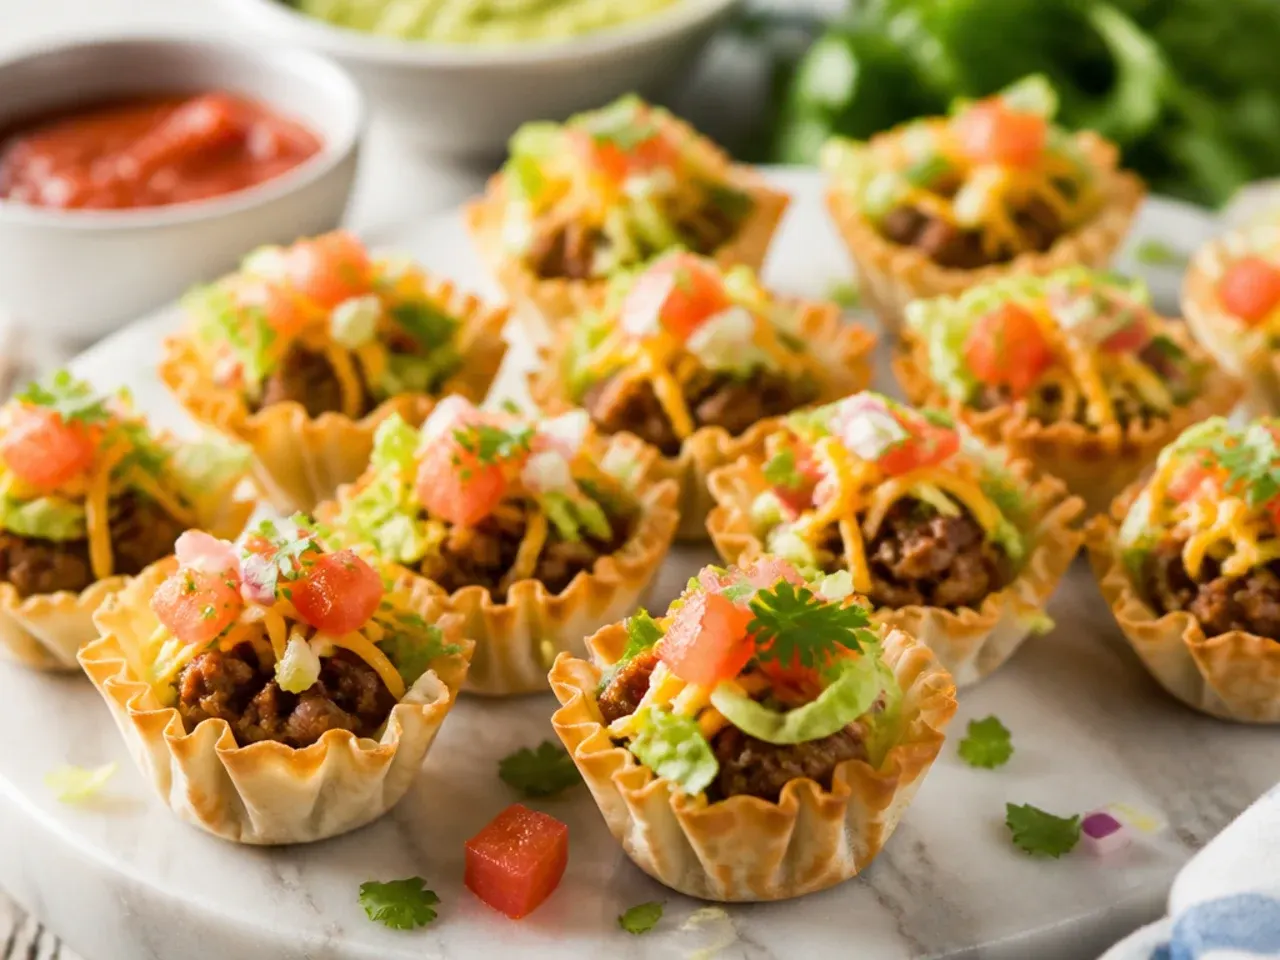
Arrange the finished cups on a large flat platter with small bowls of sour cream, salsa and guacamole alongside for dipping and topping, rather than pre-dressing every cup, so guests can customise their own. They pair well with a simple side of tortilla chips or a green salad if you're serving them as part of a bigger spread rather than standalone canapés. For a drinks party, set them out alongside a jug of margaritas or an ice-cold beer, since the spice and salt in the filling suit both well. Serve them within 10-15 minutes of coming out of the oven, while the shells are still at their crispest.
Storage and Reheating
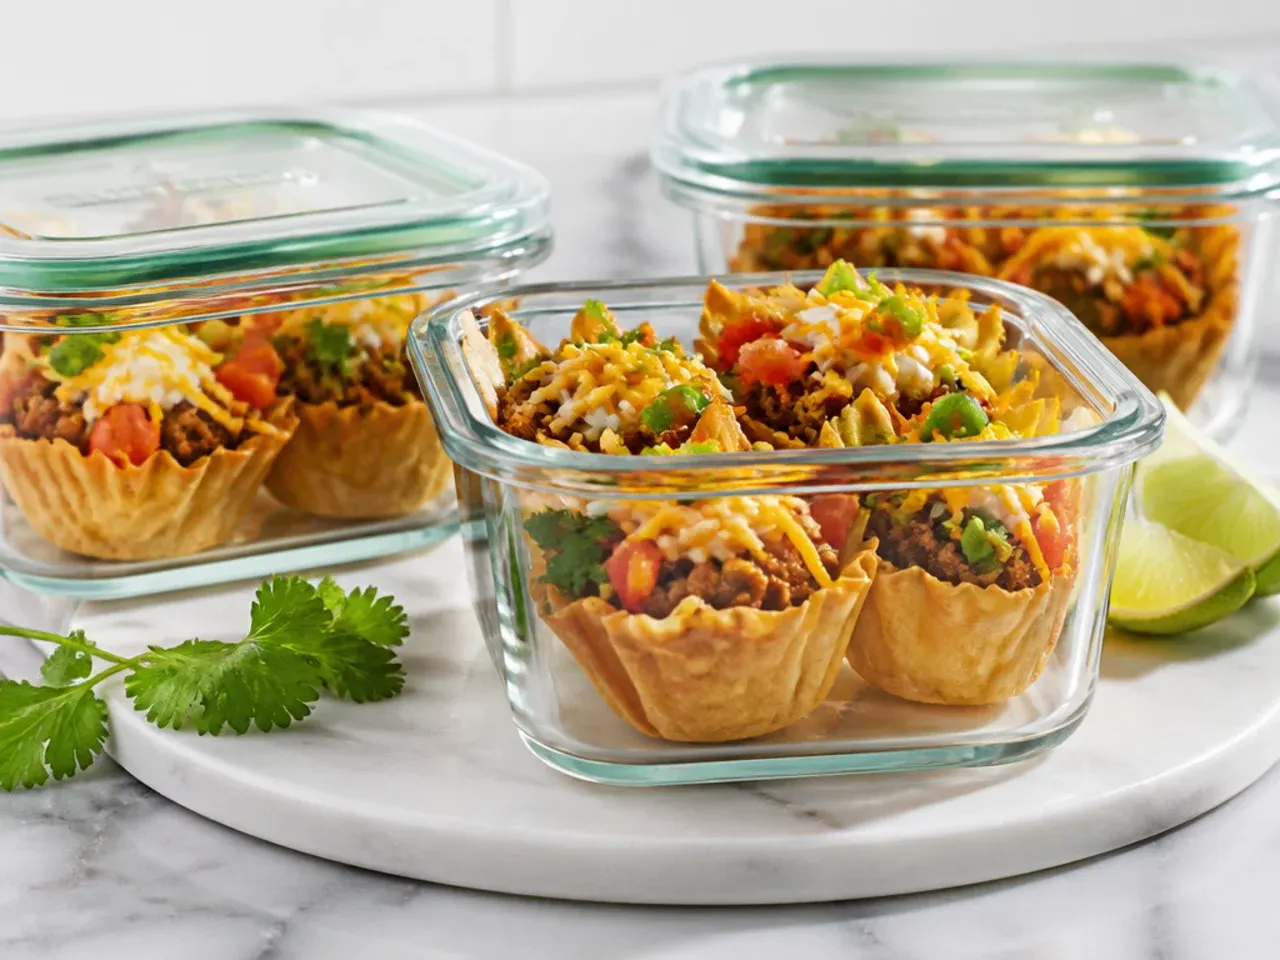
Leftover baked cups keep in an airtight container in the fridge for up to 2 days, though the shells will soften noticeably by day two. To reheat, place them on a baking tray in a 180°C (350°F) oven for 5-6 minutes until warmed through and the shell has re-crisped; the microwave will heat the filling but leaves the pastry chewy. For longer storage, freeze cooled baked cups in a single layer with baking paper between layers for up to 1 month, then reheat from frozen for 8-10 minutes. Unfilled, unbaked phyllo shells themselves keep well in the freezer for months, so it's often smarter to freeze extra shells rather than fully assembled cups.
The Recipe
The Master Recipe
15 min
20 min
35 min
6
Beginner
Ingredients 6 Person(s)
Directions
Step 1: Preheat and prep the shells
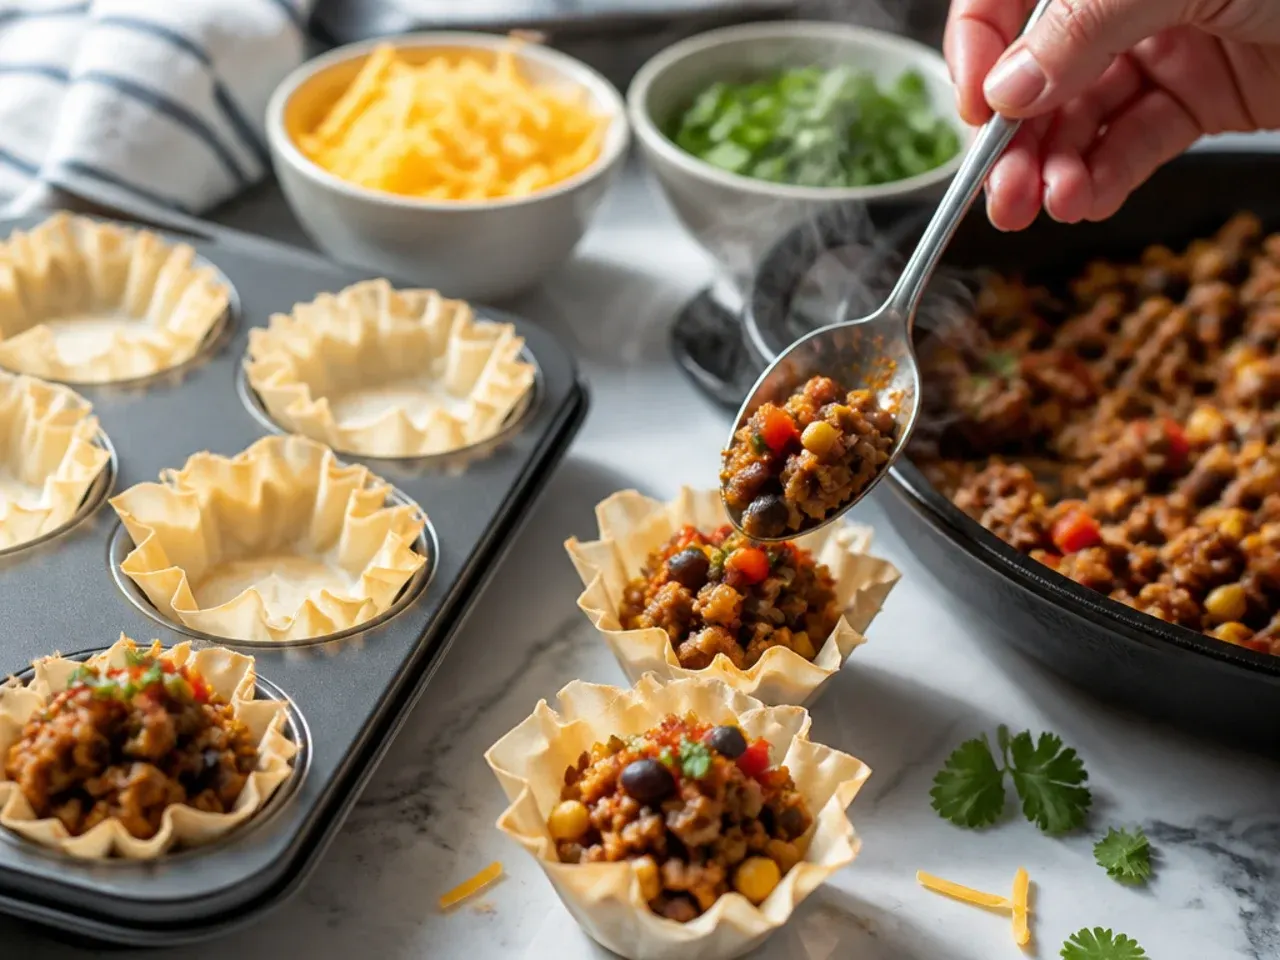
Preheat the oven to 200°C (400°F). Arrange the frozen mini phyllo shells on a baking sheet while still frozen; there's no need to thaw them first.
Step 2: Brown the beef
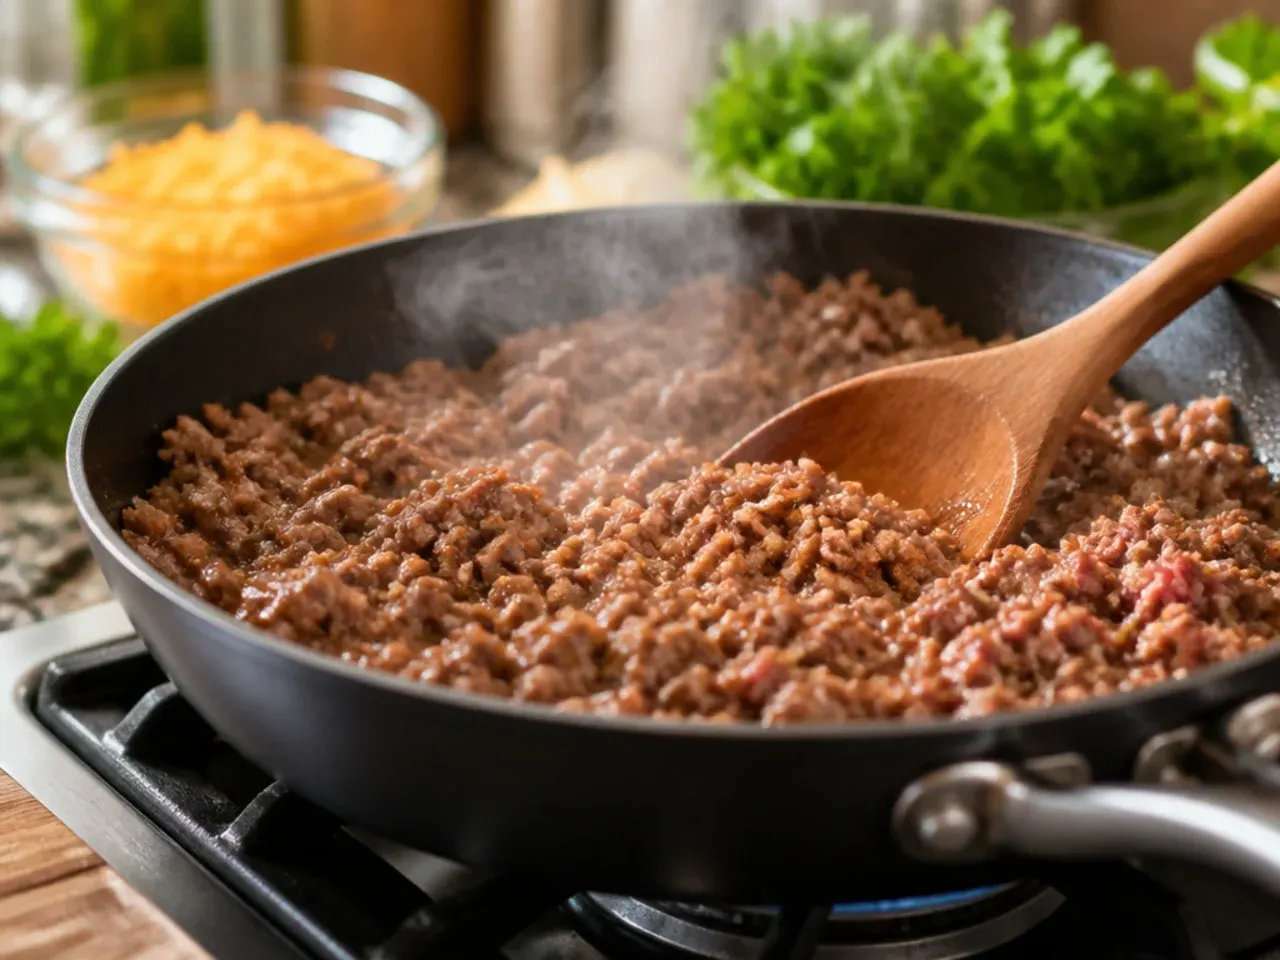
Add the minced beef to a large frying pan over medium-high heat and cook for 6-7 minutes, breaking it up as it goes, until no pink remains. Drain off the excess fat thoroughly, tipping the pan over a colander or blotting with kitchen paper.
Step 3: Season and simmer
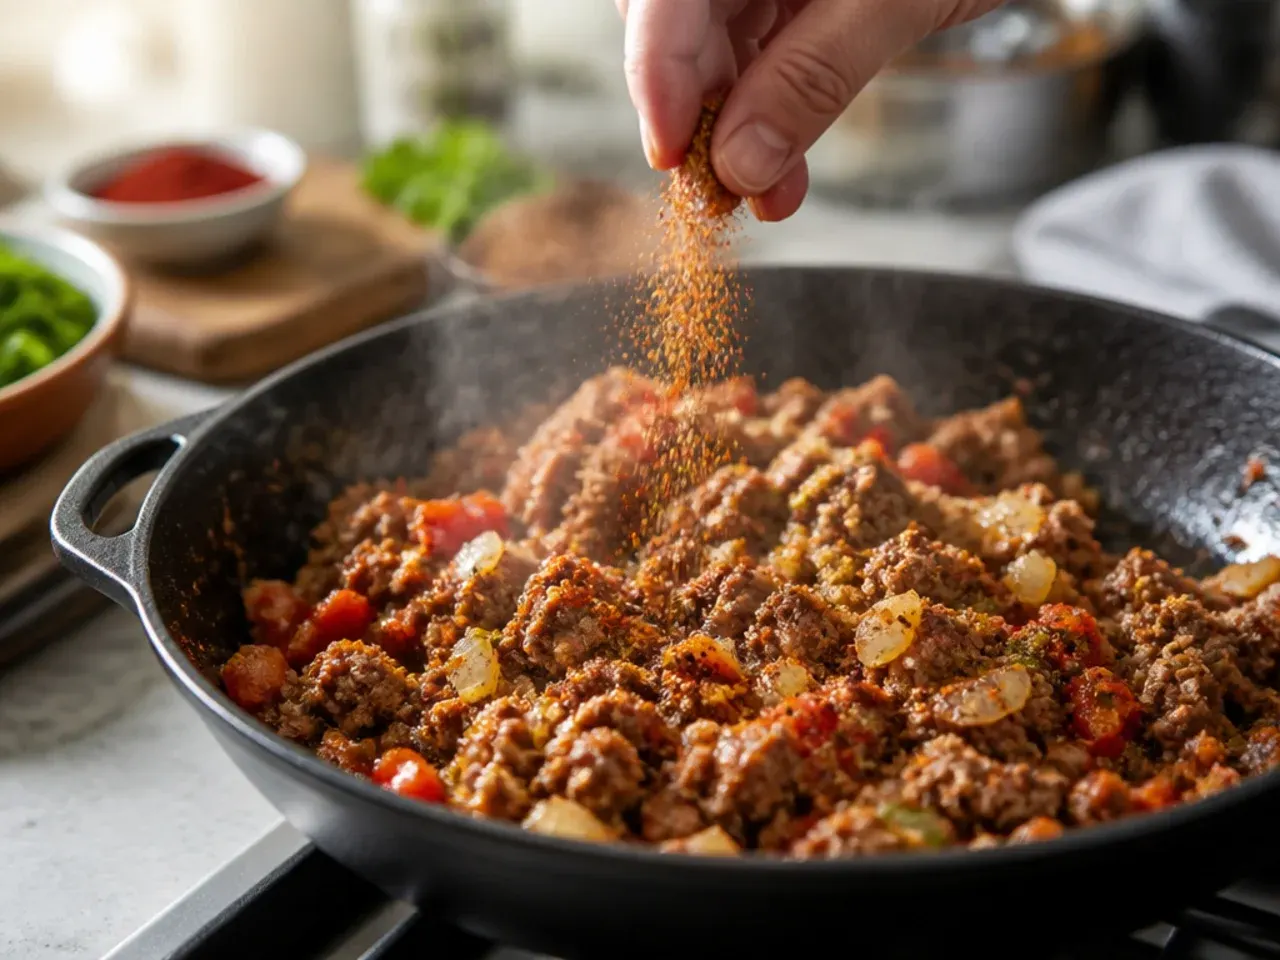
Return the beef to the pan and stir in the taco seasoning, tomato paste and water. Simmer for 3-4 minutes, stirring often, until the liquid has mostly absorbed and the mixture clings to the meat rather than pooling in the pan.
Step 4: Fill the shells
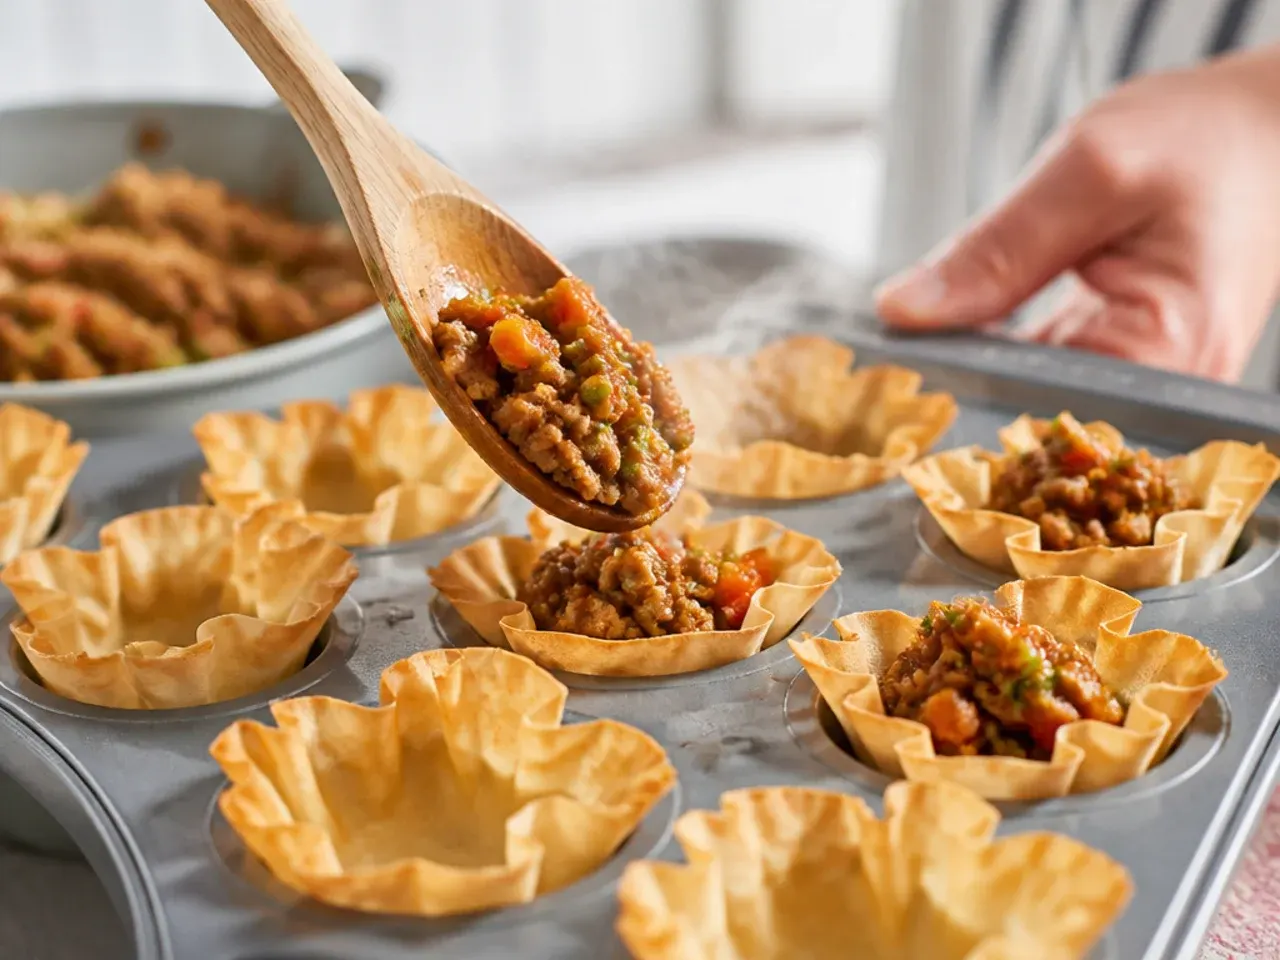
Spoon about a level teaspoon of the beef mixture into each phyllo shell, filling them roughly two-thirds full so nothing spills over the edge. Work quickly while the filling is still warm.
Step 5: Top with cheese
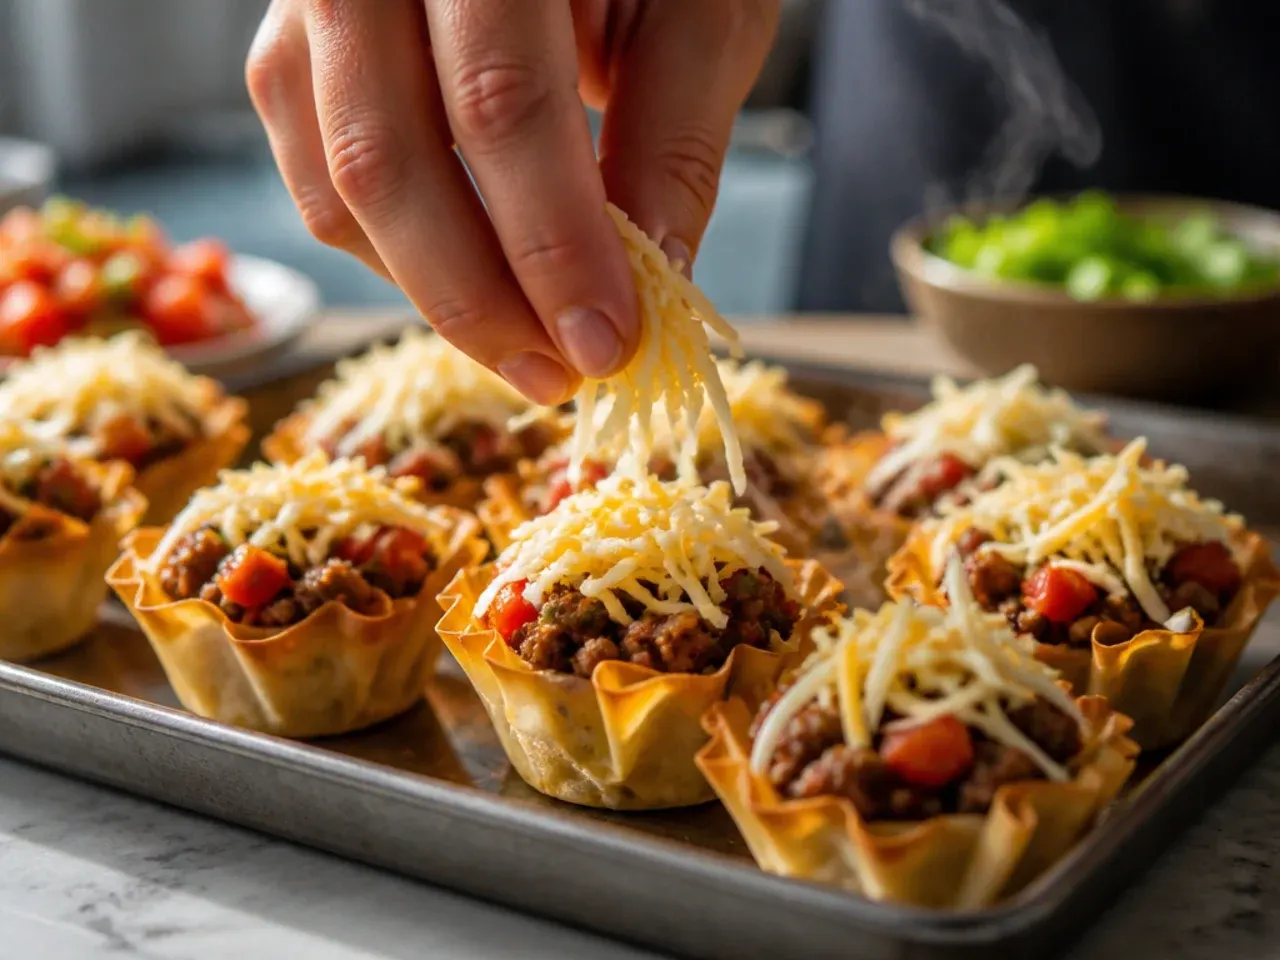
Sprinkle each filled cup with a pinch of shredded cheddar, using the full 120 g (1 cup) across the tray so every cup gets an even cap of cheese.
Step 6: Bake
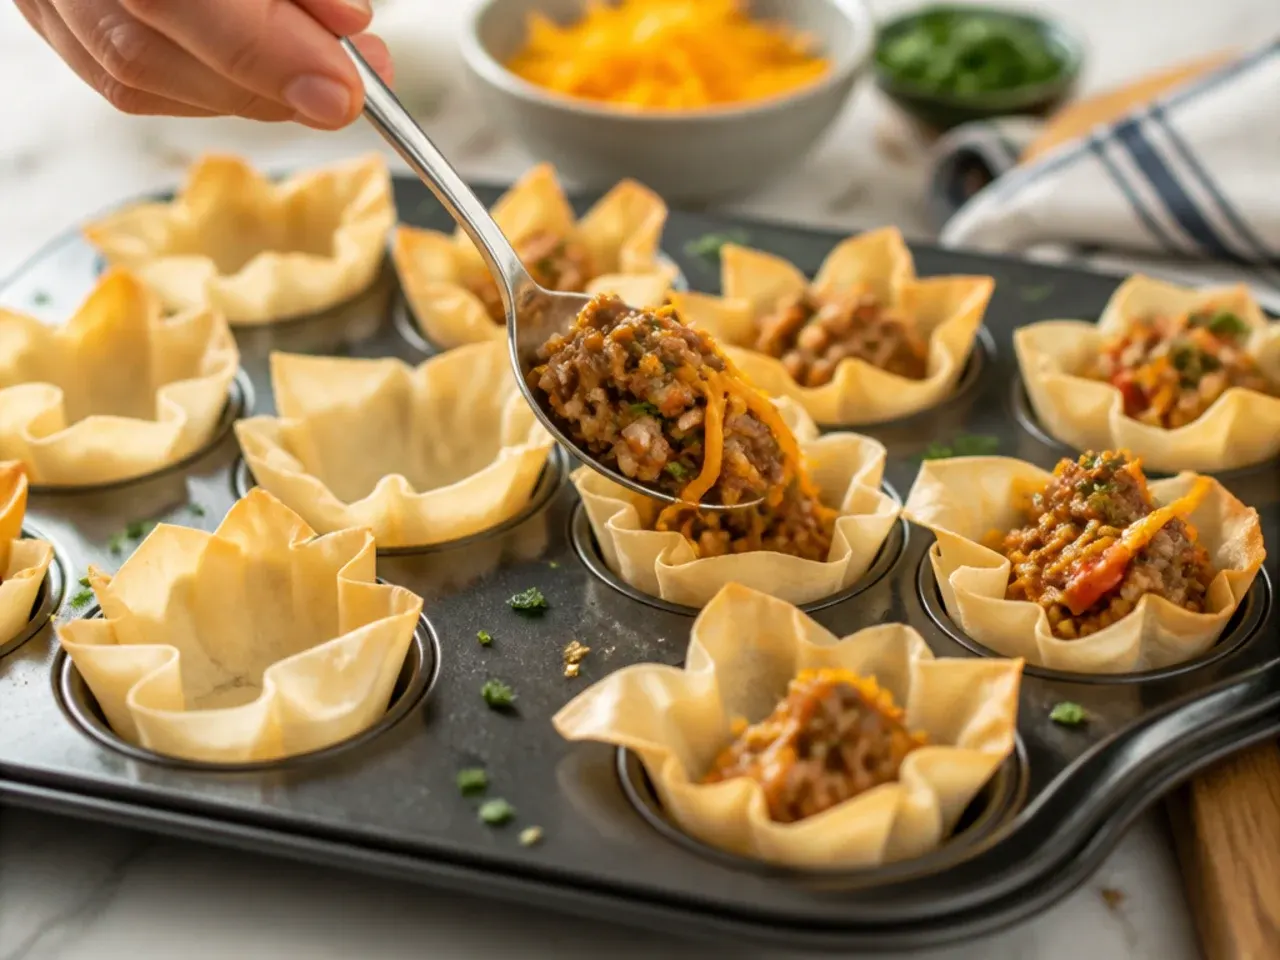
Bake for 8-10 minutes, until the cheese is fully melted and just starting to turn golden at the edges and the shells are crisp. Watch closely in the final two minutes, as phyllo can scorch quickly.
Step 7: Top and serve
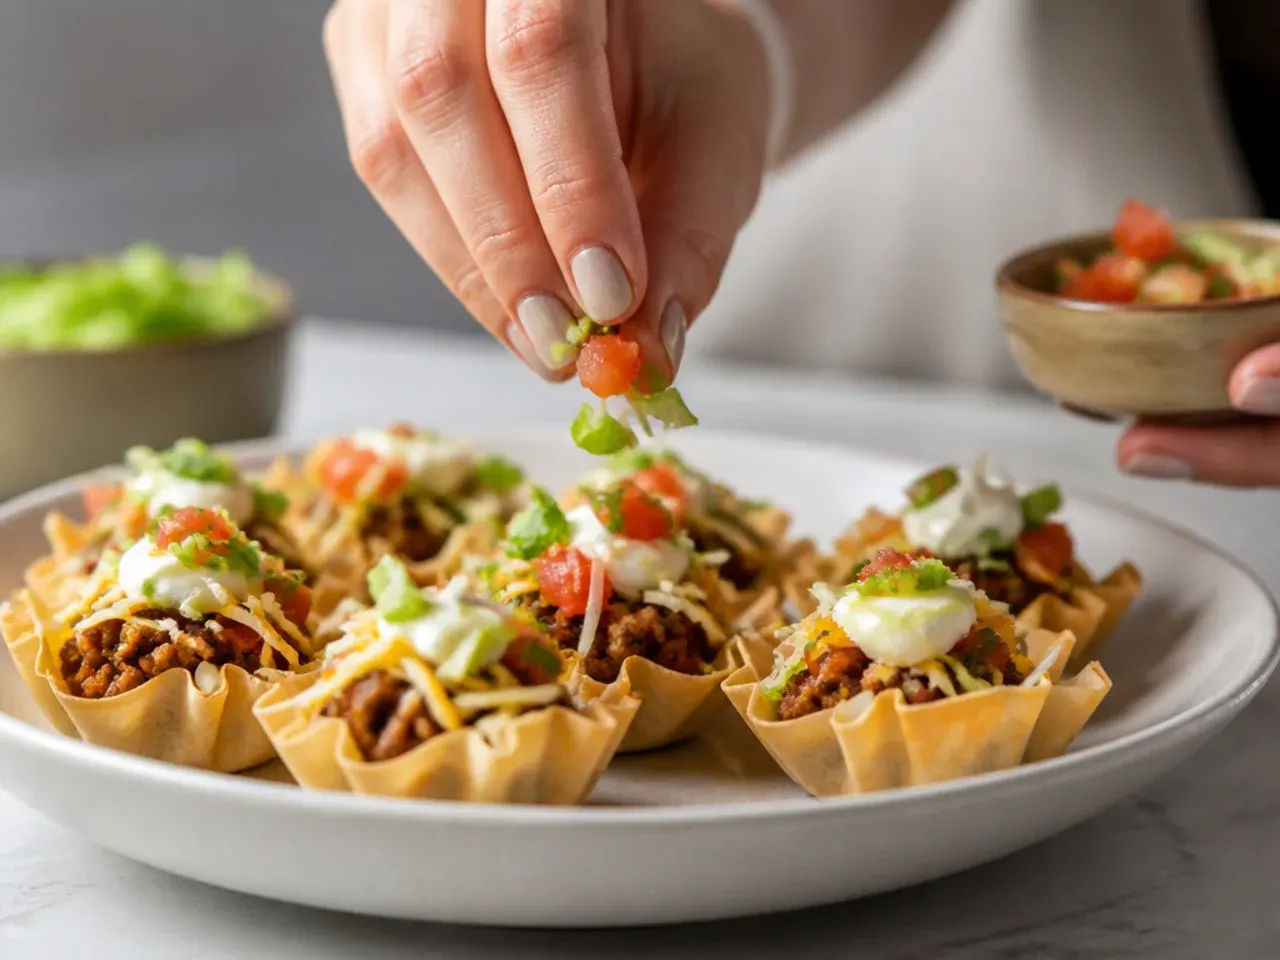
Remove from the oven and let the cups cool for 1-2 minutes. Finish each with a small dollop of sour cream, a pinch of diced tomato, sliced spring onion and chopped coriander, then serve warm.
Frequently Asked Questions
Yes, but assemble them as close to serving as possible rather than filling the shells hours ahead. Cook and season the beef filling up to 3 days ahead and store it covered in the fridge, or freeze it for up to 2 months. Reheat the filling gently in a pan, then fill and bake the shells fresh so the pastry stays crisp rather than softening from the filling's moisture.
Save this for later 📌
Pin this article to your Pinterest board so the full list is one tap away when you need it.
Save on Pinterest