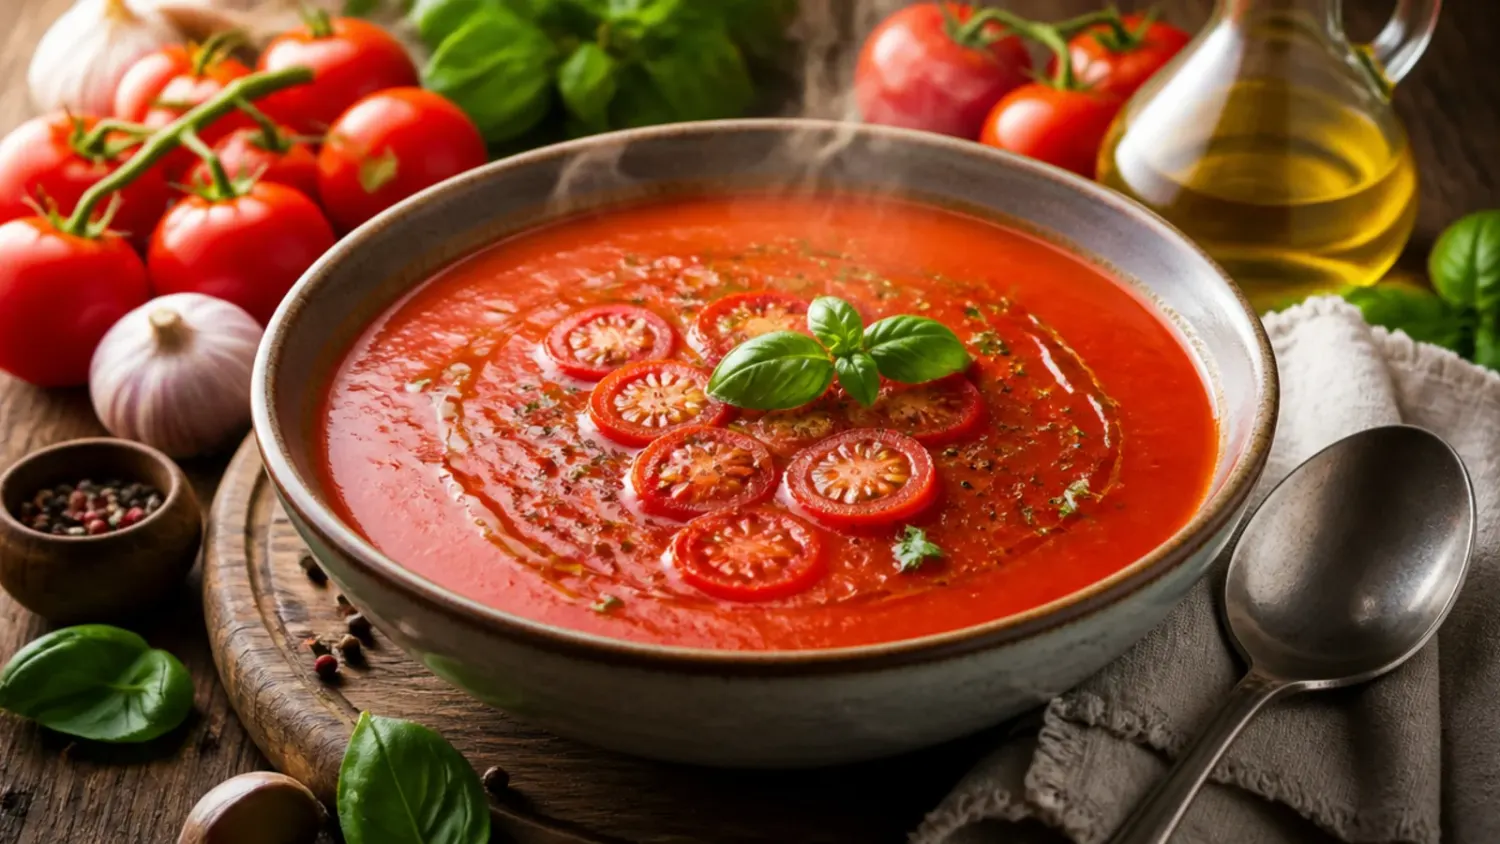
Ingredients 6 Person(s)

Save this for later 📌
Pin this article to your Pinterest board so the full list is one tap away when you need it.
Save on PinterestDirections
Step 1: Wash and core the tomatoes
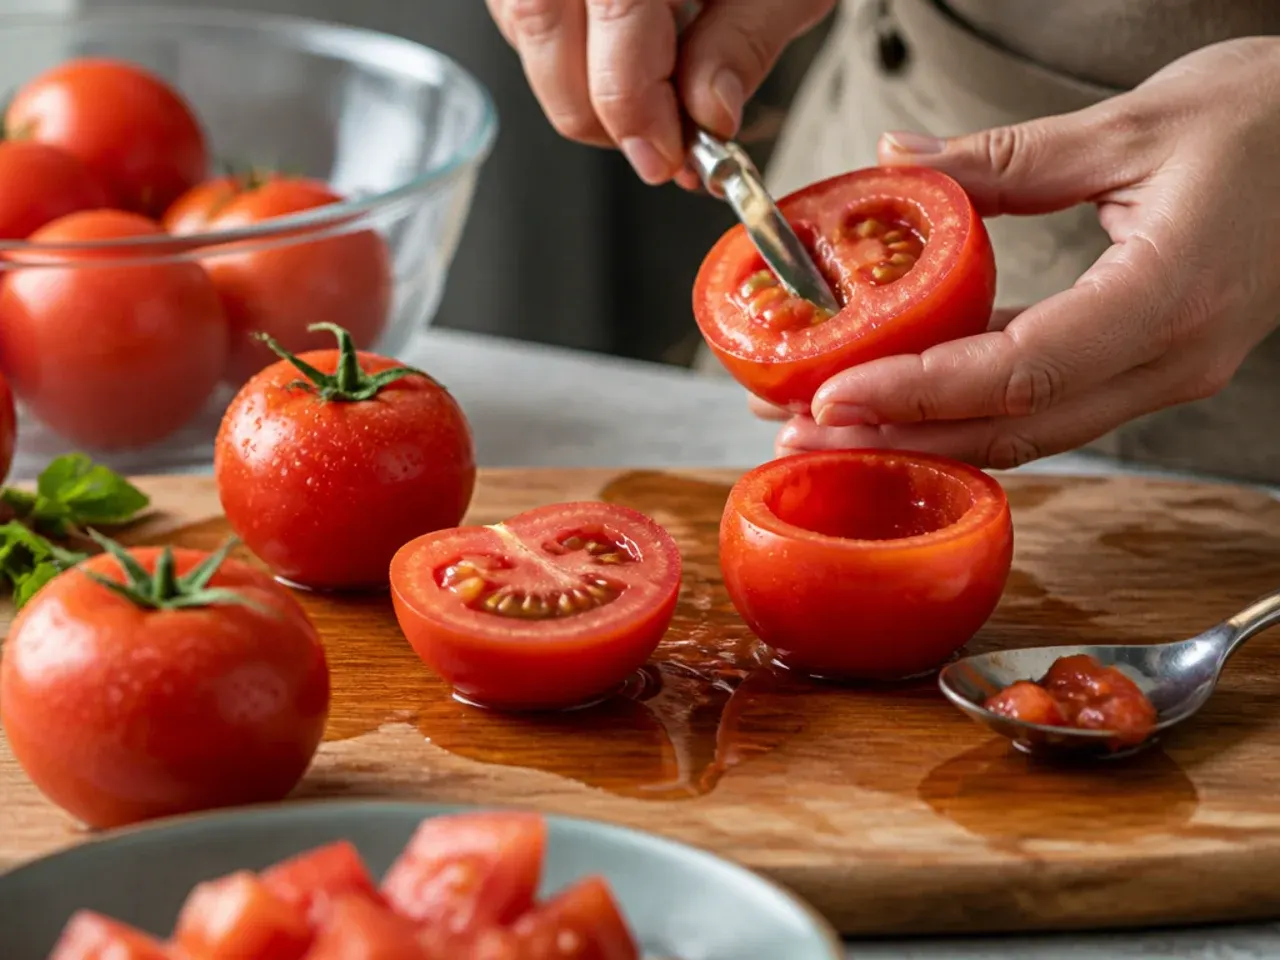
Rinse 1.8 kg (4 lb) ripe tomatoes under cool water and cut out the tough core at the stem end with a paring knife. Discard any tomatoes with soft spots or splits, since these can make the juice taste sour. Cut each tomato into quarters so they cook down quickly and evenly.
Step 2: Chop the aromatics
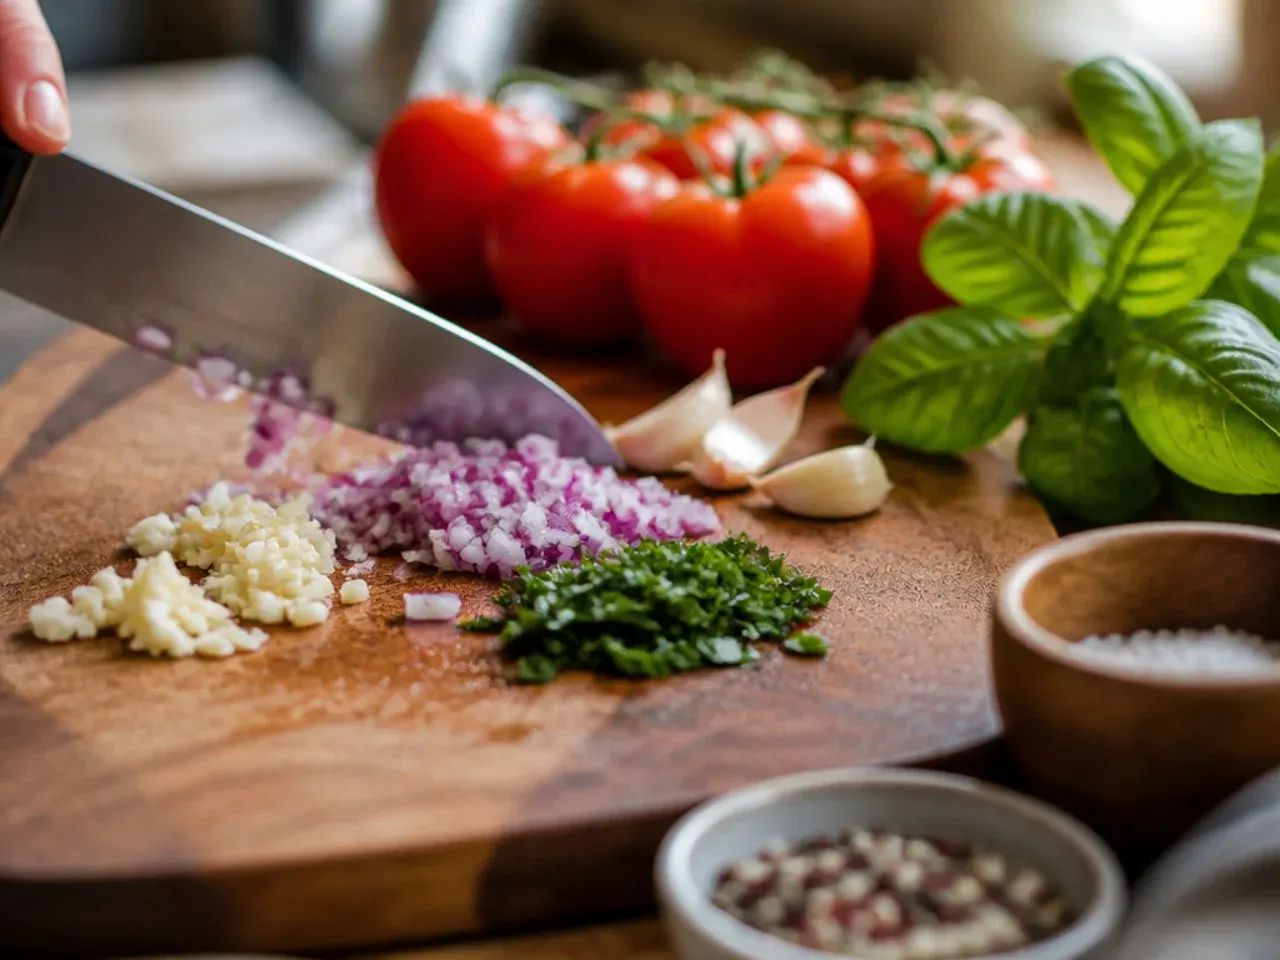
Roughly chop 100 g (3.5 oz) onion and 100 g (3.5 oz) celery into 2 cm (¾ in) chunks, then smash 2 garlic cloves with the flat of your knife. These vegetables add savoury depth to the juice without overpowering the tomato flavour. Keep the pieces roughly the same size so everything softens at the same rate.
Step 3: Combine everything in a large pot
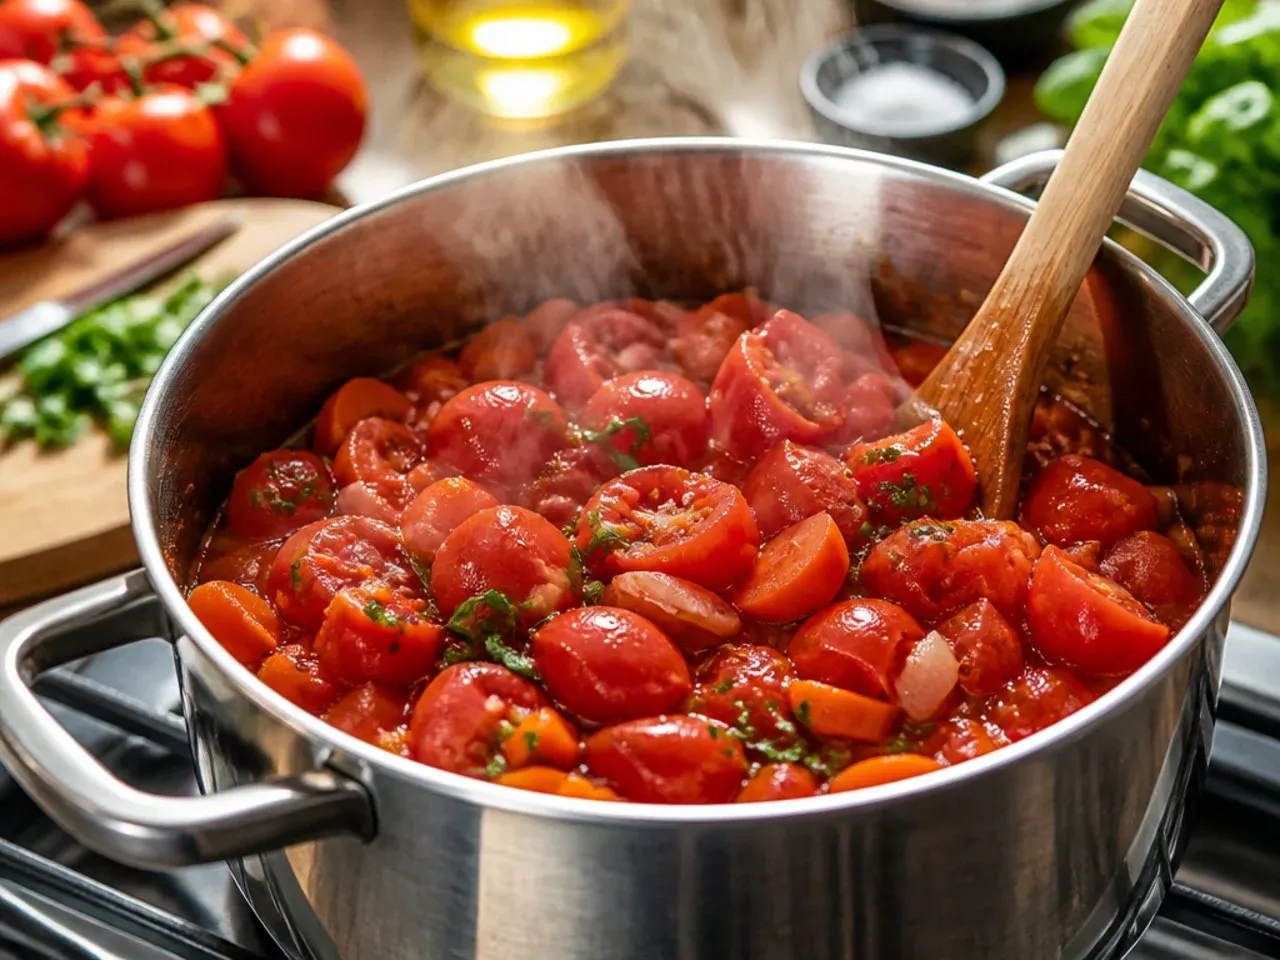
Tip the quartered tomatoes, chopped onion, celery, and garlic into a heavy-bottomed stockpot or Dutch oven. Pour in 120 ml (1/2 cup) water, just enough to stop the vegetables catching before they release their own juices. Stir once to distribute everything evenly across the base of the pot.
Step 4: Bring to a simmer
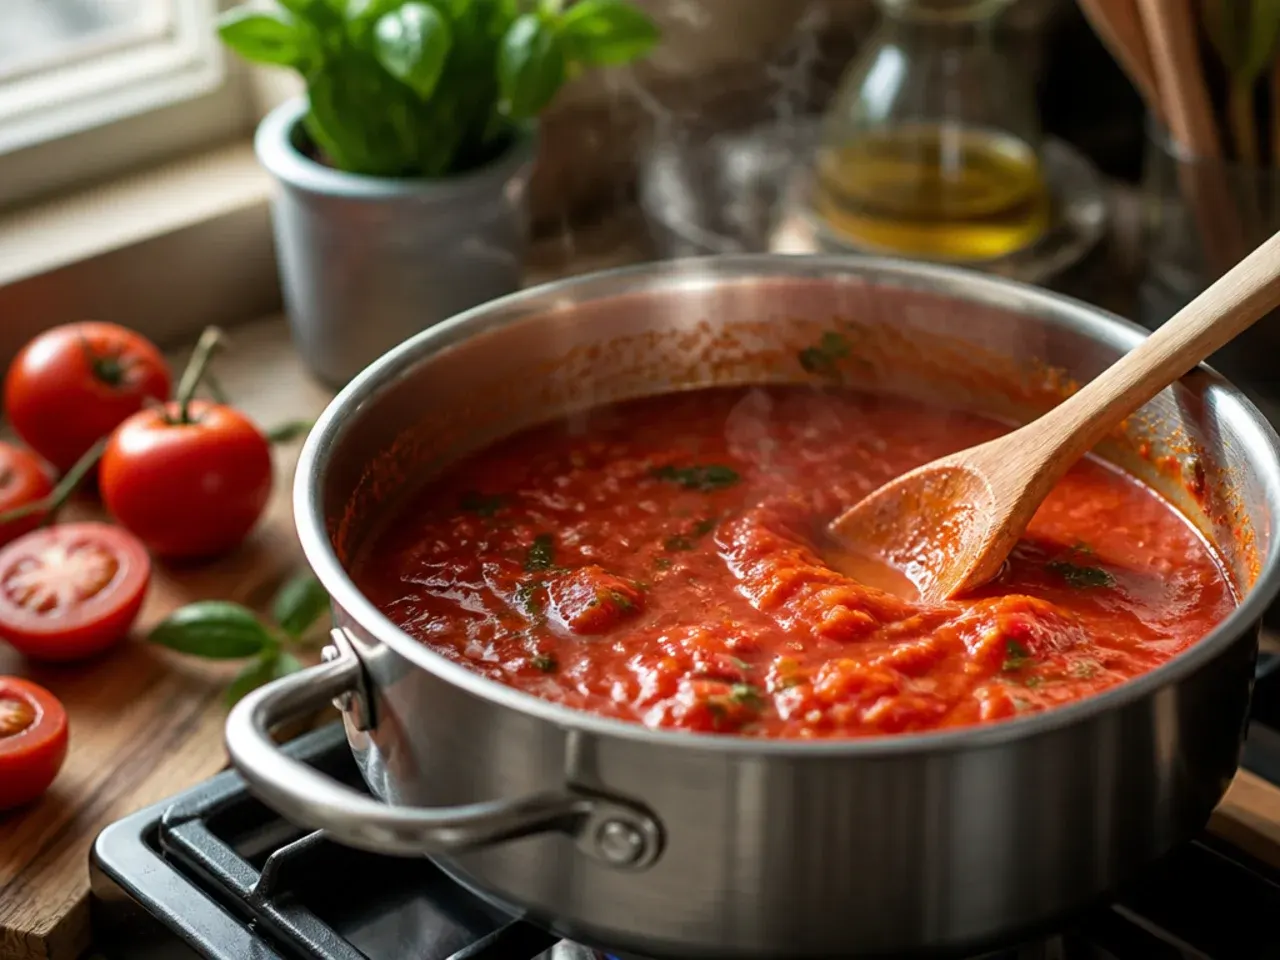
Set the pot over medium-high heat and bring the mixture to a gentle boil, uncovered, stirring occasionally so nothing scorches on the bottom. This takes about 5-7 minutes. Once you see steady bubbling across the surface, reduce the heat to medium-low.
Step 5: Cook until completely broken down
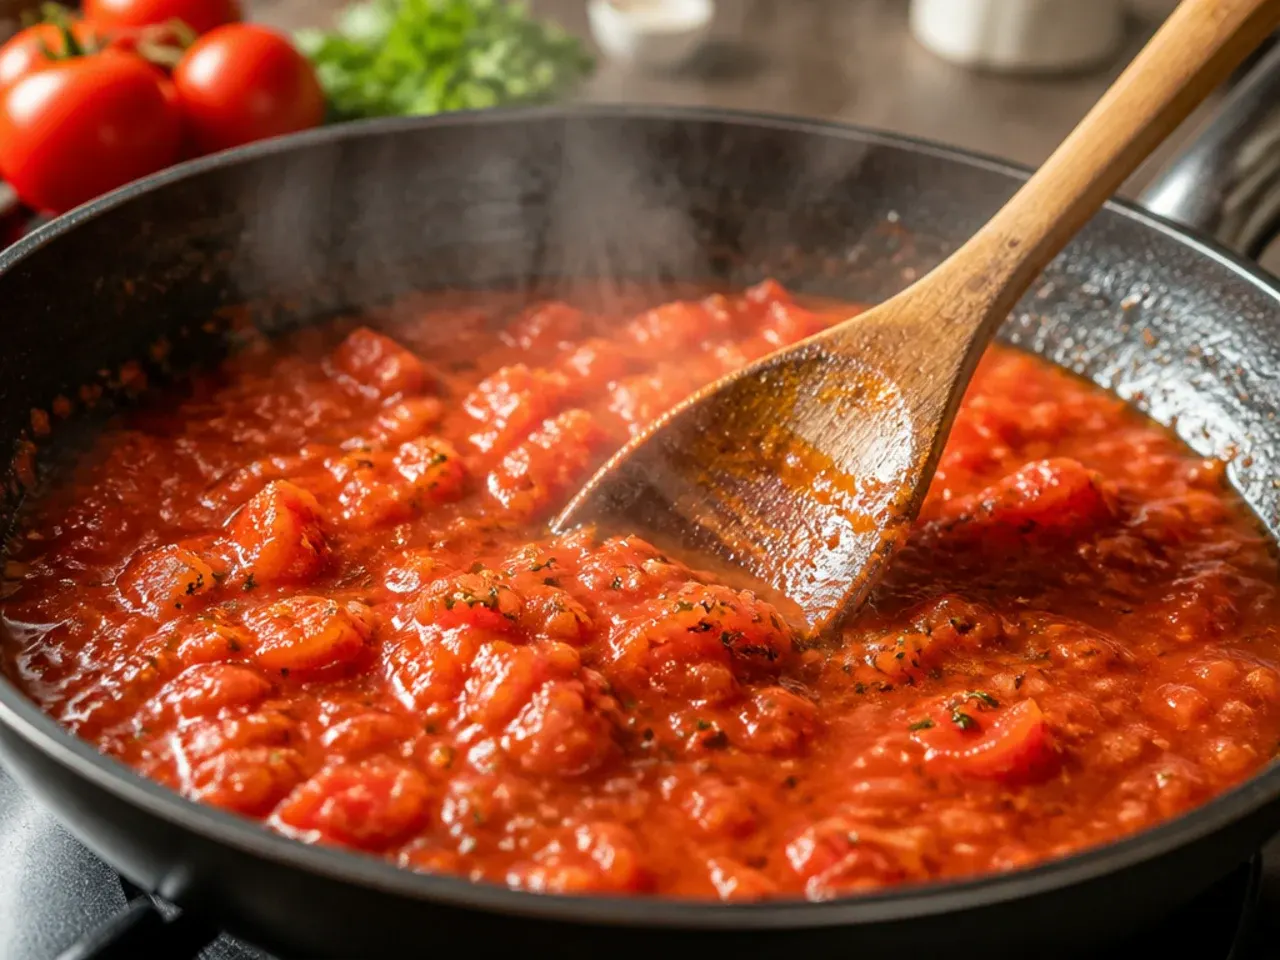
Simmer the tomatoes for 25-30 minutes, stirring every five minutes or so, until they have collapsed into a soft, pulpy mass and the celery is tender enough to crush with a spoon. The mixture will reduce slightly and turn a deep, rich red. You'll know it's ready when no firm tomato pieces remain.
Step 6: Mash the softened vegetables

Use a potato masher or the back of a wooden spoon to break down any remaining chunks directly in the pot. This releases the maximum amount of juice and pulp before straining, giving you a fuller-bodied final juice. Mash until the mixture looks like a rough, chunky sauce.
Step 7: Set up your straining station
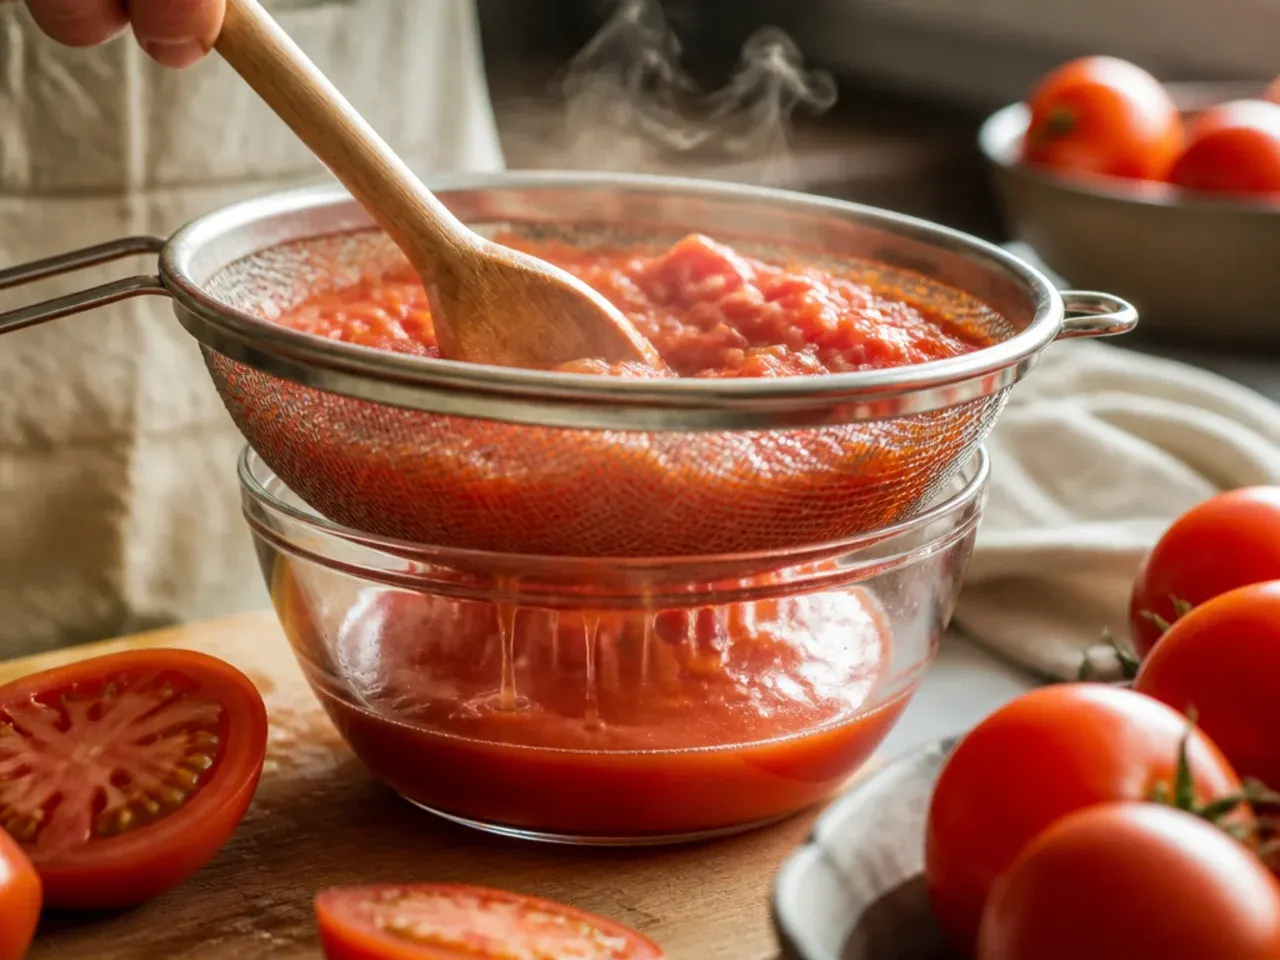
Place a fine-mesh sieve or a food mill fitted with the fine disc over a large heatproof bowl or another pot. If using a sieve, line it with a double layer of muslin or cheesecloth for an extra-smooth juice, though this is optional. Make sure the bowl underneath is large enough to hold at least 1.2 litres (5 cups) of liquid.
Step 8: Strain the tomato mixture
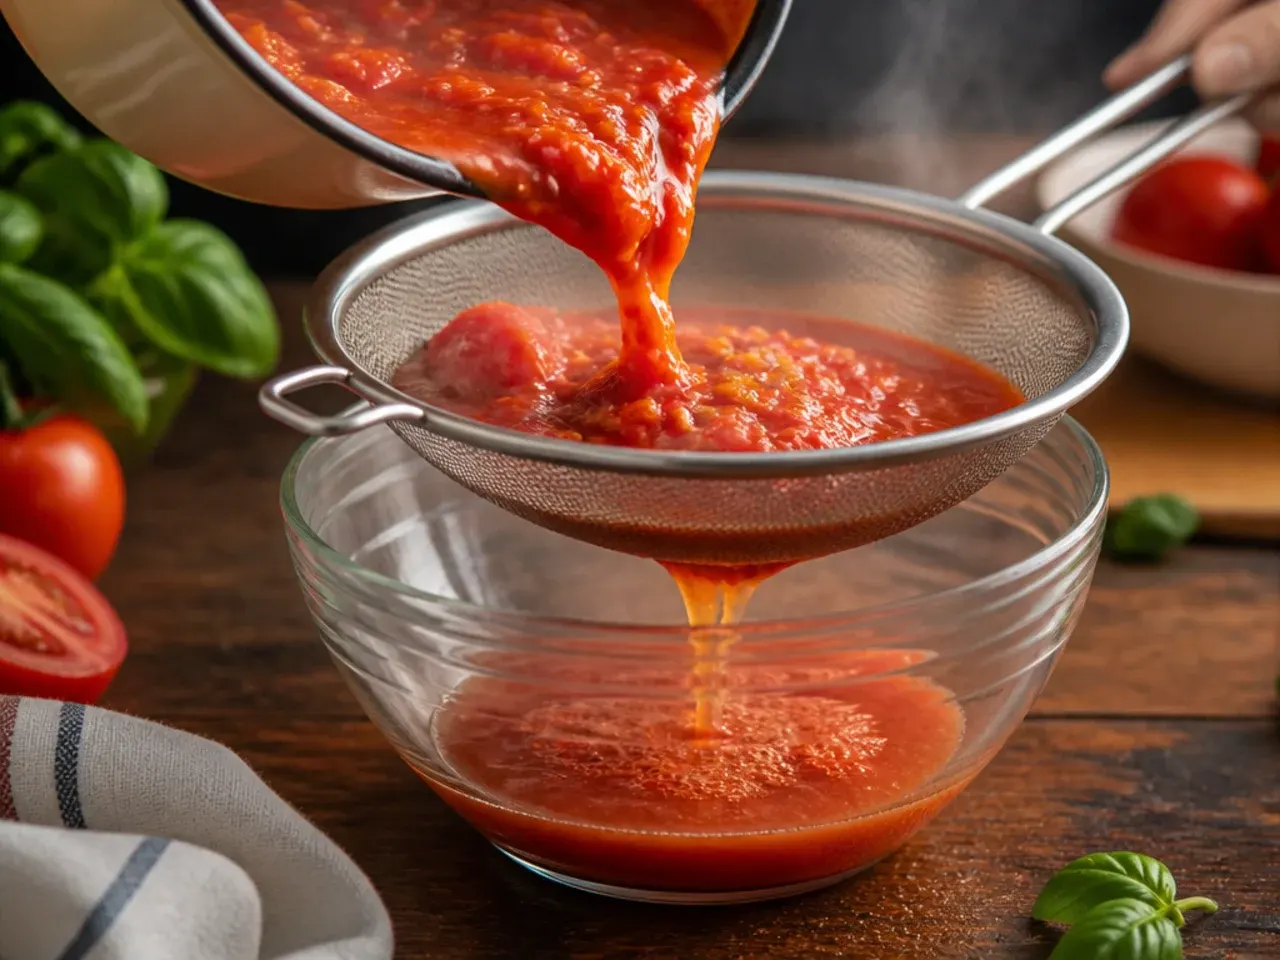
Ladle the hot pulp into the sieve or food mill in 2-3 batches rather than all at once. Let the juice drip through naturally for a minute or two before pressing, since forcing it through too fast can push bitter skin and seed fragments into the bowl. Work through each batch before adding the next.
Step 9: Press the solids
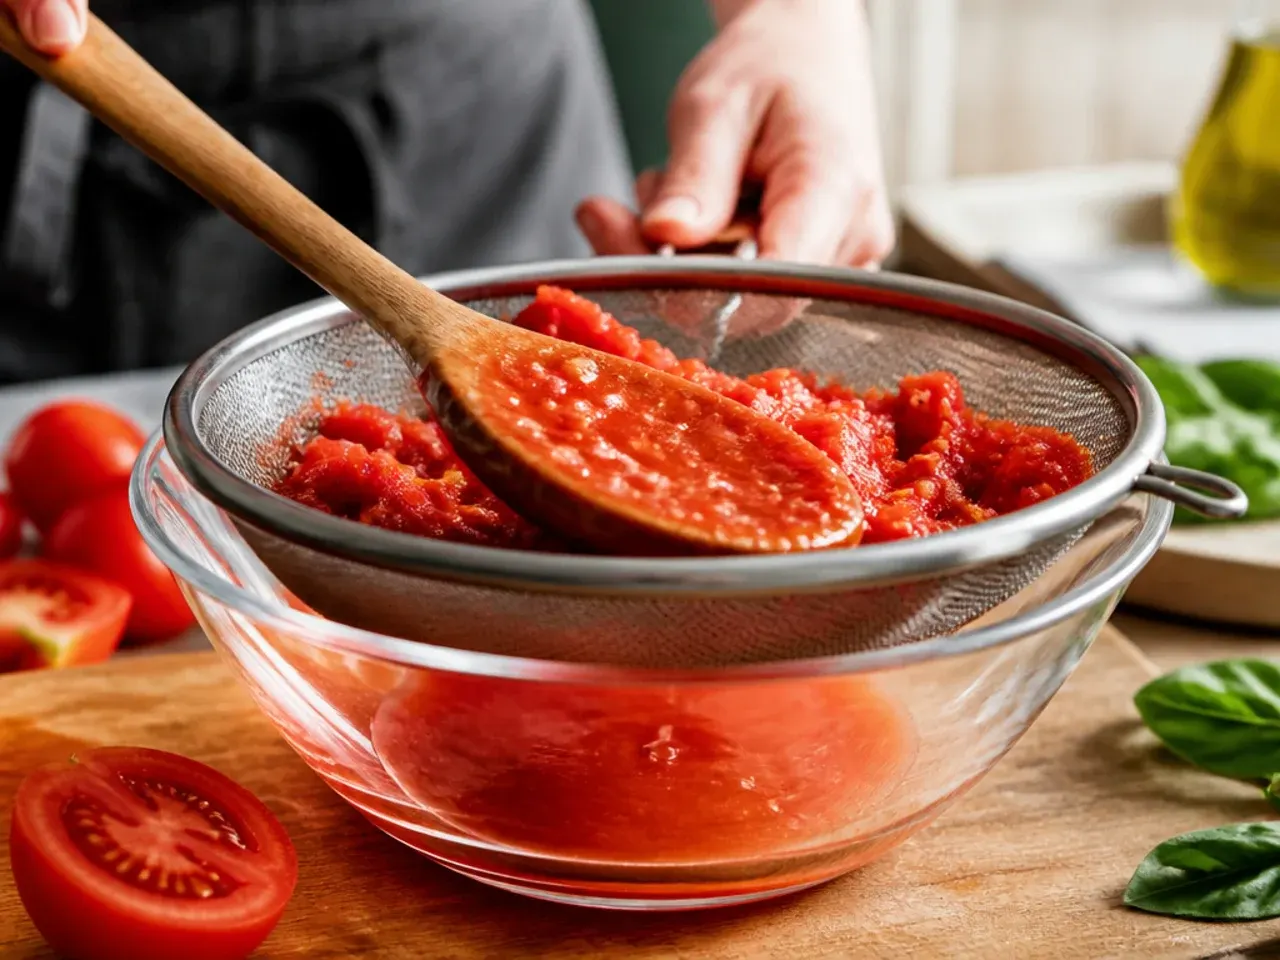
Use the back of a ladle, or the masher attachment on a food mill, to press firmly against the pulp and extract as much liquid as possible. Continue pressing and scraping the underside of the sieve until only dry skins, seeds, and fibrous bits remain. A batch of 1.8 kg (4 lb) tomatoes should yield roughly 1-1.2 litres (4-5 cups) of juice.
Step 10: Discard the leftover pulp
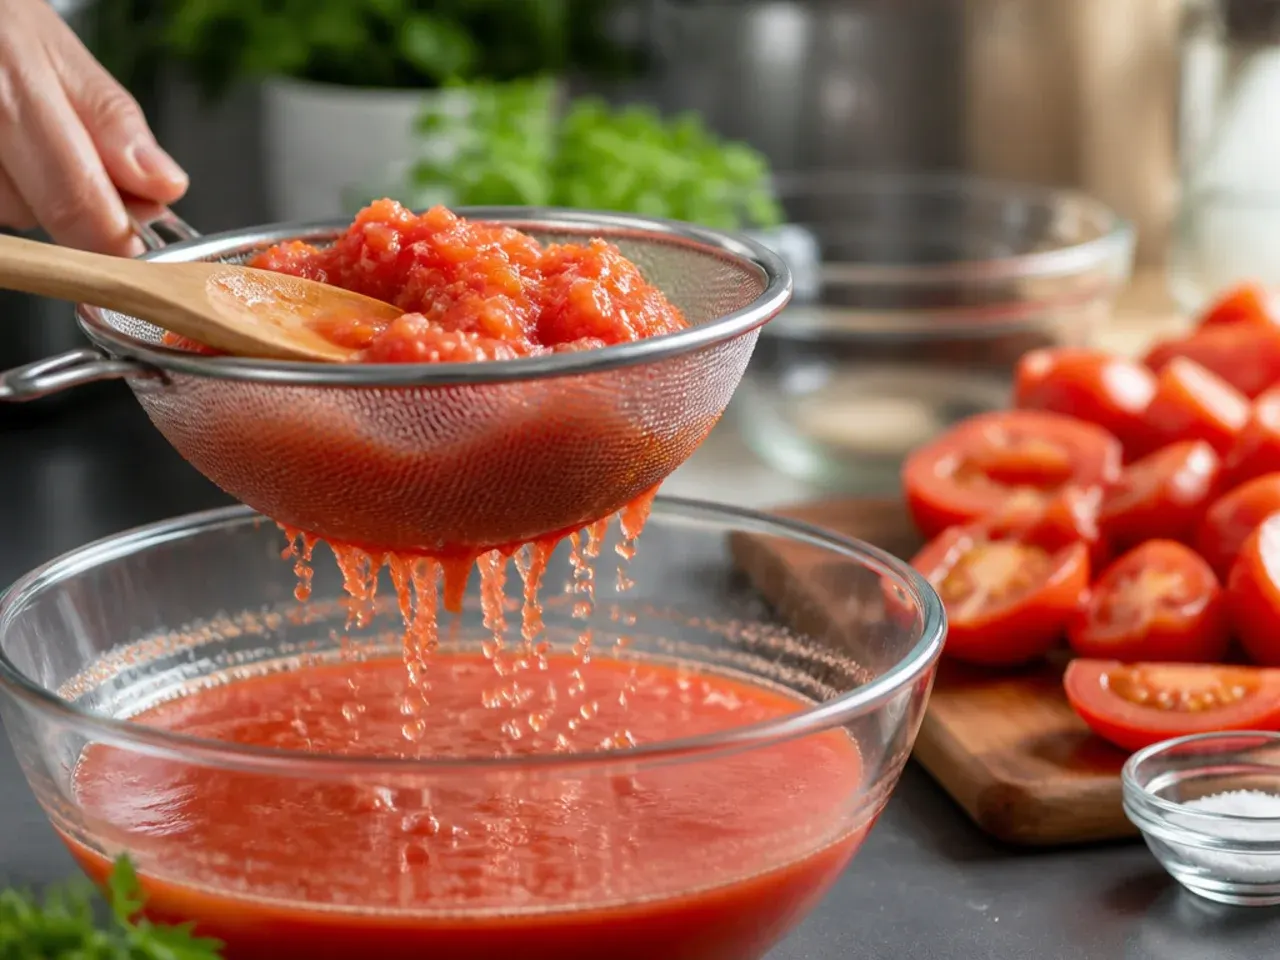
Scrape the dry solids left in the sieve into a compost bin or food waste caddy, as they've given up all their liquid and flavour. Wipe out the sieve or food mill so you're ready to strain a second time if you want an extra-silky texture. Set the strained juice aside to cool slightly, about 10 minutes, before seasoning.
Step 11: Season the base juice
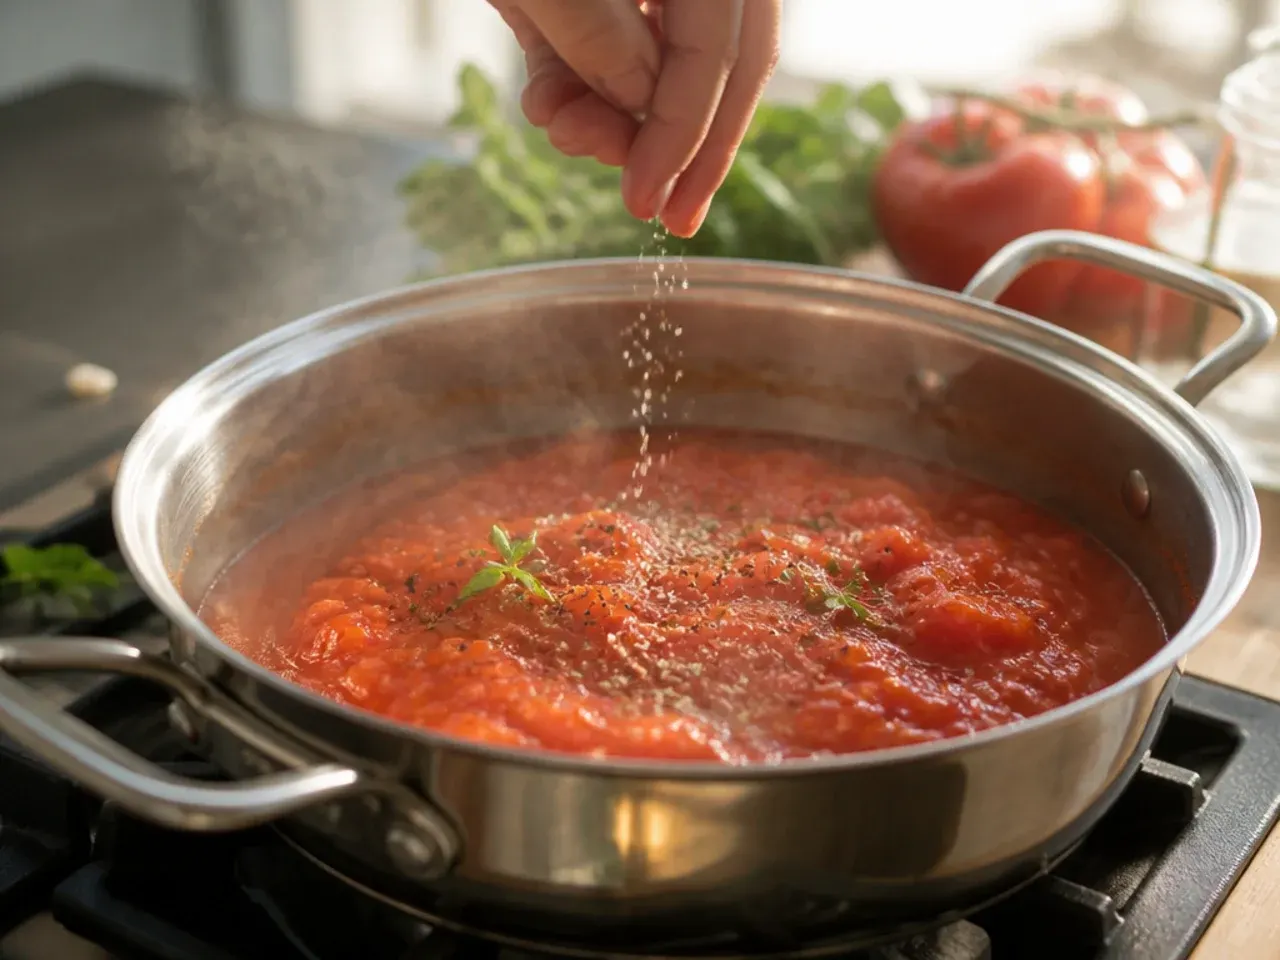
Stir 5 g (1 tsp) fine sea salt, 2 g (1/2 tsp) celery salt, and 1 g (1/4 tsp) freshly ground black pepper into the warm juice. Seasoning while the juice is still a little warm helps the salt dissolve fully and the flavours meld together. Taste and note whether the juice needs more brightness before moving on.
Step 12: Add the acid and savoury seasonings
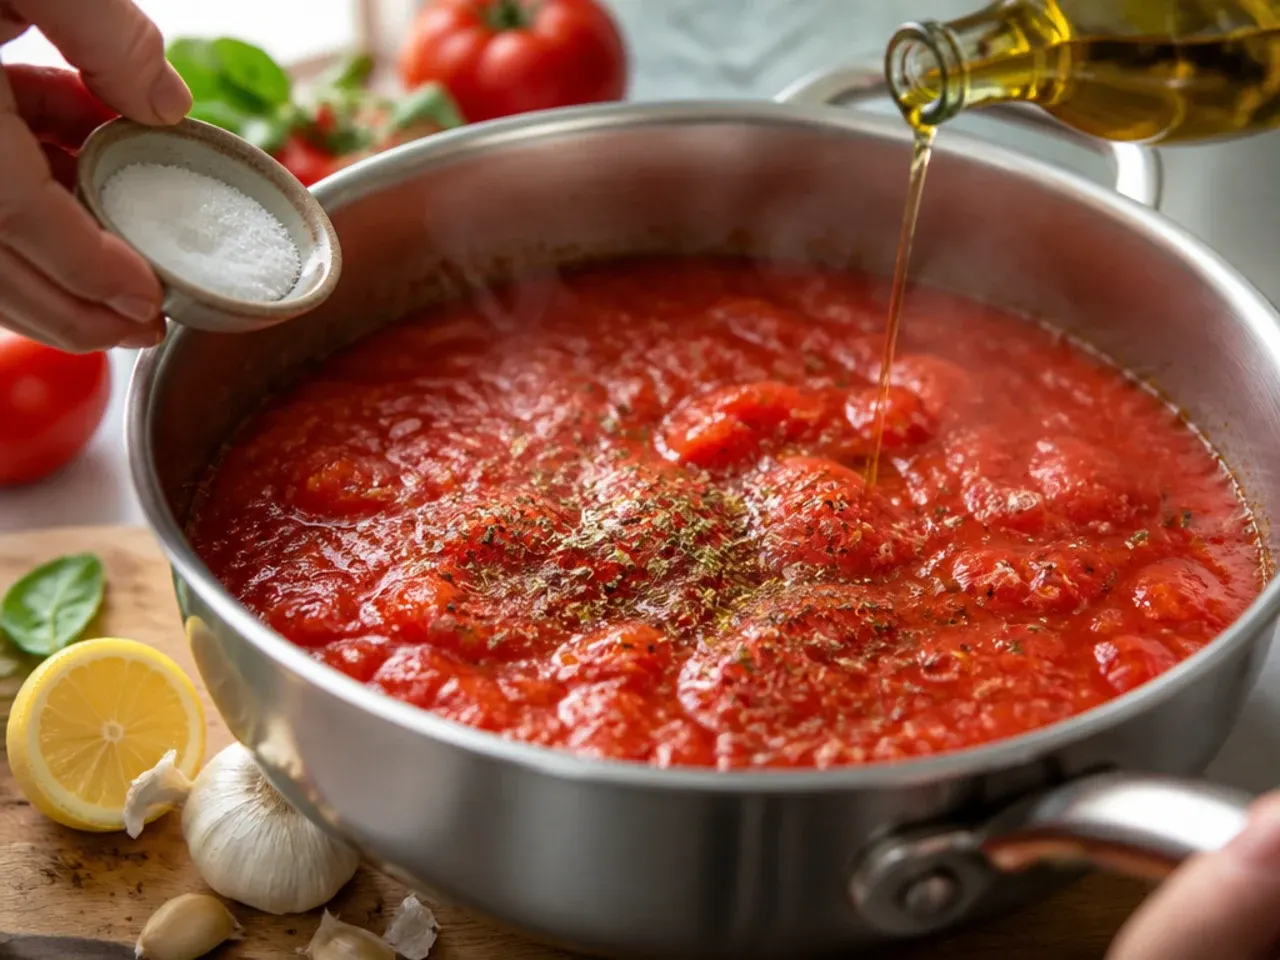
Whisk in 30 ml (2 tbsp) fresh lemon juice, 10 ml (2 tsp) Worcestershire sauce, and 5 ml (1 tsp) hot sauce if using. The lemon juice balances the tomatoes' natural sweetness and gives the juice a fresher, more vibrant flavour, while the Worcestershire adds savoury depth. Stir well to combine everything evenly.
Step 13: Balance with a touch of sugar
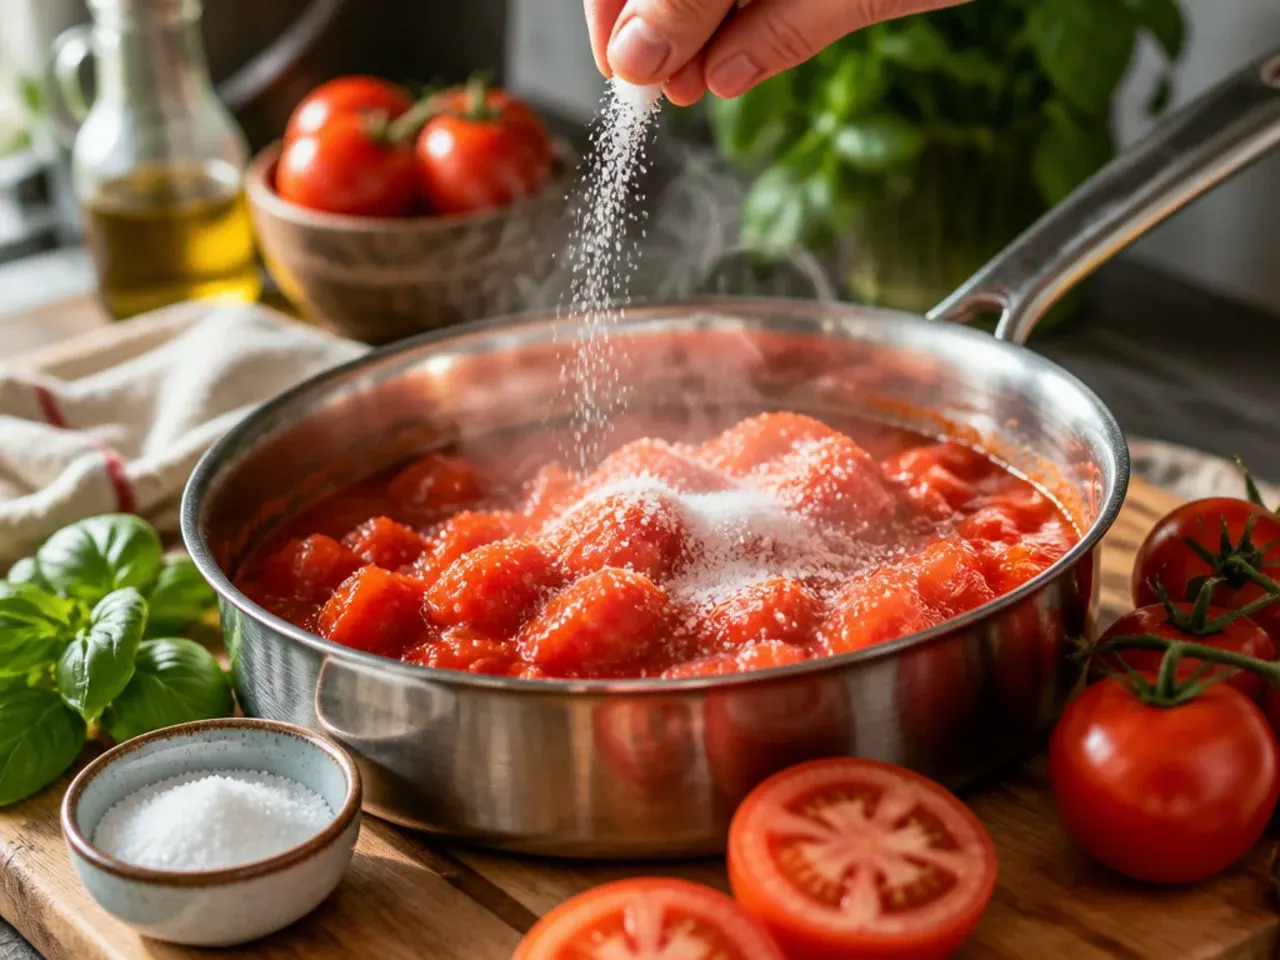
Add 2 g (1/2 tsp) caster sugar and stir until fully dissolved, tasting as you go. This small amount rounds out any sharpness from the lemon juice or under-ripe tomatoes without making the juice taste sweet. Adjust the salt, pepper, or sugar in small increments until the flavour tastes balanced rather than flat or sour.
Step 14: Chill the juice thoroughly
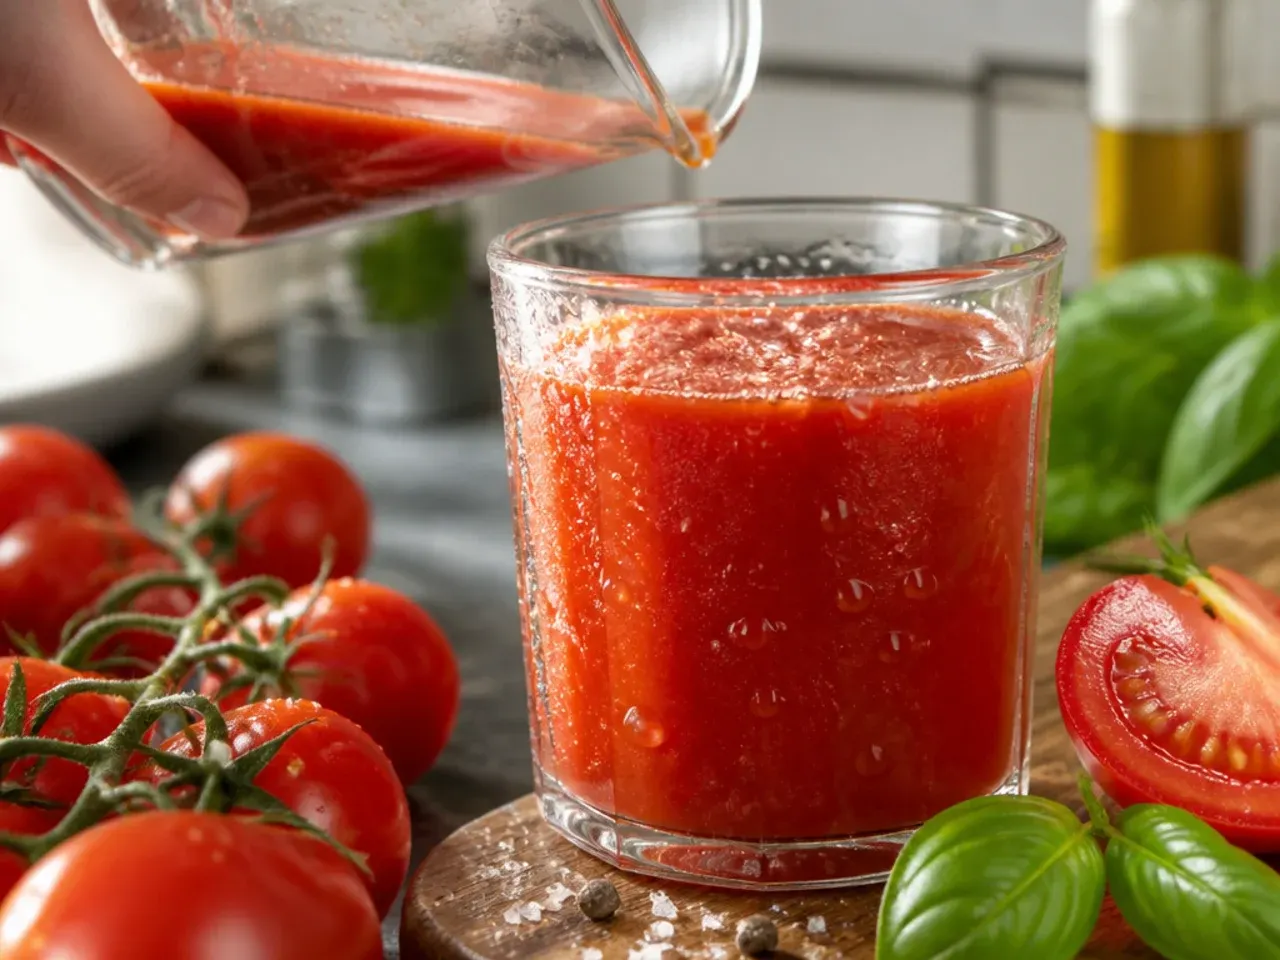
Pour the finished juice into a large jug or bottle, cover, and refrigerate for at least 2 hours, or until completely cold. Chilling mellows the seasoning and lets the flavours settle, so the juice tastes noticeably better cold than fresh off the stove. Give it a good stir or shake before serving, since some pulp settling is normal.
Step 15: Serve and garnish
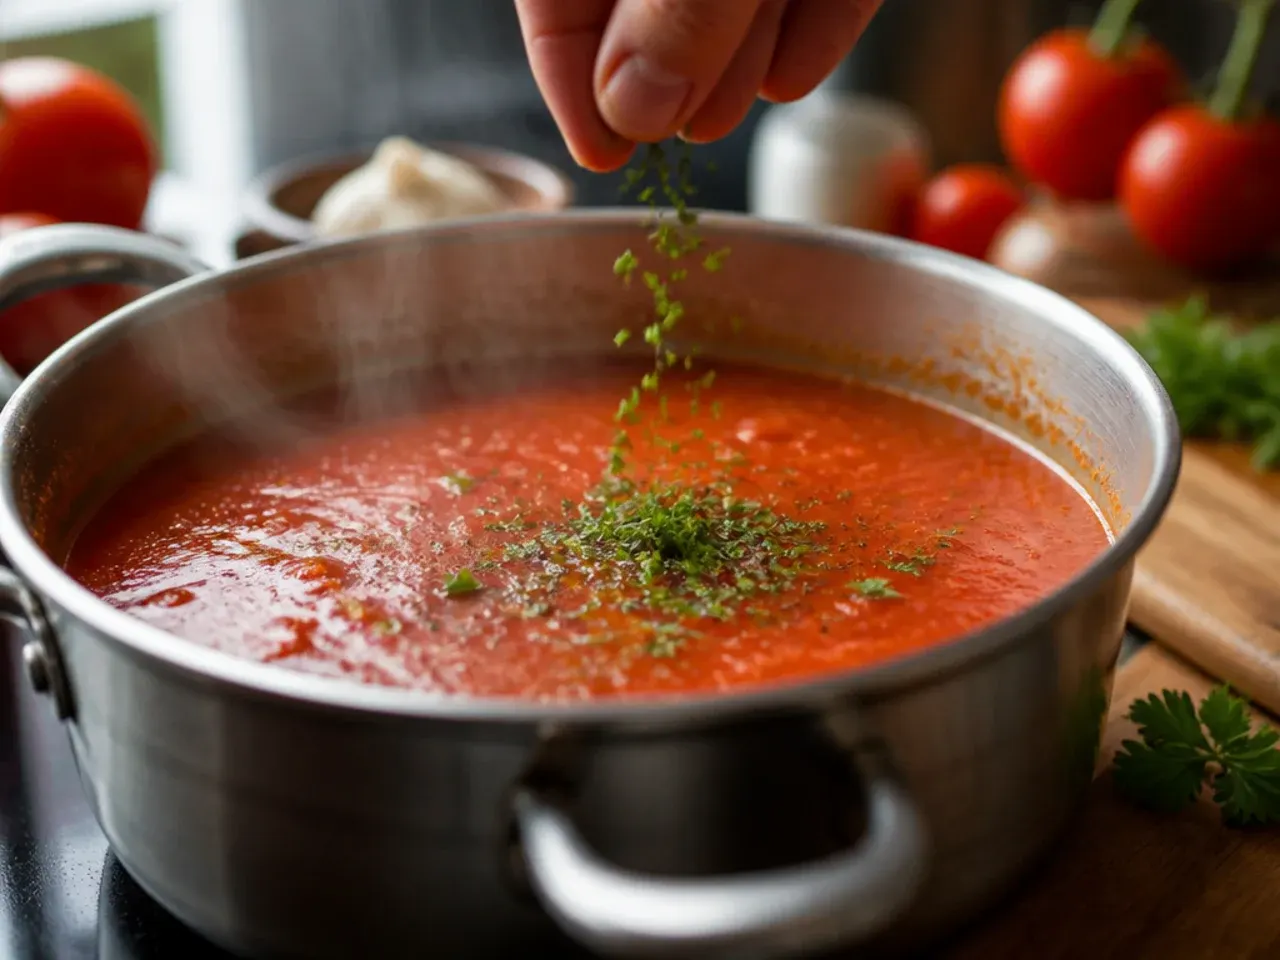
Pour the chilled juice over ice into glasses and garnish each with a celery stick and a few torn fresh basil leaves. Give the jug a final stir just before pouring, as the pulp naturally settles toward the bottom. Serve within a few minutes of pouring for the brightest flavour and best texture.
Pro Tips for the Best Tomato Juice Recipes
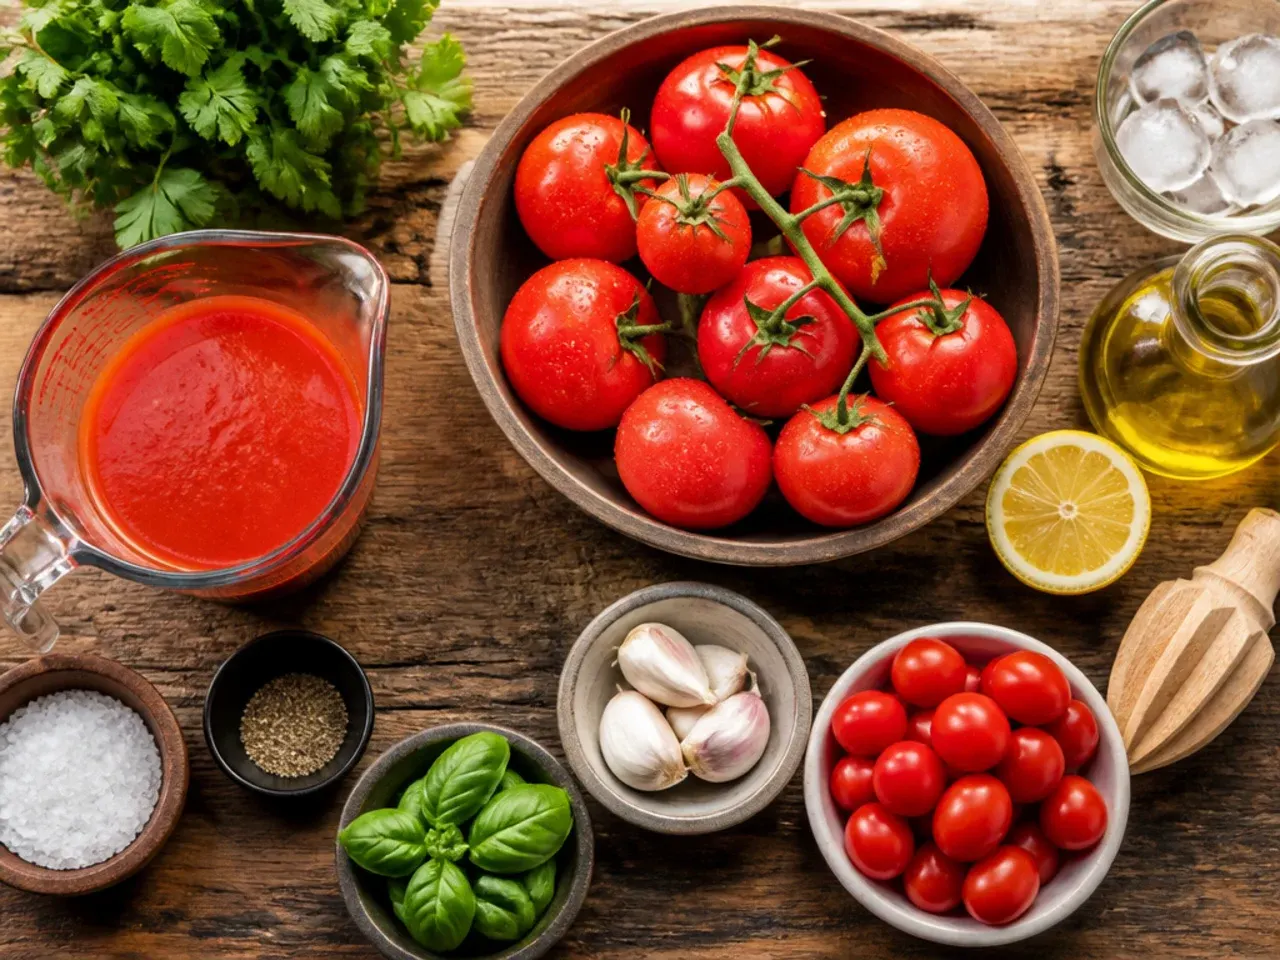
Choose the ripest, most fragrant tomatoes you can find, since under-ripe fruit makes juice that's thin and sharp rather than sweet and full-bodied — plum or vine tomatoes both work well. If you want a deeper, slightly caramelised flavour, roast the quartered tomatoes at 200°C (400°F) for 20 minutes before simmering instead of cooking them from raw. Always taste and season again once the juice is fully chilled, as cold temperatures mute both salt and acidity, so a batch that tastes balanced warm can taste flat once cold. For an ultra-smooth, restaurant-style juice, strain it a second time through a muslin-lined sieve after the first pass.
Storage and Make-Ahead Tips
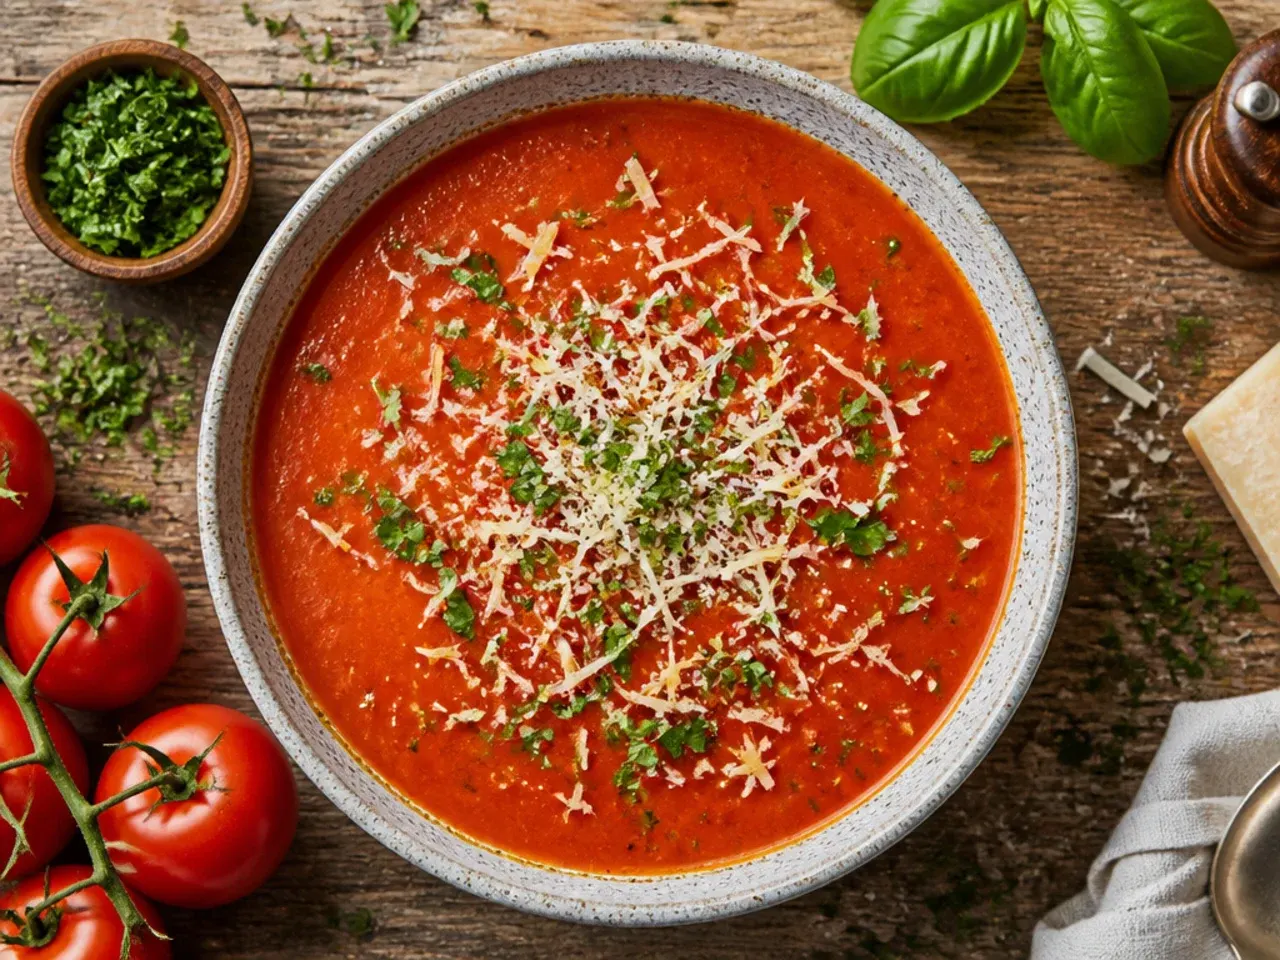
Store fresh tomato juice in an airtight jar or bottle in the refrigerator for up to 4-5 days; the pulp will settle at the bottom, so give it a good shake or stir before pouring. To make it ahead for a brunch or party, prepare the juice up to 2 days in advance and keep it chilled, adding a final seasoning tweak just before serving. For longer storage, freeze the juice in airtight containers or freezer bags, leaving about 2 cm (¾ in) headspace for expansion, for up to 3 months. Thaw frozen juice overnight in the fridge and stir well, as freezing can cause some natural separation.
Learn how to turn ripe tomatoes into vibrant homemade tomato juice recipes with simple simmering, straining, and seasoning steps anyone can master. For more tomato recipes inspiration, browse the full Fresh Tomato Recipes board — every idea there is written for real home kitchens, not professional bakers.
Frequently Asked Questions
Yes — homemade tomato juice actually improves after a day in the fridge, as the seasoning has time to meld into the tomatoes. Make it up to 2 days ahead, store it covered and chilled, then taste and adjust the salt, pepper, or lemon juice just before serving since flavours mellow with time. If you're serving a crowd, simply double the recipe and store it in one large jug rather than making multiple batches. Just remember to stir or shake it before pouring, as the pulp naturally settles.

Related Recipes
Save this for later 📌
Pin this article to your Pinterest board so the full list is one tap away when you need it.
Save on Pinterest