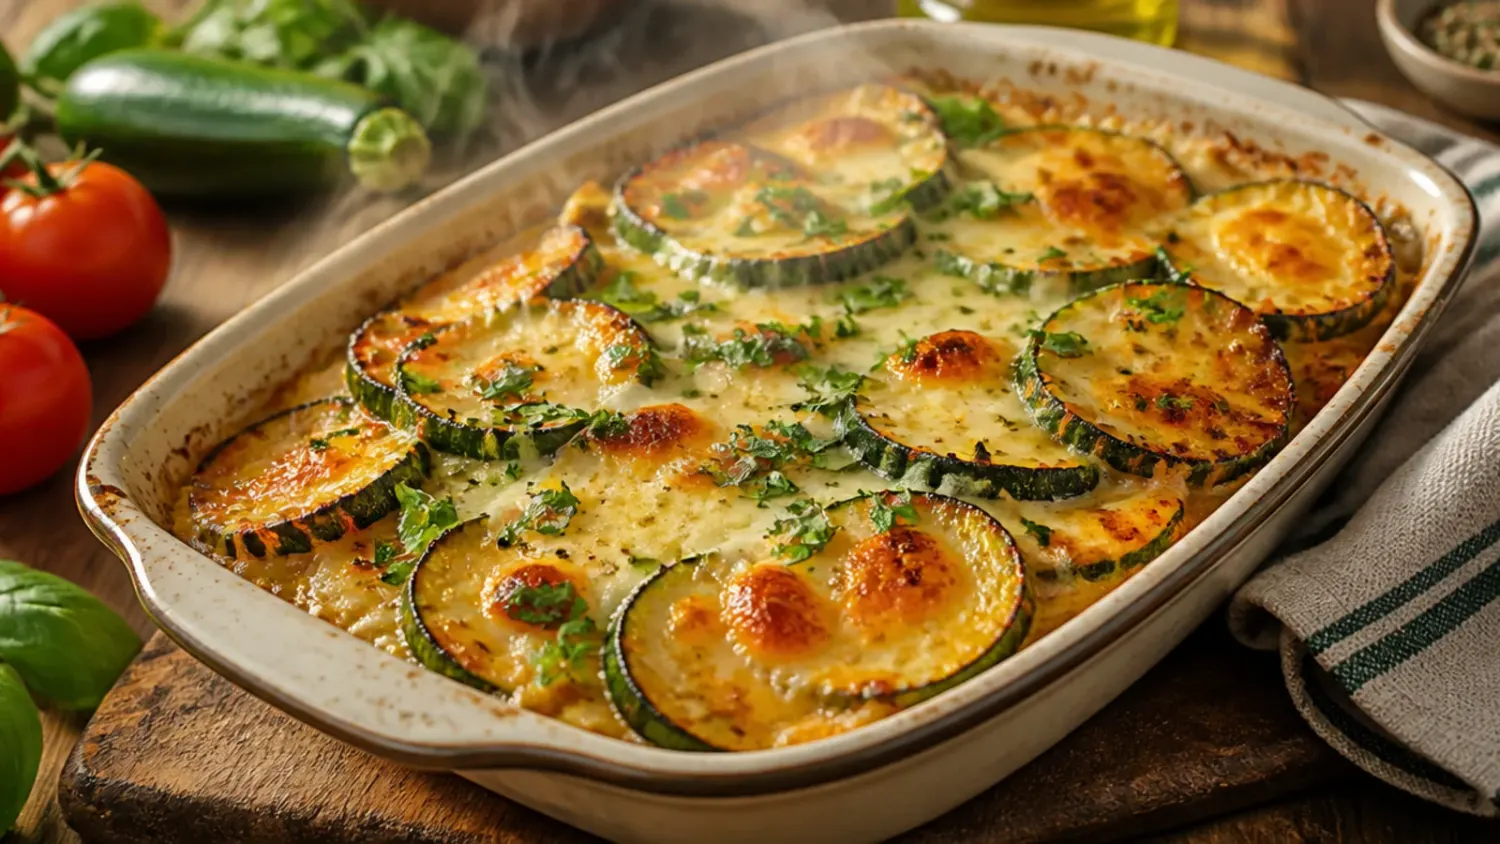
Ingredients 6 Person(s)

Save this for later 📌
Pin this article to your Pinterest board so the full list is one tap away when you need it.
Save on PinterestDirections
Step 1: Prep the zucchini
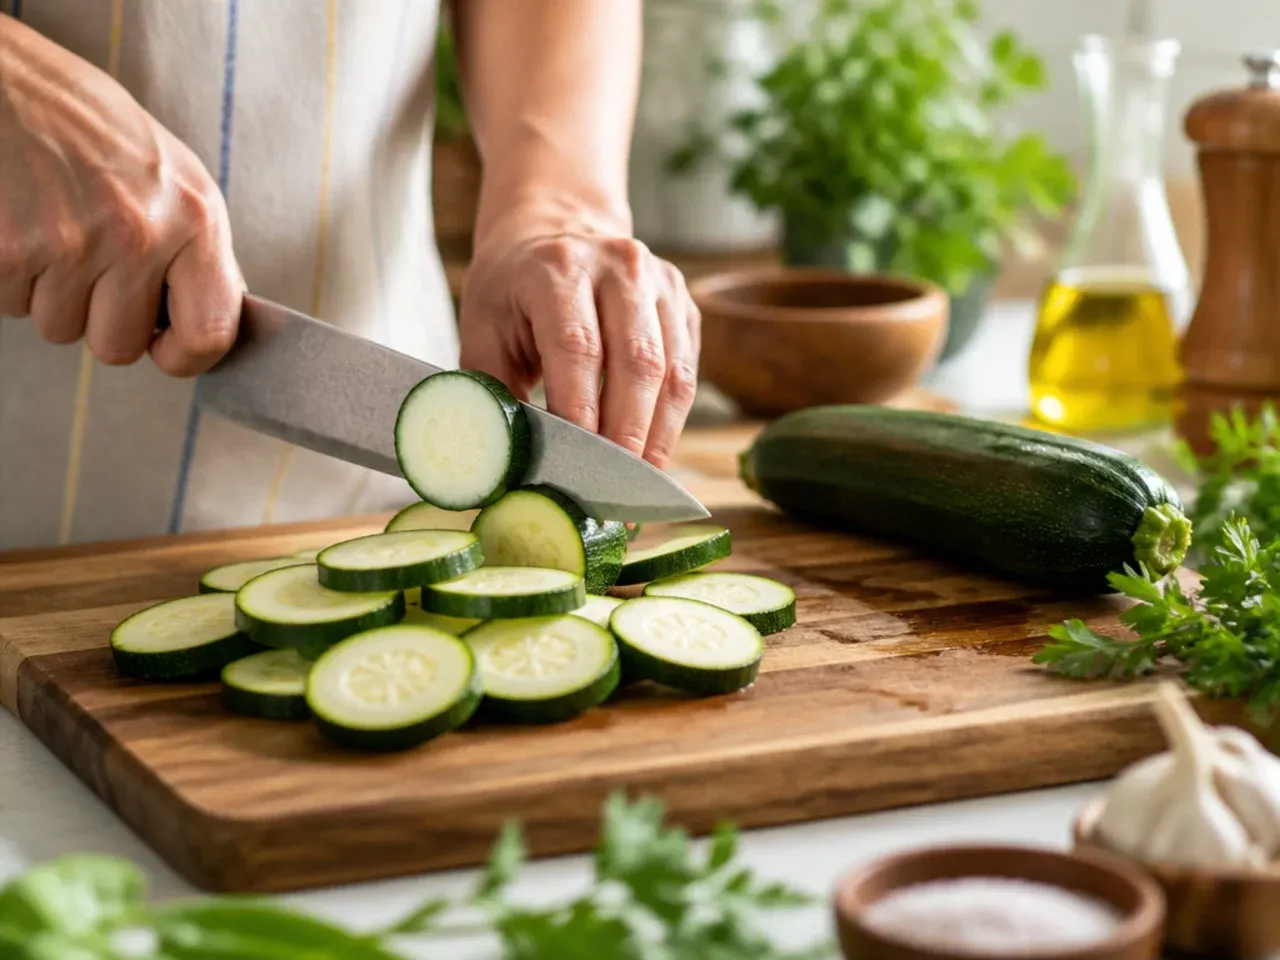
Trim the ends off 600 g (1.3 lb) zucchini and cut it into 1 cm (1/2 inch) cubes, keeping the pieces roughly the same size so they cook evenly.
Step 2: Salt and drain the zucchini
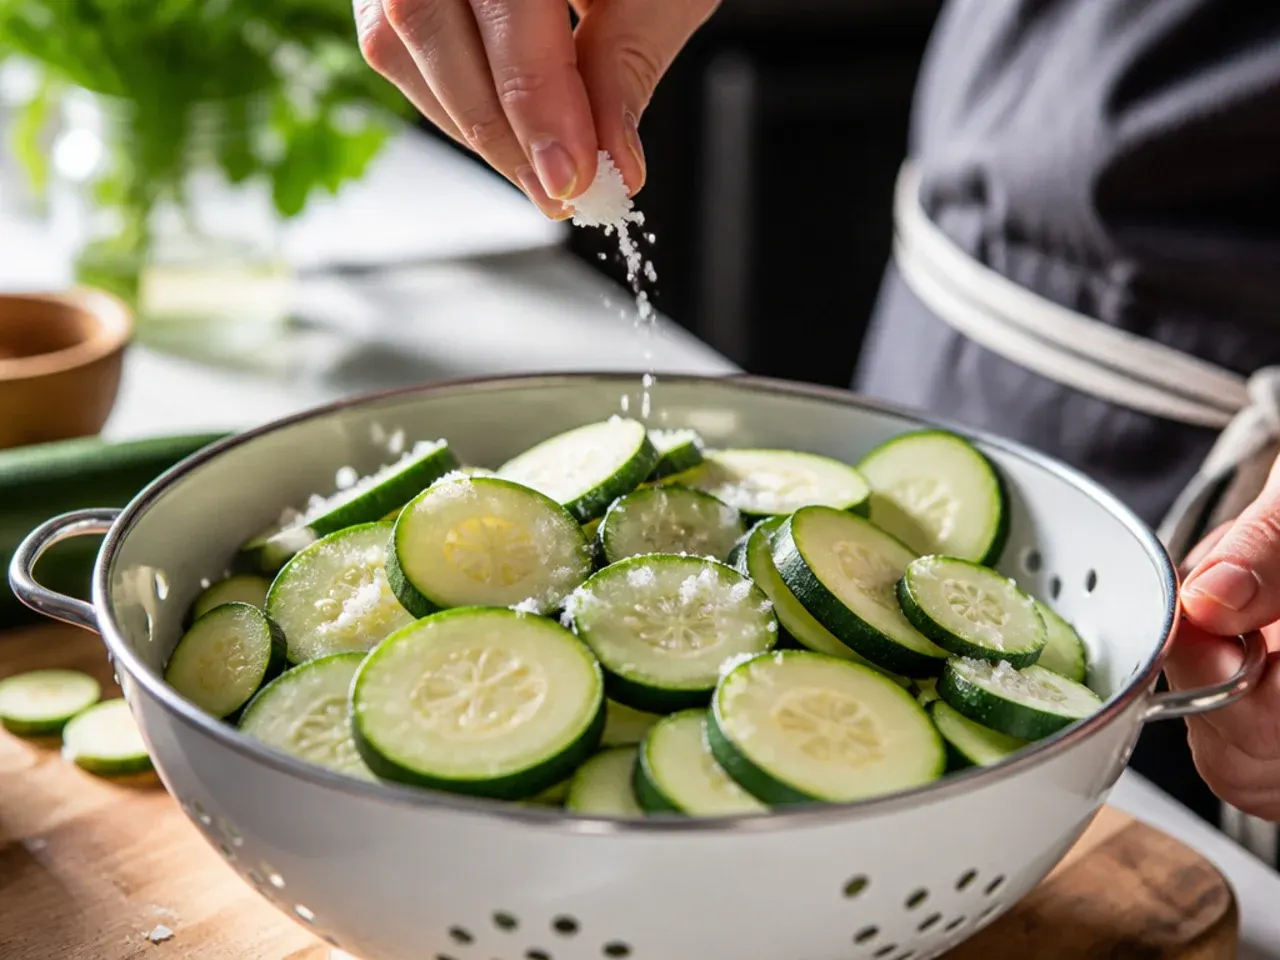
Spread the diced zucchini over a clean tea towel or in a colander, toss with 5 ml (1 tsp) of the salt, and let it sit for 10 minutes; you'll see beads of moisture on the surface, which is the excess water leaving that would otherwise make the bake watery.
Step 3: Blot the zucchini dry
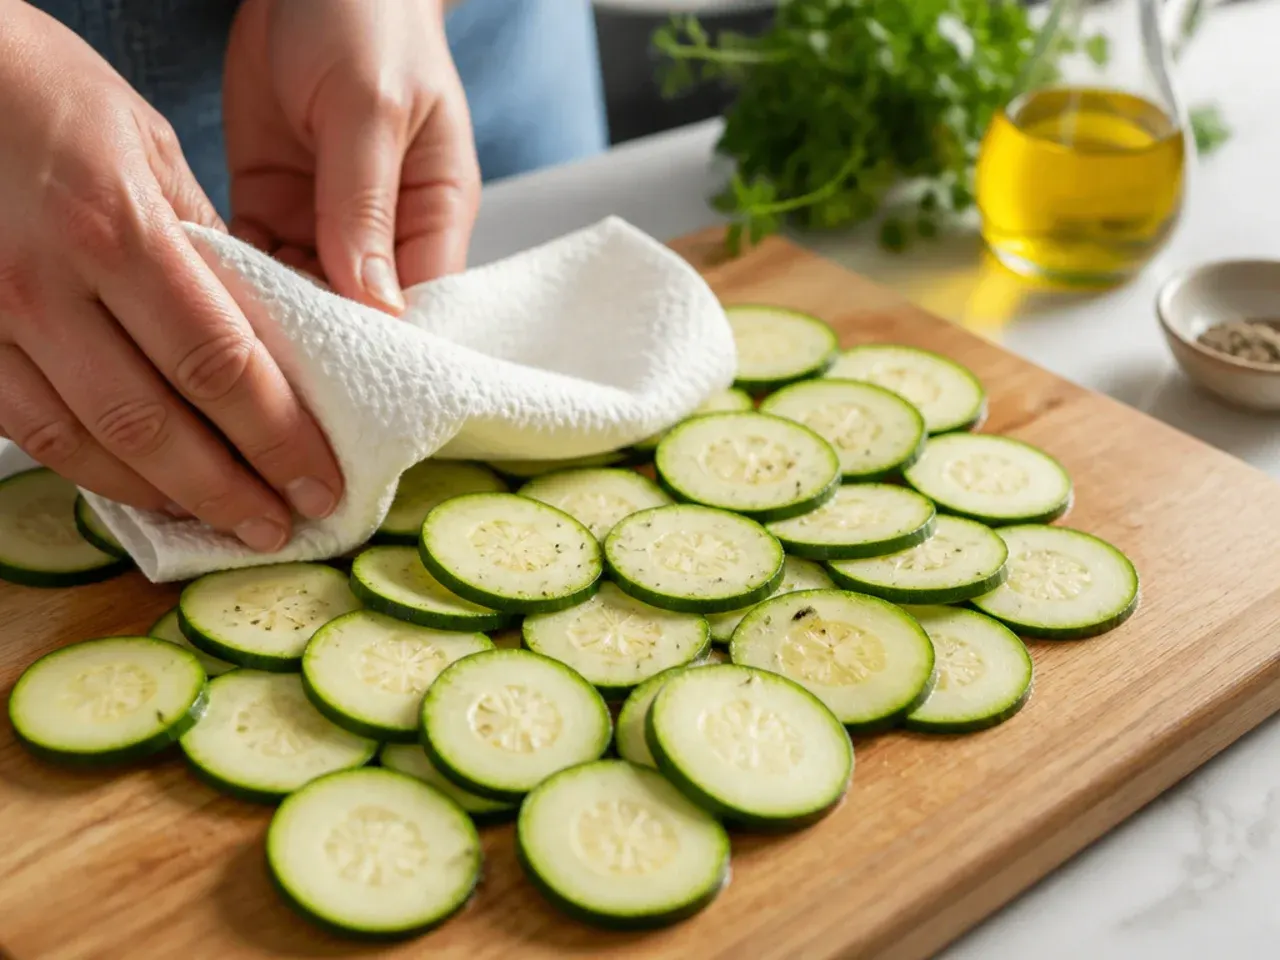
Press the salted zucchini firmly with paper towels or the tea towel until it feels mostly dry to the touch, discarding the liquid that's pooled underneath.
Step 4: Preheat the oven
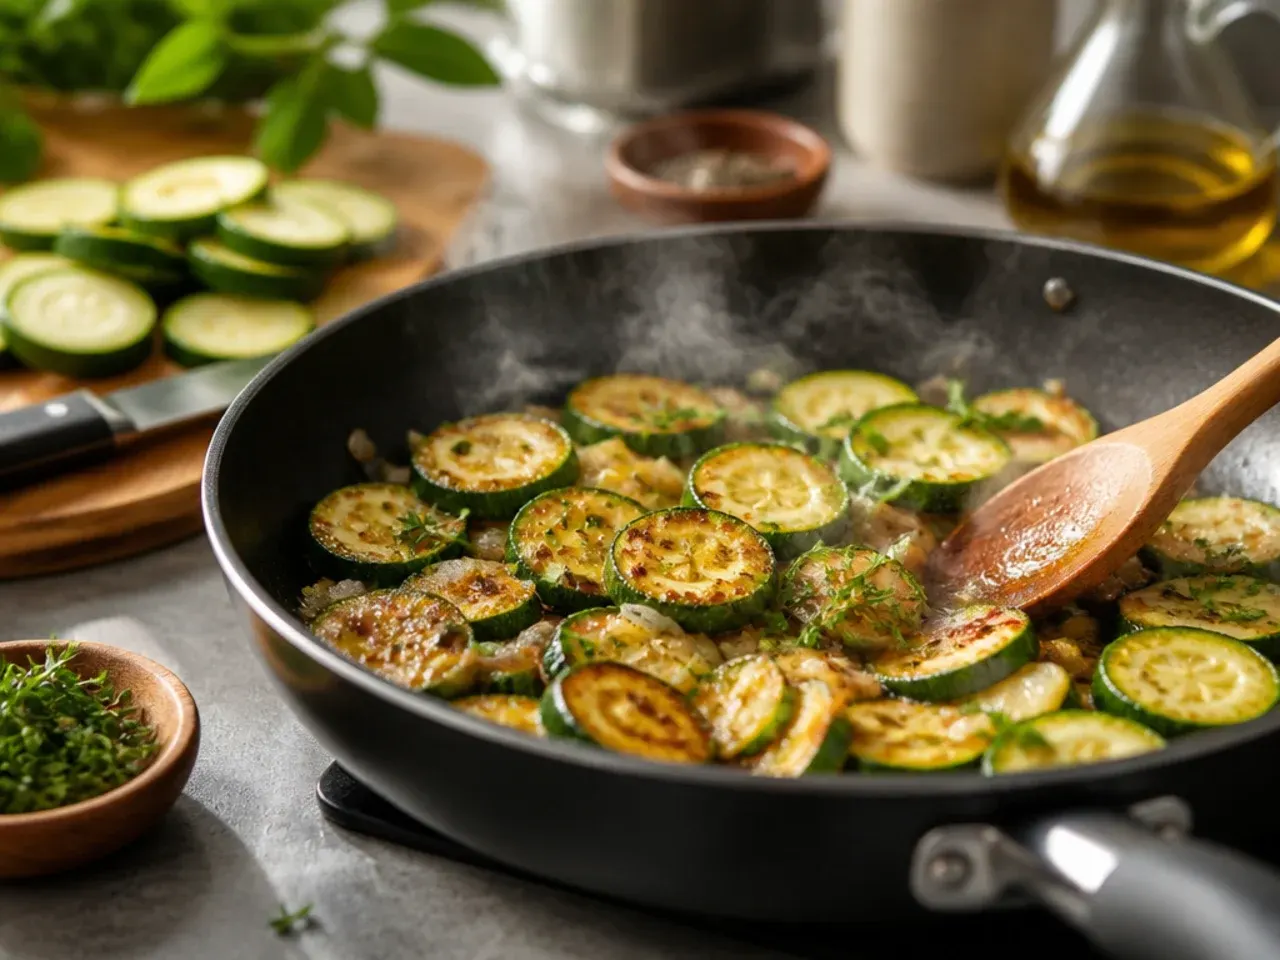
Set the oven to 190°C (375°F) and make sure a rack sits in the middle position so the bake heats evenly top and bottom.
Step 5: Dice the onion and mince the garlic
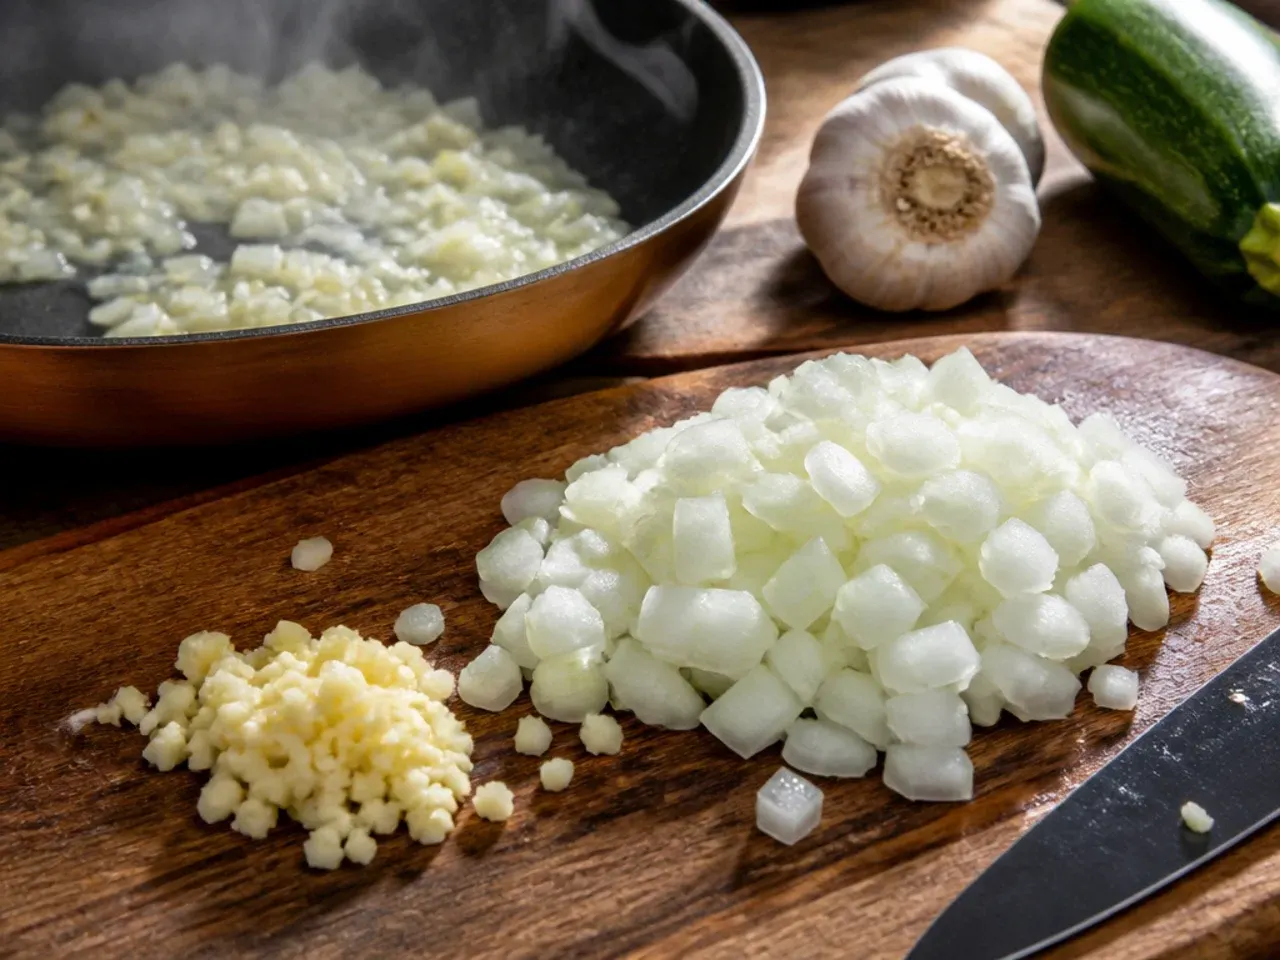
Peel and dice 150 g (1 medium) onion into small, even pieces, and finely mince 9 g (3 cloves) garlic; keep them separate since they go into the pan at different times.
Step 6: Heat the oil
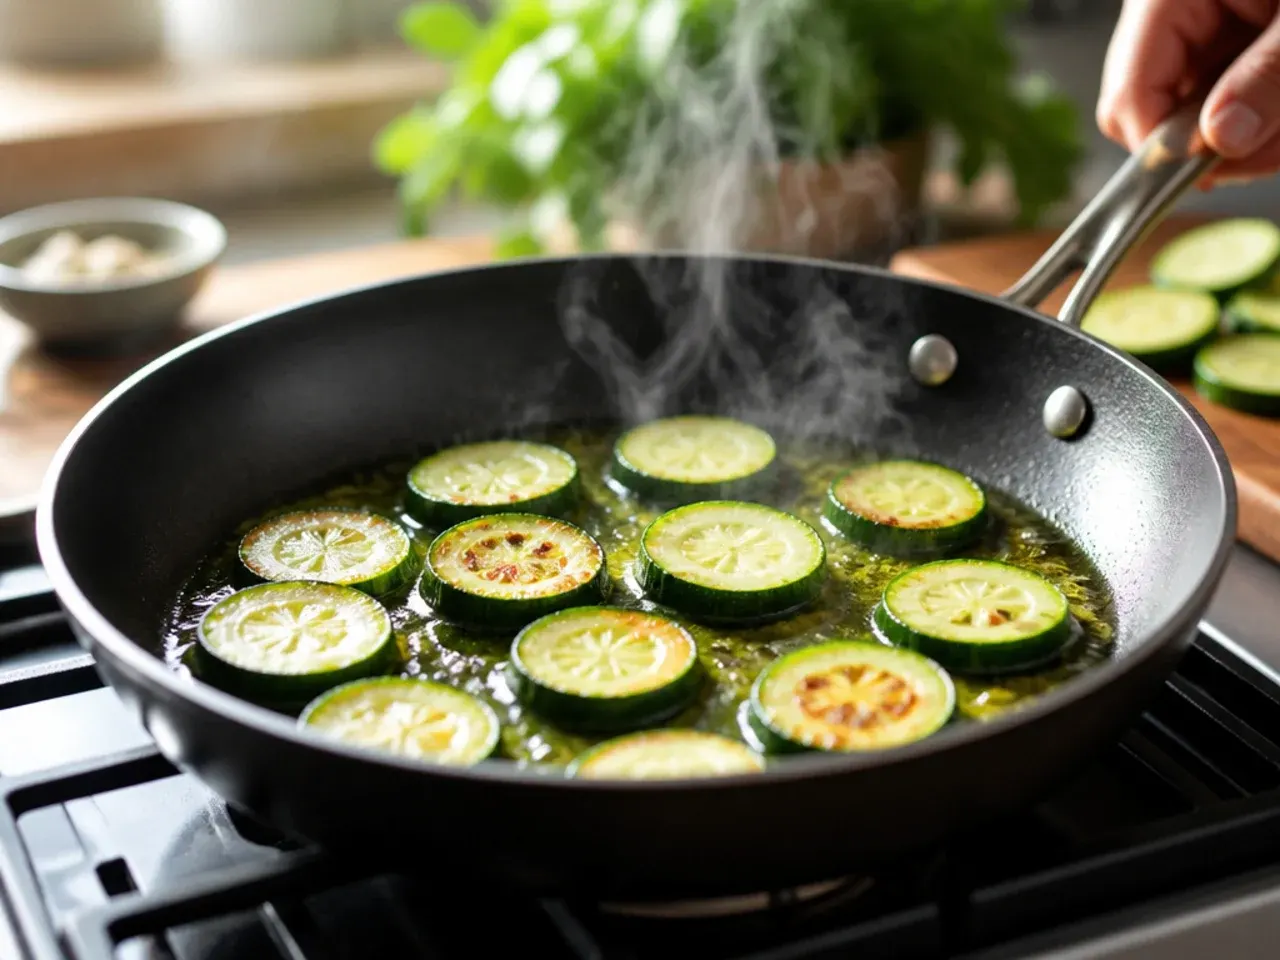
Warm 15 ml (1 tbsp) of the olive oil in a large 30 cm (12 inch) oven-proof skillet over medium heat for about 1 minute, until it shimmers but isn't smoking.
Step 7: Sauté the onion
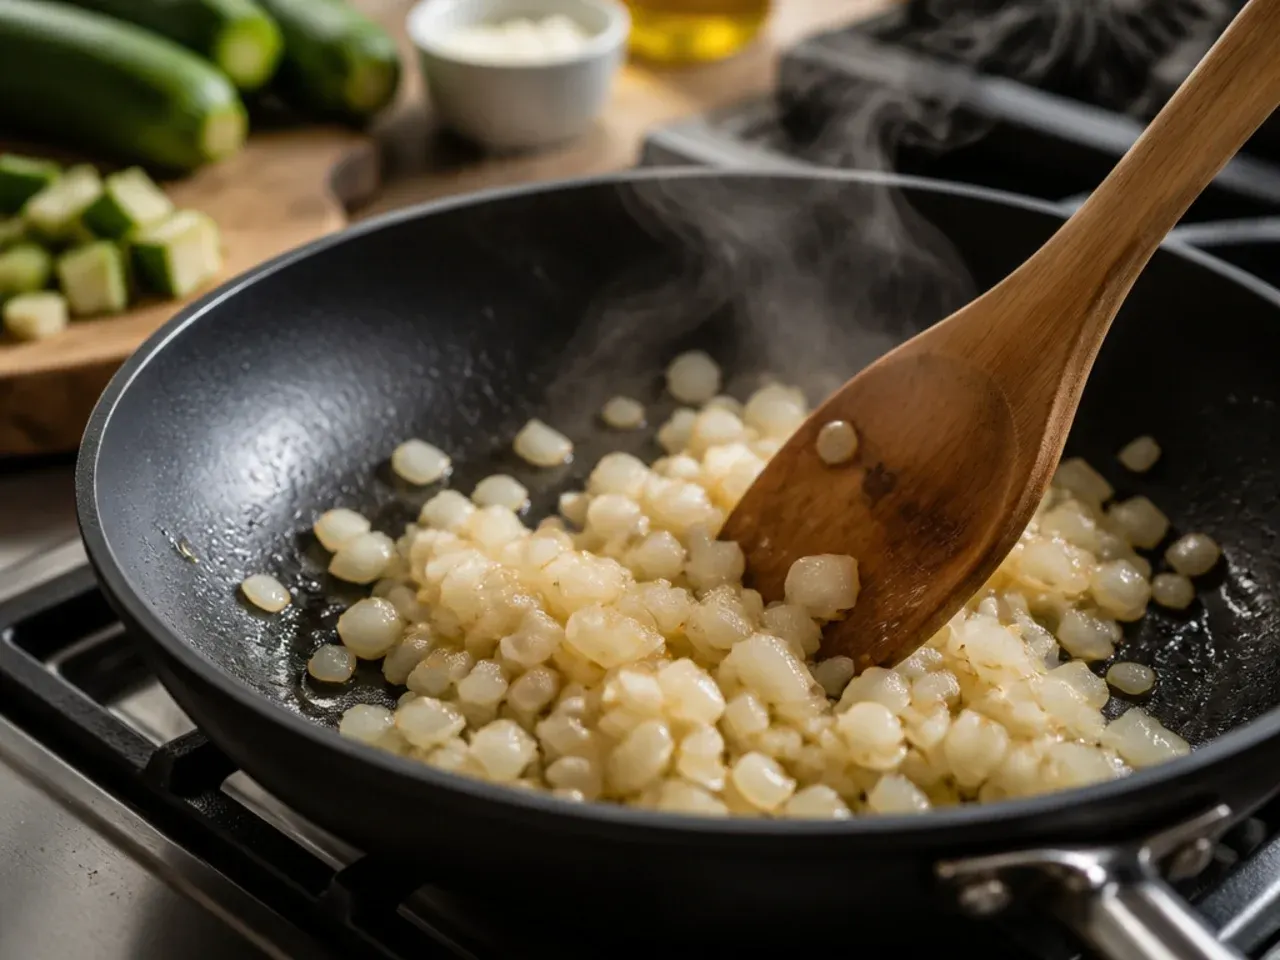
Add the diced onion and cook for 4-5 minutes, stirring occasionally, until it turns soft and translucent with lightly golden edges.
Step 8: Add the garlic
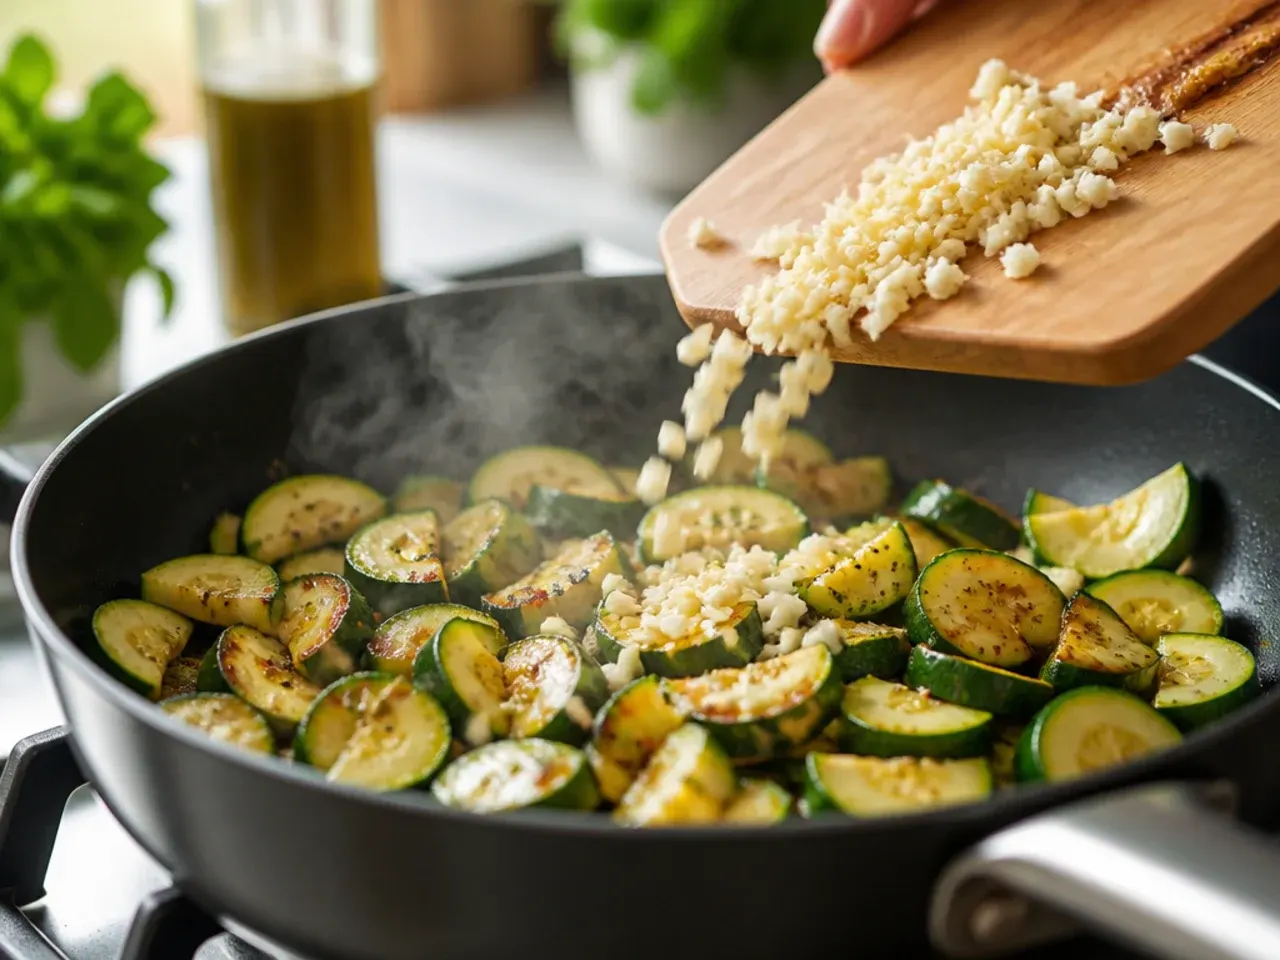
Stir in the minced garlic and cook for 30-45 seconds, just until it smells fragrant; pull it off the heat briefly if it starts to darken, since burnt garlic turns bitter fast.
Step 9: Brown the ground beef
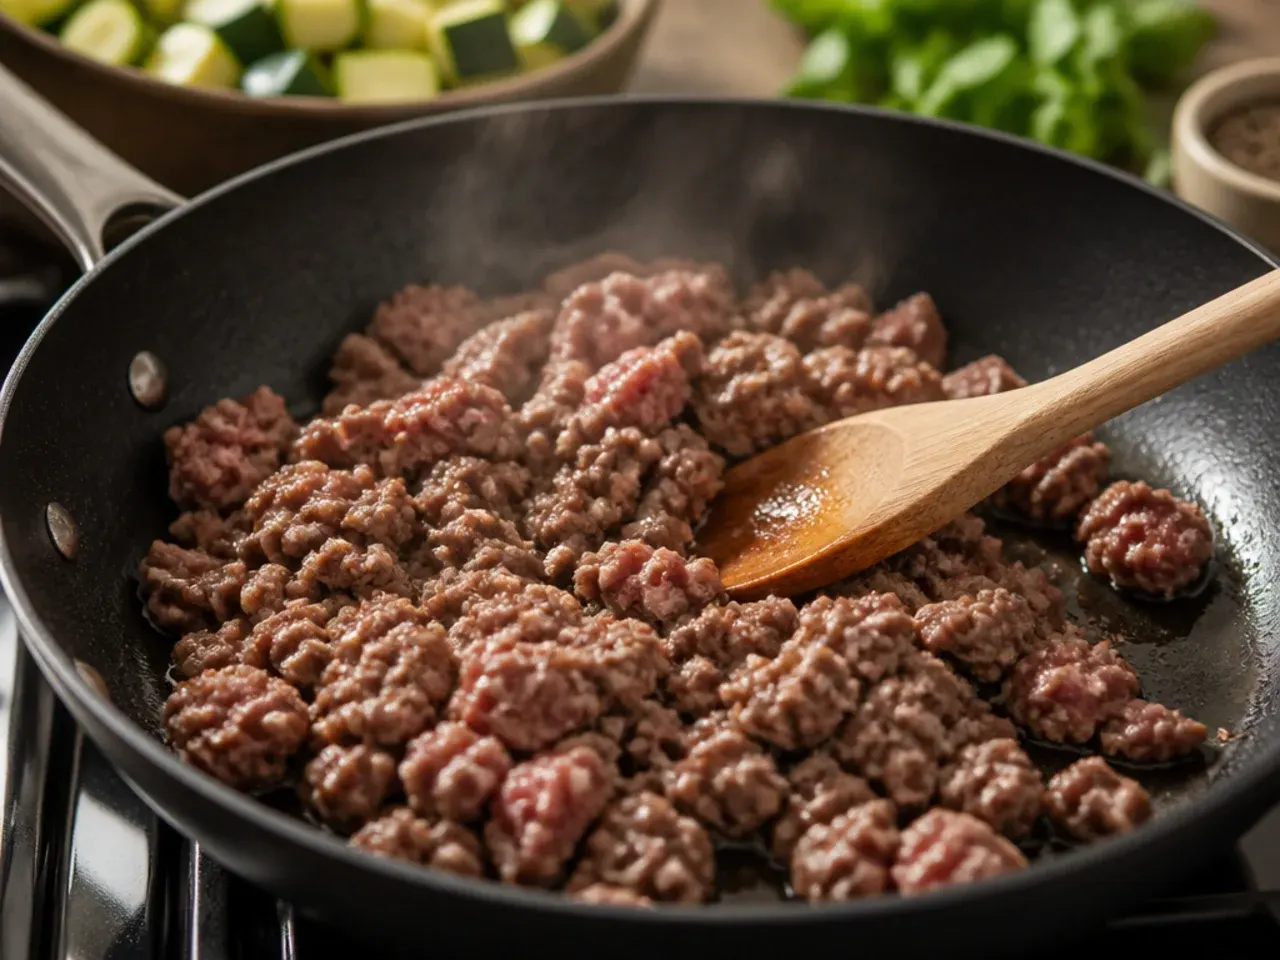
Push the onion and garlic to one side, add 450 g (1 lb) ground beef to the pan, and break it up with a wooden spoon; cook for 6-8 minutes over medium-high heat until no pink remains, the meat is nicely browned in patches, and an instant-read thermometer inserted into the thickest clumps reads at least 71°C (160°F).
Step 10: Drain excess fat
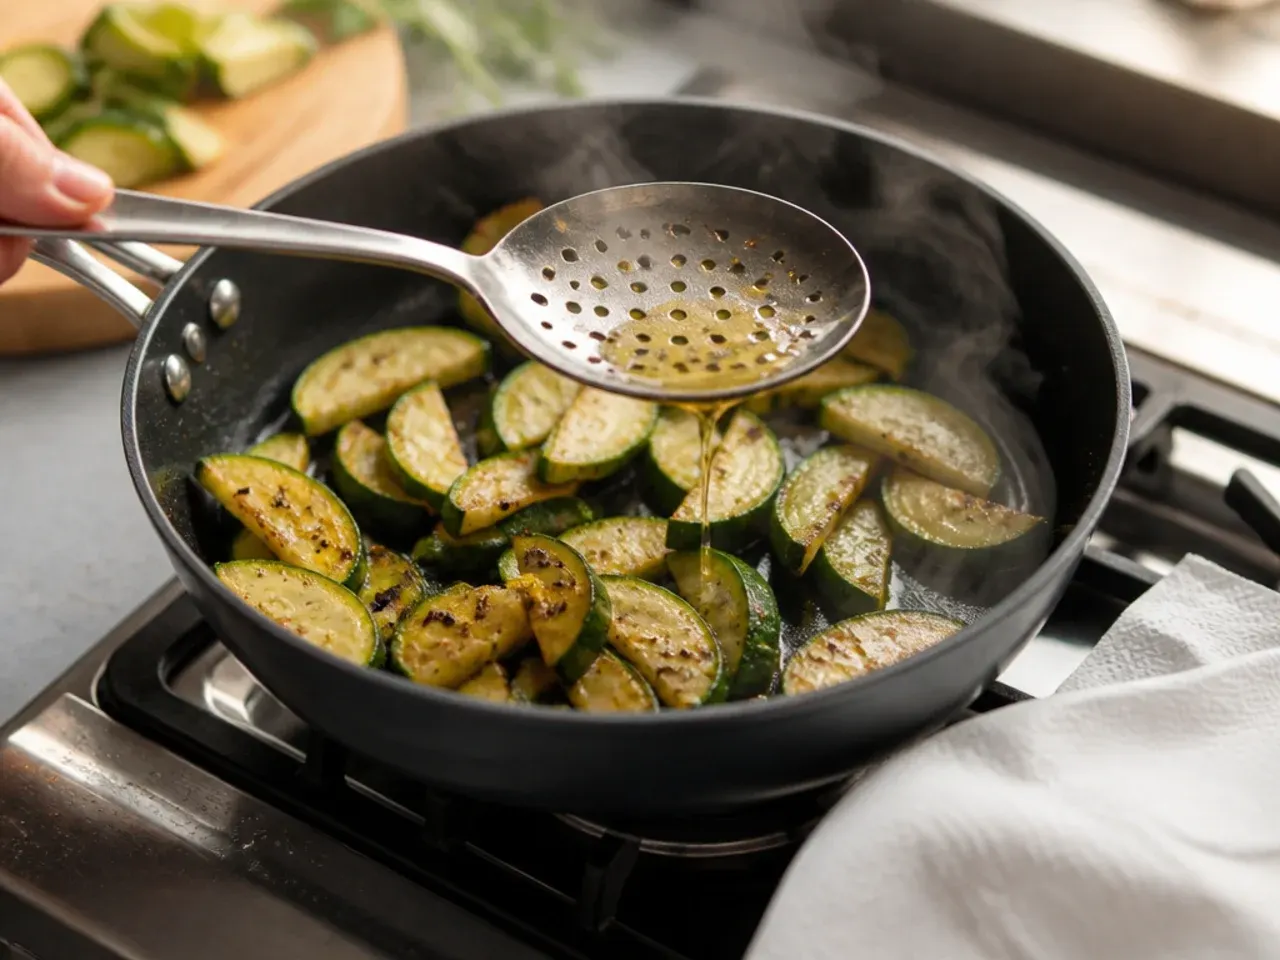
Tilt the pan and spoon off any pooled fat, leaving about 15 ml (1 tbsp) behind for flavour; this keeps the finished bake from tasting greasy.
Step 11: Season the meat mixture
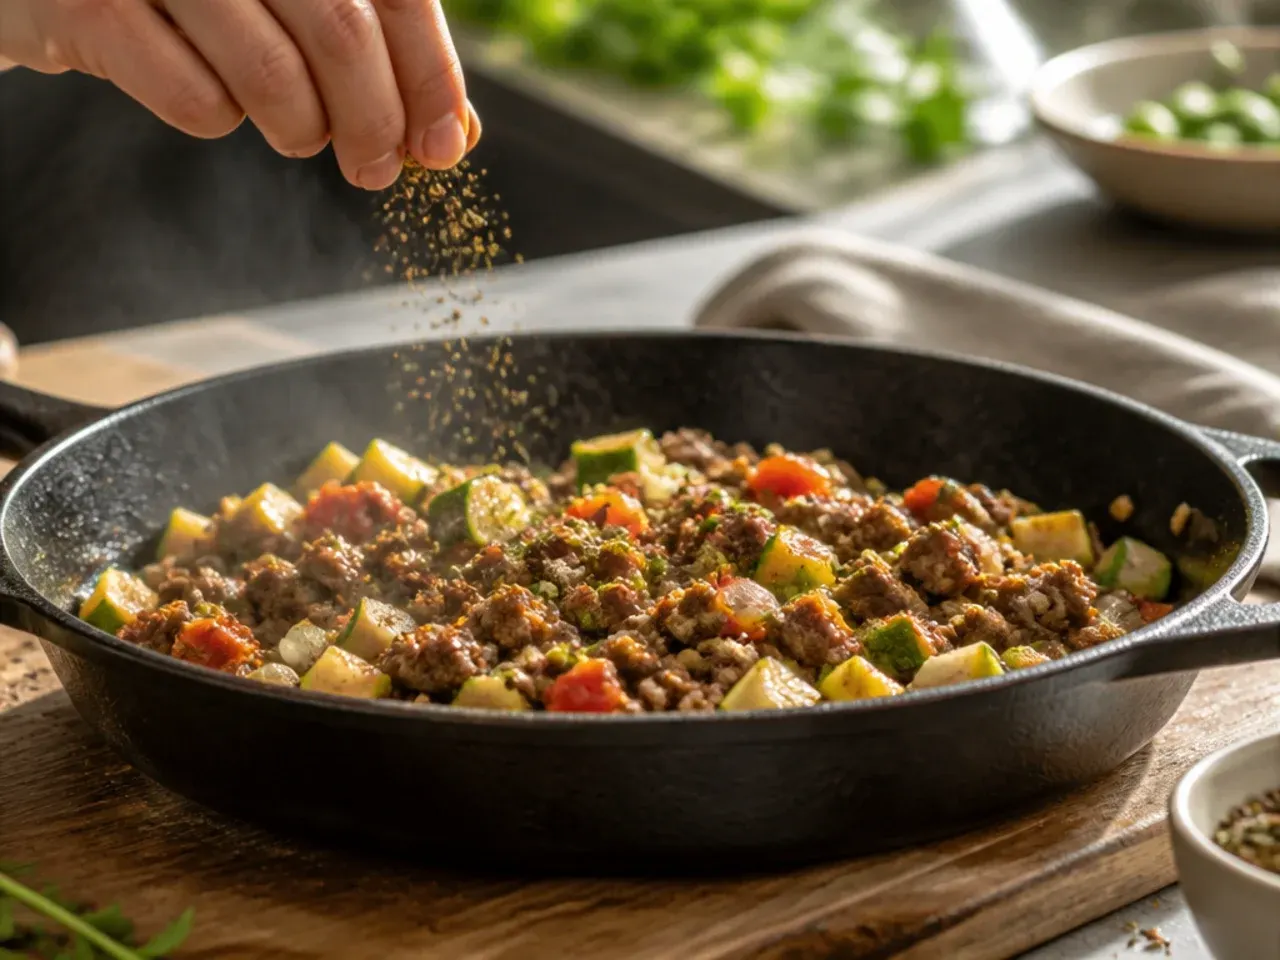
Sprinkle in the remaining 2.5 ml (1/2 tsp) black pepper and 10 ml (2 tsp) Italian seasoning, and stir through so the spices coat the beef and onion evenly.
Step 12: Add the zucchini
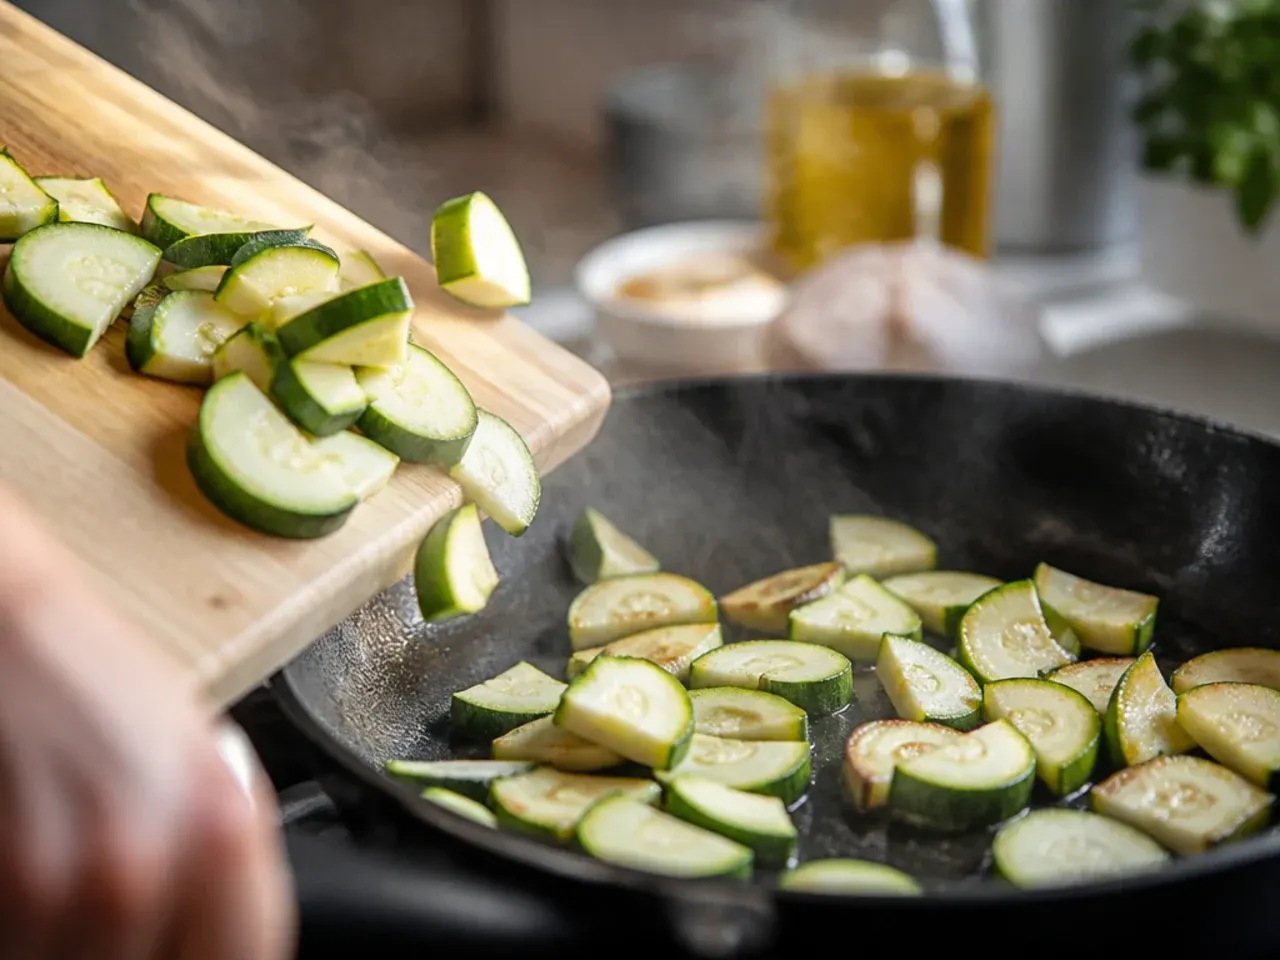
Tip the drained, blotted zucchini into the skillet and stir to combine with the beef mixture over medium heat.
Step 13: Cook the zucchini briefly
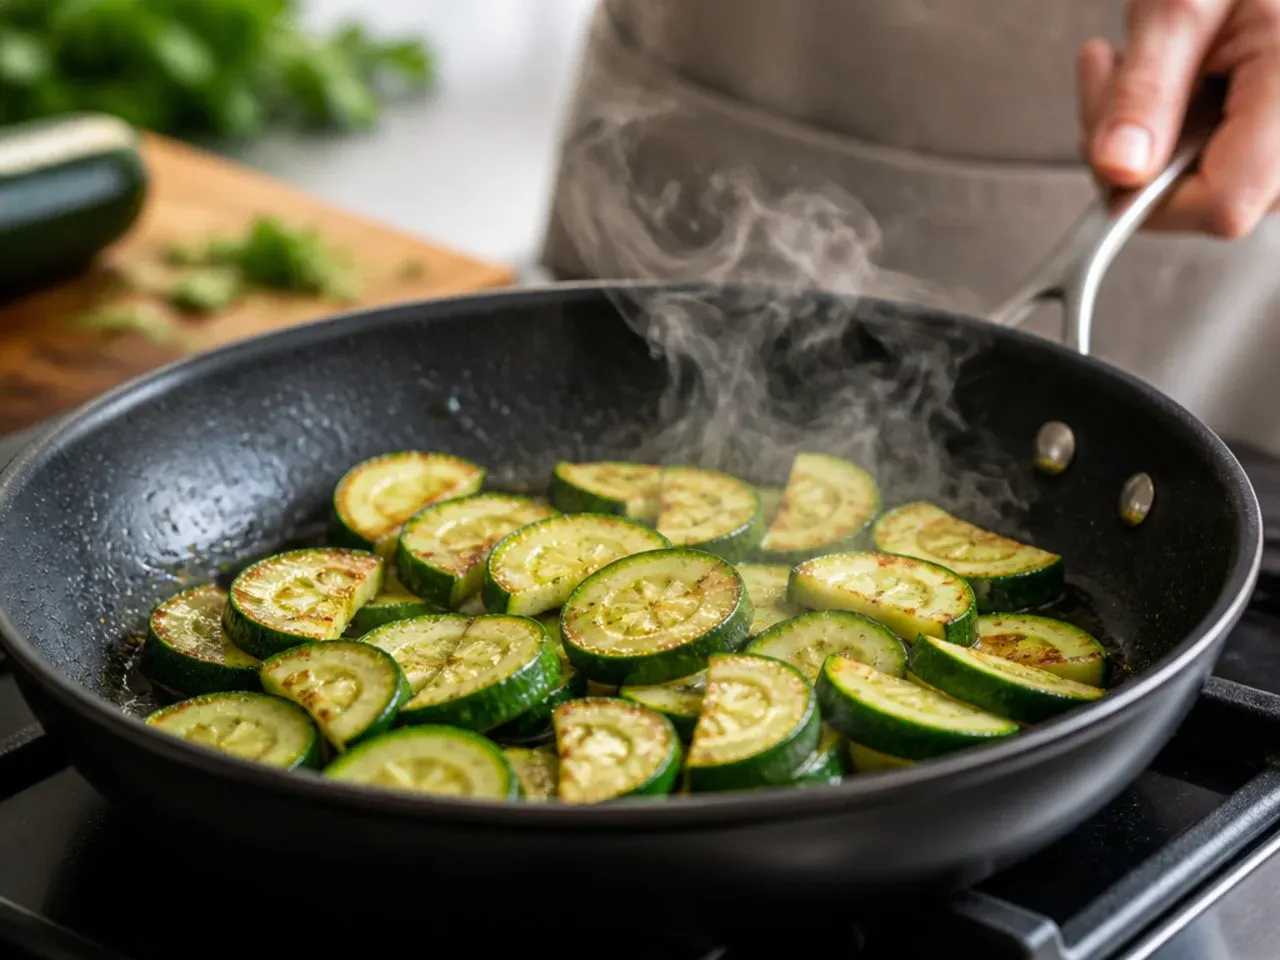
Sauté the zucchini for 3-4 minutes, stirring often, until it just starts to soften at the edges but still holds its shape; it will finish cooking in the oven.
Step 14: Stir in the tomatoes
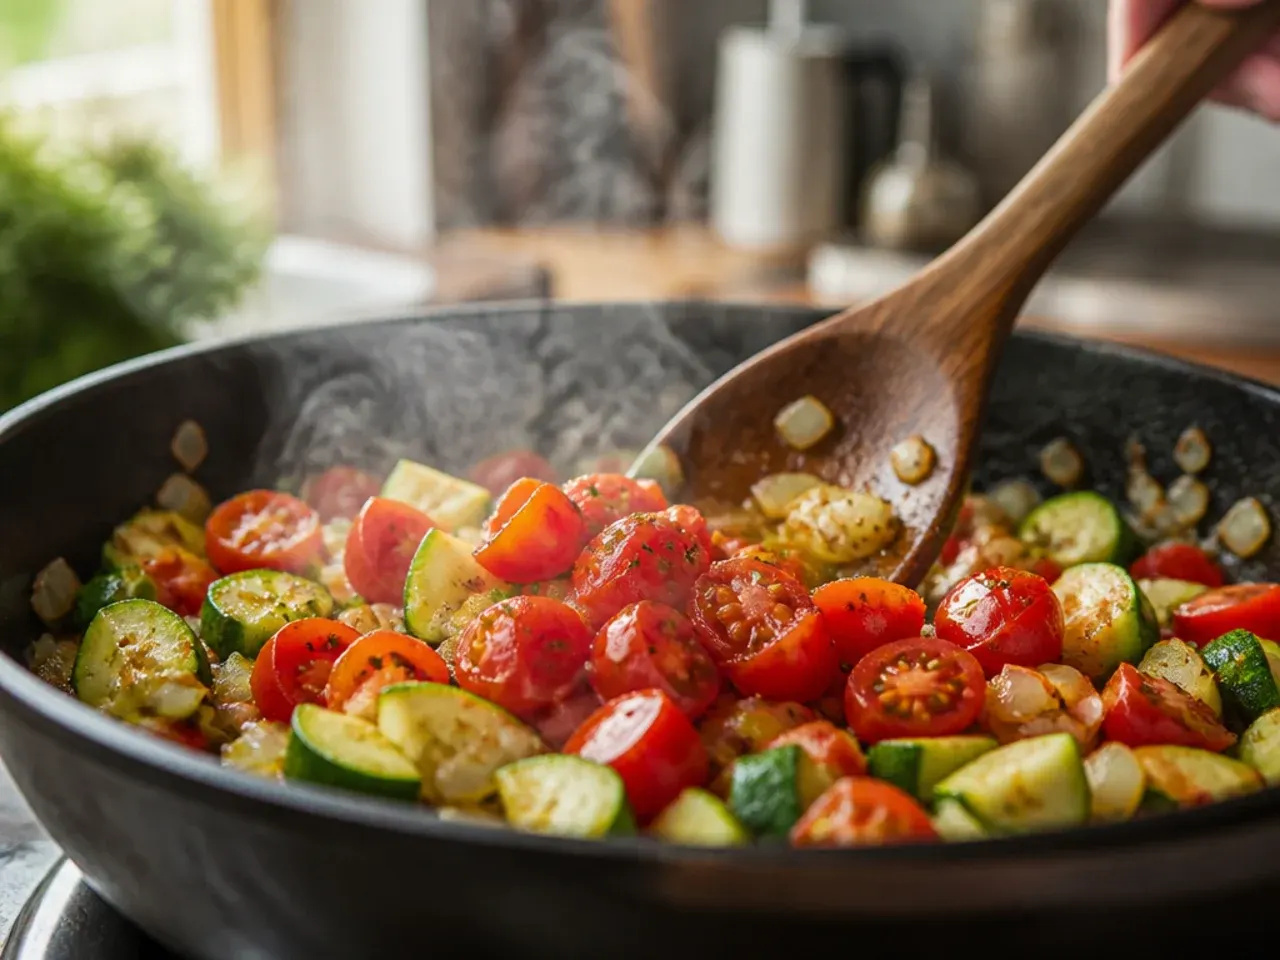
Pour in the 400 g (14 oz) tin of chopped tomatoes, juices and all, and stir to combine, scraping up any browned bits from the base of the pan for extra flavour.
Step 15: Add the rice and stock
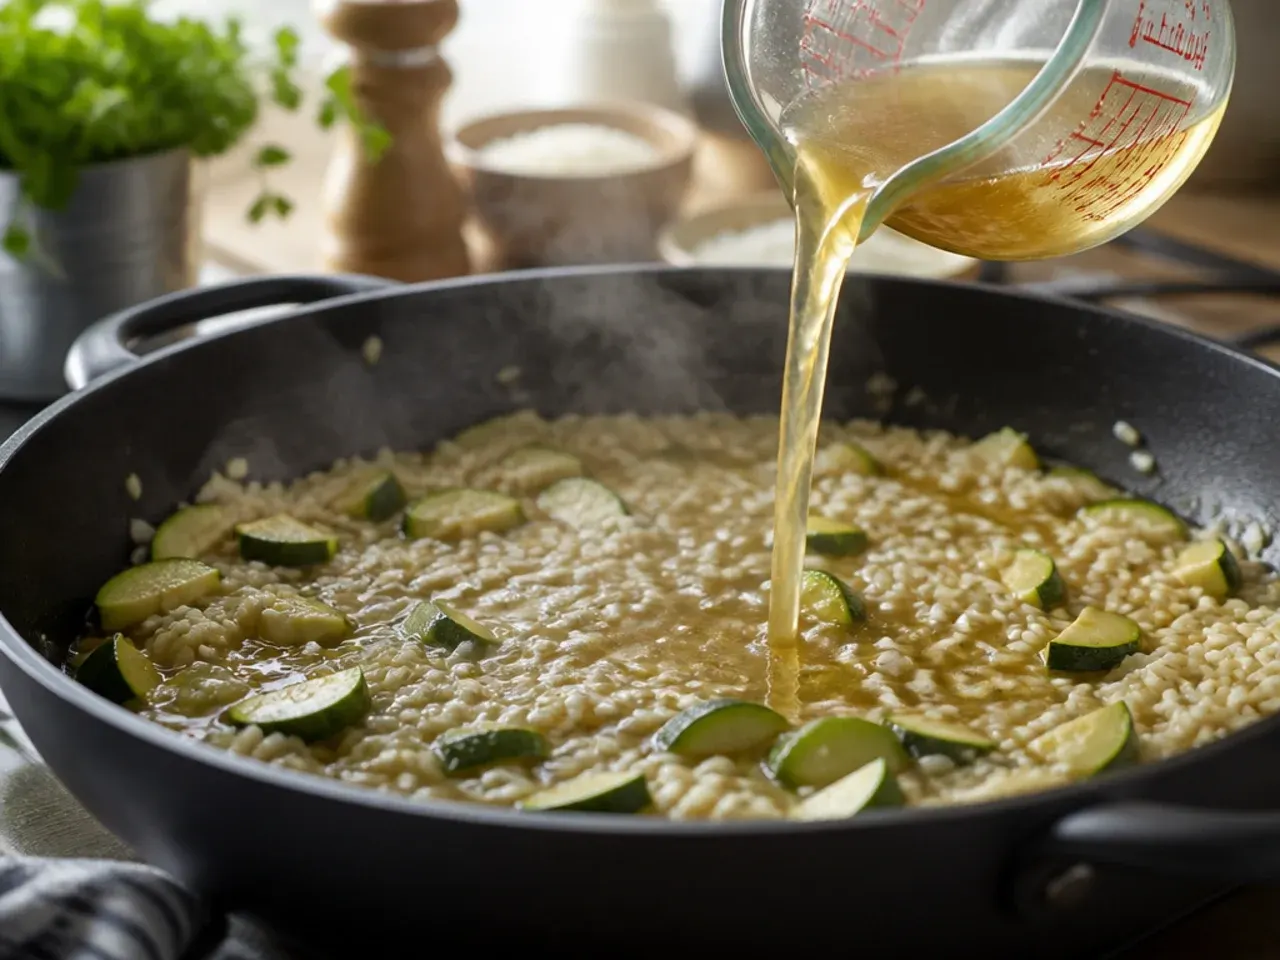
Stir in 185 g (1 cup) uncooked long-grain rice and 480 ml (2 cups) beef stock, making sure the rice is fully submerged so it cooks evenly.
Step 16: Bring to a simmer
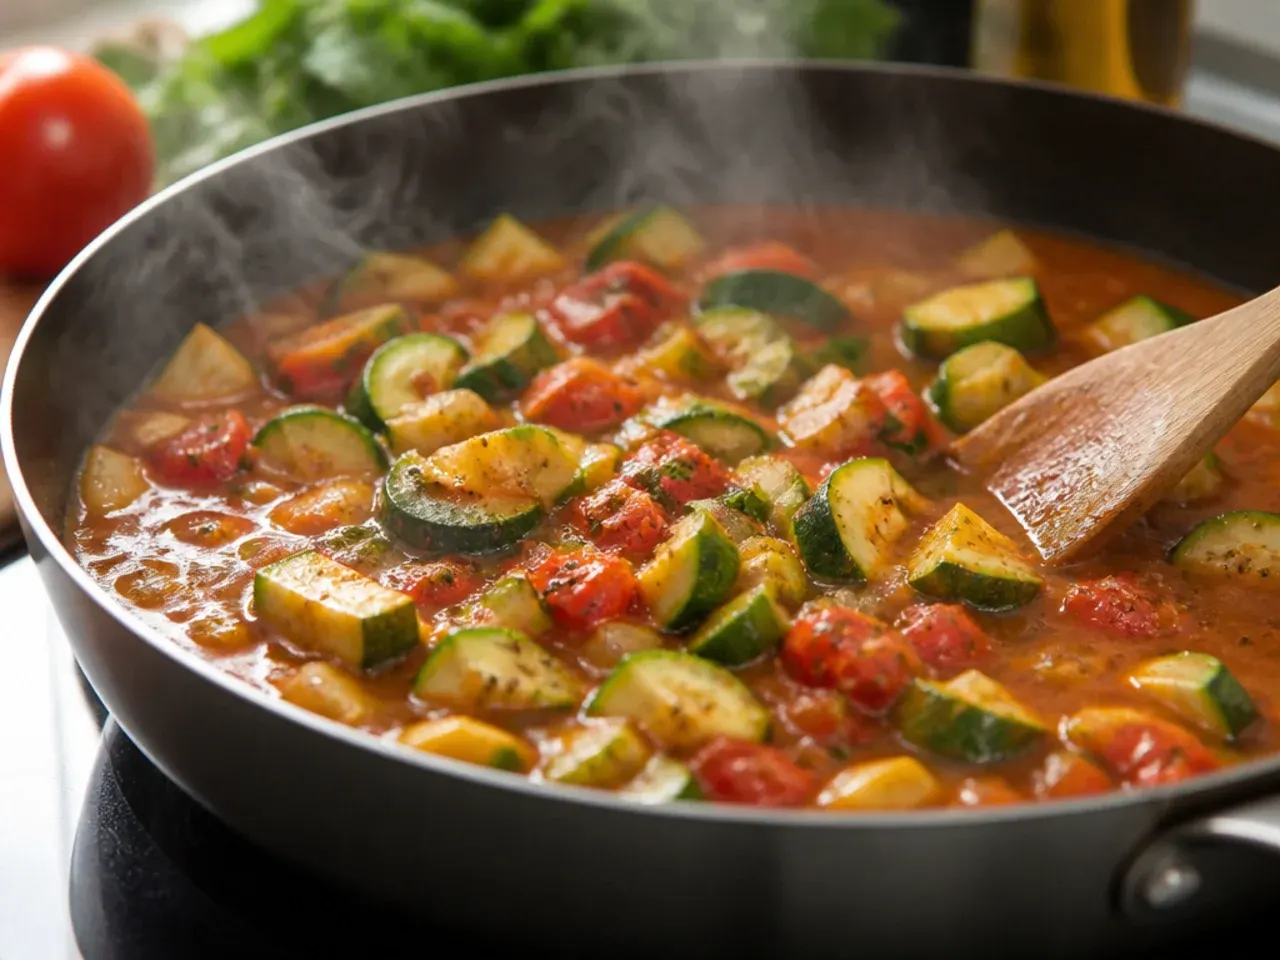
Increase the heat to medium-high and bring the mixture to a gentle simmer, which takes about 3-4 minutes; you'll see small steady bubbles across the surface, not a rolling boil.
Step 17: Cover and cook the rice
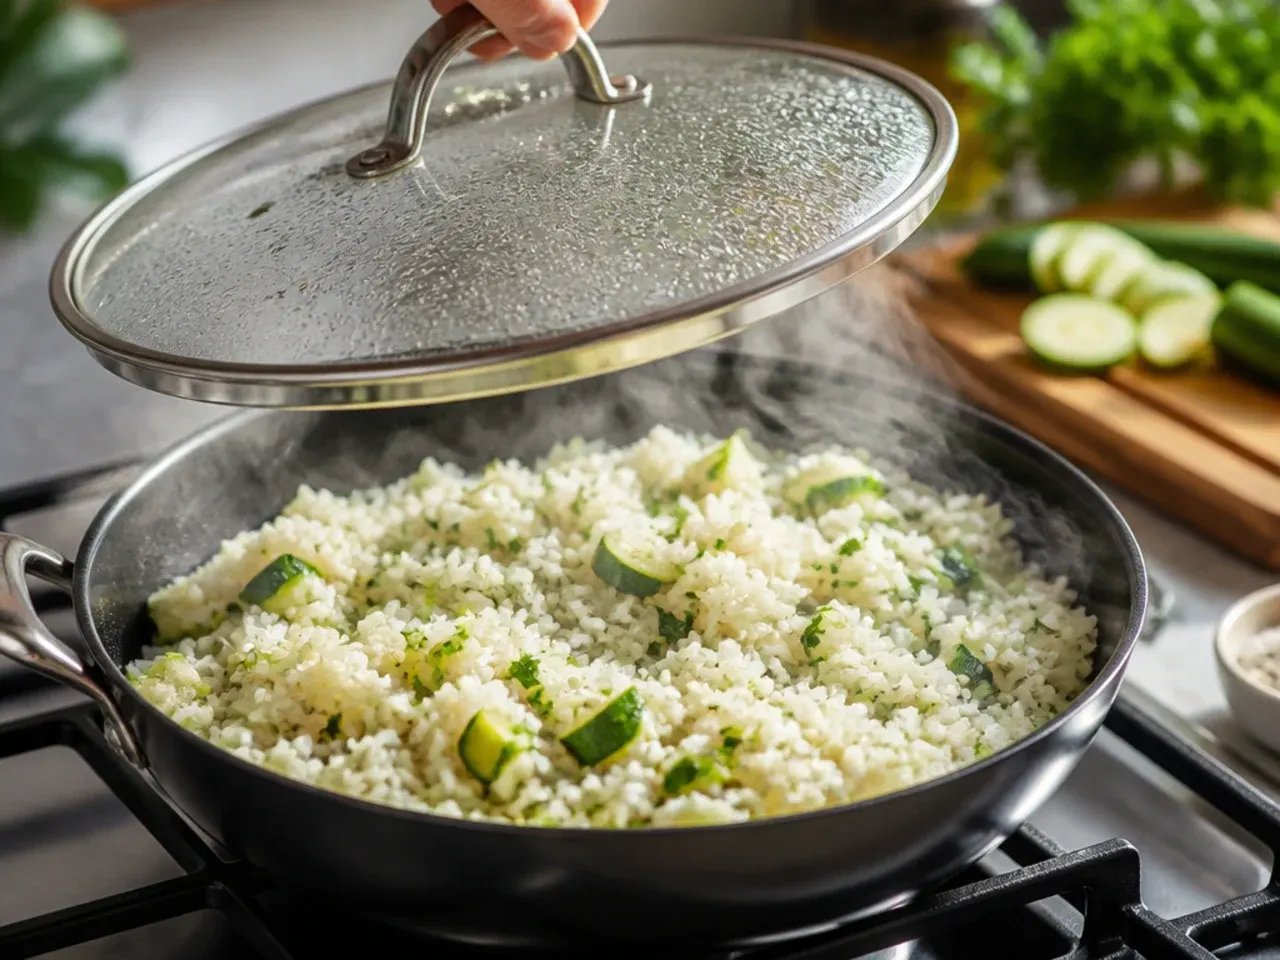
Reduce the heat to low, cover the skillet with a lid or tight foil, and cook for 18-20 minutes, resisting the urge to lift the lid, which lets steam escape and slows the rice down.
Step 18: Check the rice for doneness
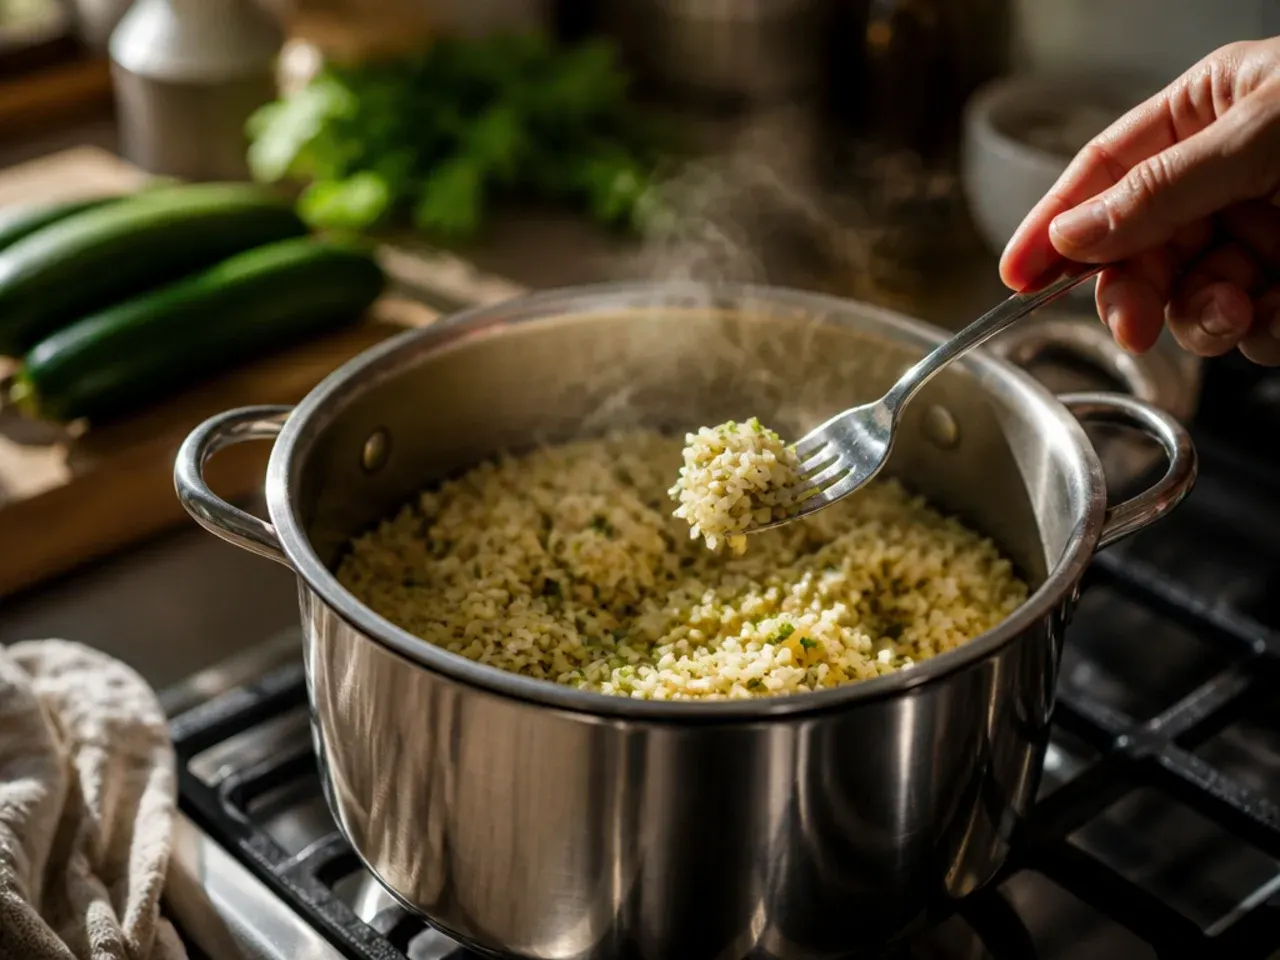
After 18 minutes, uncover and taste a few grains of rice; it should be tender with just a slight bite, and most of the liquid should be absorbed into a thick, saucy consistency.
Step 19: Adjust if needed
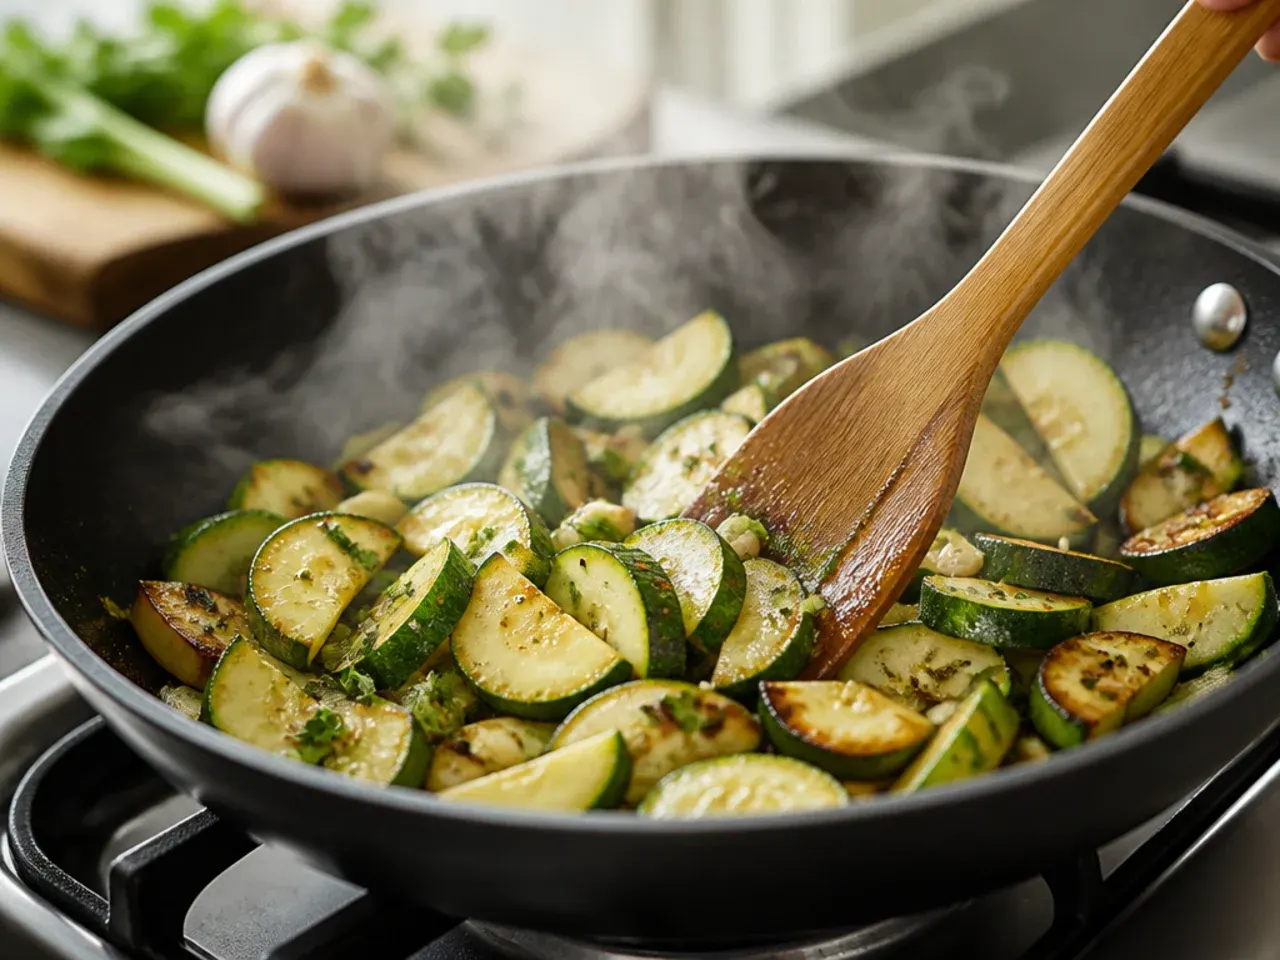
If the rice is still firm and the mixture looks dry, stir in a splash more stock, 60 ml (1/4 cup) at a time, cover again, and cook for another 3-5 minutes.
Step 20: Taste and adjust seasoning
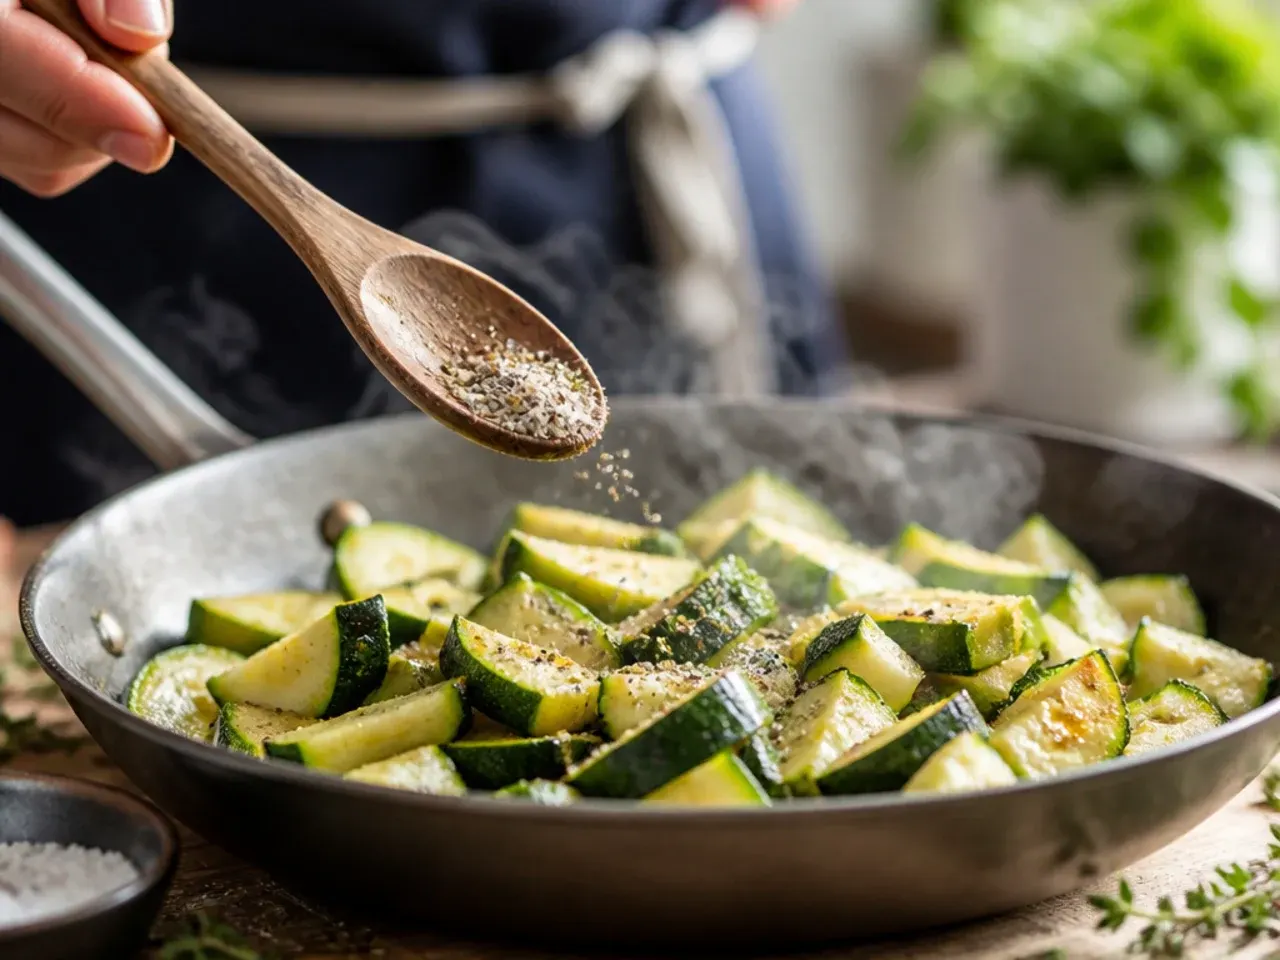
Taste the filling and add a little more salt if needed; remember the cheese and breadcrumb topping still to come will add extra saltiness, so season the base slightly under rather than over.
Step 21: Prepare the cheese mix
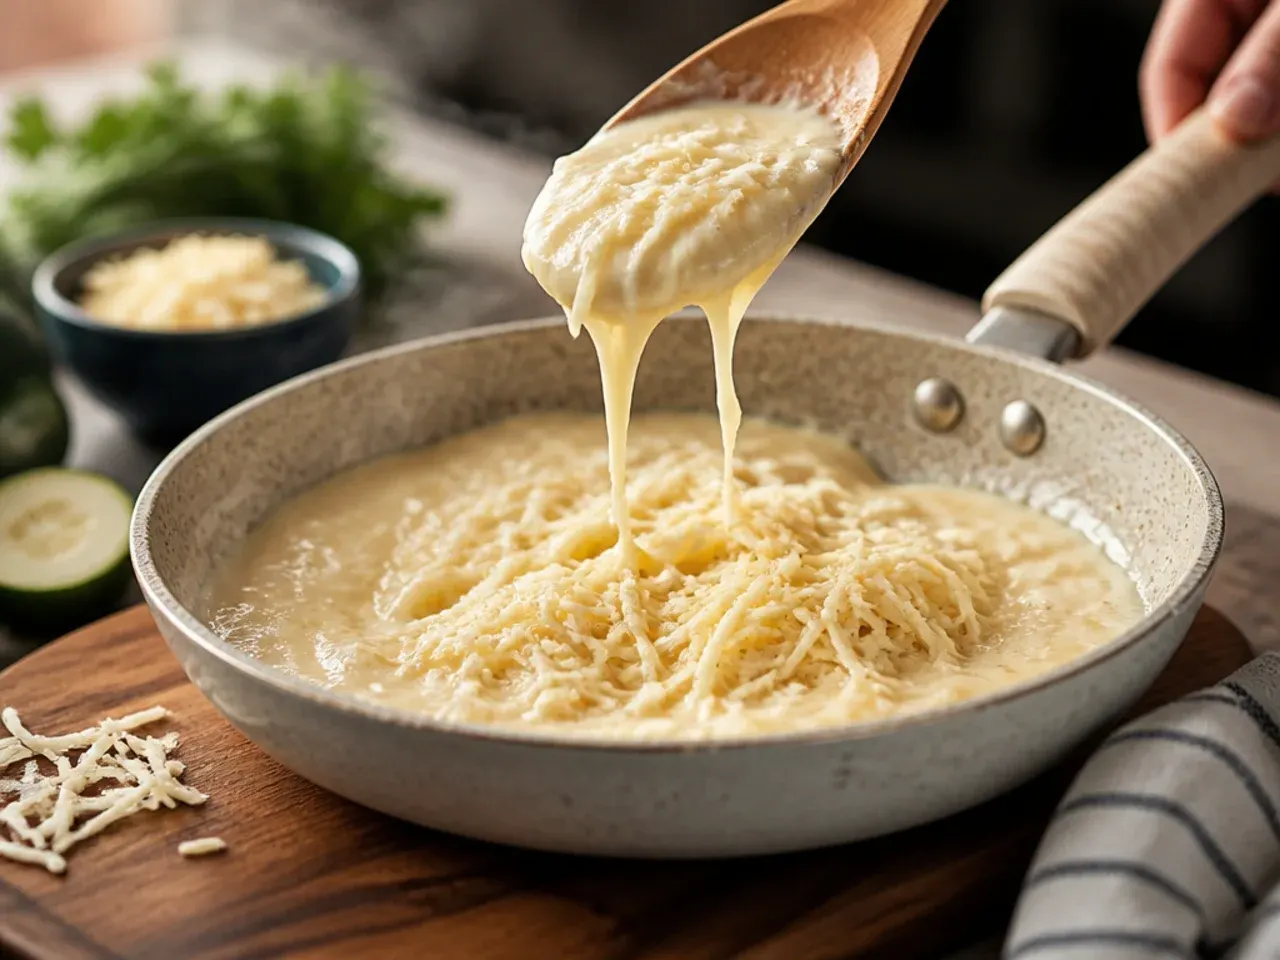
In a small bowl, combine 170 g (6 oz) shredded mozzarella with 60 g (1/2 cup) grated Parmesan, keeping about a third of the mozzarella separate to sprinkle on top later.
Step 22: Stir half the cheese through
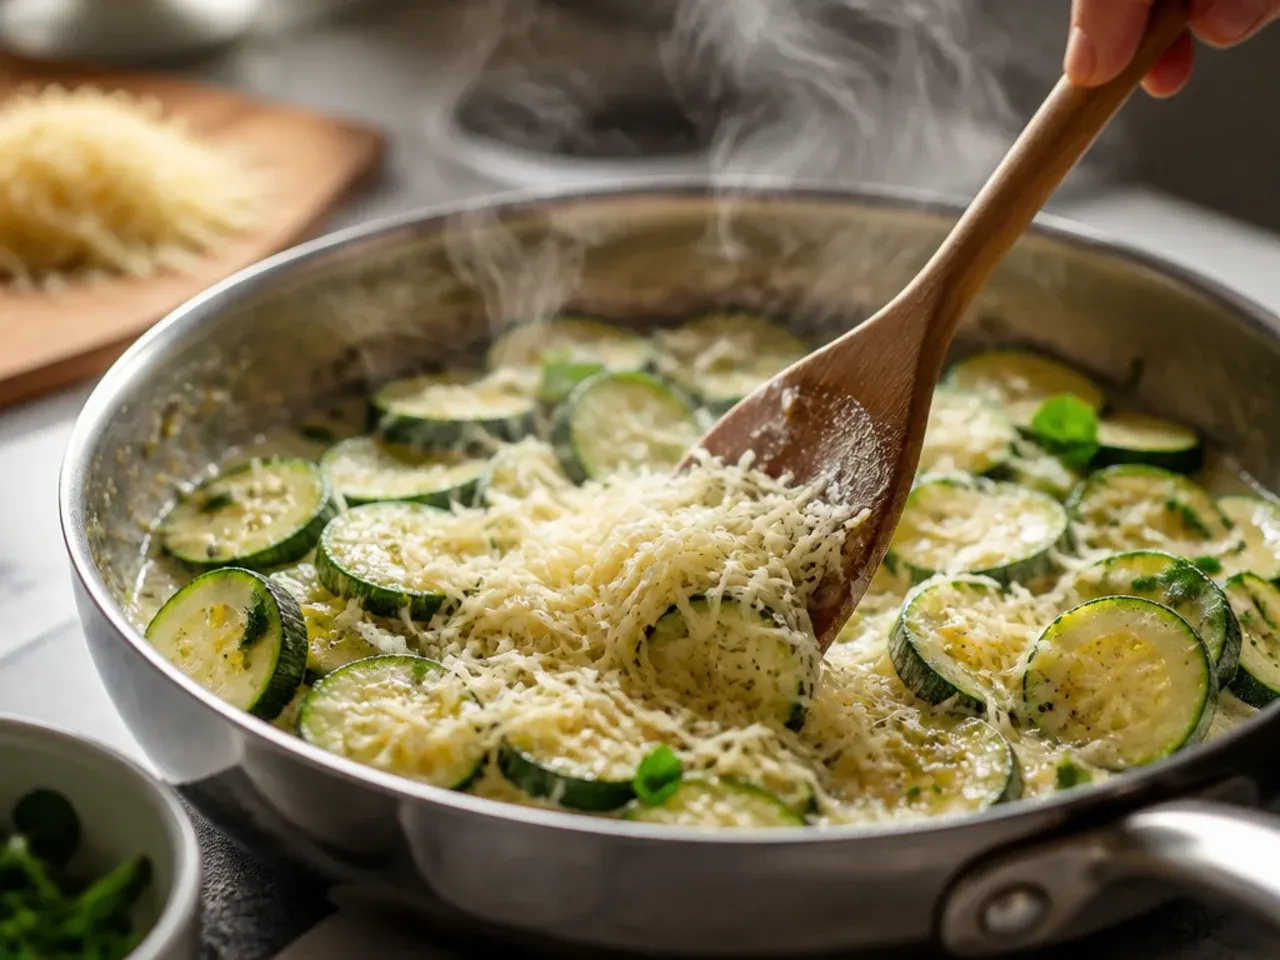
Remove the skillet from the heat and stir two-thirds of the cheese mixture directly into the hot filling until it melts into pockets throughout, giving every bite a cheesy centre.
Step 23: Smooth the top
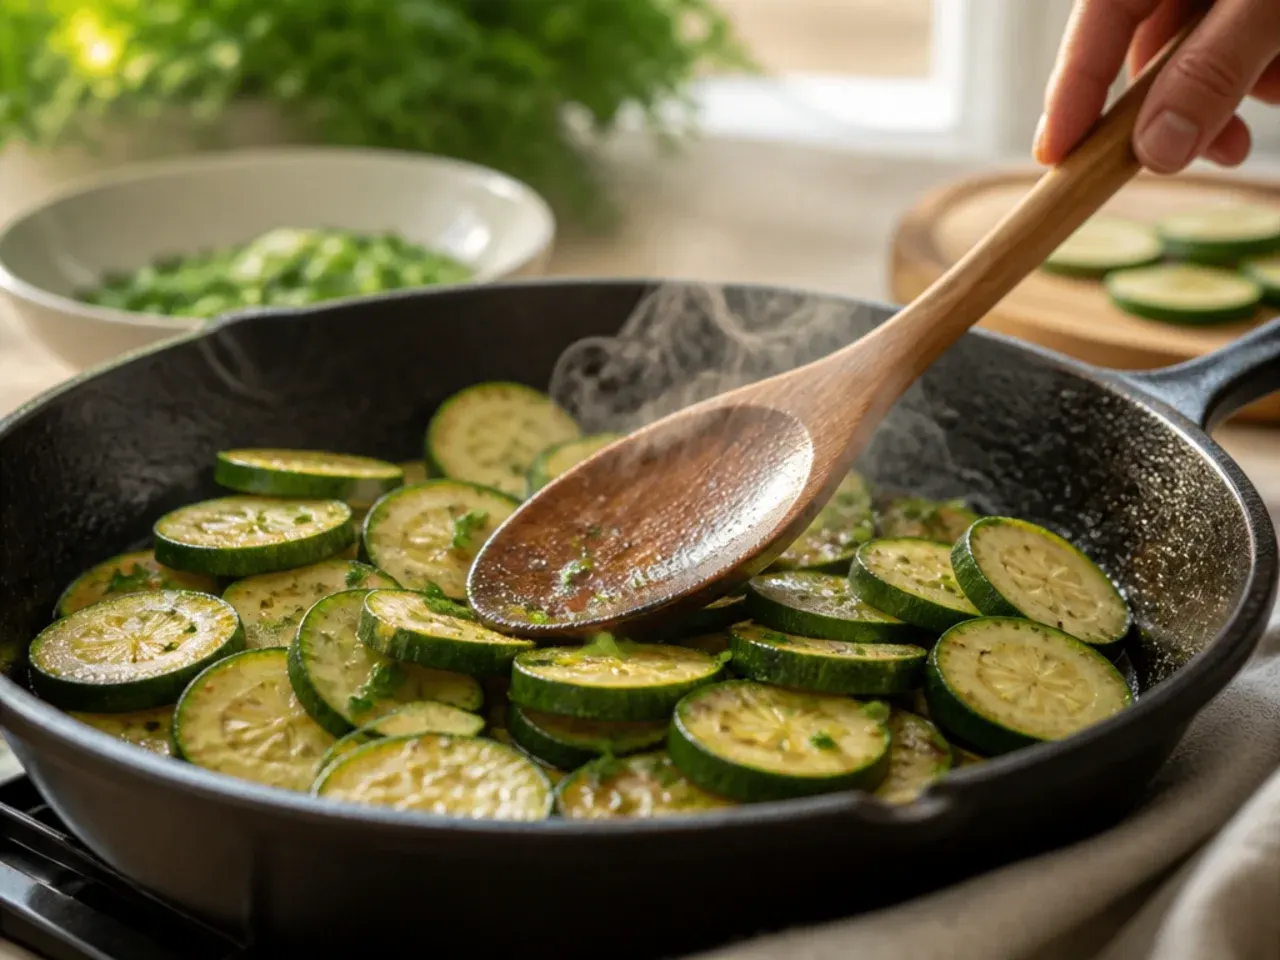
Use the back of a spoon or spatula to level the filling into an even layer across the skillet, pressing gently so the surface is flat for even melting.
Step 24: Add the remaining cheese
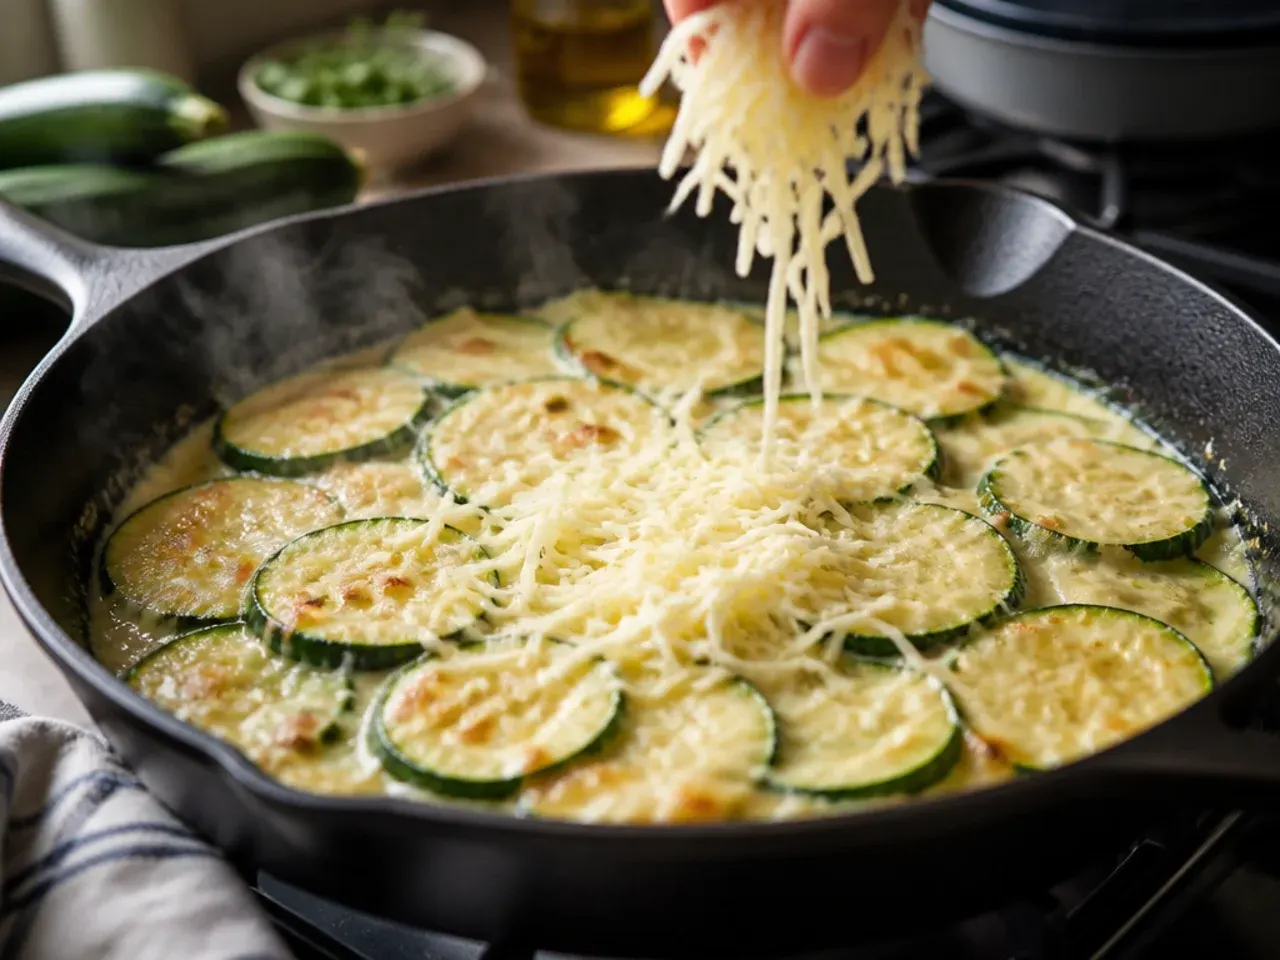
Scatter the reserved cheese mixture evenly over the top, covering the surface completely so no filling is left exposed.
Step 25: Prepare the panko topping
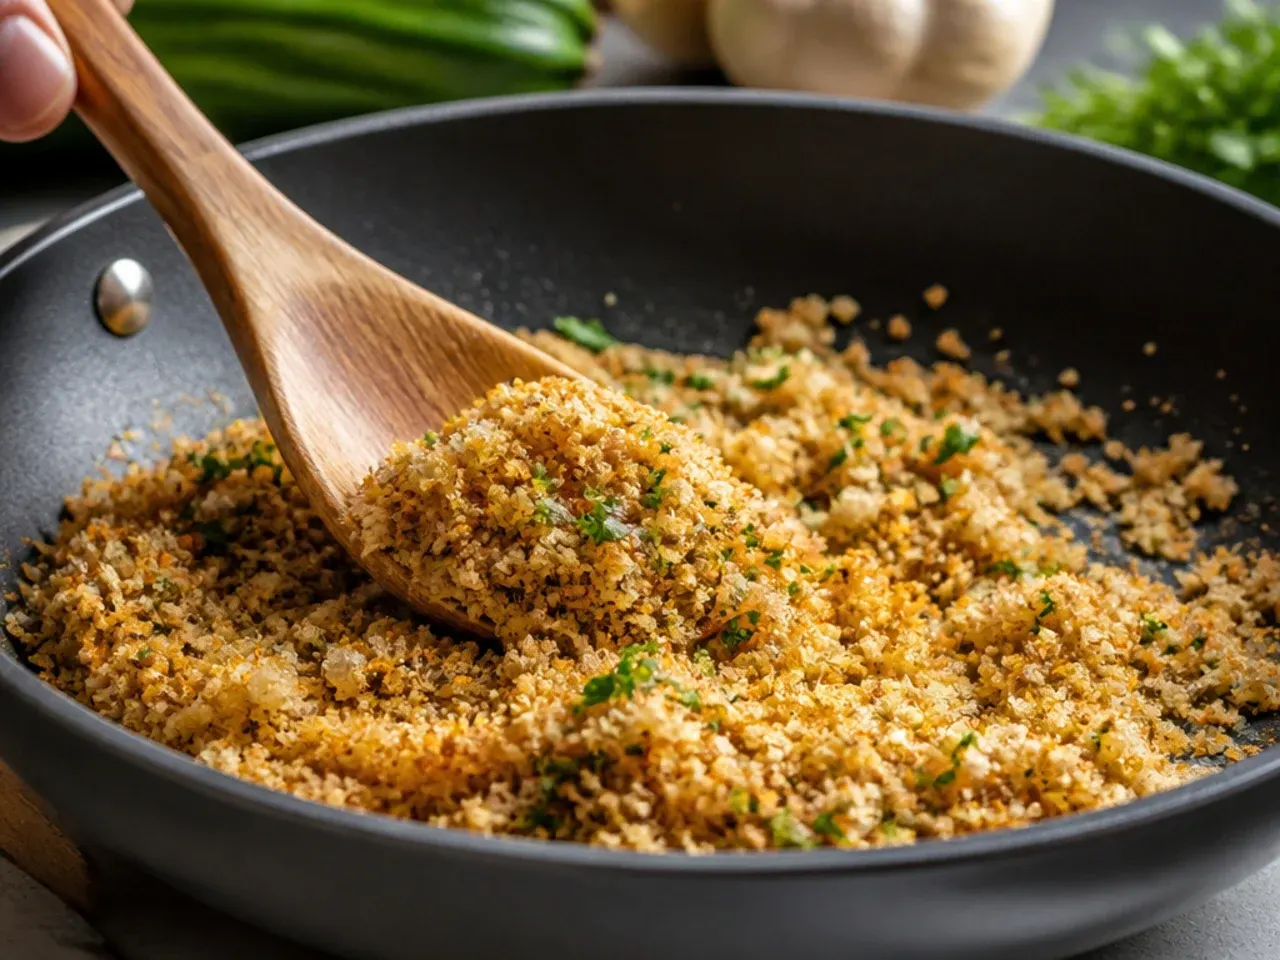
Toss 40 g (1/3 cup) panko breadcrumbs with 15 g (1 tbsp) melted butter in a small bowl until every crumb looks lightly coated and glossy.
Step 26: Scatter the panko over the cheese
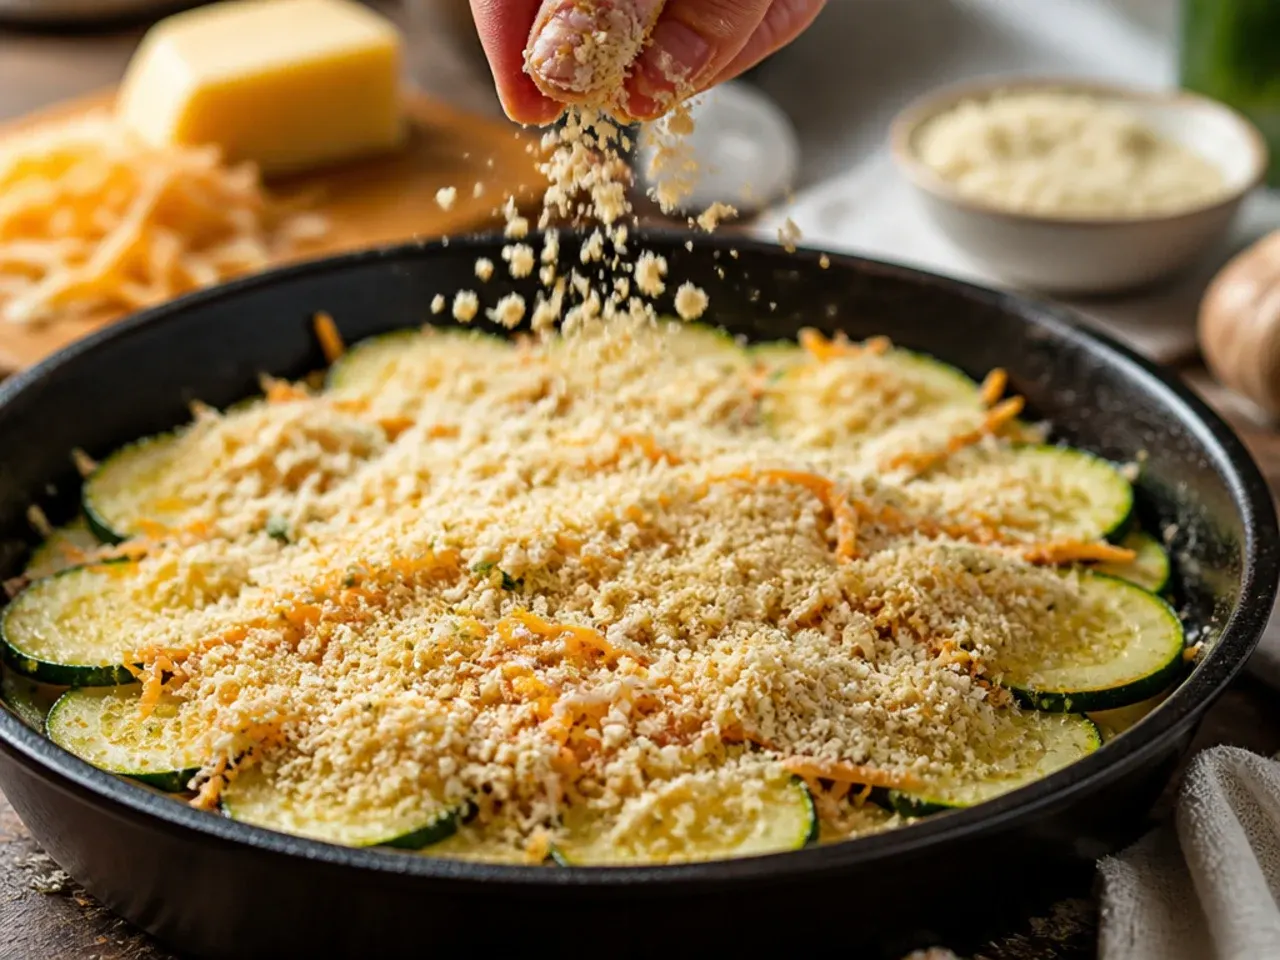
Sprinkle the buttered panko evenly over the cheese layer, focusing on the centre where the topping tends to bake fastest.
Step 27: Bake uncovered
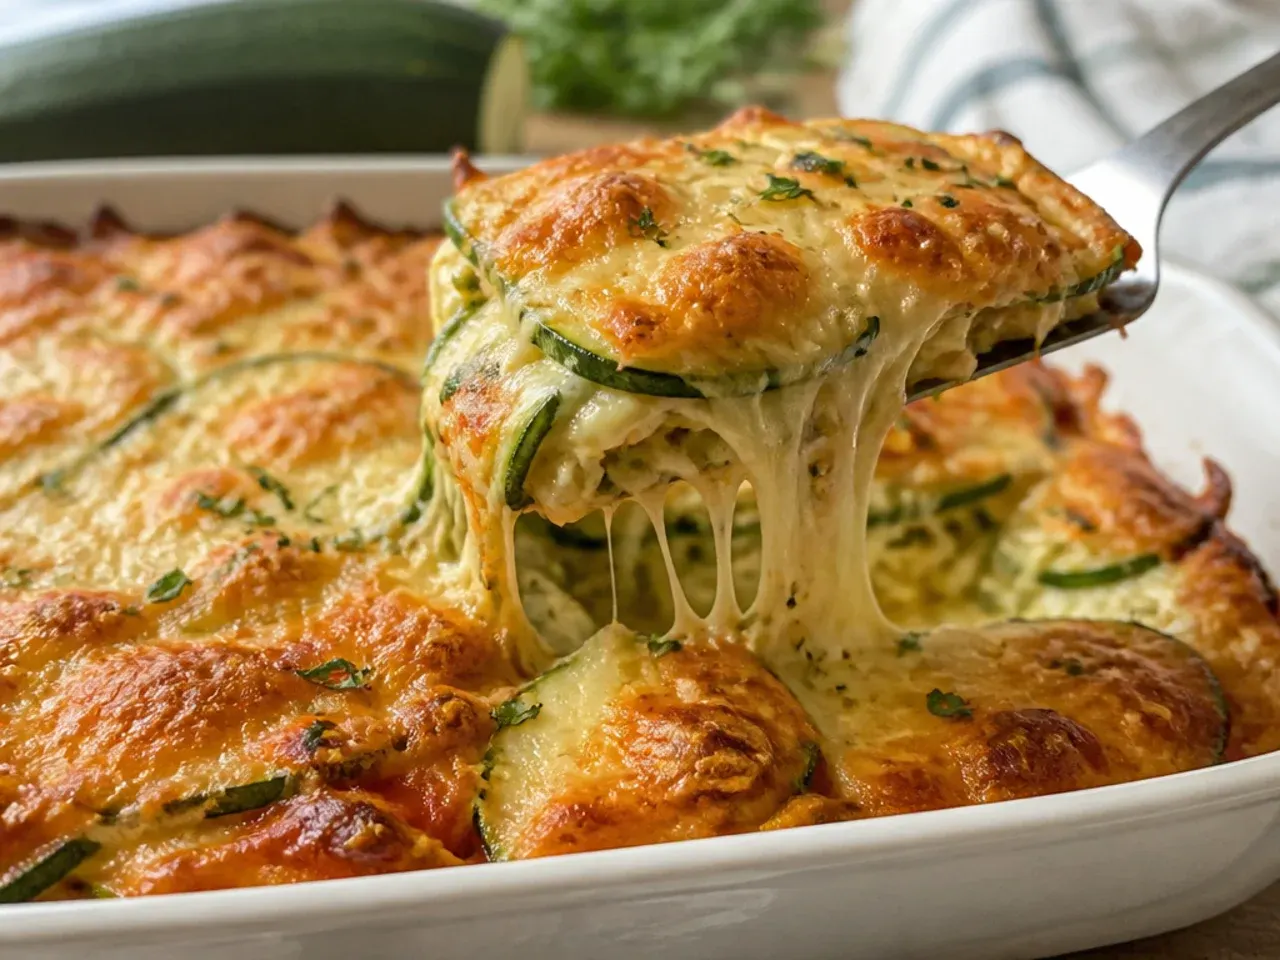
Transfer the skillet to the preheated 190°C (375°F) oven and bake uncovered for 15-18 minutes, until the cheese is fully melted and bubbling at the edges.
Step 28: Check for golden colour
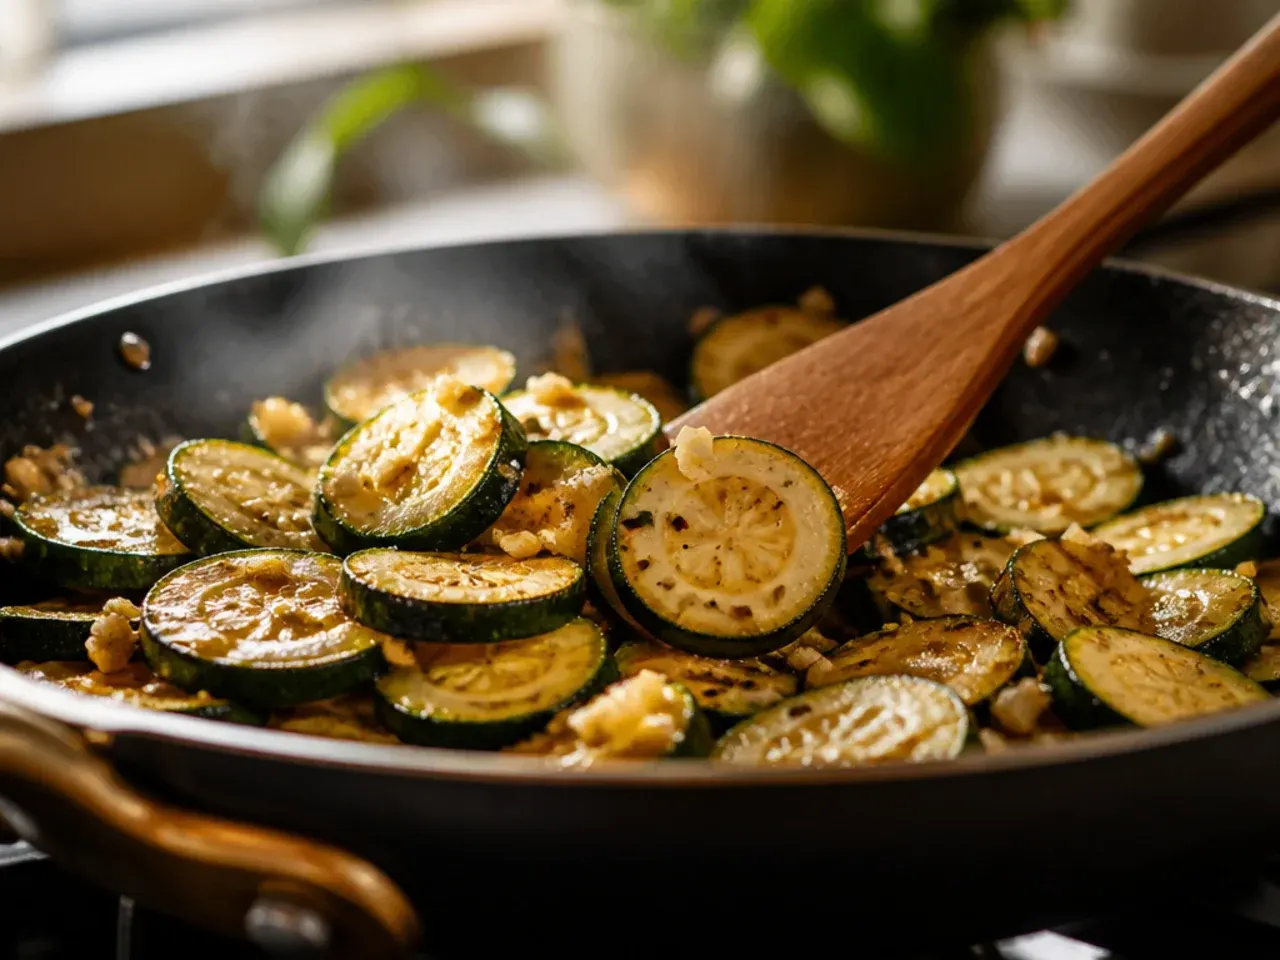
Look for the panko topping to turn deep golden brown and the sauce to be visibly bubbling around the sides of the pan; if the top is pale after 15 minutes, switch to the grill for 1-2 minutes to finish, watching closely so it doesn't scorch.
Step 29: Rest before serving
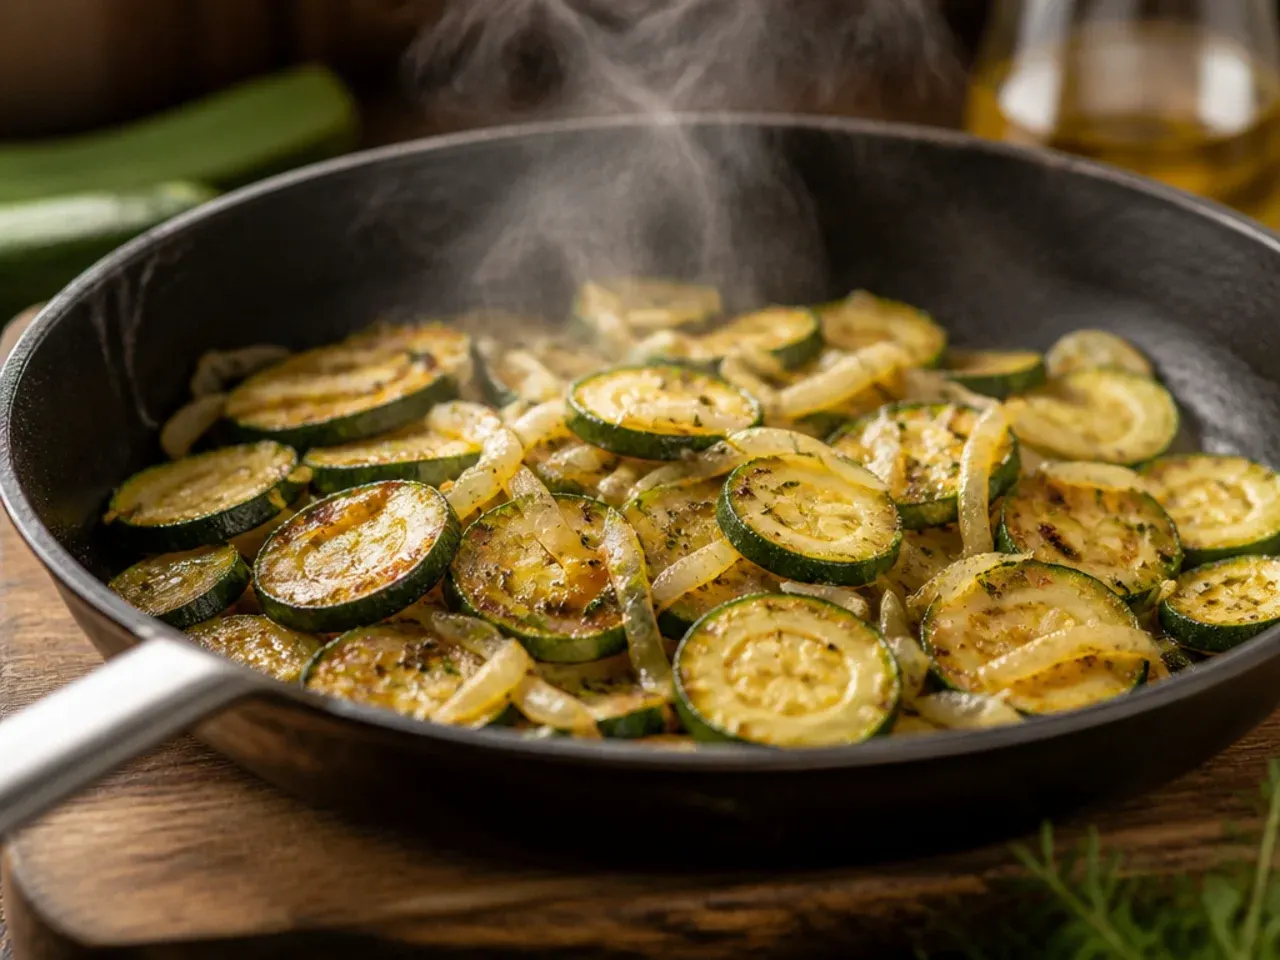
Remove the skillet from the oven and let it rest for 5-8 minutes; this allows the sauce to thicken slightly and makes the bake much easier to portion cleanly.
Step 30: Garnish and serve
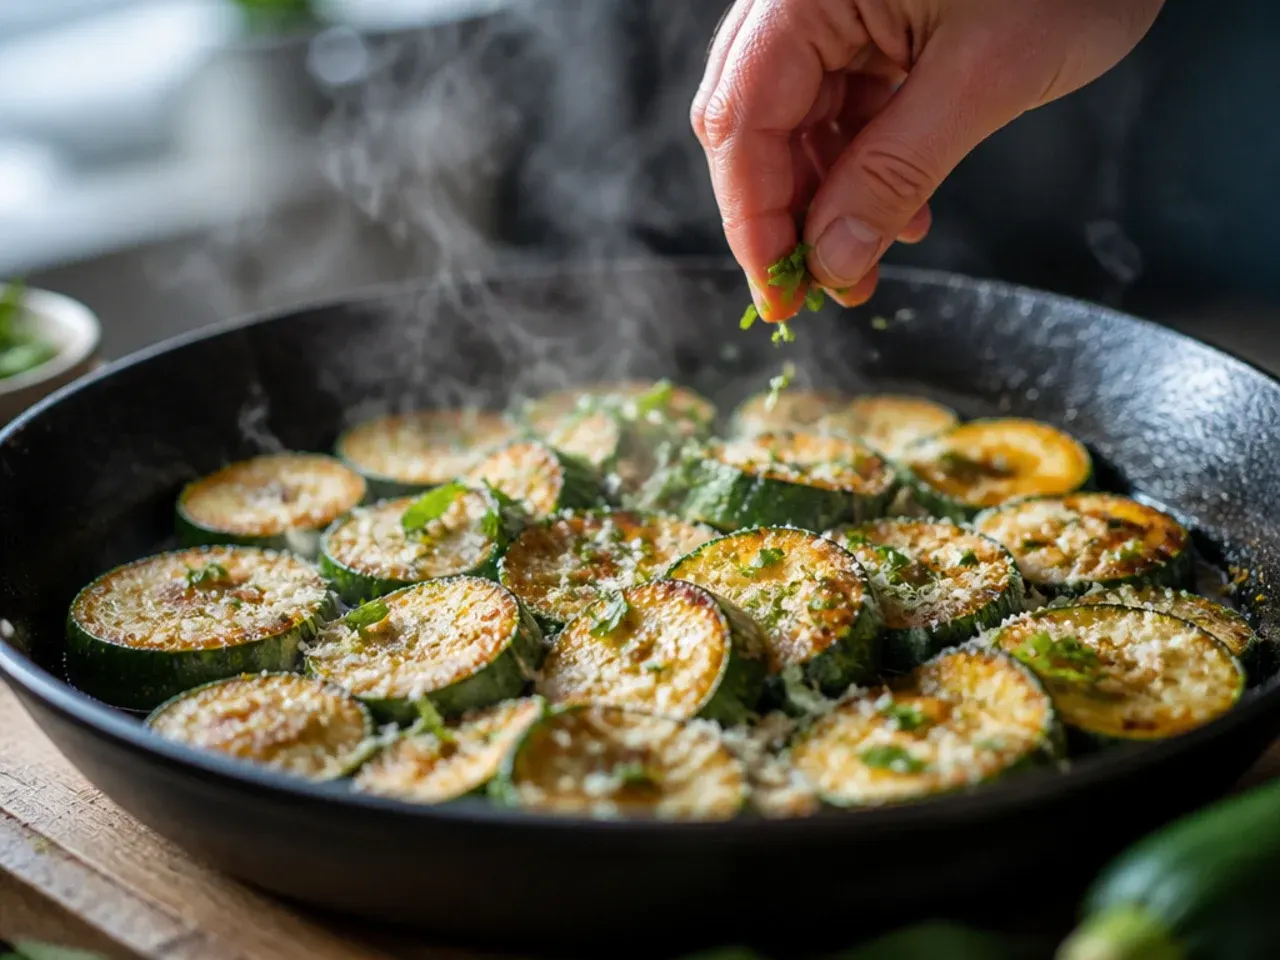
Scatter over fresh chopped parsley or basil if you like, then spoon into bowls while still warm, making sure each portion gets a share of the golden panko topping.
Pro Tips for Foolproof Zucchini Dinner Recipes
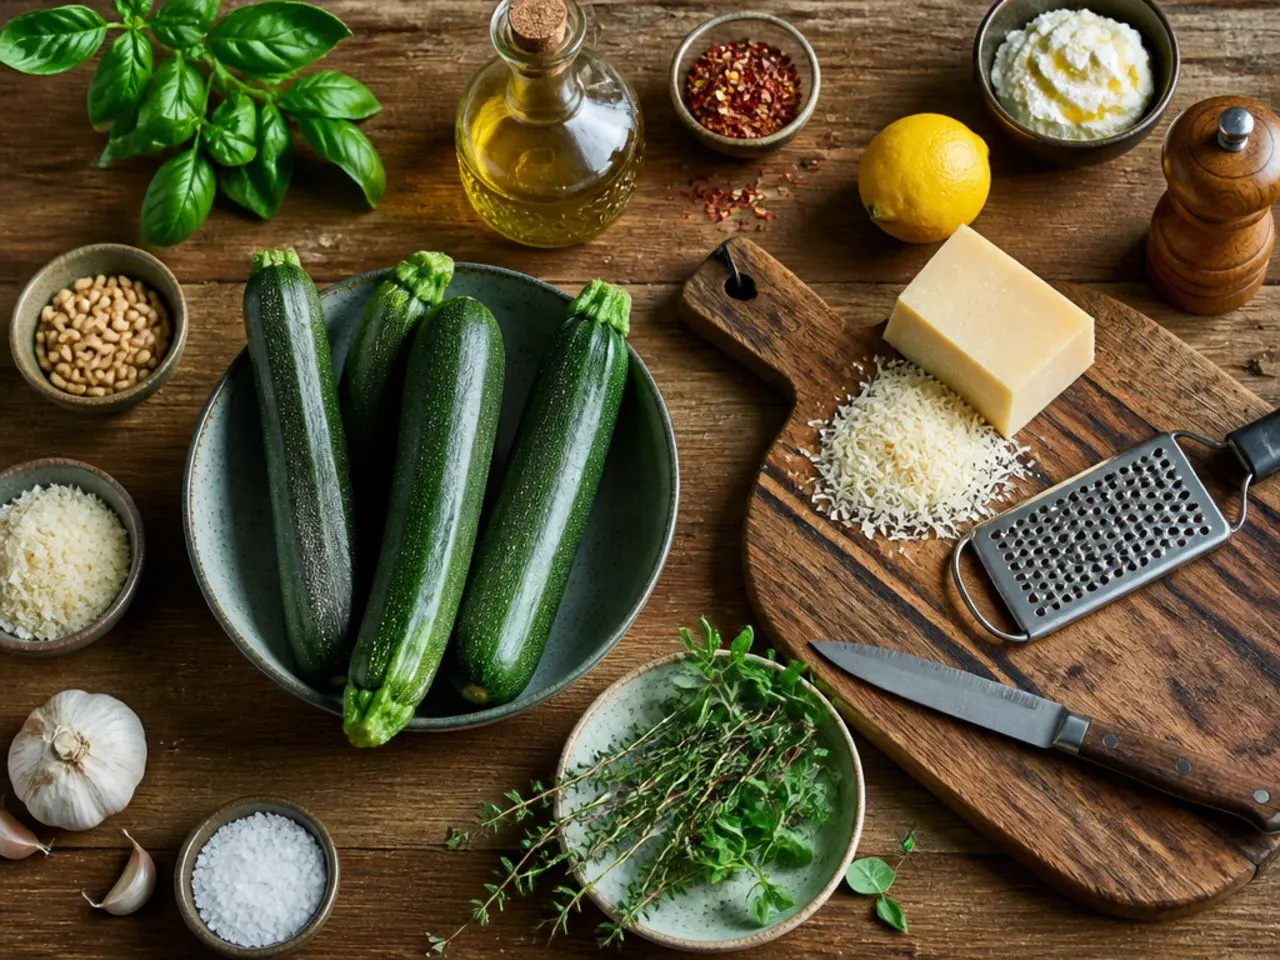
Salting and draining the zucchini is the single biggest factor separating a watery bake from a rich, spoonable one, so never skip that 10-minute rest. Buy zucchini that feels heavy and firm for its size with tight, glossy skin, since spongy or dull-skinned courgettes have already lost moisture and flavour. If you like a deeper savoury base, swap 120 ml (1/2 cup) of the stock for dry red wine and let it bubble down for 2 minutes before adding the rest of the liquid. Taste the filling before it goes in the oven, not after, because rice absorbs seasoning as it bakes and a bland filling now means a bland bake later.
Storage and Make-Ahead Tips
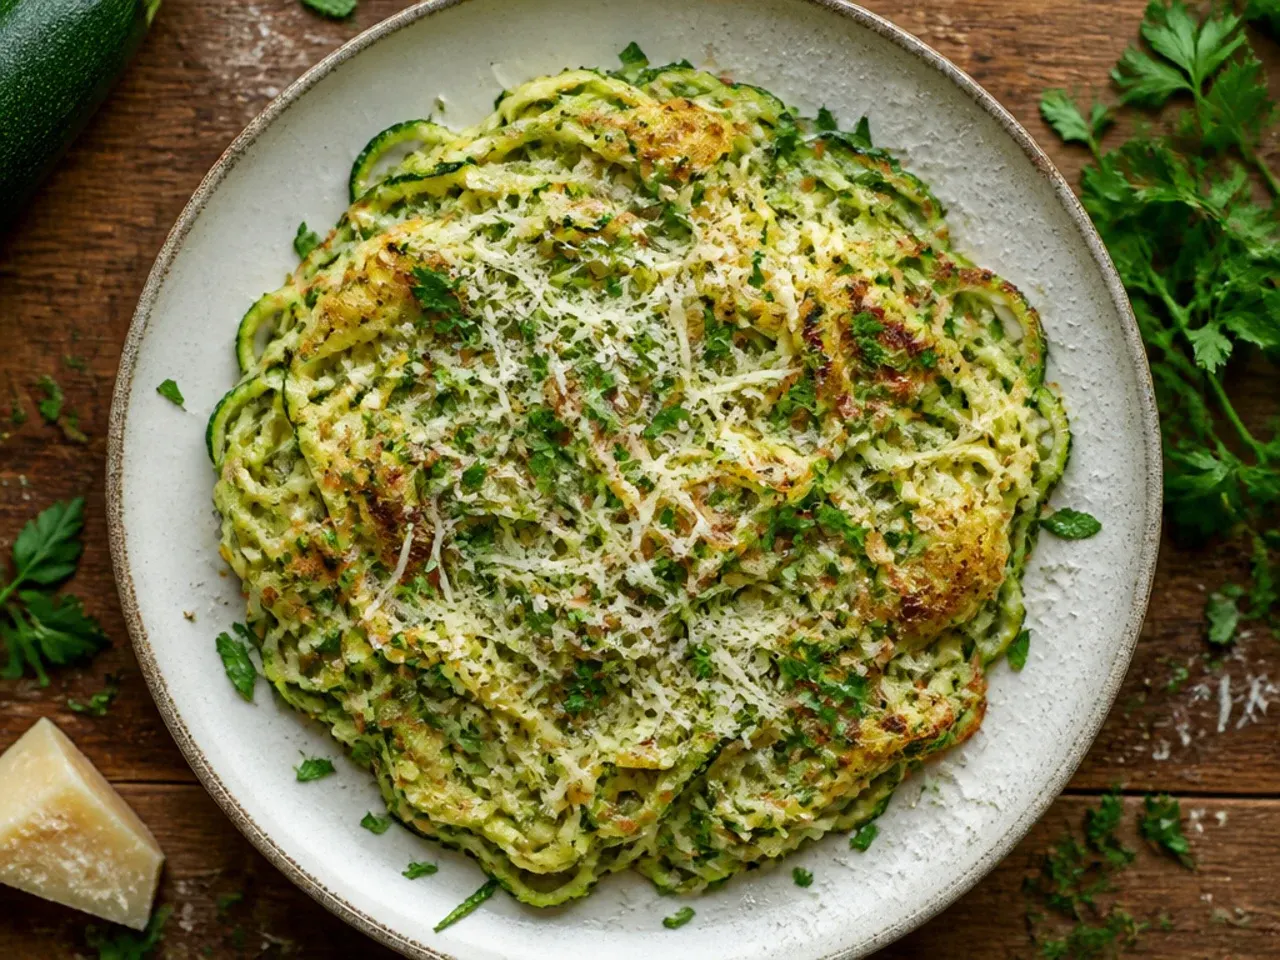
Cool the bake completely, then store it covered in the fridge for up to 4 days; reheat individual portions in a 180°C (350°F) oven for 12-15 minutes or in the microwave until the centre reaches 74°C (165°F). To make it ahead, assemble everything up to the point of baking, cover tightly and refrigerate for up to 24 hours, then uncover before baking and add 5-8 minutes to the uncovered bake time since it's starting cold. It also freezes well for up to 3 months in a freezer-safe dish; thaw overnight in the fridge before reheating so the rice and zucchini don't turn mushy. Avoid freezing after reheating a second time, as the courgette breaks down further each time it's cycled through hot and cold.
30 tried-and-tested tips for building genuinely satisfying zucchini dinner recipes, plus a full cheesy beef and zucchini bake you can cook tonight. For more zucchini recipes inspiration, browse the full Zucchini Recipes board — every idea there is written for real home kitchens, not professional bakers.
Frequently Asked Questions
Yes, assemble the whole dish through step 26 (right before baking), cover tightly with foil or a lid, and refrigerate for up to 24 hours. Bake it straight from the fridge uncovered at the same 190°C (375°F), but add 5-8 minutes to the uncovered bake time since the filling starts cold. Check that the centre reaches at least 74°C (165°F) before serving, since a cold centre needs more time regardless of how golden the top looks. This make-ahead approach also makes the flavours meld more, so many cooks actually prefer the next-day version.

Related Recipes
Save this for later 📌
Pin this article to your Pinterest board so the full list is one tap away when you need it.
Save on Pinterest