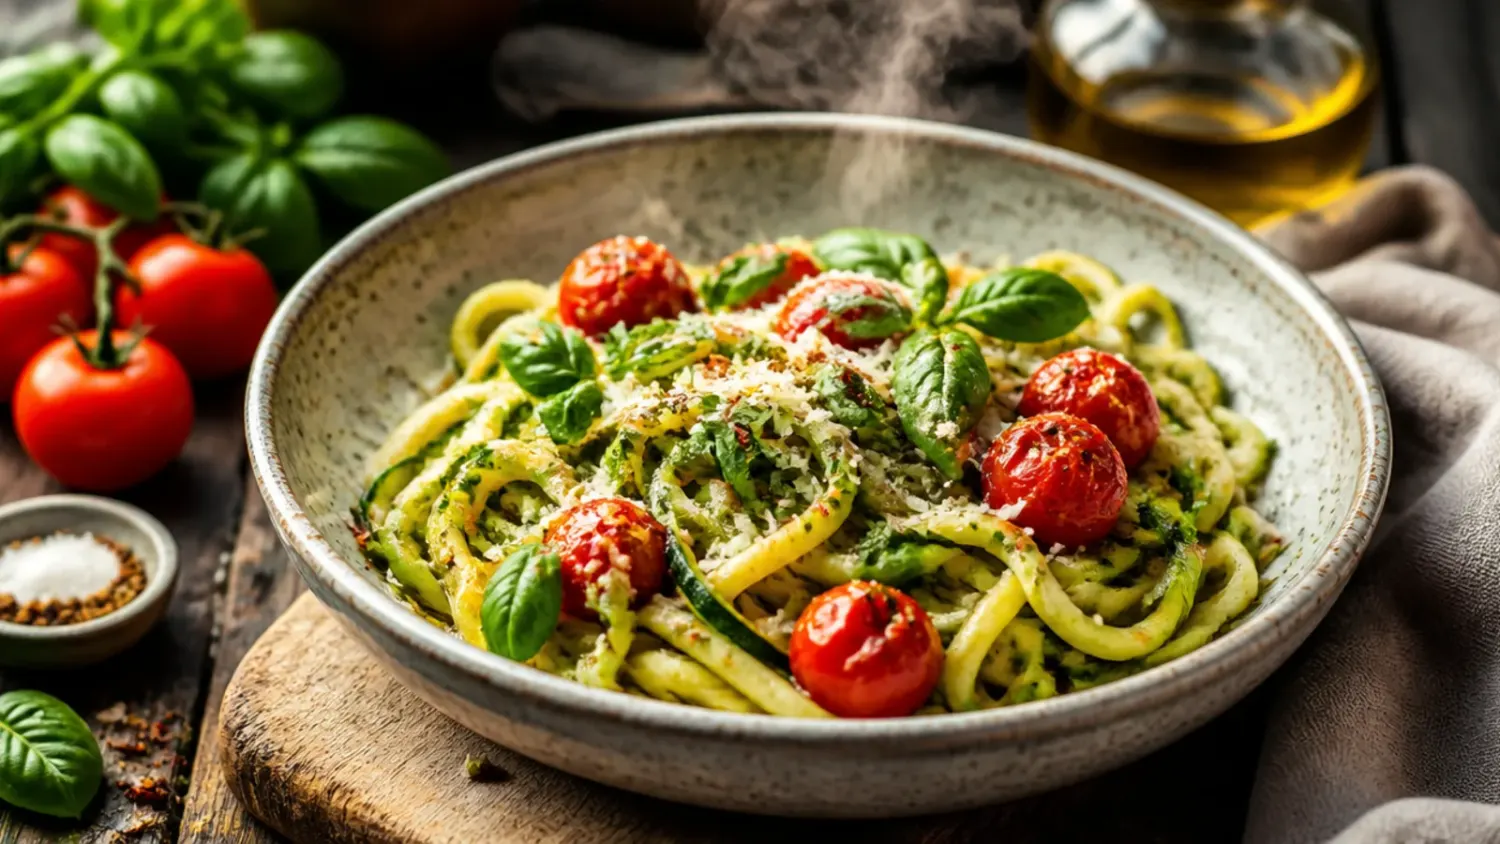
Ingredients 4 Person(s)
Save this for later 📌
Pin this article to your Pinterest board so the full list is one tap away when you need it.
Save on PinterestDirections
Step 1: Choose firm, small-to-medium courgettes
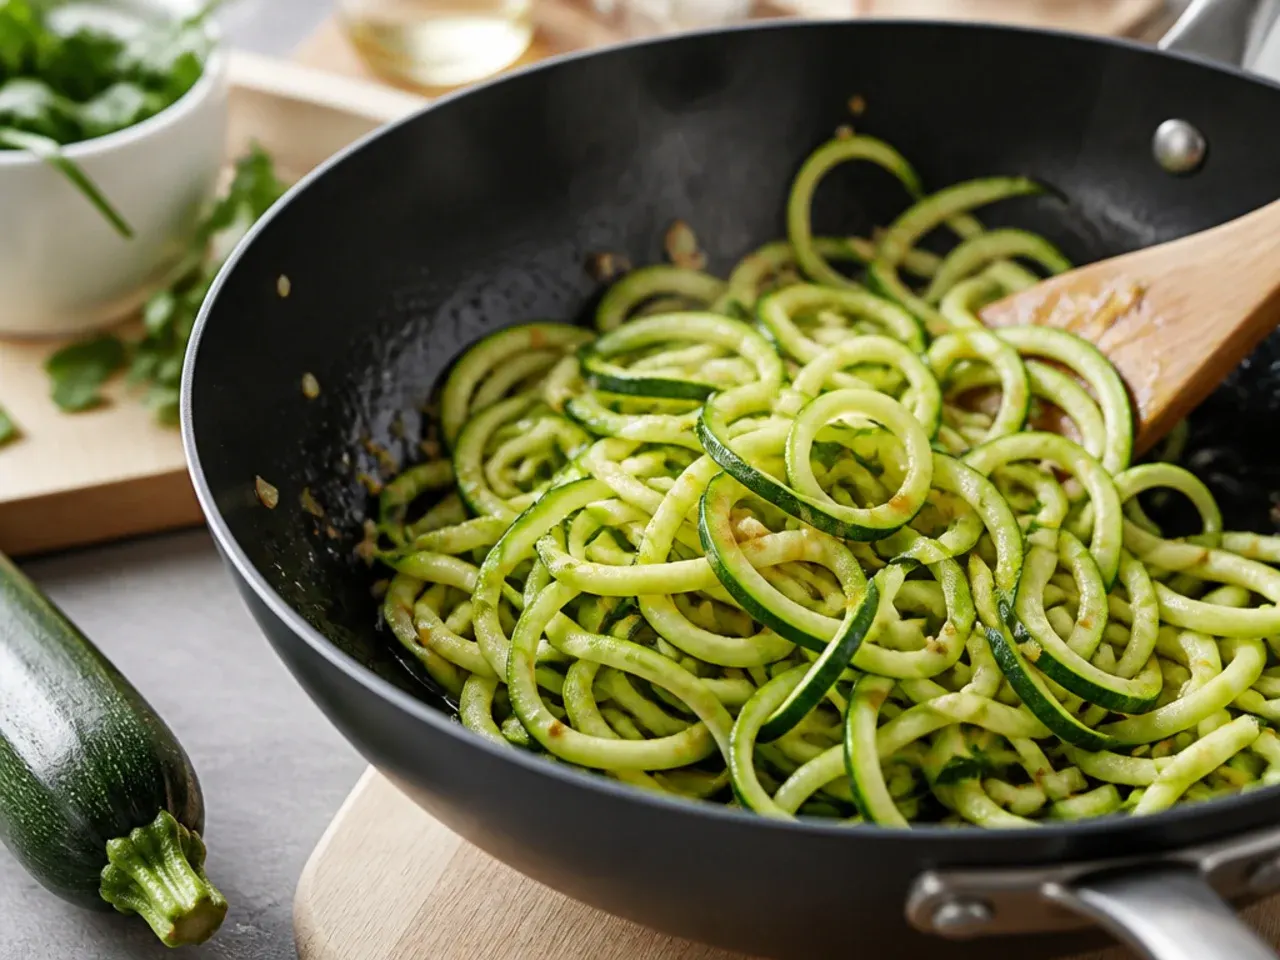
Pick 4 medium courgettes (about 900 g/2 lb total) that feel firm and heavy for their size with tight, unblemished skin. Smaller courgettes have fewer seeds and less watery flesh, which means firmer noodles later on. Rinse them under cold water and pat completely dry with a tea towel before you start.
Step 2: Trim the ends
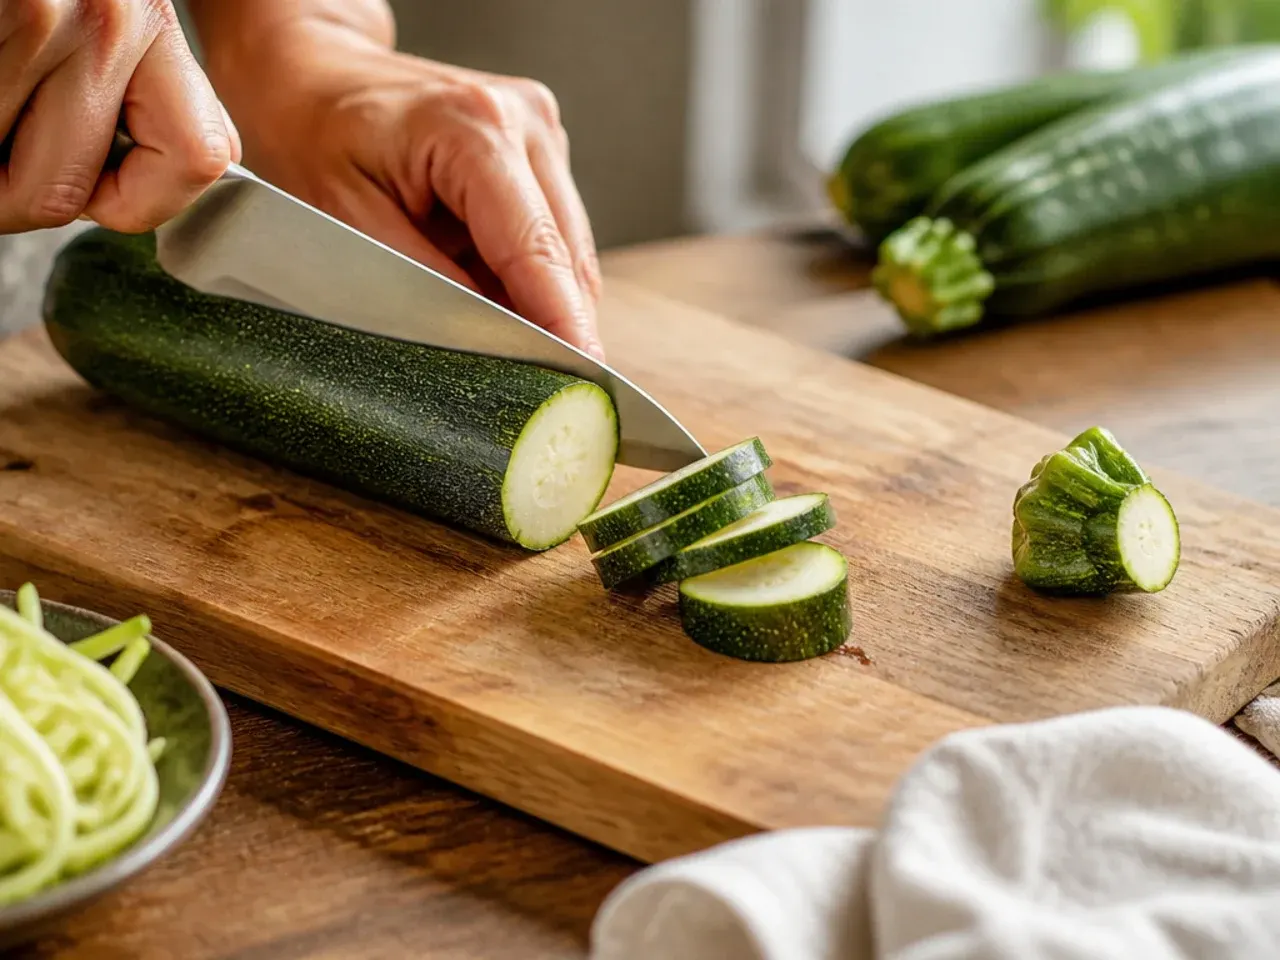
Slice off about 1 cm from both the stem and blossom ends of each courgette with a sharp knife. A flat, even end gives the spiralizer's blade something solid to grip, so the noodles come out consistent from the first turn to the last. Discard the trimmings or save them for stock.
Step 3: Spiralize the courgettes into noodles
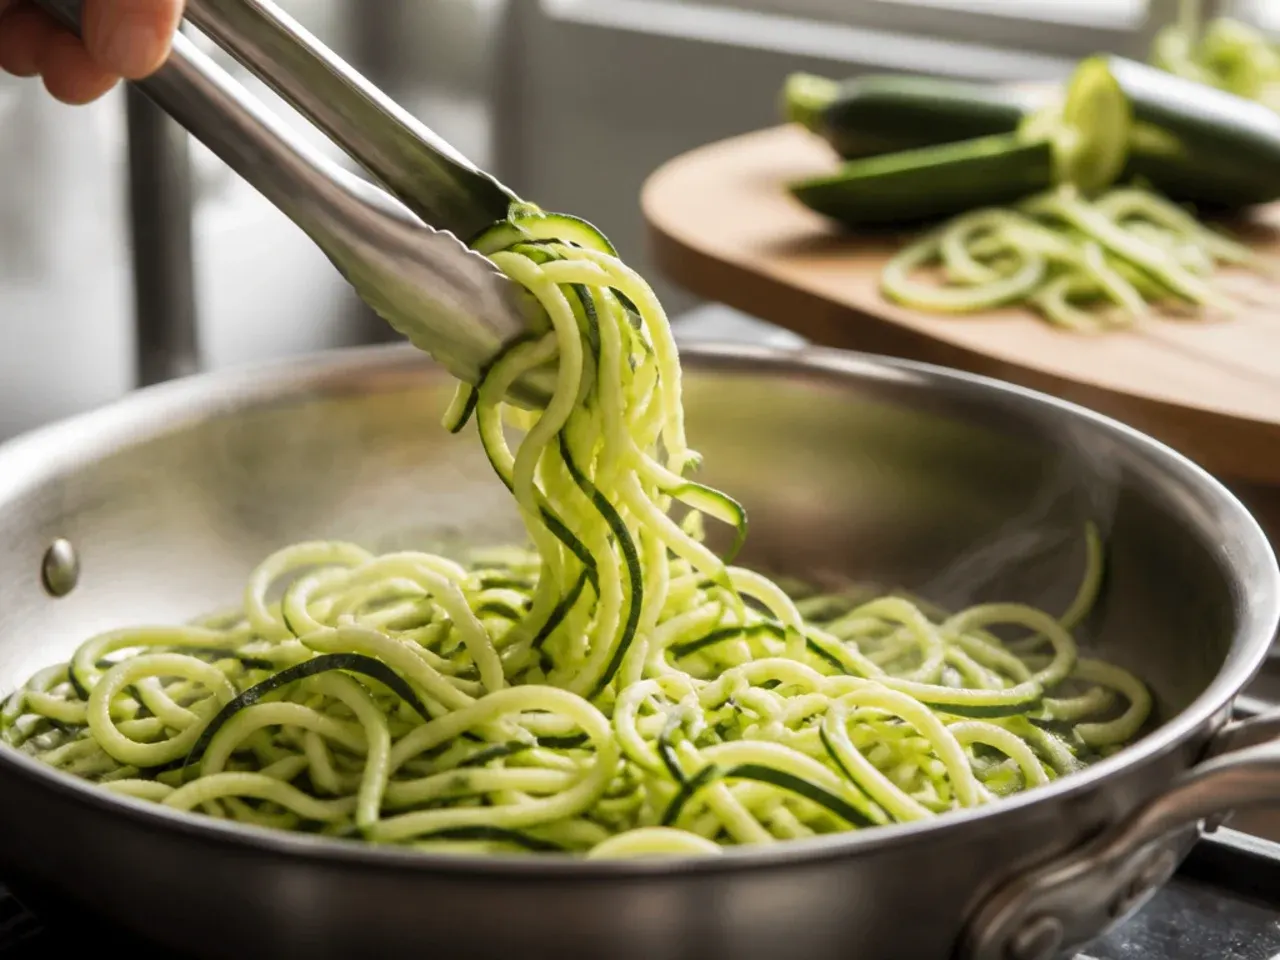
Fit your spiralizer with the medium (about 3 mm/1/8 inch) blade and spiralize each courgette into long noodles, rotating with steady, even pressure. If you don't own a spiralizer, a julienne peeler works well; drag it down the length of the courgette in long strokes, turning as you go, to create similar-sized ribbons. You should end up with roughly 700-750 g of raw noodles from 900 g of courgettes.
Step 4: Salt the noodles and let them drain
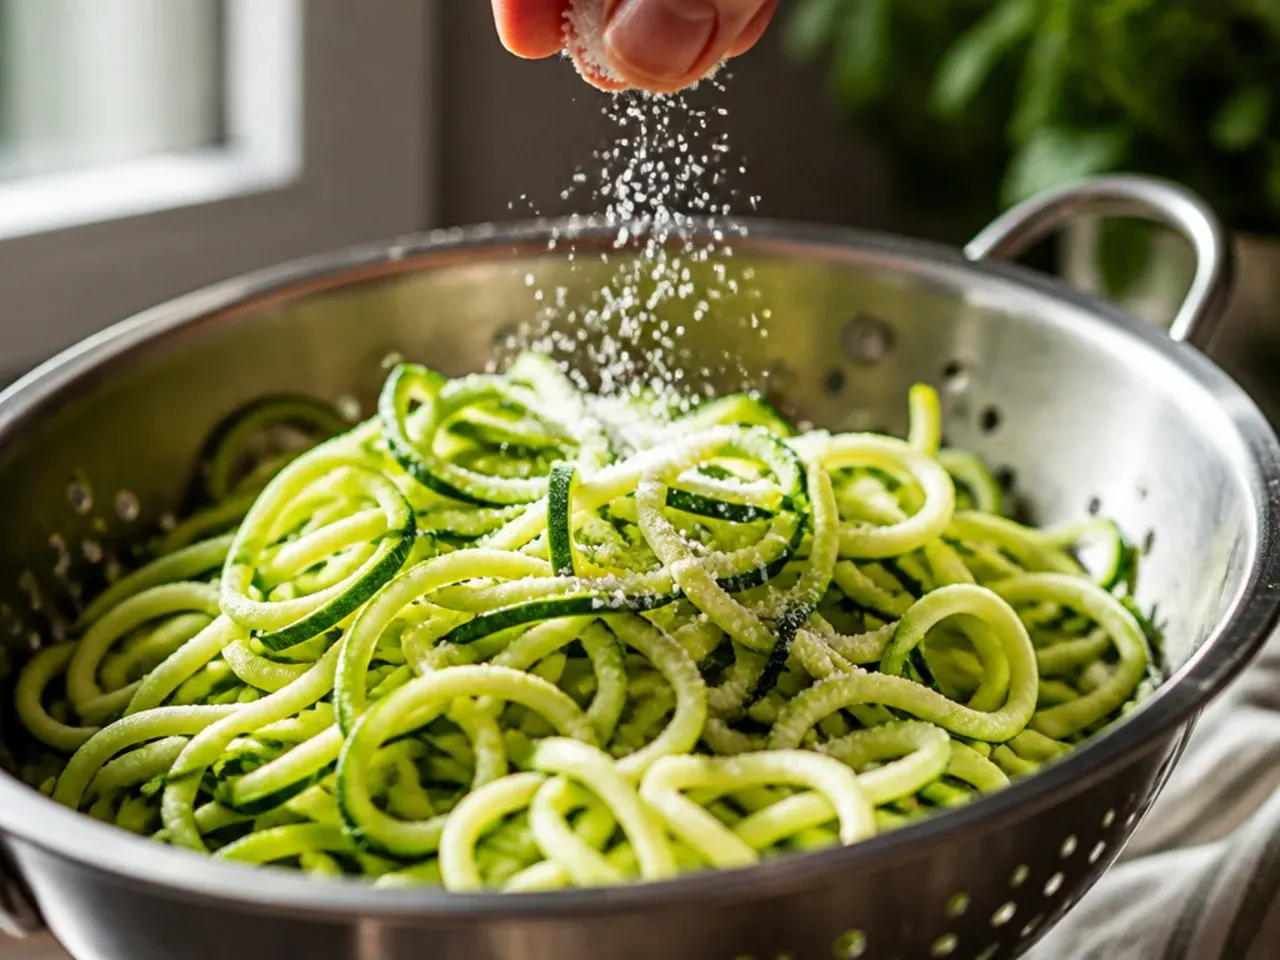
Tip the zoodles into a colander set over a bowl or in the sink, and toss them with 5 g (1 tsp) fine sea salt. Leave them to drain for 10-15 minutes; you'll see a noticeable pool of water collecting underneath as the salt draws moisture out of the flesh. This single step is the difference between crisp-tender noodles and a watery, limp dish.
Step 5: Press and blot the noodles dry
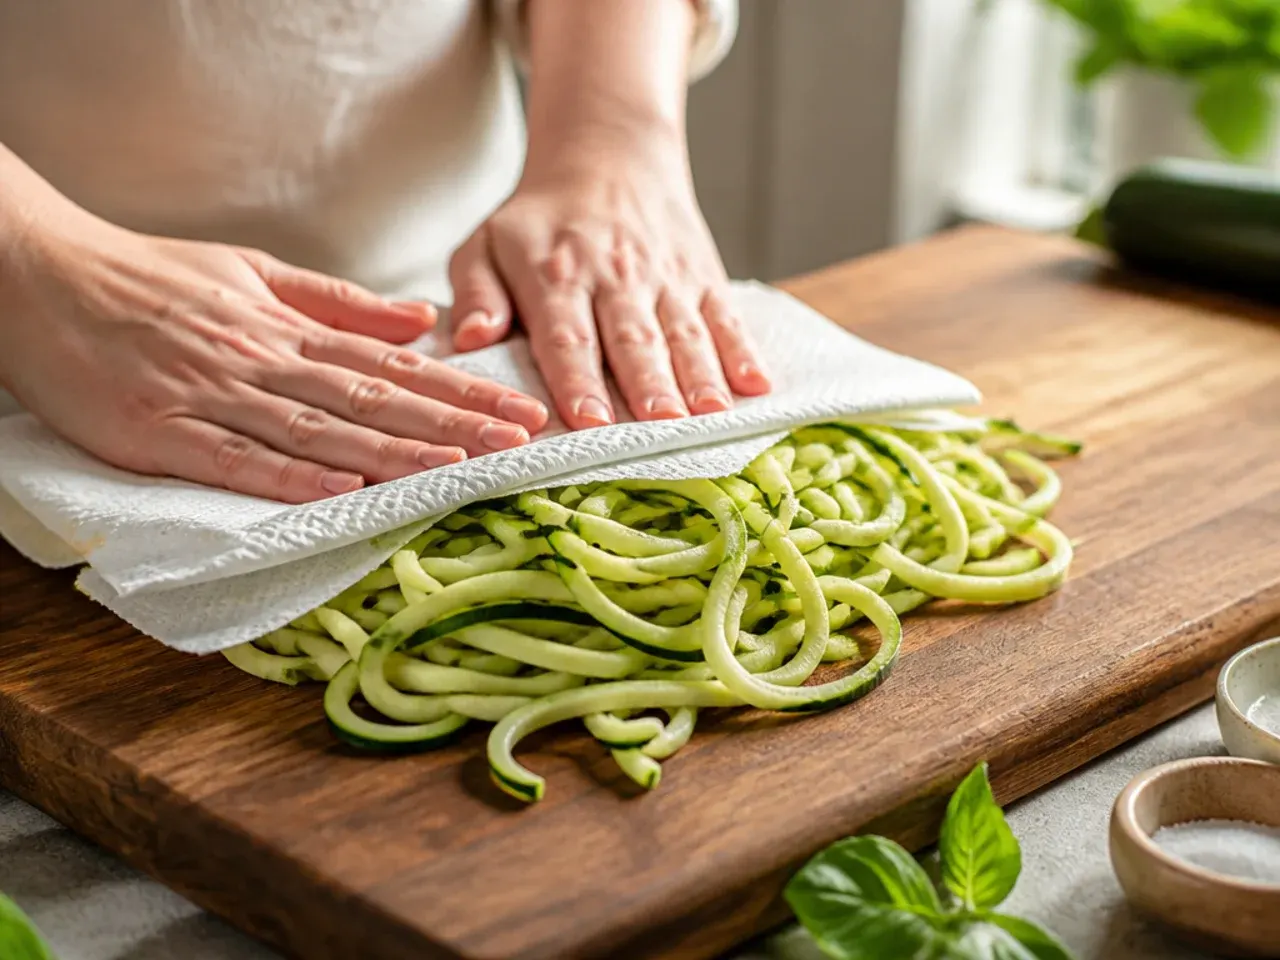
After draining, gather the noodles in a clean tea towel or several layers of paper towel and press firmly to squeeze out any remaining liquid. Don't twist hard the way you would with grated courgette, since spiralized strands are delicate and can turn to mush; a firm, even press is enough. Set the noodles aside on a dry towel while you prep everything else.
Step 6: Prep the garlic and chilli flakes
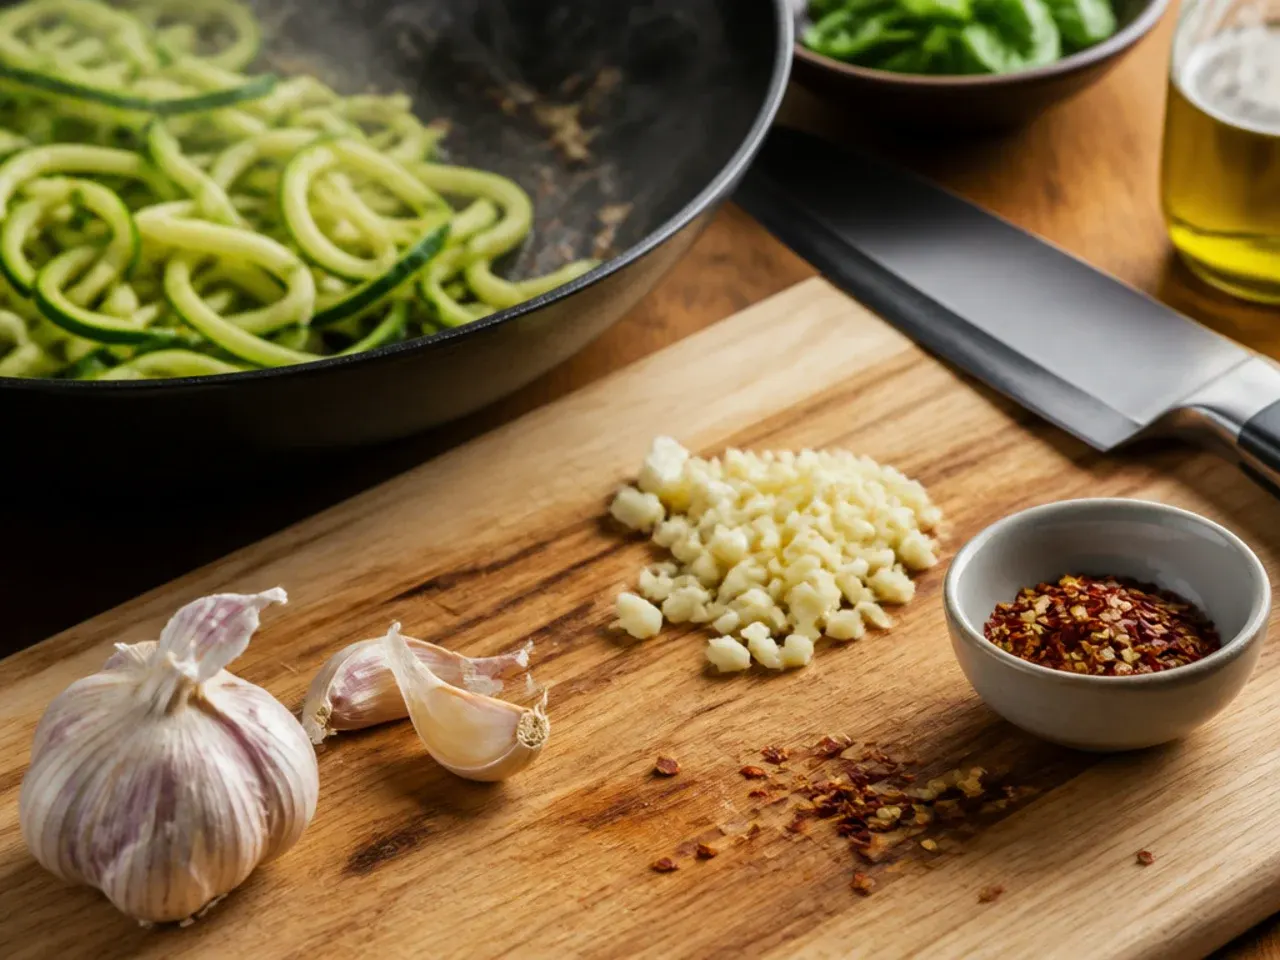
Peel and mince 3 garlic cloves (about 9 g) as finely as you can, since it will cook very quickly later and larger pieces risk burning. Measure out 0.5 g (1/4 tsp) red pepper flakes if using. Having both ready by the stove means you won't overcook the garlic while you're still chopping.
Step 7: Halve the cherry tomatoes
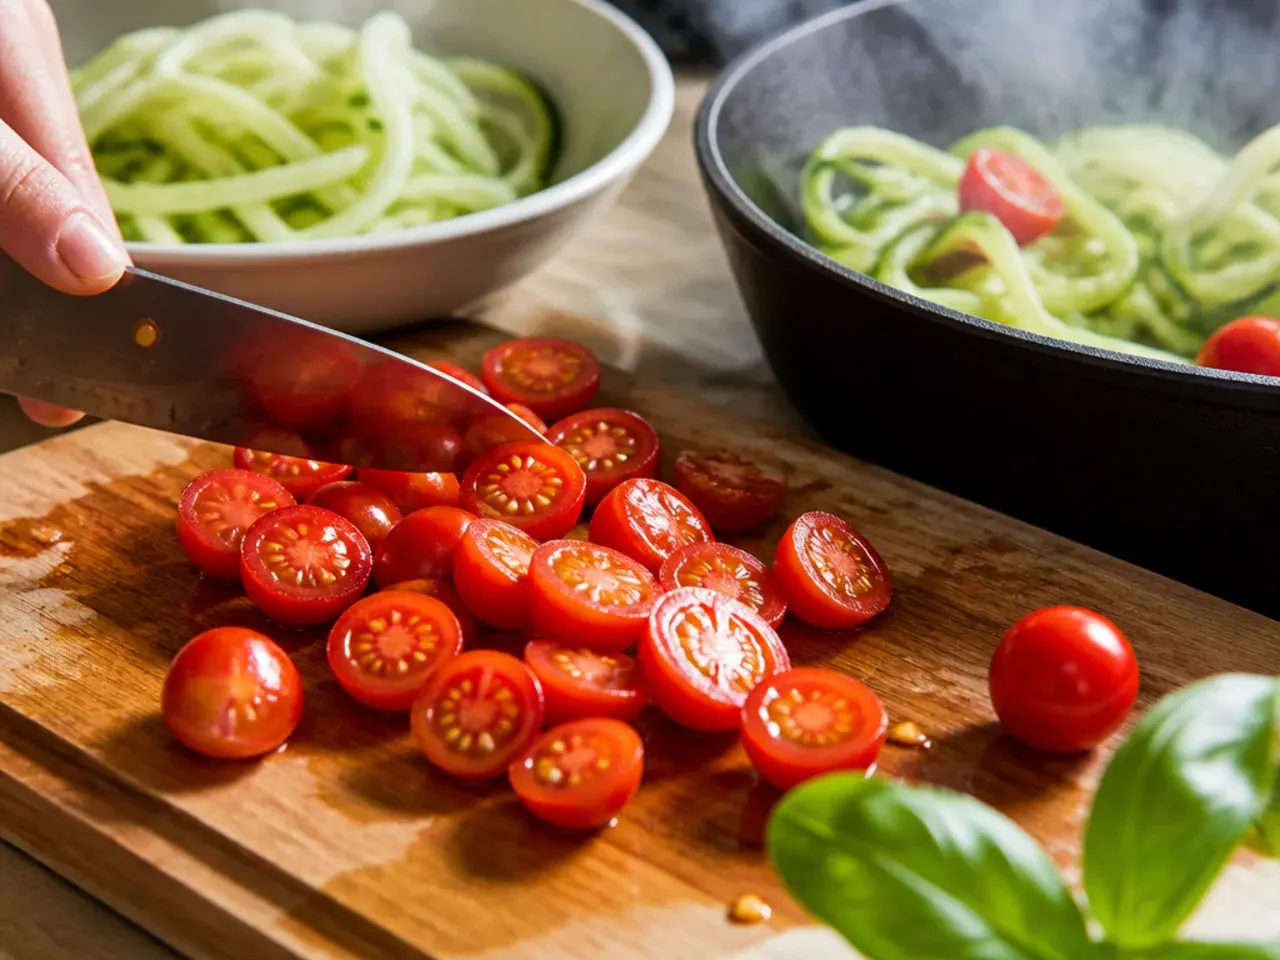
Slice 300 g (10 oz) cherry tomatoes in half through the equator. Halving lets them collapse and release their juices quickly in the pan, which forms the base of your light sauce. Keep them in a separate bowl until the pan is hot.
Step 8: Finely grate the parmesan
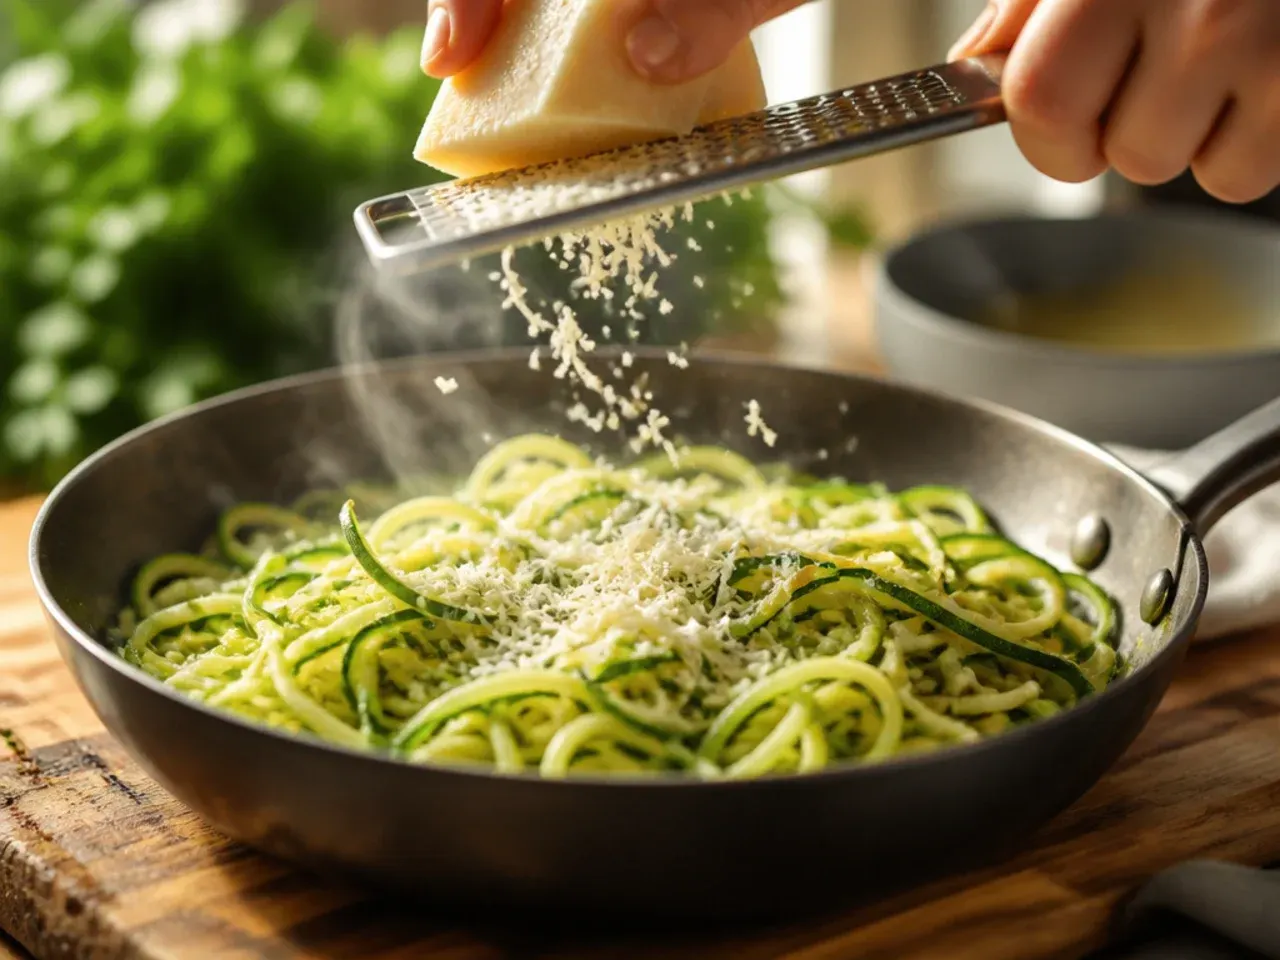
Grate 50 g (1/2 cup) parmesan on the fine side of a box grater, plus a little extra for serving at the table. Fine, fluffy shreds melt into the hot noodles far more evenly than pre-shredded or coarsely grated cheese. Set it aside near the stove for the final step.
Step 9: Heat the olive oil in a large skillet
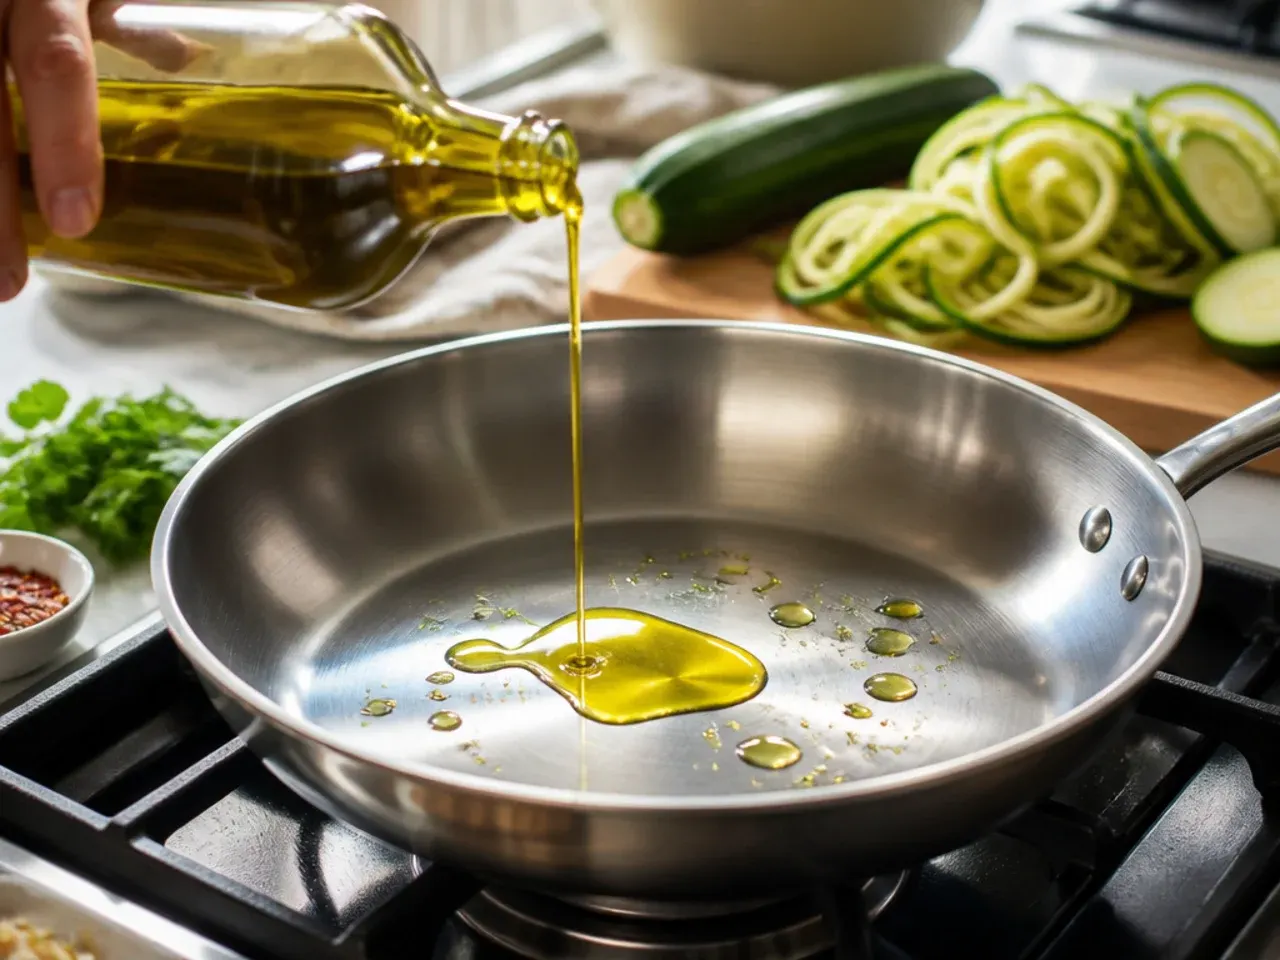
Set a large, wide skillet or saute pan over medium heat and add 30 ml (2 tbsp) olive oil. Let it warm for about a minute until it shimmers slightly but isn't smoking. A wide pan matters here, since it lets the tomatoes and noodles cook in a single layer rather than steaming in a crowded pile.
Step 10: Melt the butter into the oil
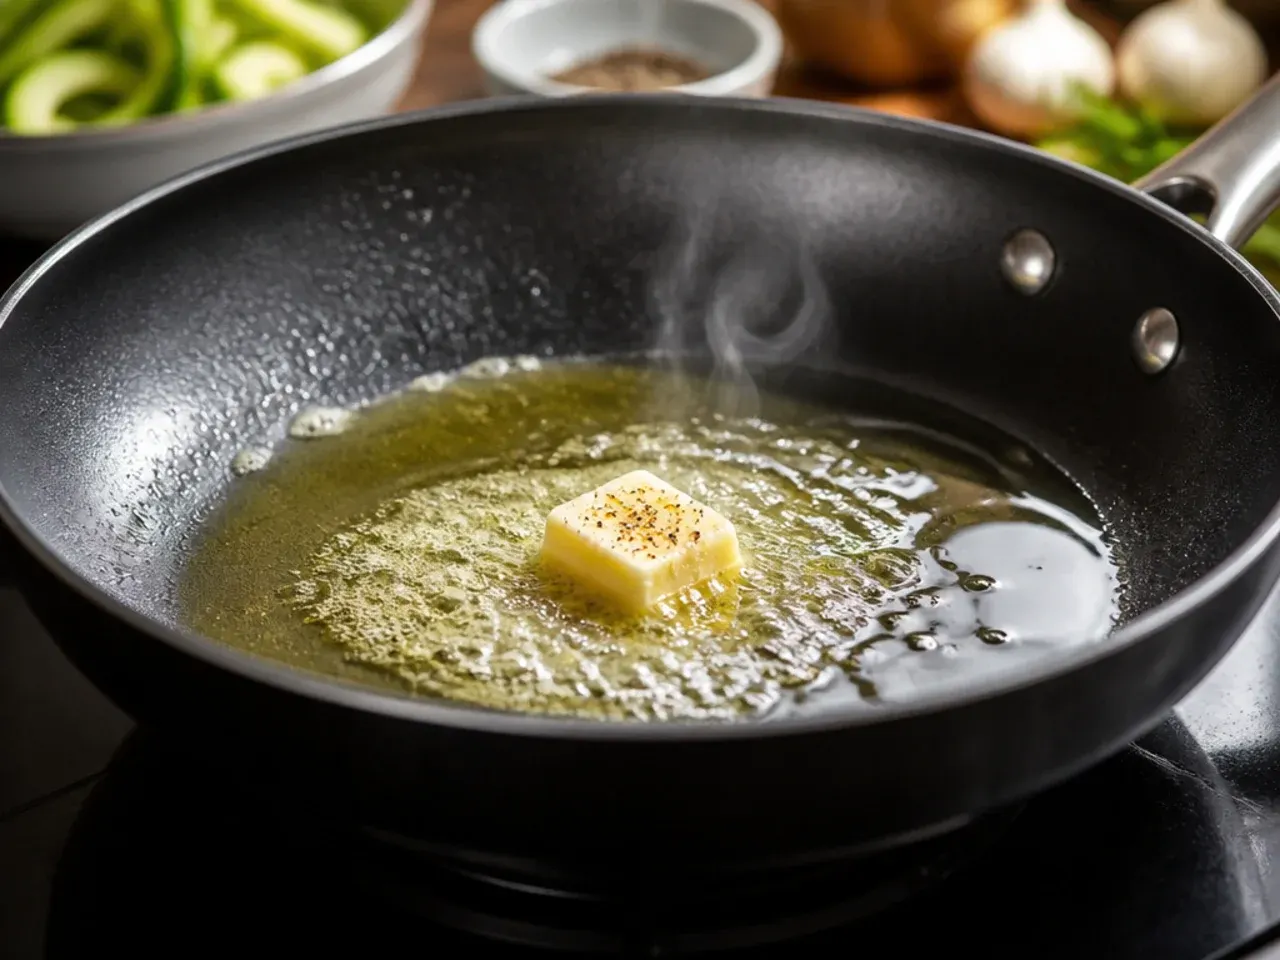
Add 15 g (1 tbsp) unsalted butter to the warm oil and swirl the pan until it's fully melted and starting to foam gently. The butter adds richness and helps the garlic toast evenly rather than scorching in oil alone. This should take no more than 30 seconds.
Step 11: Cook the garlic and chilli flakes until fragrant
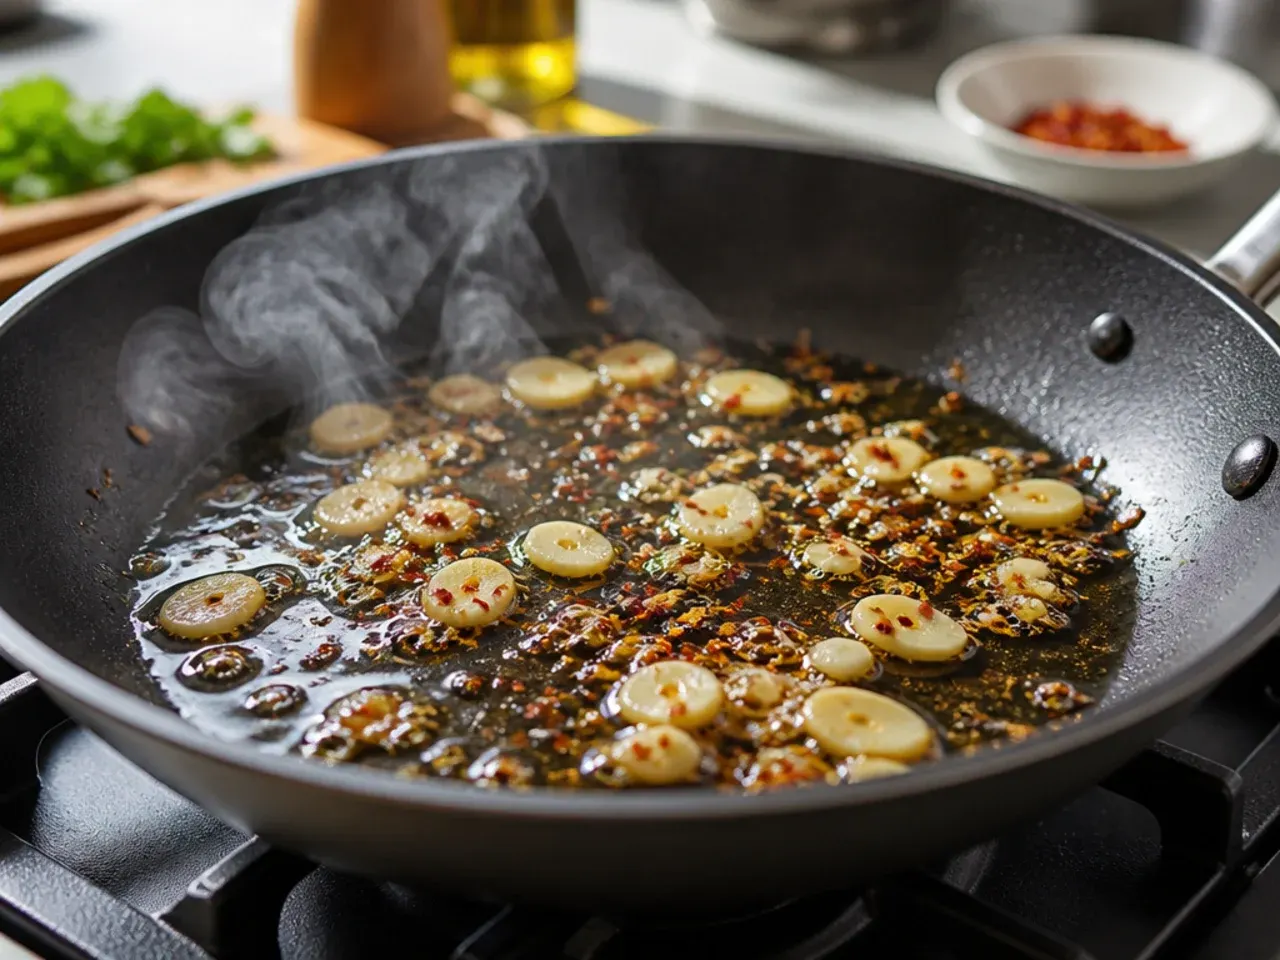
Add the minced garlic and red pepper flakes to the pan and stir constantly for 30-45 seconds, just until the garlic turns pale gold and smells fragrant. Watch it closely, since garlic can jump from golden to burnt in a matter of seconds and burnt garlic will turn the whole dish bitter. Have the tomatoes ready to go in immediately after.
Step 12: Add the cherry tomatoes and cook until blistered
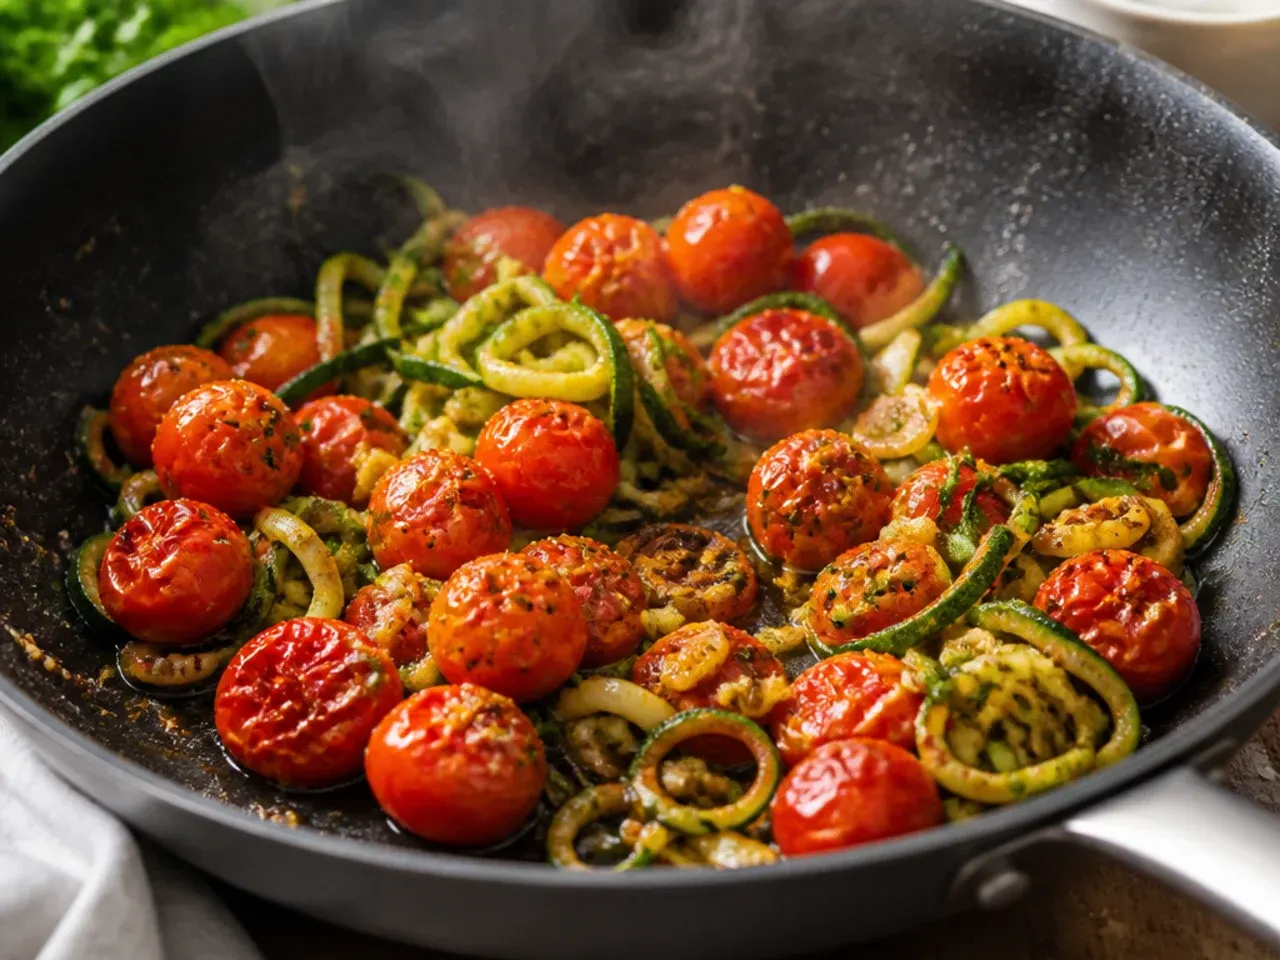
Tip the halved cherry tomatoes into the pan and cook for 3-4 minutes, stirring occasionally, until the skins blister and the tomatoes slump and release their juices. You're looking for a loose, jammy sauce forming at the base of the pan, with the tomatoes noticeably softened but not fully collapsed. Season with a pinch of salt to help draw out more juice.
Step 13: Season the tomato sauce
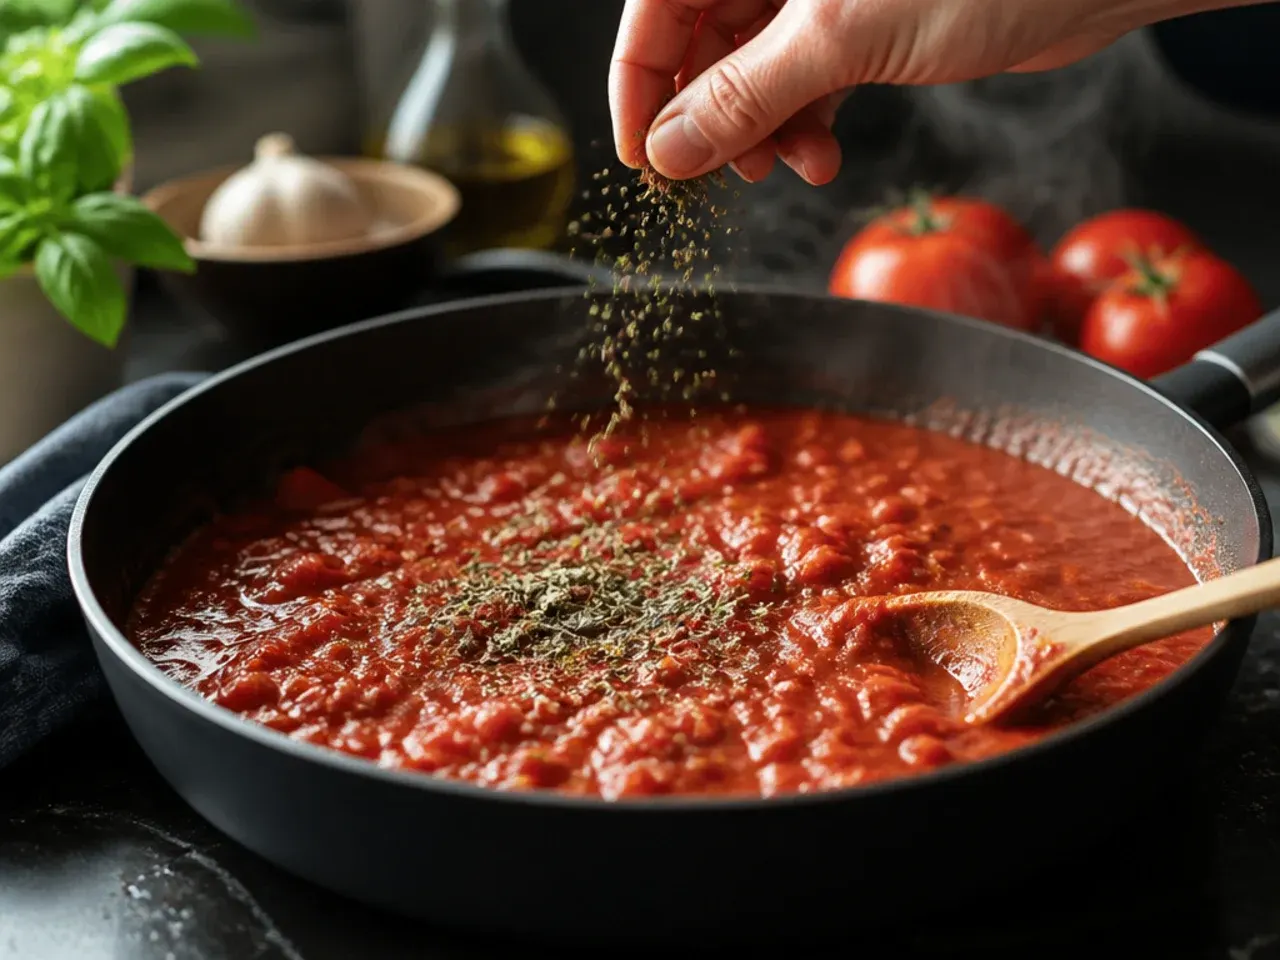
Season the tomato mixture with 0.5 g (1/4 tsp) black pepper and a little extra salt to taste, keeping in mind the parmesan added later is already salty. Give everything a stir to combine. Taste a spoonful of the sauce now so you can adjust before the noodles go in.
Step 14: Add the lemon juice
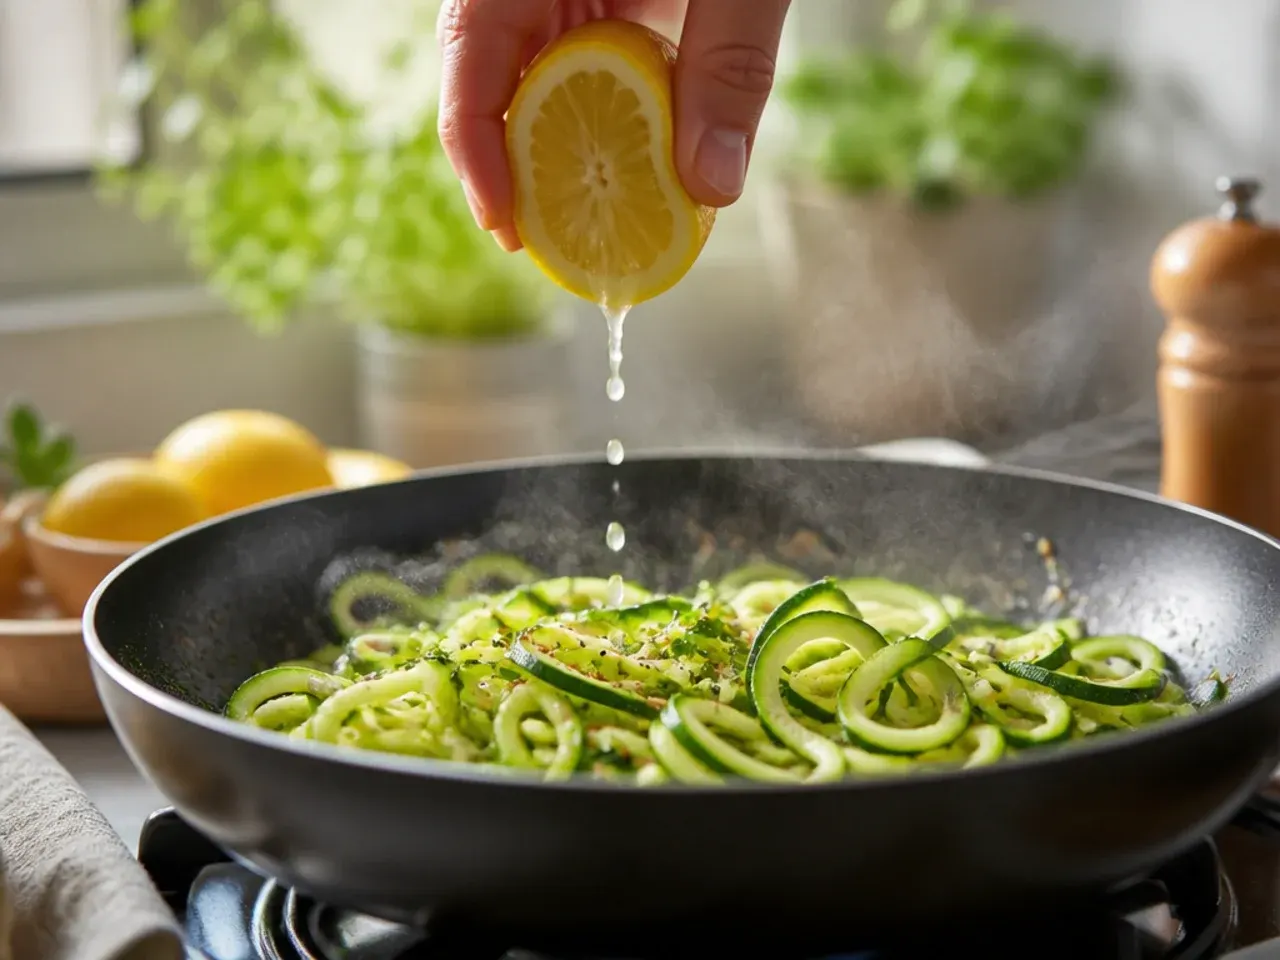
Squeeze in the juice of 1/2 lemon (about 15 ml/1 tbsp) and stir it through the tomato sauce. The acidity brightens the sauce and balances the richness of the butter and cheese to come. Let it bubble gently for 15-20 seconds to loosen everything into a cohesive sauce.
Step 15: Raise the heat and add the zucchini noodles
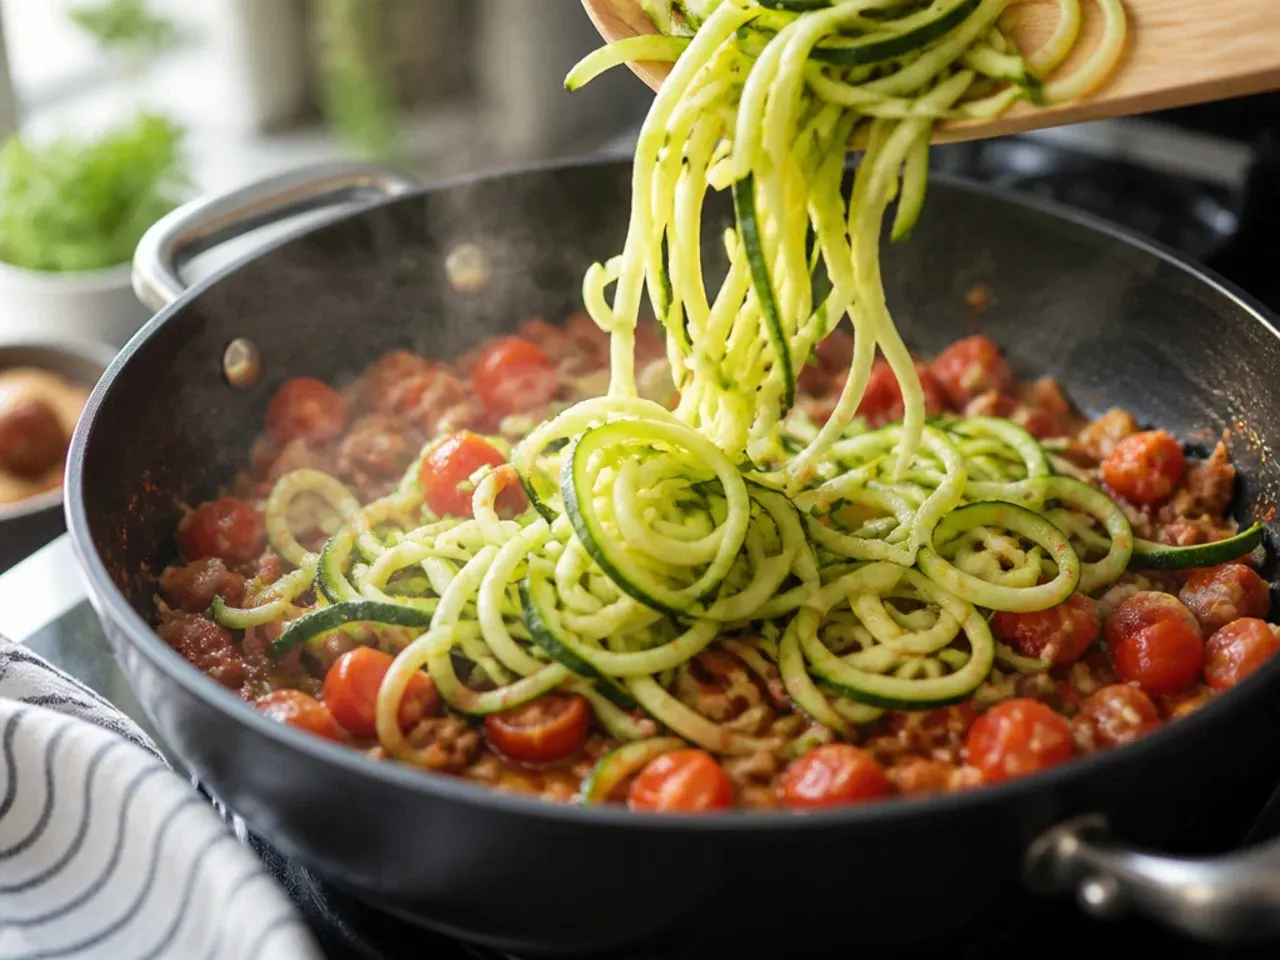
Turn the heat up to medium-high and add the drained, blotted zucchini noodles directly into the pan with the tomato sauce. Use tongs to lift and toss the noodles through the sauce right away, coating every strand, rather than letting them sit in one spot. Working quickly here keeps the noodles from releasing extra water into the pan.
Step 16: Toss the noodles for exactly 1-2 minutes
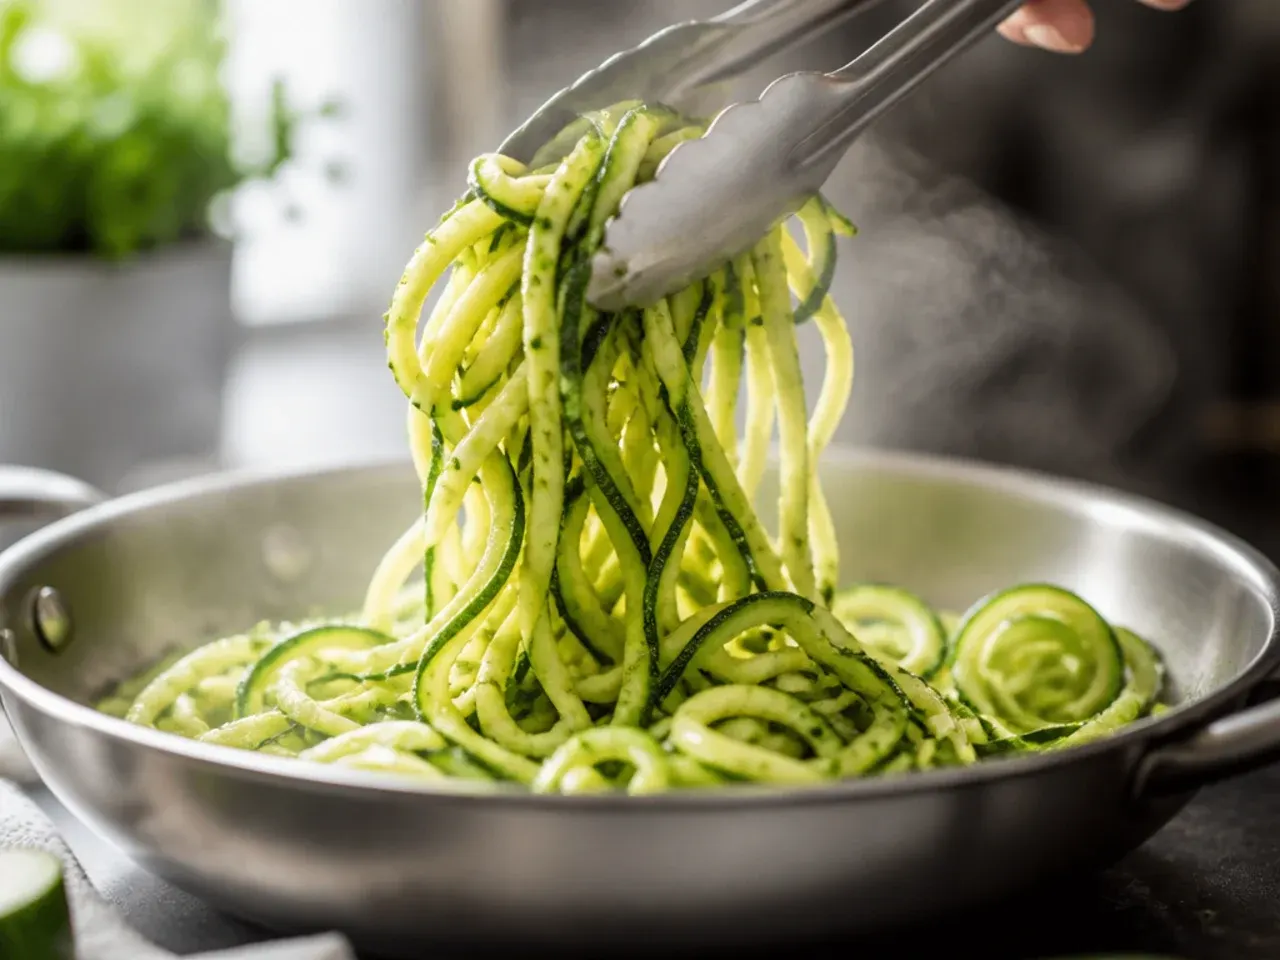
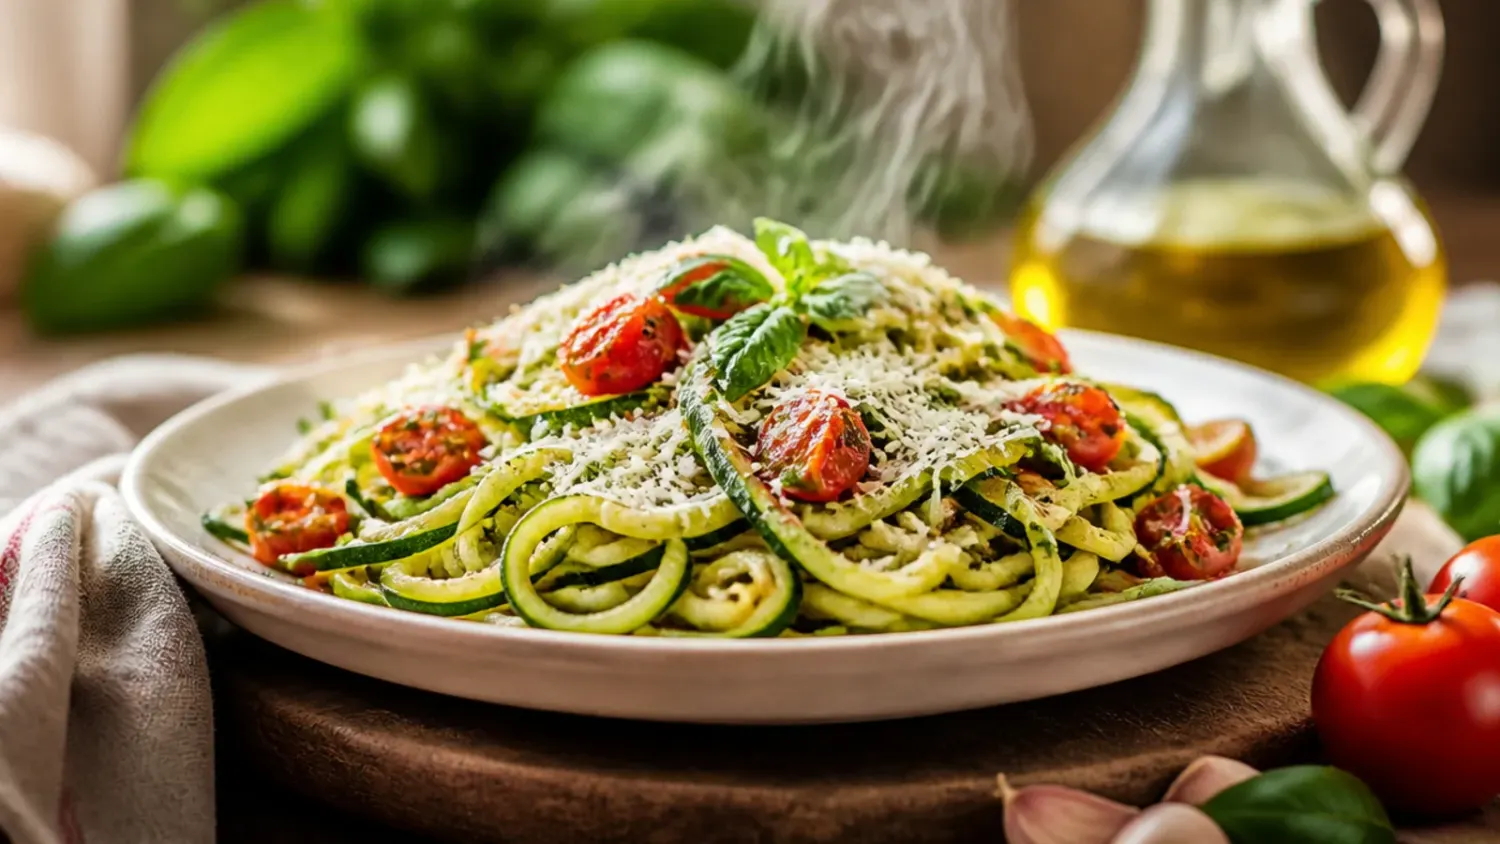
Continue tossing the noodles constantly for 1-2 minutes, no longer, until they turn glossy, slightly translucent at the edges, and just pliable when you bite one. Overcooking past this point is the most common mistake, since courgette noodles keep softening from residual heat even after you take the pan off the stove. They should still have a slight bite, similar to al dente pasta.
Step 17: Remove the pan from the heat immediately
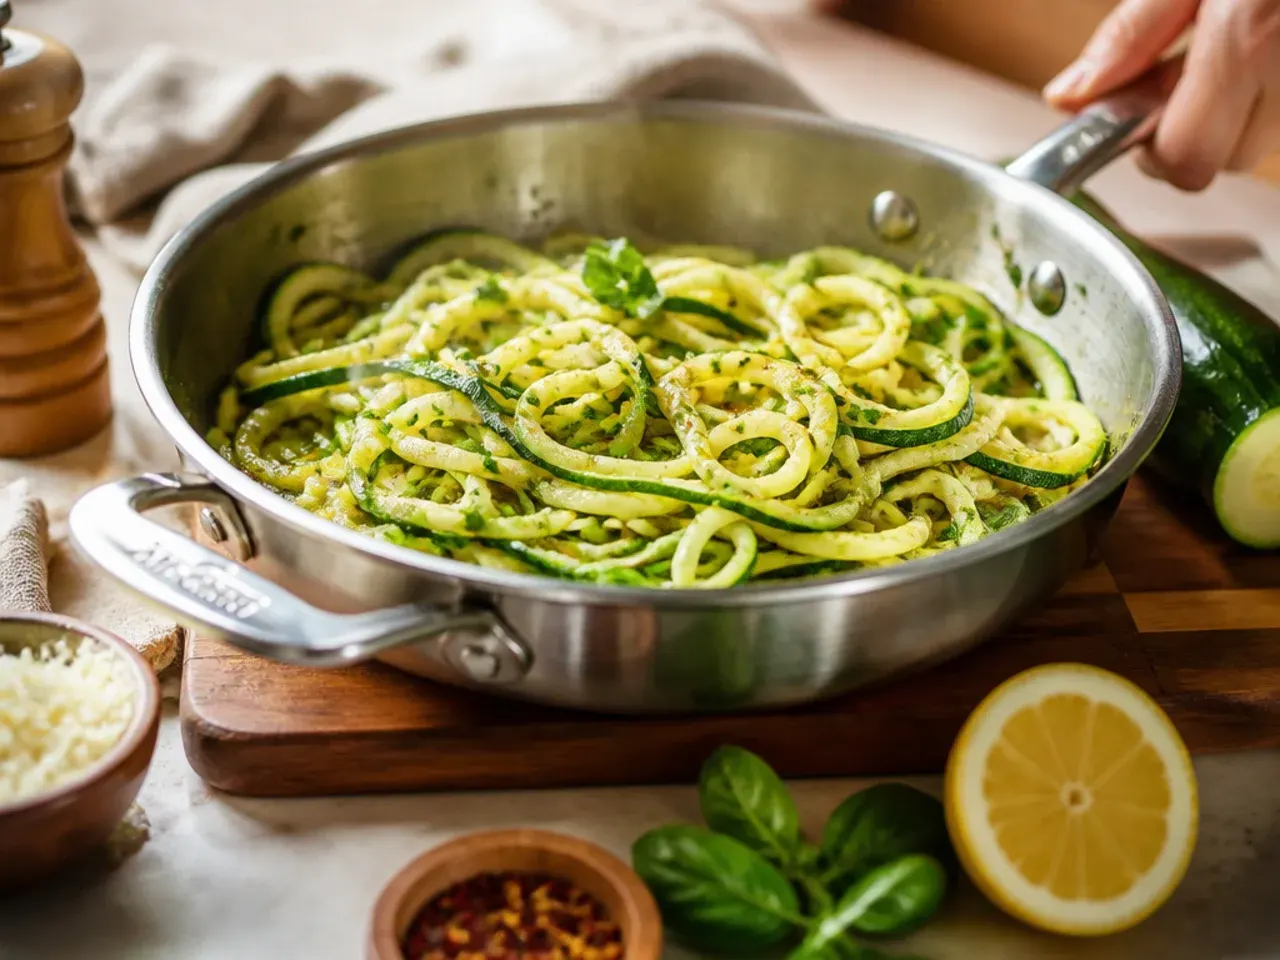
As soon as the noodles hit that glossy, just-tender stage, pull the pan off the heat completely. Every extra minute on the stove pushes them further toward mushy, so don't be tempted to leave them for a photo or a phone call. The residual heat in the pan will continue to gently finish them for a few seconds regardless.
Step 18: Tilt the pan and spoon off any excess liquid
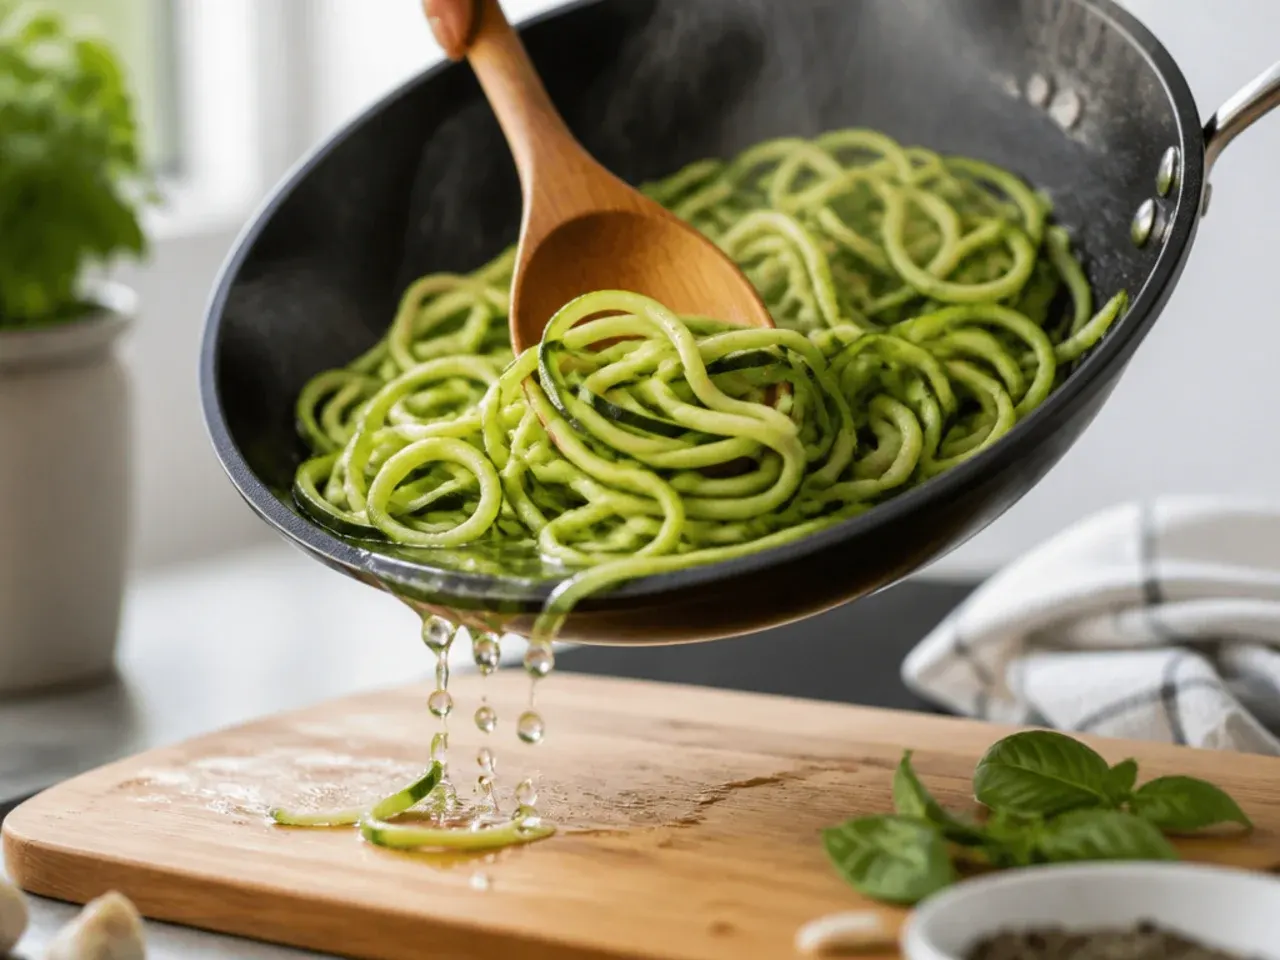
Tilt the pan slightly and check the base for any watery liquid that's pooled beneath the sauce; if there's more than a tablespoon or two, spoon it off before you add the cheese. Courgettes continue to release water even after cooking, so this quick check keeps the final dish from turning thin and soupy. Skip this step only if the sauce already looks thick and clingy.
Step 19: Fold in the parmesan and half the basil
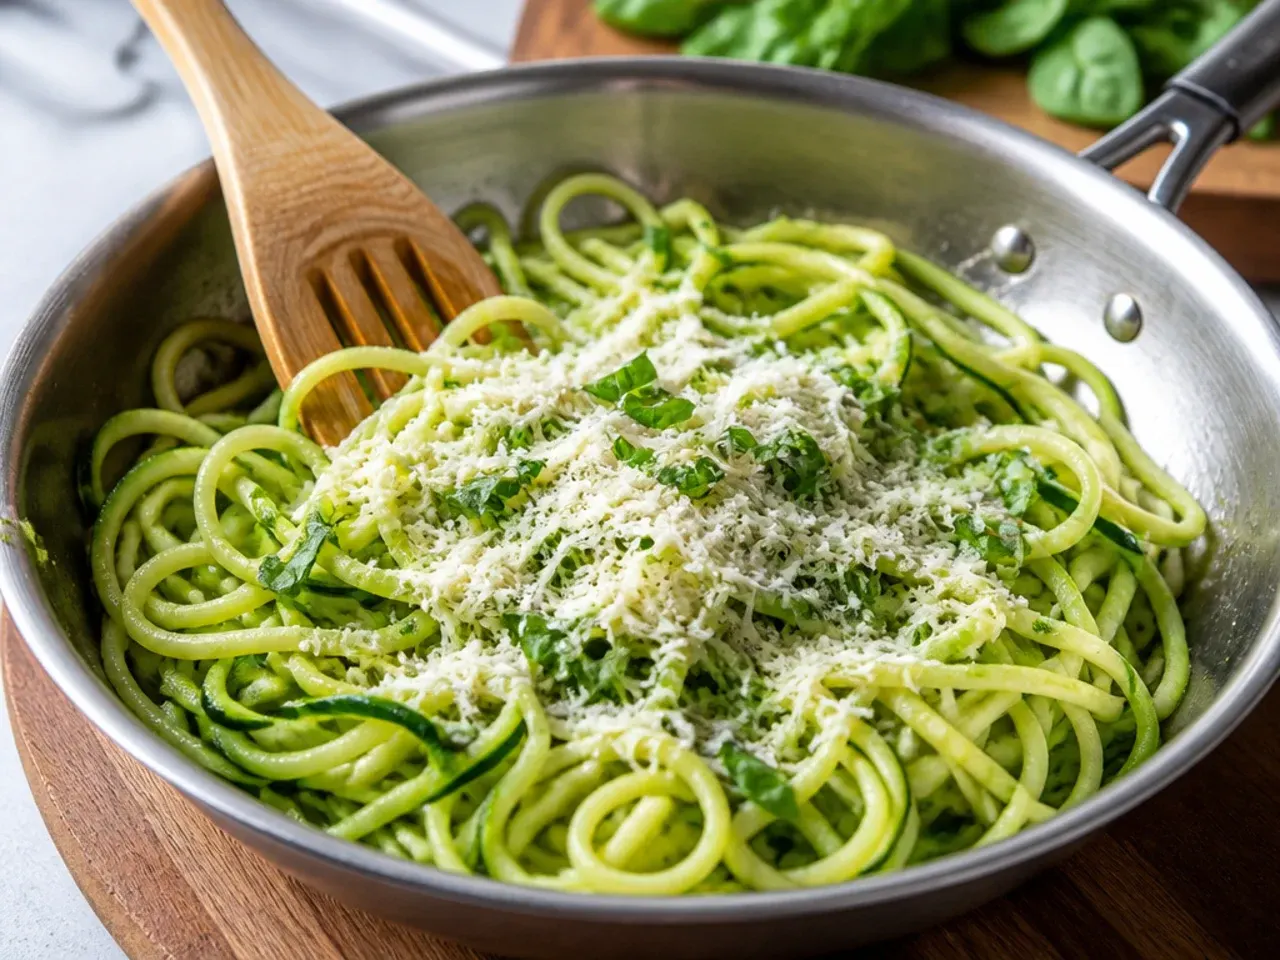
Sprinkle in the 50 g (1/2 cup) grated parmesan and half of the torn basil leaves, then fold gently with tongs until the cheese melts into a light, clinging sauce. Work quickly and off the heat, since parmesan can turn stringy and clump if the pan is still too hot. The sauce should coat the noodles in a thin, glossy layer rather than sitting in a pool at the bottom.
Step 20: Plate immediately and garnish
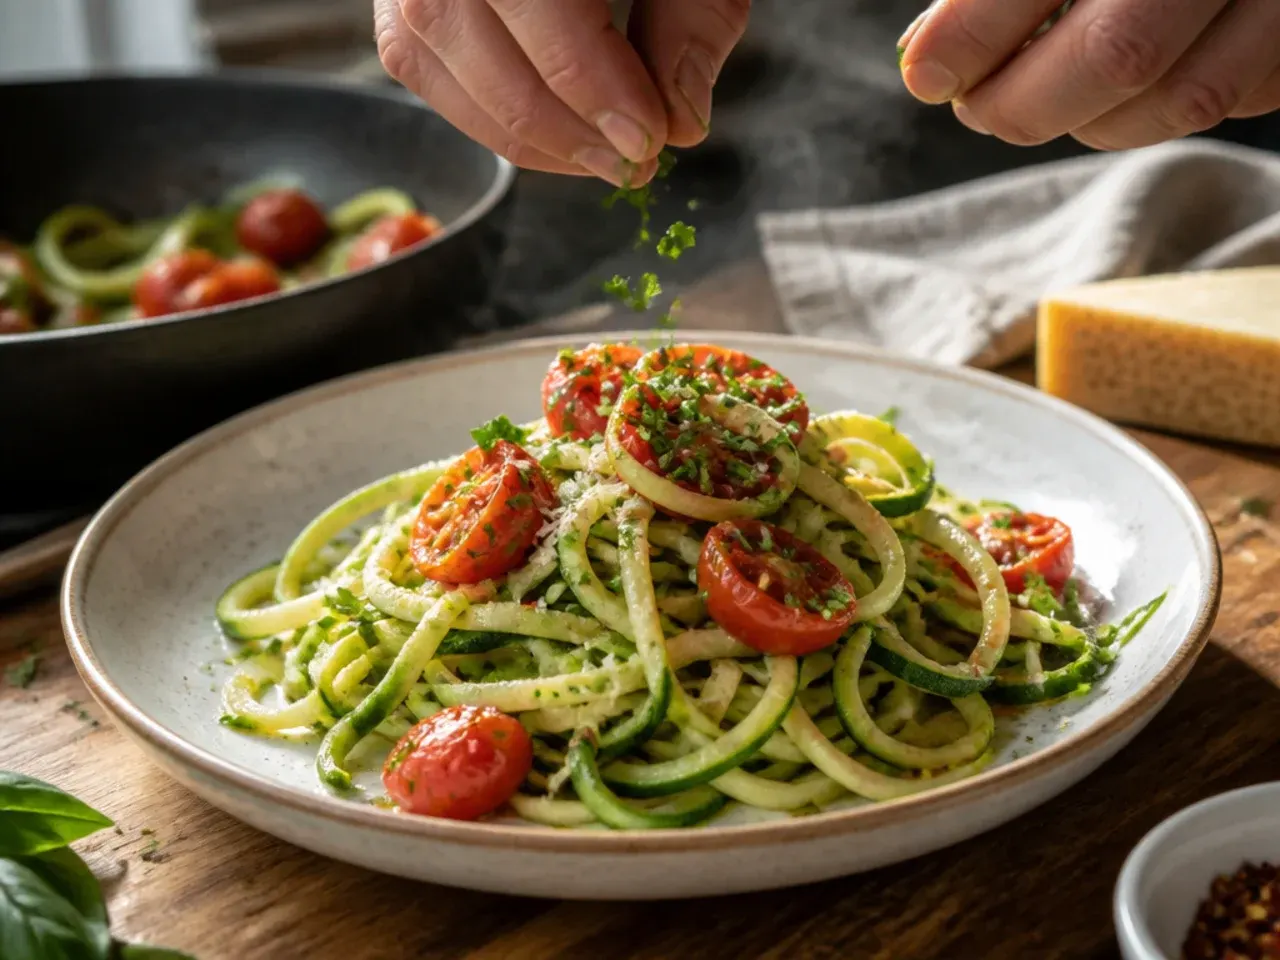
Twirl the noodles onto warm plates straightaway using tongs, then scatter over the remaining basil, a little extra parmesan, and the toasted pine nuts if using. Serve at once, since zucchini noodles keep releasing moisture and turn soggier the longer they sit on the plate. A final crack of black pepper and a drizzle of olive oil finishes it nicely.
Pro Tips for Perfect Zucchini Noodles Every Time
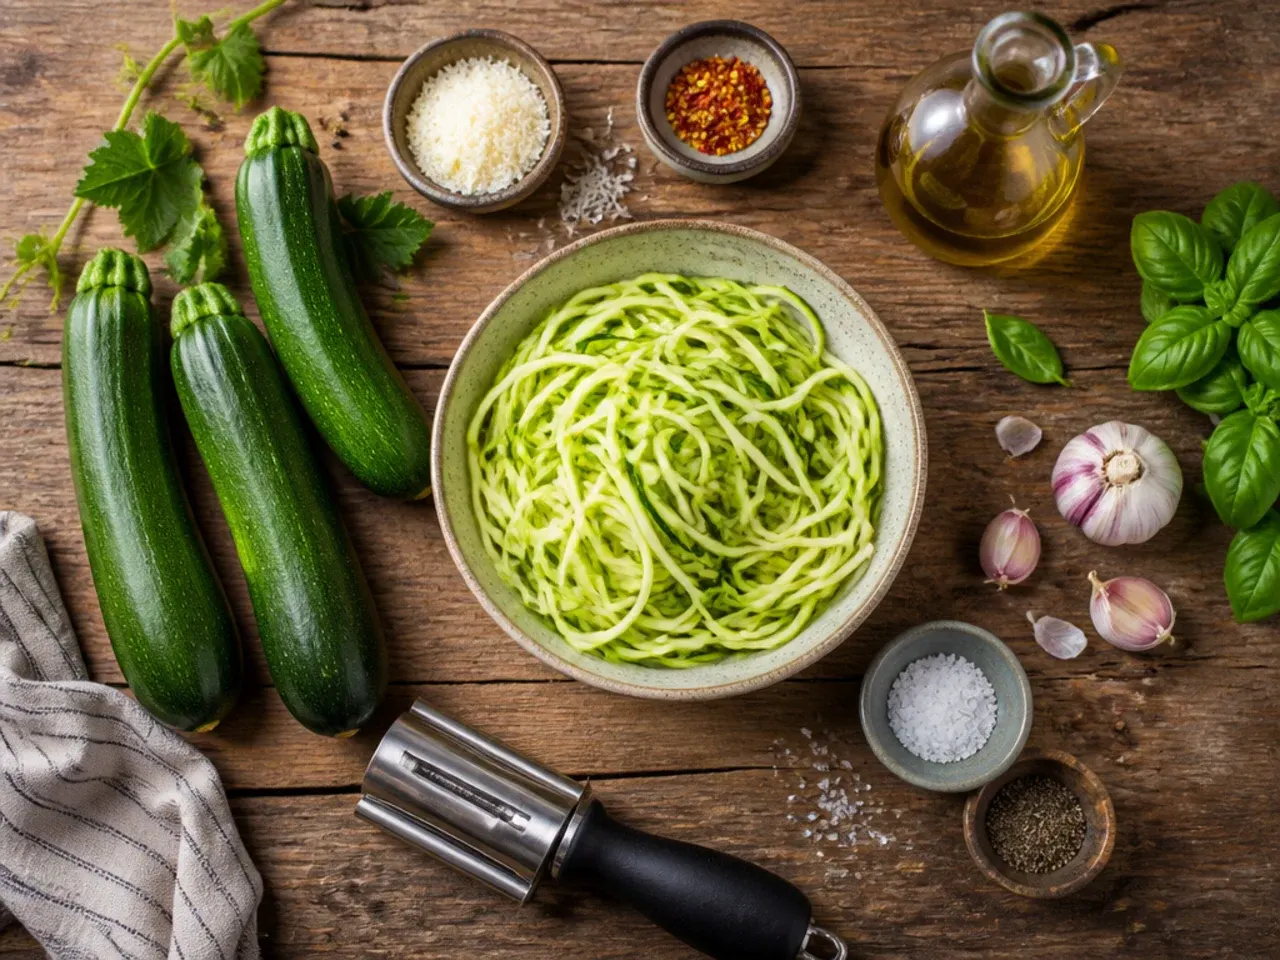
Always salt your zoodles and let them drain for at least 10 minutes before they go anywhere near heat, since courgettes are roughly 95% water and that step alone prevents most sogginess. Cook the noodles for no longer than 1-2 minutes in the pan and pull them off the heat the moment they turn glossy and just pliable, because carry-over heat keeps softening them even after you plate up. Build your sauce first, then toss the noodles through it at the very end rather than simmering them in liquid, so they season the sauce instead of drowning in it. A julienne peeler works almost as well as a spiralizer if you slice with the grain in long, even strokes.
Storage and Make-Ahead Tips for Zucchini Noodles
Raw, spiralized zucchini noodles keep for 2-3 days in an airtight container lined with paper towel in the fridge, though they'll release more liquid the longer they sit. Cooked zoodles are best eaten immediately, but leftovers will hold for 1 day in the fridge if you drain them well first; reheat briefly in a hot, dry pan for 30-45 seconds rather than the microwave, which turns them mushy. Freezing isn't recommended once cooked, since the high water content makes thawed noodles collapse into a wet, stringy mess. If you want a head start, spiralize and salt the courgettes up to a day ahead, then keep them drained and chilled until you're ready to cook.
Master zucchini noodle recipes with this 20-step method for perfectly al dente zoodles that stay firm, never watery, in a light garlic-parmesan sauce. For more zucchini recipes inspiration, browse the full Zucchini Recipes board — every idea there is written for real home kitchens, not professional bakers.
Frequently Asked Questions
Zucchini is roughly 95% water, so if you skip salting and draining, all of that liquid ends up in your pan instead of in the sink. Salting the noodles for at least 10 minutes before cooking, then blotting them dry, removes most of the excess moisture upfront. The other big culprit is overcooking; anything past 1-2 minutes in a hot pan pushes zoodles from tender to limp and watery very quickly. Building your sauce separately and tossing the noodles through it at the very end, rather than simmering them together, also keeps the final dish from turning thin and soupy.

Related Recipes
Save this for later 📌
Pin this article to your Pinterest board so the full list is one tap away when you need it.
Save on Pinterest