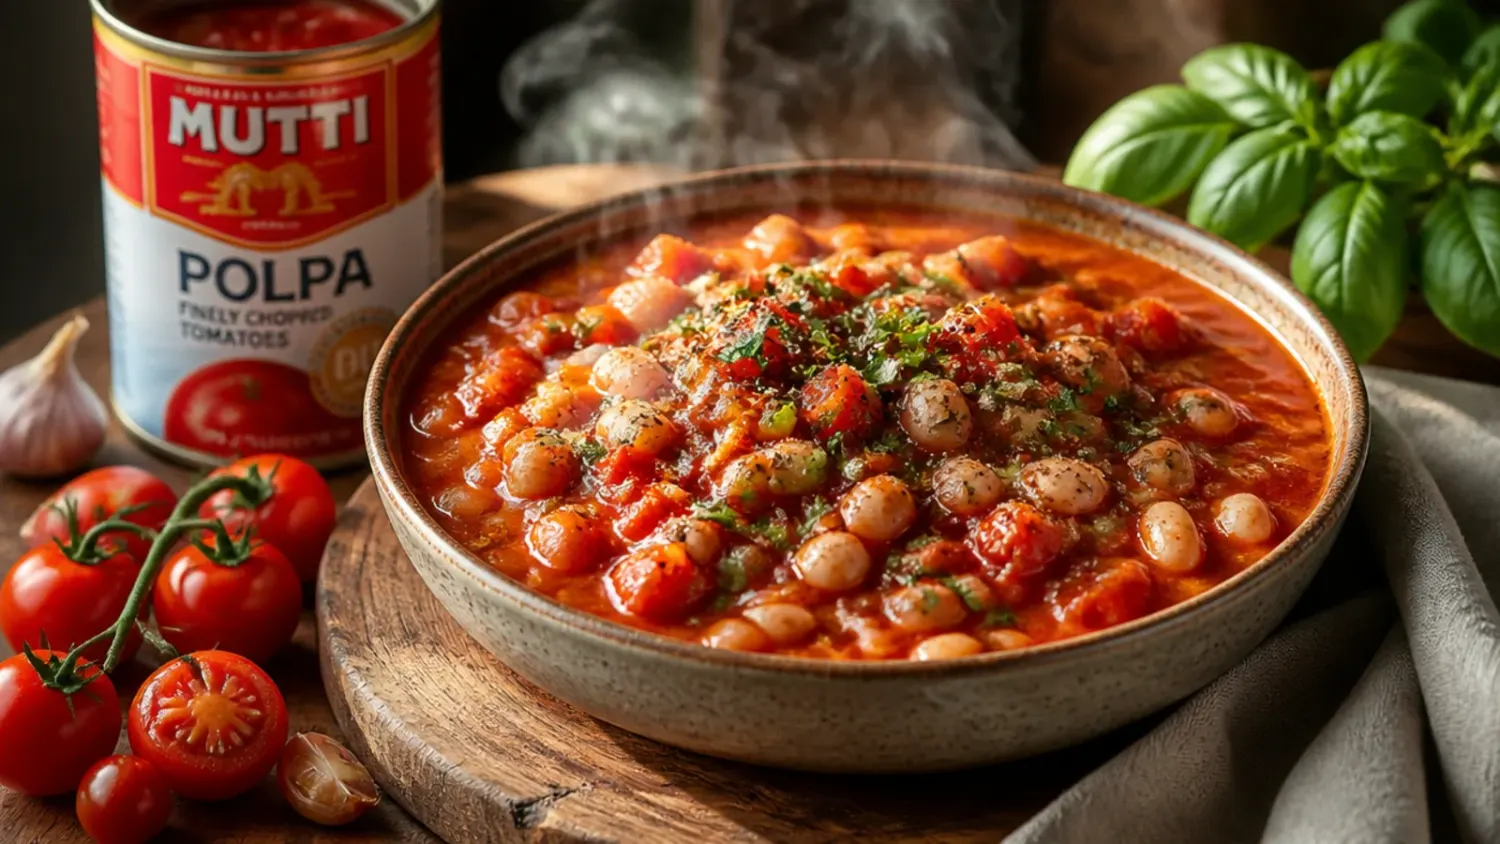
Ingredients 6 Person(s)

Save this for later 📌
Pin this article to your Pinterest board so the full list is one tap away when you need it.
Save on PinterestDirections
Step 1: Gather and prep your ingredients
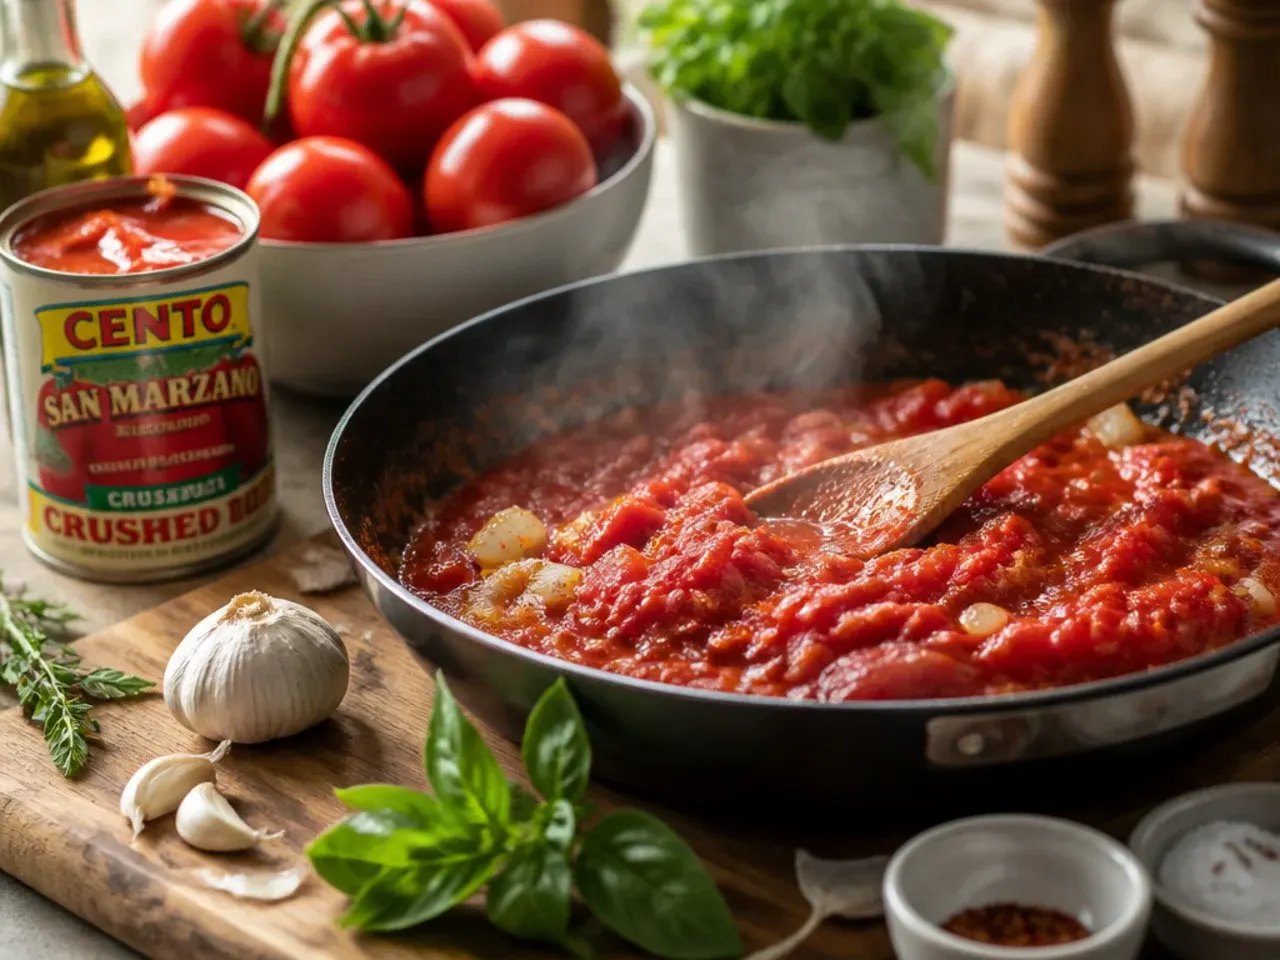
Set out both tins of tomatoes, the tomato paste, and all your aromatics before you start, since this sauce moves quickly once it's on the heat. Finely dice the onion, carrot, and celery into pieces no larger than 5mm so they melt into the sauce rather than staying chunky. Mince the garlic separately, as it goes in later than the other vegetables.
Step 2: Warm the olive oil
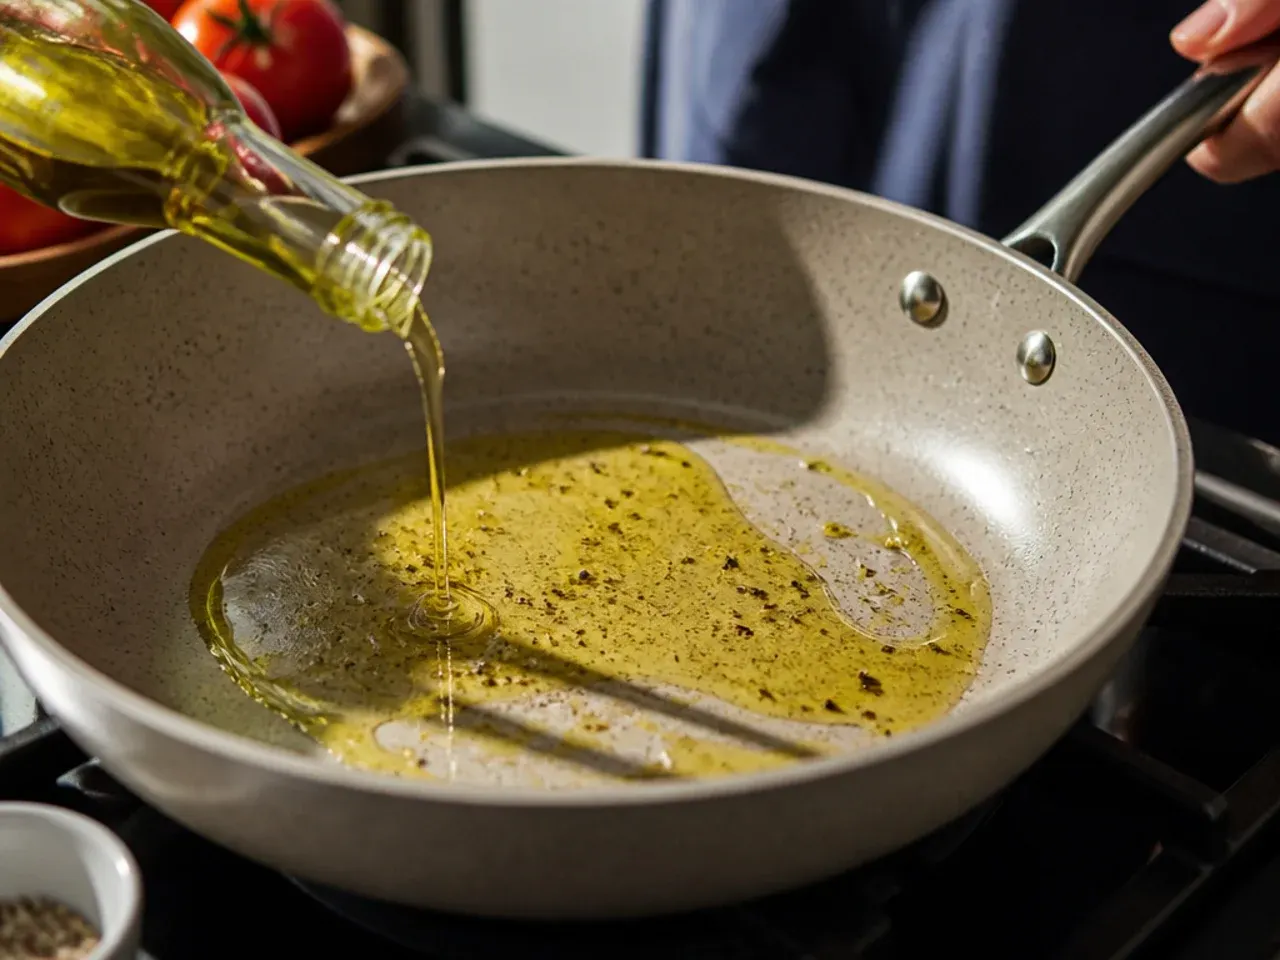
Pour 30 ml (2 tbsp) of olive oil into a heavy-based pot or Dutch oven and set it over medium heat for about 1 minute, until the oil shimmers and moves easily when you tilt the pan. A heavy pot matters here, since thin pans scorch the tomato paste and vegetables later on. Avoid letting the oil smoke, which signals it's too hot for the delicate aromatics.
Step 3: Sauté the onion
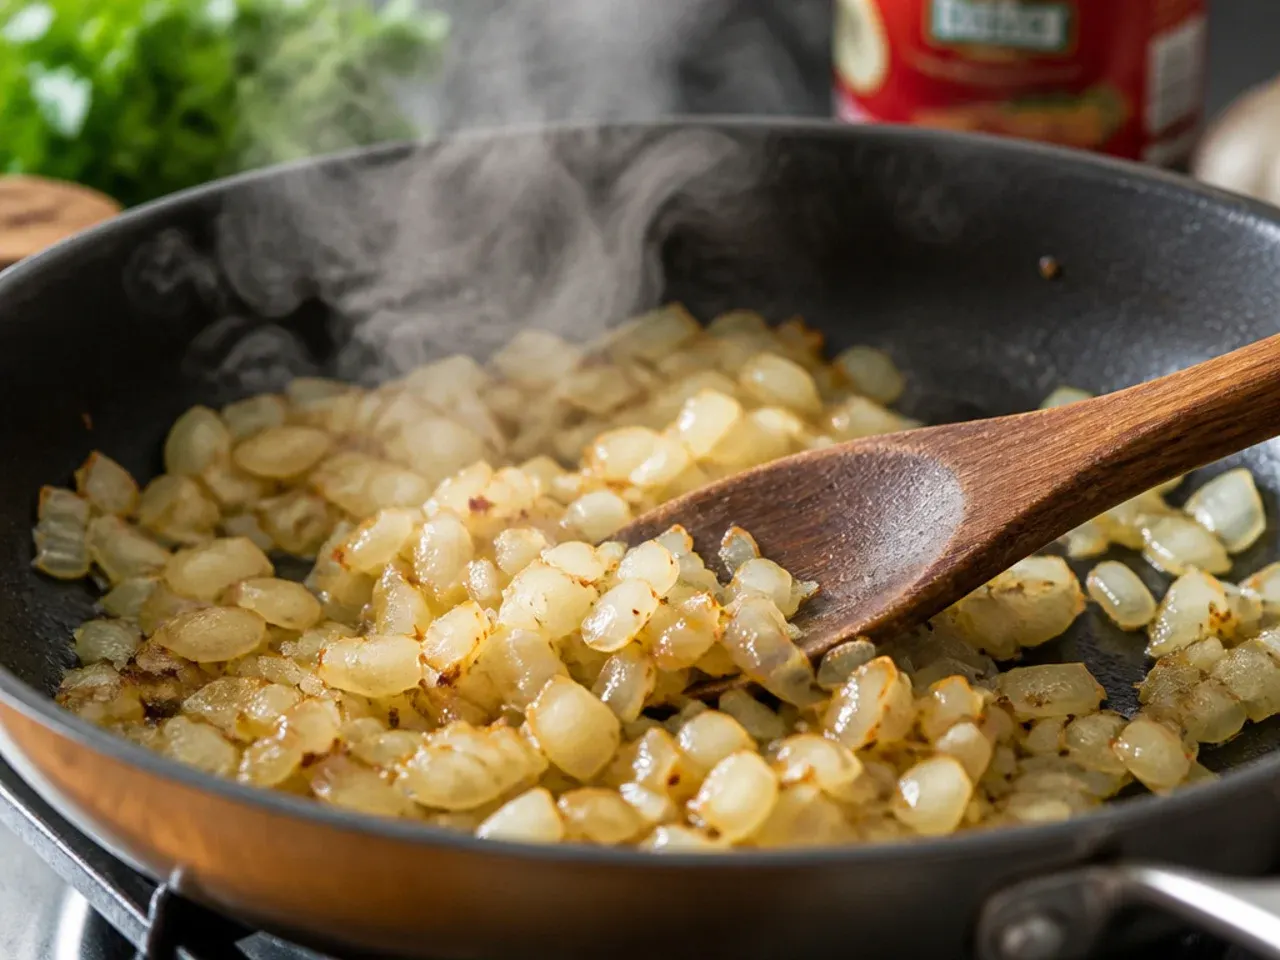
Add the 150 g (1 medium) diced onion to the warm oil and cook for 4-5 minutes, stirring occasionally, until it turns translucent and smells sweet rather than sharp. Lower the heat slightly if the edges start to brown too quickly, since you want softness, not colour, at this stage. This slow start builds the sweet base that carries the whole sauce.
Step 4: Add the carrot and celery
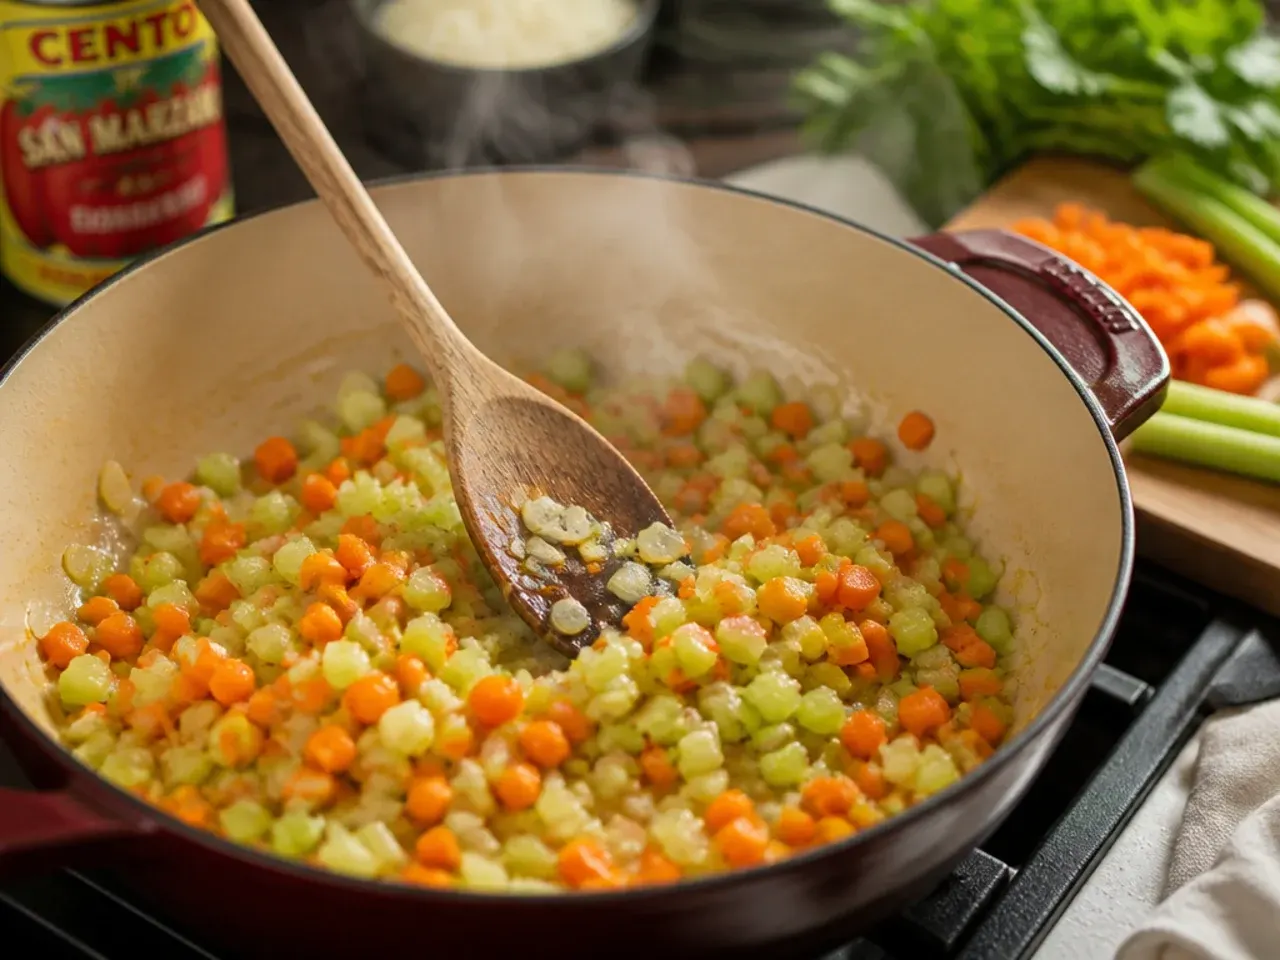
Stir in the 70 g (1 small) diced carrot and 60 g diced celery, then continue cooking for 5-6 minutes until all the vegetables have softened and reduced in volume by about half. The mixture should look glossy and slightly golden at the edges, with no raw crunch left when you taste a piece. This trio, known as a soffritto, is what gives a jarred-tasting sauce real depth.
Step 5: Stir in the garlic
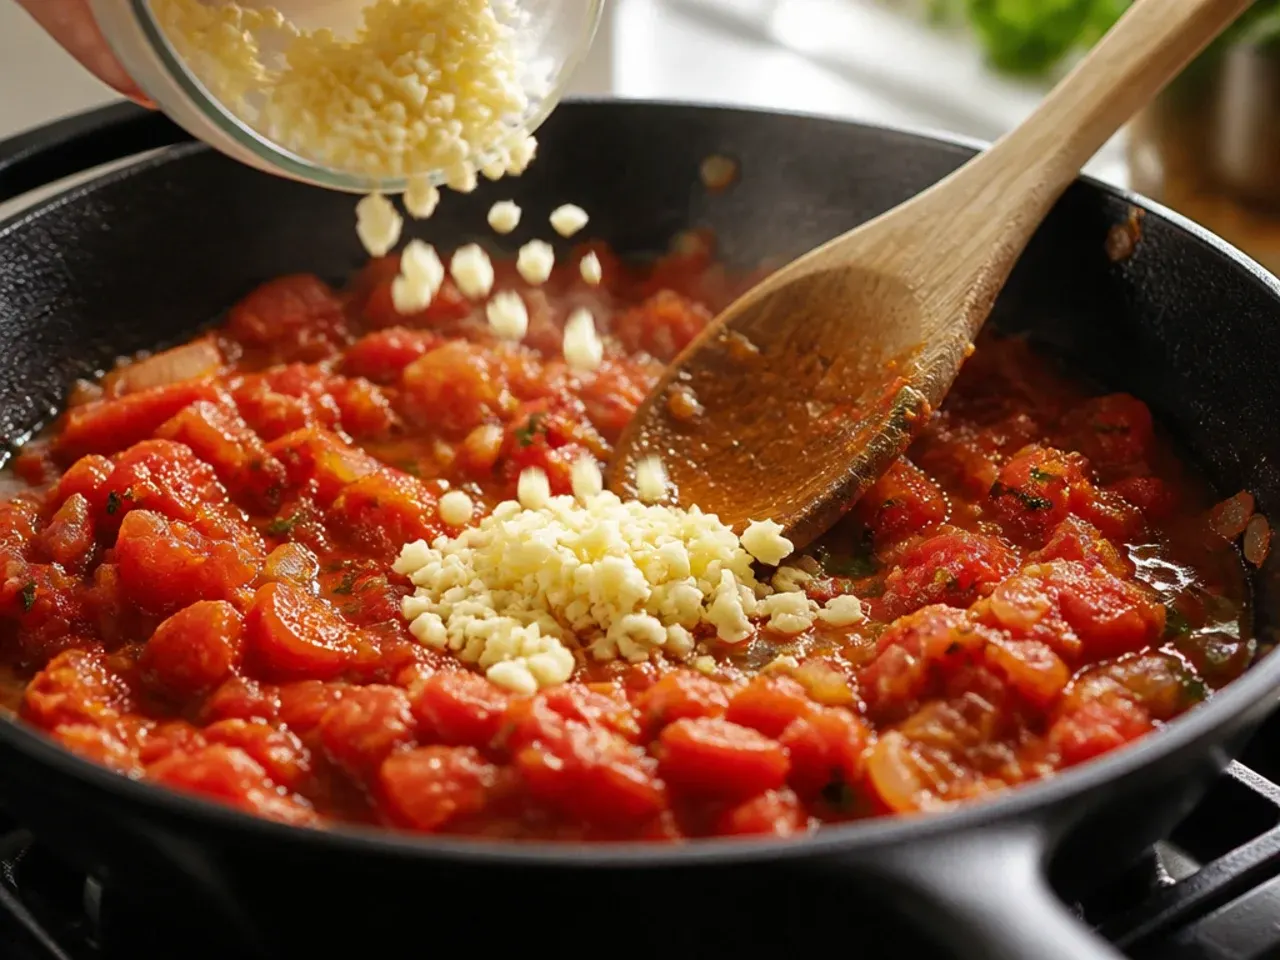
Add the 4 minced garlic cloves to the softened vegetables and stir constantly for 30-45 seconds, just until fragrant. Garlic burns fast and turns bitter within a minute, so keep it moving and don't step away from the pot. You'll know it's ready when the sharp raw smell mellows into something warm and toasty.
Step 6: Cook the tomato paste
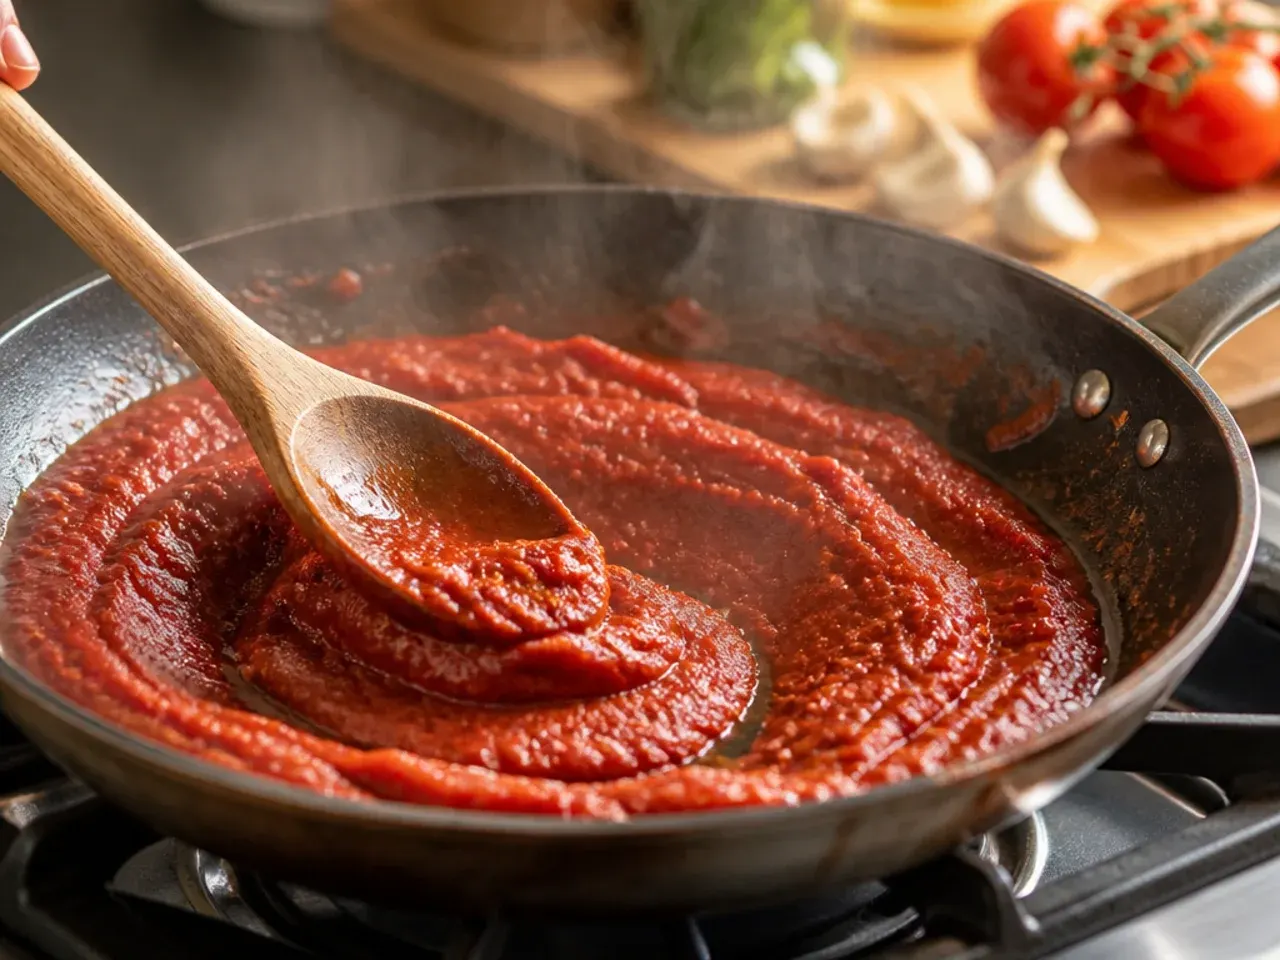
Push the vegetables to one side of the pot and add 30 g (2 tbsp) of tomato paste directly onto the bare pan surface. Cook it alone for 1-2 minutes, stirring and pressing it flat, until it darkens from bright red to a deep brick colour. This step, called toasting the paste, removes the tinny raw taste and builds a caramelised, savoury base.
Step 7: Combine everything in the pot
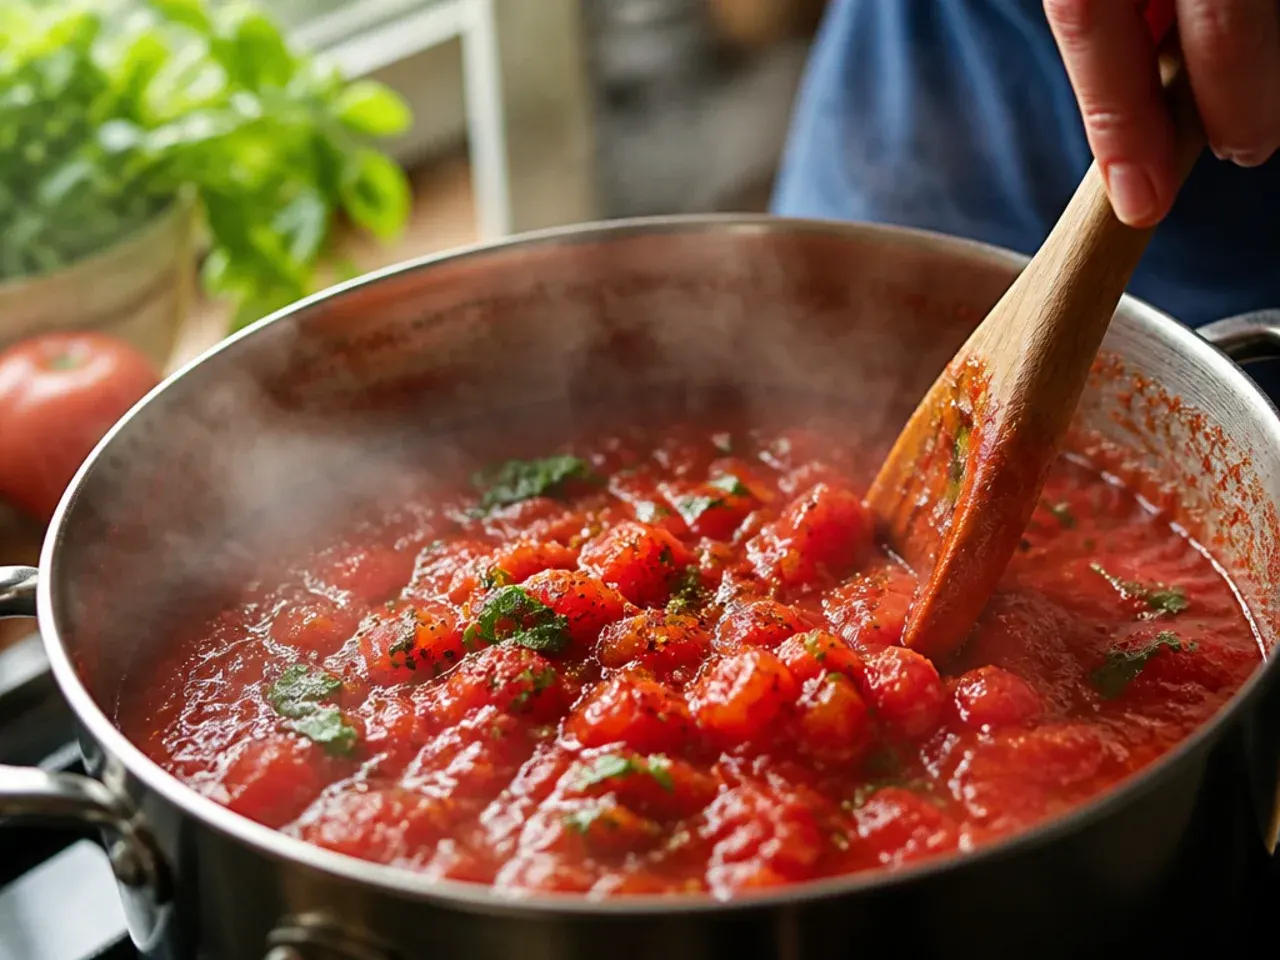
Stir the toasted tomato paste through the vegetables so everything is evenly coated in a deep red glaze. Scrape the bottom of the pot with a wooden spoon to lift any browned bits, since these hold concentrated flavour. The mixture should smell rich and slightly sweet at this point.
Step 8: Add the crushed tomatoes
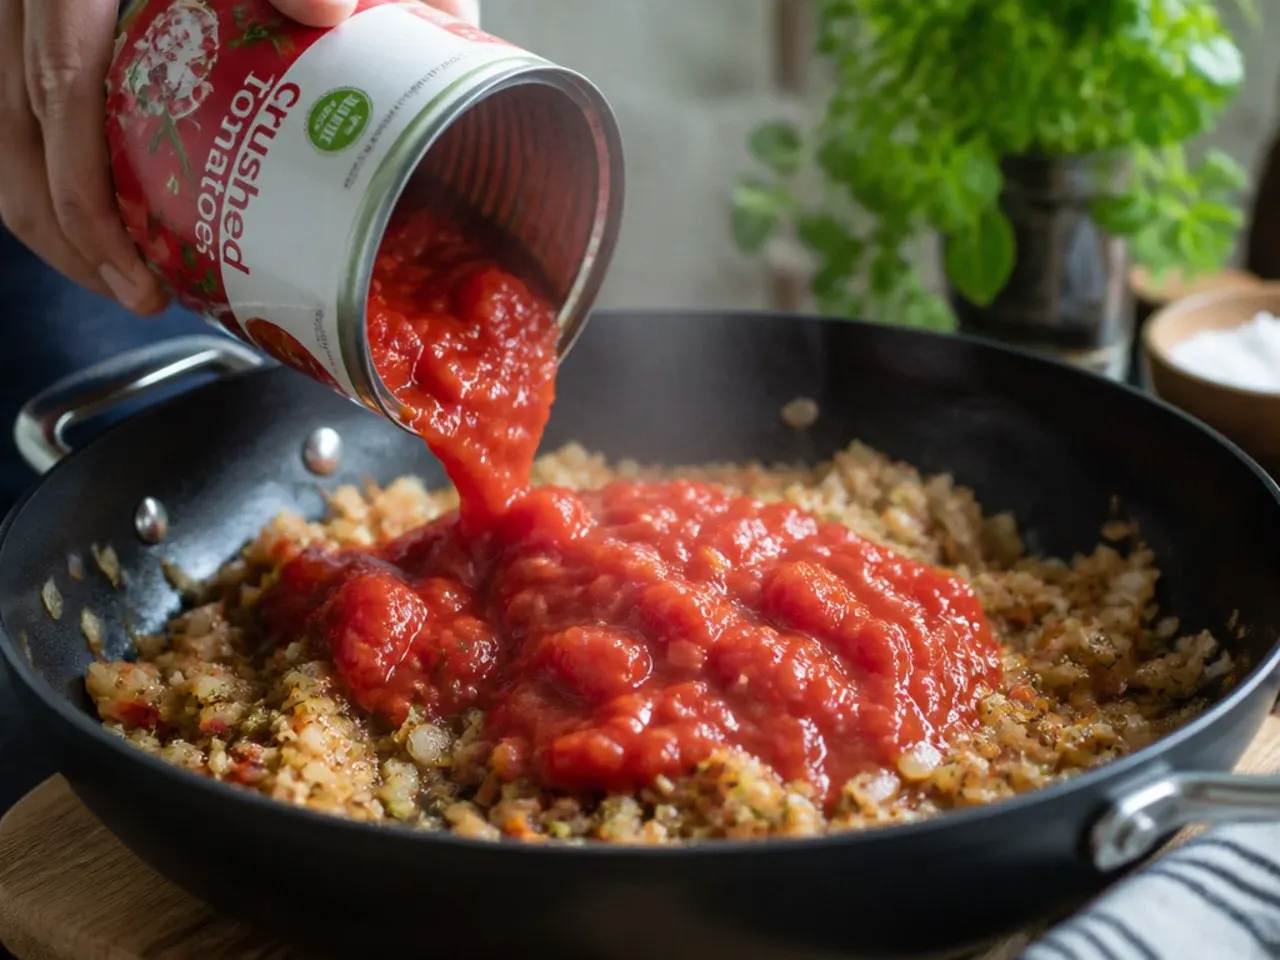
Pour in the 800 g (28 oz) canned crushed tomatoes and stir well to combine with the vegetable base. The mixture will loosen and turn a brighter red as the raw tomato meets the cooked aromatics. Scrape down the sides of the pot so nothing sticks and scorches once the sauce starts to simmer.
Step 9: Crush and add the whole tomatoes
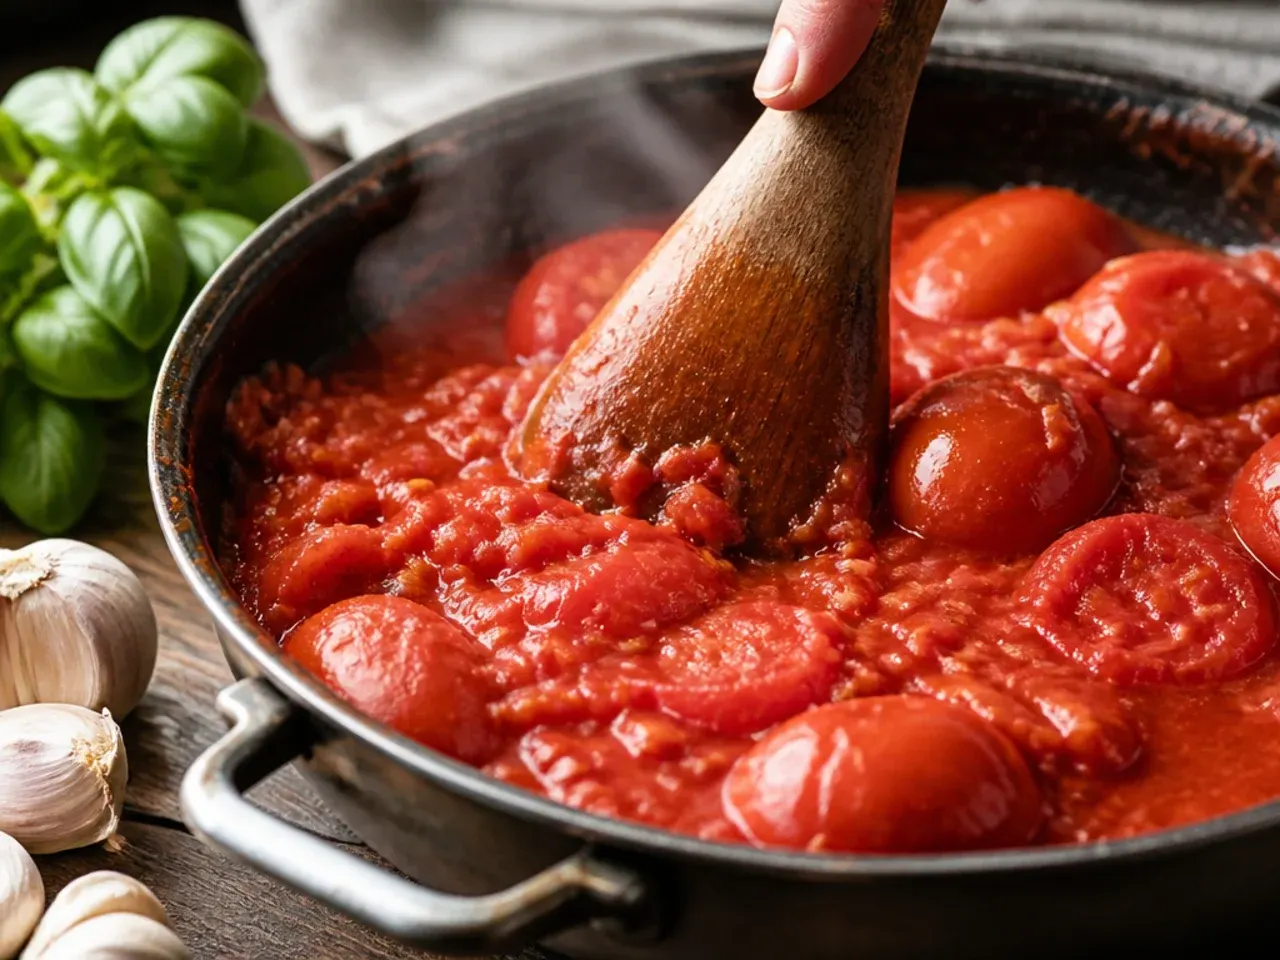
Tip the 400 g (14 oz) canned whole peeled tomatoes into a bowl and crush them by hand or with a potato masher into rough, uneven pieces roughly 1-2cm across. Add these along with their juice to the pot, since whole tomatoes tend to be higher quality and add texture the crushed tin alone can't. This mix of textures is what gives the sauce body rather than a flat, uniform consistency.
Step 10: Season the base
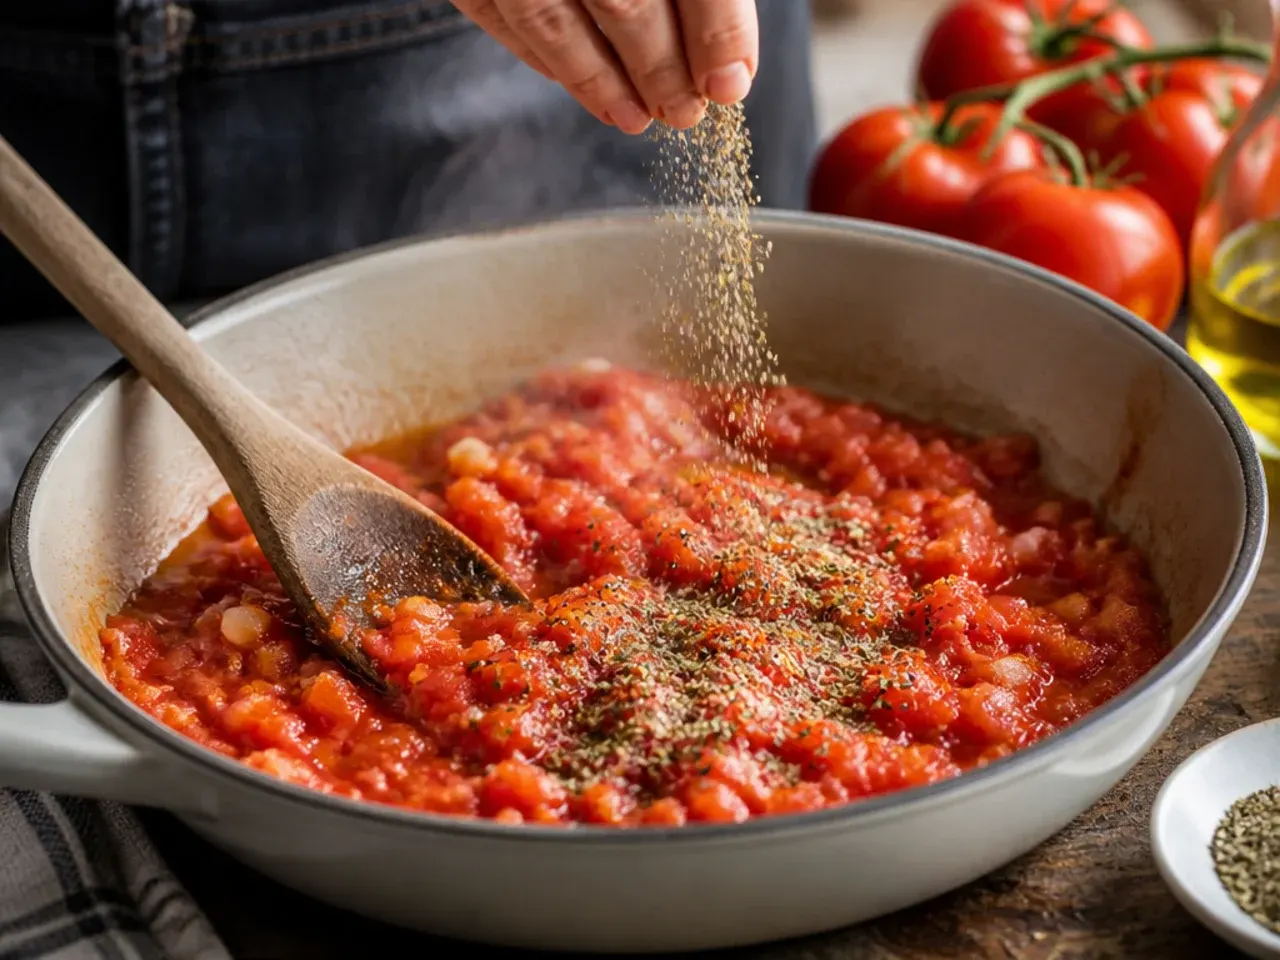
Add 5 g (1 tsp) granulated sugar, 7 g (1 1/4 tsp) fine sea salt, and the dried oregano with 1 bay leaf. The sugar balances the natural acidity of canned tomatoes rather than making the sauce taste sweet, and you'll adjust the salt again later. Stir everything through so the seasoning distributes evenly before the sauce starts to bubble.
Step 11: Bring to a simmer
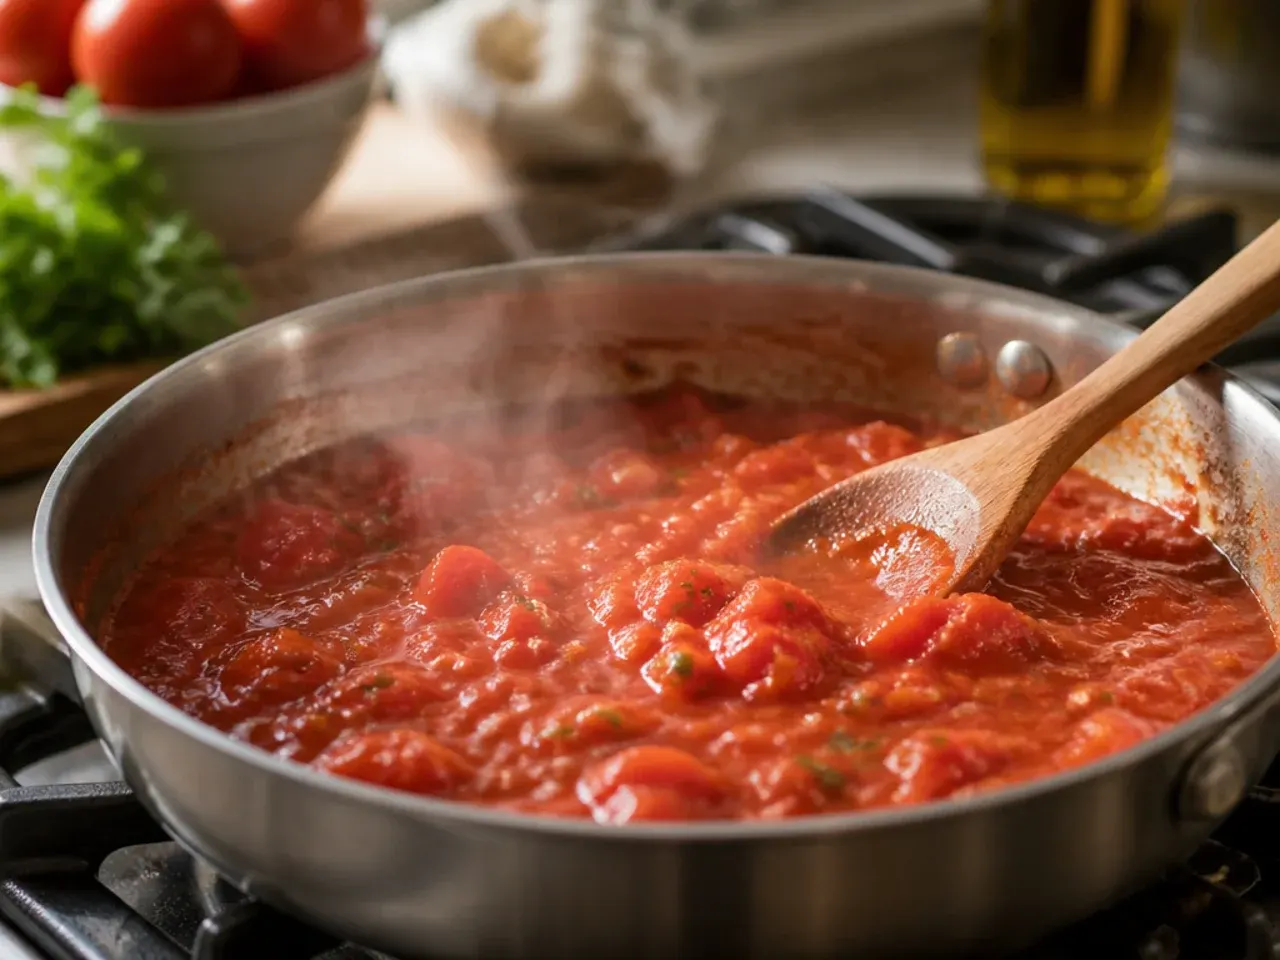
Increase the heat to medium-high and bring the sauce to a gentle simmer, watching for small bubbles breaking steadily across the surface, which takes about 3-4 minutes. Do not let it reach a rolling boil, since high heat splatters and can scorch the bottom. As soon as you see consistent bubbling, move on to the next step.
Step 12: Reduce heat and cover partially
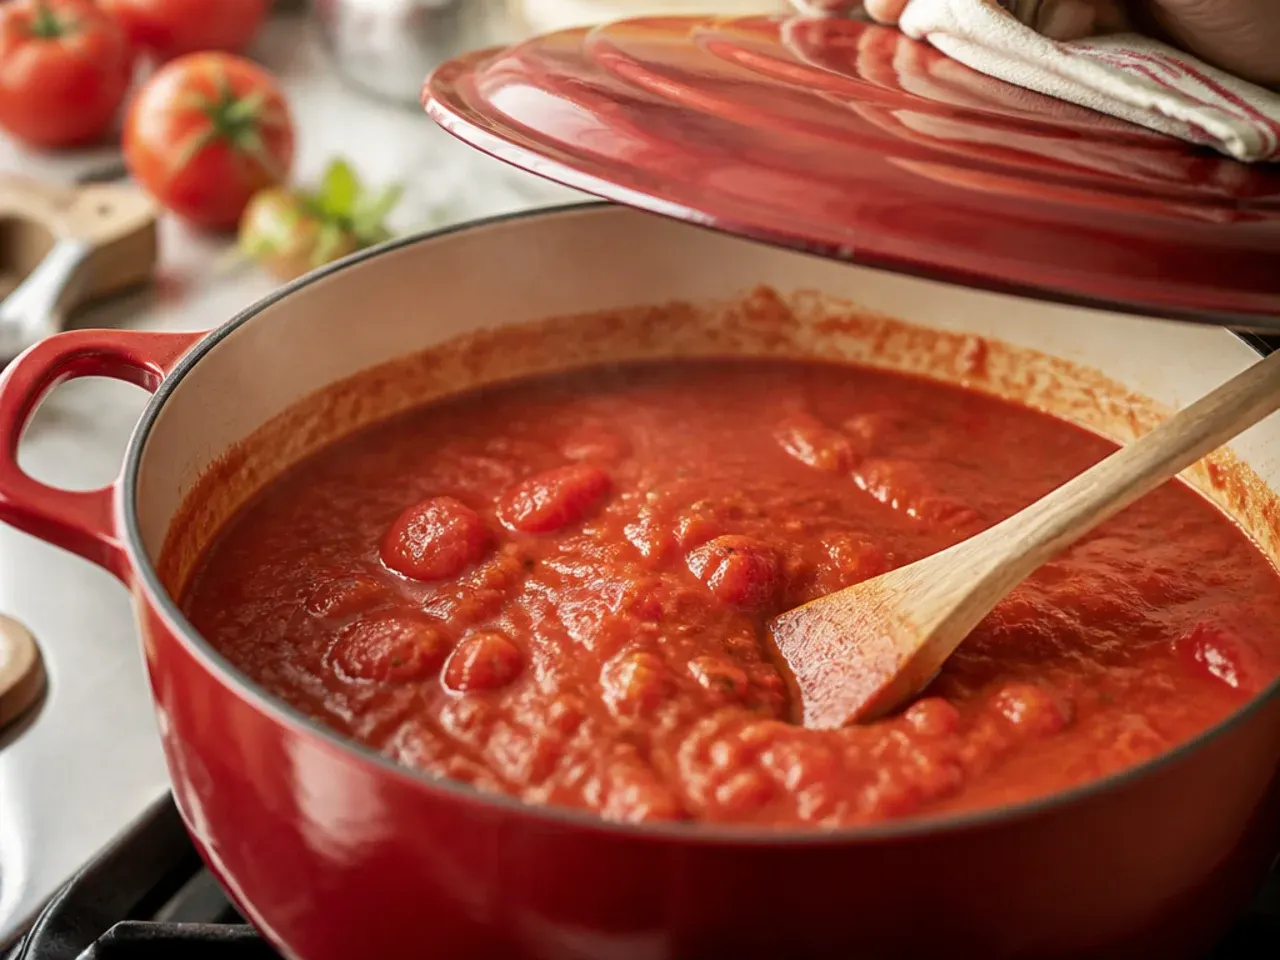
Turn the heat down to low, then partially cover the pot, leaving the lid ajar by about 2cm to let steam escape. This traps enough heat to keep a steady simmer while still allowing the sauce to reduce and concentrate over time. Set a timer for 40 minutes, the main cooking window for developing flavour.
Step 13: Simmer and stir occasionally
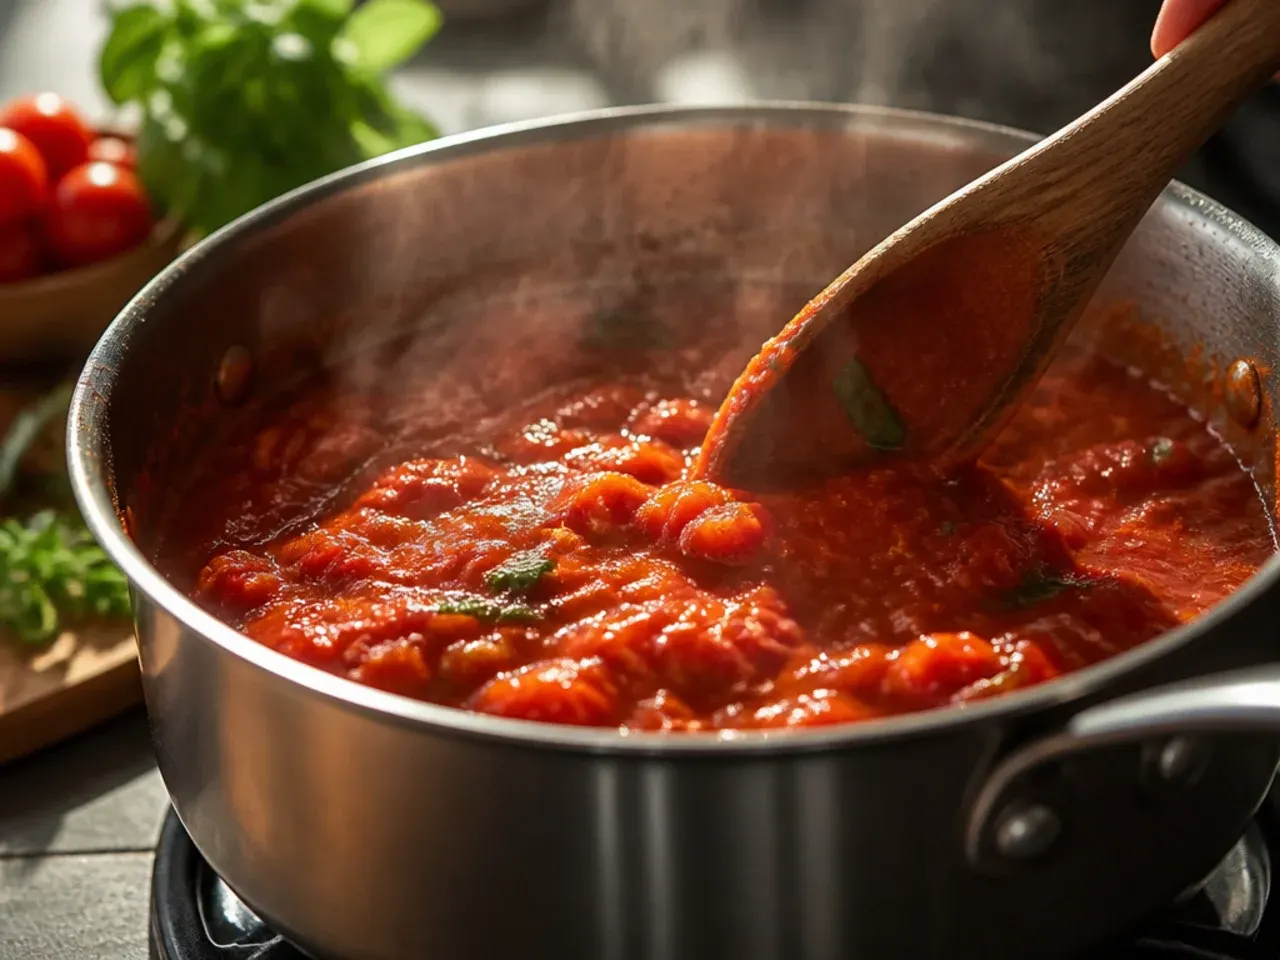
Let the sauce simmer gently for 40 minutes, stirring every 8-10 minutes to prevent sticking, especially near the edges where it reduces fastest. The sauce is ready when it has thickened enough to coat the back of a spoon and no longer looks watery or separated. If it still looks thin after 40 minutes, simmer uncovered for a further 5-10 minutes.
Step 14: Check the consistency
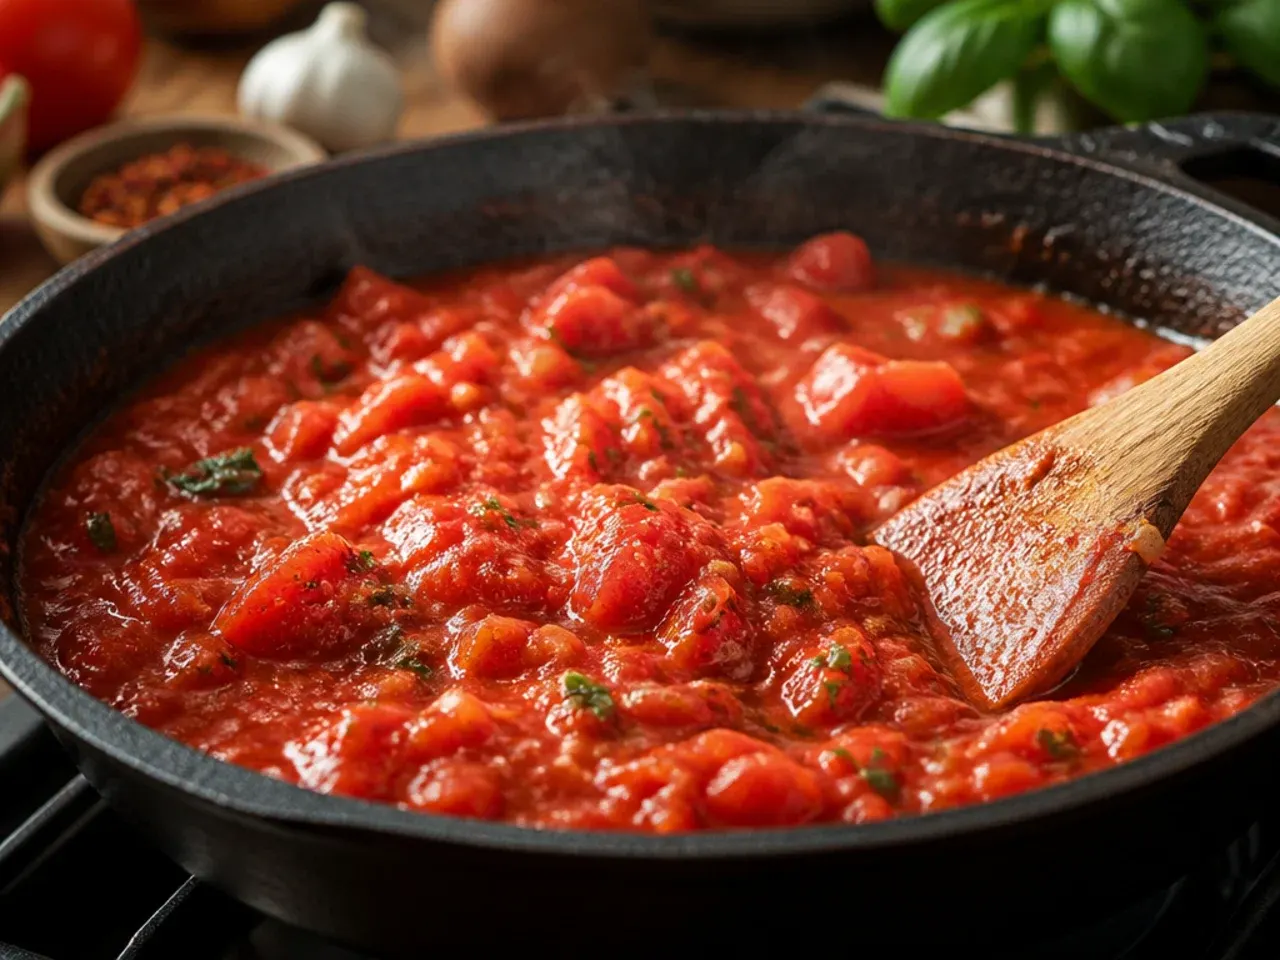
Dip a spoon into the sauce and run your finger through the coating on the back; if the line holds without the sauce immediately running back together, it has thickened correctly. If it's still loose, continue simmering uncovered in 5-minute bursts until it holds. A sauce that turns out too thick can always be loosened later with a splash of pasta water or stock.
Step 15: Mash for a smoother texture (optional)
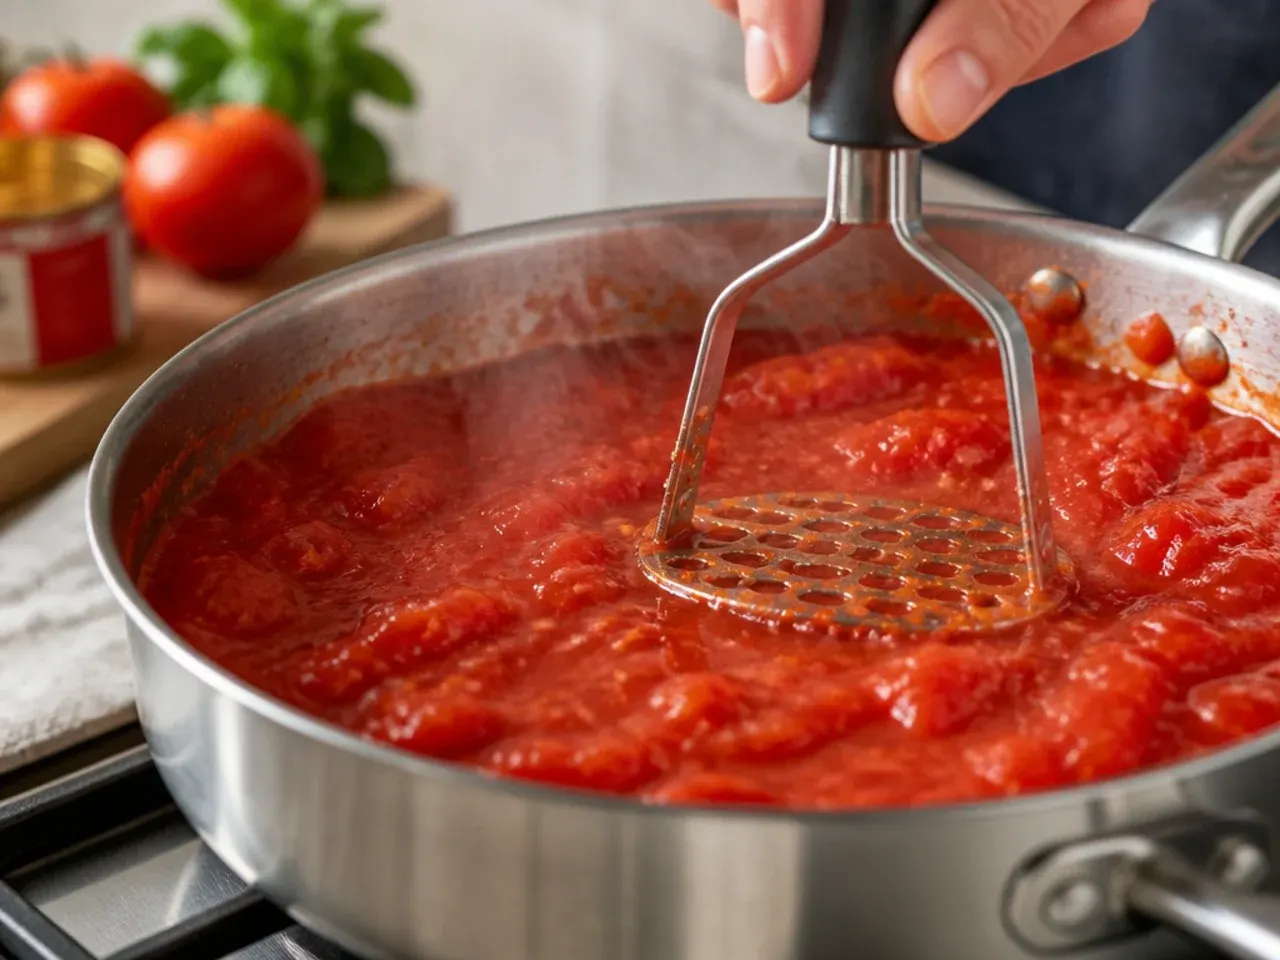
If you prefer a smoother sauce, use a potato masher or the back of a wooden spoon to break down the larger tomato pieces directly in the pot. Work in short bursts, checking the texture as you go, since you can always mash more but can't undo it. Leave some texture in if you like a rustic, chunky sauce instead.
Step 16: Remove the bay leaf
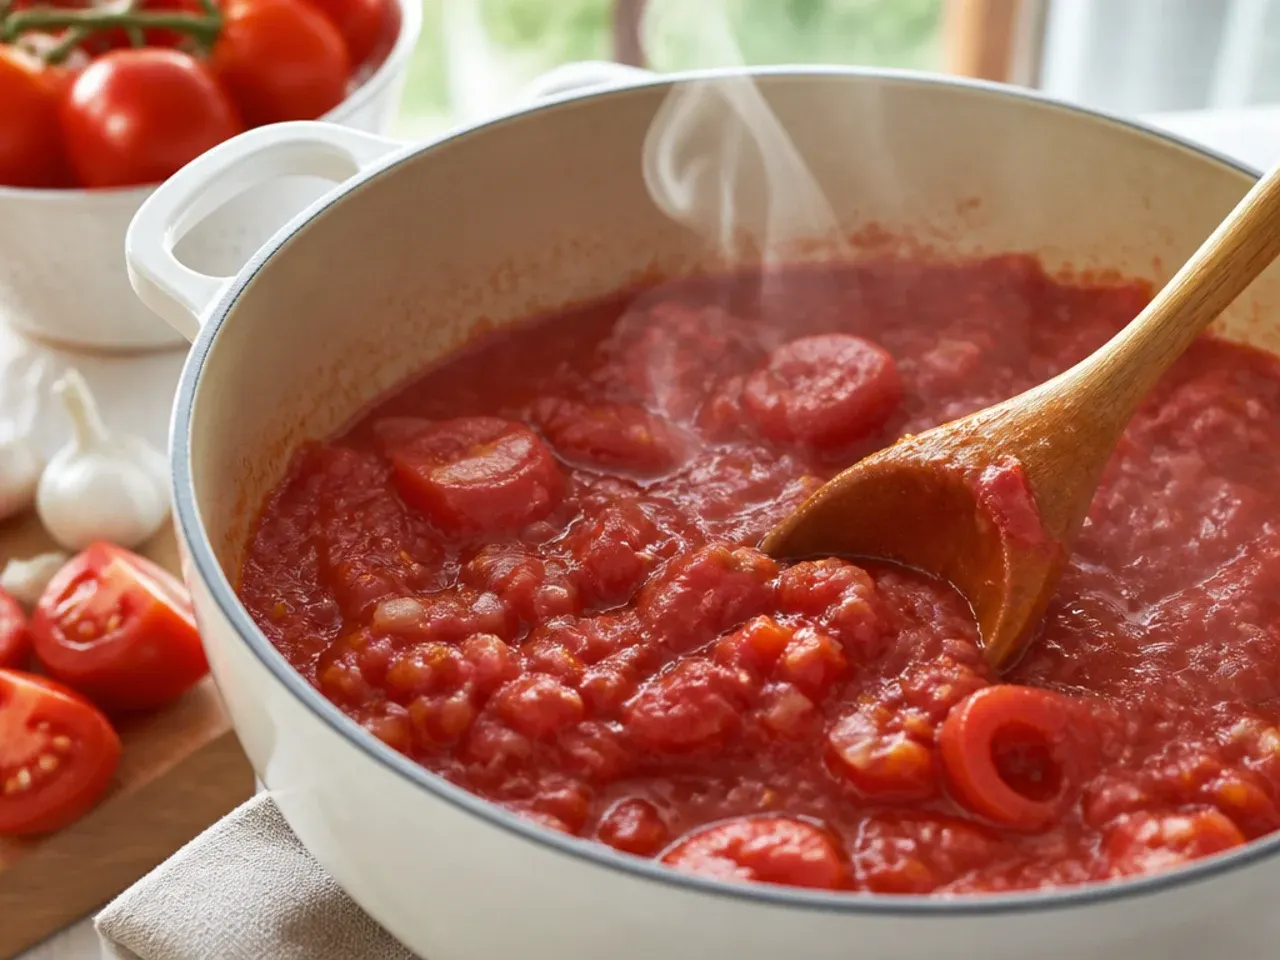
Fish out and discard the bay leaf, since it has done its job of infusing flavour and isn't pleasant to bite into. Check for any large garlic pieces that escaped mincing and break these down with your spoon if needed. This is also a good moment to taste the sauce for the first time.
Step 17: Stir in the fresh basil
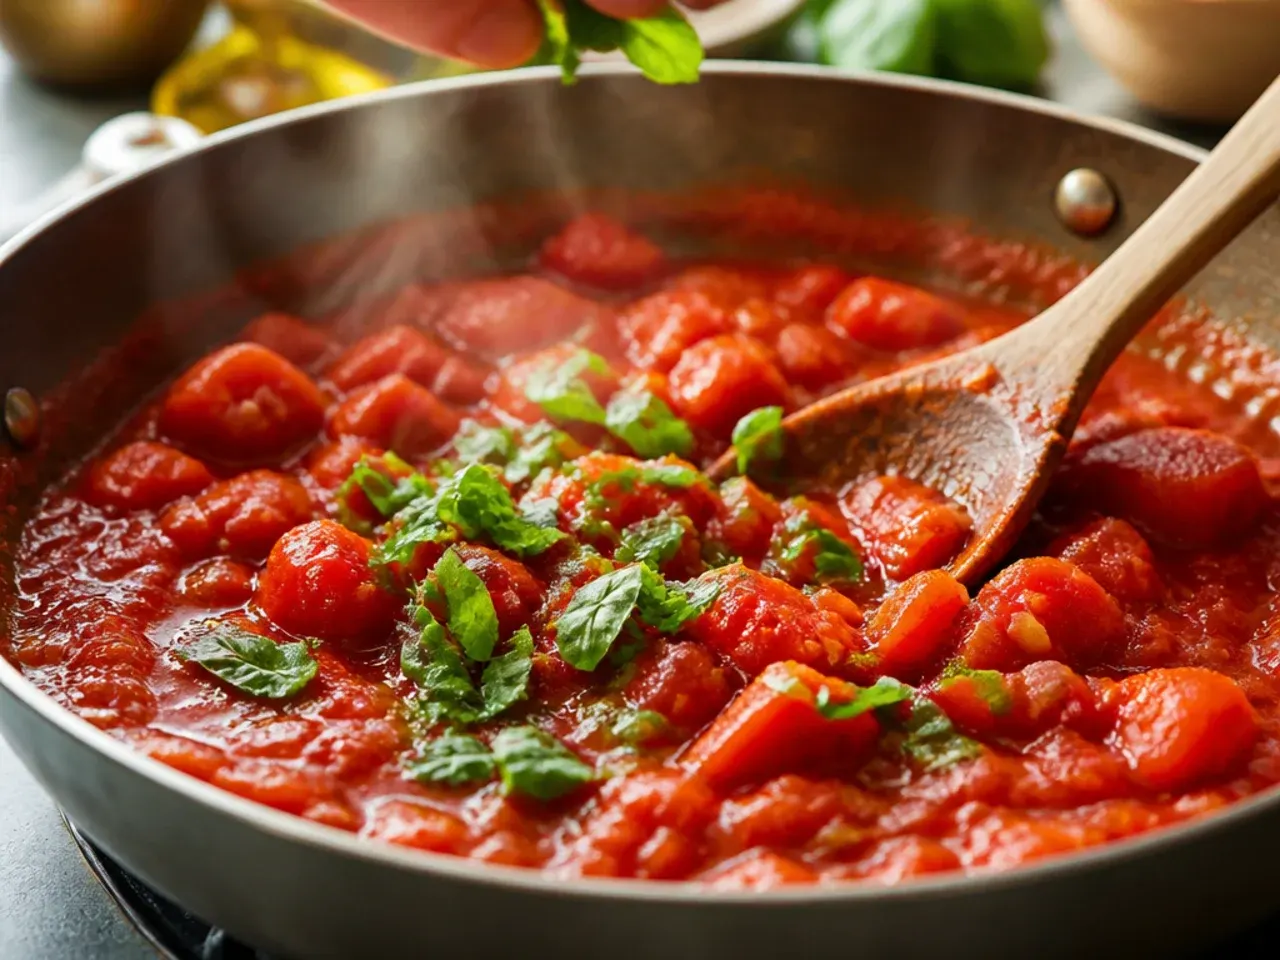
Tear the 10 g fresh basil leaves by hand rather than cutting them, which bruises the leaves less and keeps the flavour brighter. Stir the basil through the hot sauce and let it wilt for 1-2 minutes off the heat, just enough to release its aroma without turning bitter. Save a few small leaves back for garnishing the finished dish.
Step 18: Finish with butter
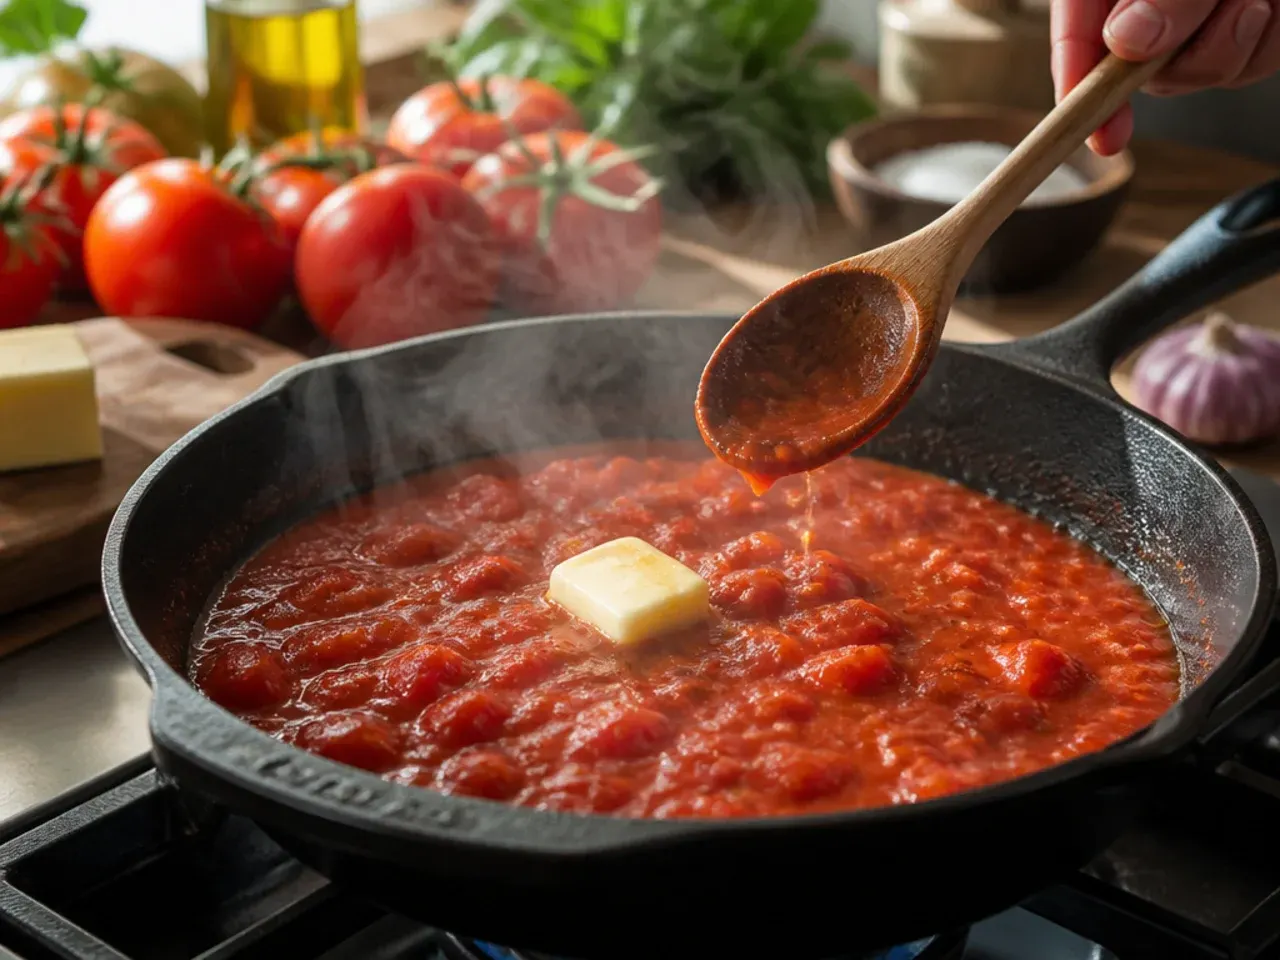
Stir in the 15 g (1 tbsp) unsalted butter off the heat until it melts completely and the sauce turns glossy rather than oily on the surface. This classic finishing trick rounds out the acidity and gives the sauce a silkier mouthfeel than oil alone. Stir constantly while the butter melts so it emulsifies rather than pooling on top.
Step 19: Taste and adjust seasoning
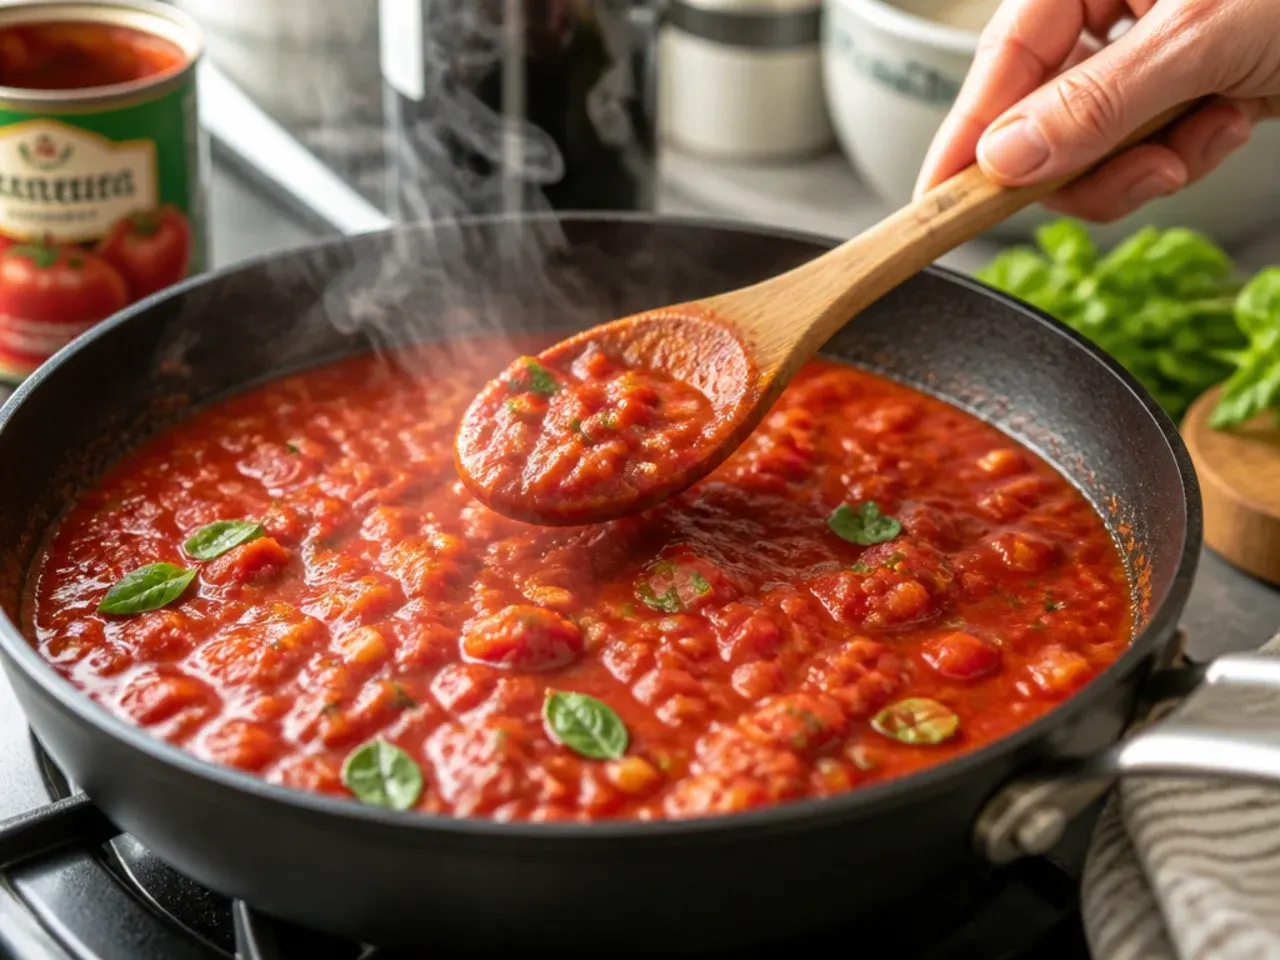
Taste the sauce properly, not just from the spoon's edge, and add the 2 g (1/2 tsp) black pepper along with extra salt if needed. If the sauce still tastes sharp or acidic, stir in another small pinch of sugar rather than more salt. Adjust in small increments, tasting after each addition, since it's easy to over-season a reduced sauce.
Step 20: Rest before serving
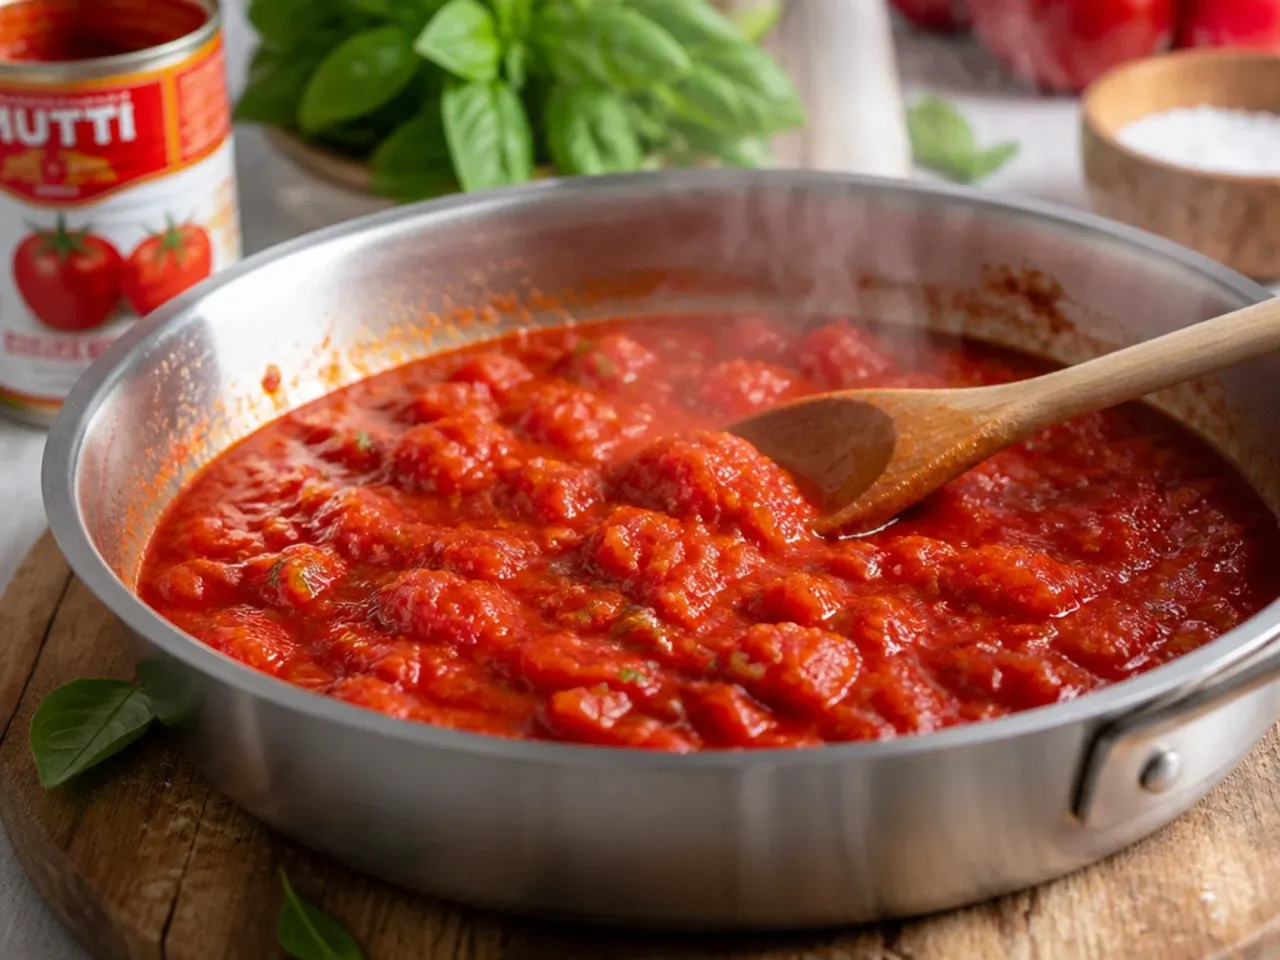
Take the pot off the heat and let the sauce rest, uncovered, for 5 minutes before serving or using it in another dish. This short rest lets the flavours settle and the sauce cool slightly so it clings to pasta rather than pooling on the plate. Serve immediately, or move straight to the storage tips above if you're making it ahead.
Pro Tips for Perfecting Canned Tomato Recipes
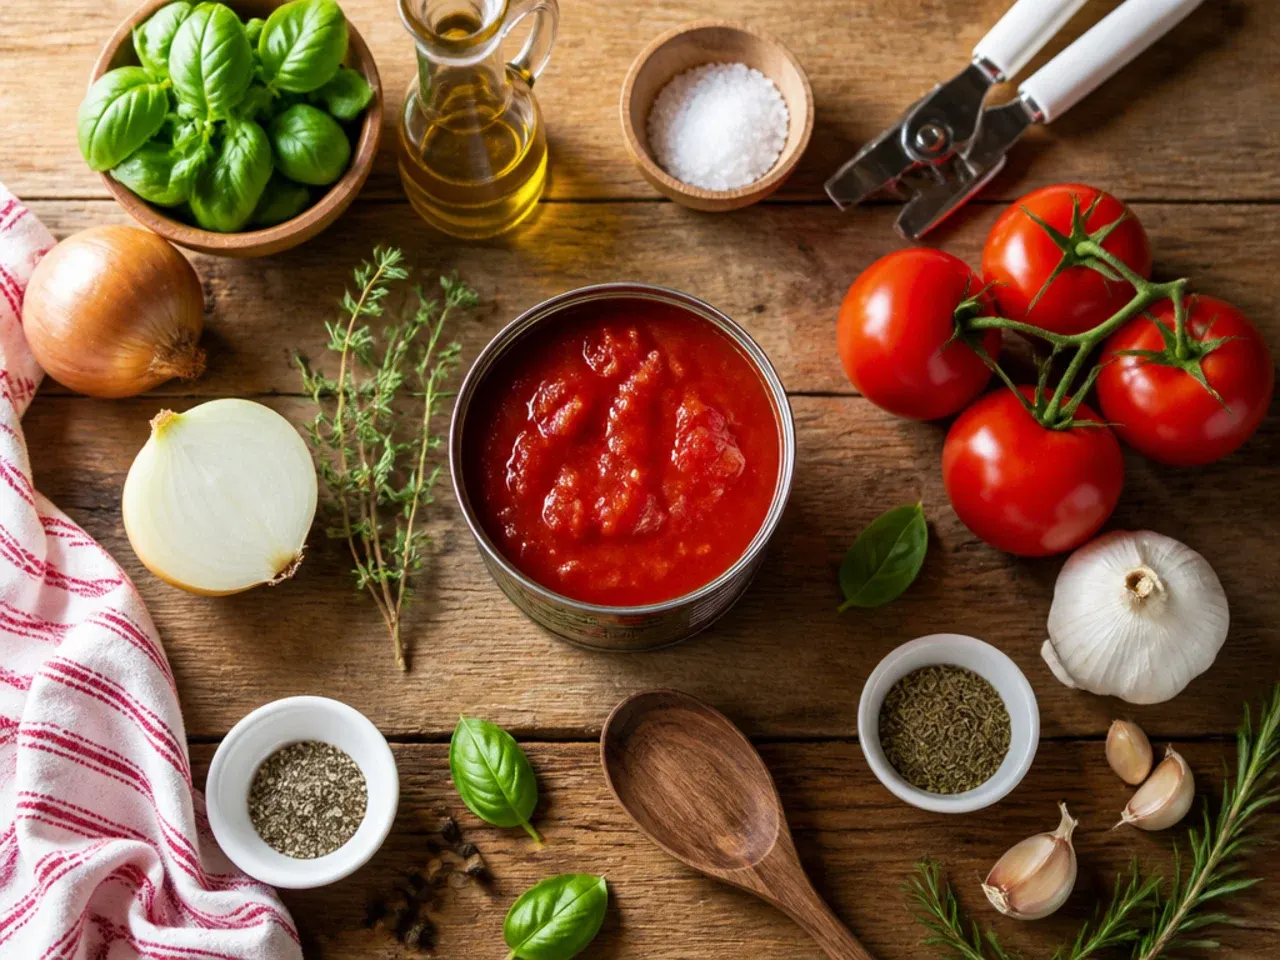
The quality of your canned tomatoes matters more than any other ingredient here, so choose whole peeled or crushed tomatoes packed in juice rather than a smooth purée, which can taste flat and overly processed. Toasting the tomato paste before adding the tins is the single biggest flavour upgrade in this recipe, cutting the raw, tinny edge that plagues many quick sauces. If your sauce tastes too sharp, reach for a pinch more sugar rather than salt, since sweetness balances tomato acidity far more effectively. For a spicier finish, stir in a pinch of dried chilli flakes alongside the oregano in step 10.
Storage and Make-Ahead Tips
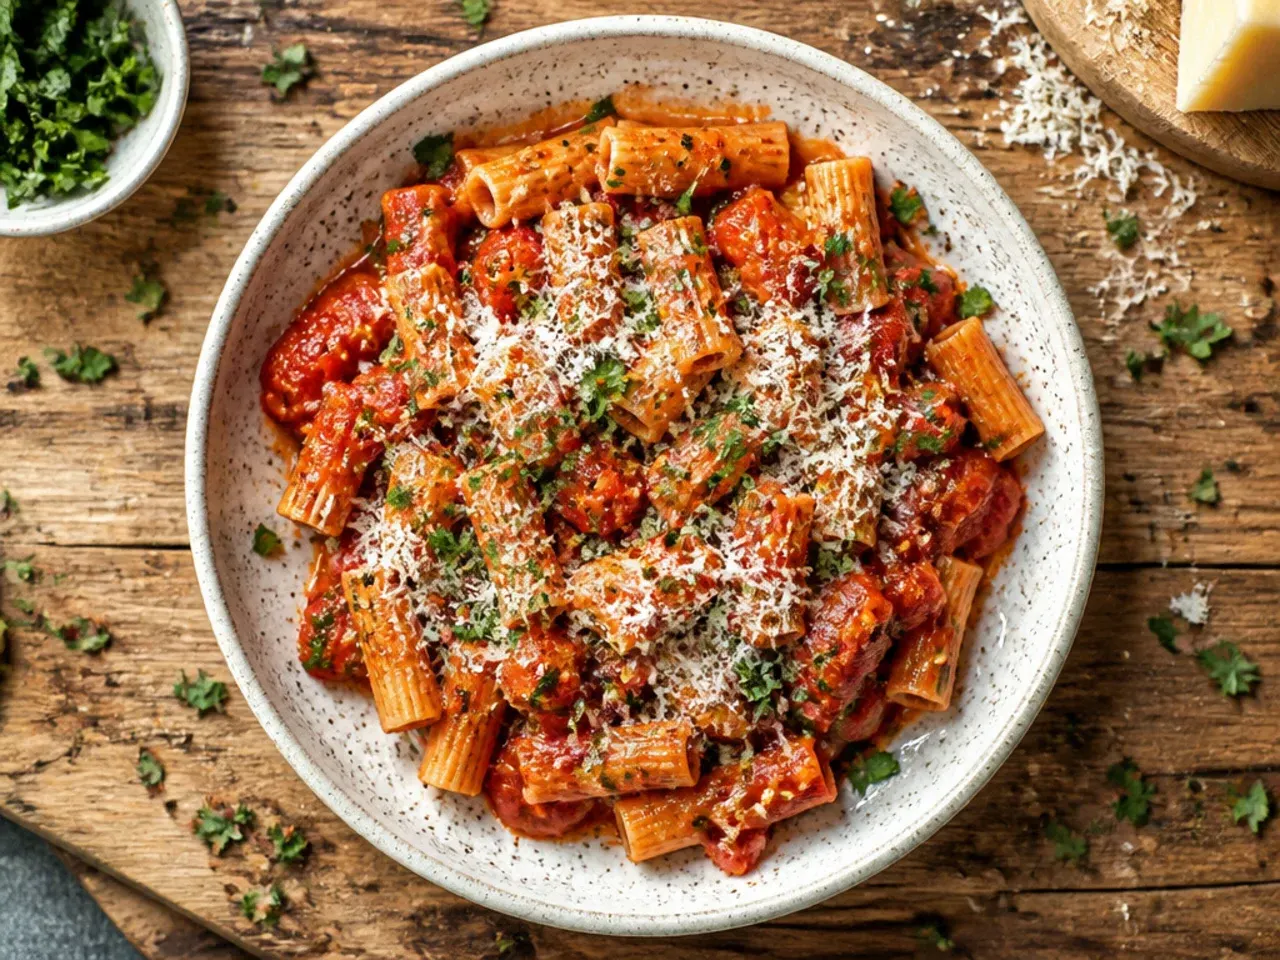
This sauce keeps well in an airtight container in the fridge for up to 5 days, and the flavour actually improves after a day as the seasoning settles into the tomatoes. For longer storage, freeze it flat in freezer bags or rigid containers for up to 3 months, leaving about 2cm of headspace to allow for expansion. Thaw overnight in the fridge and reheat gently in a pot over low heat, adding a splash of water or stock if it has thickened too much. Avoid microwaving straight from frozen in one long blast, as the edges can scorch before the centre has fully defrosted.
Turn two tins of tomatoes into a rich, glossy sauce with this simple canned tomato recipes guide, complete with pro tips for perfect flavour every time. For more tomato recipes inspiration, browse the full Fresh Tomato Recipes board — every idea there is written for real home kitchens, not professional bakers.
Frequently Asked Questions
Yes, this is an excellent make-ahead recipe and honestly tastes better the next day once the flavours have had time to meld. Cook it fully through step 20, then cool completely before transferring to an airtight container and refrigerating for up to 5 days. If you want to prep further ahead, freeze it in portioned bags for up to 3 months and simply thaw and reheat gently when needed. Just hold back the fresh basil until reheating, since it loses its bright flavour and colour if frozen for too long.

Related Recipes
Save this for later 📌
Pin this article to your Pinterest board so the full list is one tap away when you need it.
Save on Pinterest