20 Fresh Tomato Recipes Mistakes I Made (and My Fixes)
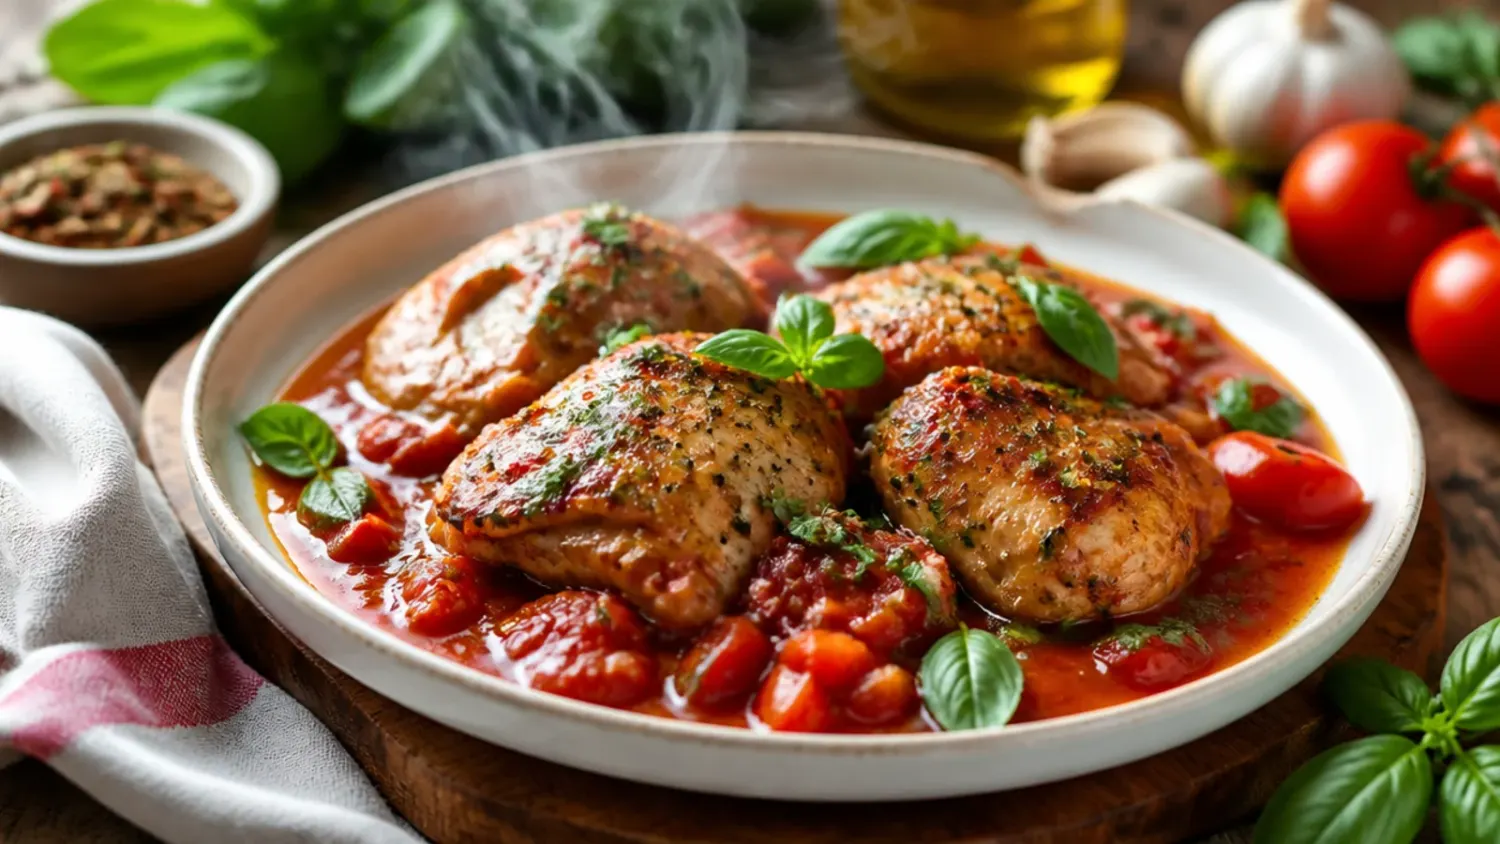
Twenty real mistakes from years of cooking chicken and tomato recipes, plus the exact fixes that finally made my creamy tomato chicken taste like a restaurant dish. If you love tomato recipes inspiration, start with our Fresh Tomato Recipes collection, then browse the full Fresh & Garden hub for more.

Save this for later 📌
Pin this article to your Pinterest board so the full list is one tap away when you need it.
Save on PinterestFresh & Garden
Intermediate
Kitchen Journal
7 steps
Table of Contents
- Lesson 1: I Skipped Patting the Chicken Dry
- Lesson 2: I Cooked the Chicken Straight From the Fridge
- Lesson 3: I Crowded the Pan
- Lesson 4: I Didn't Even Out the Thickness
- Lesson 5: I Burned the Garlic
- Lesson 6: I Skipped Frying the Tomato Paste
- Lesson 7: I Didn't Deglaze the Pan
- Lesson 8: I Used Whole Canned Tomatoes Without Crushing Them
- Lesson 9: I Added the Cream While the Sauce Was Boiling
- Lesson 10: I Dumped the Parmesan in All at Once
- Lesson 11: I Overcooked the Spinach Into Mush
- Lesson 12: I Didn't Check the Chicken's Actual Temperature
- Lesson 13: I Skipped Resting the Chicken After Searing
- Lesson 14: I Used Too Much Cream and Lost the Tomato Flavour
- Lesson 15: I Forgot to Balance the Acidity
- Lesson 16: I Only Seasoned at the Very End
- Lesson 17: I Used Dried Basil Instead of Fresh at the Finish
- Lesson 18: I Let the Sauce Simmer Too Long, or Not Long Enough
- Lesson 19: I Stored Leftovers Without Cooling Them First
- Lesson 20: I Reheated Leftovers on High Heat
- What I'd Tell a Friend Trying This
- The Recipe I Used
Lesson 1: I Skipped Patting the Chicken Dry
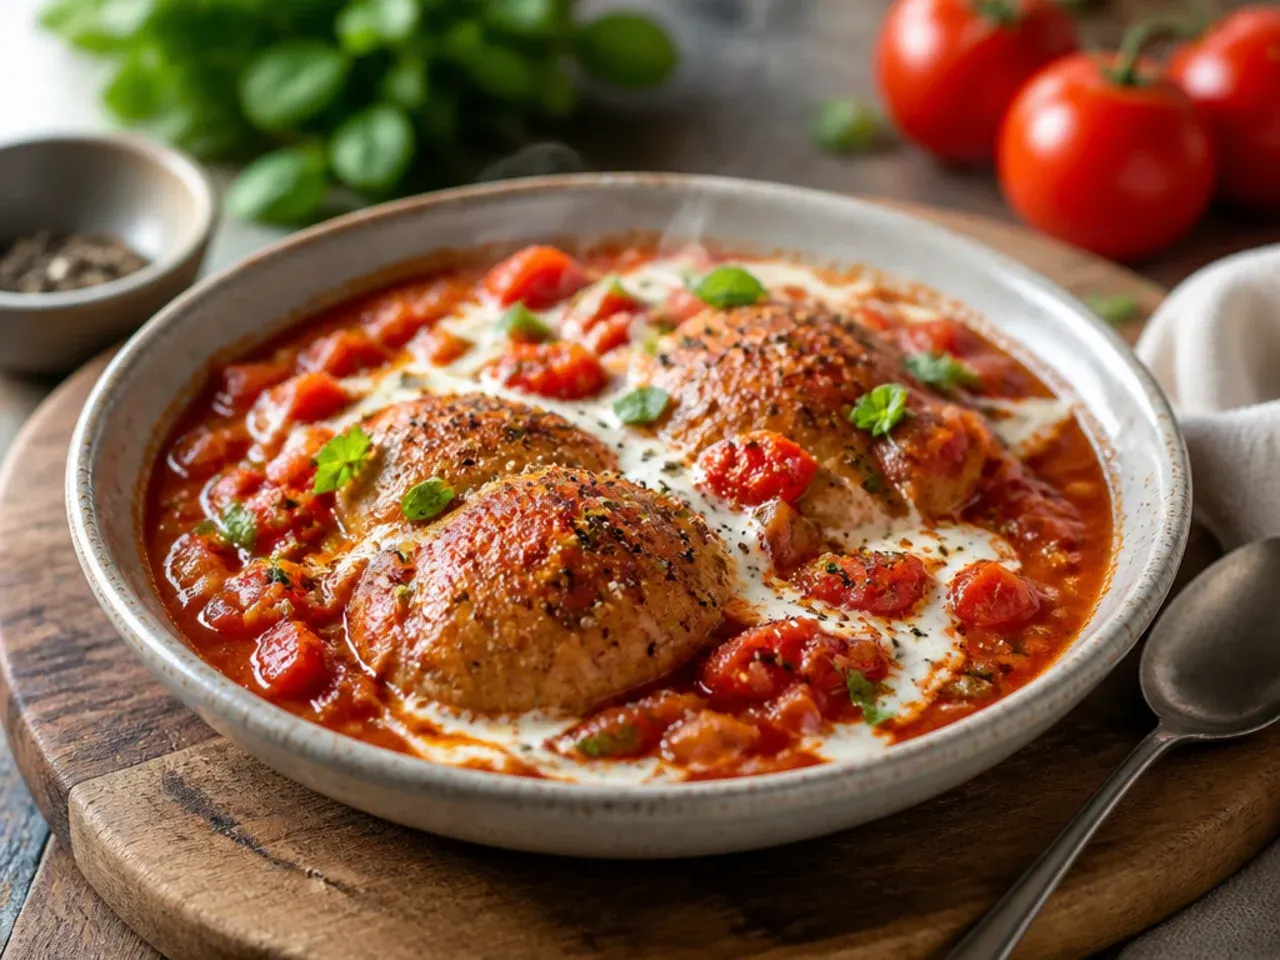
The first few times I made this, I pulled the chicken straight from its packaging, wet with brine, and dropped it into hot oil. It hissed, released a puddle of liquid, and steamed instead of browning, so I ended up with pale, rubbery chicken. Now I pat every piece dry with kitchen paper on both sides before it goes anywhere near the pan. That thirty seconds of extra effort is the single biggest reason my sear looks golden instead of grey.
Lesson 2: I Cooked the Chicken Straight From the Fridge
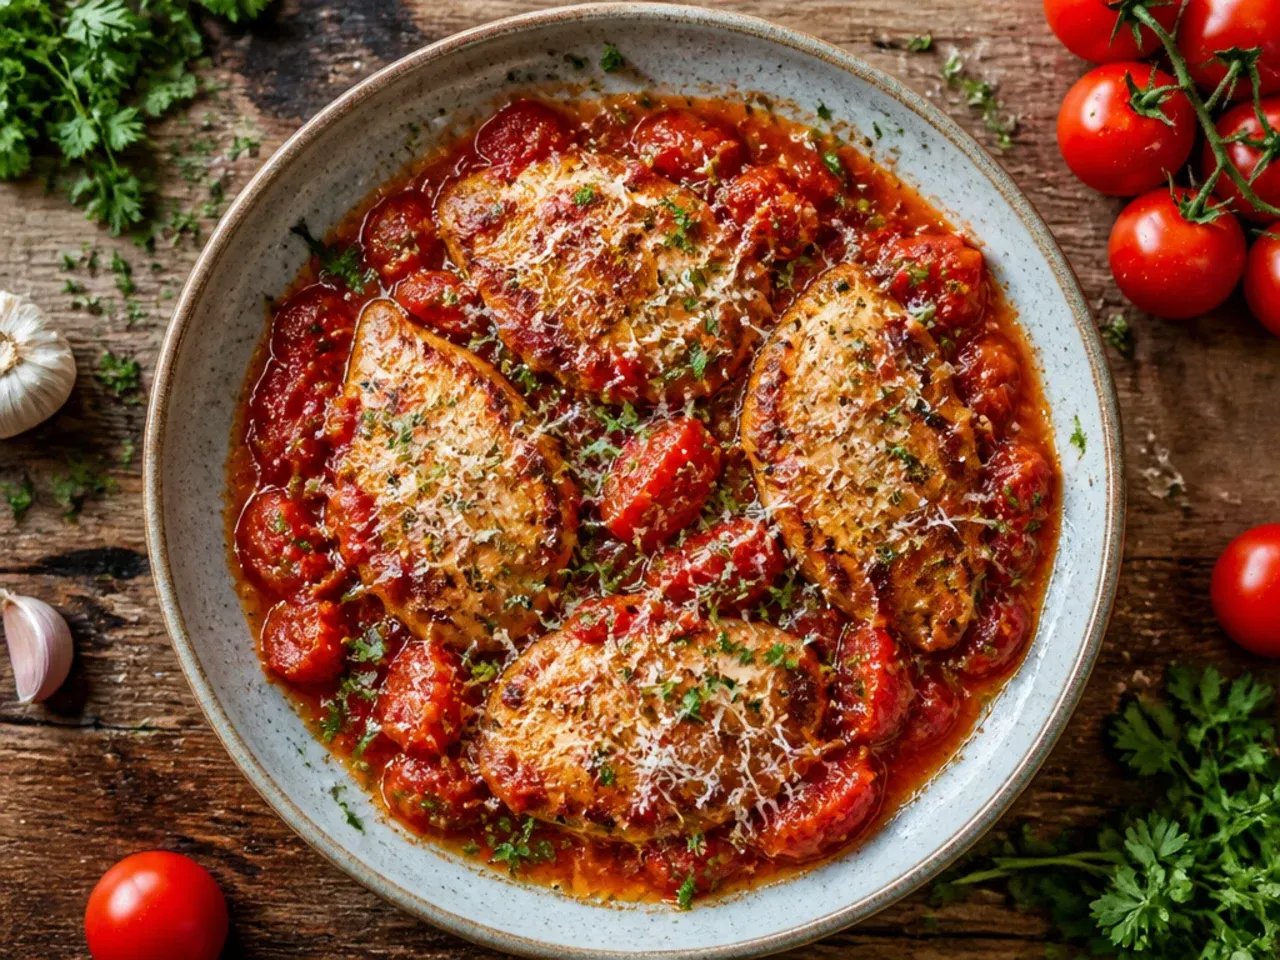
Cold chicken hitting a hot pan cooks unevenly, scorched on the outside while the centre is still icy. I learned to leave the chicken breasts out for 15-20 minutes before cooking so they come closer to room temperature. It sounds like a small thing, but it noticeably shortened my searing time and stopped the outside from overcooking while I waited for the middle to catch up.
Lesson 3: I Crowded the Pan
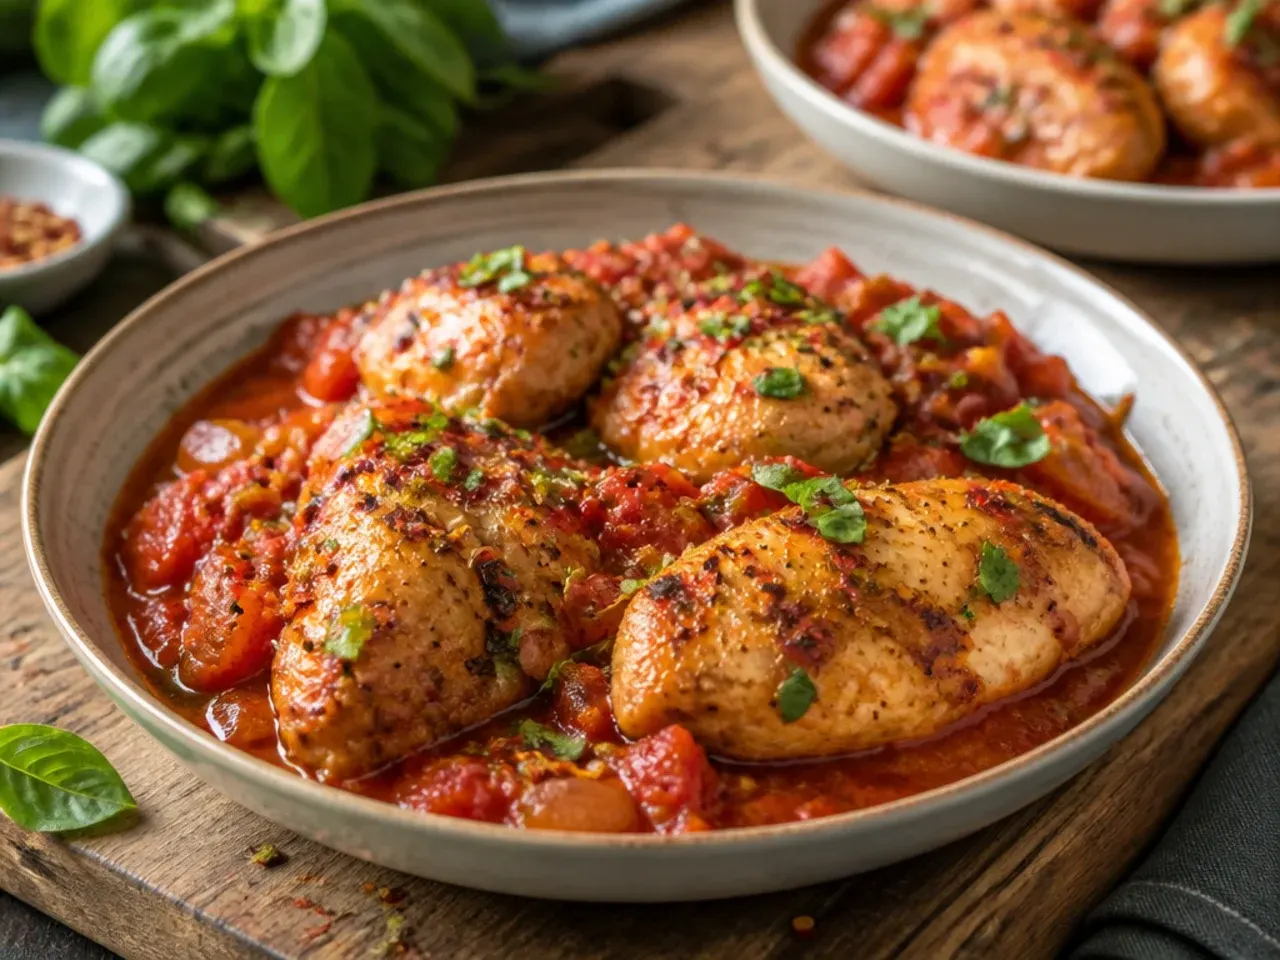
Trying to save time, I once shoved four chicken breasts into a 26 cm (about 10-inch) skillet at once. The temperature dropped instantly and the chicken boiled in its own juices rather than searing. I now cook in two batches if my pan is anything smaller than 30 cm (12-inch) across, giving each piece at least 1 cm (about 1/2 inch) of clear space so steam escapes instead of pooling.
Lesson 4: I Didn't Even Out the Thickness
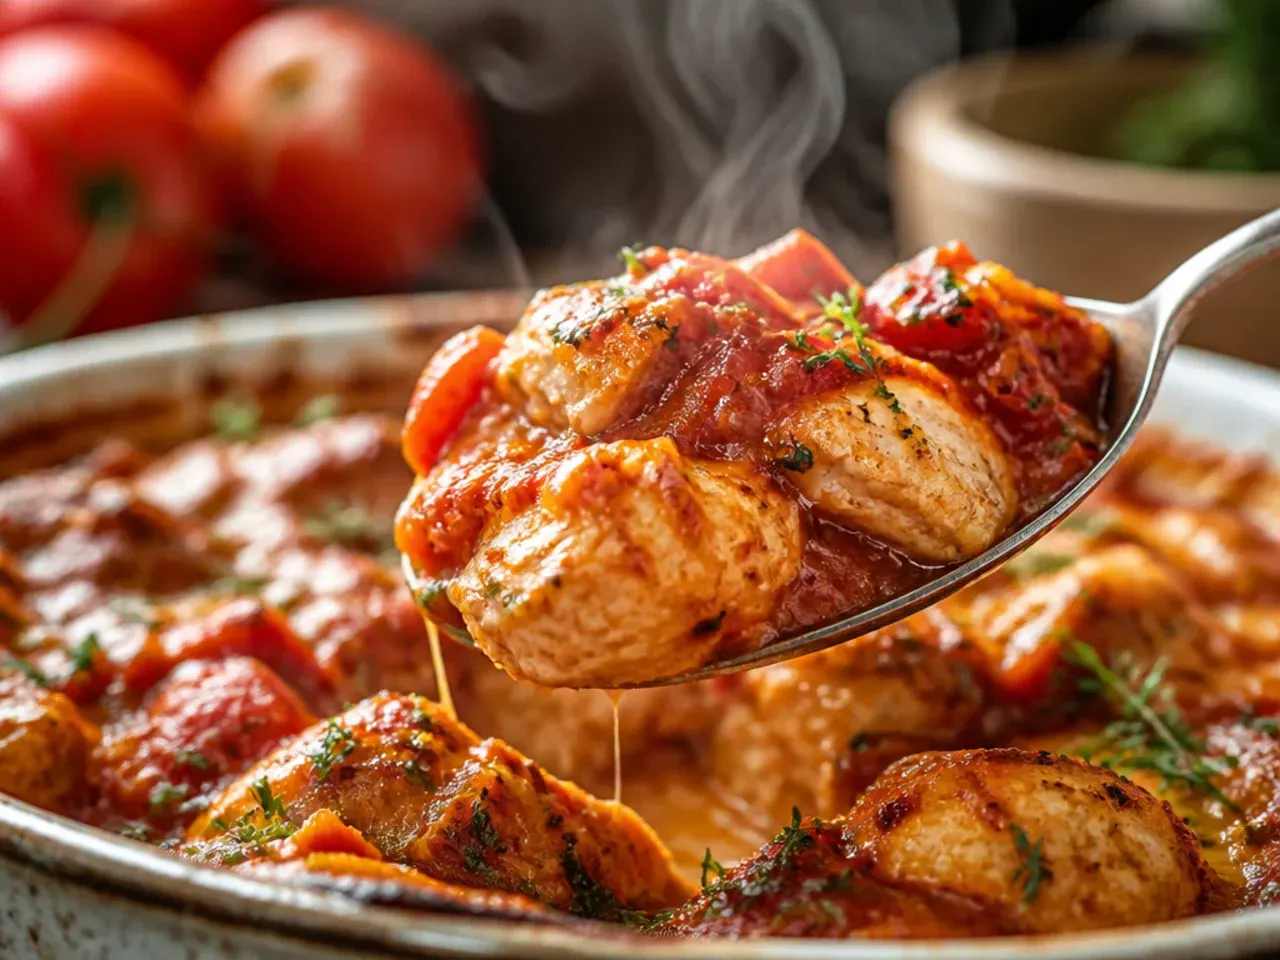
Chicken breasts are naturally thicker at one end, so mine used to finish cooking unevenly, dry at the tapered tip and still underdone in the middle. Slicing each breast horizontally into two thinner cutlets, or giving it a few firm whacks with a rolling pin under cling film, solved that completely. Every piece now reaches 74°C (165°F) at roughly the same moment.
Lesson 5: I Burned the Garlic
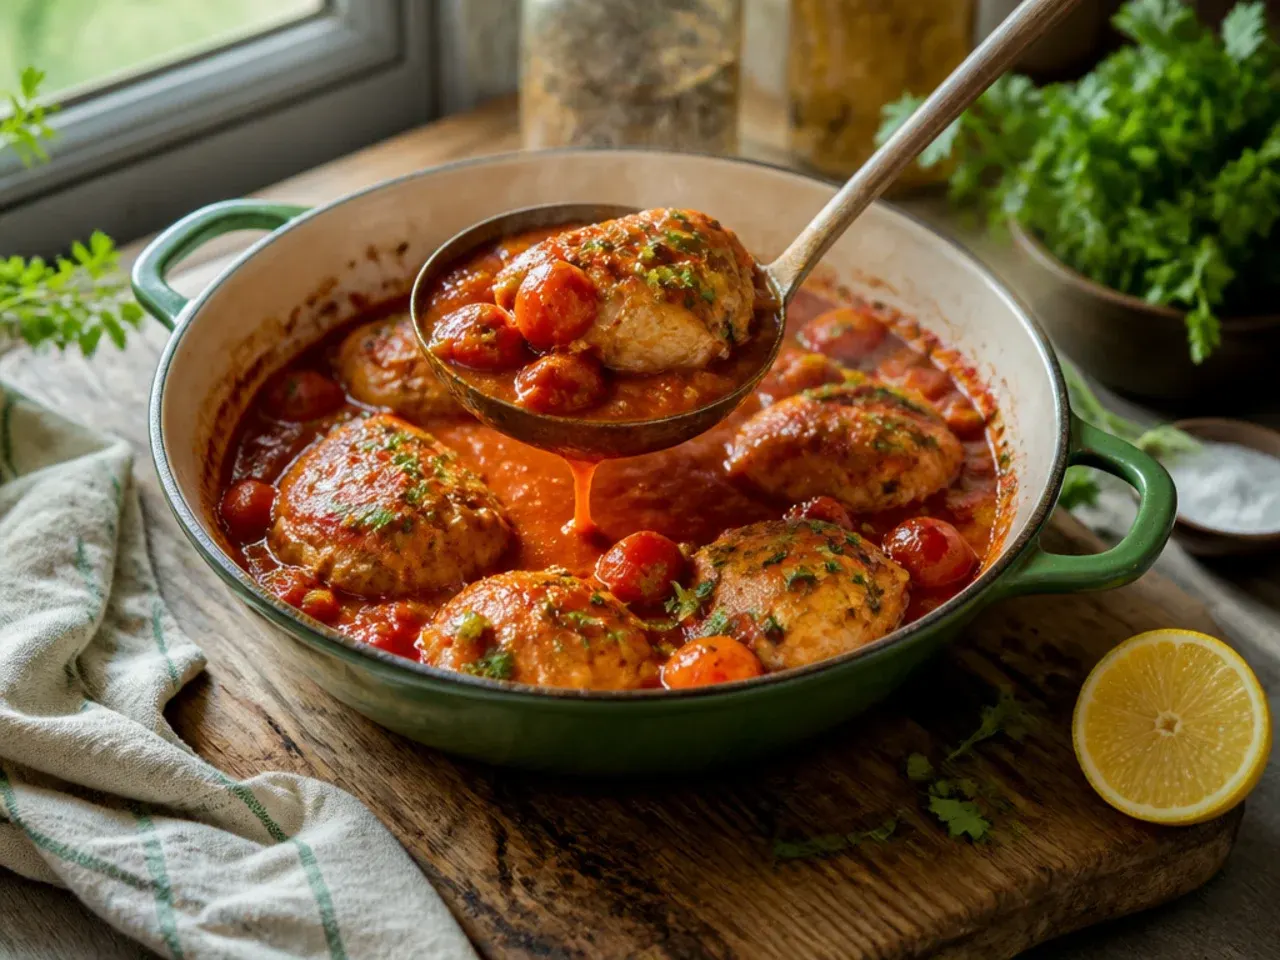
I used to toss the garlic in with the onion right from the start, and by the time the onion had softened the garlic was bitter and dark brown. Garlic only needs 30-60 seconds in a hot pan before it turns acrid. I now cook the onion alone for 4-5 minutes until translucent, then add the garlic last, stirring constantly until just fragrant.
Lesson 6: I Skipped Frying the Tomato Paste
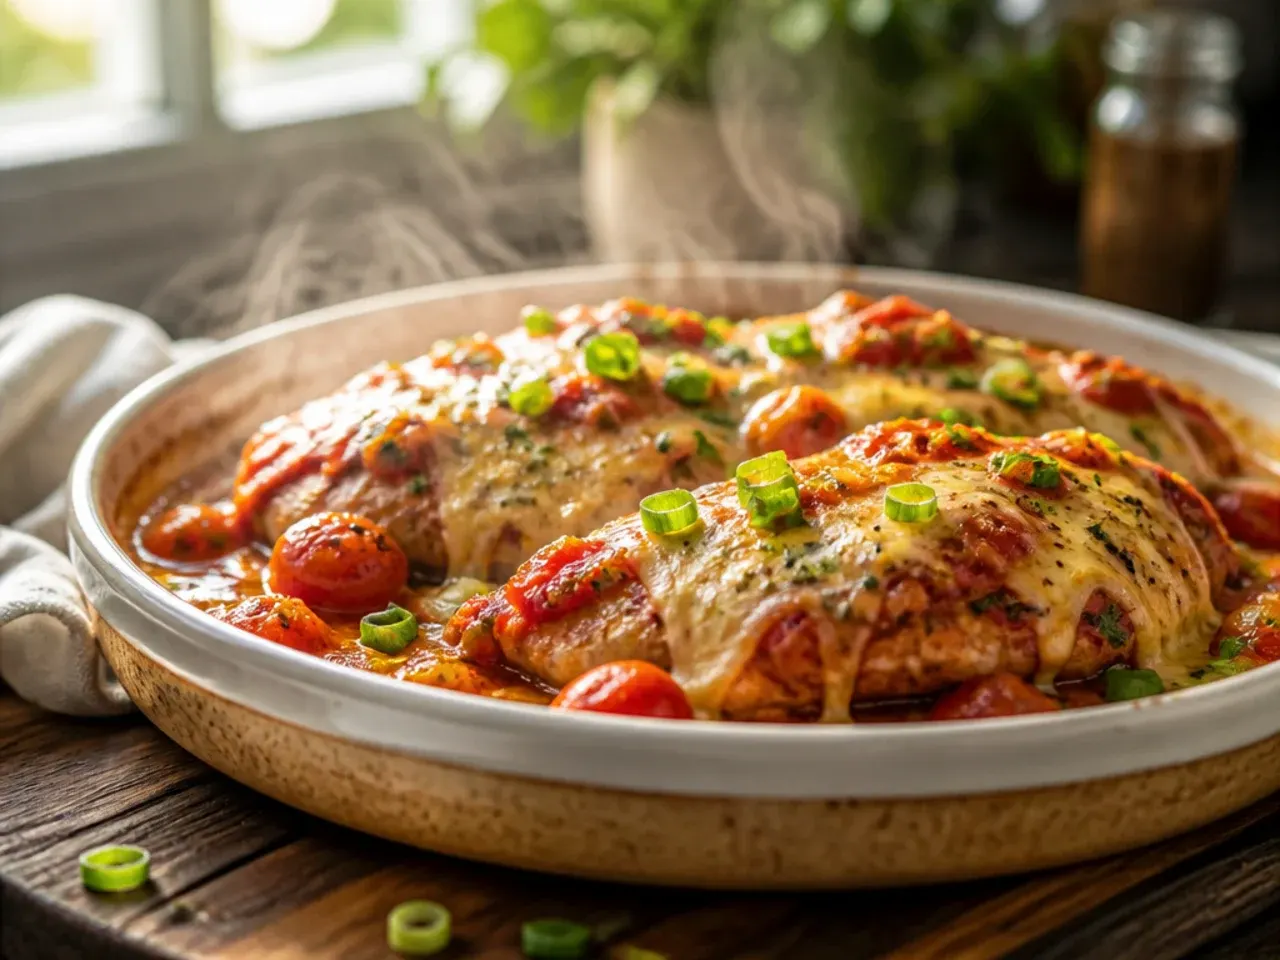
For a long time I stirred tomato paste straight into the sauce cold, and the result always tasted flat and slightly tinny. Frying 30 g (2 tbsp) of tomato paste in the pan for a full minute before adding any liquid caramelises its sugars and deepens the flavour dramatically. It's the cheapest flavour upgrade in this whole recipe and I never skip it now.
Lesson 7: I Didn't Deglaze the Pan
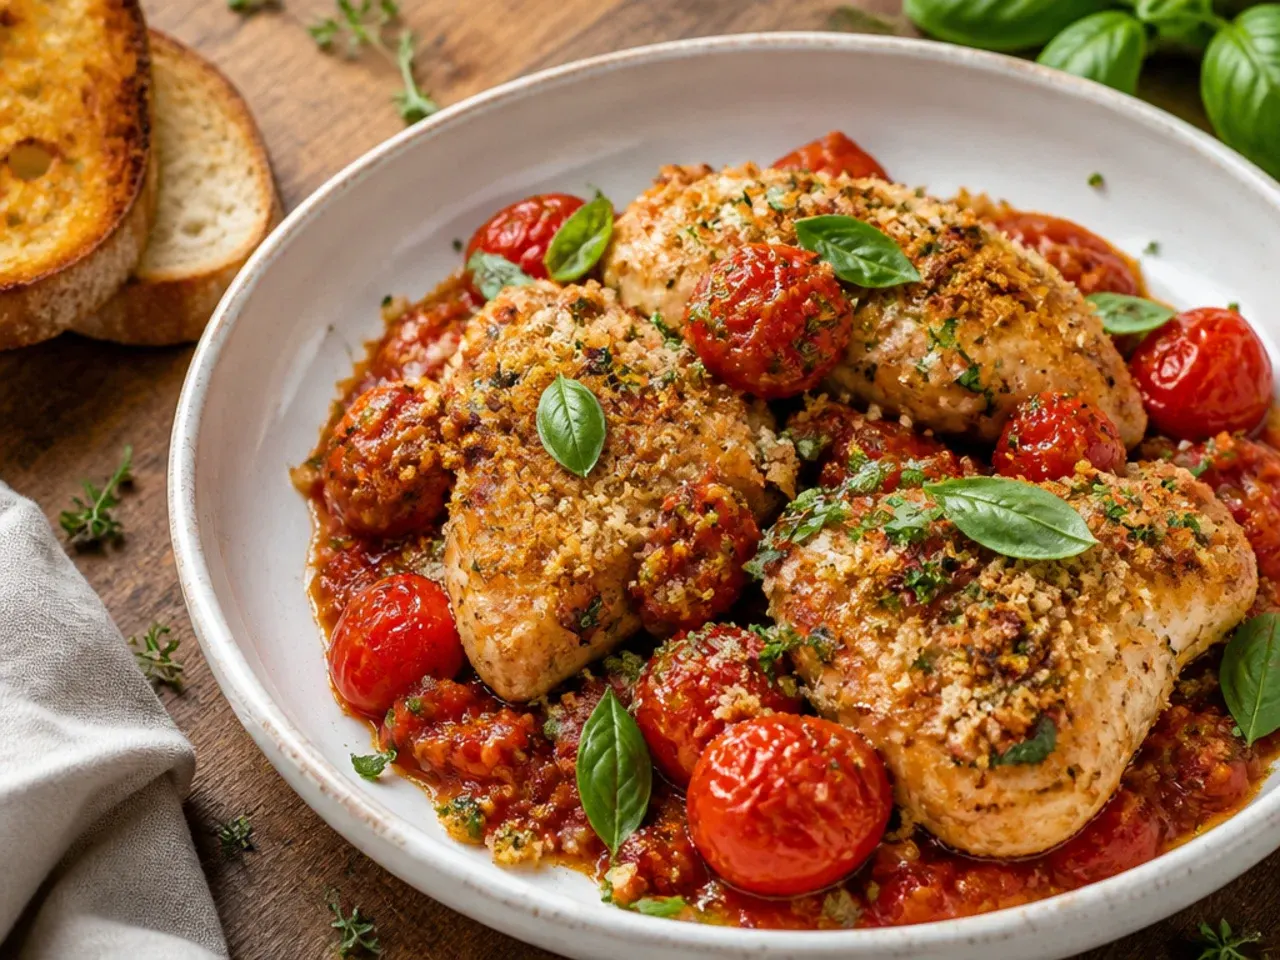
All those browned bits stuck to the bottom after searing are pure flavour, and I used to just pour the sauce over them and let them burn. Now I pour in 120 ml (1/2 cup) chicken stock right after the tomato paste and scrape the base of the pan with a wooden spoon until every fond bit lifts free. That deglazing liquid becomes the backbone of the whole sauce instead of a burnt smell in my kitchen.
Lesson 8: I Used Whole Canned Tomatoes Without Crushing Them
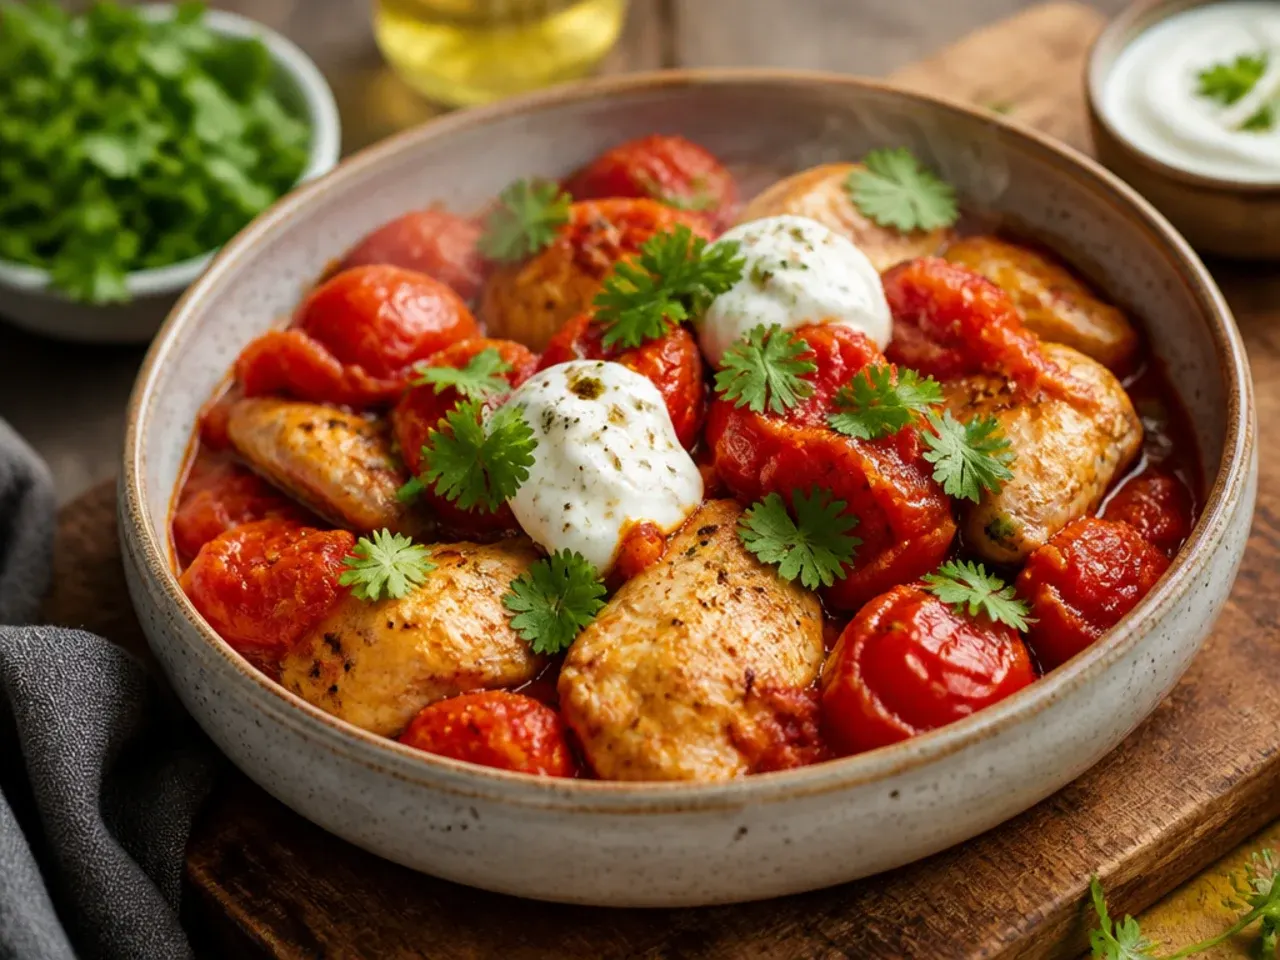
Whole peeled tomatoes straight from the tin left me with a chunky, uneven sauce that never came together properly. Crushed tomatoes work far better here, and if I only have whole ones I crush them by hand in a bowl before they go in. A quick blitz with a stick blender for 5 seconds also does the job if I want it perfectly smooth.
Lesson 9: I Added the Cream While the Sauce Was Boiling
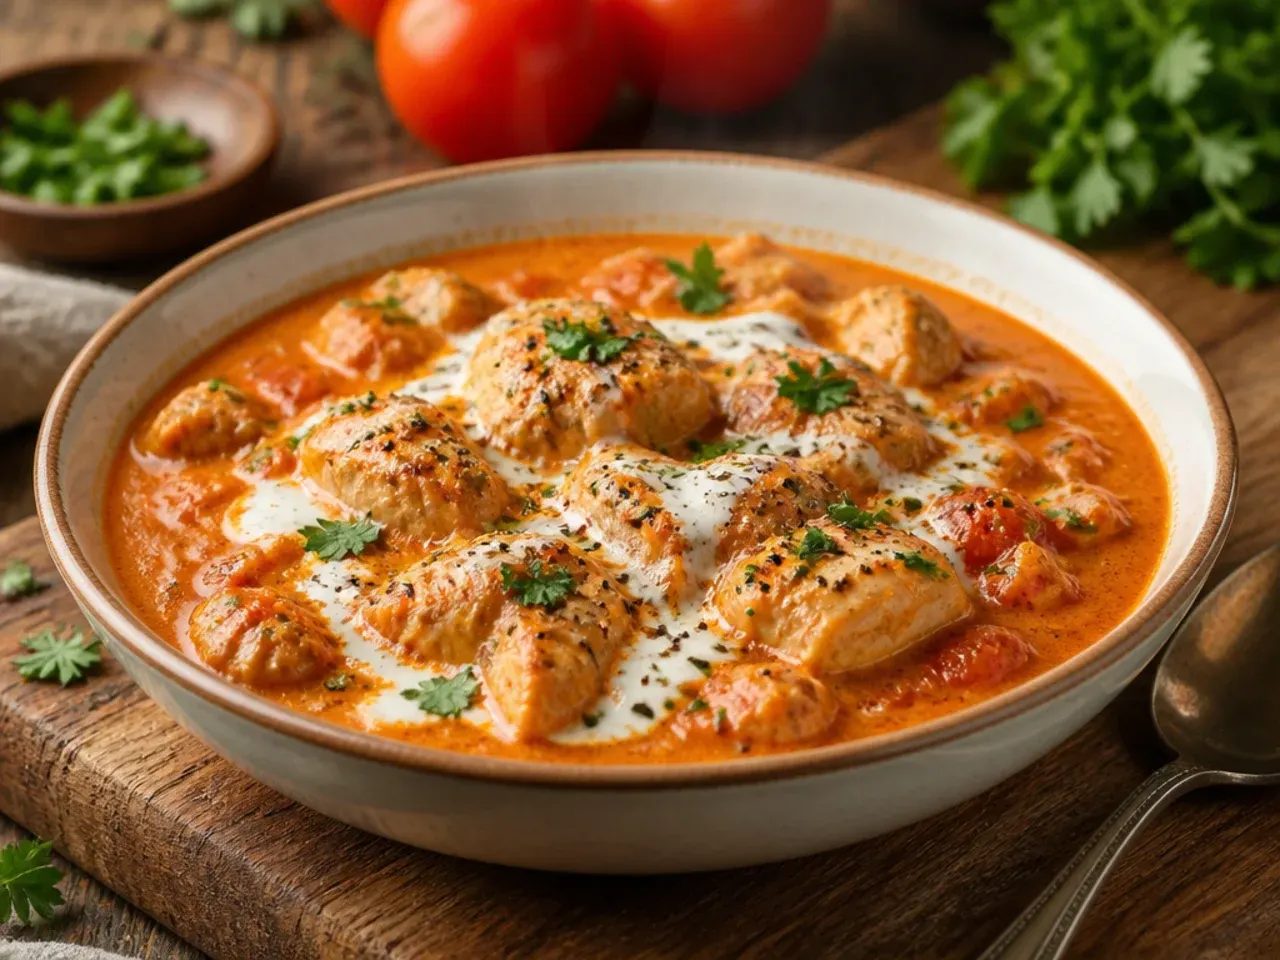
The first time I made this creamy, I stirred double cream into a sauce that was still at a rolling boil, and it split into greasy little curds within seconds. Cream needs gentler heat to stay silky. I now pull the pan off the heat, let the sauce settle for a minute, then stir in 120 ml (1/2 cup) double cream over low heat, never above a gentle simmer.
Lesson 10: I Dumped the Parmesan in All at Once
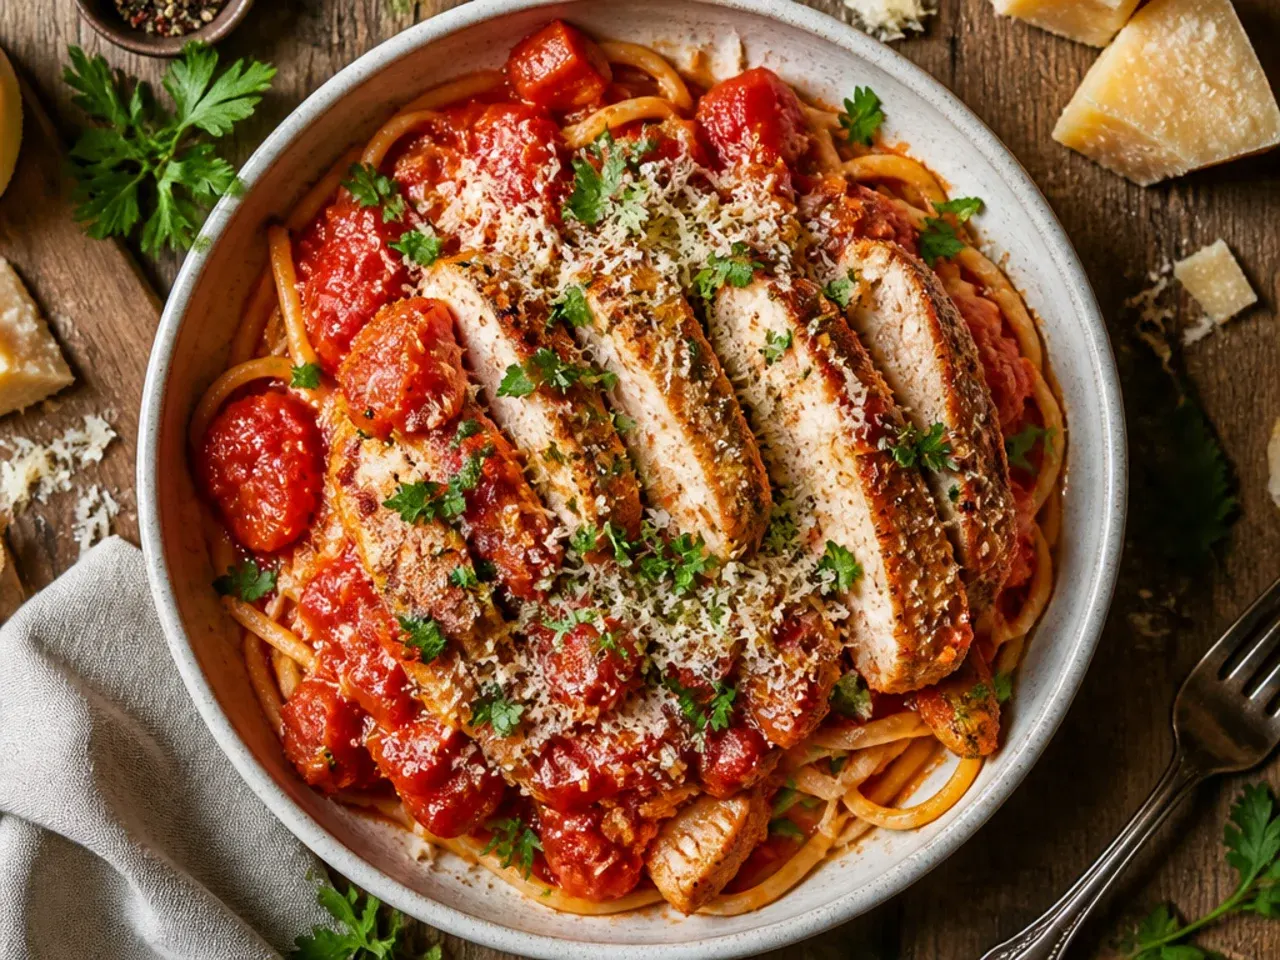
Adding a handful of grated Parmesan into hot sauce in one go used to leave me with stringy clumps instead of a smooth finish. Parmesan melts more evenly when it's added gradually, off direct heat, with a bit of stirring between additions. I now sprinkle in 40 g (1/3 cup) a little at a time, and the sauce stays glossy rather than gluey.
Lesson 11: I Overcooked the Spinach Into Mush
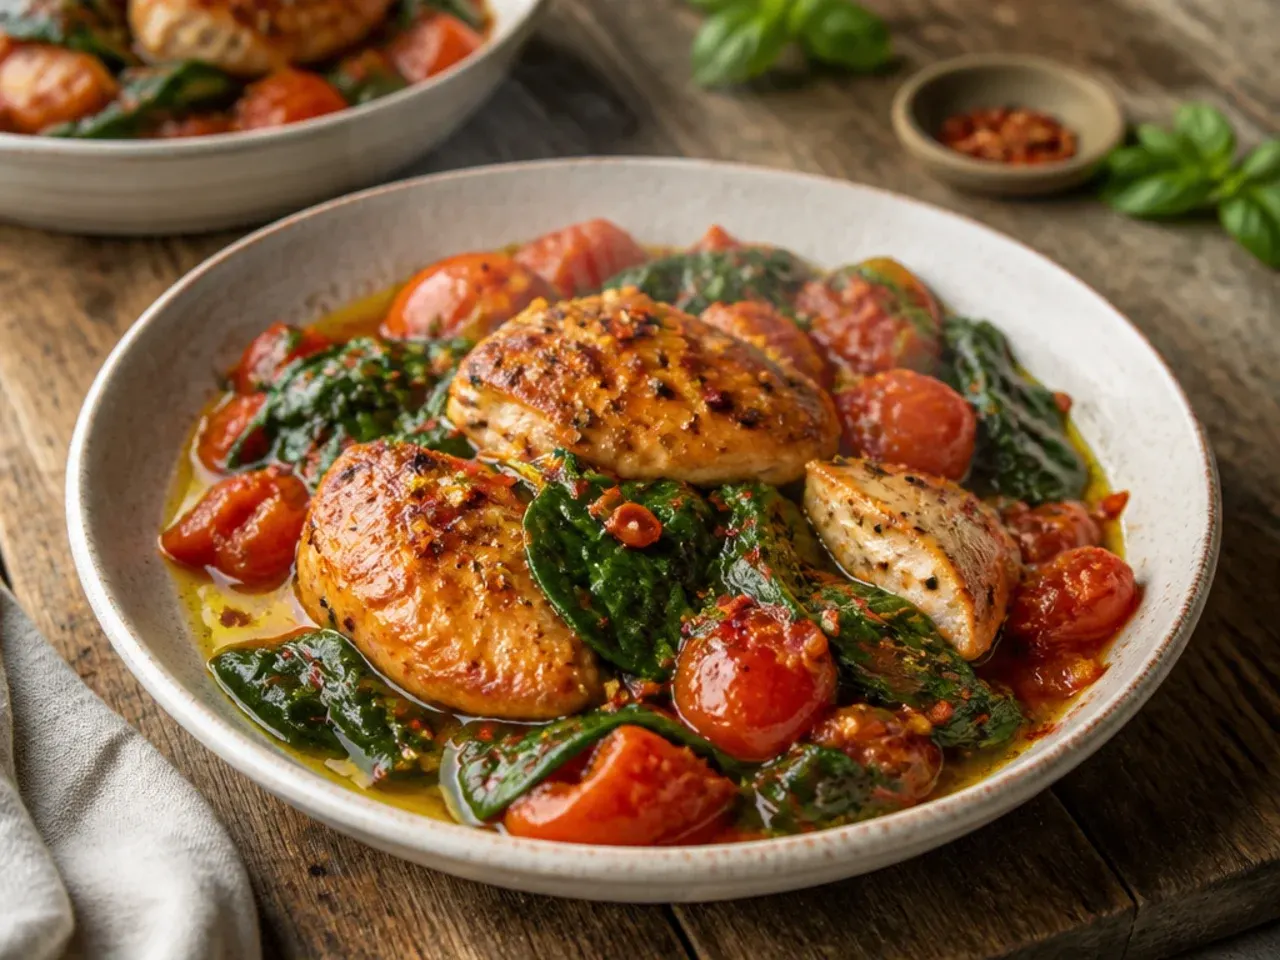
I used to throw spinach in early and let it simmer with everything else, and it turned a dull khaki colour with a slimy texture. Baby spinach only needs 1-2 minutes to wilt, so I now stir in 60 g (2 cups) right at the very end, off the heat, and let the residual warmth finish the job. It stays bright green and holds a bit of texture instead of dissolving.
Lesson 12: I Didn't Check the Chicken's Actual Temperature
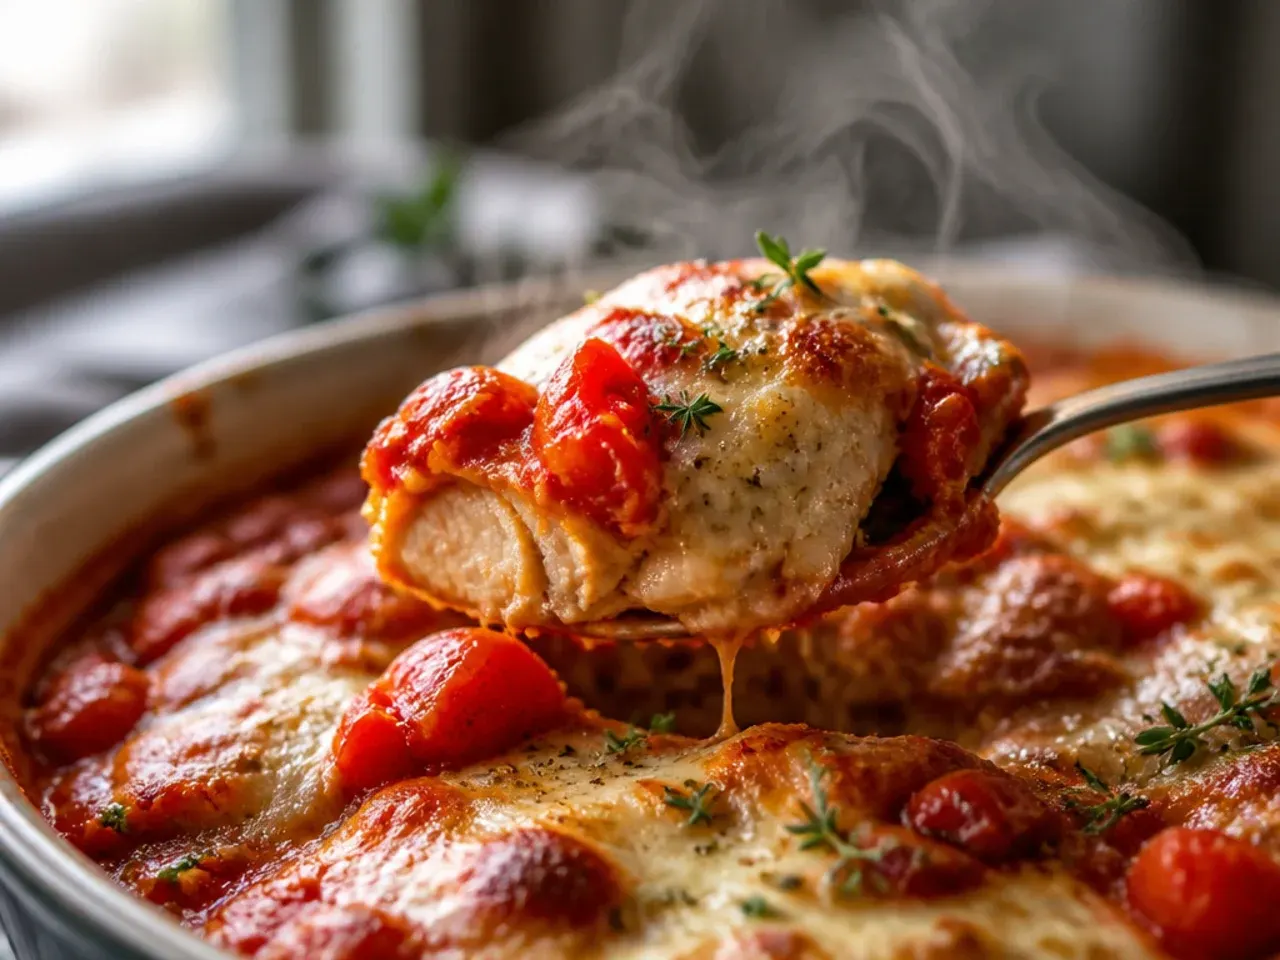
Guessing doneness by cutting into the chicken and checking the colour cost me more than one dry, overcooked dinner, and once a genuinely undercooked one. A cheap instant-read thermometer changed everything. I now pull the chicken the moment it hits 74°C (165°F) at the thickest part, then let it rest, because the temperature keeps climbing a few degrees after it's off the heat.
Lesson 13: I Skipped Resting the Chicken After Searing
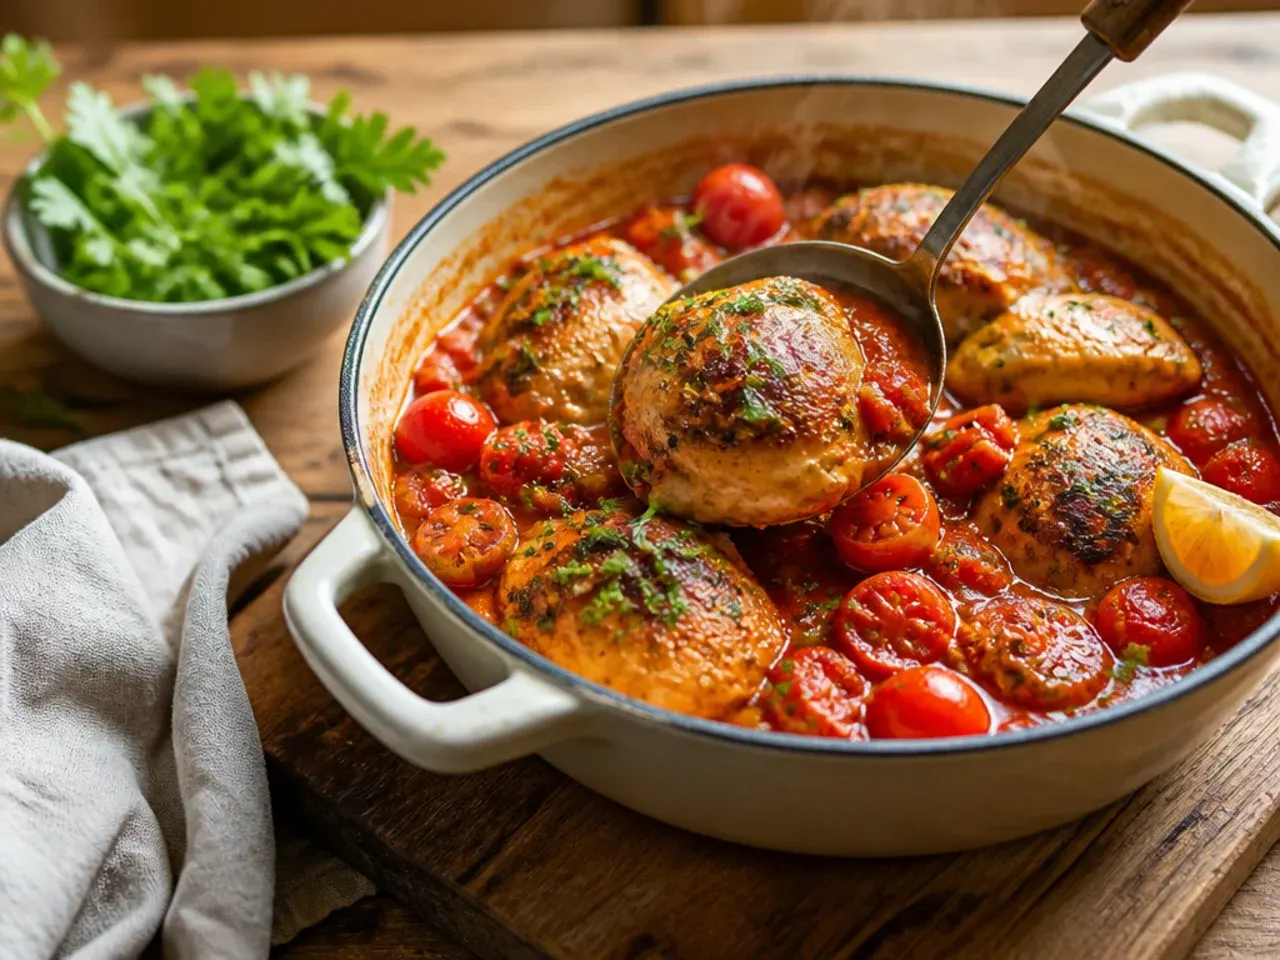
Slicing the chicken straight off the pan used to send all its juices running out onto the board, leaving the meat dry by the time it hit the plate. Now I rest the seared chicken on a plate, tented loosely with foil, for a full 5 minutes before returning it to the sauce or slicing it. The juices redistribute through the meat instead of pooling uselessly on the chopping board.
Lesson 14: I Used Too Much Cream and Lost the Tomato Flavour
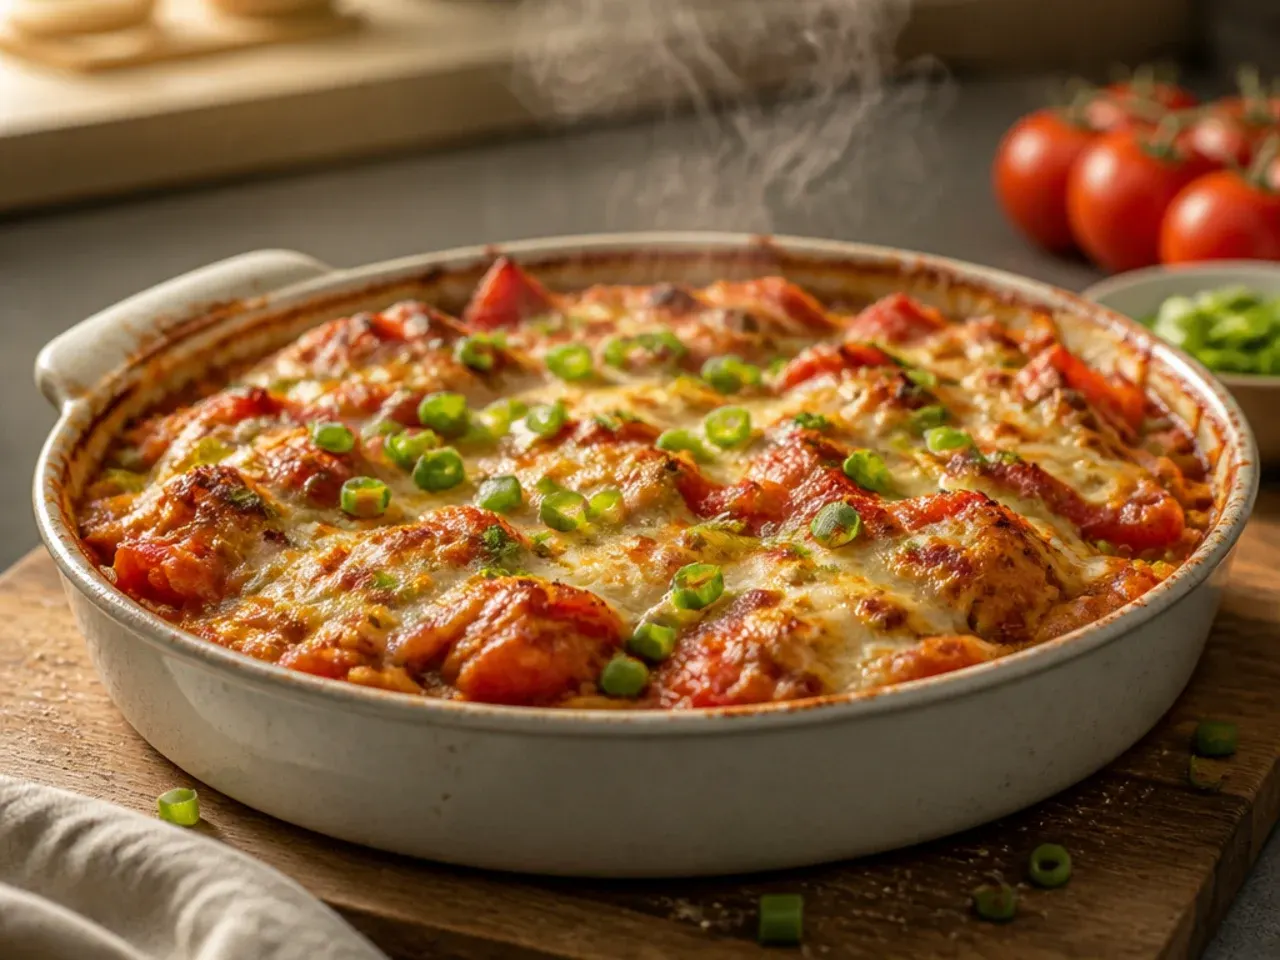
Chasing a richer sauce, I once doubled the cream, and the result tasted like a bland tomato-tinted Alfredo rather than a tomato dish with cream in it. Keeping the cream to 120 ml (1/2 cup) against a 400 g (14 oz) tin of tomatoes keeps the tomato flavour dominant while still giving the sauce body. If I want it richer, I add a touch more Parmesan instead of more cream.
Lesson 15: I Forgot to Balance the Acidity
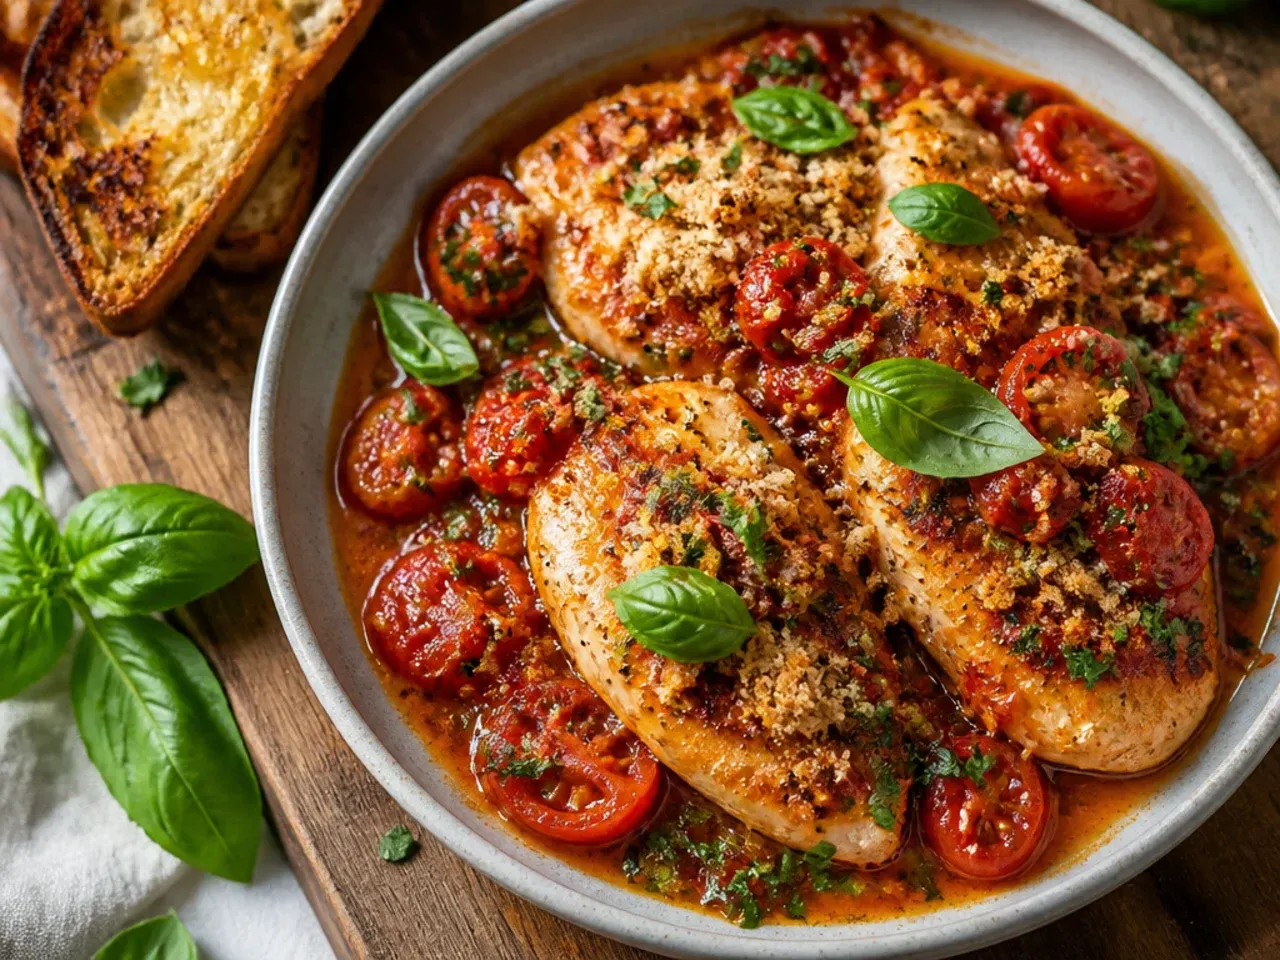
Some batches of tinned tomatoes are noticeably more acidic than others, and a couple of times my sauce came out sharp and slightly harsh no matter how much I seasoned it. A small pinch of sugar, about 1/2 teaspoon, rounds out that sharpness without making the sauce taste sweet. I taste right before serving and adjust with sugar or a squeeze of lemon depending on which way the sauce is leaning.
Lesson 16: I Only Seasoned at the Very End
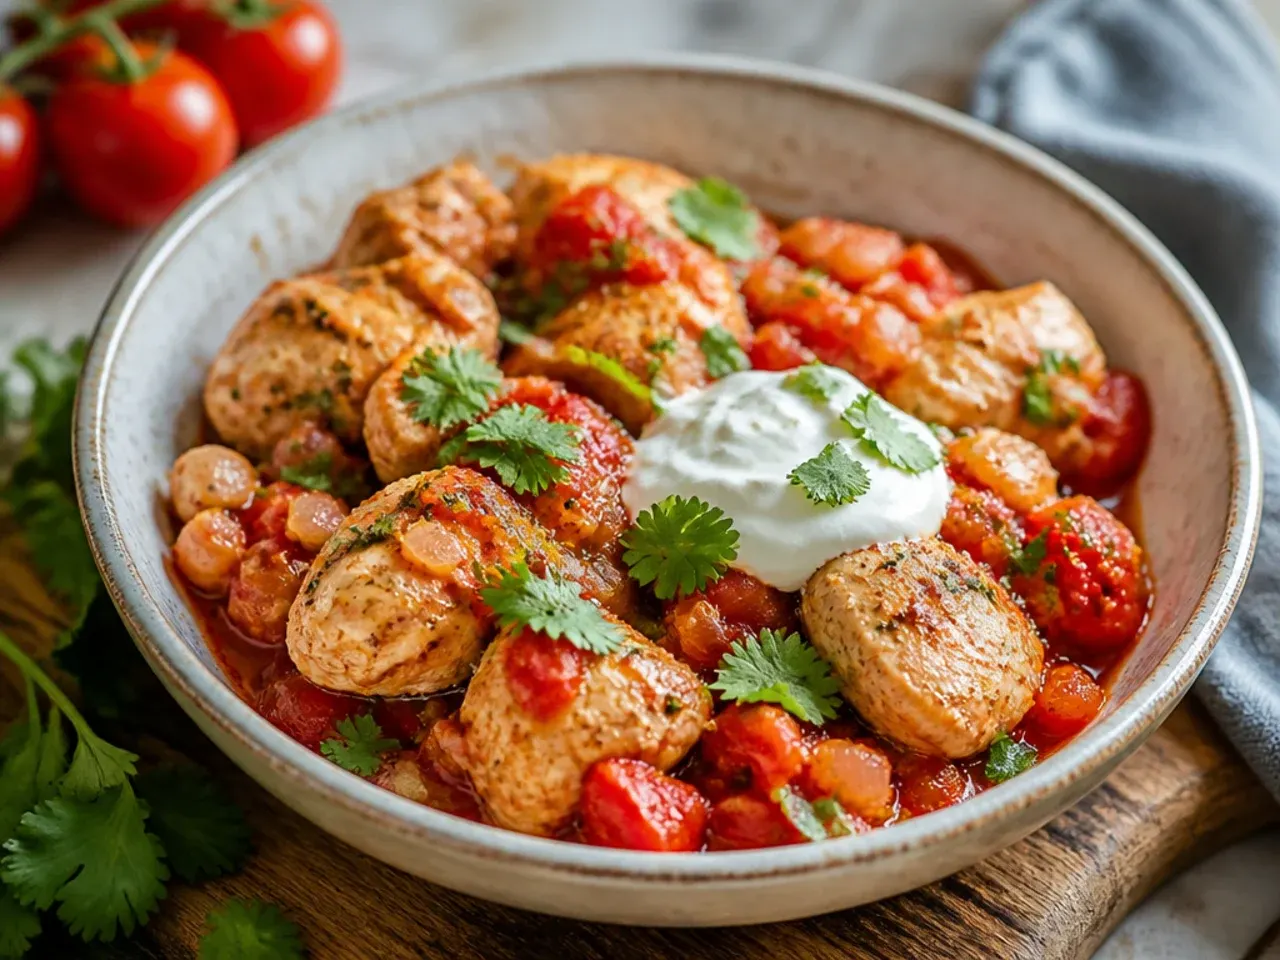
Seasoning everything at the last minute used to leave the dish tasting flat, even with a generous final pinch of salt. Flavour builds in layers, so I now season the chicken itself before searing, season the onion as it softens, and season the sauce again once the cream goes in. Tasting and adjusting at each stage makes a bigger difference than any single big pinch at the end.
Lesson 17: I Used Dried Basil Instead of Fresh at the Finish
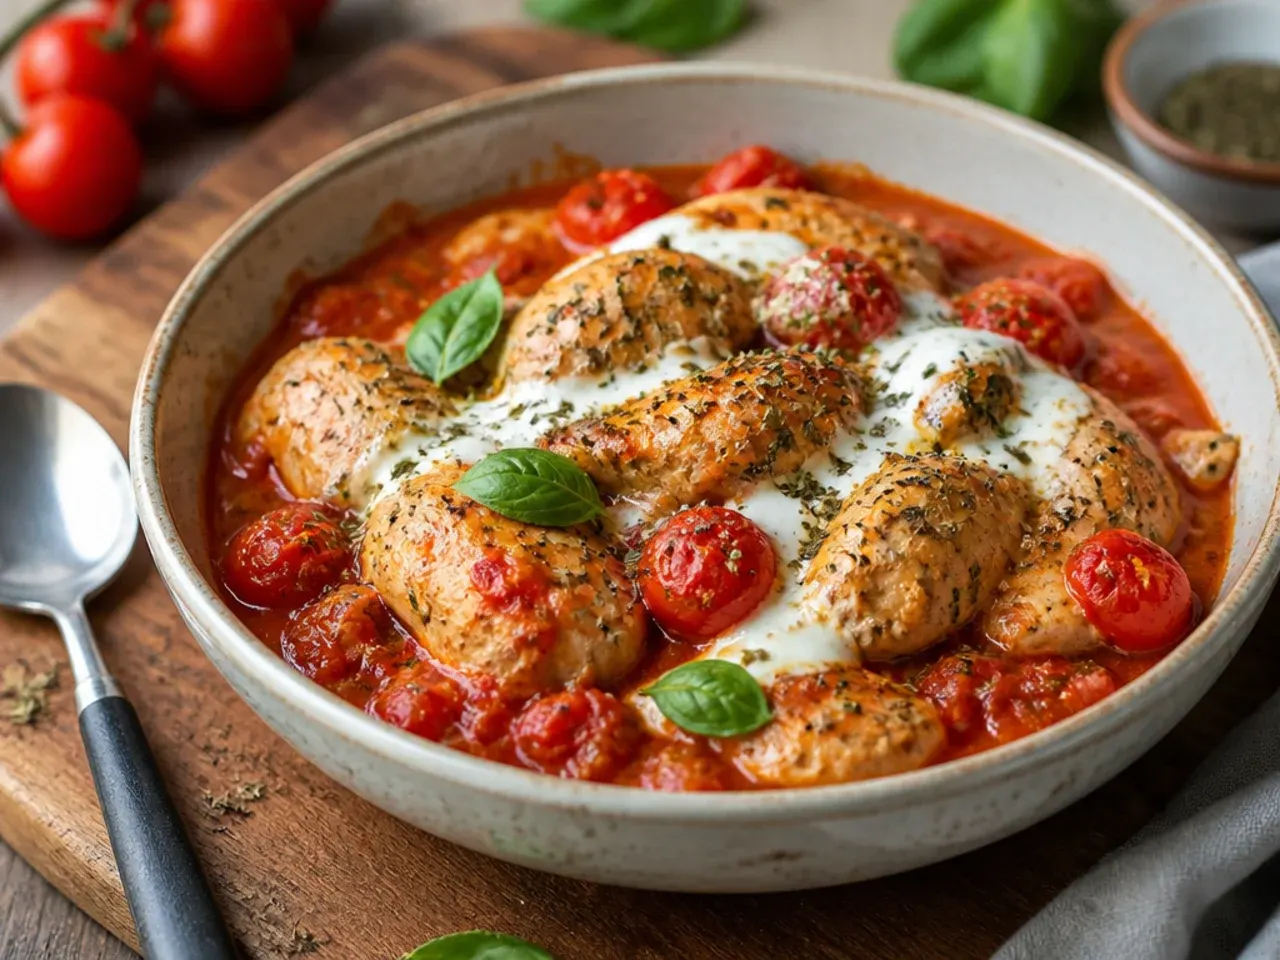
Dried basil cooked into the sauce is fine for background flavour, but I used to rely on it entirely and the dish never tasted properly fresh. Fresh basil loses its aroma almost instantly once it hits heat, so I now tear a small handful over the top only after the pan comes off the stove. That last-second addition is what makes the whole dish smell like a restaurant plate rather than a jar of pasta sauce.
Lesson 18: I Let the Sauce Simmer Too Long, or Not Long Enough
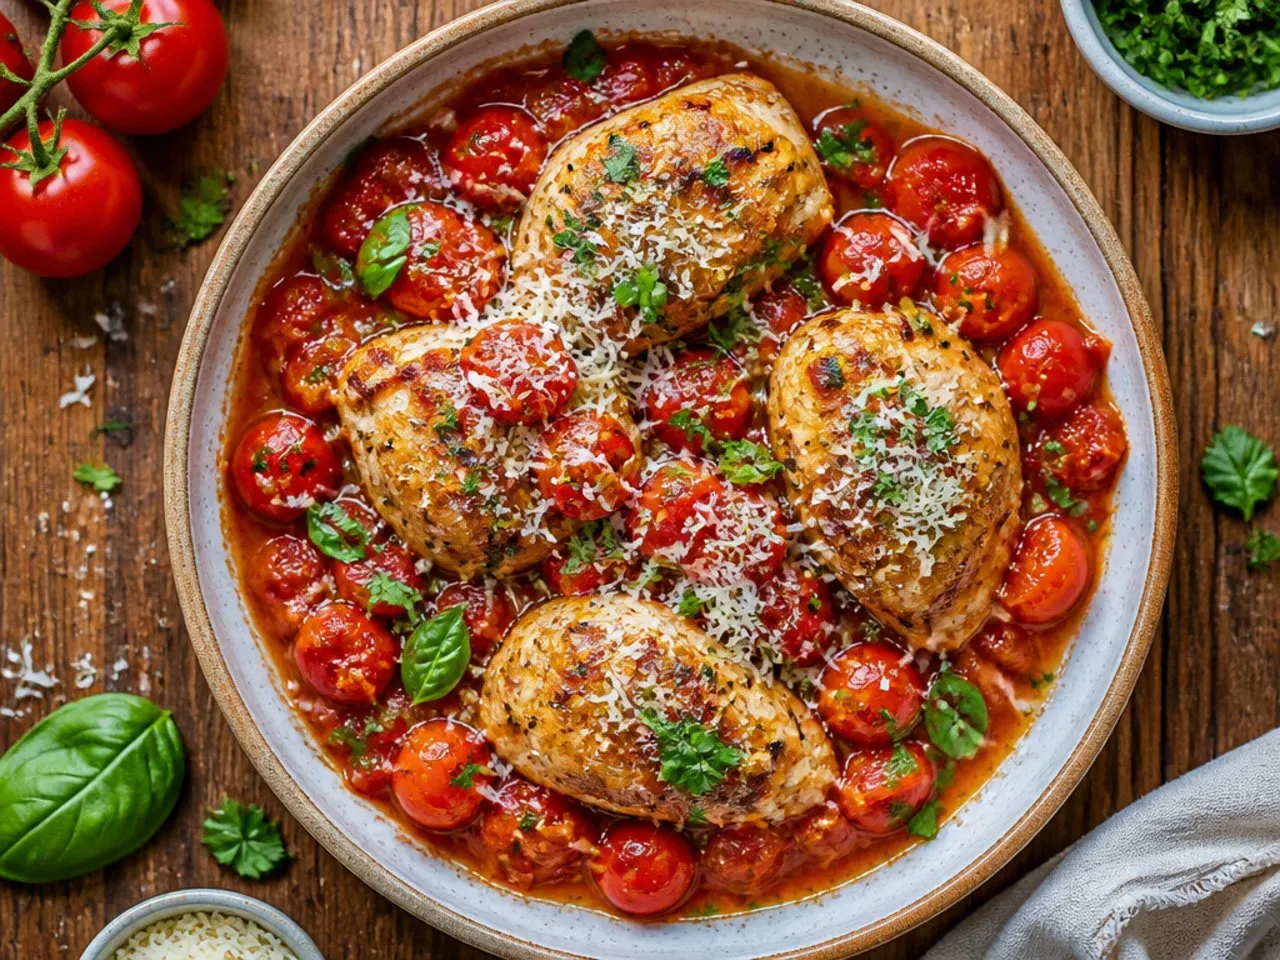
Early attempts either came out watery because I rushed the simmer, or turned into a thick paste because I left it bubbling uncovered for twenty minutes while I got distracted. I now simmer uncovered for 6-8 minutes after adding the stock, checking that the sauce coats the back of a spoon rather than running straight off it. If it thickens too far, a splash more stock brings it back without diluting the flavour.
Lesson 19: I Stored Leftovers Without Cooling Them First
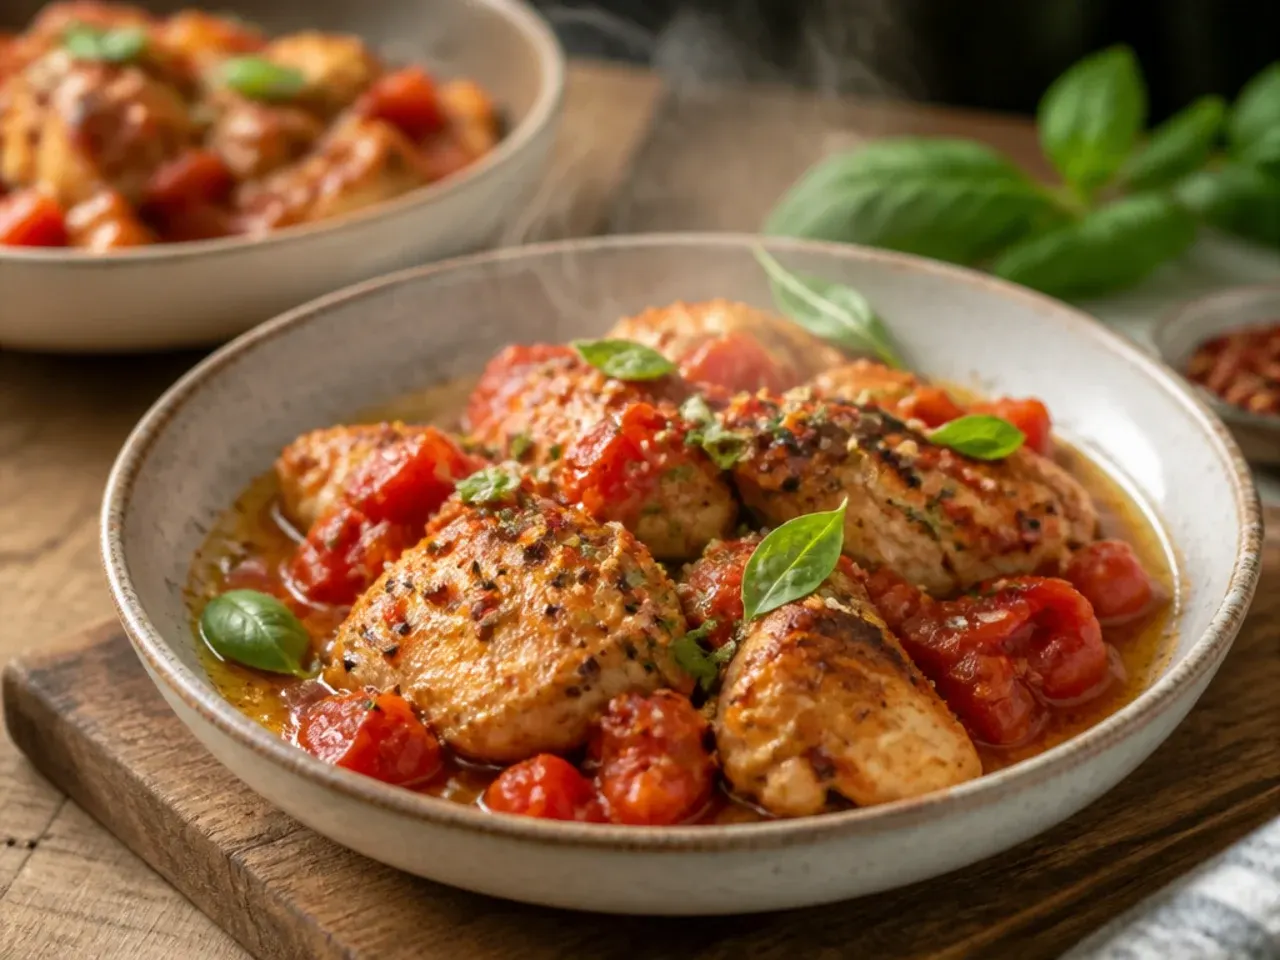
Putting the warm pan straight into the fridge with a lid on used to trap steam and leave the sauce watery and slightly off-tasting the next day. Letting it cool to room temperature, uncovered, for about 30 minutes before sealing it in an airtight container keeps the texture right. It also keeps the fridge itself from warming up, which matters more than I used to think.
Lesson 20: I Reheated Leftovers on High Heat
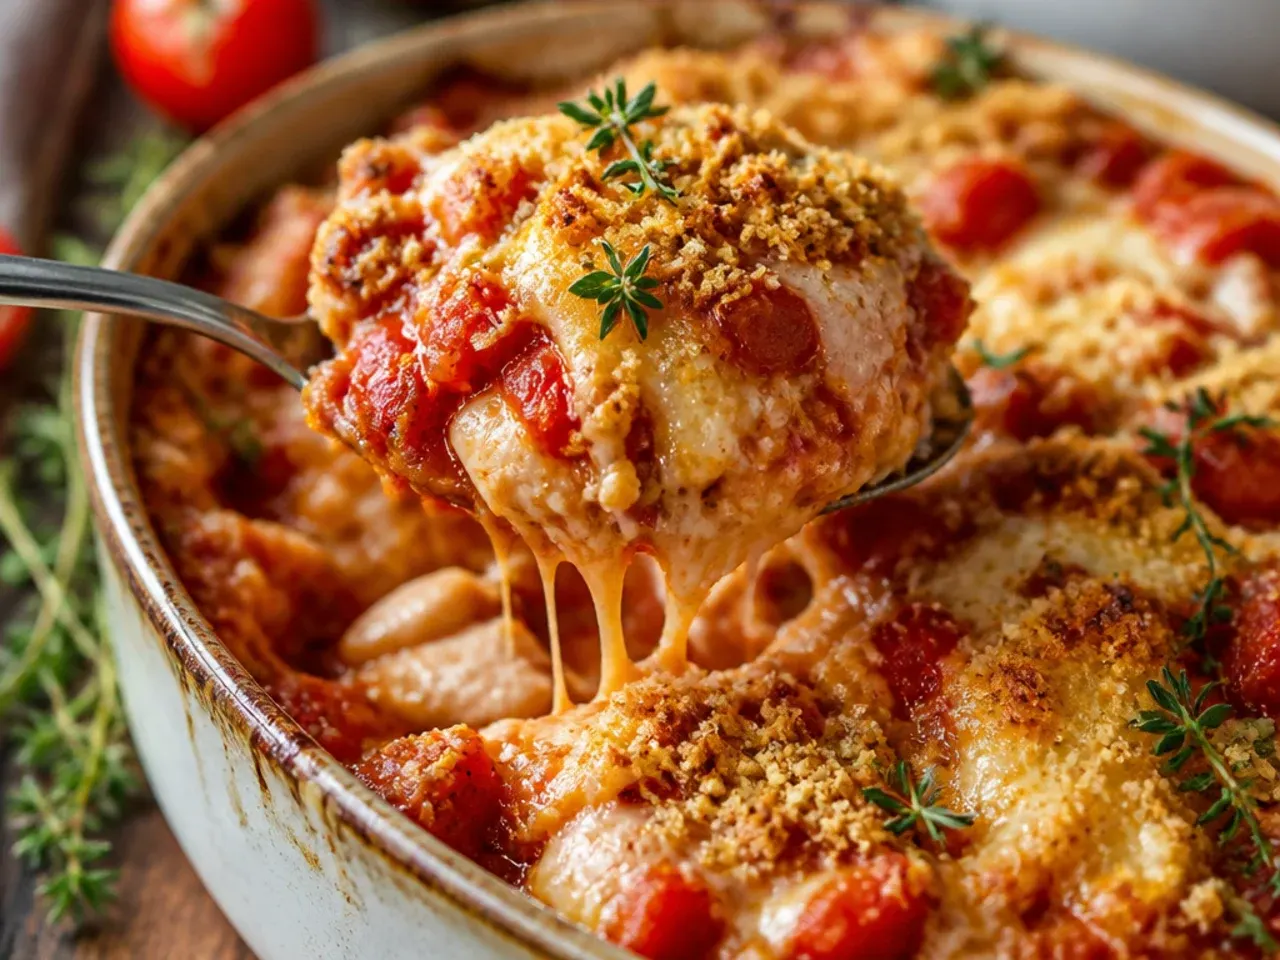
Blasting cold leftovers in a hot pan or microwave used to split the cream and leave the sauce greasy and grainy. Low and slow is the only way to bring a cream sauce back without breaking it, so I now reheat gently on the hob over low heat, stirring in a splash of milk or stock to loosen it as it warms. It takes an extra five minutes but the sauce comes back silky instead of separated.
What I'd Tell a Friend Trying This
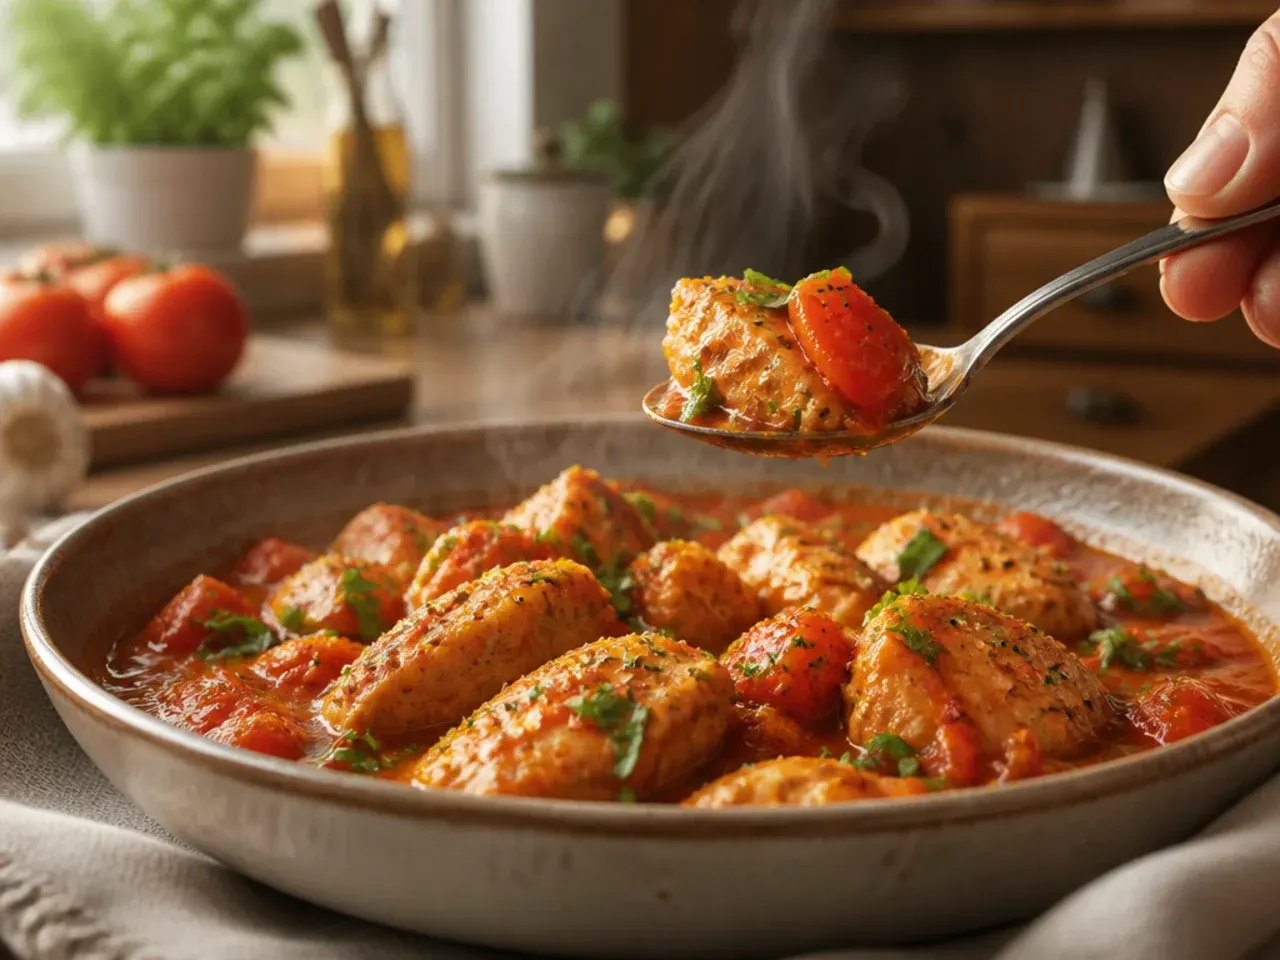
If you take nothing else from twenty rounds of mistakes, remember these three things: pat the chicken dry, keep the cream off a rolling boil, and use a thermometer instead of guessing. Everything else is fine-tuning that you'll figure out on your second or third attempt anyway. This dish forgives almost everything except rushed heat, so slow down at the two moments that matter and the rest will look after itself.
The Recipe
The Recipe I Used
15 min
40 min
55 min
4
Intermediate
Ingredients 4 Person(s)
Directions
Step 1: Prep and season the chicken
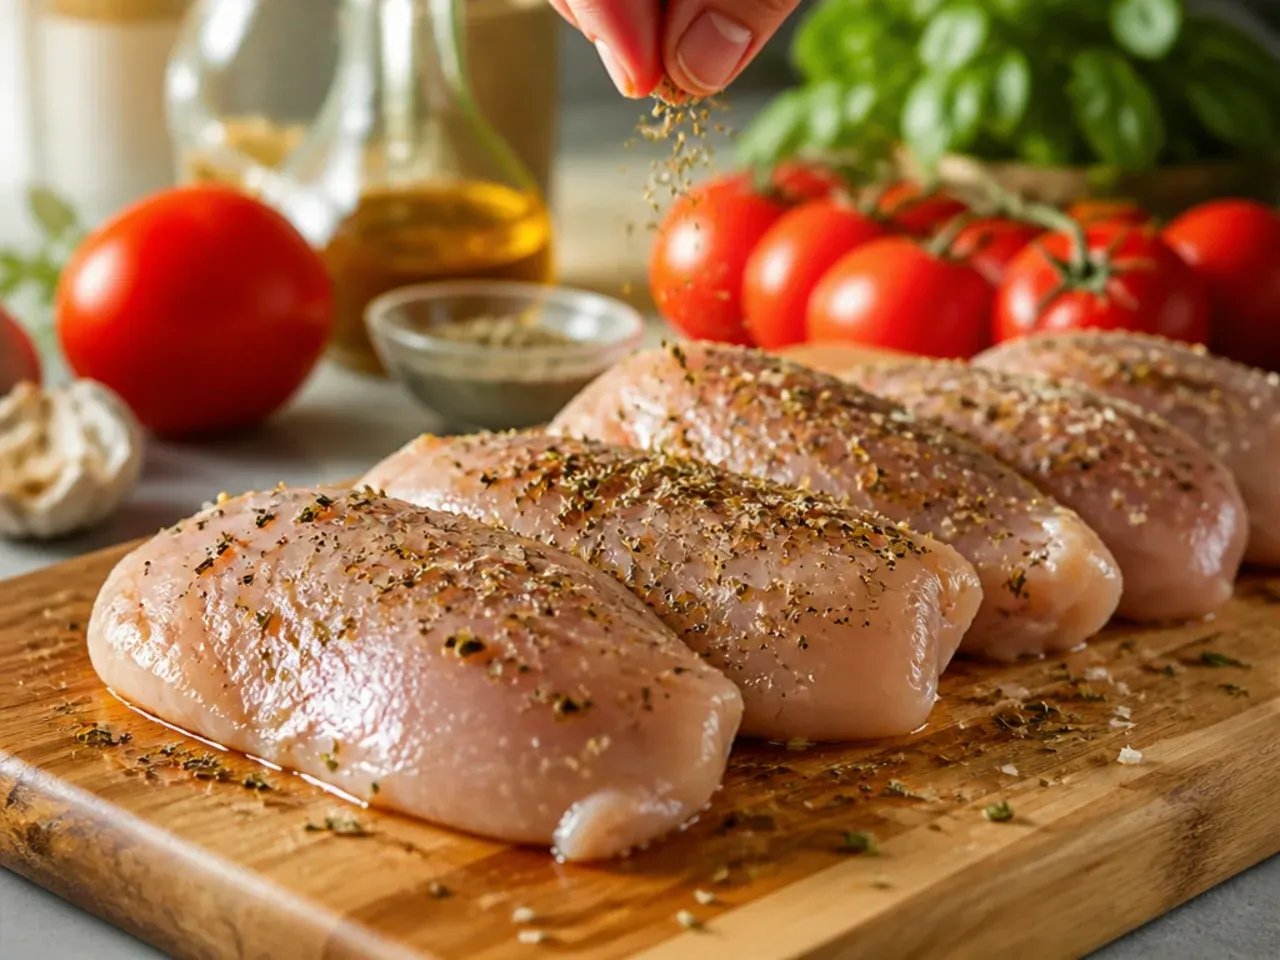
Pat the chicken cutlets completely dry with kitchen paper, then season both sides with salt and black pepper. Let them sit at room temperature for 15 minutes so they cook more evenly once they hit the pan.
Step 2: Sear the chicken until golden
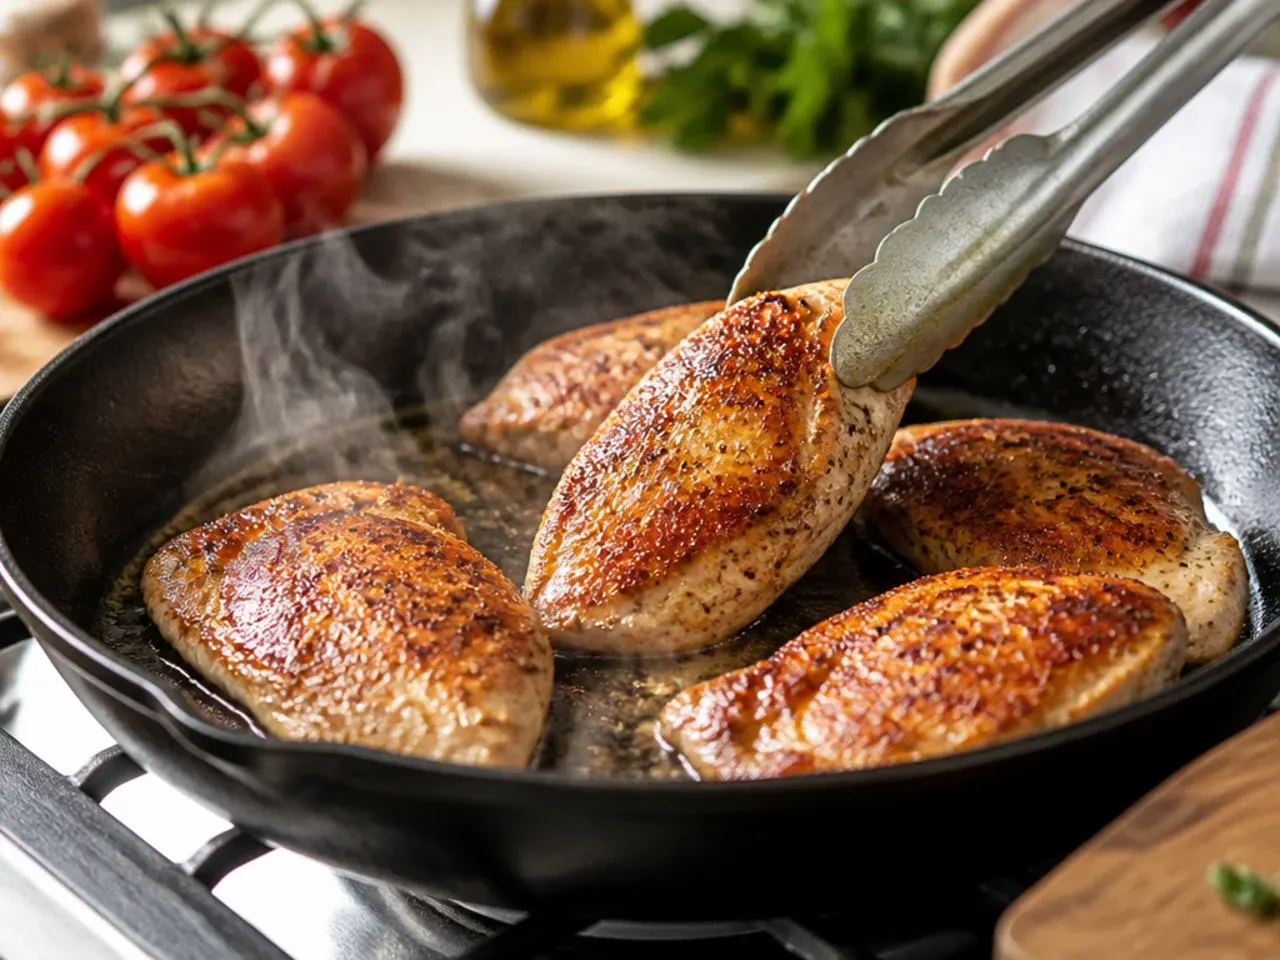
Heat the olive oil in a large skillet over medium-high heat until shimmering. Sear the chicken in batches so the pan isn't crowded, 5-6 minutes per side, until deeply golden and reaching 74°C (165°F) internally, then transfer to a plate and rest, tented with foil.
Step 3: Soften the onion and garlic
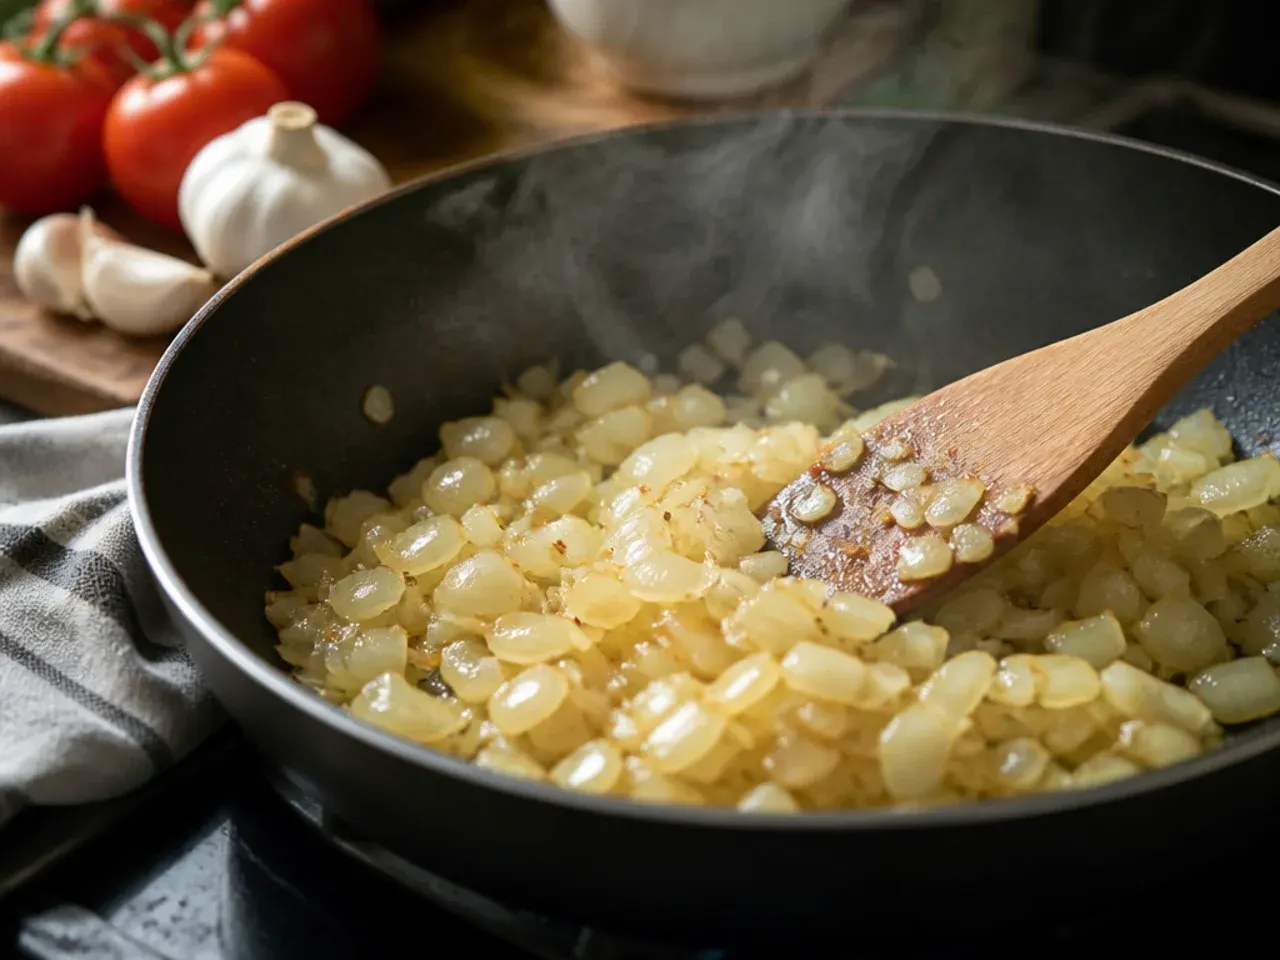
In the same pan, lower the heat to medium and cook the diced onion for 4-5 minutes until translucent, scraping up any browned bits. Add the garlic and cook for just 30-60 seconds, stirring constantly, until fragrant but not browned.
Step 4: Build the tomato base
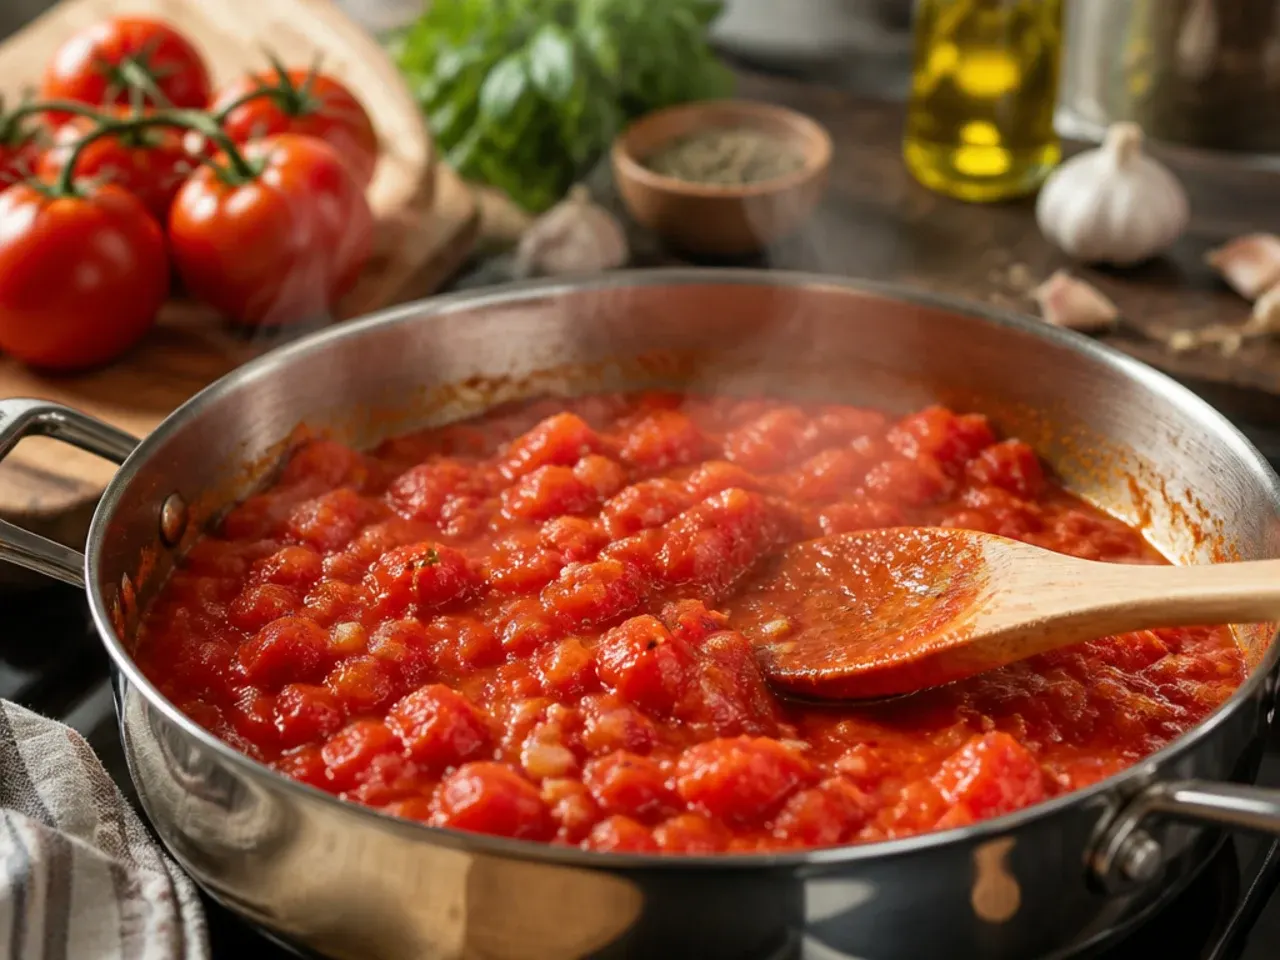
Stir in the tomato paste and fry for 1 minute until it darkens slightly, then pour in the chicken stock, scraping the pan to deglaze it fully. Add the crushed tomatoes, oregano, chilli flakes and sugar, then simmer uncovered for 6-8 minutes until the sauce coats the back of a spoon.
Step 5: Return the chicken to finish cooking
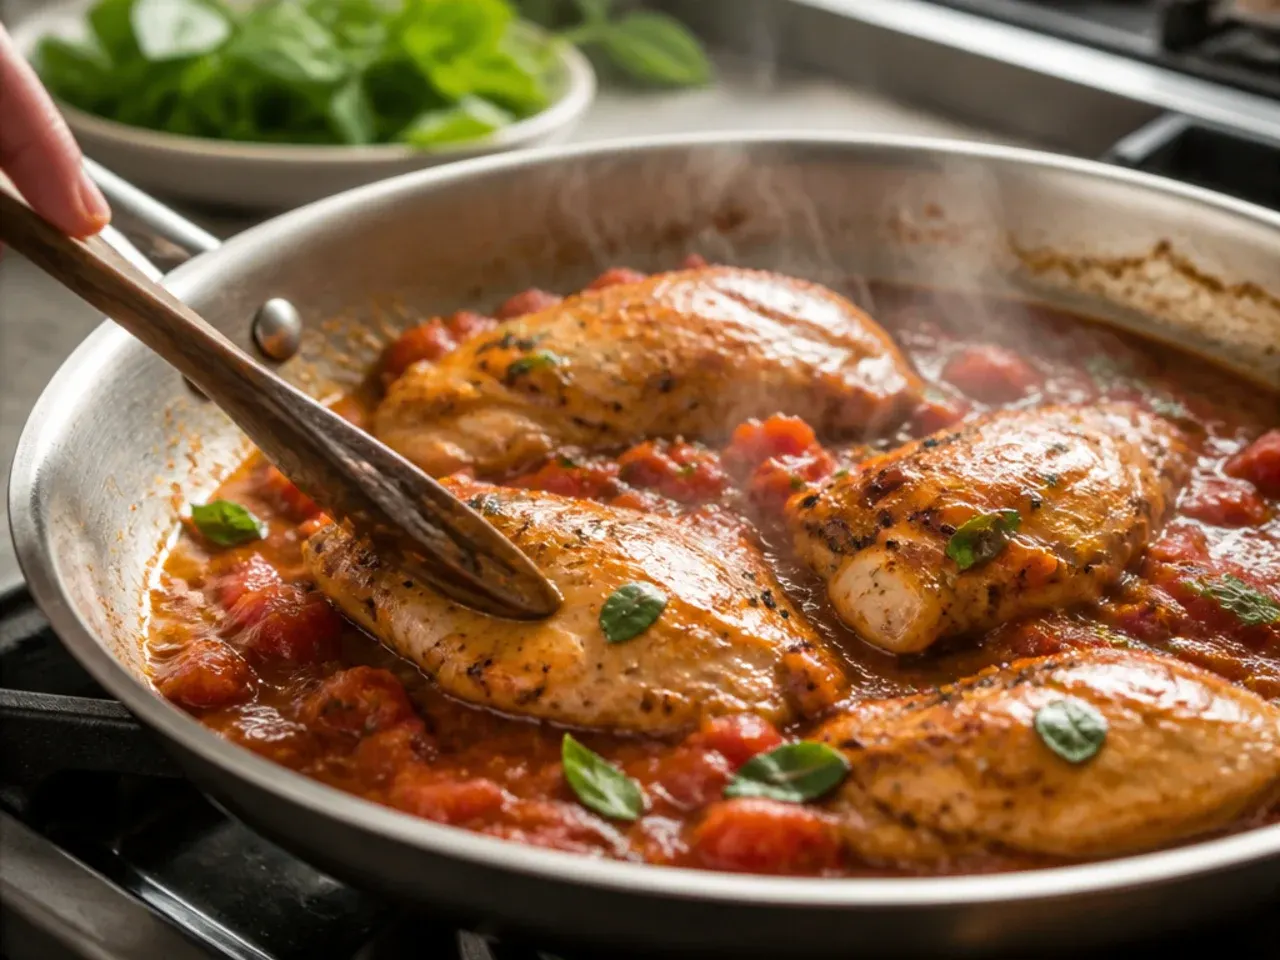
Nestle the seared chicken and any resting juices back into the sauce and simmer gently for 5 minutes, spooning sauce over the top, until the chicken is heated through and registers 74°C (165°F) again. Keep the heat at a gentle simmer rather than a boil.
Step 6: Stir in the cream, Parmesan and spinach
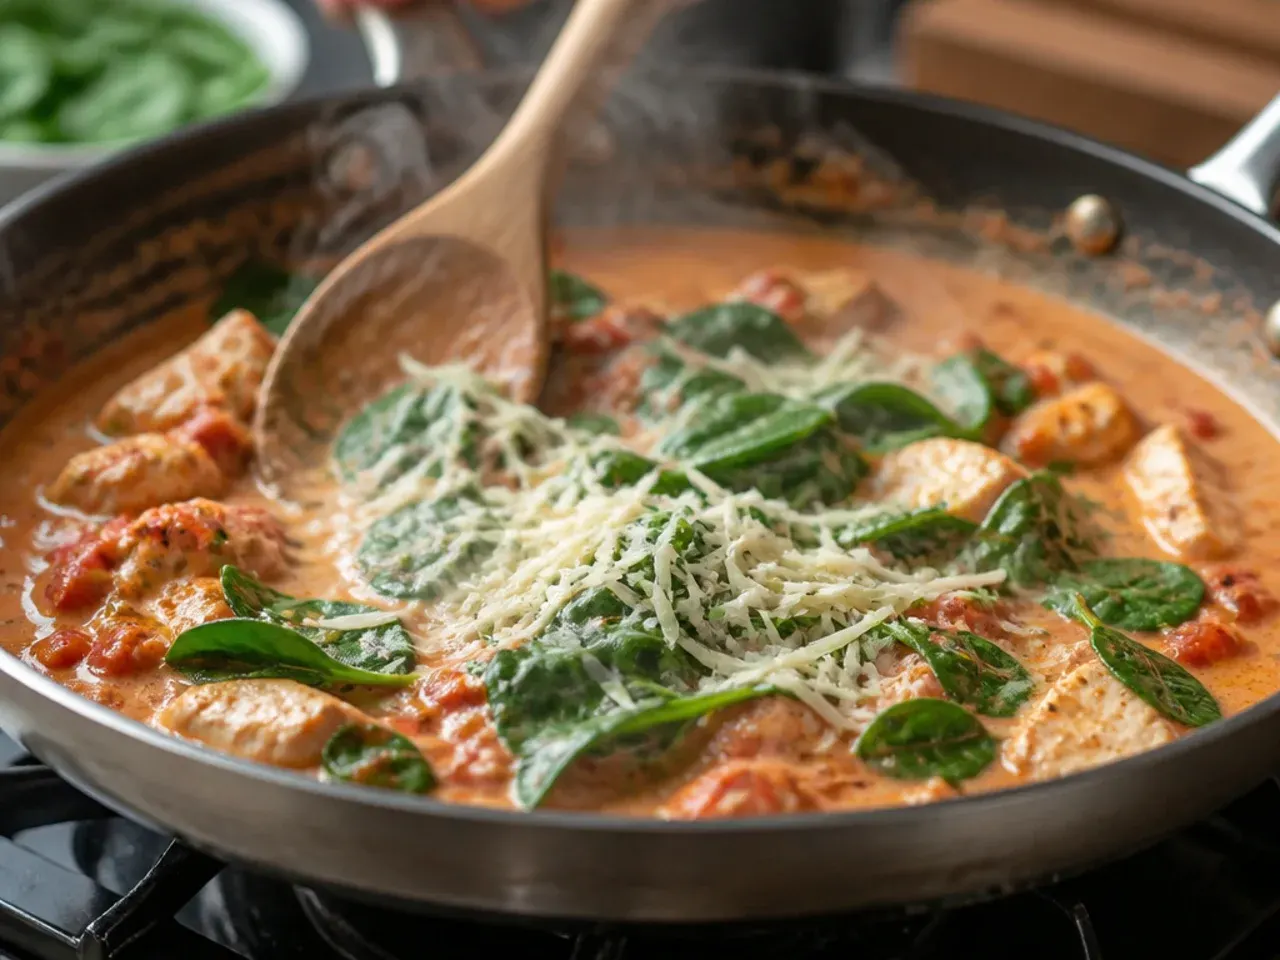
Take the pan off the heat and let it sit for a minute, then stir in the double cream over low heat until glossy. Add the Parmesan gradually, stirring between additions, then fold in the baby spinach and let it wilt for 1-2 minutes off the heat.
Step 7: Rest, garnish and serve
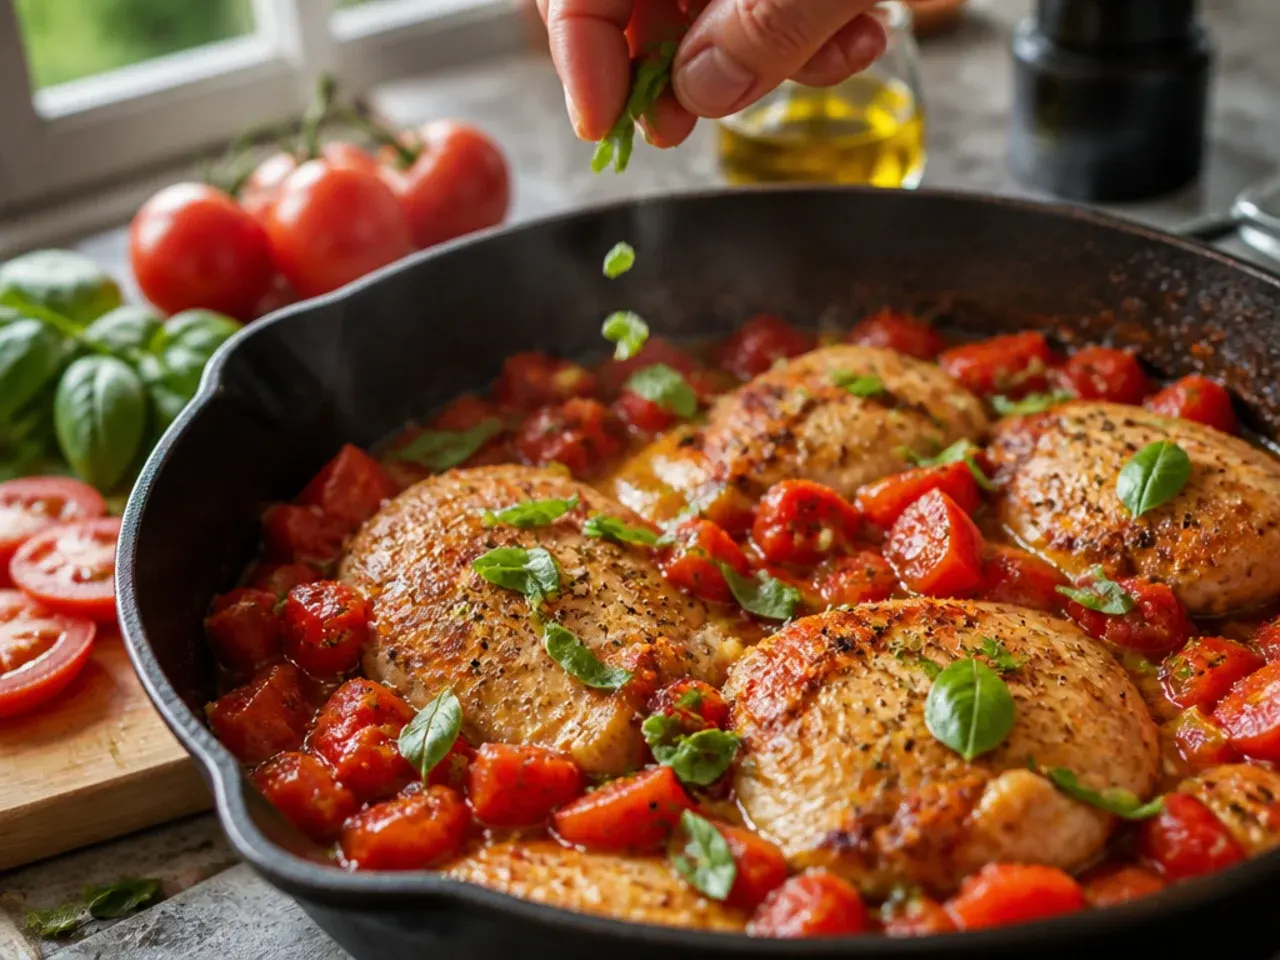
Taste the sauce and adjust the seasoning or a squeeze of lemon if it needs brightening. Scatter over the torn fresh basil just before serving, alongside rice, crusty bread or pasta to soak up the sauce.
Frequently Asked Questions
Yes, you can sear the chicken and make the tomato base up to a day ahead, then store them separately in the fridge. Reheat the sauce gently on the hob, add the chicken to warm through, and stir in the cream, Parmesan and spinach only when you're ready to serve. Adding the dairy and greens fresh at serving time keeps the texture and colour far better than reheating them together.
Save this for later 📌
Pin this article to your Pinterest board so the full list is one tap away when you need it.
Save on Pinterest