20 Charcuterie Board Halloween Ideas That Wow
20 charcuterie board Halloween ideas, from spider web brie to mummy cheese, plus a full grazing board recipe with layout, quantities and timing. If you love halloween charcuterie board inspiration, start with our Halloween Charcuterie Board collection, then browse the full Party Food hub for more.

Save this for later 📌
Pin this article to your Pinterest board so the full list is one tap away when you need it.
Save on PinterestParty Food
Beginner
Recipes
20 ideas
Table of Contents
- Why You'll Love These
- 1. Classic Spider Web Brie Board
- 2. Easy Mummy Cheese Wraps
- 3. Cozy Autumn Harvest Corner
- 4. Simple Jack-O'-Lantern Pepper Cups
- 5. Creamy Witch's Cauldron Dip
- 6. Loaded Graveyard Meat and Cheese Section
- 7. Best-Ever Candy Corn Cheese Skewers
- 8. Cheesy Ghost and Pumpkin Cutouts
- 9. Budget Two-Cheese, One-Meat Board
- 10. Crowd-Pleasing Full Halloween Grazing Table
- 11. Make-Ahead Prep-the-Night-Before Board
- 12. Family-Friendly Kid-Safe Board
- 13. Festive Purple and Black Gothic Board
- 14. Quick 15-Minute No-Carve Board
- 15. Homemade Pumpkin Salami Roses
- 16. Spooky Pretzel Bone Bundles
- 17. Easy Black Olive Spider Crackers
- 18. Cozy Warm Cheese and Chorizo Skillet Corner
- 19. Simple Two-Ingredient Cheese and Cracker Base
- 20. Creamy Eyeball Dip Station
- Pro Tips
- Serving Suggestions
- Storage and Reheating
Why You'll Love These
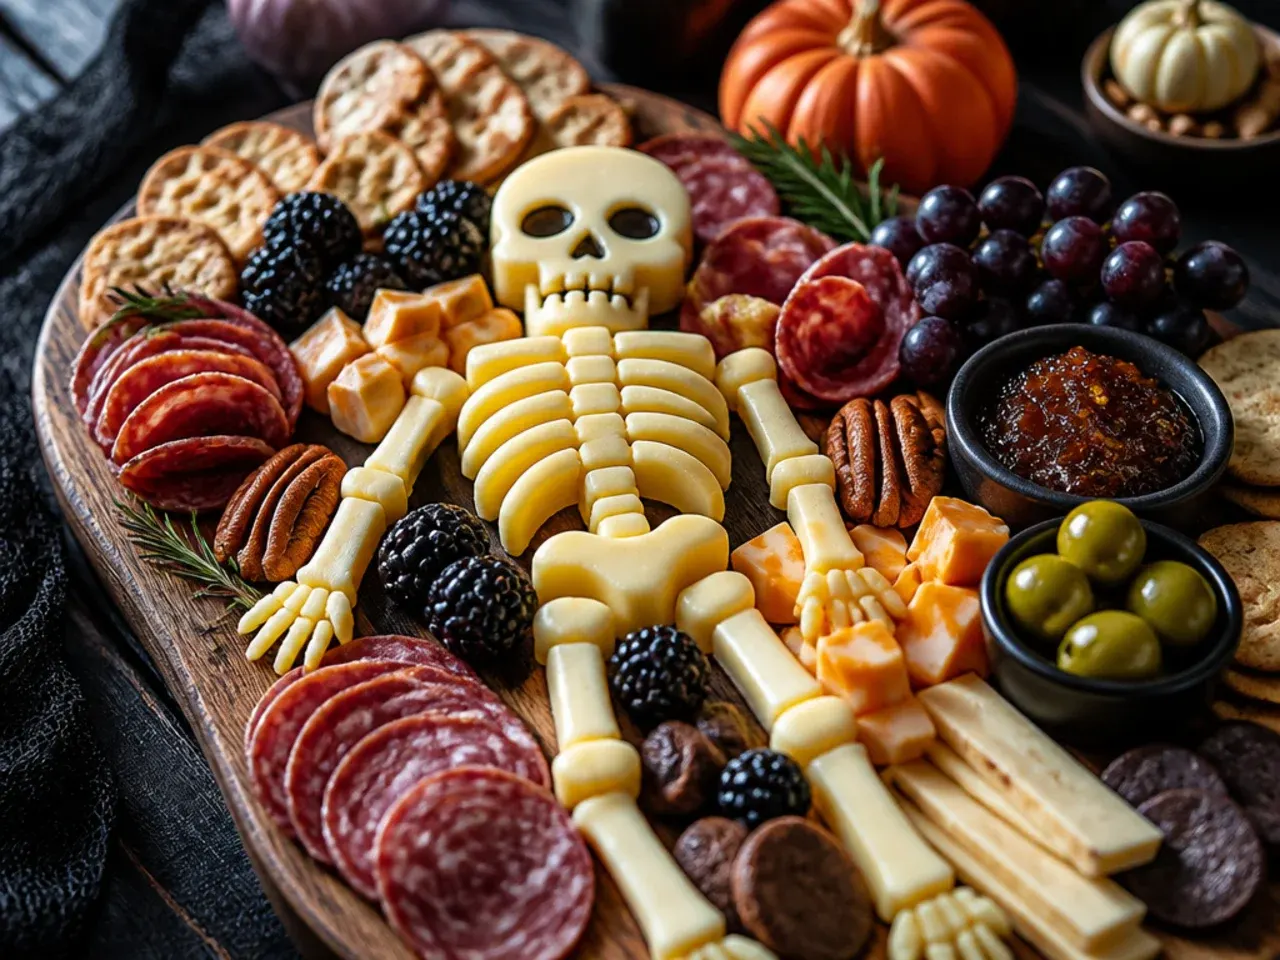
A charcuterie board Halloween spread turns a handful of shop-bought meats, cheeses and crackers into the centrepiece of the party without any real cooking. Each idea below uses the same core board but swaps one or two elements for a spooky shape, colour or shortcut, so you can mix and match to fit your crowd and your budget. Everything can be prepped in the hour before guests arrive, and most components sit out safely for the length of a party. Pick two or three favourites, or build the full 20-item board for a proper Halloween feast.
1. Classic Spider Web Brie Board
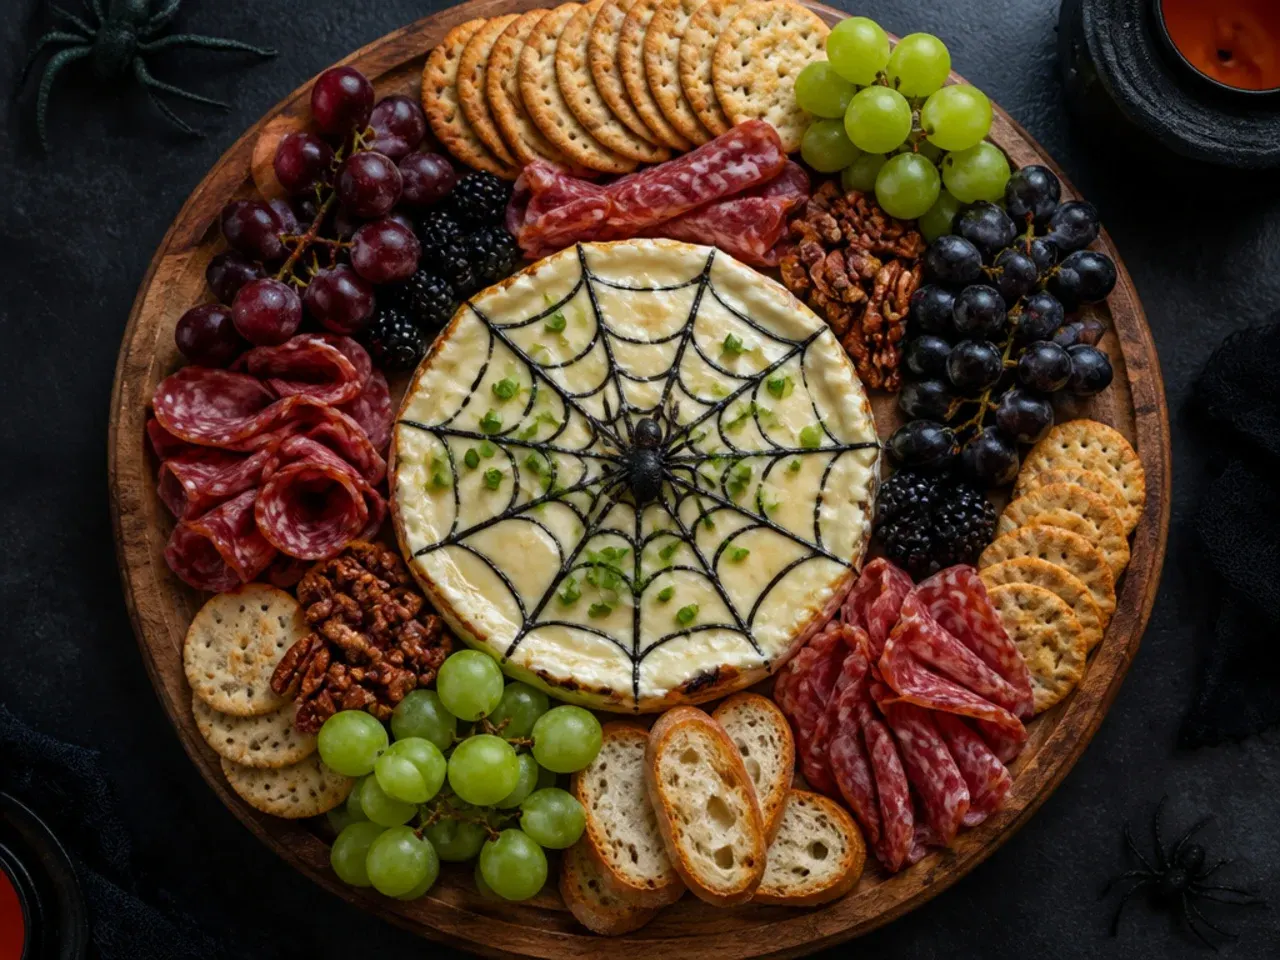
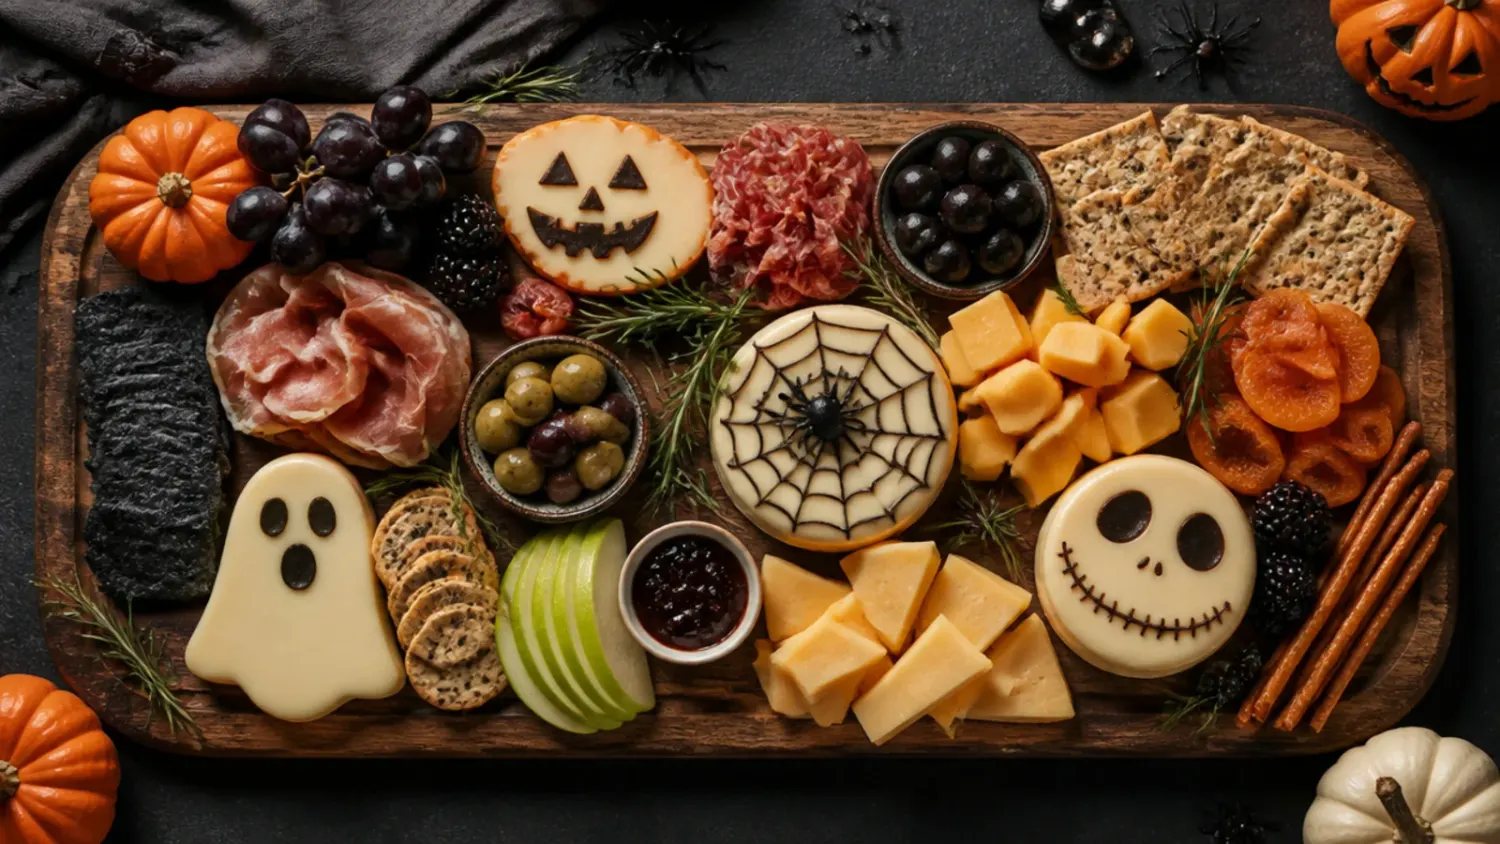
Score concentric circles into a whole 200 g (7 oz) brie wheel with a skewer, then fill the grooves with warmed black tahini or melted dark chocolate for a savoury or sweet web, depending on your board. Drag a cocktail stick from the centre outward through the lines at even intervals to pull the rings into a classic spider web pattern. Set a plastic ring spider on top just before serving, and arrange crackers in a sunburst around the wheel so guests can see the web from every angle. This is the single most recognisable item on any charcuterie board Halloween spread and takes under five minutes to set up.
2. Easy Mummy Cheese Wraps
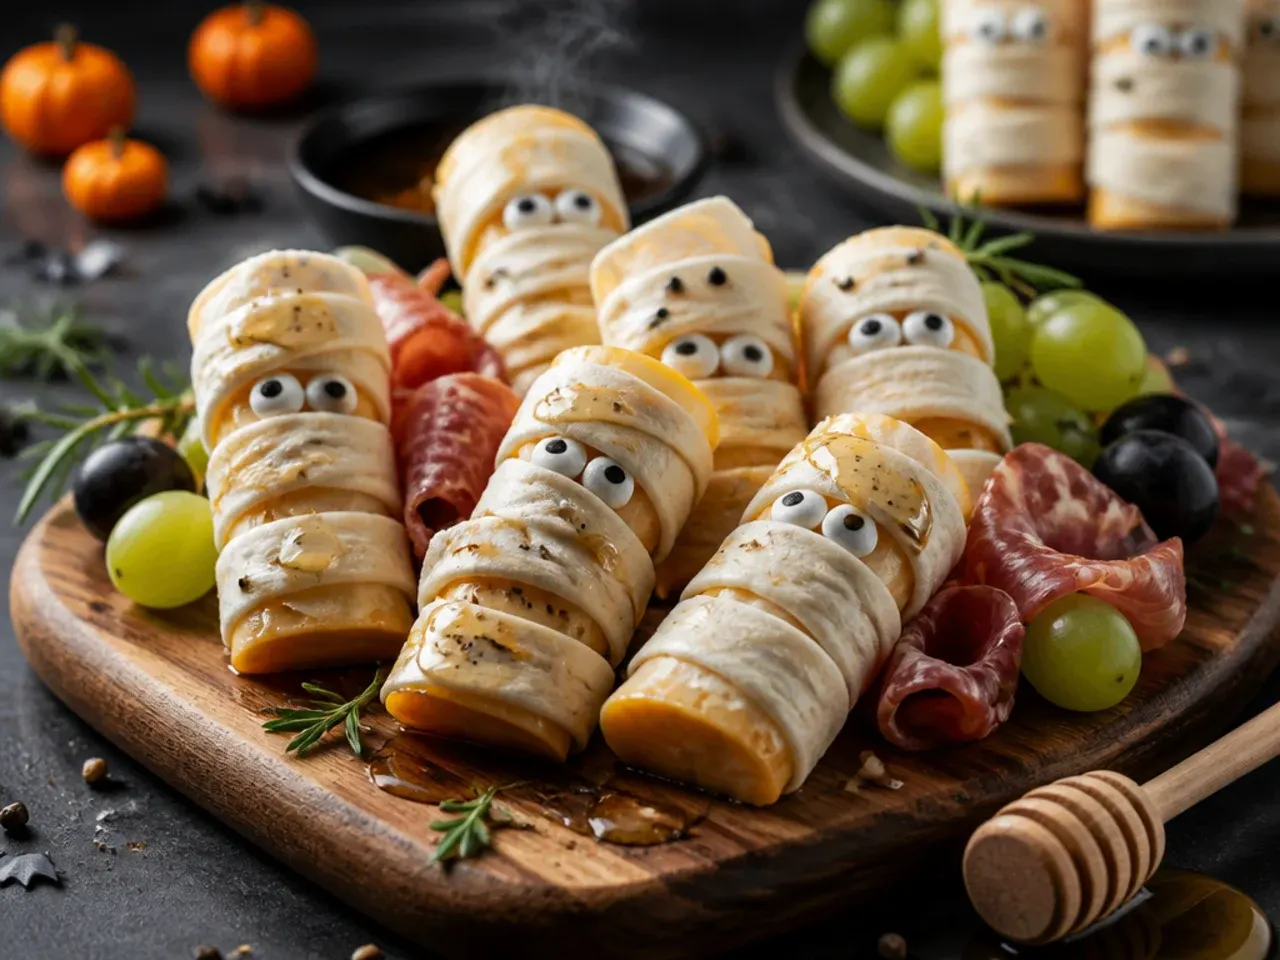
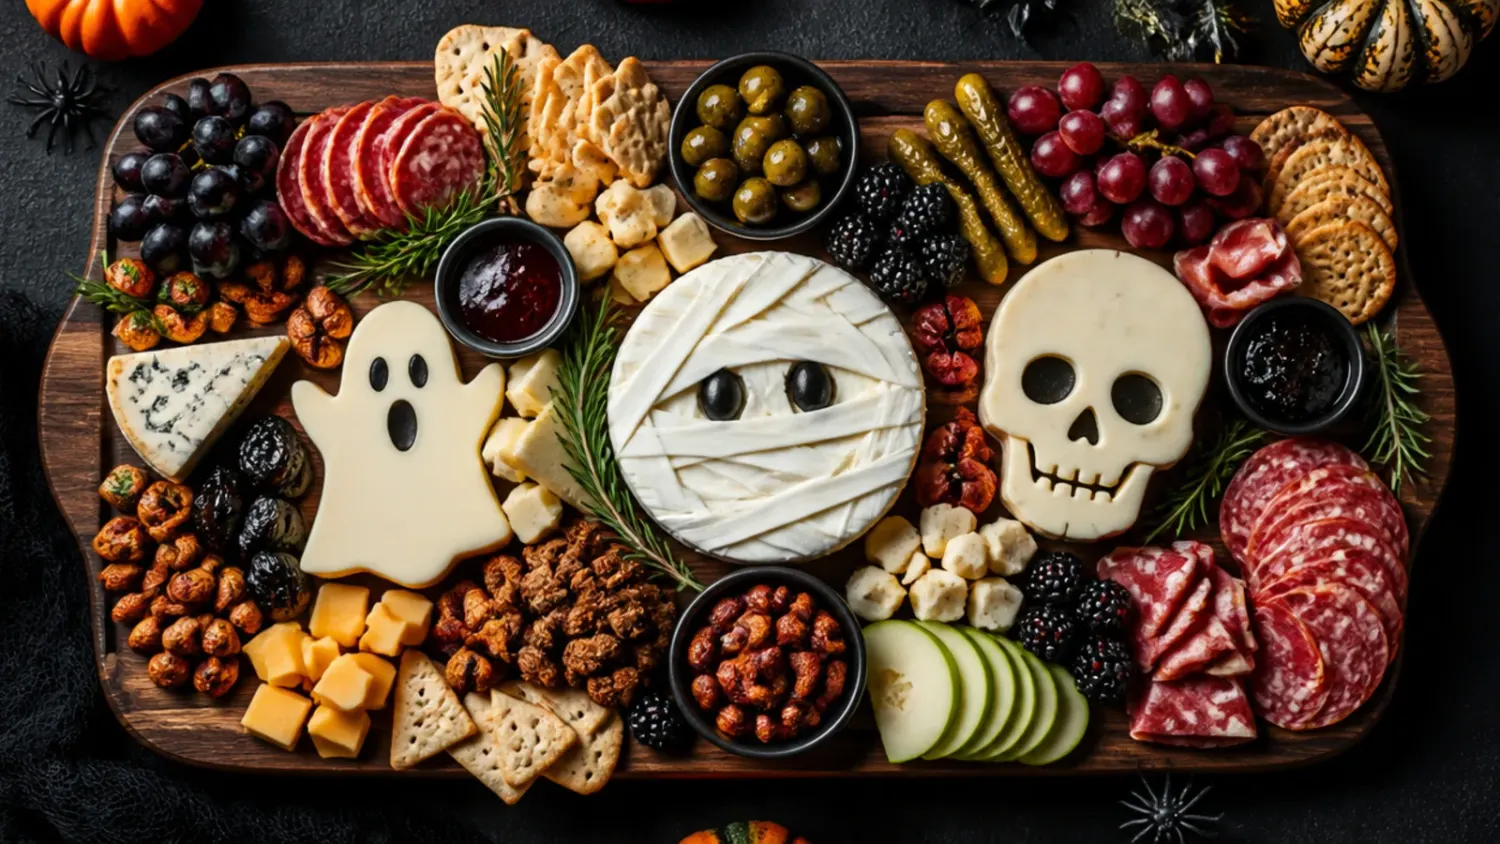
Wrap thin strips of string cheese or small squares of mild cheddar in strips of flour tortilla or breadstick dough, leaving a small gap near the top for two dots of black icing or olive slices as eyes. Bake shop-bought breadstick dough strips at 190°C (375°F) for 10 to 12 minutes if using raw dough, or simply wrap pre-cooked breadsticks around cold cheese for a no-bake version. Stagger the wrapping loosely rather than tightly so the strips look bandaged rather than solid. These are the easiest hot item to add if you want one warm element on an otherwise cold board.
3. Cozy Autumn Harvest Corner
Group a small wedge of aged cheddar, a few slices of spiced pear or apple, and a scatter of toasted pumpkin seeds in one corner of the board for a warmer, less spooky-looking section. Drizzle the cheese lightly with runny honey and add a small ramekin of fig jam alongside for dipping crackers. This corner balances out the brighter orange-and-black sections and gives guests who aren't fussed about the theme a familiar grazing option. It also uses up any leftover autumn produce sitting in the fridge.
4. Simple Jack-O'-Lantern Pepper Cups
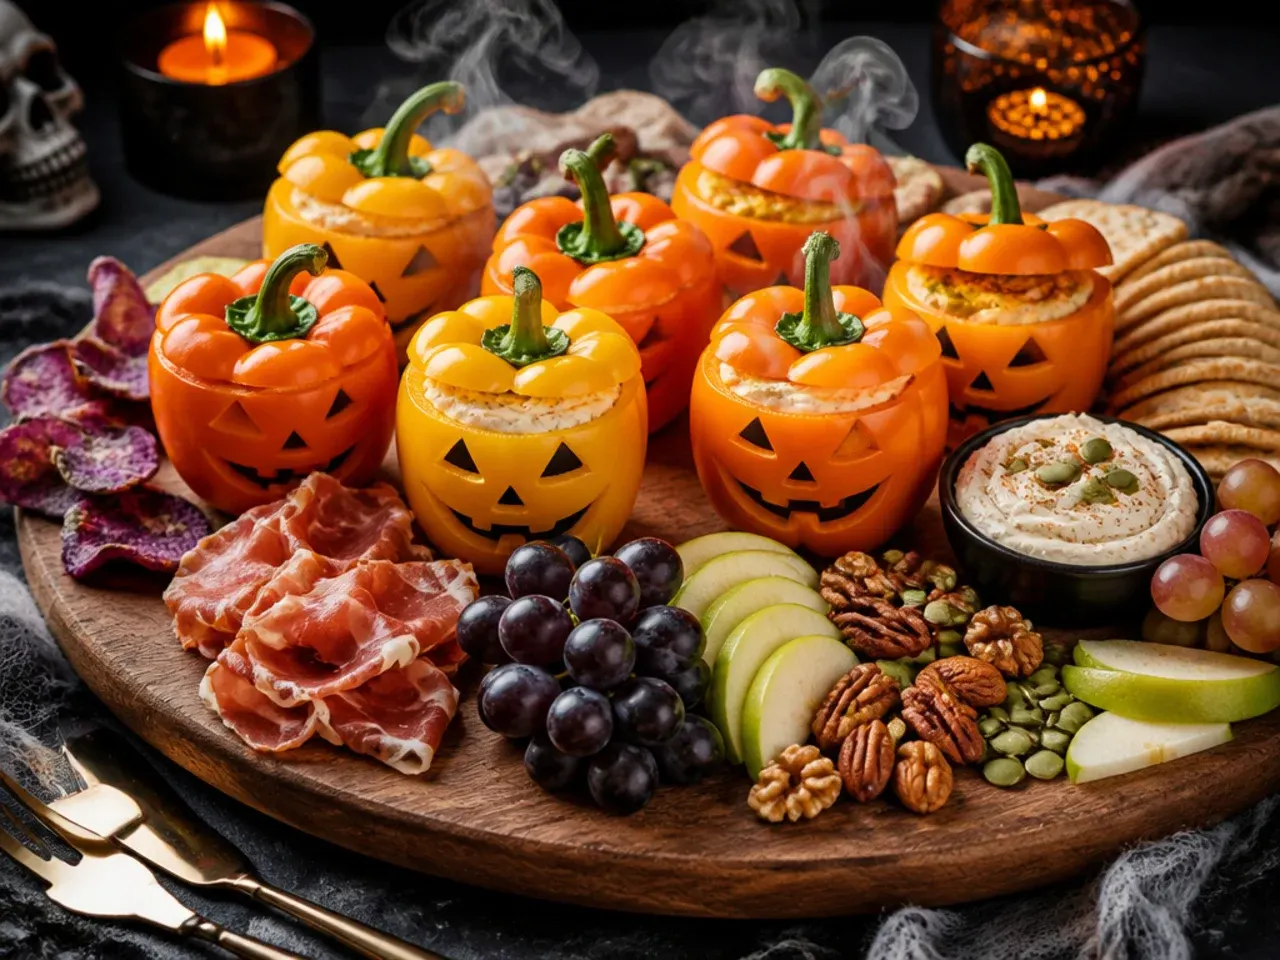
Cut the tops off small orange bell peppers, hollow out the seeds, and carve simple triangle eyes and a jagged mouth into the skin with a sharp paring knife. Fill each hollowed pepper with hummus, guacamole or a herby cream cheese dip so it doubles as an edible serving bowl. Set two or three across the board rather than lining them up, so they read as a natural part of the spread instead of a separate craft project. This is the simplest fresh-vegetable swap for anyone who wants a lighter, less meat-heavy charcuterie board Halloween layout.
5. Creamy Witch's Cauldron Dip
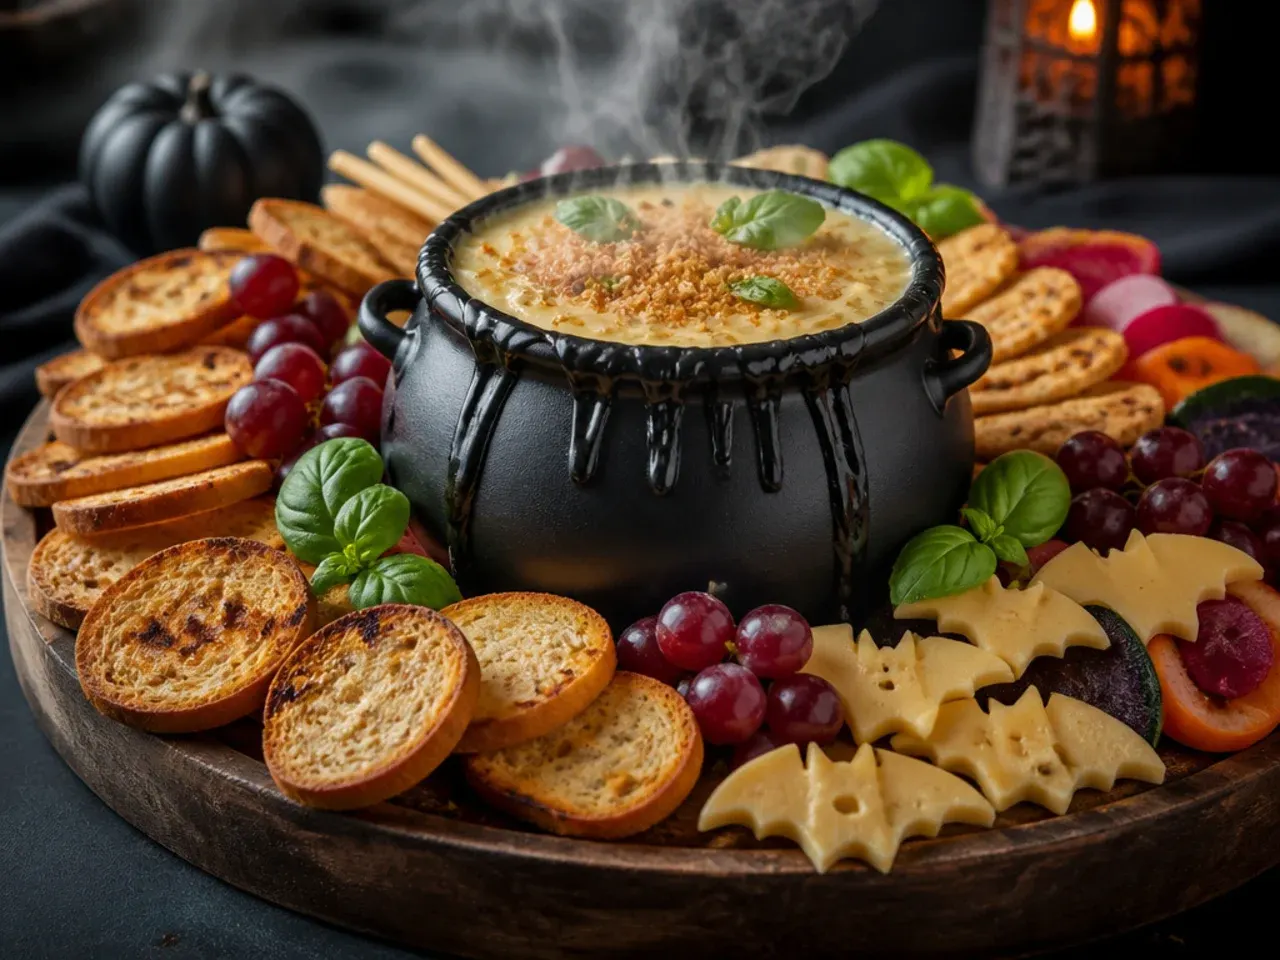
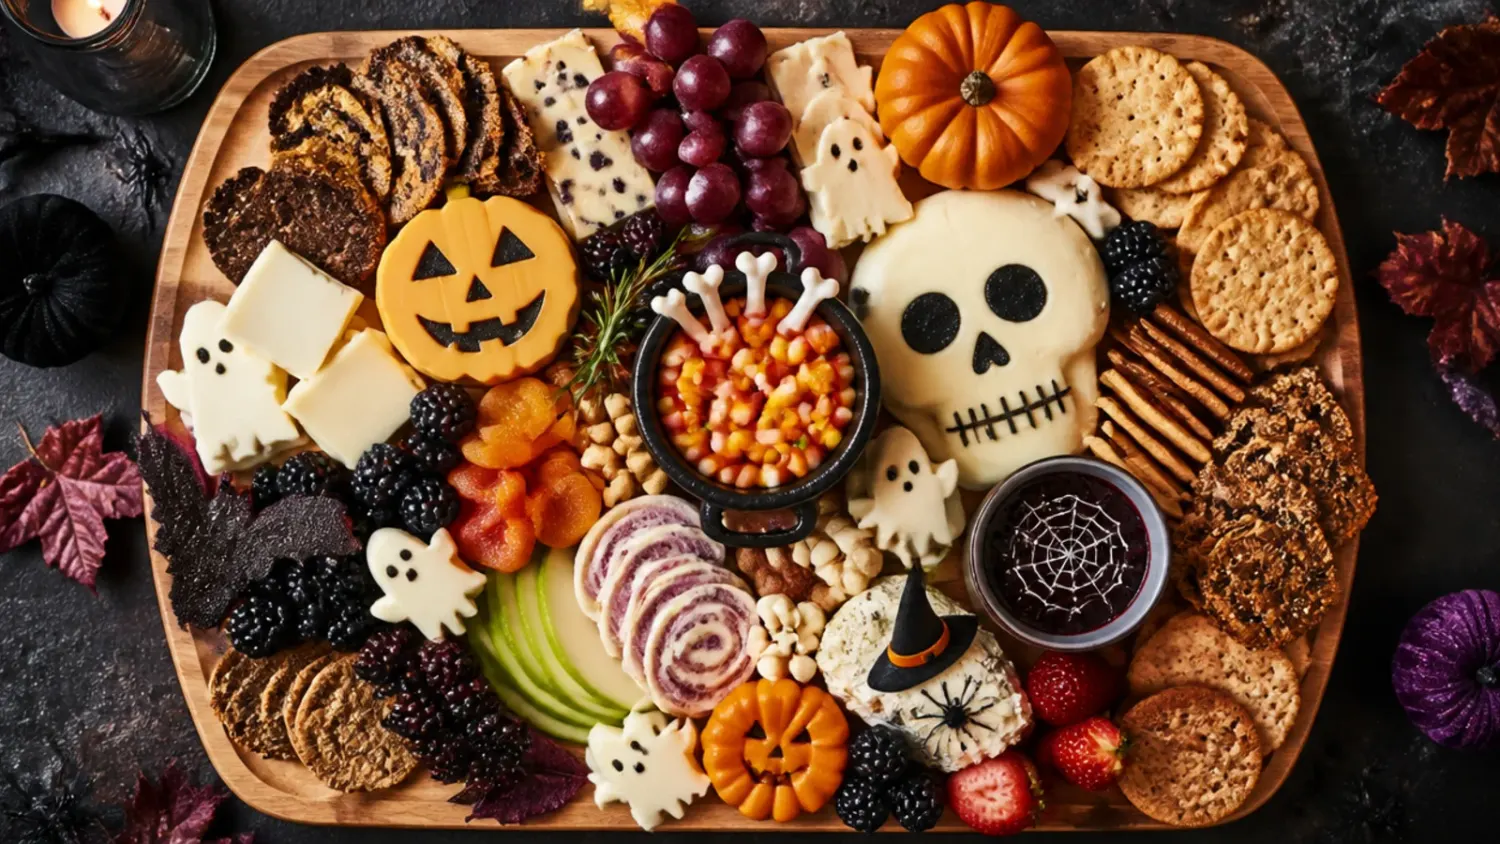
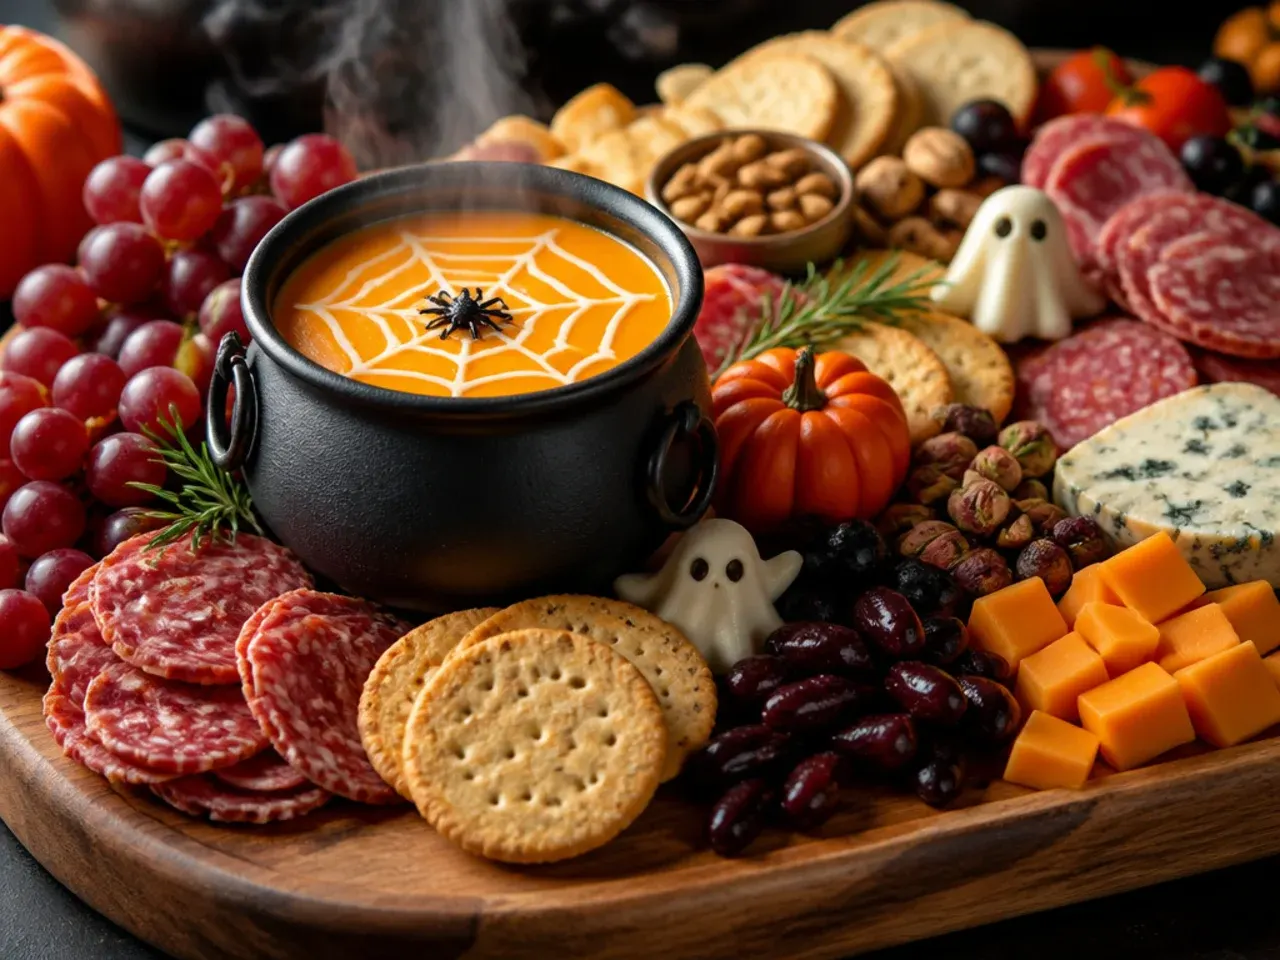
Serve a warm spinach and artichoke or white bean dip in a small black cast-iron pot or dark ceramic bowl set into the centre of the board to look like a bubbling cauldron. Add a few strands of cooked thin rice noodles or shredded mozzarella draped over the rim for a dripping-over effect, and tuck a couple of pretzel rod 'broomsticks' alongside for dipping. Keep the dip warm on a small tea light warmer if your board will sit out for more than 30 minutes. This creamy centrepiece gives the eye somewhere to land in the middle of all the smaller items.
Save this for later 📌
Pin this article to your Pinterest board so the full list is one tap away when you need it.
Save on Pinterest6. Loaded Graveyard Meat and Cheese Section
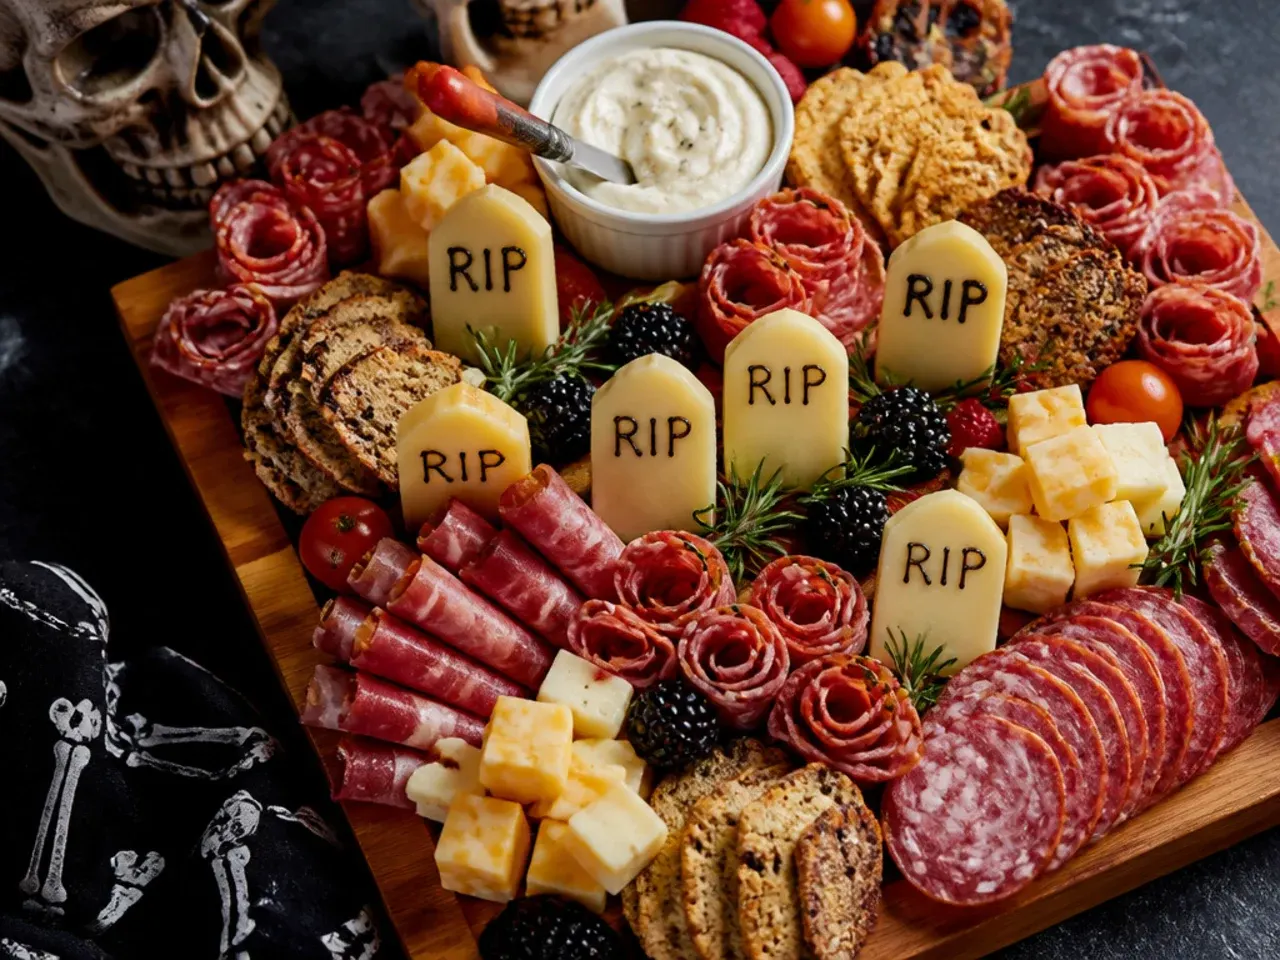
Fold thin slices of salami and prosciutto into small mounds to look like dirt piles, then stand rectangular crackers or gingerbread tombstone cutouts upright in each mound as headstones. Pipe a squiggle of cream cheese or soft goat's cheese 'R.I.P.' lettering onto a few tombstone crackers using a piping bag with a fine tip. Scatter crushed dark rye or pumpernickel crumbs around the base of each mound to mimic soil. This is the most labour-intensive of the ideas here but consistently gets the most photos at a party.
7. Best-Ever Candy Corn Cheese Skewers
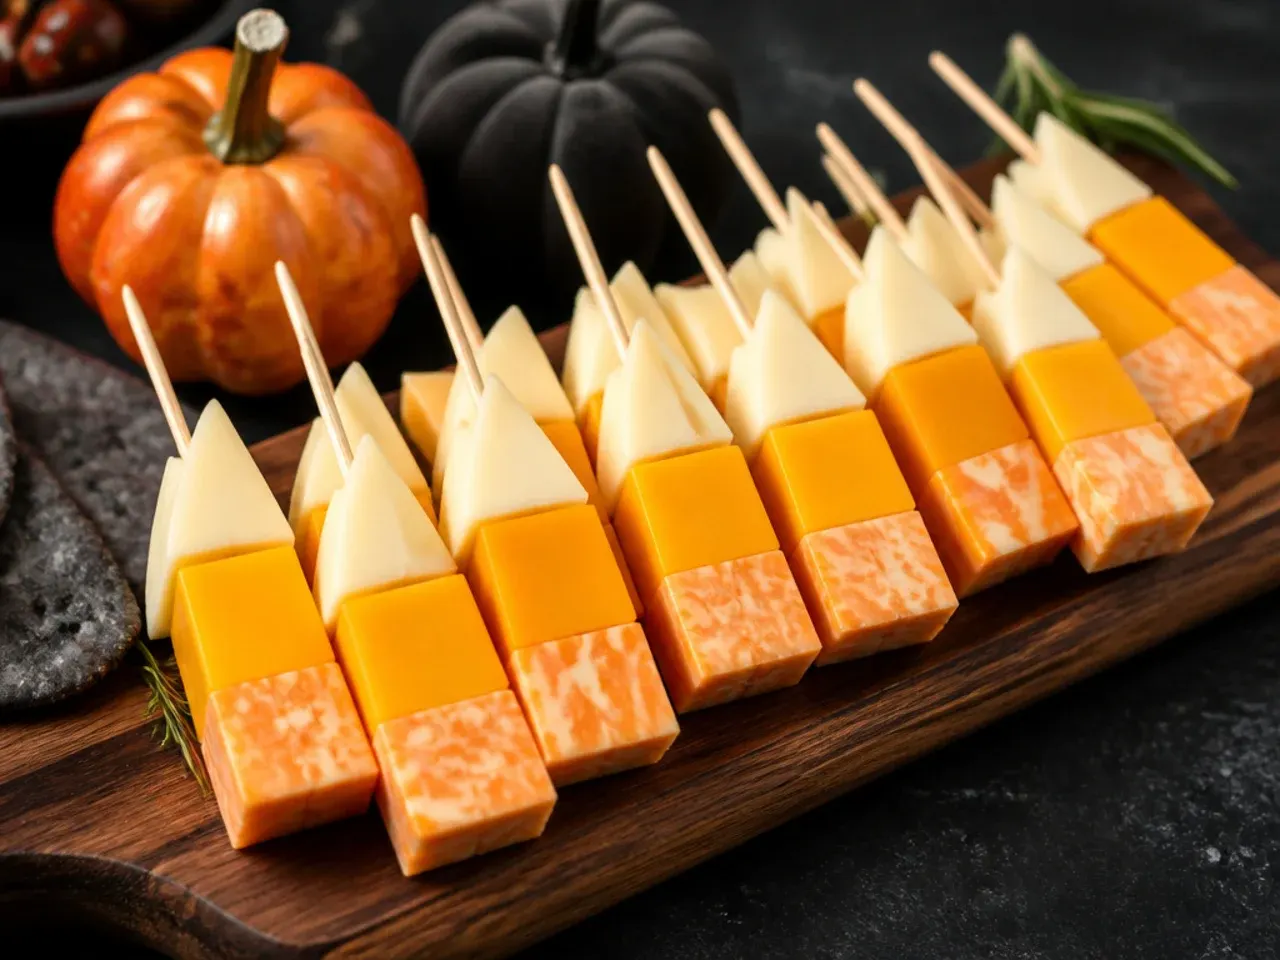
Thread a cube of white cheese, then a cube of orange cheddar, then half a cherry tomato or a small piece of mango onto a cocktail stick to mimic the yellow-orange-white stripes of a candy corn sweet. Space eight to ten skewers evenly across one side of the board, standing a few upright in a small glass for height variation. Use mild white mozzarella or halloumi for the top layer since strong cheeses can clash with the fruit. This is the highest-impact, lowest-effort idea on the whole board for the amount of visual payoff it delivers.
8. Cheesy Ghost and Pumpkin Cutouts
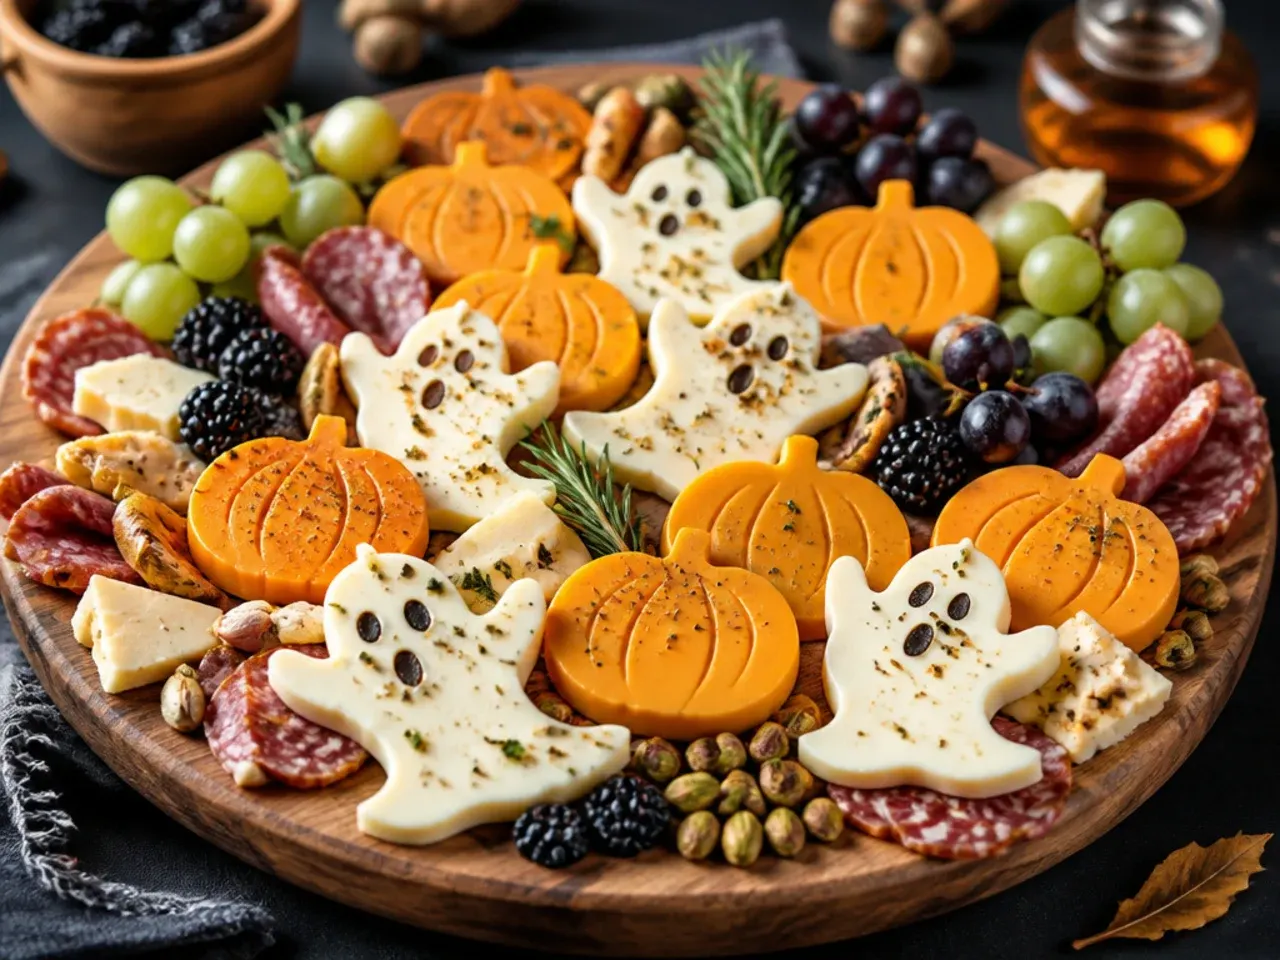
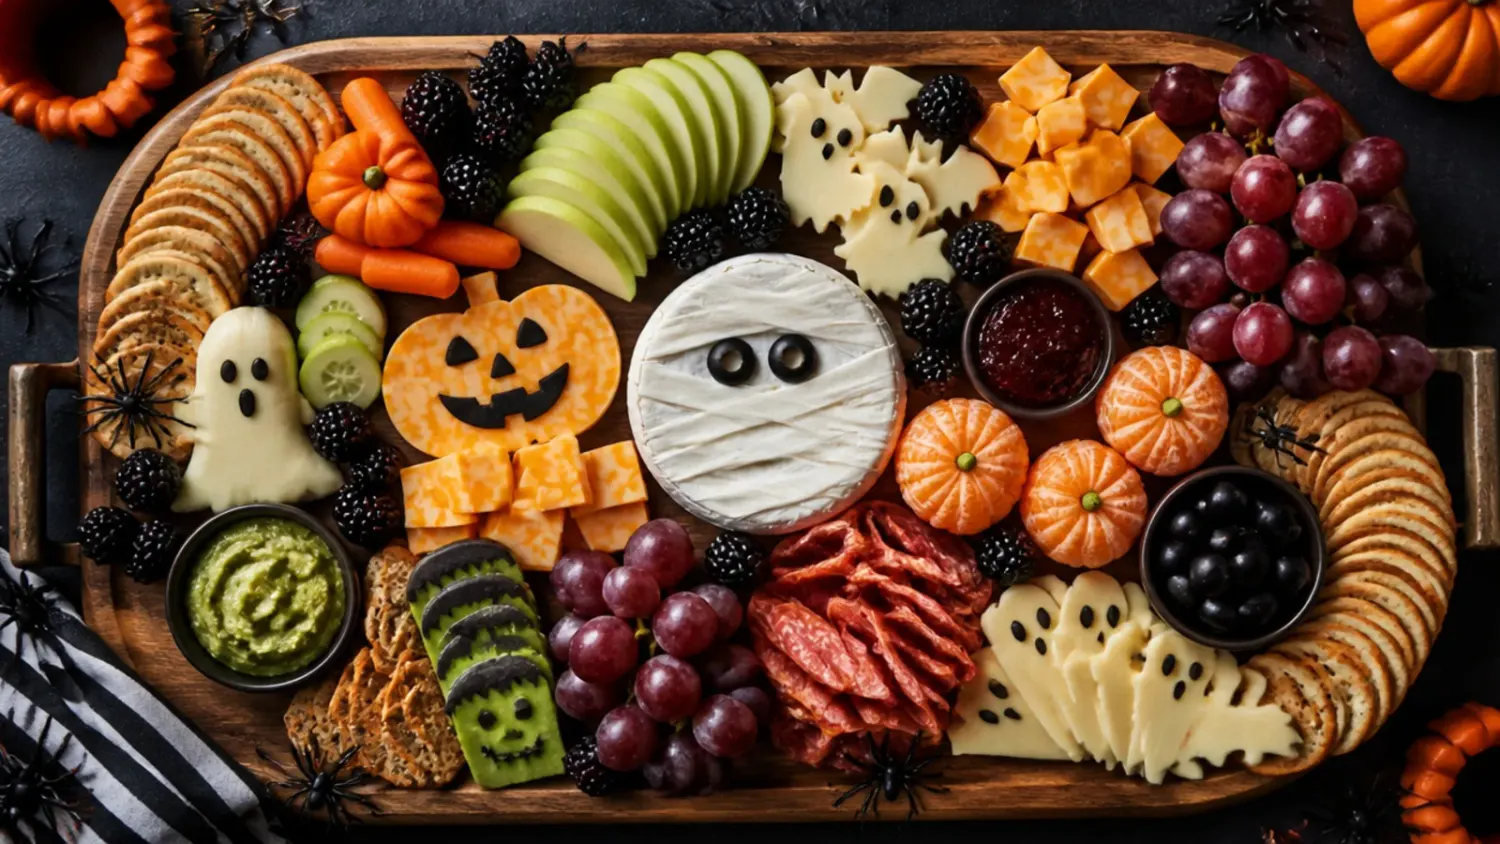
Use small ghost and pumpkin-shaped cookie cutters to stamp shapes out of sliced mild cheese like Monterey Jack or mild cheddar, saving the offcuts for cubes elsewhere on the board. Add two small dots of black food-safe pen or tiny nori squares as eyes on each ghost shape. Arrange the cutouts in a loose scatter rather than a grid so they look playful instead of stiff. This is an easy way to involve kids in party prep, since the cutting is simple and mess-free.
9. Budget Two-Cheese, One-Meat Board
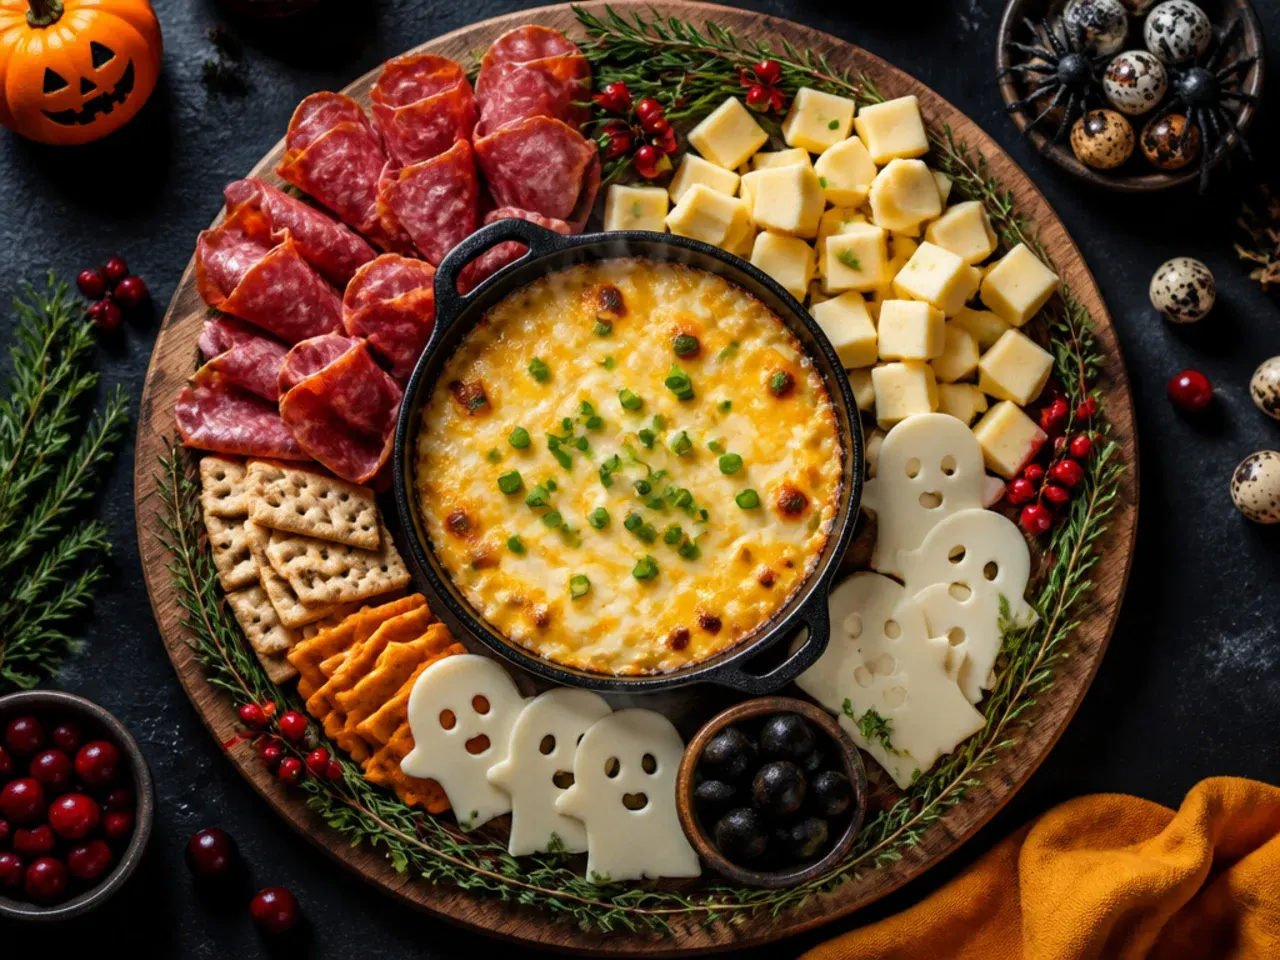
Stick to one block of cheddar, one soft cheese like brie or a herbed cream cheese, and a single value pack of salami to keep costs down while still filling a large board. Bulk it out with cheap, high-impact extras like plain popcorn tossed in a little smoked paprika for colour, and a bag of black grapes styled as 'witch's fingers' with a sliced almond pressed on as a nail. This scaled-back version still looks generous because the arrangement, not the ingredient count, does most of the visual work. It's the most practical option for a large gathering on a tight budget.
10. Crowd-Pleasing Full Halloween Grazing Table
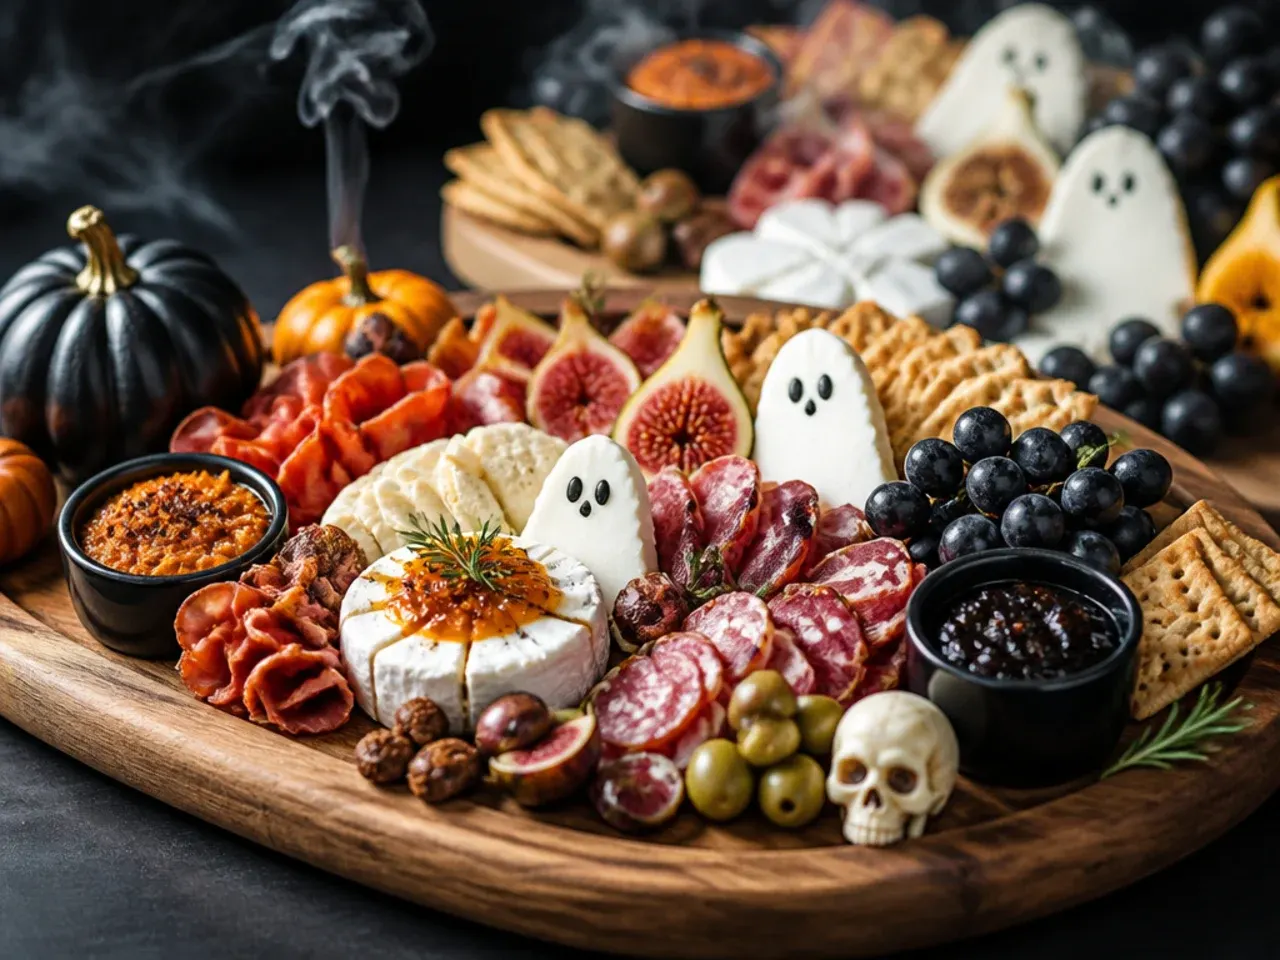
For a bigger party, split the full ingredient list across two boards or one long table runner of butcher paper so guests can approach from both sides without crowding. Repeat the spider web brie and candy corn skewers on each board since they're the fastest items to disappear, and space the dips evenly so no single board runs dry first. Label a few items with small handwritten flags for guests with allergies, especially nuts in the pretzel bones and any seafood substitutions. This layout comfortably serves 15 to 20 people grazing over a two to three hour party.
Save this for later 📌
Pin this article to your Pinterest board so the full list is one tap away when you need it.
Save on Pinterest11. Make-Ahead Prep-the-Night-Before Board
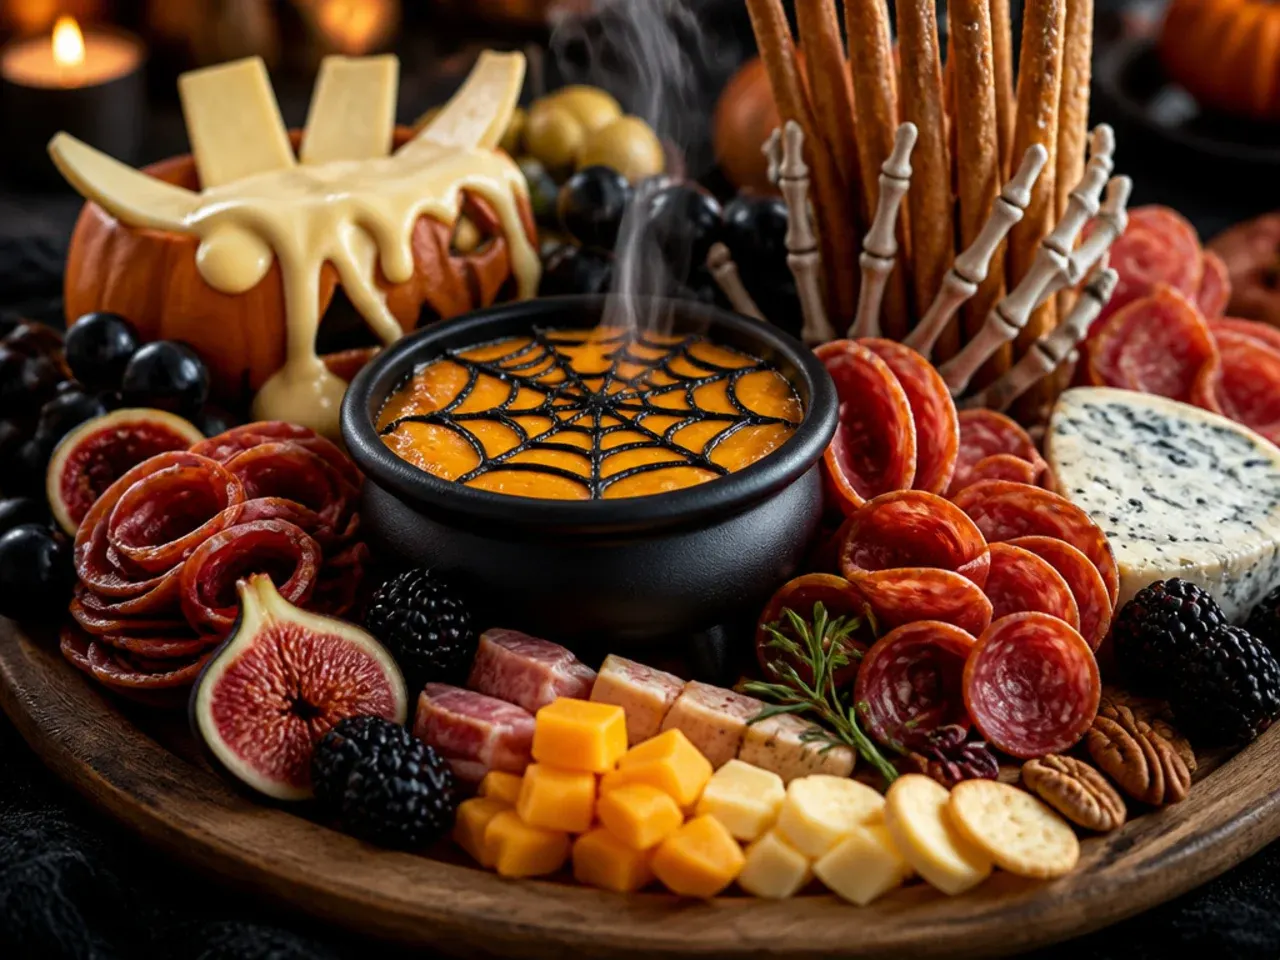
Slice all cheeses, wrap the mummy cheese strips, and portion crackers into containers the night before, storing everything separately wrapped or covered in the fridge. Carve pepper cups and pumpkin cheese shapes up to a day ahead too, keeping carved peppers in cold water in the fridge to stop them drying out at the cut edges. Leave the actual board assembly and brie scoring for the morning of the party, since brie softens and looks its best cut close to serving. This staggered approach turns a two-hour prep job into 20 minutes of assembly on the day.
12. Family-Friendly Kid-Safe Board
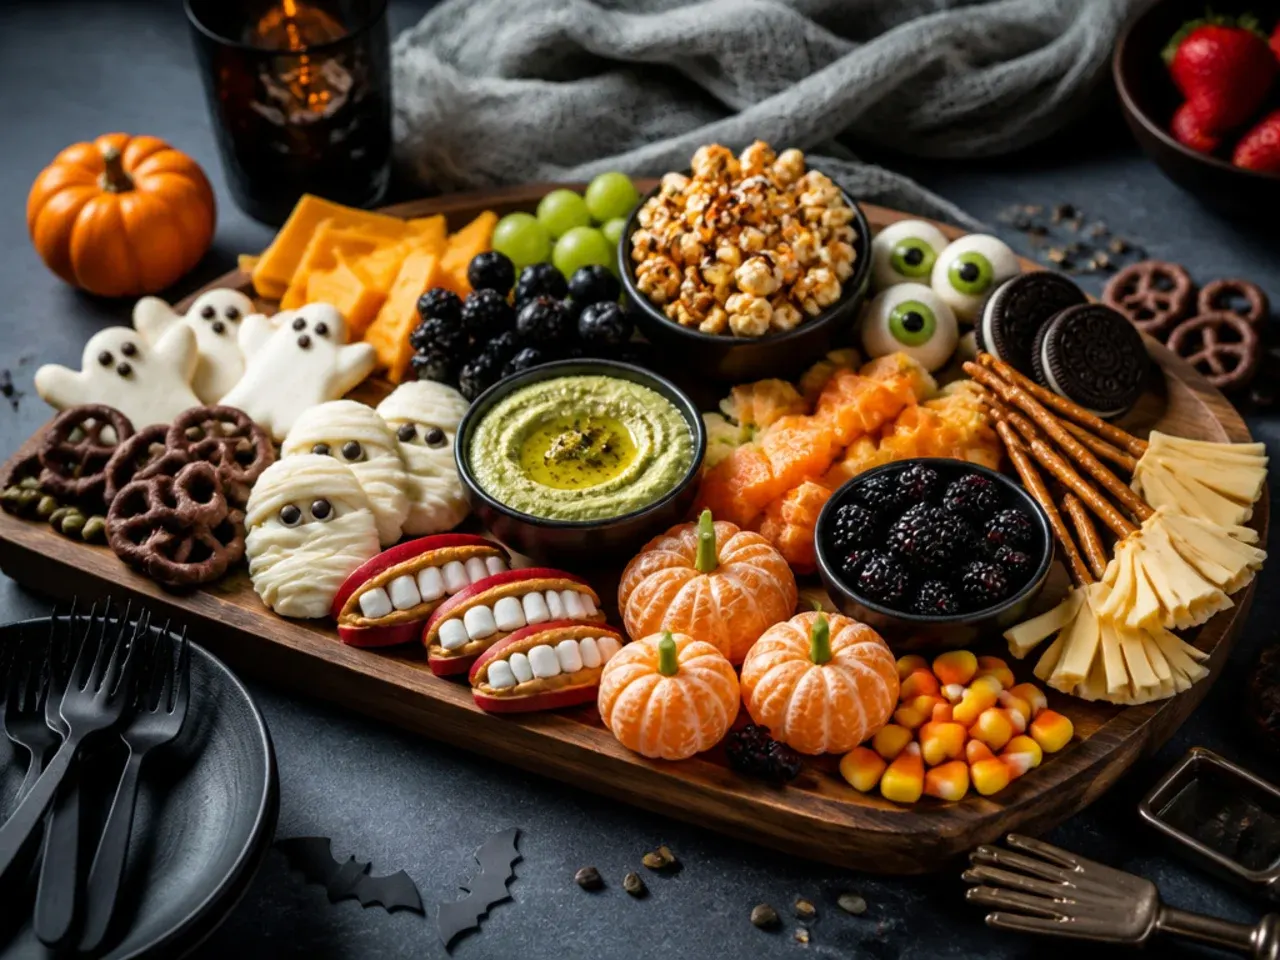
Skip anything with alcohol-cured meats or very strong cheeses and lean instead on mild cheddar, turkey slices rolled into pumpkin shapes with a pretzel stick stem, and plenty of fruit like clementine 'pumpkins' and green grape 'eyeballs' with a small black chocolate chip pressed in. Keep dips mild, such as a simple ranch or honey mustard, rather than anything spicy. Cut all skewer items small enough to be safe for younger children, or swap cocktail sticks for a simple scatter if very young kids will be grazing unsupervised. This version works well as the food table at a children's Halloween party alongside the adult board.
13. Festive Purple and Black Gothic Board
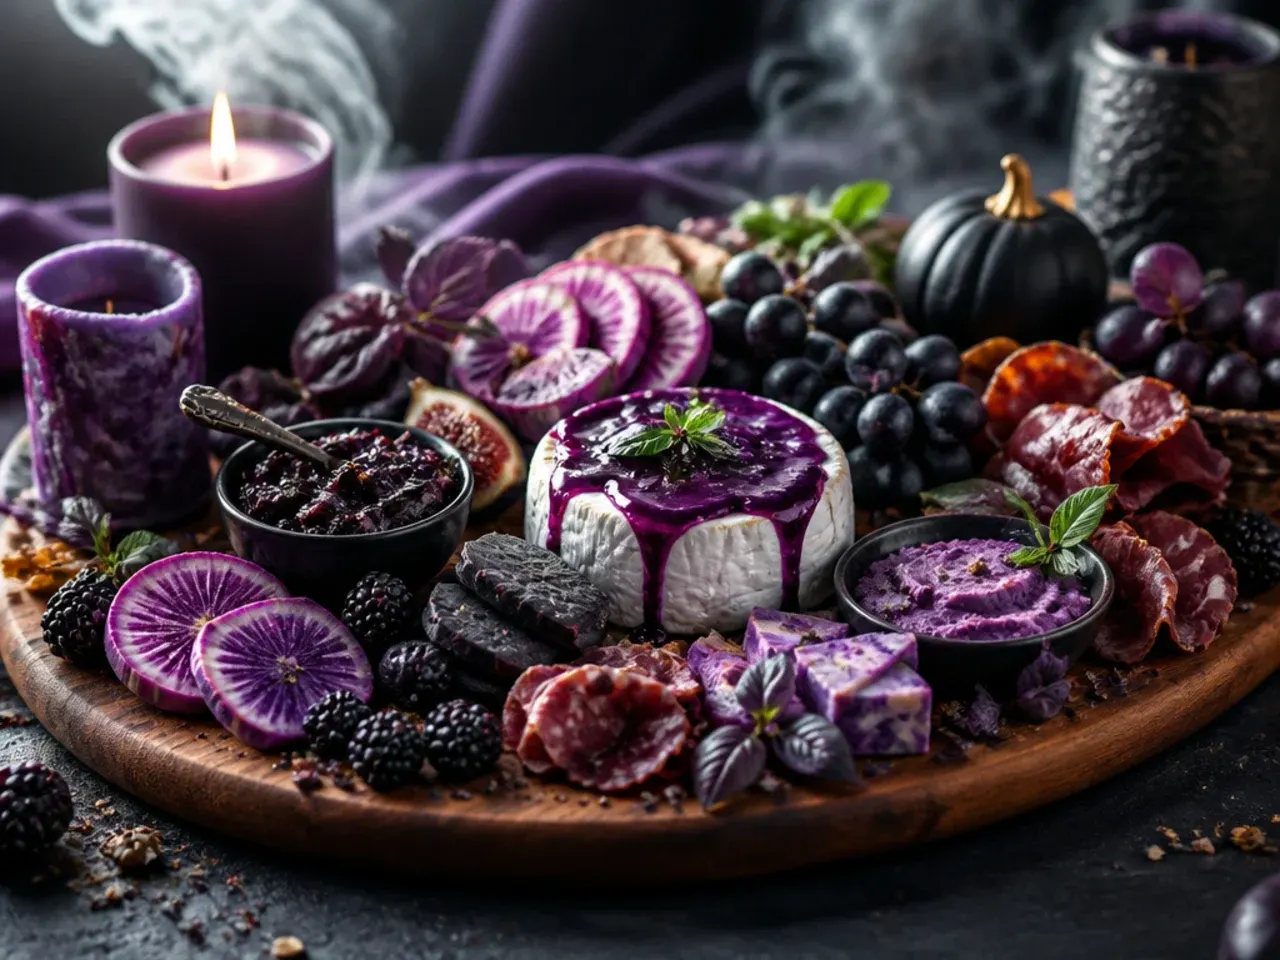
Swap the usual orange accents for a deep purple and black colour scheme using black grapes, purple kalamata olives, dark rye crackers and a black-tinted cream cheese dip made by stirring in a small amount of activated charcoal powder or squid ink. Add a few edible black flowers or dark pansies if available for a genuinely elegant, less cartoonish Halloween look. This palette suits an adults-only party or a more sophisticated Halloween dinner than the bright orange-and-green classic board. It photographs particularly well against a plain wooden board.
14. Quick 15-Minute No-Carve Board
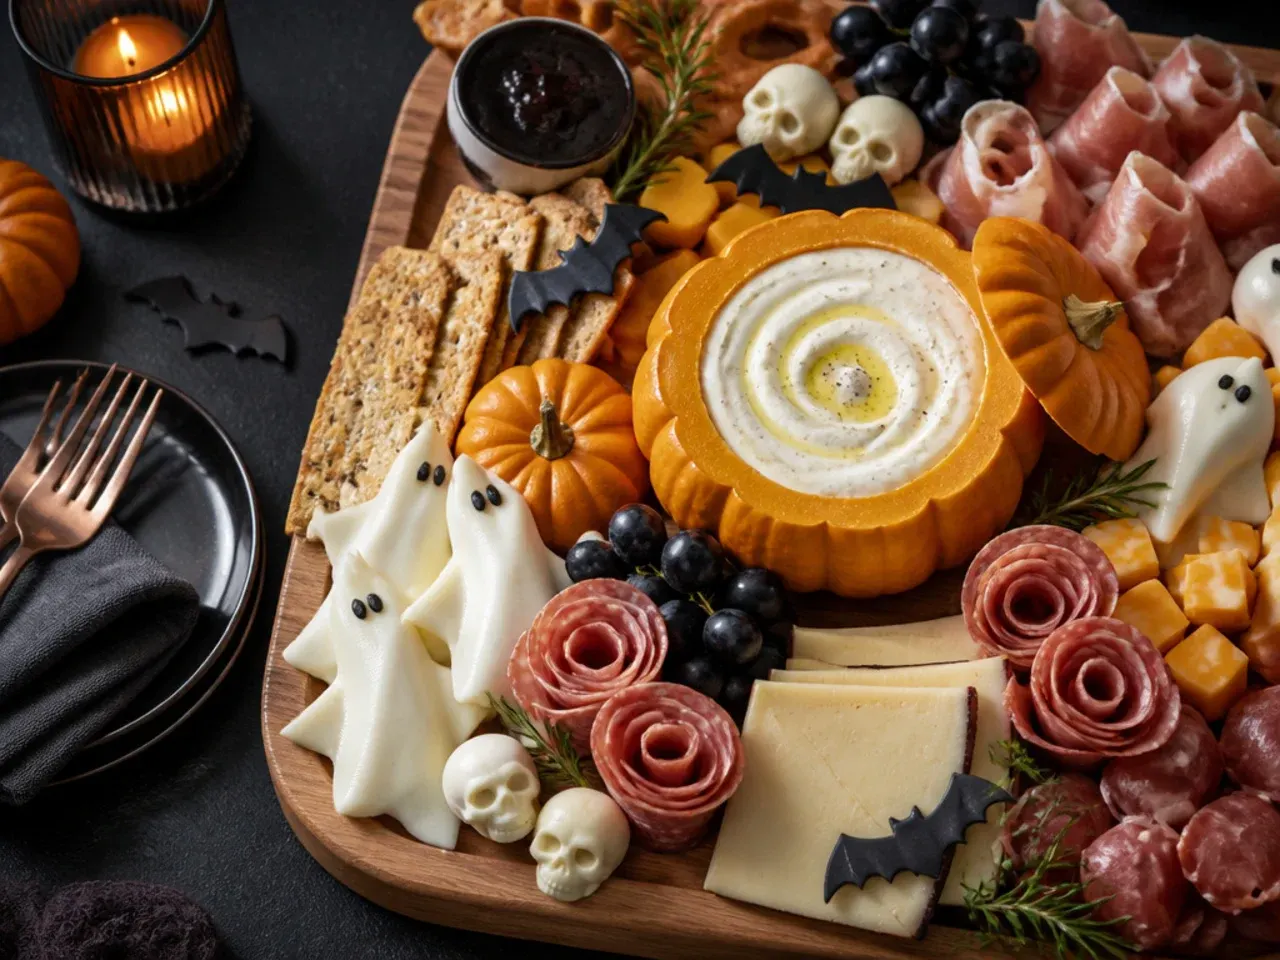
When time is short, skip the pepper carving and brie scoring and rely entirely on shape and colour instead: orange and black grapes, a store-bought pumpkin-shaped cheese ball if your supermarket stocks one, and pre-cut Halloween-shaped crackers, which many UK supermarkets sell seasonally. Arrange everything by colour block rather than by item type, which reads as intentional and festive even with zero cutting or carving involved. This version can be fully assembled between getting home from work and guests arriving. It's the fastest route to a convincing charcuterie board Halloween spread.
15. Homemade Pumpkin Salami Roses
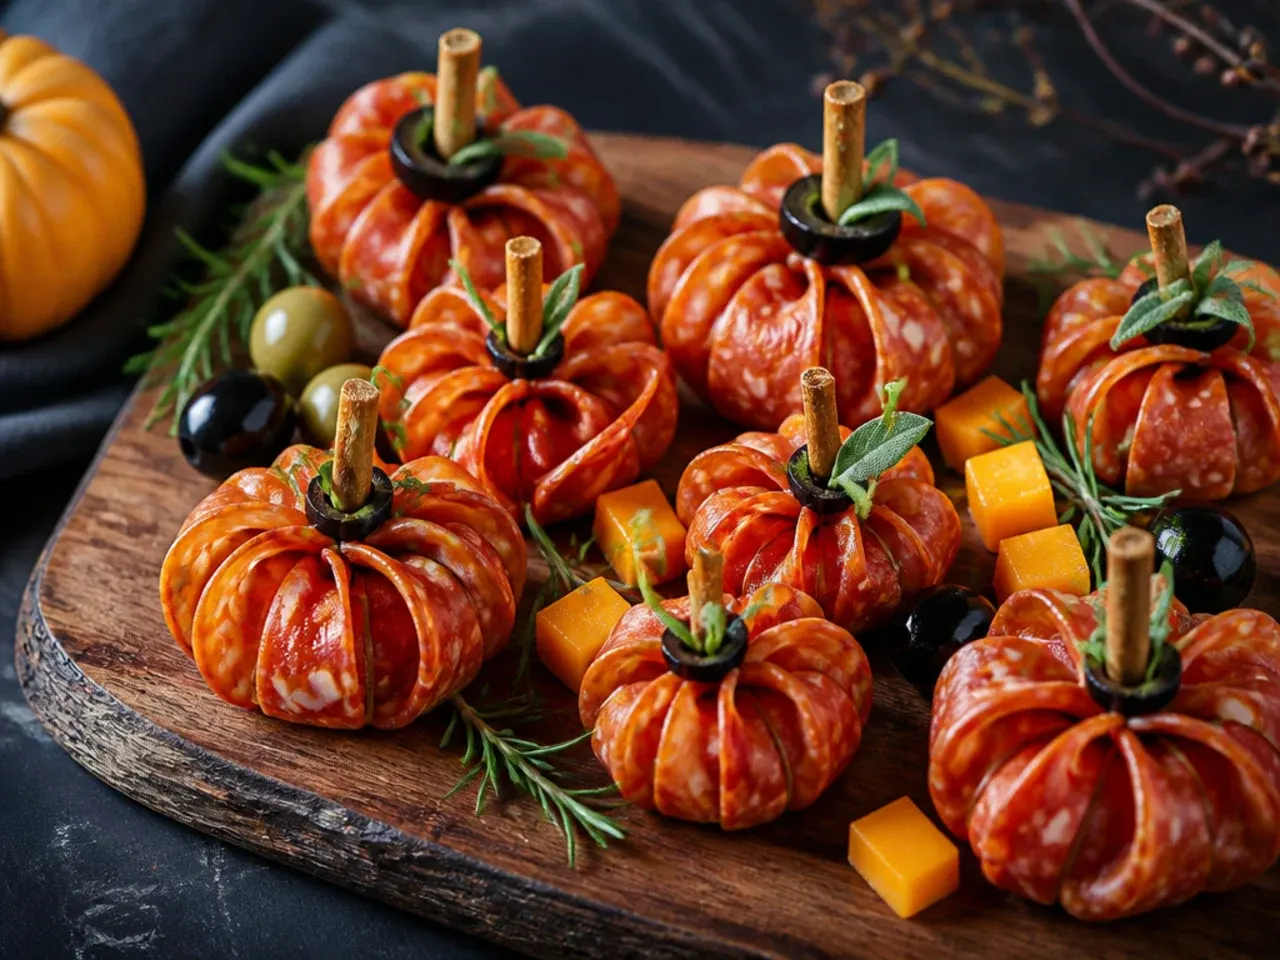
Fold six to eight thin salami slices in half, overlap them along a cocktail stick or the rim of a small glass, and roll them into a spiral to form a rose shape, then set upright in small clusters of three. Tuck a small sprig of fresh rosemary or a strip of green pepper skin at the base of each rose to look like a pumpkin stem and leaf. This technique needs no special tools beyond a steady hand and works with any thinly sliced cured meat you already have. Homemade salami roses consistently outperform flat-laid meat slices for visual impact per minute spent.
Save this for later 📌
Pin this article to your Pinterest board so the full list is one tap away when you need it.
Save on Pinterest16. Spooky Pretzel Bone Bundles
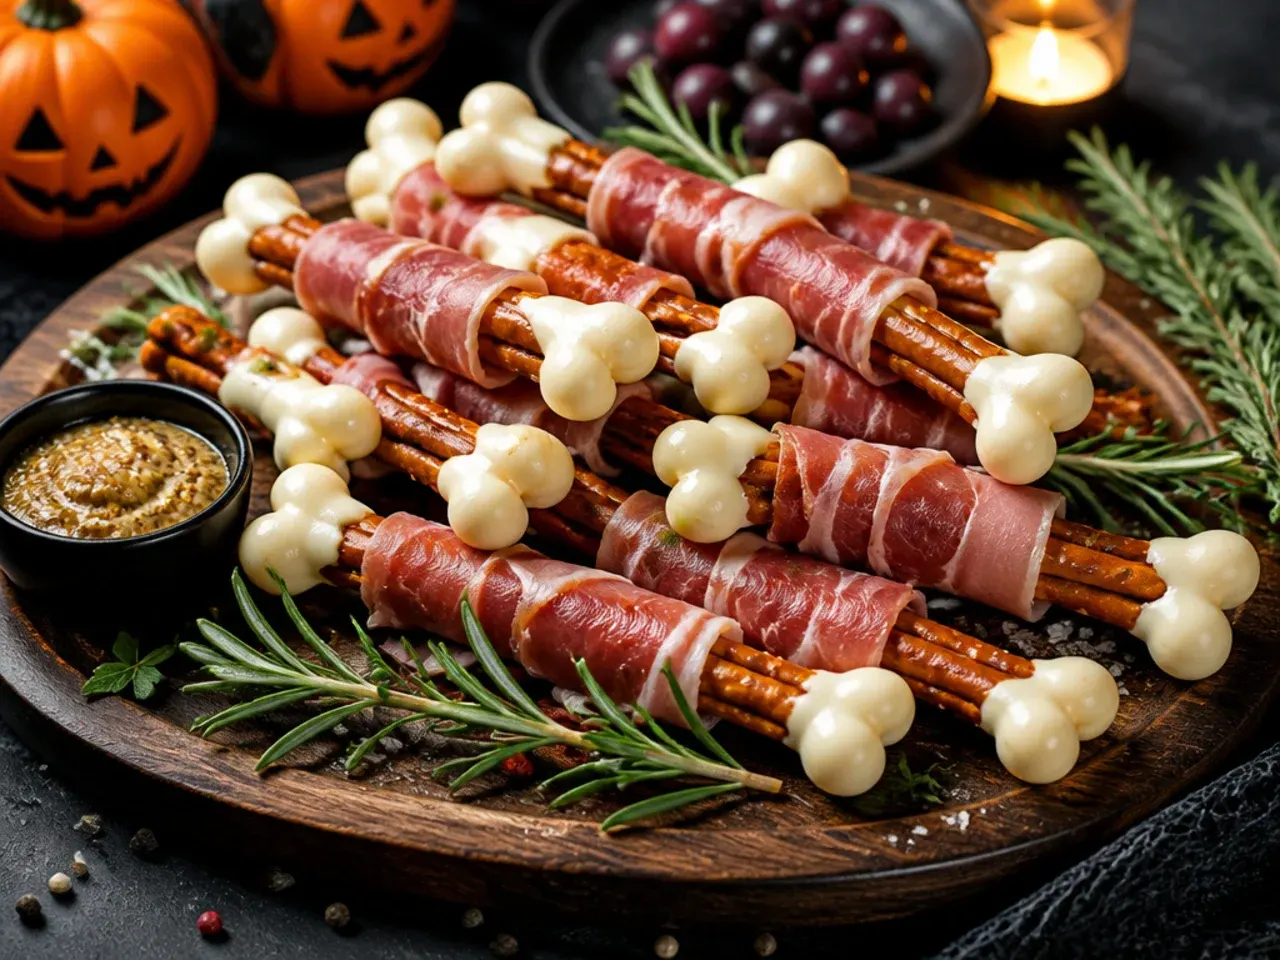
Snap thin pretzel sticks into bone-like shapes by dipping the tips in melted white chocolate and letting it set into small round blobs at each end, then bundle three or four together with a thin ribbon. Scatter loose bone-shaped pretzels or shop-bought bone-shaped crackers around the meat sections for texture contrast against the softer cheeses. Keep a separate bowl for guests with nut allergies, since some chocolate coatings are processed in facilities with nuts. This crunchy element breaks up a board that's otherwise mostly soft cheese and meat.
17. Easy Black Olive Spider Crackers
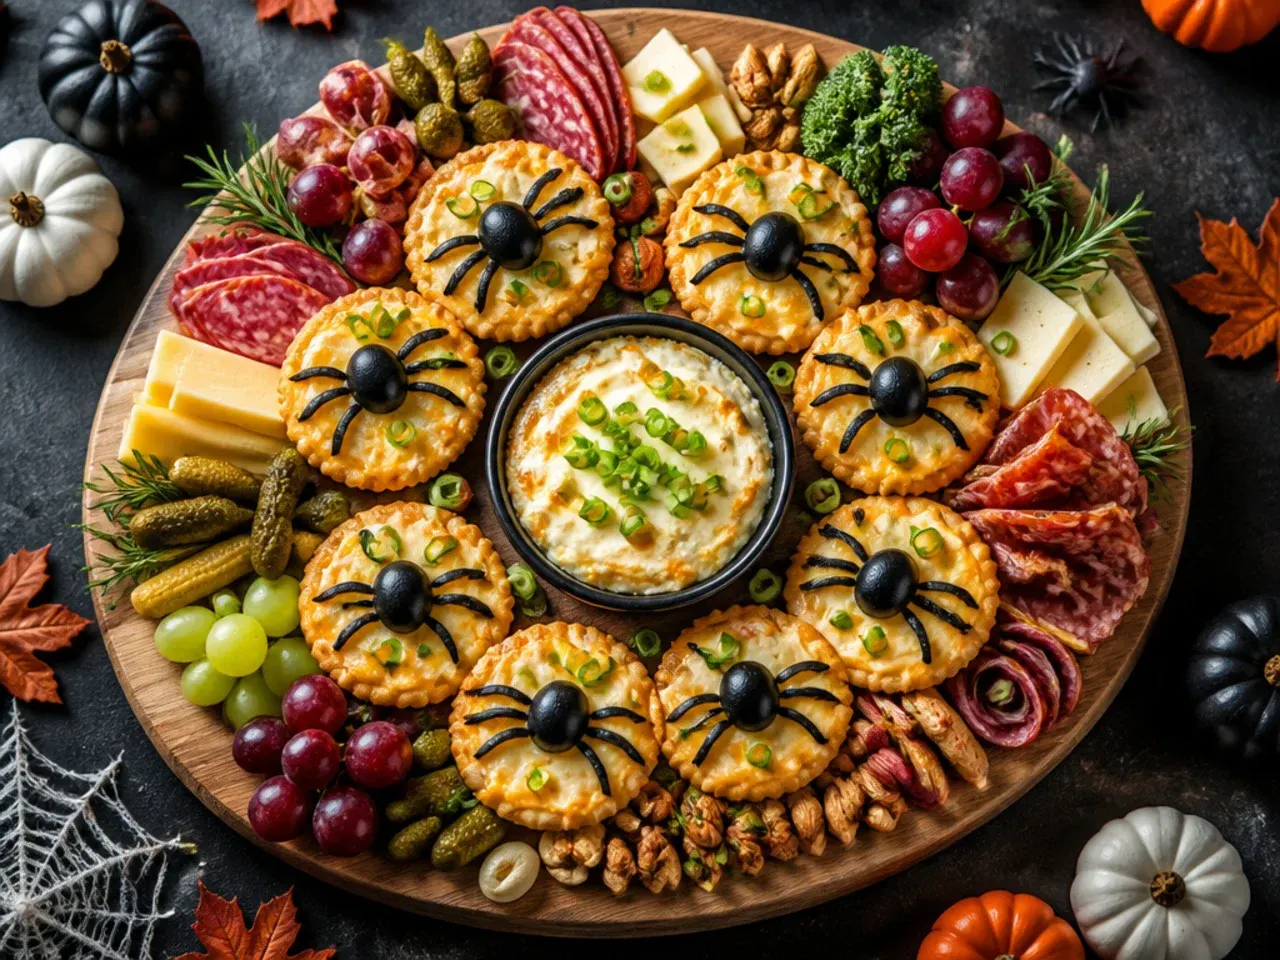
Slice pitted black olives into thin rounds for the spider body and slivers for the legs, then arrange eight sliver 'legs' around a round cream cheese-topped cracker with an olive round body in the centre. Add two tiny dots of cream cheese piped through a piping bag tip for eyes if you want extra detail, though it's optional. Make a batch of 10 to 12 at once assembly-line style, since the technique is repetitive but quick once you find a rhythm. These are a favourite for guests who want a savoury bite-sized snack rather than a full cracker stack.
18. Cozy Warm Cheese and Chorizo Skillet Corner
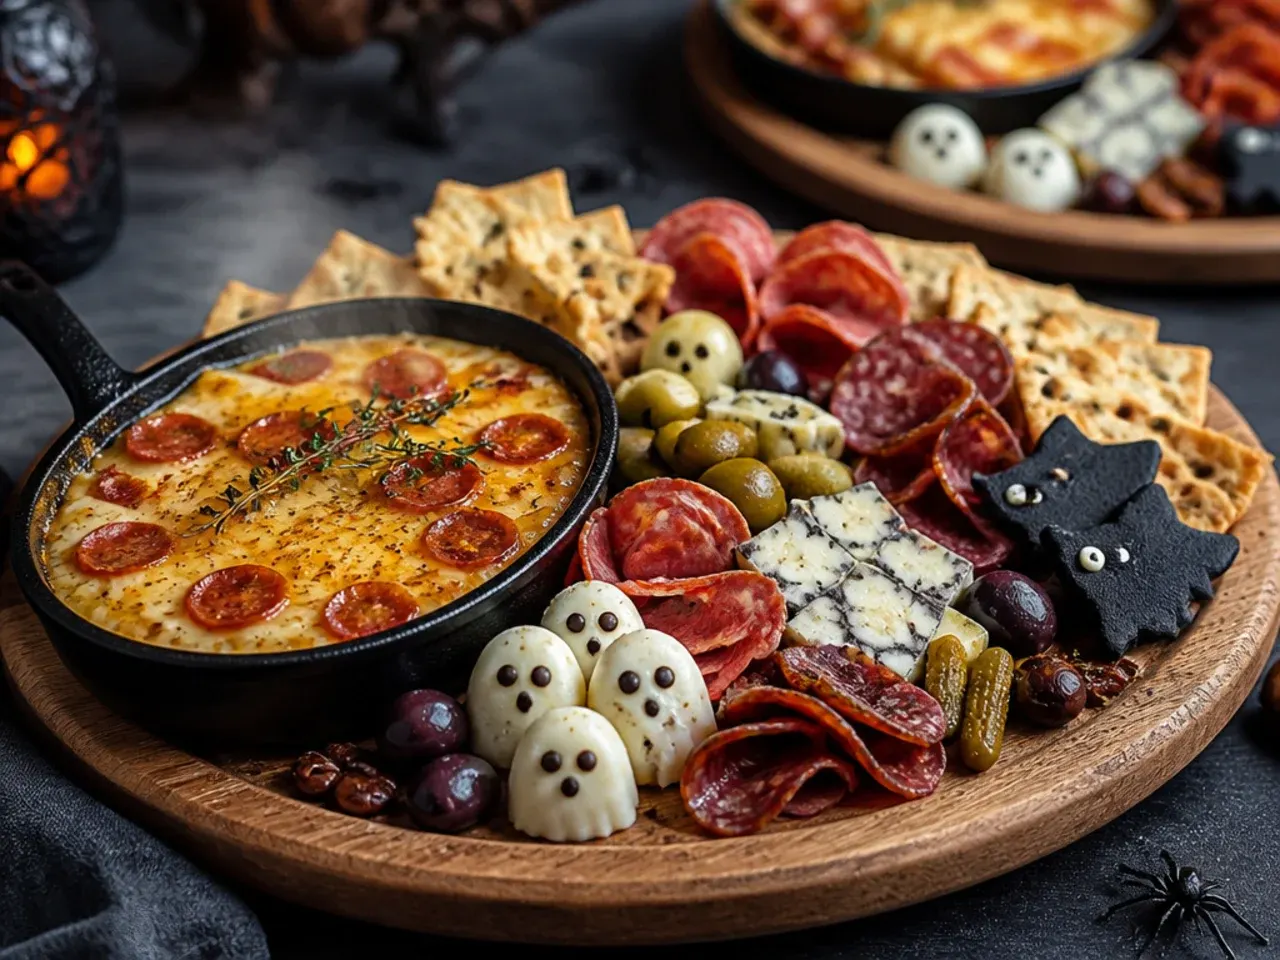
Bake a small wheel of camembert or a mix of grated mozzarella and chorizo in a mini cast-iron skillet at 200°C (400°F) for 12 to 15 minutes until melted and bubbling, then nestle the hot skillet directly into a cut-out gap in the board. Surround it with breadsticks and thick-cut baguette slices for dunking, and top the melted cheese with a few chilli flakes shaped loosely into a spiderweb pattern. This warm addition works especially well on a cooler autumn evening when guests want something more substantial than cold cuts. Keep the skillet on a heatproof mat or trivet to protect the board underneath.
19. Simple Two-Ingredient Cheese and Cracker Base
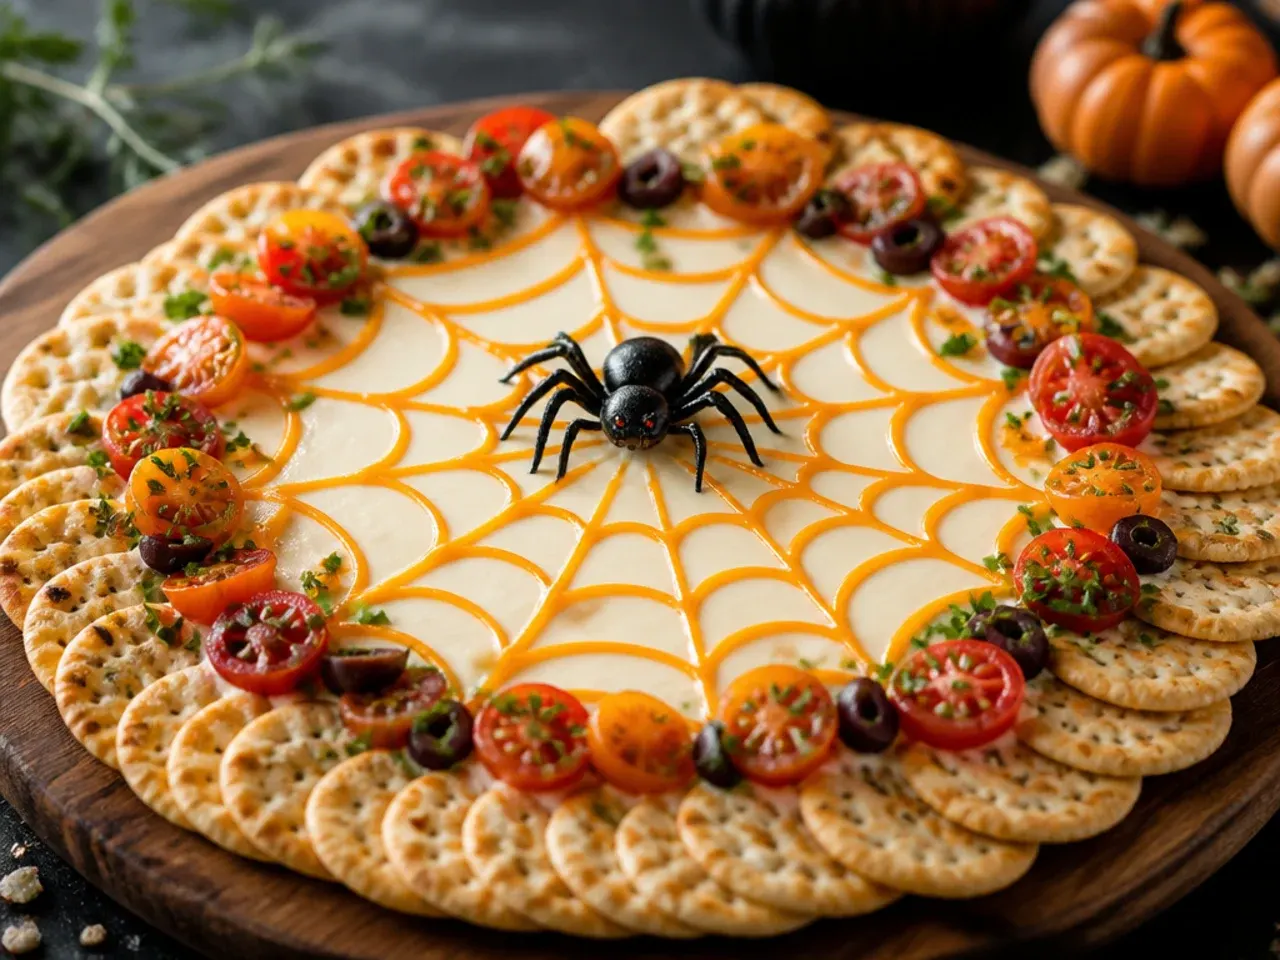
If you're building the board as a base to add spooky extras onto later, start with just one hard cheese, one soft cheese, and two types of cracker arranged in overlapping fans across a third of the board. This simple foundation takes under 10 minutes and gives you a clean canvas to layer the more decorative ideas above onto without redoing the whole board. Keep the cheese blocks whole until closer to serving time so they don't dry out at the cut edges while you finish the rest of the prep. Building in this order also means the most fiddly decorative work happens last, when you can see the full board taking shape.
20. Creamy Eyeball Dip Station
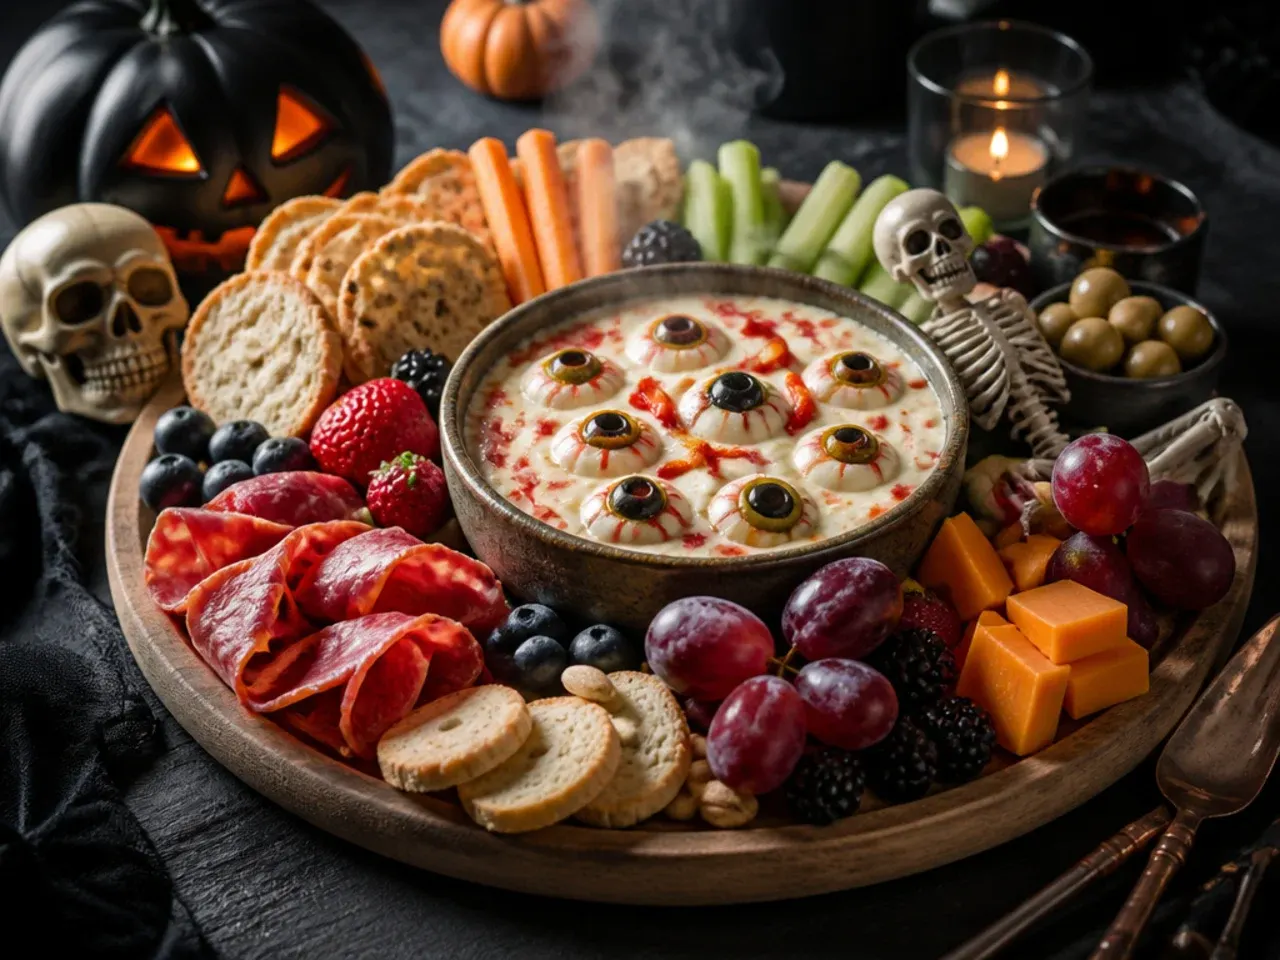
Serve a bowl of French onion or garlic herb dip topped with a few peeled boiled quail eggs, or halved mozzarella balls with an olive slice pressed into the centre, so the topping looks like floating eyeballs. Place small individual dipping spoons nearby rather than one shared spoon, which keeps the presentation tidier as the party goes on. Set the eyeball dip near the vegetable and pretzel sections so guests naturally use it for both, cutting down on how many separate dips you need to prepare. This station is an easy way to use up boiled eggs left over from other party prep.
Pro Tips
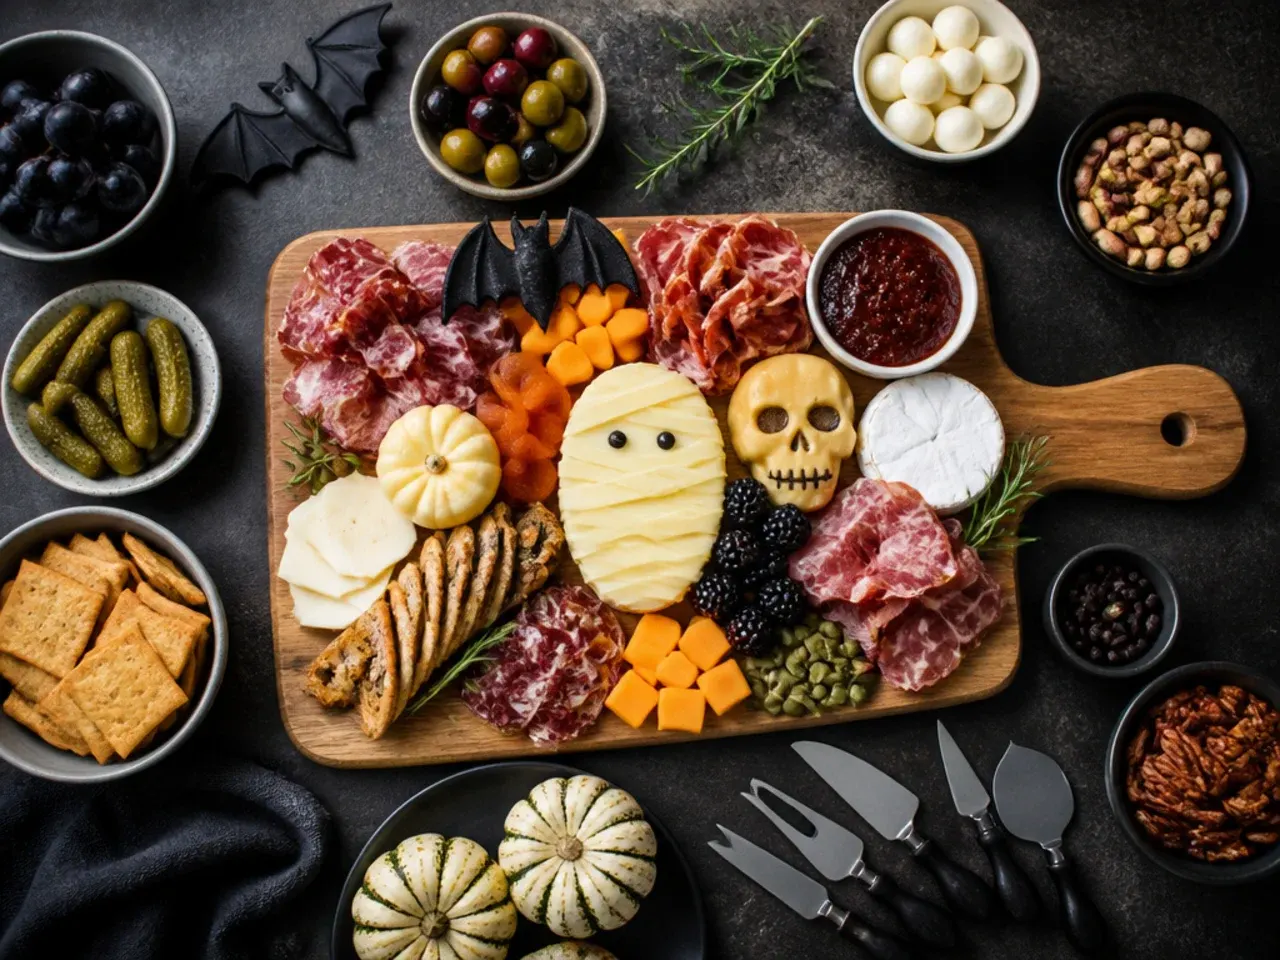
Build a charcuterie board Halloween spread in layers, starting with bowls and ramekins for dips, then folded meats, then cheese blocks, and filling gaps last with crackers, fruit and small garnishes, which stops you running out of space halfway through. Take cheese and cured meat out of the fridge 20 to 30 minutes before serving so the flavours and textures are at their best, but leave any dips with dairy or egg in the fridge until closer to guests arriving. Use odd numbers, threes and fives, when clustering similar items like salami roses or skewers, since odd groupings read as more natural and intentional than even rows. If a board will sit out for more than two hours, plan to swap in a fresh batch of the most perishable items, particularly soft cheese and dips, rather than topping up the same ones.
Serving Suggestions
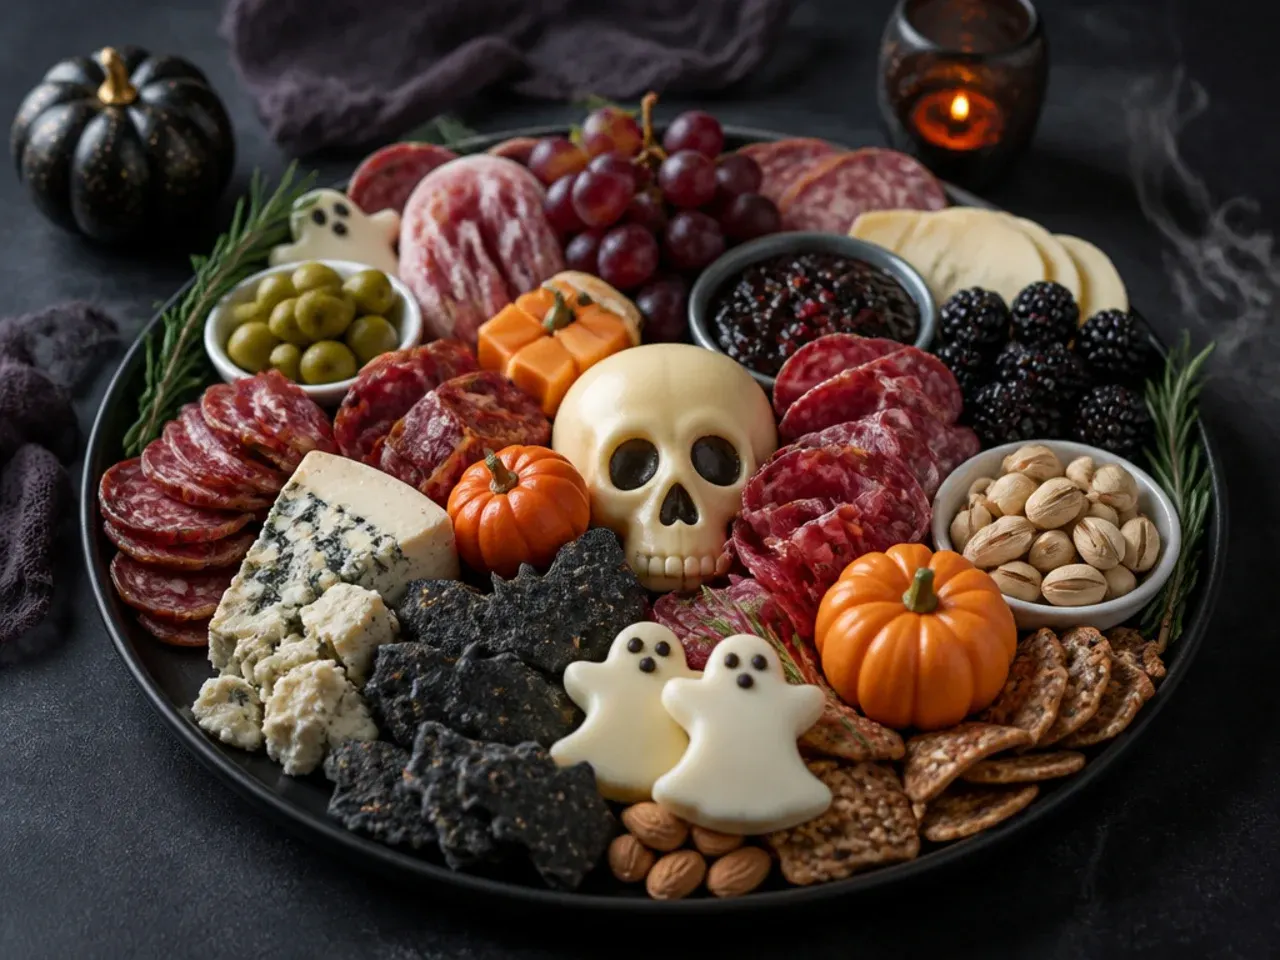
Pair the board with a jug of spiced apple cider or a non-alcoholic 'witch's brew' punch made from cranberry juice and ginger ale for a drink that matches the autumn colours without extra effort. For an adults-only gathering, a dry sparkling wine or a dark stout beer both cut through the richness of the cured meats and soft cheeses well. Set out small plates and napkins near the board rather than at a separate table, since guests are more likely to actually use them if they're within arm's reach. If serving as part of a larger Halloween dinner, treat the board as a starter course and keep portions light so guests have room for a main.
Storage and Reheating
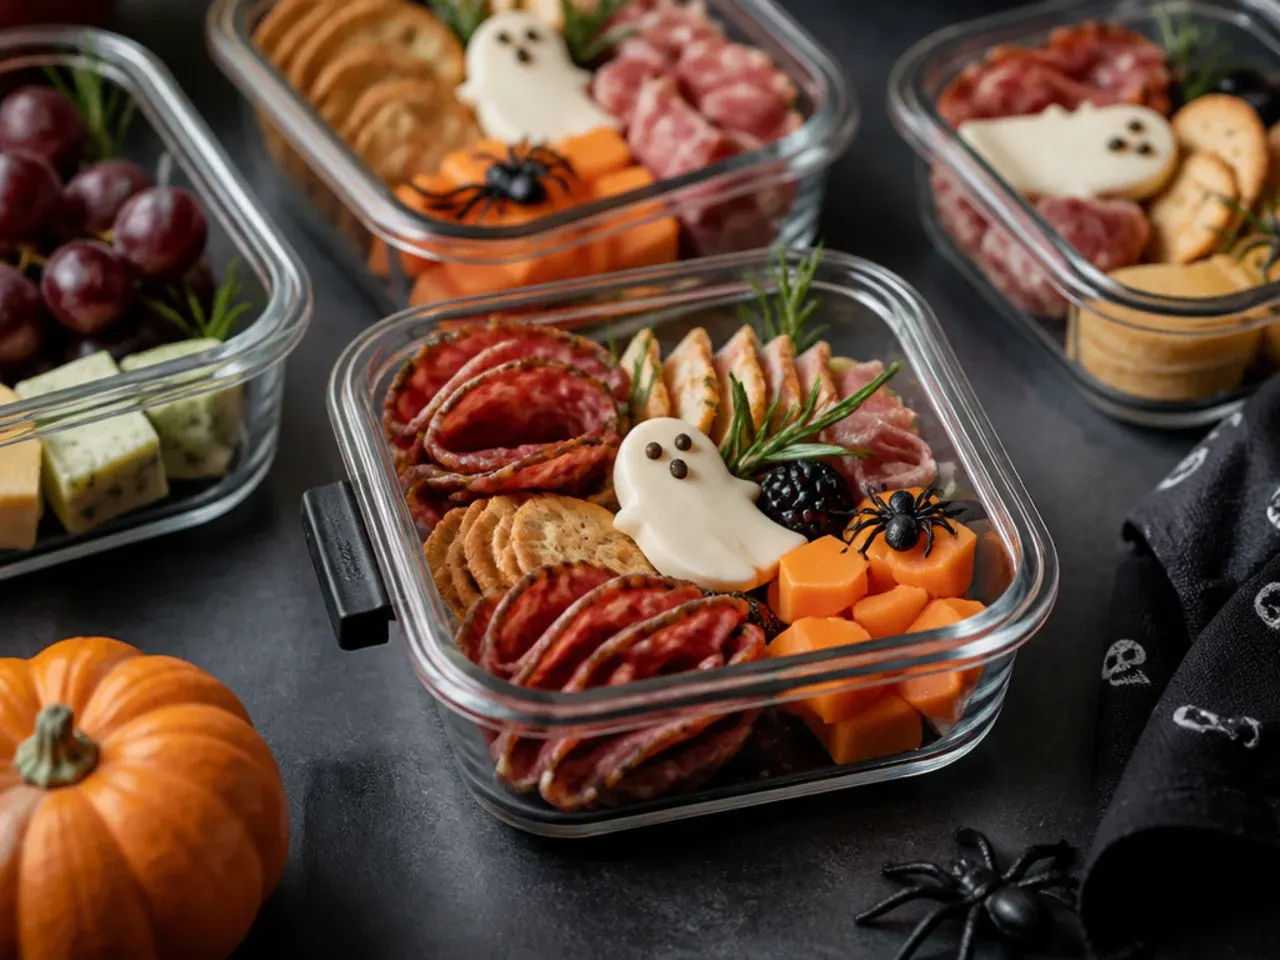
Once assembled, a charcuterie board Halloween spread is safe to leave out at room temperature for up to two hours; after that, wrap and refrigerate any dairy, meat or dip items and discard anything left out longer at a warm indoor party. Store leftover cheese wrapped in fresh greaseproof paper rather than cling film, which lets it breathe and keeps it from sweating, and it will keep for three to five days in the fridge. Cured meats keep well wrapped tightly for up to a week, while any cut fresh fruit or vegetables are best eaten within a day or two for texture. Warm items like the cheese skillet or witch's cauldron dip reheat well covered in a low oven at 150°C (300°F) for about 10 minutes, though they're best made fresh again if possible since repeated reheating can make cheese greasy.
The Recipe
The Master Recipe
40 min
12 min
50 min
10
Beginner
Ingredients 10 Person(s)
Directions
Step 1: Prep the Vegetables and Fruit
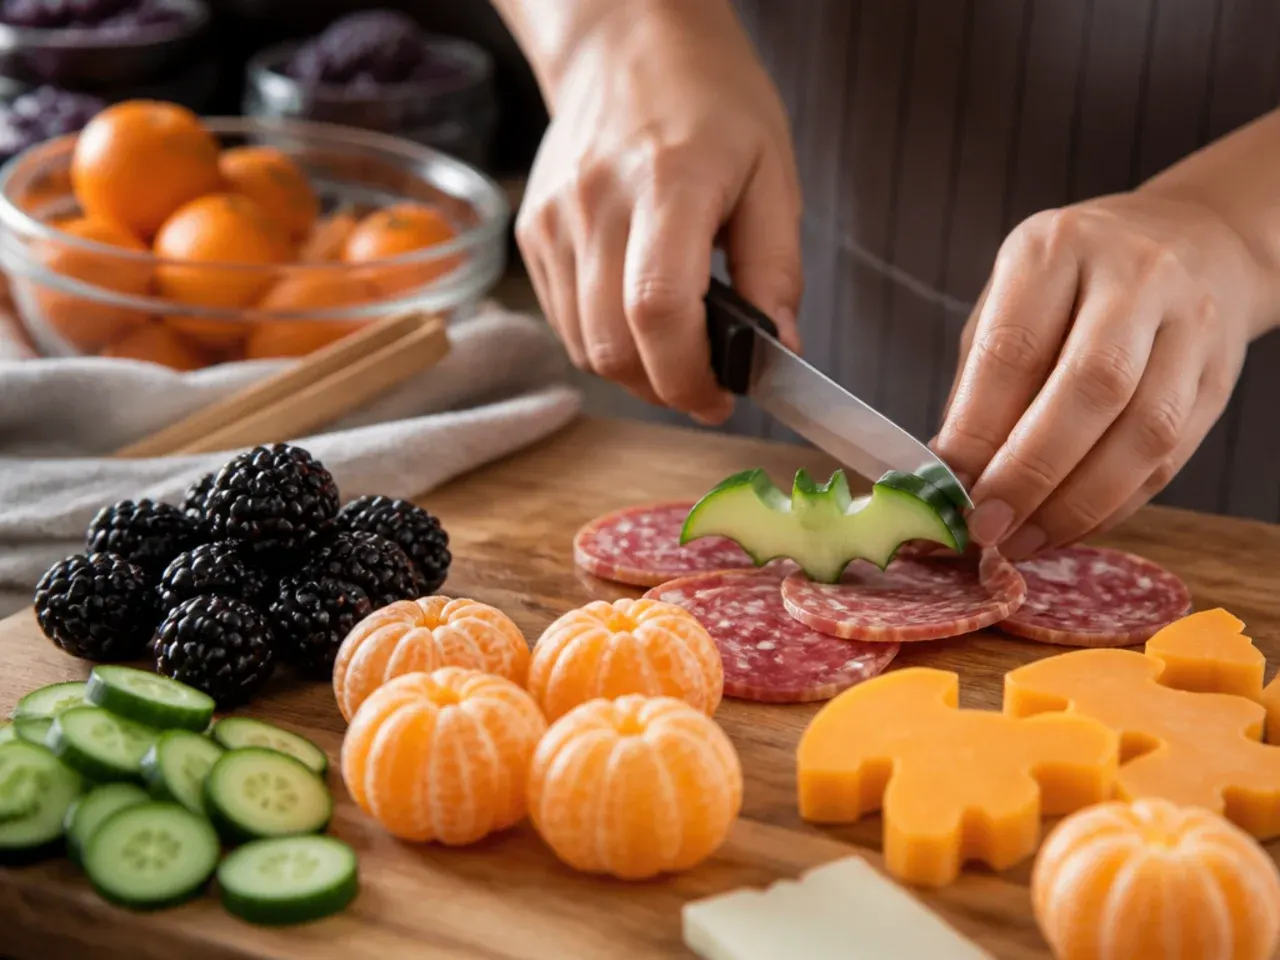
Wash the peppers, grapes and tomatoes, then hollow out the peppers and carve simple jack-o'-lantern faces into the skin with a small paring knife. Set the carved pepper cups in a bowl of cold water in the fridge until you're ready to fill them, which keeps the cut edges from drying out.
Step 2: Score and Decorate the Brie
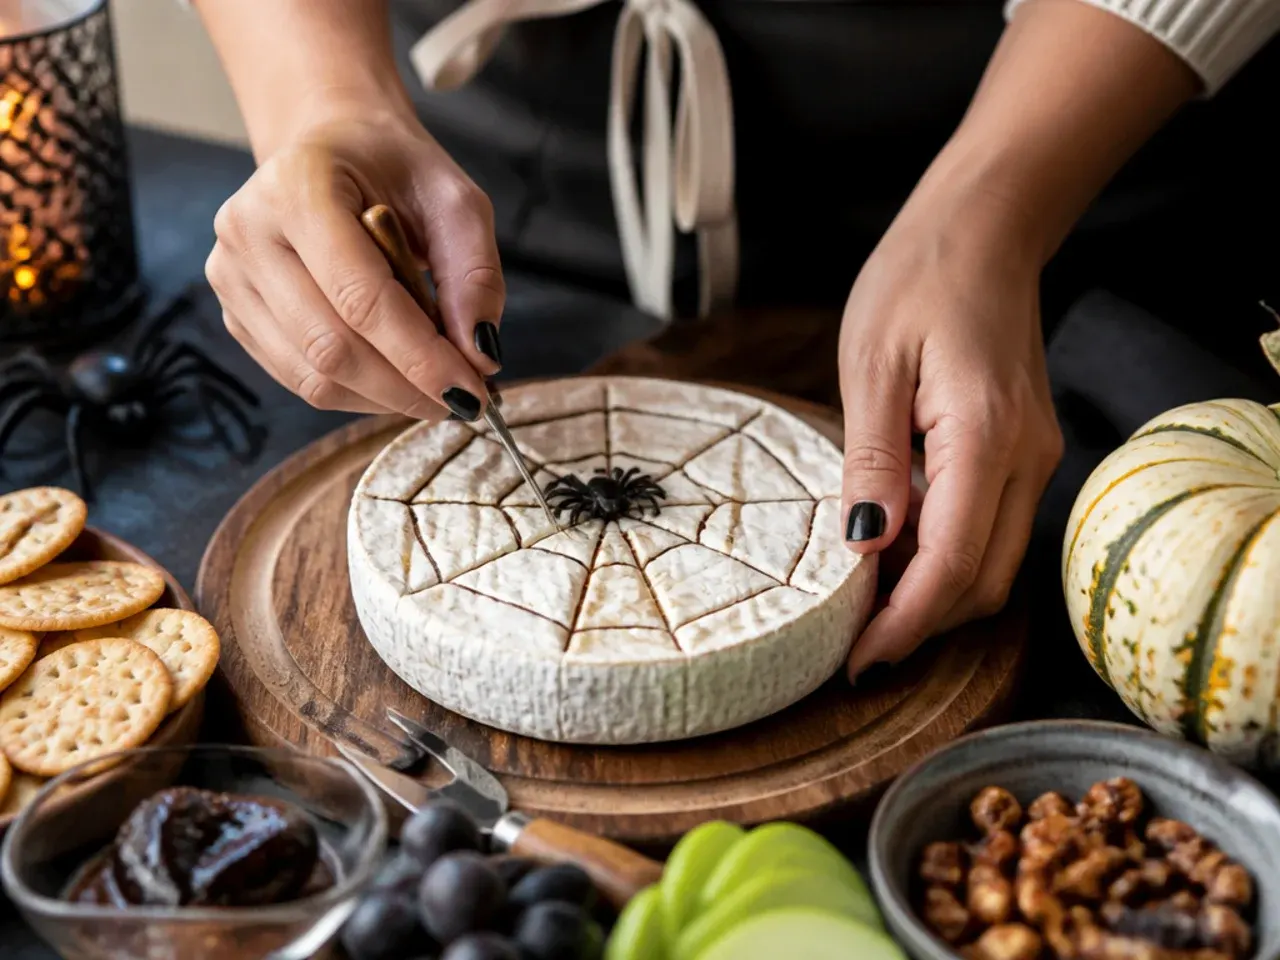
Score concentric circles into the brie wheel with a skewer, then warm the black tahini or dark chocolate gently until pourable and spoon it into the grooves. Drag a cocktail stick from the centre outward at even intervals to pull the pattern into a spider web shape, then set aside at room temperature.
Step 3: Bake or Wrap the Mummy Cheese
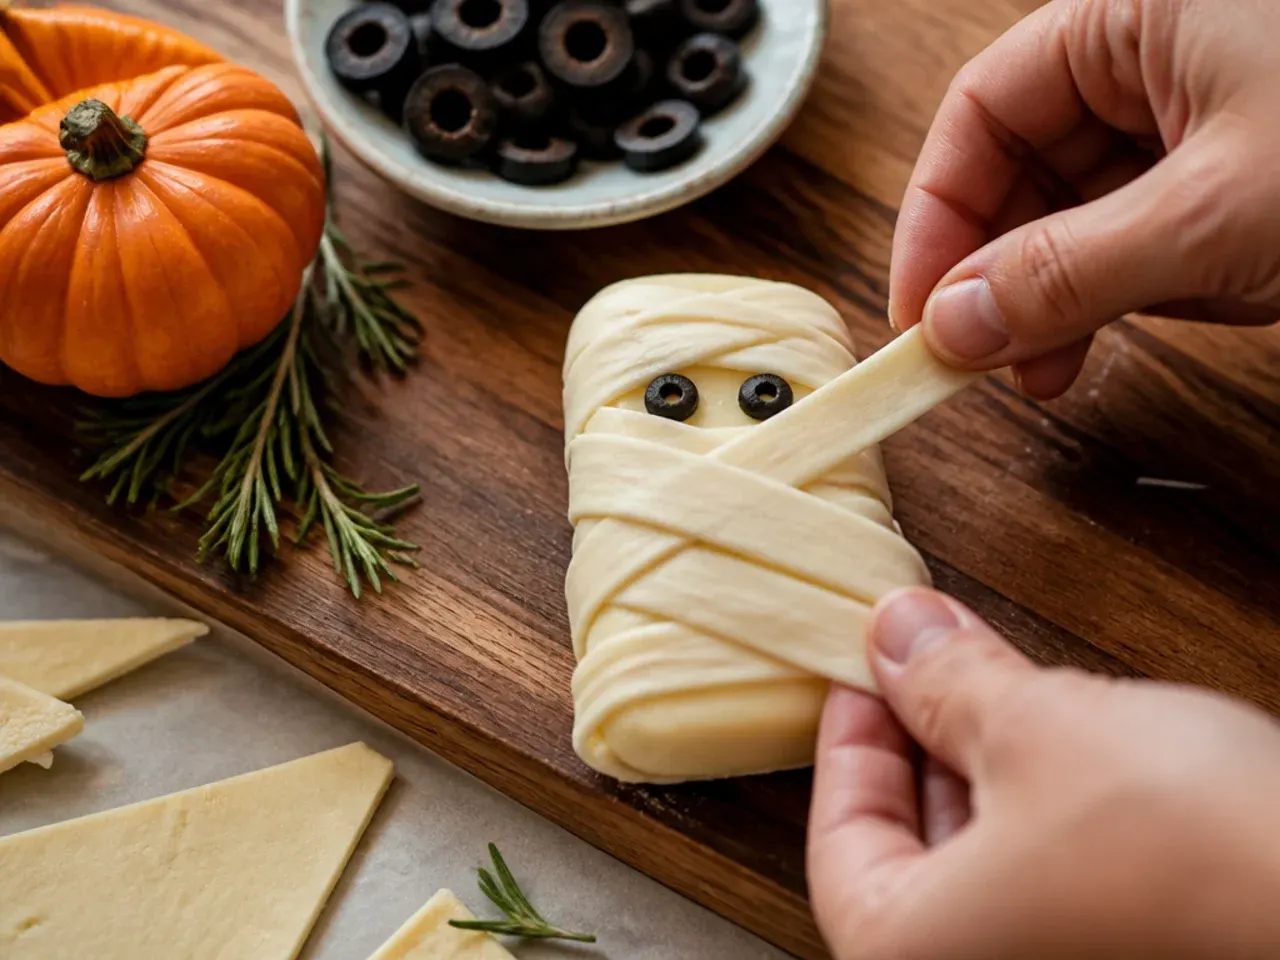
If using raw breadstick dough, preheat the oven to 190°C (375°F) and bake the strips for 10 to 12 minutes until golden, then cool for 5 minutes. Wrap the cooled or pre-baked breadsticks loosely around the string cheese sticks, leaving a small gap for two dots of black icing or tiny olive pieces as eyes.
Step 4: Assemble the Skewers and Roses
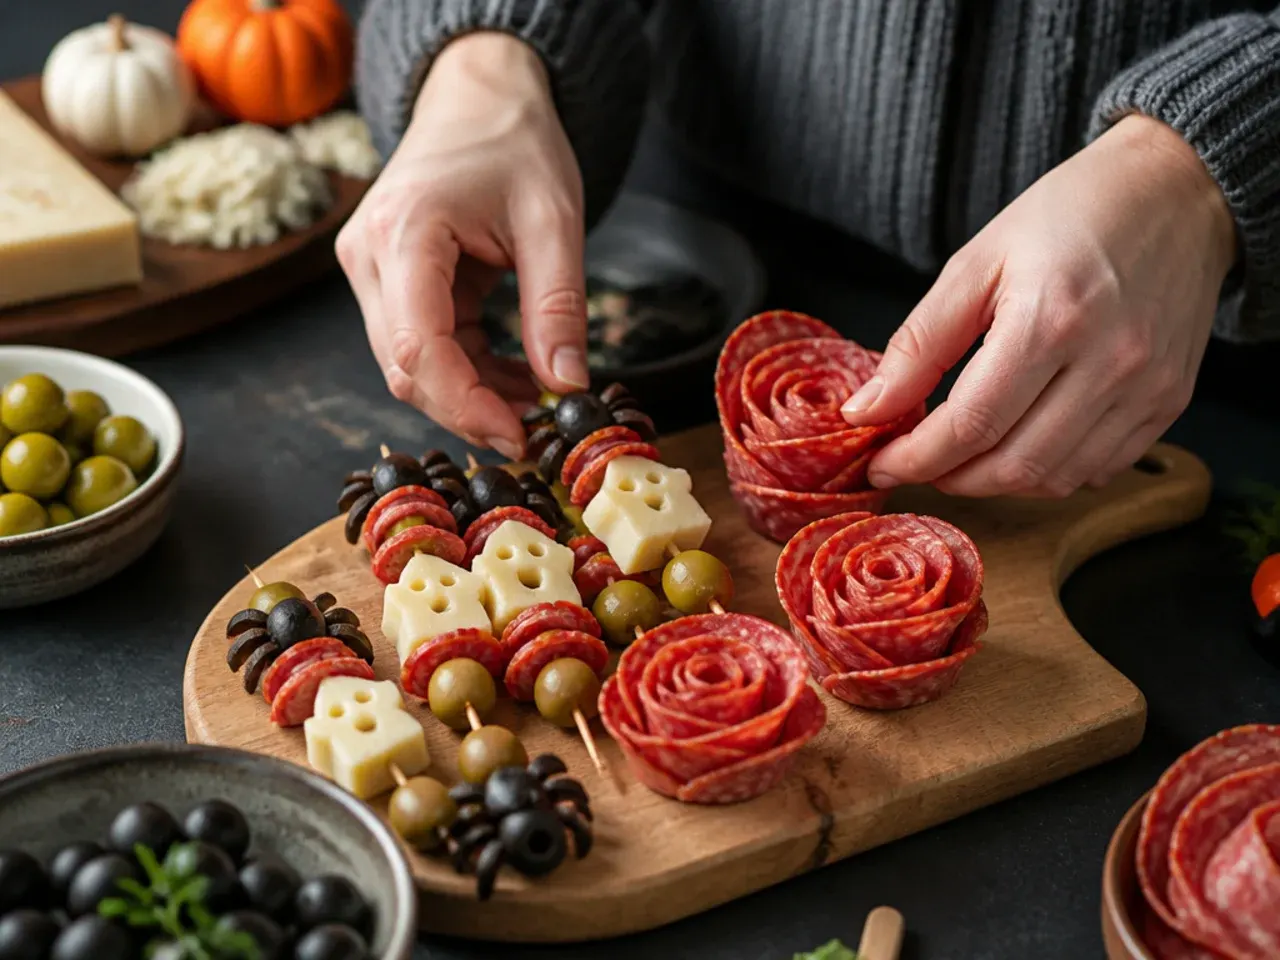
Thread cocktail sticks with a cube of white cheese, a cube of cheddar and a piece of tomato or mango to build the candy corn skewers. Separately, fold slices of salami in half and roll them around a cocktail stick to form small rose shapes, setting each one upright as it's finished.
Step 5: Fill the Serving Bowls
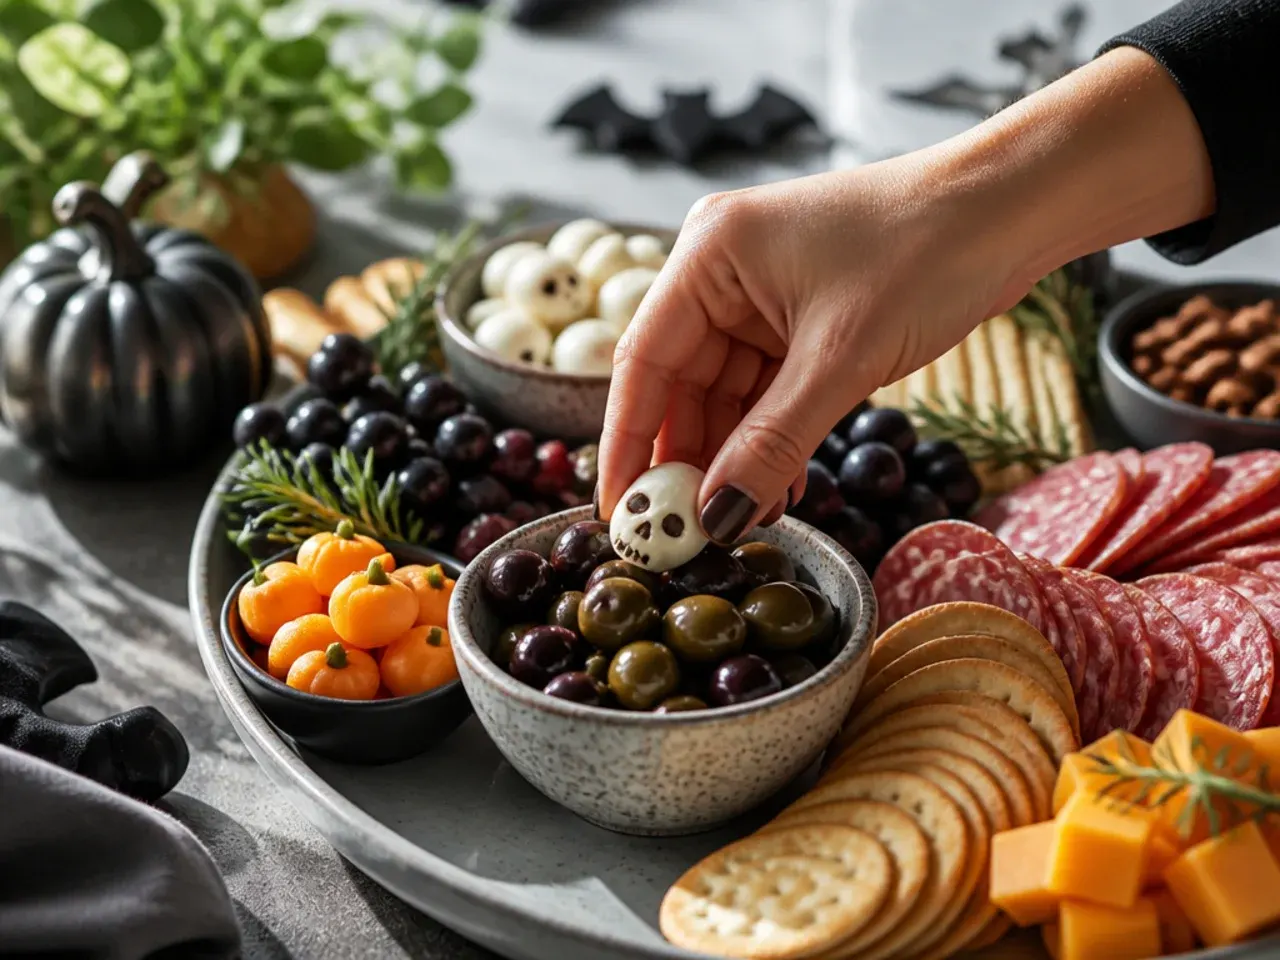
Fill the hollowed pepper cups with hummus or cream cheese dip and set them into position on the board or serving table. Spoon any remaining dip into a small bowl or ramekin for a second dipping station.
Step 6: Build the Board in Layers
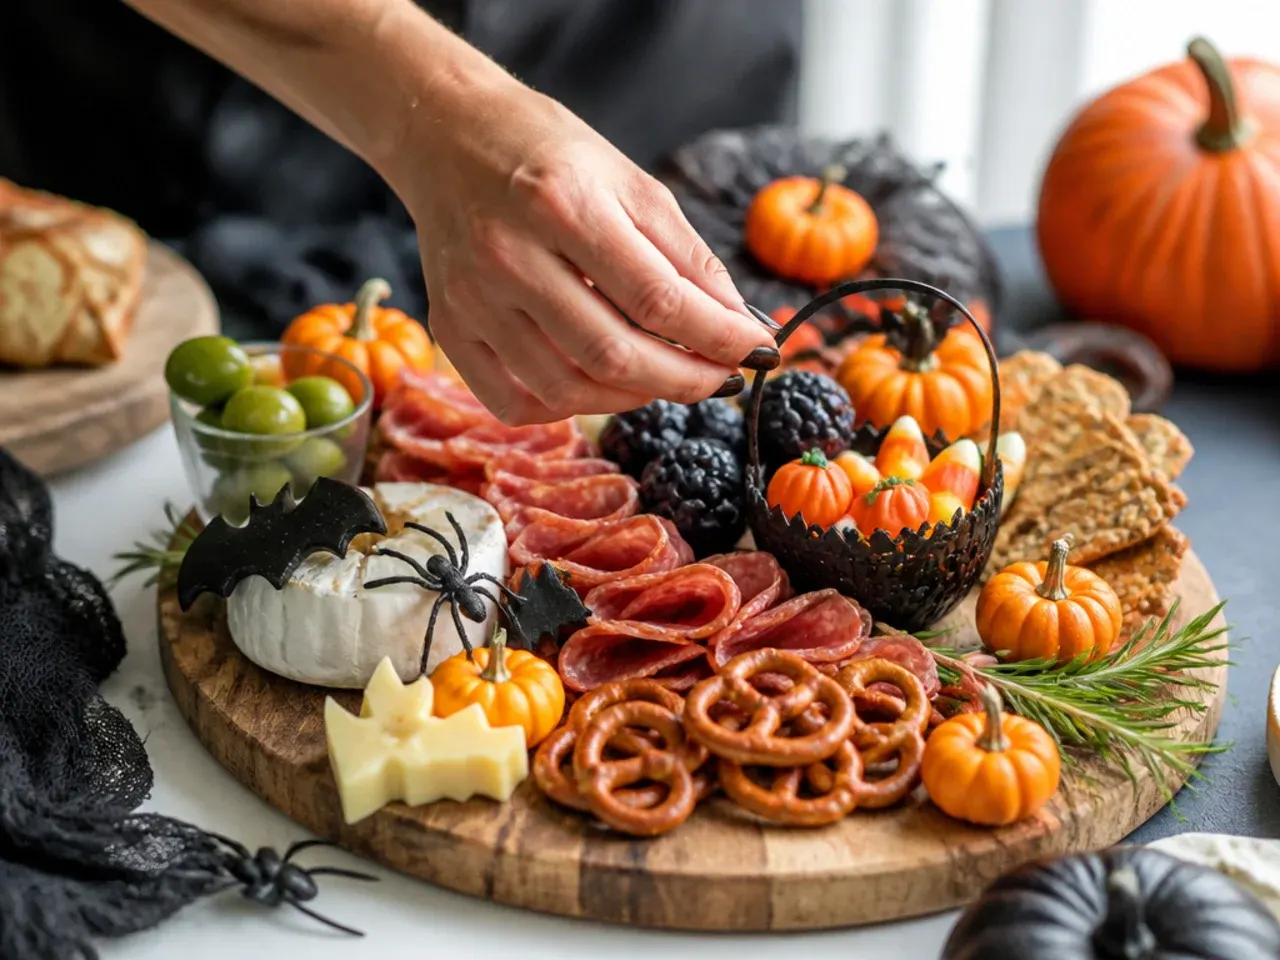
Place the filled bowls and the decorated brie onto the board first, spacing them apart to anchor the layout. Add the folded meats and salami roses next, then fill the cheese cubes, mummy wraps and skewers into the remaining gaps, working in small clusters rather than straight lines.
Step 7: Finish and Garnish
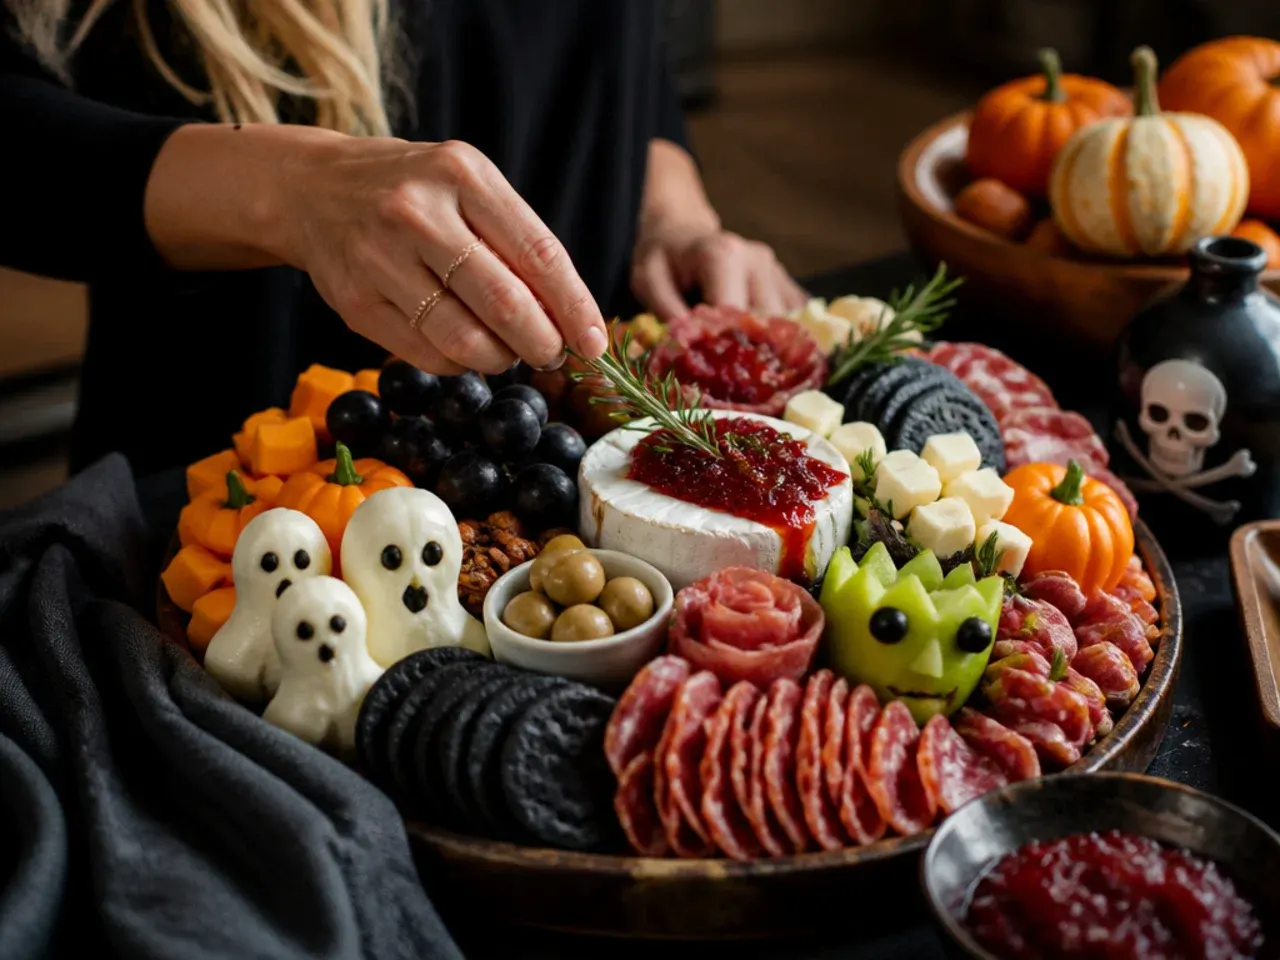
Tuck crackers into any remaining spaces in overlapping fans, then scatter the black grapes and olives across the gaps for colour and to fill any bare board showing through. Drizzle a little honey over one cheese section, add any final garnishes like a plastic spider on the brie, and serve within 30 minutes of finishing assembly for the freshest look.
Frequently Asked Questions
A good charcuterie board Halloween spread balances cured meats, two or three cheeses, crackers, fresh fruit and vegetables, and at least one dip, styled with orange, black and purple accents. The most popular themed touches are a spider web brie, mummy-wrapped cheese sticks, jack-o'-lantern pepper cups and candy corn skewers, since these use everyday ingredients shaped or coloured to fit the theme. Balance is key, so aim for roughly equal parts savoury and fresh items rather than an all-meat or all-sweet board. Most of the visual effect comes from arrangement and colour blocking rather than any single special ingredient.
Save this for later 📌
Pin this article to your Pinterest board so the full list is one tap away when you need it.
Save on Pinterest