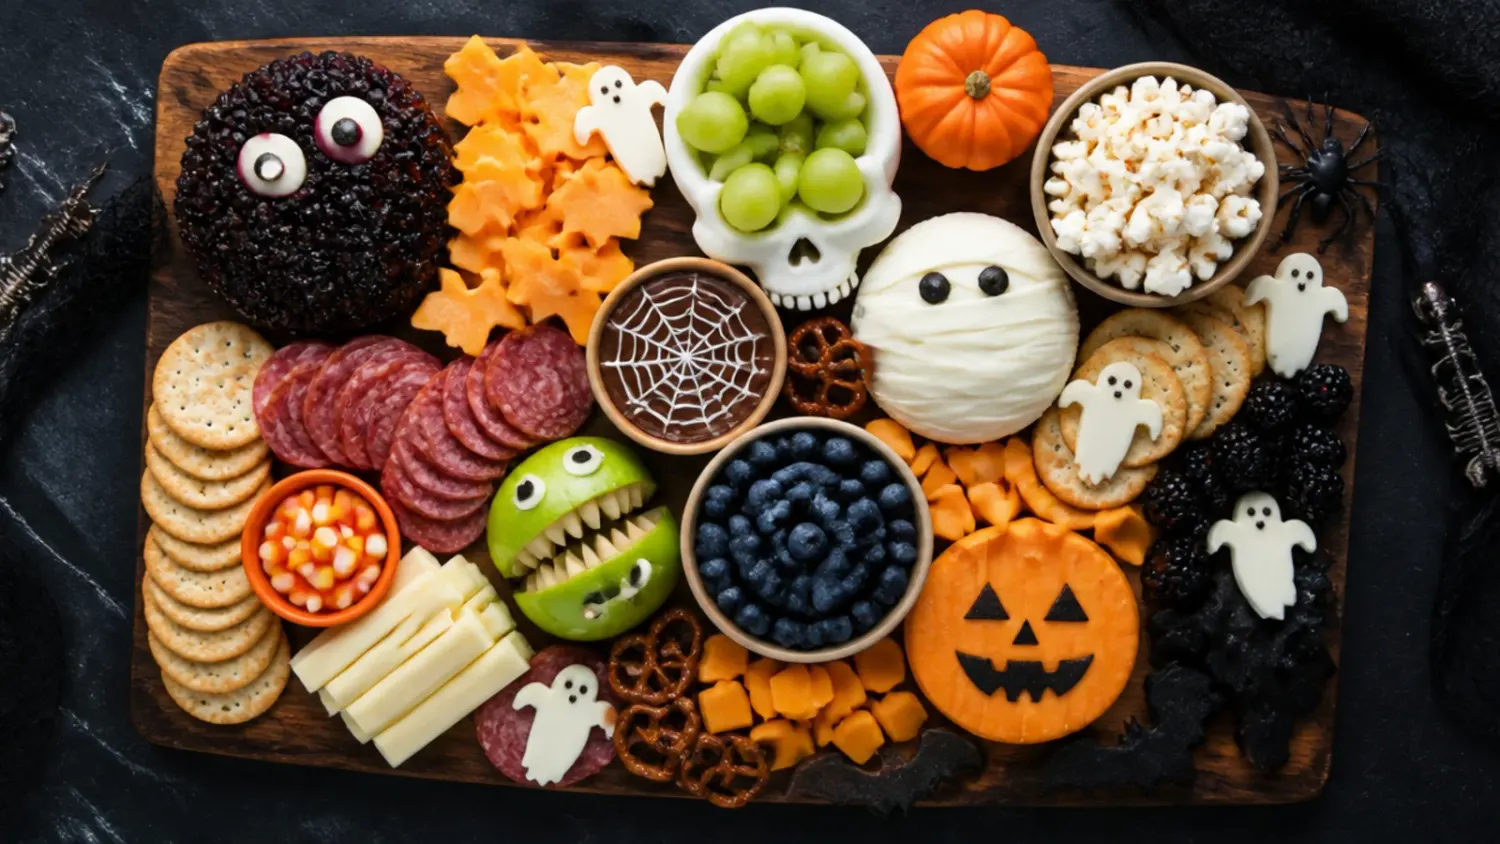
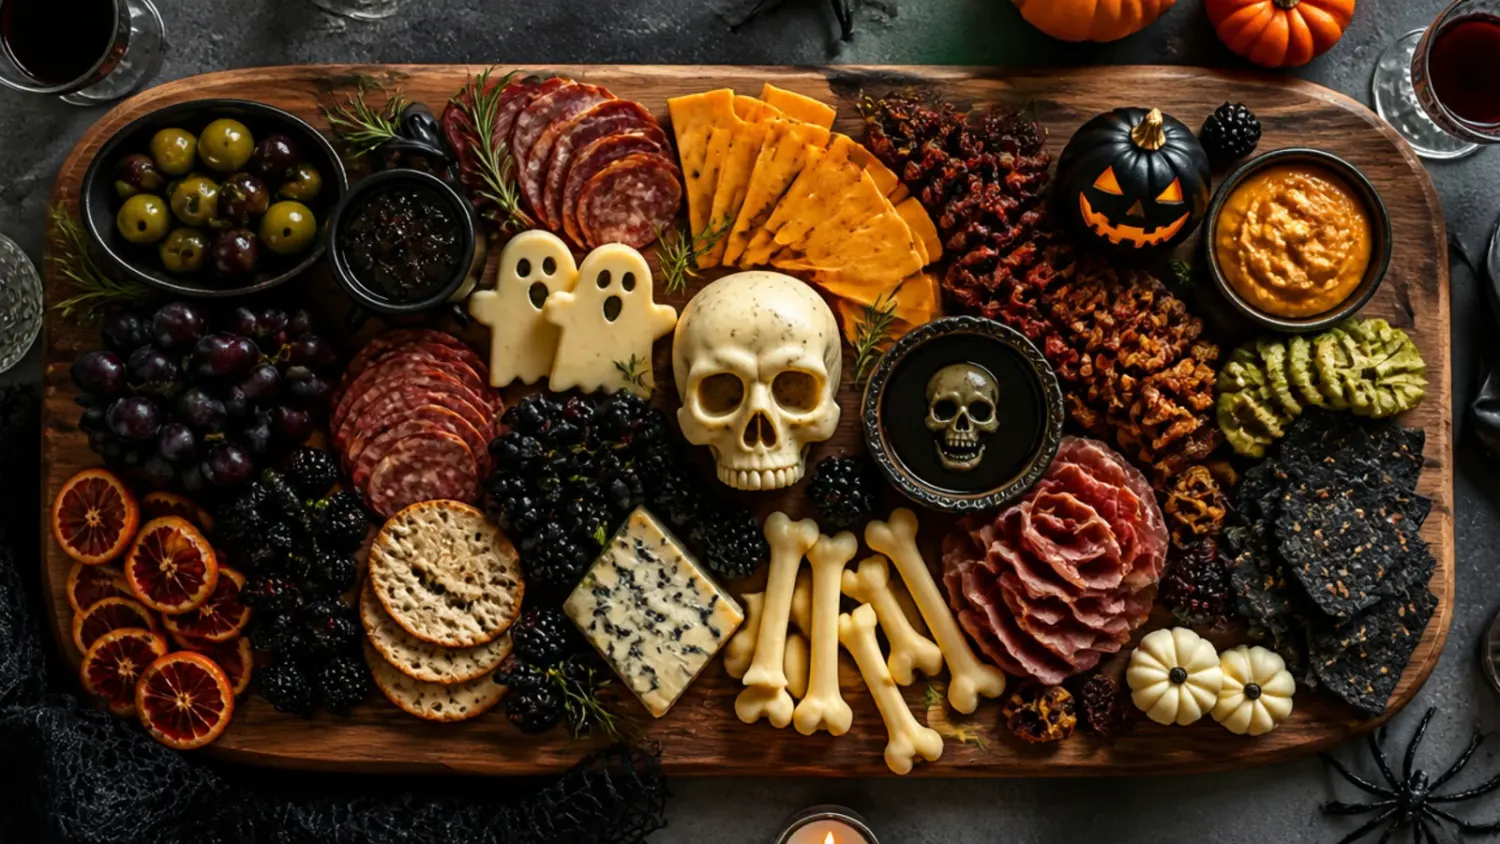
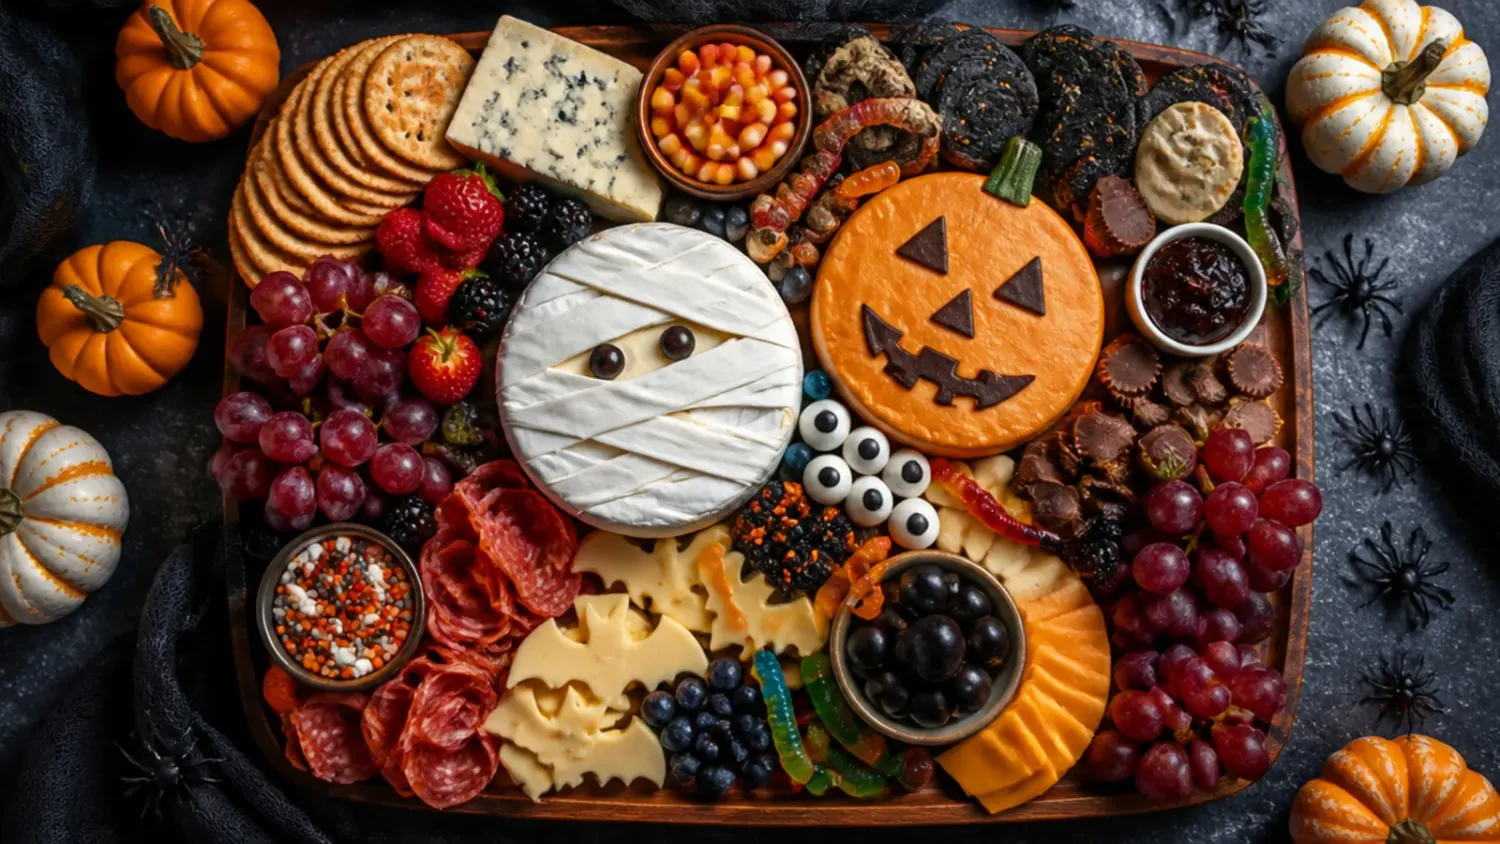
15 Halloween Dessert Charcuterie Board Ideas
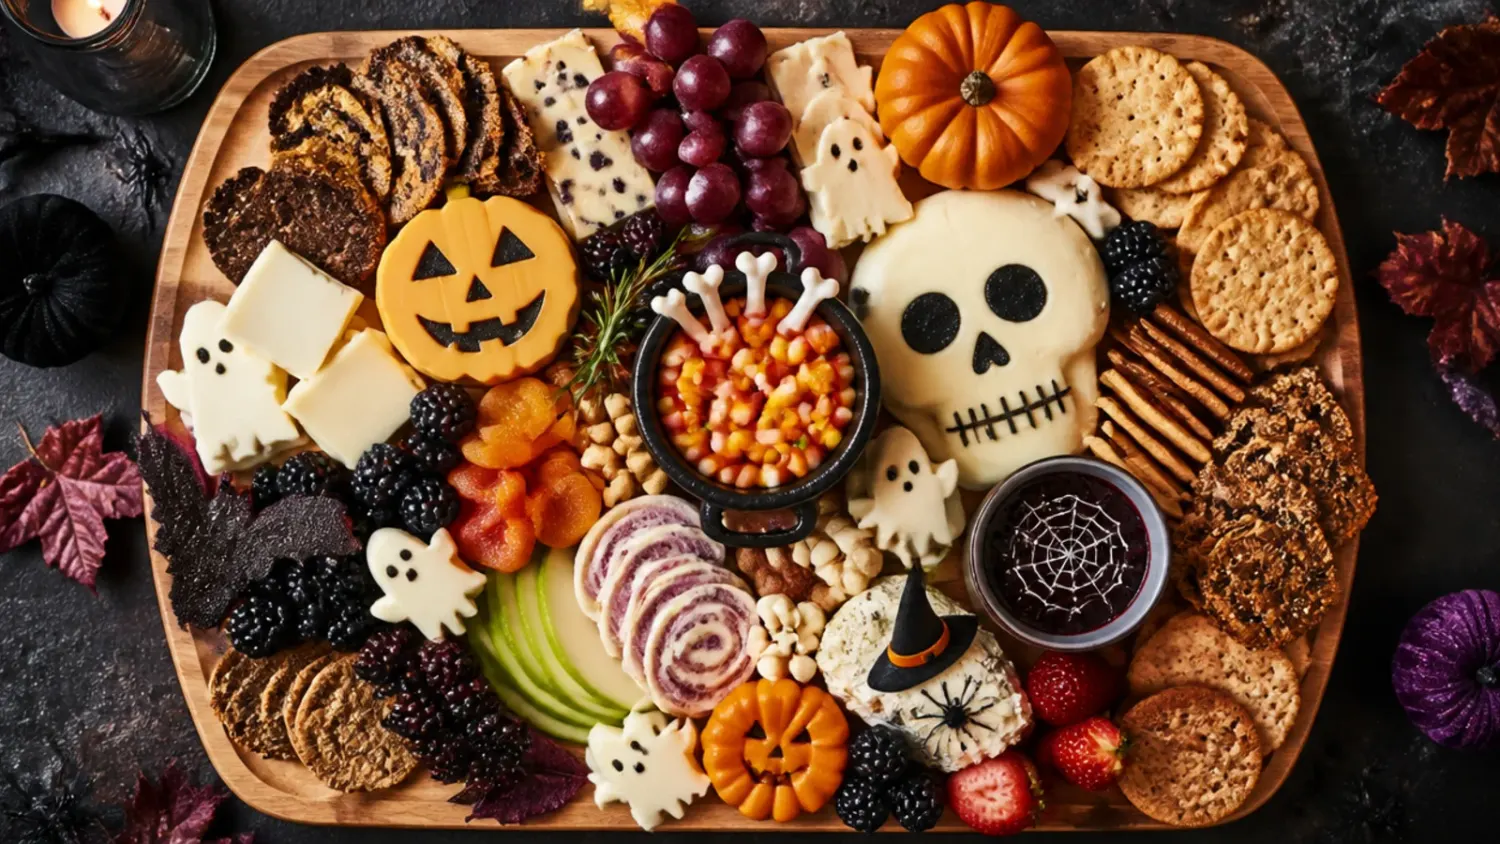
15 halloween dessert charcuterie board ideas, from a classic candy corn spread to a homemade spiced board, with quick variations ready in 15 minutes and a full showstopper board in about 40. If you love halloween charcuterie board inspiration, start with our Halloween Charcuterie Board collection, then browse the full Party Food hub for more.
Save this for later 📌
Pin this article to your Pinterest board so the full list is one tap away when you need it.
Save on PinterestParty Food
Beginner
Recipes
15 ideas
Table of Contents
- Why You'll Love These
- 1. Classic Candy Corn Halloween Charcuterie Board
- 2. Easy Store-Bought Halloween Dessert Board
- 3. Cozy Pumpkin Spice Halloween Board
- 4. Simple Three-Ingredient Halloween Board
- 5. Creamy Dip-Focused Halloween Board
- 6. Loaded Halloween Dessert Charcuterie Board
- 7. Best-Ever Showstopper Halloween Board
- 8. Cheesy Sweet-and-Salty Halloween Board
- 9. Budget Halloween Dessert Charcuterie Board
- 10. Crowd-Pleasing Kids' Halloween Board
- 11. Make-Ahead Halloween Dessert Board
- 12. Family Build-Your-Own Halloween Board
- 13. Festive Spooky-Themed Halloween Board
- 14. Quick 15-Minute Halloween Board
- 15. Homemade Halloween Dessert Charcuterie Board
- Pro Tips
- Serving Suggestions
- Storage and Reheating
- The Master Recipe
Why You'll Love These
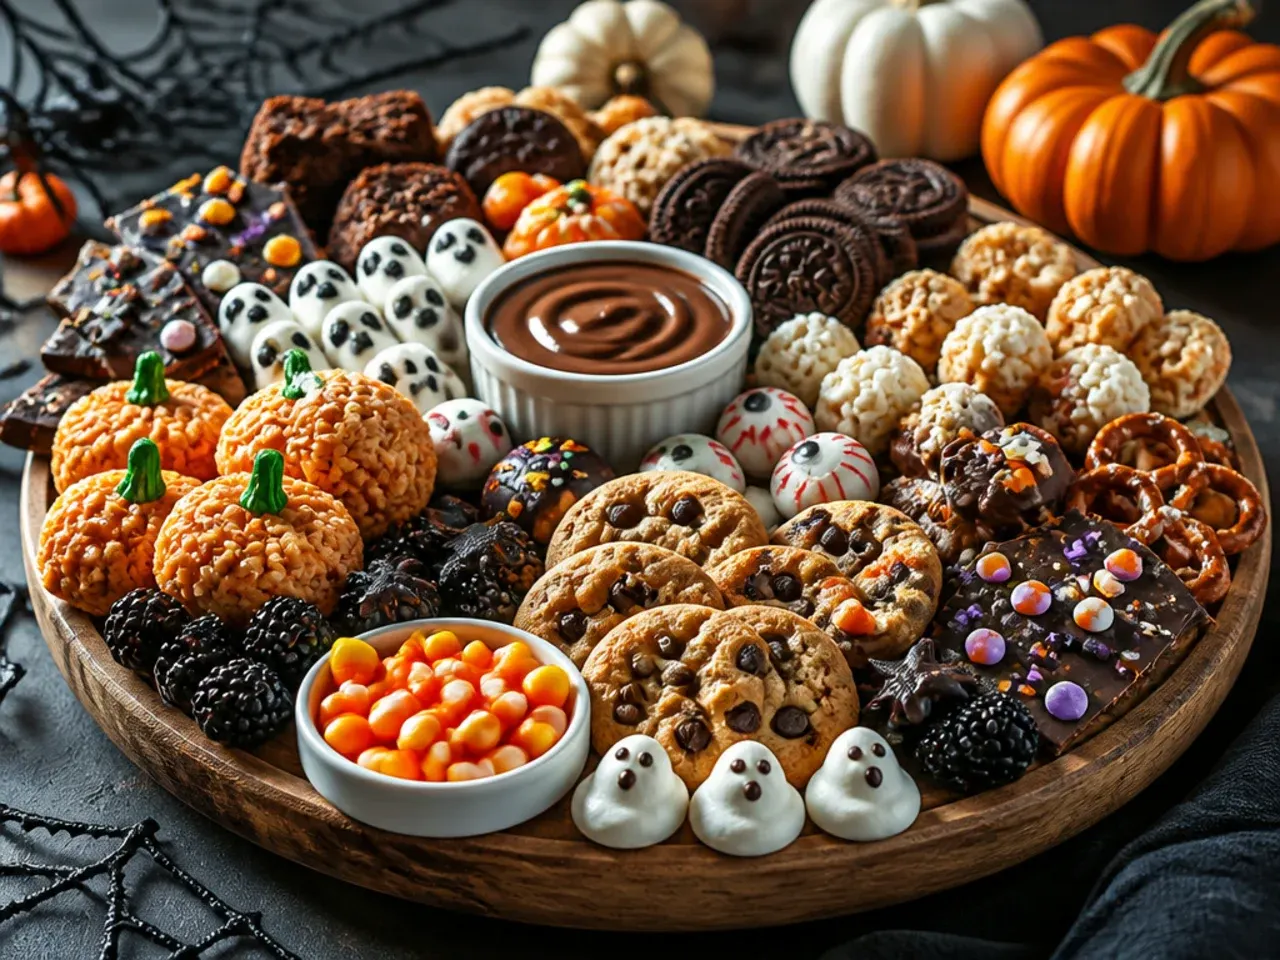
A halloween dessert charcuterie board is the fastest way to turn a bag of shop-bought sweets into something that looks properly put together, and it needs almost no cooking to pull off. You build it by arranging a handful of anchor items, like caramel apples or a bowl of dip, then filling every gap with smaller sweets in classic orange, black and purple. It works for a kids' party, a school event or a grown-up gathering, since the mix of items scales up or down depending on how many people are eating. Below are 15 variations, from a five-minute budget board to a fully homemade spread, plus a complete assembly guide at the end.
1. Classic Candy Corn Halloween Charcuterie Board
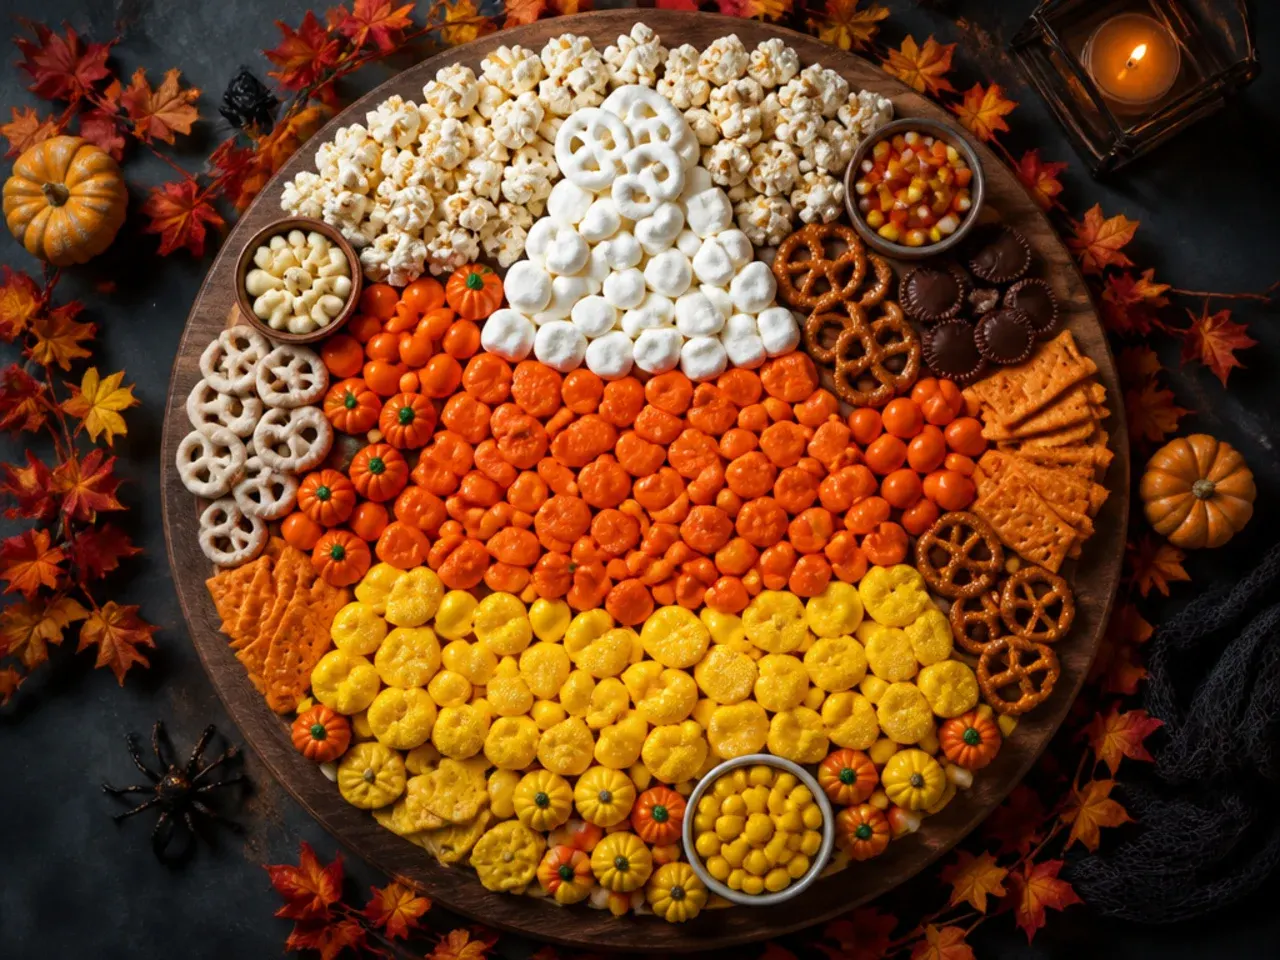
Build this one around the traditional Halloween palette: candy corn, orange and black M&Ms, chocolate pumpkins and a few caramel-dipped apple wedges as the centrepiece. Pour the candy corn straight into a small bowl rather than scattering it loose, since its shape makes it roll around and look messy on a flat board. Fill any remaining gaps with pretzel sticks standing upright in a mug for height, which breaks up the flat layout and gives the board more visual depth.
2. Easy Store-Bought Halloween Dessert Board
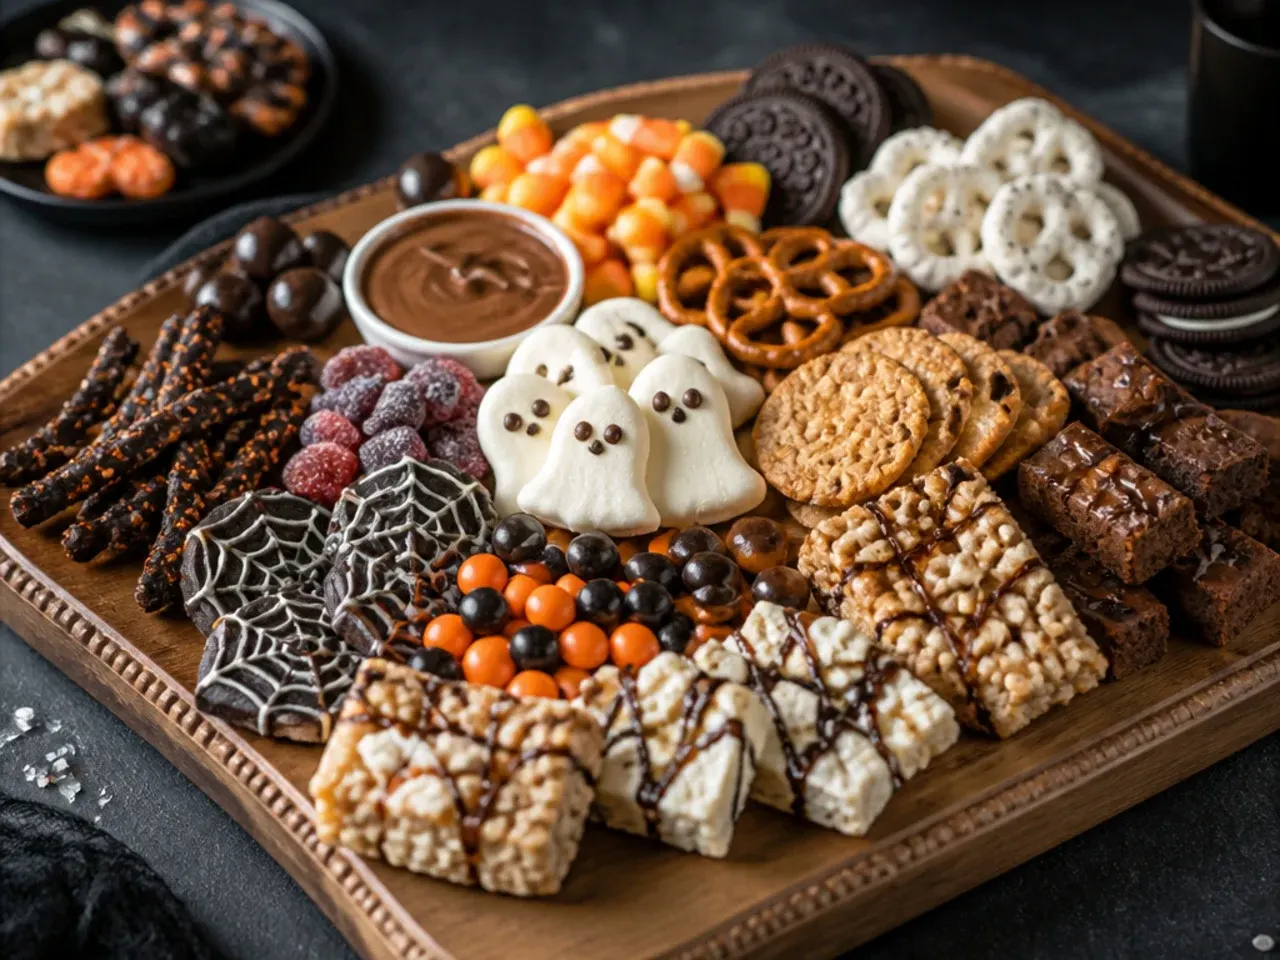
Skip any homemade elements entirely and build the whole board from packaged items: mini powdered donuts, a bag of pretzel rods, chocolate bars snapped into pieces, and a tub of ready-made caramel dip. This version takes about 10 minutes from unpacking to serving, making it the one to reach for when you're short on time but still want the board to look intentional. Arrange the tallest items, like the pretzel rods, at the back so nothing is hidden behind something bigger.
3. Cozy Pumpkin Spice Halloween Board
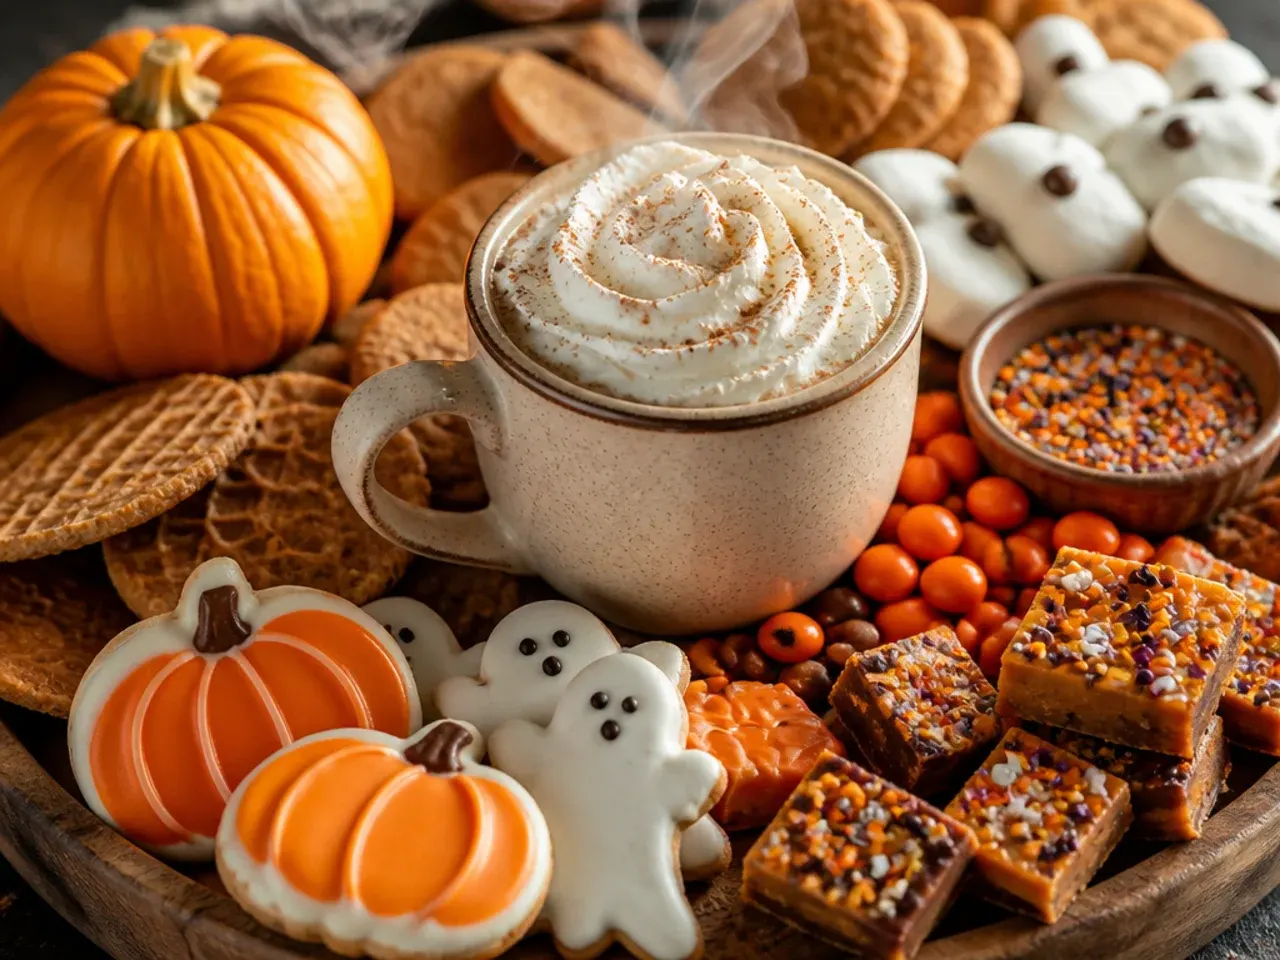
Lean into autumn flavours with pumpkin spice cookies, cinnamon-sugar pretzels and a warm bowl of spiced caramel dip made by stirring a pinch of cinnamon and nutmeg into 240 ml (1 cup) of shop-bought caramel sauce. Add a small dish of roasted spiced pecans for crunch, tossed in 15 g (1 tbsp) melted butter and a teaspoon of pumpkin spice mix before a quick 8-minute roast at 180°C (350°F). This board pairs especially well with hot cider or coffee, so set it out alongside warm drinks rather than cold ones.
4. Simple Three-Ingredient Halloween Board
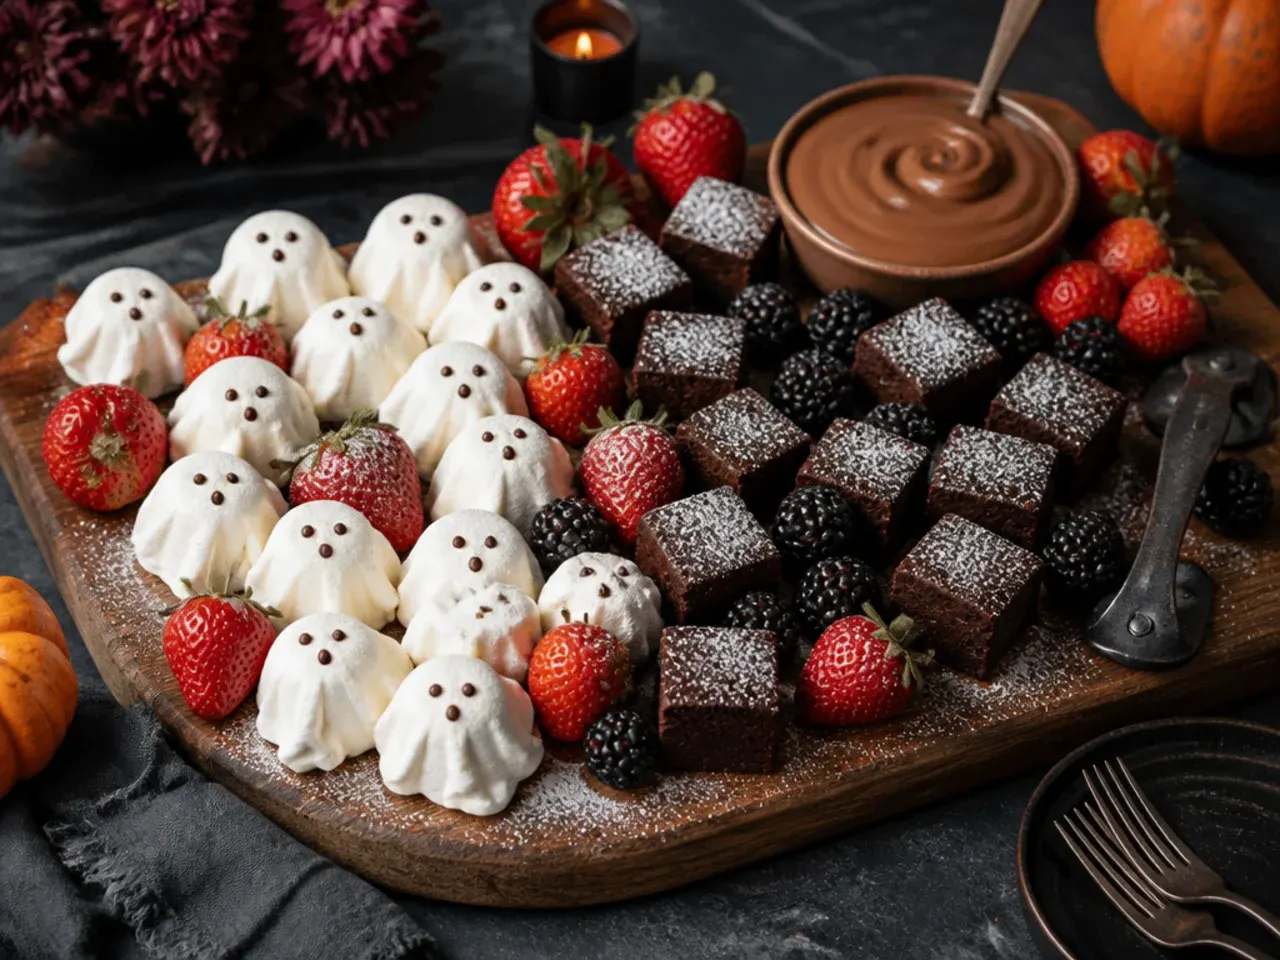
For a version with almost no shopping list, use just three items: chocolate-covered pretzels, candy corn and clementines styled as mini pumpkins with a stick of celery pushed into the top of each one. Keeping the ingredient count this low still looks generous once everything is spread across the board, because volume and colour contrast do most of the visual work. This is the one to make when you've got 10 minutes before guests arrive and only a small basket of pantry items to work with.
5. Creamy Dip-Focused Halloween Board
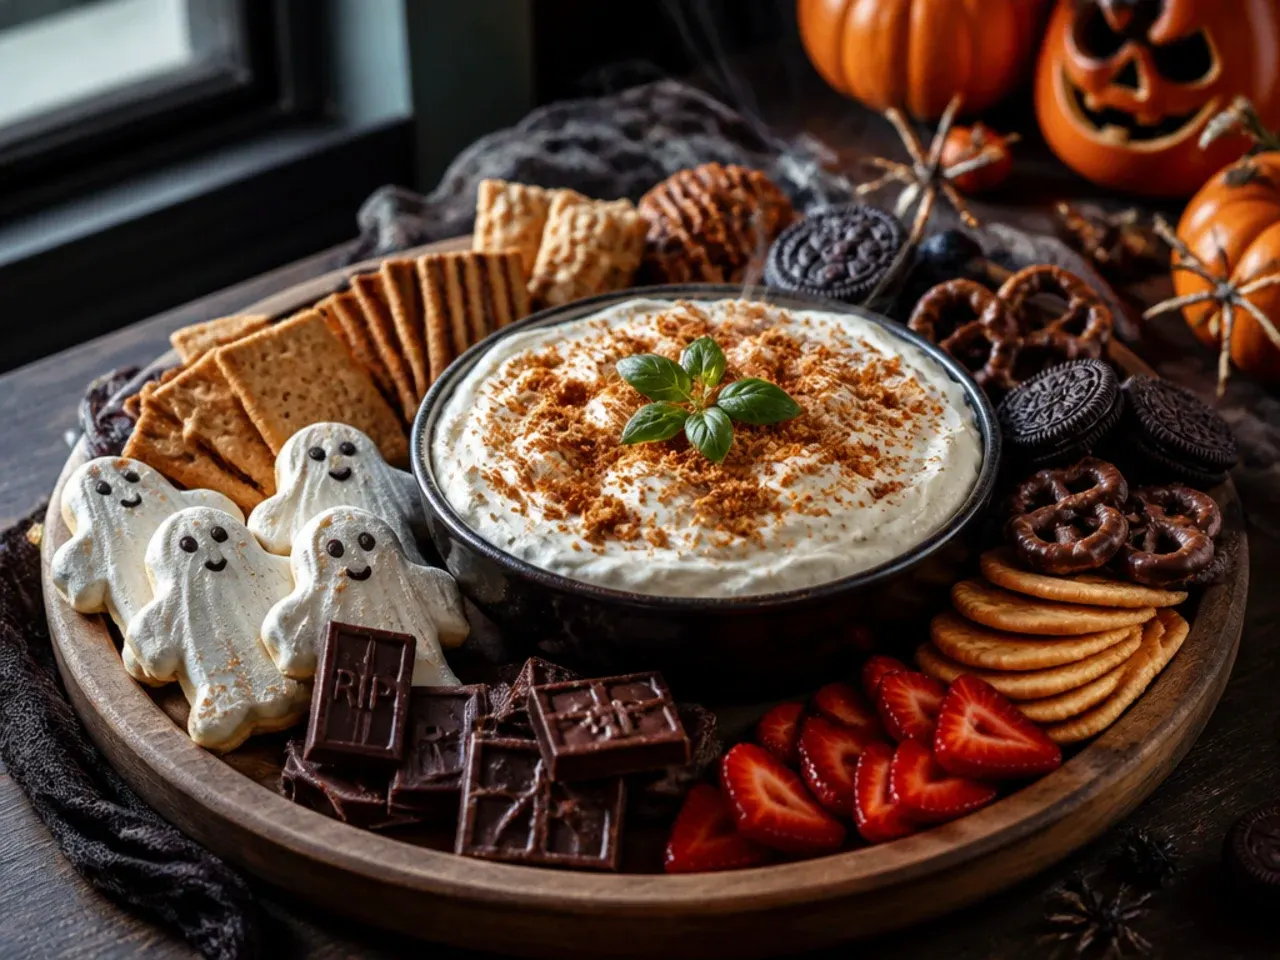
Make this board about the dips rather than the solids: a bowl of caramel sauce, a bowl of melted chocolate ganache made from 100 g (3.5 oz) dark chocolate stirred into 100 ml (1/3 cup) warmed double cream, and a bowl of orange-tinted cream cheese dip sweetened with icing sugar. Surround each bowl with its own dippers, apple slices for the caramel, pretzels for the chocolate, and graham crackers for the cream cheese, so guests don't have to guess what goes where. Keep the ganache bowl slightly separate from the others since it needs to stay a little warm to stay pourable.
Save this for later 📌
Pin this article to your Pinterest board so the full list is one tap away when you need it.
Save on Pinterest6. Loaded Halloween Dessert Charcuterie Board
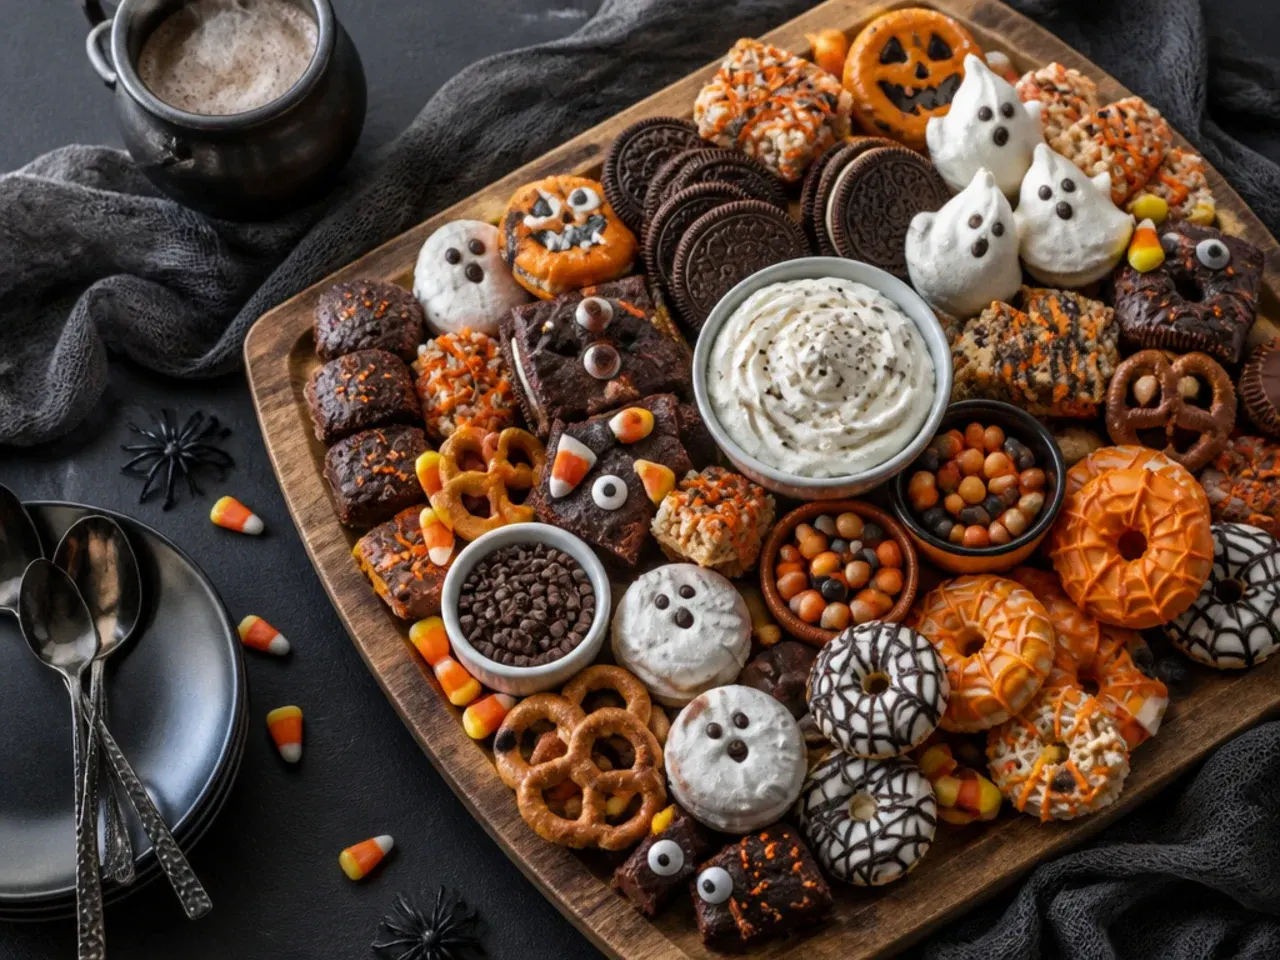
This is the everything-and-more version: caramel apples, chocolate bark, mini donuts, candy corn, pretzels, marshmallows, brownie bites and a couple of dip bowls, all on the largest board or table you have. Work in layers, place the bowls of dip first, then the biggest solid items like caramel apples, then fill every remaining gap with smaller candies so there's no bare board showing. Expect this version to easily feed 12-15 people, so it's the one to build for a proper Halloween party rather than a small gathering.
7. Best-Ever Showstopper Halloween Board
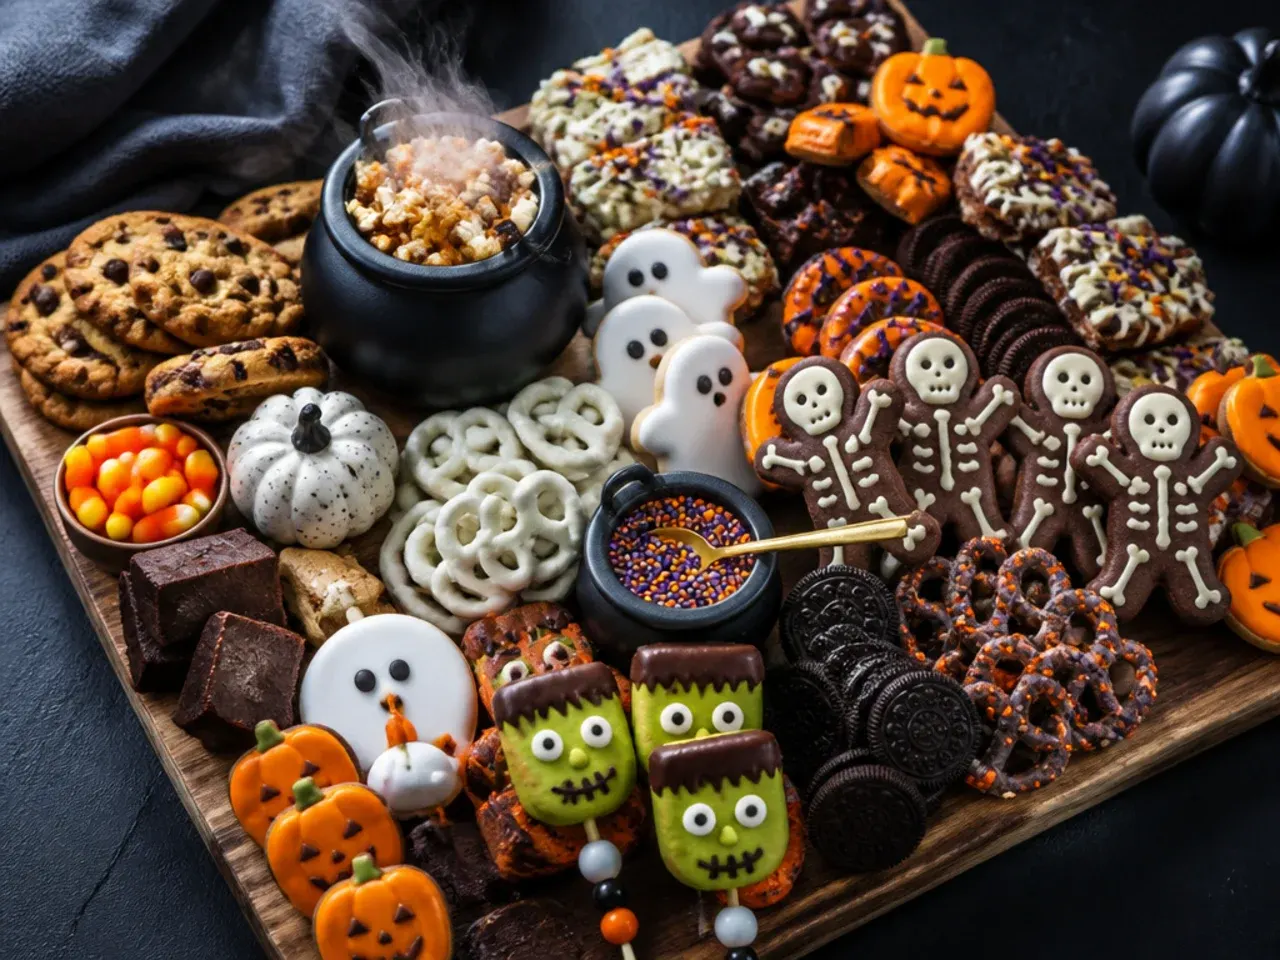
Combine a few homemade touches with store-bought staples for the board that gets the most photos: homemade chocolate bark studded with candy eyeballs, caramel apples rolled in crushed peanuts, and a drizzle of melted white chocolate piped into spiderweb patterns over the whole board. The spiderweb effect is easier than it looks, pipe thin white chocolate lines from the centre outward, then drag a toothpick through them in one direction to pull the lines into web shapes. Add a few plastic spiders tucked between the food for the final spooky touch, and remove them before eating.
8. Cheesy Sweet-and-Salty Halloween Board
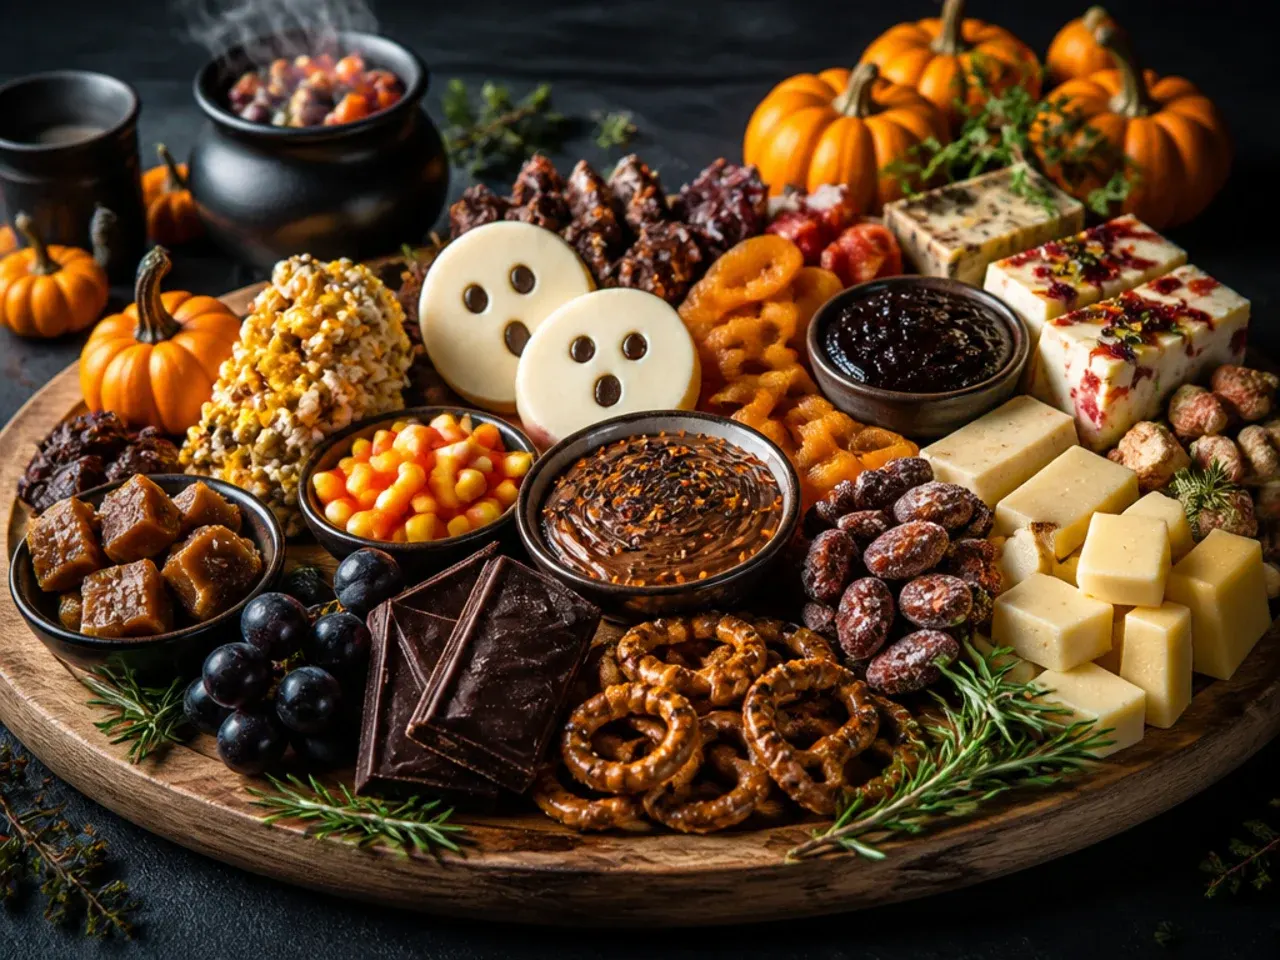
Pair dessert items with a small wedge of soft cheese for an unexpected sweet-savoury contrast: a round of brie drizzled with honey and topped with black sesame seeds for spider-leg texture, alongside caramel apples and dark chocolate squares. The mild, creamy brie balances the sweetness of the candy corn and caramel, so guests naturally alternate between the two rather than getting sugar-fatigued. Serve the brie slightly below room temperature, about 15 minutes out of the fridge, so it's soft enough to spread but hasn't fully melted.
9. Budget Halloween Dessert Charcuterie Board
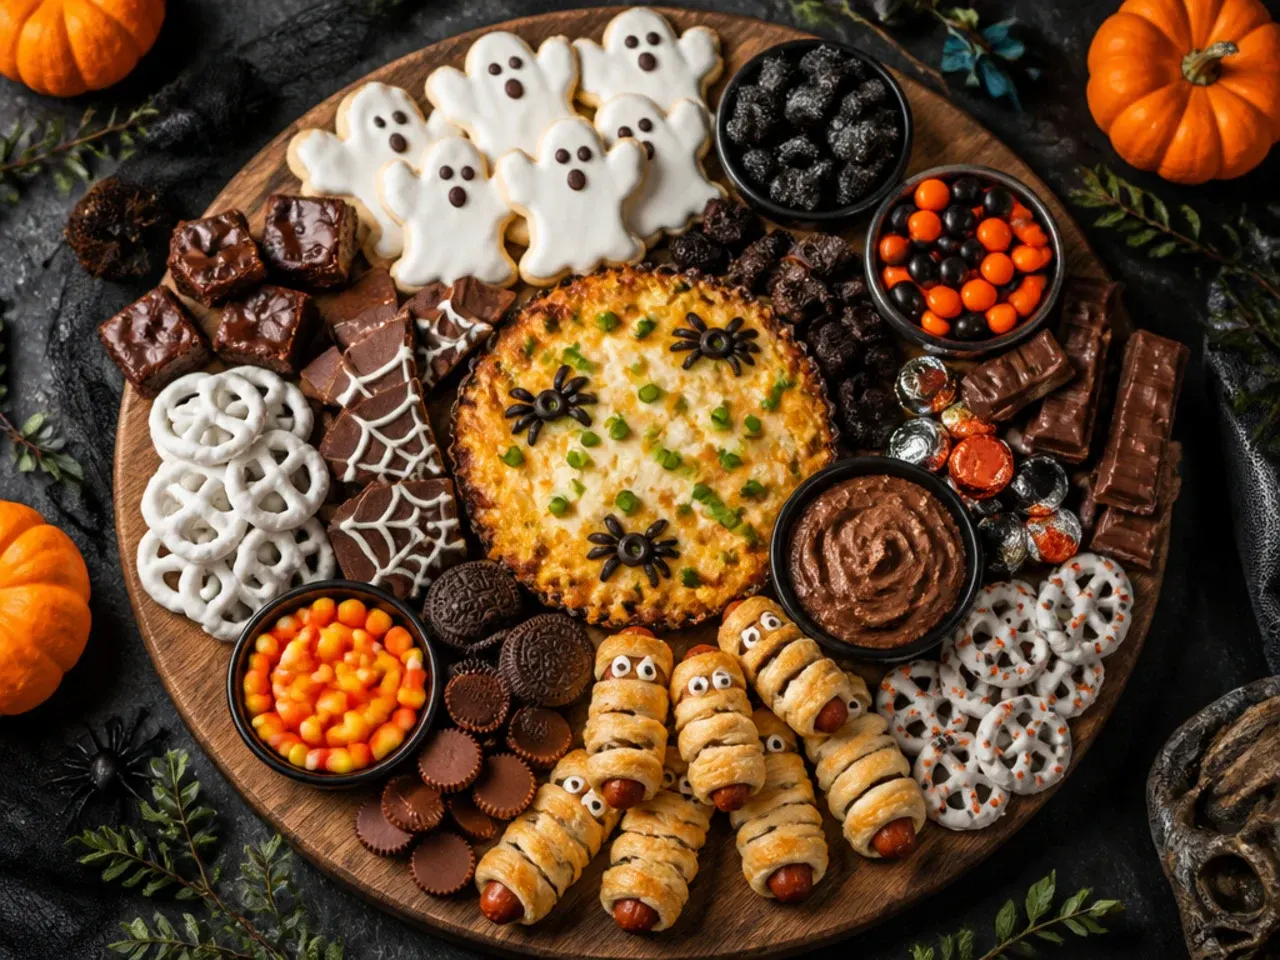
Build this version entirely from a single trip to the discount aisle: a bag of mixed Halloween candy, own-brand chocolate biscuits, and a bag of clementines, which together usually cost under £10 for a board that serves 8-10 people. Decant everything from its original packaging into small bowls and onto the board itself, since presentation, not price, is what makes a board look put-together. This is a good option for classroom parties or office gatherings where the budget matters more than variety.
10. Crowd-Pleasing Kids' Halloween Board
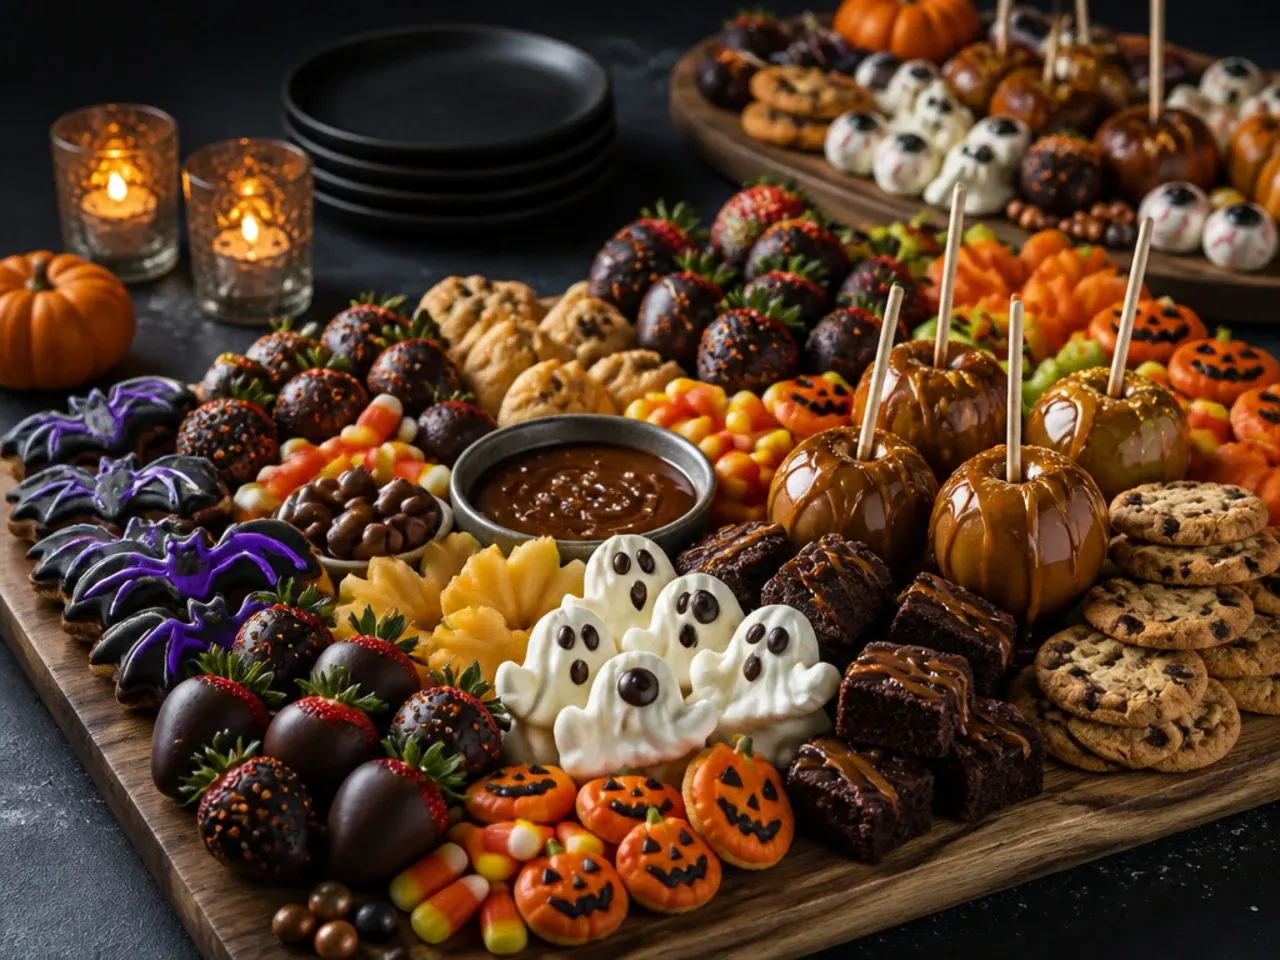
Stick to the sweets kids actually reach for first: mini chocolate bars, candy corn, marshmallows, gummy worms and a bowl of chocolate dip for pretzel dunking. Keep any spooky decorations, like plastic spiders, purely decorative and set slightly apart from the food so younger children don't confuse them with something edible. This board disappears fastest at parties with a mixed age group, since it avoids anything too grown-up in flavour, like coffee or very dark chocolate.
Save this for later 📌
Pin this article to your Pinterest board so the full list is one tap away when you need it.
Save on Pinterest11. Make-Ahead Halloween Dessert Board
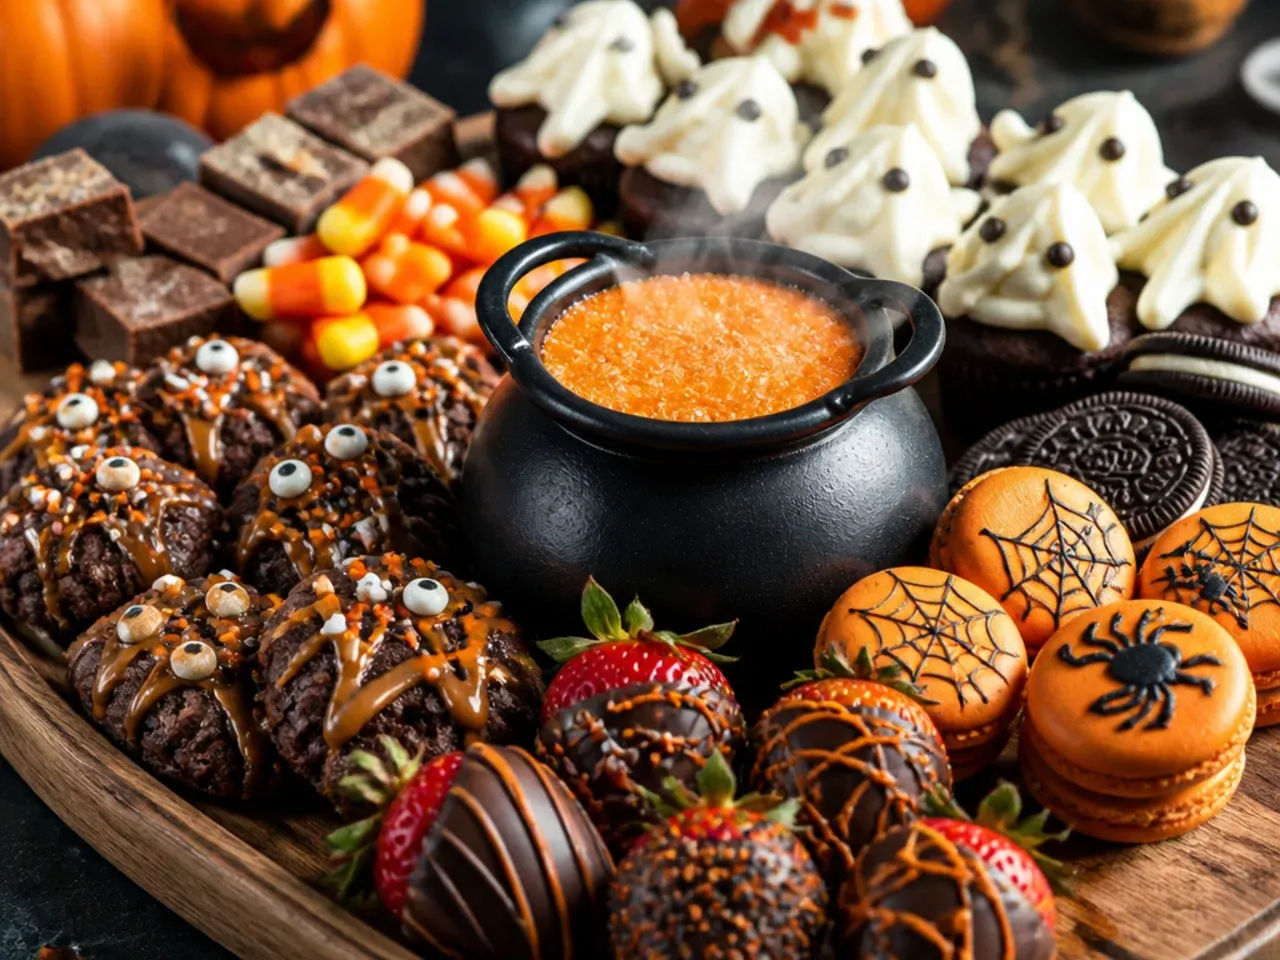
Choose only items that hold up well sitting out or chilled for a day: wrapped candies, chocolate bark, biscuits and pretzels, all of which can be portioned into containers up to 2 days ahead. Prep the board itself, minus anything perishable, the morning of the party, then add fresh items like apple slices or the dip bowl within the final hour before guests arrive. This is the version to plan for a busy hosting day, since almost everything is done well before the doorbell rings.
12. Family Build-Your-Own Halloween Board
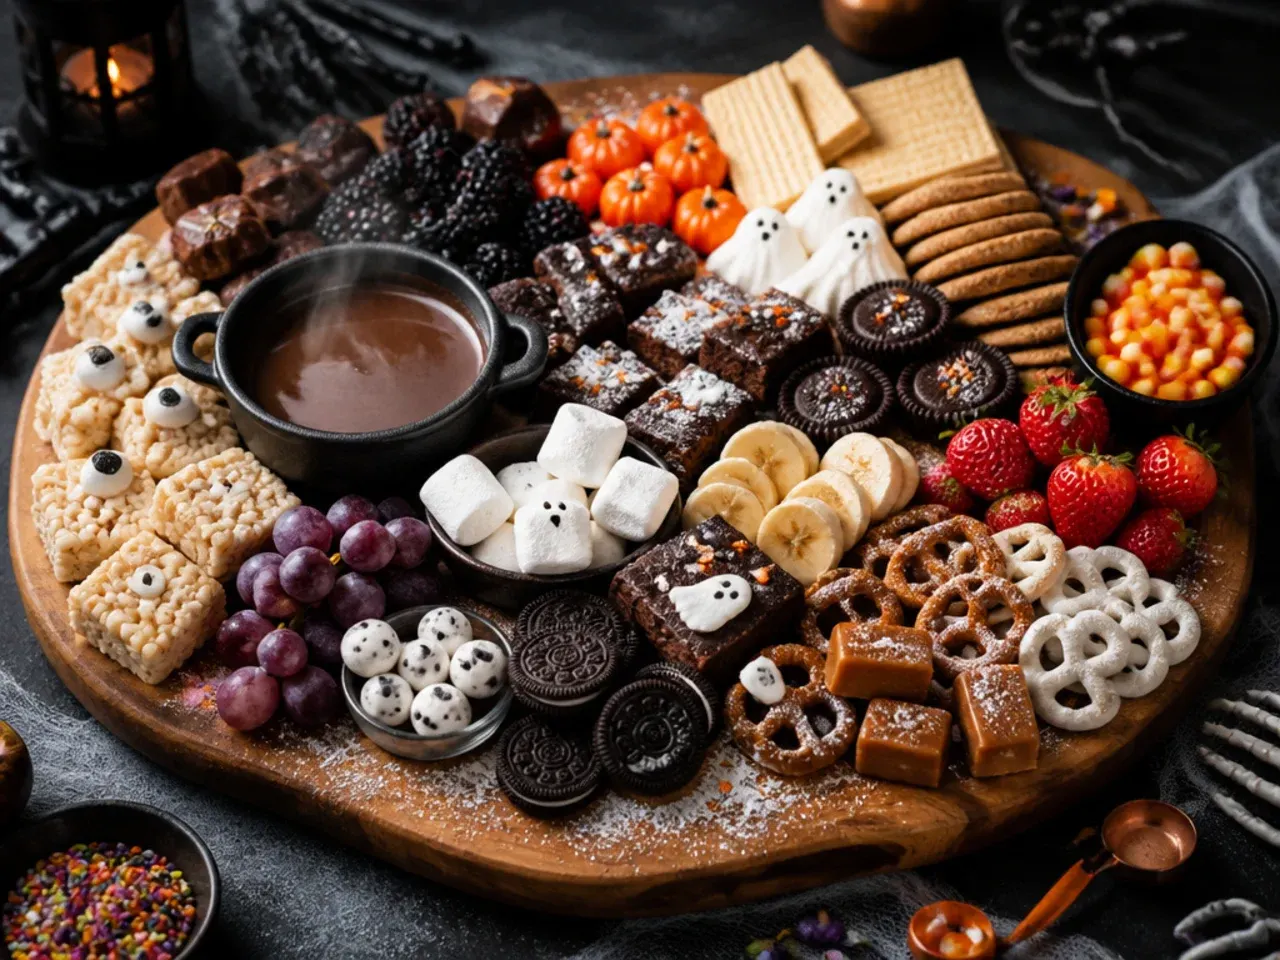
Set out plain biscuits, melted chocolate in small bowls, and a tray of toppings, candy eyeballs, sprinkles, mini marshmallows, so everyone decorates their own treat rather than picking from a finished spread. This works well as an activity before a Halloween film or dinner, since it keeps kids occupied for a good 20 minutes rather than just eating and moving on. Lay out a sheet of baking paper under the decorating station to make clean-up quick once everyone's finished.
13. Festive Spooky-Themed Halloween Board
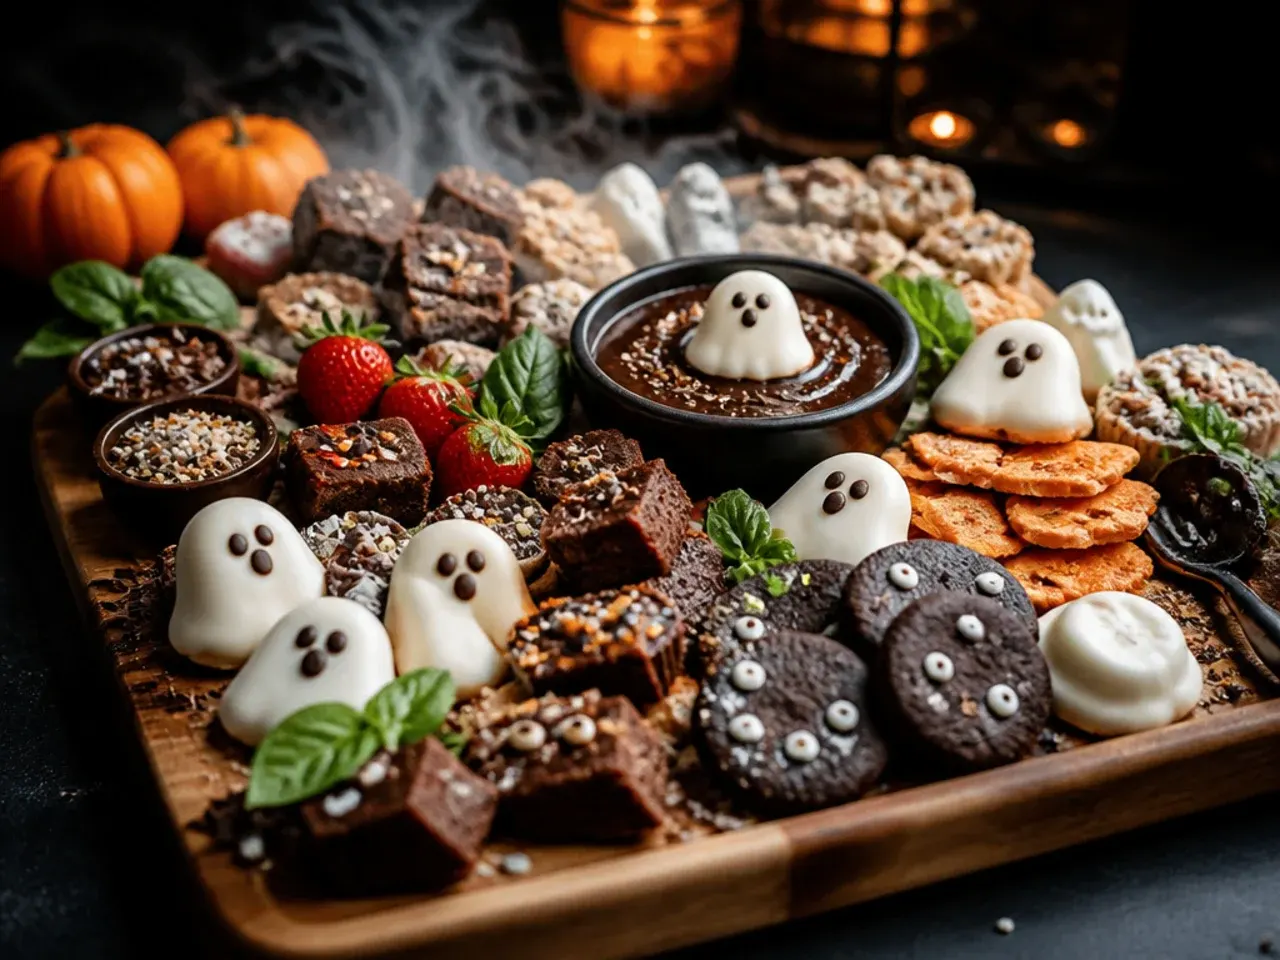
Push the visual theme further than any other version: crushed Oreo 'dirt' scattered between items, green grapes with a chocolate chip pressed in as 'eyeballs', and orange and black sprinkles dusted across every gap on the board. A few drops of green food colouring stirred into white chocolate makes a 'slime' drizzle that reads as properly eerie once it's set over the darker treats. This board is built for photos first and eating second, so keep the spookiest elements, like the eyeball grapes, toward the front where they're most visible.
14. Quick 15-Minute Halloween Board
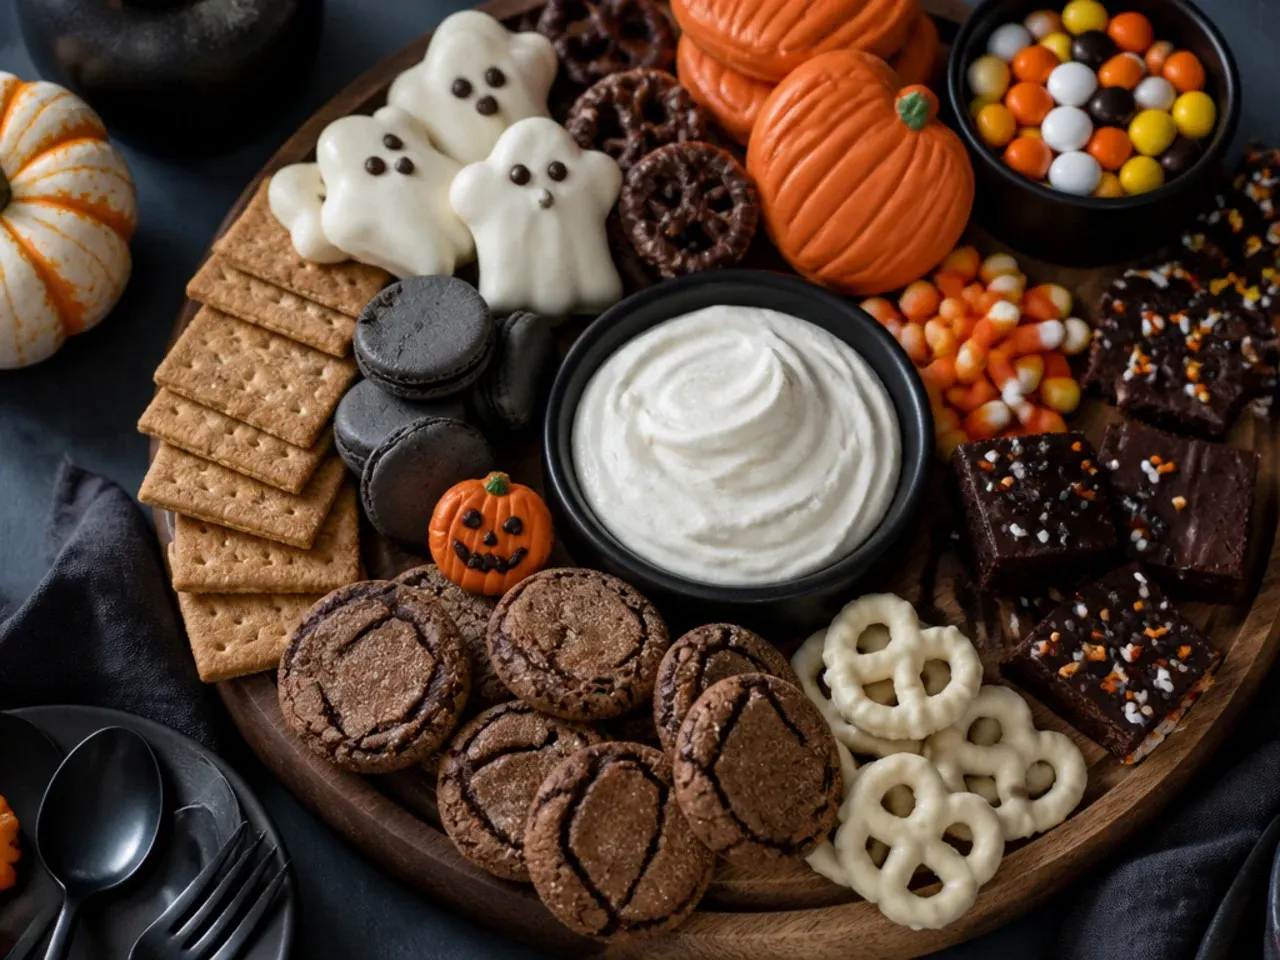
Use only items that need zero prep: a bag of Halloween candy, a sleeve of chocolate biscuits, and a punnet of grapes, arranged straight onto the board in loose clusters rather than neat rows. Clustering by colour, all the orange sweets in one area, all the black ones in another, creates a finished look without any actual arranging skill required. This is the board to keep in mind for last-minute guests, since it genuinely comes together in about 15 minutes from cupboard to table.
15. Homemade Halloween Dessert Charcuterie Board
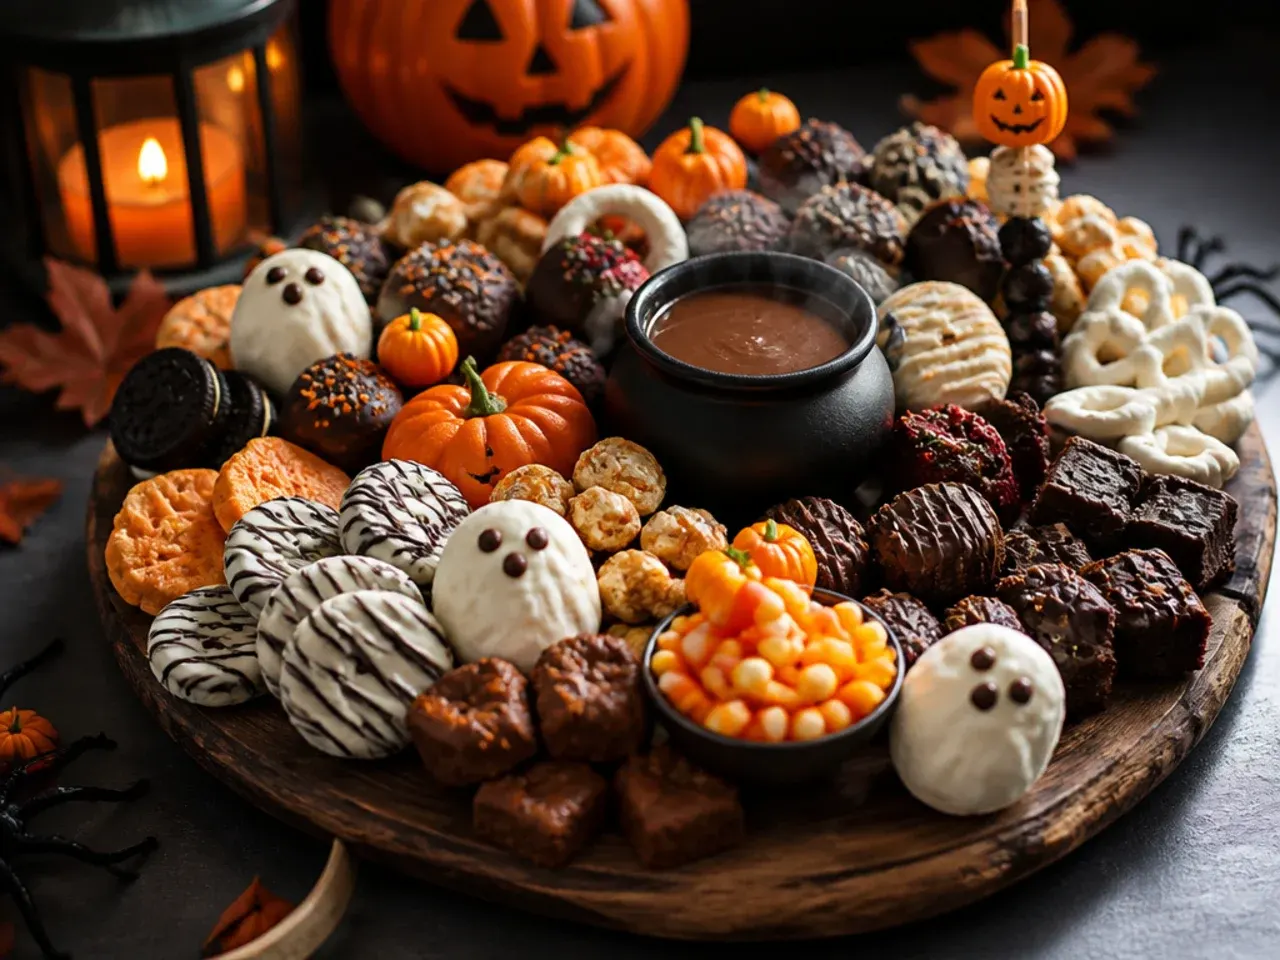
Make every element from scratch: cut-out sugar cookies iced in orange and black, chocolate bark studded with pretzels and candy eyeballs, and caramel apples dipped in melted caramel and rolled in crushed digestives. Baking the cookies a day ahead and letting the icing set fully overnight means they won't smudge when packed onto the board with everything else. This version takes closer to 2-3 hours start to finish, so it suits a weekend when you've got time to spend in the kitchen rather than a last-minute gathering.
Pro Tips
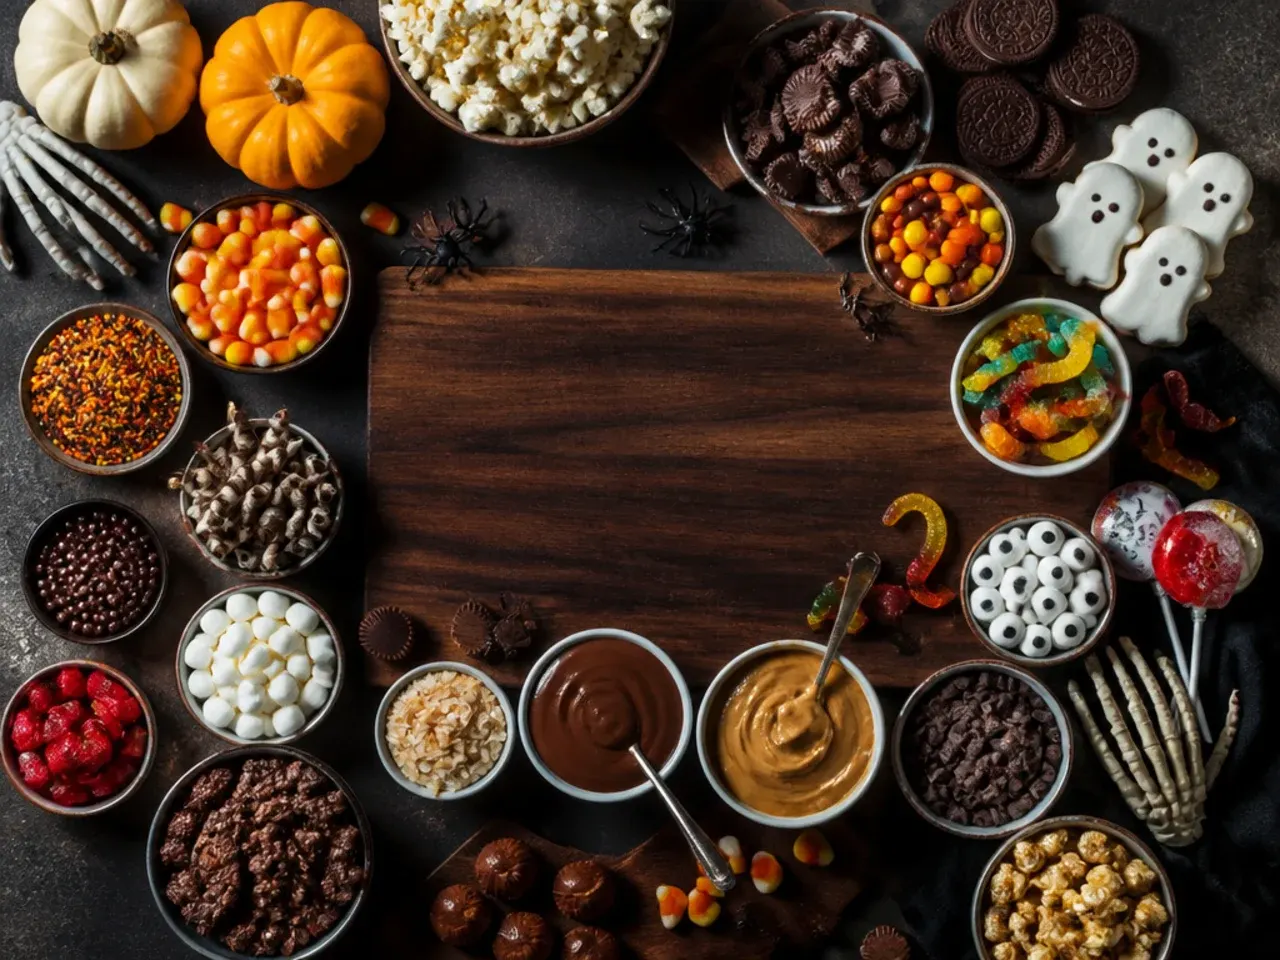
Start with the bowls of dip or sauce first, since they anchor the layout, then build outward with the biggest solid items before filling gaps with smaller candy. Group similar colours and shapes together rather than scattering everything randomly, as clusters read as more intentional and make the board look fuller with less food. If you're using anything chocolate-based, keep the board away from direct sunlight or a warm kitchen window, since chocolate starts to soften and lose its shine above about 24°C (75°F).
Serving Suggestions
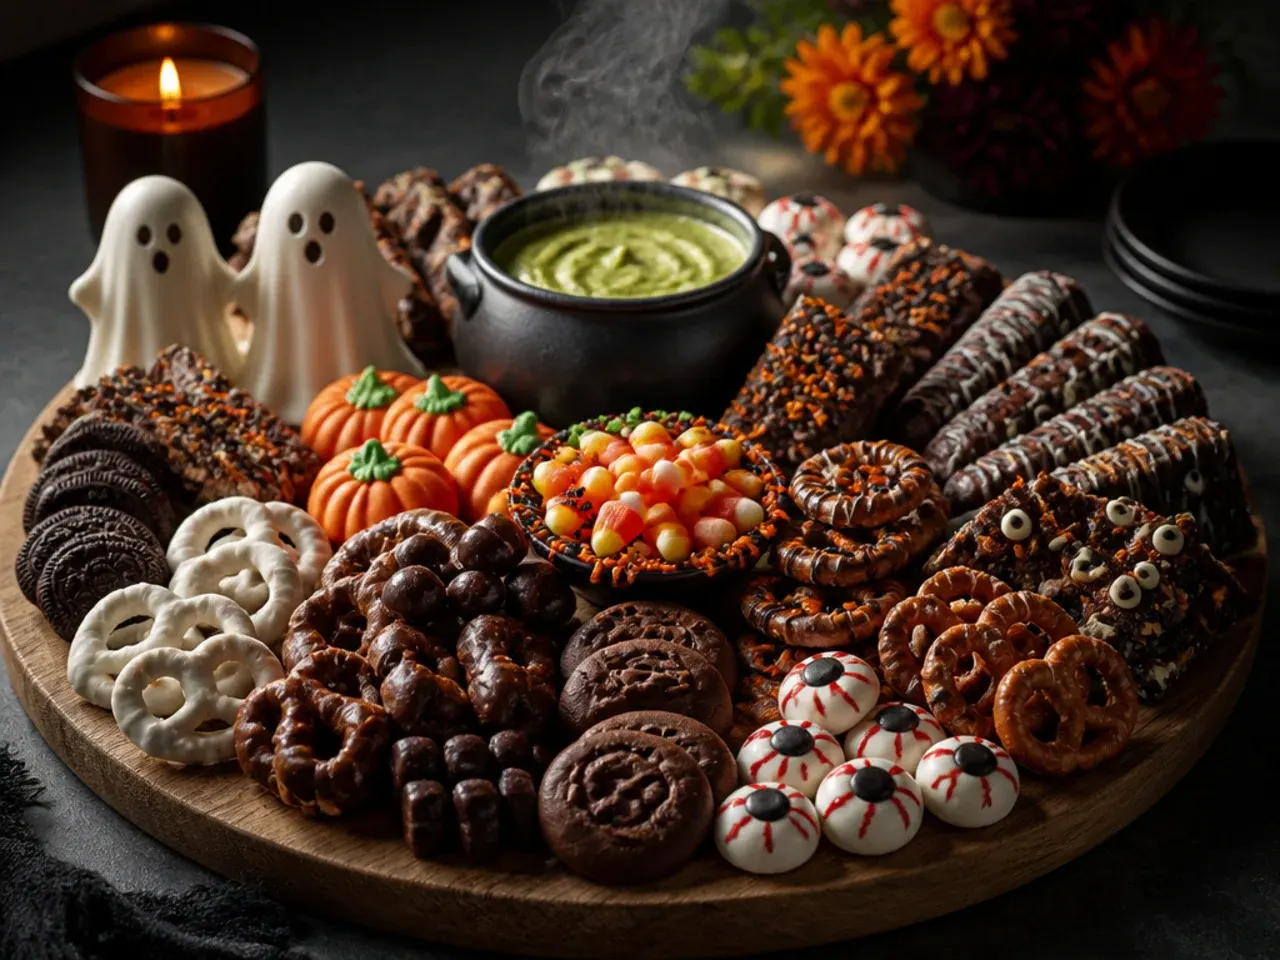
Set the board out no more than 1-2 hours before guests arrive if it includes anything perishable, like cream cheese dip or fresh fruit, to keep everything at its best. Provide small tongs or cocktail sticks next to items like caramel apple wedges so guests aren't reaching in with their hands, especially at a larger gathering. Pair the board with warm drinks, apple cider or hot chocolate, for the cosier variations, or with sparkling water for the sweeter, candy-heavy ones to cut through the sugar.
Storage and Reheating
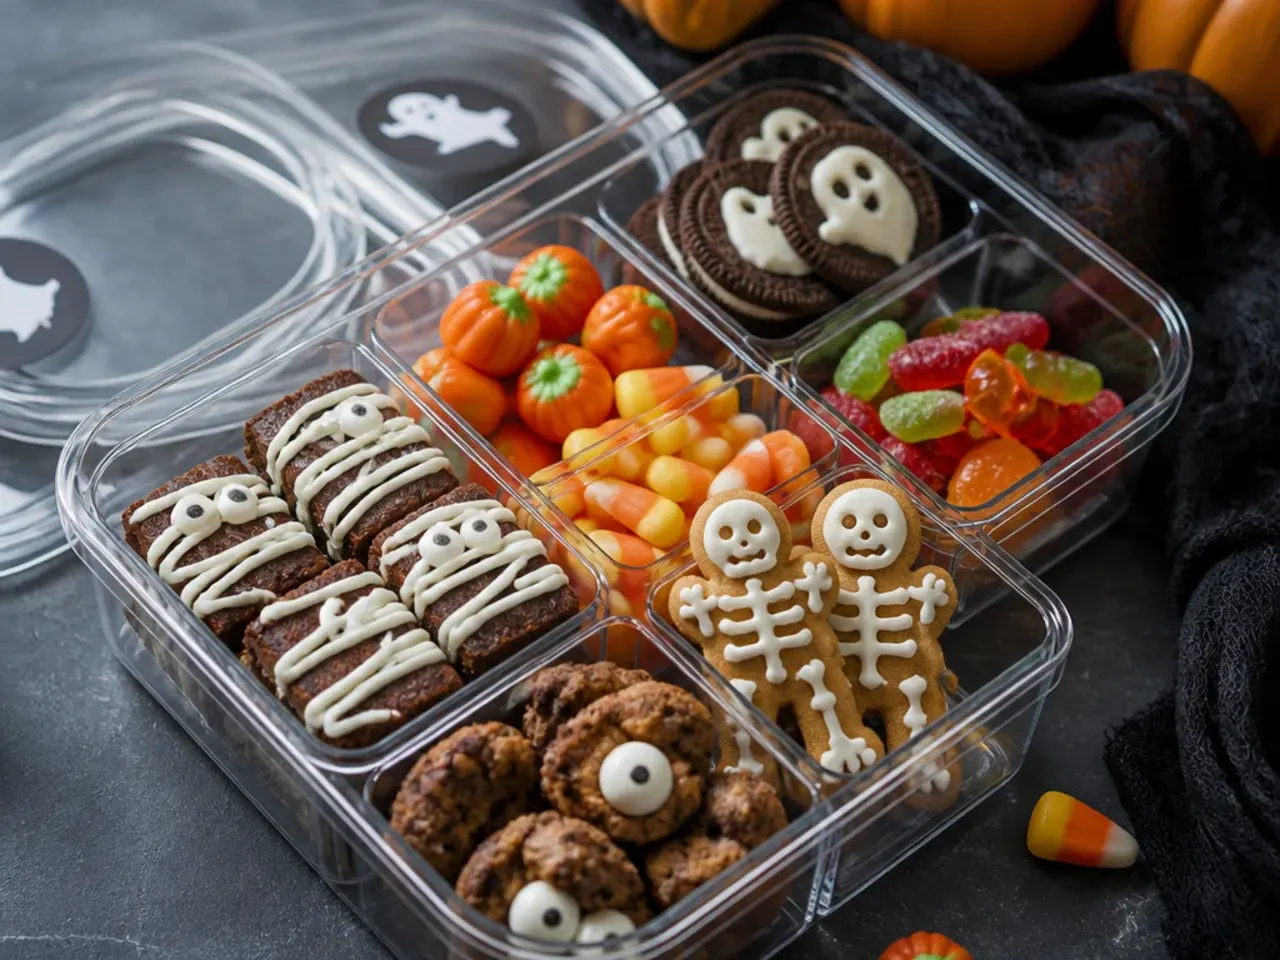
Most packaged candy and biscuits keep at room temperature in an airtight container for 1-2 weeks, so you can portion them out well before the party without any rush. Anything with fresh fruit or dairy-based dip should go back in the fridge within 2 hours of being set out, and is best eaten within a day since apple slices brown and dip can separate. There's no reheating involved with any of these boards, but chocolate bark and caramel apples can be left at cool room temperature, not the fridge, to keep their shine if you're serving again the next day.
The Recipe
The Master Recipe
30 min
10 min
40 min
10
Beginner
Ingredients 10 Person(s)
Directions
Step 1: Choose and prep your board
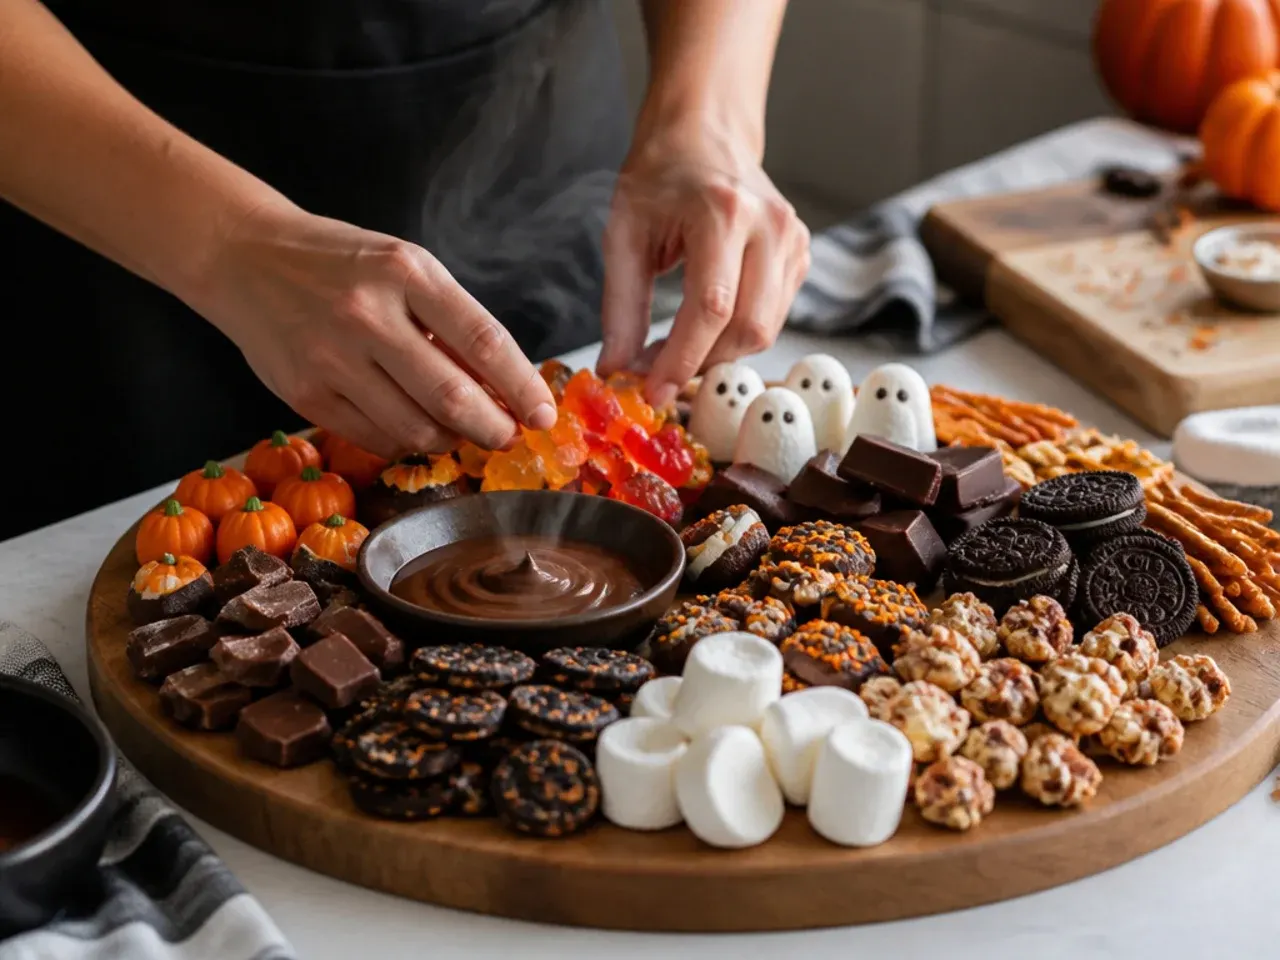
Pick a large wooden board, platter or even a clean baking sheet lined with baking paper, at least 40 cm (16 in) across for a party of 10-12, and wipe it dry so nothing sticks or slides once you start arranging.
Step 2: Make the chocolate bark
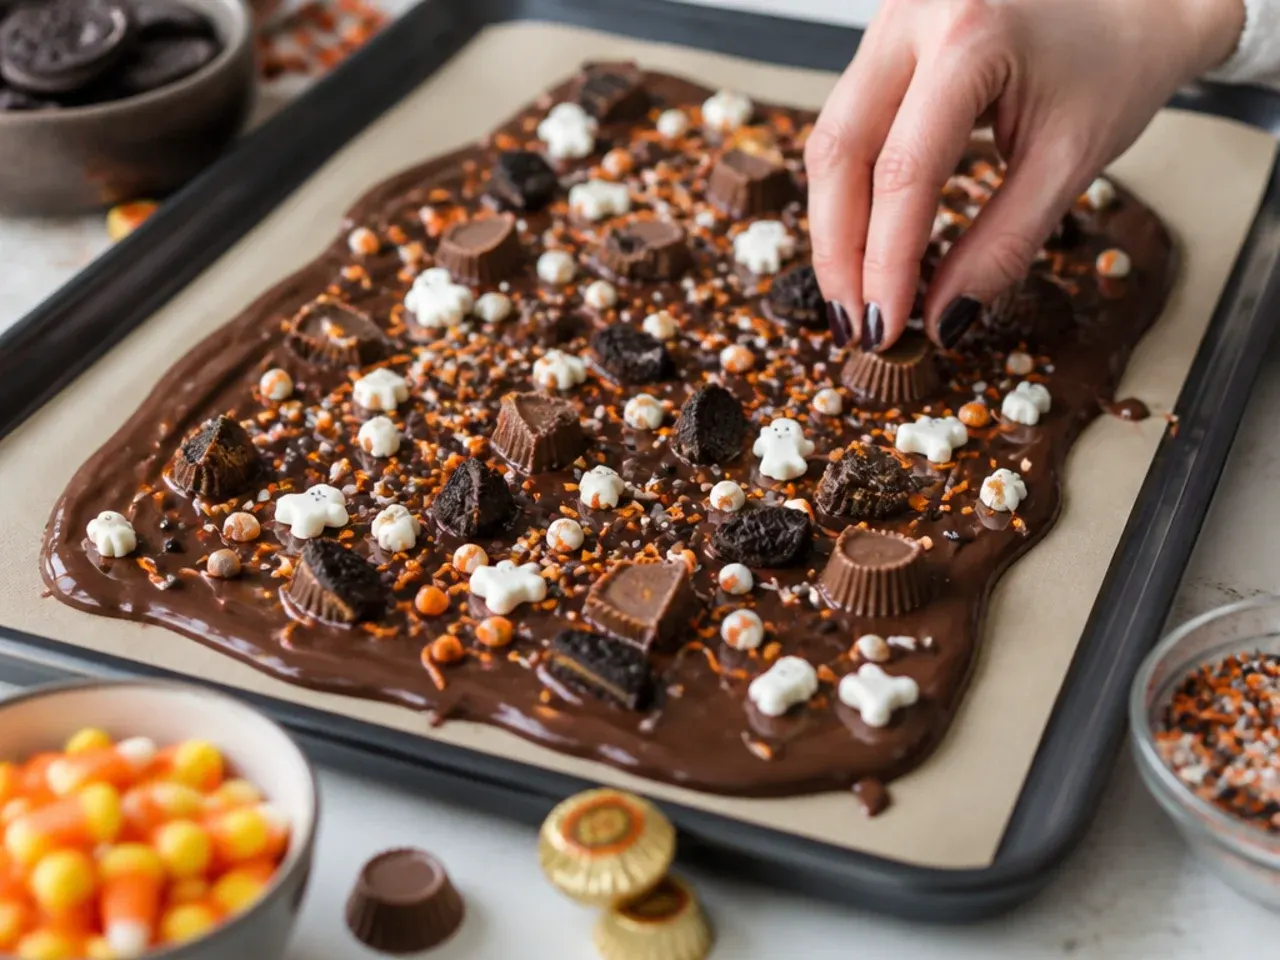
Melt the dark chocolate in 20-second bursts in the microwave, stirring between each, until smooth, then spread it thinly onto a lined tray and scatter with a few candy eyeballs and crushed pretzels before chilling for 15 minutes until fully set.
Step 3: Set out the dip bowls
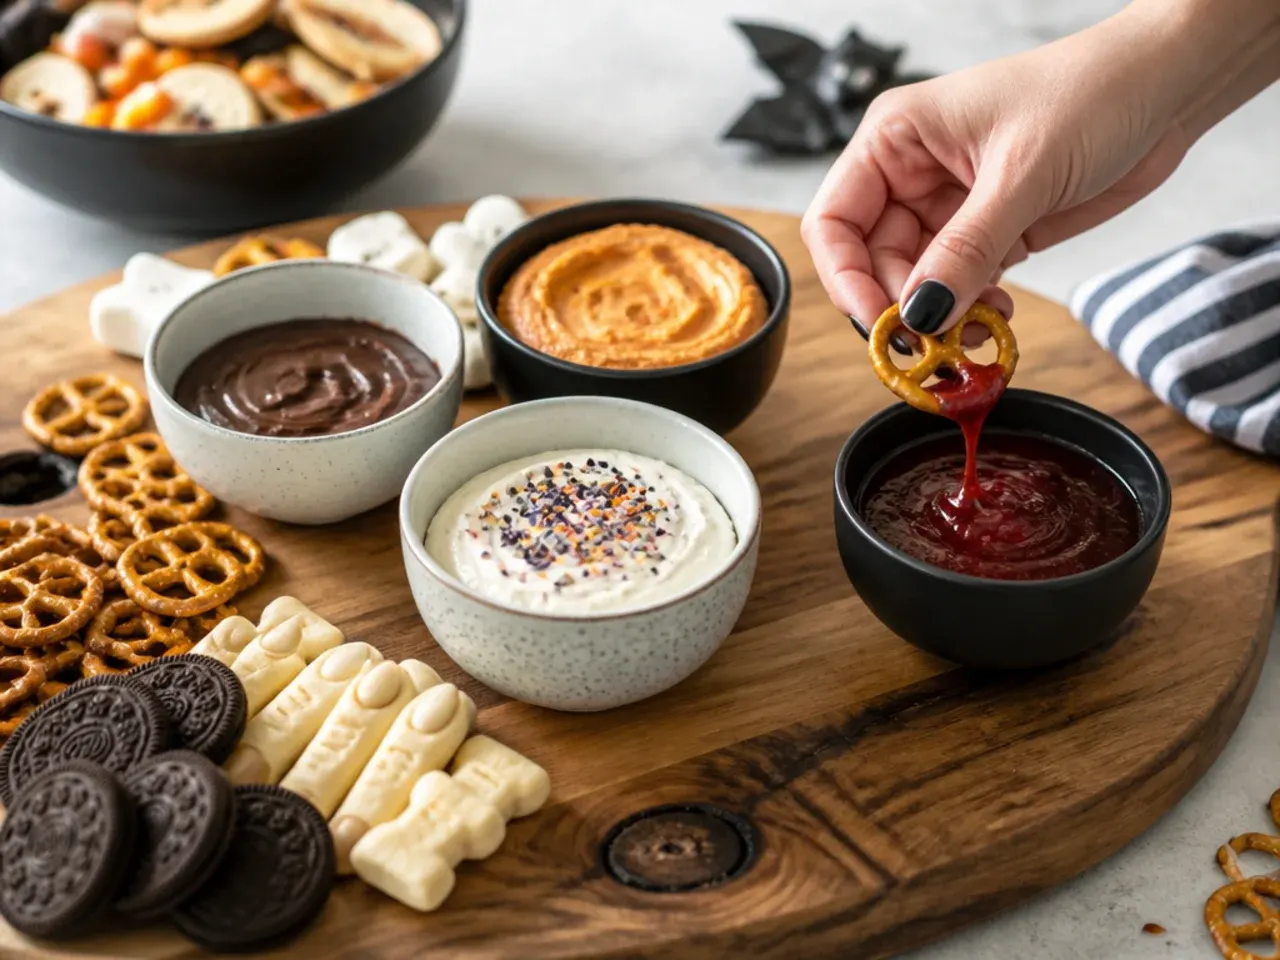
Pour the caramel sauce into a small serving bowl and place it toward one side of the board first, since bowls anchor the layout and everything else gets built around them.
Step 4: Add the tallest and largest items
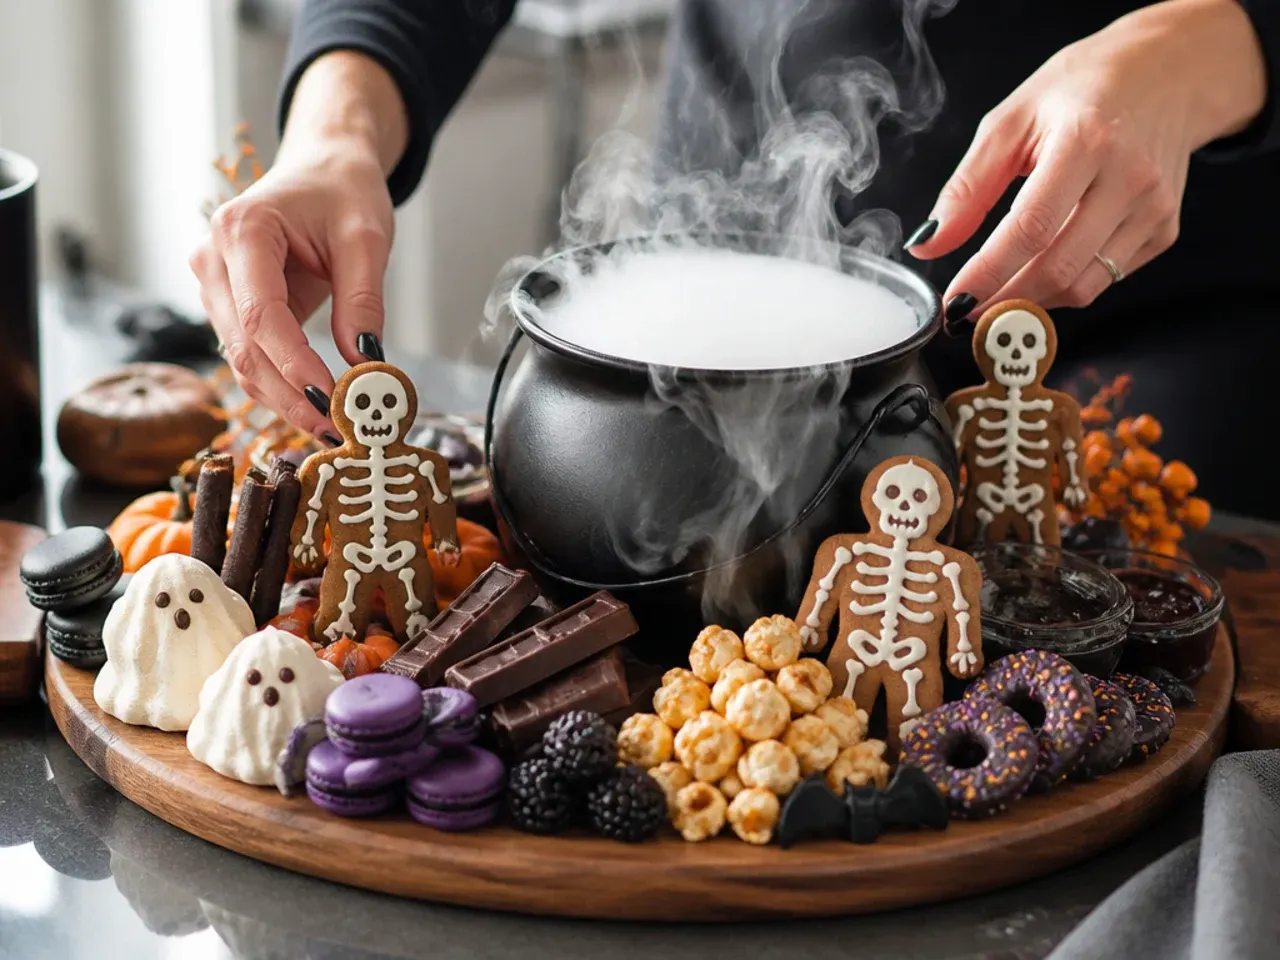
Arrange the caramel apple quarters and the broken chocolate bark around the dip bowl, spacing them out so they're not clustered in one corner and the board looks balanced from every angle.
Step 5: Layer in the mid-size items
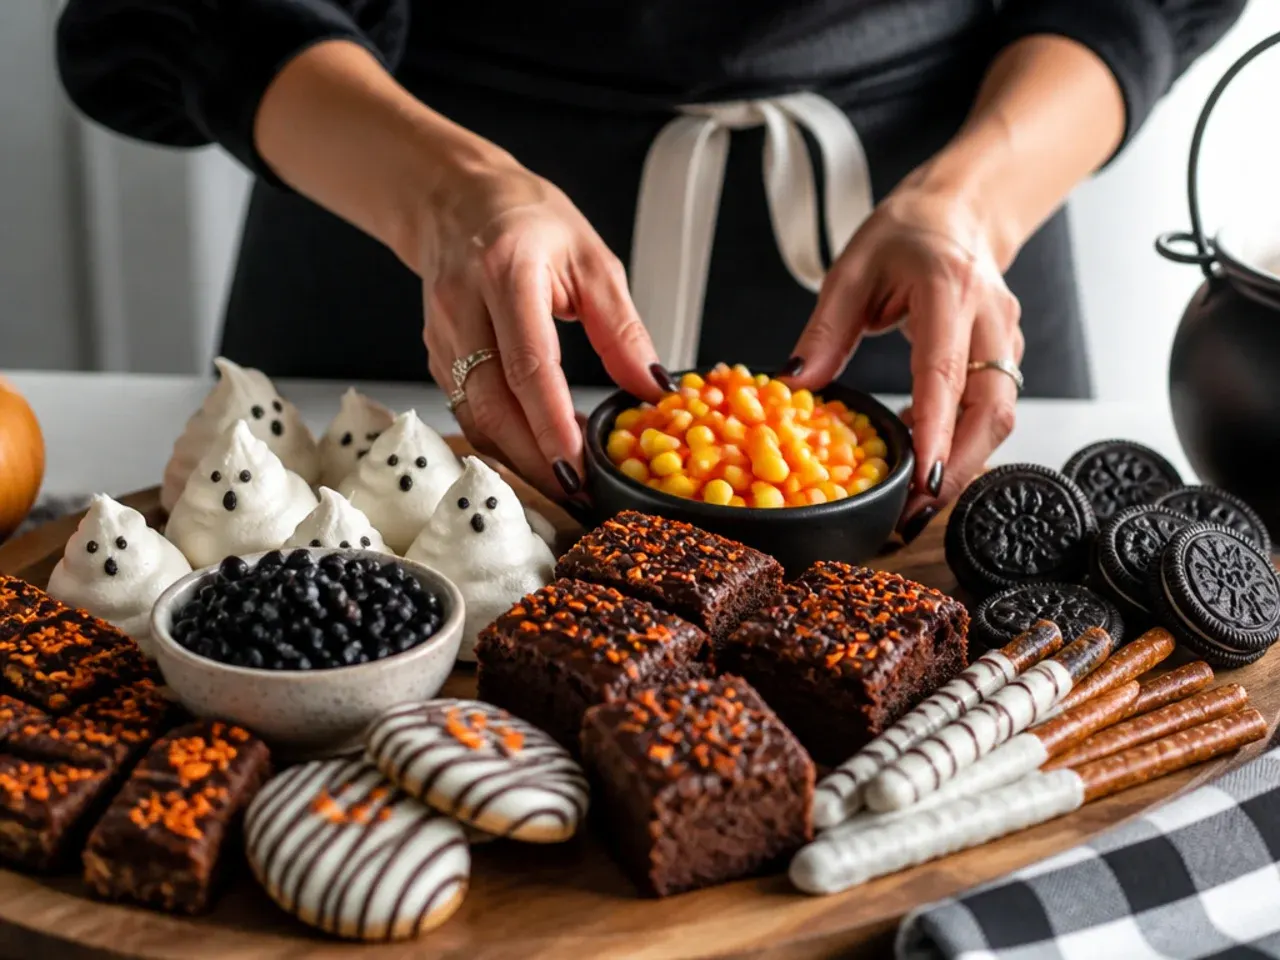
Fill the next layer of gaps with the mini donuts, chocolate-covered pretzels and clementines, tucking them close together so there's minimal bare board showing between the larger pieces.
Step 6: Fill every remaining gap
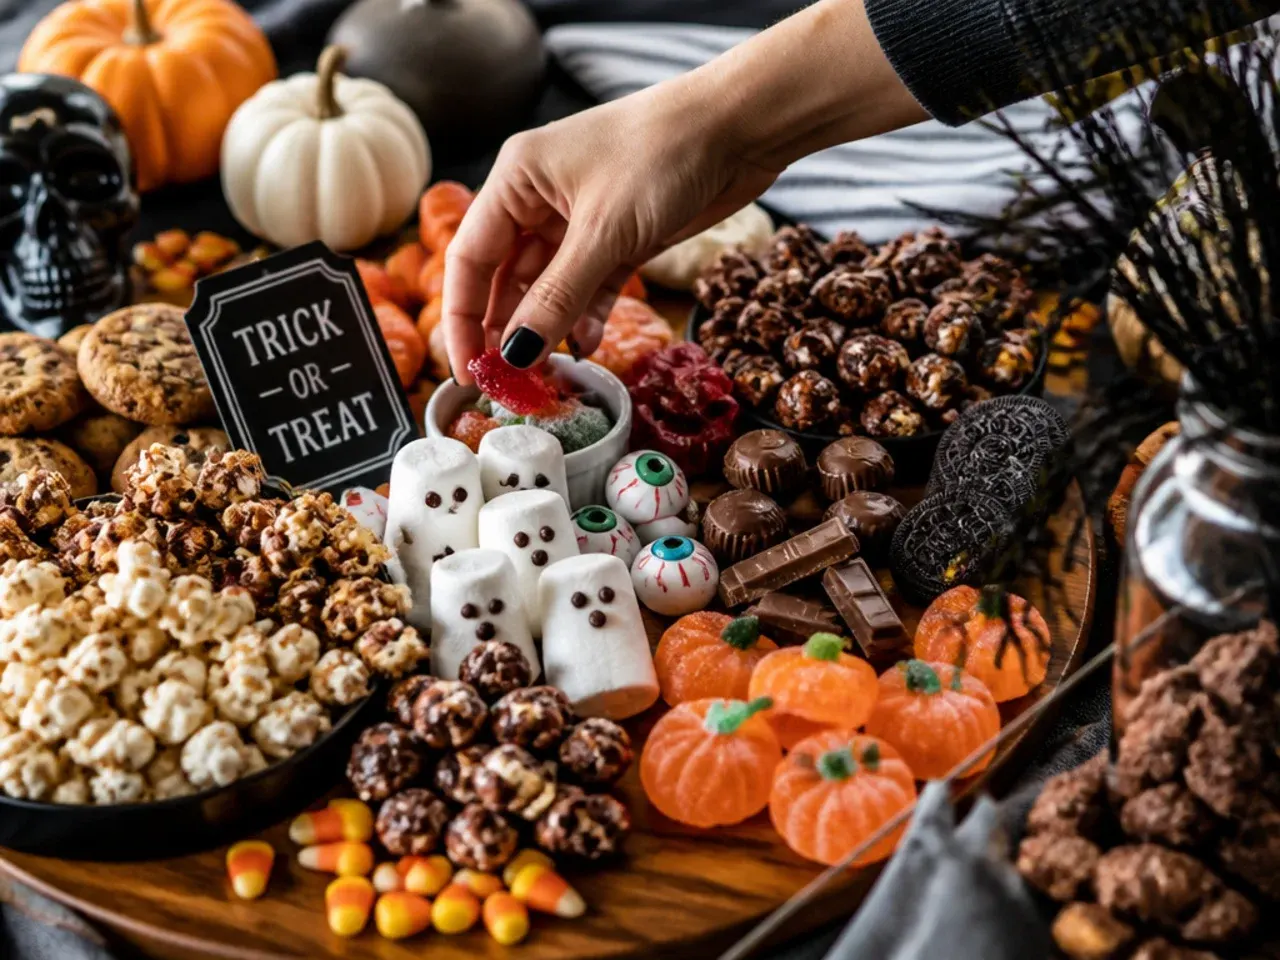
Scatter the candy corn, M&Ms, mini marshmallows and grapes into any small spaces left, using them as visual filler to pull the whole board together into one dense, colourful spread.
Step 7: Finish with the spiderweb drizzle
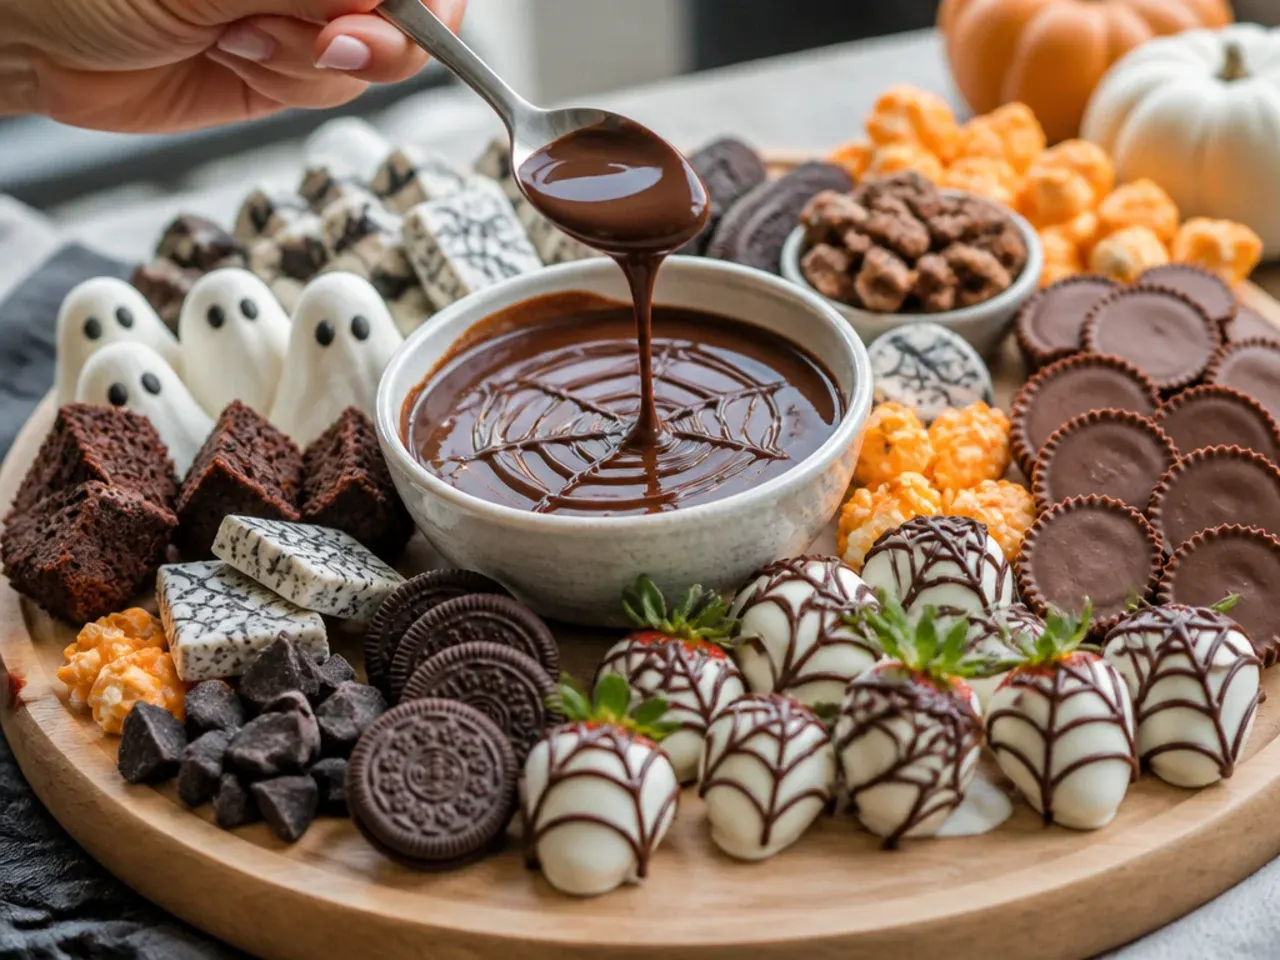
Melt the white chocolate in 20-second bursts, spoon it into a small piping bag or a sandwich bag with the corner snipped off, then pipe thin spiralling lines over the board and drag a toothpick outward through them to create a web pattern before serving immediately.
Frequently Asked Questions
A good halloween dessert charcuterie board mixes a few anchor items, like caramel apples or a bowl of dip, with mid-size treats such as mini donuts, chocolate bark or biscuits, then fills every gap with small candy like candy corn, M&Ms or mini marshmallows. Fresh fruit, grapes styled as eyeballs or clementines as mini pumpkins, adds colour and a lighter option among the richer sweets. The goal is a mix of textures and heights, not just one type of sweet repeated across the whole board.
Save this for later 📌
Pin this article to your Pinterest board so the full list is one tap away when you need it.
Save on Pinterest