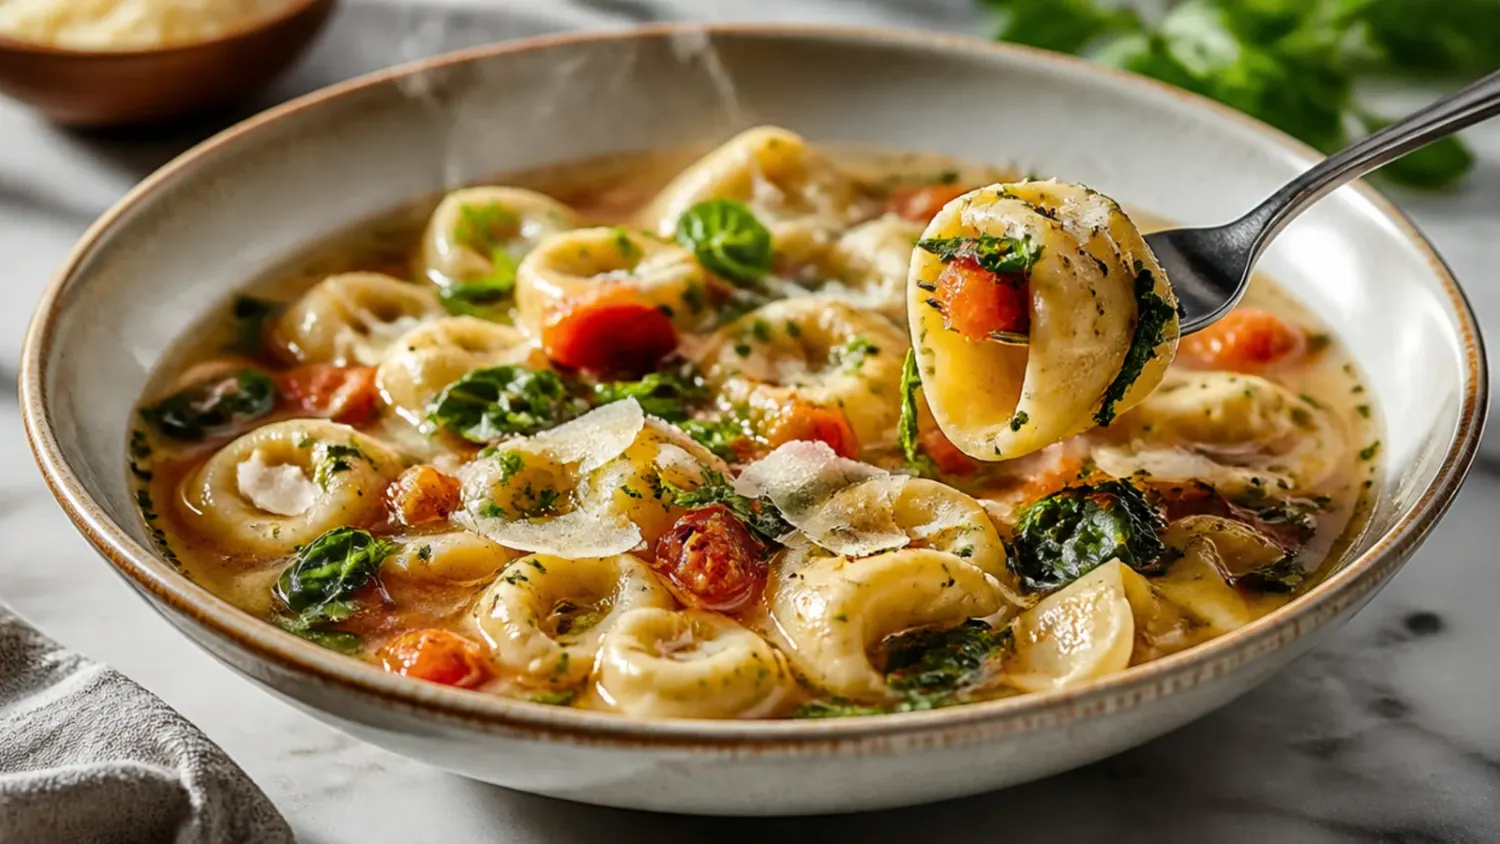
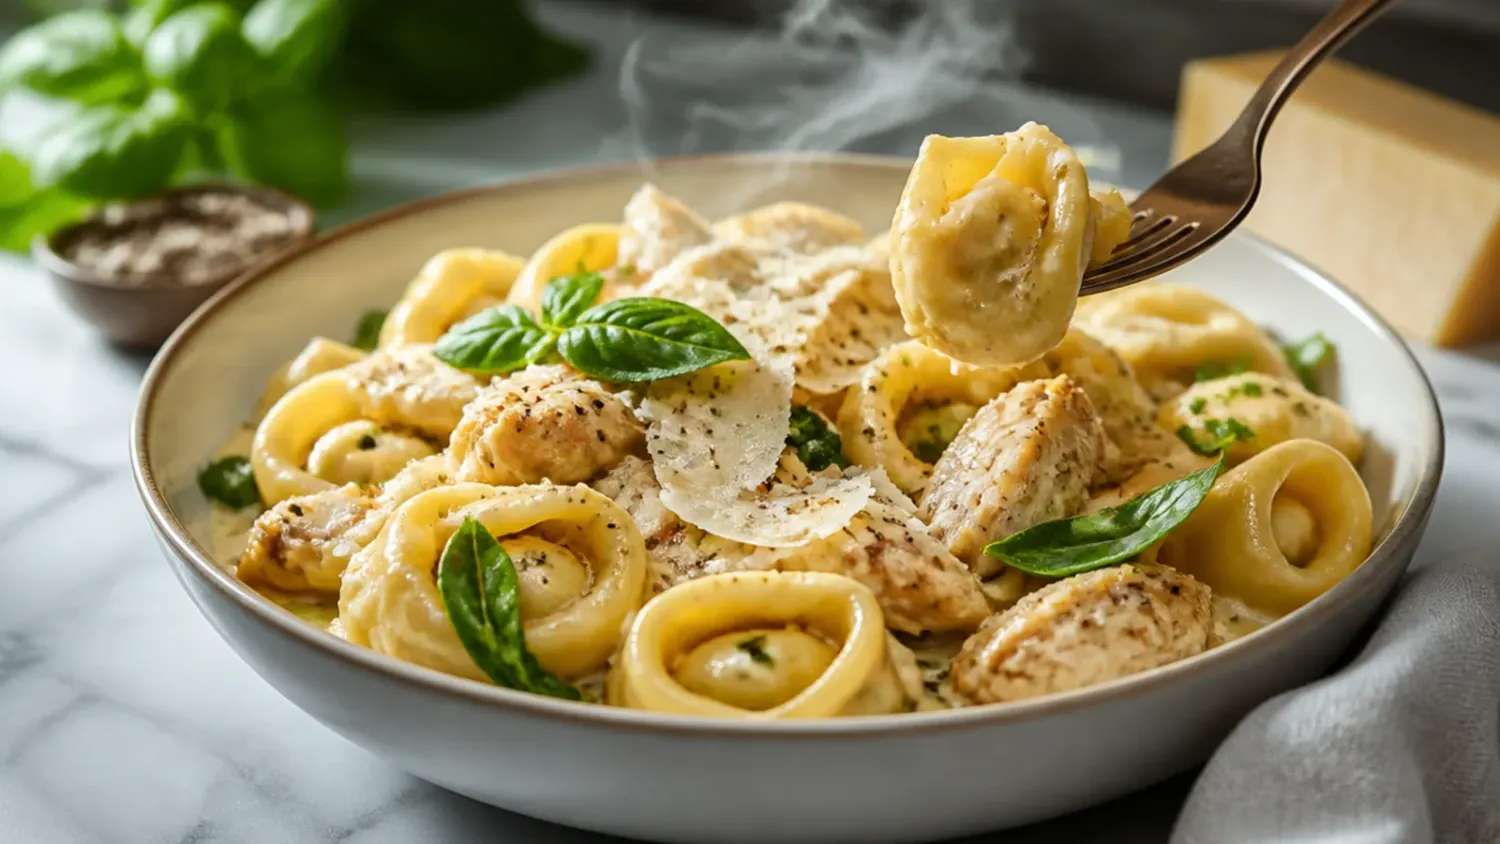
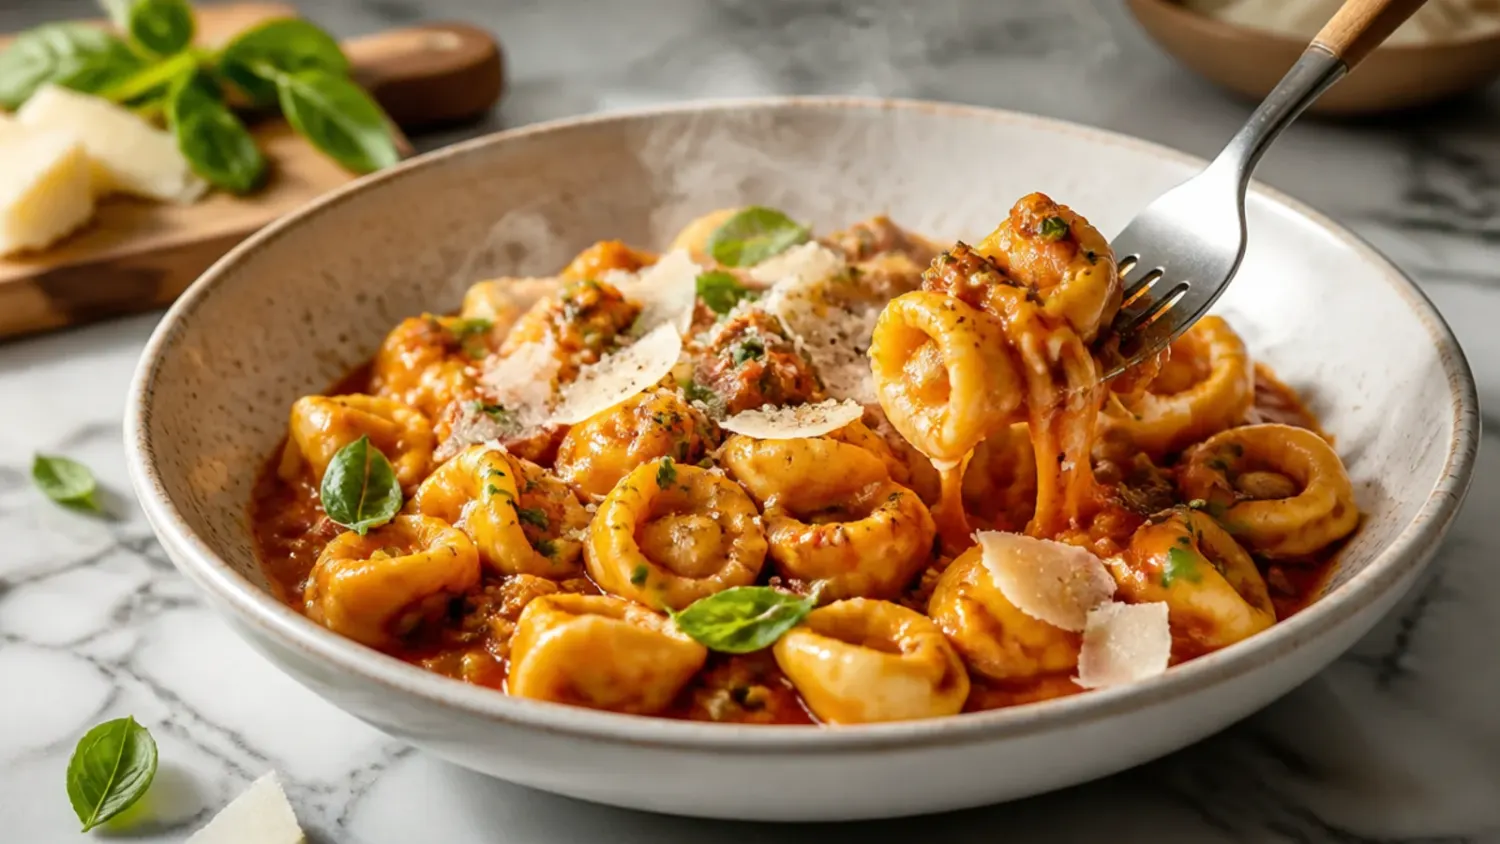
20 Cheese Tortellini Recipes Tips I Wish I Knew Sooner
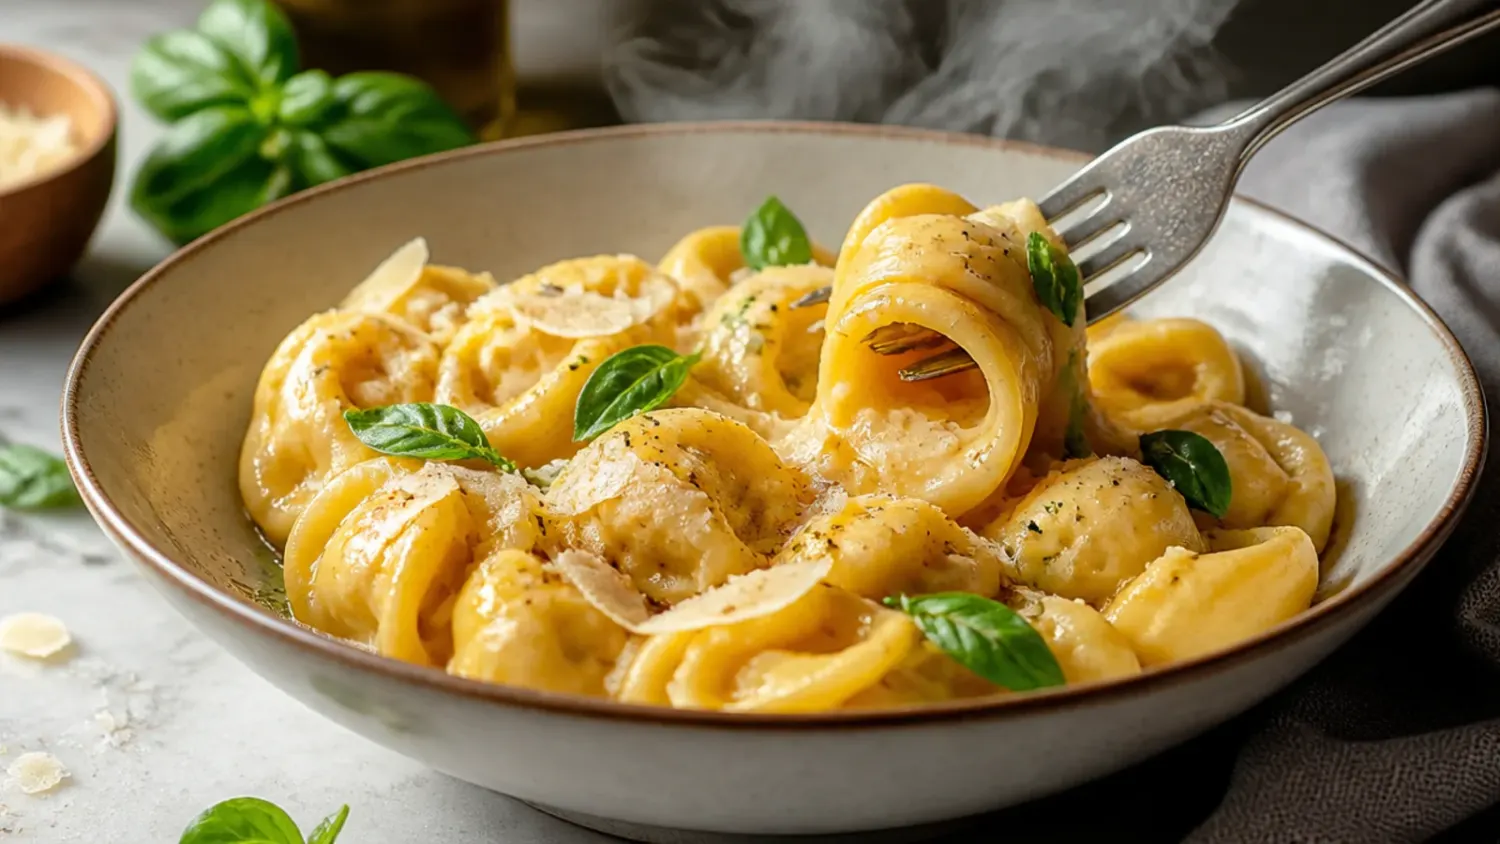
Twenty honest lessons from years of testing cheese tortellini recipes, plus the fool-proof baked version I finally make on repeat. If you love tortellini recipes inspiration, start with our Tortellini Recipes collection, then browse the full Comfort Dinners hub for more.
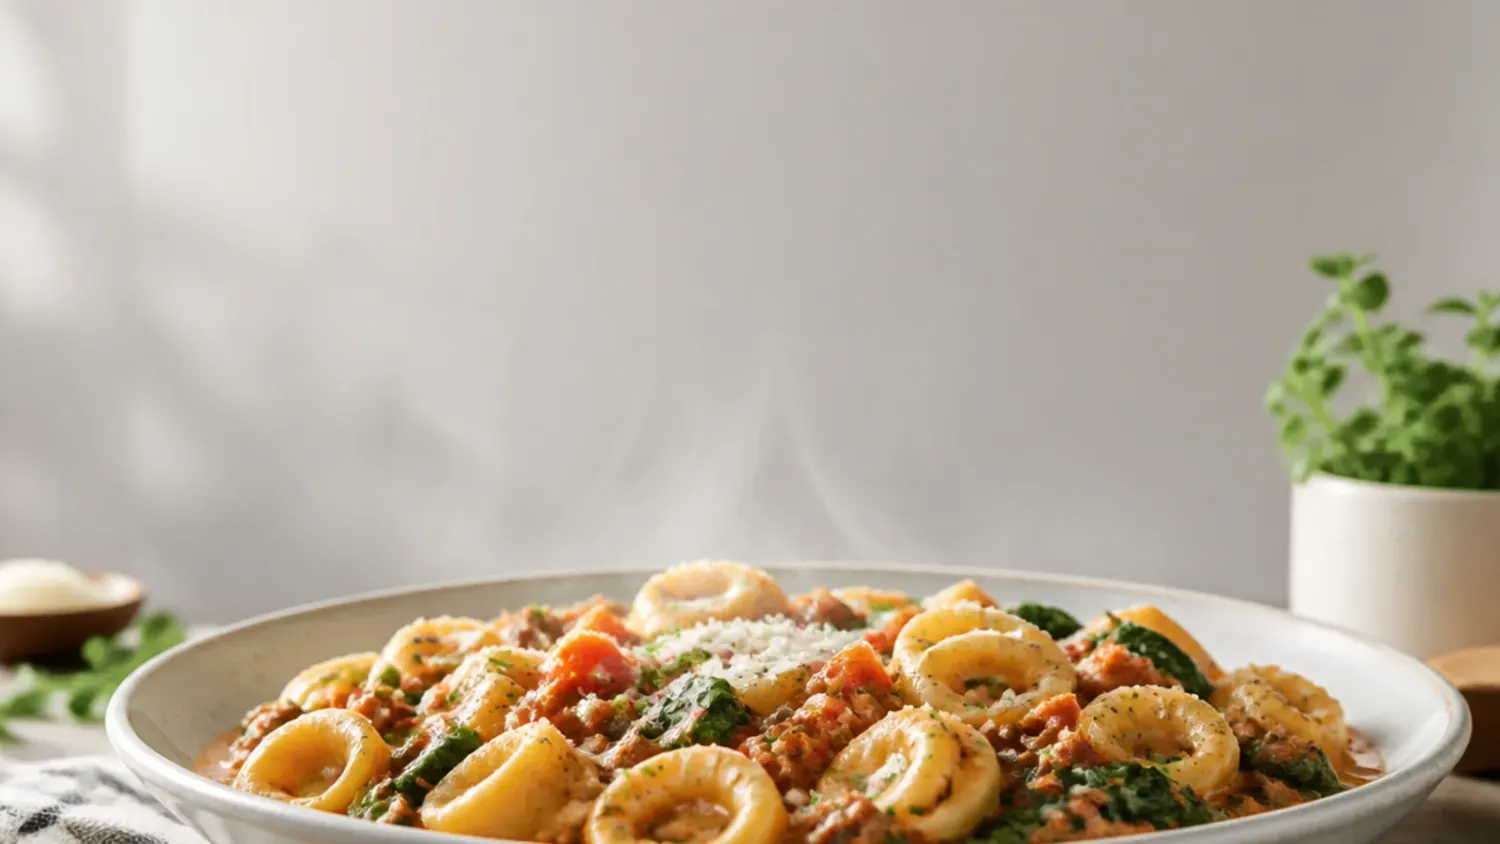
Save this for later 📌
Pin this article to your Pinterest board so the full list is one tap away when you need it.
Save on PinterestComfort Dinners
Beginner
Kitchen Journal
7 steps
Table of Contents
- Lesson 1: Fresh Tortellini Beats Dried, Every Time
- Lesson 2: Undercook the Pasta Before It Goes in the Oven
- Lesson 3: Salt the Water Like You Mean It
- Lesson 4: Give the Tortellini Room to Move
- Lesson 5: Warm the Cream Before It Meets the Hot Sauce
- Lesson 6: Don't Rush the Garlic
- Lesson 7: Pre-Shredded Cheese Doesn't Melt the Same Way
- Lesson 8: Mix Cheese Through the Sauce, Not Just on Top
- Lesson 9: Choose a Wide, Shallow Dish
- Lesson 10: Cover With Foil for the First Half of Baking
- Lesson 11: Reserve a Splash of Pasta Water
- Lesson 12: Sauce-to-Pasta Ratio Matters More Than I Thought
- Lesson 13: Let It Rest for 5-10 Minutes Before Serving
- Lesson 14: Bake by Visual Cues, Not Just the Timer
- Lesson 15: Taste and Season the Sauce Before It Goes in the Dish
- Lesson 16: Frozen Tortellini Needs a Different Clock
- Lesson 17: Freeze It Before Baking, Never After
- Lesson 18: Drain the Tortellini Properly, Don't Just Tip It
- Lesson 19: Fresh Basil Goes on After Baking, Not Before
- Lesson 20: Leftovers Need Added Moisture to Reheat Well
- What I'd Tell a Friend Trying This
- The Recipe I Used
Lesson 1: Fresh Tortellini Beats Dried, Every Time
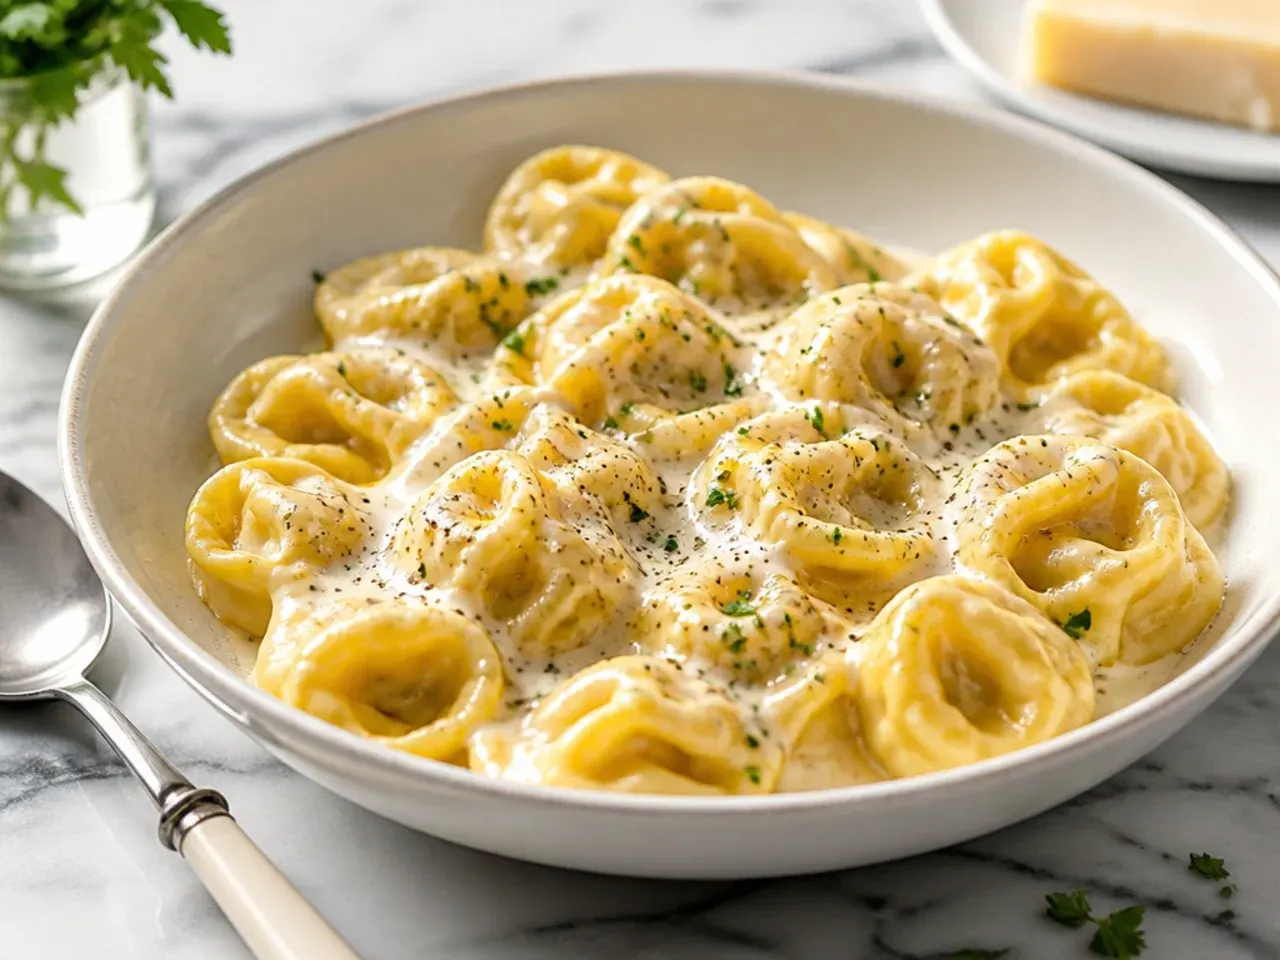
The first few times I made this, I grabbed a bag of dried tortellini because it was shelf-stable and cheap, and the texture came out chalky and tough even after fourteen minutes of boiling. Fresh, refrigerated tortellini from the chiller cabinet cooks in just 2-3 minutes and has a far more tender, pillowy bite. Now I only reach for dried in a genuine emergency, and even then I add an extra five minutes to the pack time and taste-test constantly. The difference in the finished bake is night and day.
Lesson 2: Undercook the Pasta Before It Goes in the Oven
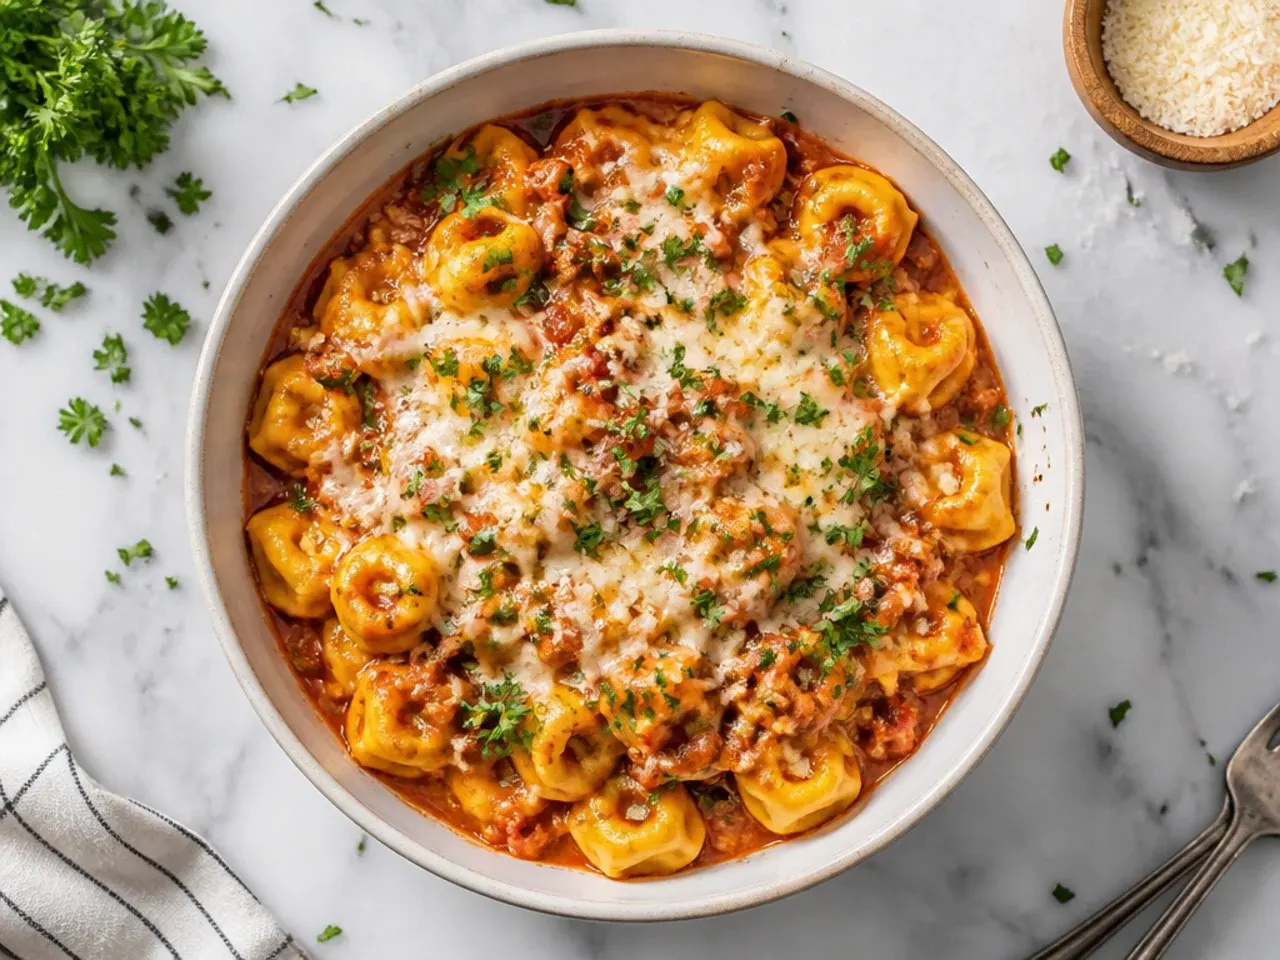
I used to boil the tortellini until fully done, then bake it for 25 minutes and wonder why it came out soft and blown-out. The fix was simple: boil for 60-90 seconds less than the packet says, because the pasta keeps cooking in the hot sauce inside the oven. Now every piece holds its shape and the filling stays put instead of leaking into the sauce. If you're using fresh tortellini that cooks in 3 minutes, pull it at around 90 seconds to 2 minutes.
Lesson 3: Salt the Water Like You Mean It
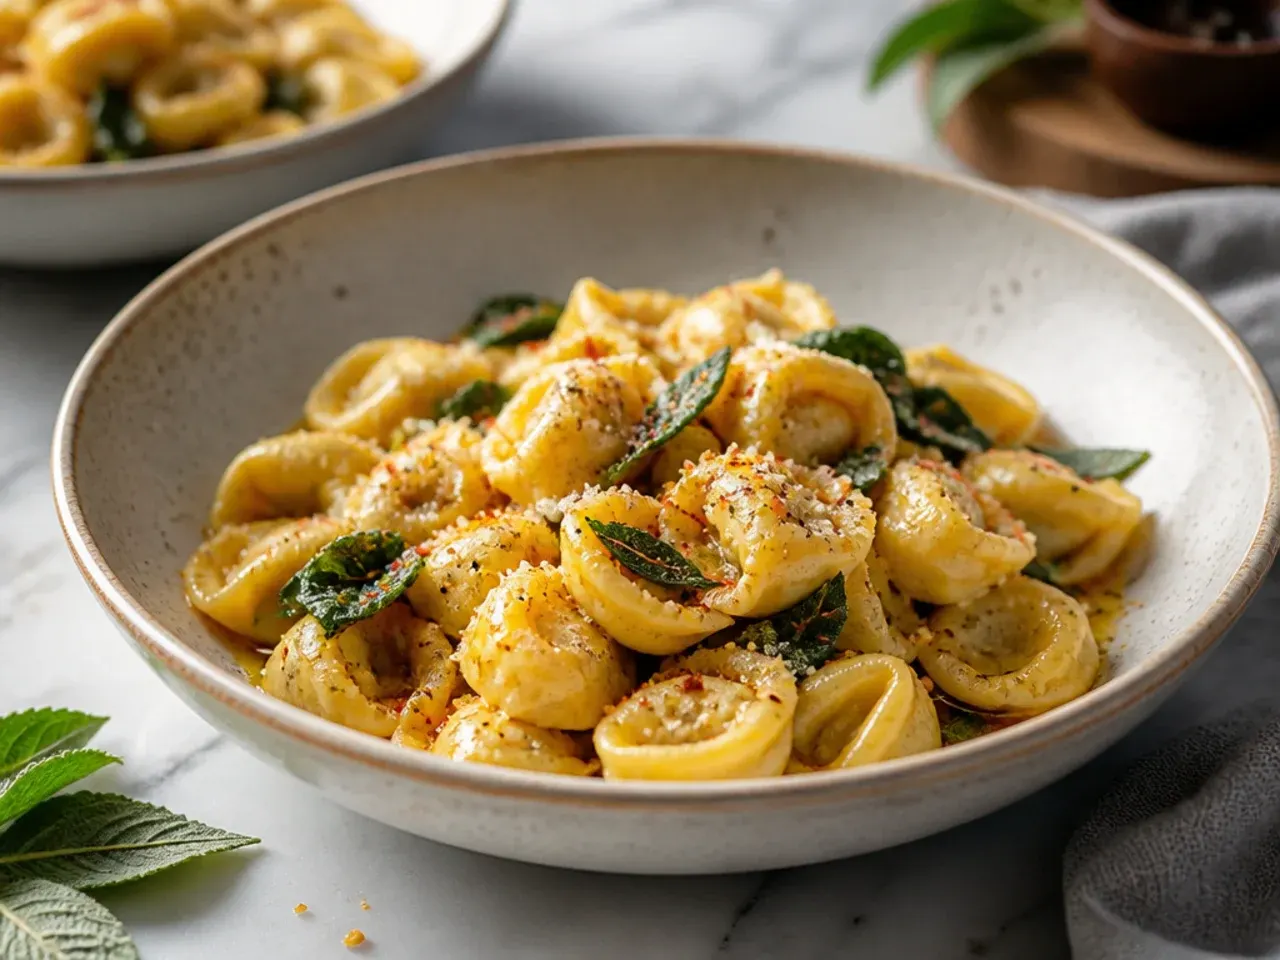
For ages I under-salted the pasta water because I figured the marinara and Parmesan would season everything anyway, but the tortellini itself tasted flat and the whole dish needed rescuing with extra salt at the table. Now I salt the boiling water until it tastes like the sea, roughly 1 tablespoon per 2 litres (4 pints), and it seasons the pasta and the filling from the inside out. It's the one step that costs nothing and changes everything.
Lesson 4: Give the Tortellini Room to Move
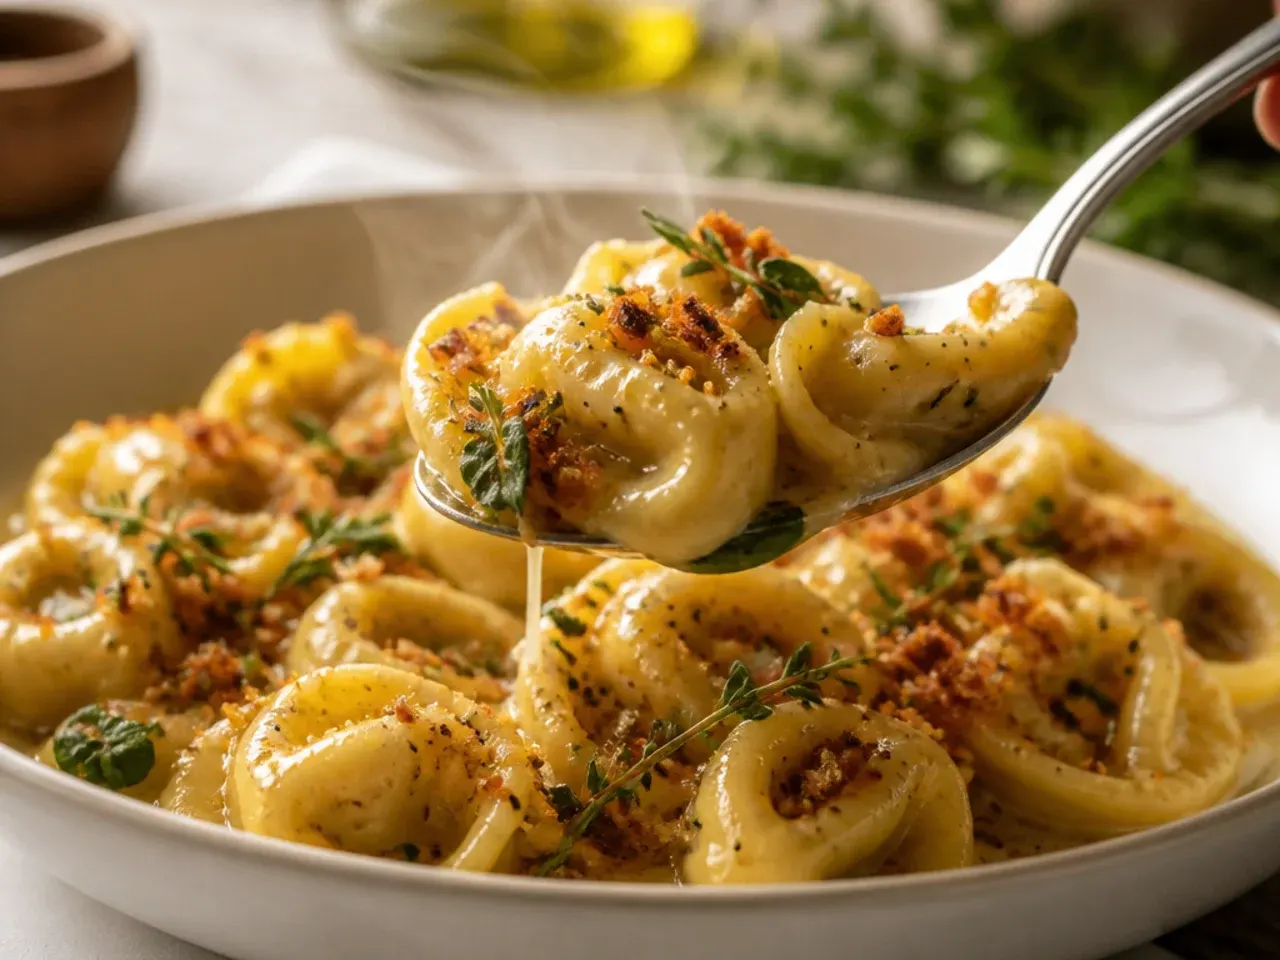
My early attempts used a pot that was too small, and the tortellini clumped together, split at the seams, and cooked unevenly with some pieces raw in the middle. Now I use a large pot with at least 3 litres (3 quarts) of water for a 900 g (2 lb) batch, so every piece has space to bob around freely. I also give it one gentle stir in the first 30 seconds to stop the starches gluing everything together.
Lesson 5: Warm the Cream Before It Meets the Hot Sauce
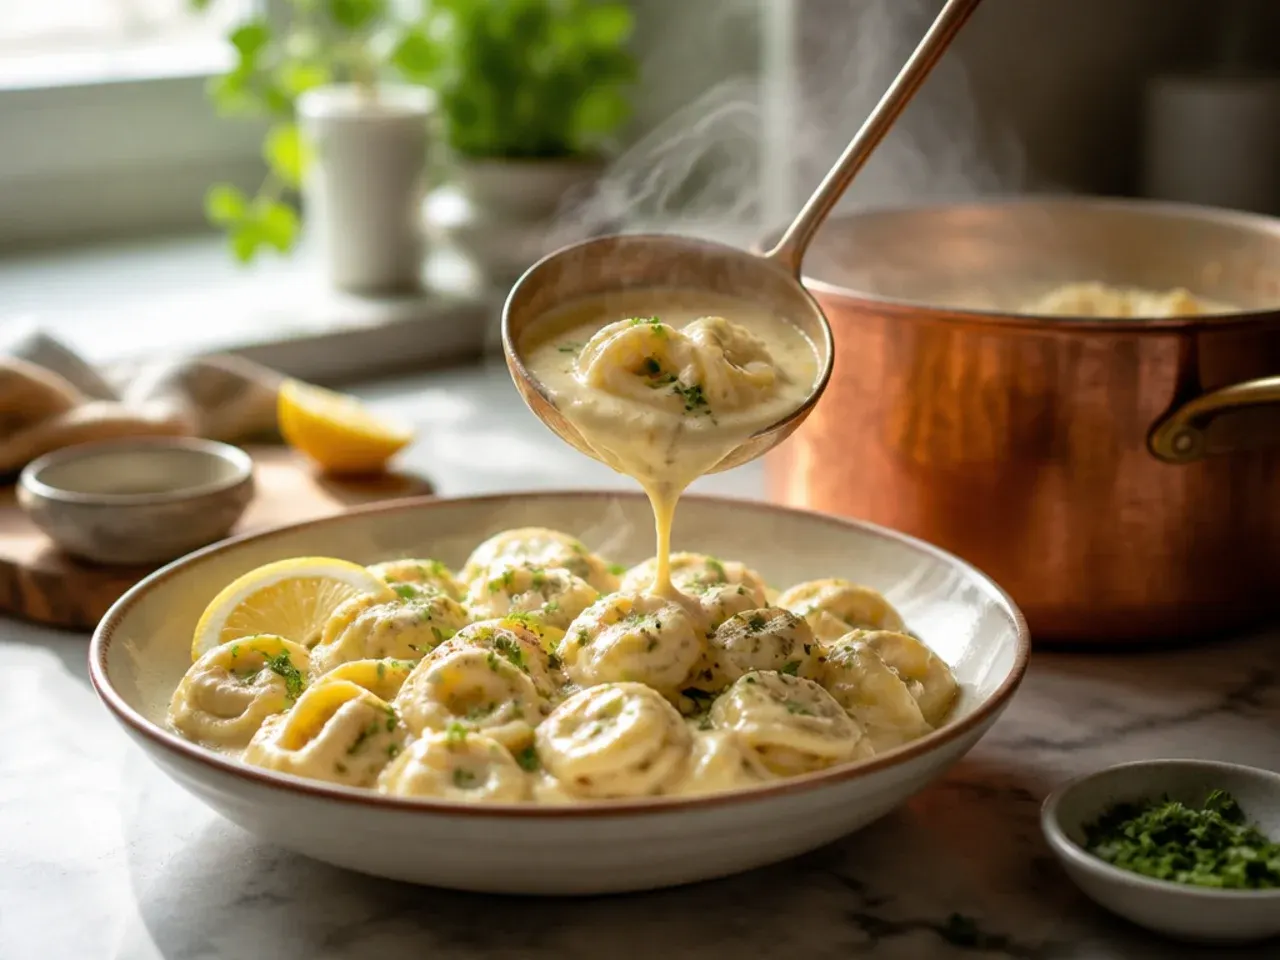
I once poured cold double cream straight from the fridge into a bubbling marinara and watched it split into greasy little flecks within seconds. Now I let the cream sit at room temperature for 10 minutes and stir it in off the heat, then return the pan to a gentle simmer. The sauce stays silky and coats the tortellini instead of looking curdled and thin.
Lesson 6: Don't Rush the Garlic
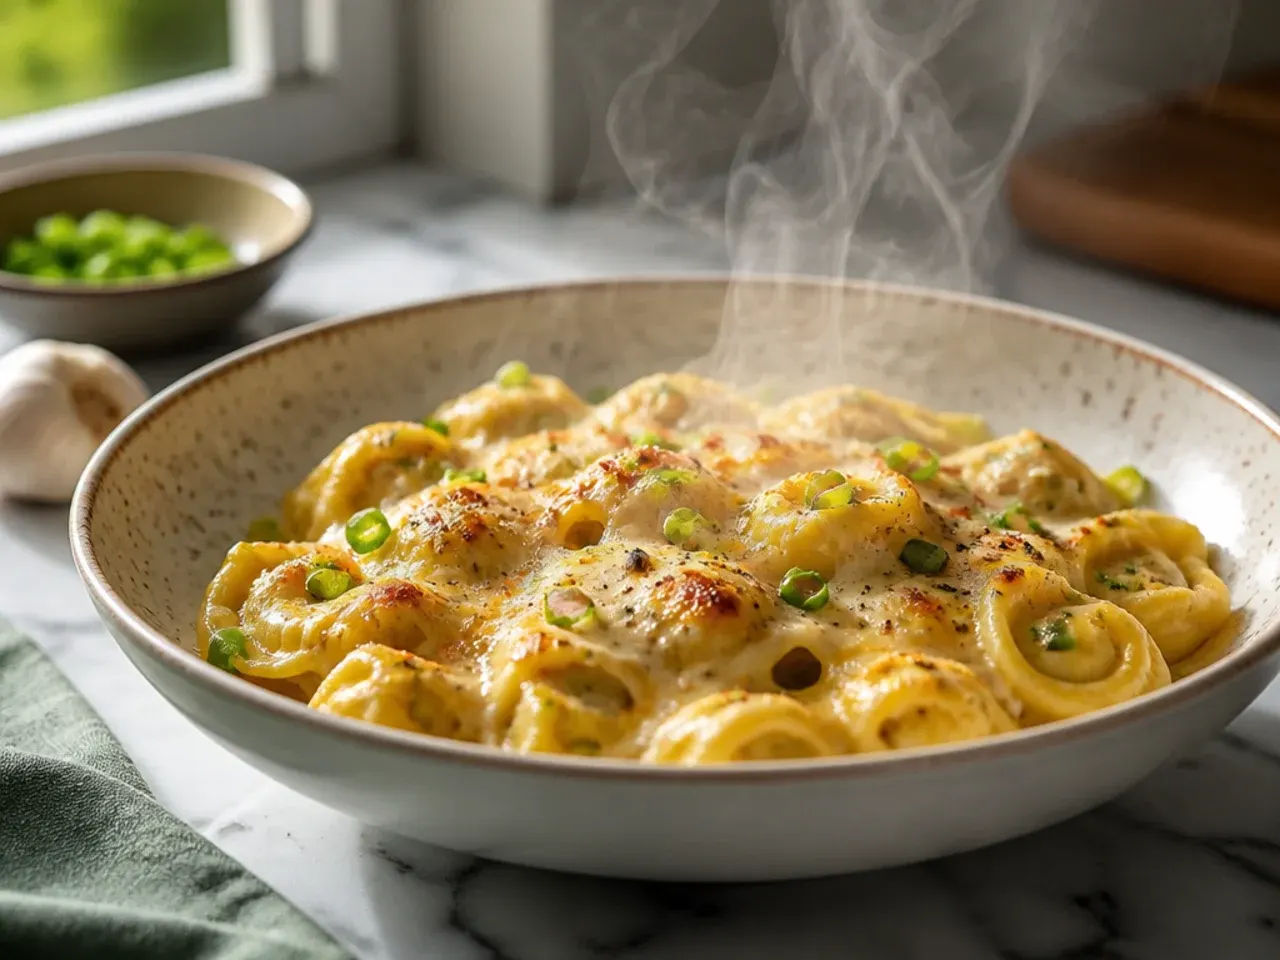
Impatience once cost me an entire batch of sauce when I cranked the heat to speed things up and the minced garlic went from fragrant to acrid in under a minute. Garlic needs 60-90 seconds in melted butter over medium-low heat, just until it smells nutty and turns pale gold, never brown. Burnt garlic tastes bitter and there's no saving a sauce once it's happened, so I pull the pan off the heat the second I catch the smell changing.
Lesson 7: Pre-Shredded Cheese Doesn't Melt the Same Way
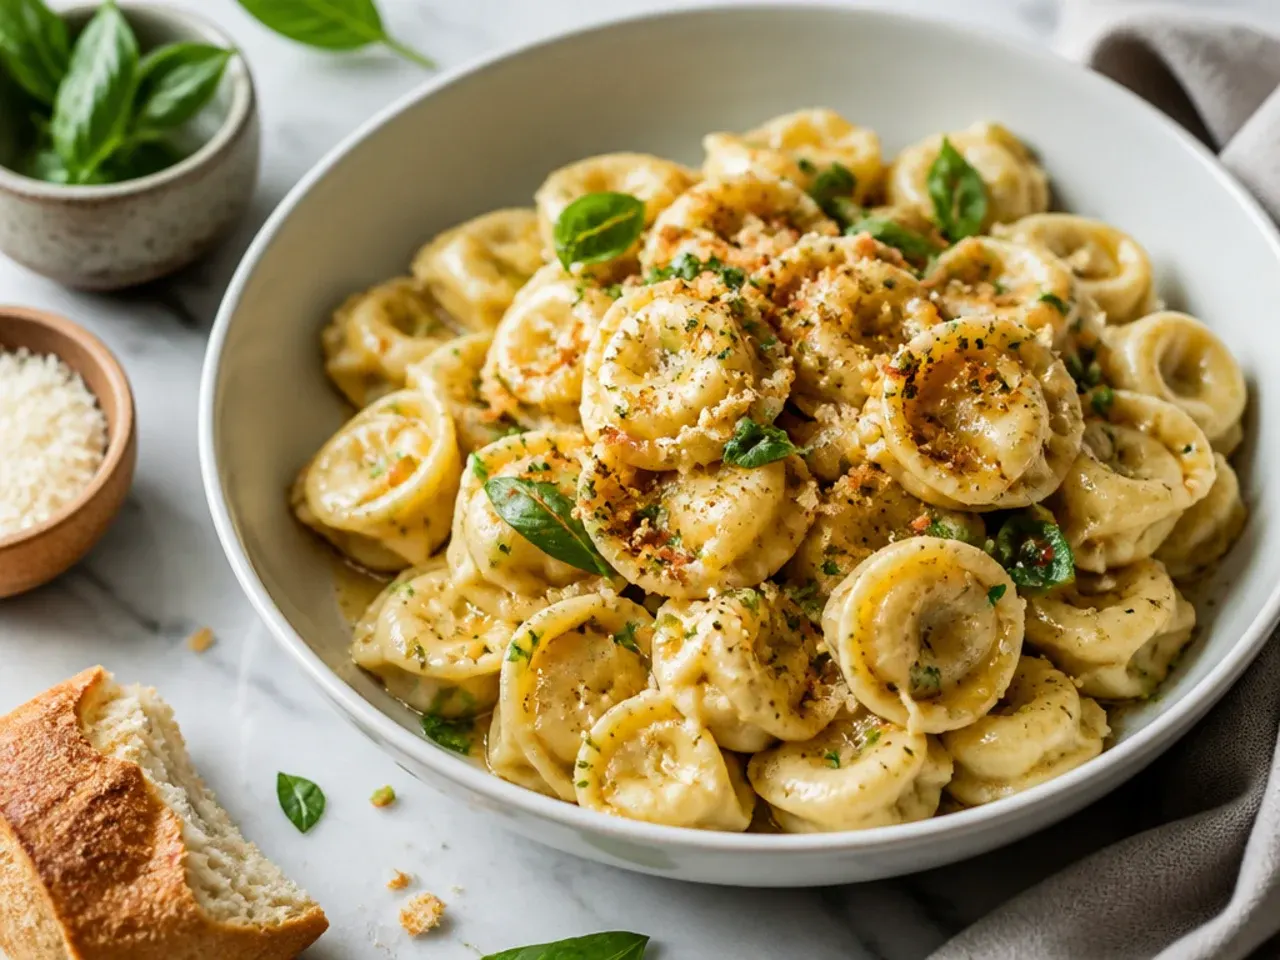
Bagged, pre-shredded mozzarella is coated in anti-caking starch, and I found it left my baked tortellini with a slightly grainy, oily top instead of the stretchy, glossy melt I wanted. A block of mozzarella that I grate myself melts smoother and pulls into proper cheesy strings when you lift a spoonful out. It takes an extra five minutes with a box grater, but for a dish where cheese is the whole point, it's worth it every time.
Lesson 8: Mix Cheese Through the Sauce, Not Just on Top
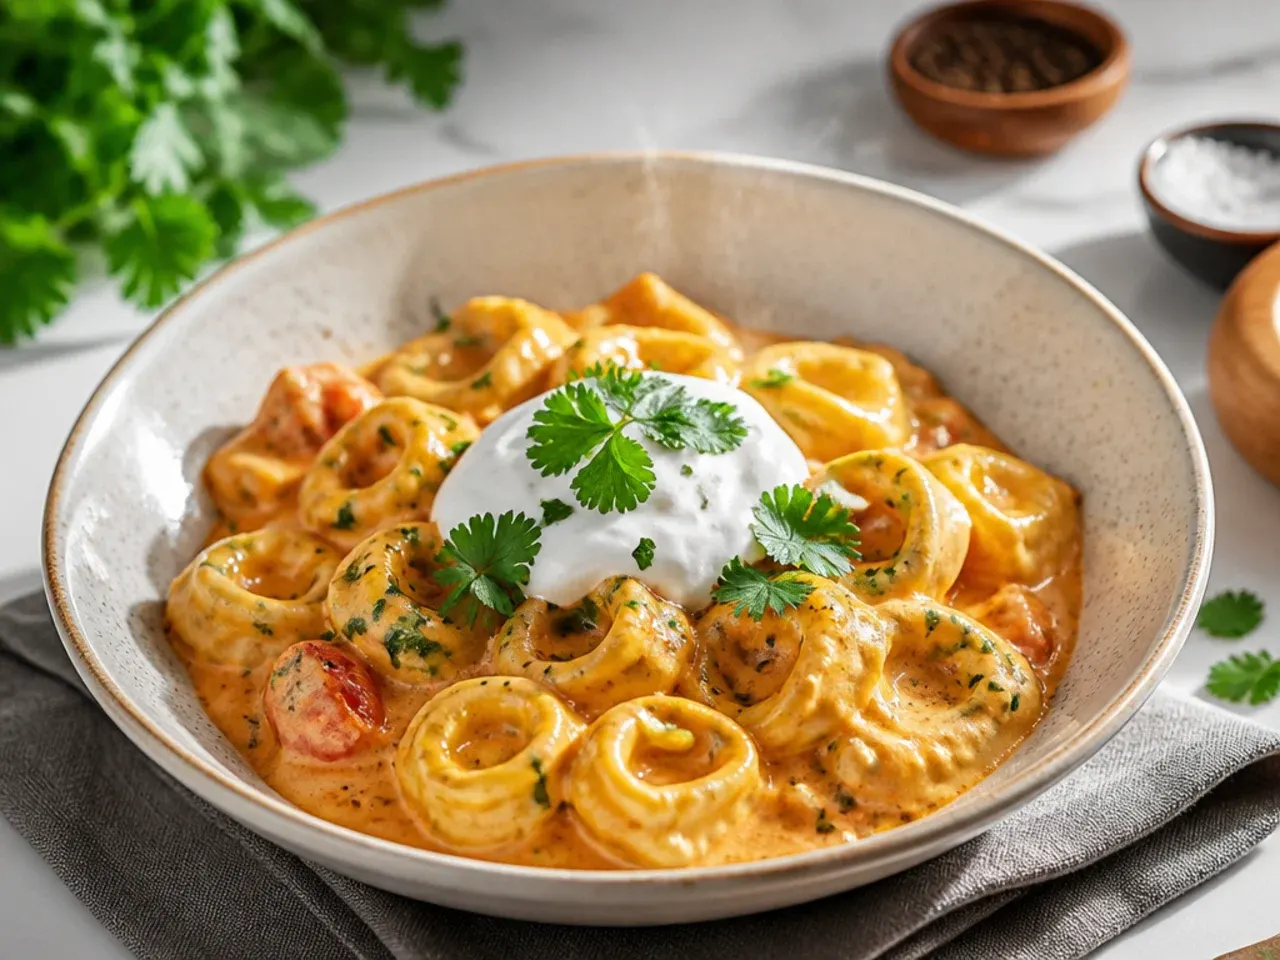
My first bakes only had cheese scattered over the surface, so the top layer went stringy and golden while everything underneath stayed sauce-only and a bit bland. Now I stir half the mozzarella and all the Parmesan through the sauce before it goes in the dish, then save the rest of the mozzarella for the top. Every forkful ends up cheesy, not just the ones from the corners.
Lesson 9: Choose a Wide, Shallow Dish
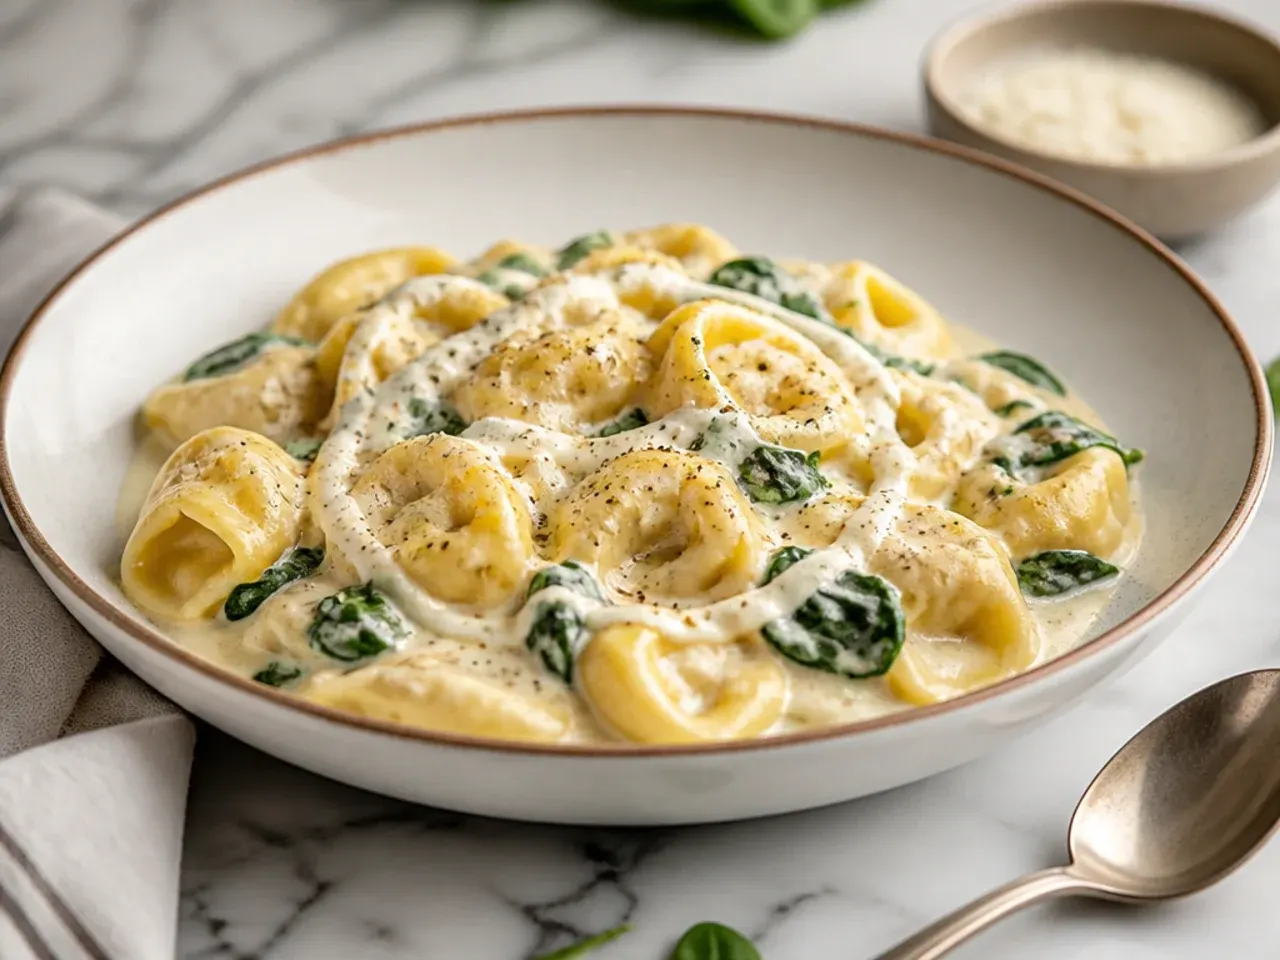
I baked this in a deep, narrow casserole dish once and the middle stayed lukewarm while the edges were bubbling and slightly dry. A wide dish around 23x33 cm (9x13 in), with the tortellini spread no more than 4-5 cm (about 2 in) deep, heats through evenly and gives you more of that golden, bubbling surface area. Depth is the enemy of an evenly baked cheese bake.
Lesson 10: Cover With Foil for the First Half of Baking
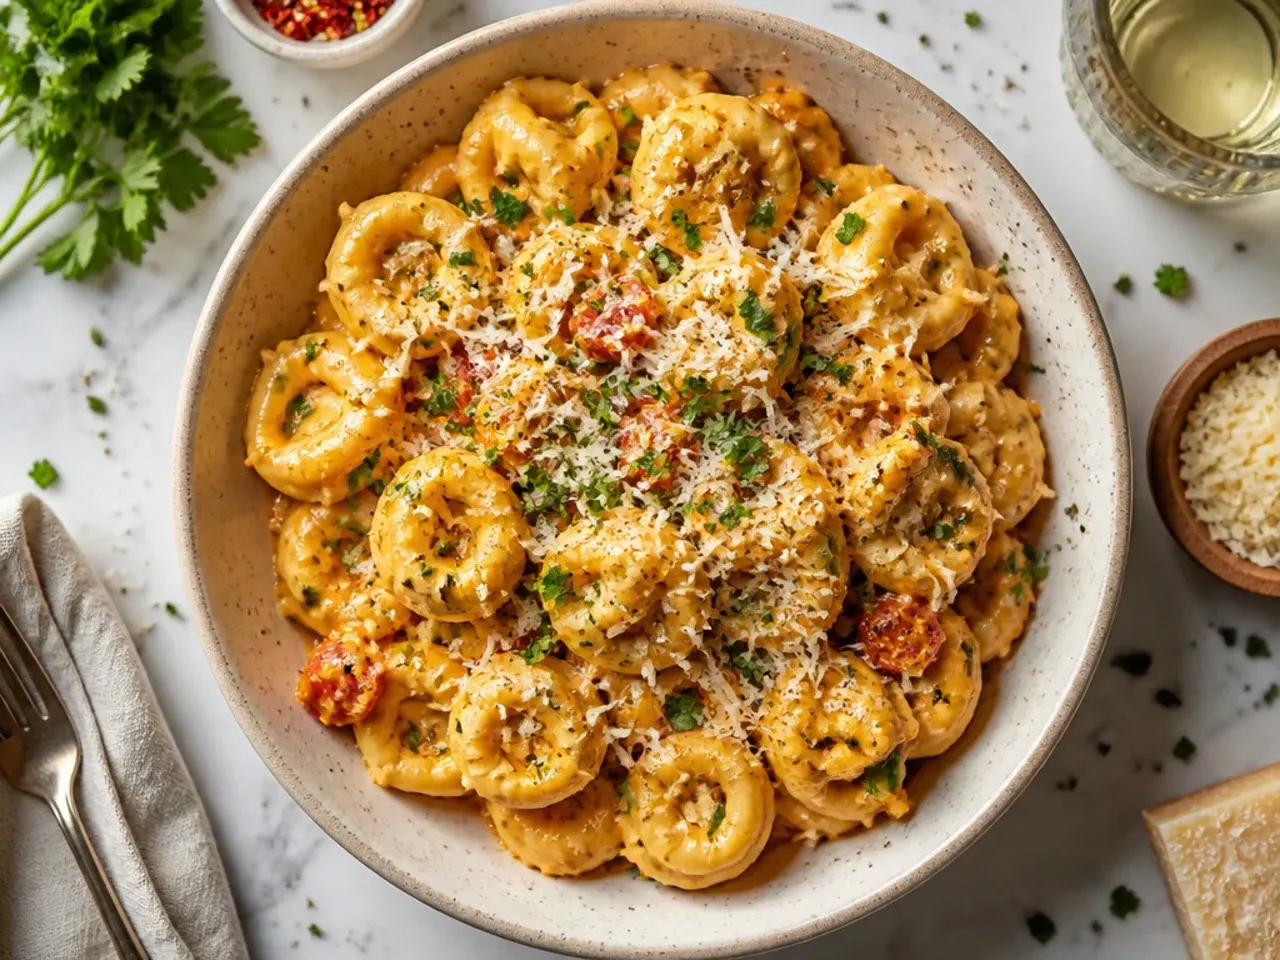
Leaving the dish uncovered for the full bake meant the cheese on top was scorched and rubbery well before the sauce underneath was properly hot. Now I cover it loosely with foil for the first 12-15 minutes at 190°C (375°F), then uncover for the final 8-10 minutes so the top can turn golden and bubbling. That two-stage approach protects the cheese while still giving you a proper crust.
Lesson 11: Reserve a Splash of Pasta Water
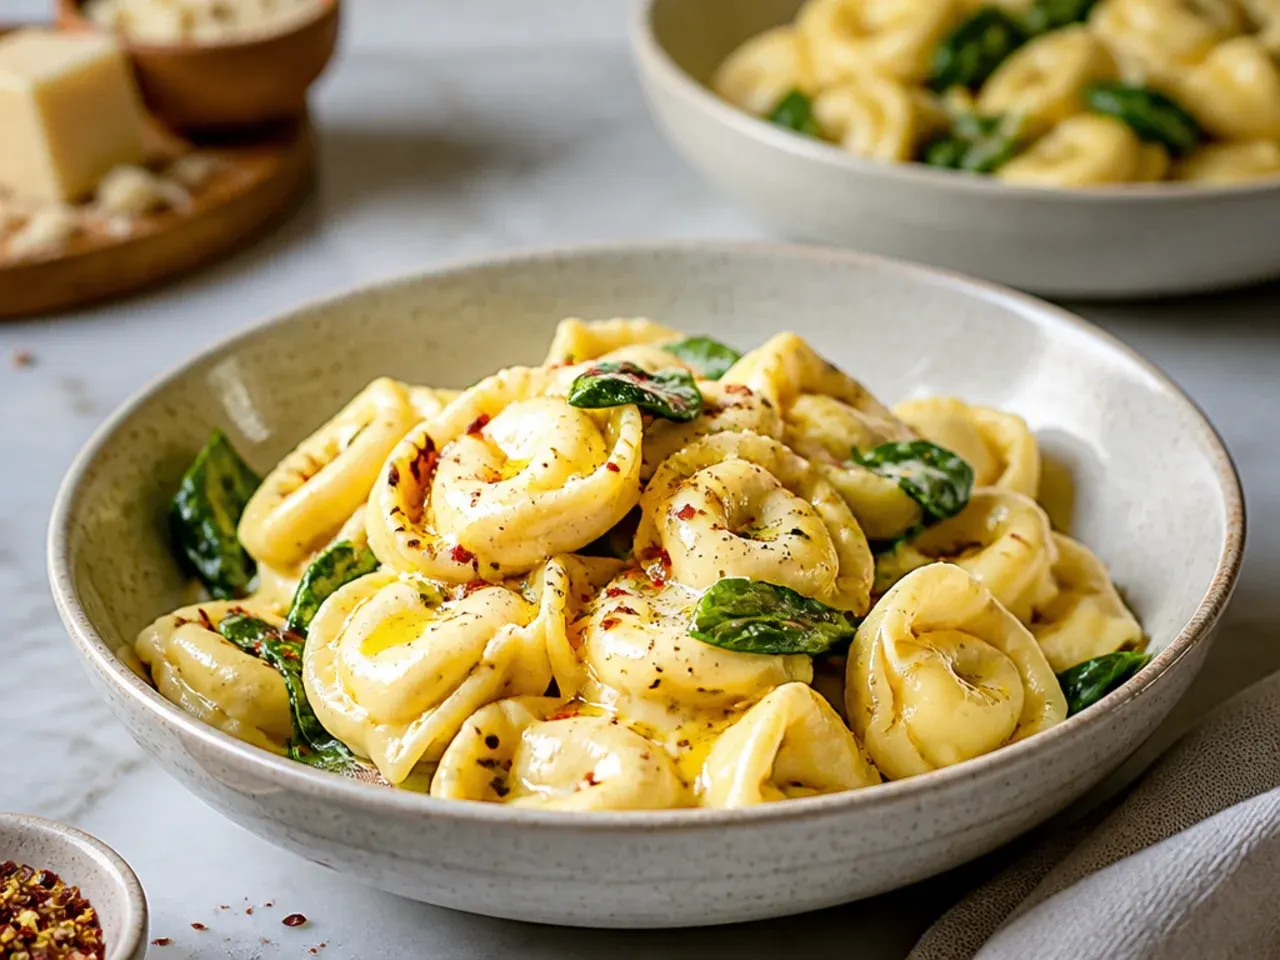
More than once I've pulled a bake out of the oven to find the sauce had thickened into something closer to paste, because the marinara and cream reduce further as they bake. Now I always scoop out about 120 ml (1/2 cup) of the starchy pasta water before draining and stir a splash in if the sauce looks tight before it goes in the oven. It loosens everything back to a proper saucy consistency without watering down the flavour.
Lesson 12: Sauce-to-Pasta Ratio Matters More Than I Thought
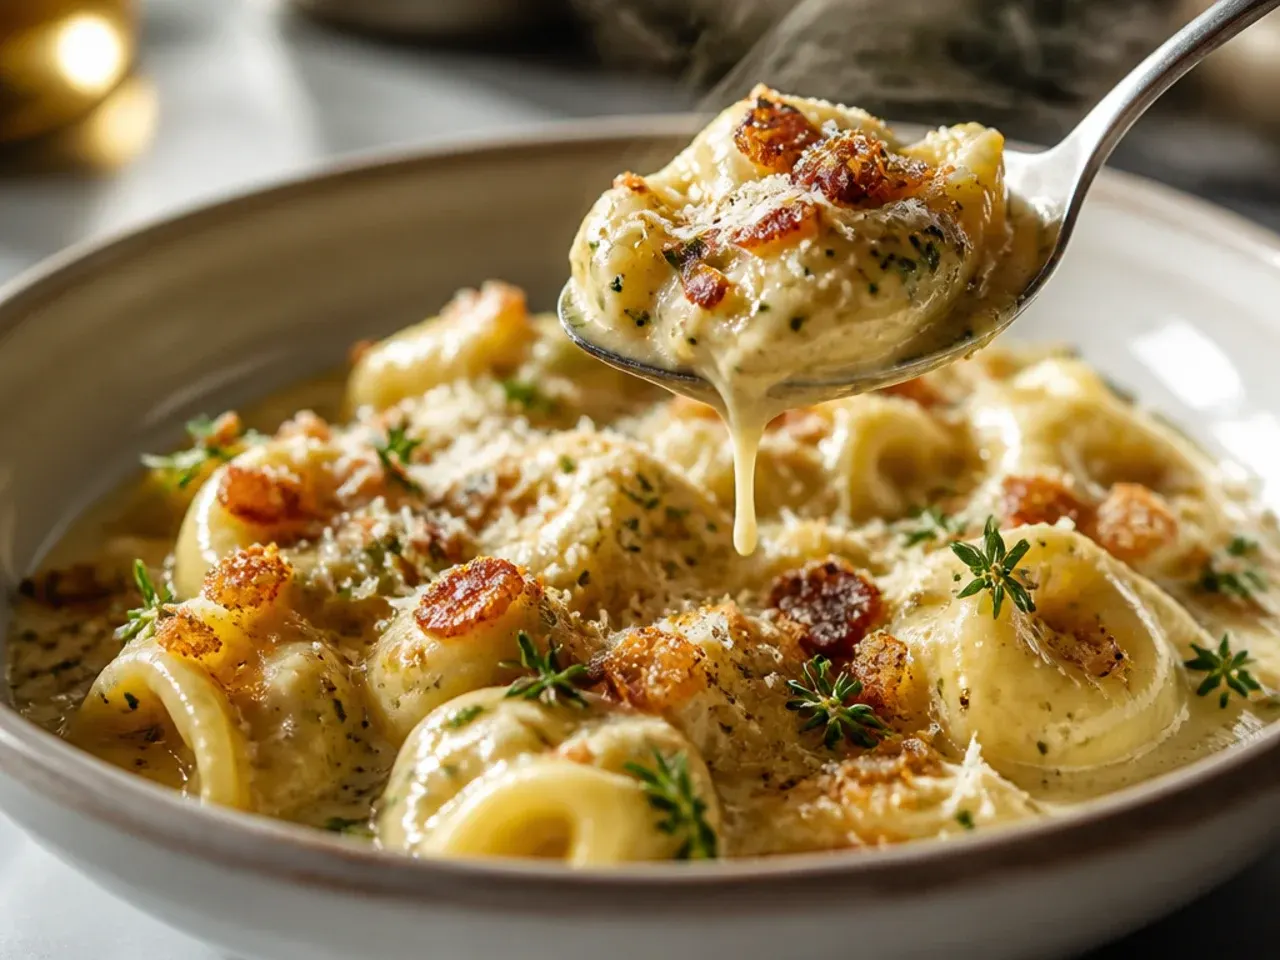
I once used a full 680 g (24 oz) jar of marinara for a smaller batch of tortellini and ended up with something closer to soup than a bake. For 900 g (2 lb) of tortellini, I now stick to roughly 680 g (24 oz) of marinara plus 240 ml (1 cup) of cream, which coats every piece generously without drowning it. If you're scaling the recipe down, scale the sauce down by the same ratio rather than guessing.
Lesson 13: Let It Rest for 5-10 Minutes Before Serving
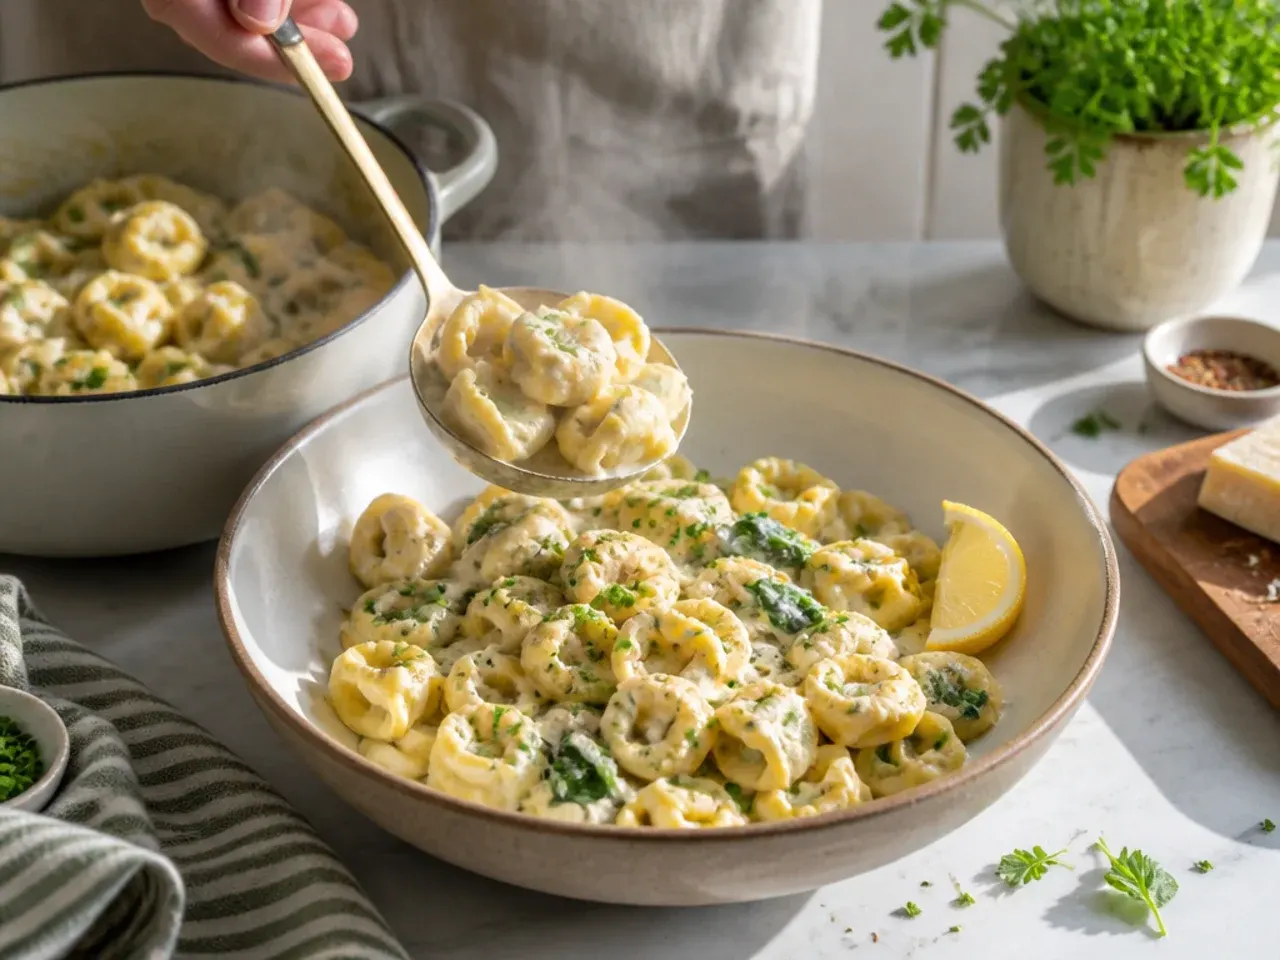
Serving straight from the oven meant the sauce ran everywhere and the cheese hadn't had a chance to set, so every portion looked messy on the plate. Now I let the dish sit for 5-10 minutes after baking, tented loosely with foil, so the sauce thickens slightly and holds its shape when you spoon it out. It's a small wait that makes the difference between a puddle and a proper plated dish.
Lesson 14: Bake by Visual Cues, Not Just the Timer
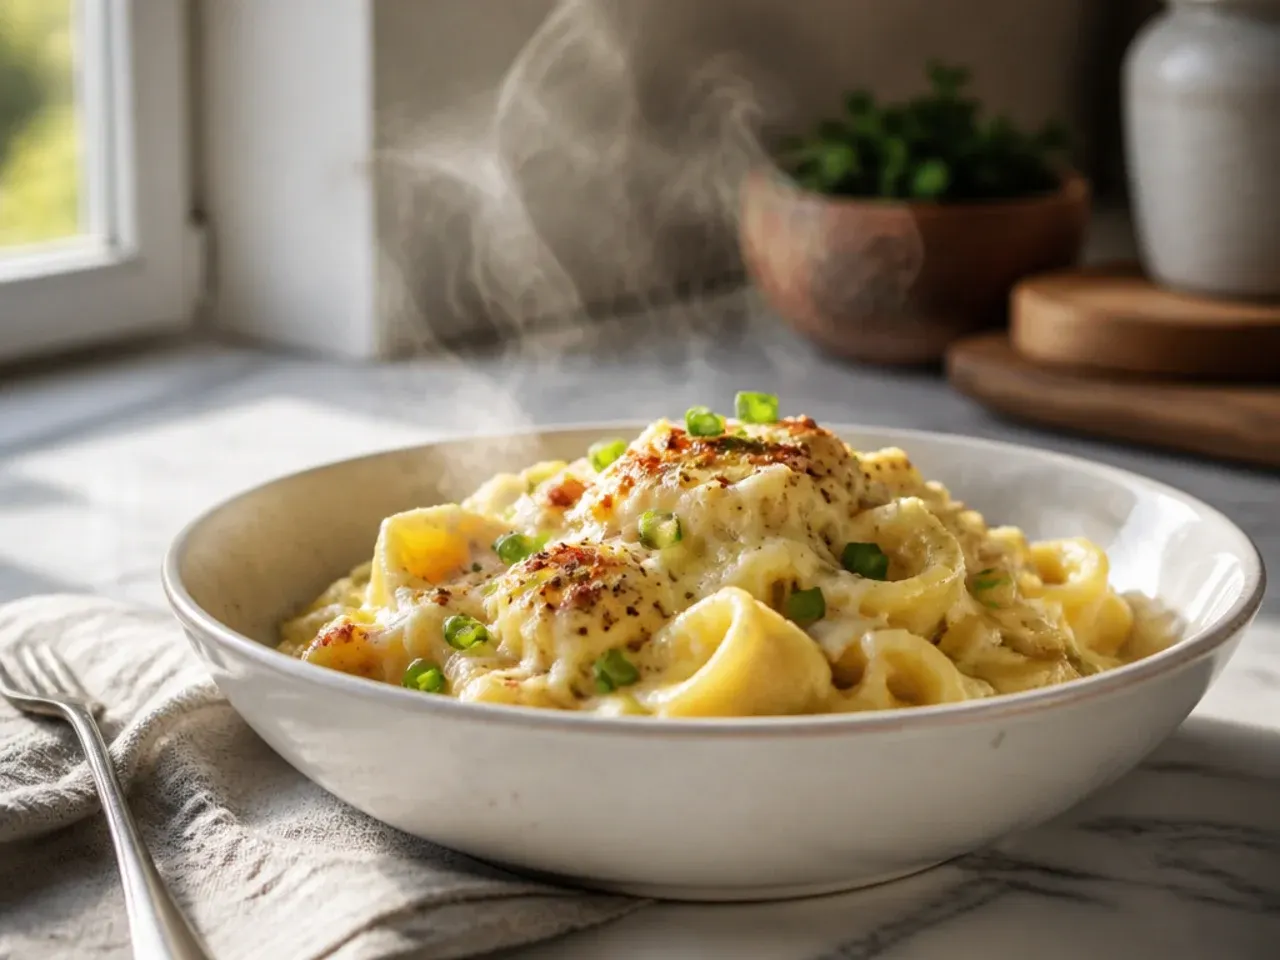
I used to pull the dish out the second the timer hit 25 minutes, even if the centre still looked pale and the cheese hadn't fully melted. Now I watch for the sauce actively bubbling at the edges and the cheese turning deep golden in patches, which sometimes takes an extra 5 minutes depending on how cold the dish was going in. Ovens vary enough that the timer should only ever be a rough guide.
Lesson 15: Taste and Season the Sauce Before It Goes in the Dish
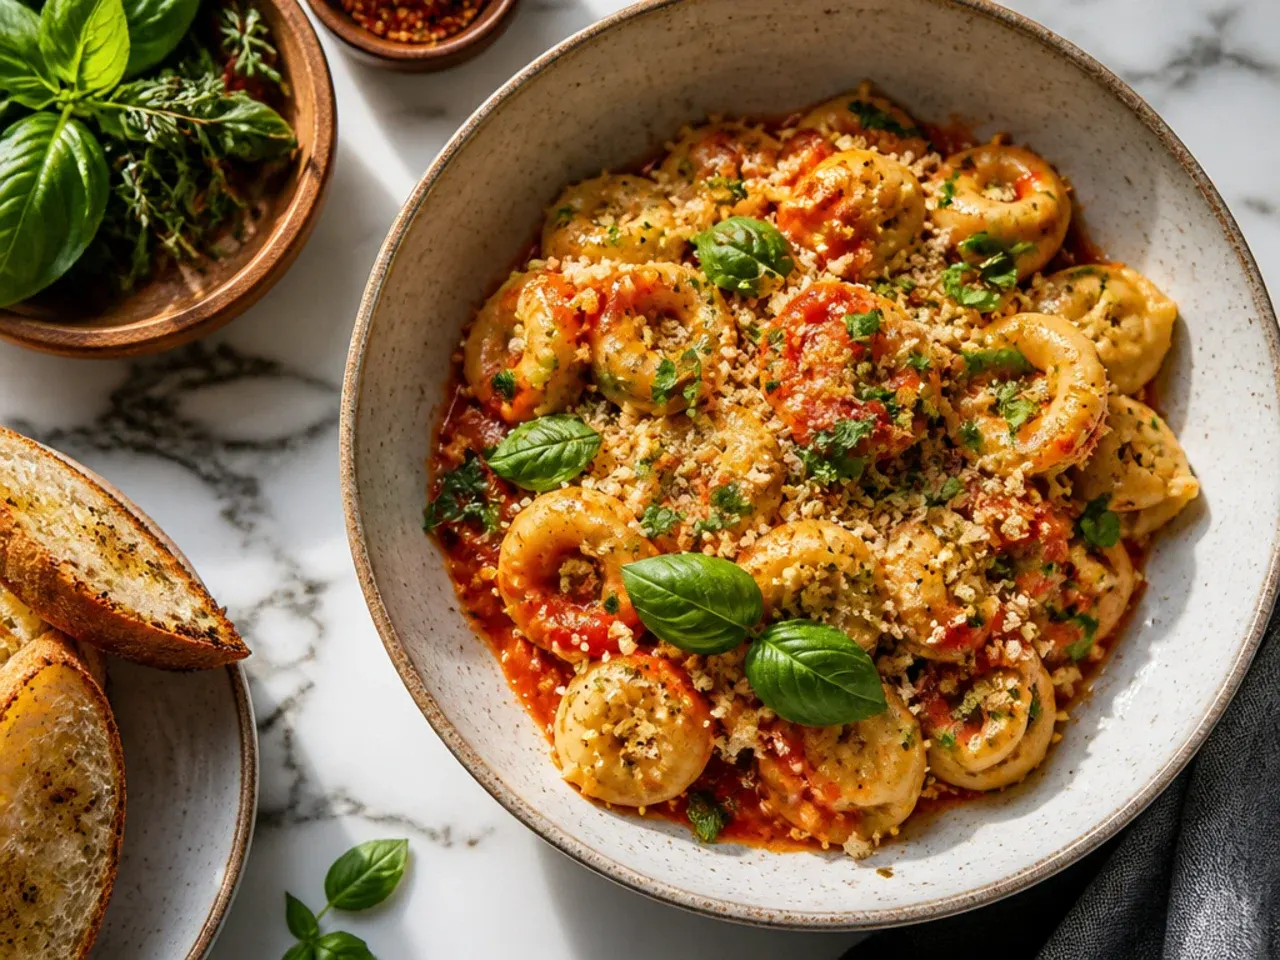
I skipped tasting the sauce more than once, assuming the jarred marinara was seasoned enough, and ended up with a bland bake that needed extra salt and chilli flakes stirred in after baking, which never blends in properly. Now I taste the sauce on the hob and adjust with salt, black pepper and a pinch of chilli flakes before it ever touches the tortellini. Seasoning in stages always tastes more balanced than fixing it at the end.
Lesson 16: Frozen Tortellini Needs a Different Clock
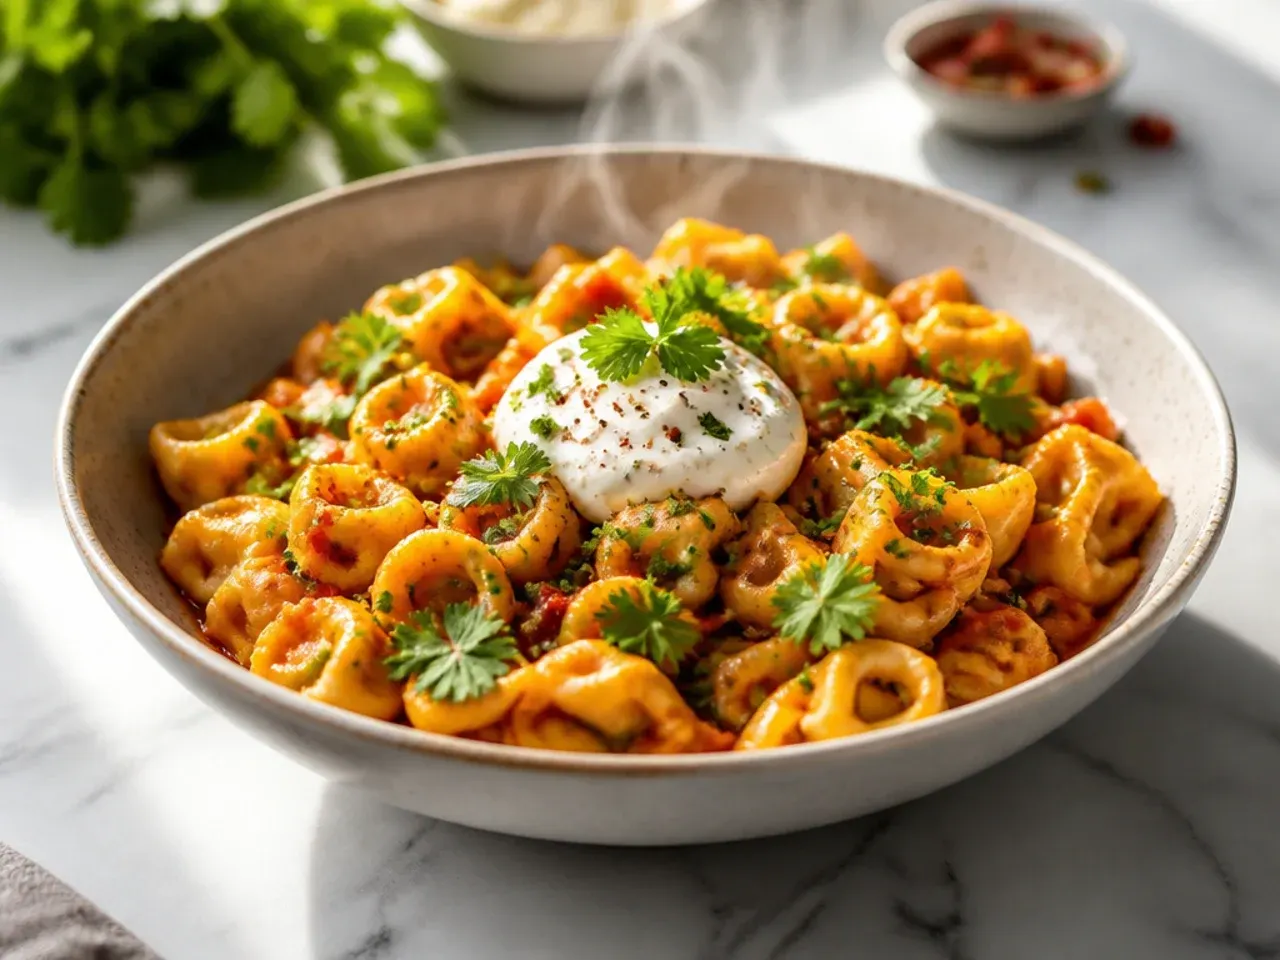
The first time I swapped in frozen tortellini without adjusting anything, it was still icy in the centre after the usual 2-minute boil and turned to mush by the time the bake finished. Frozen tortellini needs 3-5 minutes in the boiling water rather than 2-3, and I now boil it straight from frozen rather than thawing first, which keeps the shape intact. Always check the pack, since cooking times vary more between frozen brands than fresh ones.
Lesson 17: Freeze It Before Baking, Never After
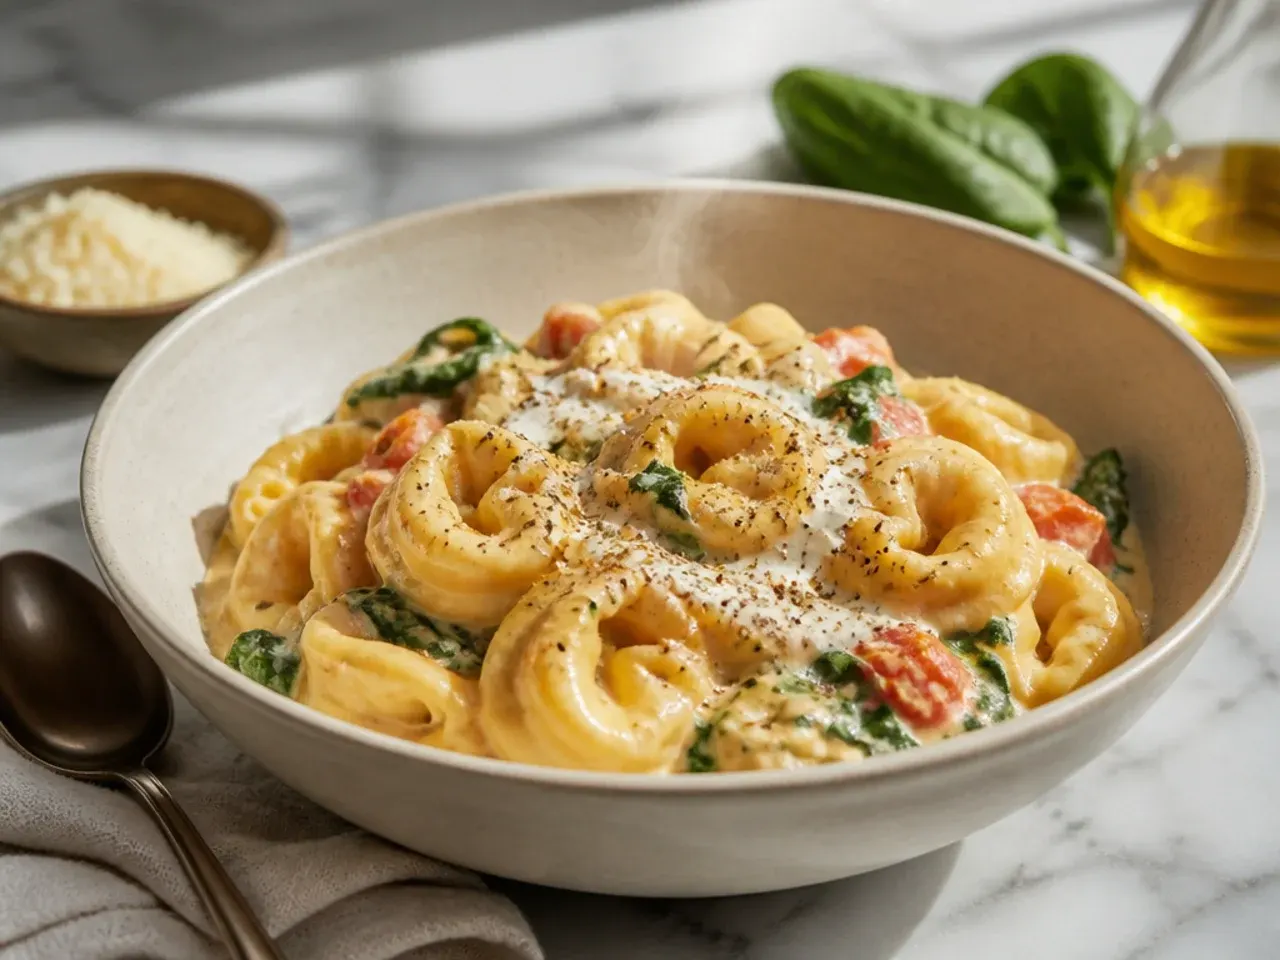
I once froze leftover baked tortellini and the reheated pasta turned watery and grainy once it thawed. Now I assemble the whole dish unbaked, cover it tightly with a couple of layers of foil, and freeze it for up to 3 months instead. It thaws overnight in the fridge and bakes as normal, or goes straight from freezer to a 180°C (350°F) oven, covered, for 60-70 minutes if I forget to thaw it.
Lesson 18: Drain the Tortellini Properly, Don't Just Tip It
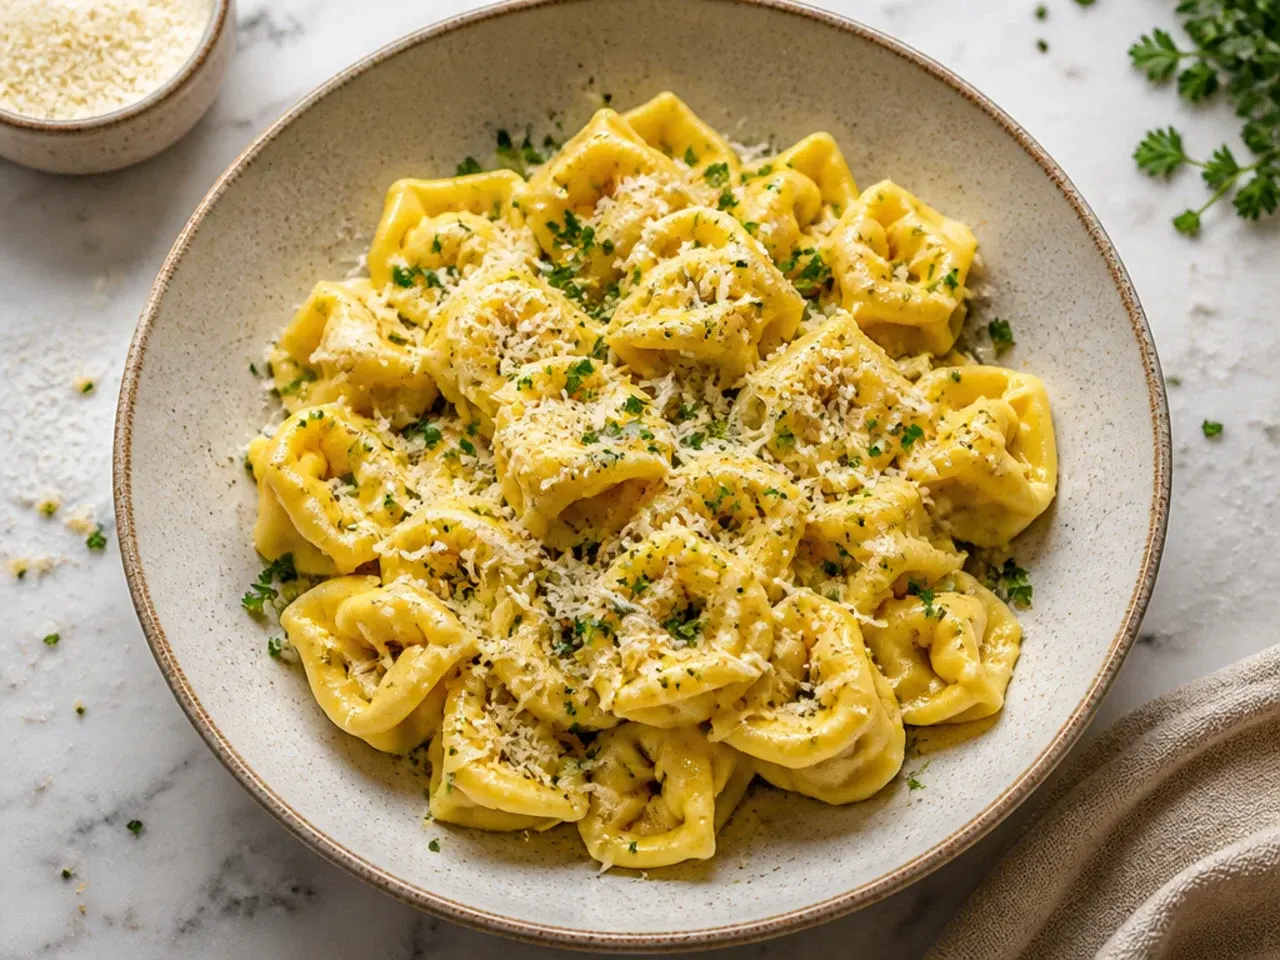
A rushed drain once left pools of water at the bottom of my mixing bowl, and the extra liquid diluted the sauce and made the bake watery in the corners. Now I shake the colander properly and let it sit for a minute before tipping the tortellini into the sauce. That small pause keeps the sauce at the right consistency instead of thinning it out unintentionally.
Lesson 19: Fresh Basil Goes on After Baking, Not Before
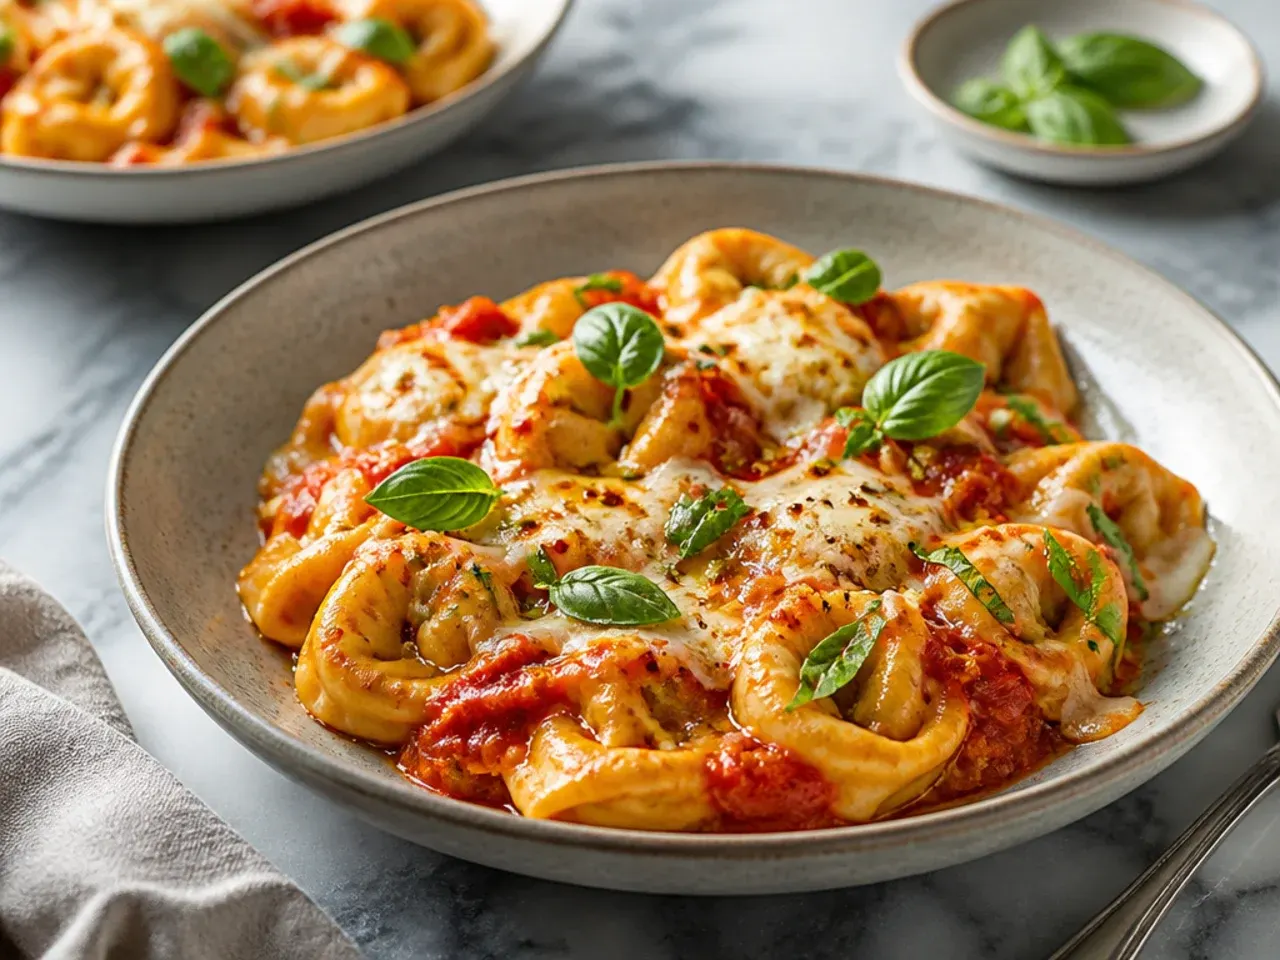
I used to scatter torn basil over the top before the dish went in the oven, and it came out blackened, bitter and stuck to the cheese. Now I add fresh basil only after the bake comes out and has rested for a few minutes, so the leaves stay bright green and fragrant. A handful of torn leaves and a light grating of extra Parmesan right at the end make it look and taste like it just came together.
Lesson 20: Leftovers Need Added Moisture to Reheat Well
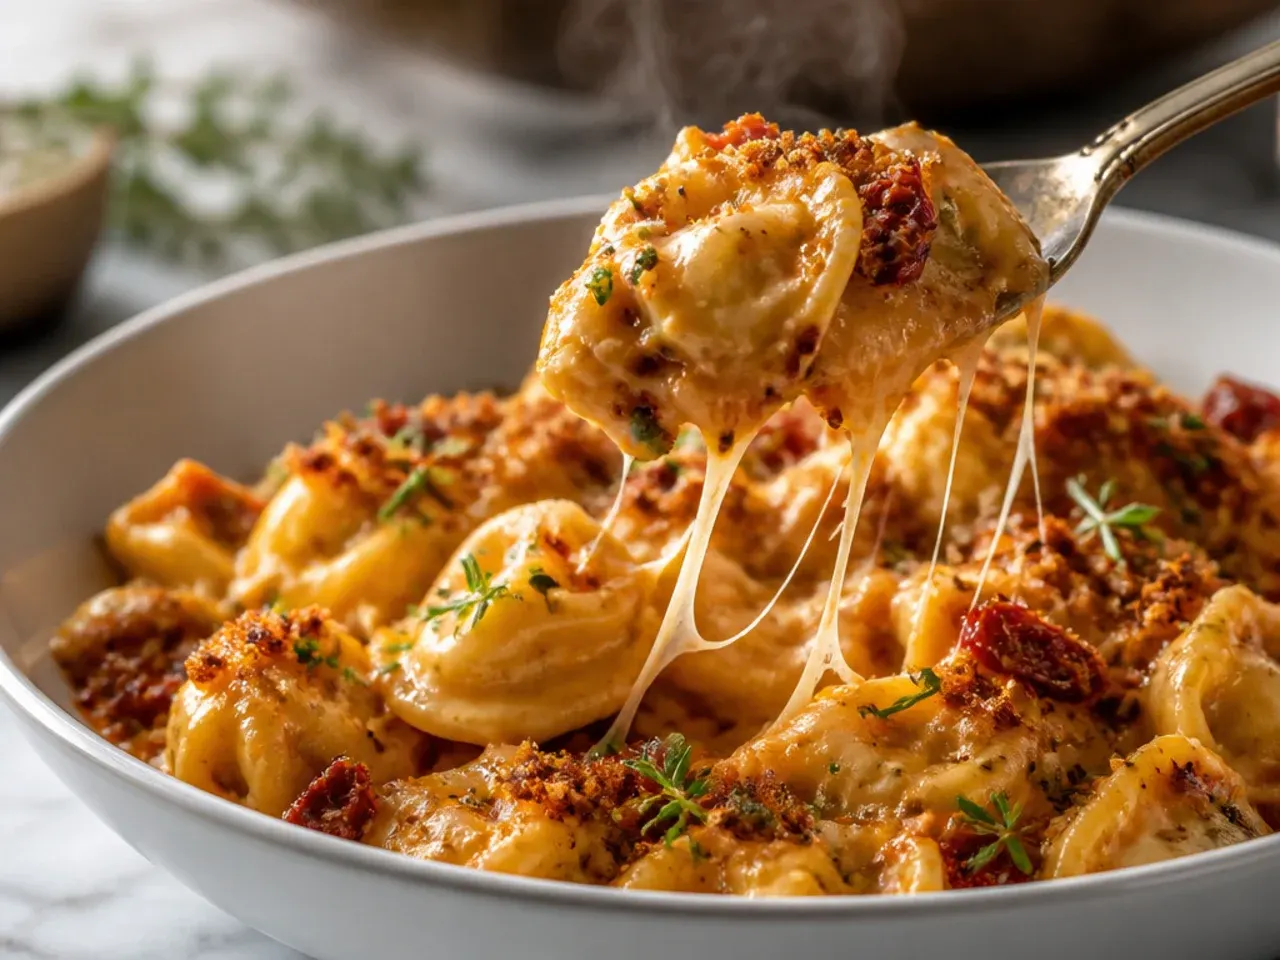
Reheating leftovers in the microwave dry, with nothing added, left the pasta tough and the sauce broken and oily. Now I add a splash of milk or reserved pasta water before reheating, either in 30-second bursts in the microwave or gently in a covered pan on the hob over low heat. It brings the sauce back to something close to its original creaminess instead of a dried-out version of the original.
What I'd Tell a Friend Trying This
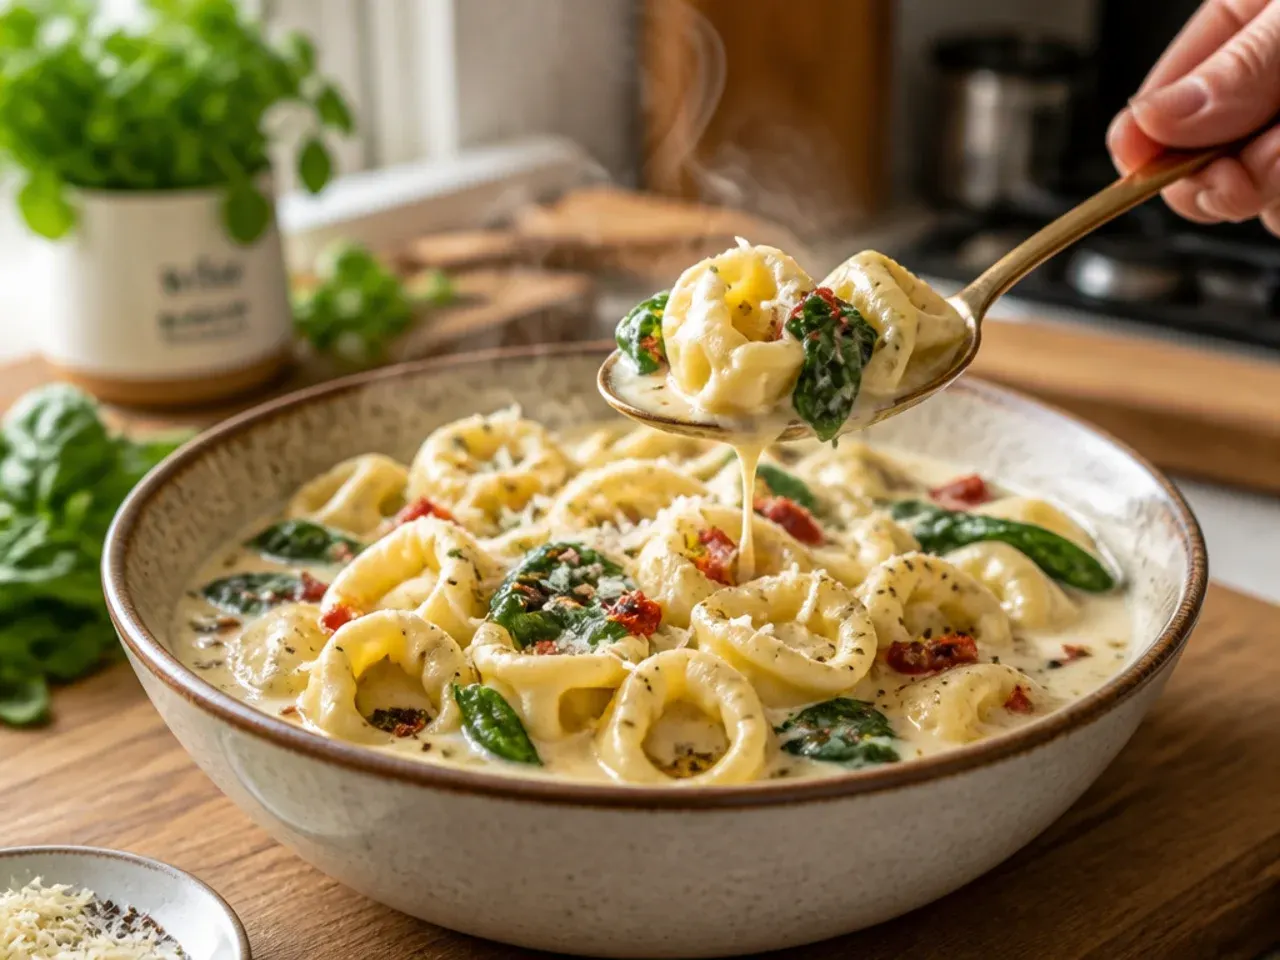
If you take nothing else from twenty batches of trial and error, undercook the pasta slightly, don't skip the resting time, and taste your sauce before it goes in the oven. This bake is genuinely forgiving once you know the handful of places it can go wrong, and it comes together in under an hour from start to table. Make it once exactly as written, then start adjusting the cheese, the chilli flakes or the sauce ratio to suit what your household actually likes. That's the version you'll end up making on repeat.
The Recipe
The Recipe I Used
15 min
45 min
1 hr
6
Beginner
Ingredients 6 Person(s)
Directions
Step 1: Boil the tortellini
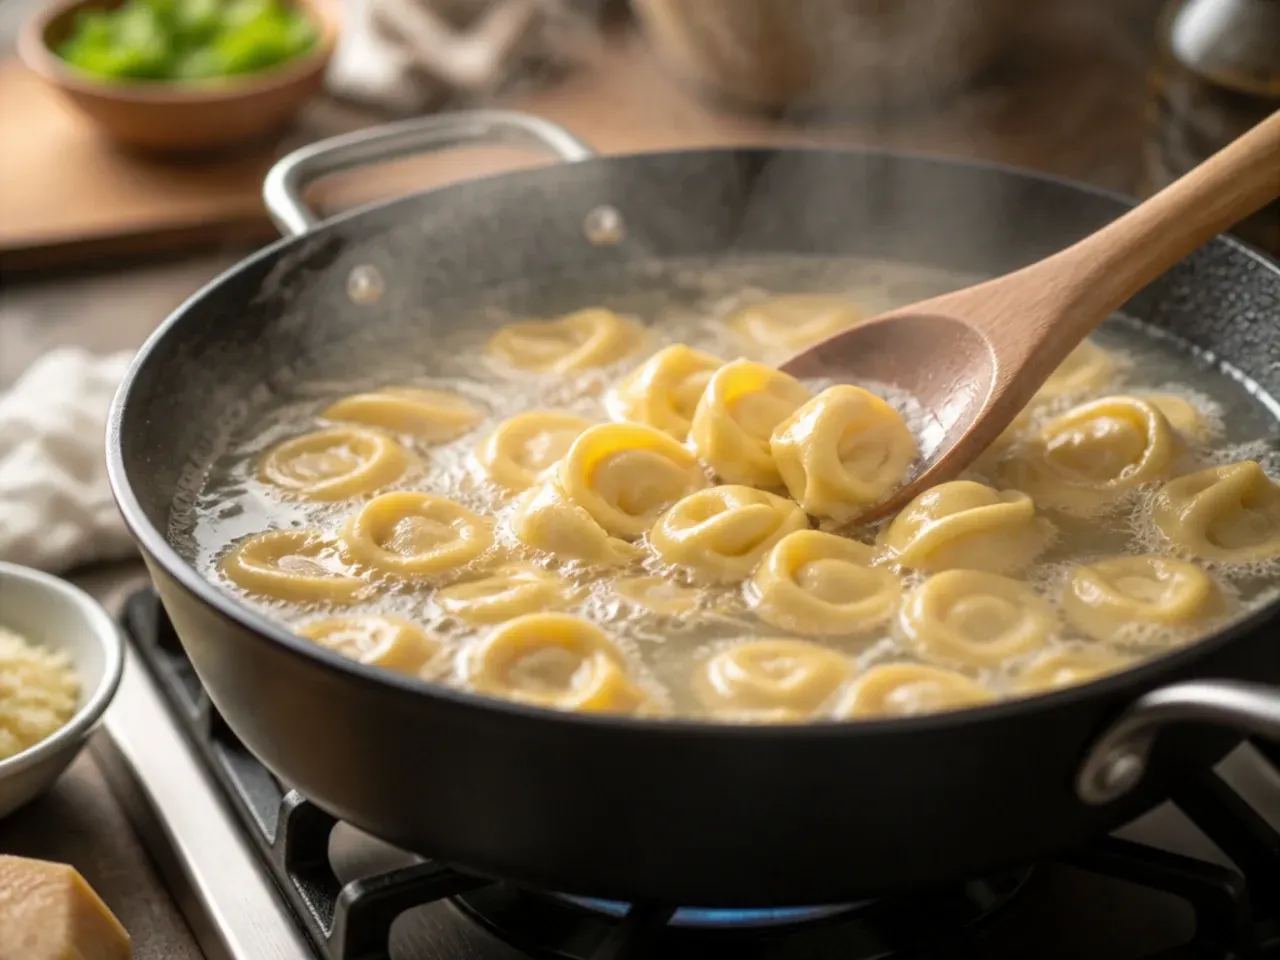
Bring a large pot of water to a rolling boil and salt it generously, about 1 tablespoon per 2 litres (4 pints). Add 900 g (2 lb) fresh cheese tortellini and cook for 90 seconds to 2 minutes, about a minute short of the pack instructions, until they just start to float. Reserve 120 ml (1/2 cup) of the pasta water, then drain the tortellini and set aside.
Step 2: Build the garlic butter base
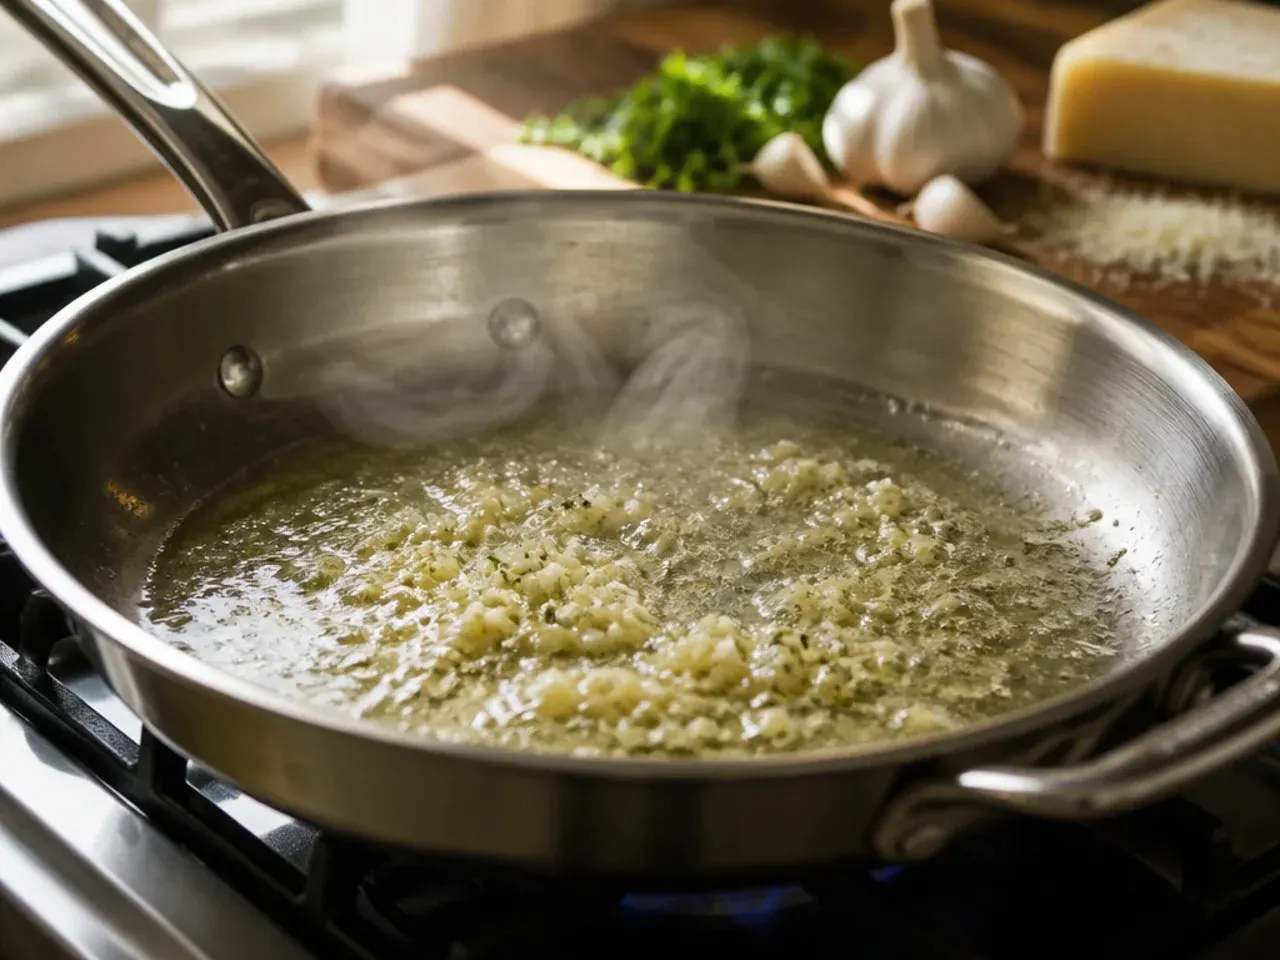
Melt 30 g (2 tbsp) unsalted butter in a large oven-safe skillet or saucepan over medium-low heat. Add 3 cloves of minced garlic and cook for 60-90 seconds, stirring constantly, until fragrant and pale gold, taking care not to let it brown or turn bitter.
Step 3: Simmer the sauce
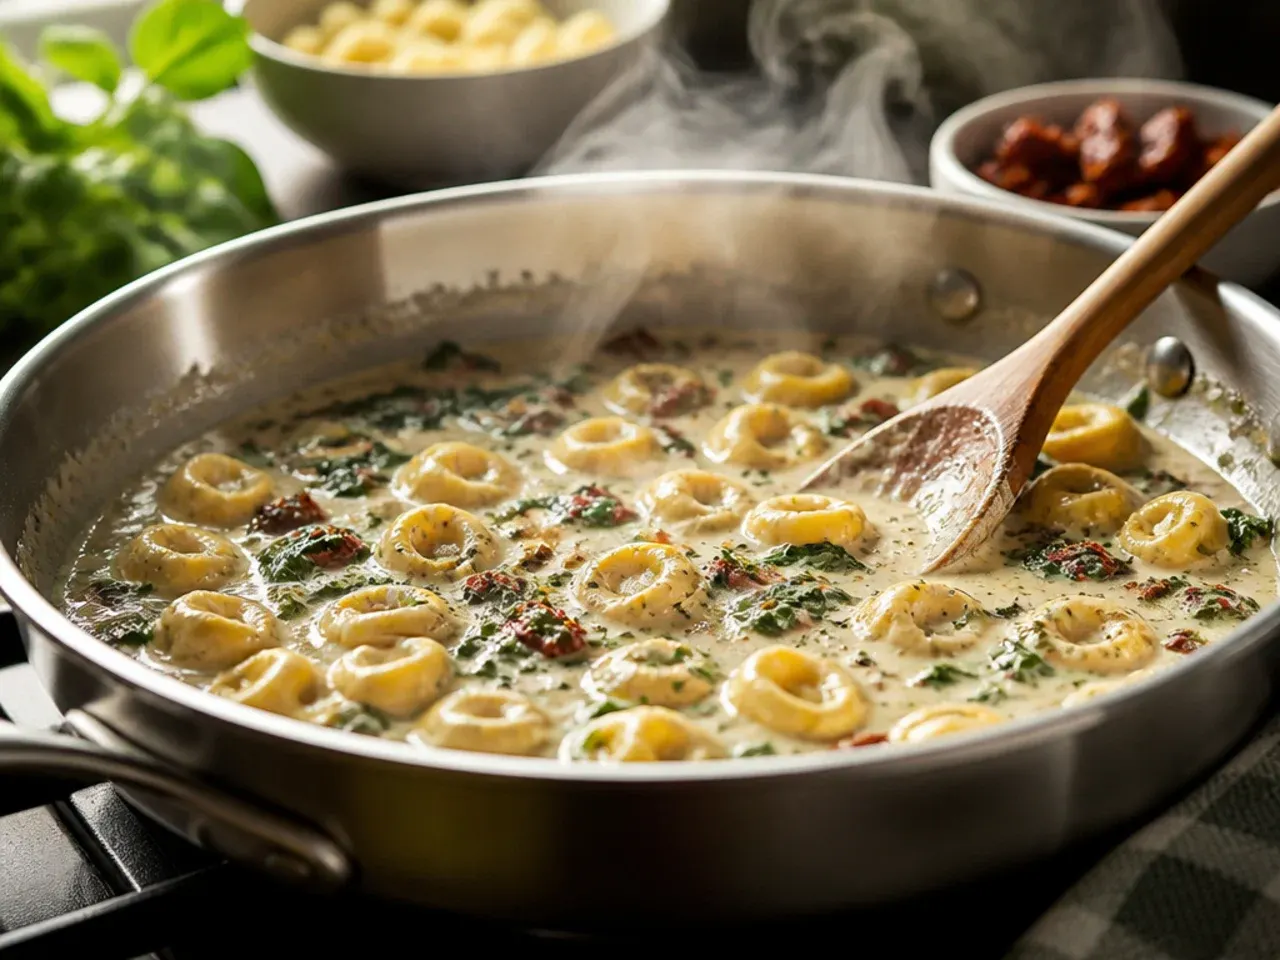
Pour in 680 g (24 oz) marinara sauce and bring to a gentle simmer over medium heat for 3-4 minutes. Stir in 240 ml (1 cup) double cream, 1 teaspoon Italian seasoning, 1/2 teaspoon salt, 1/4 teaspoon black pepper and 1/4 teaspoon chilli flakes if using, then taste and adjust the seasoning.
Step 4: Fold in the tortellini and cheese
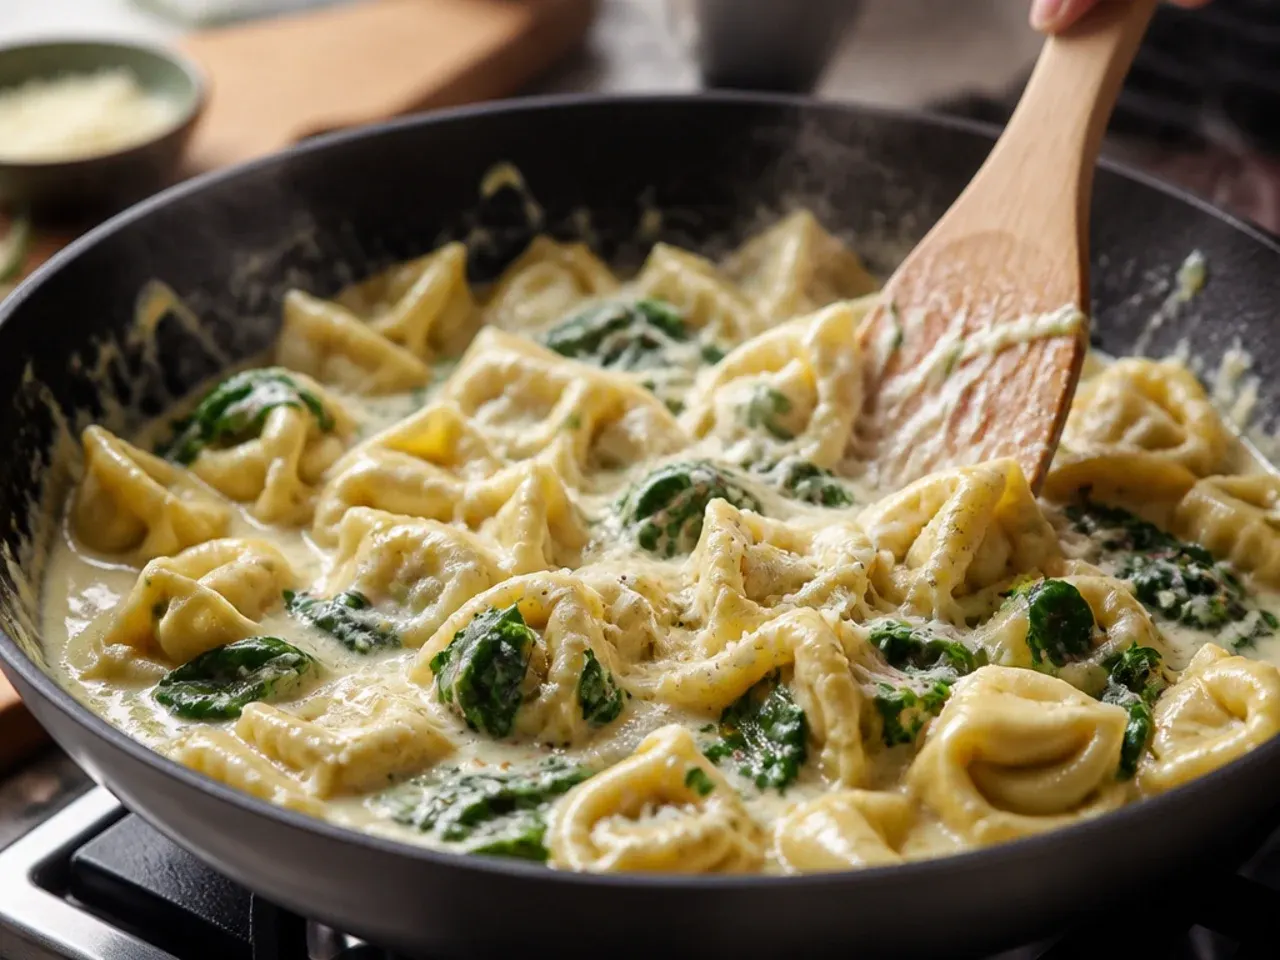
Remove the pan from the heat and gently fold in the drained tortellini until every piece is coated in sauce. Stir through 170 g (6 oz) of the mozzarella and all 50 g (1/2 cup) of the Parmesan, adding a splash of the reserved pasta water if the sauce looks too thick.
Step 5: Transfer and top
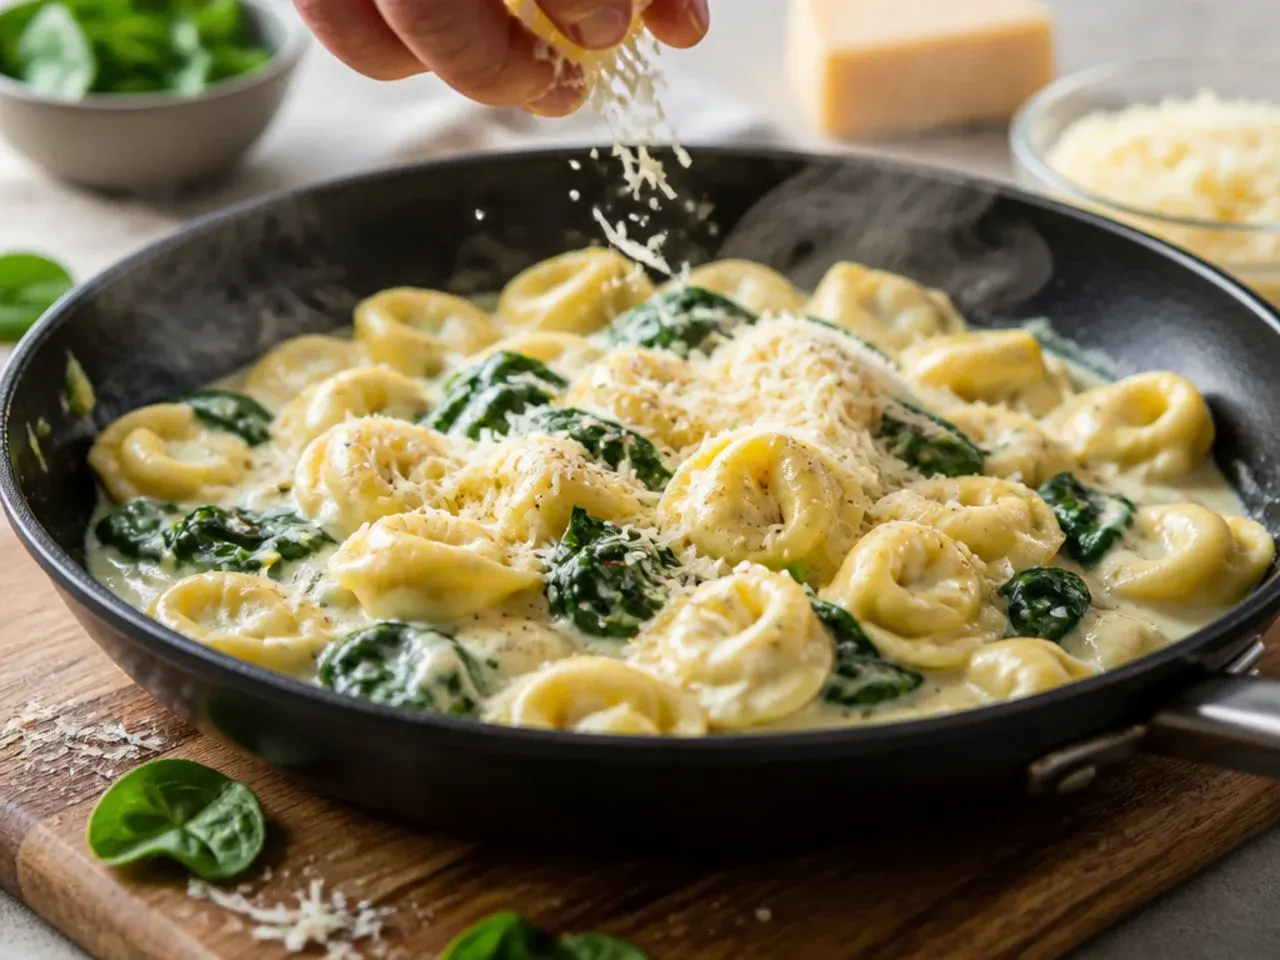
Spread the mixture evenly into a greased 23x33 cm (9x13 in) baking dish, keeping the layer no deeper than about 5 cm (2 in). Scatter the remaining 170 g (6 oz) mozzarella evenly over the top.
Step 6: Bake until golden and bubbling
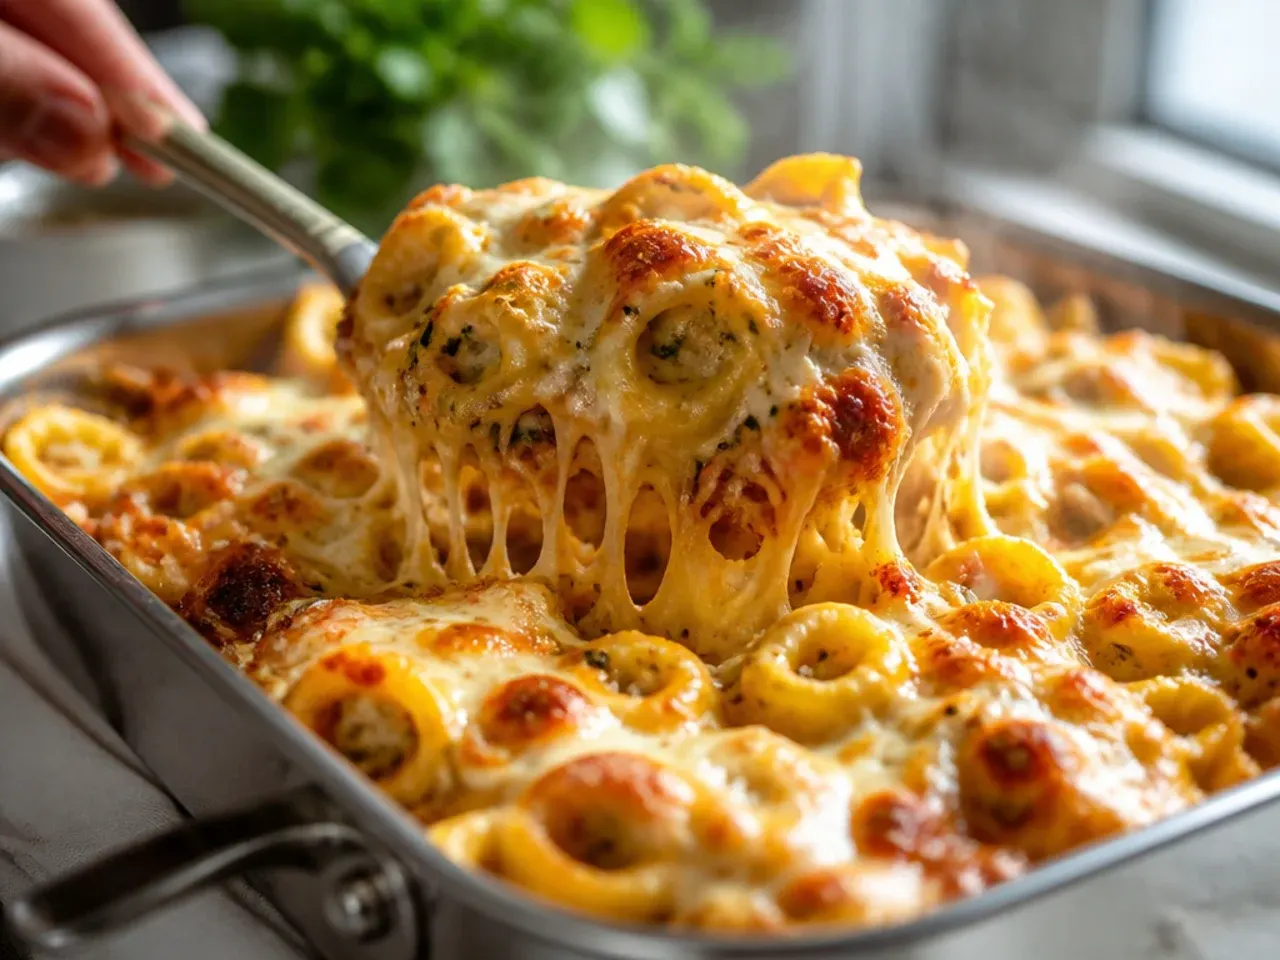
Cover loosely with foil and bake at 190°C (375°F) for 12-15 minutes, then remove the foil and bake for a further 8-10 minutes, until the sauce is bubbling at the edges and the cheese is deep golden in patches. Total bake time is usually 20-25 minutes, depending on your oven.
Step 7: Rest and serve
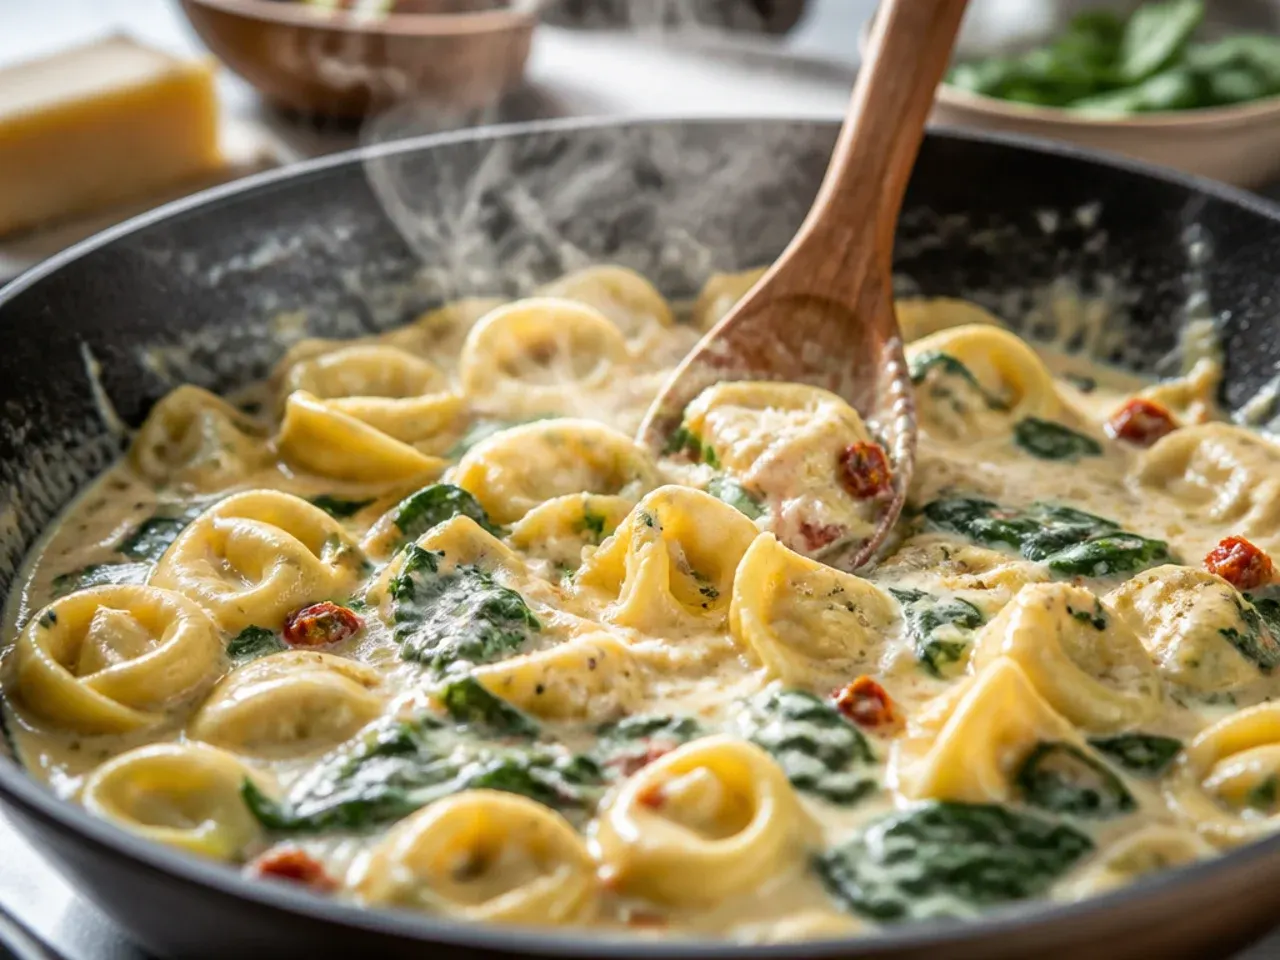
Remove the dish from the oven and let it rest, loosely tented with foil, for 5-10 minutes so the sauce sets slightly. Scatter over a handful of torn fresh basil and an extra grating of Parmesan just before serving.
Frequently Asked Questions
Yes, assemble the whole dish up to the point of baking, cover it tightly and refrigerate for up to 24 hours before it goes in the oven. If it's going in cold from the fridge, add an extra 5-8 minutes to the covered bake time to make sure the centre heats through properly. You can also freeze it unbaked for up to 3 months; thaw overnight in the fridge before baking as normal, or bake from frozen at 180°C (350°F), covered, for 60-70 minutes. Don't freeze it after baking, as the pasta turns watery and grainy once thawed.
Save this for later 📌
Pin this article to your Pinterest board so the full list is one tap away when you need it.
Save on Pinterest