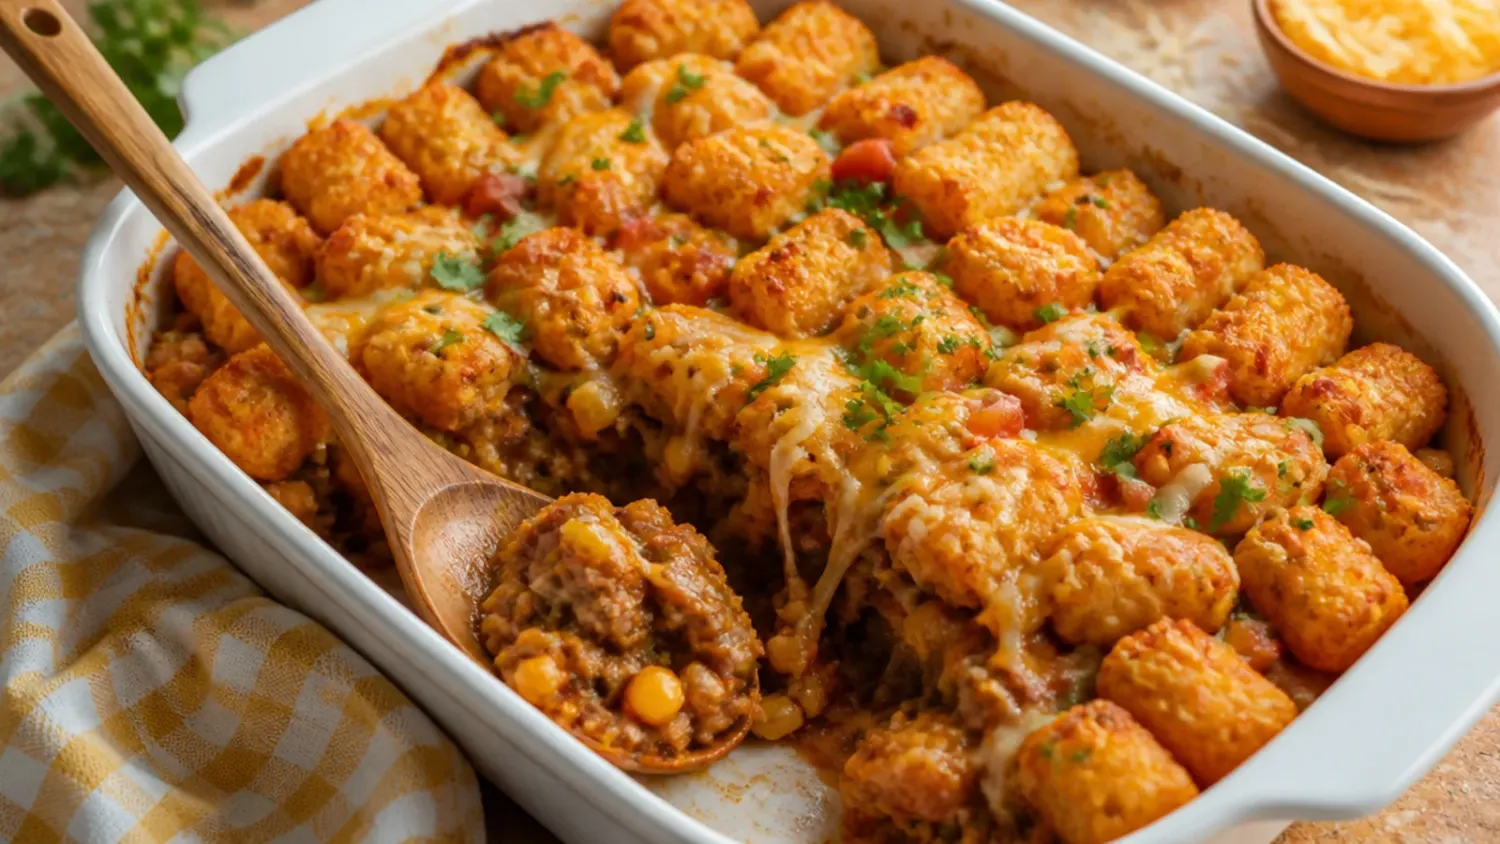
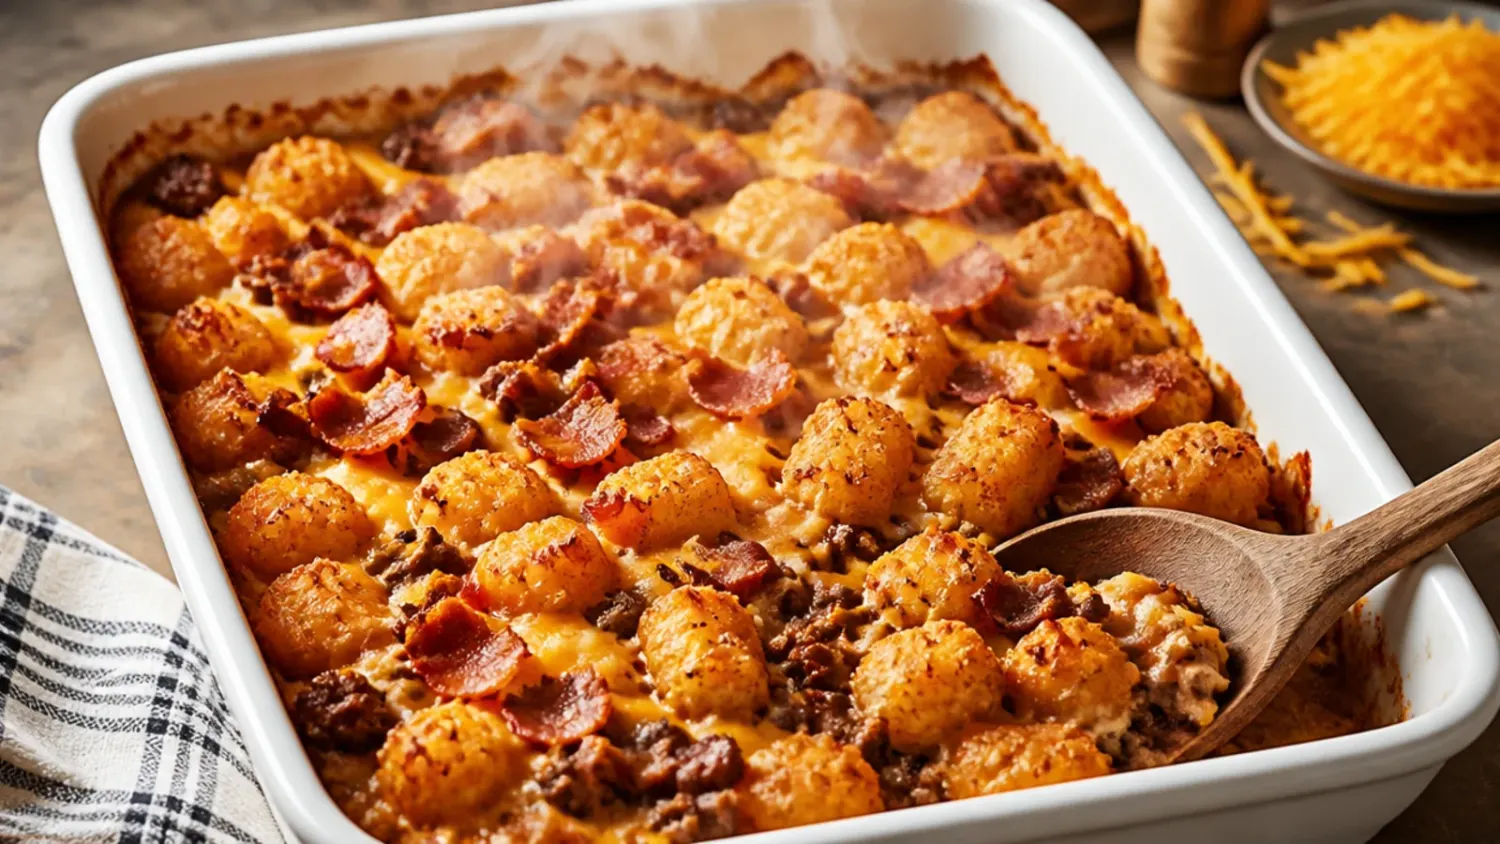
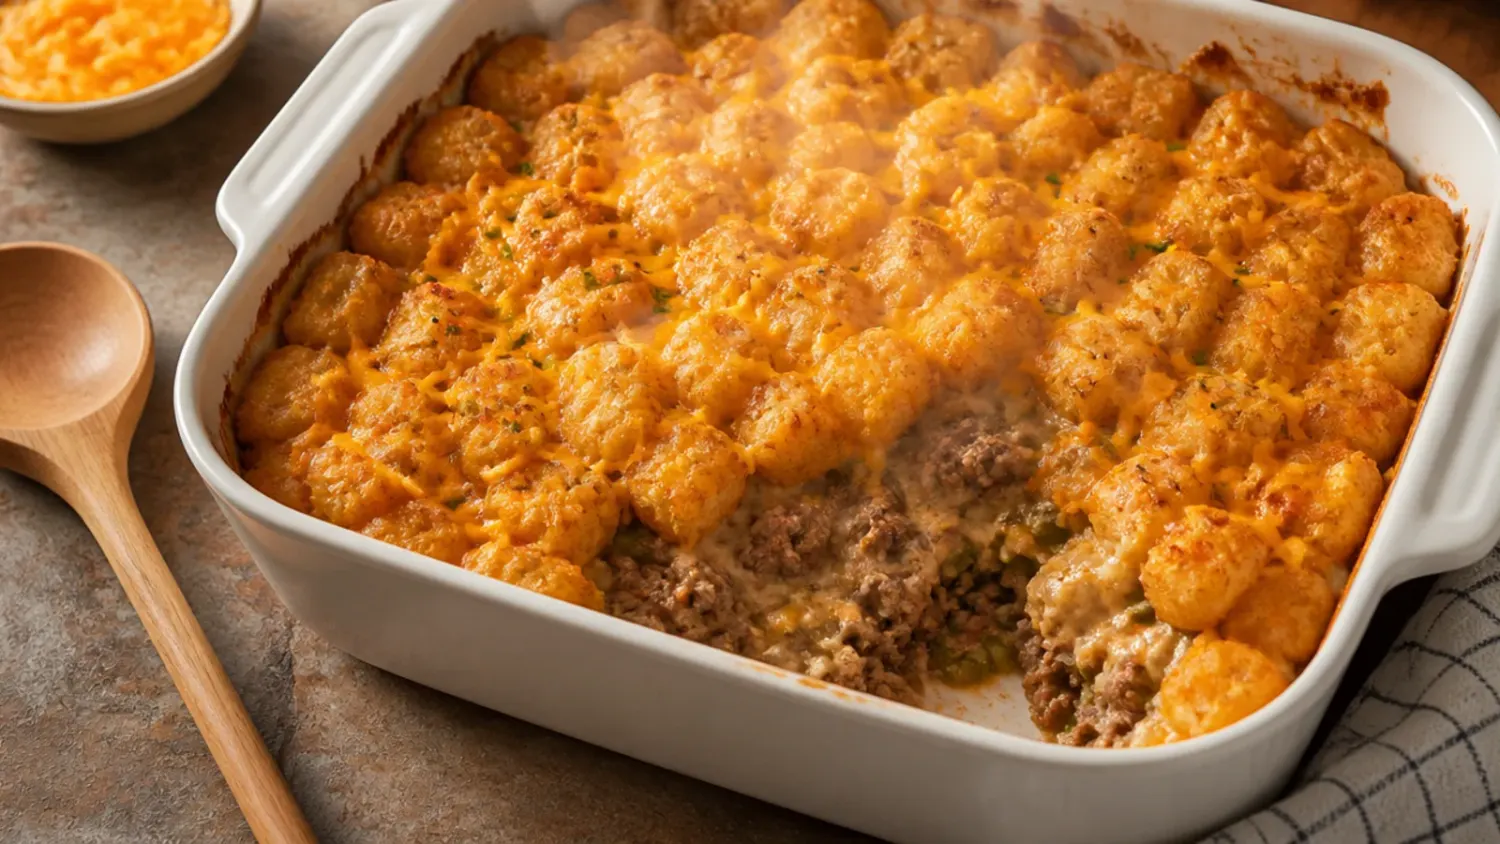
25 Cheesy Tater Tot Casserole Mistakes I Made (and Fixes)
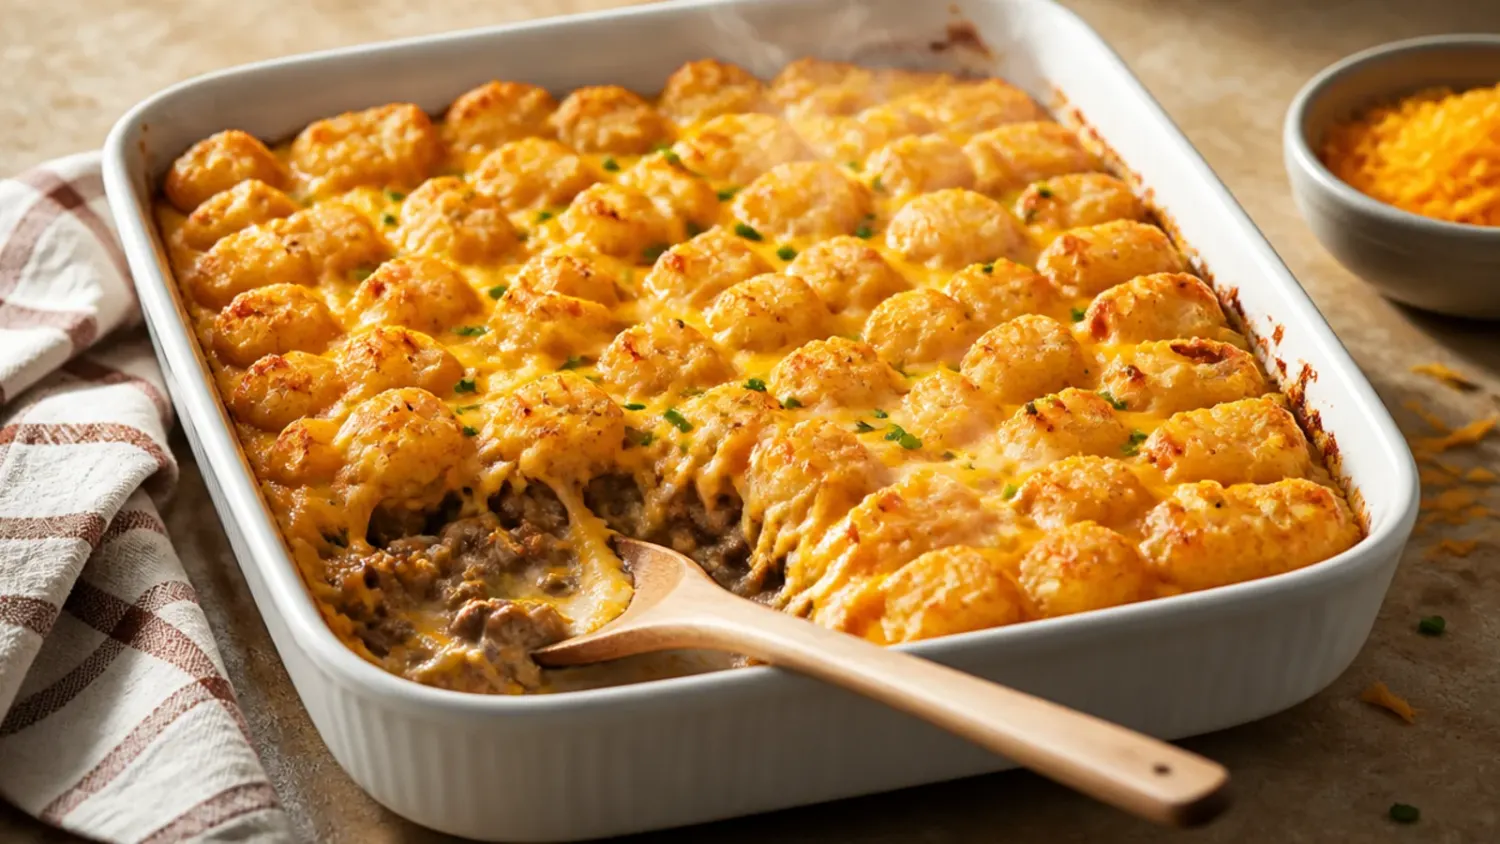
25 real mistakes (and fixes) from years of making cheesy tater tot casserole, so your next bake comes out crisp on top and creamy underneath. If you love tater tot casserole inspiration, start with our Tater Tot Casserole collection, then browse the full Comfort Dinners hub for more.
Save this for later 📌
Pin this article to your Pinterest board so the full list is one tap away when you need it.
Save on PinterestComfort Dinners
Beginner
Kitchen Journal
7 steps
Table of Contents
- Lesson 1: I Stopped Thawing the Tater Tots First
- Lesson 2: I Quit Pushing the Tots Into the Sauce
- Lesson 3: I Switched to a Wider, Shallower Dish
- Lesson 4: I Started Draining the Beef Properly
- Lesson 5: I Stopped Diluting the Soup With Extra Milk
- Lesson 6: I Learned to Season the Beef, Not Just the Sauce
- Lesson 7: I Started Grating My Own Cheese Block
- Lesson 8: I Moved the Cheese to the Last 10 Minutes
- Lesson 9: I Started Leaving Gaps Between the Tots
- Lesson 10: I Learned Uncovered Beats Covered for Crisping
- Lesson 11: I Started Adding a Spoon of Ketchup
- Lesson 12: I Learned to Drain Frozen Vegetables Well
- Lesson 13: I Stopped Overloading the Dish
- Lesson 14: I Started Checking for Bubbling, Not the Clock
- Lesson 15: I Learned to Let It Rest Before Serving
- Lesson 16: I Started Prepping the Filling a Day Ahead
- Lesson 17: I Learned How to Freeze It Properly
- Lesson 18: I Worked Out How to Bake It From Frozen
- Lesson 19: I Started Reheating Leftovers in the Oven
- Lesson 20: I Learned Smoked Paprika Changes Everything
- Lesson 21: I Started Sautéing the Onion Separately
- Lesson 22: I Learned Two Cans of Soup Beats One
- Lesson 23: I Switched From All Beef to a Beef-Sausage Mix
- Lesson 24: I Started Adding Garlic Instead of Skipping It
Lesson 1: I Stopped Thawing the Tater Tots First
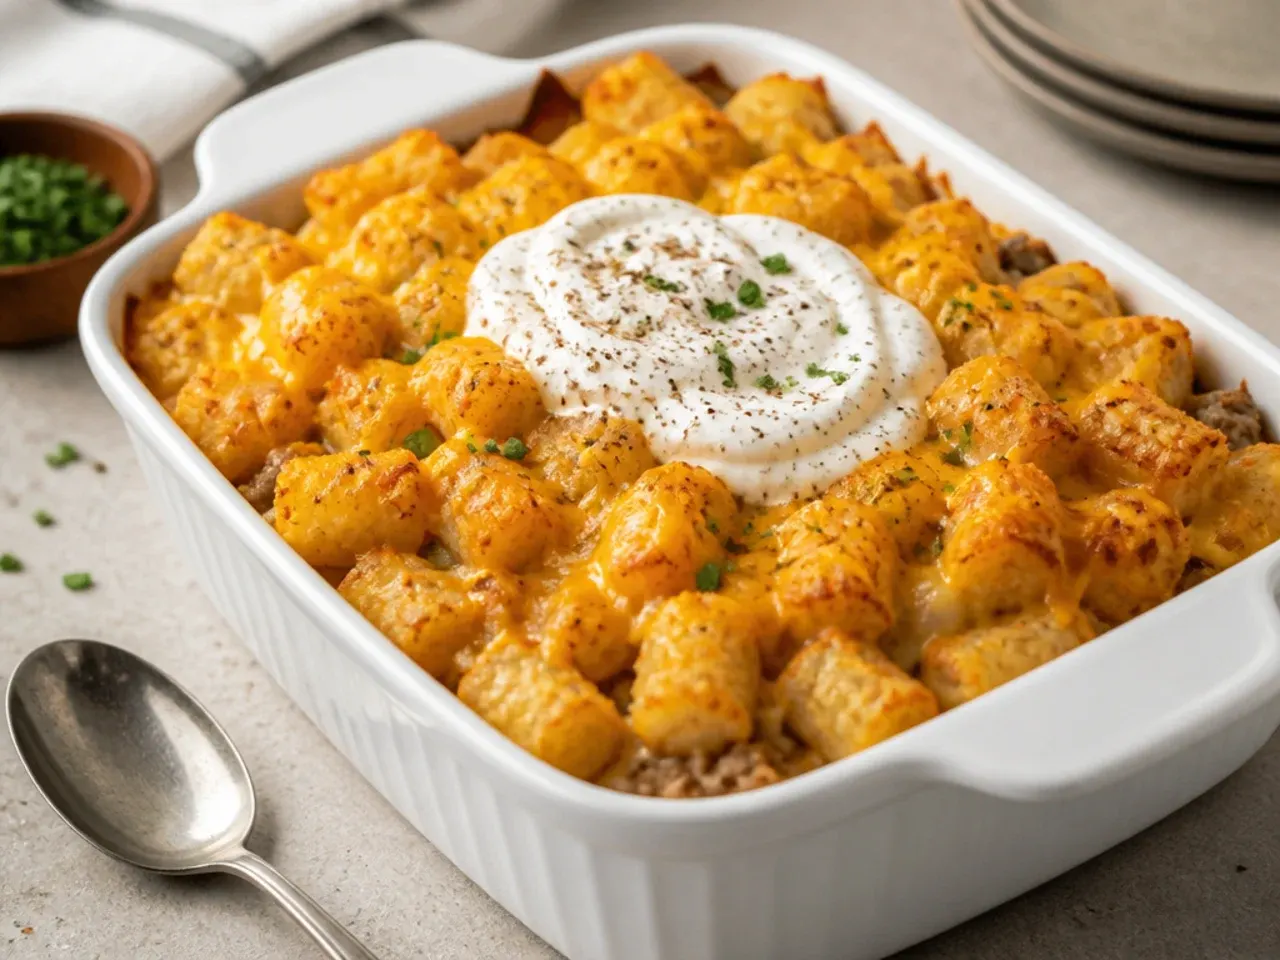
The first few times I made this, I let the tots sit out to soften because I assumed frozen-solid tots wouldn't cook through in the oven. That was backwards. Thawed tots release starch and water as they sit, and that moisture seeps straight into the casserole and turns the top layer mushy. Now the tots go from the freezer bag straight onto the filling, no thawing, and they crisp up properly every single time.
Lesson 2: I Quit Pushing the Tots Into the Sauce
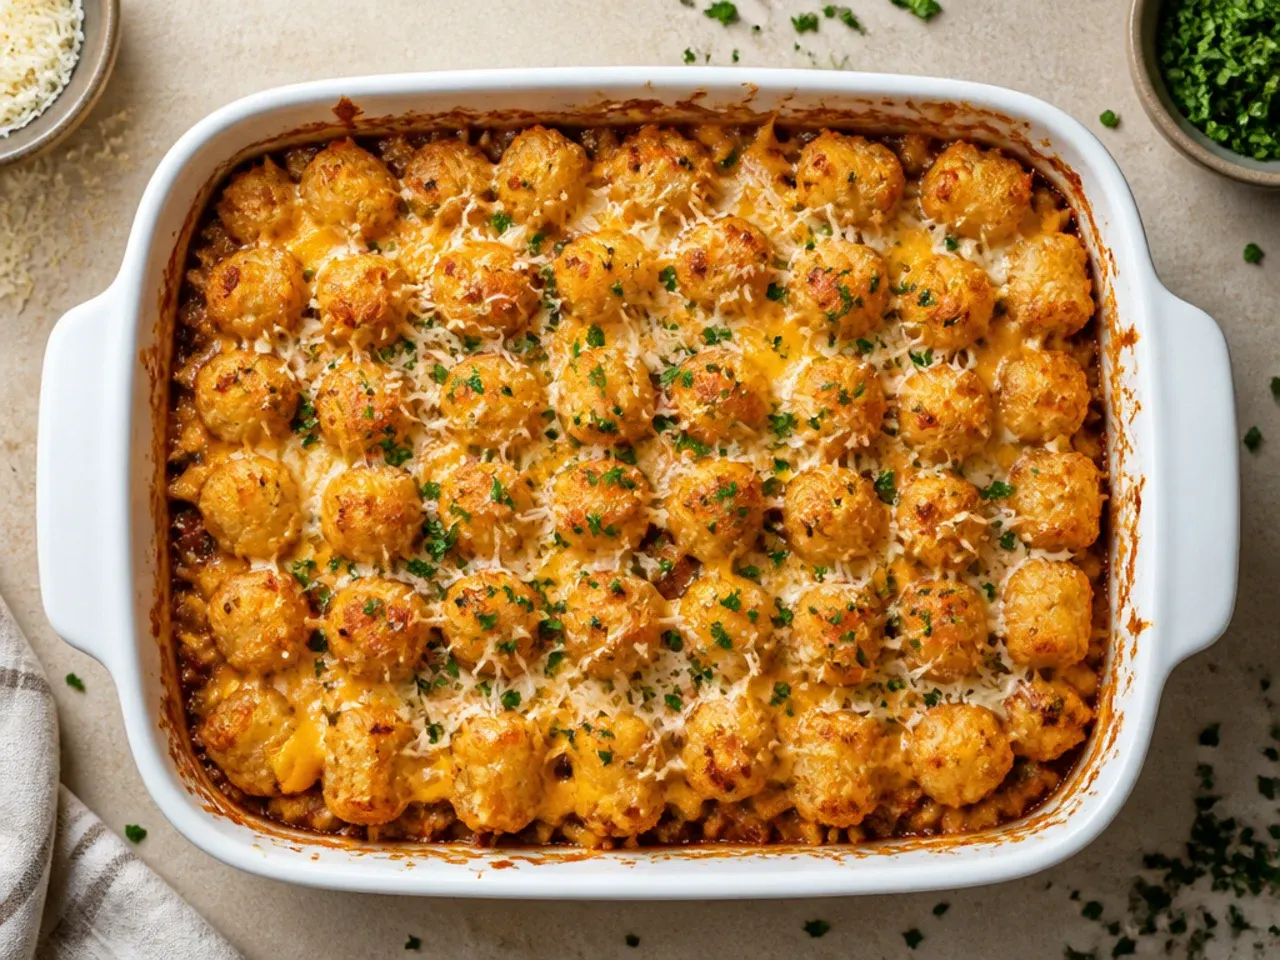
I used to press each tot down into the creamy filling because I thought it helped them cook evenly. All that did was seal off the sides that touch the sauce, so those tots steamed instead of browning. Now I just sit them gently on top, barely touching the surface, and let the oven's heat do the crisping from every exposed angle.
Lesson 3: I Switched to a Wider, Shallower Dish
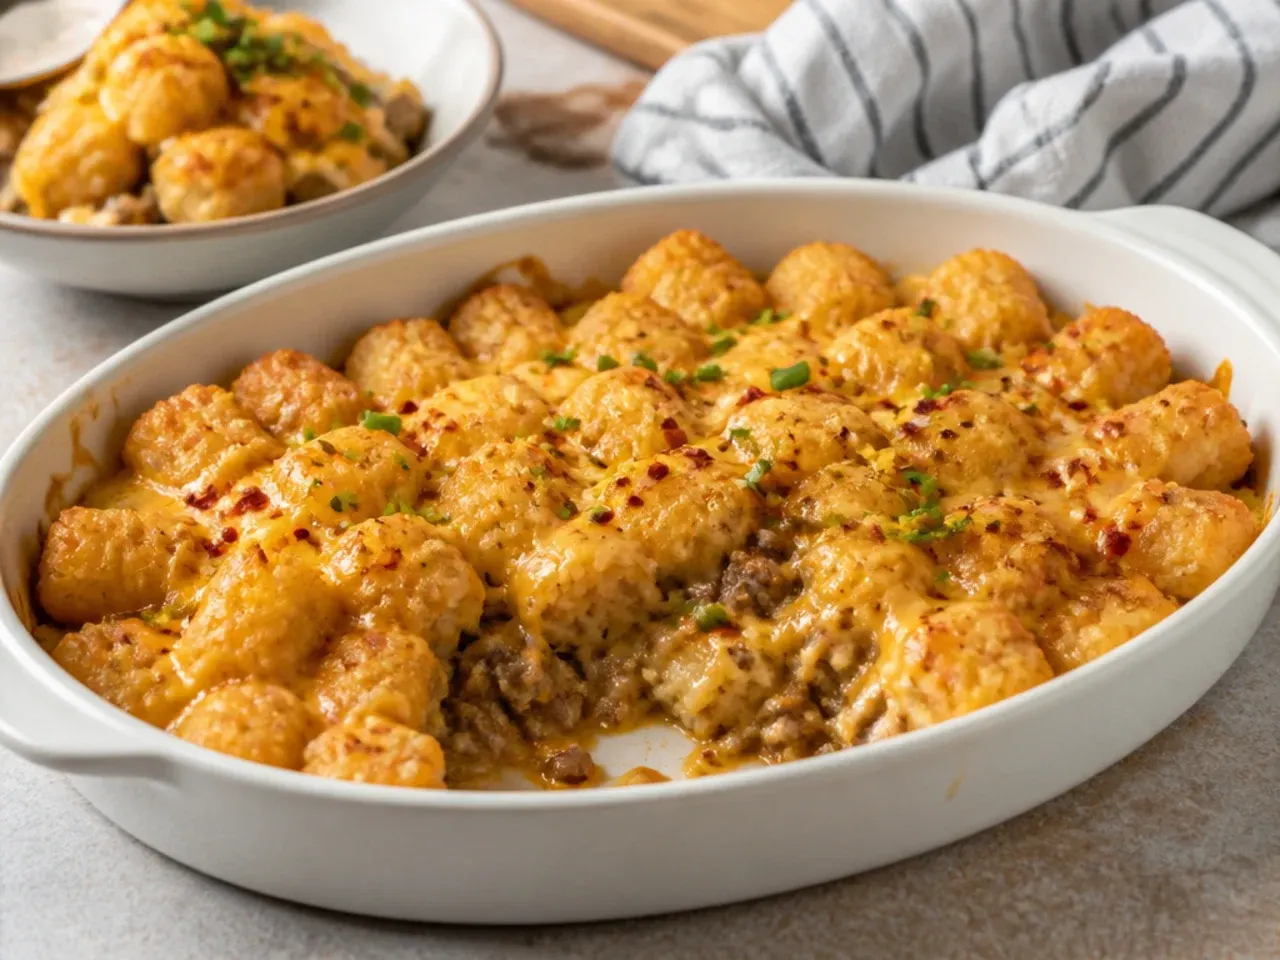
My first casserole went into a deep 2-litre baking dish and the middle stayed pale and soft while the edges browned nicely. A wide 23x33 cm (9x13 in) dish spreads the filling into a shallower layer, so more of the surface is close to the top heat. Since switching, I get an even, golden crust across the whole pan instead of just around the rim.
Lesson 4: I Started Draining the Beef Properly
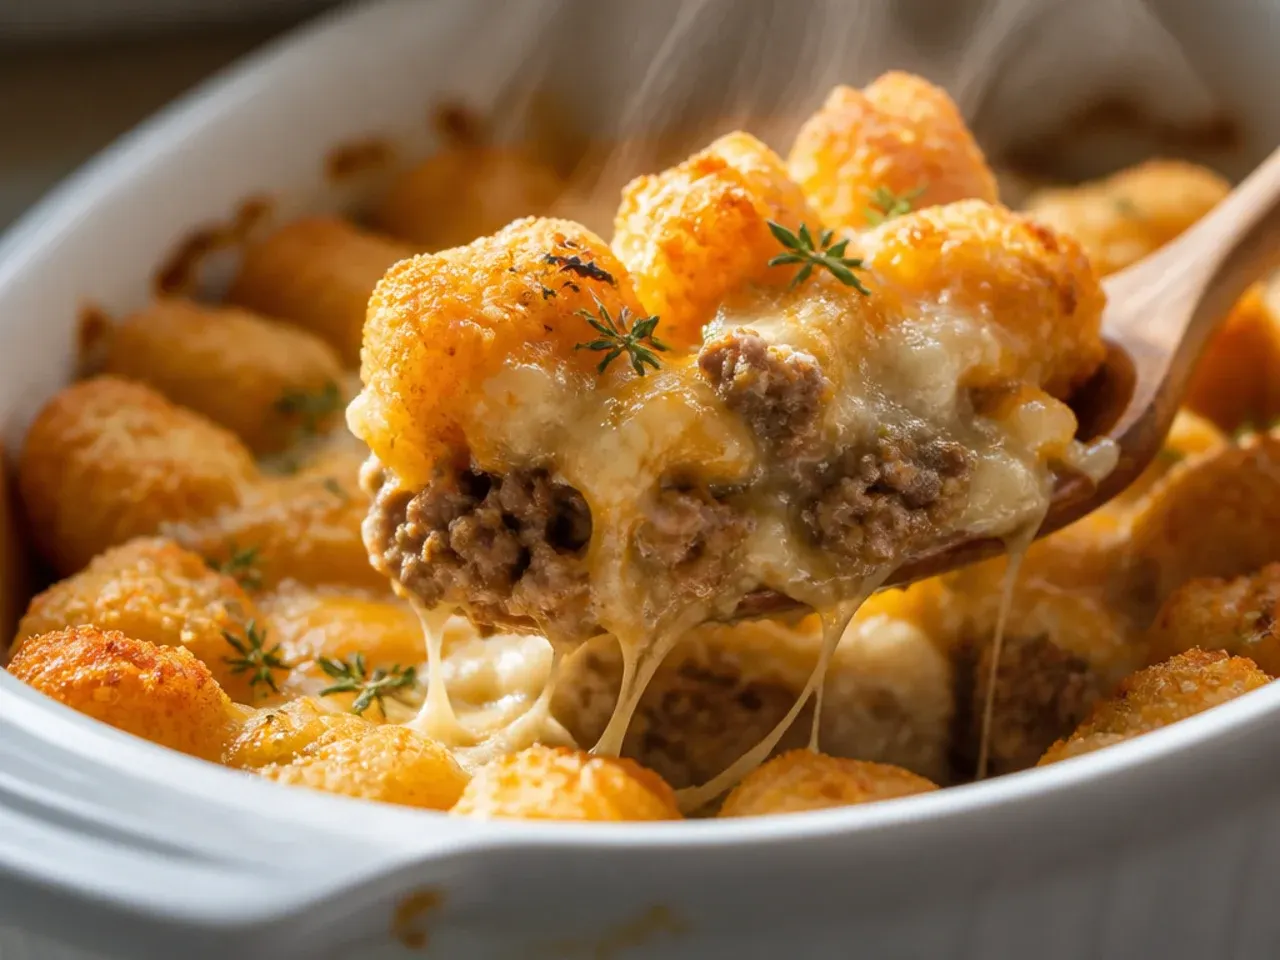
Early on I'd tip the browned mince straight into the mixing bowl, fat and all, and wonder why the finished bake was greasy and heavy. Now I drain the beef in a sieve for a full minute and blot it with kitchen paper before it goes anywhere near the soup mixture. The filling sets up much cleaner, and you can actually taste the seasoning instead of just fat.
Lesson 5: I Stopped Diluting the Soup With Extra Milk
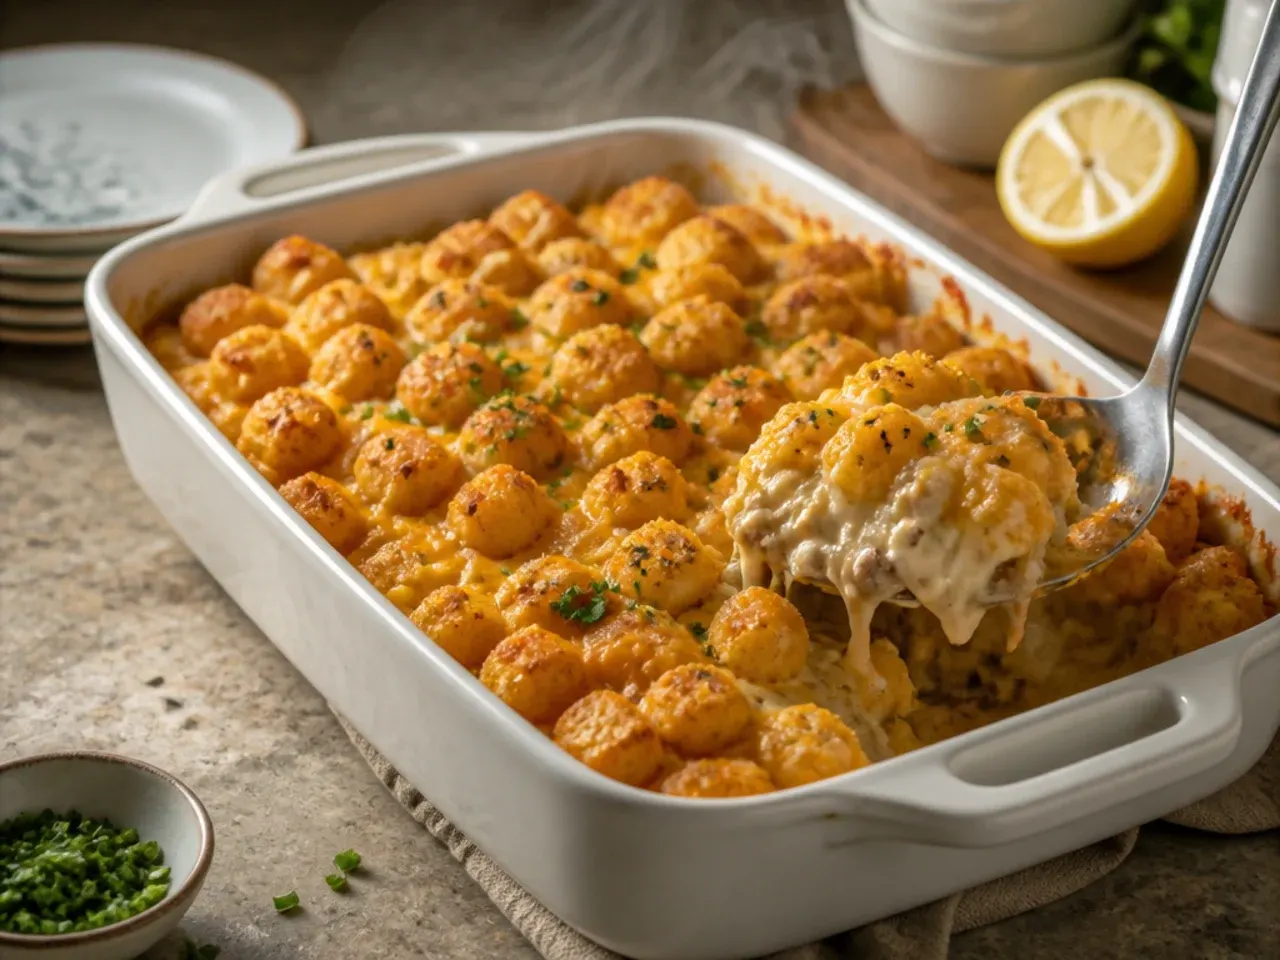
The can of condensed soup always says to add a can of water or milk, and I did that religiously until I realised it was watering down my casserole. Condensed soup is meant to stay thick as the base of a bake like this, not stretched into a thin gravy. I now use it straight from the can plus just a measured splash of milk to loosen it, and the filling holds together instead of pooling around the tots.
Lesson 6: I Learned to Season the Beef, Not Just the Sauce
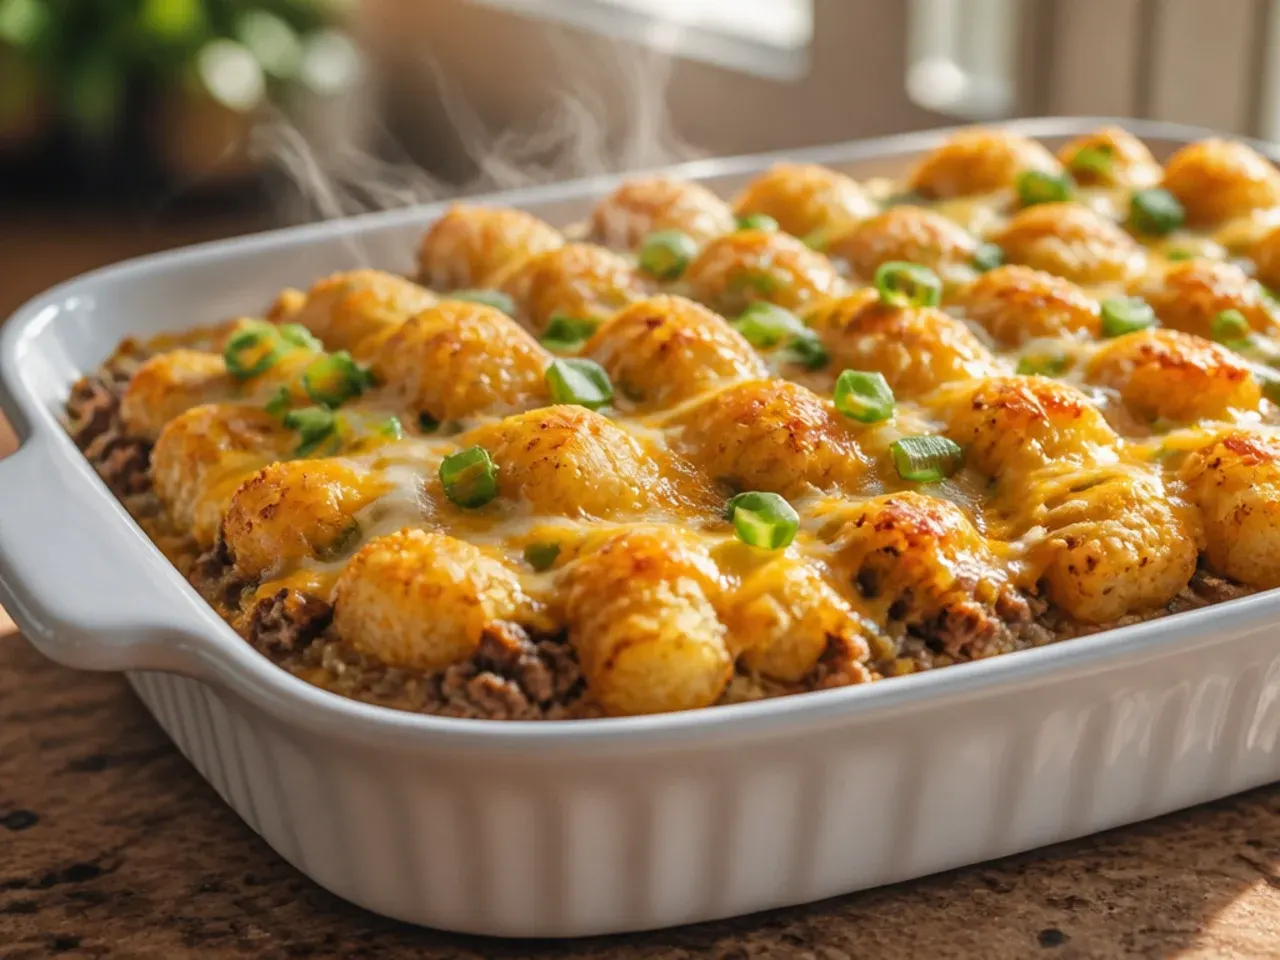
I used to rely entirely on the soup and cheese for flavour and left the beef completely plain while it browned. That gave me a casserole that tasted fine on top and bland underneath. Now I salt and pepper the mince as soon as it hits the hot pan, which seasons it from the inside instead of only at the surface.
Lesson 7: I Started Grating My Own Cheese Block
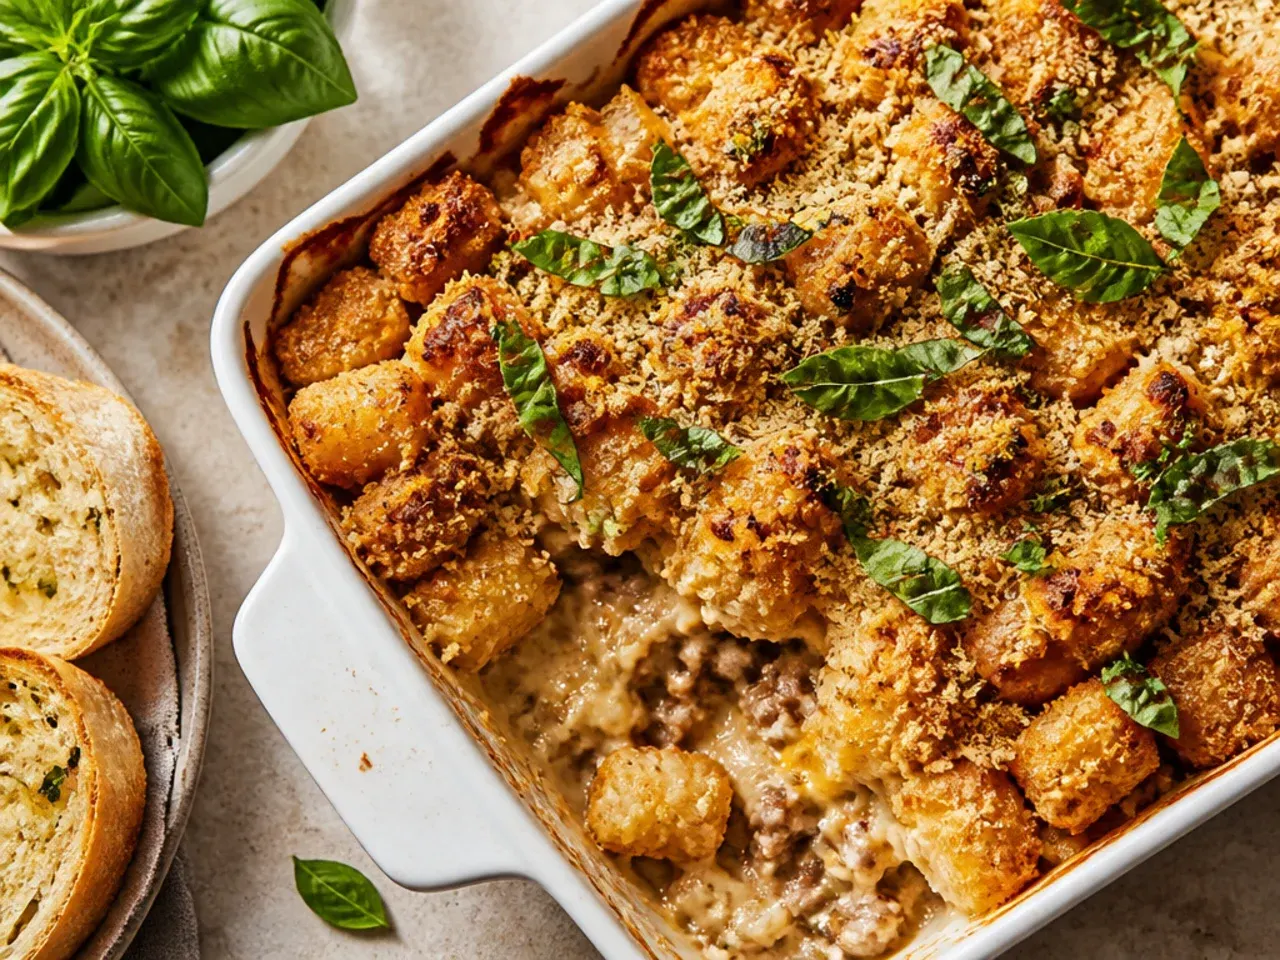
Pre-shredded bagged cheese was my go-to for years because it saved time, but it's coated in anti-caking starch that stops it melting smoothly. It left my casserole with slightly grainy, greasy pockets instead of that stretchy melt. A block of sharp cheddar grated fresh takes an extra five minutes and melts into a completely different, silkier result.
Lesson 8: I Moved the Cheese to the Last 10 Minutes
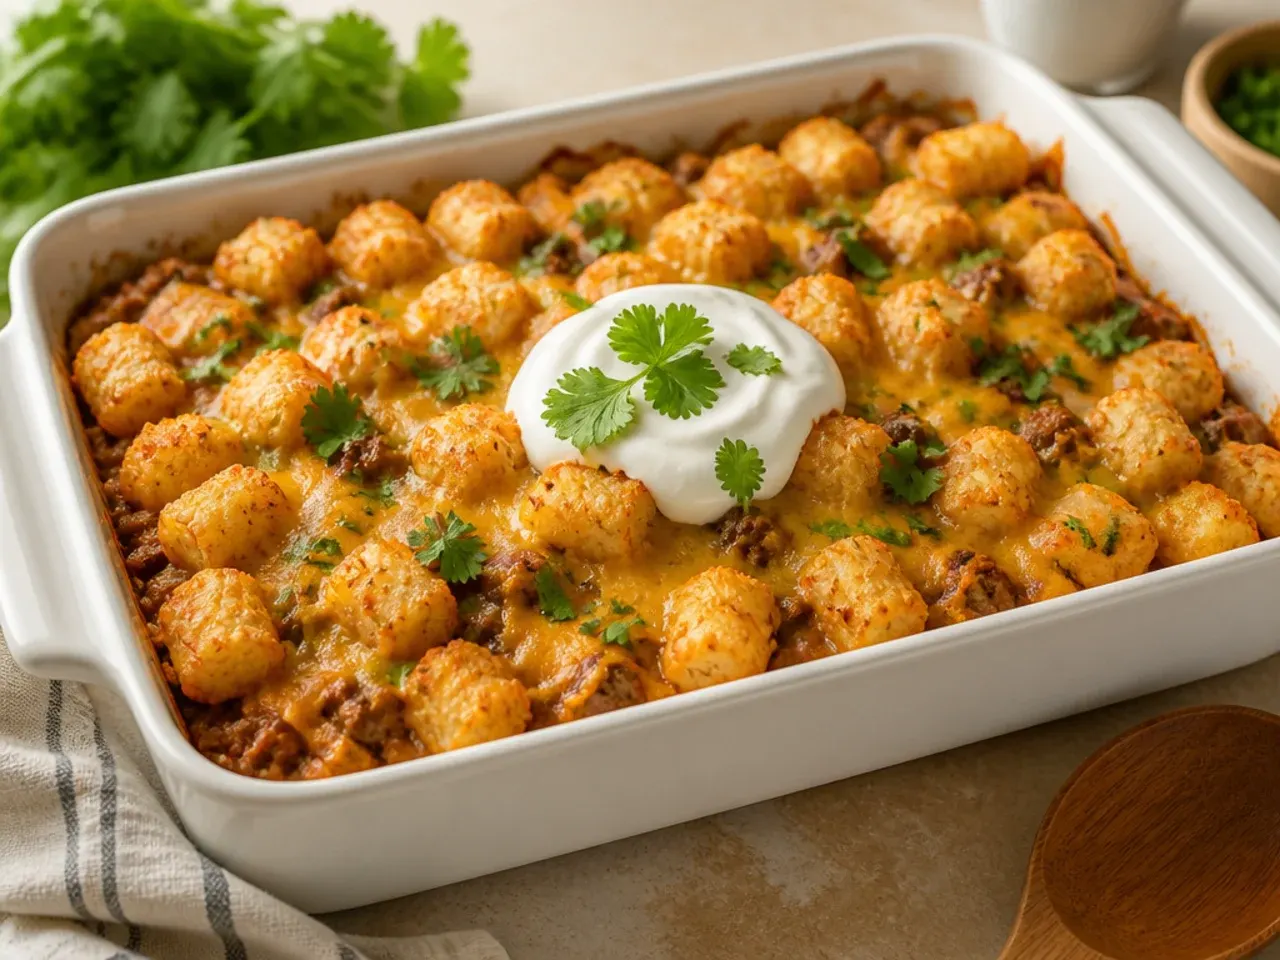
Sprinkling all the cheese on before the casserole went into the oven meant it had 40 minutes to overcook, turning oily and rubbery by the time the tots were golden. Now I hold back the top layer of cheese and only add it once the tots are already crisping, giving it just enough time to melt without breaking. The cheese comes out glossy and pulls into strings instead of forming a hard, greasy shell.
Lesson 9: I Started Leaving Gaps Between the Tots
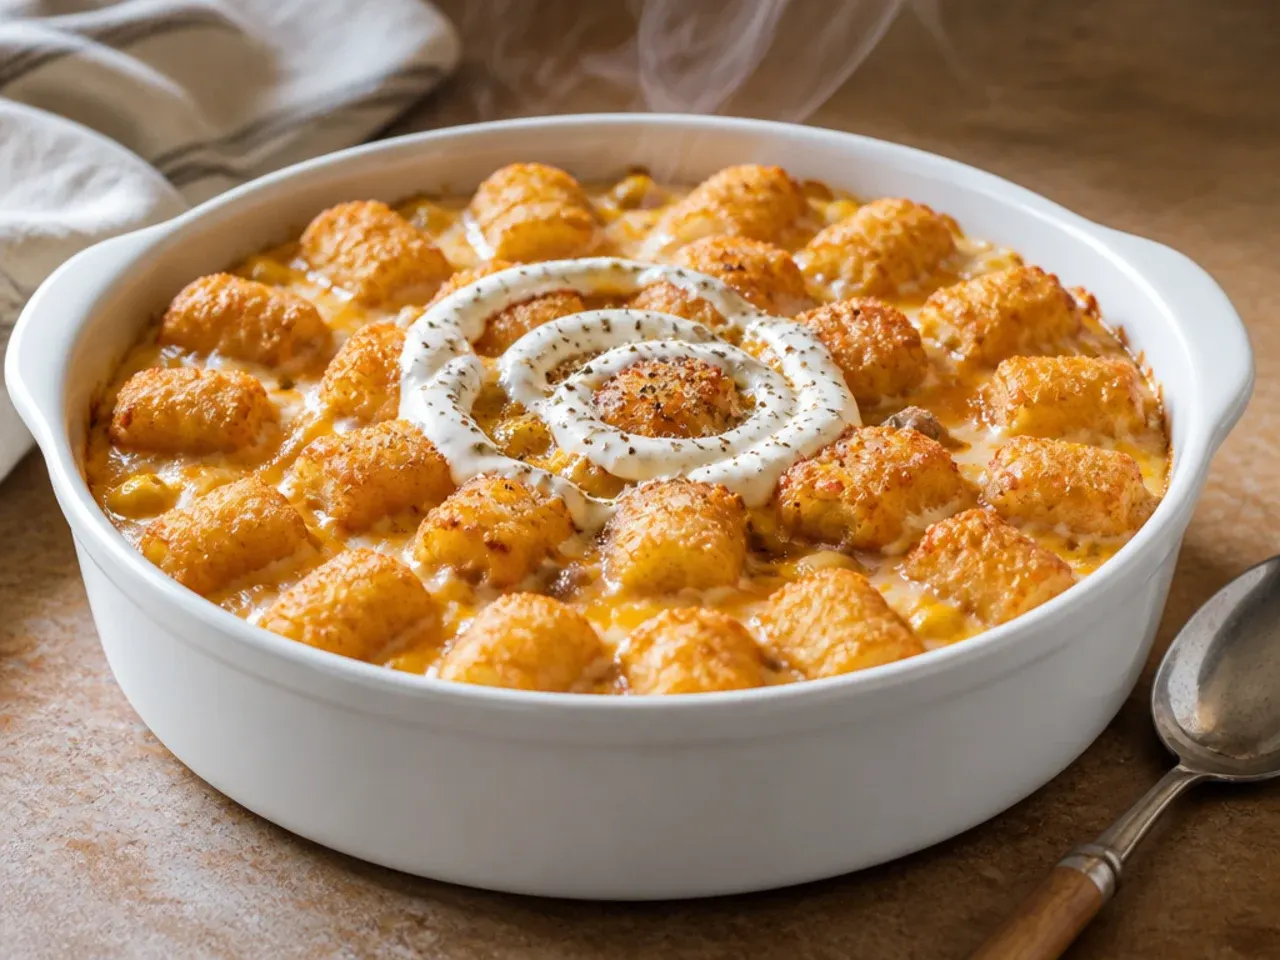
My earliest attempts had the tots packed edge to edge like tiles because I wanted full coverage. Packed that tight, the sides of each tot never get direct oven heat, so they stay soft instead of crisping. Now I leave a small gap between each one, arranged in a loose single layer, and every tot gets crunchy on more than just the top.
Lesson 10: I Learned Uncovered Beats Covered for Crisping
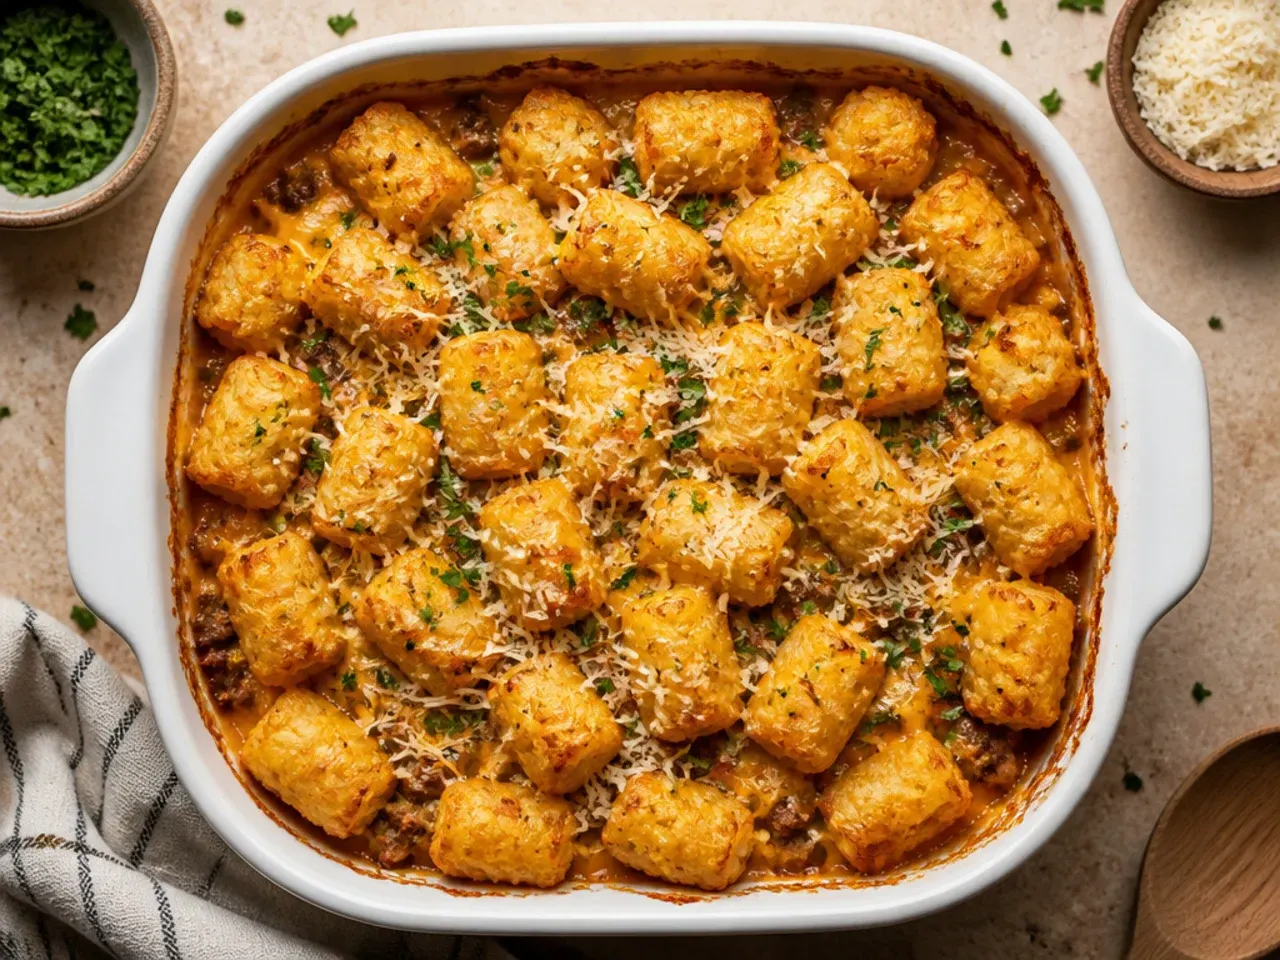
I covered the dish with foil for the full bake once, thinking it would keep everything moist, and ended up with soft, pale tots that never browned. Trapped steam is the enemy of a crisp top here. I bake uncovered from start to finish now unless I'm working from a fully frozen casserole, and the difference in texture is night and day.
Lesson 11: I Started Adding a Spoon of Ketchup
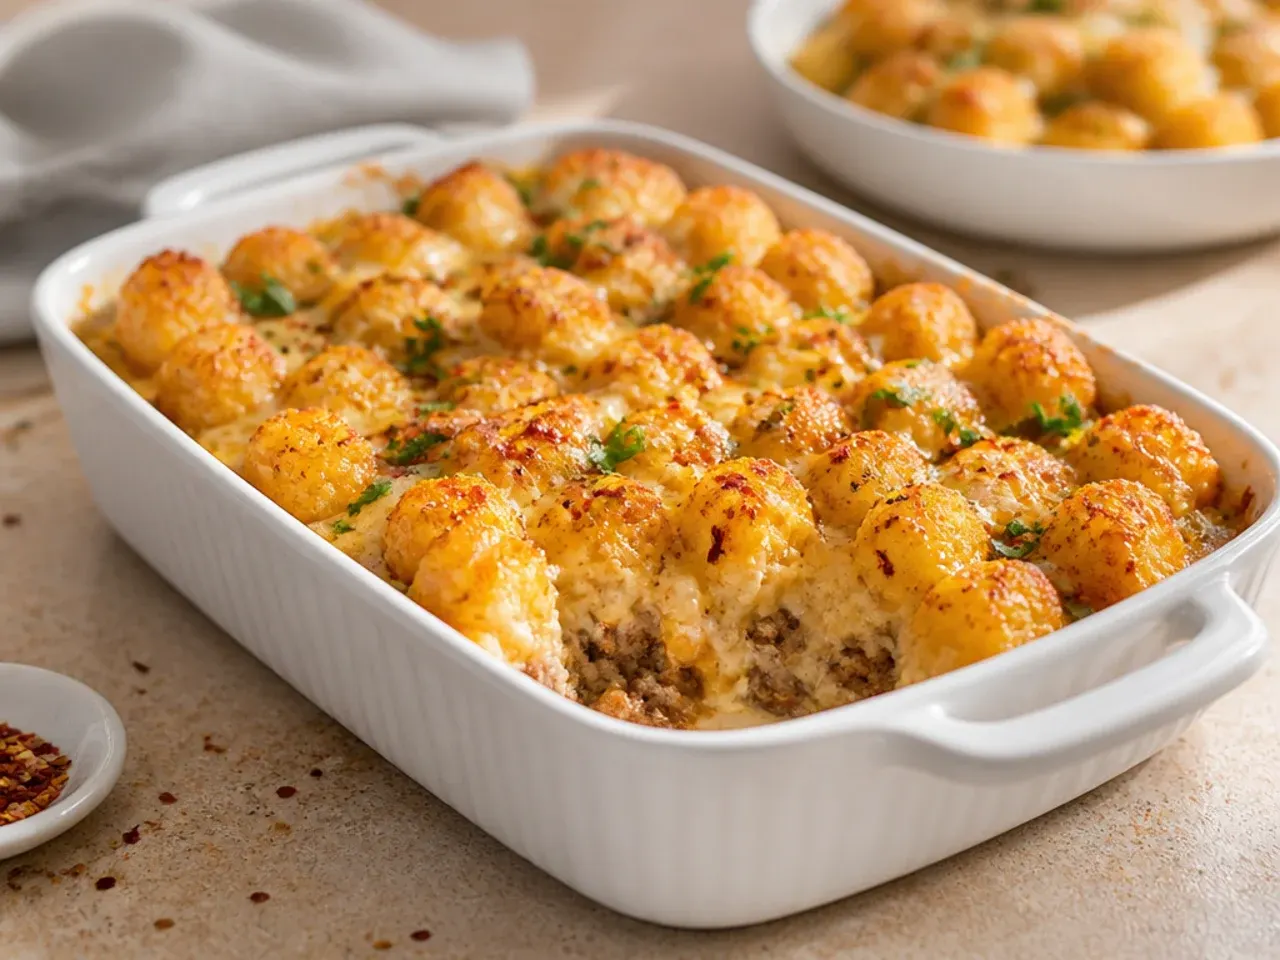
My filling used to taste a little flat no matter how much salt I added, and I couldn't work out why. A single tablespoon of ketchup stirred into the sauce brings a hit of sweetness and acidity that cuts through the richness of the cheese and soup. It sounds odd for a casserole, but it's the difference between tasting heavy and tasting balanced.
Lesson 12: I Learned to Drain Frozen Vegetables Well
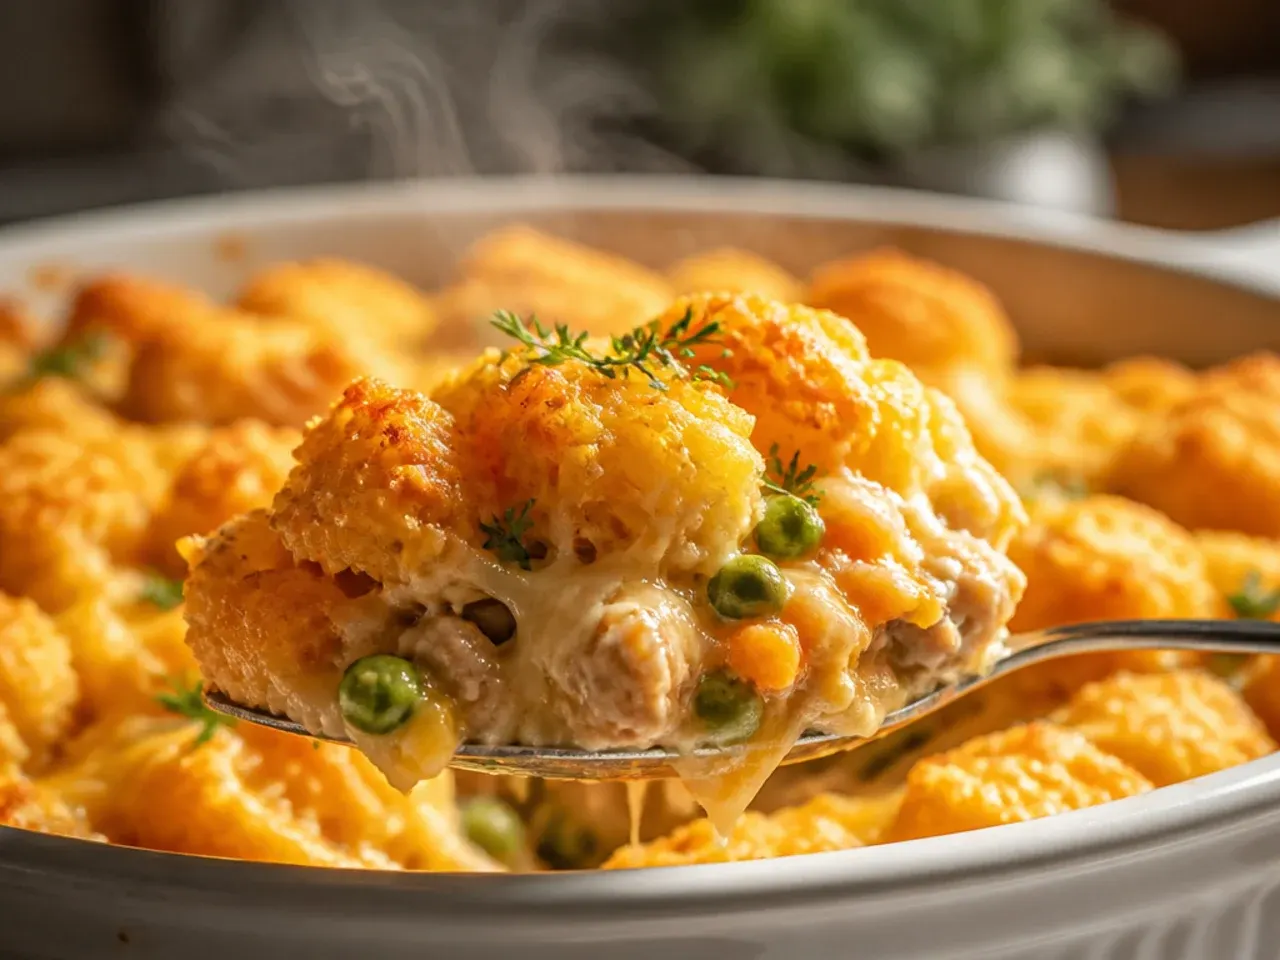
I once stirred frozen peas and corn straight into the filling without a second thought, and they released enough water while baking to make the whole bottom layer watery. Now I thaw the mixed vegetables first and press them dry between layers of kitchen paper before they go in. It takes two extra minutes and stops the filling turning soupy under the tots.
Lesson 13: I Stopped Overloading the Dish
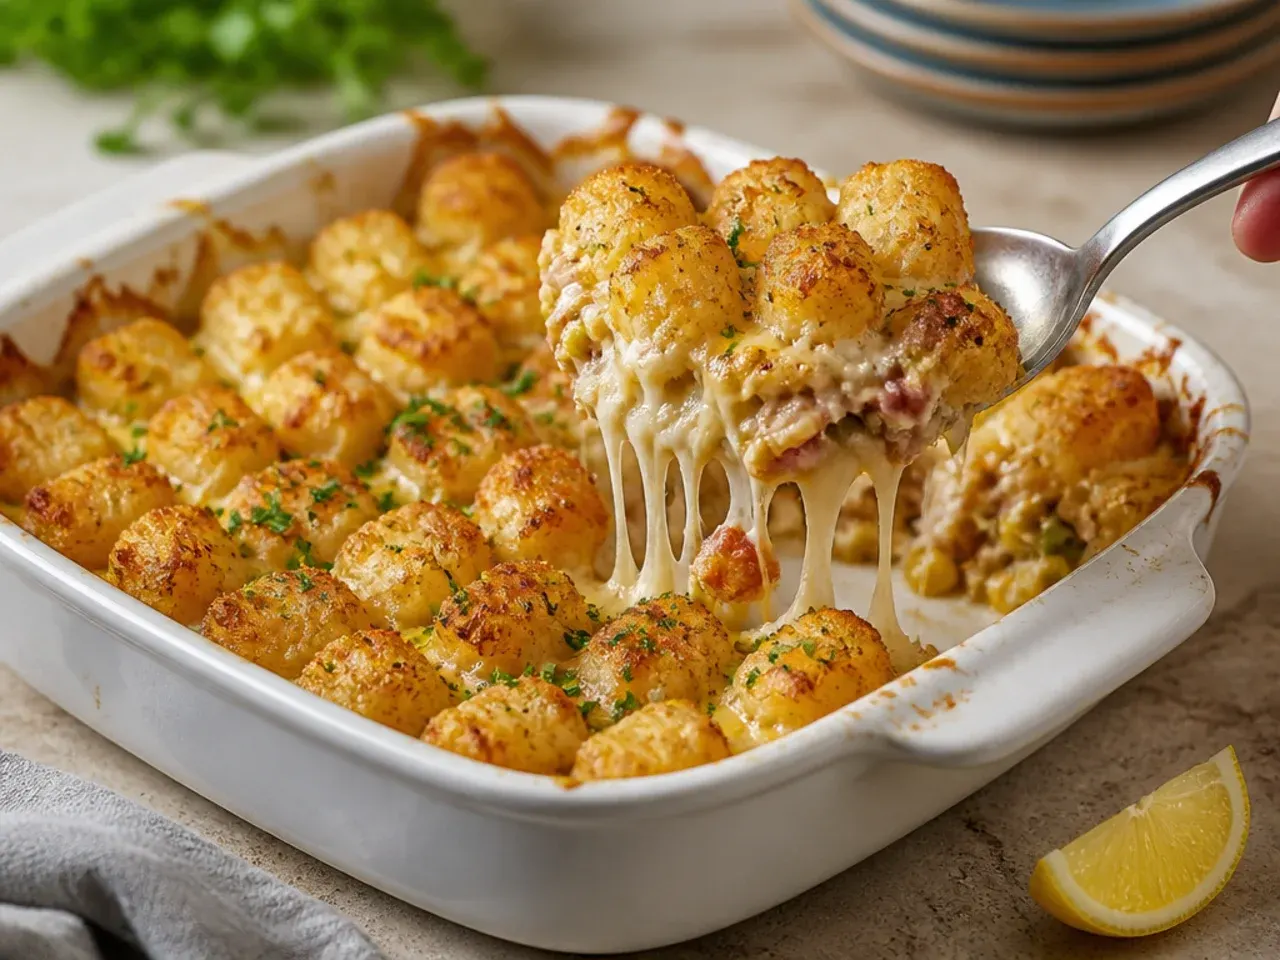
I got greedy with portions once and crammed nearly a kilo more filling and tots than the dish could comfortably hold. It bubbled over in the oven and left a burnt mess on the floor of my oven to scrub out afterwards. Now I measure the filling against the dish before adding tots, and if it comes within 2 cm of the rim, I know it's exactly right.
Lesson 14: I Started Checking for Bubbling, Not the Clock
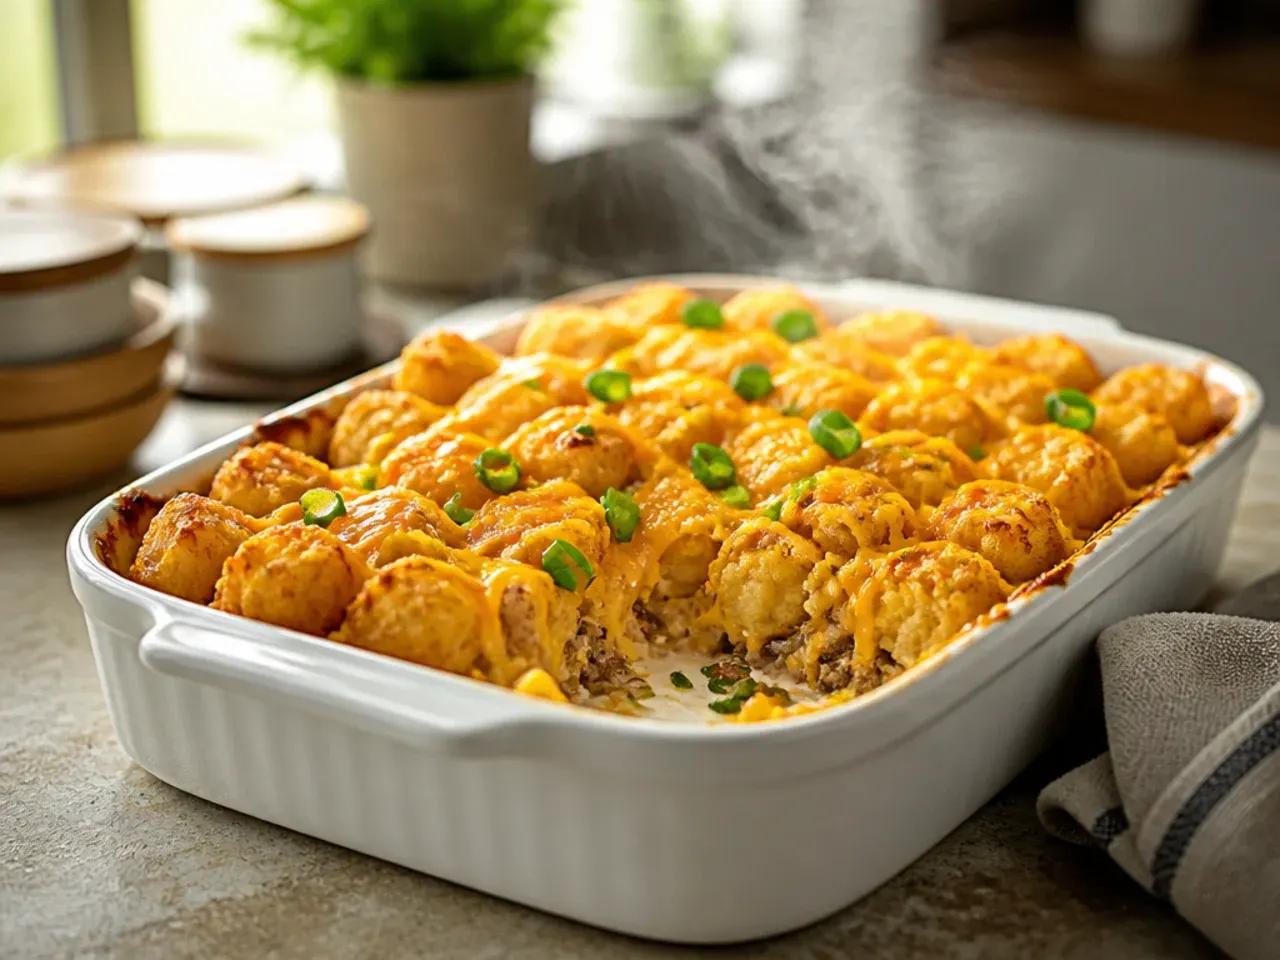
For a long time I pulled the casserole out the second the timer beeped, even if it still looked pale around the edges. Oven hot spots and dish material mean the actual bake time varies more than any recipe timer accounts for. Now I watch for the sauce visibly bubbling at the edges and the tots turning deep golden before I even reach for oven mitts.
Lesson 15: I Learned to Let It Rest Before Serving
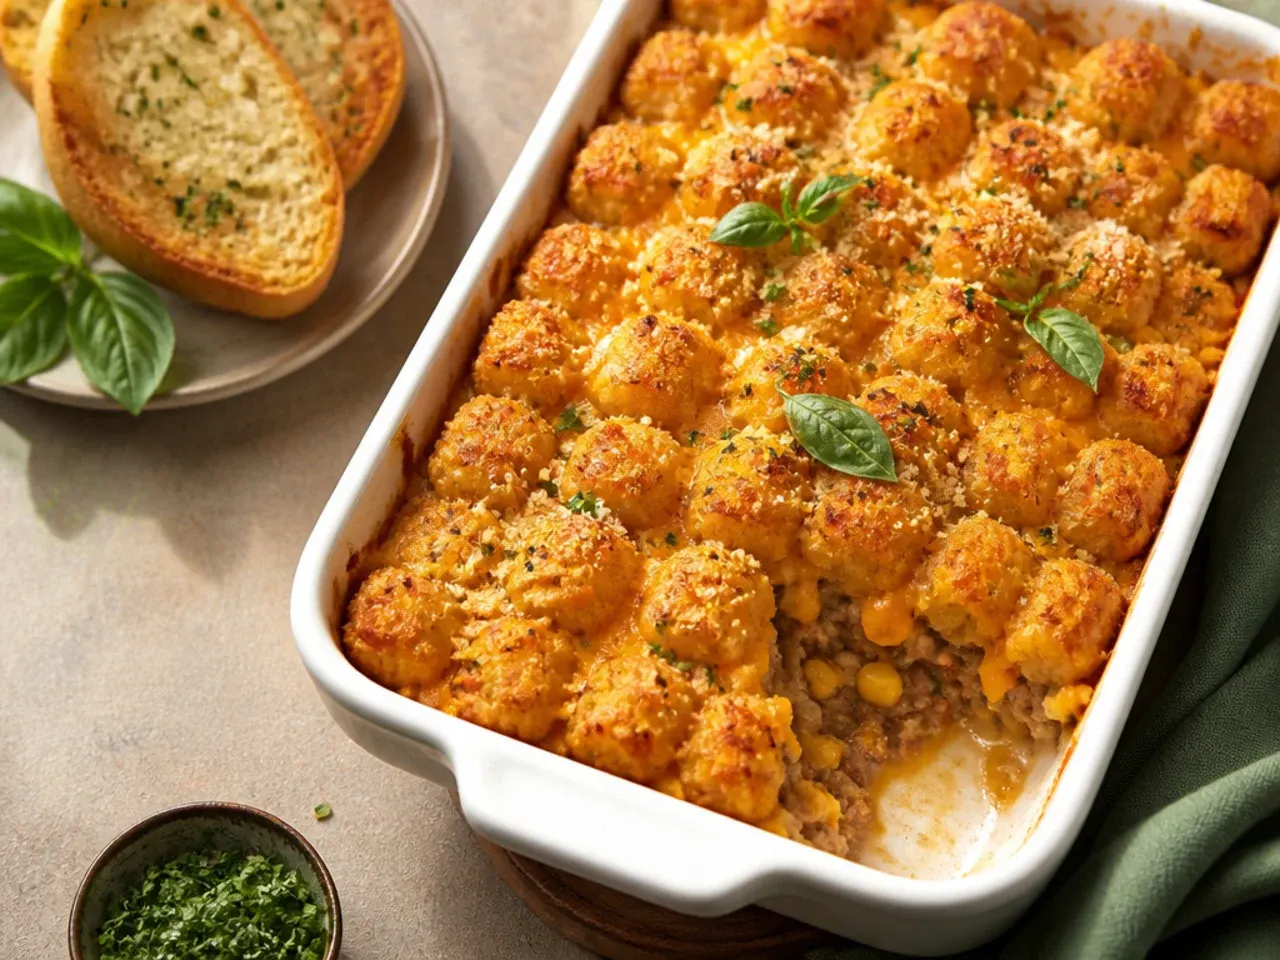
Straight out of the oven, the filling is molten and every scoop used to slide apart into a soupy mess on the plate. Giving the casserole 8 to 10 minutes to rest lets the sauce thicken slightly as it cools just a touch. The scoops hold their shape properly now, with the cheese still stretchy but the sauce no longer running everywhere.
Lesson 16: I Started Prepping the Filling a Day Ahead
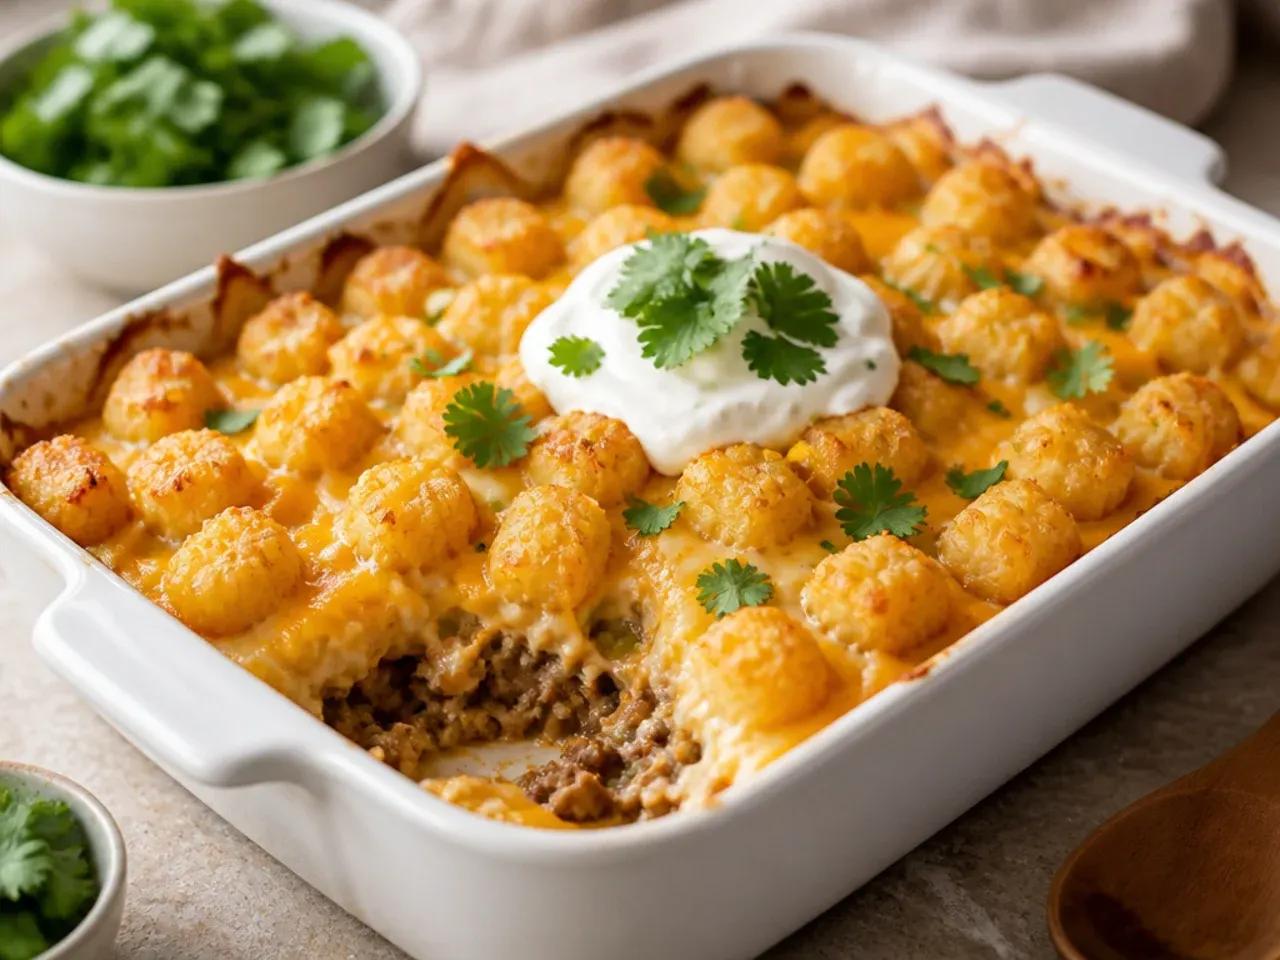
Making the whole thing from scratch on a weeknight always felt rushed, so I started browning the beef and mixing the sauce the night before. I store it covered in the fridge and just add the vegetables, cheese, and frozen tots right before baking. Dinner goes from fridge to table in under an hour with barely any evening effort.
Lesson 17: I Learned How to Freeze It Properly
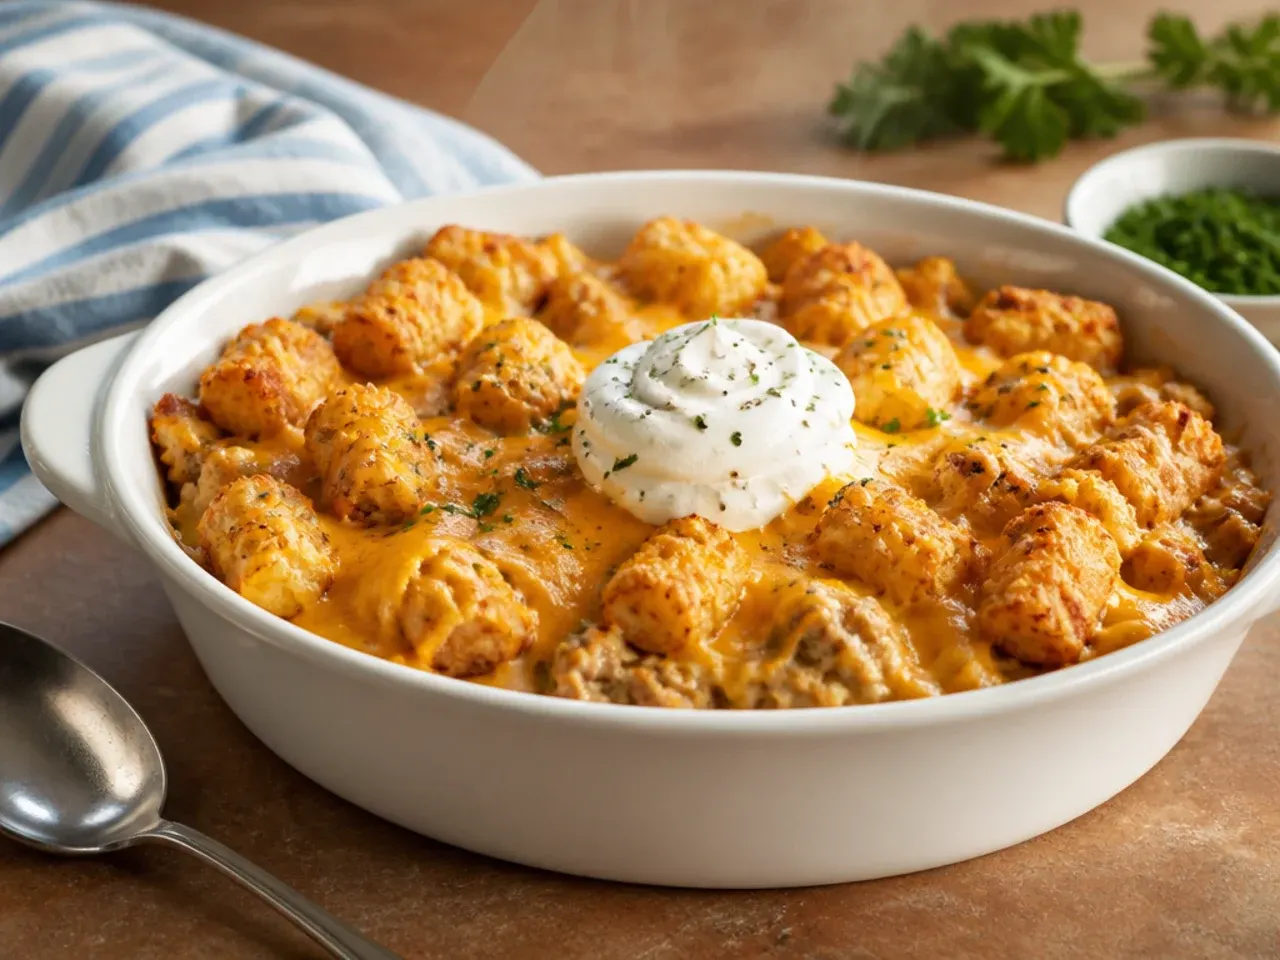
My first attempt at freezing a fully assembled casserole, tots and all, came out soggy and grey after thawing because the tots had already gone through one freeze-thaw cycle before ever hitting the oven. Now I freeze just the beef, sauce, and vegetable filling in a sealed container and only add fresh frozen tots on baking day. It keeps well for up to three months and tastes like it was made that morning.
Lesson 18: I Worked Out How to Bake It From Frozen
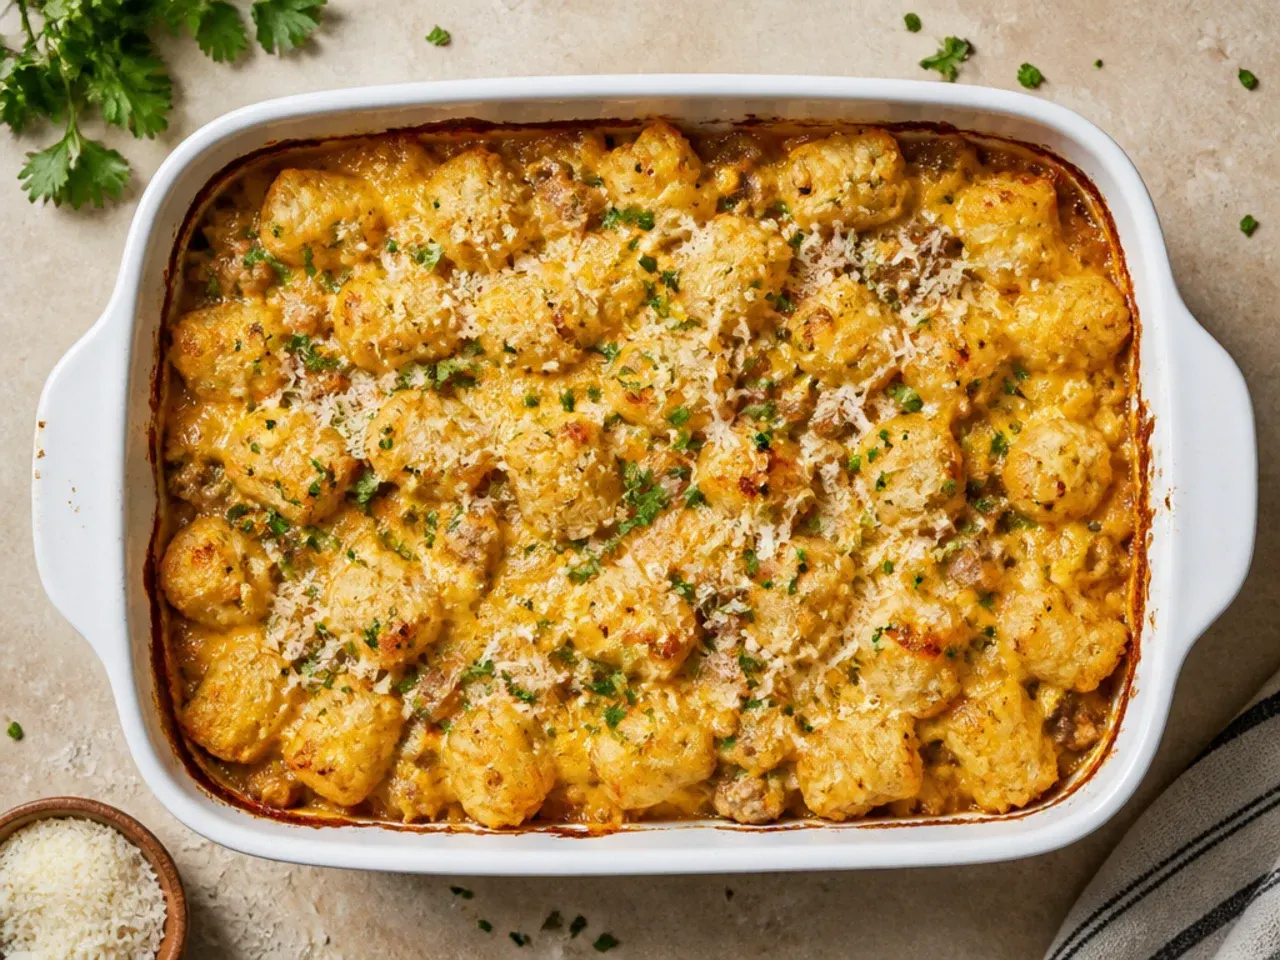
I tried baking a fully frozen, pre-assembled casserole at the normal temperature and time once, and the centre was still icy while the tots on top had burnt. Baking from frozen needs a longer, gentler approach: cover with foil at 190°C (375°F) for the first 40 to 45 minutes, then uncover for a further 20 to 25 minutes to crisp the top. It takes close to double the usual time, but it comes out fully cooked and evenly browned instead of half-frozen in the middle.
Lesson 19: I Started Reheating Leftovers in the Oven
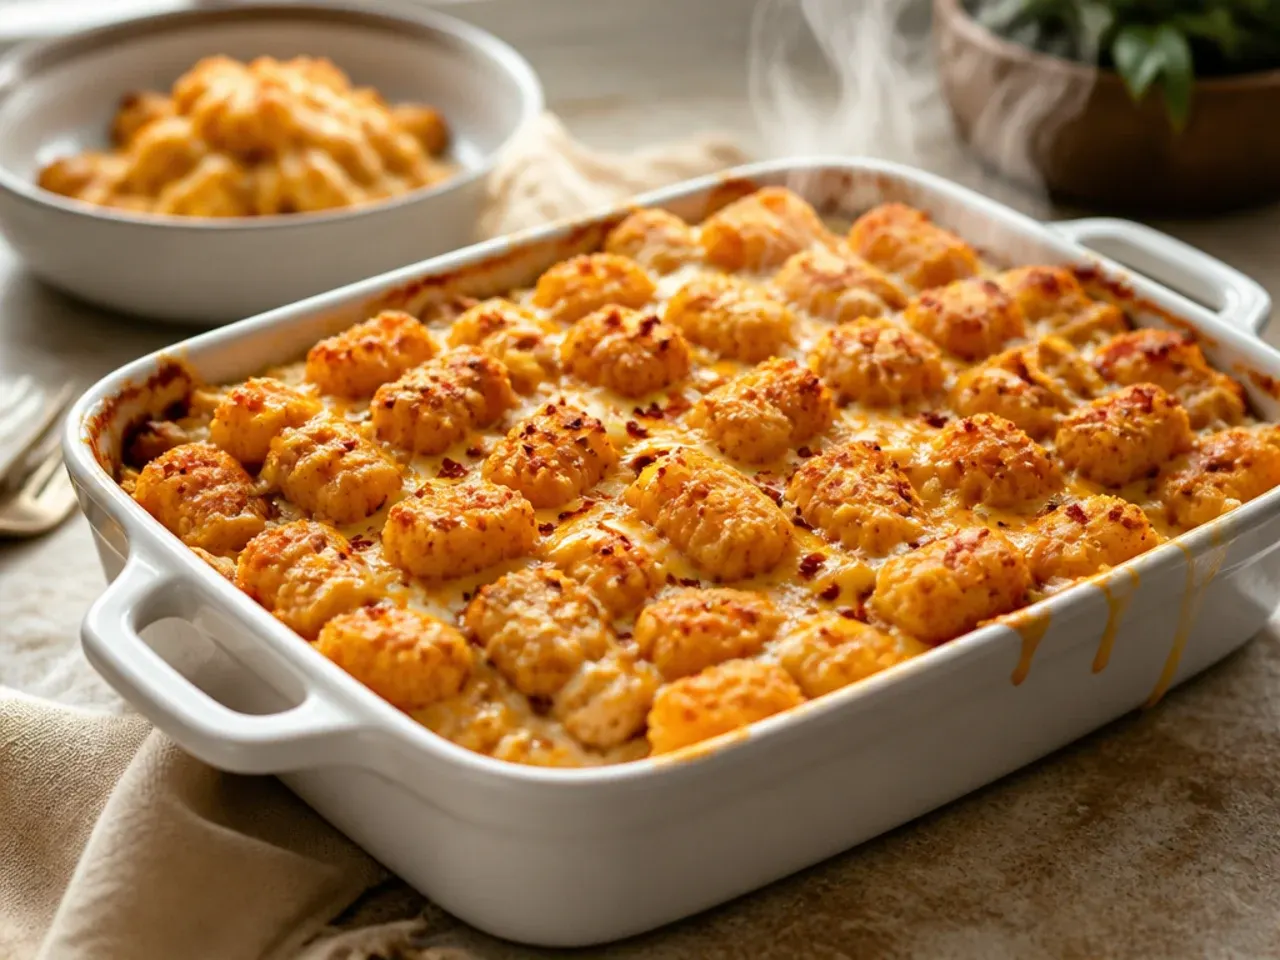
Microwaving leftover portions used to leave the tots rubbery and the cheese separated into an oily layer on top. Now I reheat portions in a 175°C (350°F) oven for 15 to 20 minutes, uncovered, until the edges bubble again. It genuinely tastes close to fresh, which the microwave never managed.
Lesson 20: I Learned Smoked Paprika Changes Everything
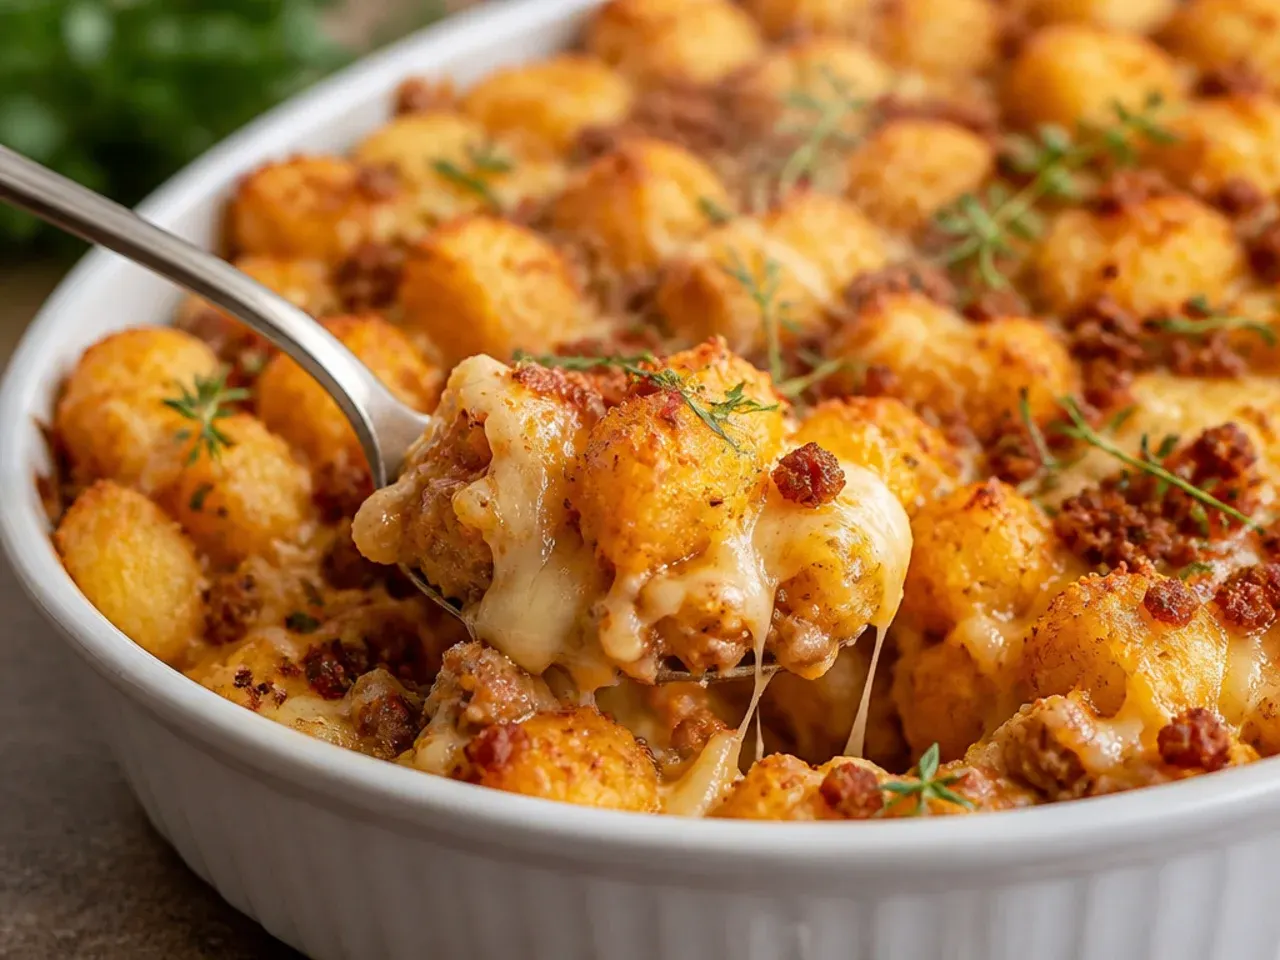
For years my seasoning was just salt, pepper, and whatever the soup already had in it, and the finished dish tasted a bit one-note. Half a teaspoon of smoked paprika stirred into the sauce adds a warm, slightly smoky depth that makes the whole thing taste more like something you'd order at a diner. It's a small addition that people always ask about when they can't quite place the flavour.
Lesson 21: I Started Sautéing the Onion Separately
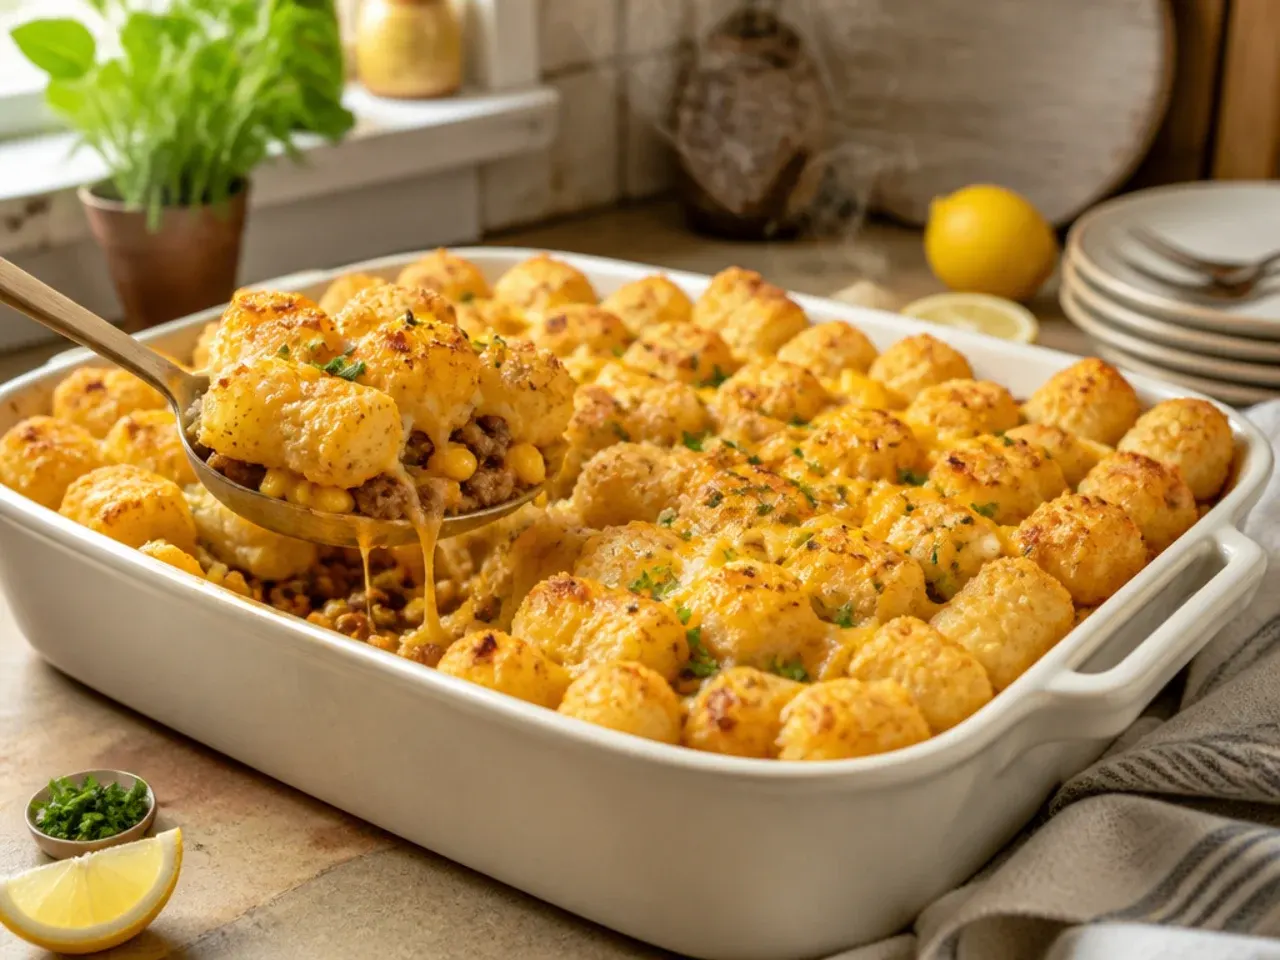
I used to throw diced onion in with the beef right from the start, and it never fully softened before the meat was already browned and dry. Now I sauté the onion in a little butter for 4 to 5 minutes until it's soft and translucent before adding the beef to the same pan. The onion melts into the sauce instead of leaving crunchy, half-raw pieces throughout the casserole.
Lesson 22: I Learned Two Cans of Soup Beats One
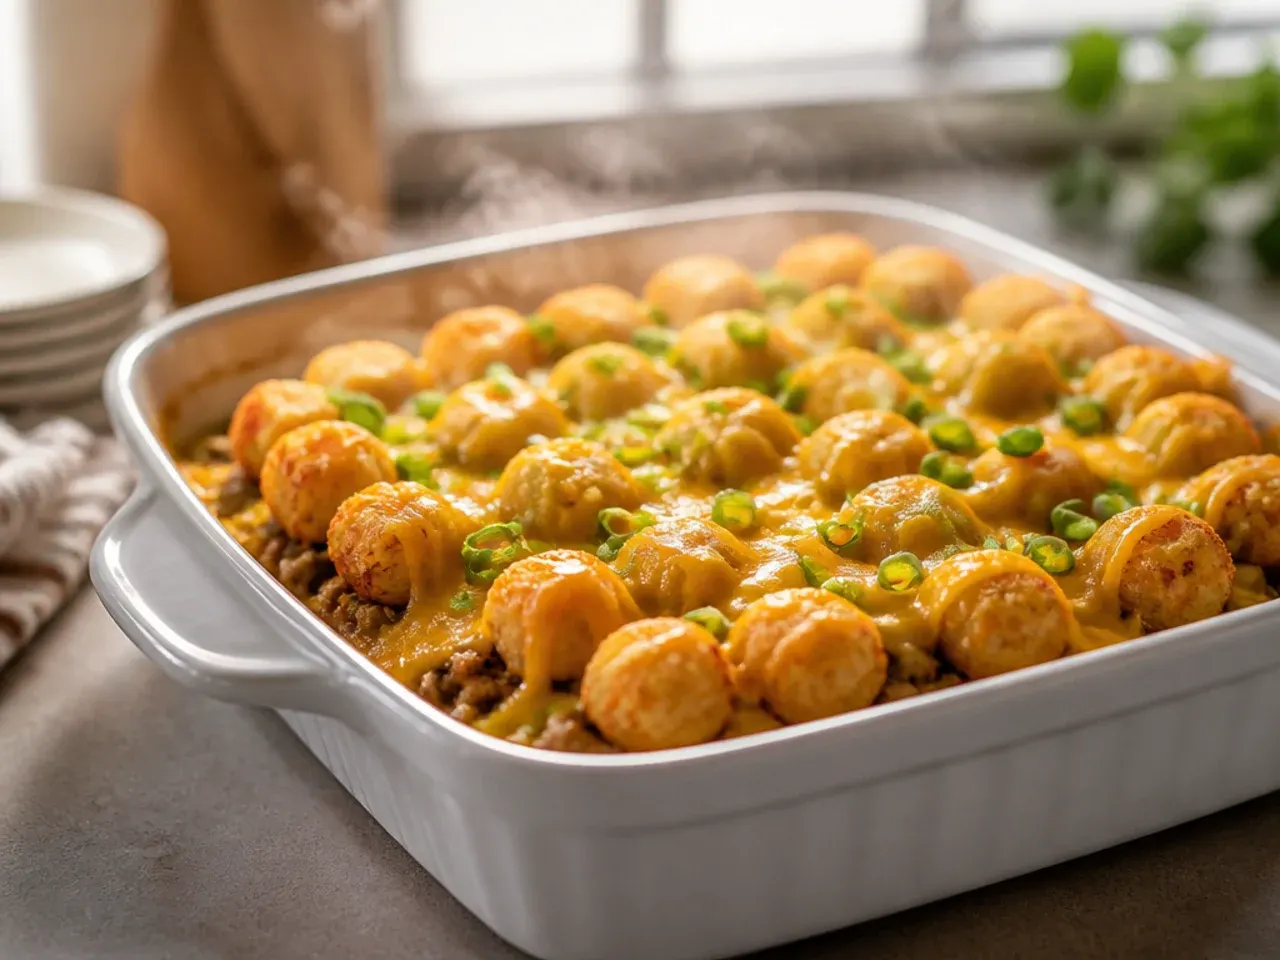
My earliest version used a single can of condensed soup stretched across the whole dish, and it left large dry patches of beef and tots with nothing binding them. Using two cans instead of one gives every layer enough sauce to coat properly without needing to add extra liquid. The casserole holds together in neat scoops rather than crumbling apart into dry sections.
Lesson 23: I Switched From All Beef to a Beef-Sausage Mix
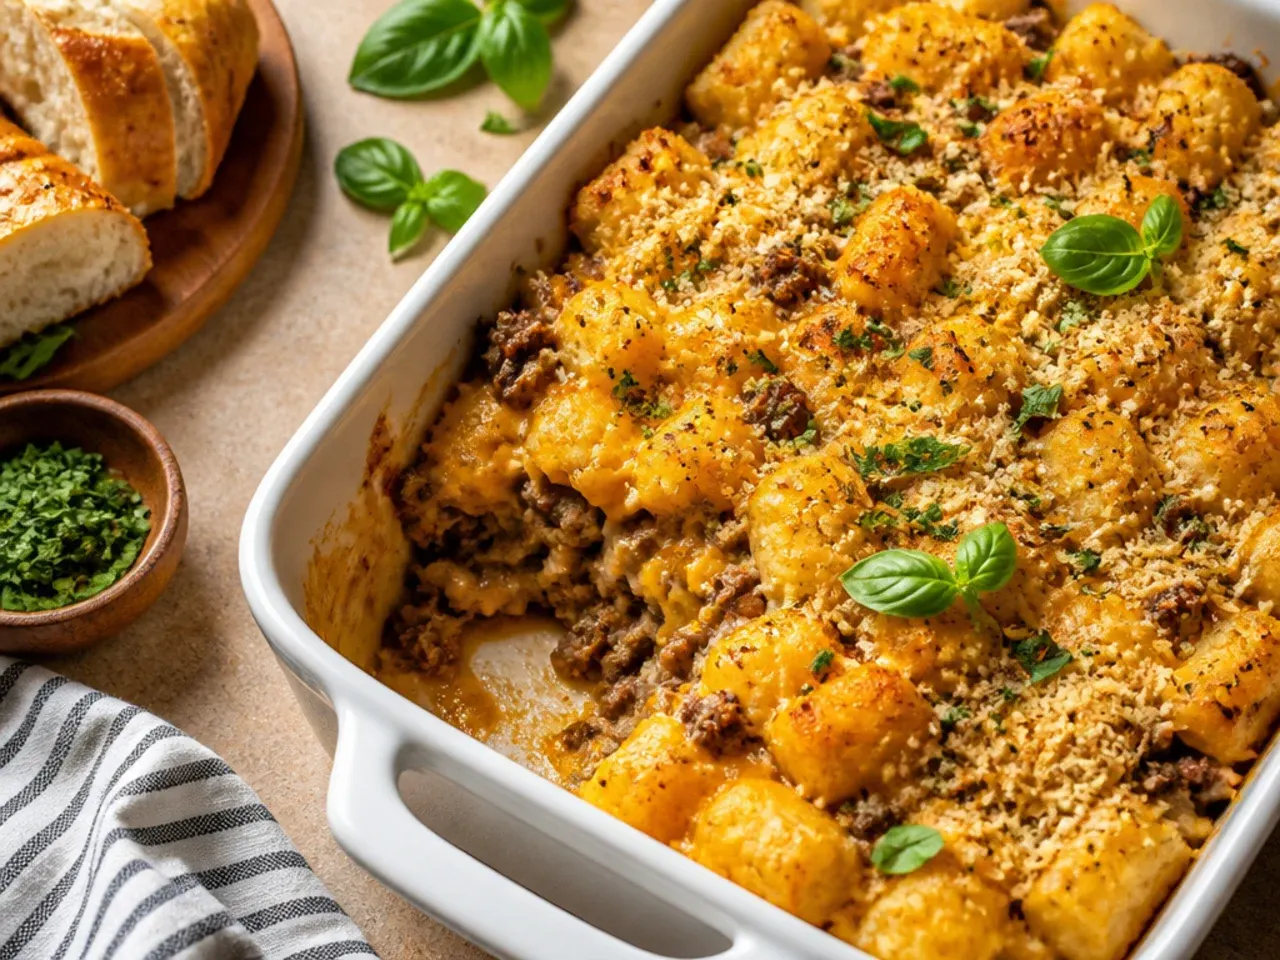
Straight ground beef is reliable but can taste a little plain on its own, so I started swapping a third of it for breakfast sausage meat. The sausage brings its own seasoning and a bit of fat that keeps the filling from drying out during the longer bake. It's now my go-to version whenever I want the casserole to taste a bit more special without any extra effort.
Lesson 24: I Started Adding Garlic Instead of Skipping It
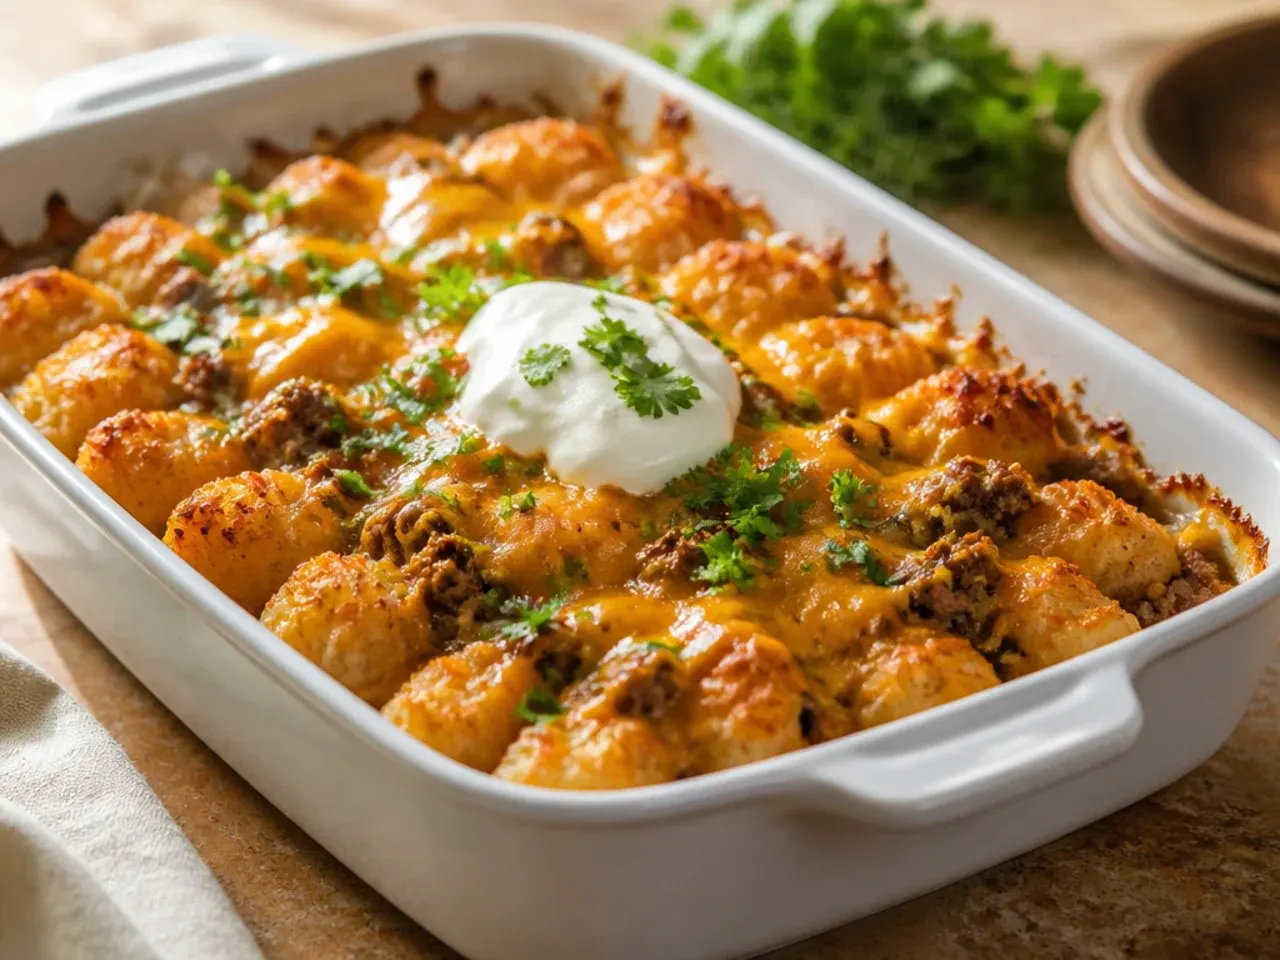
I left garlic out for a long time because the recipe I started from didn't call for it, and the filling always felt like it needed one more thing. Two cloves of minced garlic, added to the pan in the last minute of cooking the onion, round out the flavour without turning sharp or bitter. It's such a small step that I genuinely can't believe I skipped it for as long as I did.
Lesson 25: I Learned to Portion Leftovers Before They Go Cold
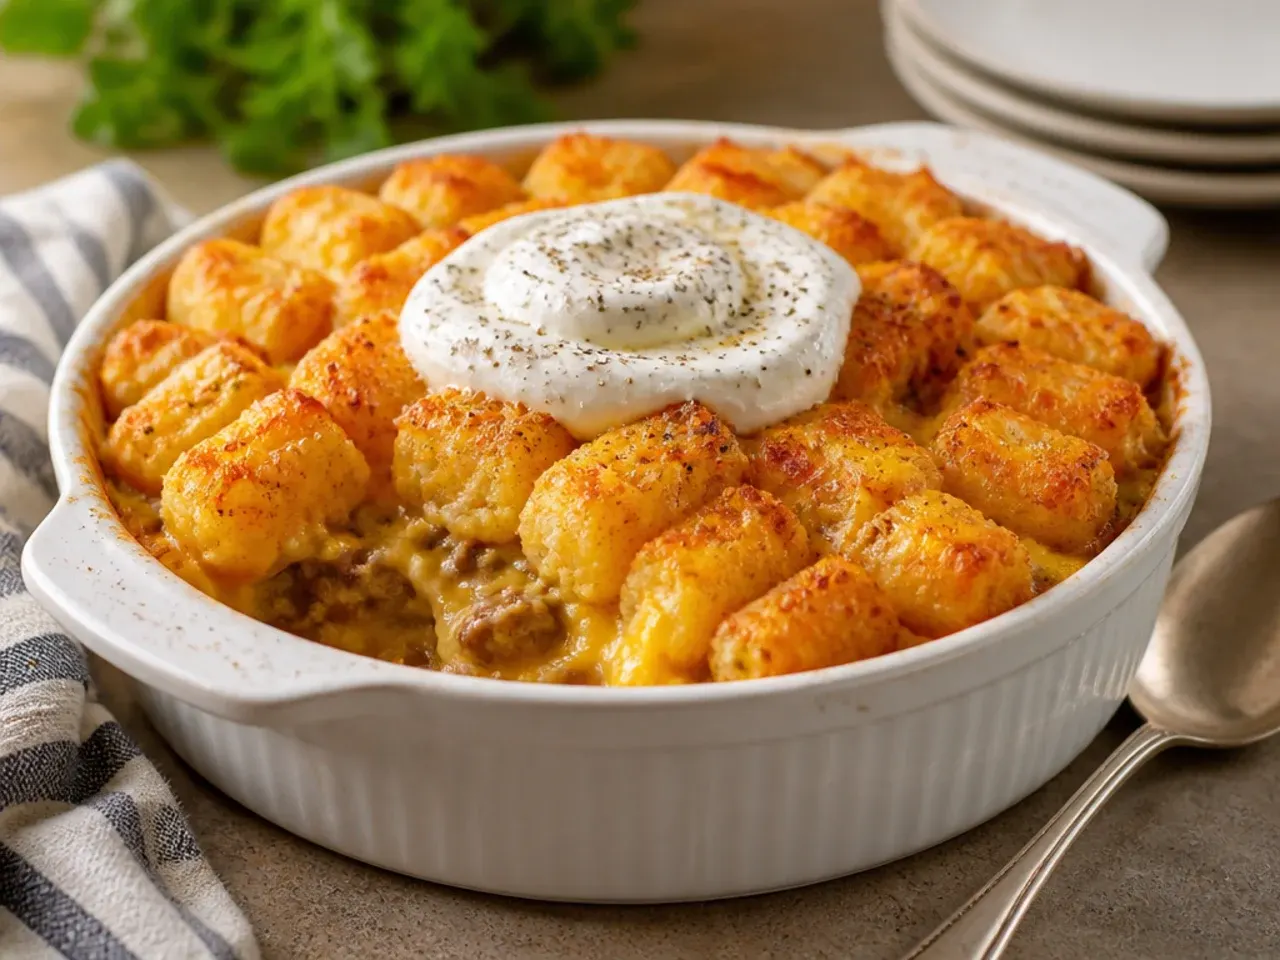
I used to shove the whole leftover dish, tots and all, into one big container and fight with it for days afterward. Dividing it into individual portions while it's still warm makes it reheat far more evenly and stops the top layer turning to mush under the weight of everything else. It also means lunch is genuinely ready to grab, not something I have to hack apart from a cold block.
What I'd Tell a Friend Trying This
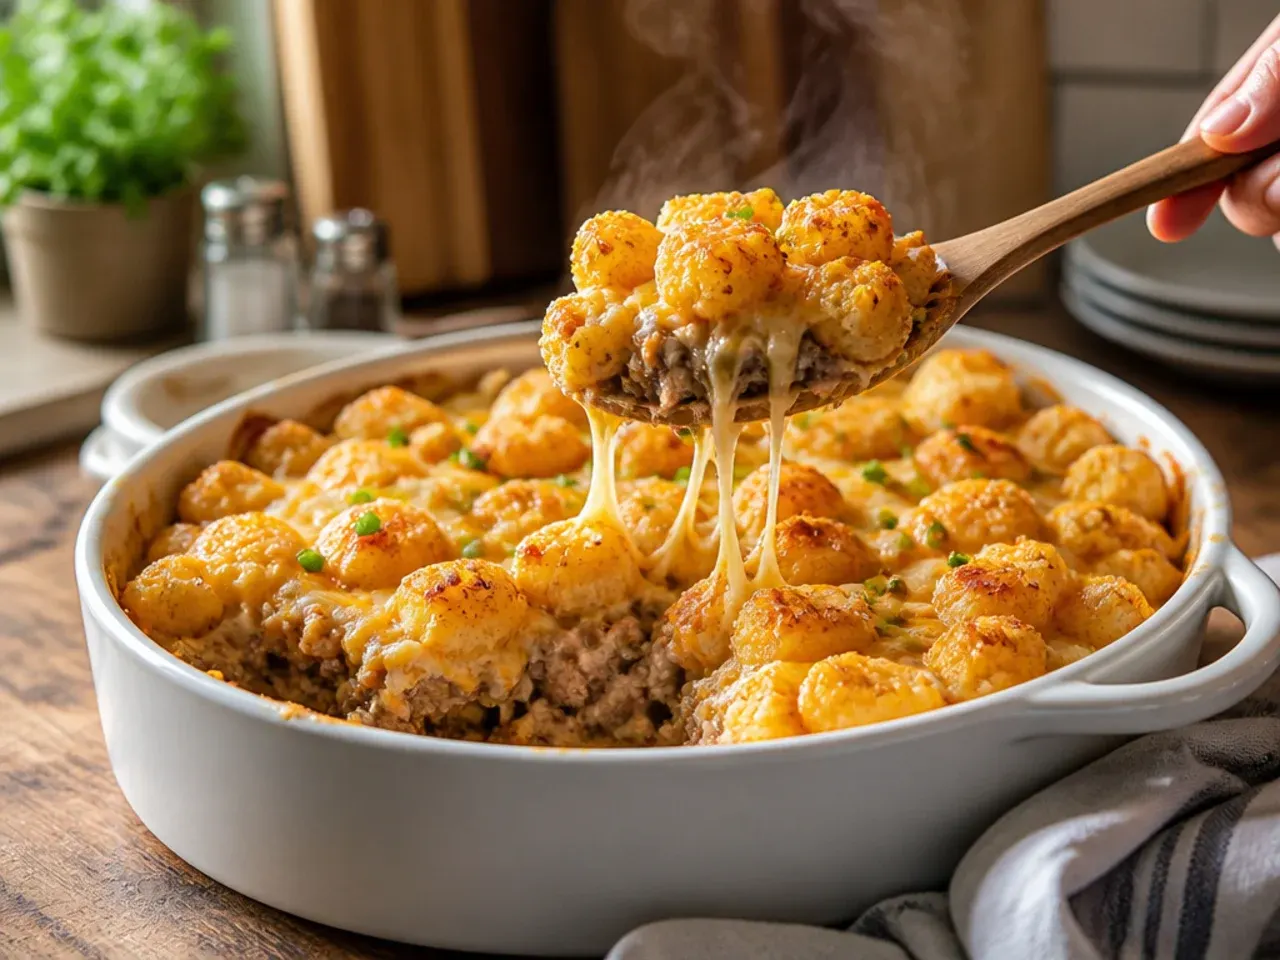
If you take away just three things from all of this: keep the tots frozen until the moment they go in the oven, drain everything wet before it hits the filling, and hold the cheese back until the last stretch of baking. Get those right and the rest is genuinely forgiving, even on a rushed weeknight. This has become the dinner I make when I want something that feels like a hug but doesn't ask much of me, and I hope it earns a permanent spot in your rotation too.
The Recipe
The Recipe I Used
20 min
45 min
1 hr 5 min
8
Beginner
Ingredients 8 Person(s)
Directions
Step 1: Sauté the onion and garlic
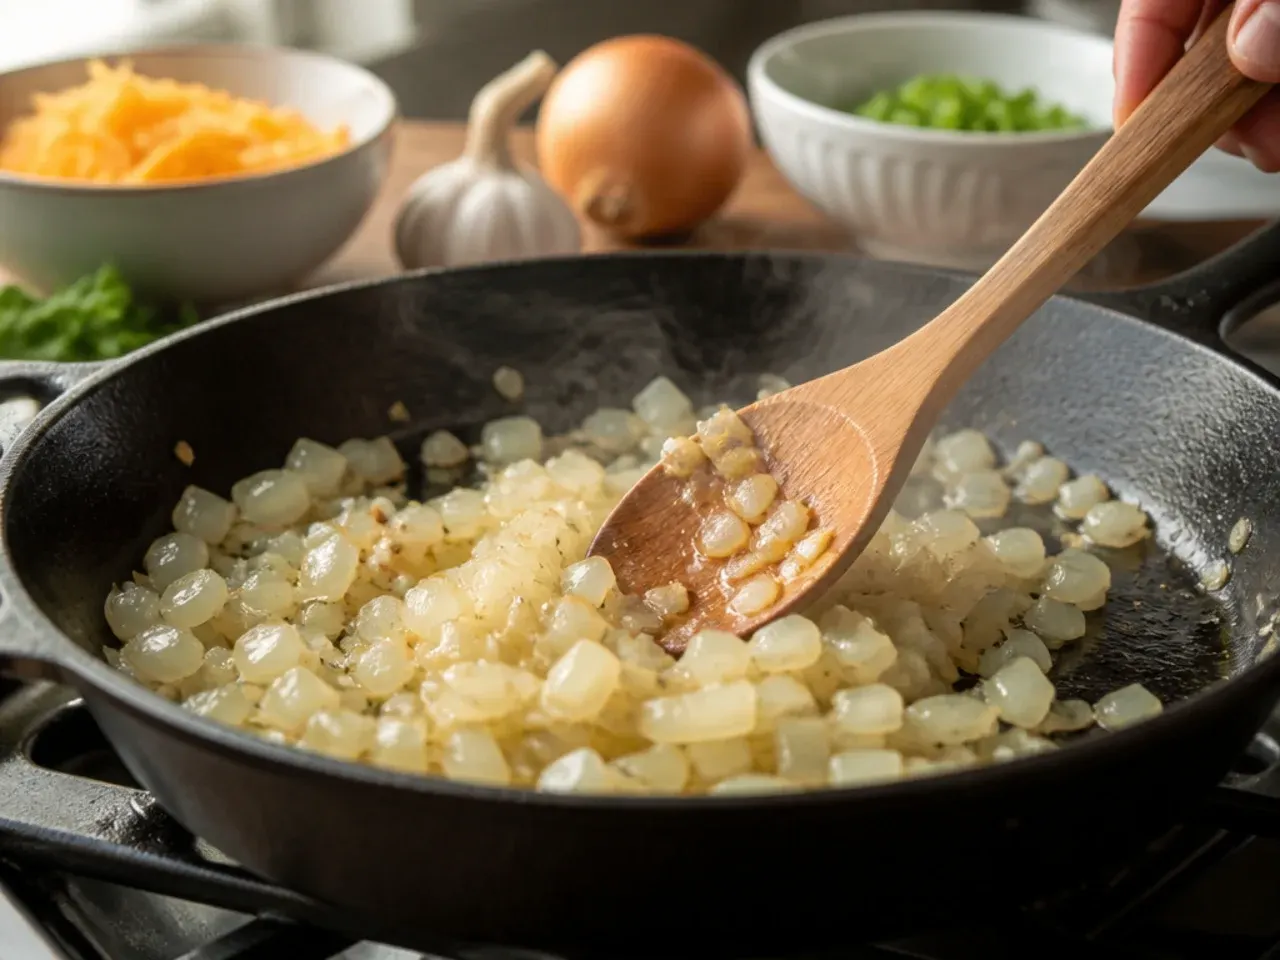
Melt a knob of butter in a large skillet over medium heat and cook the diced onion for 4-5 minutes until soft and translucent. Add the minced garlic for the final minute, stirring so it doesn't catch or turn bitter. Preheat the oven to 190°C (375°F) while this cooks.
Step 2: Brown the beef
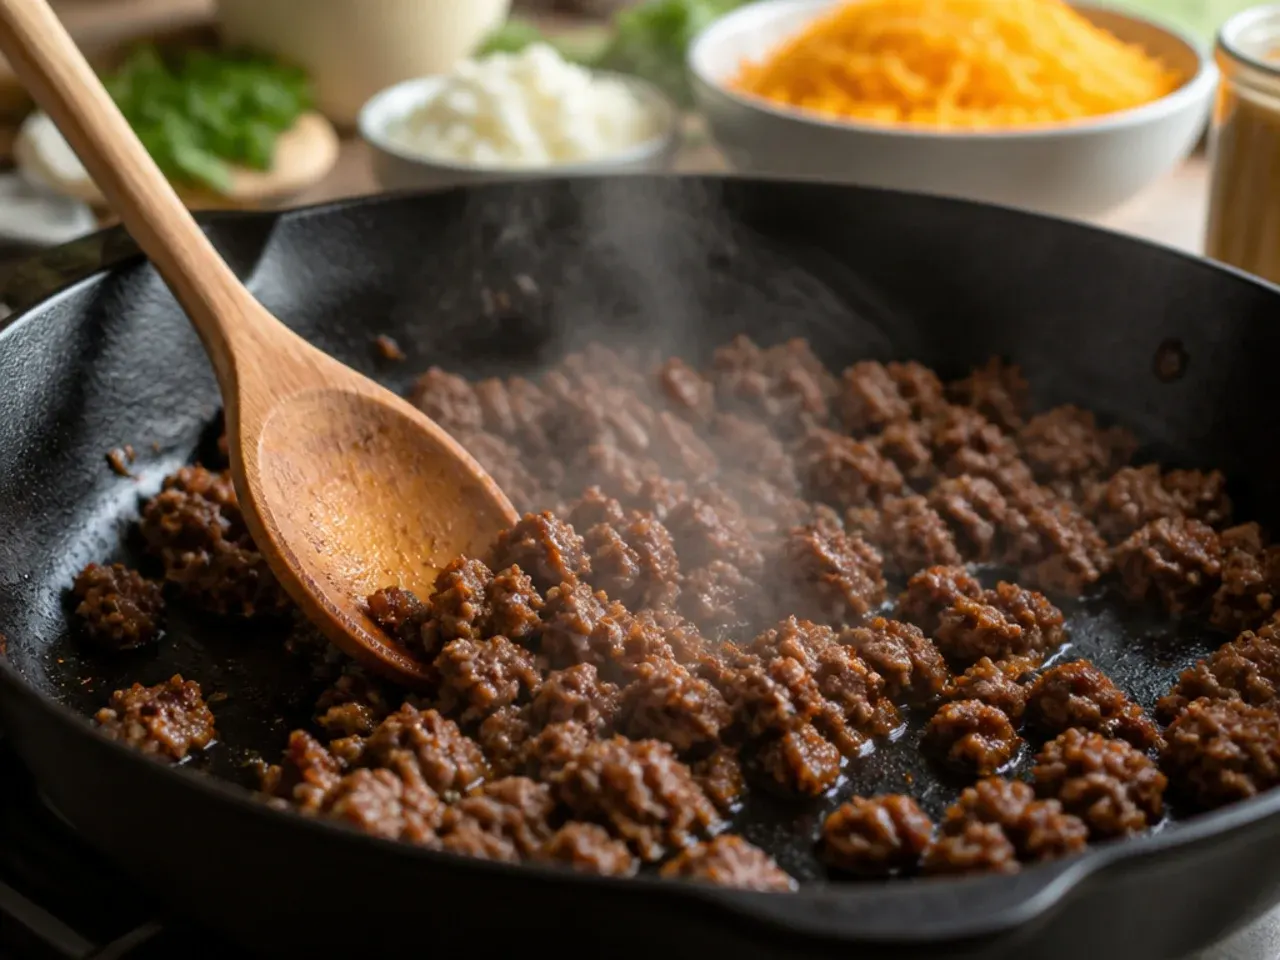
Add the ground beef to the same skillet, breaking it up with a spoon, and season with salt and pepper as it cooks. Brown for 7-8 minutes until no pink remains, then tip into a sieve and drain thoroughly, pressing gently with kitchen paper to remove excess fat. If using the beef-sausage mix from Lesson 23, don't rely on colour alone: check with a food thermometer that the mixture has reached 74°C (165°F) before draining, since sausage needs a verified internal temperature for food safety.
Step 3: Build the sauce
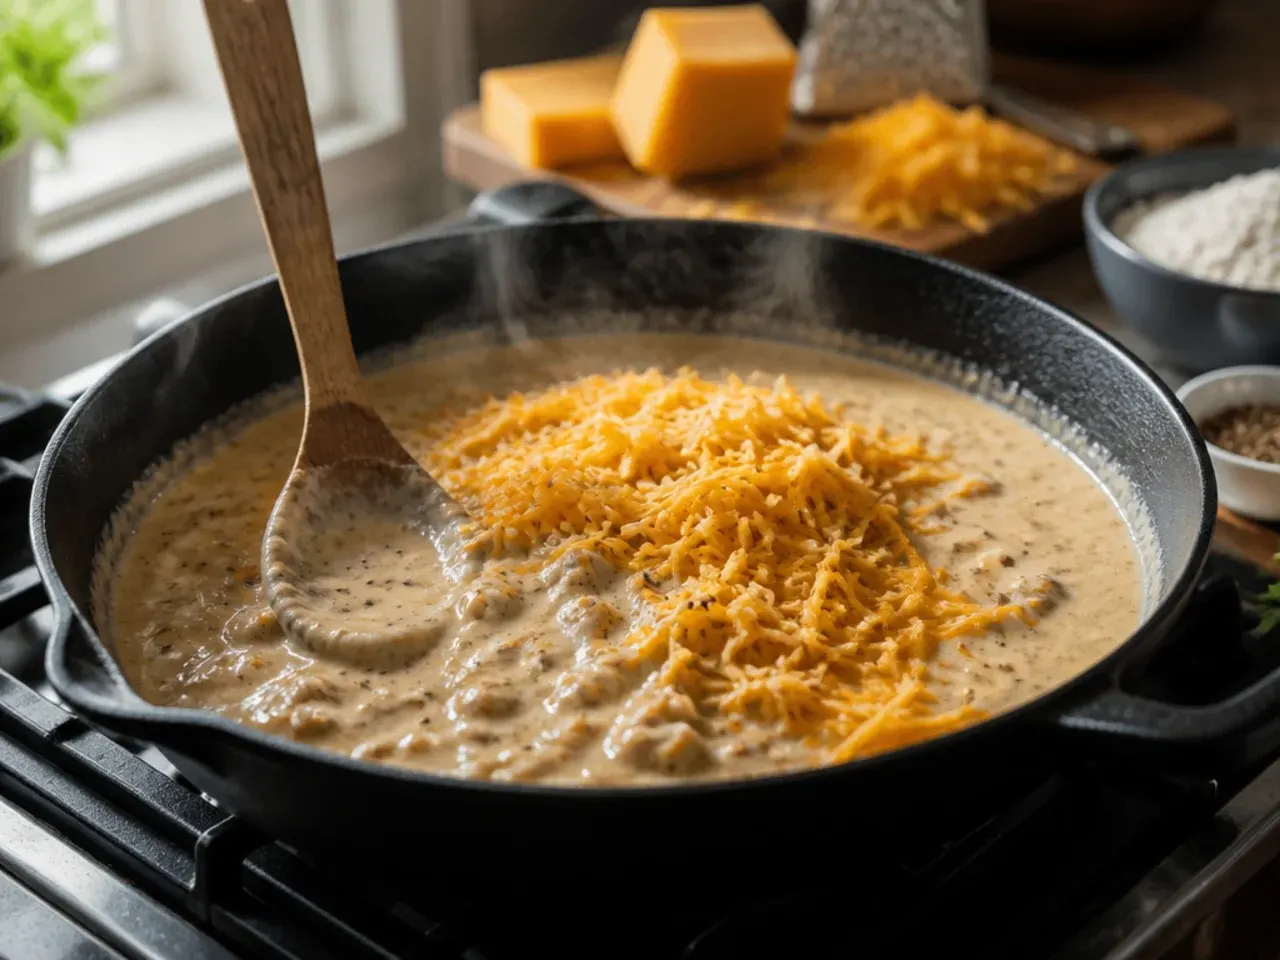
Return the drained beef mixture to the skillet and stir in both cans of condensed cream of mushroom soup, the milk, Worcestershire sauce, ketchup, garlic salt, and smoked paprika. Simmer for 2-3 minutes over low heat until everything is evenly combined into a thick, glossy sauce.
Step 4: Fold in vegetables and cheese
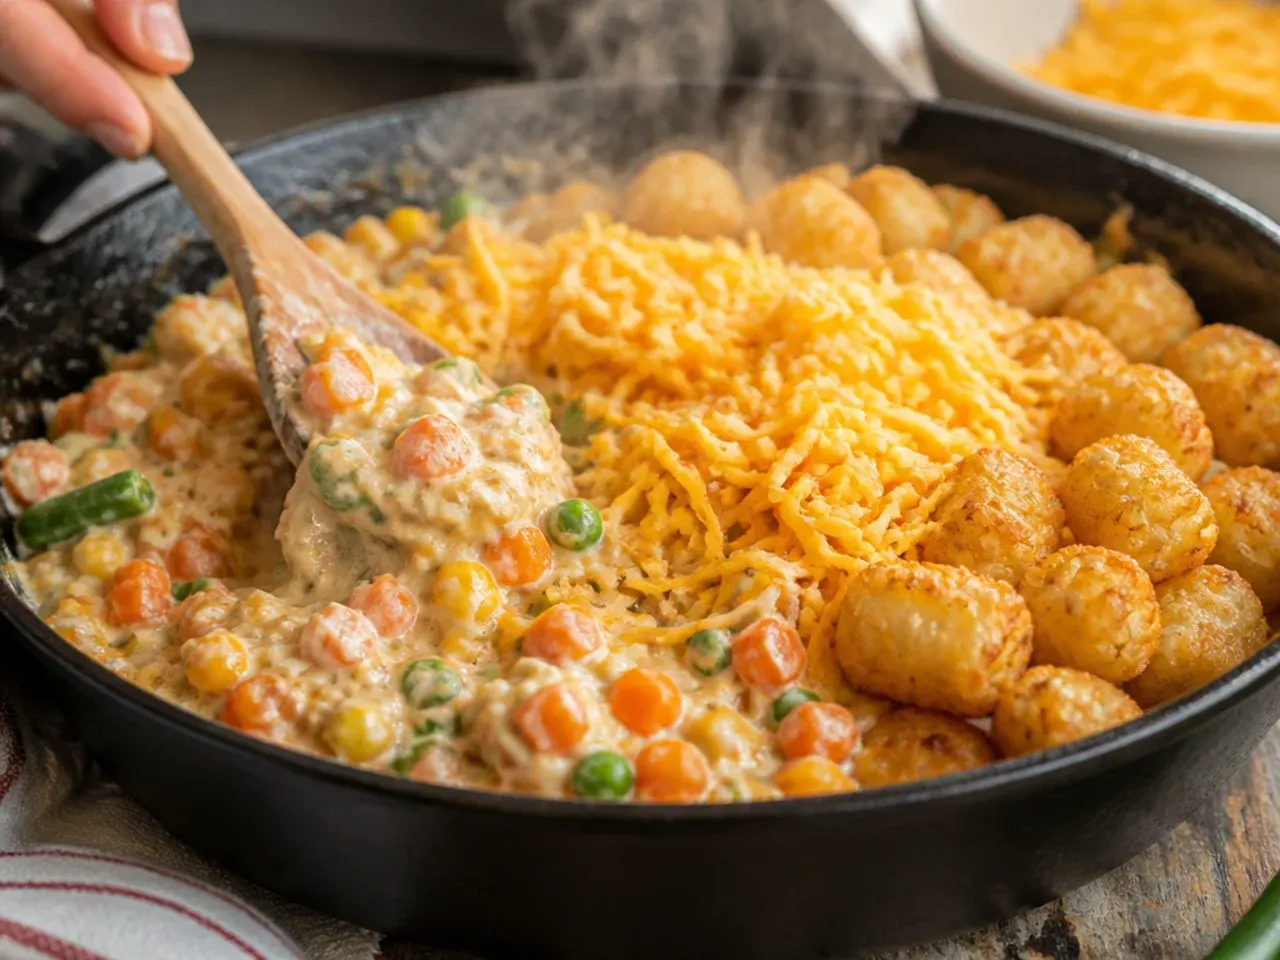
Remove the skillet from the heat and stir in the well-drained mixed vegetables along with half the grated cheddar (about 150 g / 1.5 cups). Taste and adjust the seasoning now, since this is your last chance before it goes in the oven.
Step 5: Spread and top with frozen tots
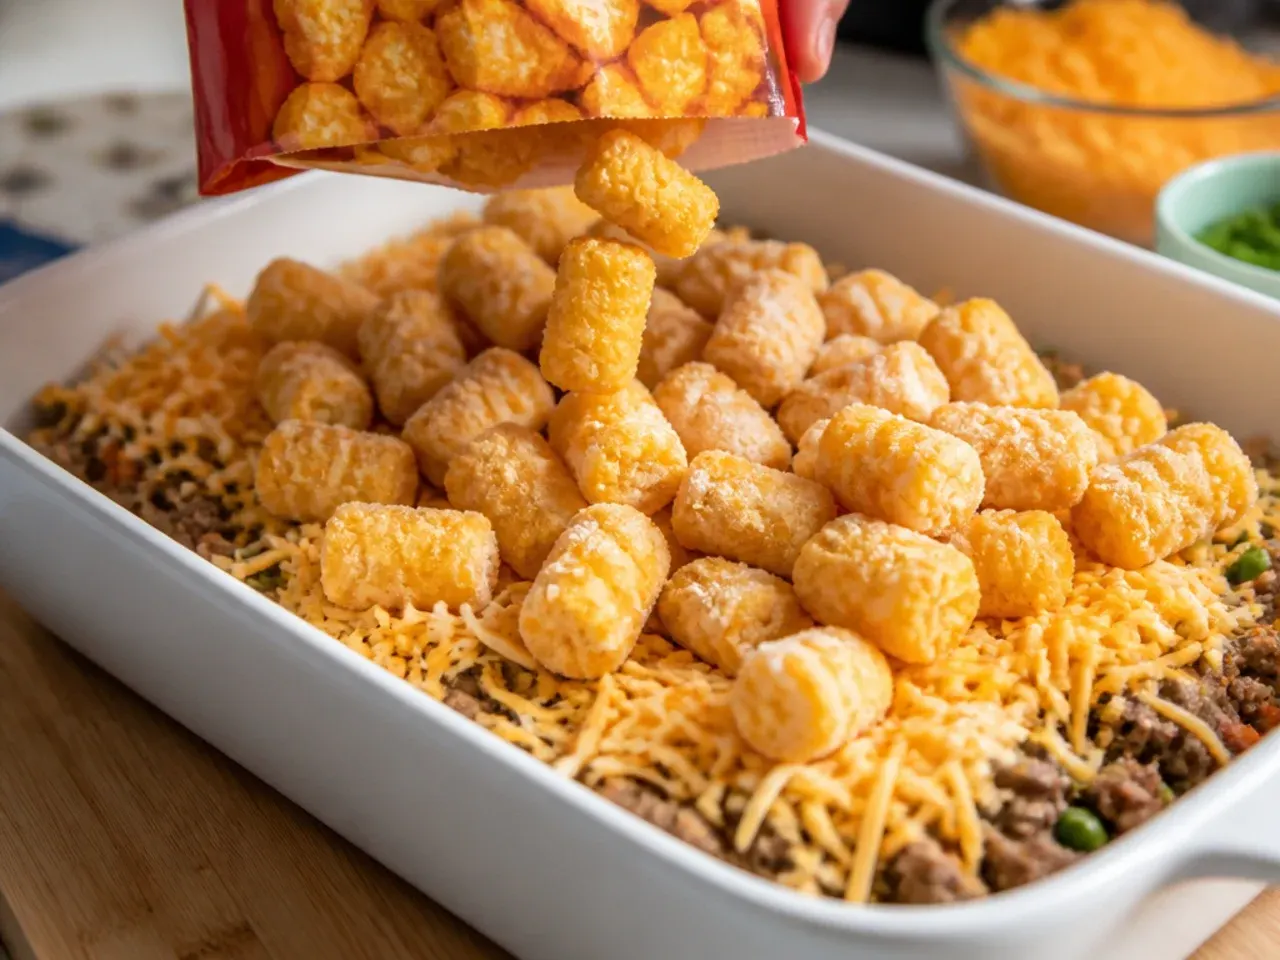
Transfer the filling into a greased 23x33 cm (9x13 in) baking dish and spread it into an even layer, leaving about 2 cm of space below the rim. Arrange the frozen tater tots on top in a single layer with small gaps between each one, straight from the freezer with no thawing.
Step 6: Bake uncovered until golden
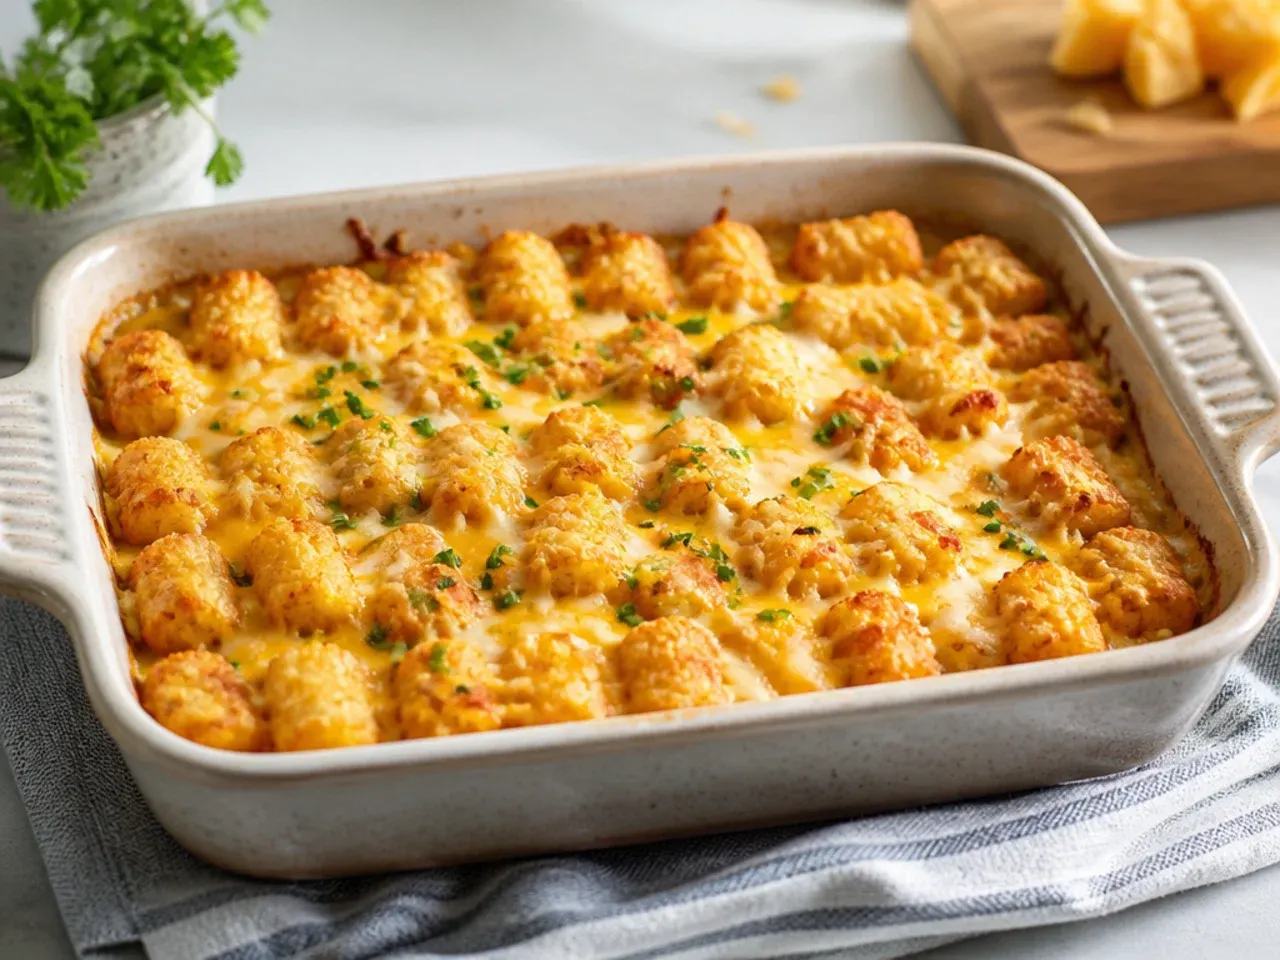
Bake uncovered on the middle rack for 30-35 minutes, until the tots are deep golden brown and the sauce is visibly bubbling up around the edges of the dish. Rotate the dish halfway through if your oven has any hot spots.
Step 7: Finish with cheese and rest
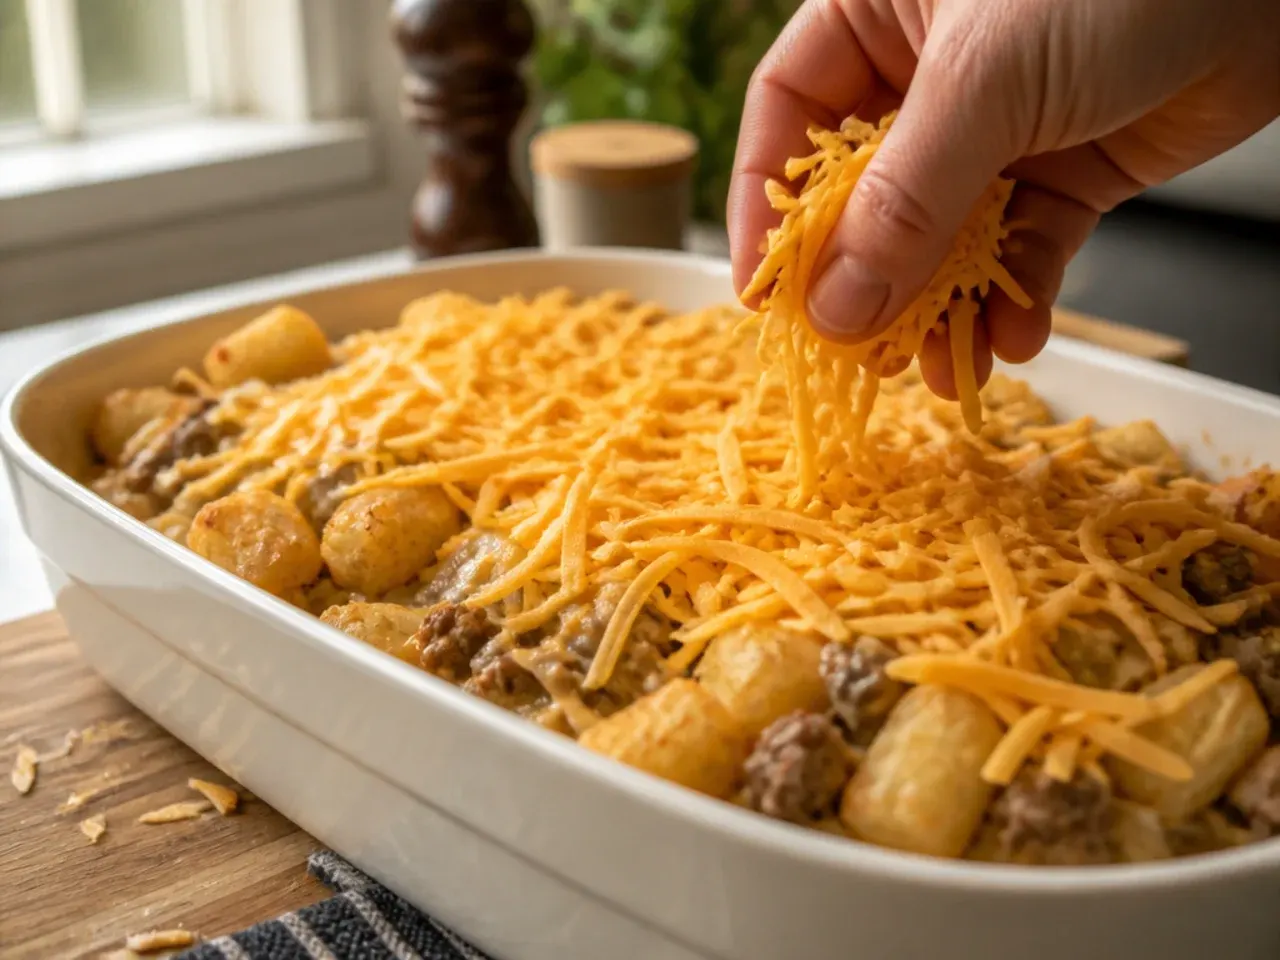
Scatter the remaining cheddar evenly over the top and bake for a final 8-10 minutes, until fully melted and starting to turn golden in spots. Let the casserole rest for 8-10 minutes before scattering over the chives and serving, so the sauce sets enough to hold a neat scoop.
Frequently Asked Questions
Yes, but the trick is to keep the tots separate until baking day. Brown the beef, mix the sauce, stir in the vegetables and half the cheese, then cover and refrigerate the filling for up to 24 hours. When you're ready to cook, spread it into your baking dish, top with frozen tots and the remaining cheese, and bake as normal, adding an extra 5-10 minutes since the filling will be starting cold from the fridge.
Save this for later 📌
Pin this article to your Pinterest board so the full list is one tap away when you need it.
Save on Pinterest